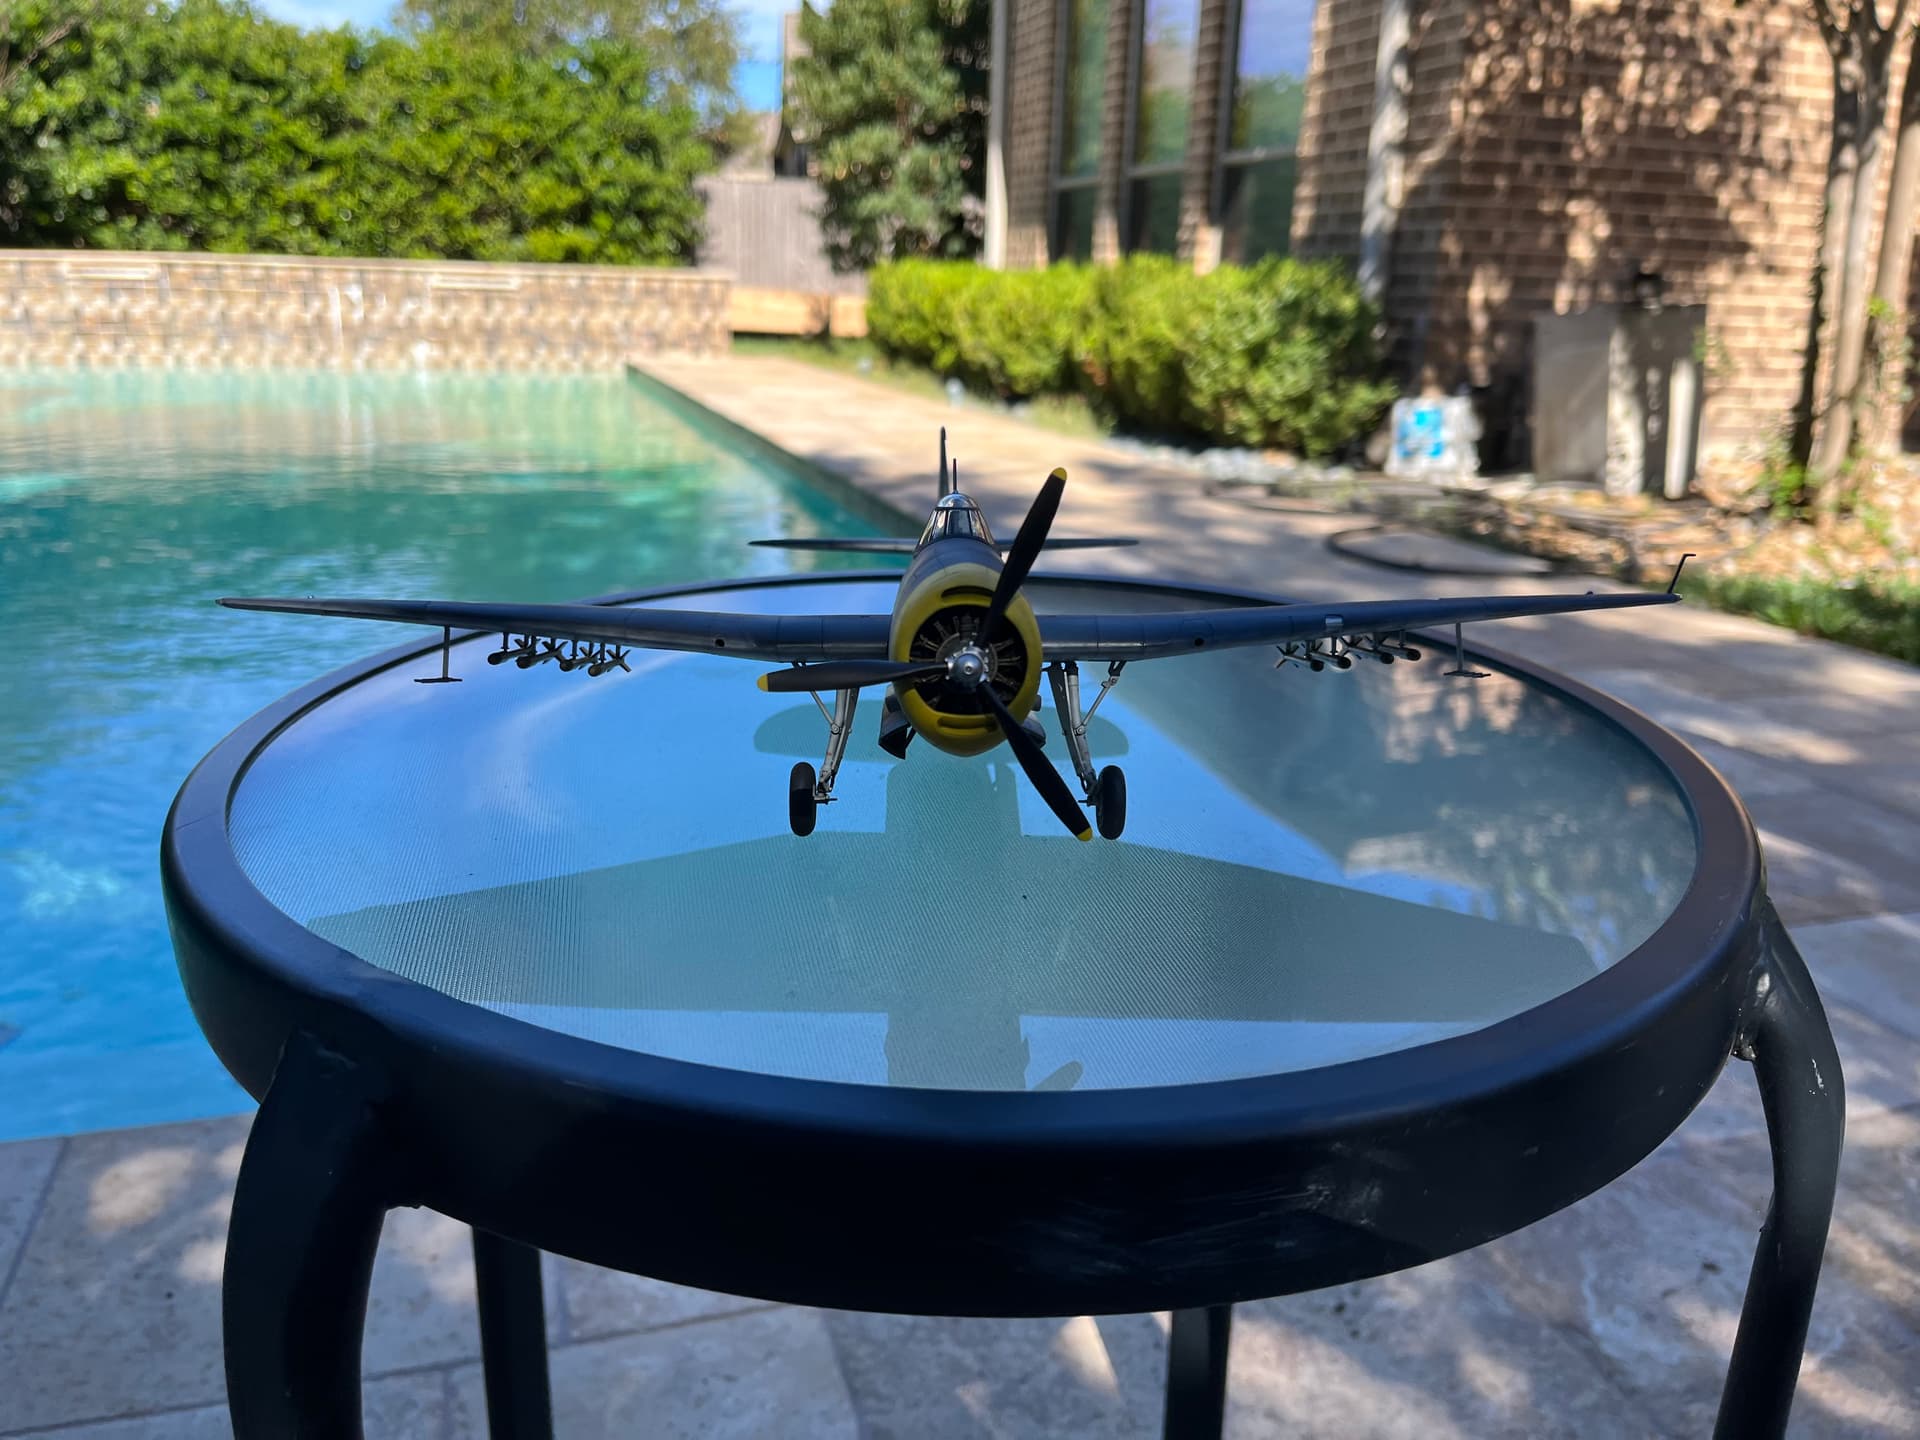
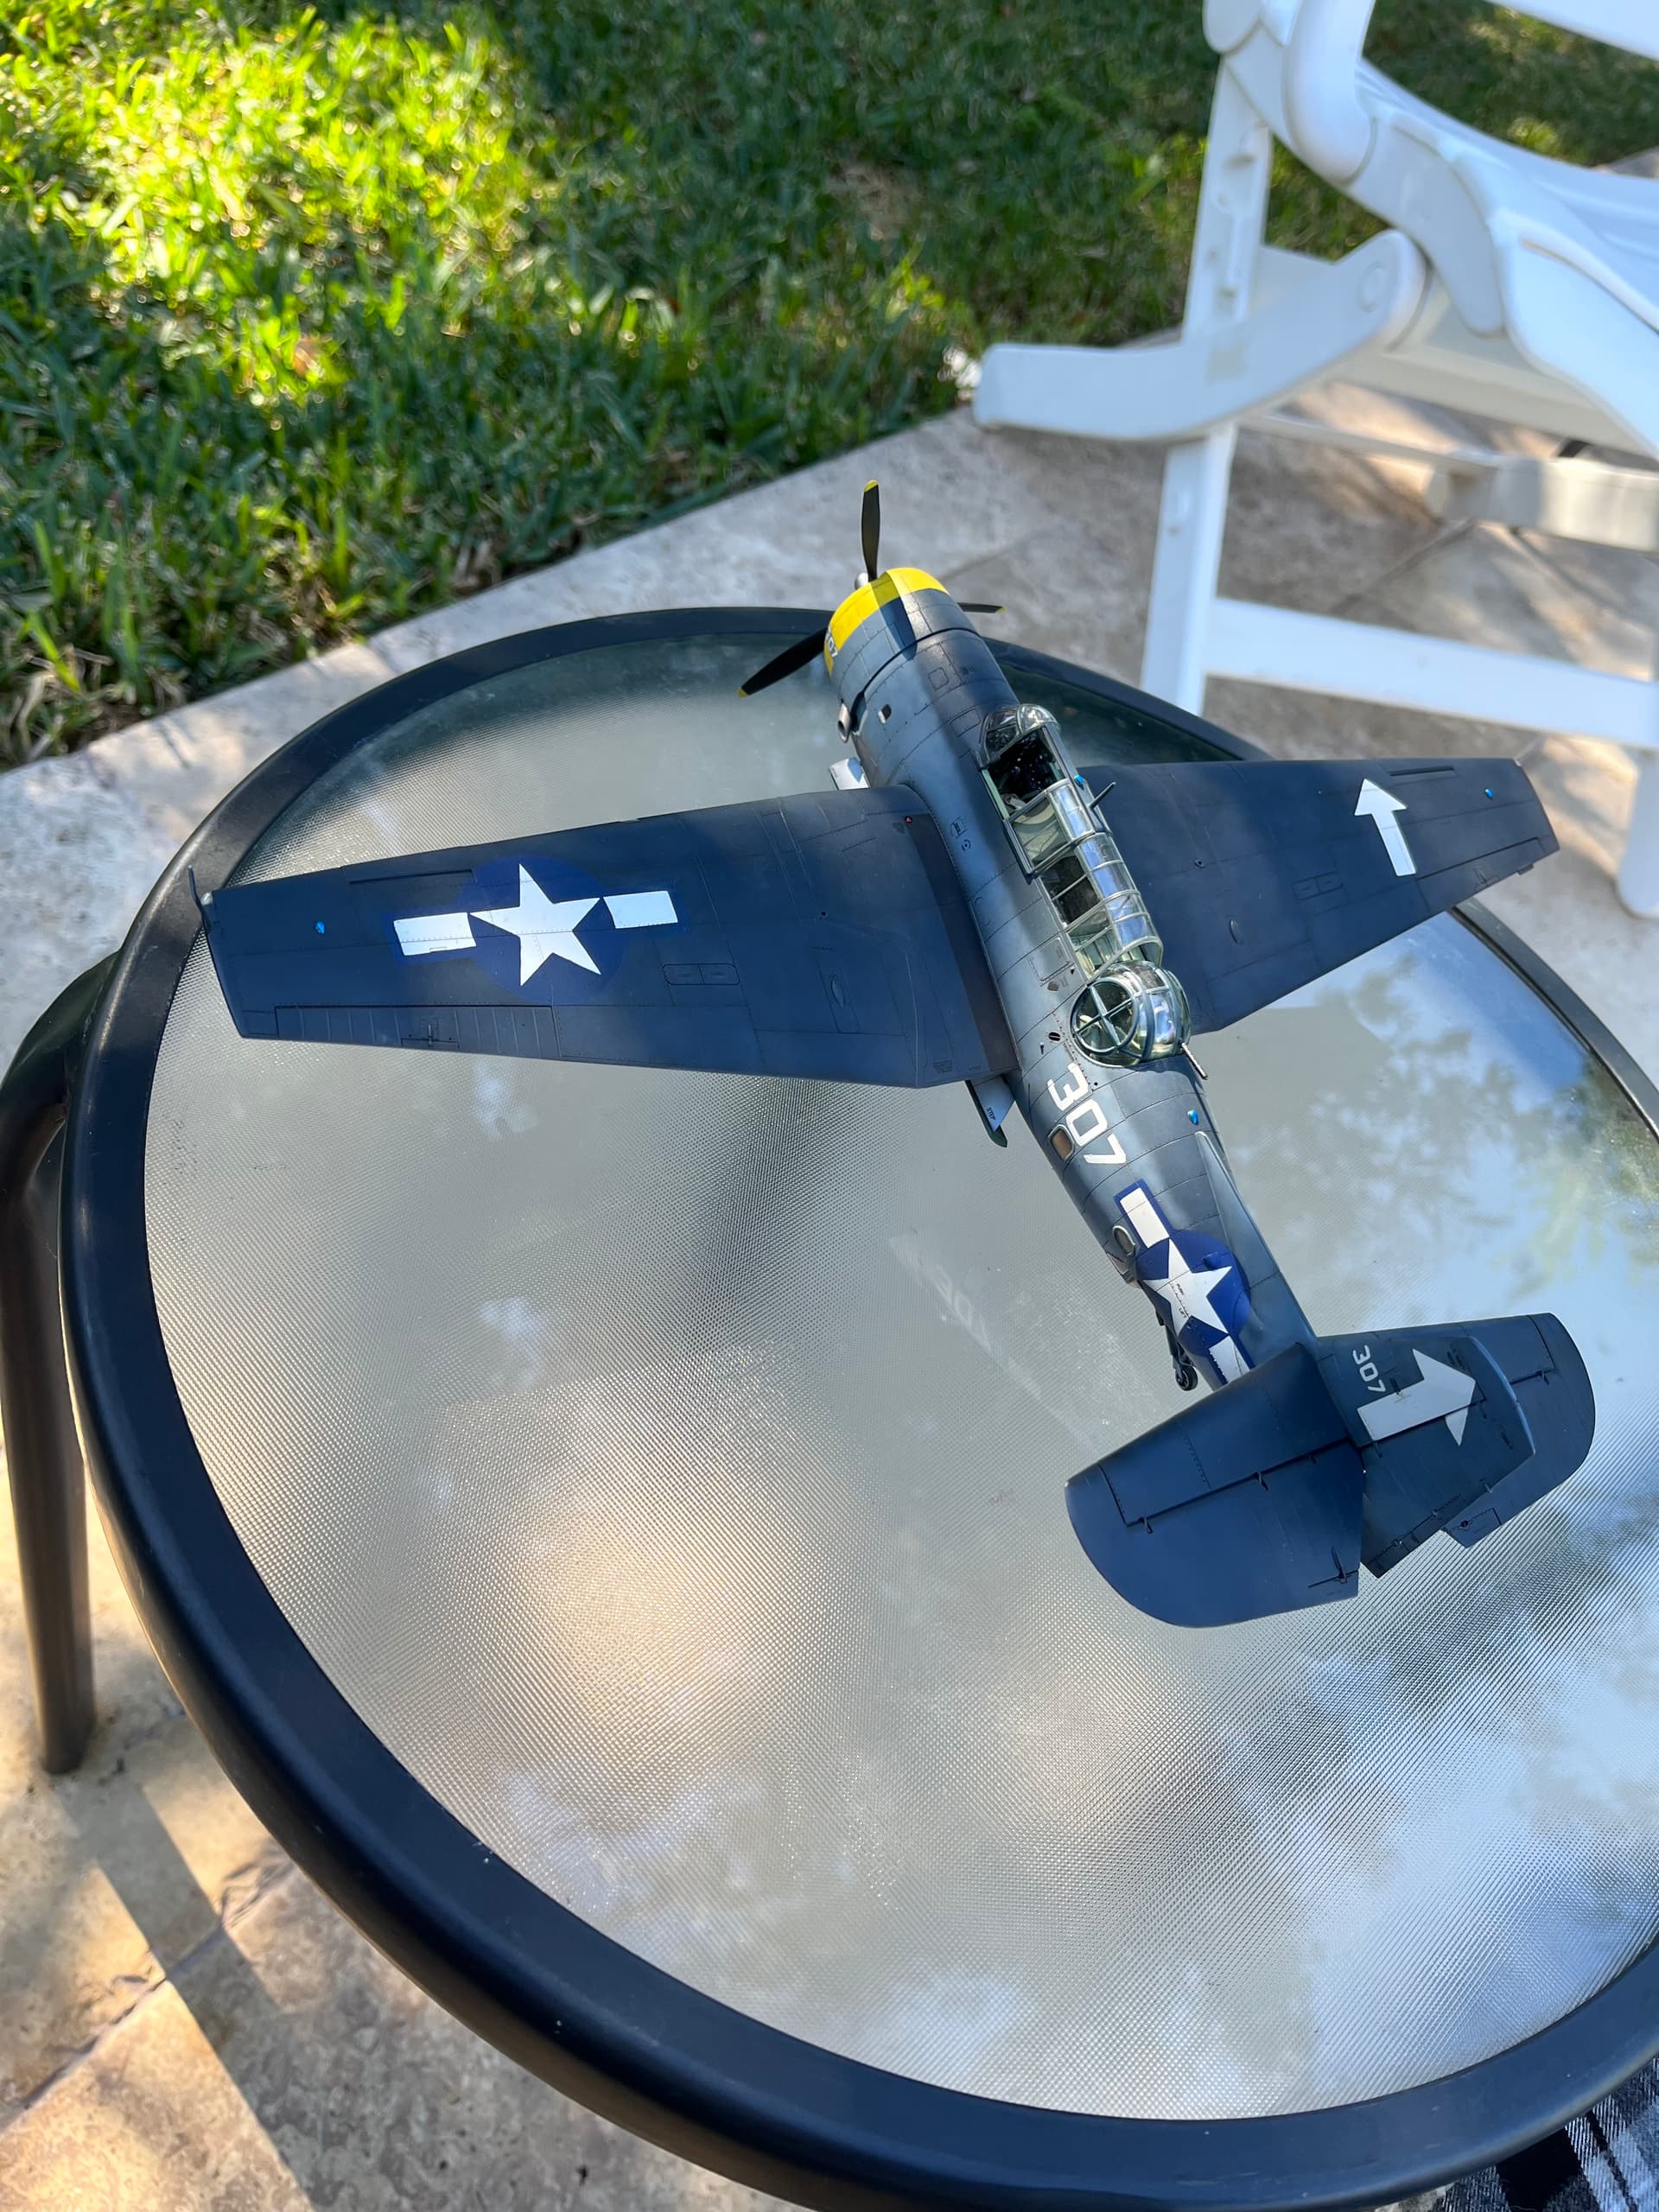
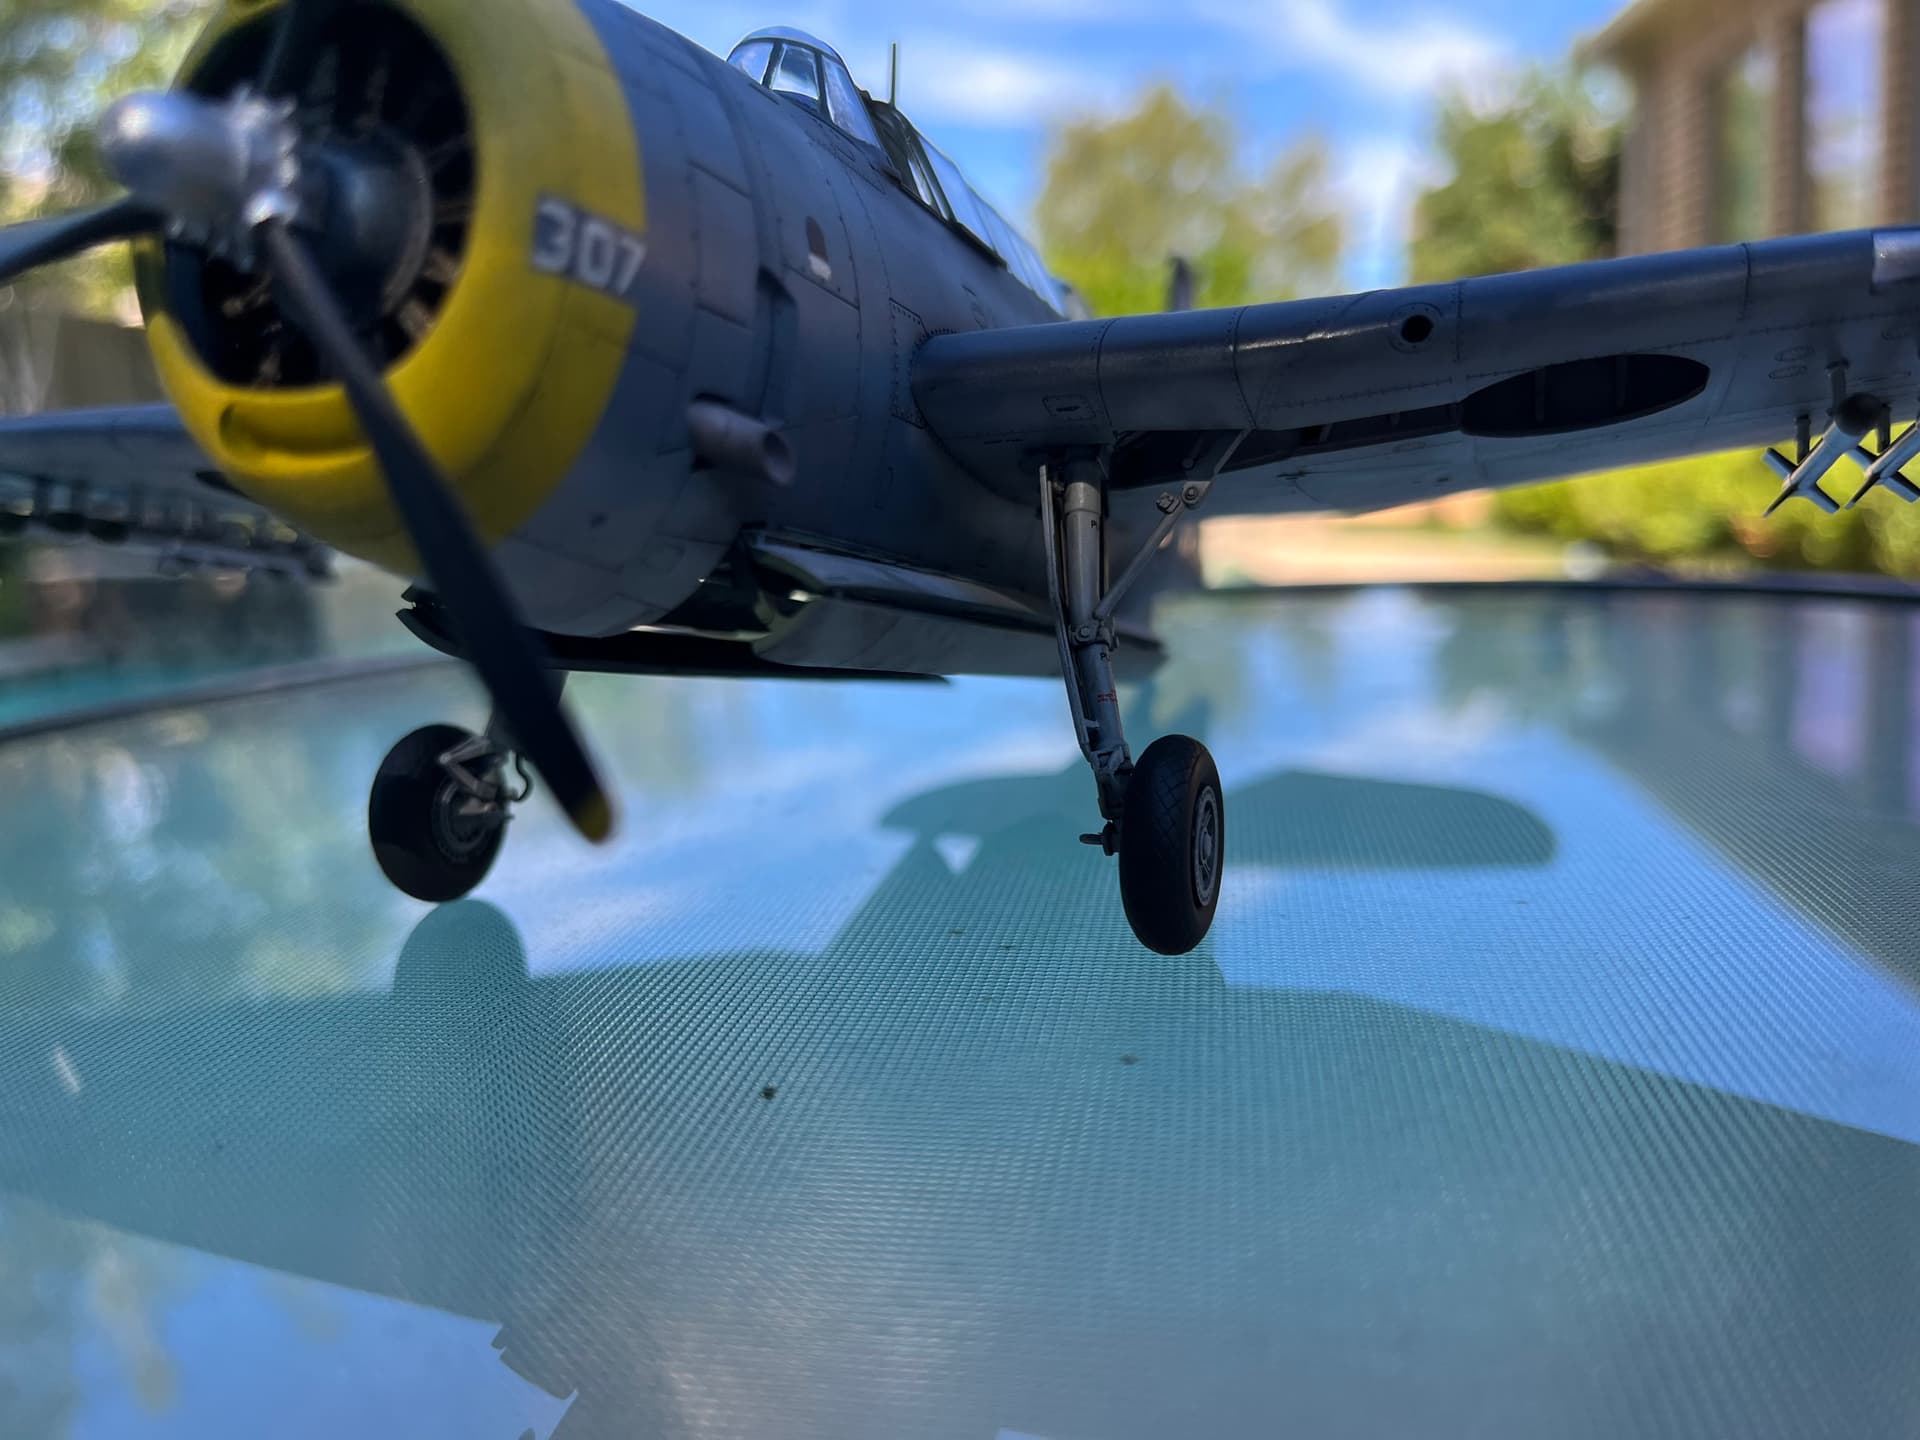
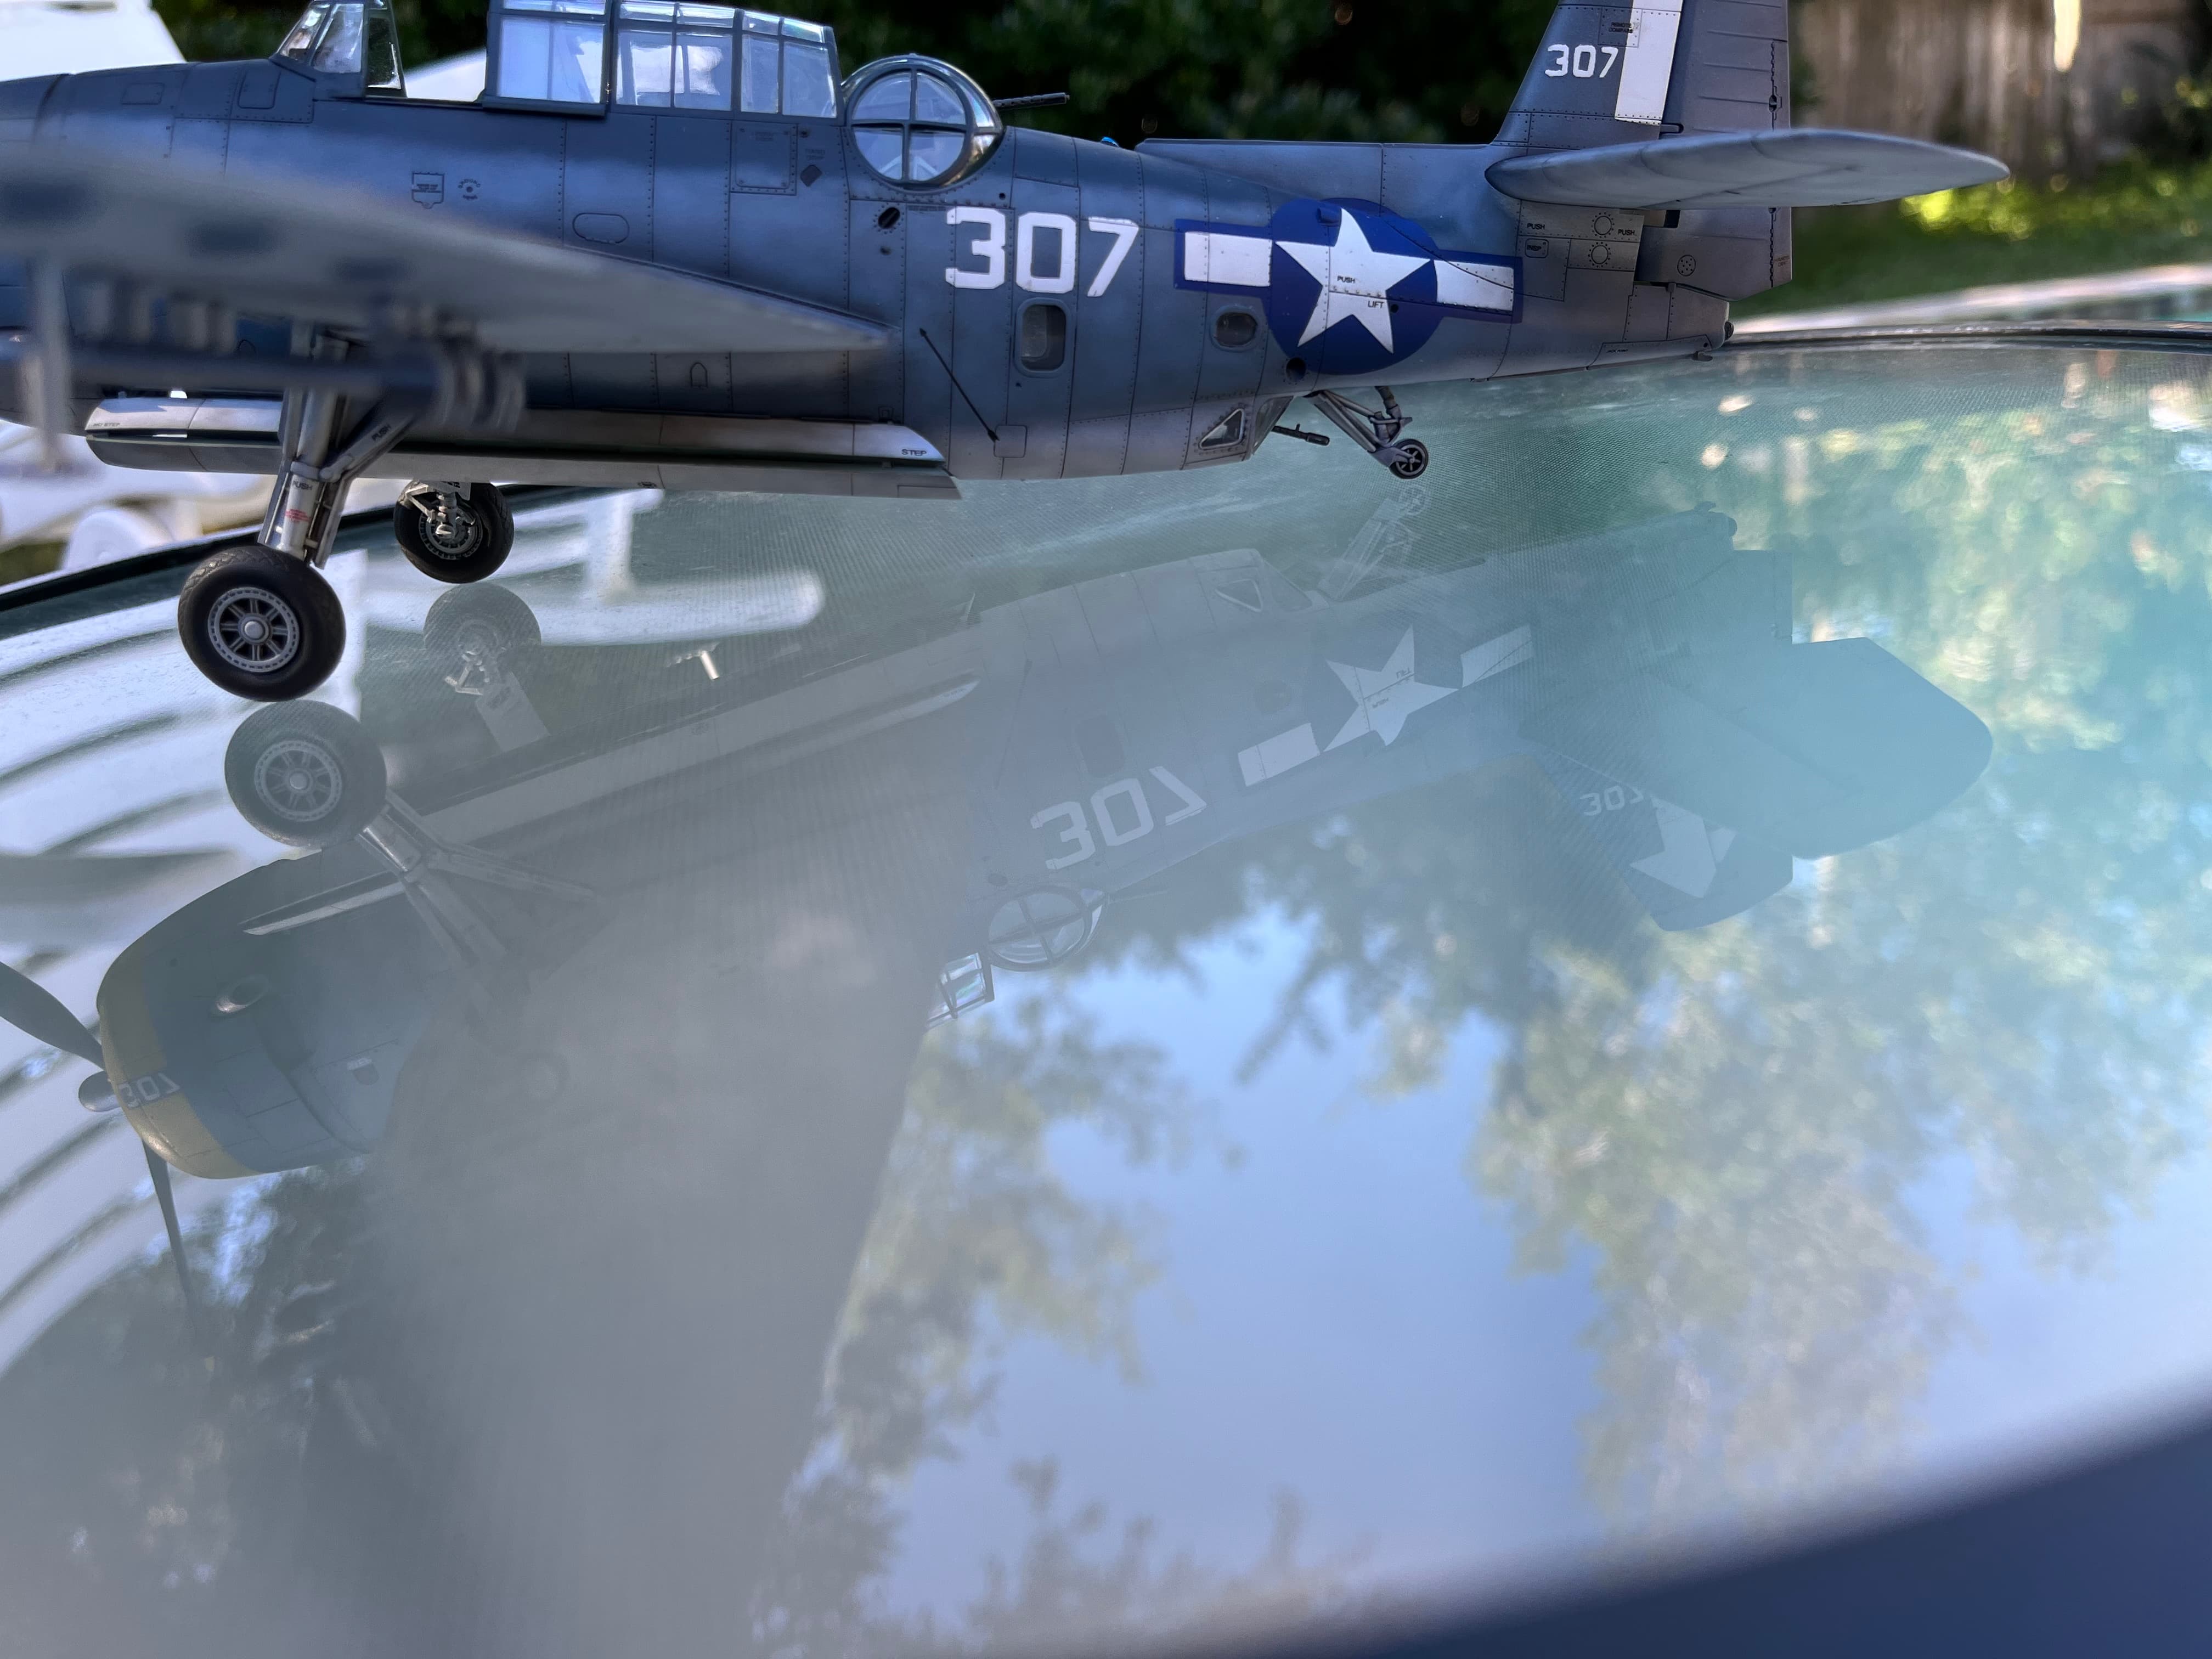
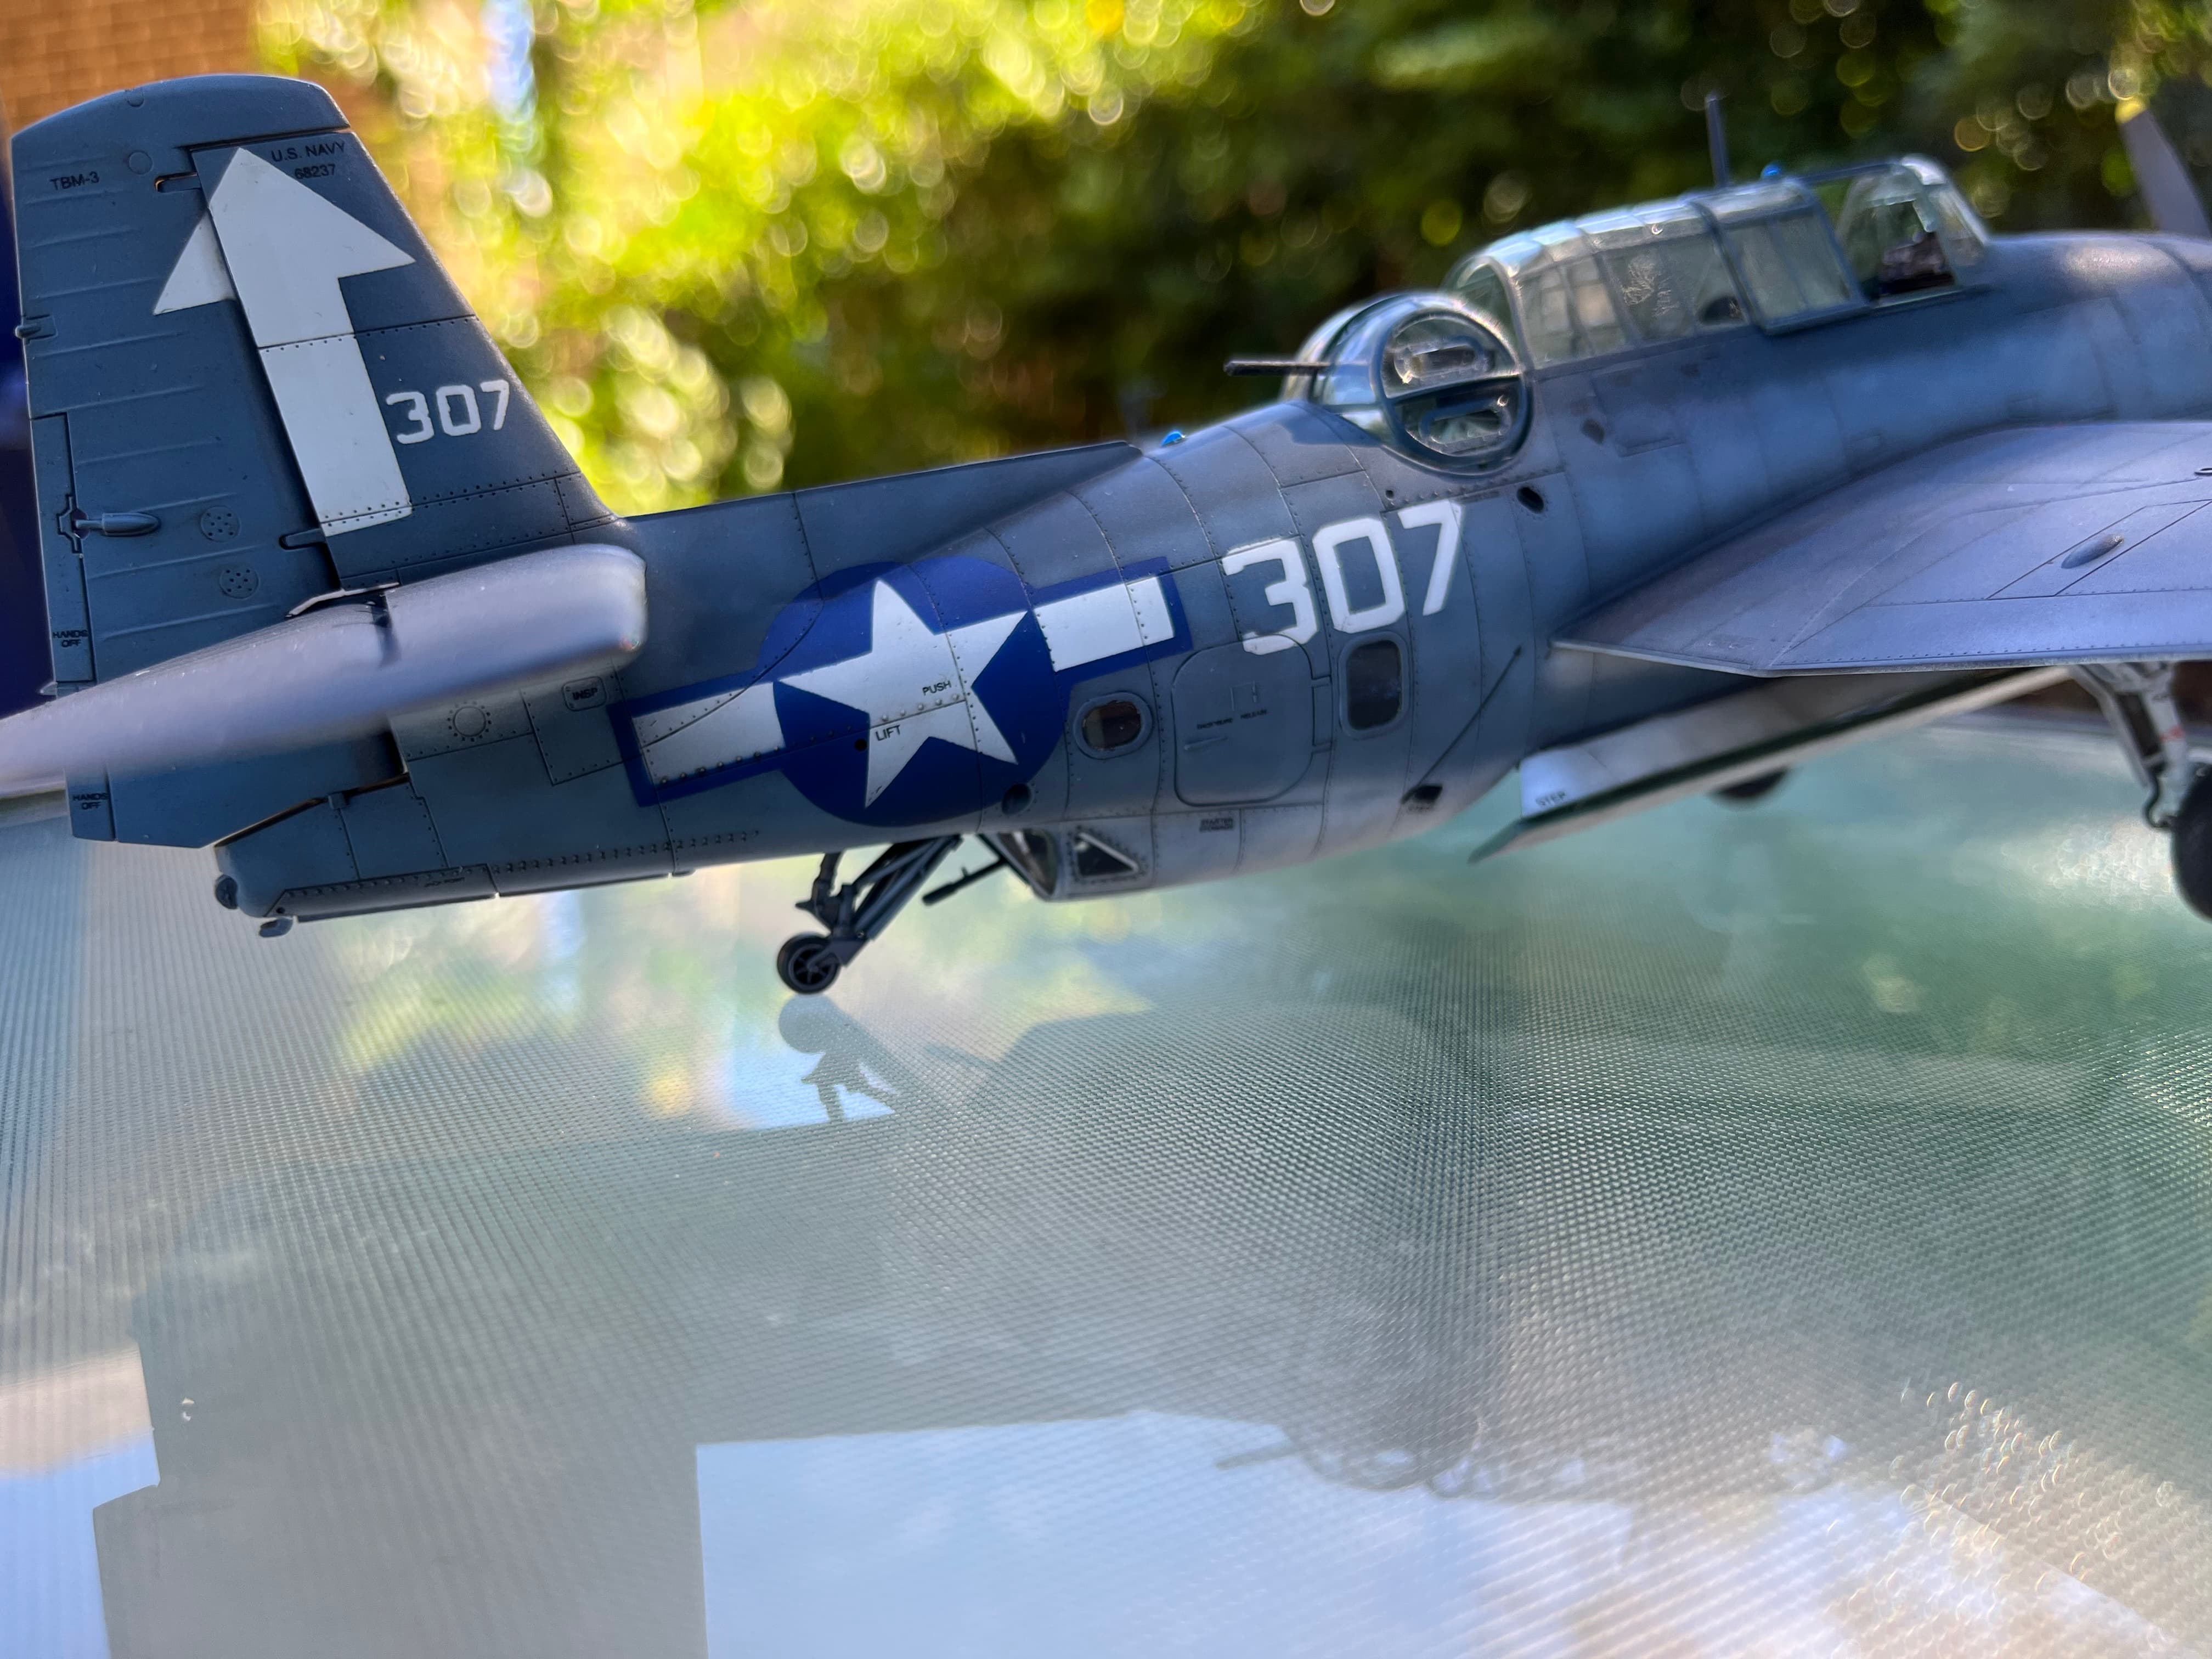
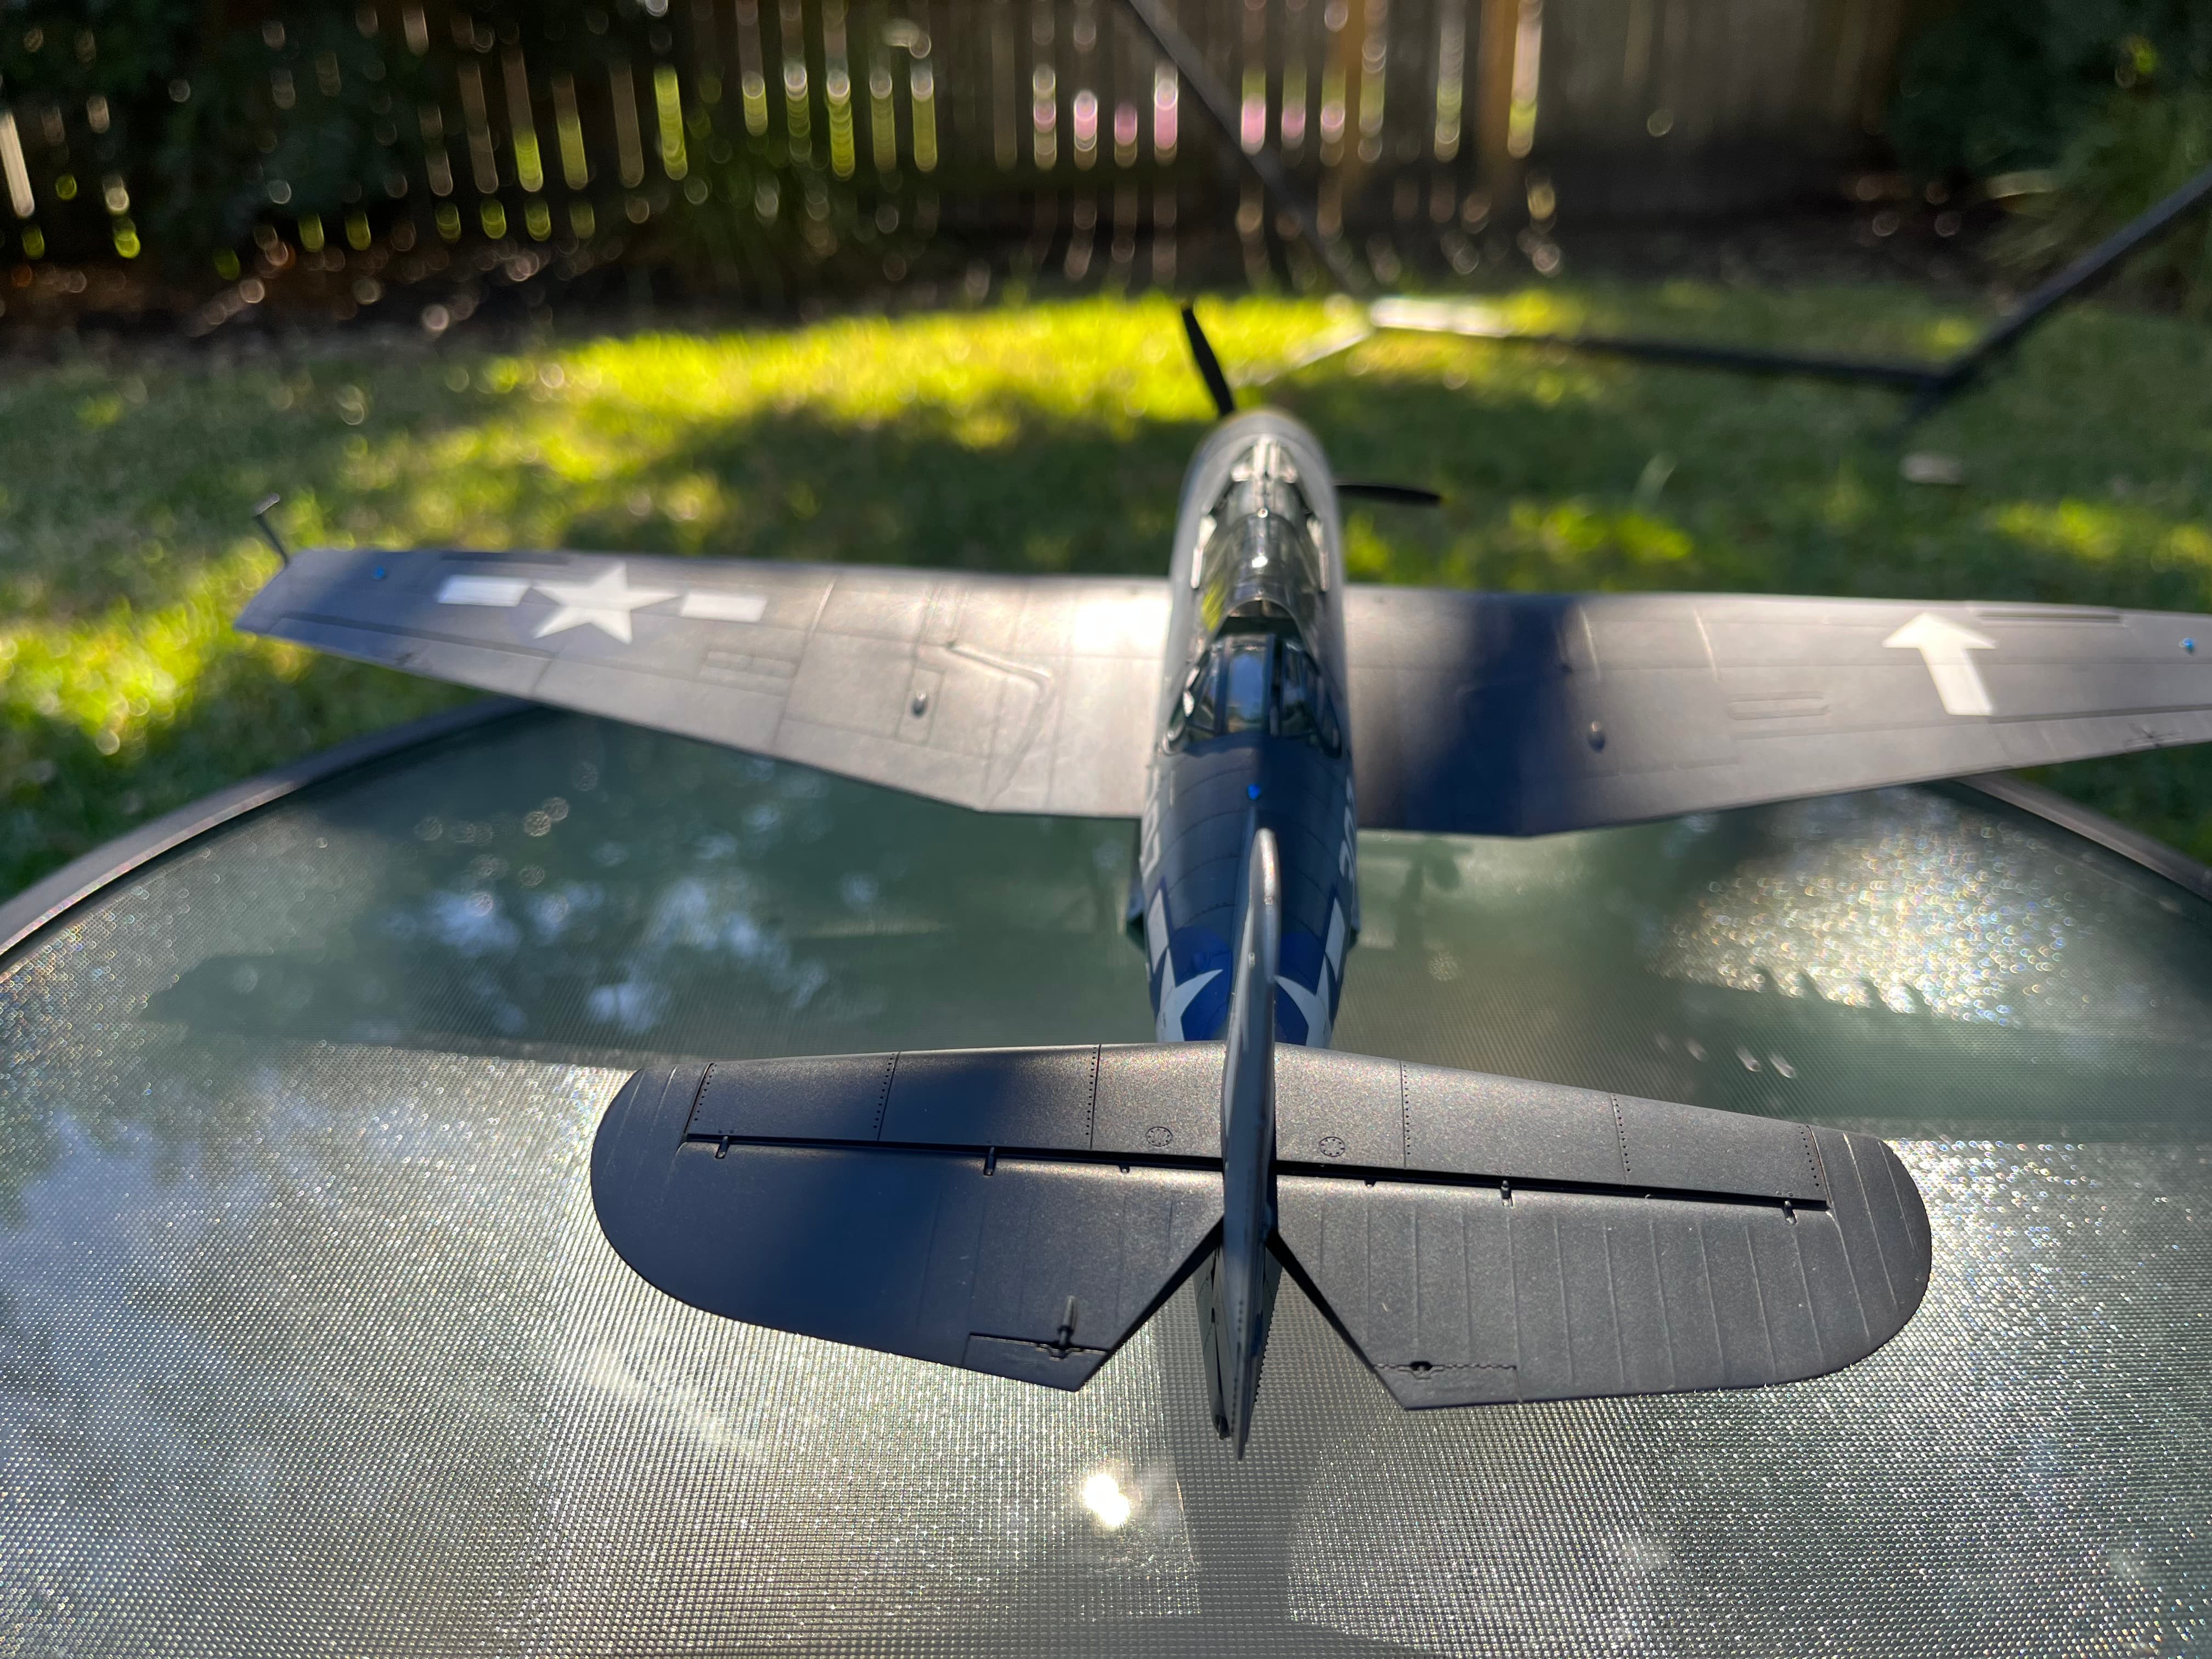
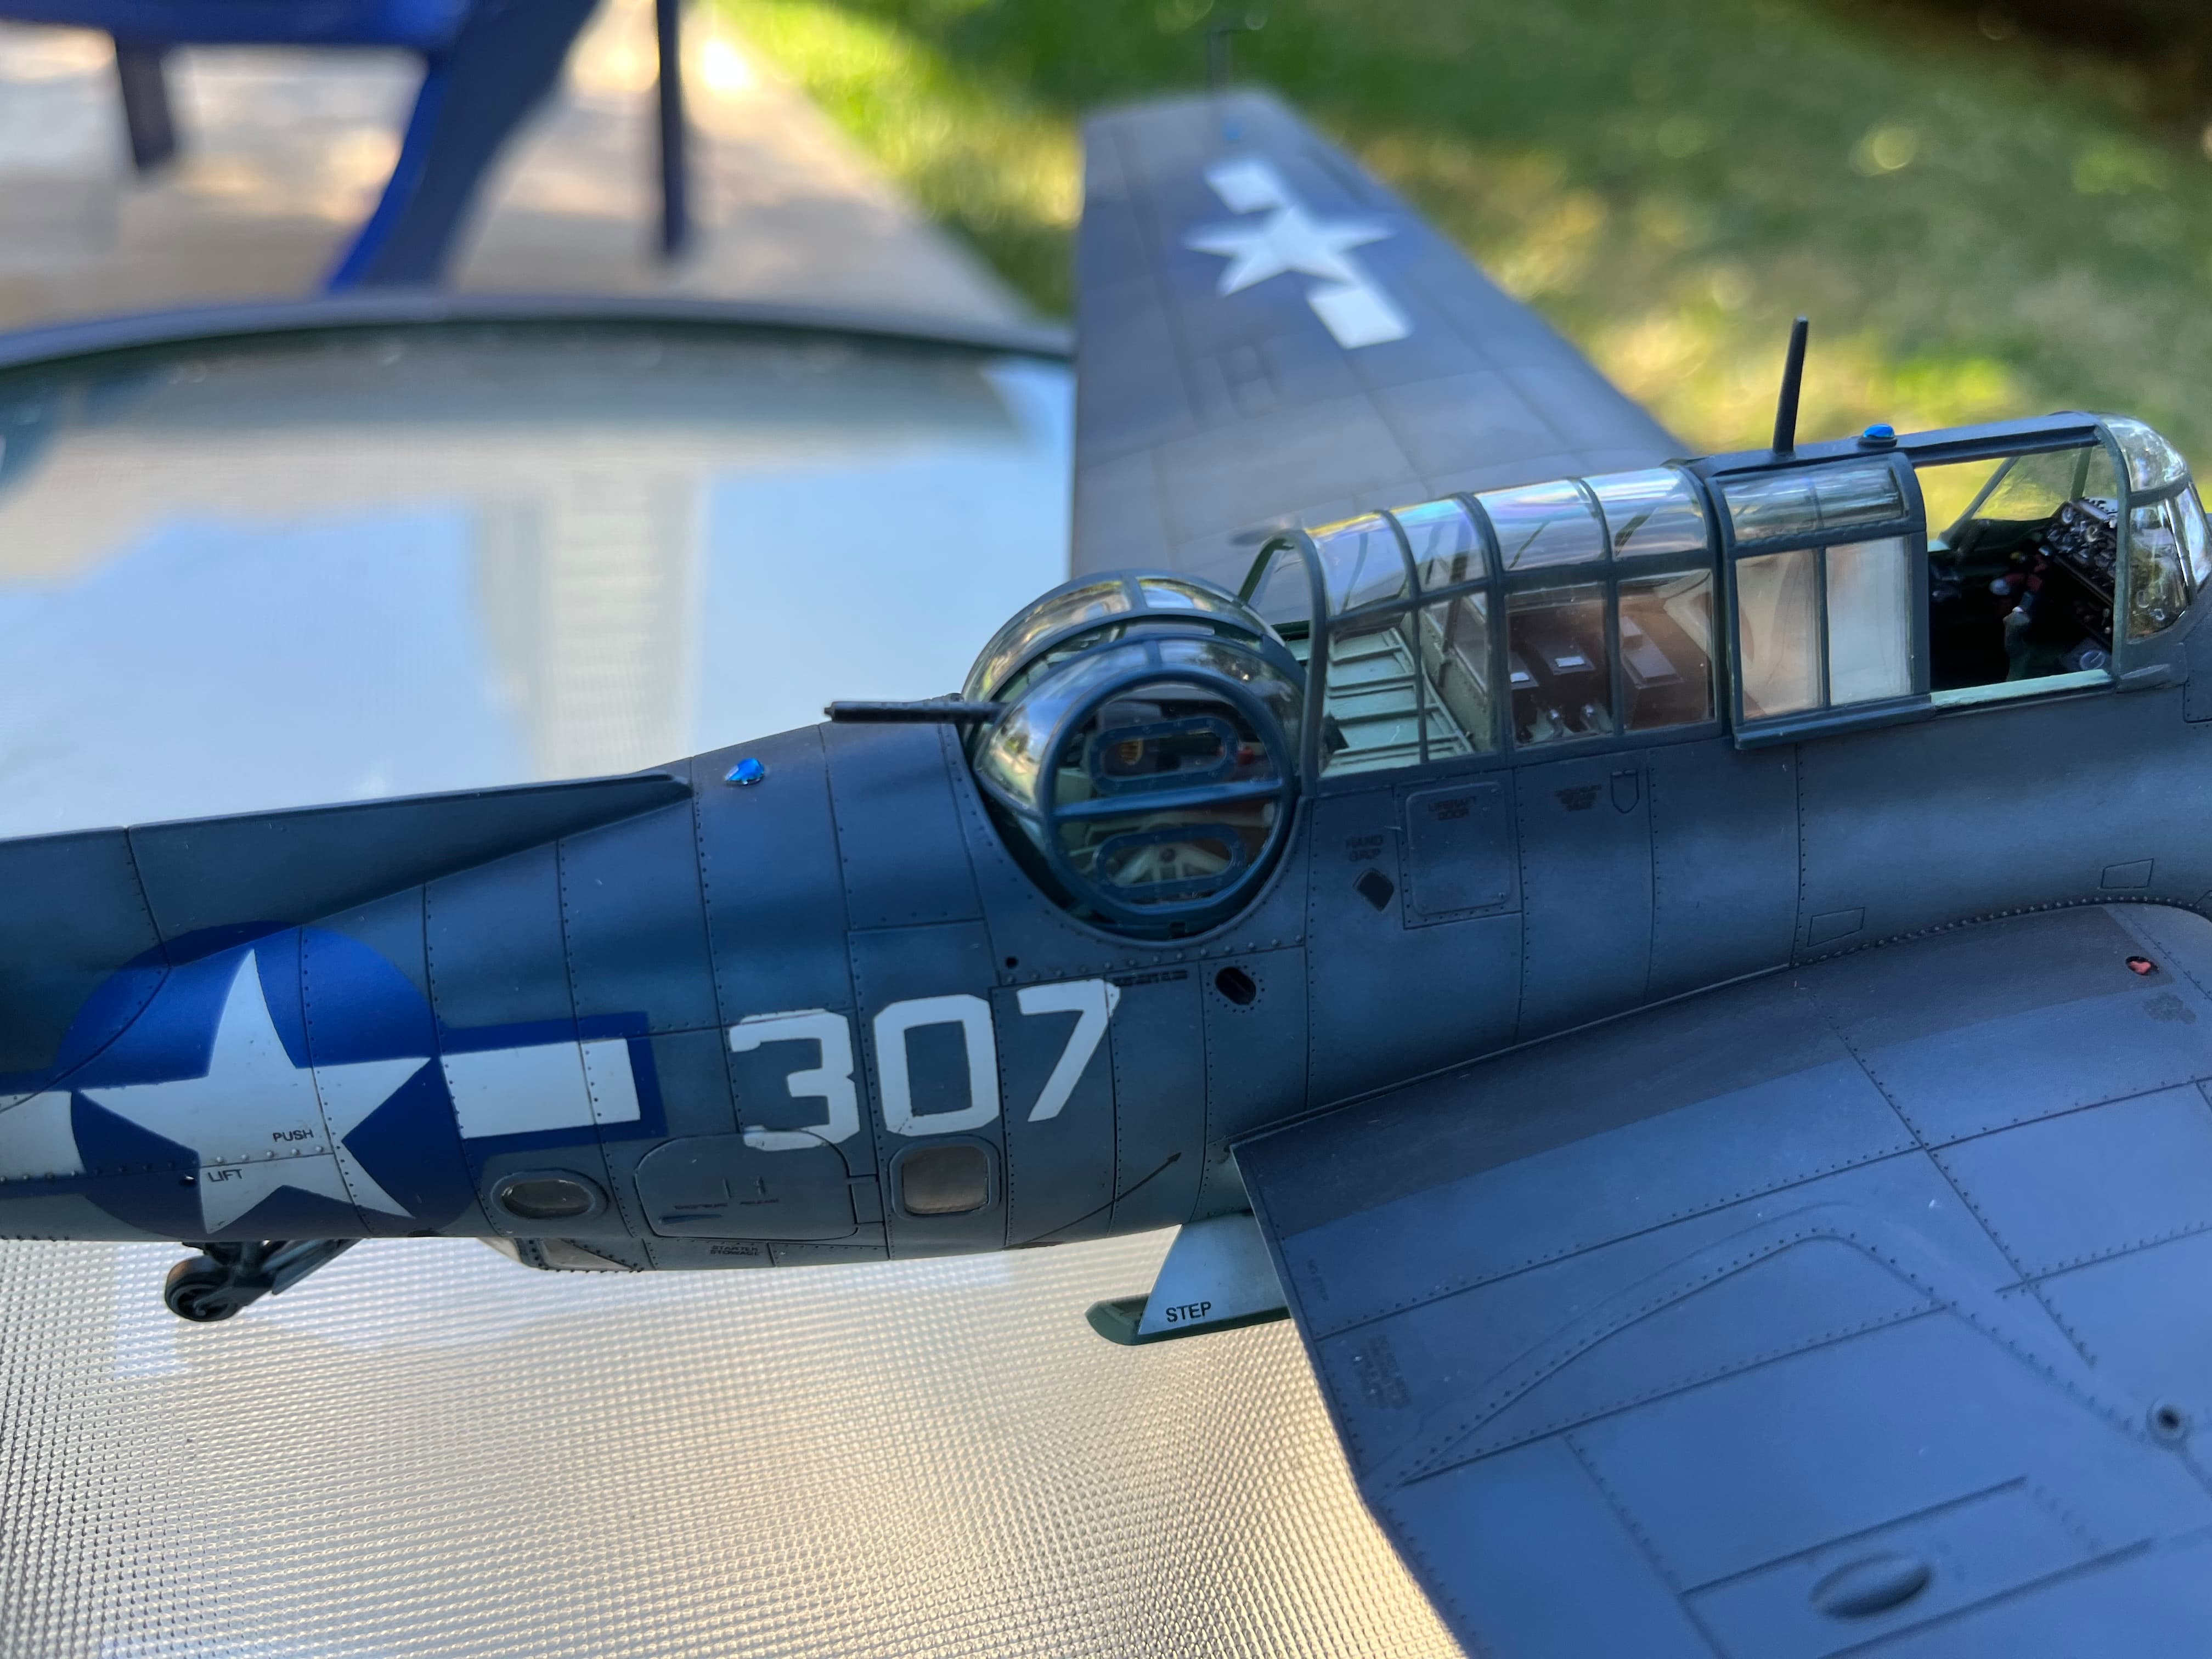
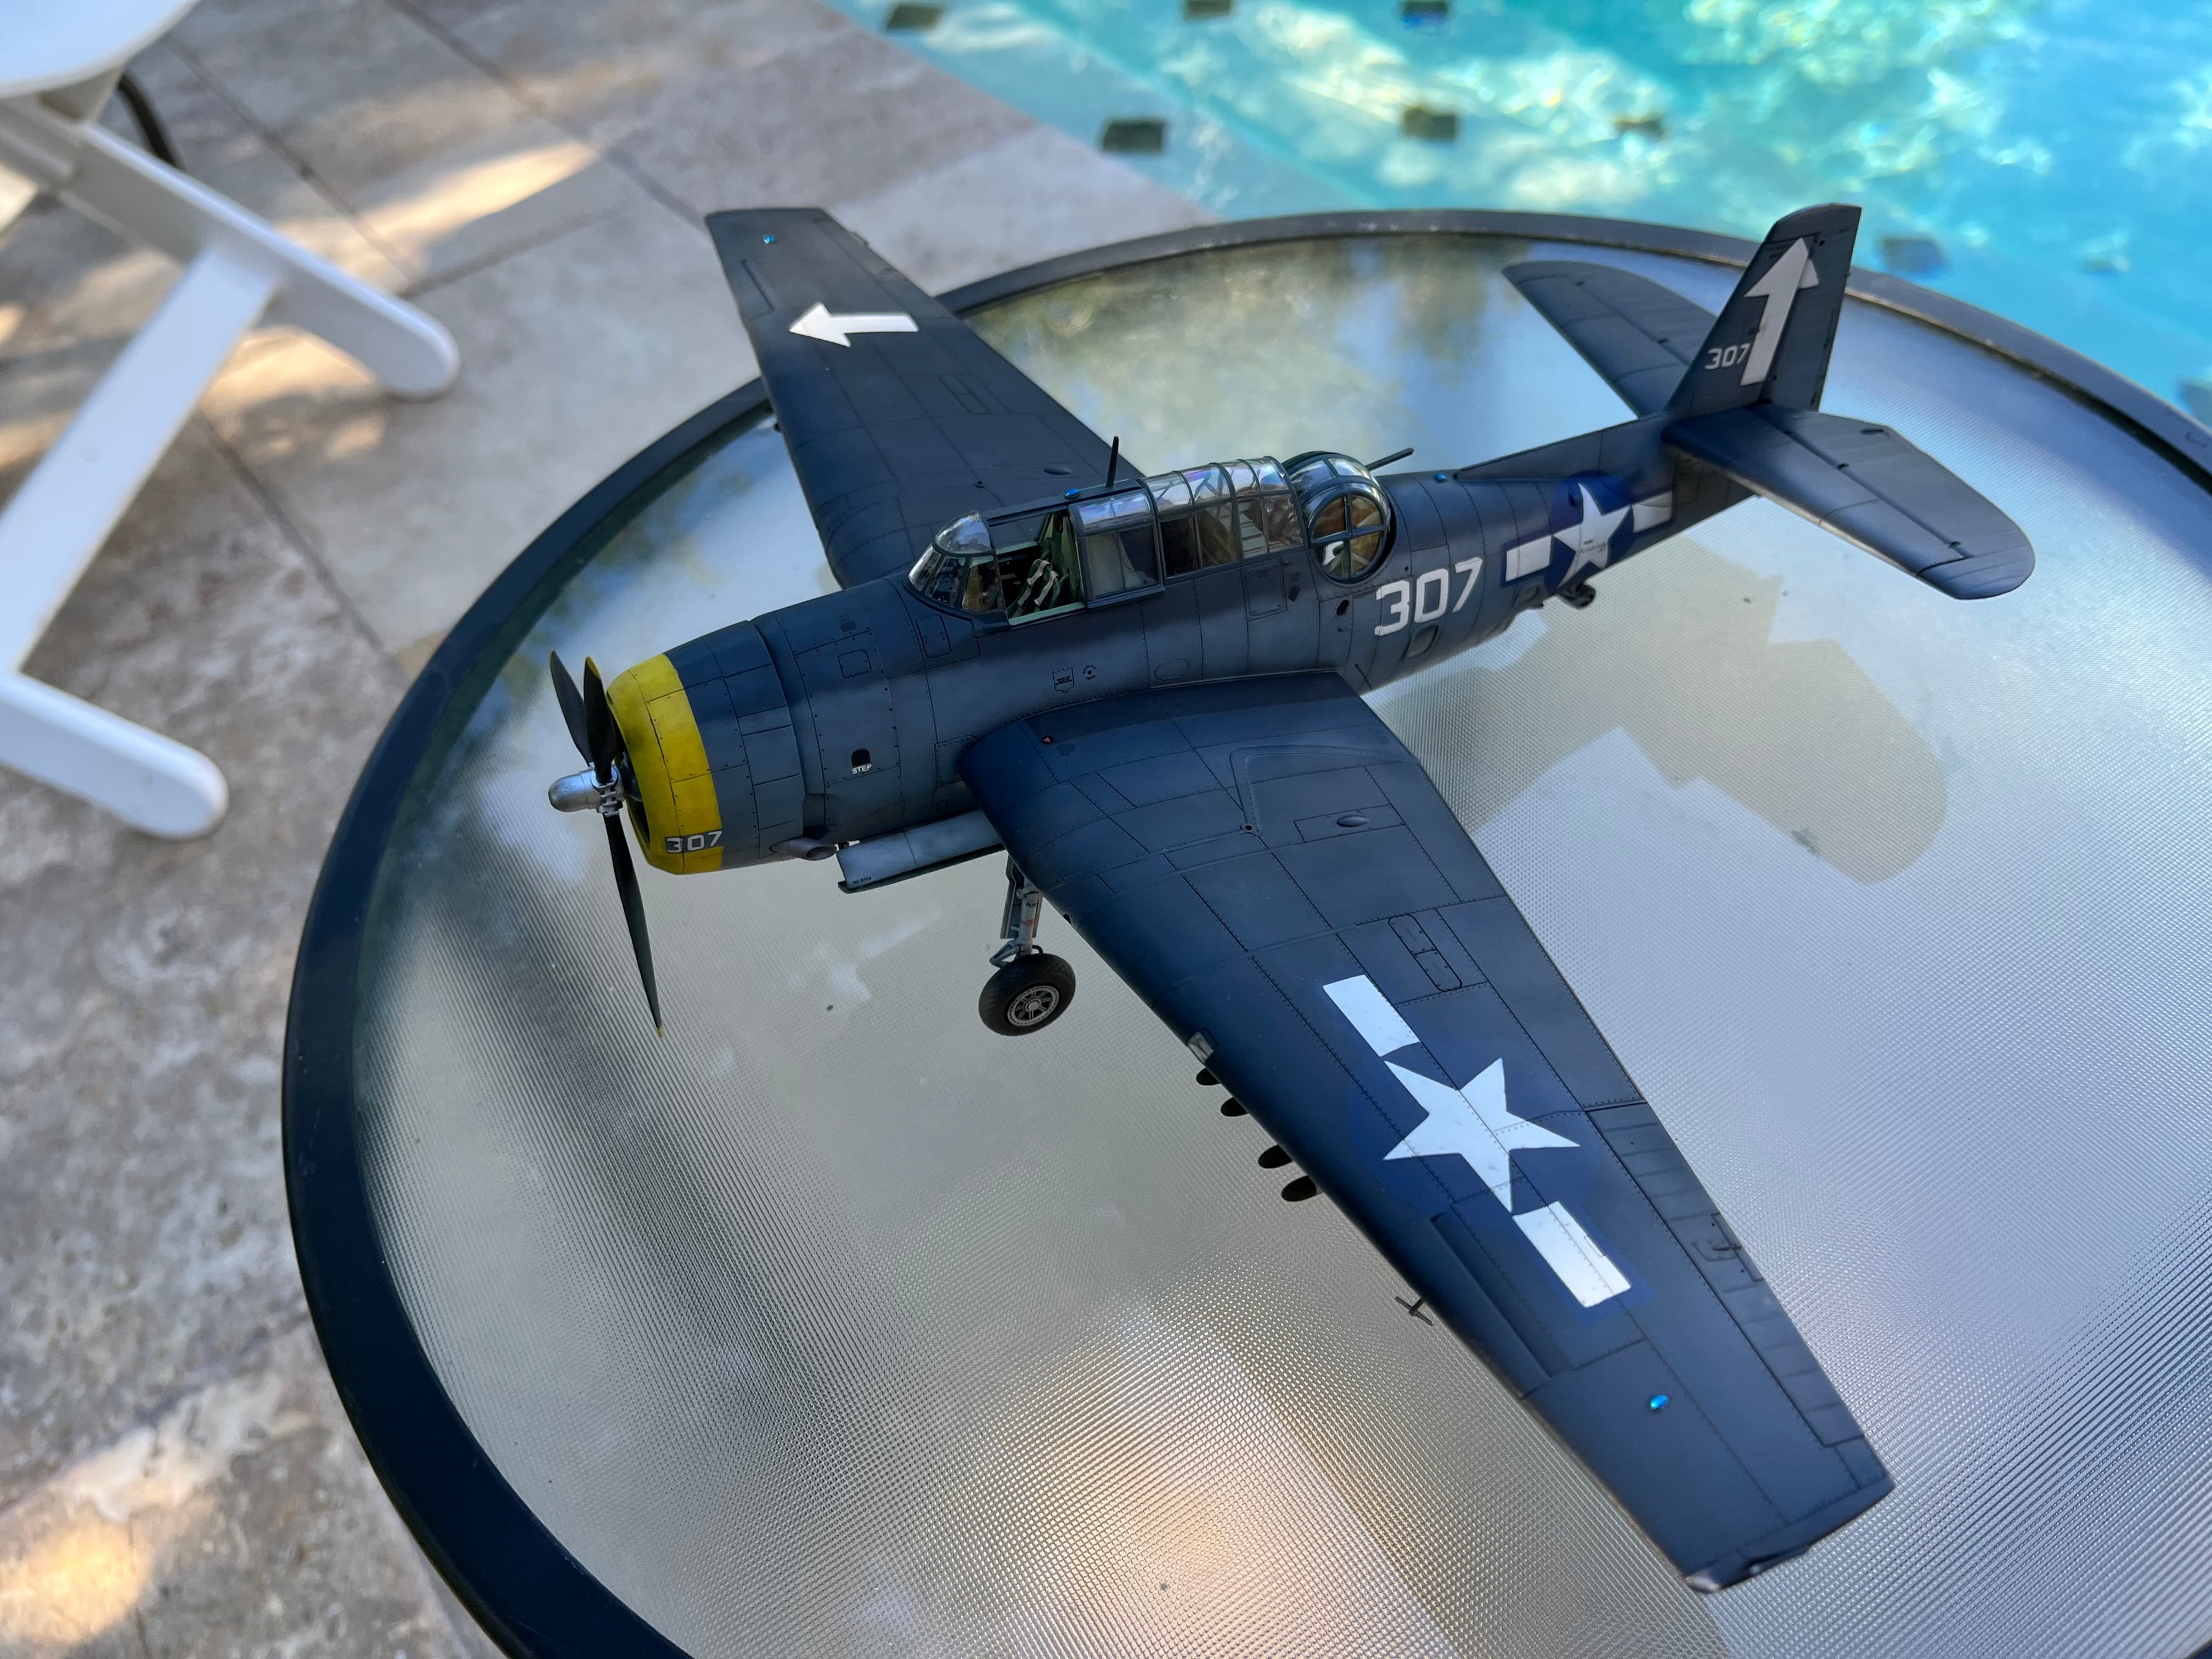
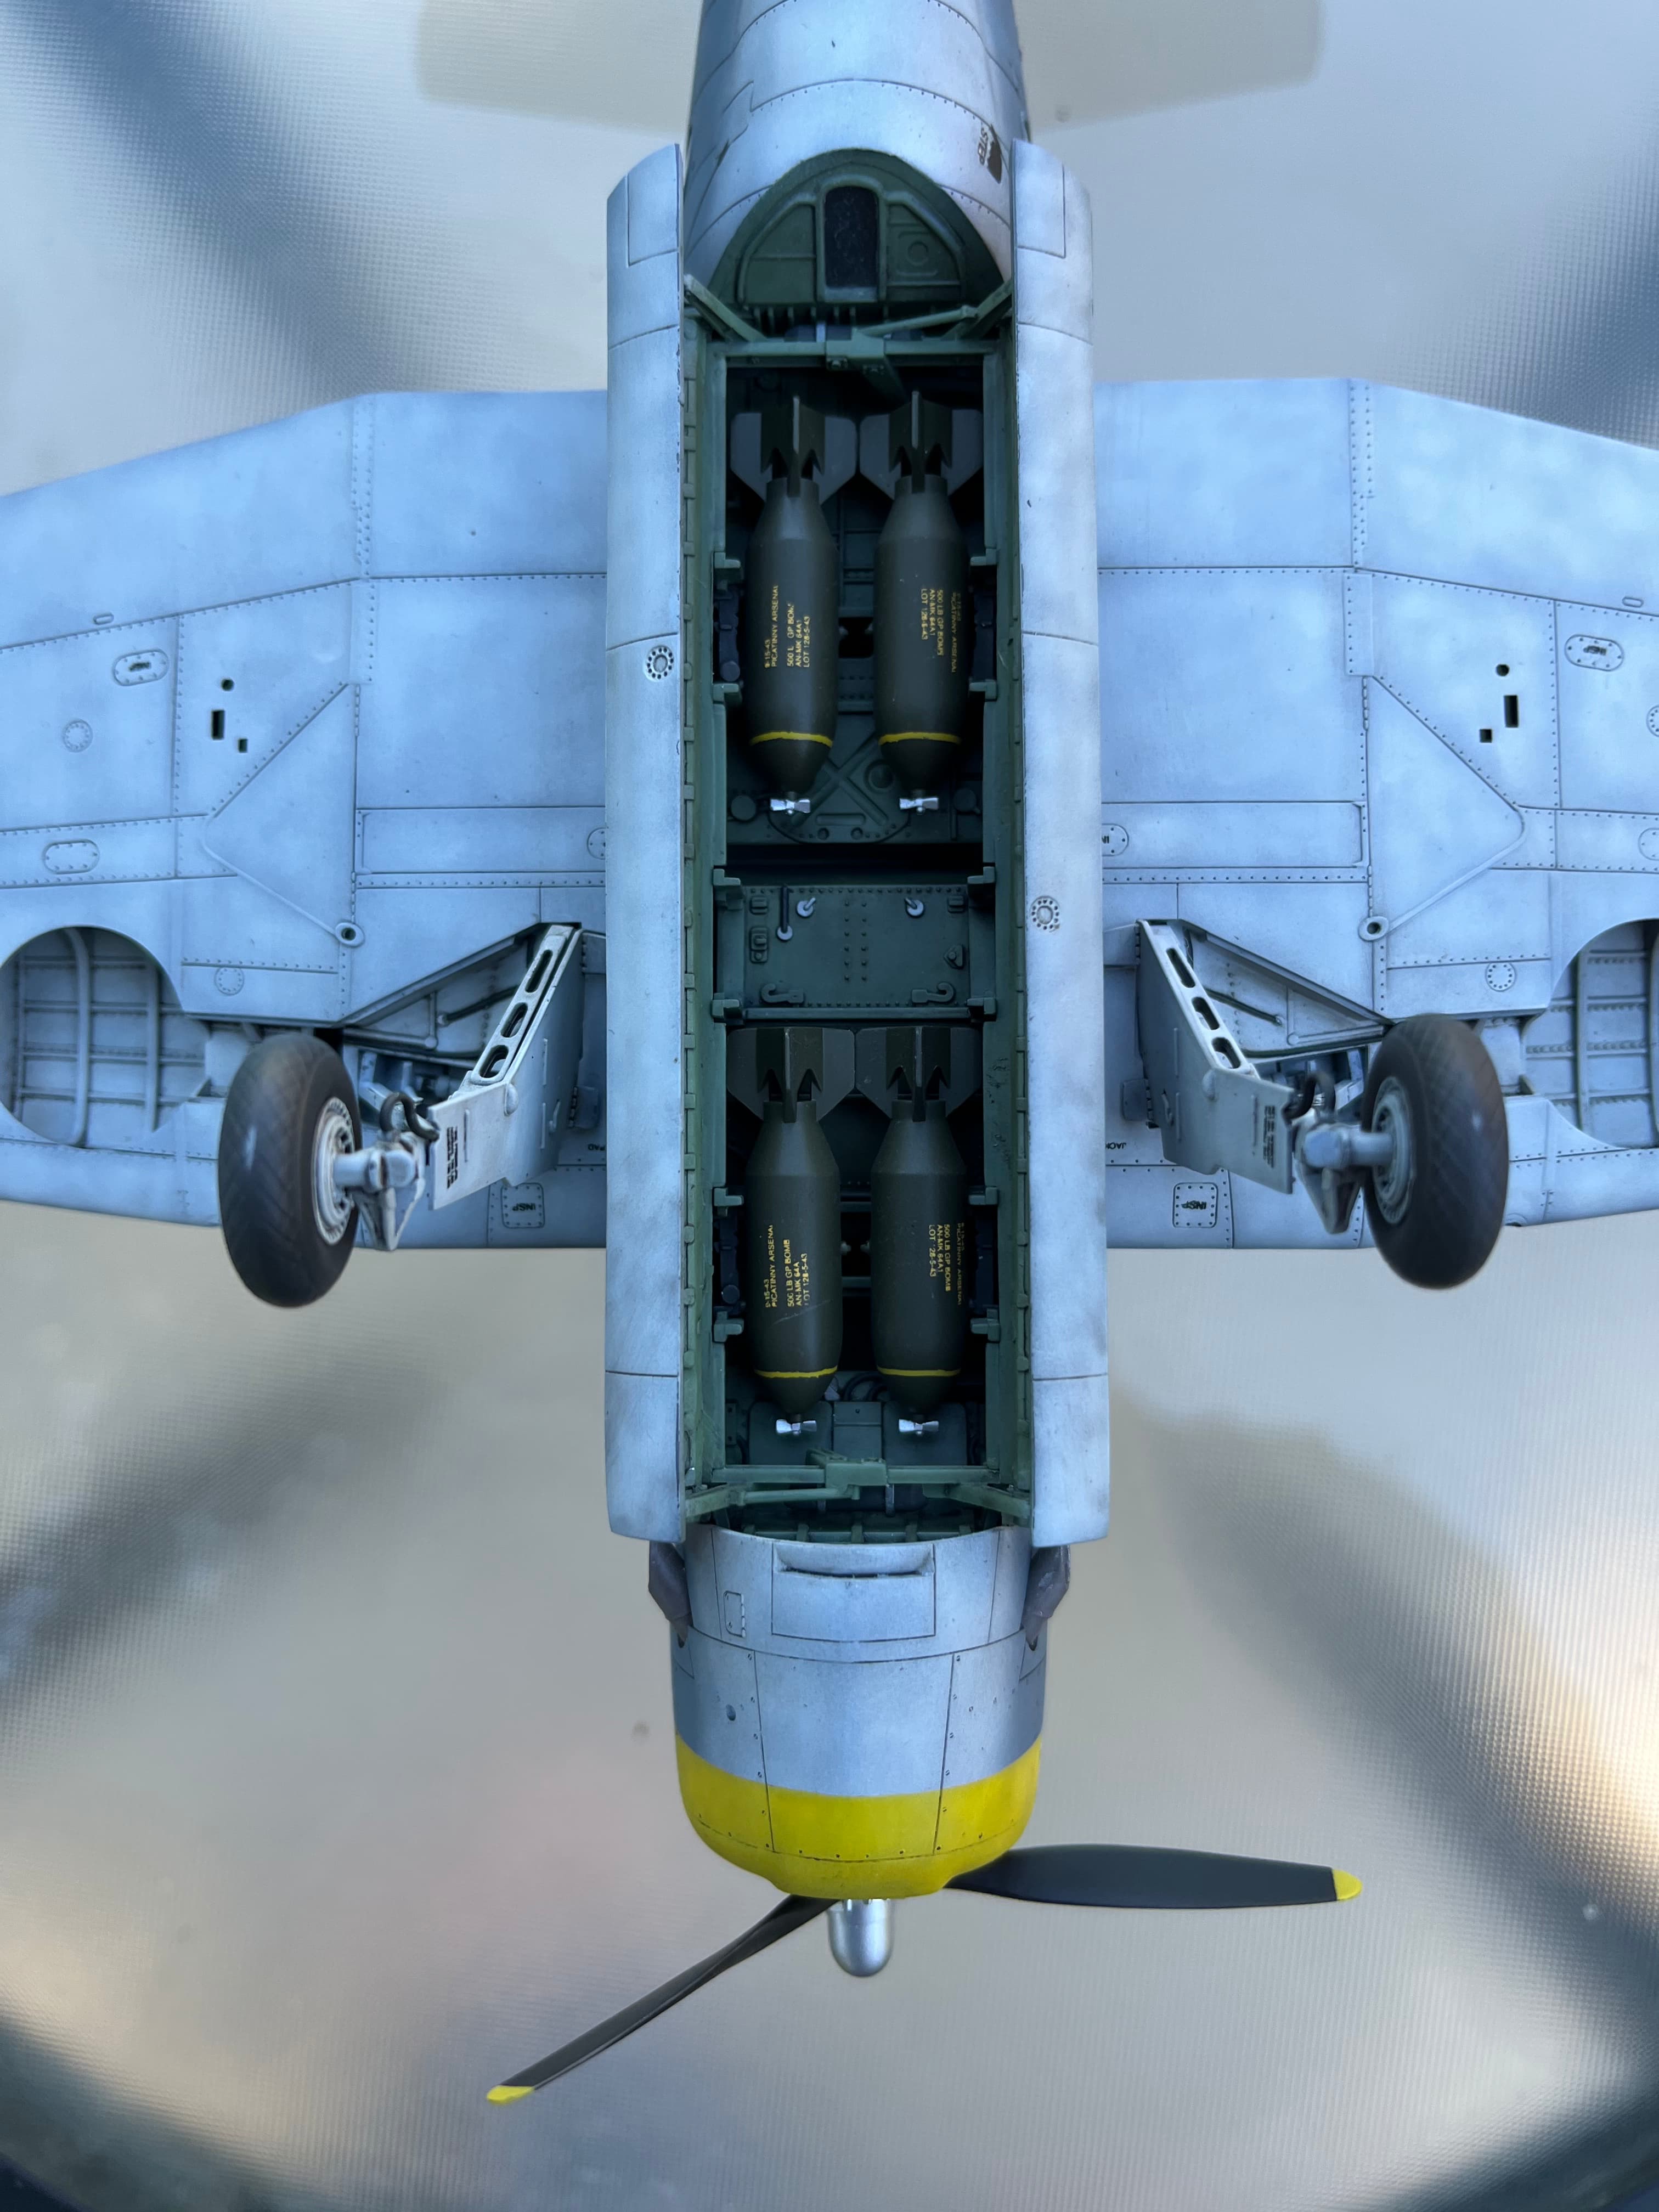
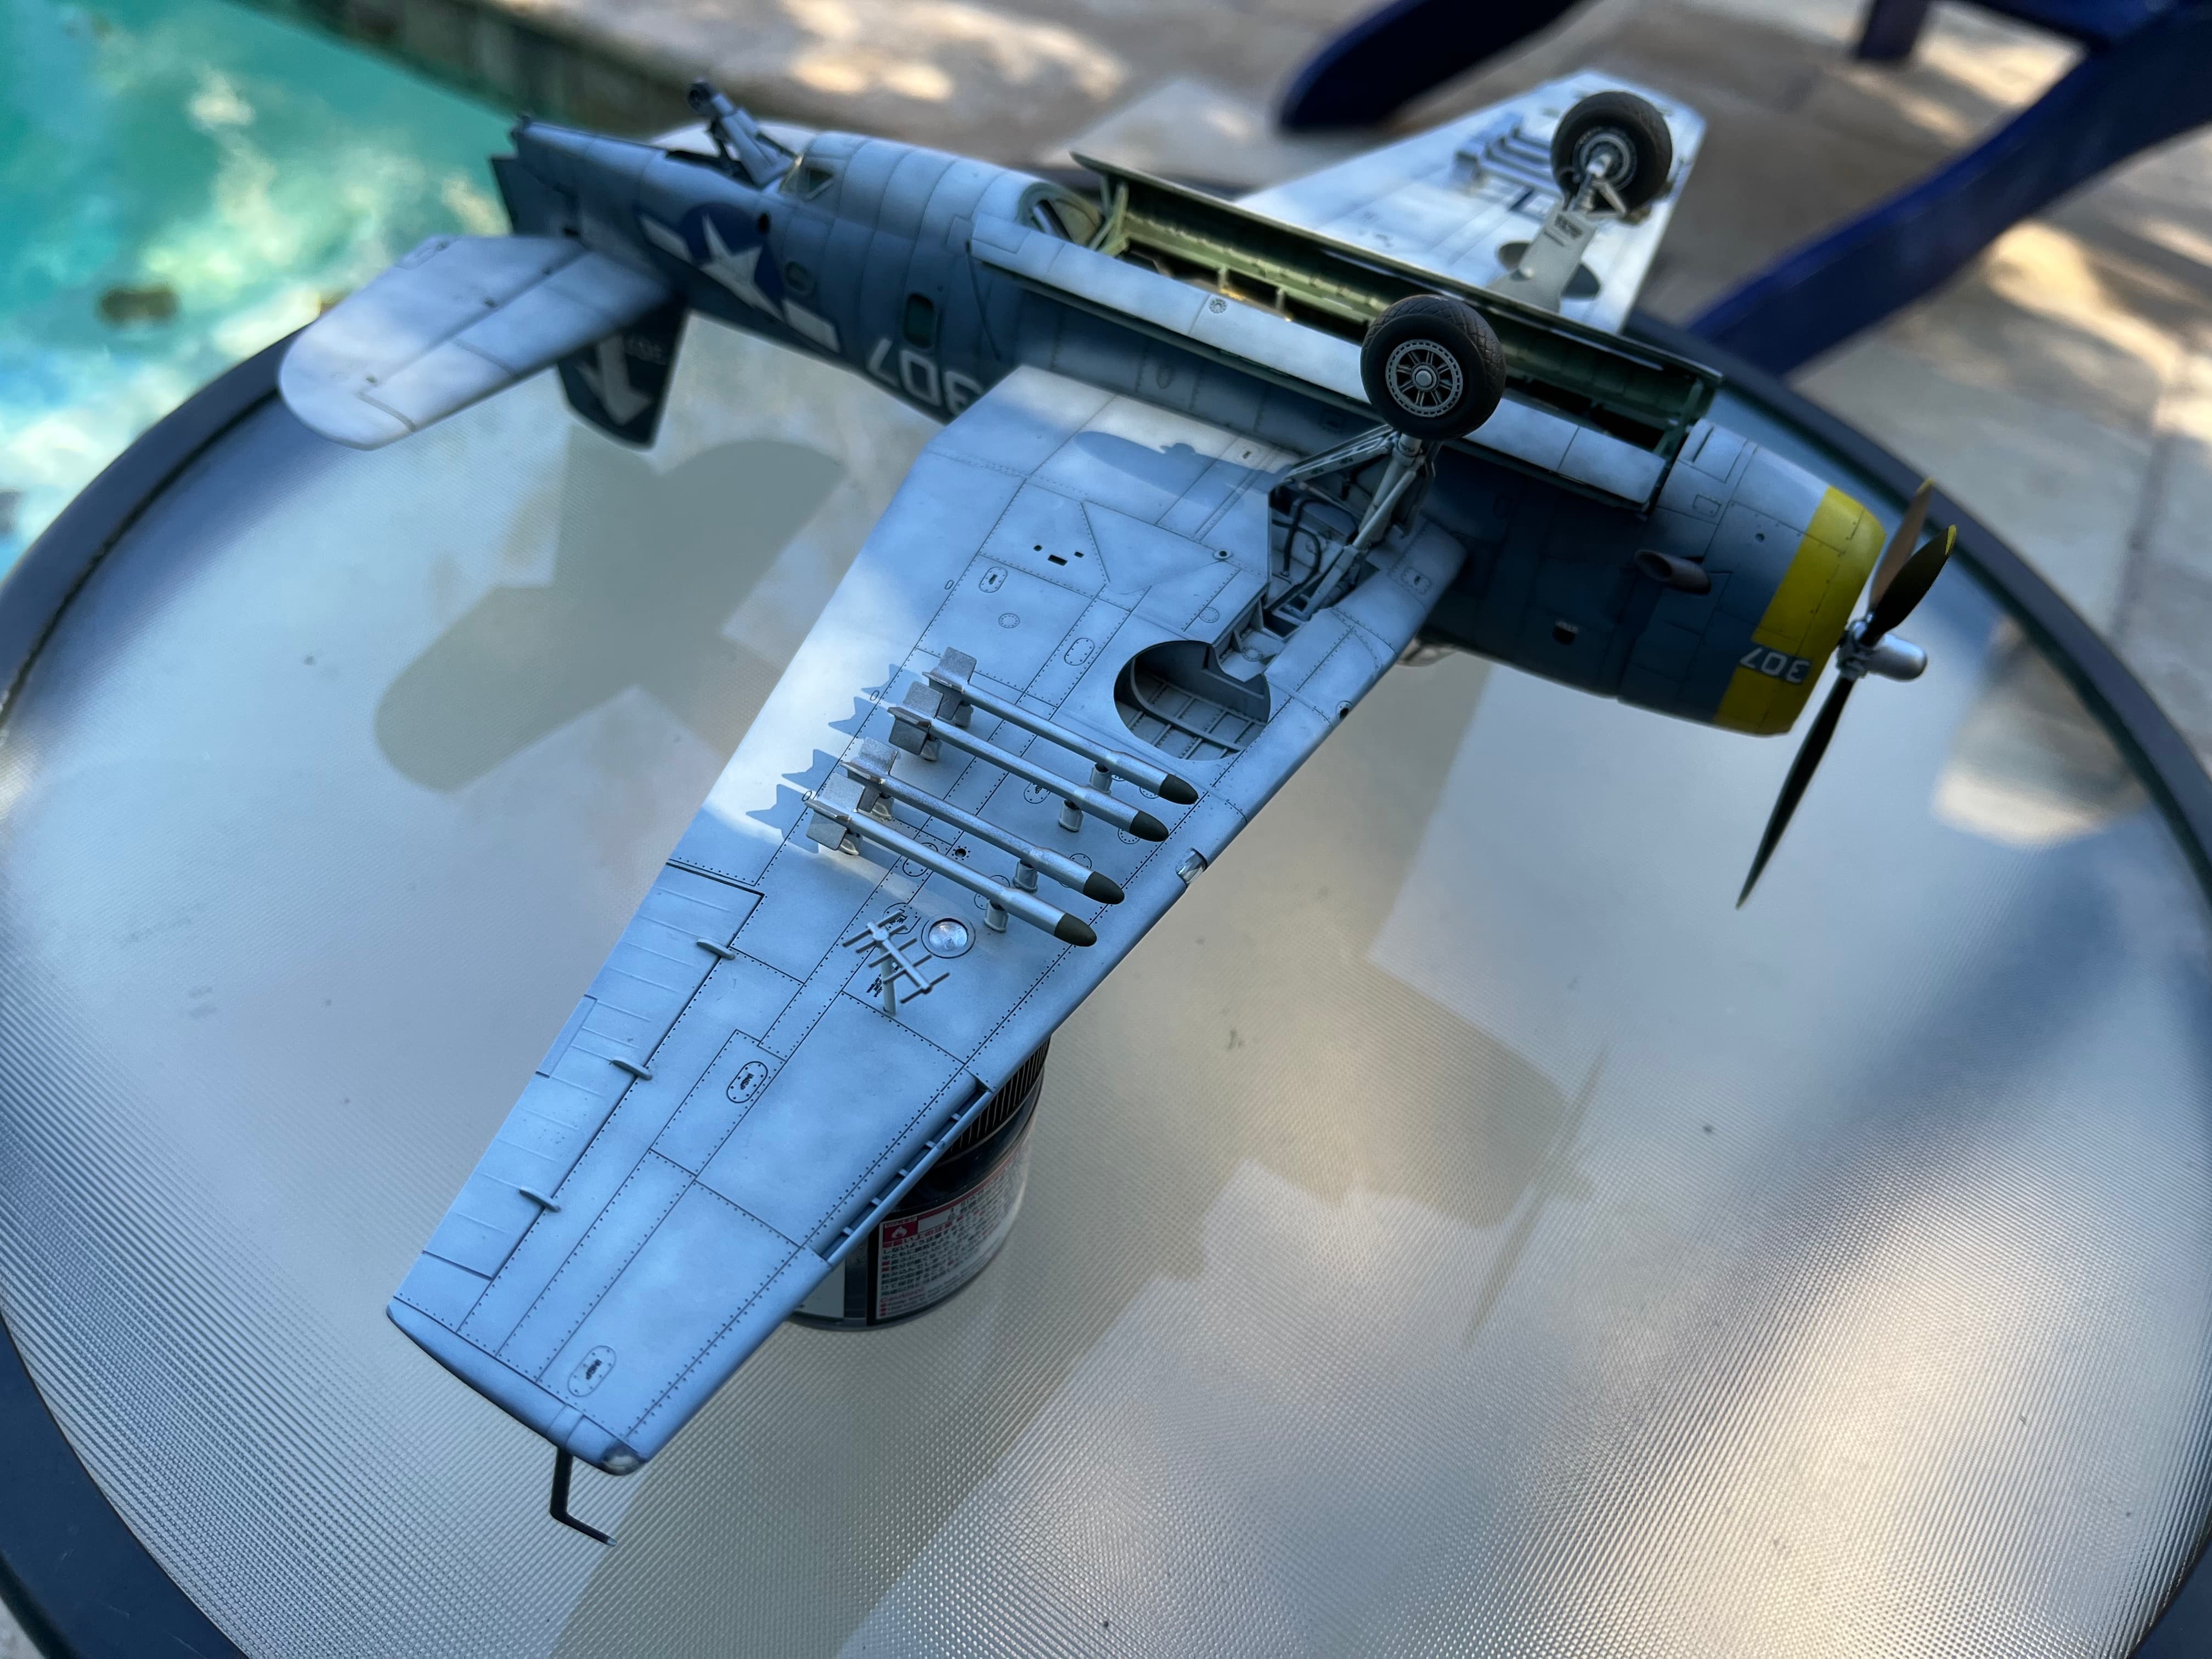
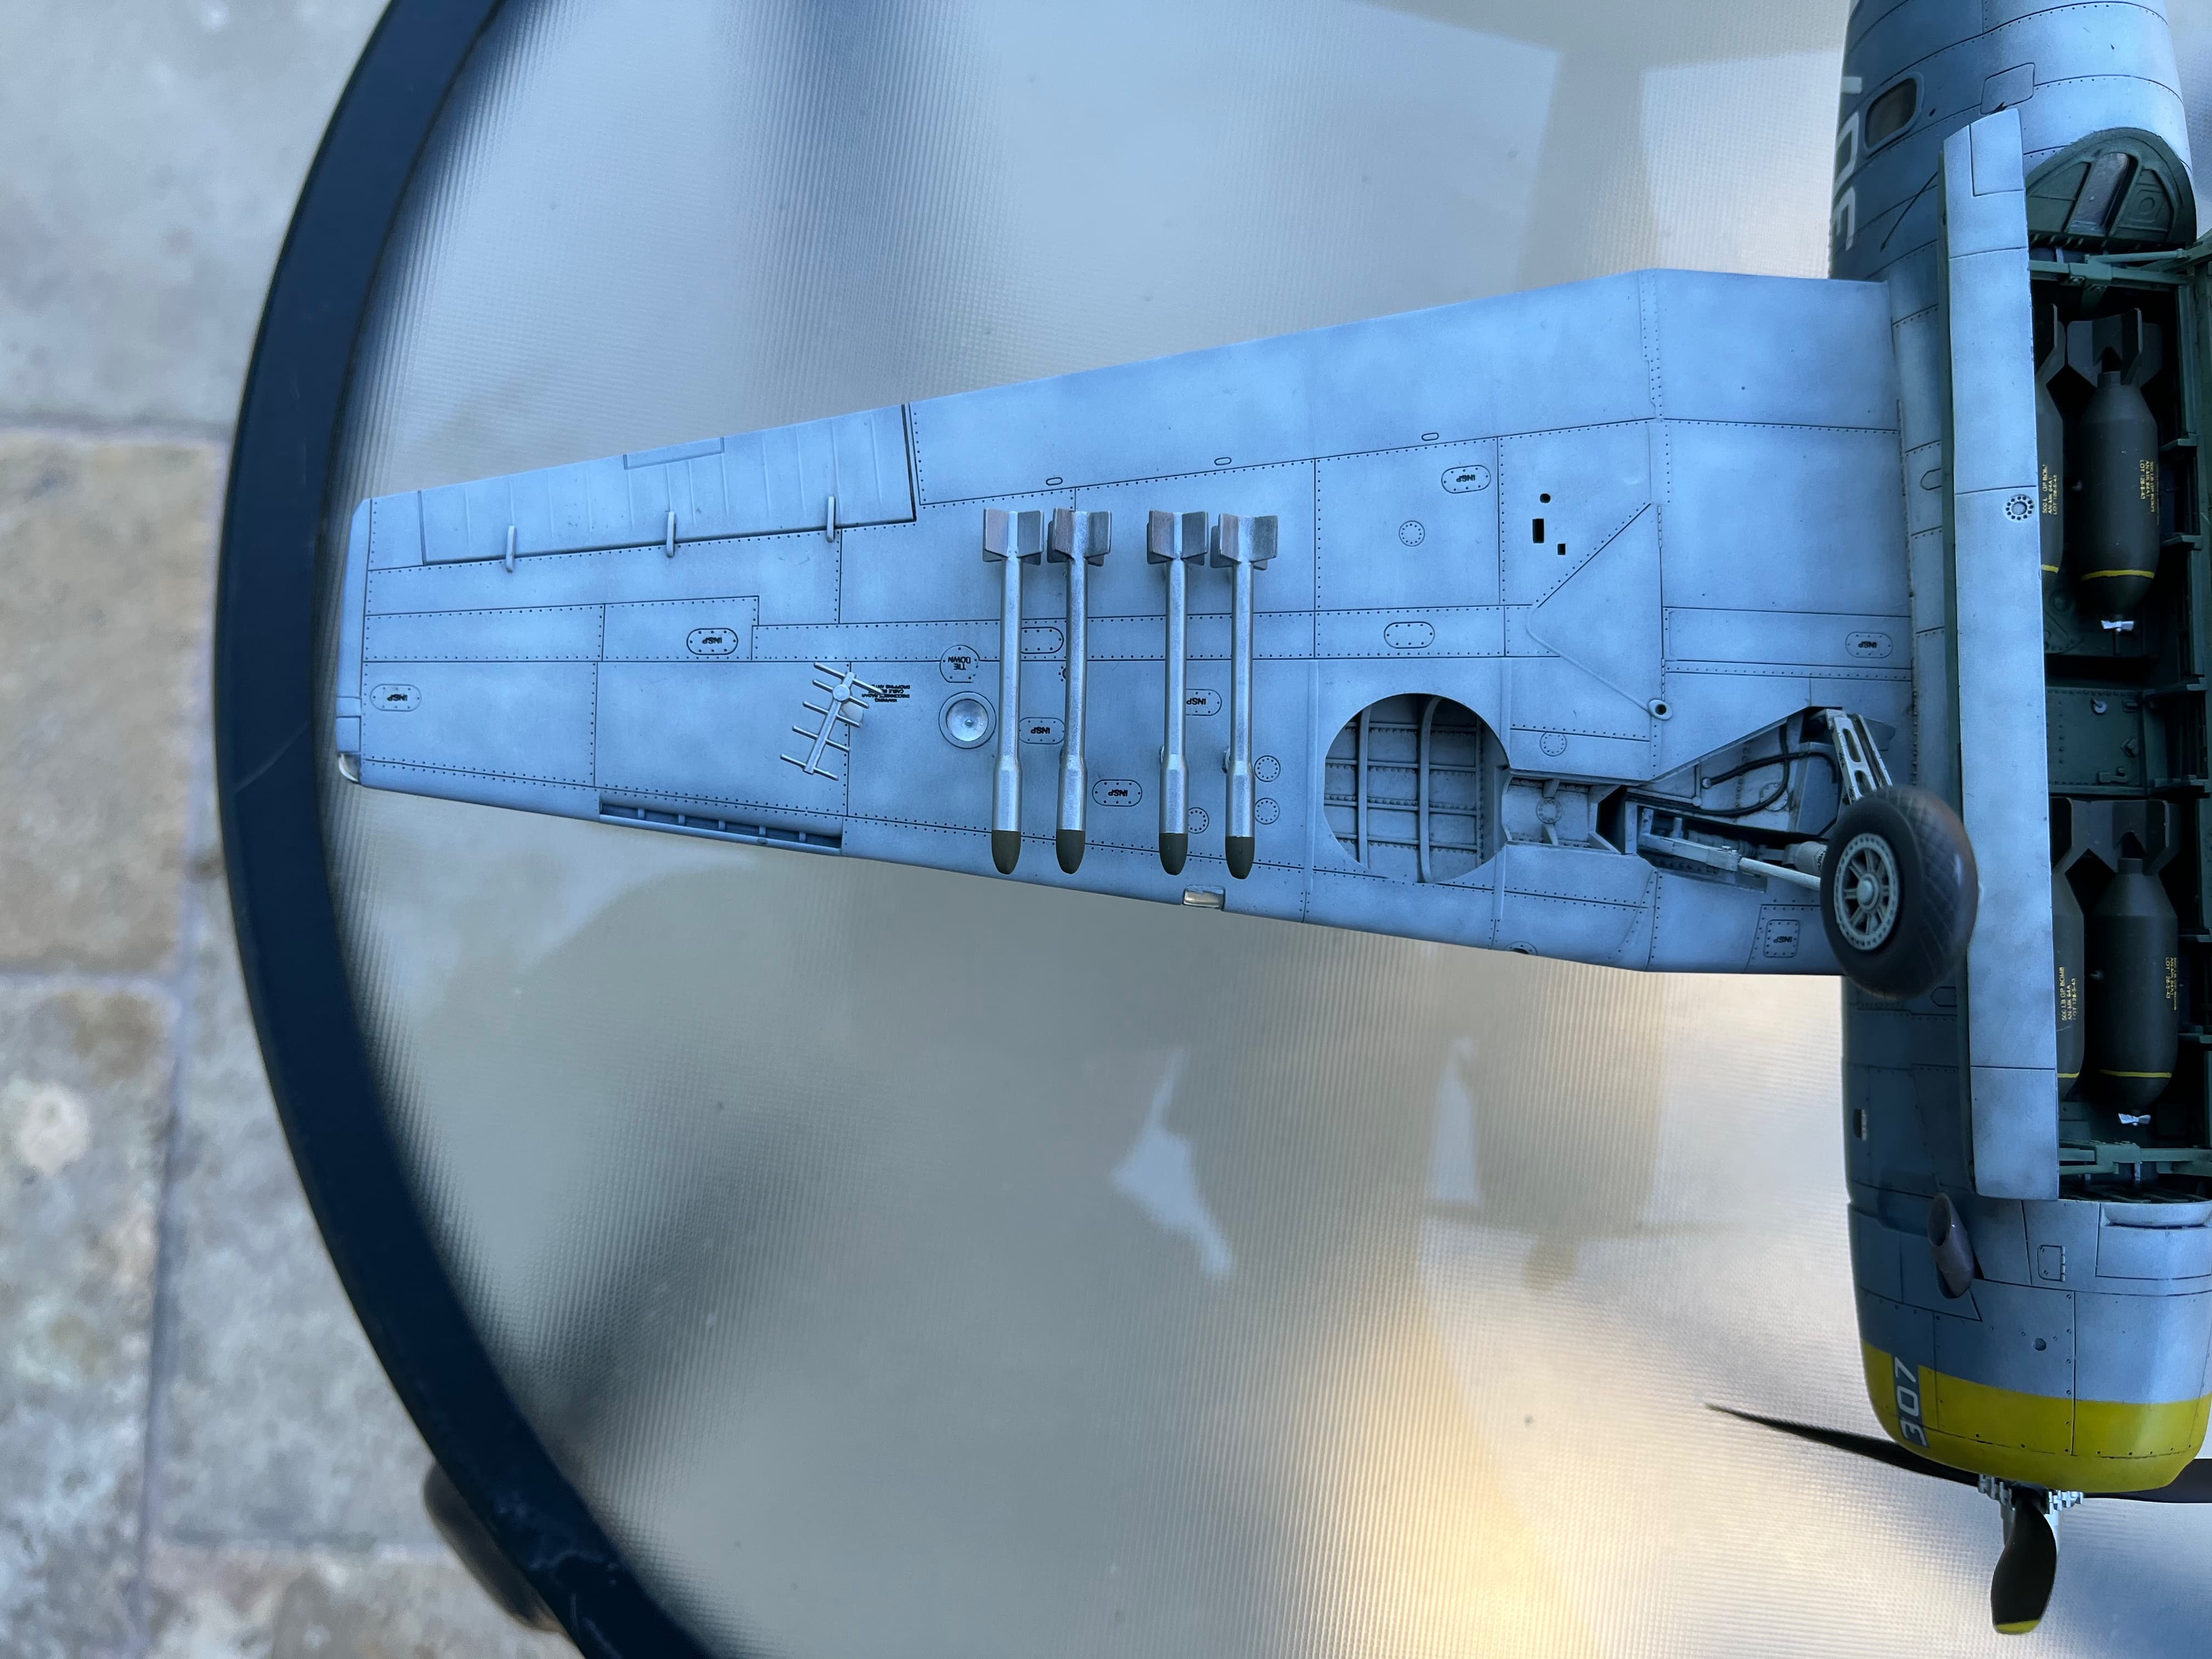
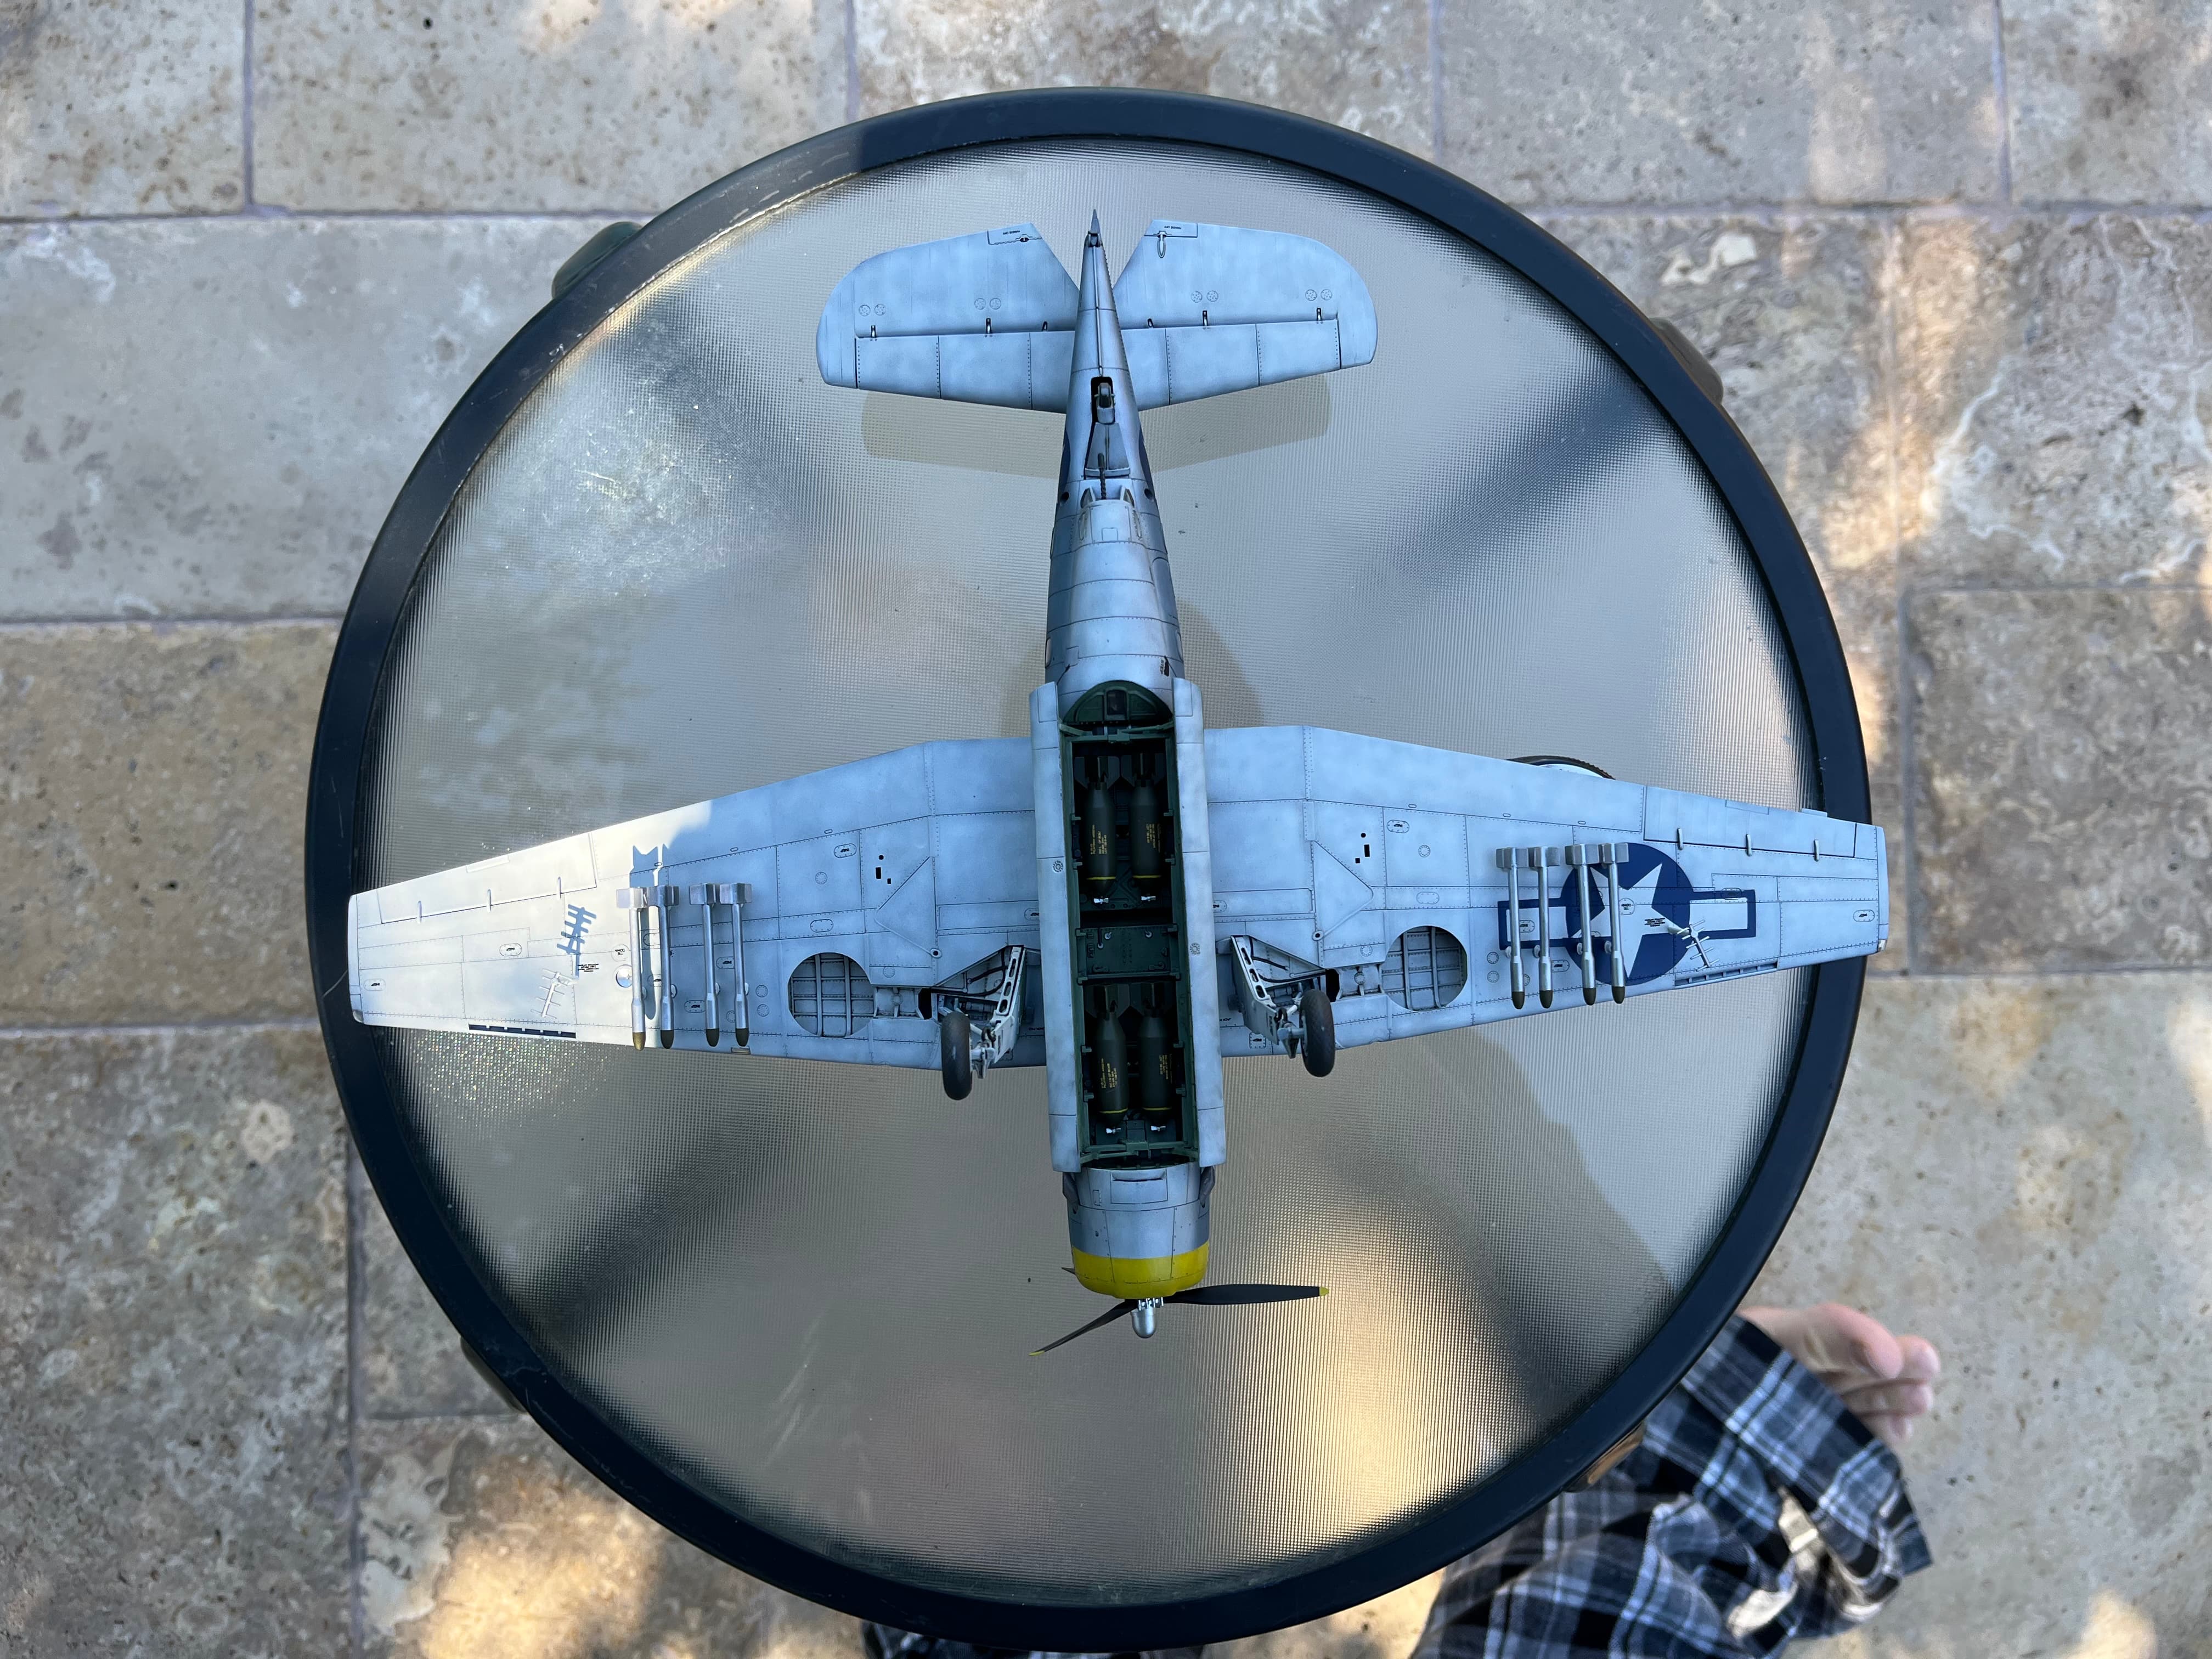
Calling this one done! The kit was Accurate Miniatures 1/48 TBM-3 Avenger from VT-84 off of USS Bunker Hill during the Battle of Okinawa. All of the major markings were made by cutting masks with my cricut and spraying. Overall I really liked this kit! The fuselage and wing fit was tremendous and the cockpit detail pretty good for a 1994 kit. Did not come with instrument panel decals so I hand painted them
I built it for the Naval Aviation campaign. Really enjoyed the build. This is a cool aircraft!
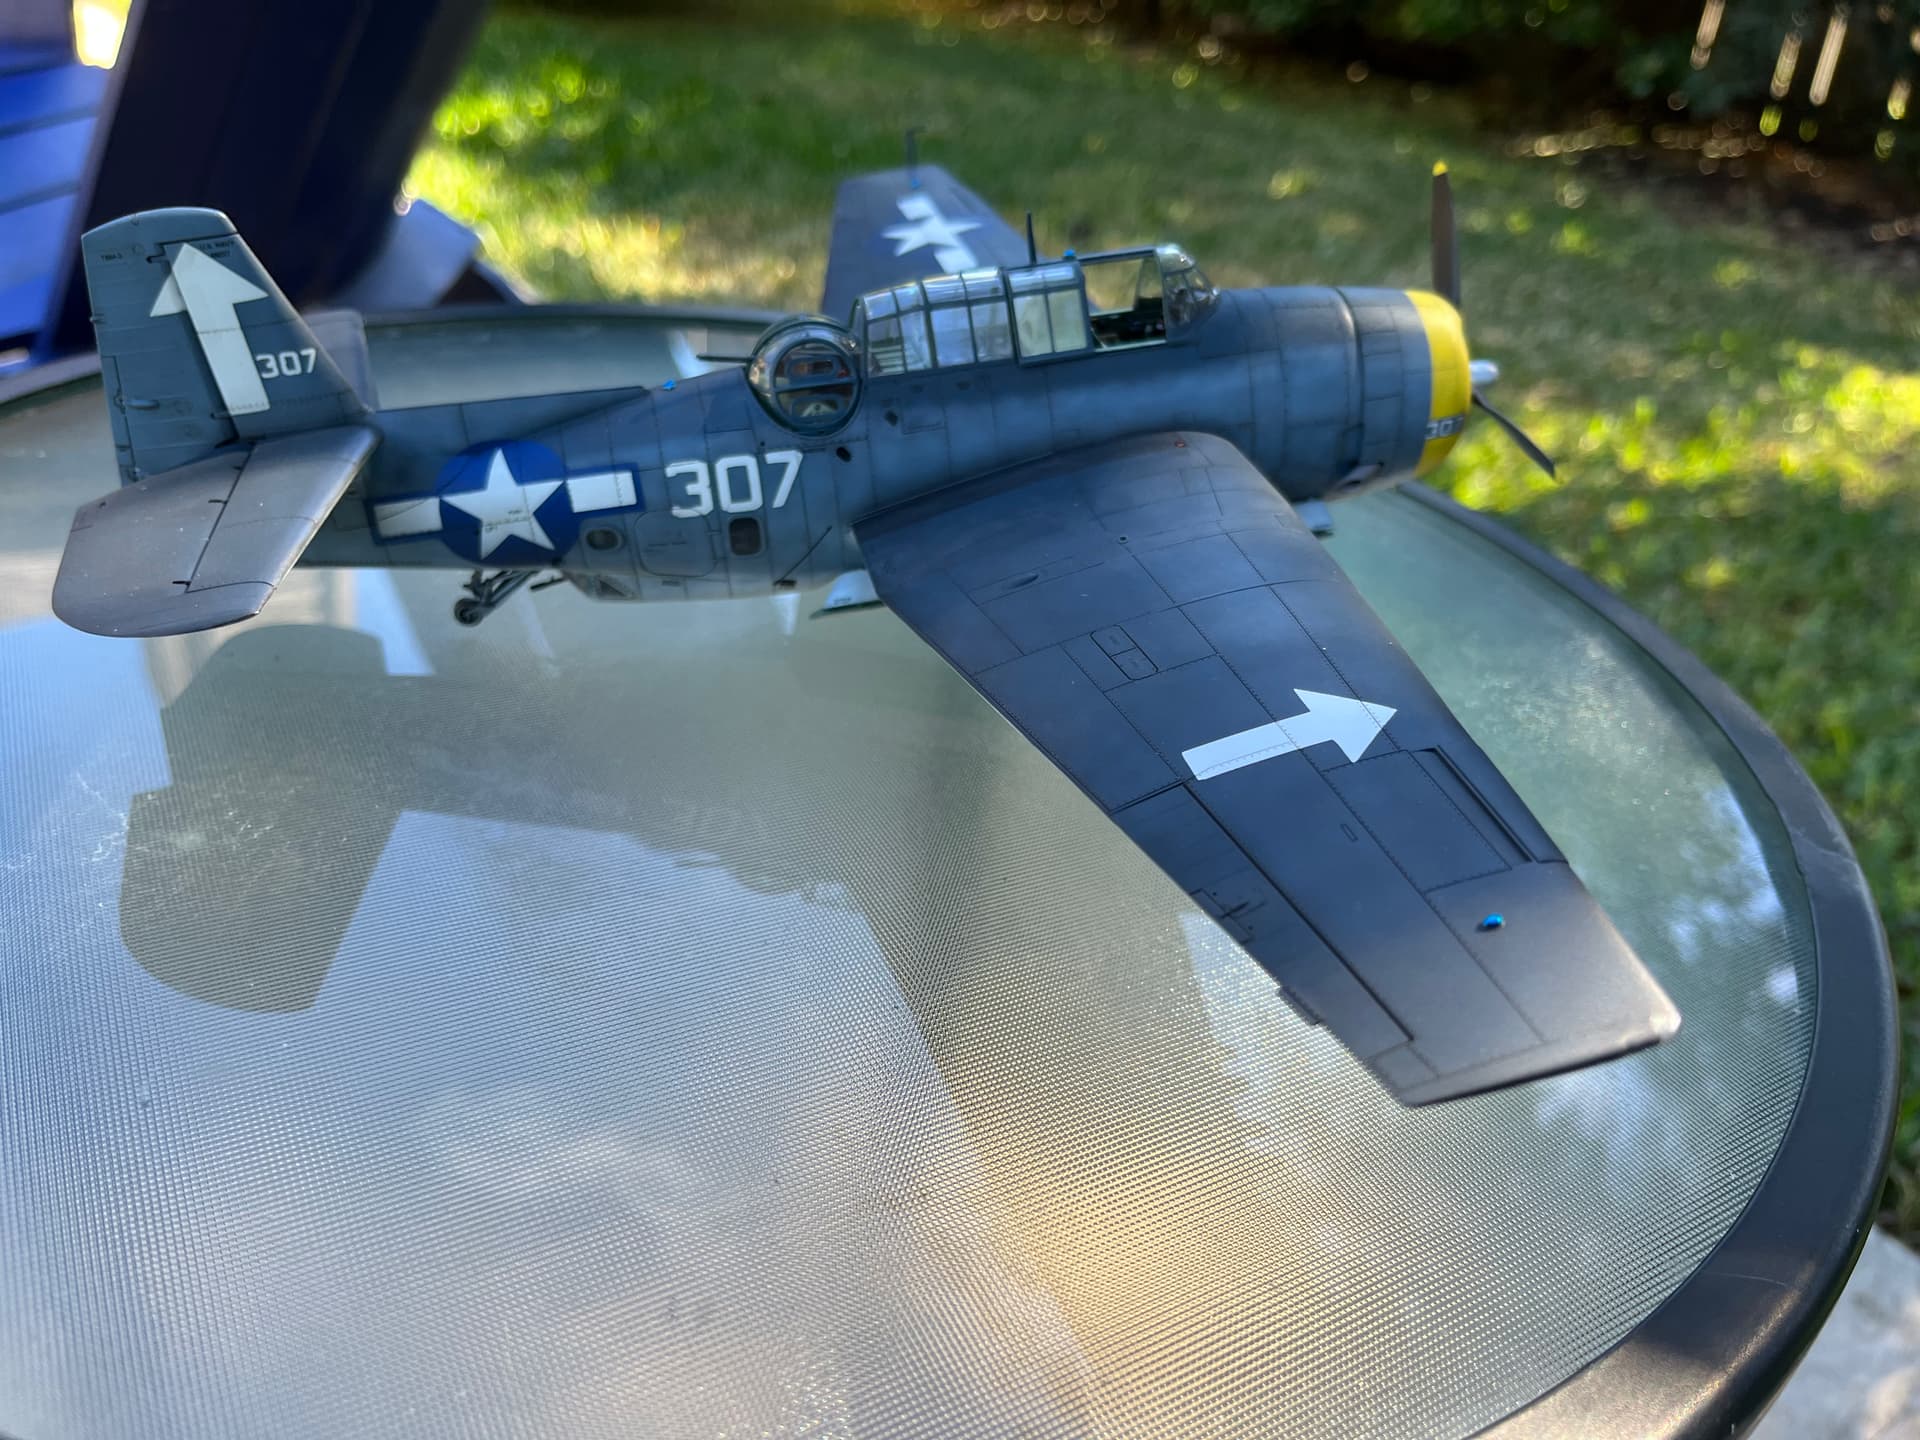
You should be really happy with this one. It’s terrific… Paint is superb, the sprayed insignia is outstanding… Overall finish… Brilliant … Top work Mead
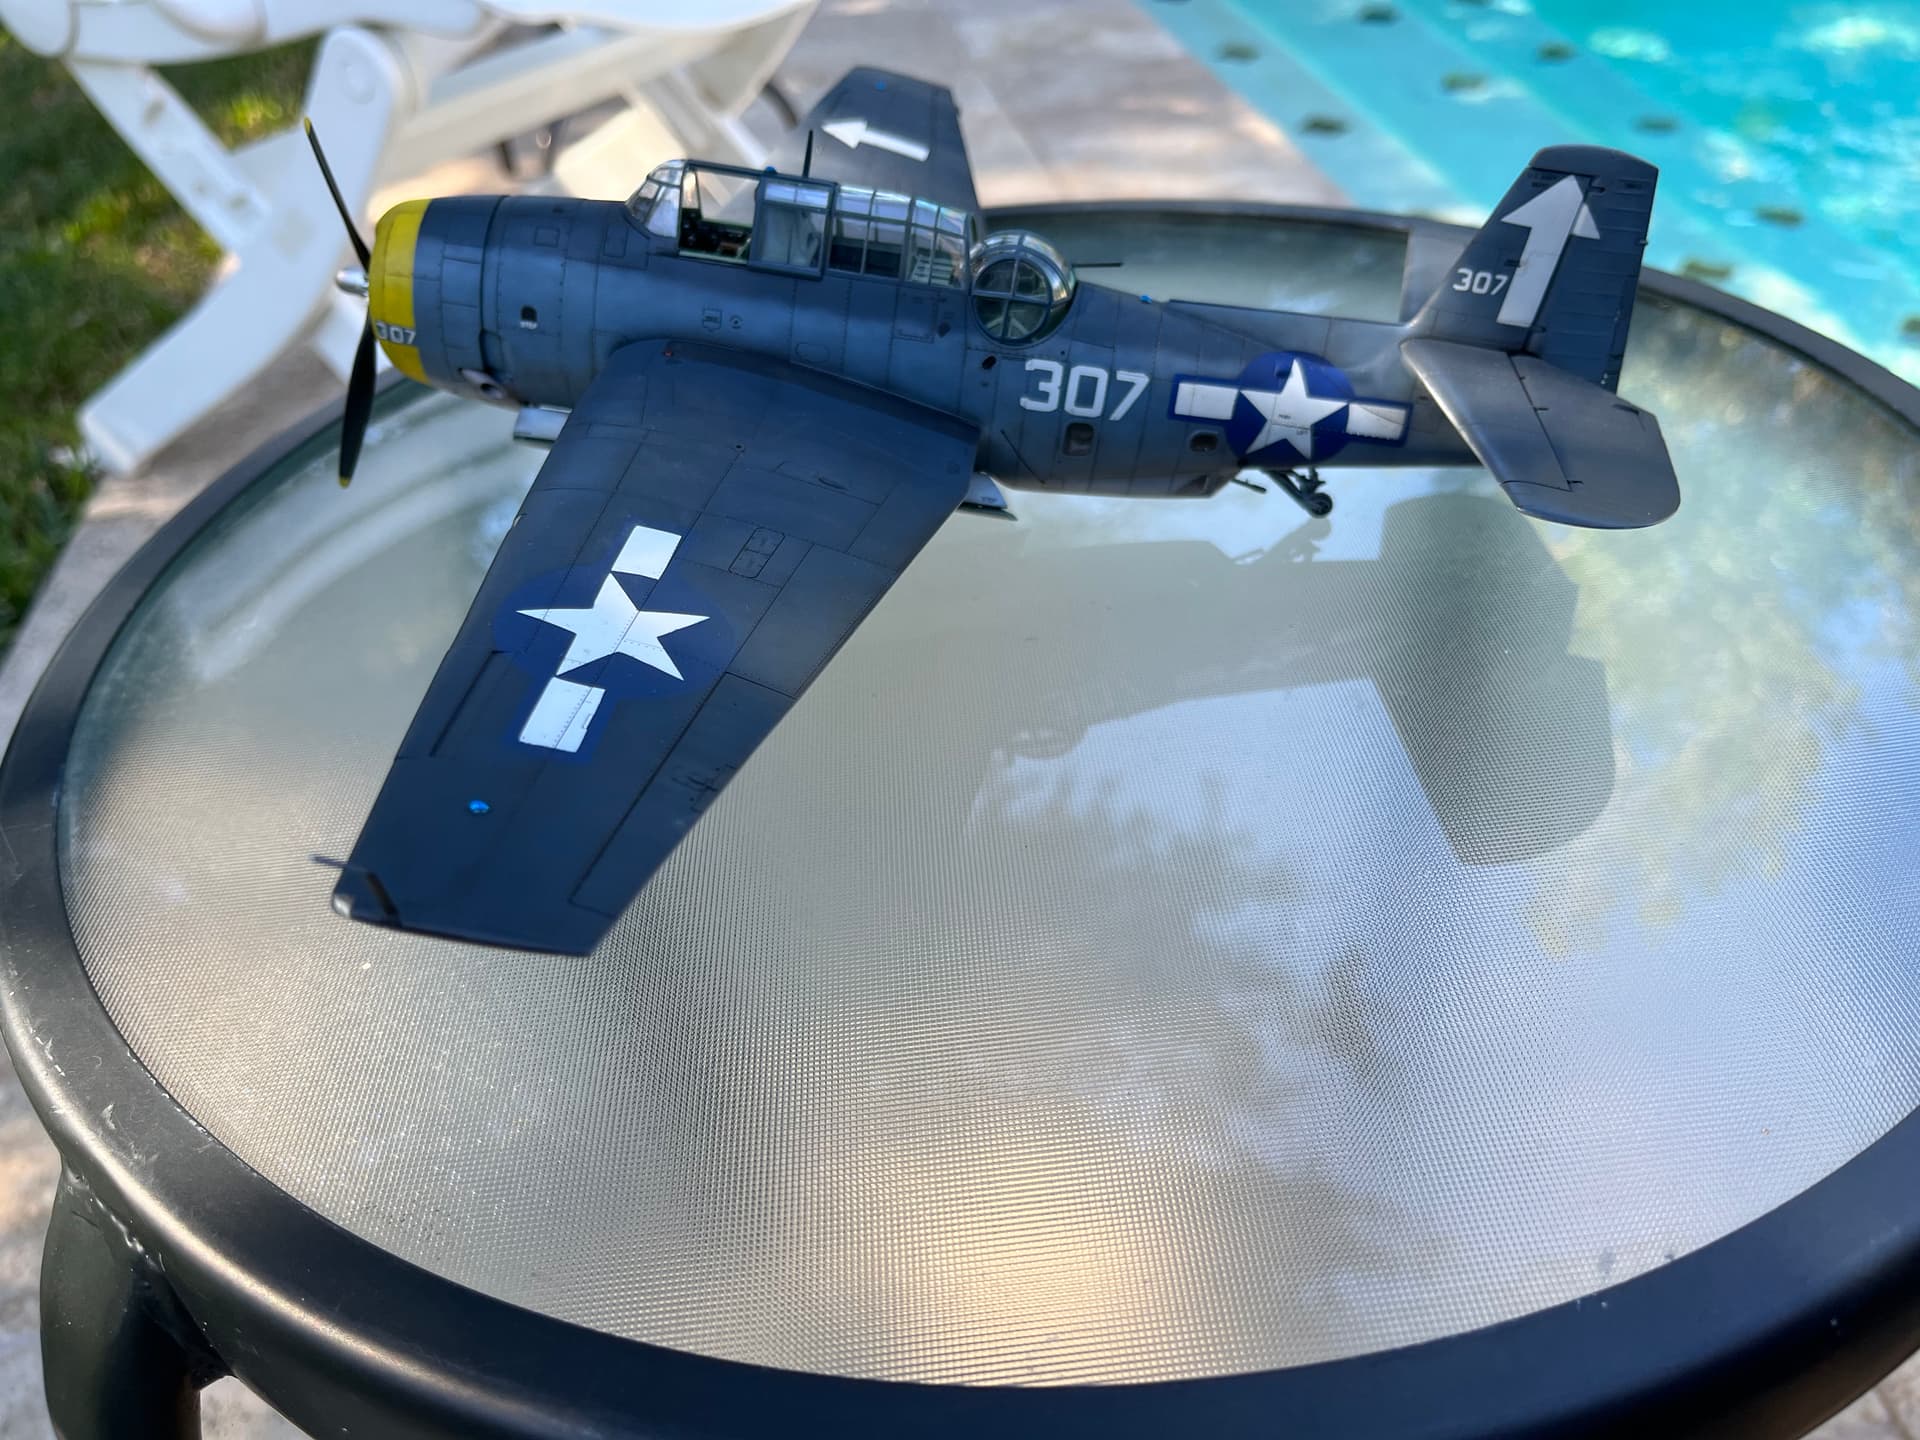
Not an aircraft guy but really like the paint work. The splothcyness is this even an word) is very effective in varying the tone of the colors and also give a somewhat worn loo overall.
Thanks a bunch! That is the effect I was going for, happy to hear that it came through in the pictures and looks natural.
I started with black primer and then kinda randomly fill in the panel centers with varying opacity. Once satisfied I gave the hole thing an even thin coat
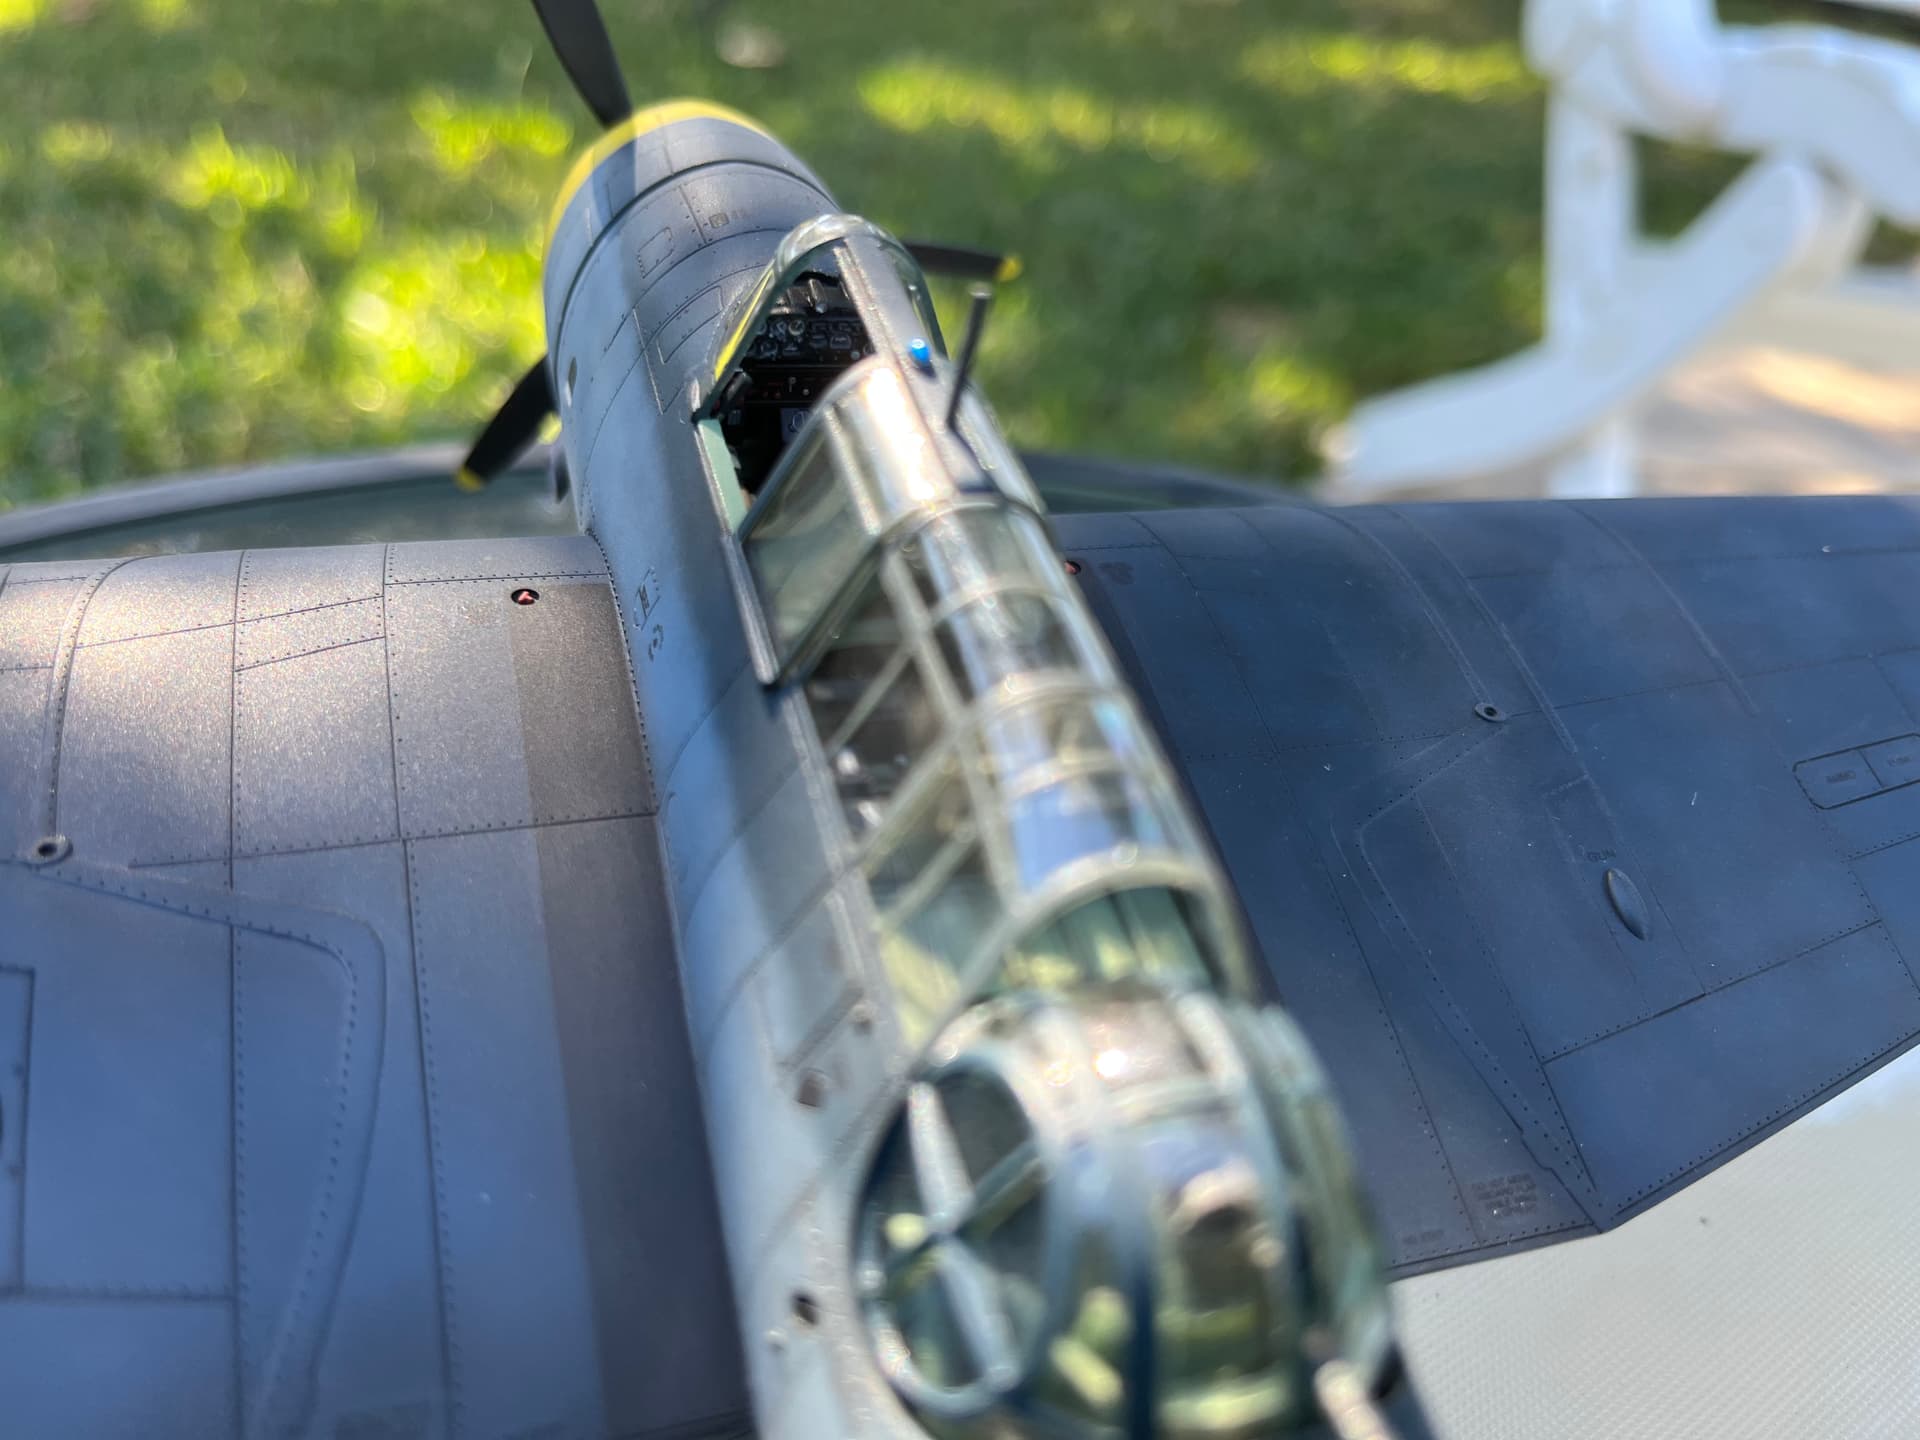
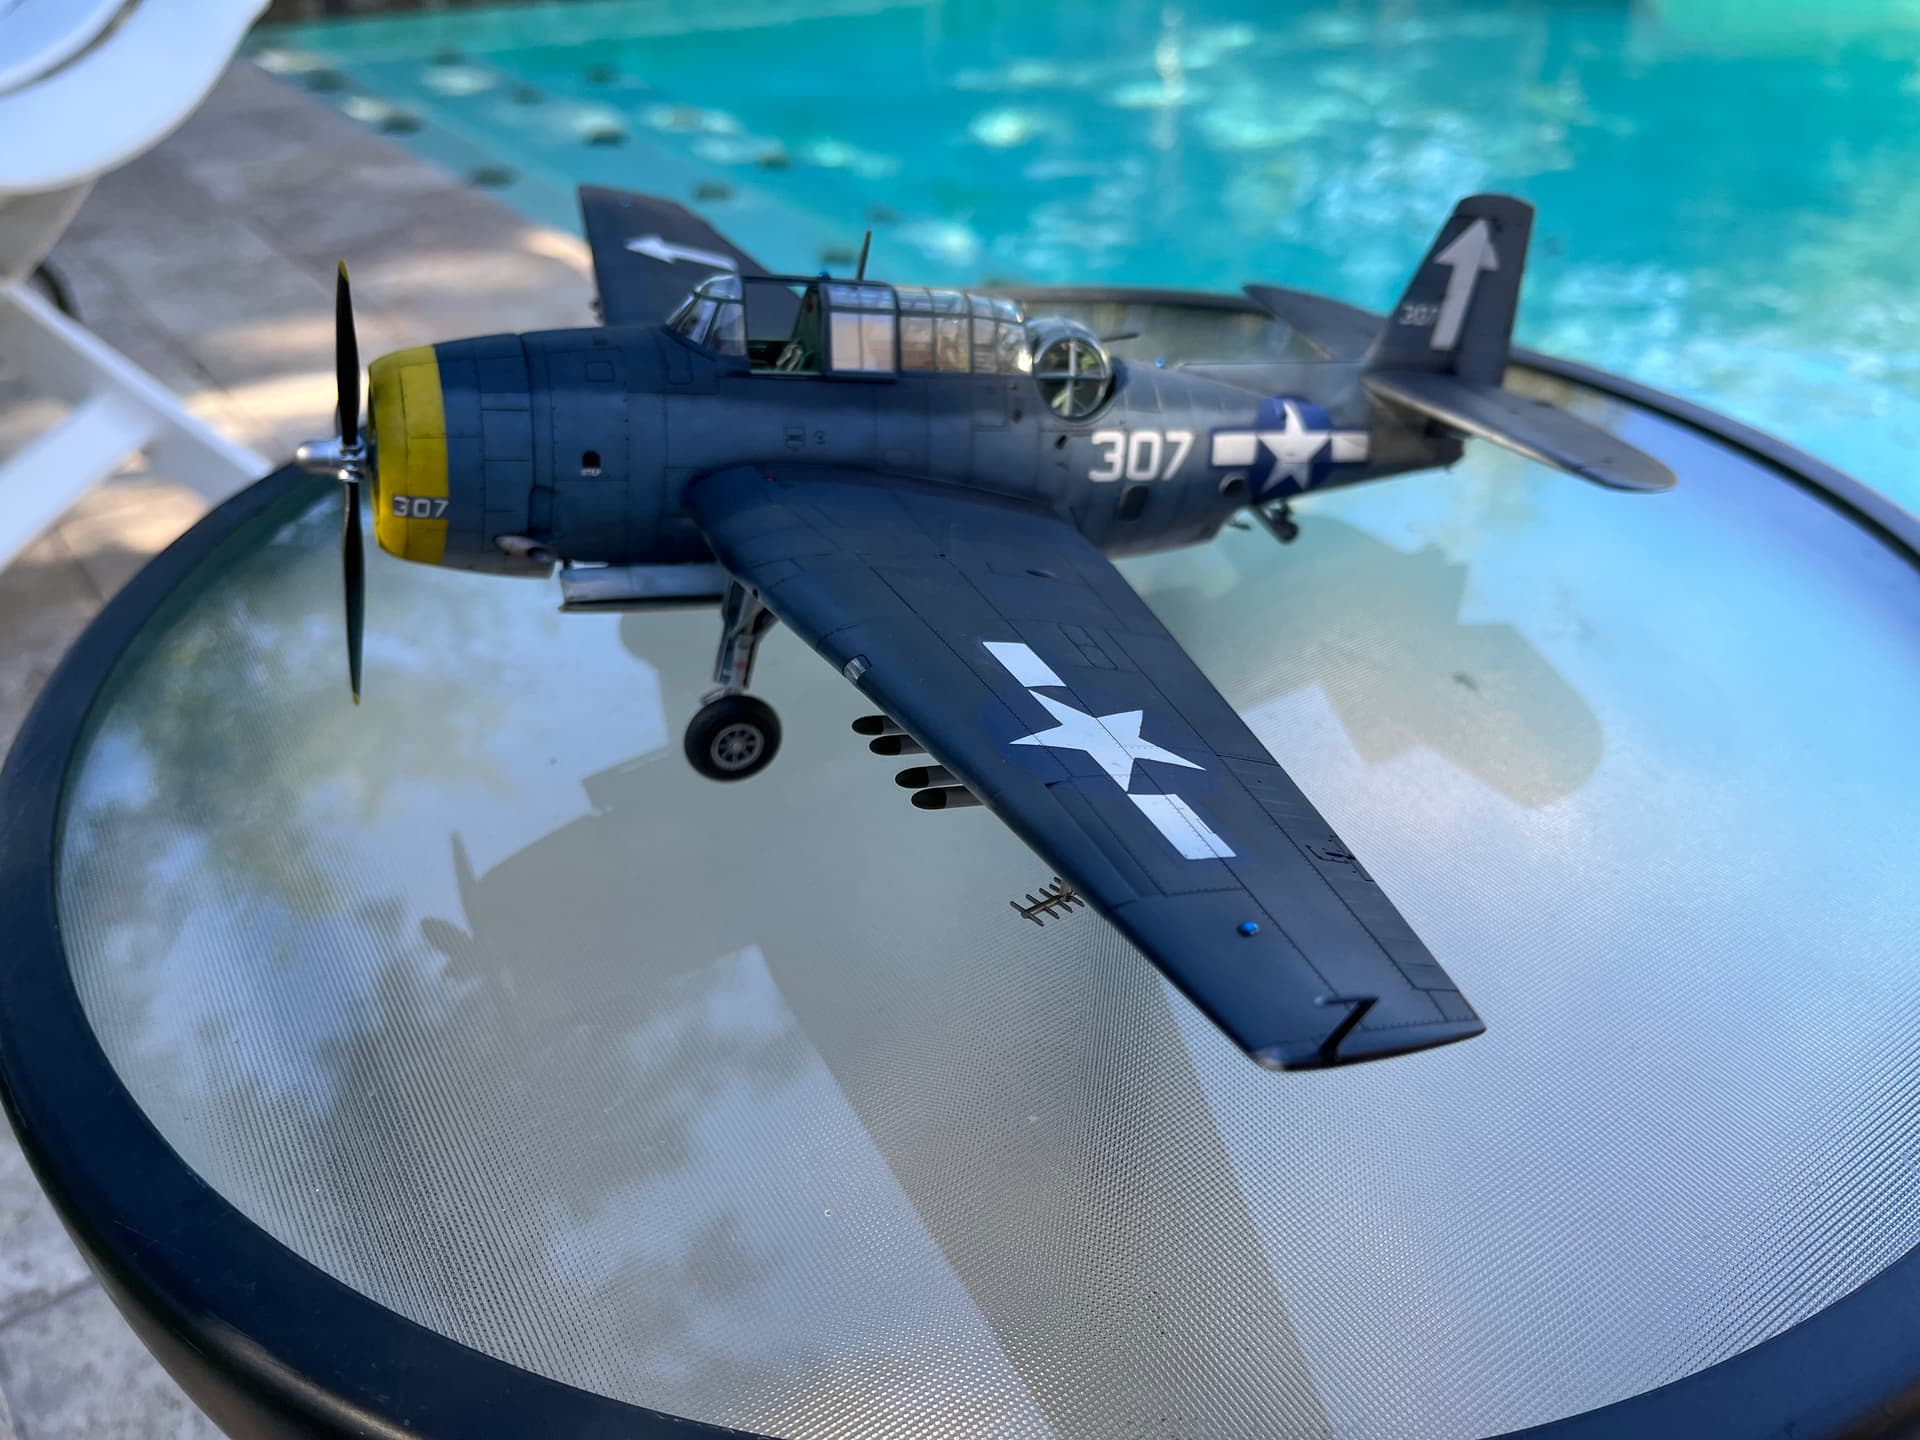
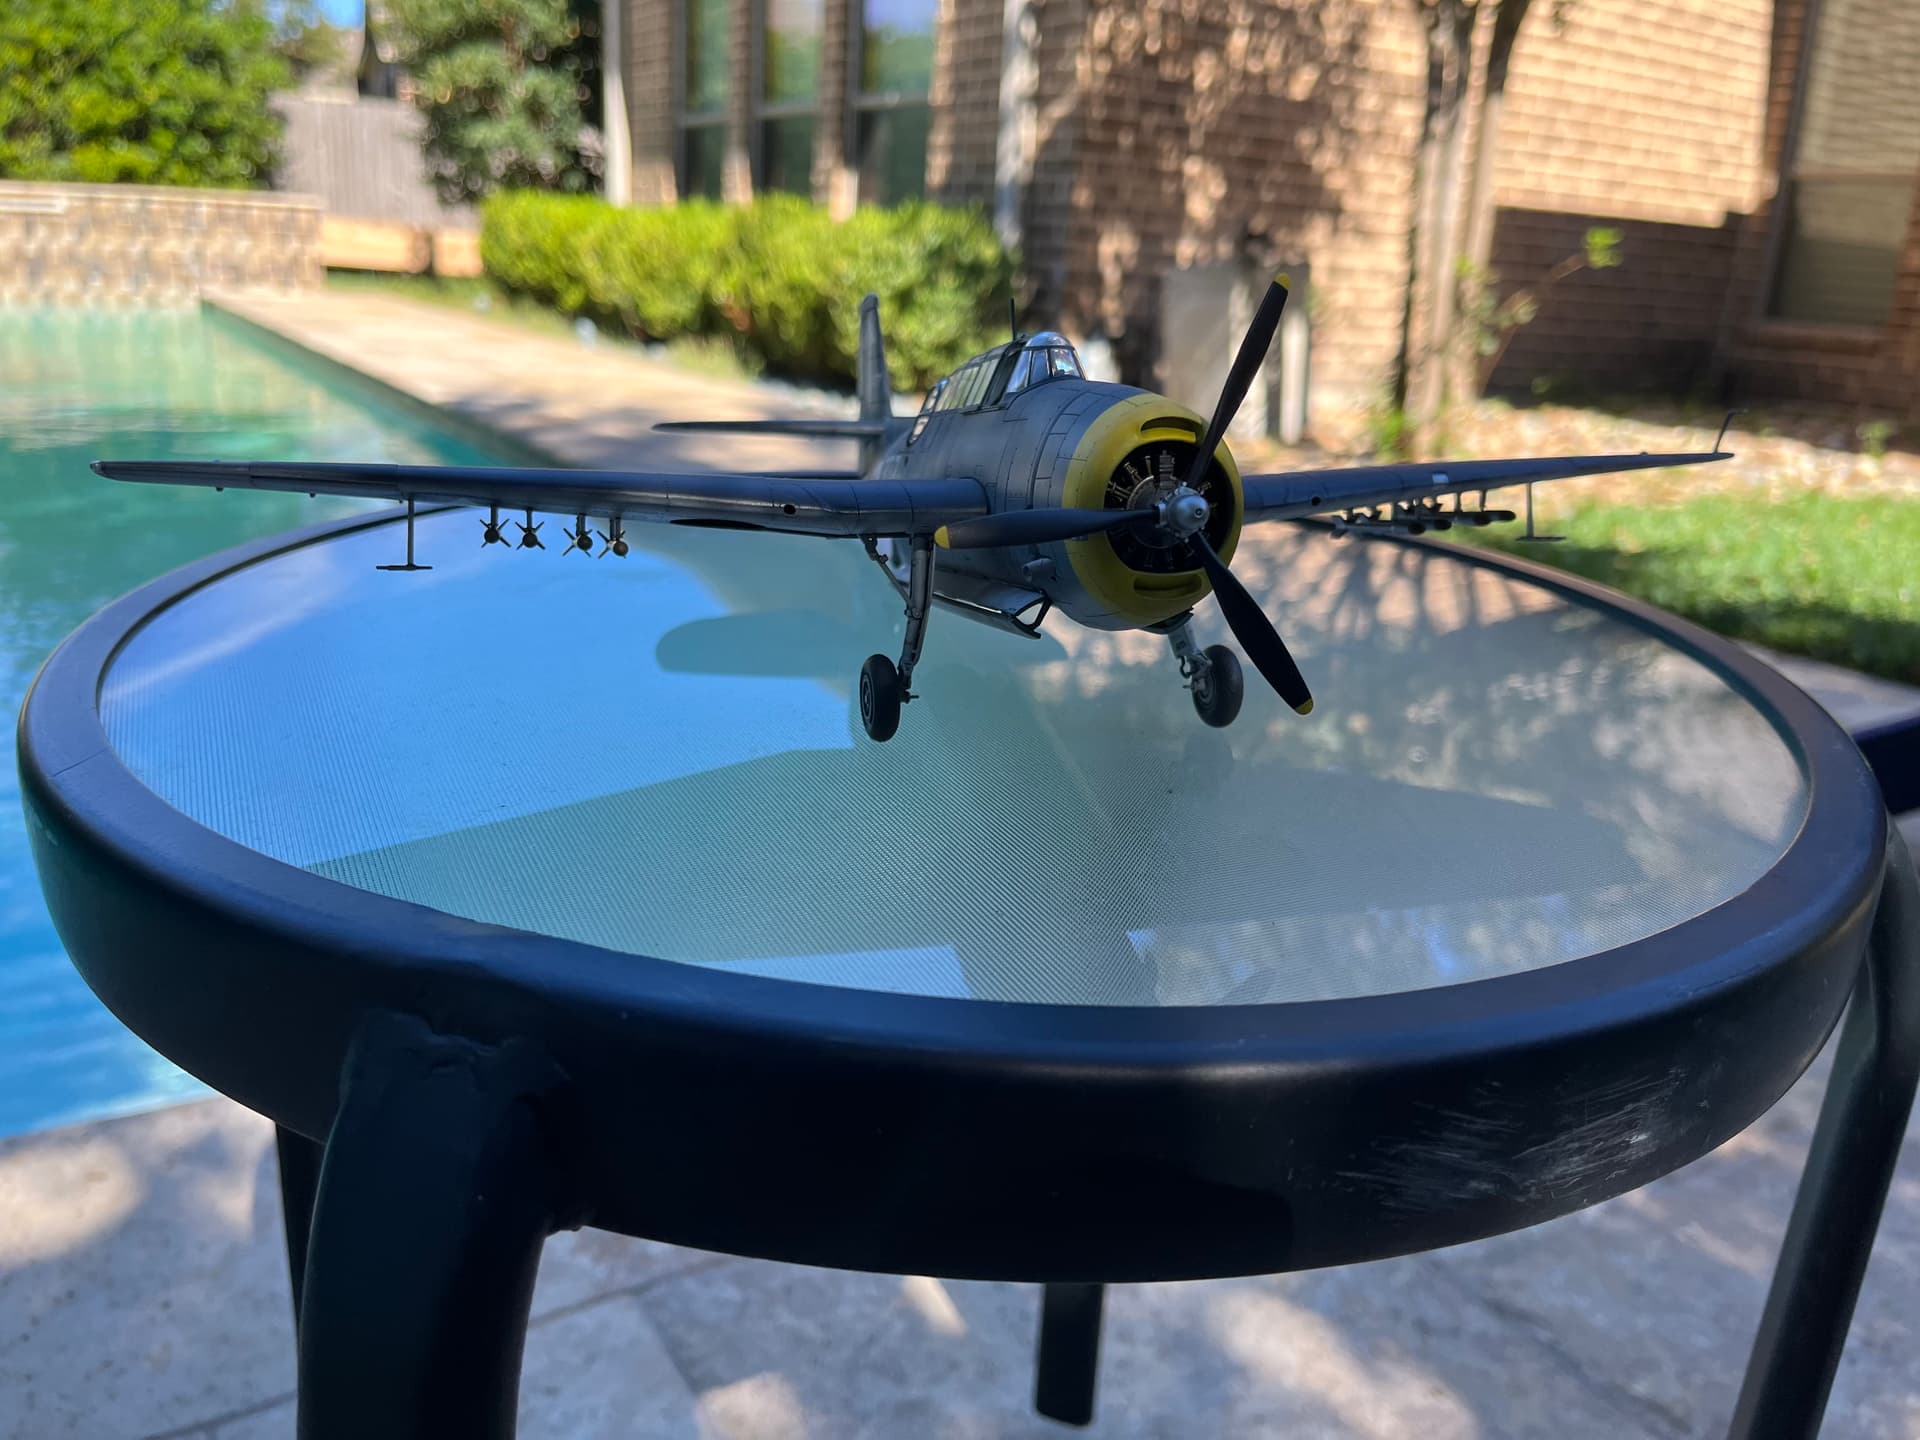
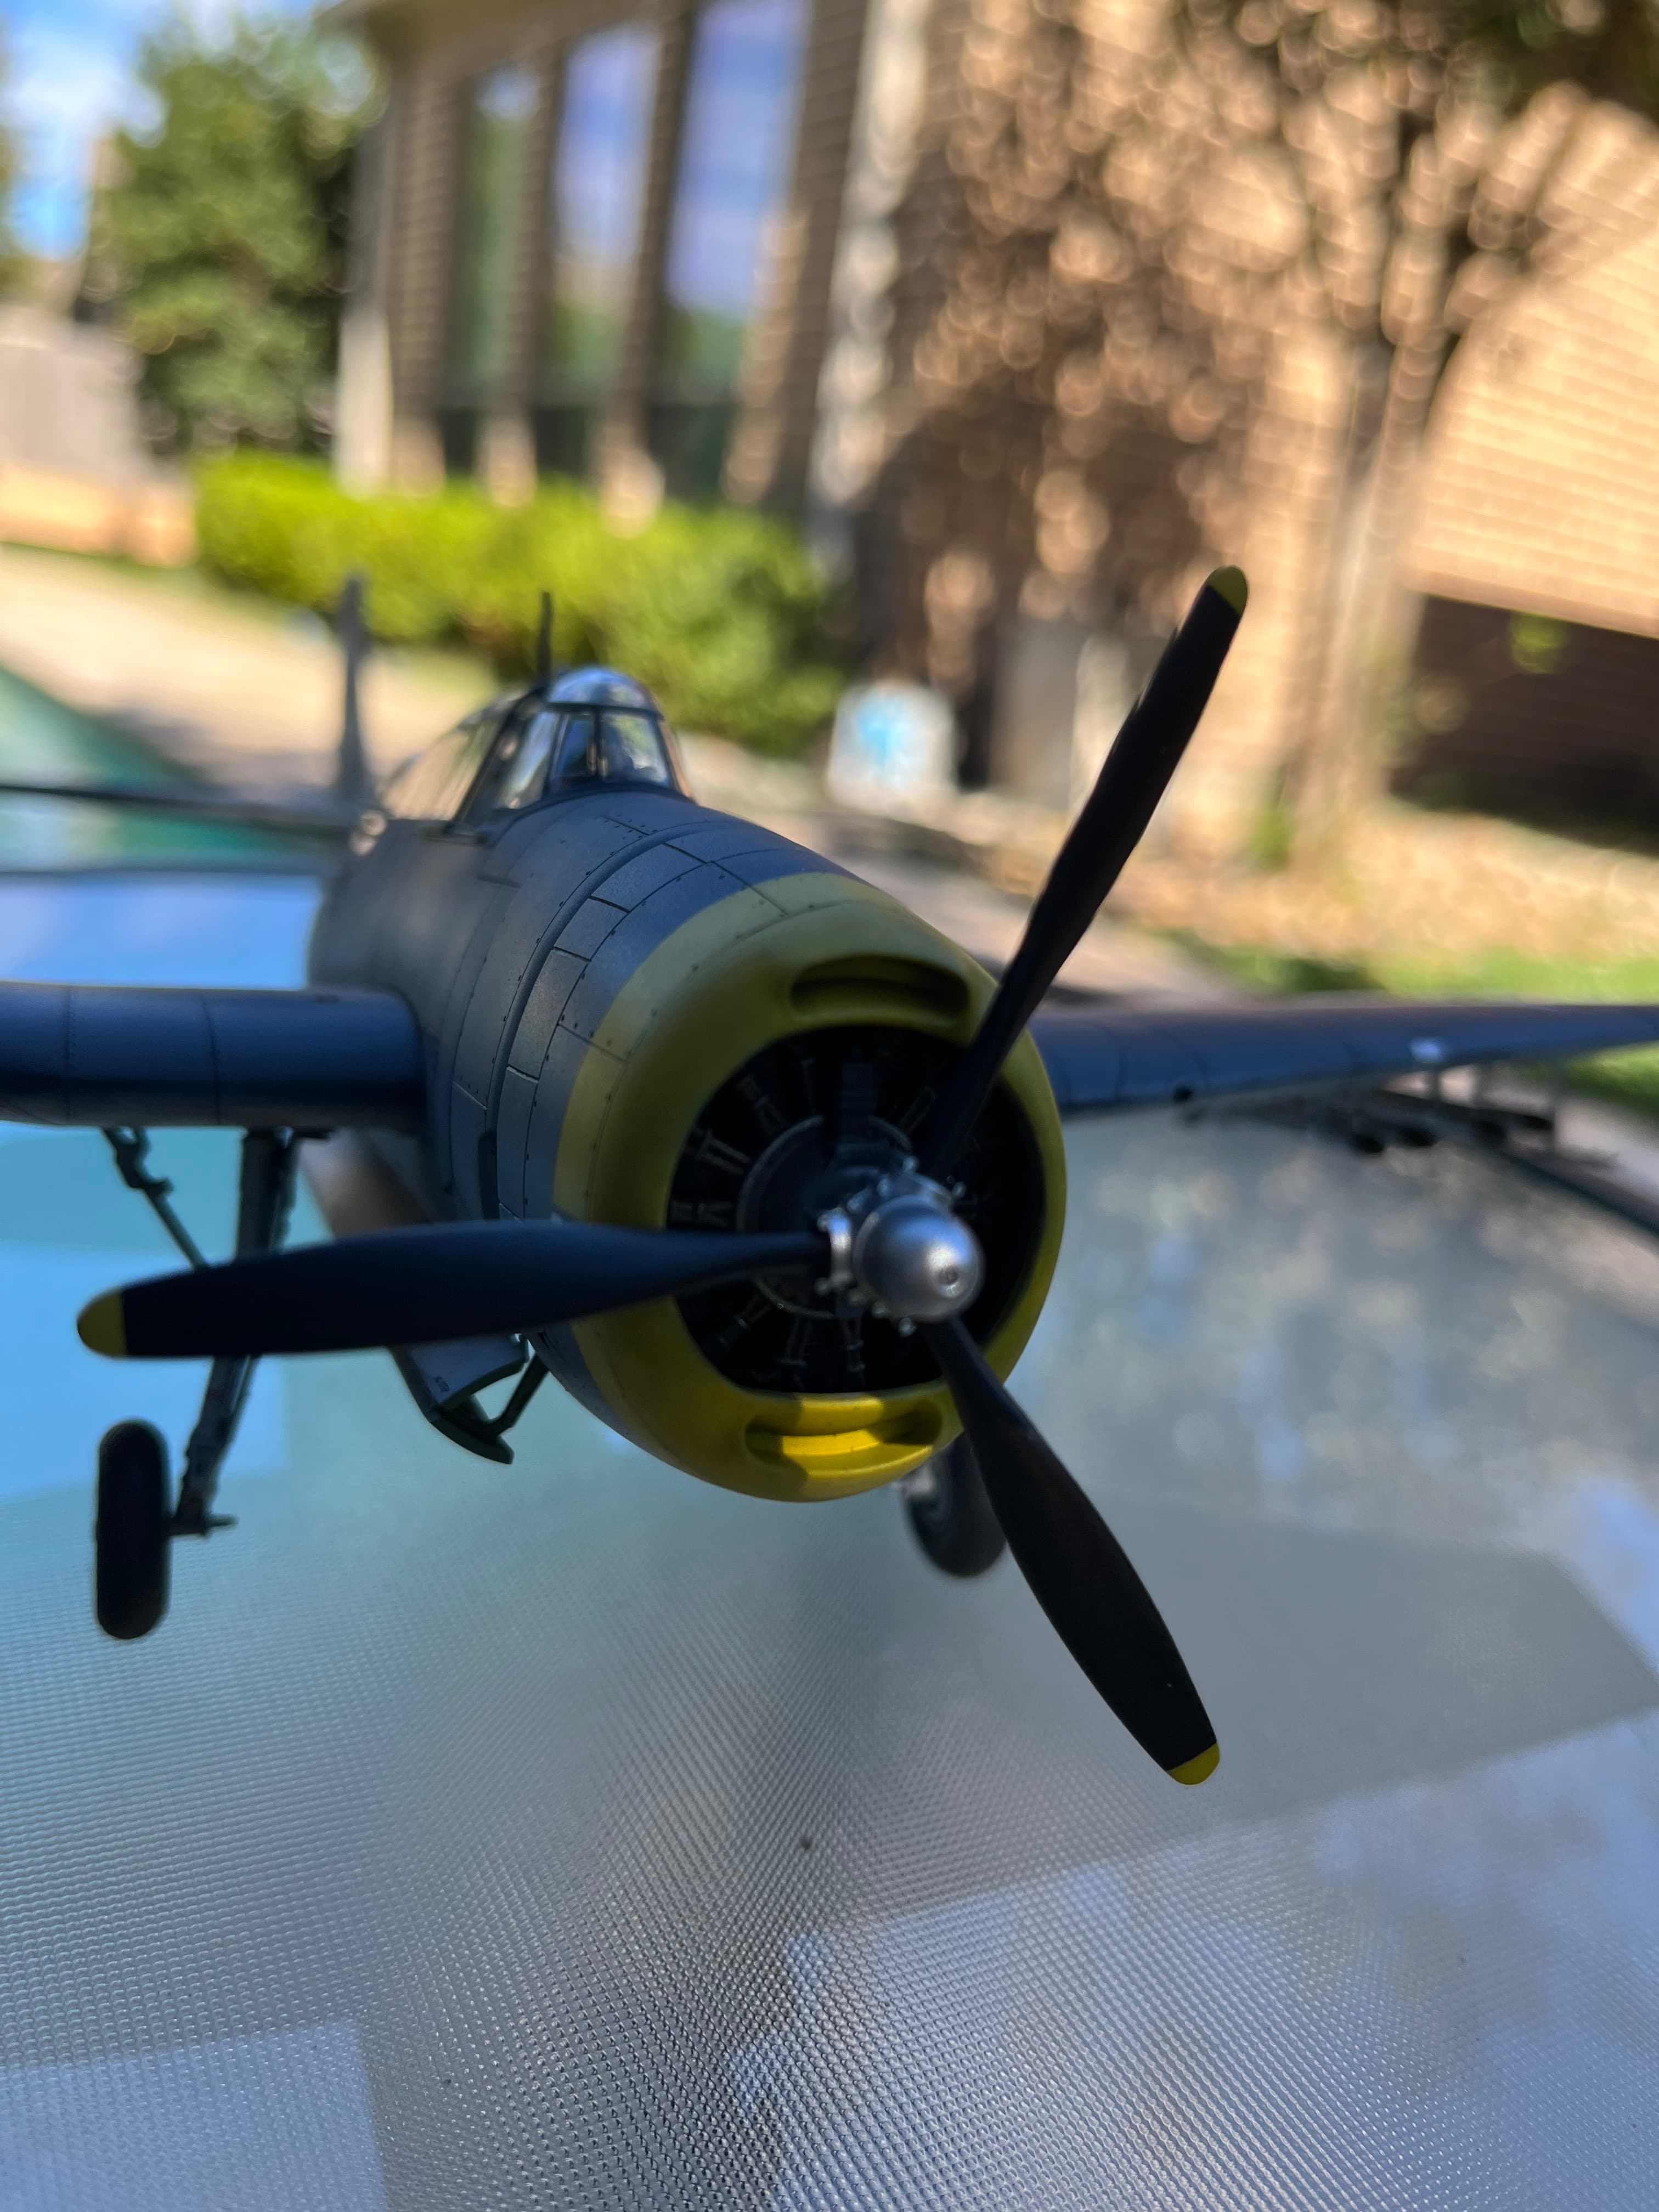
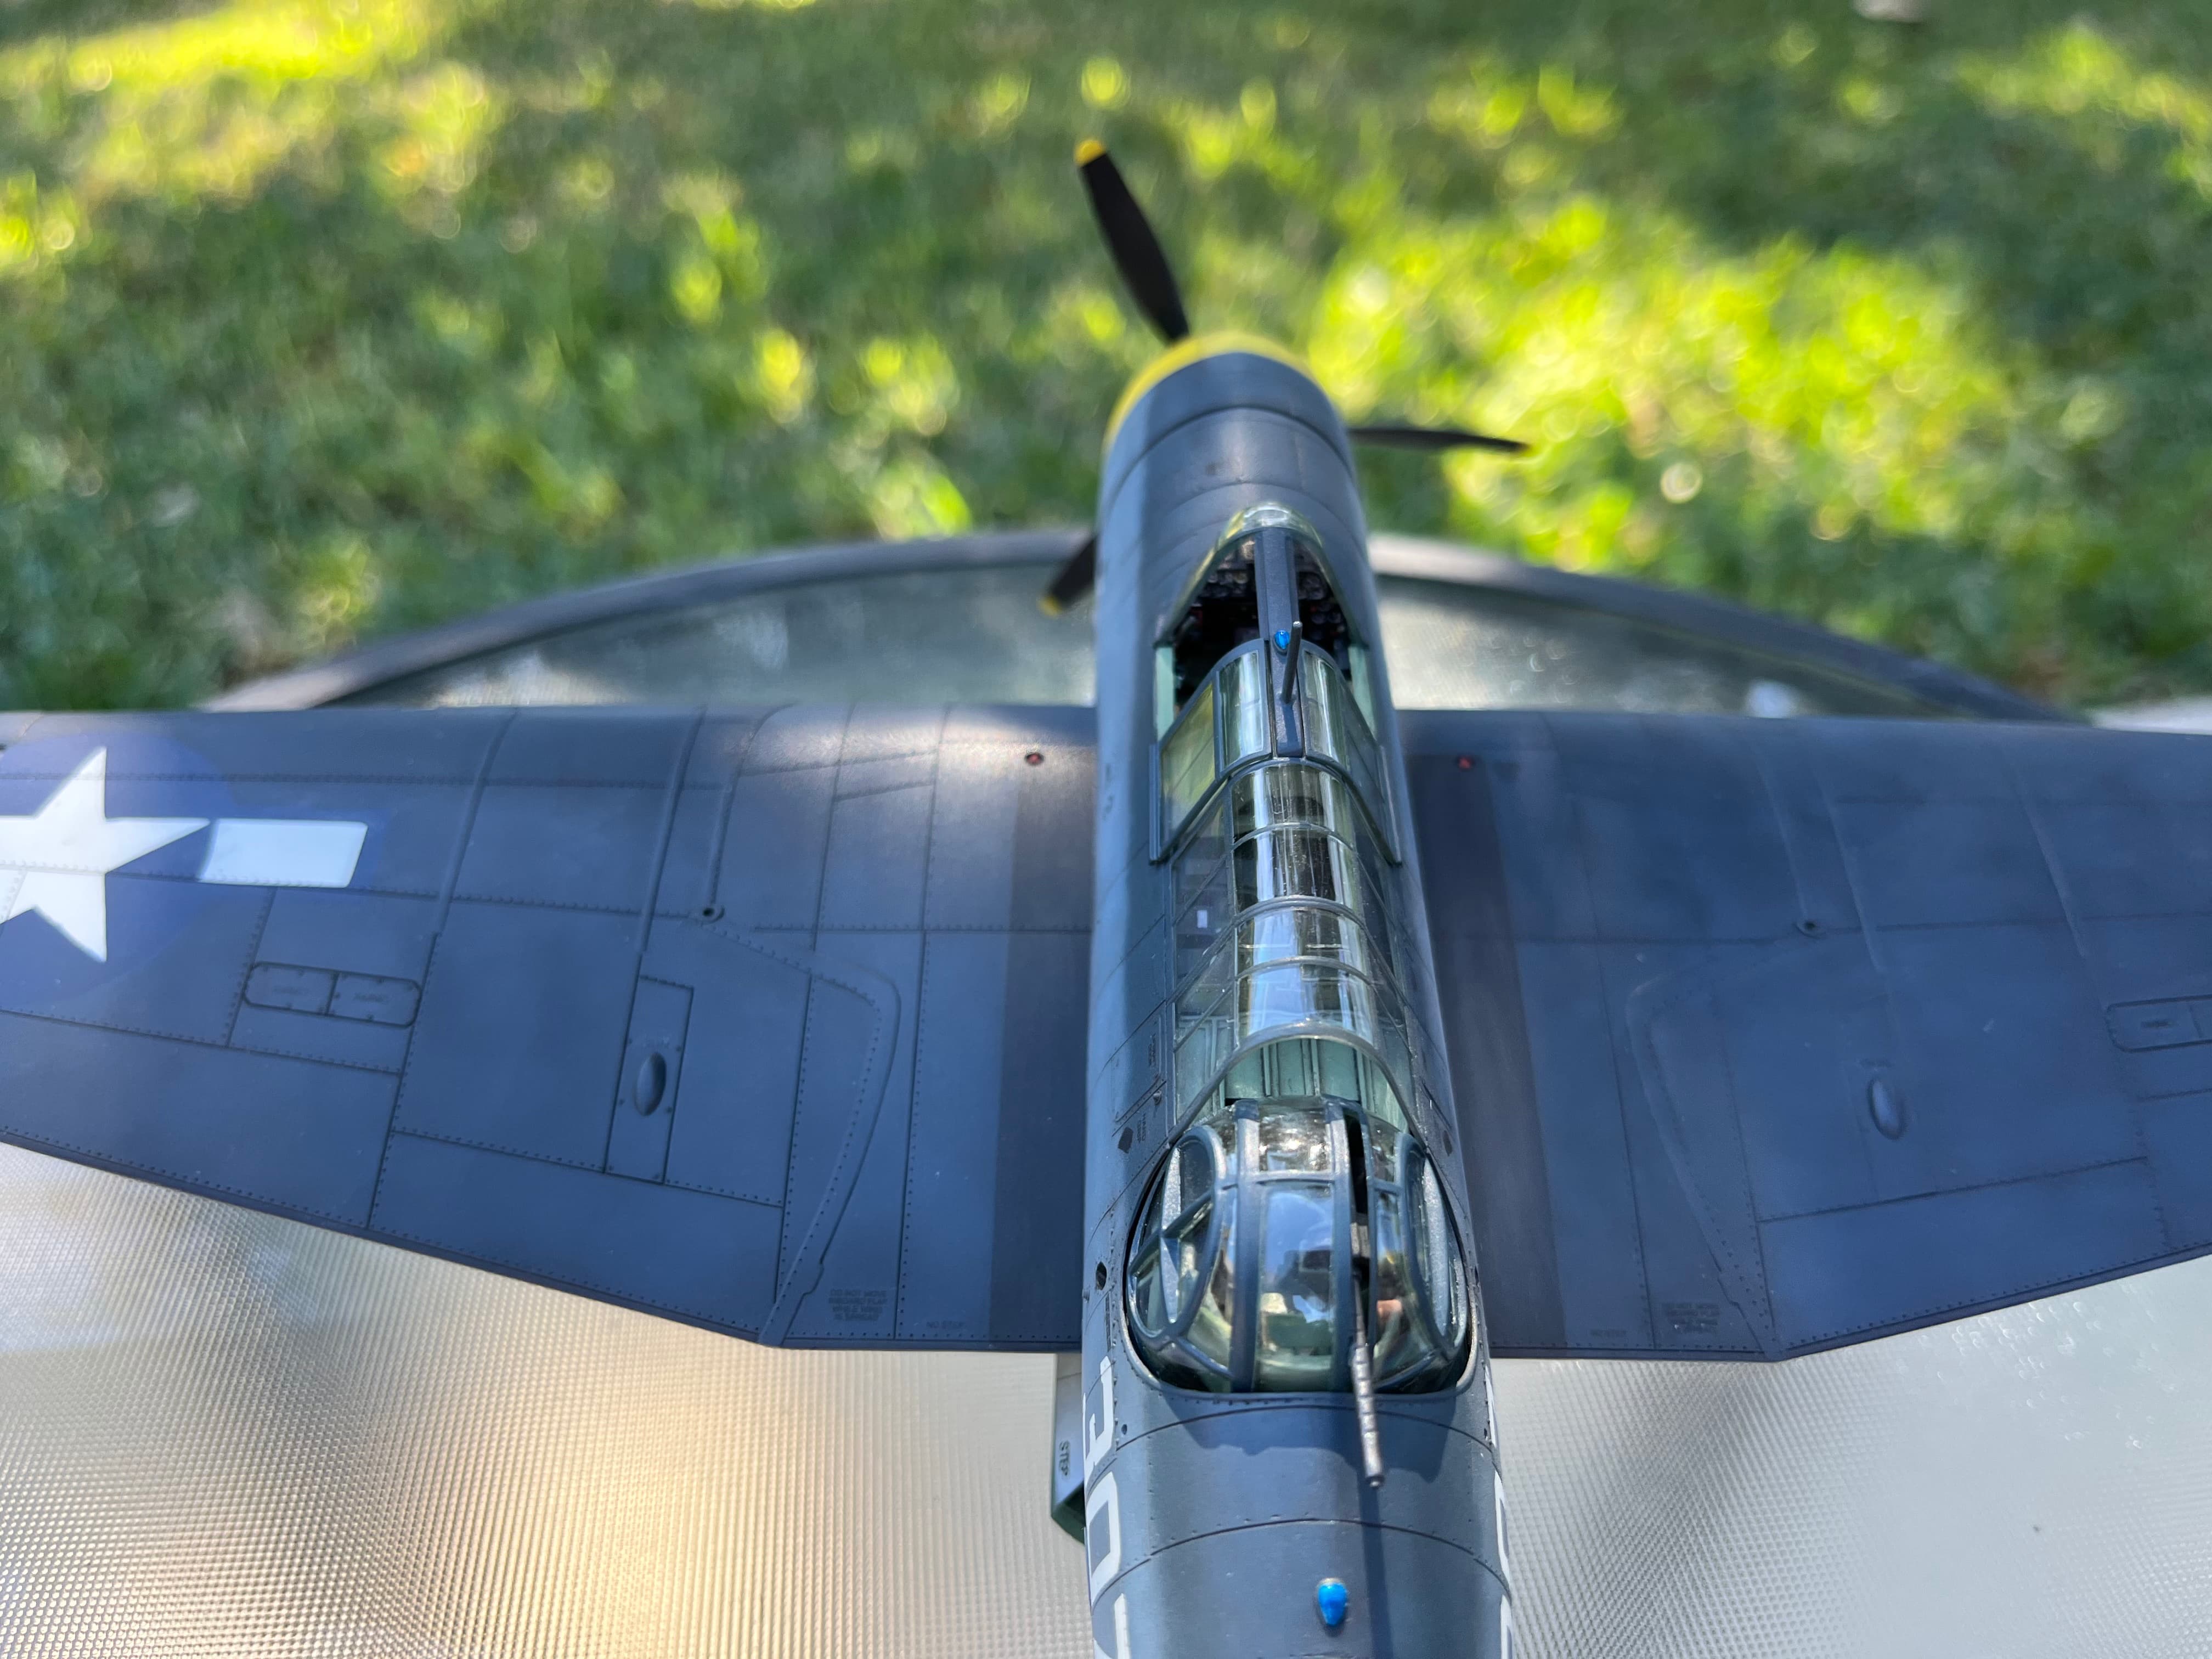
I have had zero success w yellows in the past, the cowl looks amazing. Whose yellow did you use and did you apply over white or grey etc to maintin the depth of the color? Overall beautiful finish but for whatever reason the smooth and rich yellow really stood out to me.
I too have struggled with yellow in the past. Previously I had mentioned I primed in black. The exception as you correctly predicted was the cowl. I painted the rest of the aircraft first, then masked the cowl. I then “primed” it by spraying it with tamiya flat white. Due to yellows poor coverage (and actually red too) I find they are most vibrant over a light base, they get dulled down if they go down over black. I then added some tonal variation with tamiya sky gray. I find trying to get tonal variation with the yellow hard due to its poor coverage. Once this was done I painted the yellow with tamiya flat yellow (technically I probably should have added a tiny bit of orange for insignia yellow but I used flat yellow straight up.)
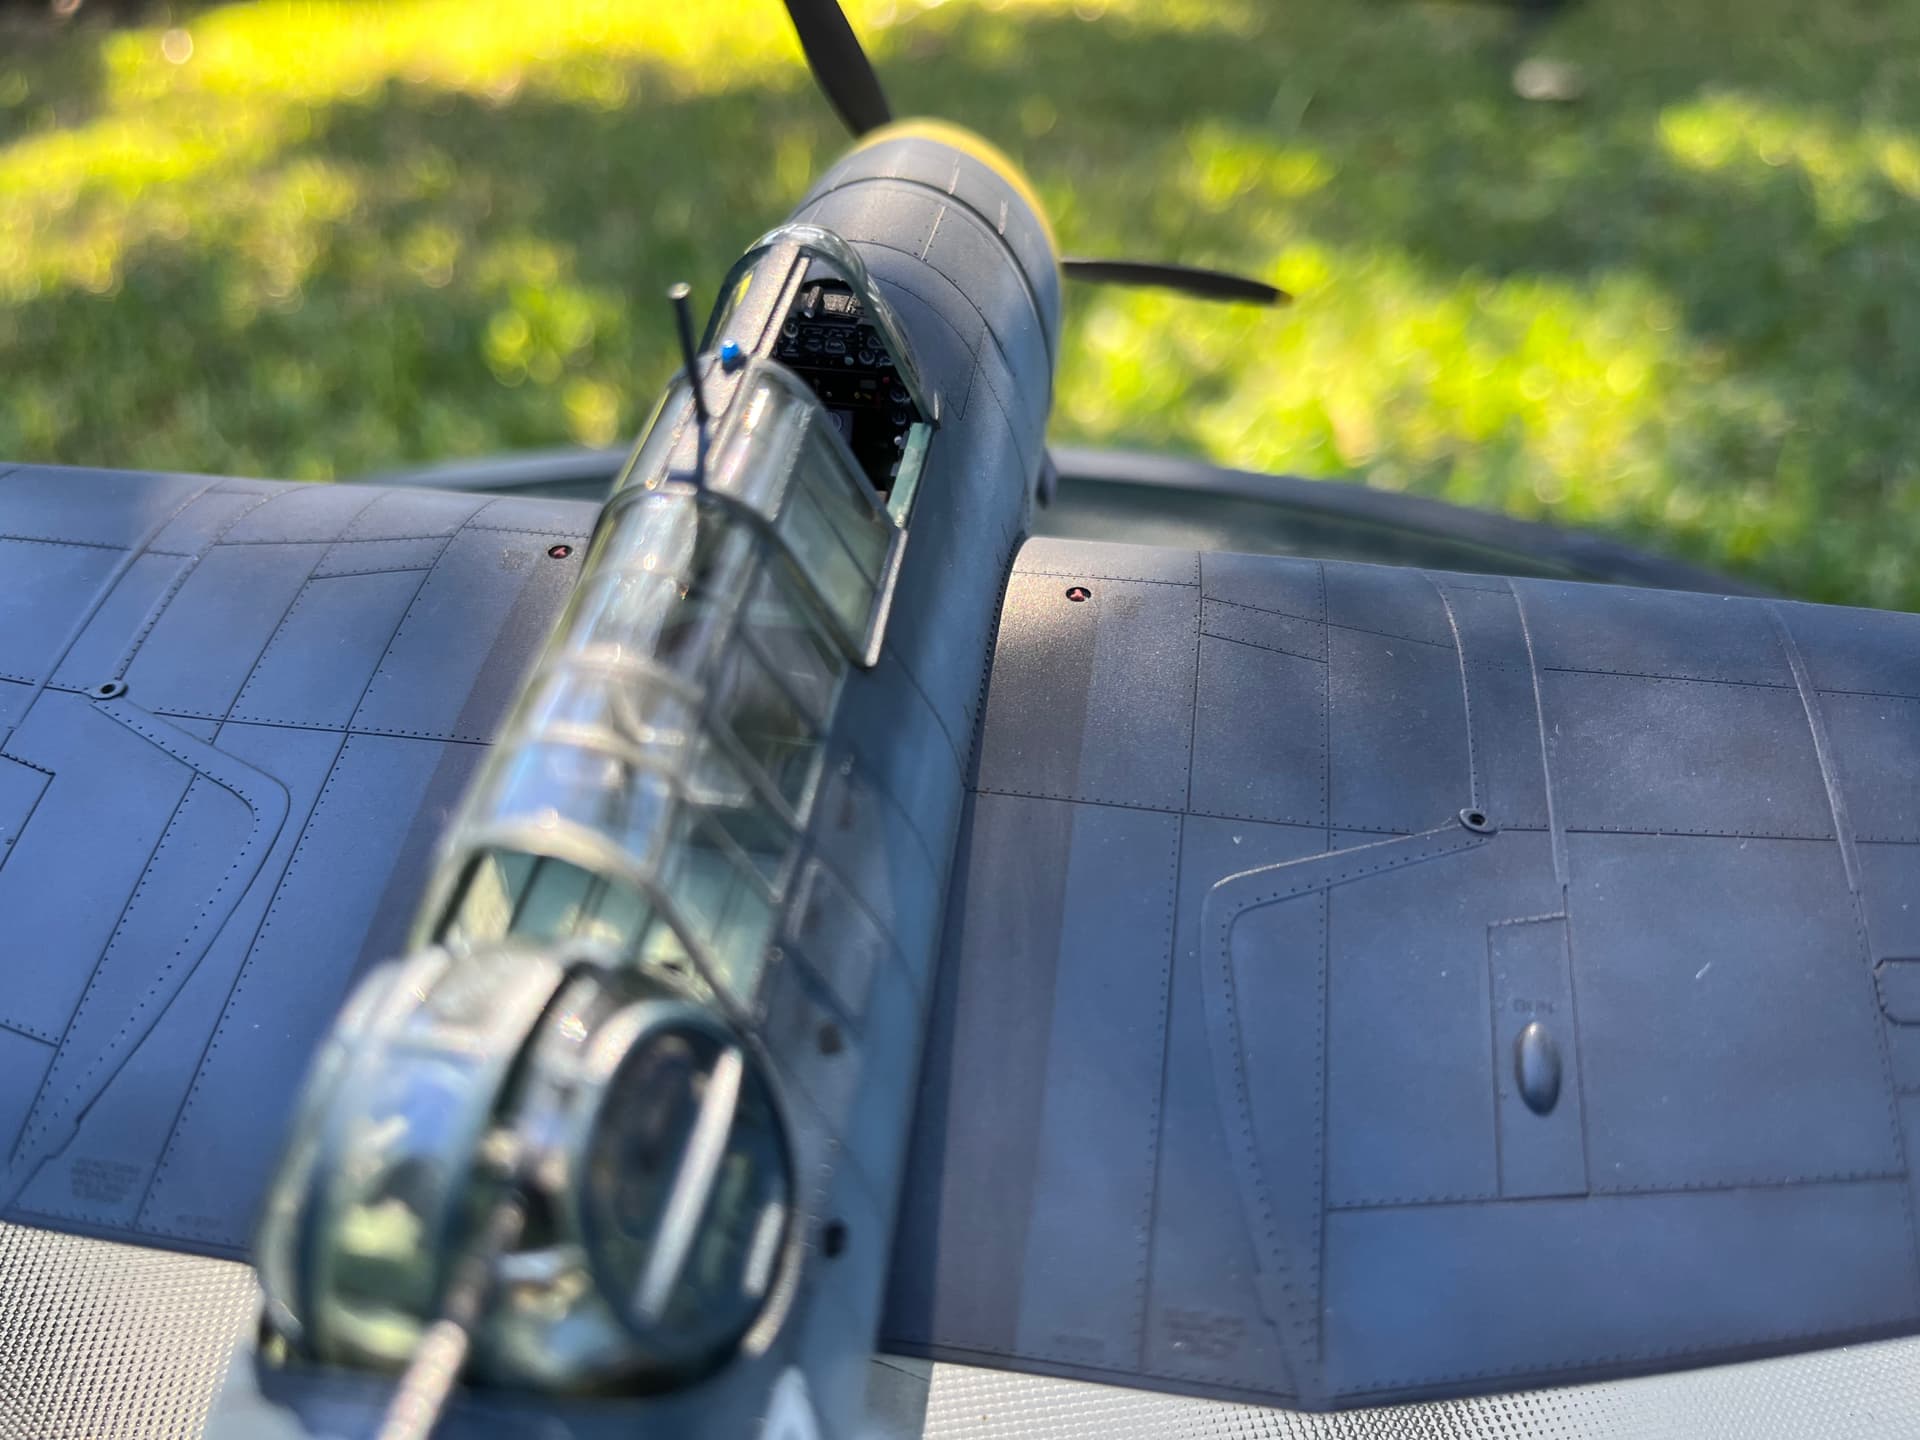
One thing I find works better for yellow is to thin it less than you would any other color. If I thin it the same it gets all splotchy. I then build up the color really slow. I find yellow has terrible coverage so it takes like 5 coats instead of the usual 2 with other colors
Appreciate the comments! I was pleasantly surprised with how well the cowl turned out too
Hello Michael. I used Oracal Oramask 813 stencil vinyl. I got 12 1 foot square sheets on Amazon for I think $20. It is semi rigid but malleable enough to curve around things like fuselage sides. I used painters tape for some markings too, but I find for the larger markings the stiffer vinyl is a bit better.
Another product I found invaluable was trasnfer tape. Any kind will do. But this allows you to transfer the stencil and align and realign different parts.
The end of this thread goes over what I did and how it worked
If you have any questions let me know!
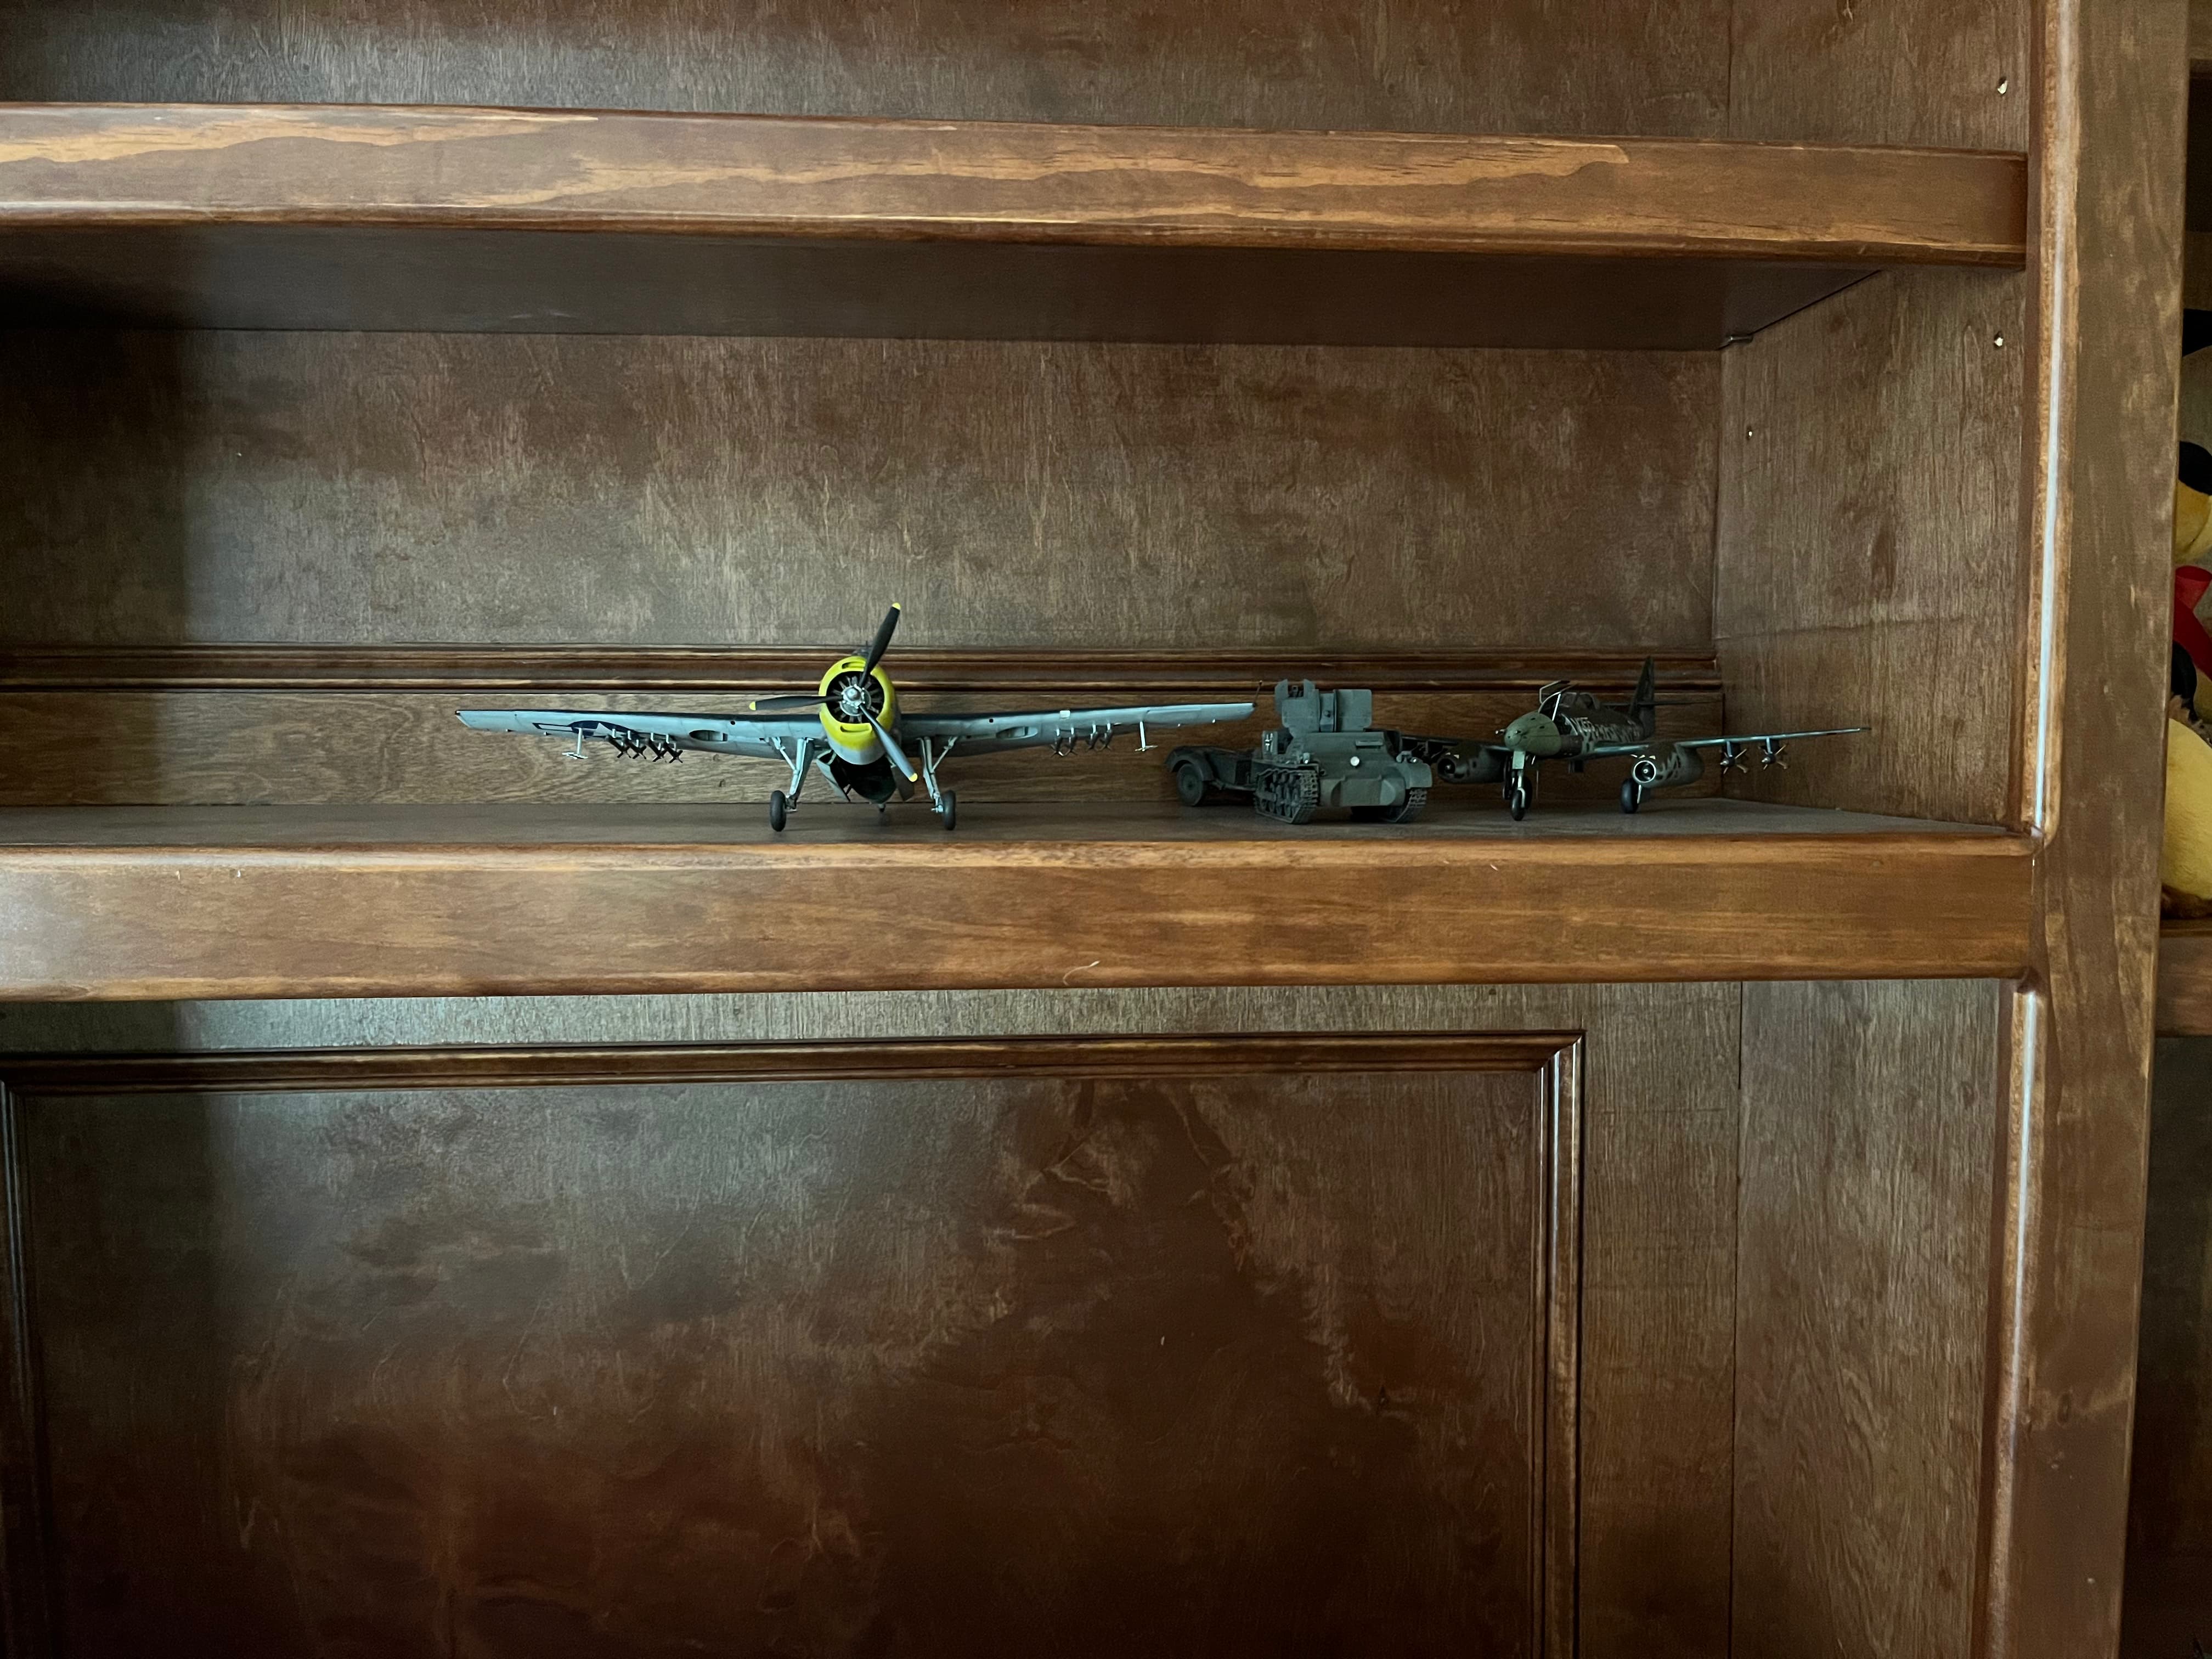
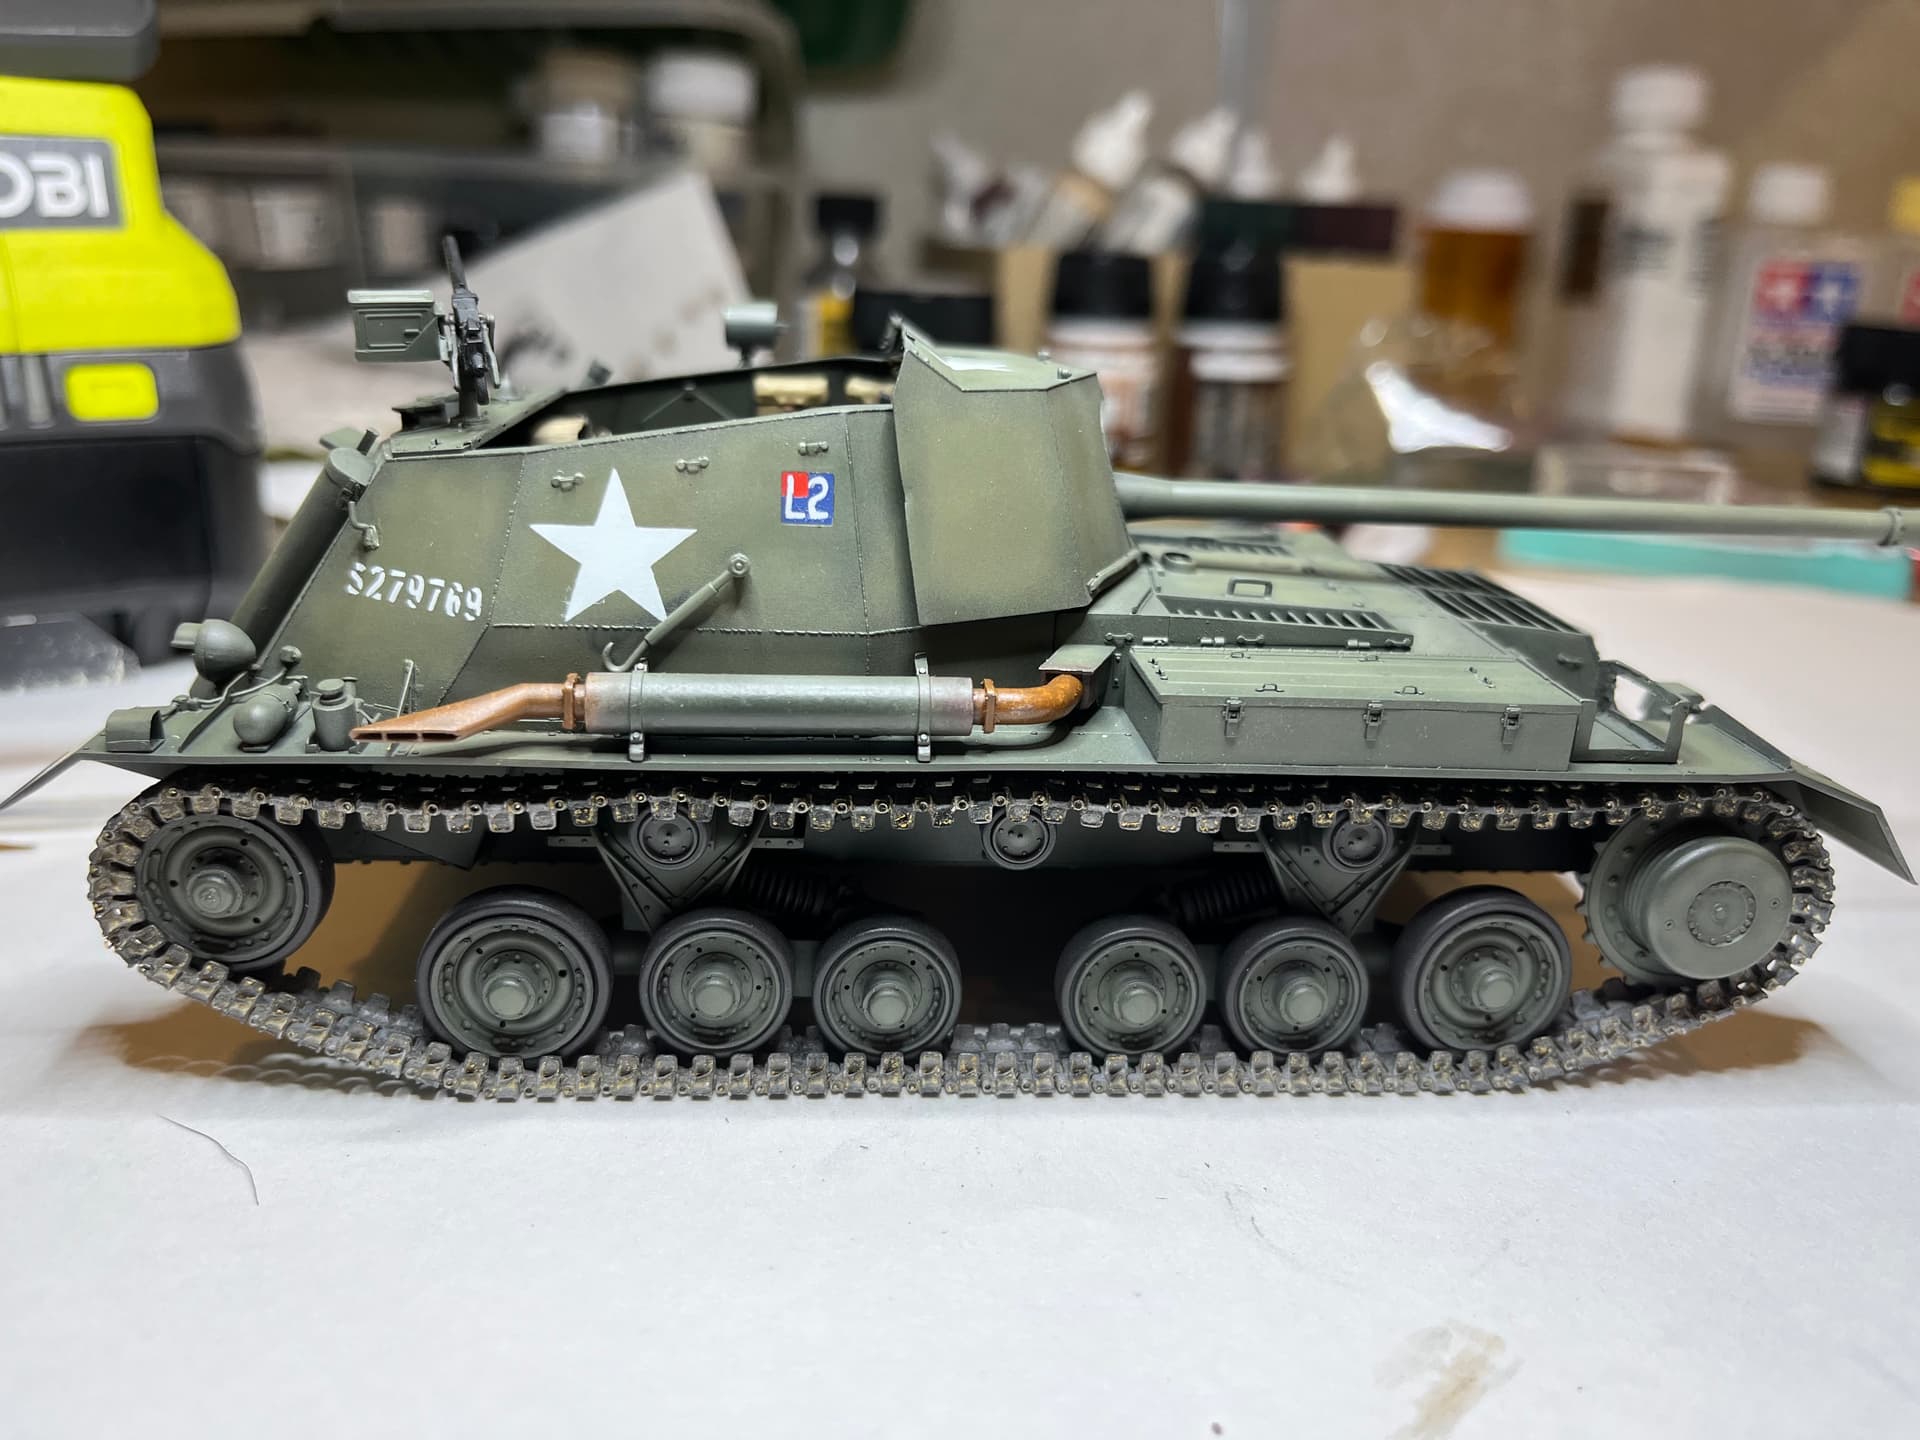
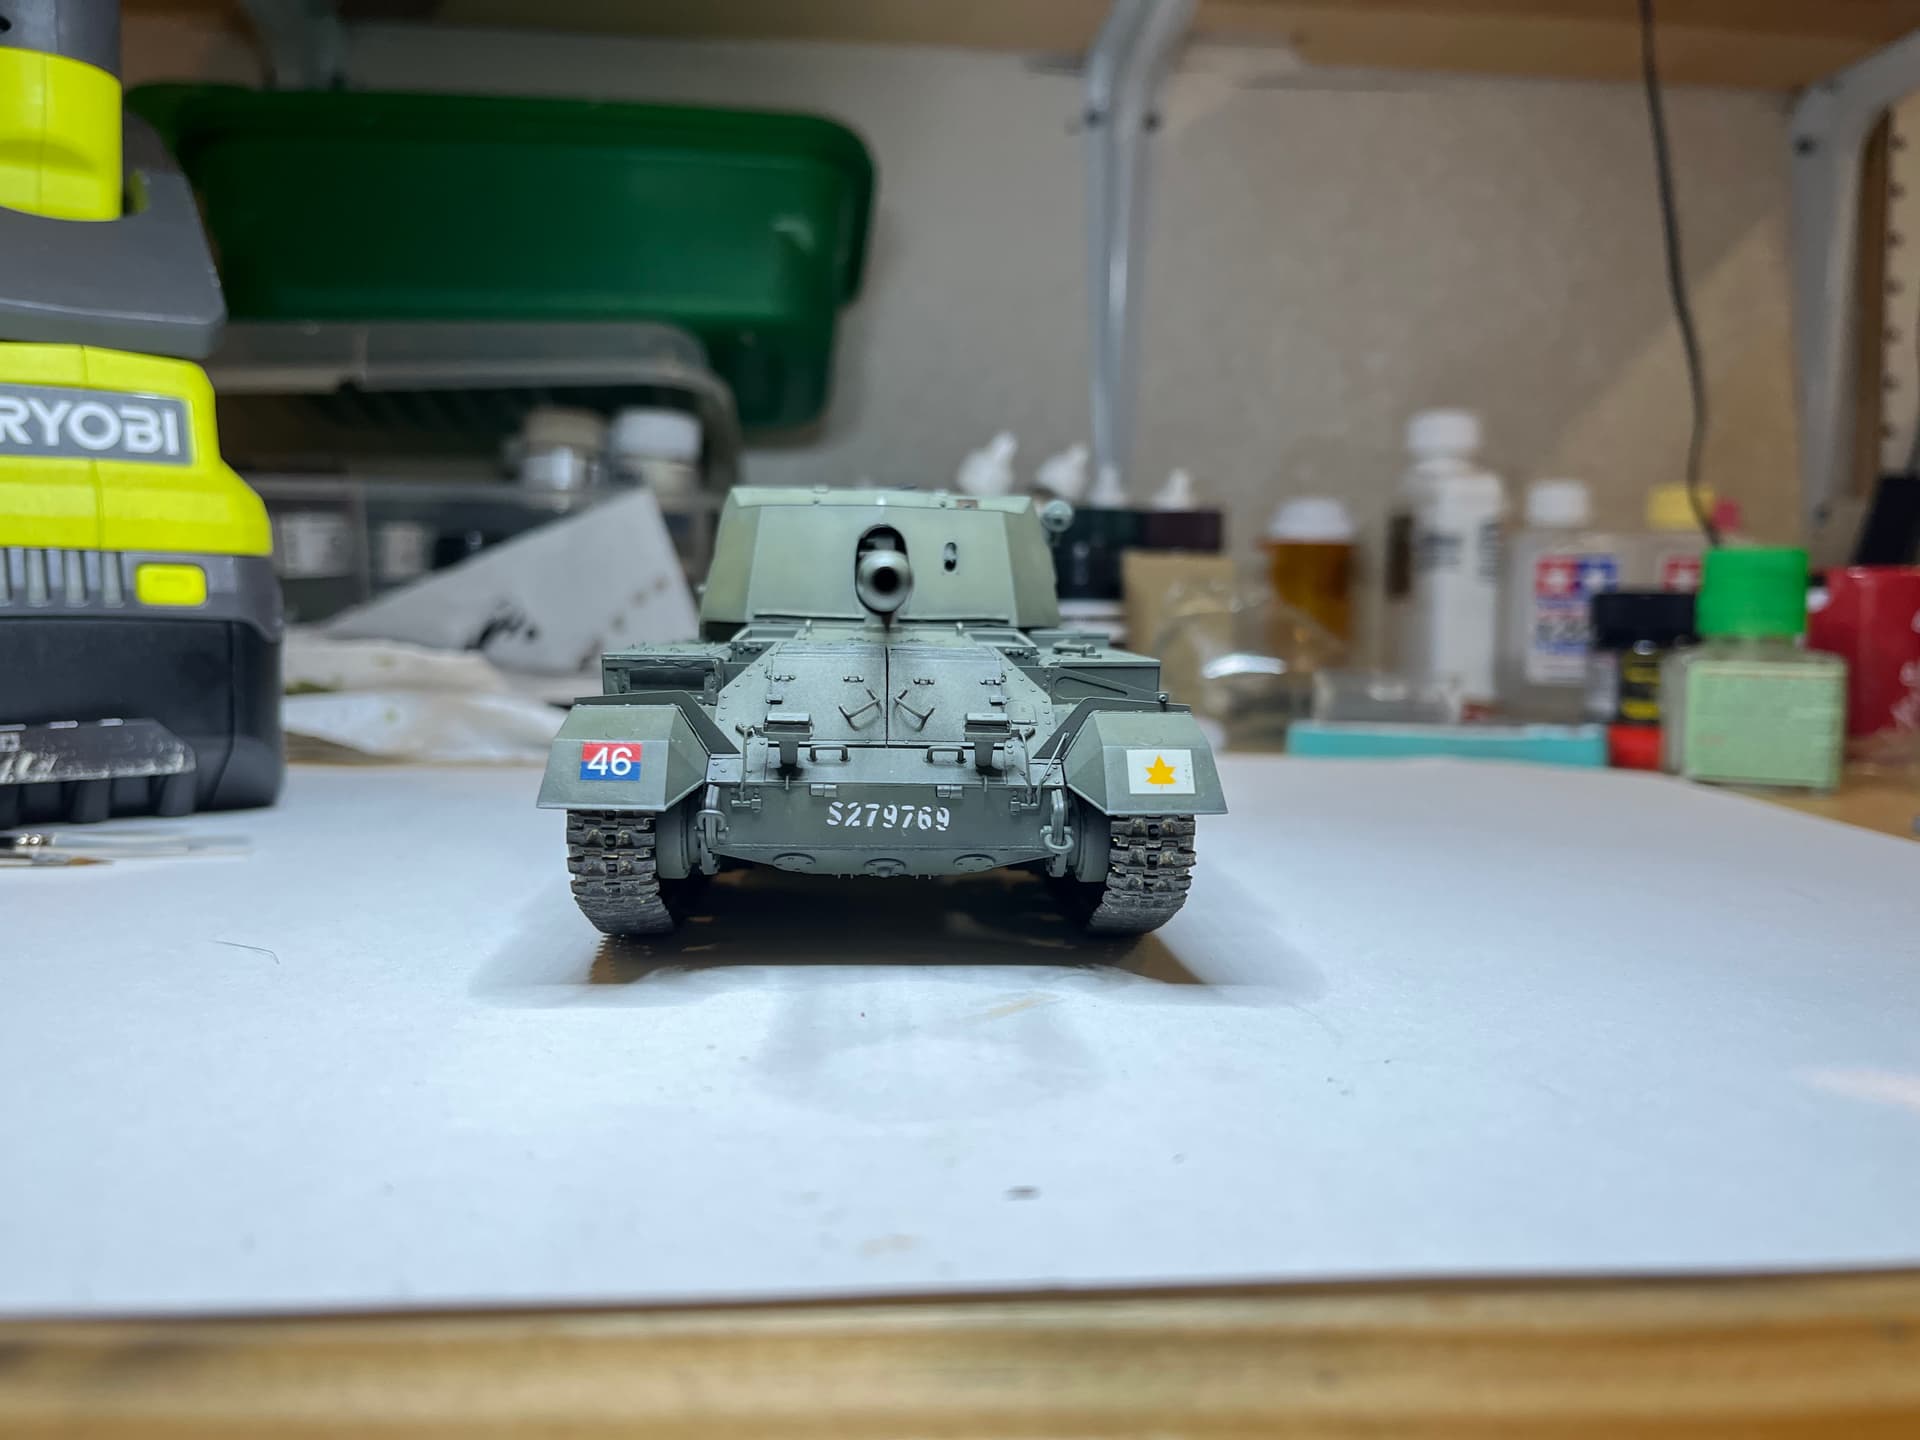
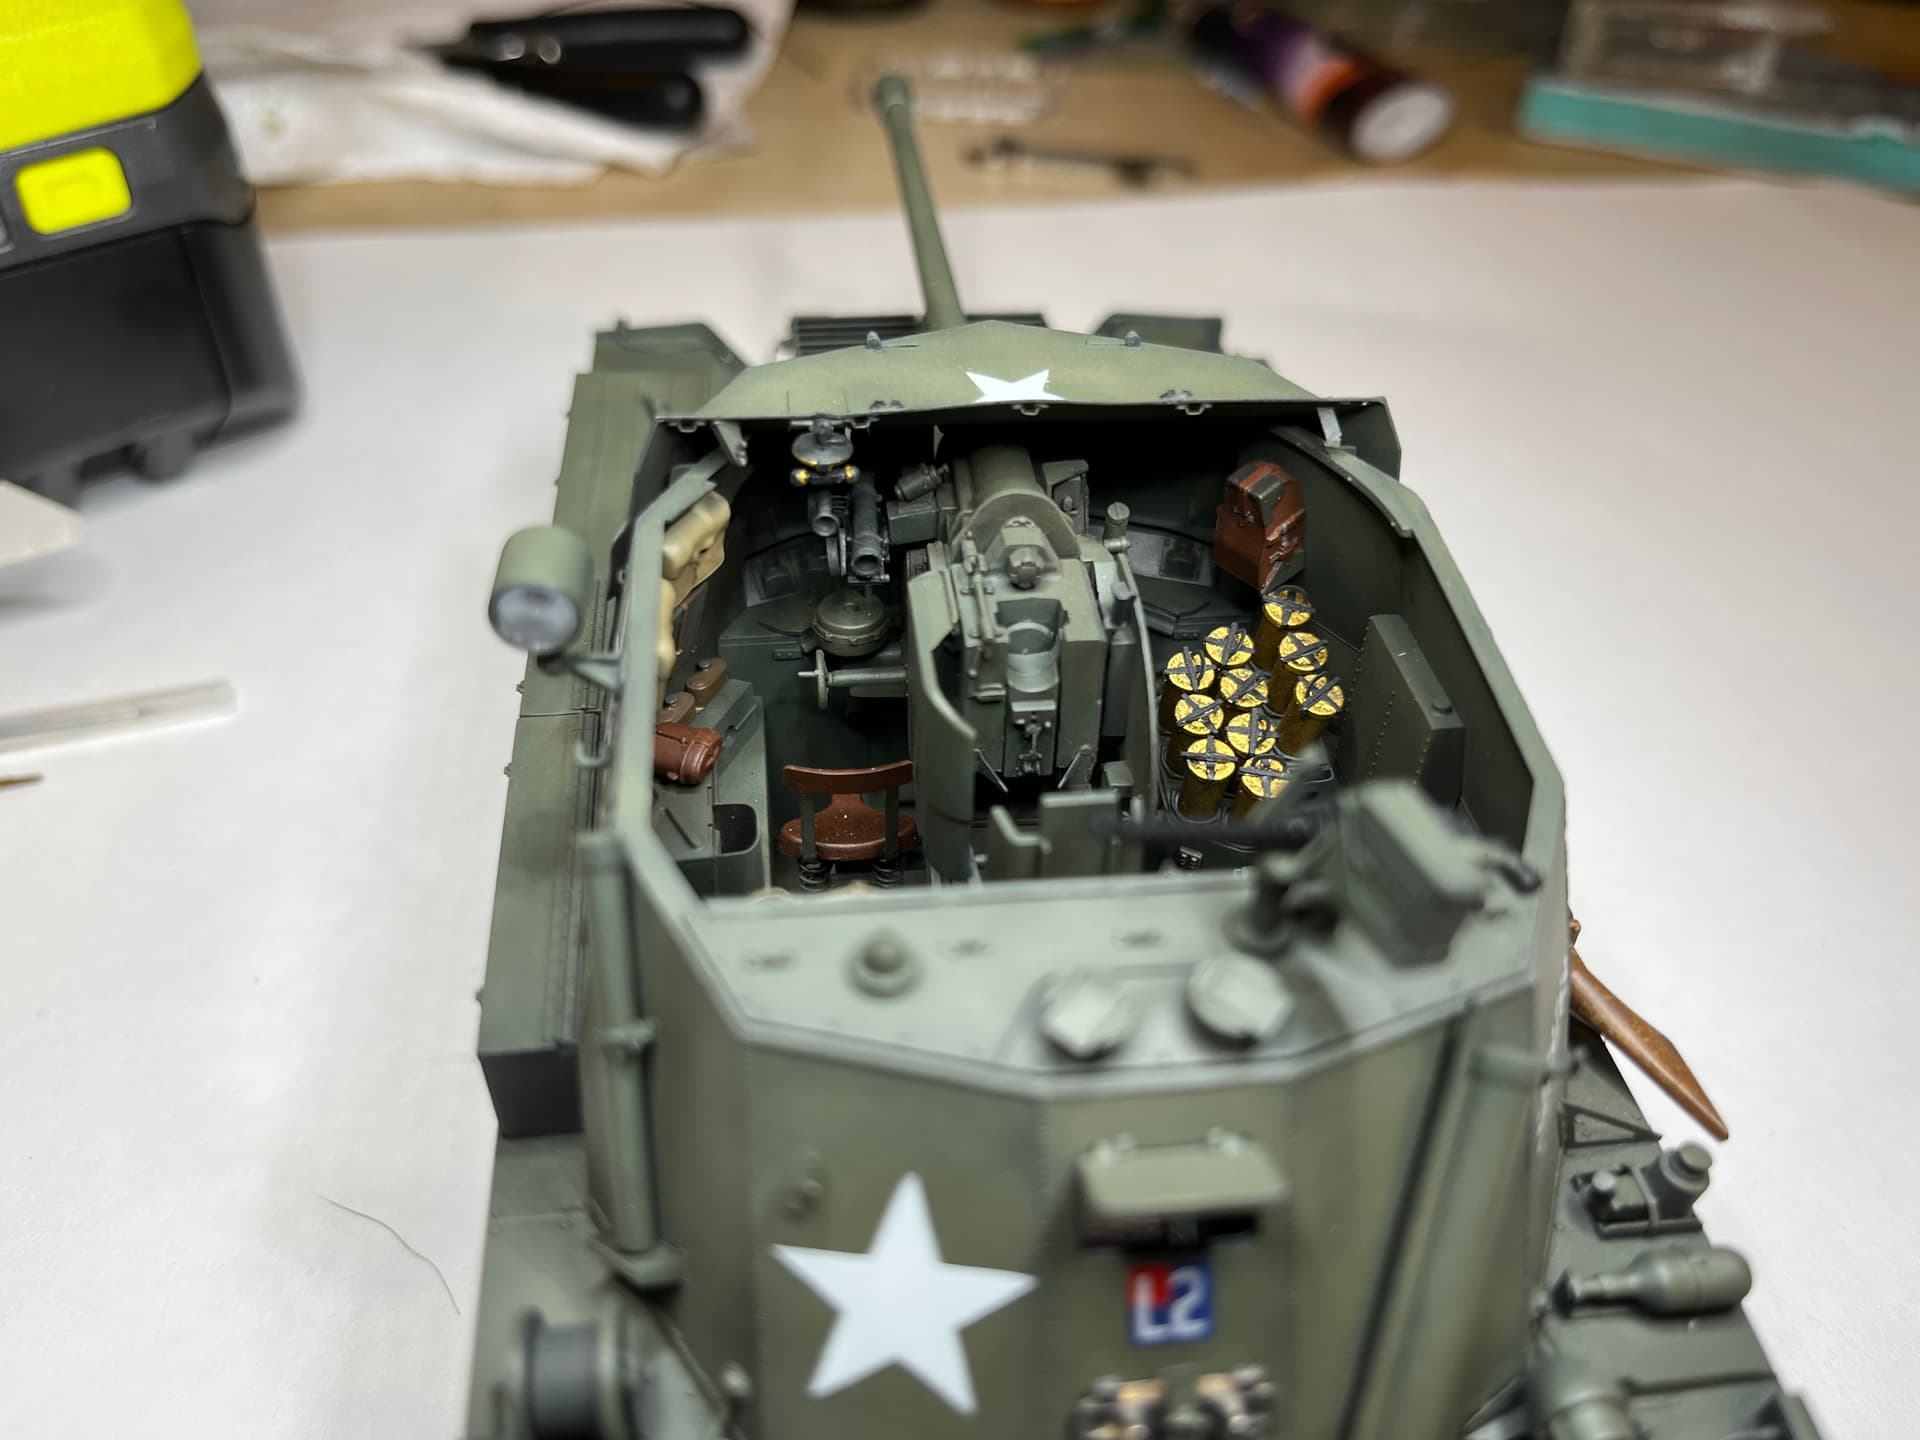
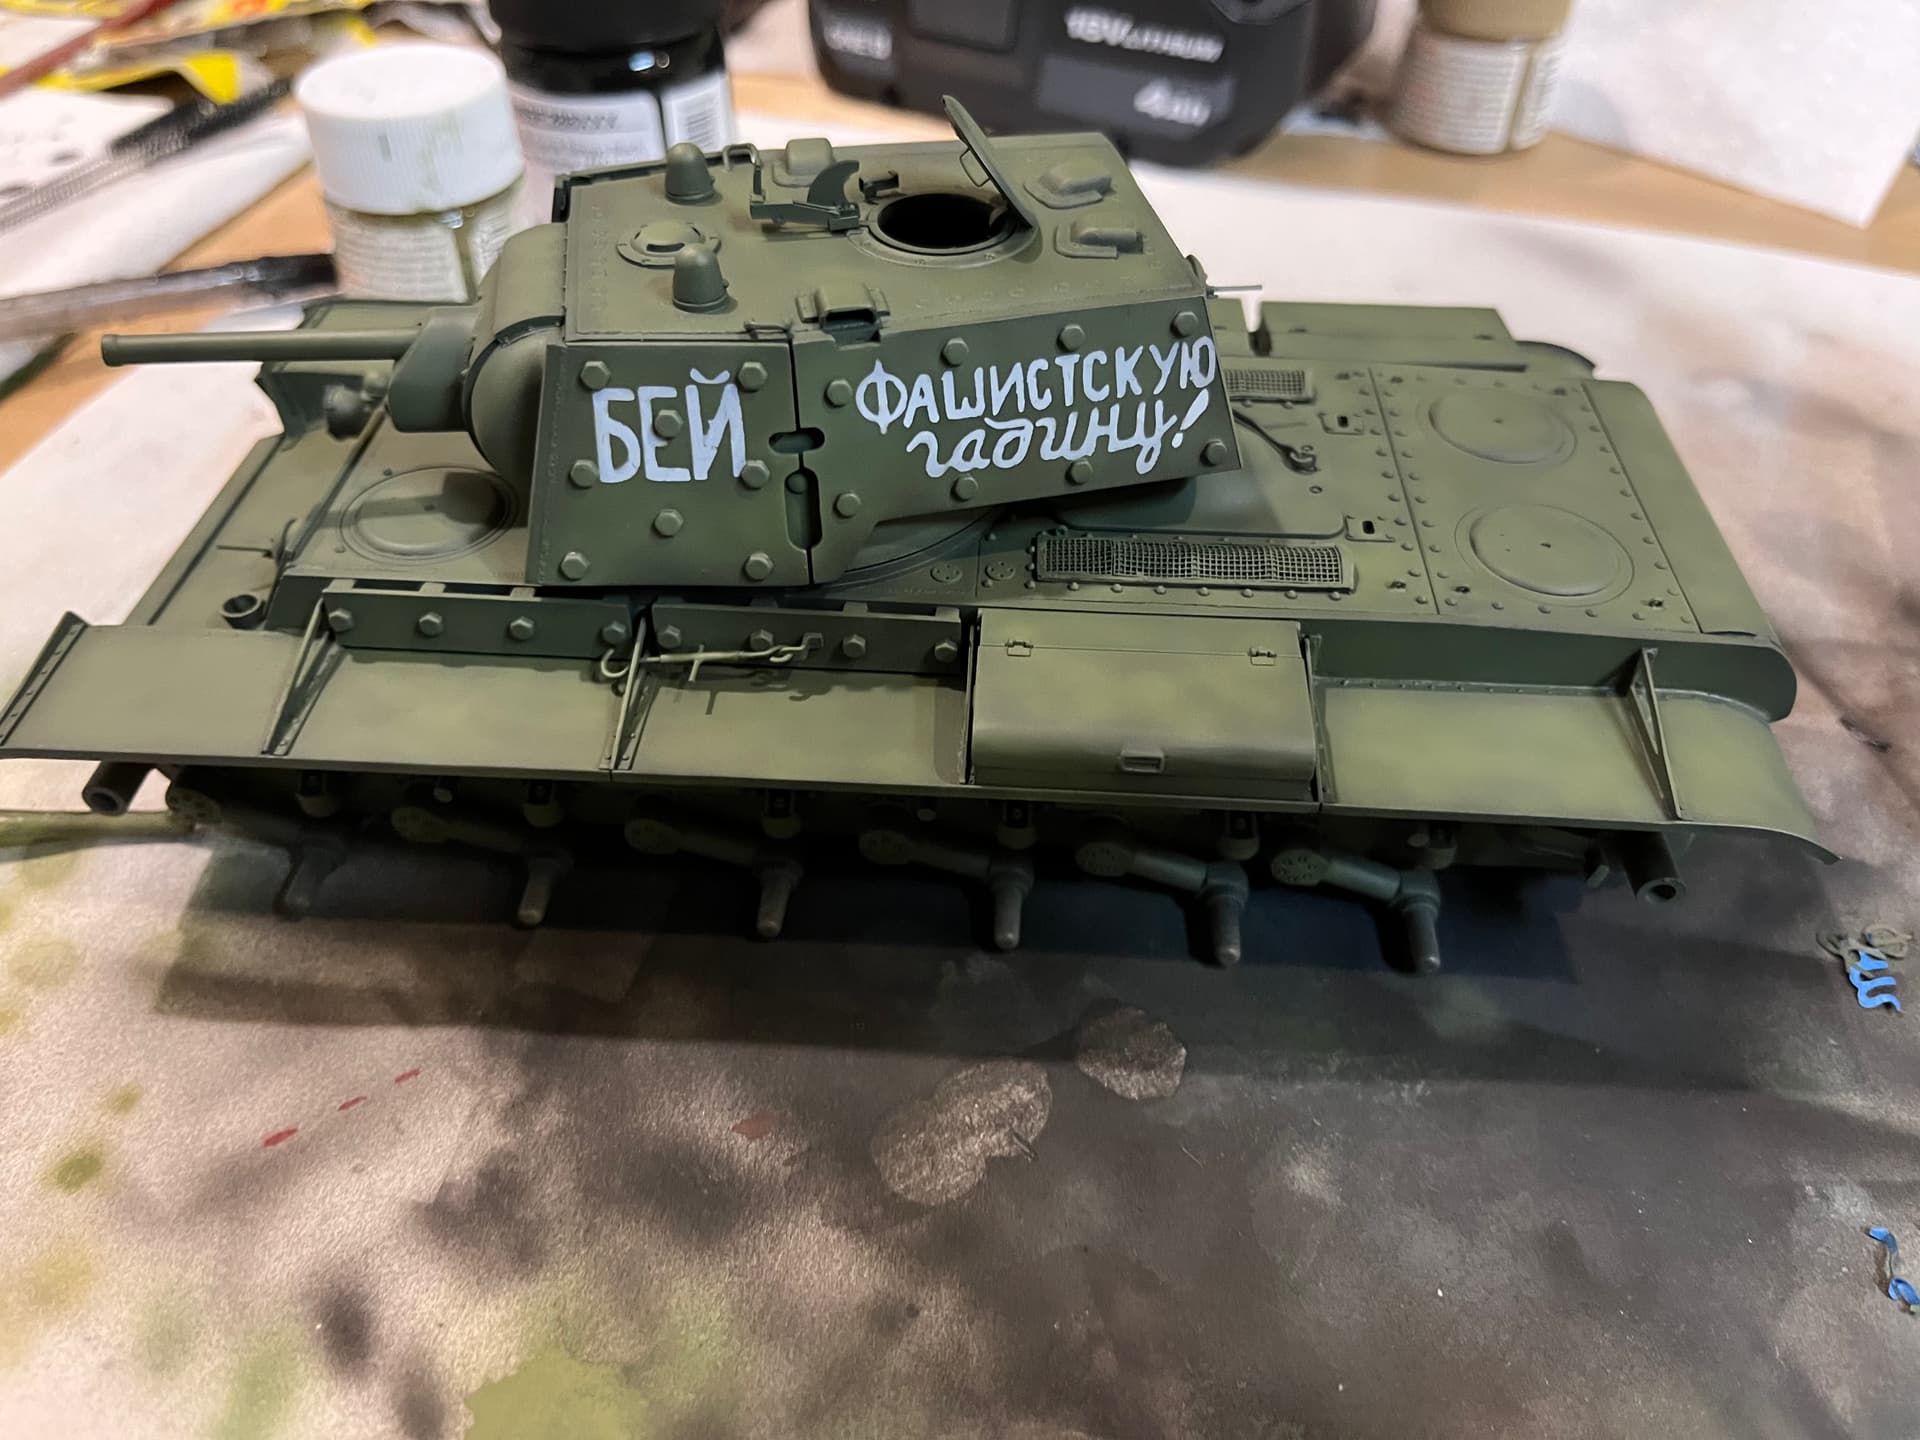
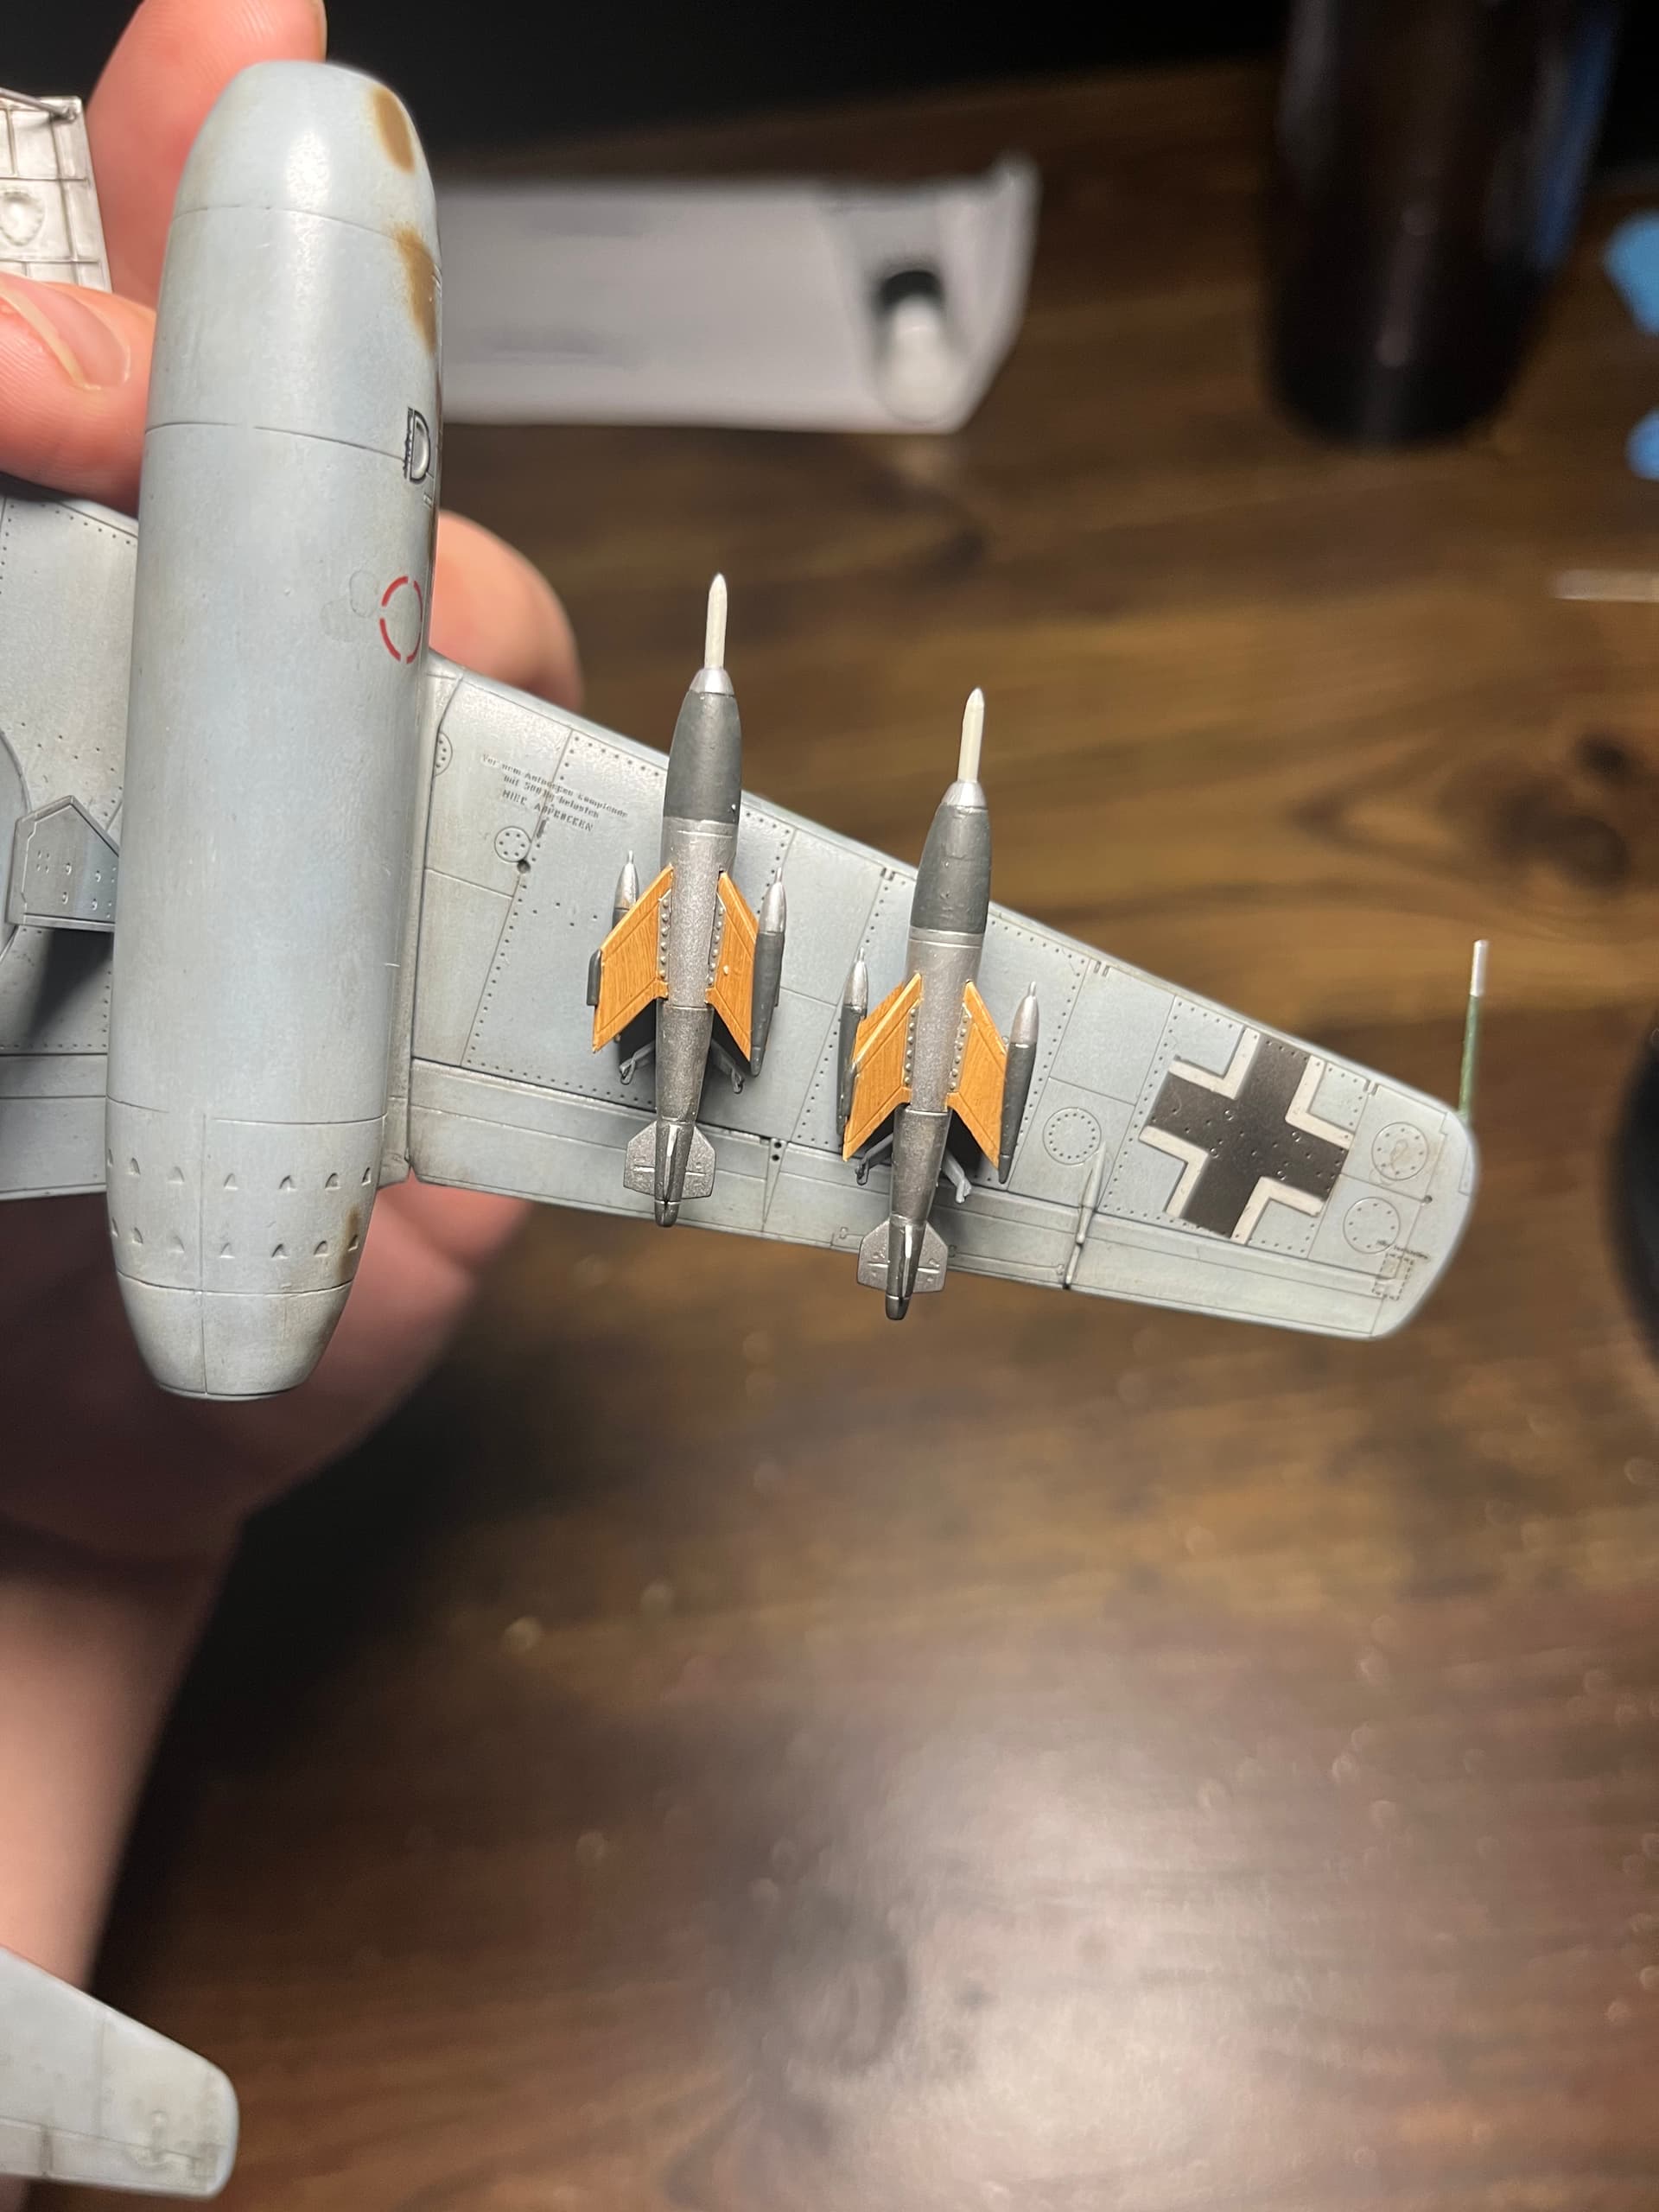
I’ve found it versatile. The markings on this archer, ME-262 and KV-1 were also masked with the cricut