Italeri’s Leopard series are also quite nice. Their new-mold PzKpfw IV F1/F2/ and G is also a great kit.
Bill
Italeri’s Leopard series are also quite nice. Their new-mold PzKpfw IV F1/F2/ and G is also a great kit.
Bill
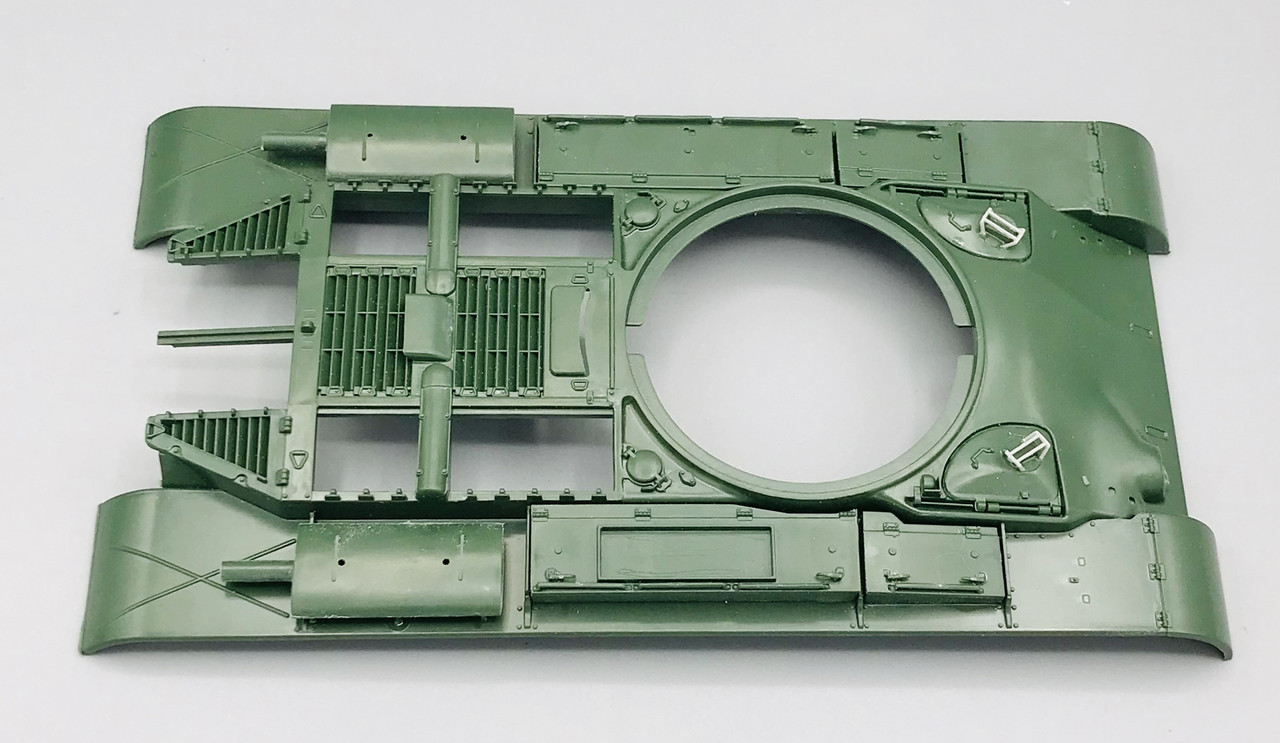
So today was spent doing steps 5, 6, & 7. Although step 6, adding parts to the underside of the upper hull, and 7, finishing the fender items and attaching the engine and upper hull to the lower hull, I only did partially due to my choice to upgrade the engine compartment.
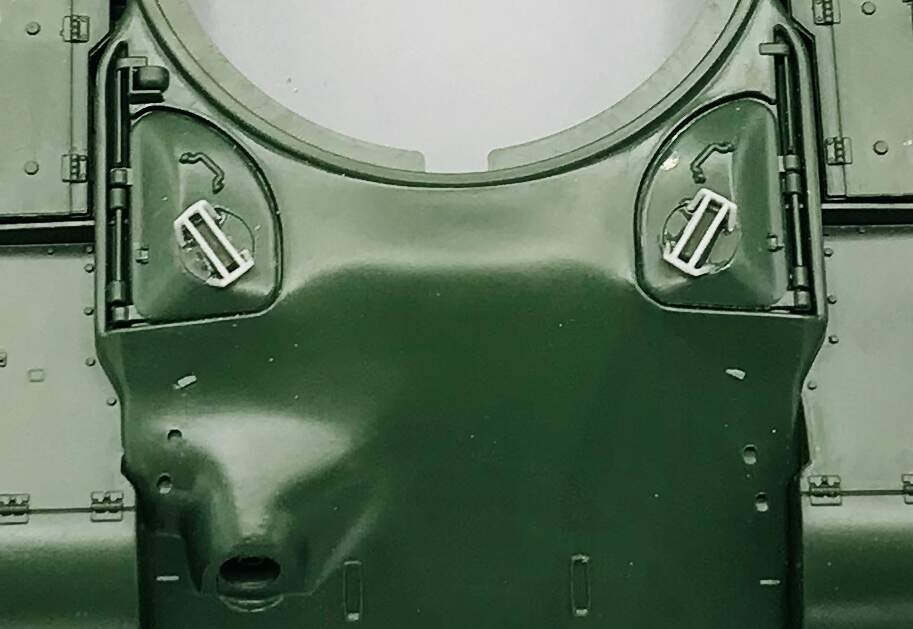
I am also backdating the kit to an early production model, so I had to swap out the driver and assistant driver hatches periscope brush guards for the older type used, rather than what comes with the kit. Fortunately I have some in my spares bin.
and lastly I started detailing the engine part that comes with the kit. I only did the transmission section today.
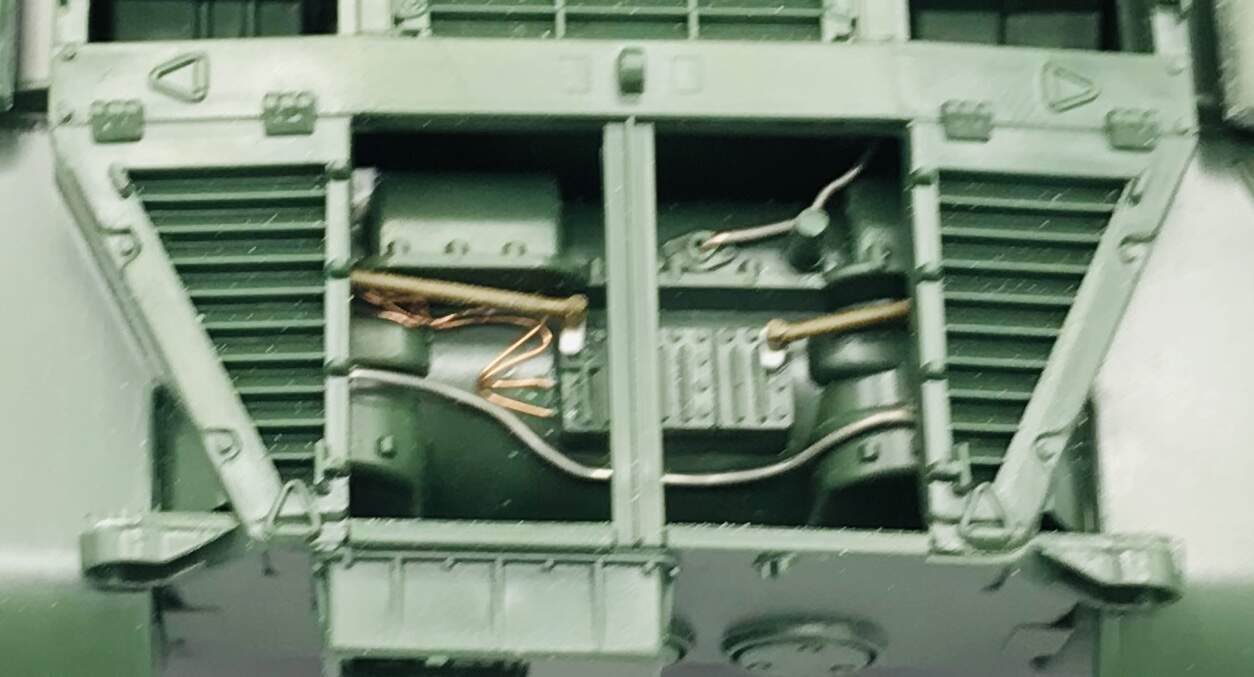
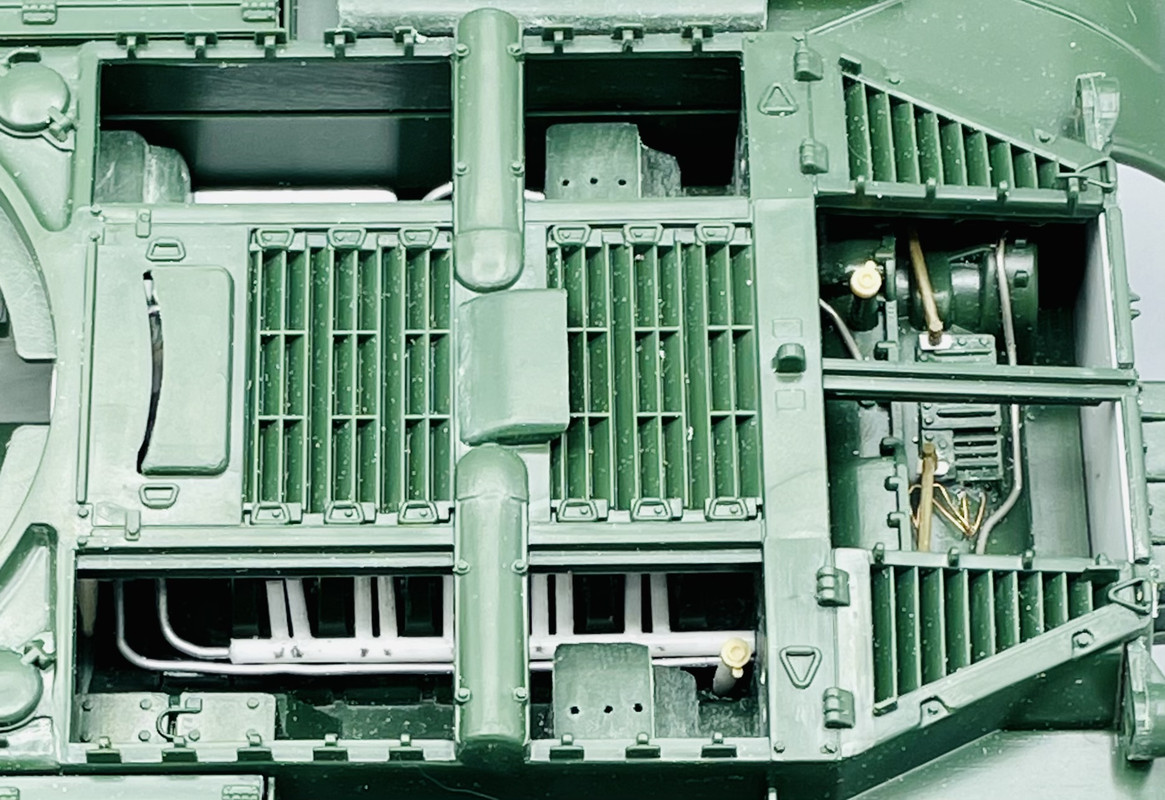
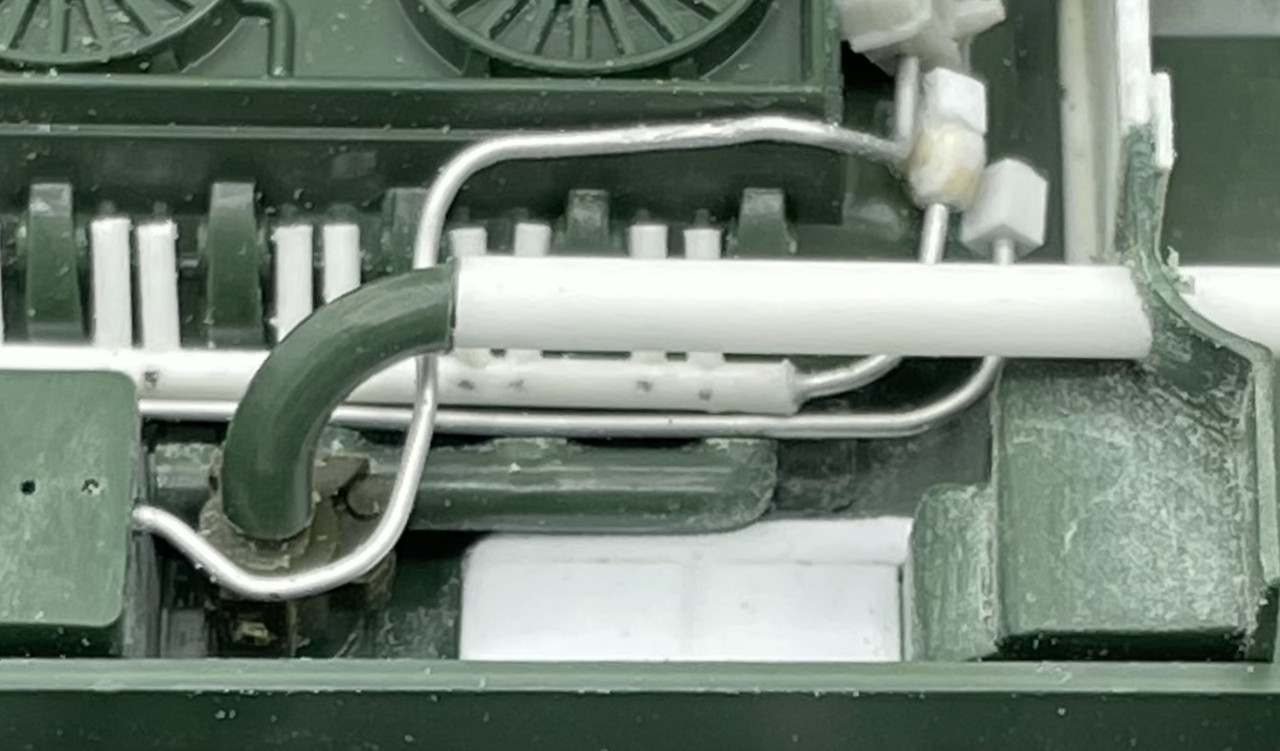
And this is what you can see thru the open grilles
More to come in a few days…
Really like what your doing with this kit! The upgrades are looking great.
Thank you. So far, so good, on this build. The next stages of the engine will be more complicated.
The right side of the Takom glacis is off a bit, the Italeri kit is good. The top of the turret is not quite right on either kit. The bottom of the Takom glacis has a slight error but you have to know what to look for and be able to see that area to notice it.
The Takom is about 40 years newer than the Italeri kit, and the detailing and molding shows it. I have both kits and went over each side-by-side. Even with needing to reshape the glacis the Takom kit is a better value.
KL
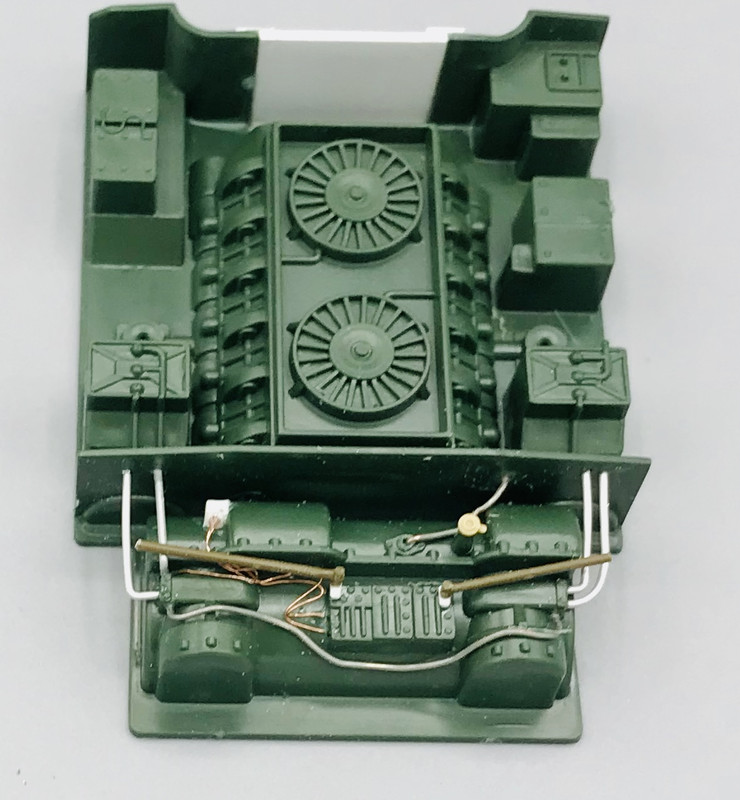
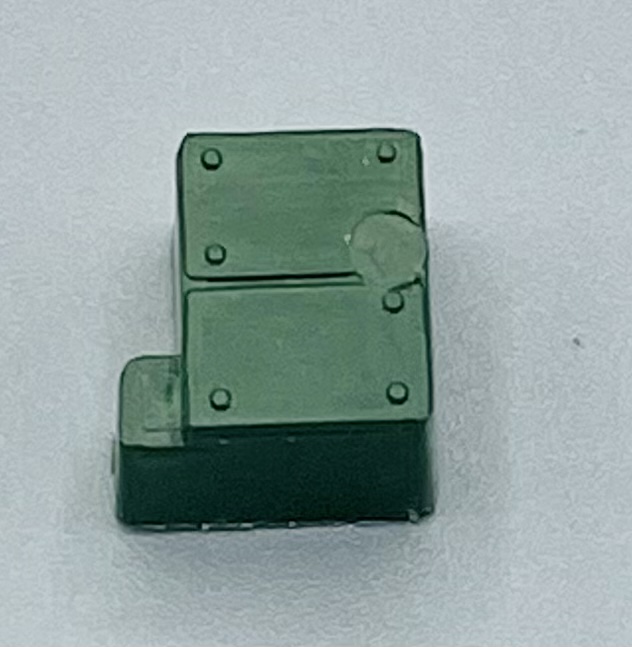
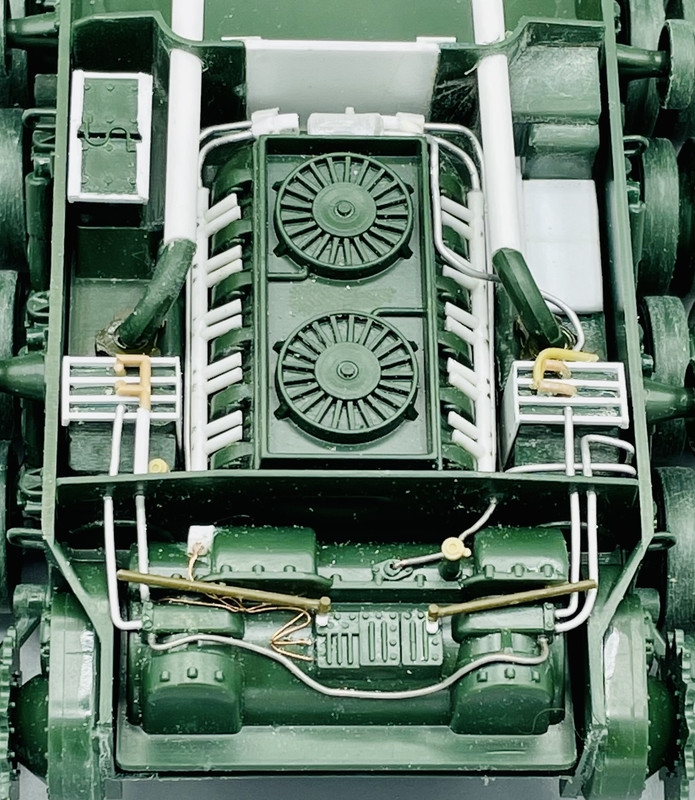
So the last couple of days I’ve been working on the engine. Yesterday I cut off Italeri’s sorry excuse for the auxiliary motor and generator
Which looks nothing like the real thing
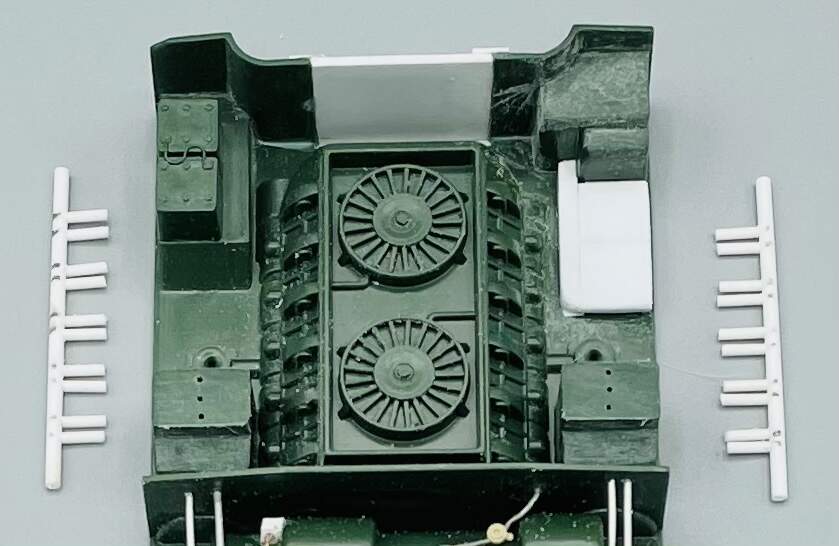
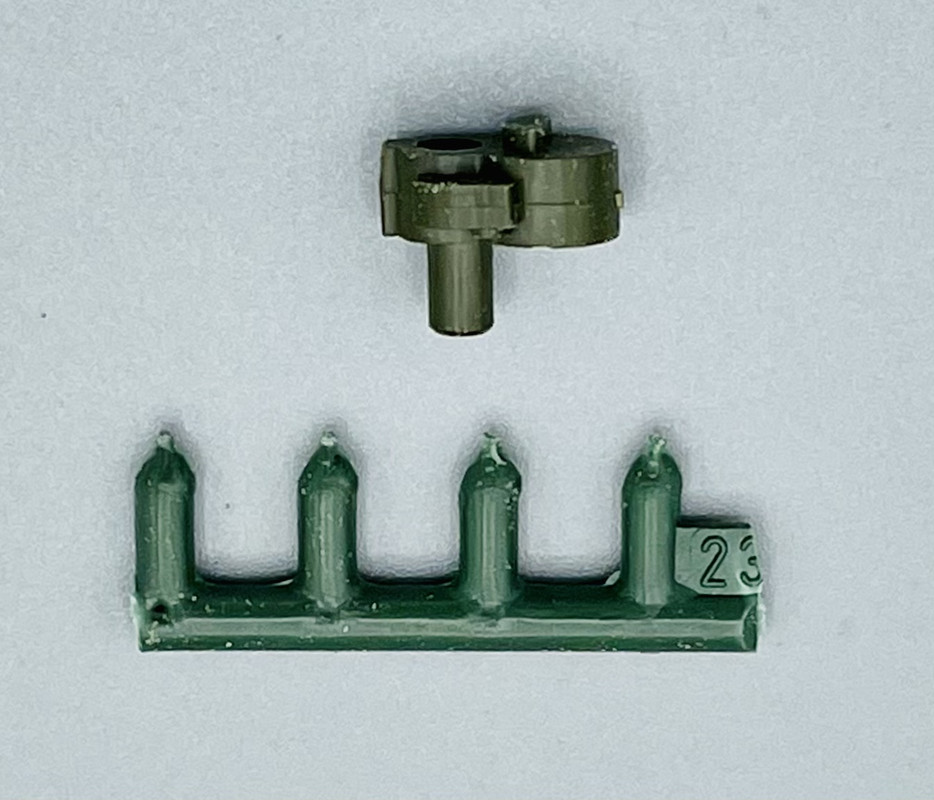
And I also sanded off all the incorrect detail molded on the oil coolers, and drilled in holes in preparation for plumbing lines.
Today I measured and cut lengths of styrene rod to make up the ignition harness for the cylinder banks, then glued them in place. I also created a section of the right side hull fuel tank that goes under the auxiliary motor
Then a test fit into the hull with the top on to show what will be visible
I still have a couple more sessions worth of work to add more details in there.
Looking better each time!
Thanks Ezra. I’m having fun doing this sort of thing.
Coming along very nicely.
Thank you sir. It’s starting to look properly busy in there.
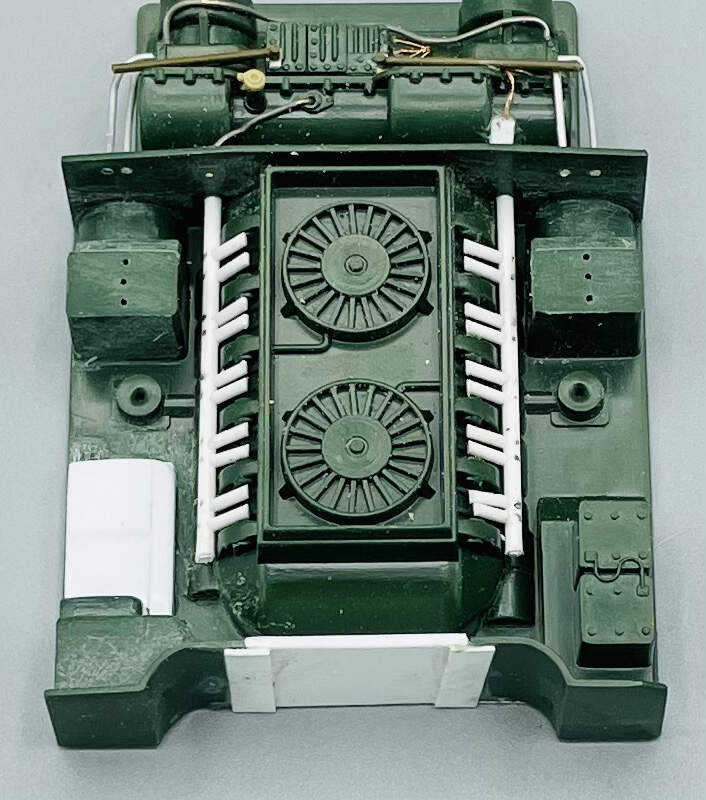
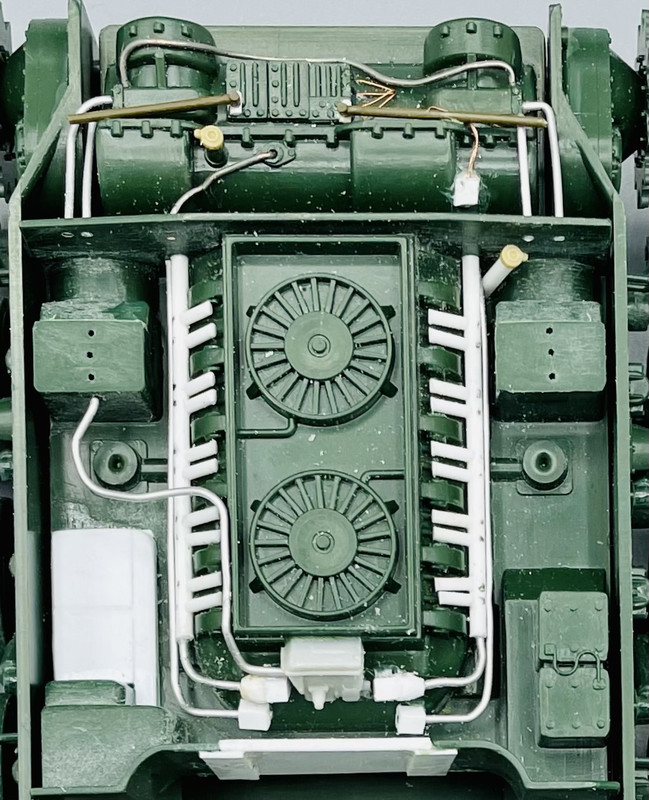
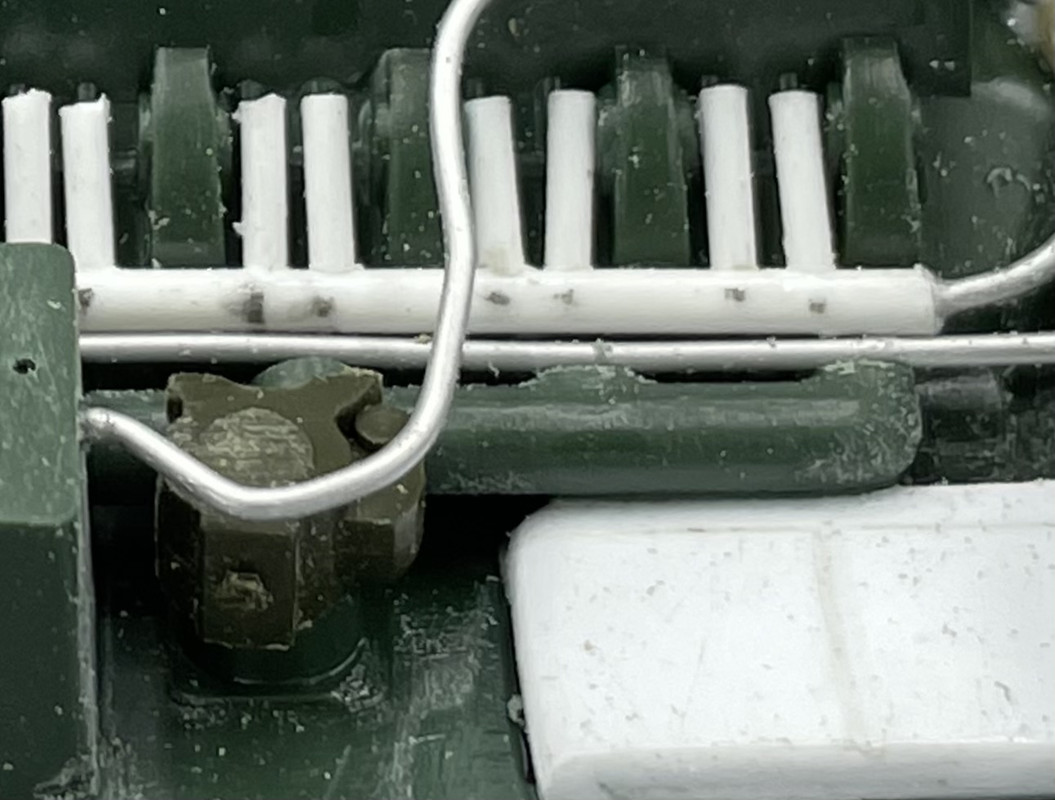
So today’s session of plumbing the engine was longer. But it feels like there is less to show. It was lots of trimming, fitting, drilling, and bending to get the stuff in place. And I added an oil filler tube and in the corner between the oil cooler and transmission housing on the left rear.
And the view from each side
Tomorrow I plan to work on the oil coolers and add in the carburetors and ducting, since it should be raining here all day.
Looks excellent Carlos
Thank you Richard. Its nice when the vision takes form
Looks superb!
I have been watching quietly and now I must say that you are doing
an AWESOME job on that Patton.
Cheers,
Ezra and Joe, thanks for your kind words!
and deeper down the rabbit hole I go… oh Mr. Rabbit!
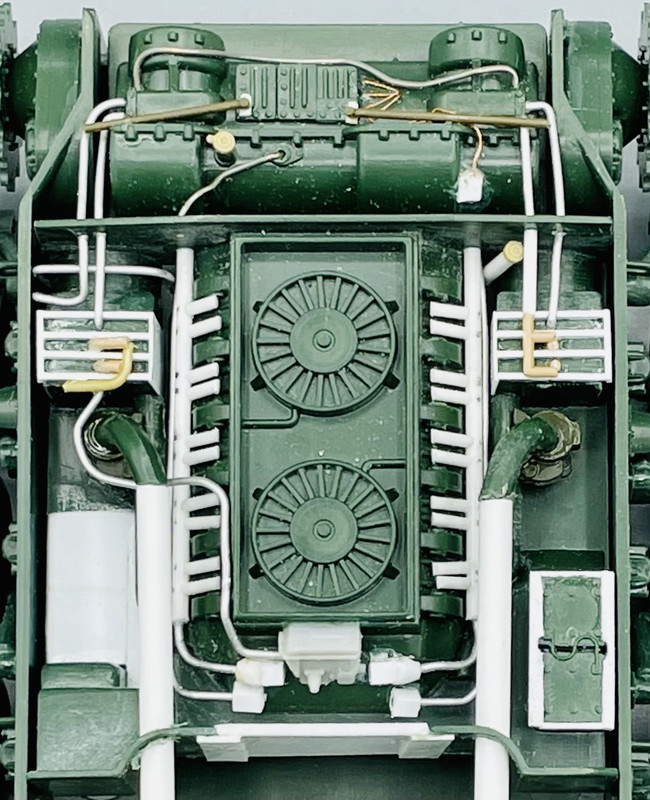
So today’s session has to be broken up, I have so much planned. First off I’m using some sort of idea wheel mounts and sections of sprue here to create the carburetors and intake manifolds
So quite a while later of sanding and filing to resemble what I want and make it fit, I had one completed
And then I added the air ducting from the air cleaner to the carburetor.
Now to finish the other side and get to work on the oil coolers…
My final update for today.
I finished up the carburetors and intake ducting, detailed the oil coolers, and finished the plumbing in those areas.
I still need to add the auxiliary motor and battery lead cables. Next session.
Very nice. It is looking great. I can’t wait to see it all painted up.
Really nice! Love seeing it come alive.
Nice scratch work.