Happy New Year everyone!
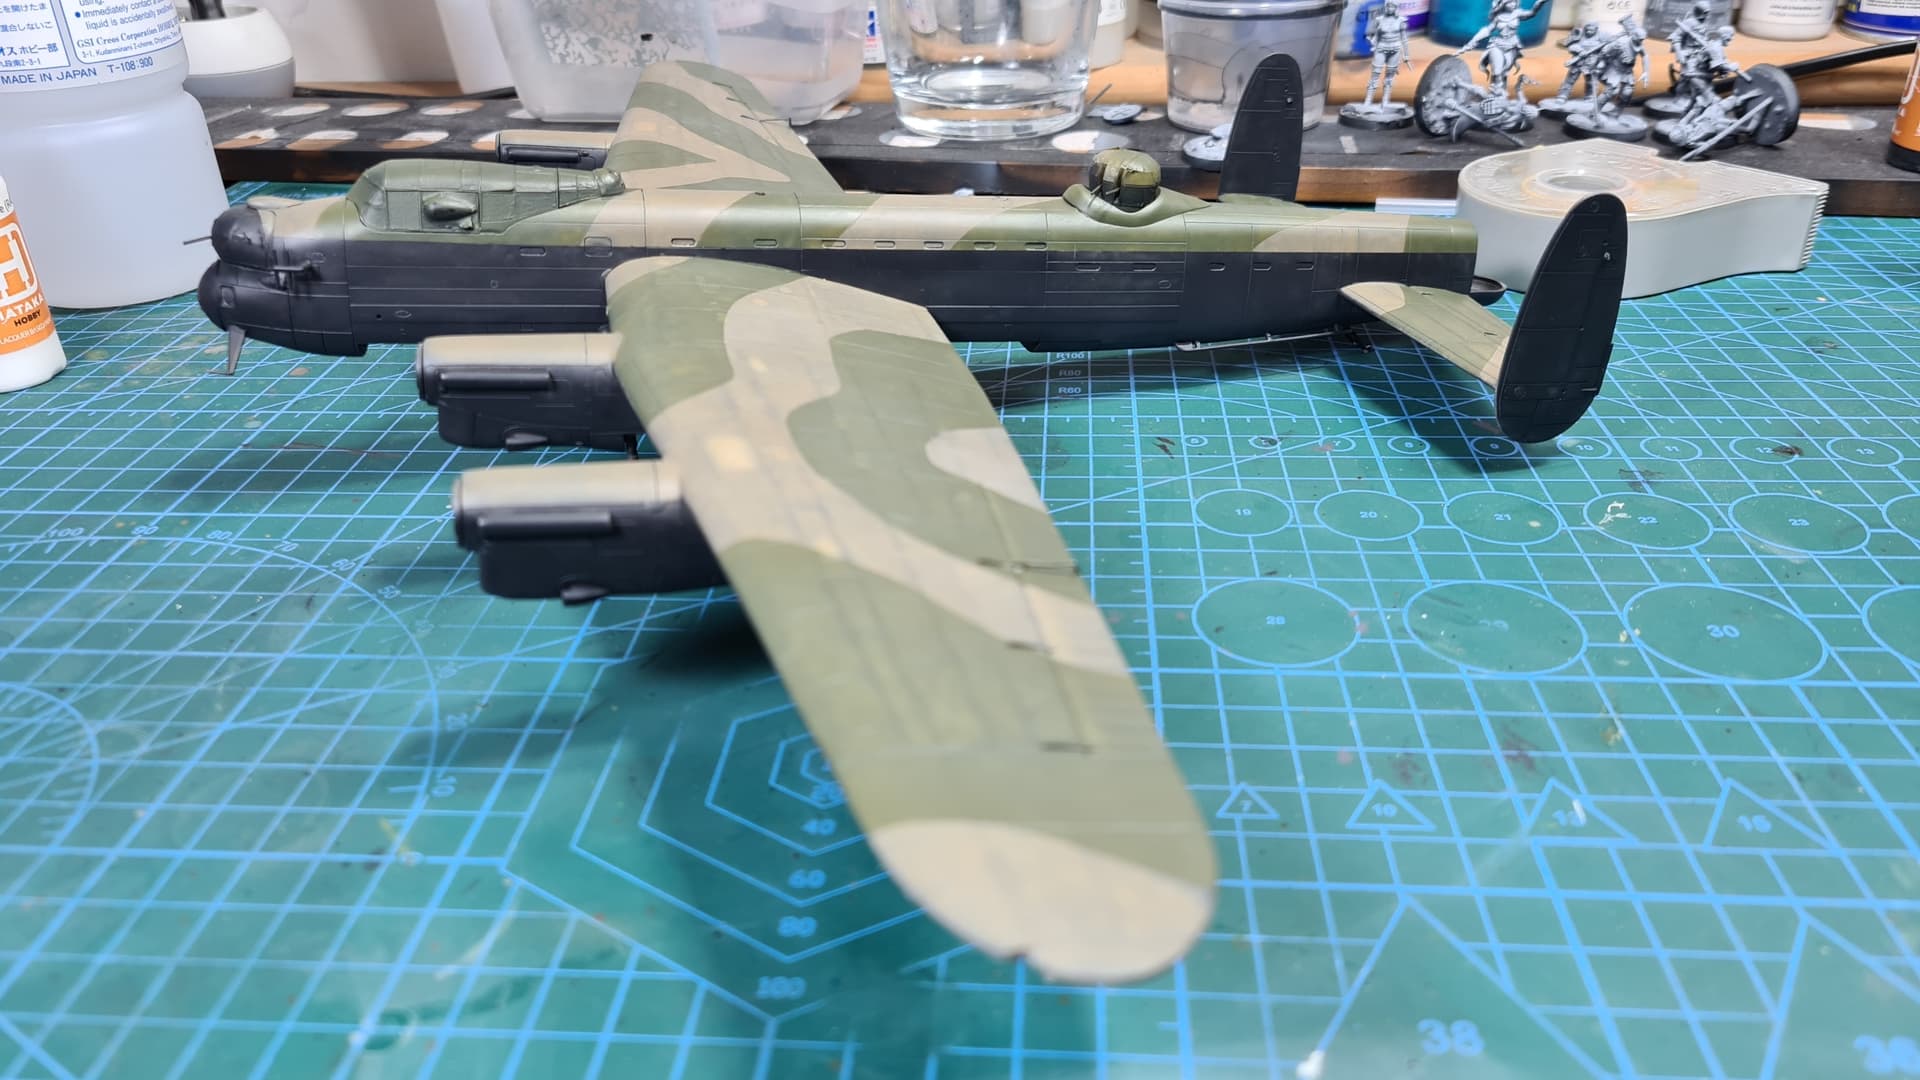
Ok, so I applied mix of NATO black & Jet Black from Hataka Orange series to get some … hmm… off-black(?) colour so as “pure” black looked too dark to me, especially when taking into consideration any further fancy stuff like varnishes, weathering and so on.
So here’s how it Lannist… Lancaster looks now:
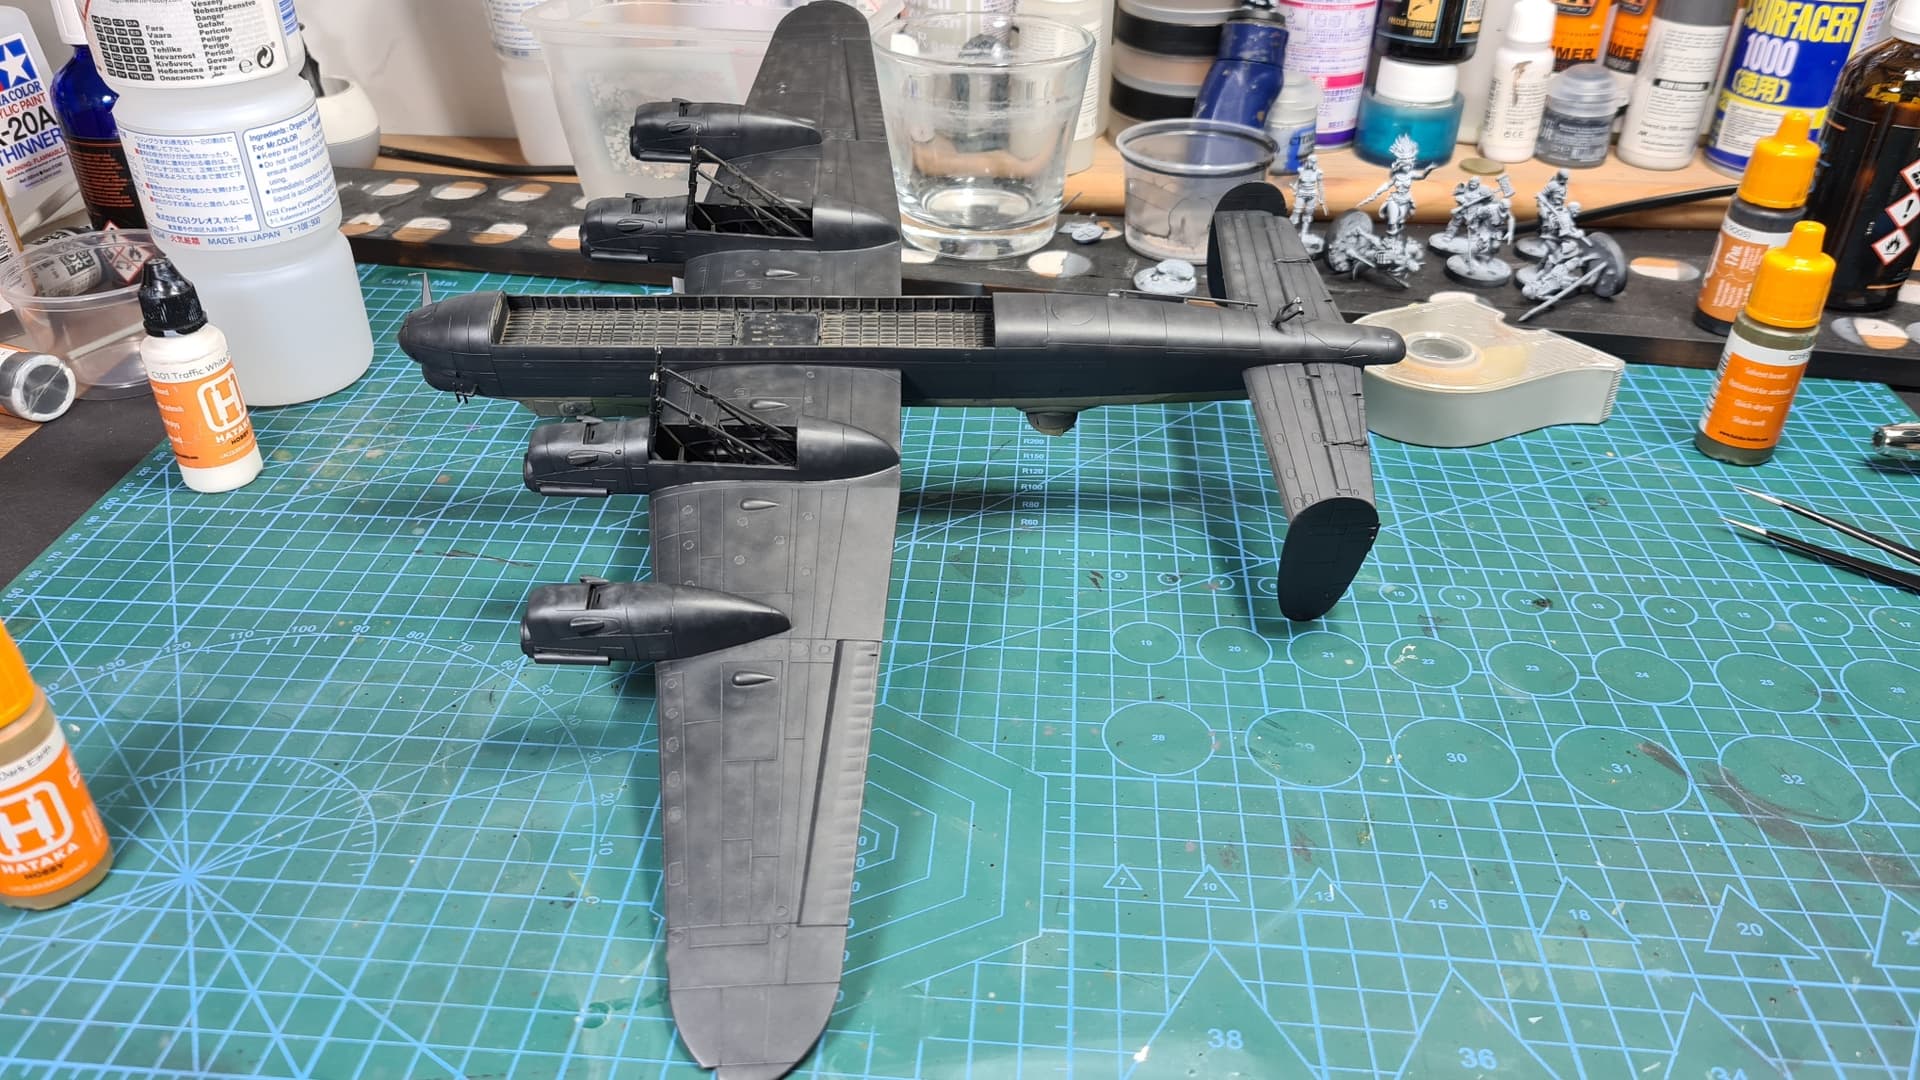
I just have put first layer of gloss GX-100 on it (still wet, so no pics), but I think I’ll need another layer in order to prevent silvering of decals on those very dark surfaces.
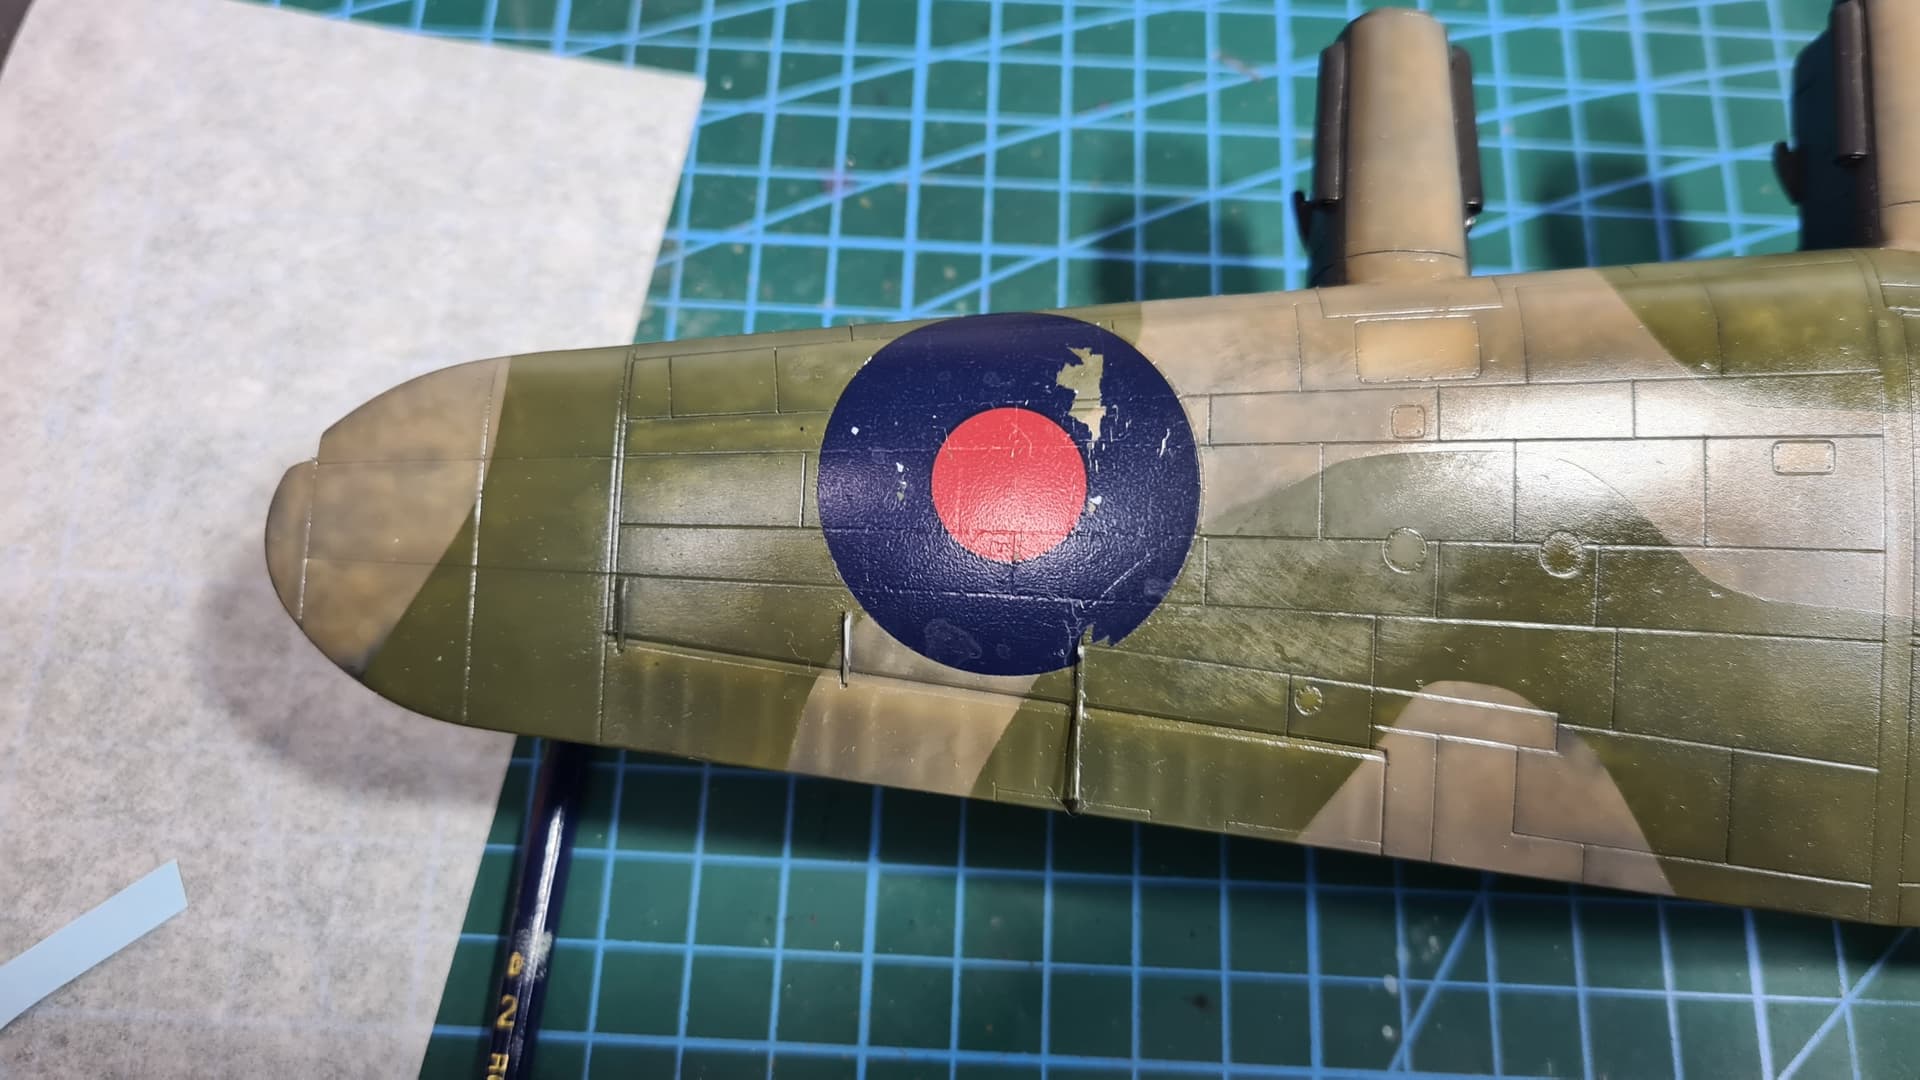
This Lanc seems to be cursed . Today I sat to apply superfine and detailed Techmod decals. They’re really superb in quality but at the same time to fragile for my shaky hands.
My standard method is to use Micro Sol & Set as they’re supposed to on super glossy surface. But these decals… how to describe it. Basically if you don’t fit it into place at first attempt you won’t be able to correct mistakes or they will crack.
I started from some technical markings on the bottom surface wing and this already smelled as disaster. With hands shaking (I can’t hold breath for more than 10 seconds ) this was my result of my struggles:
But when I tried the roundels it hit me hard. I managed to put them in correct place and after original application of Micro Sol I applied Set to let them … set into crevices and so on. And these decals started cracking. One decals looks like that:
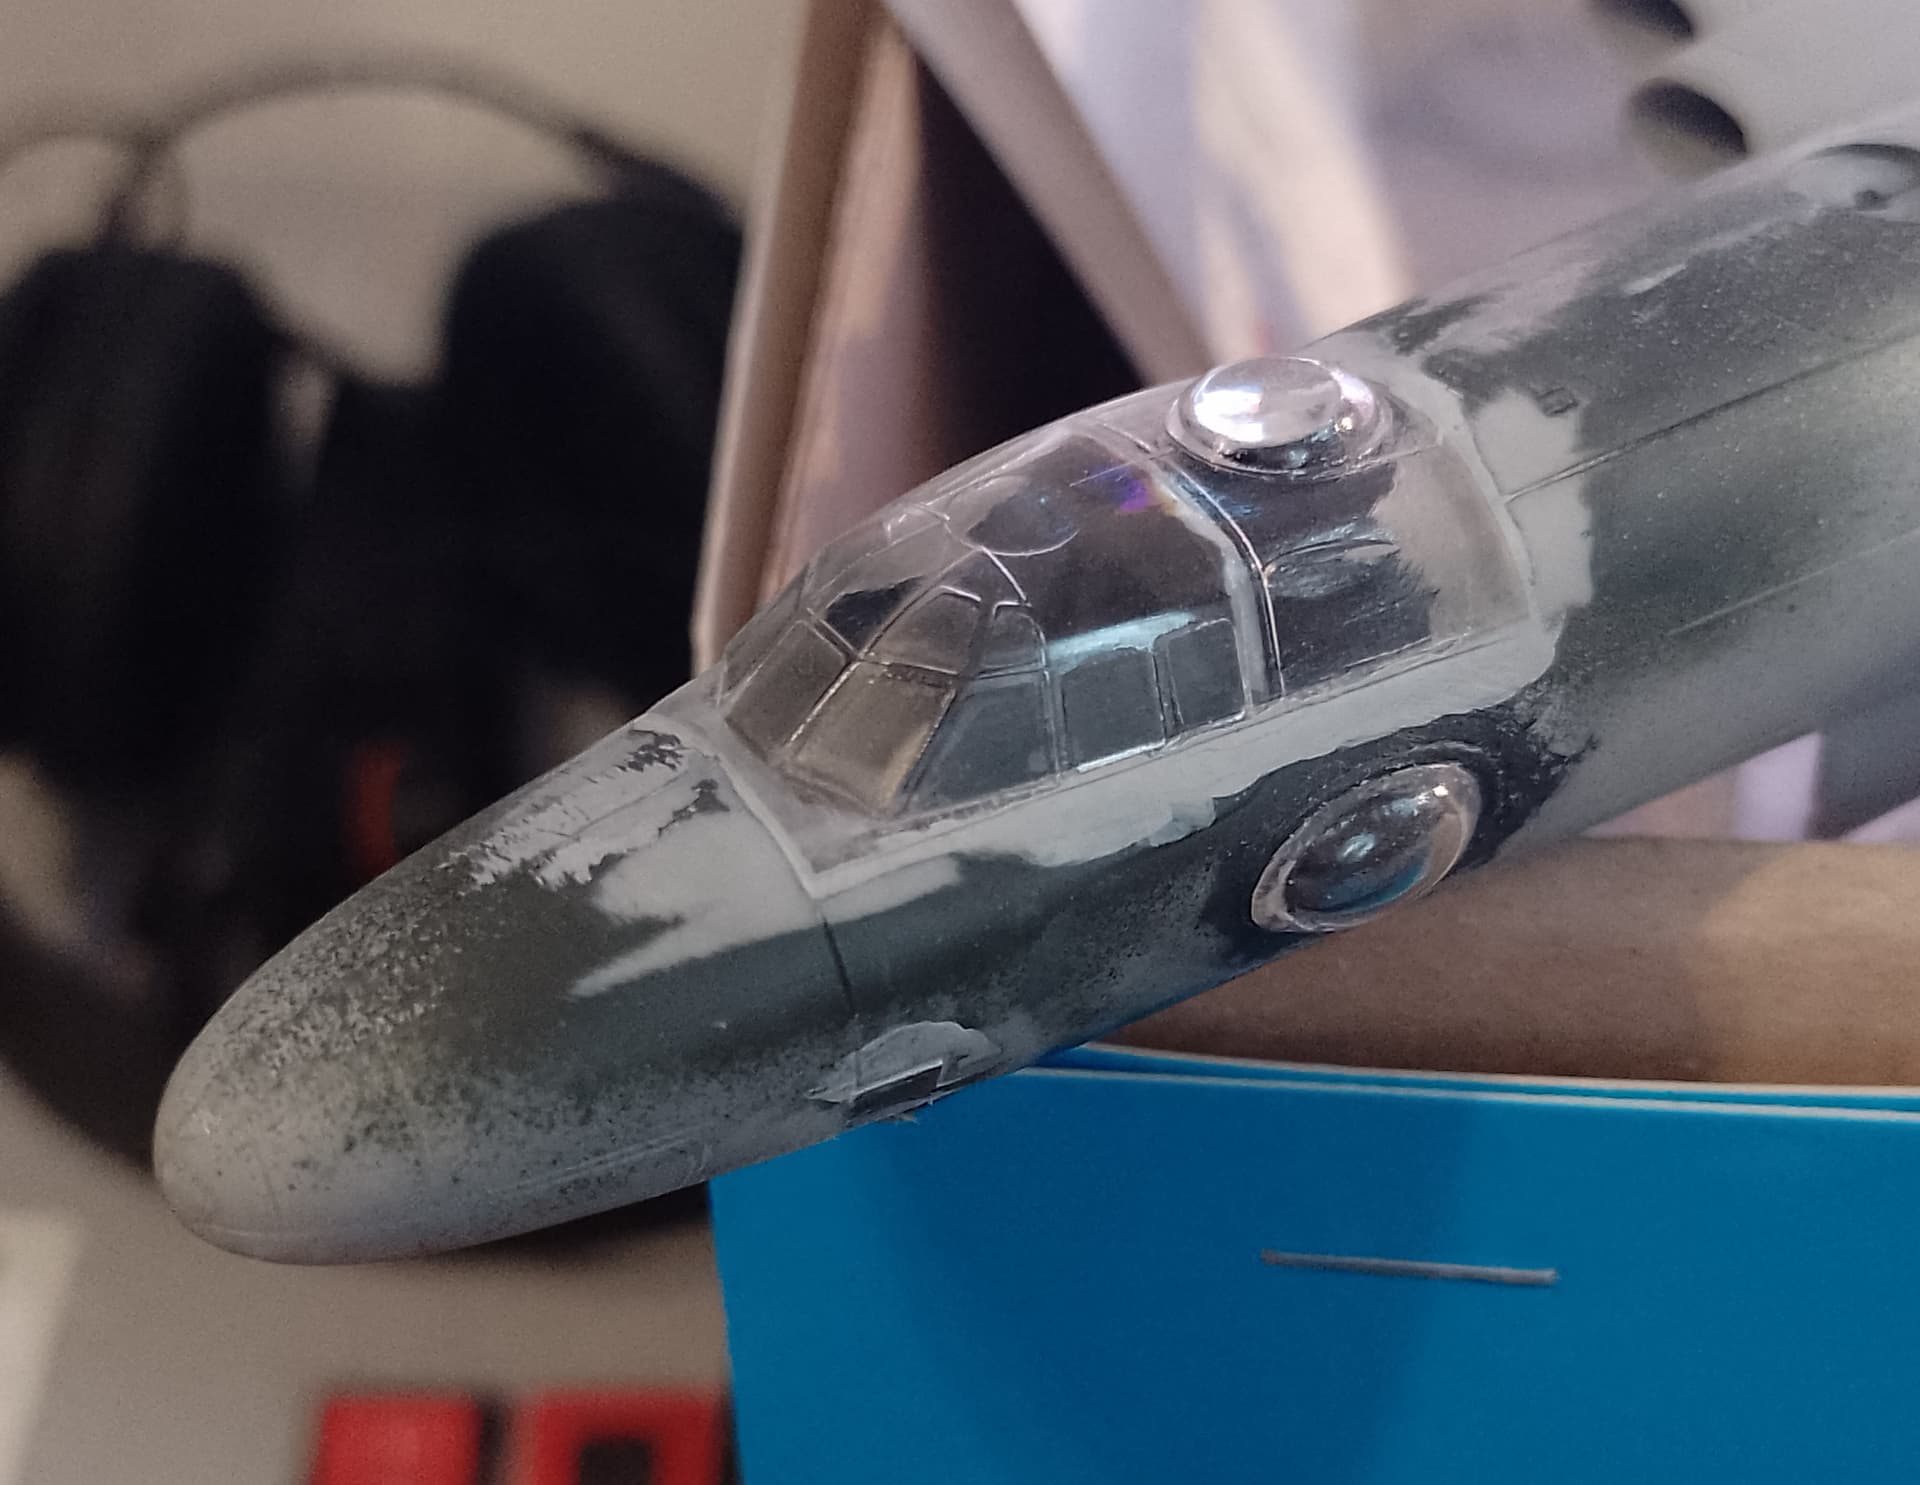
On top of that it turned out that I managed to damage roundels from Revell, so I can’t reuse them and it seems like markings I chose - plane BHoF - do not match config of the kit from Revell (e.g. plane apparently didn’t have side windows), so I’m a little bit frustrated. I’m not giving in (yet), but at the moment I don’t know how to continue.
With these roundels I have 2 possible solutions:
canniblaise Airfix kit I have in stash and use it’s decals, but they’re sitting on very fat film and also they seem not right).
alternatively - I could cut off some masks and spray colours from airbrush (never done this before, but this kit is already a one big training ground to me ) - However I would need some help - what are the best colour match for roundel blue and red colours (preferably from Tamiya ranges or Hataka)?
That’s bad luck Radek. I would go for airbrushing the roundels - and the letters - it’s not that difficult and the Tamiya colours are fine for doing that.
Thanks Stuart, if my airbrushing skills fail me I will check and order one of these for 1:72… Well who’m am I trying to fool - if I don’t aibrush the roundels Lancaster will be shot down into bins
Fortunately I have Tamiya’s masking sticker sheet with milimeter mesh (or whatever this thing is called ), so That will make my cutting easier, I only hope my Olfa compass is still sharp.
I am not the one to confirm or deny as this color choice came from the British model group, I am hoping there are others that could add references here? The Aussie Colin Ford is a trusted reference. I will keep digging
These are older ones and were in the box for quite a while too (I think I bought them ~8 yrs ago), so it’s possible they simply deteriorated with time. Last year I built few kits from Arma Hobby and all of them had Techmod decals and they were definitely more resilient than those from Lancaster set.
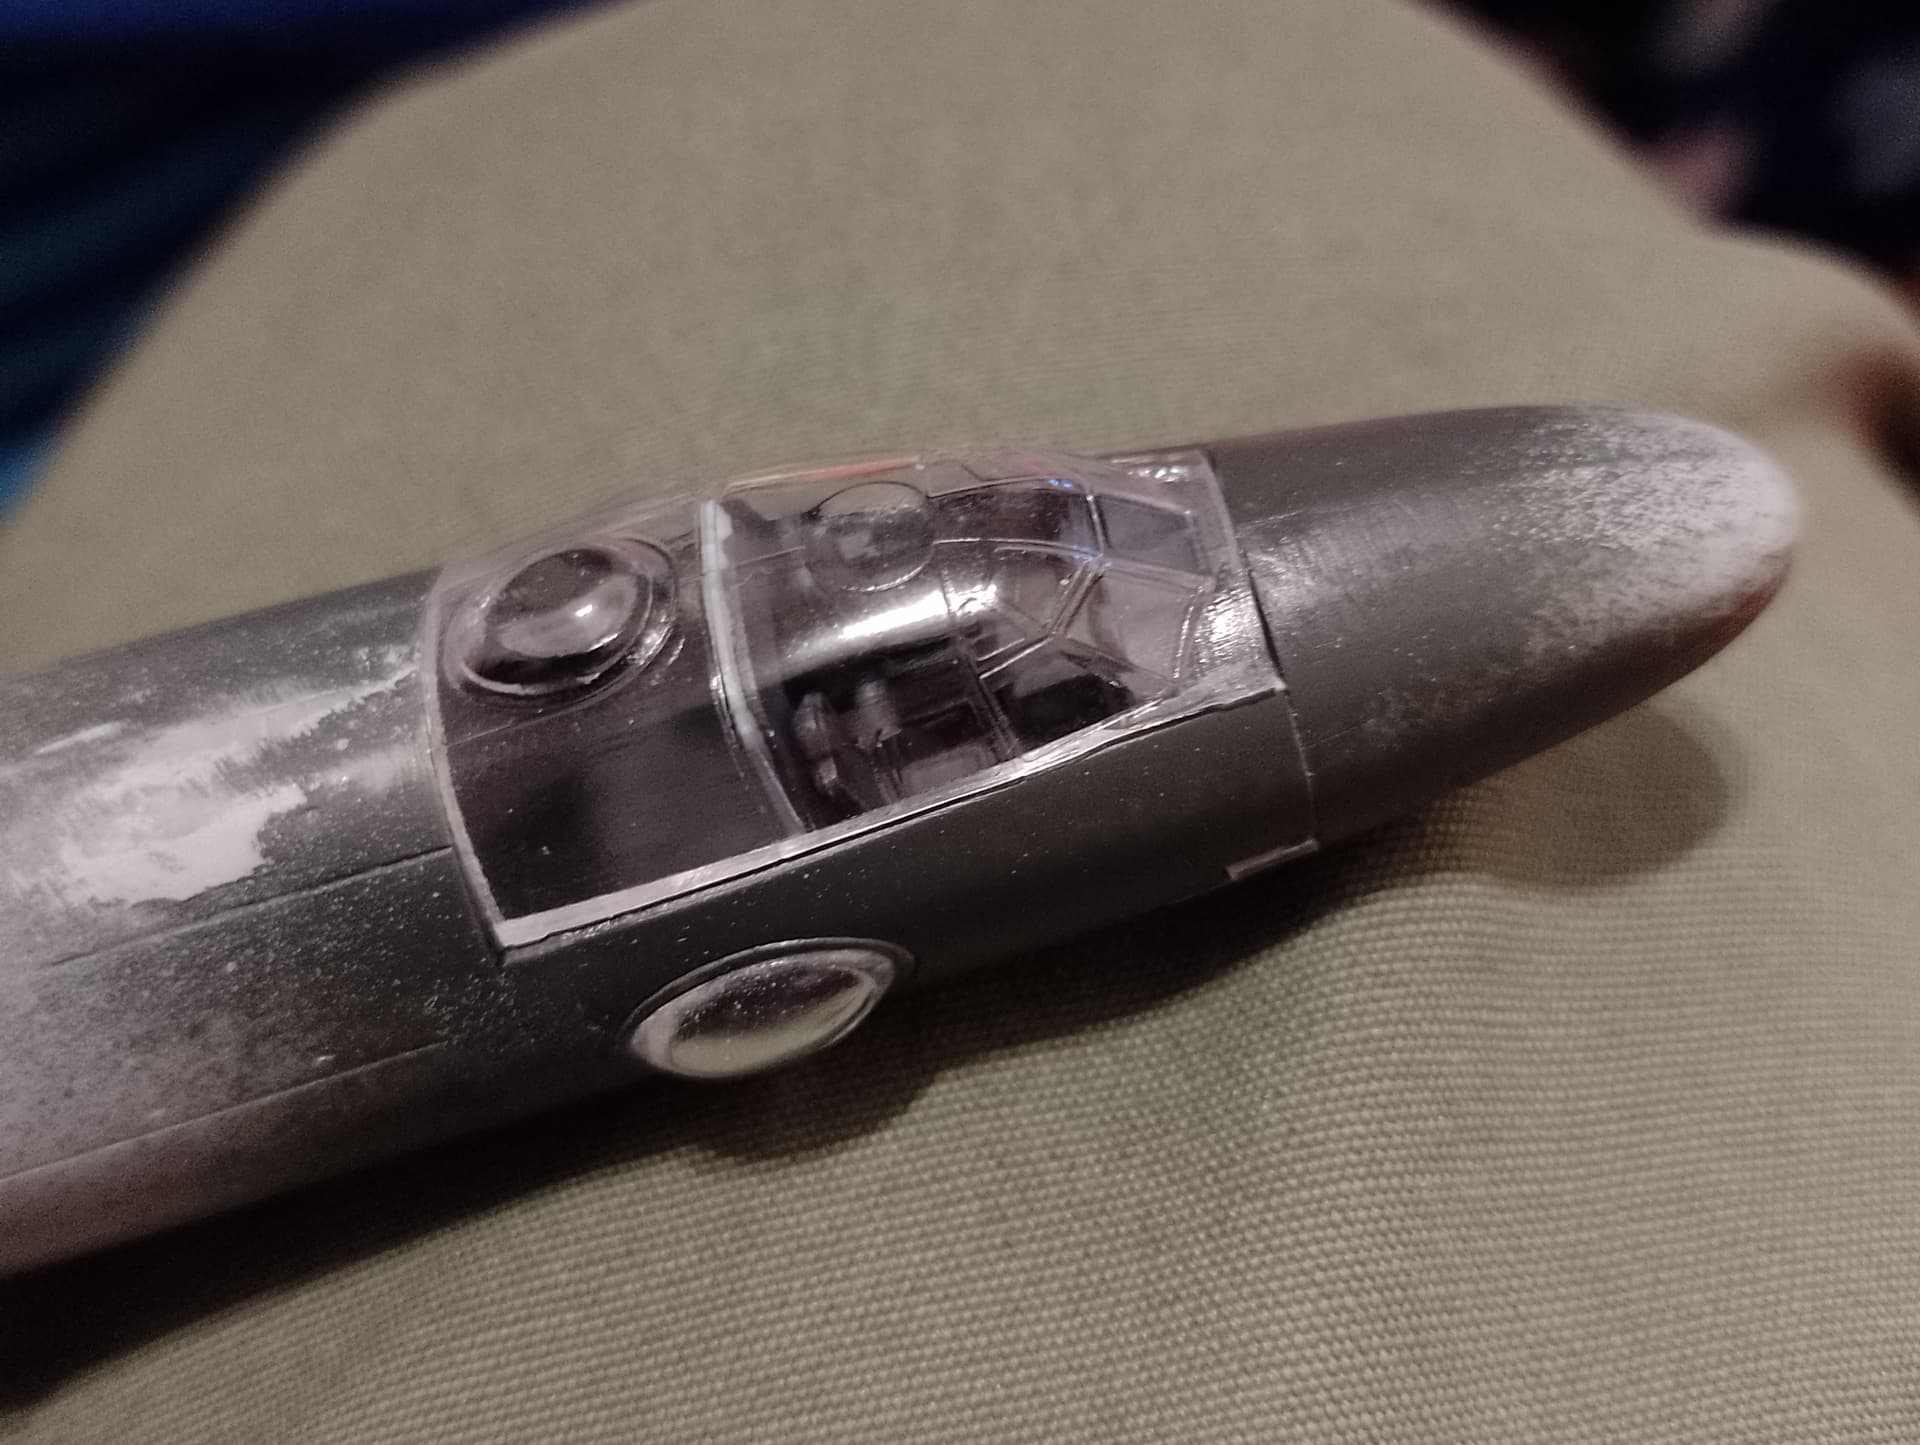
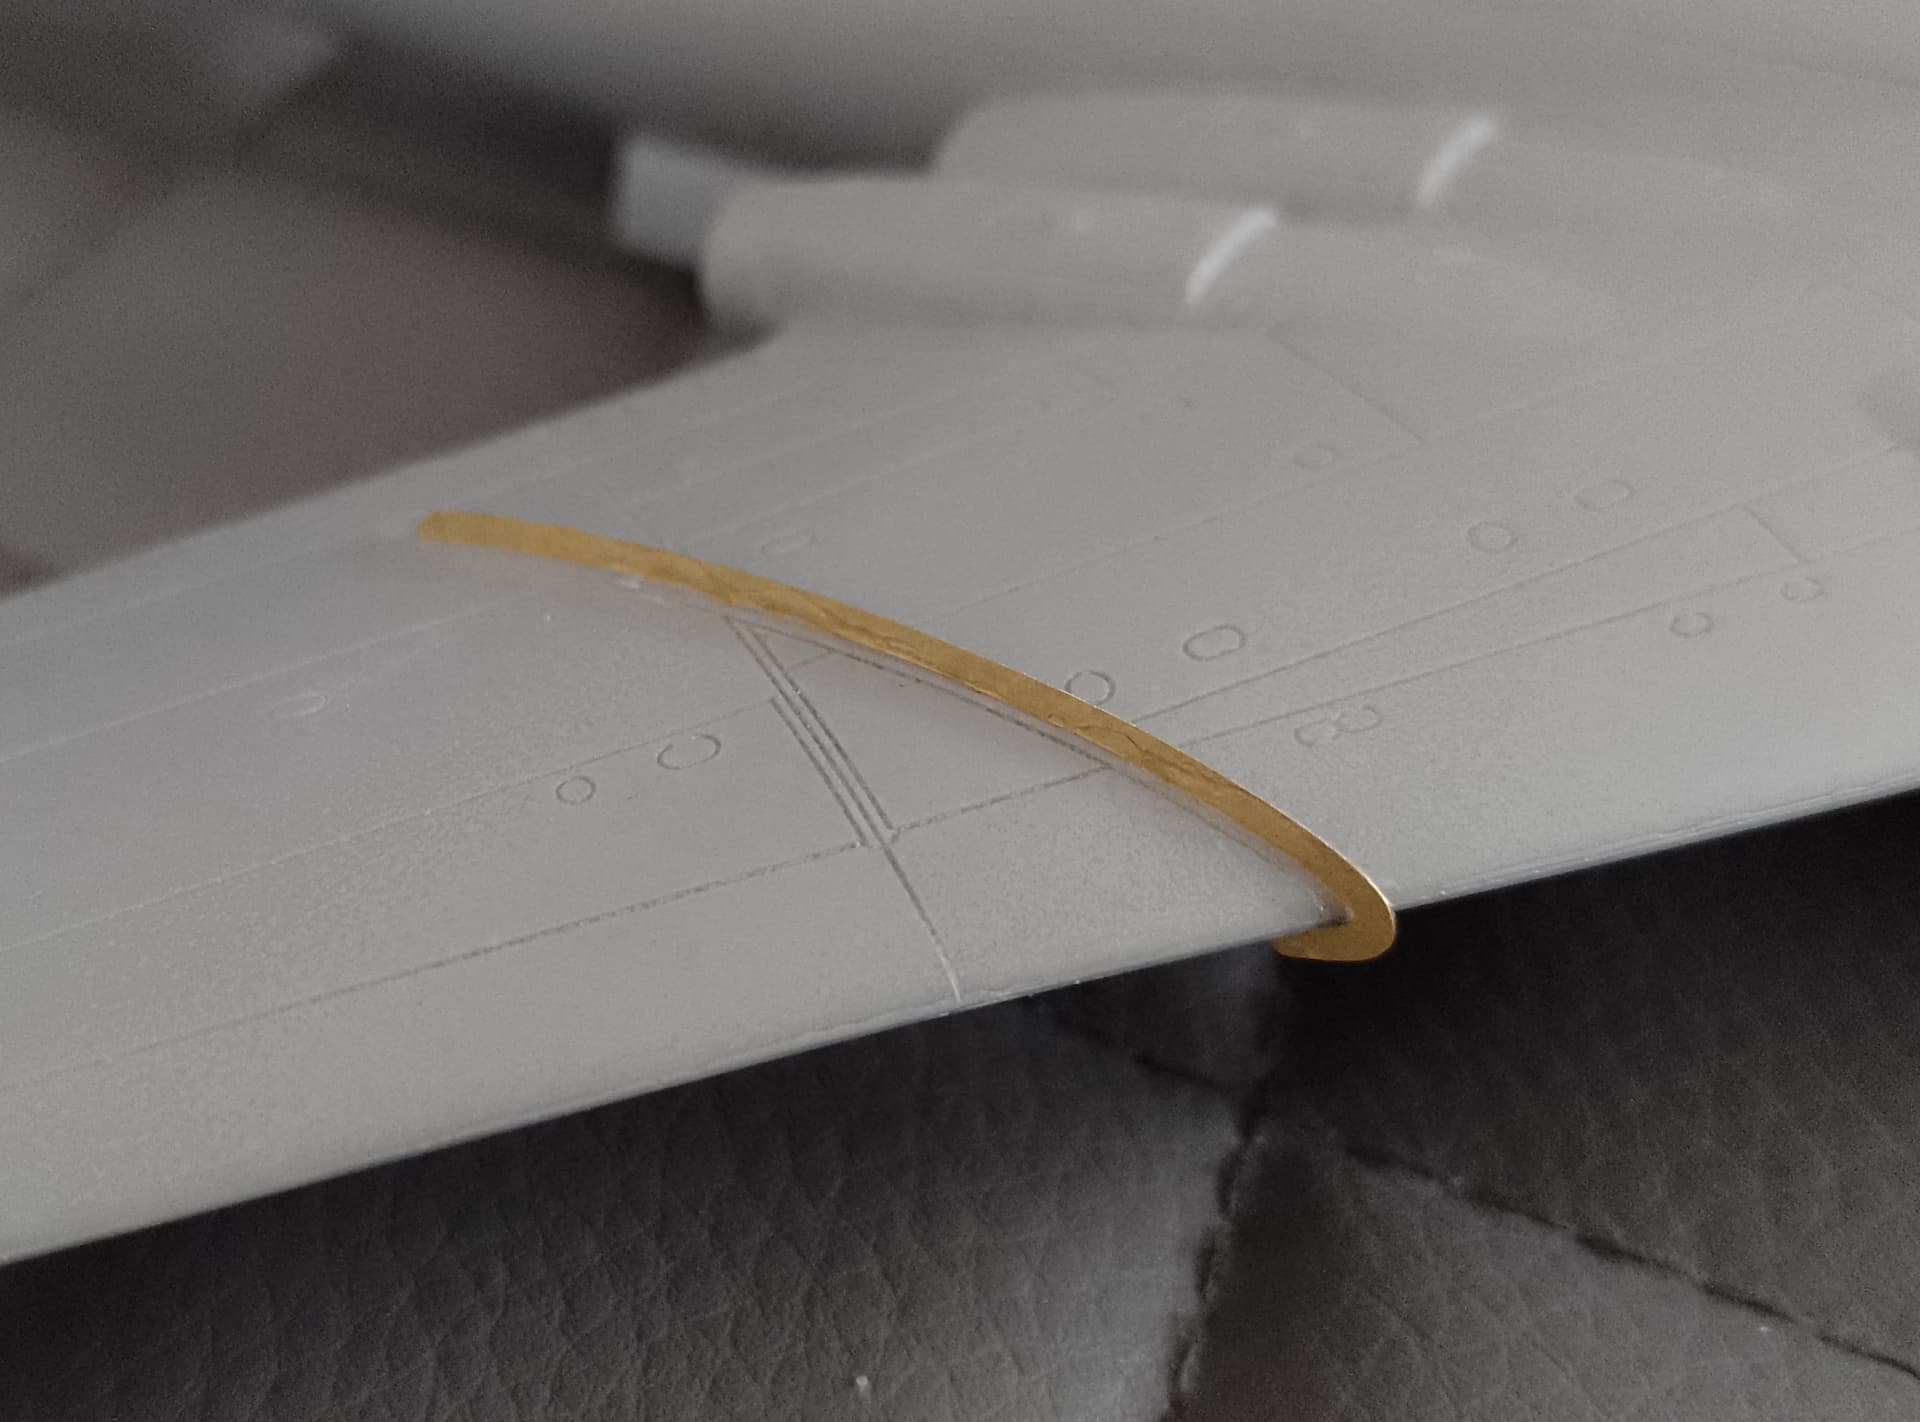
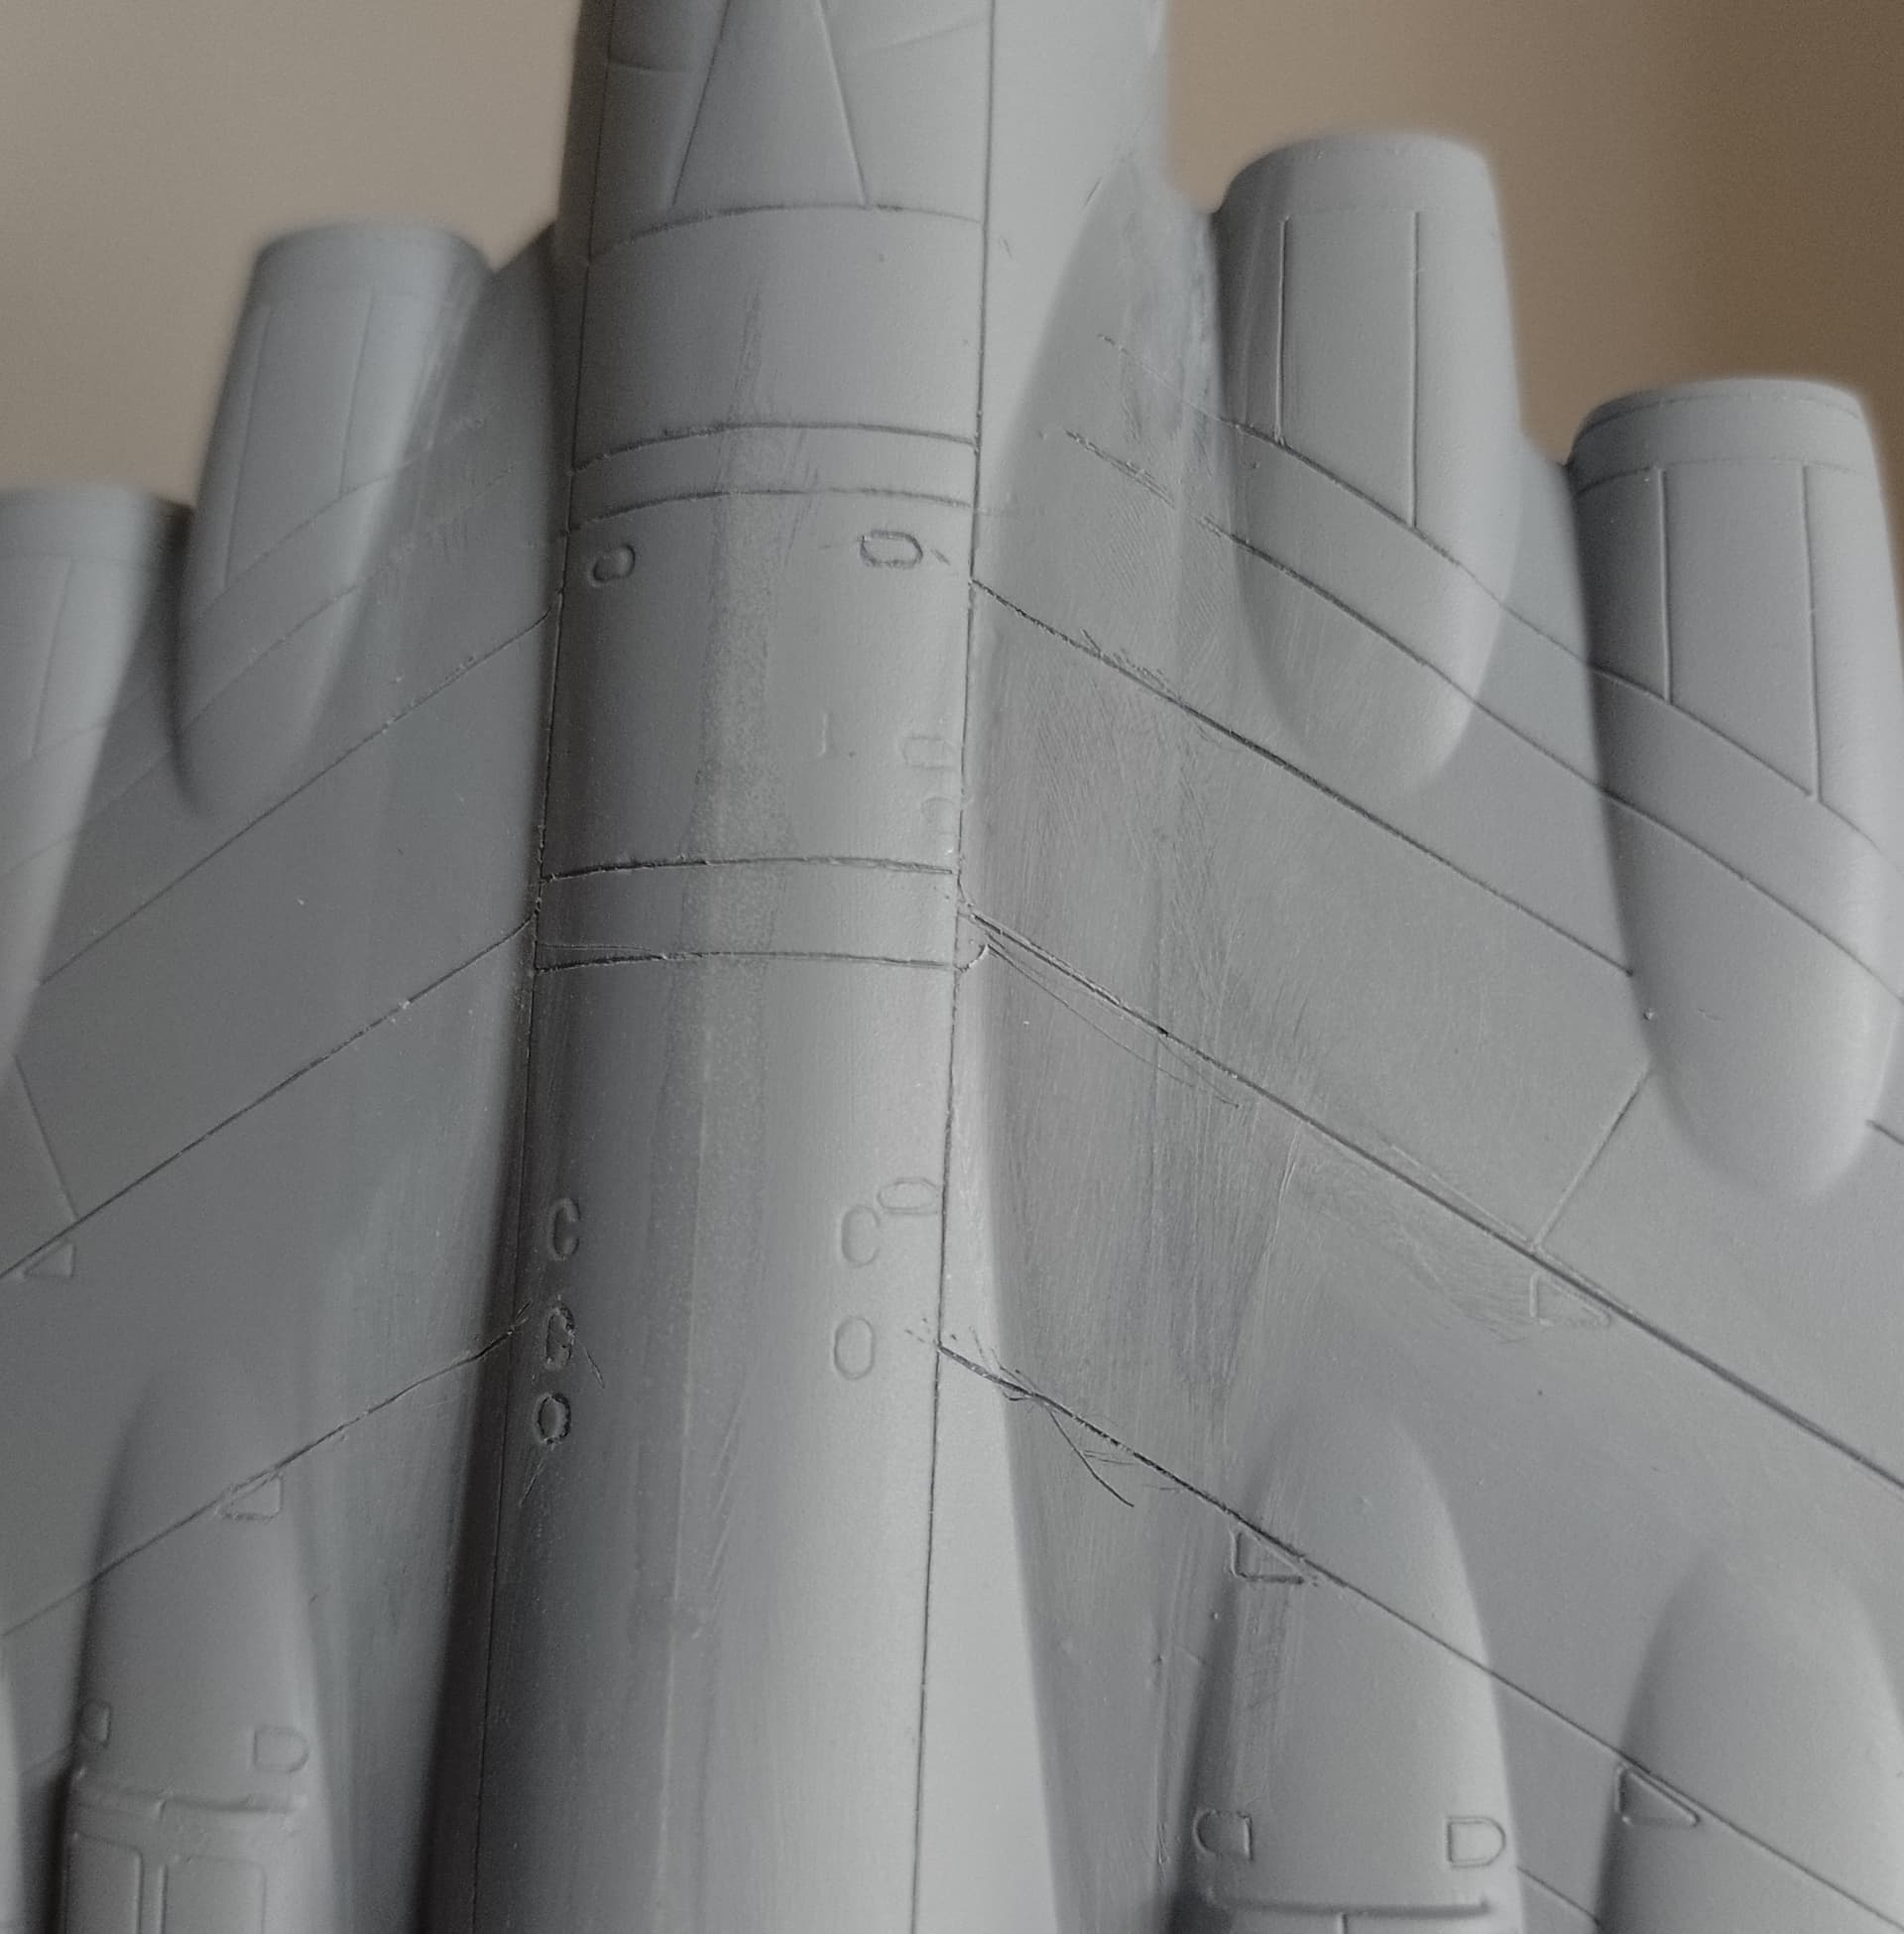
The toughest part is now not to give up. More putty, more sanding, bad fitting clear parts are another challenge and I dont even want to know how I will be rescribing all these panel lines.
The good news is im still in the game. Bad news is that this will probably not make it by the deadline unless I realy ignore most of the issues that the kit has.
I’m not going to lie, it will be very hard to get Lanc finished by extended end date.
I invested in DSPIAE MT-EC tool for cutting circles to make roundel templates, but it took a little to learn how to use it and measure correct roundels.
Before applying masks I cleaned up surface and then primed roundels areas to have an even surface to work with.
I managed to apply first, internal roundel with my home made mix of Tamiya 8 parts xf-7 matt red & 1 part pf xf-9 hull red. I’m still aiming to use remaining decals so I tried to match red colour to others.
Model still kicks back, during preps I managed to break landing gear struts and barely recovered from that. I also accidentially spit MLT on right wing leaving some nasty marks. Well I still need to repaint most of wings parts with camo colours, so no big deal… just costed me a little more nerves
Slowly but steady pushing it in turtle speed towards finish line.
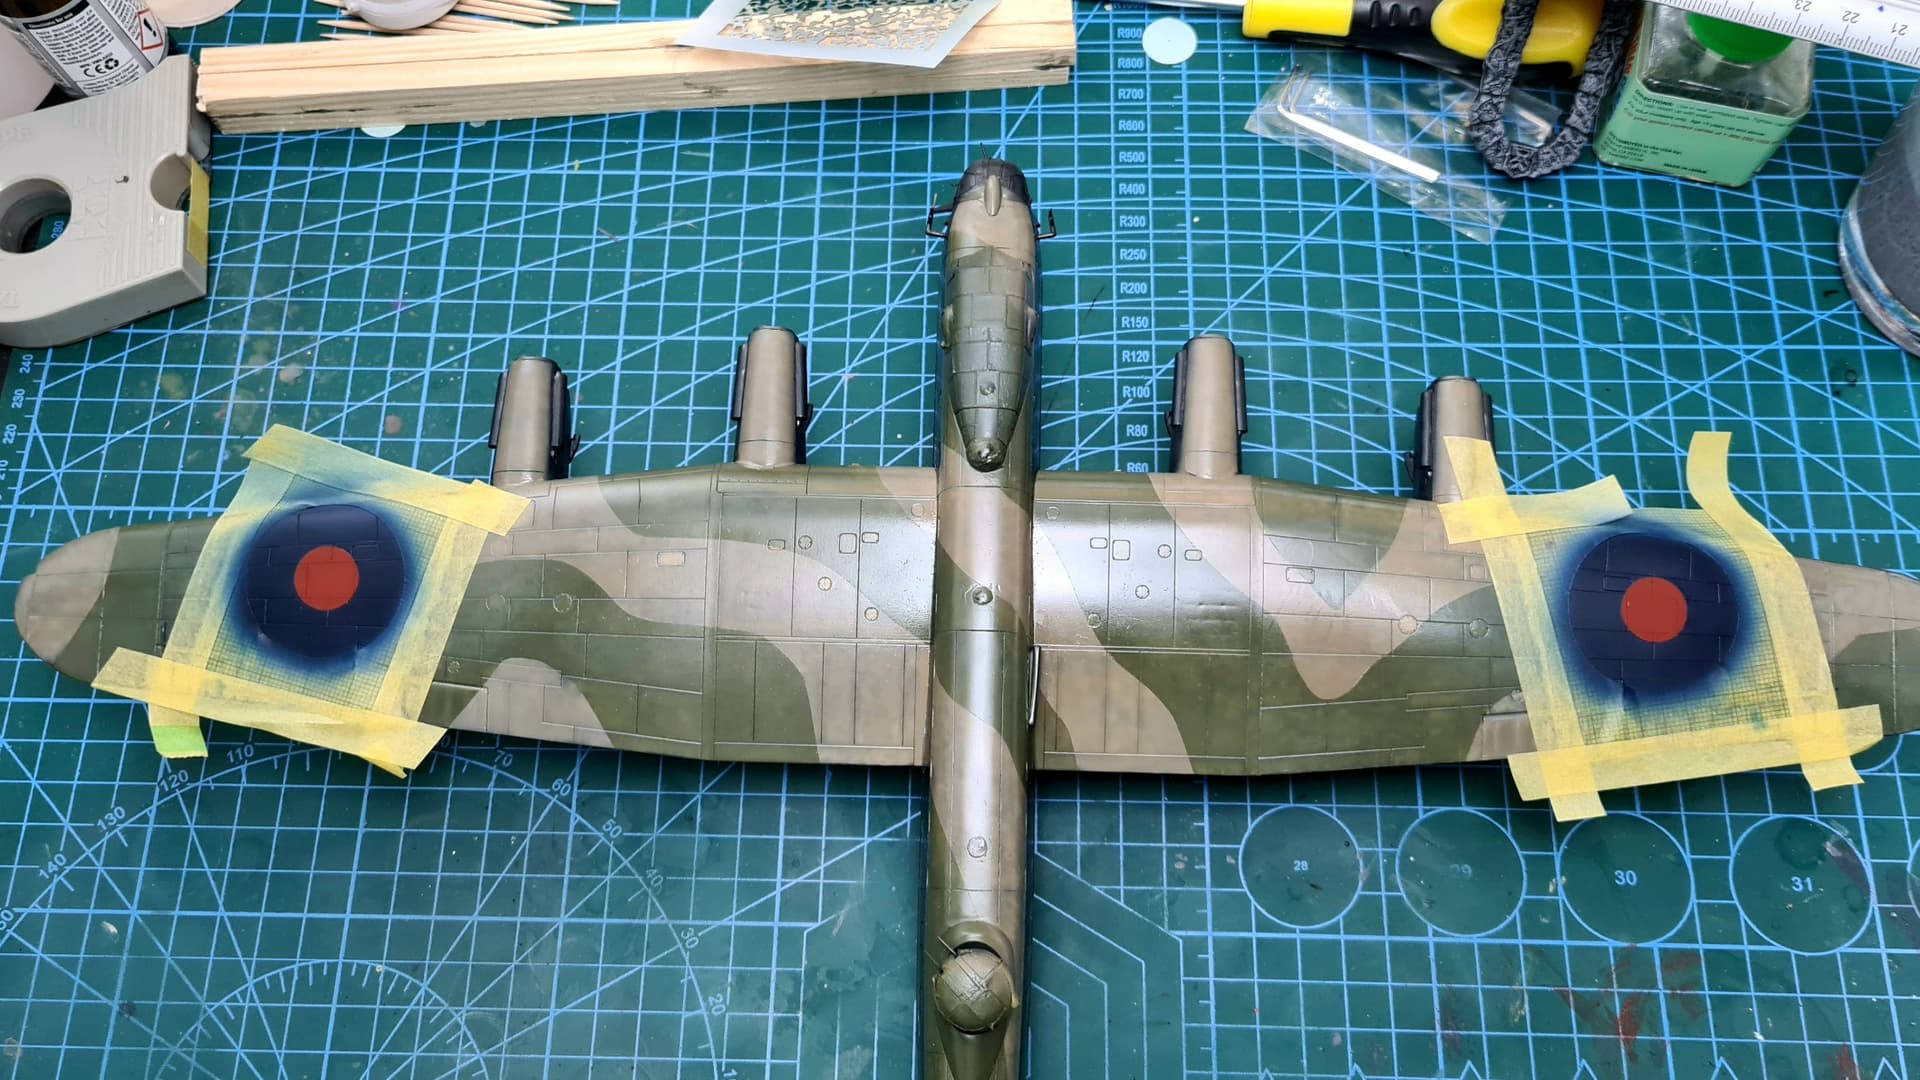
Dark blue roundel colour put it. I’m quite happy with the result, especially that there was almost no cut off between masks, only minor spot to fix on left top par of red inside circle and it was easy to fit
Of course there are some “uppers” so there must be som “downers” . If you look carefully on above pics you can see that masks are not simmetrically placed . There’s a ~1-2 mm displacement, I hope it won’t be that much visible, but it’s already stuck in my head now .
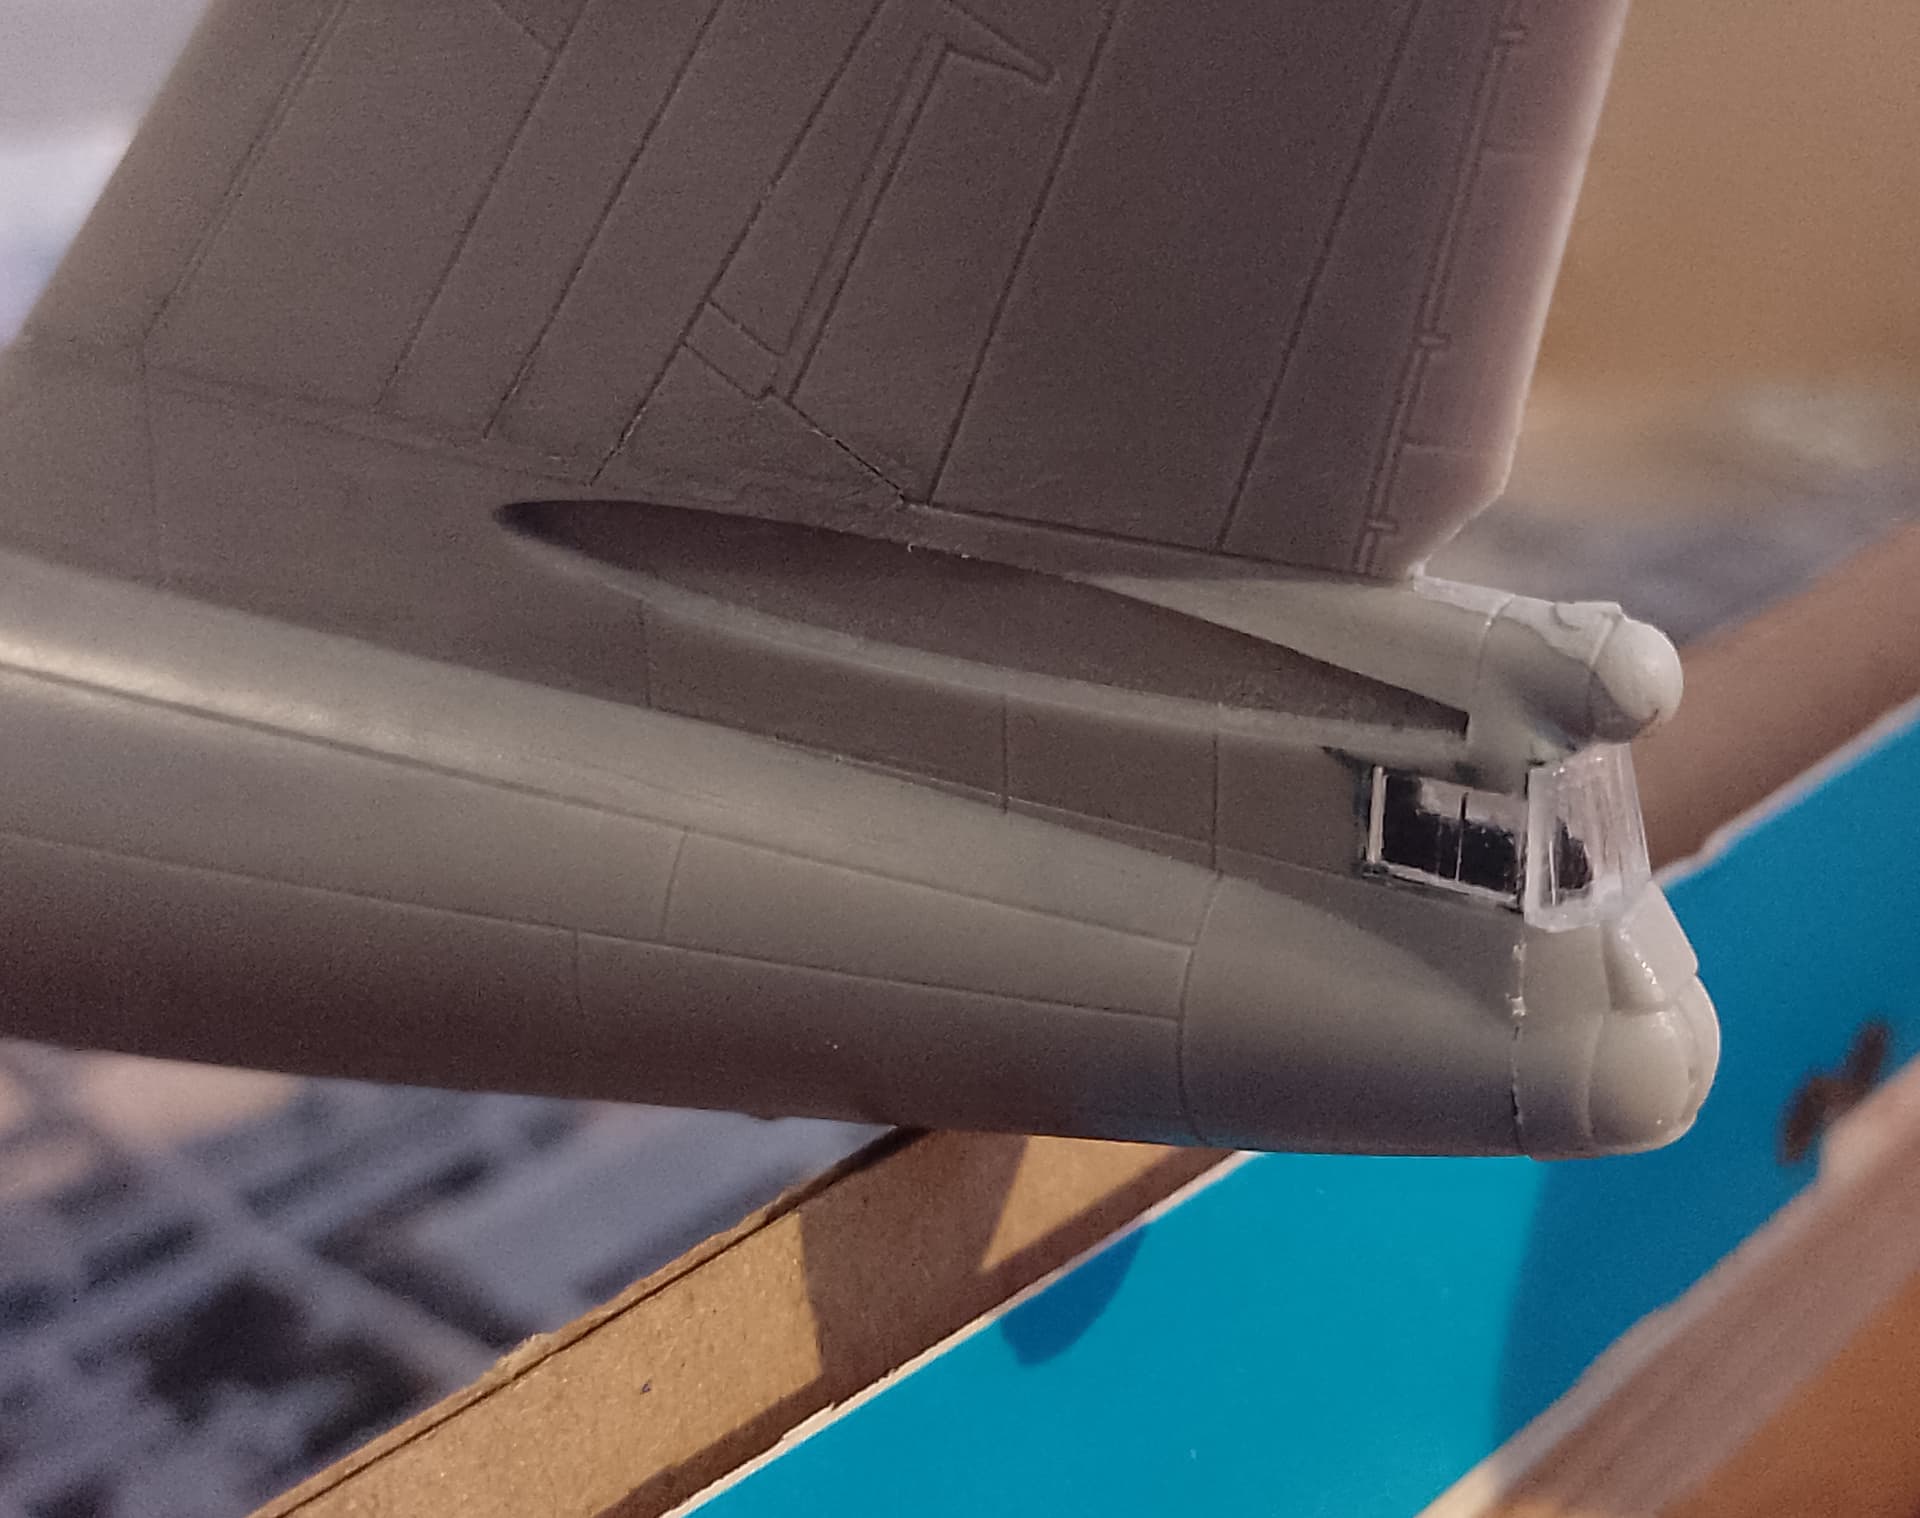
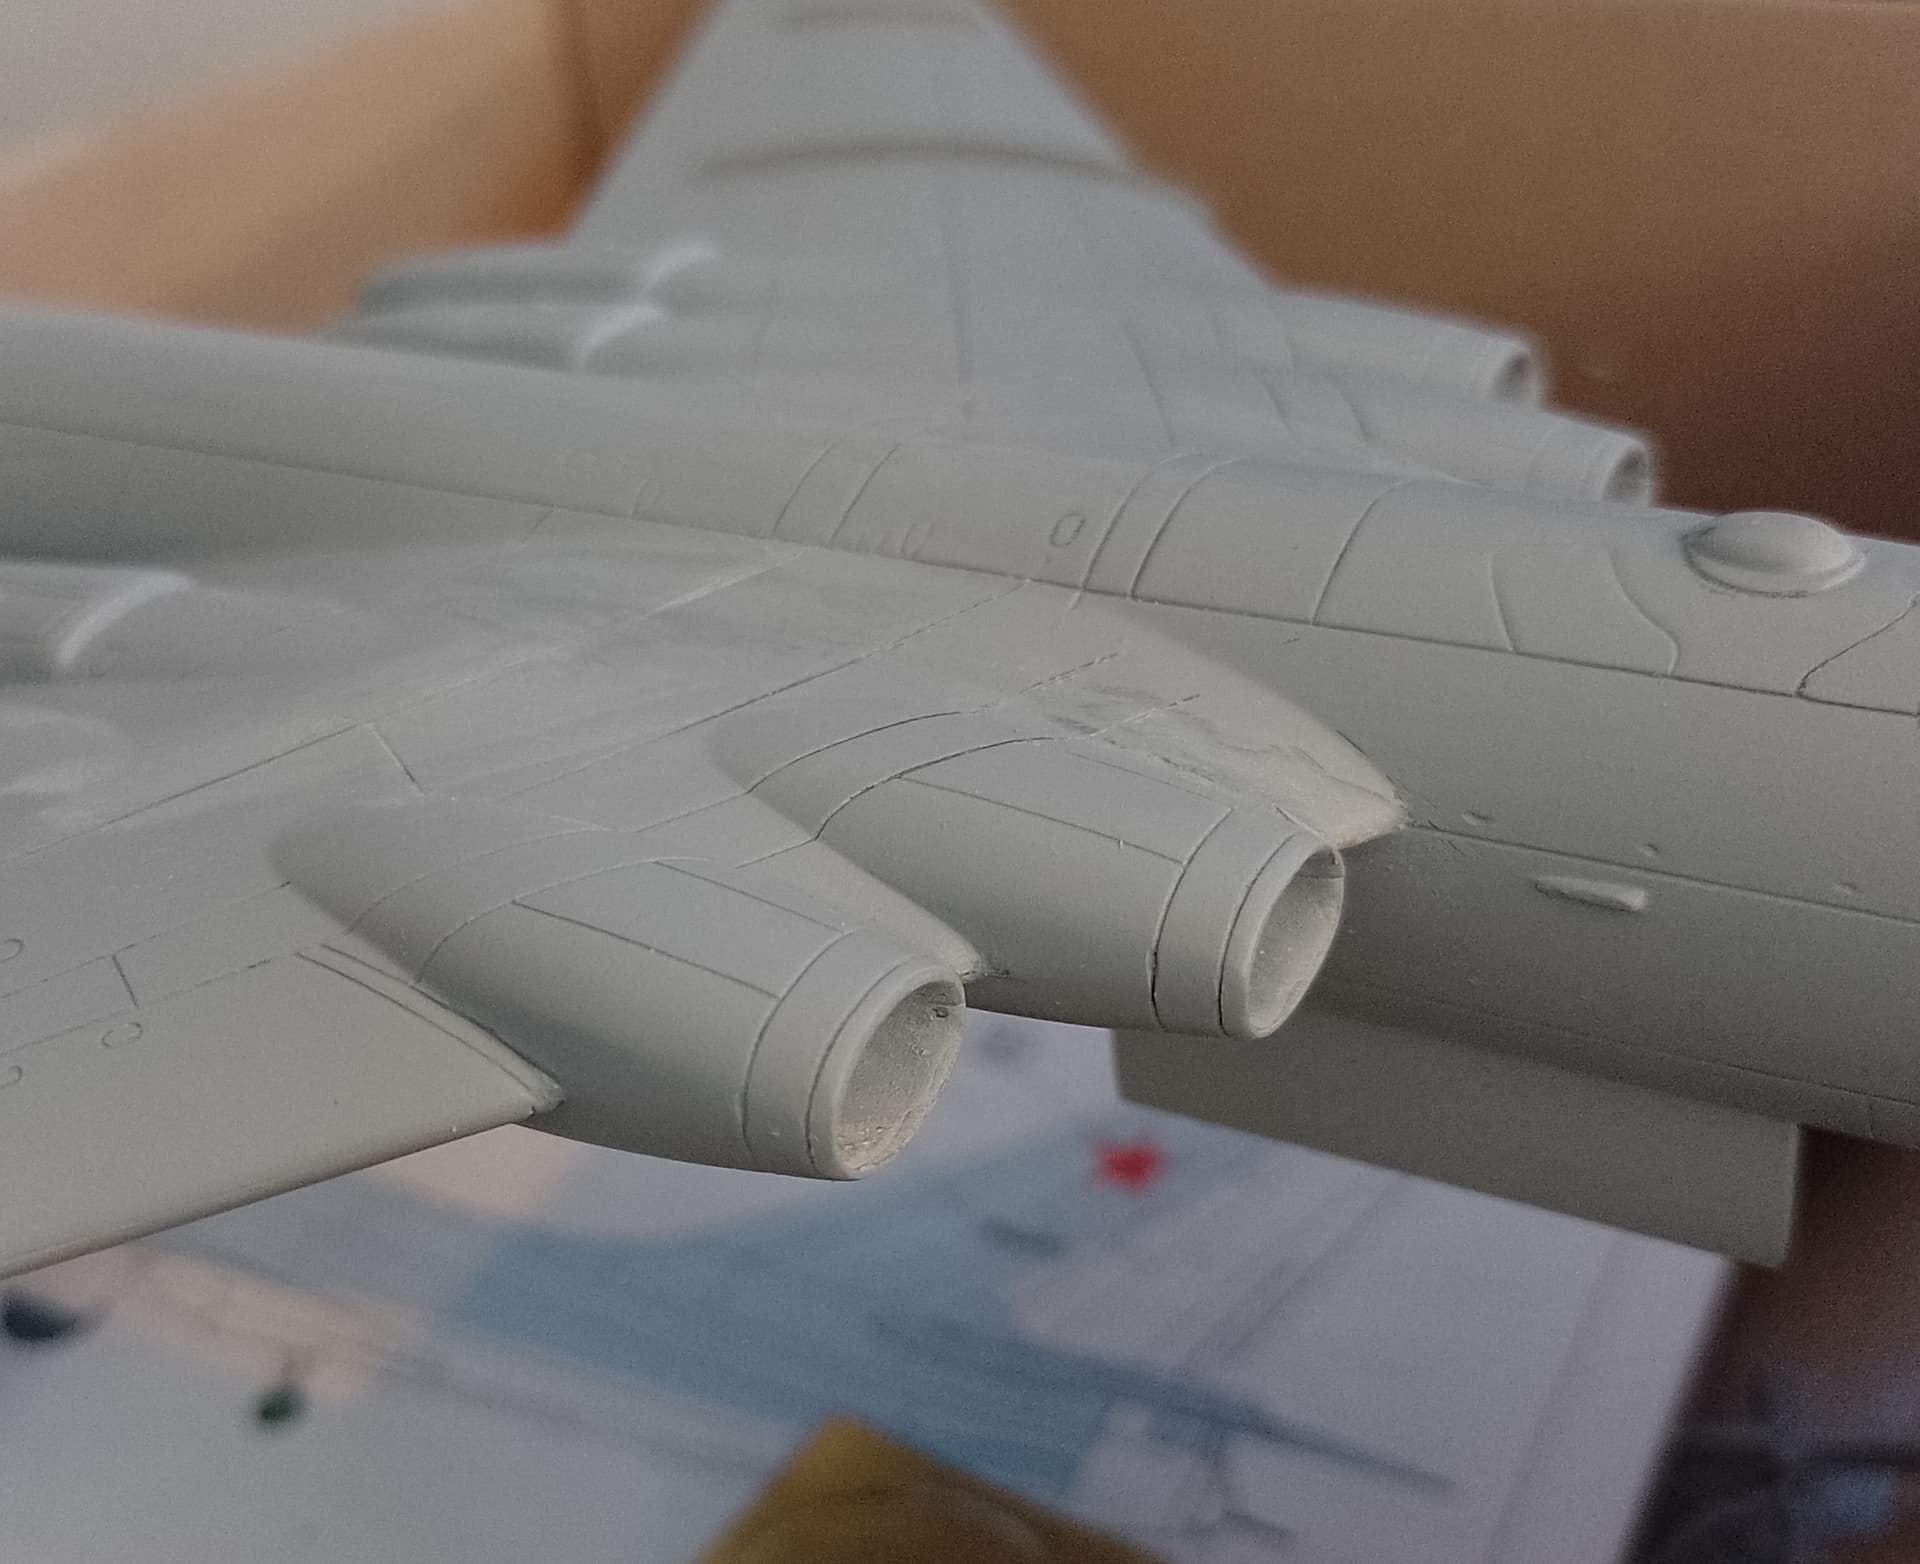
For a short moment early today (2AM) it looked like I could put on the paint, but then I got stuck on the photo etched airflow rails on the wings. I HATE it when short run kits do stuff like this. The fit was terrible and now there is another round of putty and sanding infront of me.
Short update, I put the firs coat of surfacer on and found more places that need fixing with putty. There are also some pannel lines that are present on one wing, but not the other, so that needs to he adressed too. Im actualy hoping to make the plane half decent so I will not rush anymore to meet the deadline, but will keep on posting updates here.