When you build the next one, consider replacing the moulded in headlights. If you have any marbles lying around push one into some Blu-Tac then heat up a piece of clear sheet using a hair dryer and place over the marble. Carefully press the sheet down on the outer edge to stretch and form it over the marble’s curve. You may need to apply heat a couple of times, but resist melting the sheet… Trim and you have a clear headlight face. Evergreen make clear stuff that works well, but thick packaging film works too.
I can’t remember if the kit parts are thick enough to allow you to drill out the headlights or whether you need to add backs too.
They had the same one you bought and a recon mkI or something along those lines. The academy rebox is nice, has photo etch seat belts and masks for the canopy thrown in
Look up doogs models black basing videos, I think it’s a cool technique for planes, similar to the results you get from pre shading with subtle tonal variation
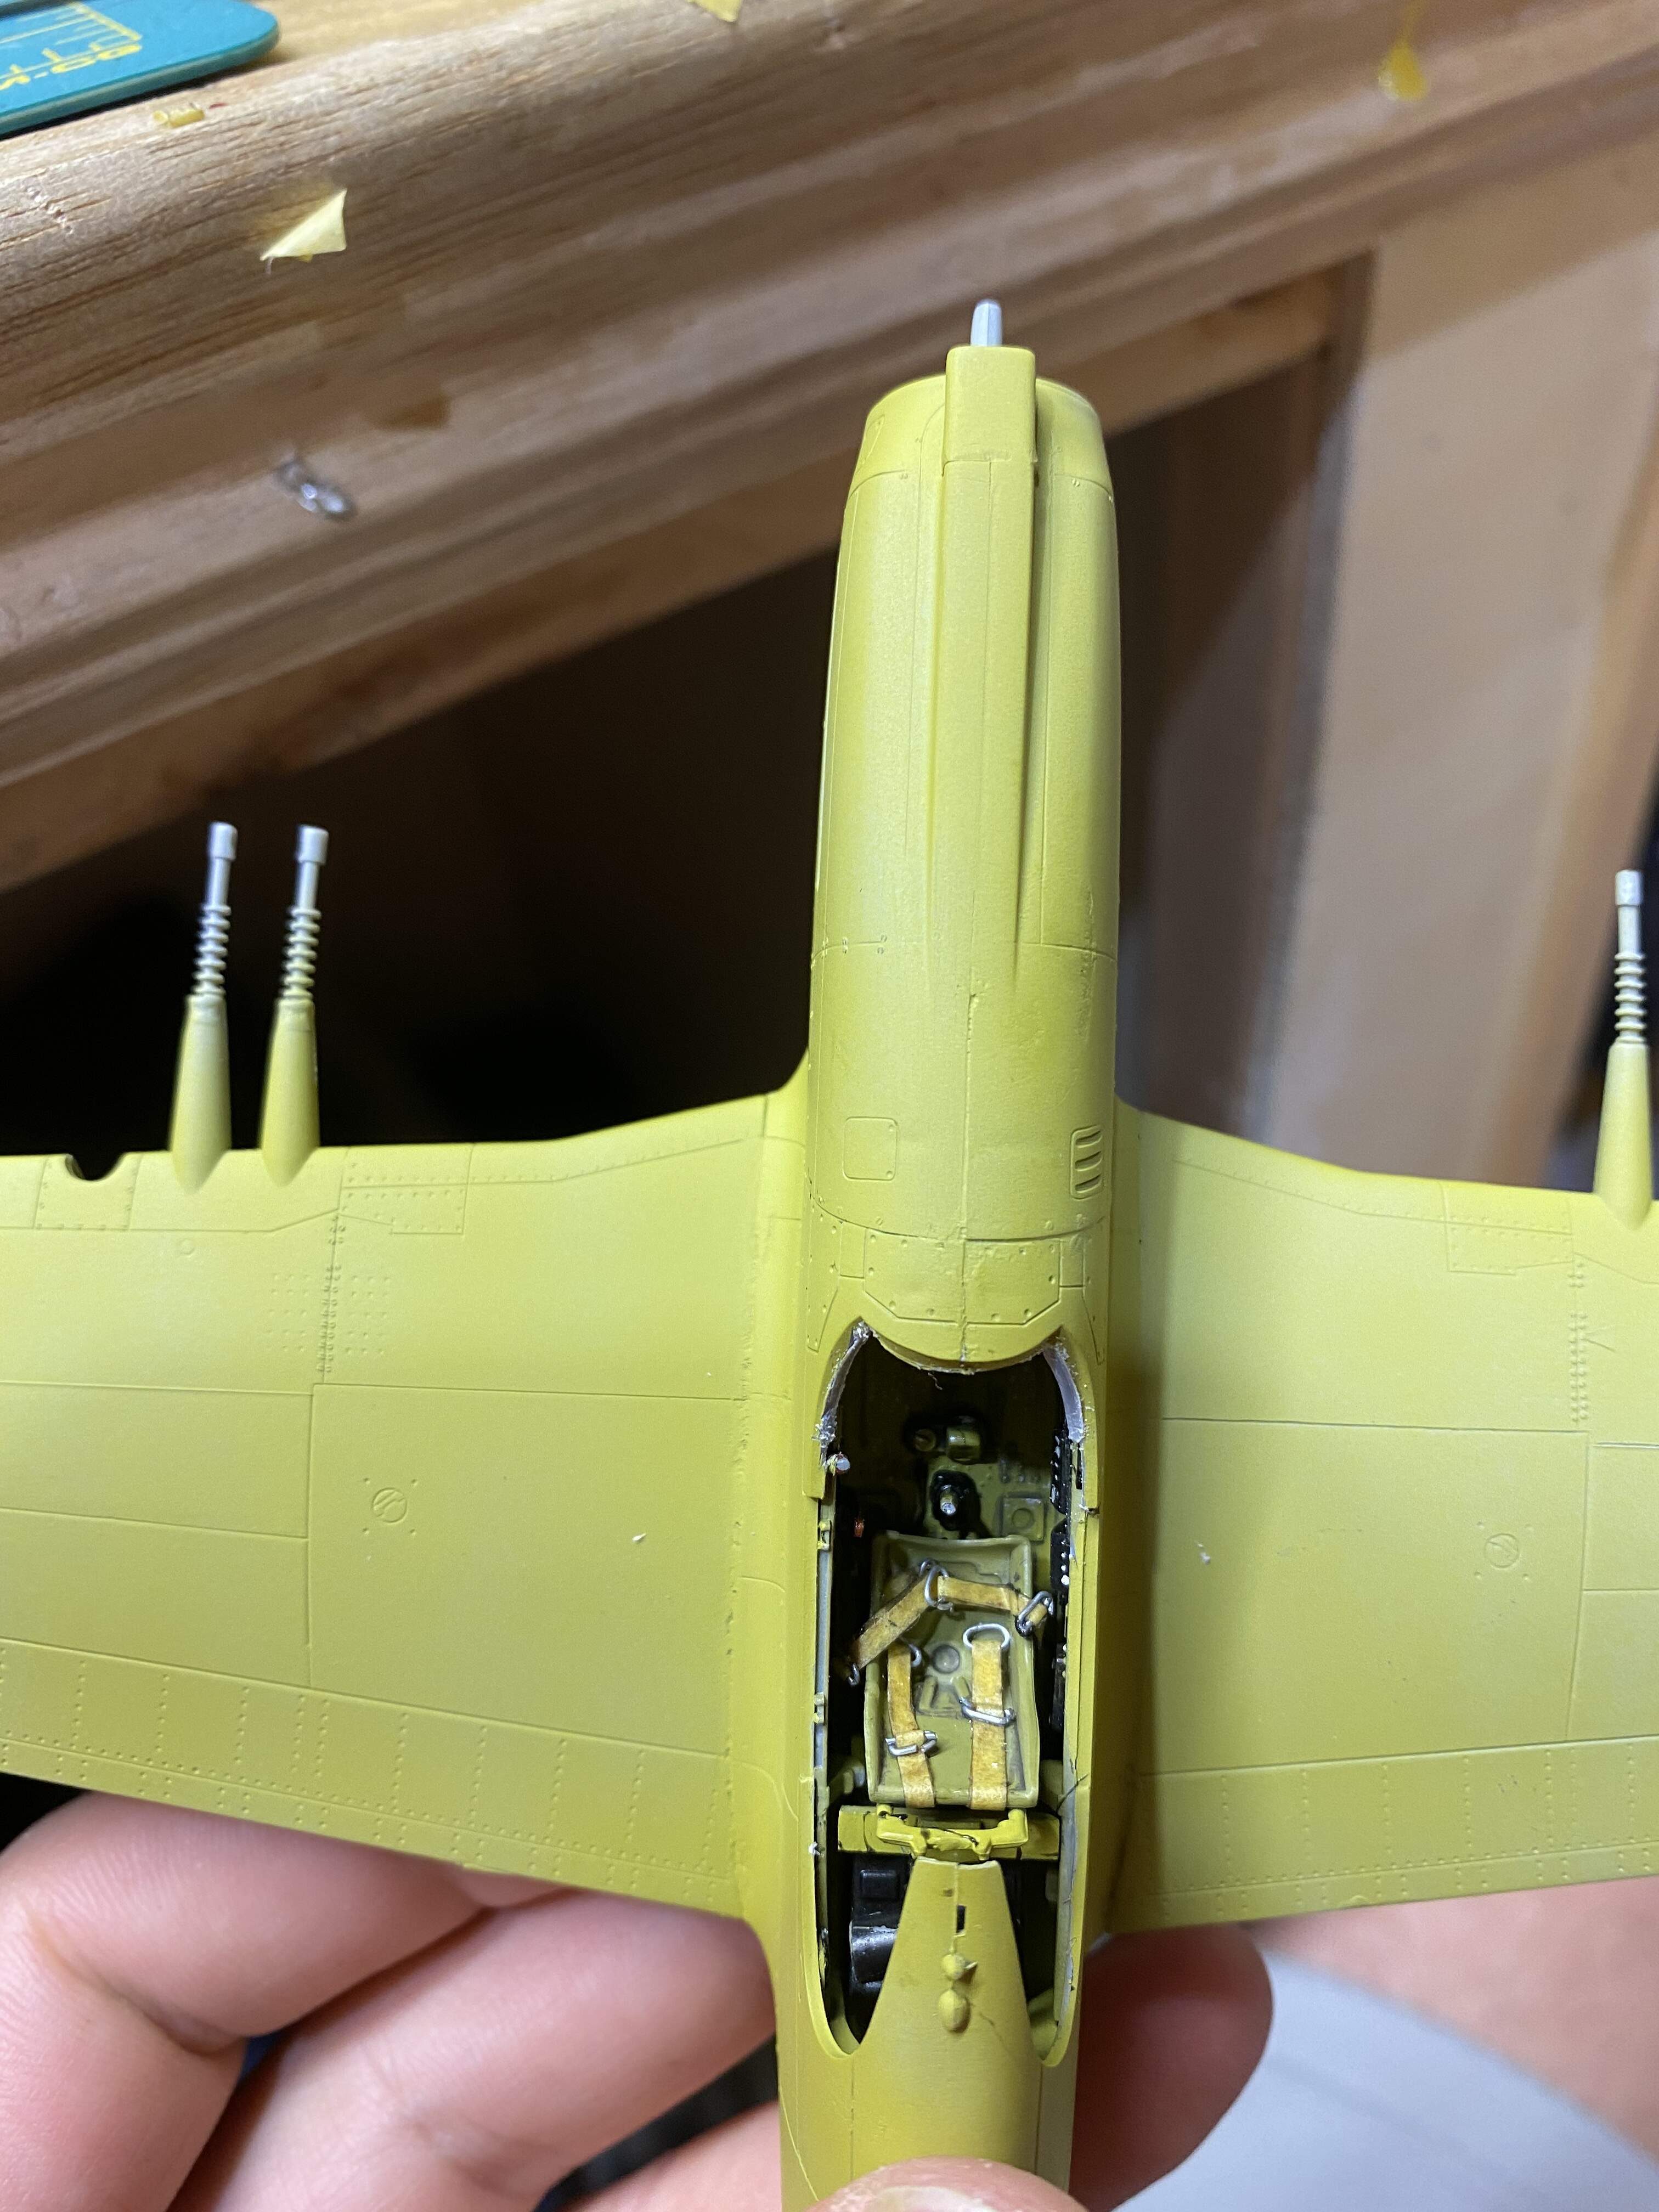
Ouch that’s unfortunate… Glad to see you have fixed it!
Really I would pre shade the panel lines before adding the zinc chromate, but thats only if you wanna add chipping (Which would look great as long as its not over done.) But if you wont do any chipping I bet you can just pre shade over the zinc chromate.
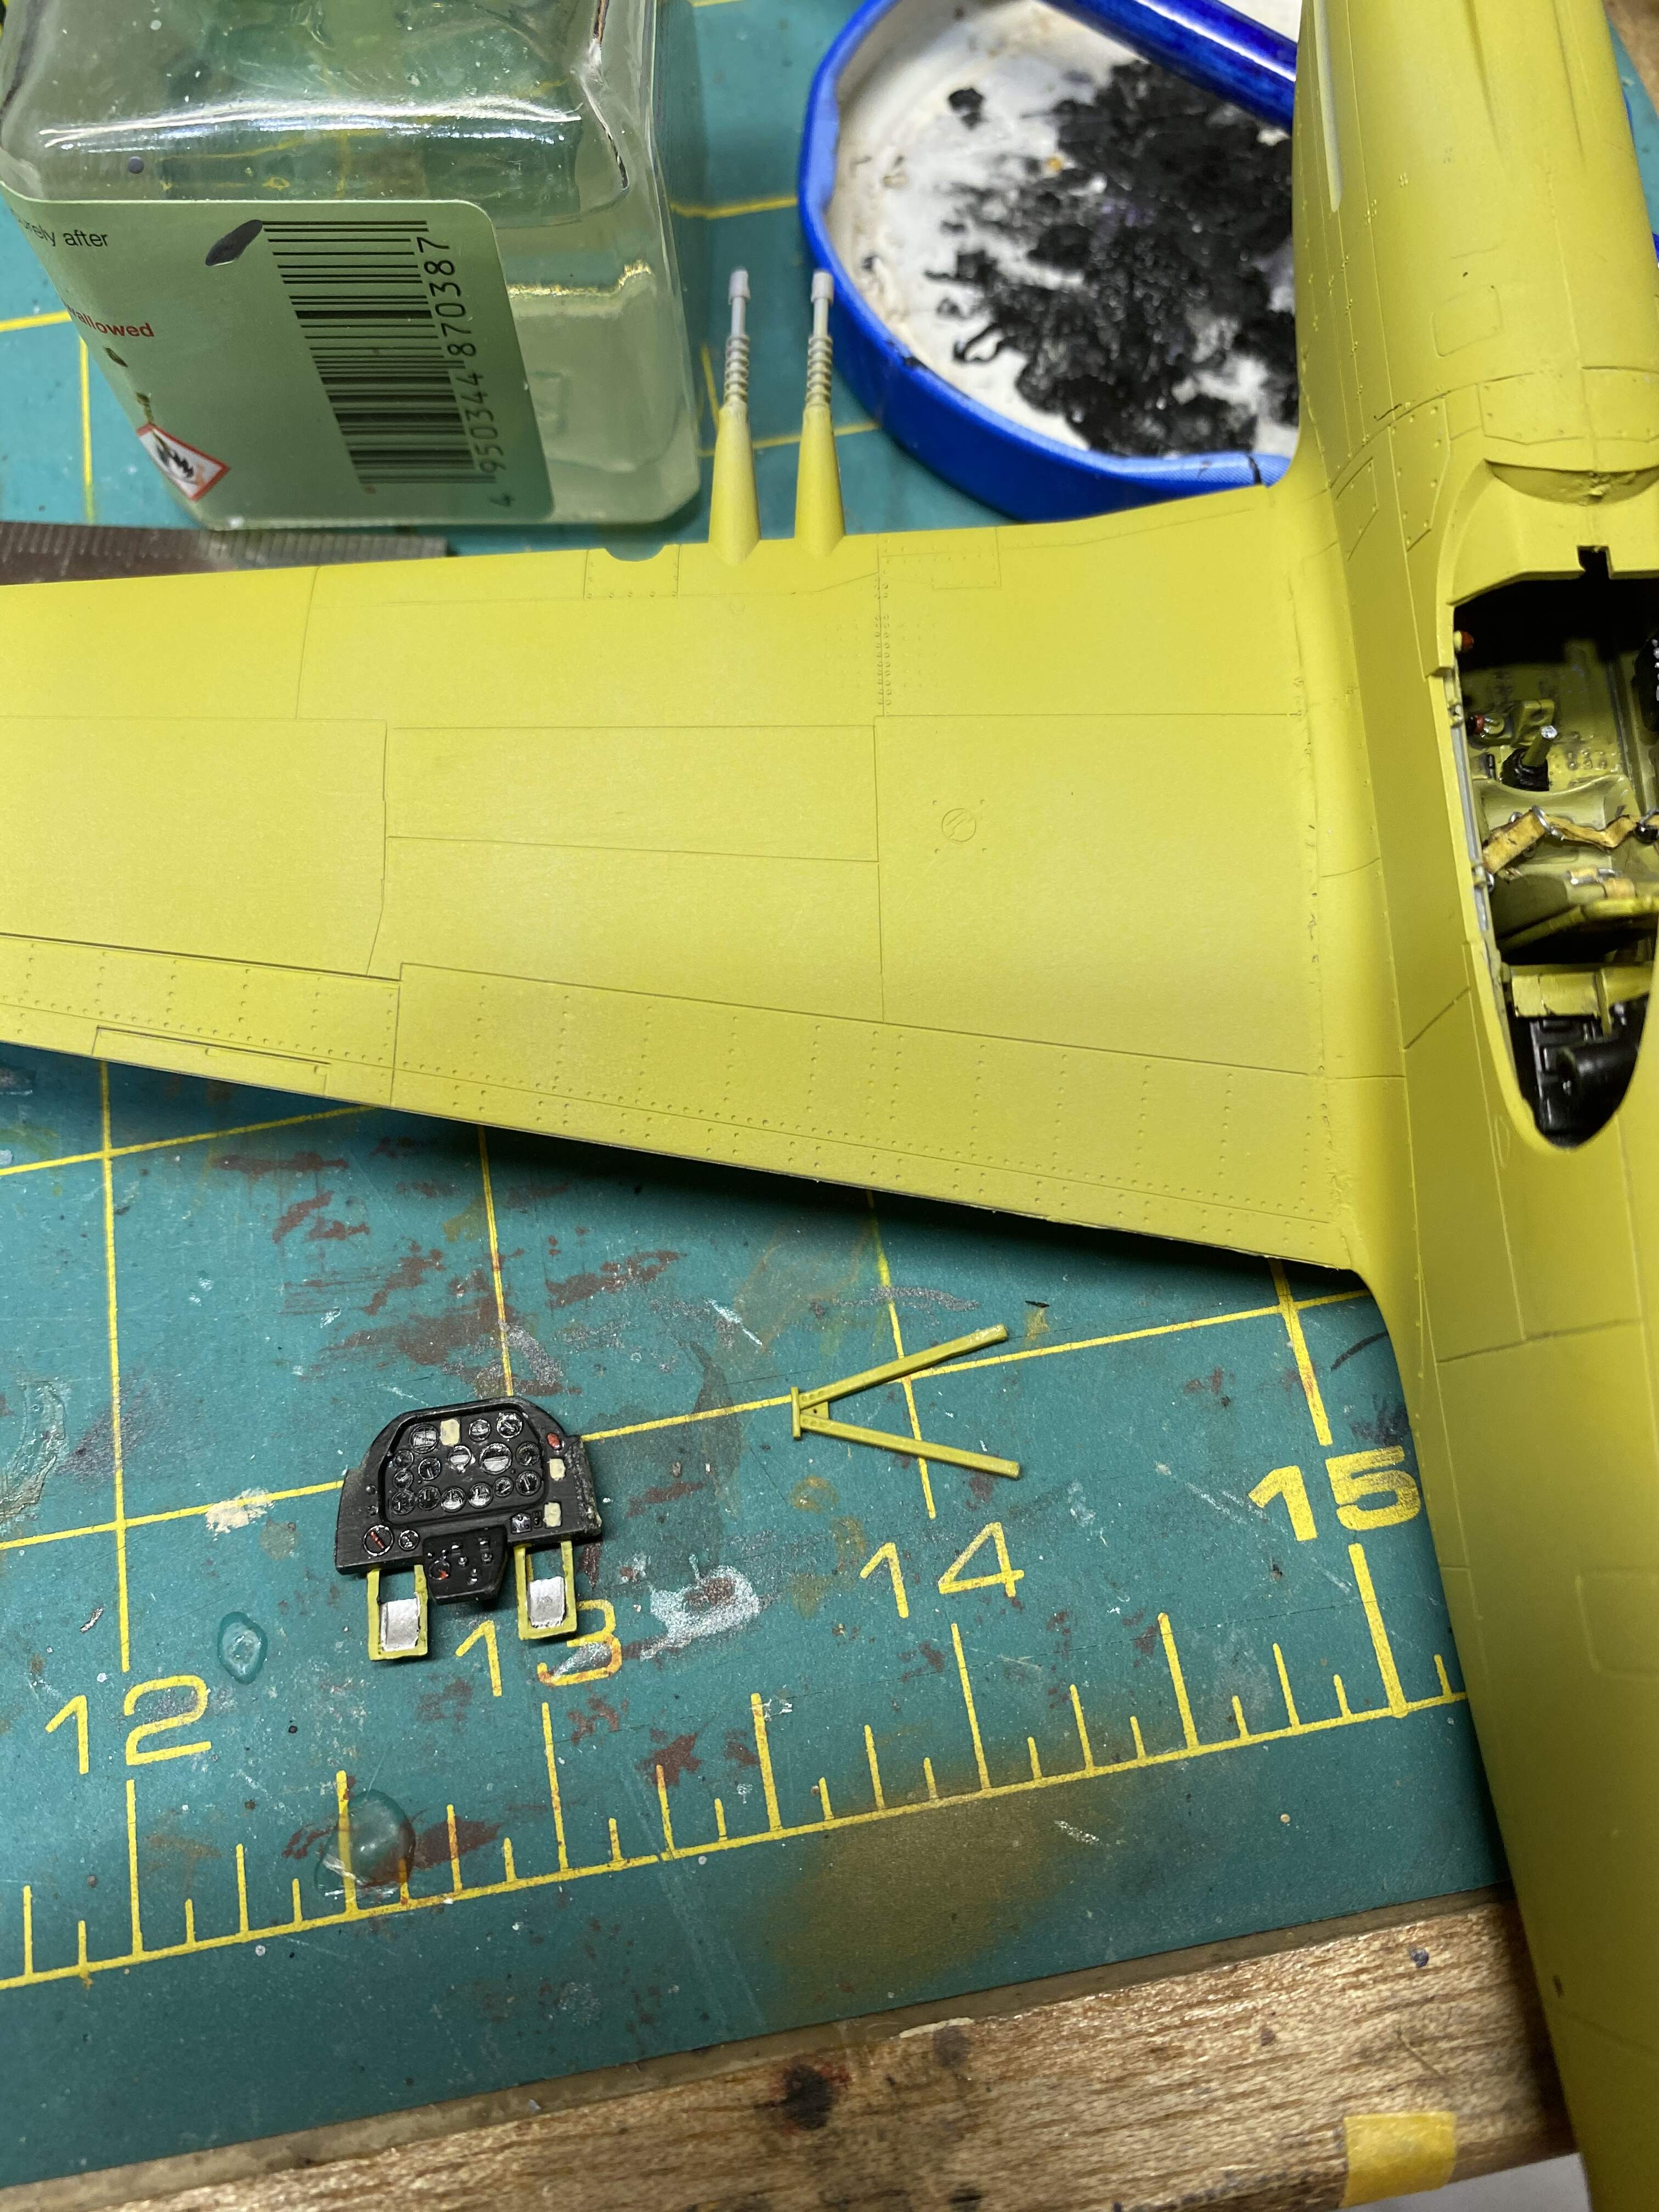
@Canmedic . you look like a sprue surgeon to me … Great recovery on that.
Now thia is just a personal opinion but no to pre shade and yes to post shade.
A bit of chipping can be good
Remember less is more. There are many ways to do chipping , my personal favorite is to use masking fluid and apply with a tooth pic. That method gives a ton of control and also allows to have chipping on multiple levels of color
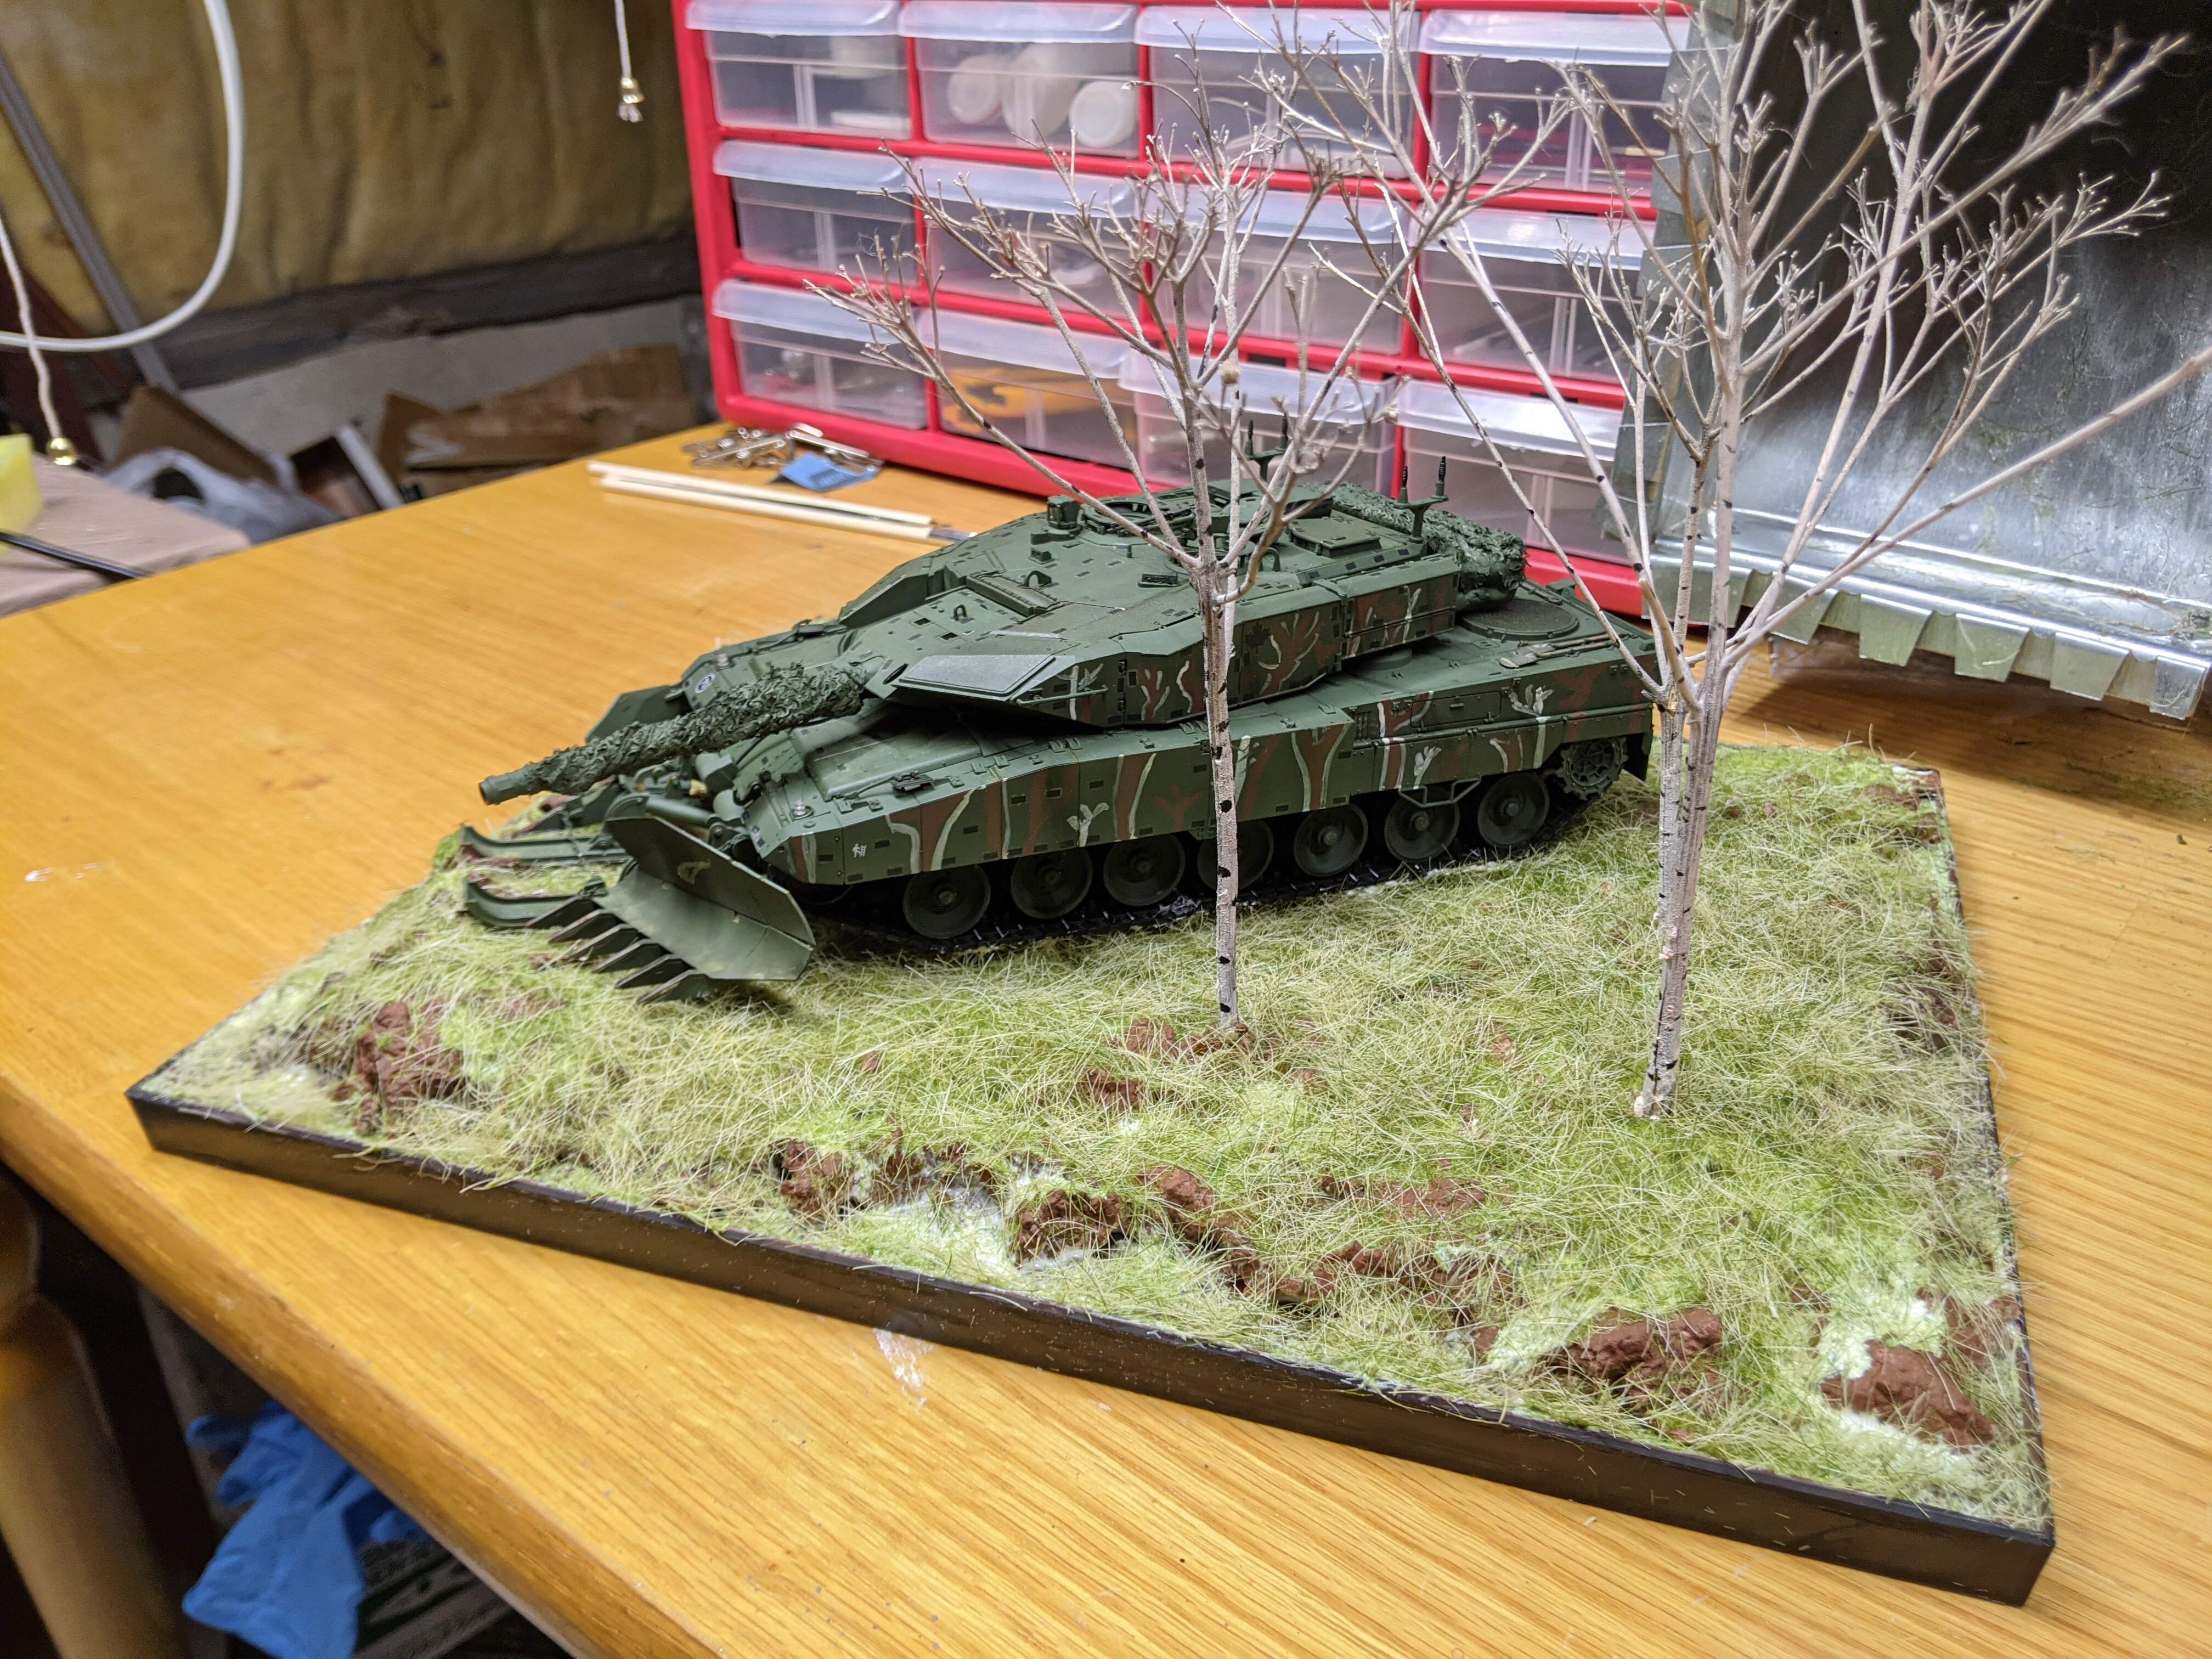
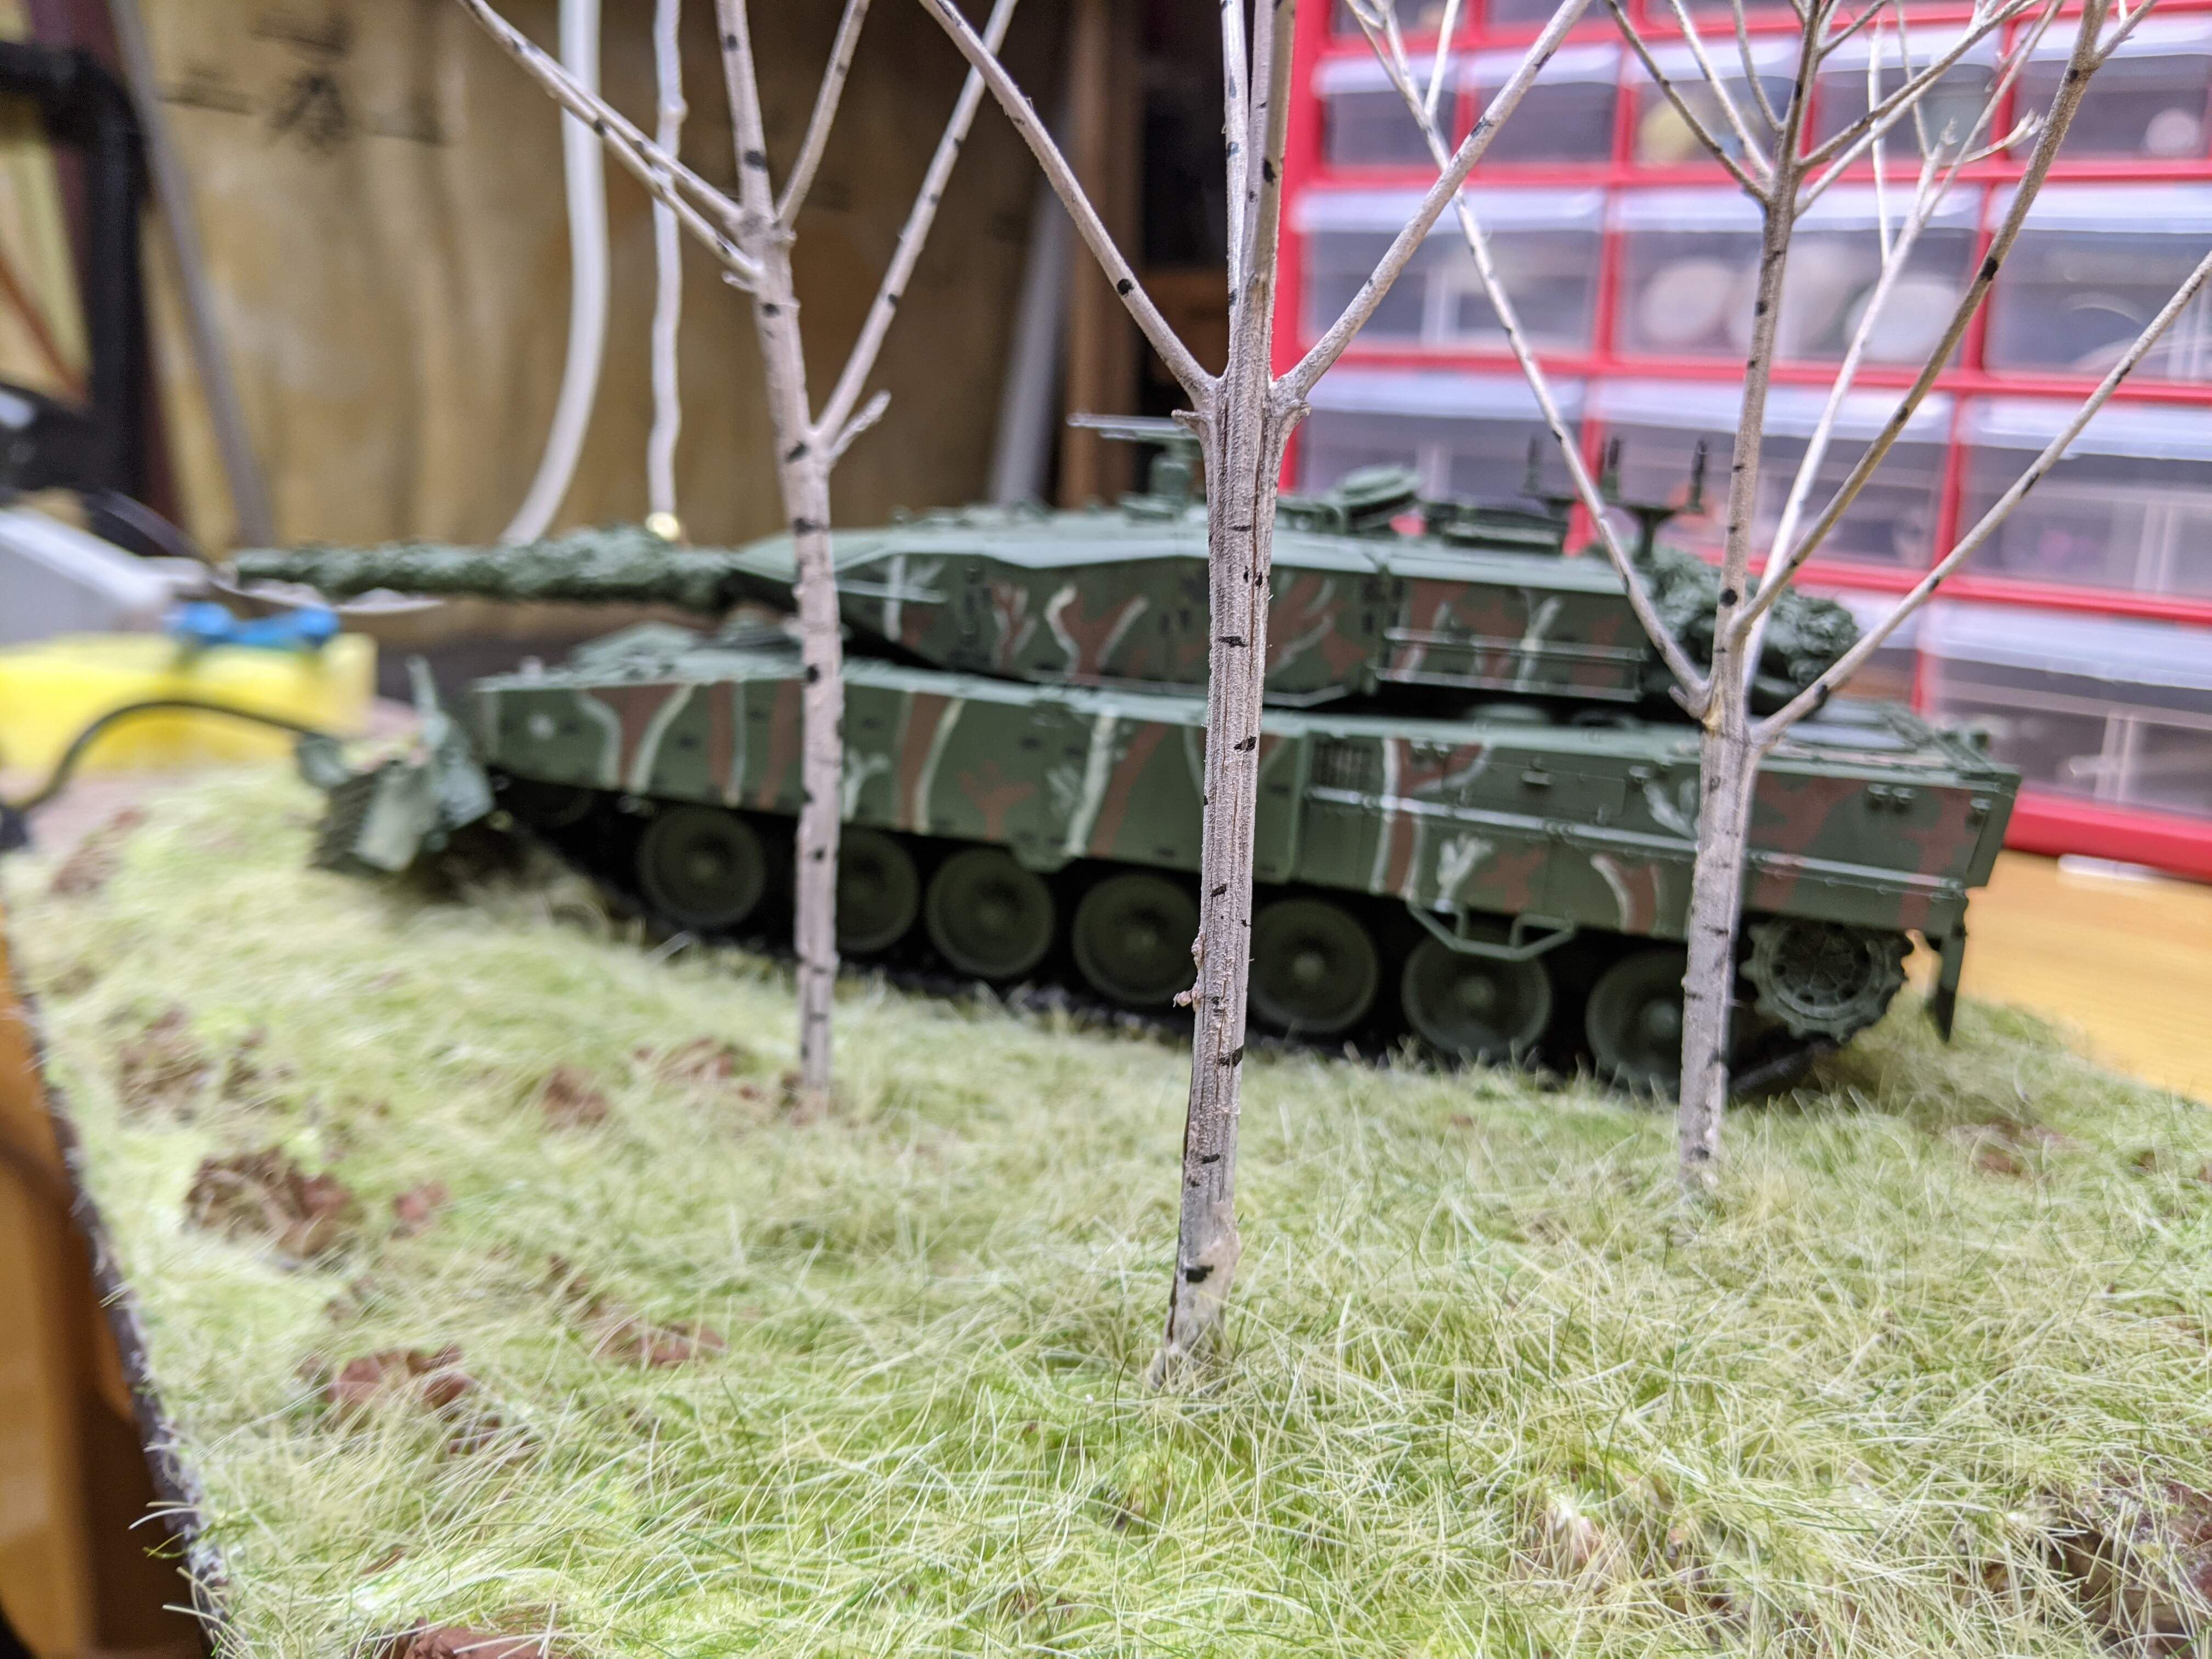
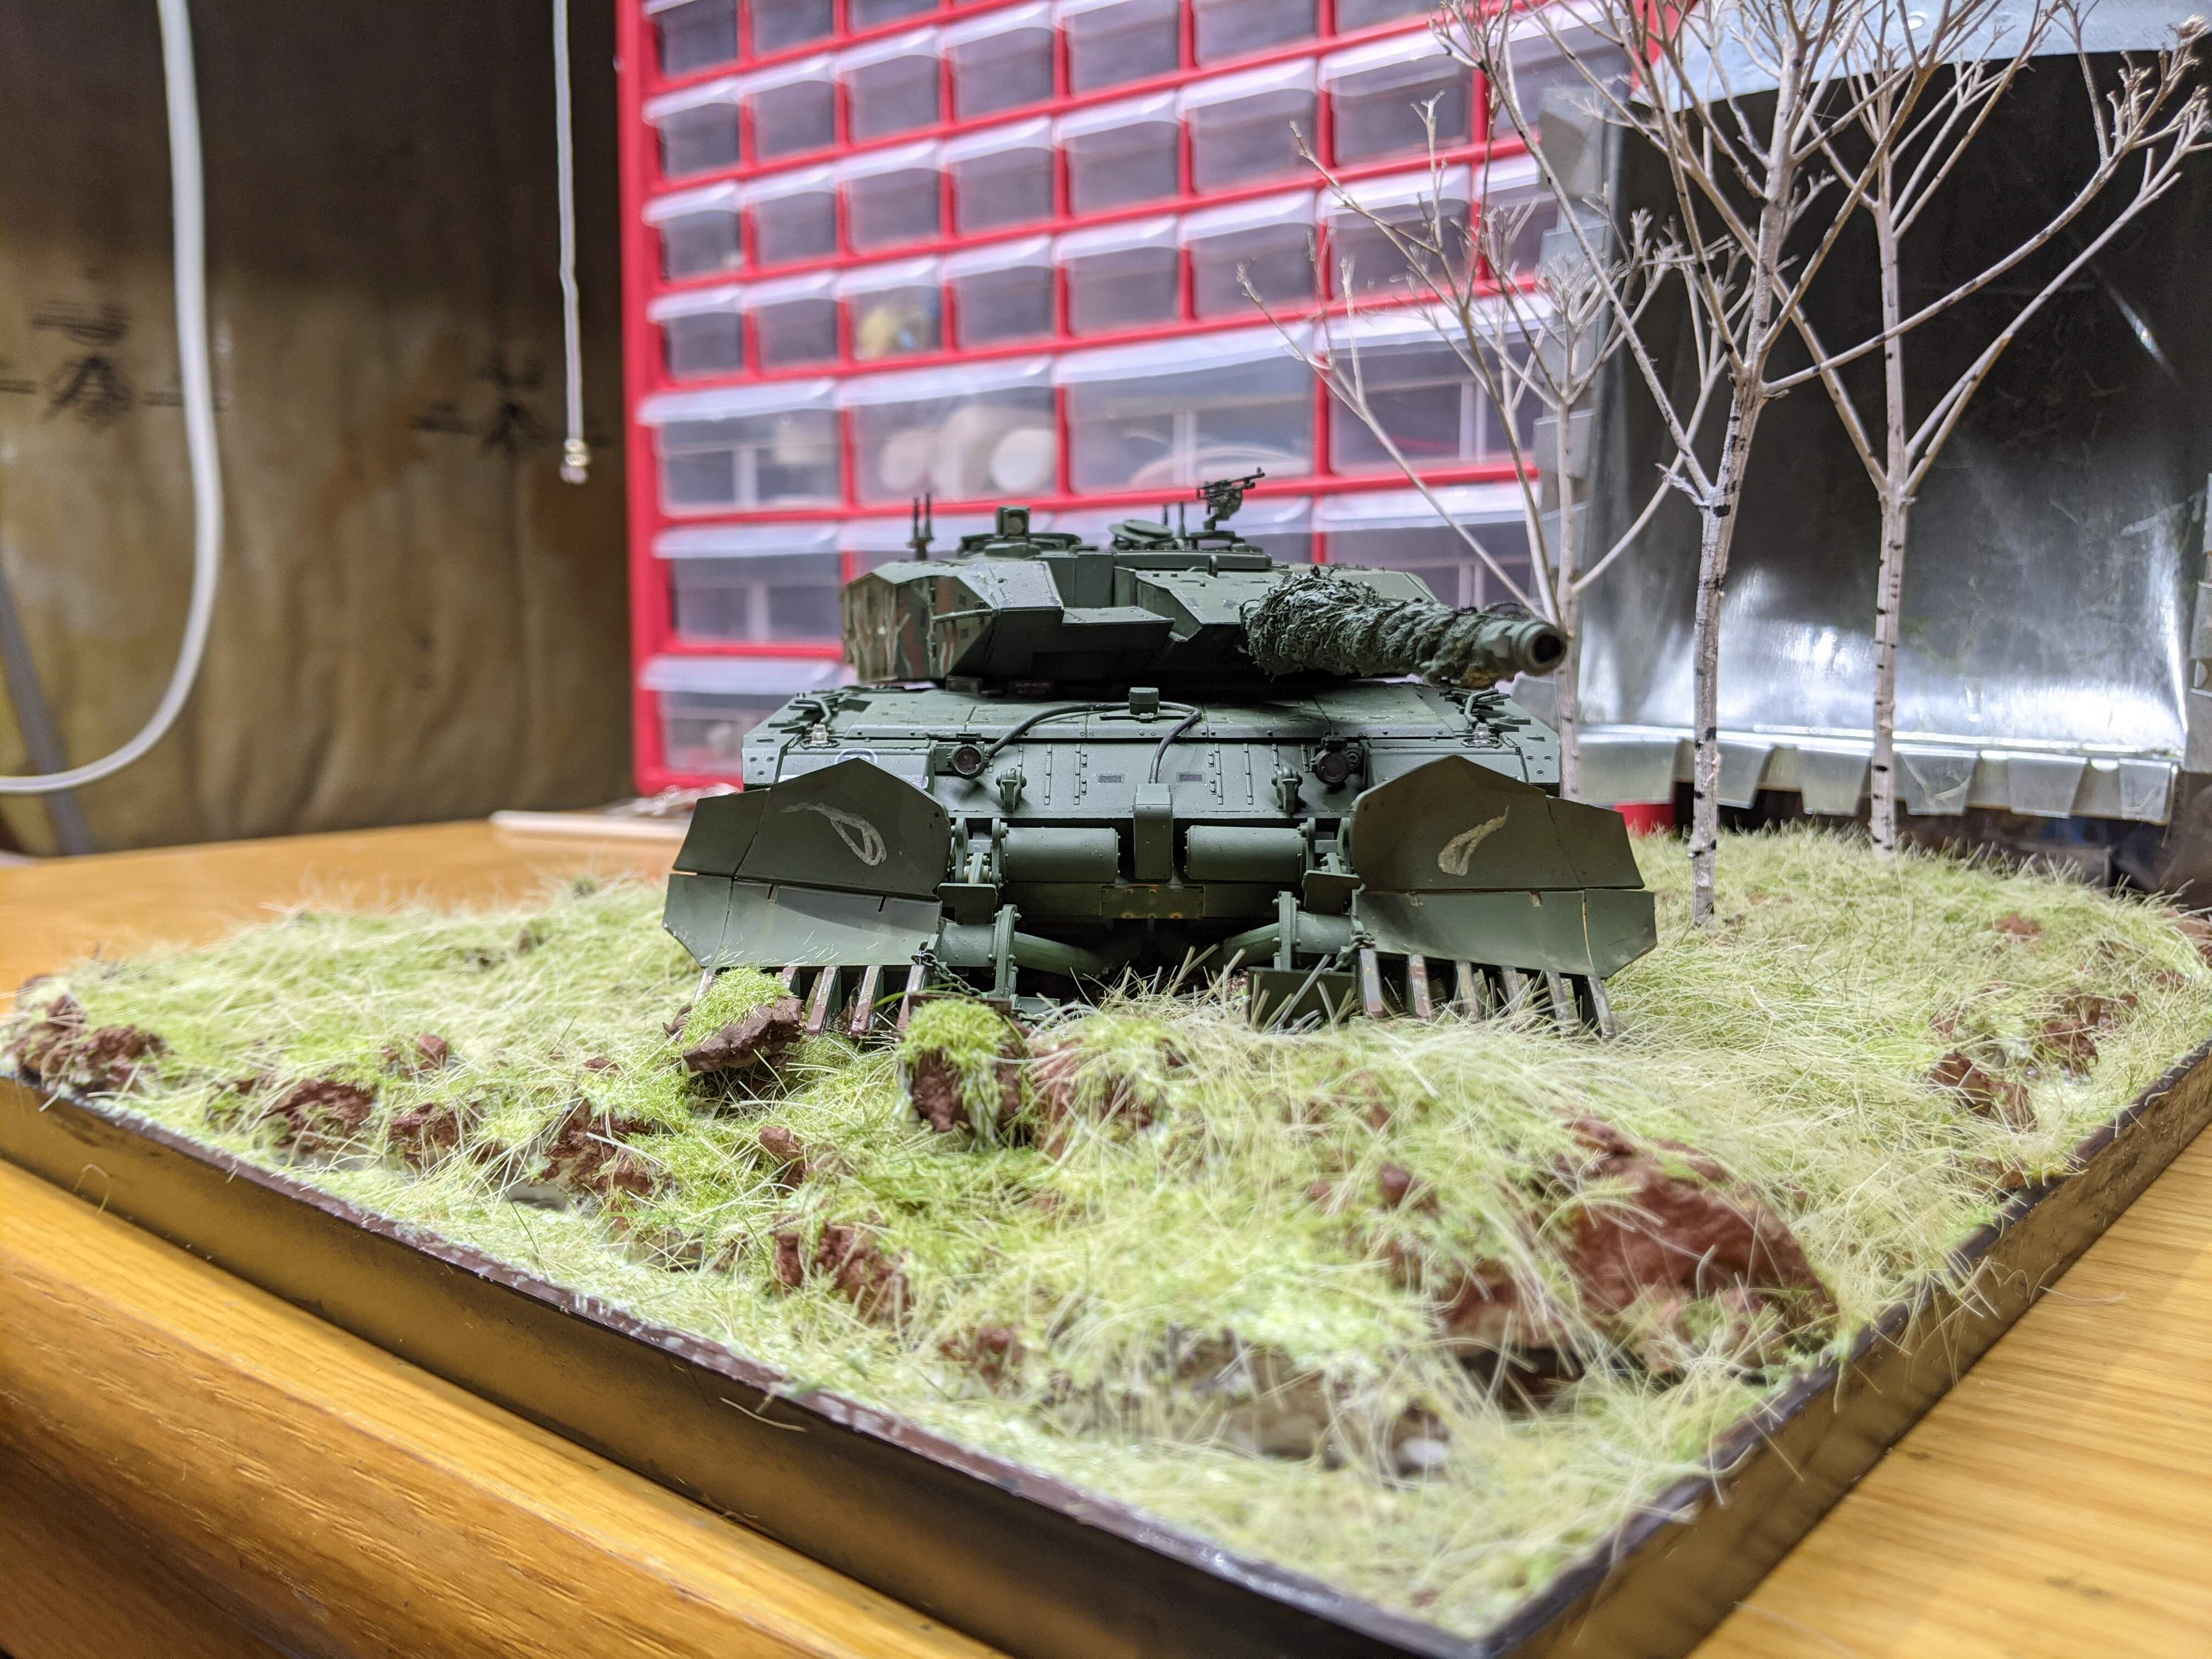
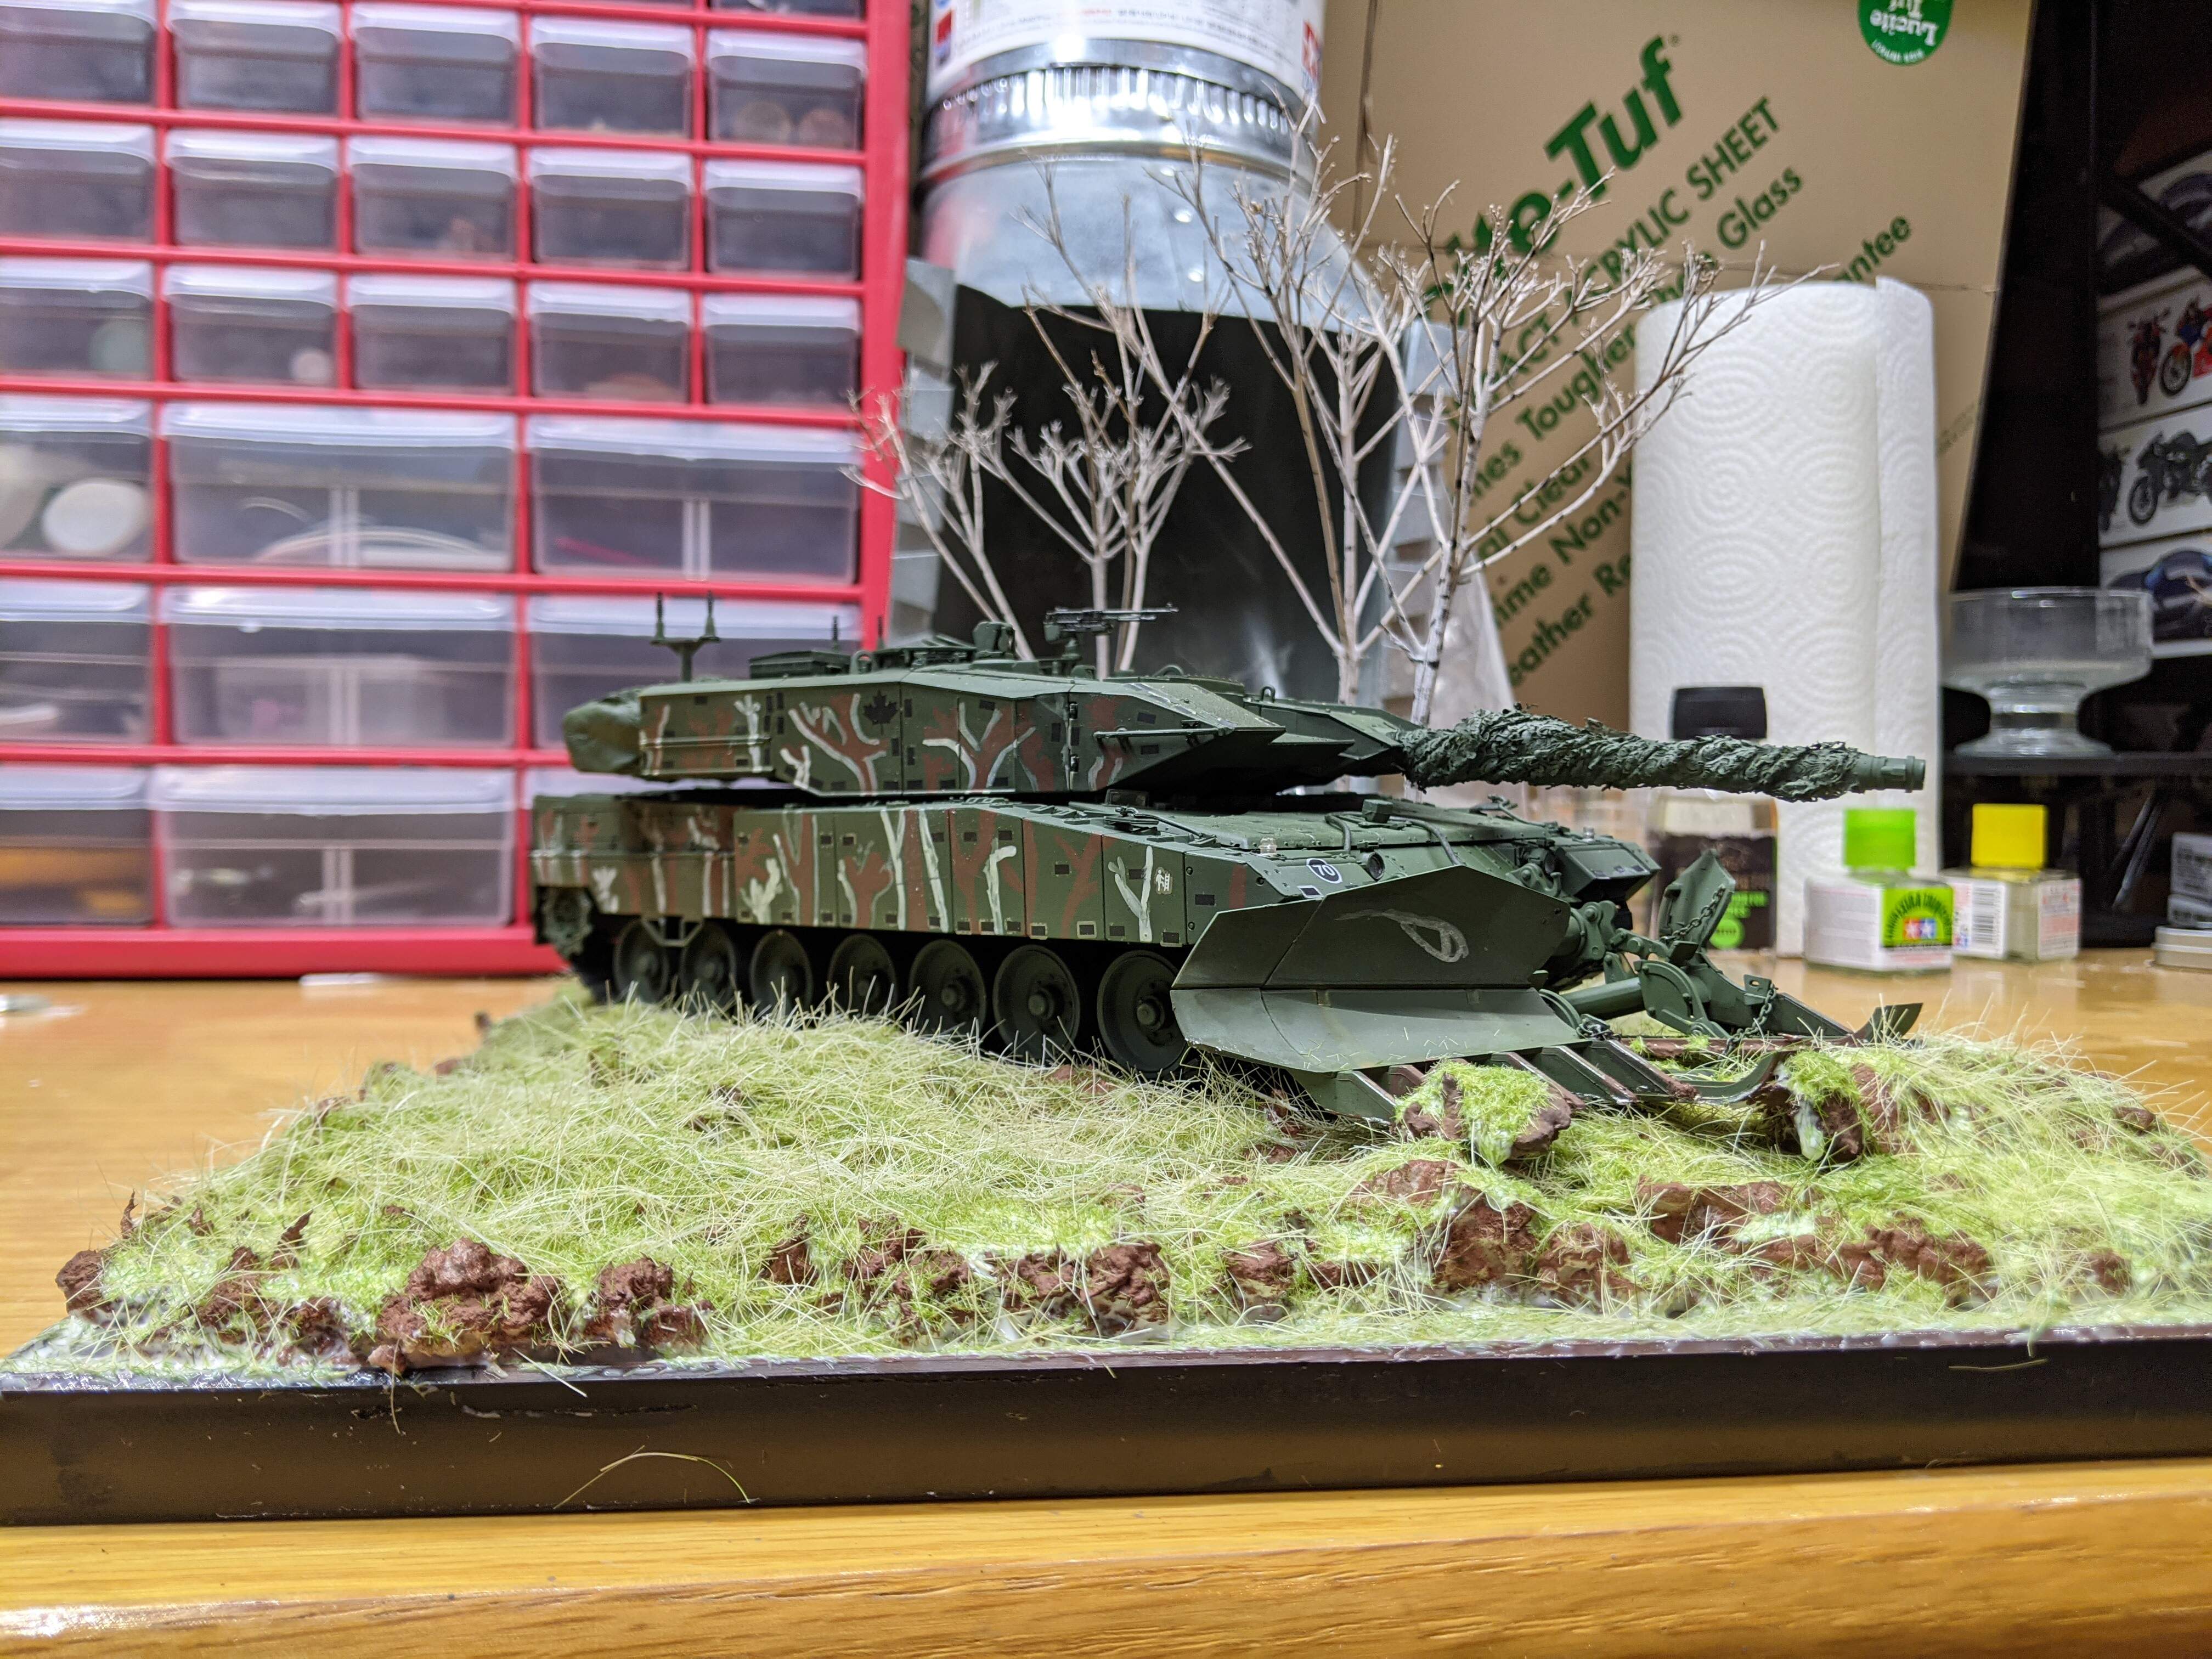
Time to show off my new diorama as the hobb-e-tak dries out. This is my model of a Leopard 2A4M CAN from the Lord Strathcona’s Horse (Royal Canadian) on exercise in Wainwright, Alberta, during this year’s Maple Resolve 21. The exercise started and finished in early May, right as this campaign unofficially began. For all intents and purposes, this project is done (except the patch and two figures, which I’ll add closer to July 1). The scene portrays the mine clearance tank from a troop on exercise doing what it does best, plowing into the earth. To make this unique beast I used HobbyBoss’ Leopard 2A4M CAN, a VERY good kit which builds up nicely OOB (except the tracks - pick up their 2A6M CAN kit and use the vinyl tracks from that as donors, as they are of impeccable quality.) The mine plow is looted from Tamiya’s M1A1 kit, and attached quite nicely to my cat. Note the detail painting of the field applied camouflage (yes, it looks that crude in real life). If you ever want to do a unique Canadian tank, try doing one from this exercise as literally every tank and LAV had a unique and bucolic camouflage scheme, applied by their crews. The terrain was created with the last of my Celluclay, and the trees were simply painted brush from the Hydro Corridor (note that their lack of foliage is in fact historically accurate - it’s been a slow year for many of the Birch trees in Wainwright, and only now have most of them fully bloomed.) This was, again, a project full of learning. I learned how to properly apply camo nets, as well as to take a more restrained approach to weathering. I’ll update the build when it comes time with the figures
I think it’s all a matter of personal preference - I, for one, quite like the way the M151 was done, it appears as though the focus of the model is on the TOW missiles, and really that seems to be the subject of Ezra’s crippling addiction