That pic will be priceless when I get around to building my stand alone TOW launcher! Thanks Matt!
1 Like
Well if you’re gonna offer…
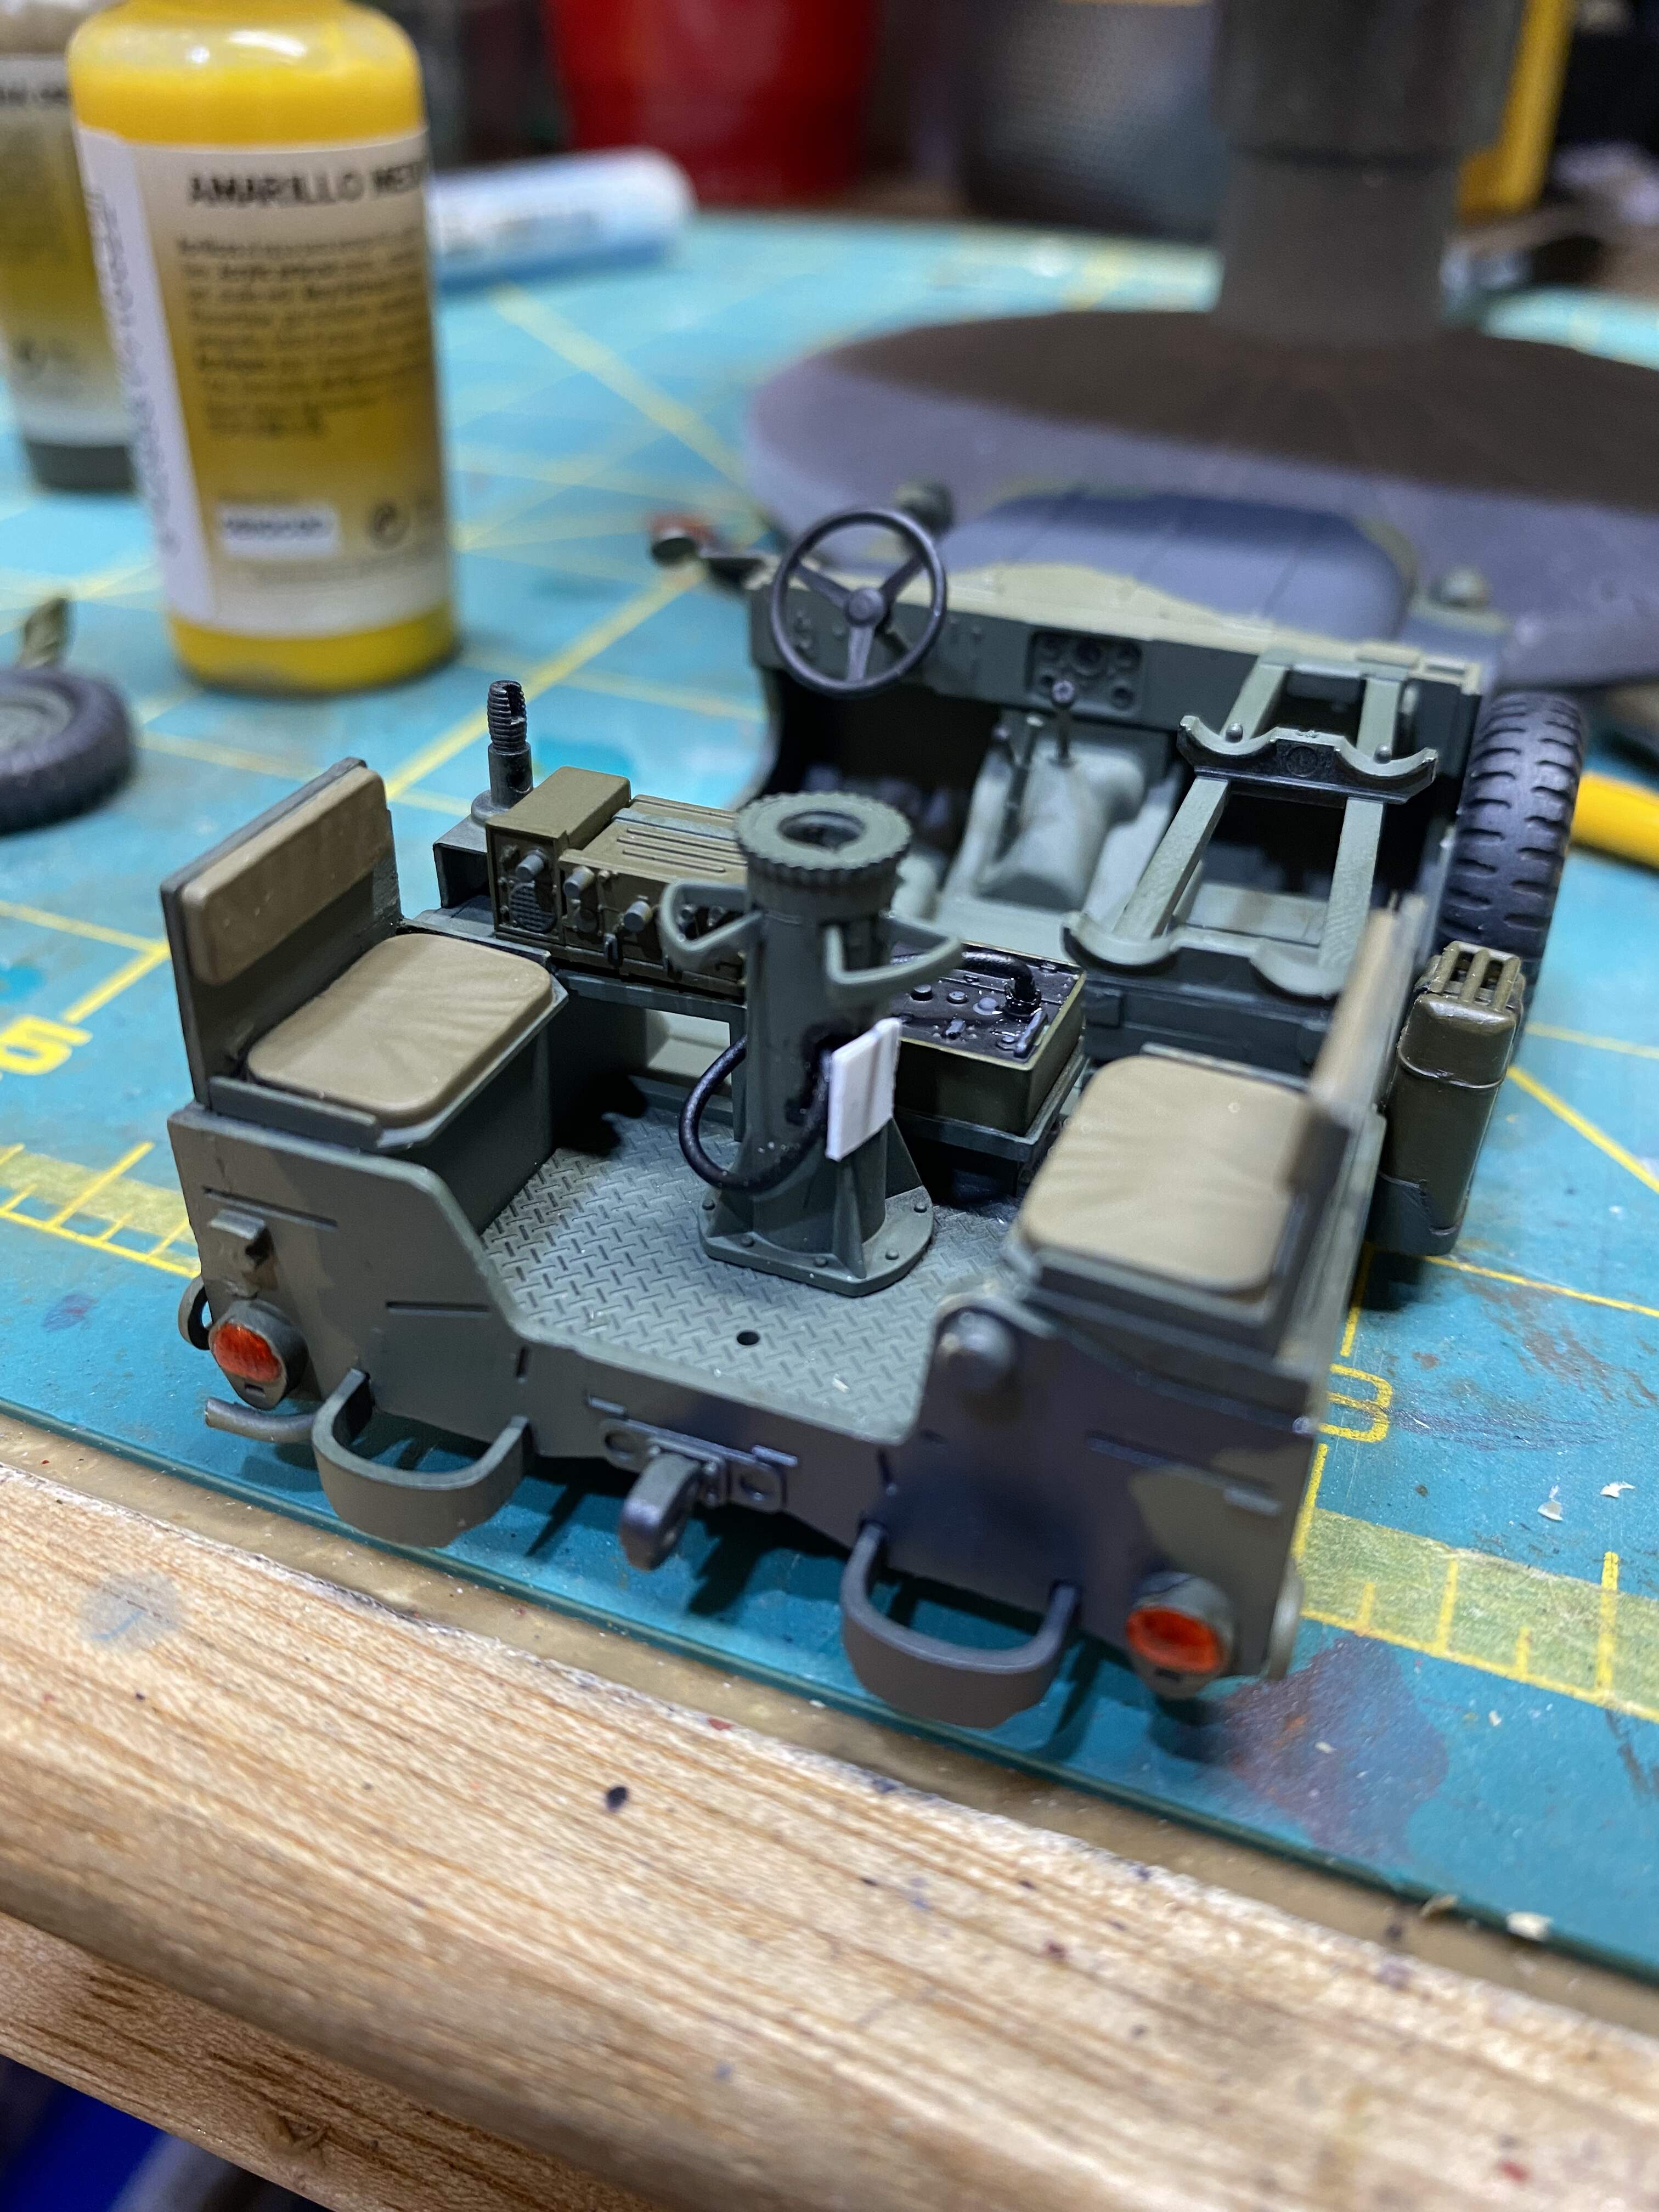
Close enough?
Also…

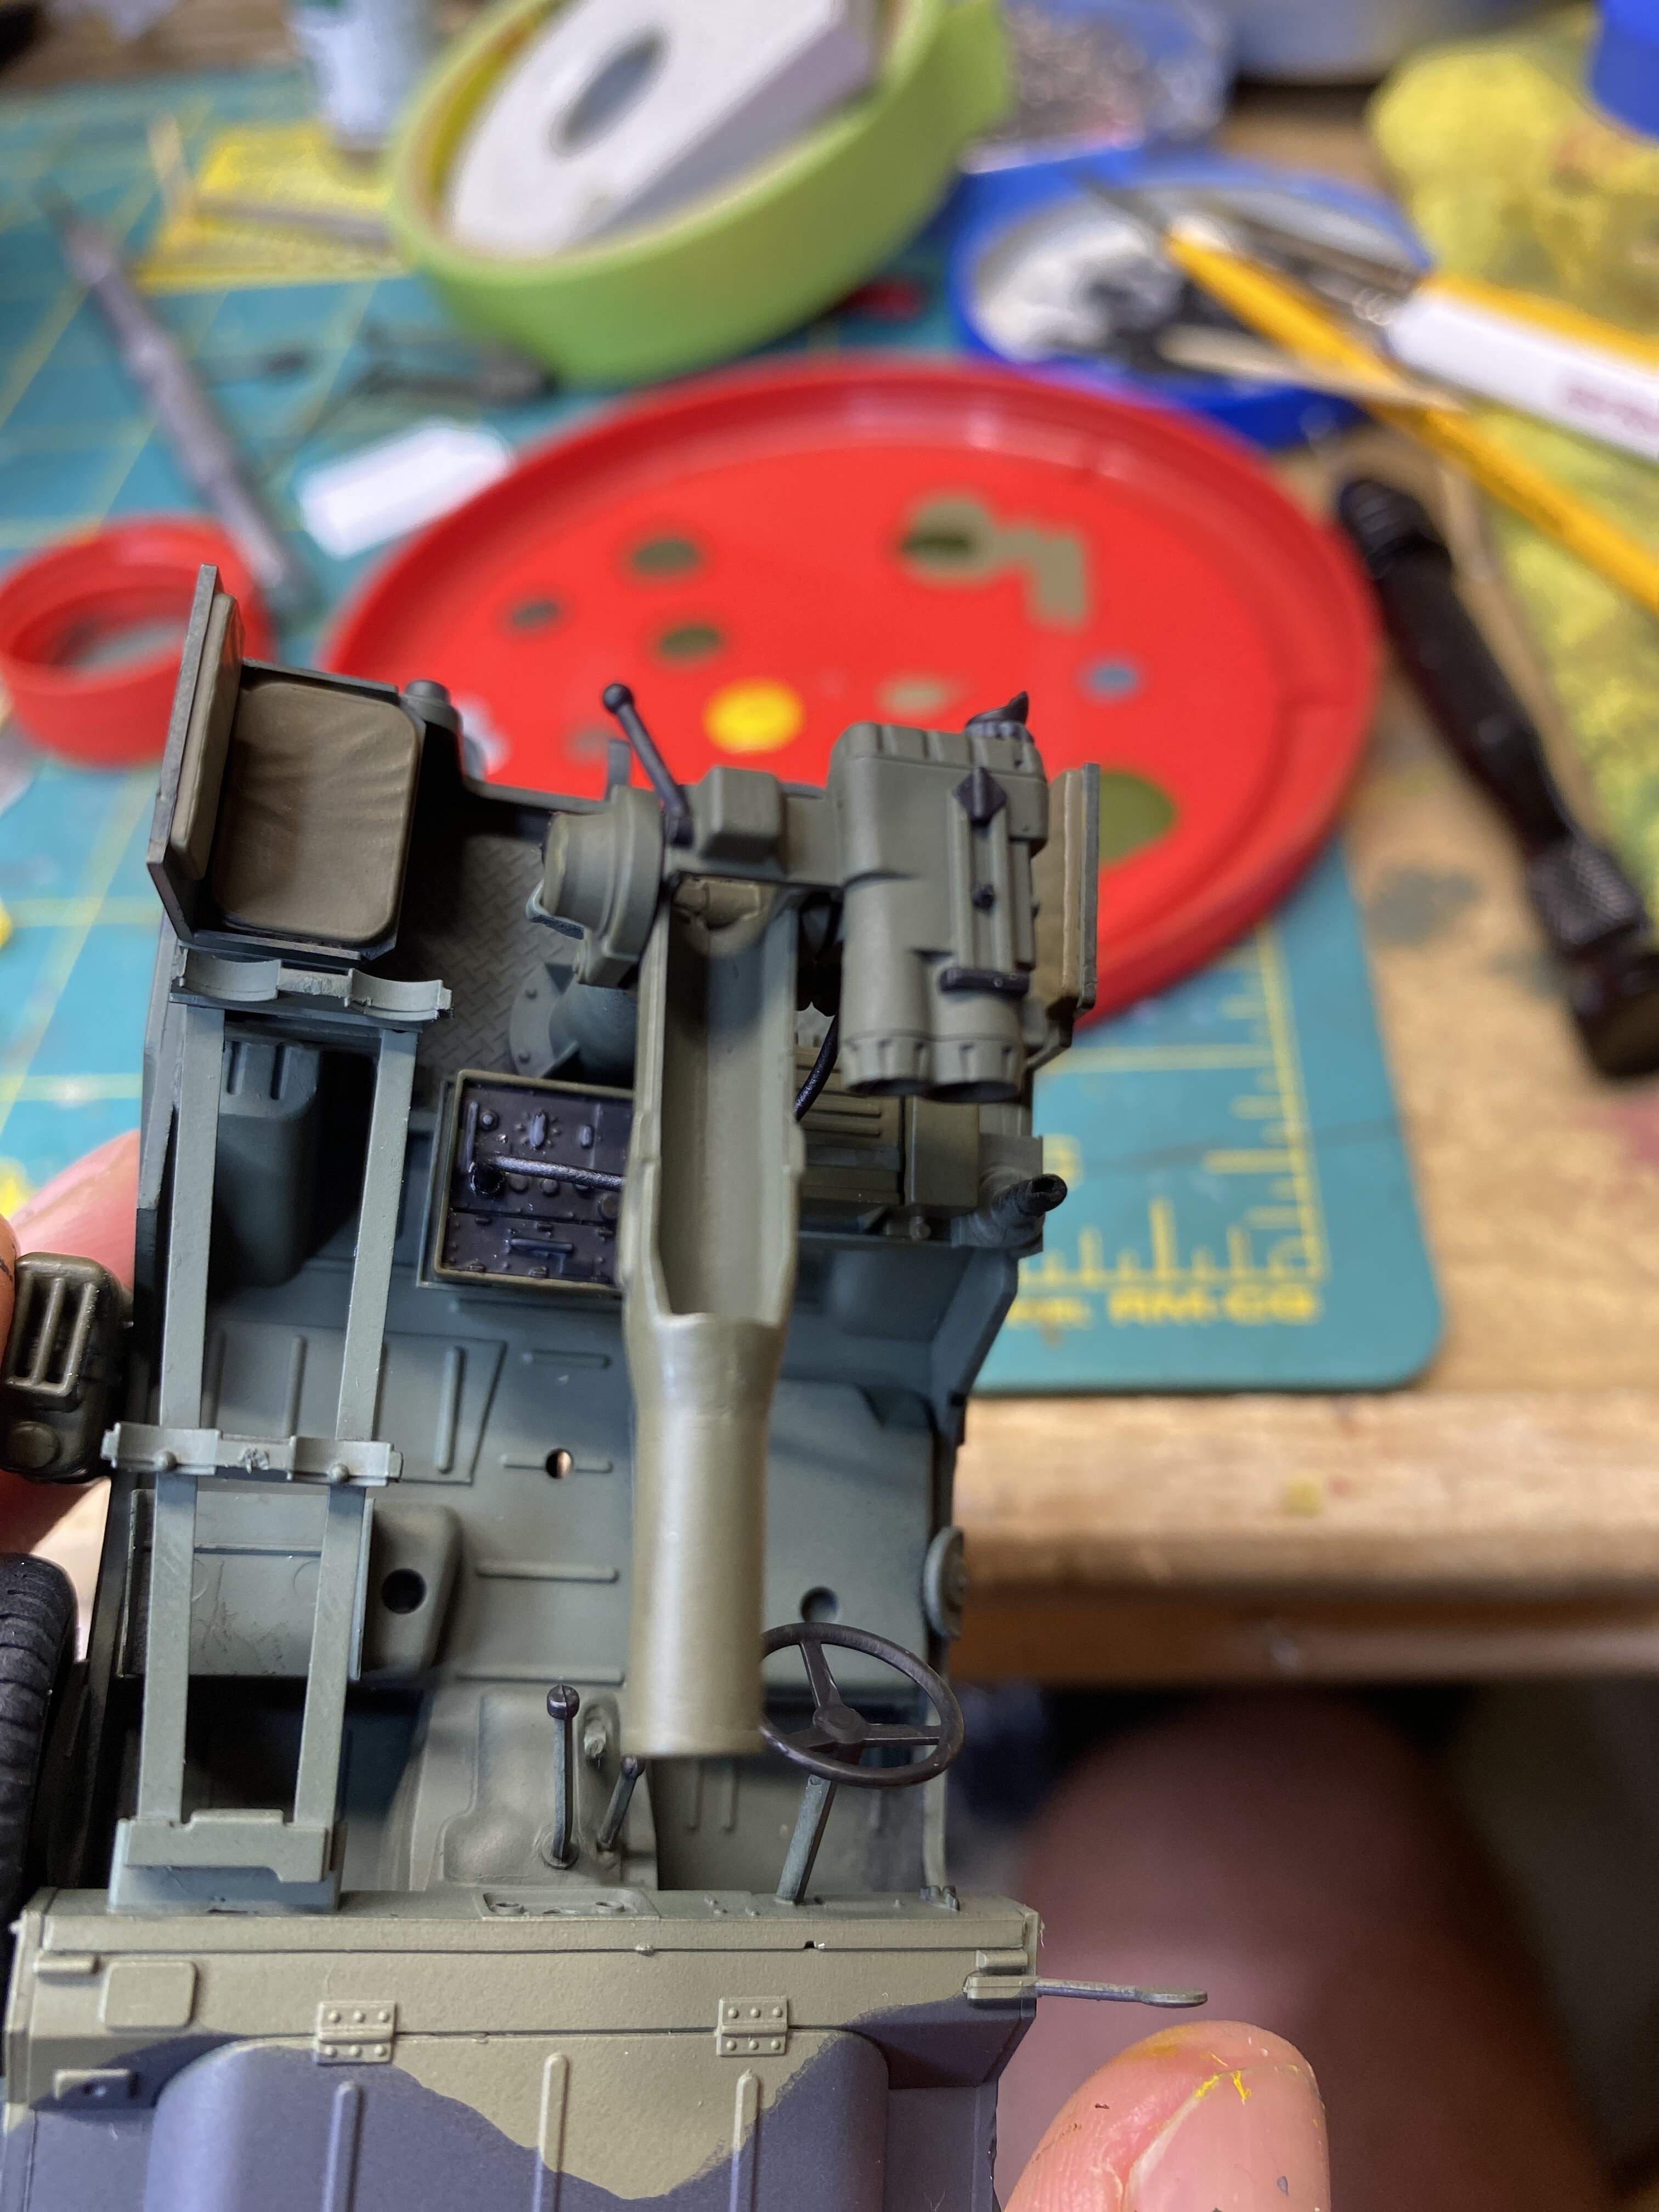
I’ve got the cable running up under the optics because well… where else would it go?
Also also, the storage tubes. From the photos I’ve seen we’ve got a yellow band on the nose end for the model number, red/maroon band on the tail I assume is live ordinance.
Would a training tube have a blue band?
3 Likes
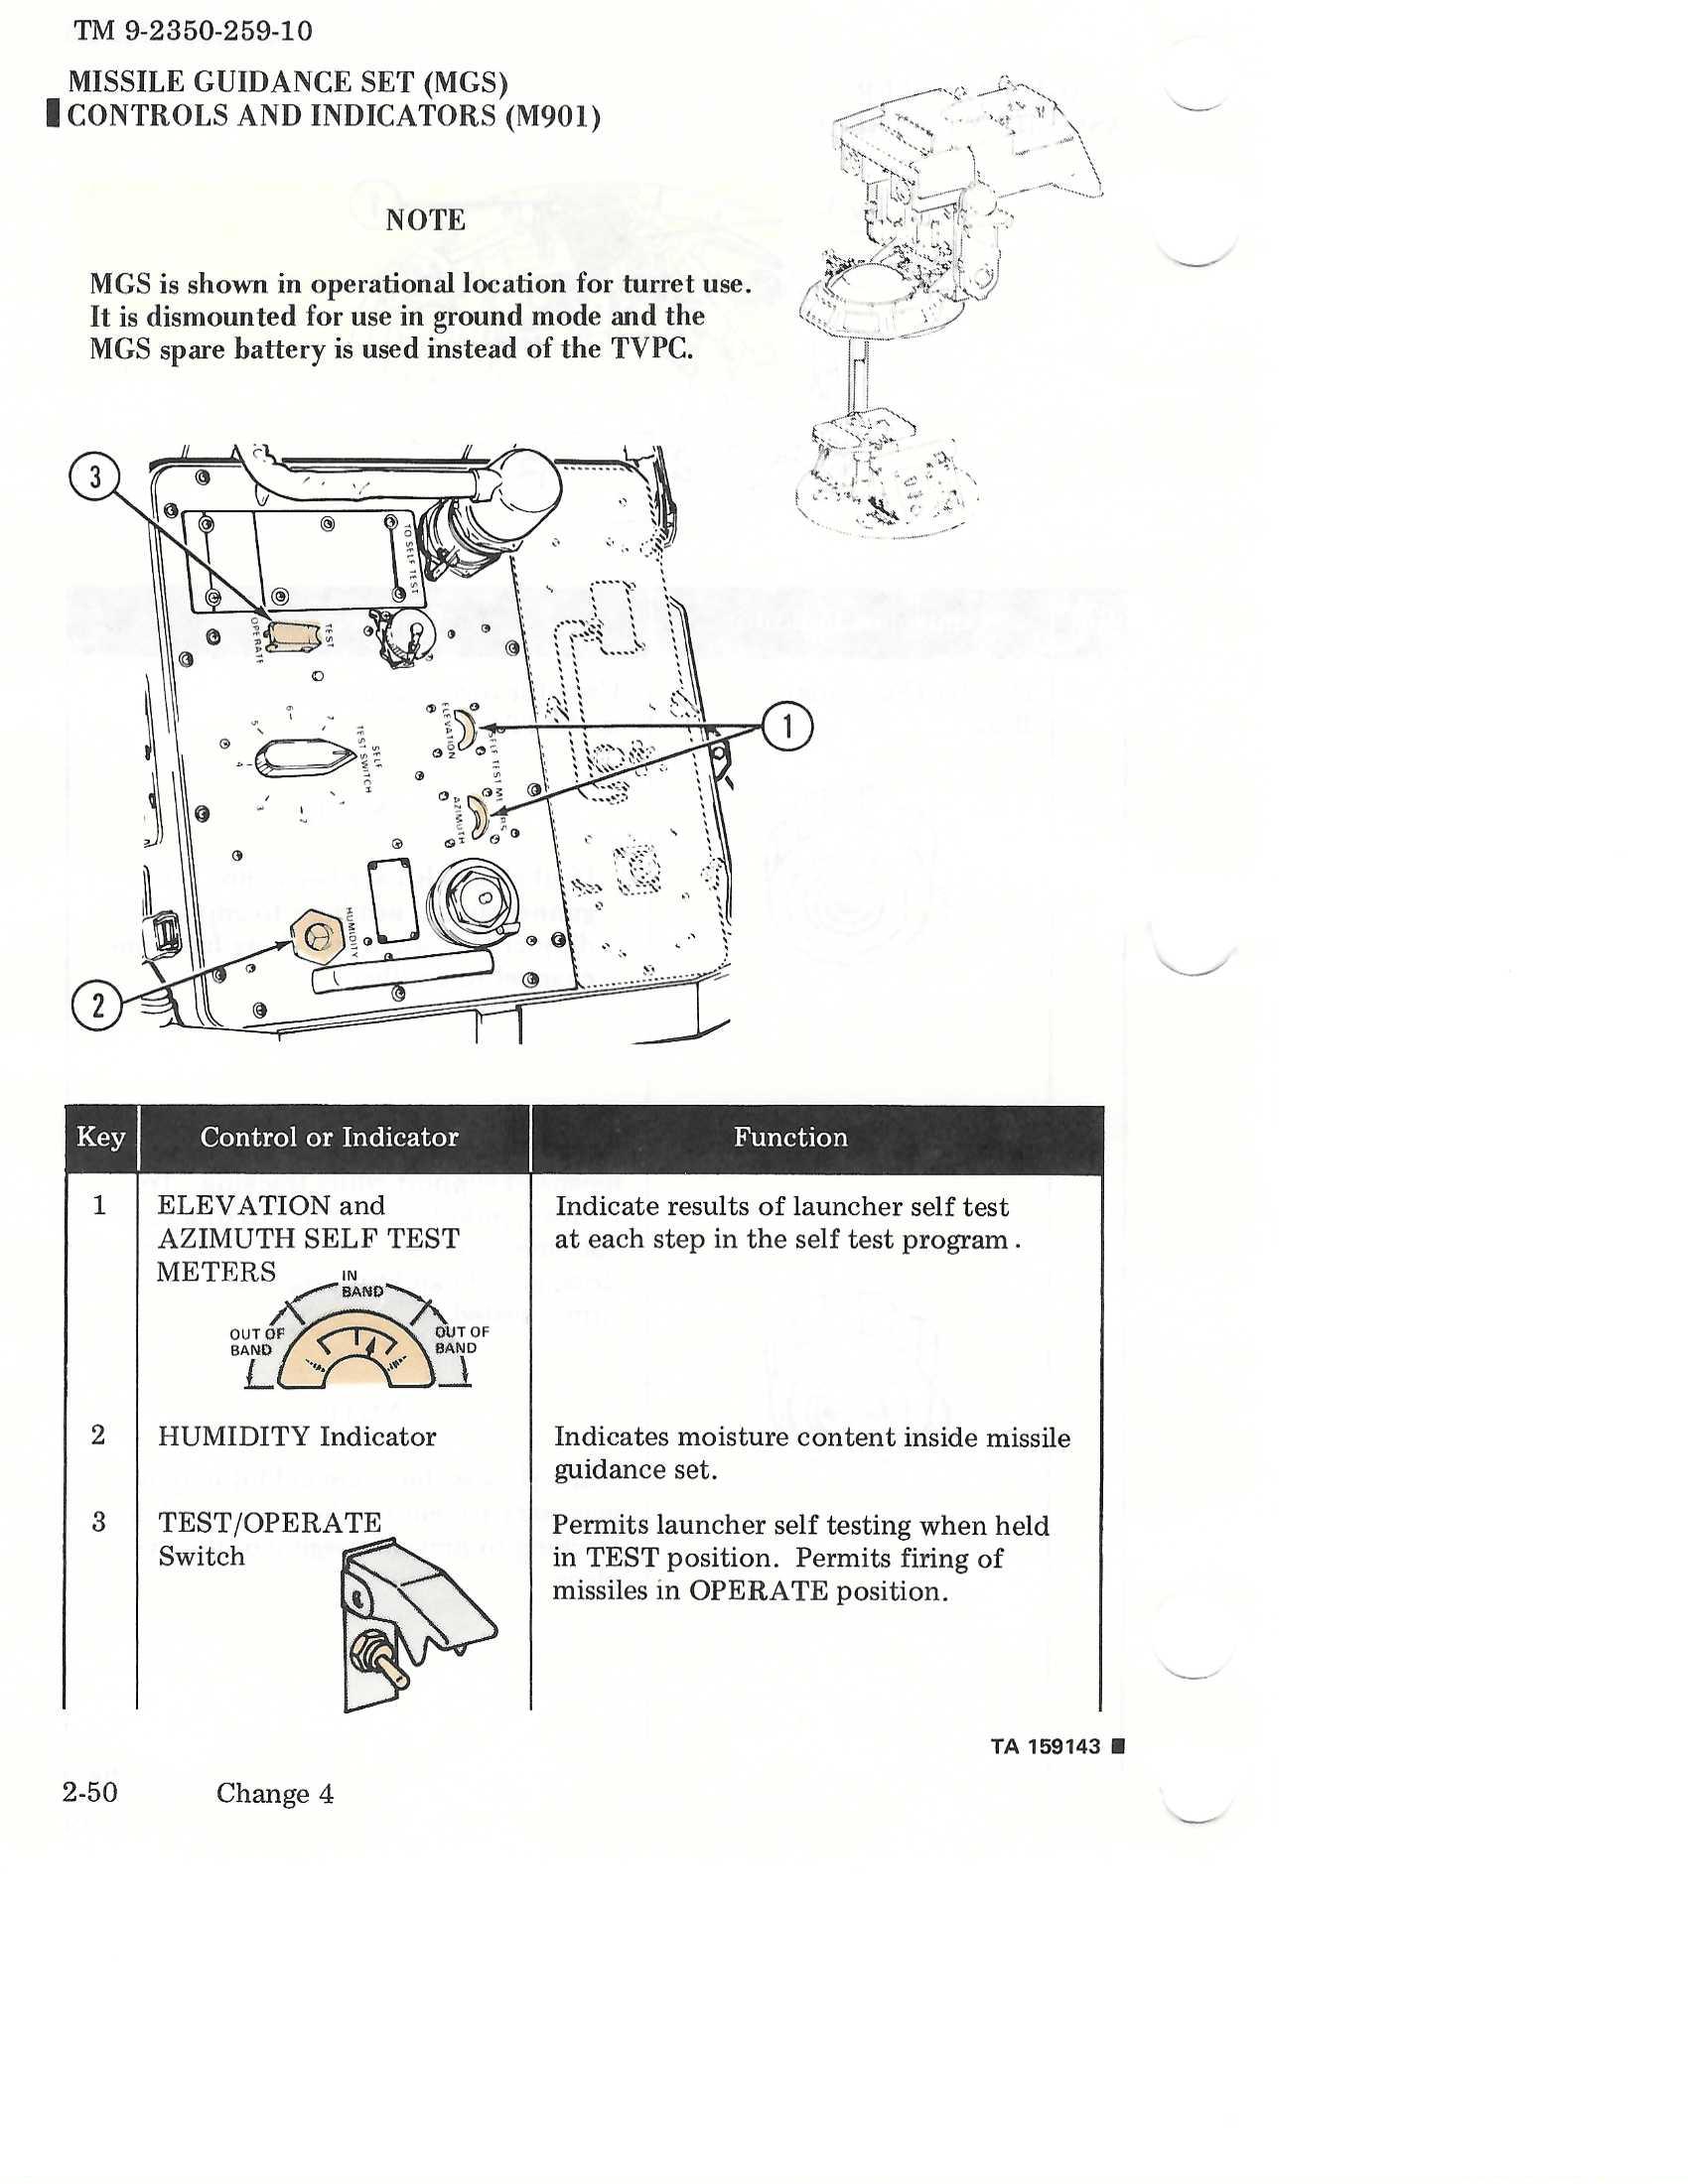
Right. Yellow band on the nose, red band on the rear for live, blue band for inert. The cable actually comes out of the bottom of the traversing unit, through the hole in the side of the pedestal, and plugs into the MGS with a 90° coupler. Here’s a diagram of the MGS:
Ooh that’s great with the optic cable!
I might go back and add that and a few other little things to my build. 
Hopefully my standalone TOW launcher will arrive tomorrow.
Matt do you have a pic of how the cable attaches? Sorry to burden you with all these TOW questions…
1 Like
That’s totally okay Ezra! I am glad to share my knowledge on all things TOW! Ask anything and everything you want. You might as well get some of your tax investment in me back!
The cable is permanently attached inside the bottom of the traversing unit (the cradle that goes side to side). It attaches to the MGS with a 3" diameter 90° plug. See in the diagram, at the top of the MGS, the cord coming into the picture with the 90° plug going into the face of the board? That’s it.
Have I described this clearly enough? I can’t locate my original TOW manual with the ground mount.
2 Likes
Yah I think I understand! Off to re-work some stuff on my M151 I go… 
The gold standard of KitMaker users right here, take notes everyone
2 Likes
Thanks Dennis, that’s really nice of you to say.
Like that?
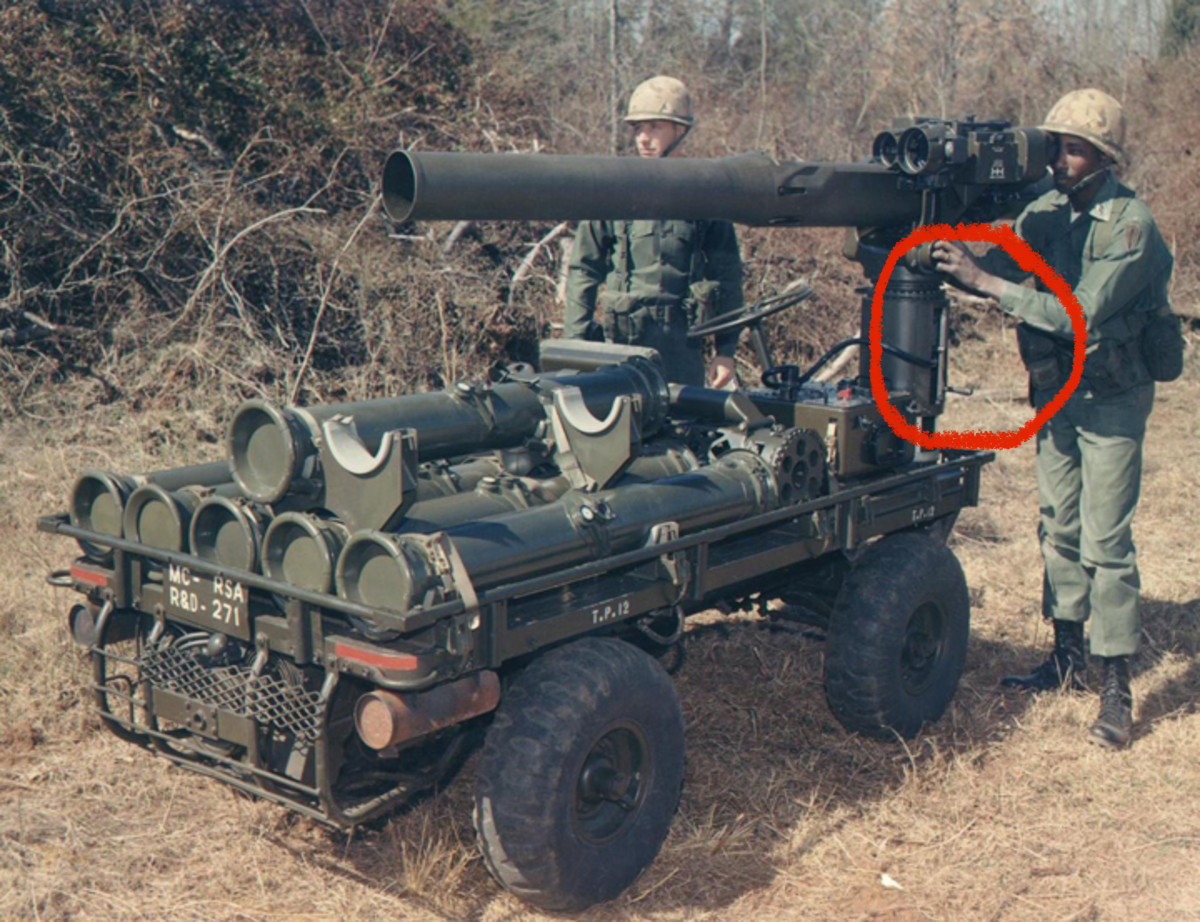
Also, none of the tubes in that photo have marking bands. My build is late 70s. Any idea when ordinance started getting marked like that or is the PR photo the exception?
Thanks for this info man. If you ever decide to build an ambulance I’ll pay you back in kind.
Yes, like that. And you can see, just to the left of the red circle, where the 3" diameter 90° cable connection plugs into the face of the MGS box.
See how the launch tube is 3 times longer than your model? This is a pre-production version, and most likely a mock-up. The launch tube was found to be almost not needed and was shortened in testing. The missile tubes are probably mock-ups, too. This photo was taken before they even came up with the color coding for the tubes. I would date this photo to around 1968. The band color coding was in place when the TOW system went into service in 1970.
1 Like
Stupid question, as I know next to nothing about the TOW system, but what was the doctrine of using a TOW on something like a Humvee? Was it shoot and scoot, hull down engagement etc?
You always try to stay in defilade (hull down) and you never fire more than 2 rounds before you move. The HMMWV provides mobility and small size. It’s easily concealed. The great advantage of the TOW is it’s standoff range. It can reach out to 3750 meters, that’s 2 1/2 miles, in 10 seconds. Most threat MBTs lose accuracy over 2000 meters. So you’ve got a mile or so where you can kill them and they can’t touch you. And have you ever tried to spot a camouflaged HMMWV from 2 1/2 miles away? So, with a TOW system on board, it’s not what you roll in, it’s how you roll. The idea is to stay far from the small arms fire and pick off tanks at will.
4 Likes
‘Ka-ching’… payday on the info.
Thanks for the detail pics, manual extract and advice Matt…
2 Likes
You’re welcome Peter. I’m happy I could help. I’m always here to share my knowledge be it historical or modeling.
1 Like
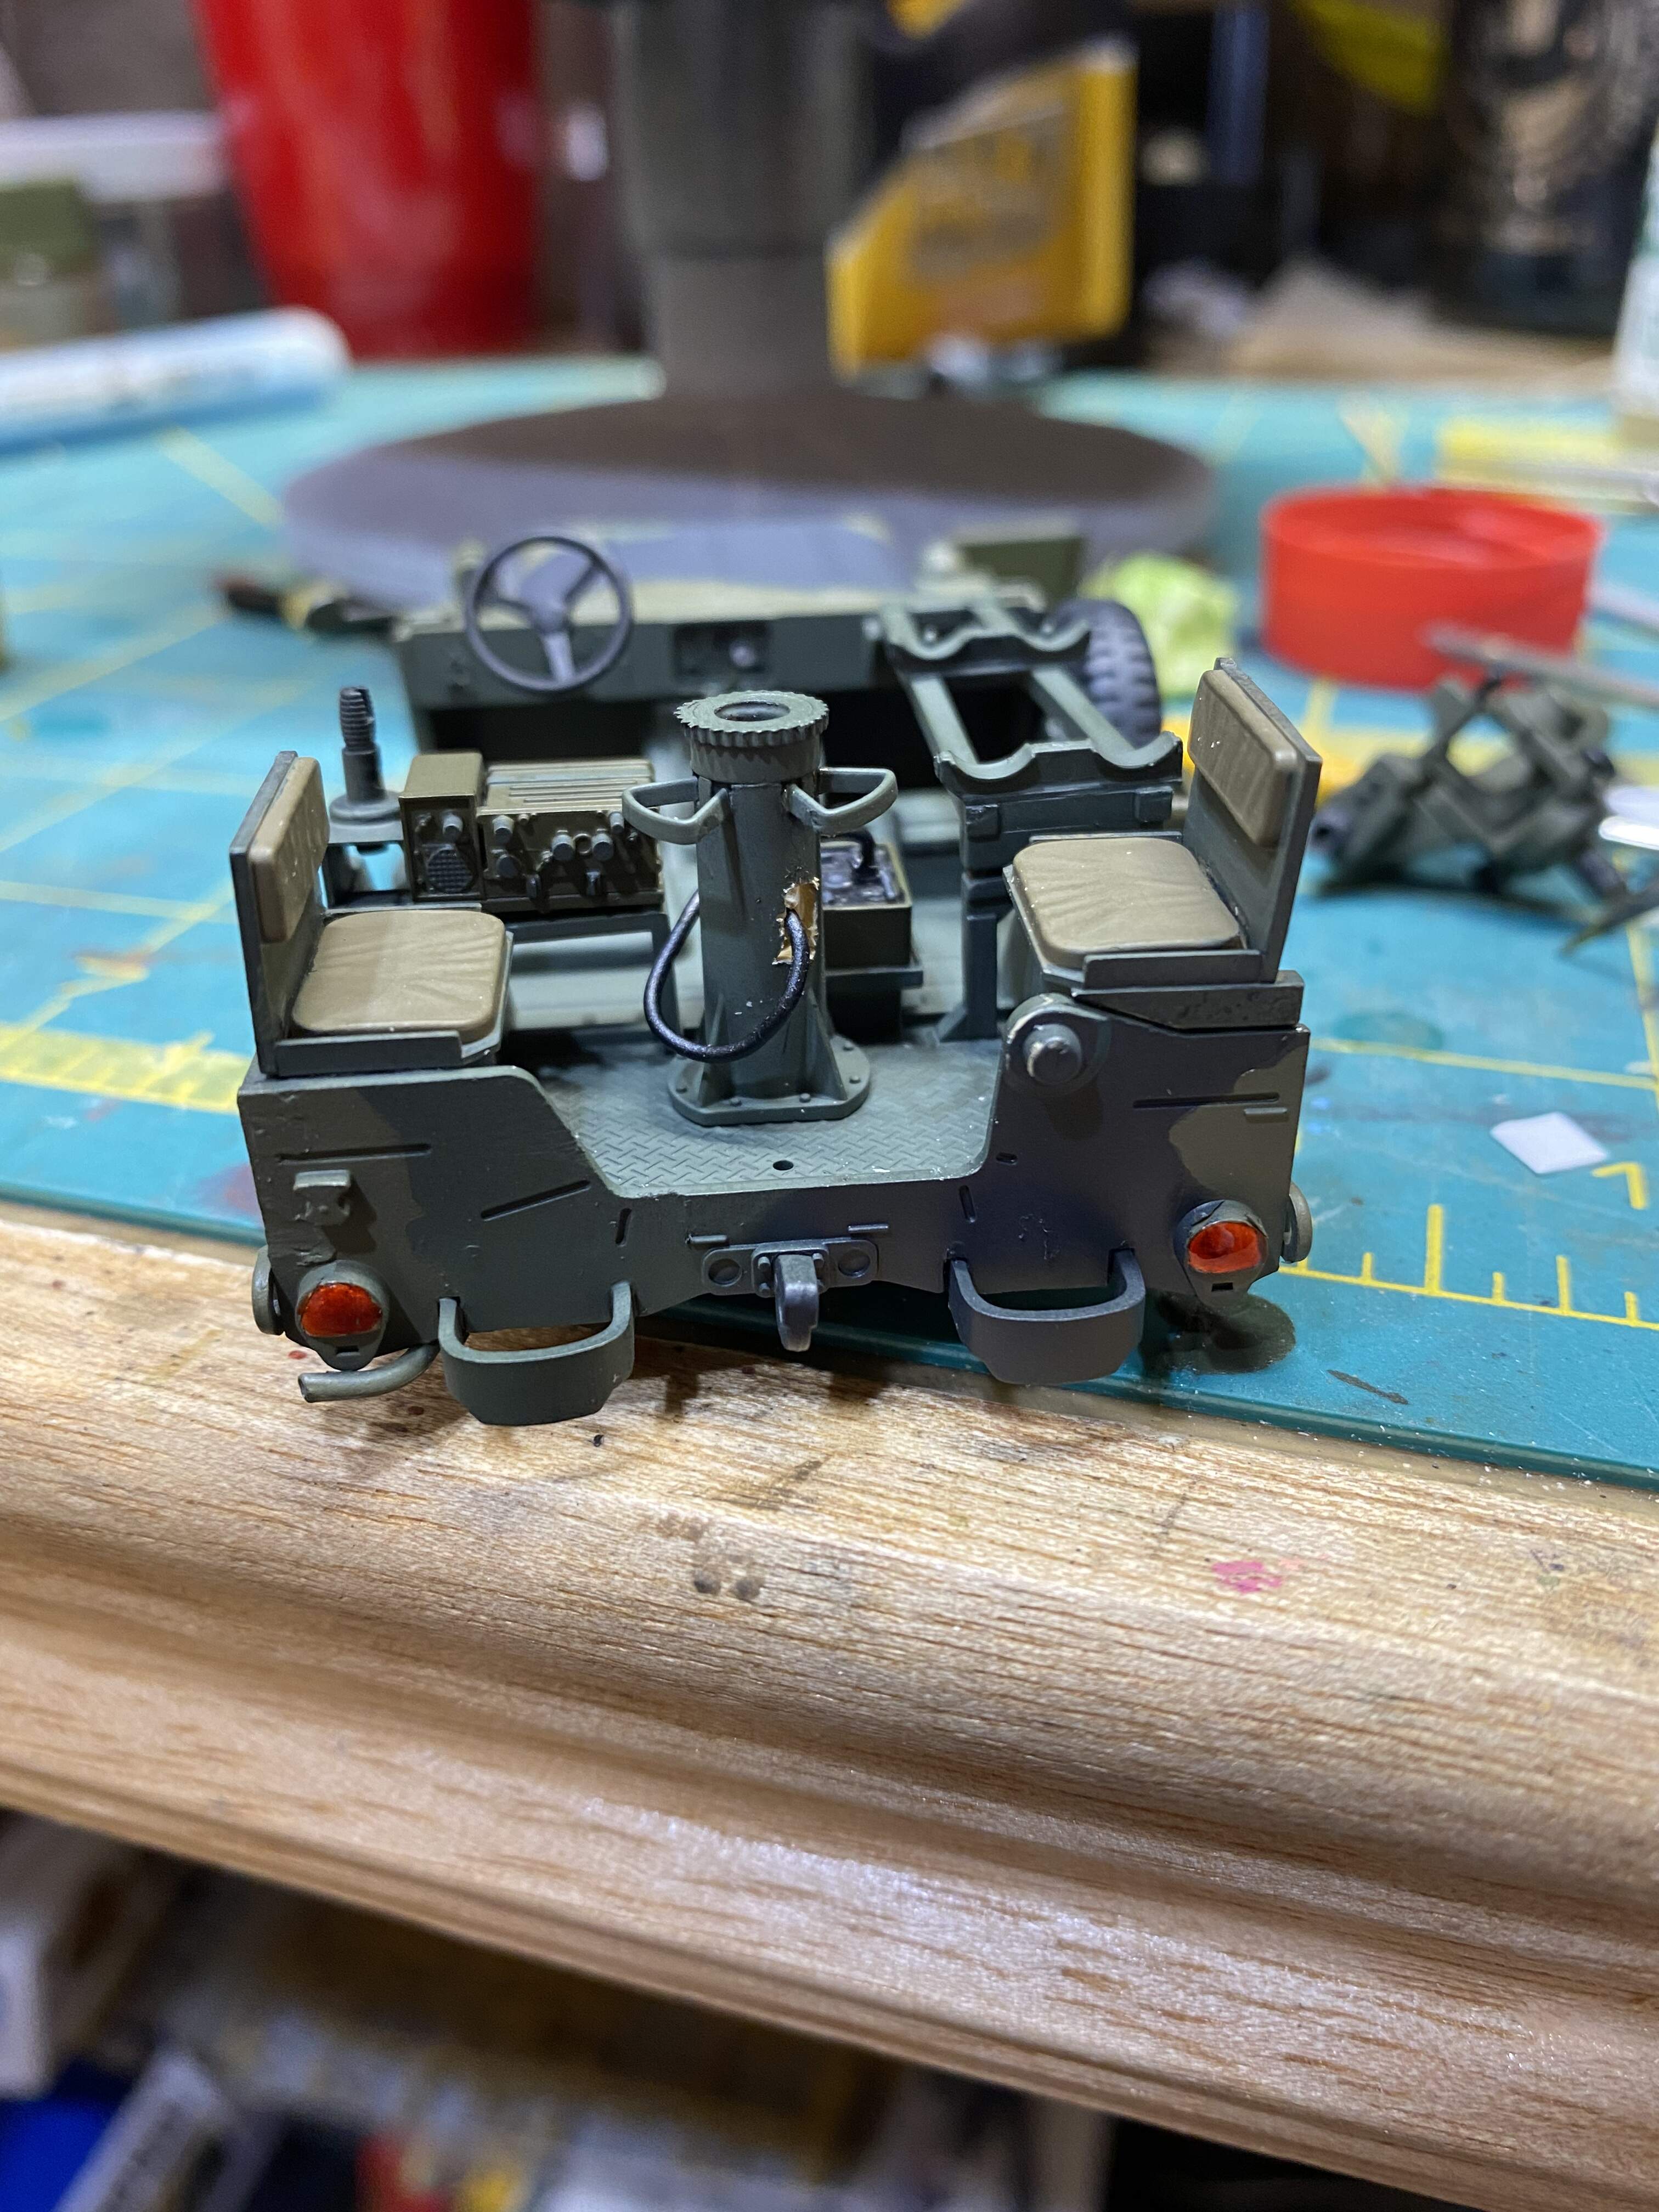
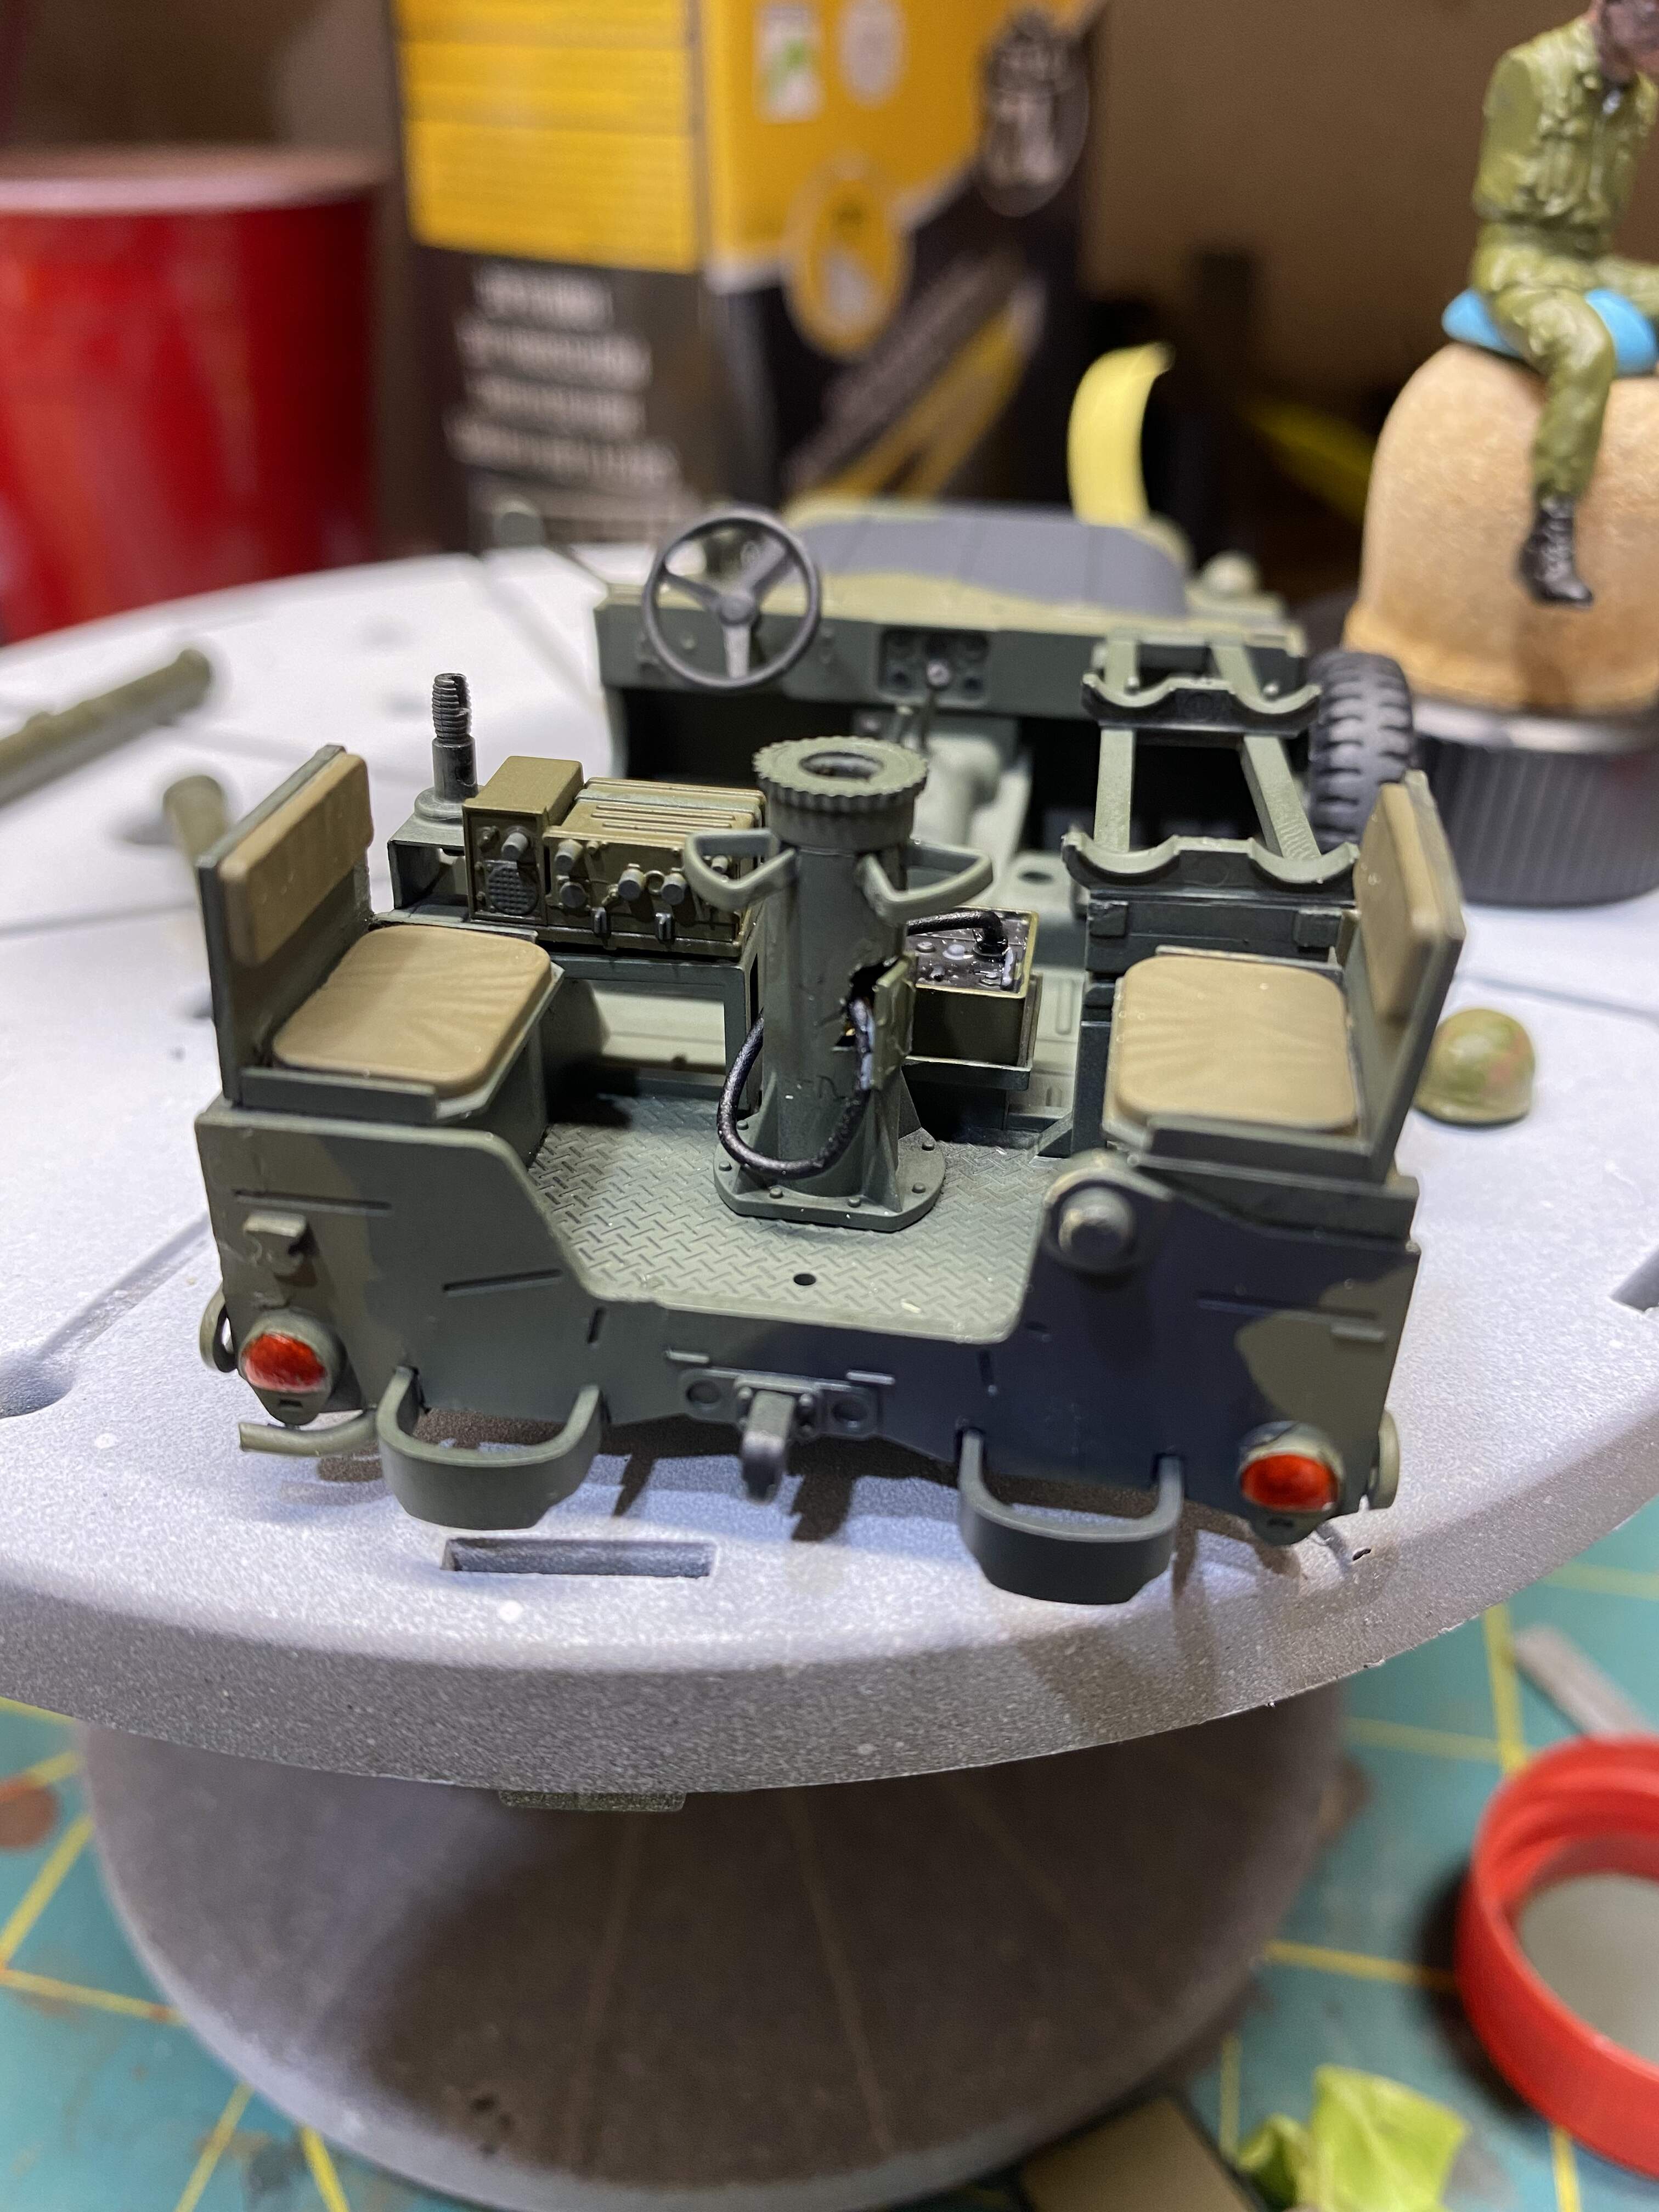
Got the access panel for the control cable cut and a hatch out of evergreen. It’s hardly perfect but the pedestal is a very thick piece and with it glued in place already I didn’t have much room to work. Looks reasonable from a distance, just don’t get too close.
7 Likes
That extra bit of detail is a game changer …well played .
1 Like
Looks great. How did you manage to chop it out with the pedestal in place?
Thanks buddy.
Not sure why, but this cheap little kit has got be inspired to be creative. Maybe because it’s already so lacking in detail. That and if I screw it up it was only a couple bucks.
1 Like
Brute force and ignorance.
I initially had just drilled a hole for the wire and was going to lay the hatch cover over top, but it didn’t sit quite right.
I ended up using some small scribing chisels to chew away at it until I got the shape close enough to what I wanted.
If I were to do it again this would obviously be done prior to install, though I’m still not sure if there’s an easier way to cut it. Ideally I’d match the size of the cover a little better too, but for a last minute change I’m happy with it.
I’m going to see about mocking up a radio mic as well. I think I have some wire that’s thin enough to be reasonably in scale.
1 Like