Churchill tracks
1 Like
“Pimp my Firefly”
I can’t wait to see this one get built!
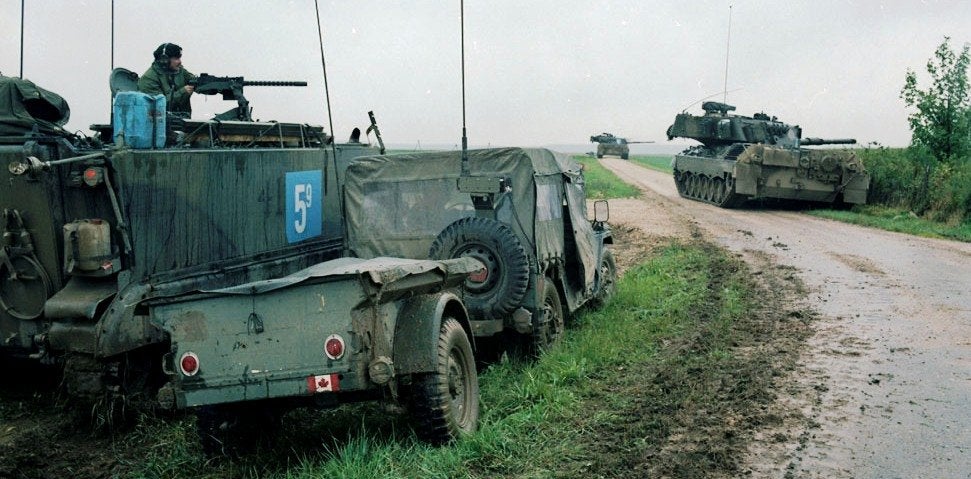
I have started tinkering with my M151A2 in Canadian service, situated at REFORGER 1980.
The original inspiration;
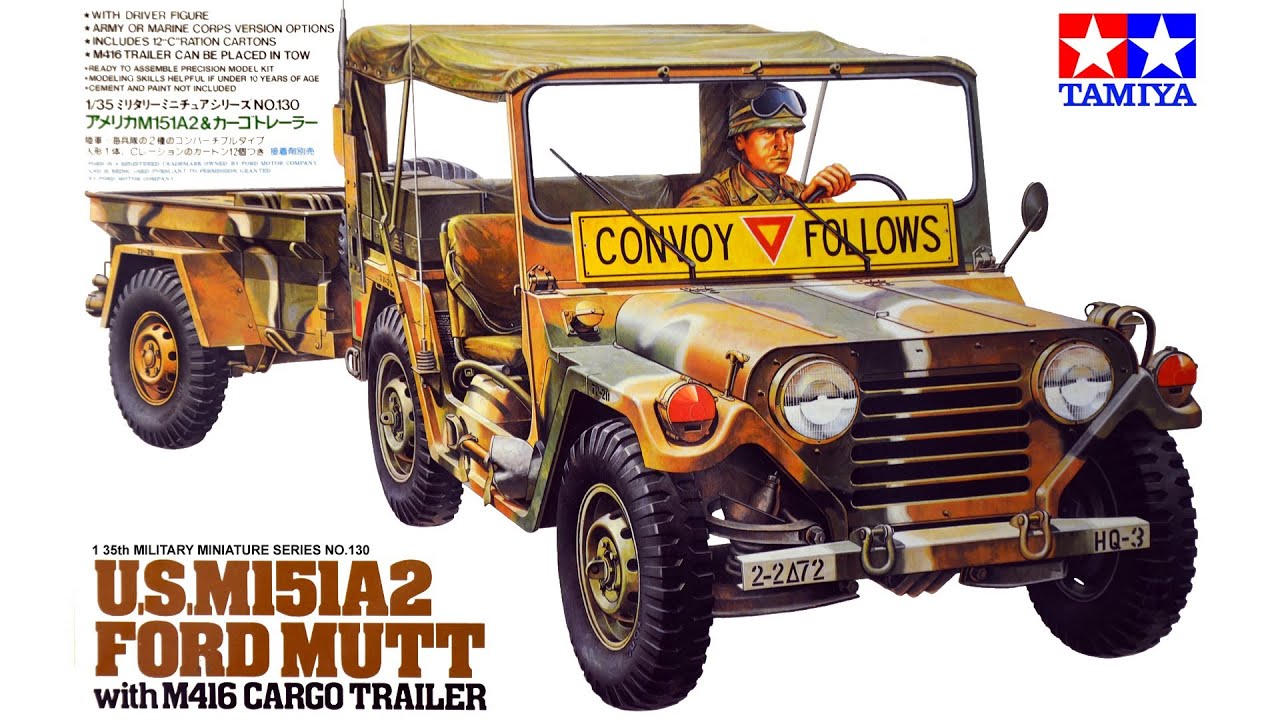
The donor-kit
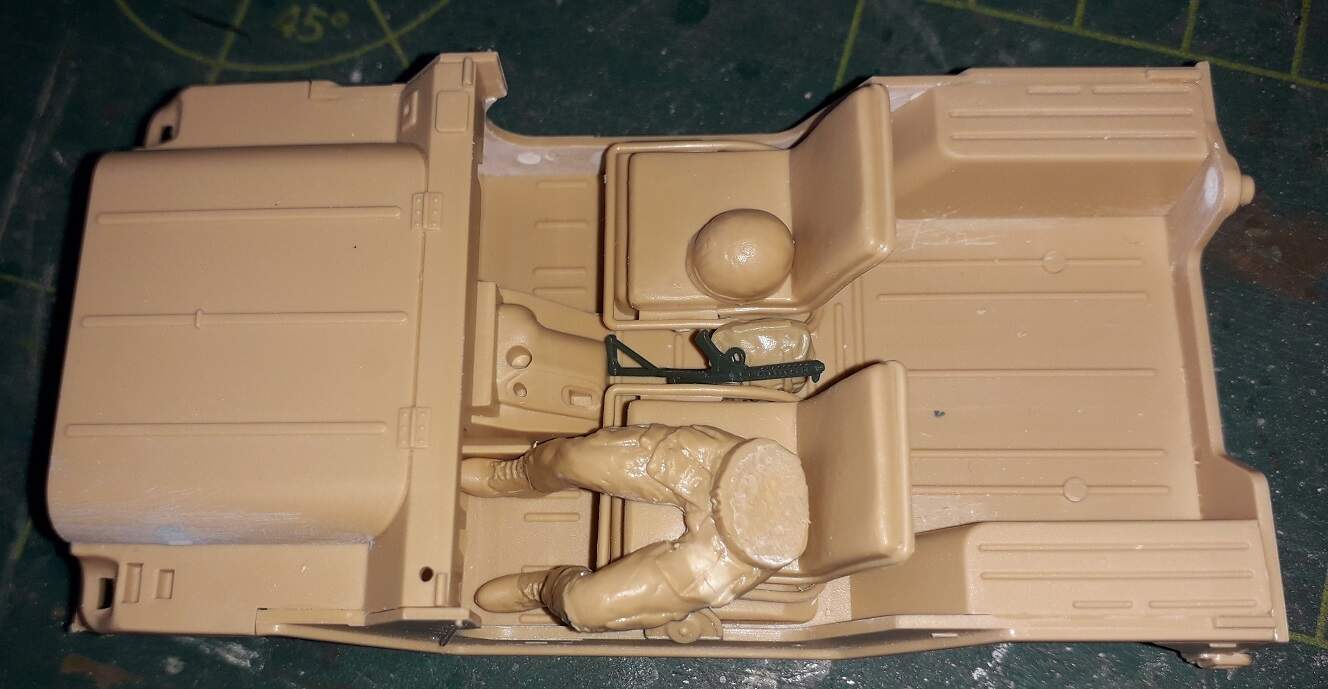
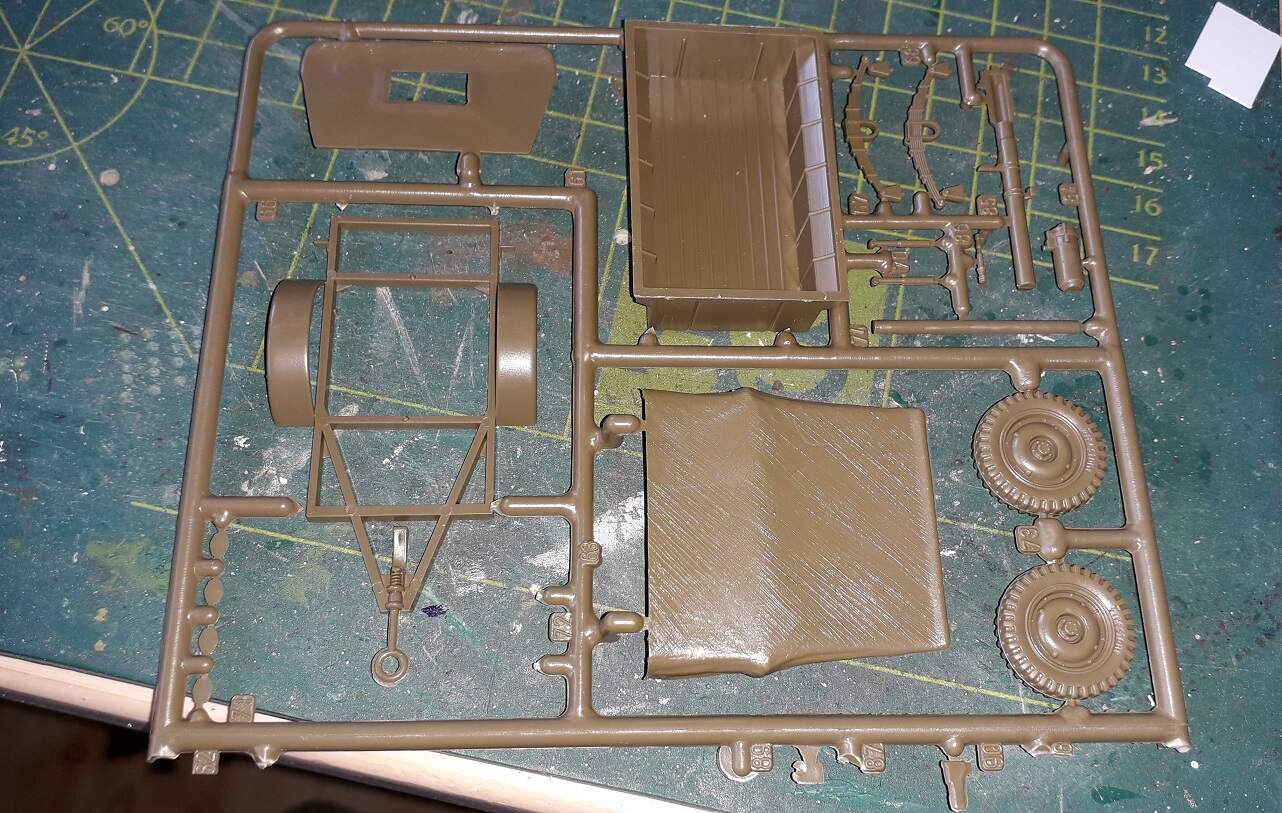
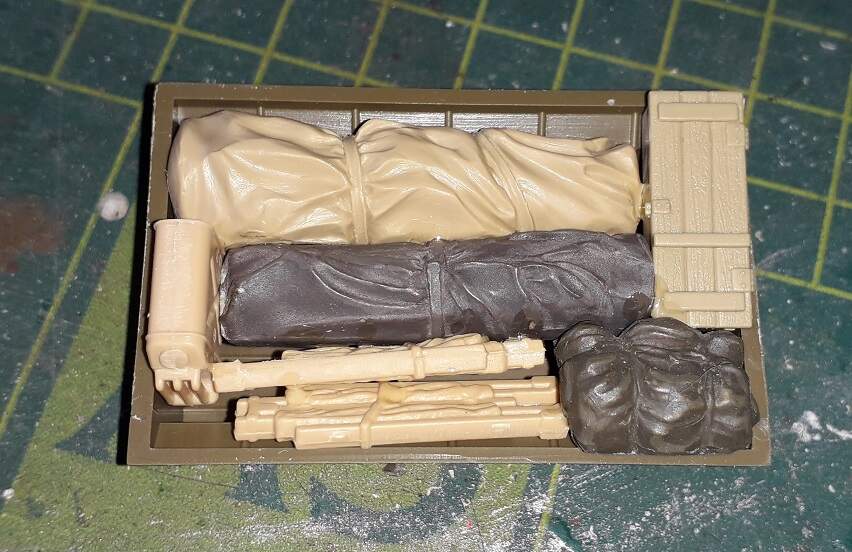
I so far changed the head of the driver and his overal stance. manipulated the left leg to be inside the vehicle. Going to add some gear; C1-smg, helmet and buttpack. I also made cargo for the Italeri Jeep-trailer, to be made into an M100-trailer. I figured this would be a staff-tent on the move or something.
I like working in modules, so the cargo has been made into one block.


4 Likes
Ooh boy another M151! 
Seriously though that looks like a fun build Ron.
I’m liking this.
Where’d you get the C1 from Ron?
It is from this set and I had it for ages in my sparesbox

2 Likes
Ooooo. Imma order that
Don’t feel like making the whole scene? 
Had I found the image sooner, I might have been tempted.
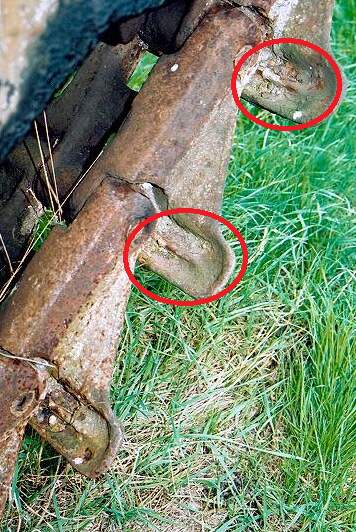
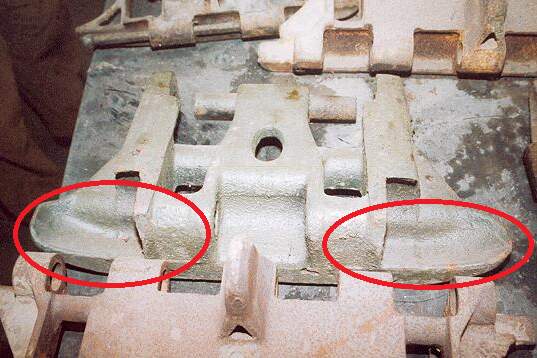
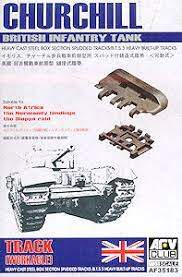
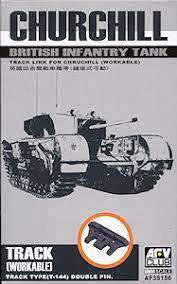
There were four types of track made for the Churchill. One rivetted type was only used in prototypes, a Heavy Cast Track for use in heavy cross country and mud terrains used up to the Mk IV’s, and the Light Cast Type and Manganese type which were more general service type (road and basic cross country performance)
The ones in the photo are either Churchill Light Cast Track links or the Manganese track links. They are almost identical to look at, except for a small strengthening rib on the inside face of the Light Cast tracks, which the Manganese does not have.
Light Cast Track:
Manganese Track:
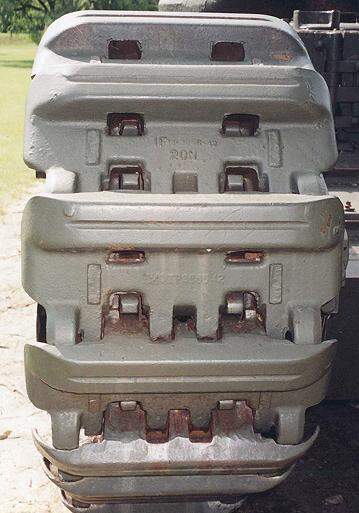
For interest, the Heavy Cast Type, is noticeably different and a little reminiscent of the Matilda II ‘Spud’ Tracks:
So which AFV club ones do you have - The heavy Cast type or the Manganese type?
https://www.perthmilitarymodelling.com/reviews/vehicles/afvclub/afv35183.html
https://www.perthmilitarymodelling.com/reviews/vehicles/afvclub/afv35156.html
2 Likes
The second type, heavy track (bottom pic).
1 Like
Bottom type is the Manganese track. If you have those you are certainly ready to go - enjoy.
@DennisatAutoloader @Canmedic
What colours did you use for the greens in the 3-tone? Especially the weird tone?
Tamiya Field Green, , AK Real Colours NATO black and a custom mix US OD highlight I had left over from a Sherman I did a while ago.
I think it’s Tamiya OD + Dark Yellow and Wooden Deck Tan in a ratio that’s lost to time.
My paint job is actually way too “new” looking. I’m going to have to try and tone it down a little. The 3 tone was notorious for fading into all manner of weird shades after some time in the sun.
I didn’t do a three tone (yet  ) but I’d have to suspect that either Tamiya’s NATO green or perhaps their field grey would work best.
NATO green is too… green. It works for modern vehicles but not the 70s/80s.
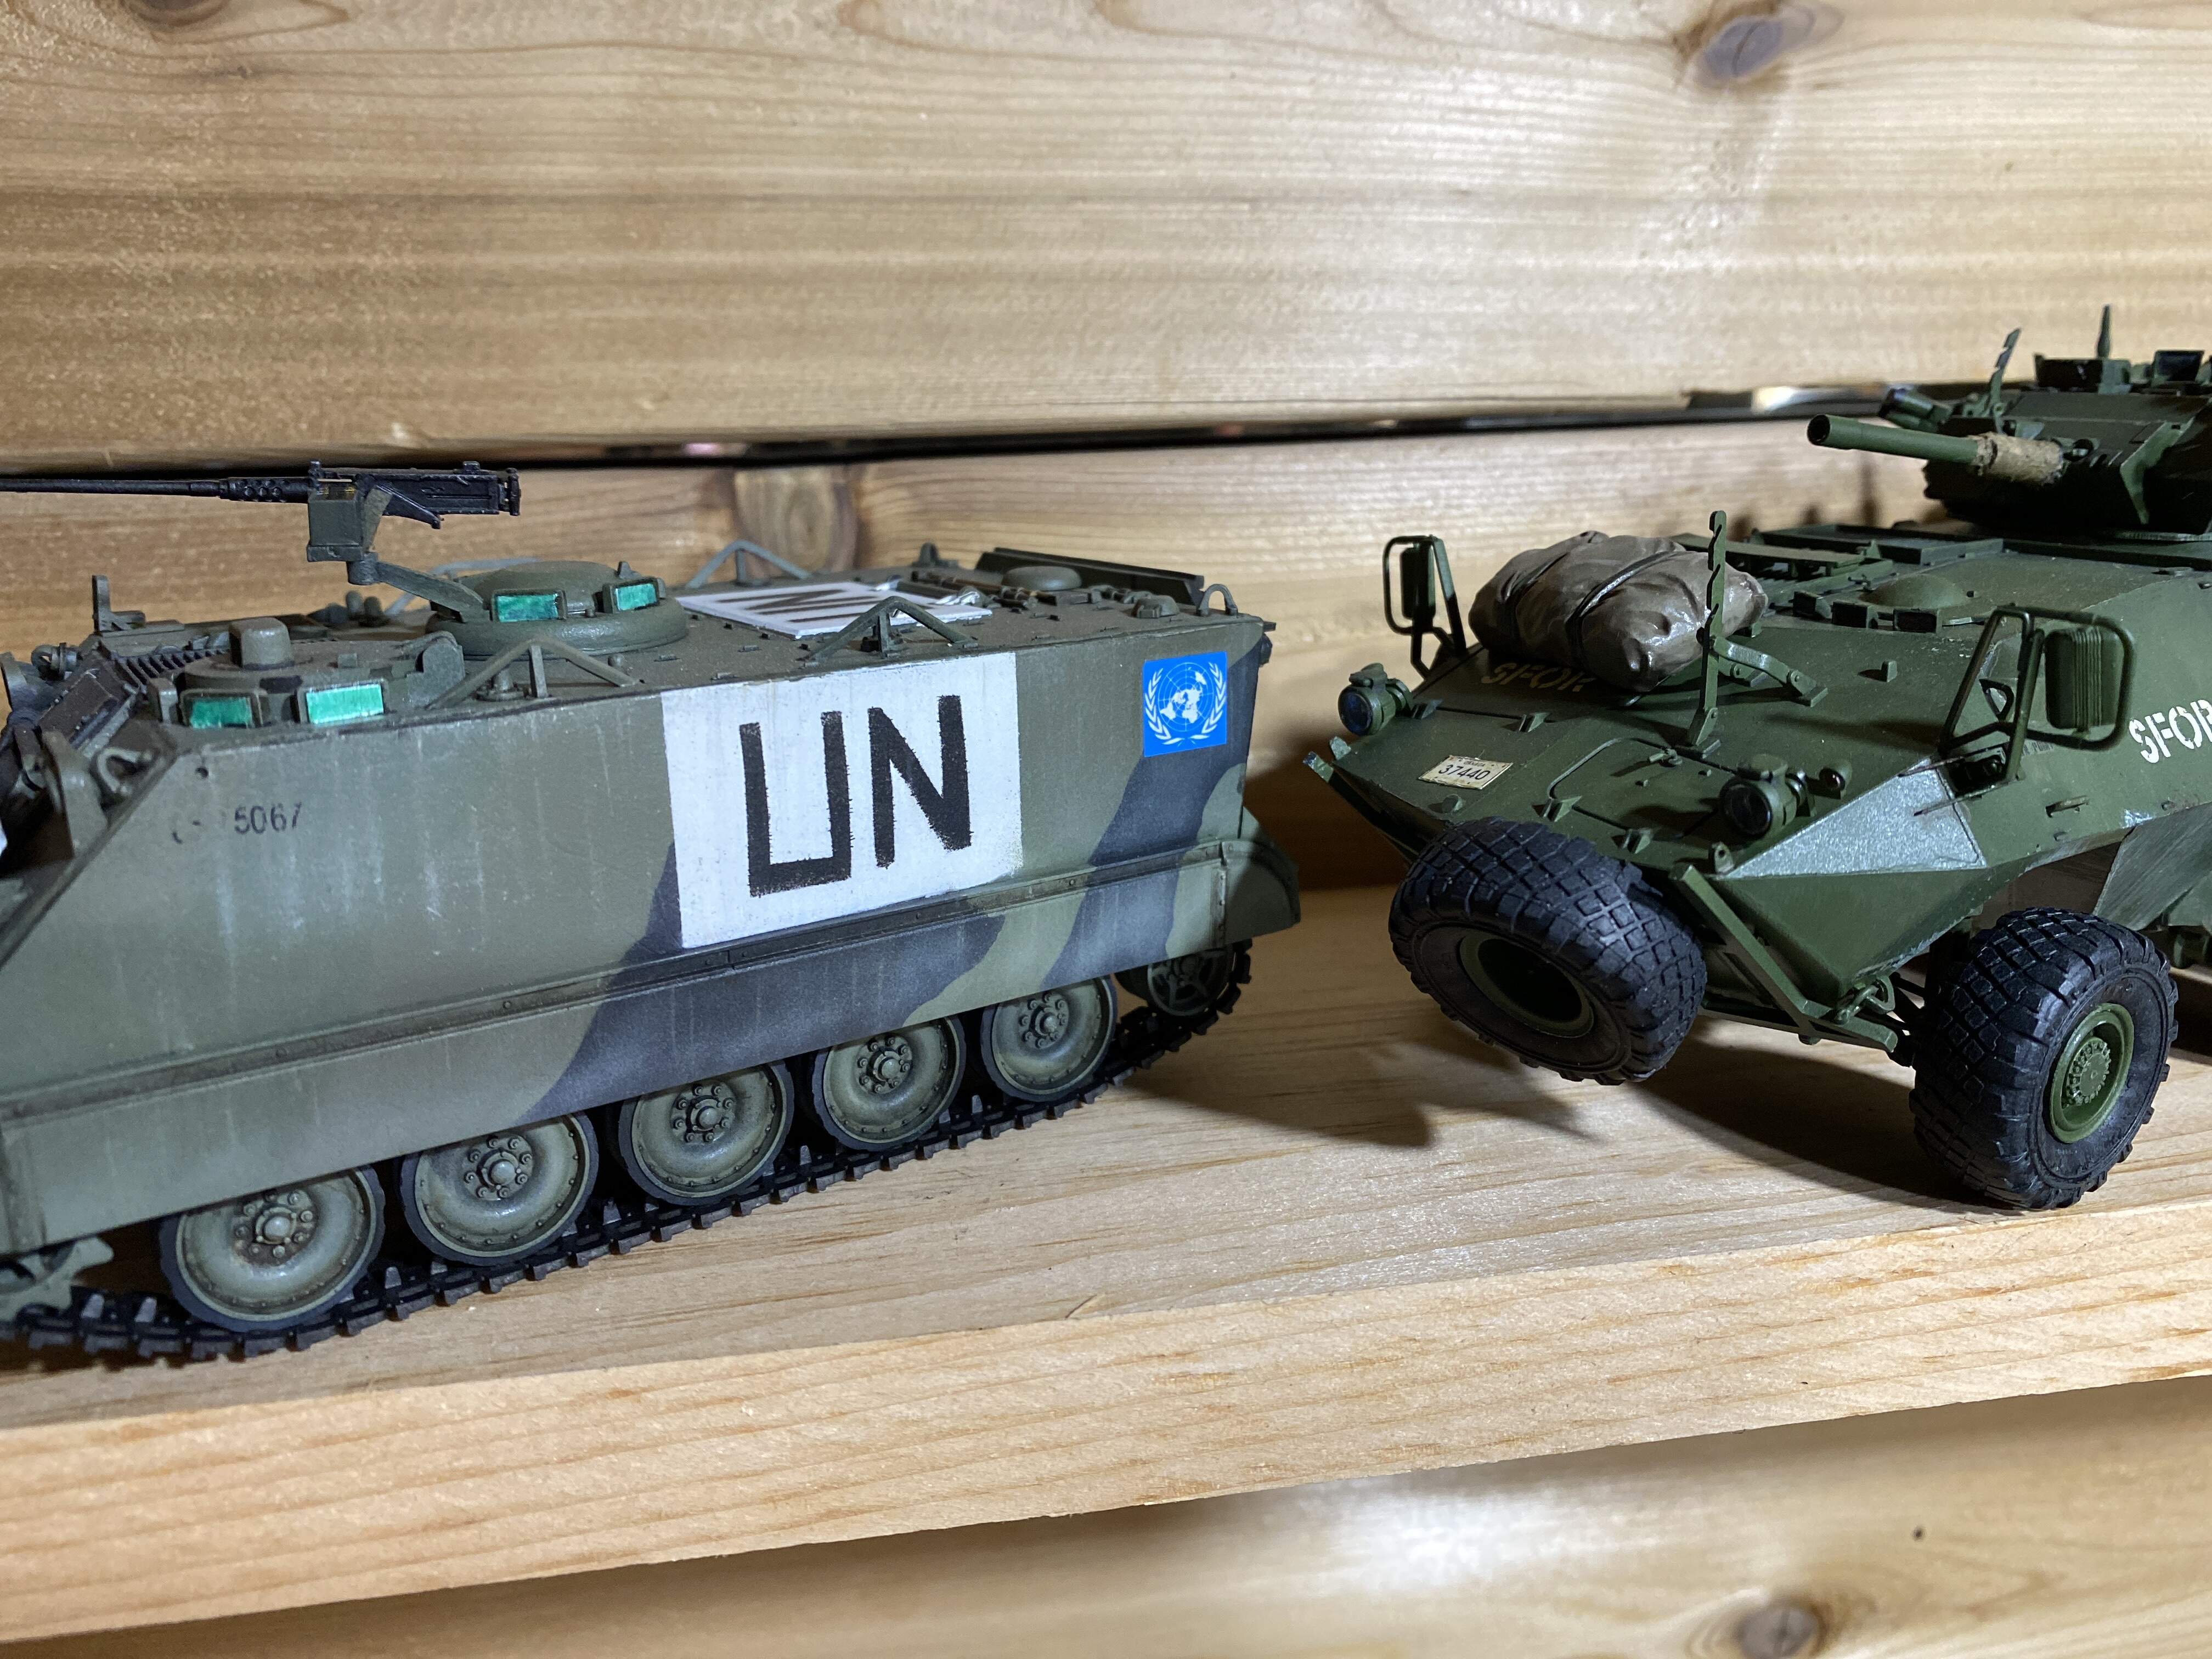
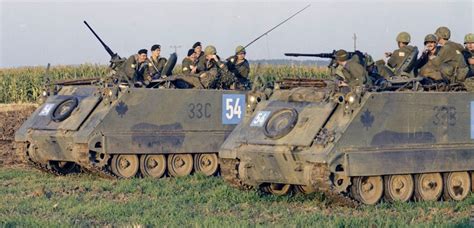
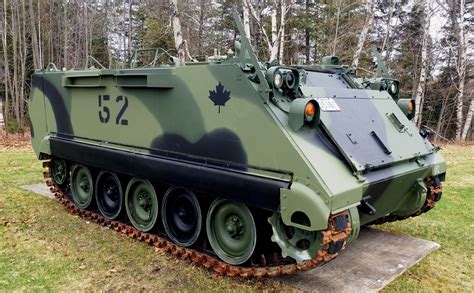
Track is 3 tone (I did a better job of desaturating the colours) and the cougar is NATO green cut with a little yellow-green
1 Like
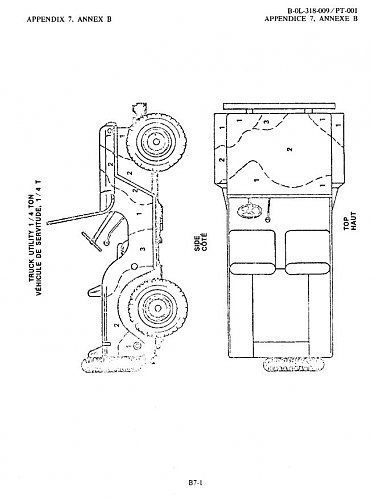
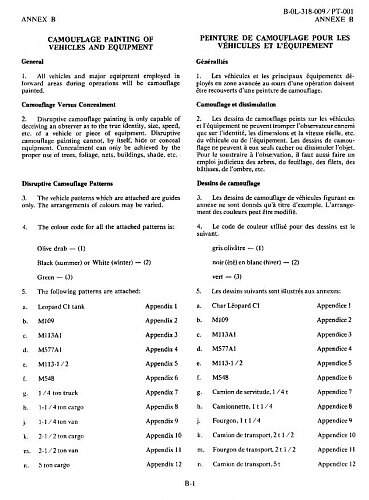
Ron this might be helpful. It’s the official CF camo template for an M38. Body shape does t quite match the 151 but it gives you the general idea of ratios.
3 Likes
Thanks!!
So far I am thinking olive drab (XF62), black (XF1), but that whacky green…??
1 Like
I found this combination: Tamiya XF 69 NATO black, XF 65 Field Grey, and mix 50 % XF 62 Olive Drab with 50% XF 62 Desert Yellow
https://nodicenoglory.com/2018/06/22/painting-canadian-m113-the-proper-way/
I was confusing this one:
with this one:
1 Like
You might also be able to get the light green with Tamiya olive green and flat or desert yellow. The olive green might be a better starting place as it’s already lighter than olive drab. But if you only have olive drab on hand go for that