That’s the website I got my mix from. Sorry I totally forgot it id have sent you there.
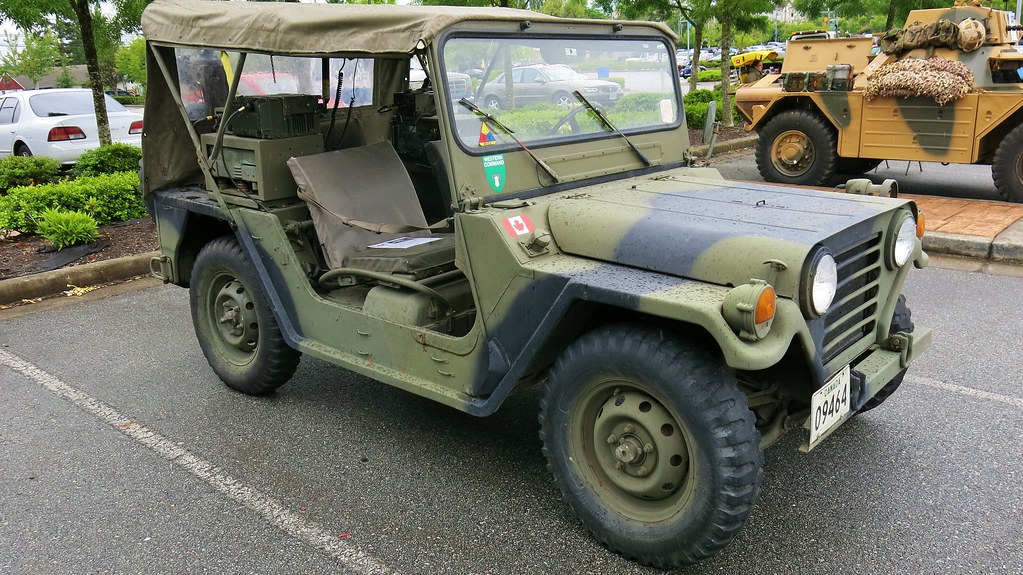
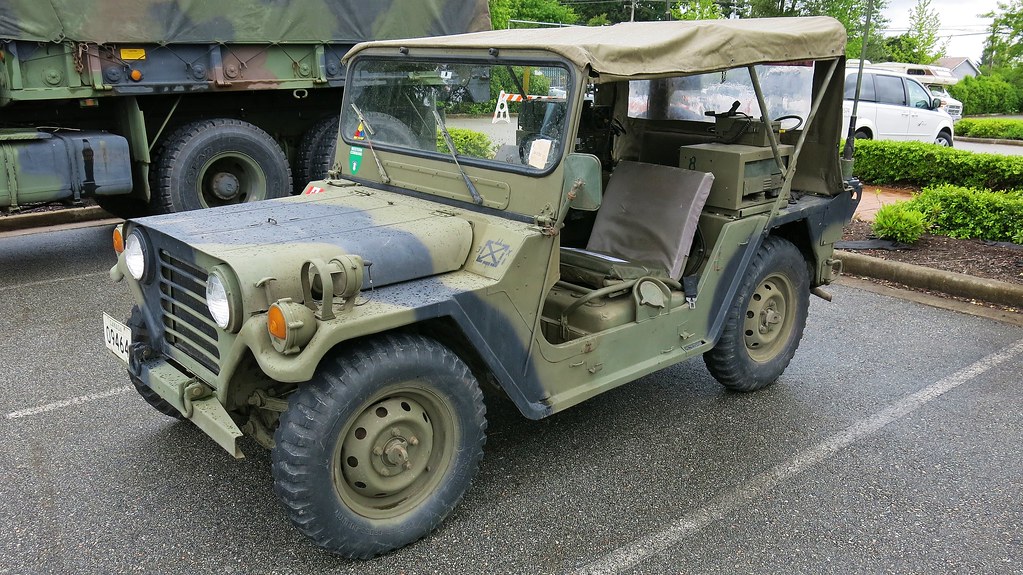
That gate guardian in your second image is just strange. A good rule is to never trust them for colour references though. They’ve always been repainted with whatever was at hand.
Hell, look at all the nonsense surrounding the Caunter scheme because the IWM painted it blue and everyone took it as a reference. Or even a lot of the tanks at Bovington. Not that Flames of War is a definitive source.
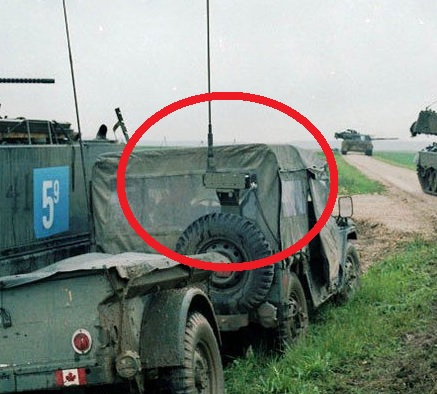
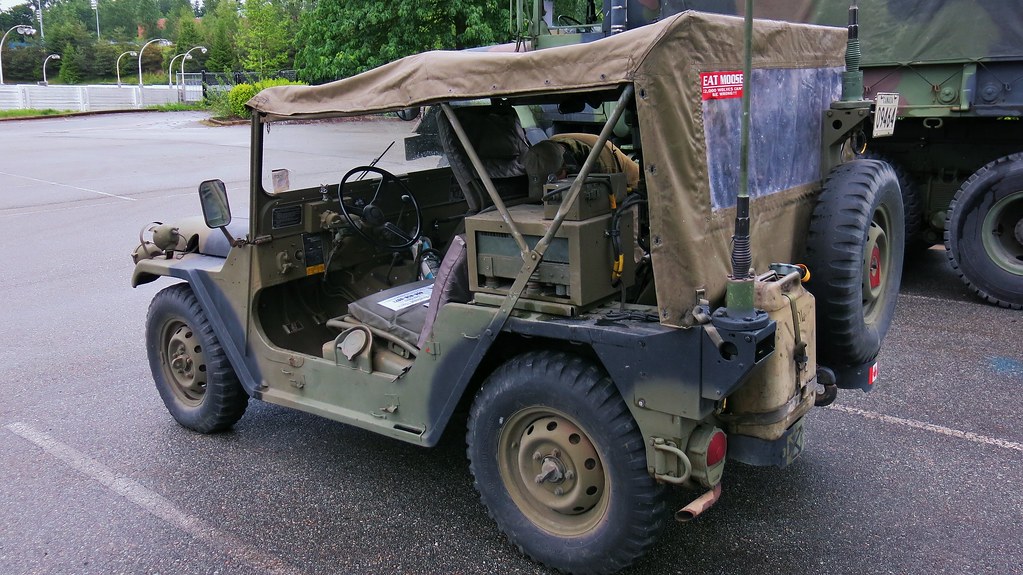
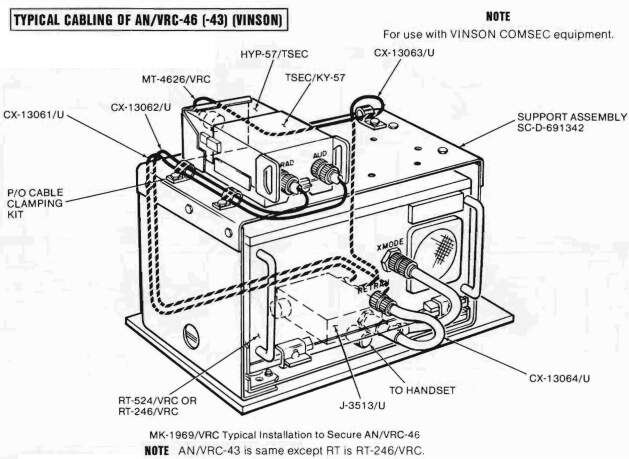
The mounting bracket and antenna base look standard and will probably match what’s in the kit.
Im wondering if it’s a modified base to allow more than one antenna to be mounted on the same bracket? Like if that’s a command or signals Jeep and need/want radios running on two different nets.
I can’t find another example but as with everything, photos of in service examples of Canadian stuff is hard to find.
I’d imagine you should be able to bodge together that rectangle out of some styrene.
What is the time frame for summer/winter scheme? I keep going back on forth on what to build, M38 or VMMD. Basically can I get away with a top down M38 and the winter (white) paint scheme?
Would this also work for the M38 (Tamiya XF 69 NATO black, XF 65 Field Grey, and mix 50 % XF 62 Olive Drab with 50% XF 62 Desert Yellow)?
Good question that I don’t have an answer to… The CF being the paragons of rigid adherence to policy in the face of overwhelming common sense probably used the same rules for camo as they do for winter/summer dress, which boils down to “whenever the hell command authorizes the switch”.
I’d say November to March is a solid range for “winter” in the majority of Canada. A nice sunny day in early November or March would probably warrant the top being down.
It also depends on when/where you’re depicting the Jeep. Rules would change depending on if you were on EX in Canada vs in garrison in Germany.
As for the colours, the sky really is the limit depending on where along the “Fresh from Depot —> 9th deployment to Kreplachistan” spectrum you want it to be. Just play with your ratios until you think it looks good.
Nice!!
I spent many an hour running around like an unkept lawn myself. I hated the bugs that came with it!
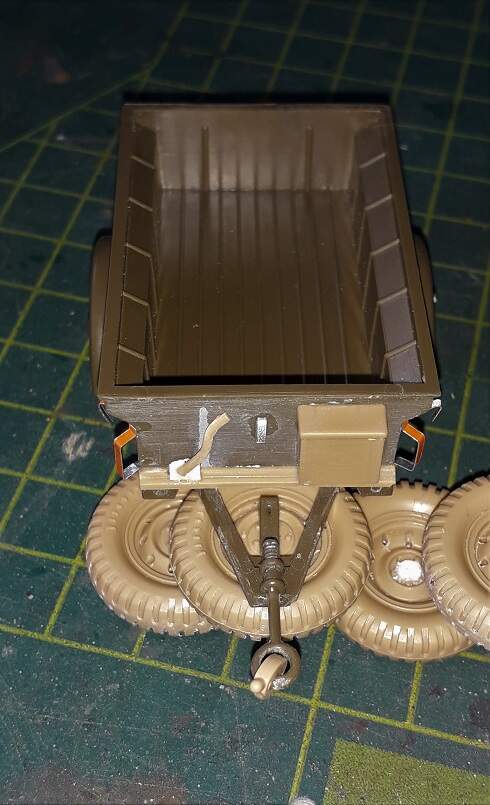
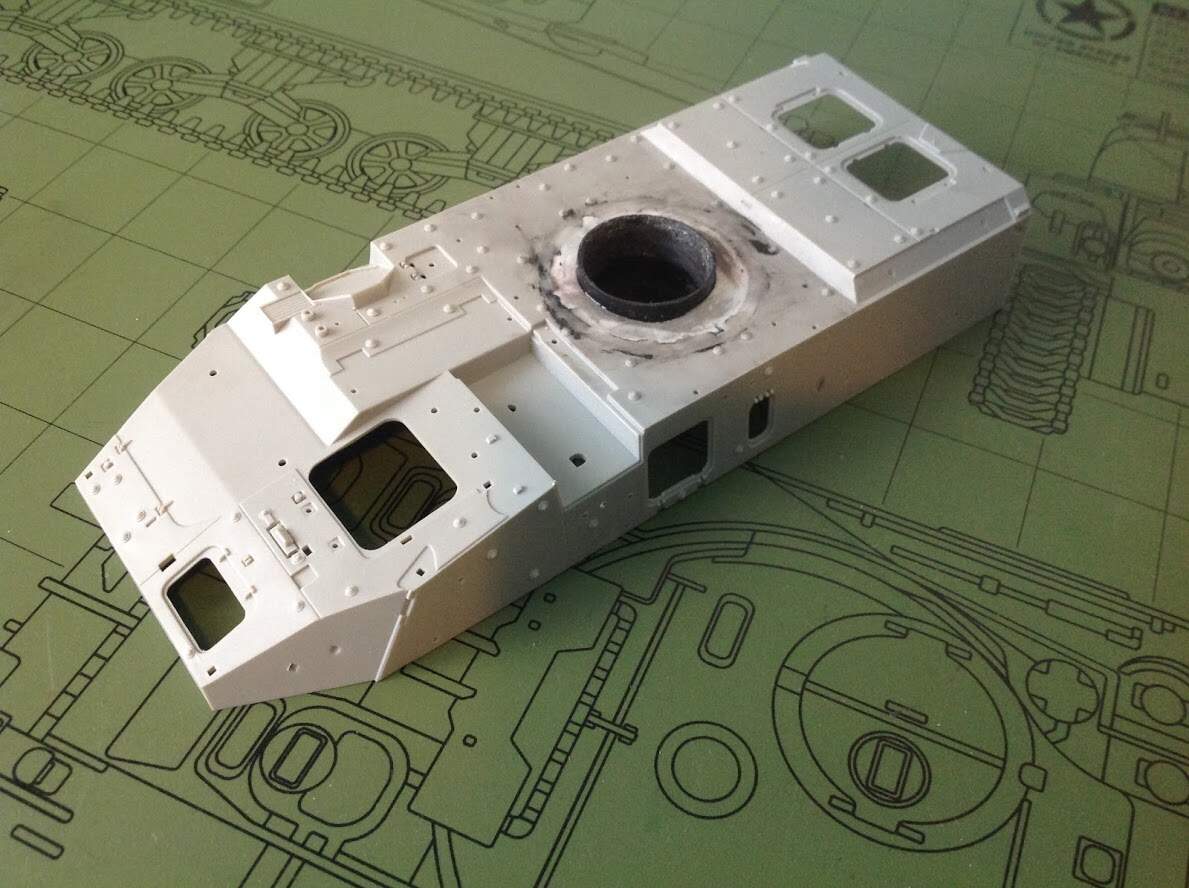
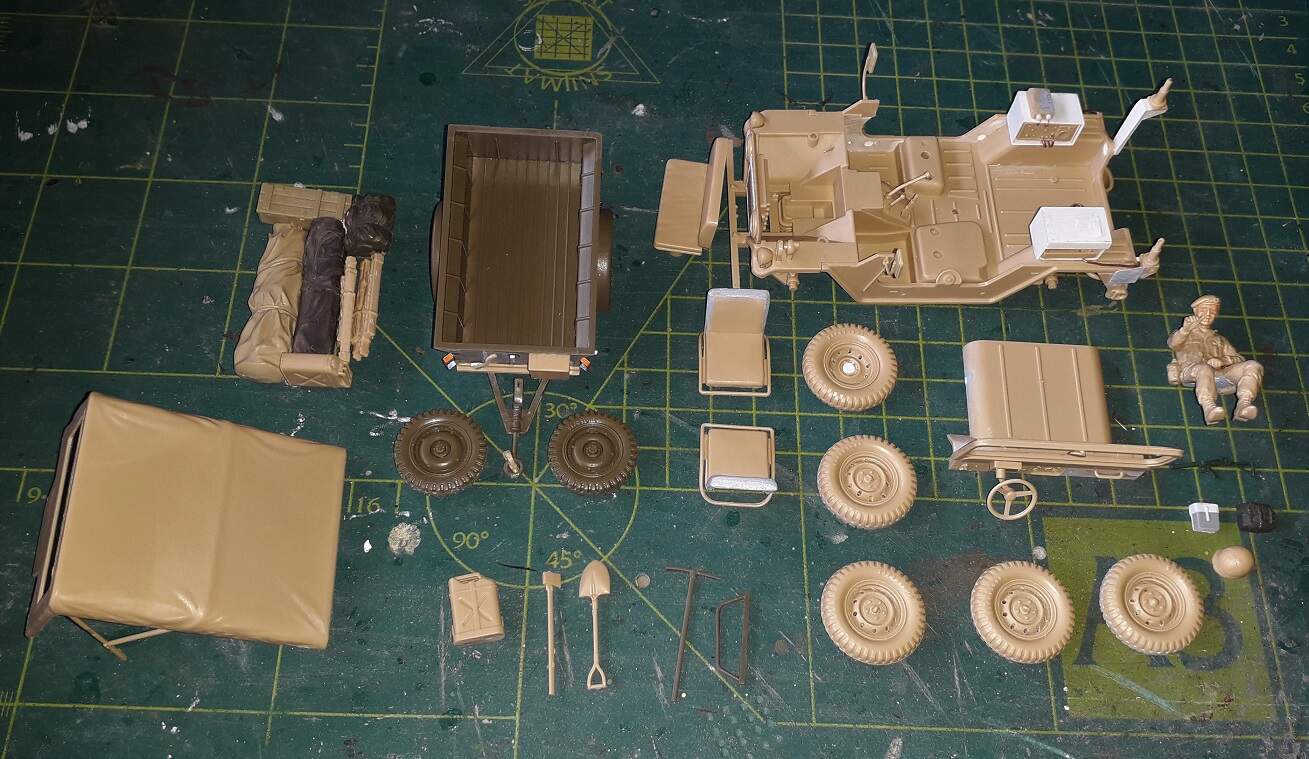
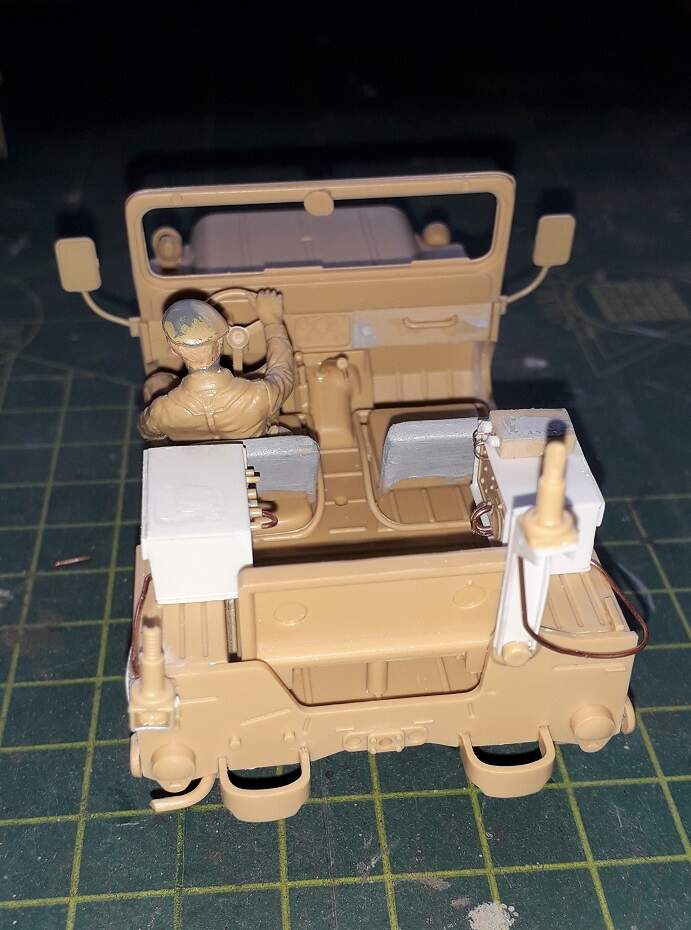
I am not ready for paint yet, but I somehow have gotten stuck tinkering with the M151 instead of the M113. Or in this case the M100 mostly.
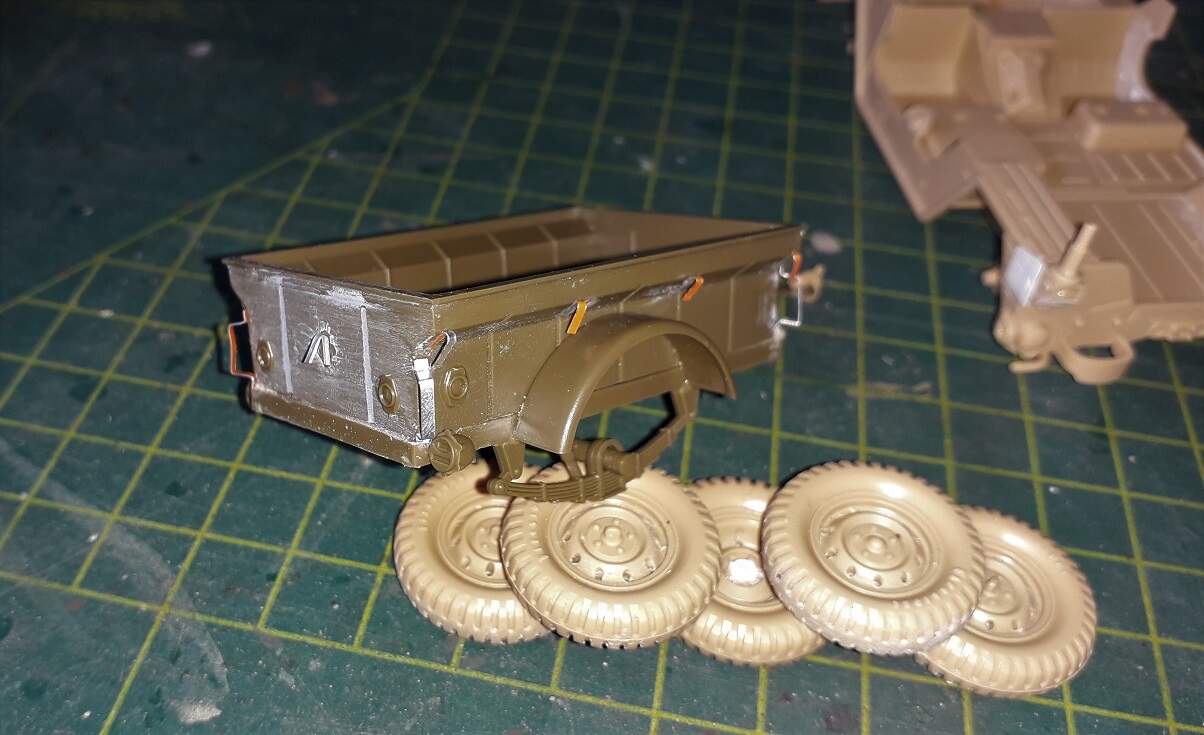
I had a hard time finding a solution for making the tie-downs untill my daughter suggesting cutting up a sodacan. The handbreak lever is an “adapted” part of the kit’s MG-stand, the box used to be a Pz.4 jackblock.
I added the M151 towinghook by cutting it open and glueing it shut again around the M100’s eye. It is moveable, so I can hook it up at will.
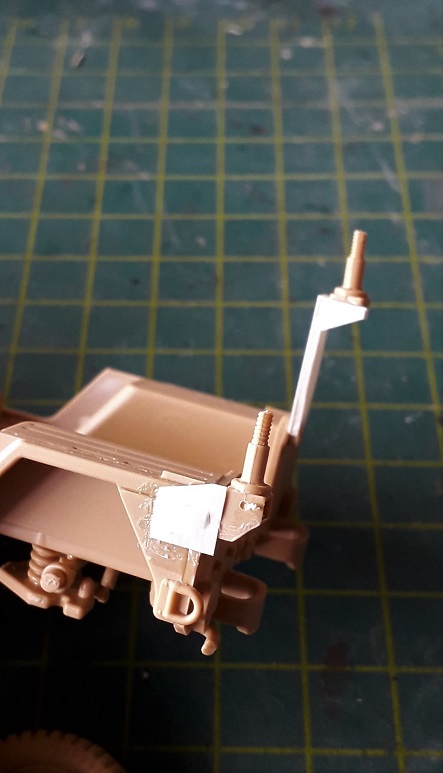
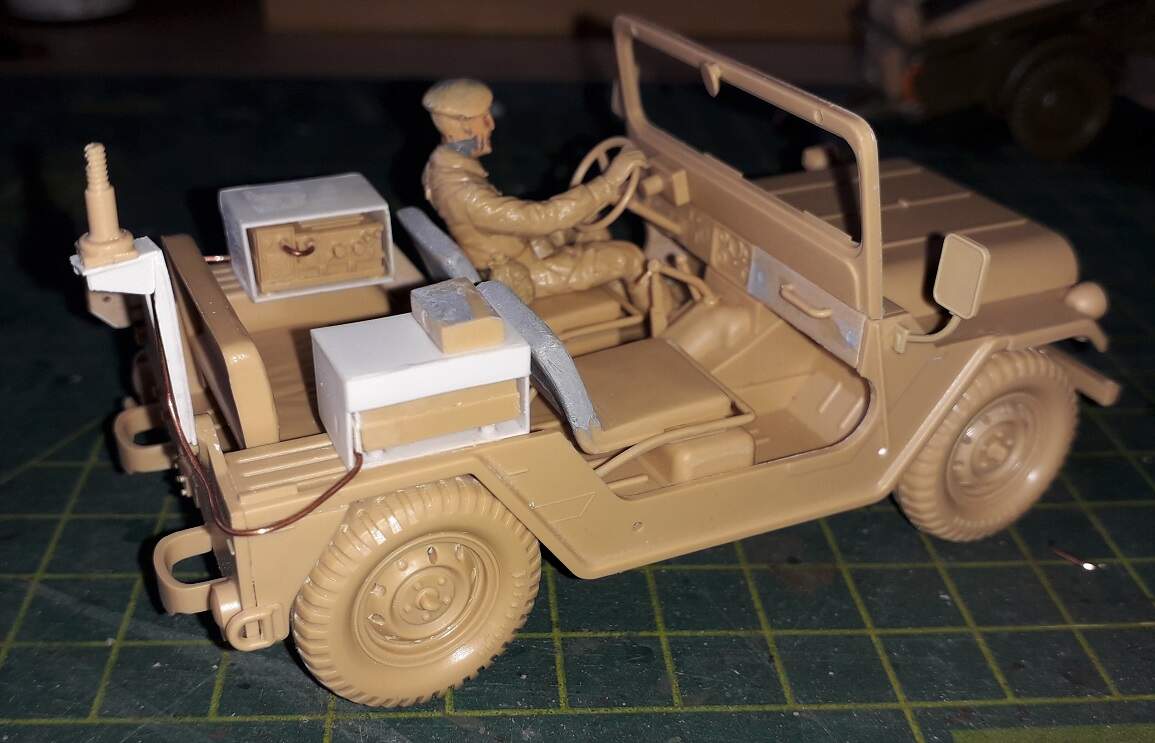
I also redid the antennamounts, based on kit parts (plus a spare one) and styrene.
Oh… and drilled out all the holes in the rims too.
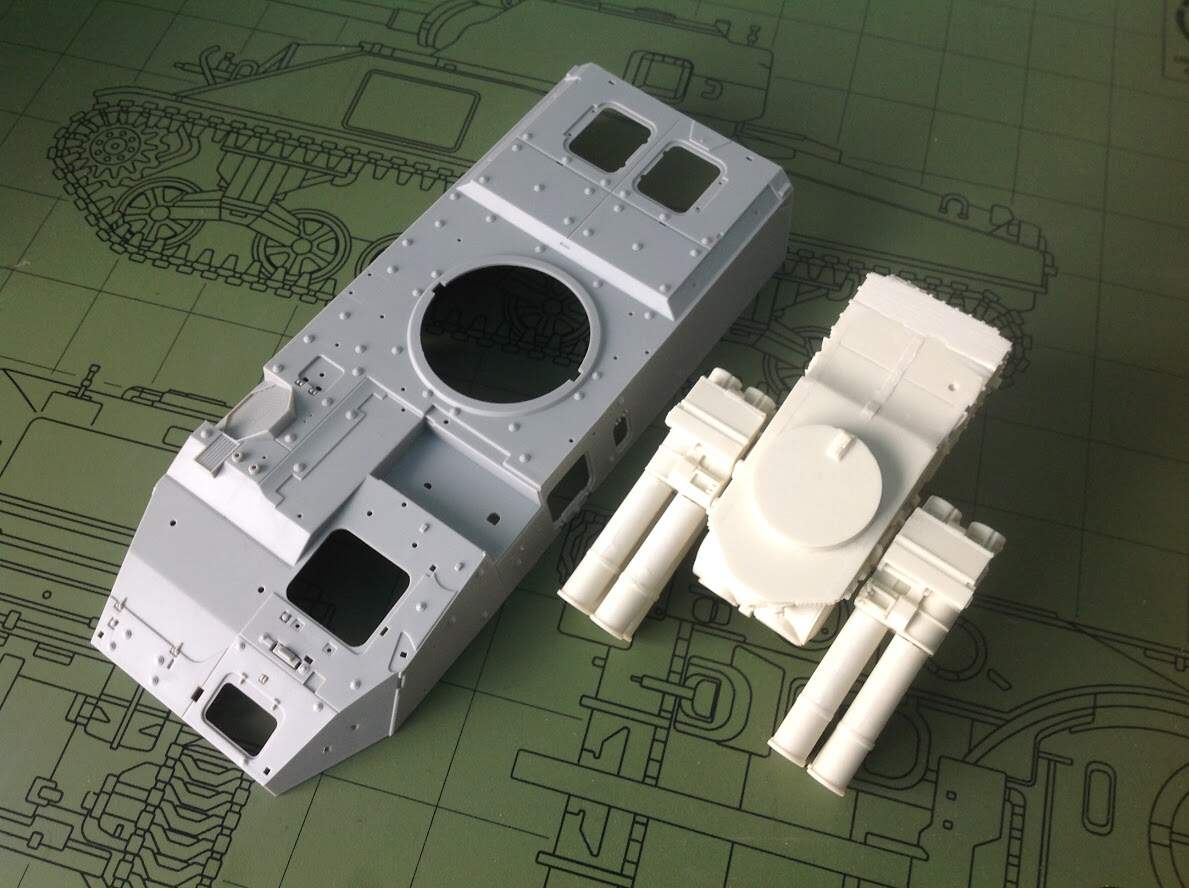
Then for a new turret ring I dug through my spares and found a suitable “thing” that I fitted with the launcher and making sure everything is straight then glued it down, like in my reference pictures.
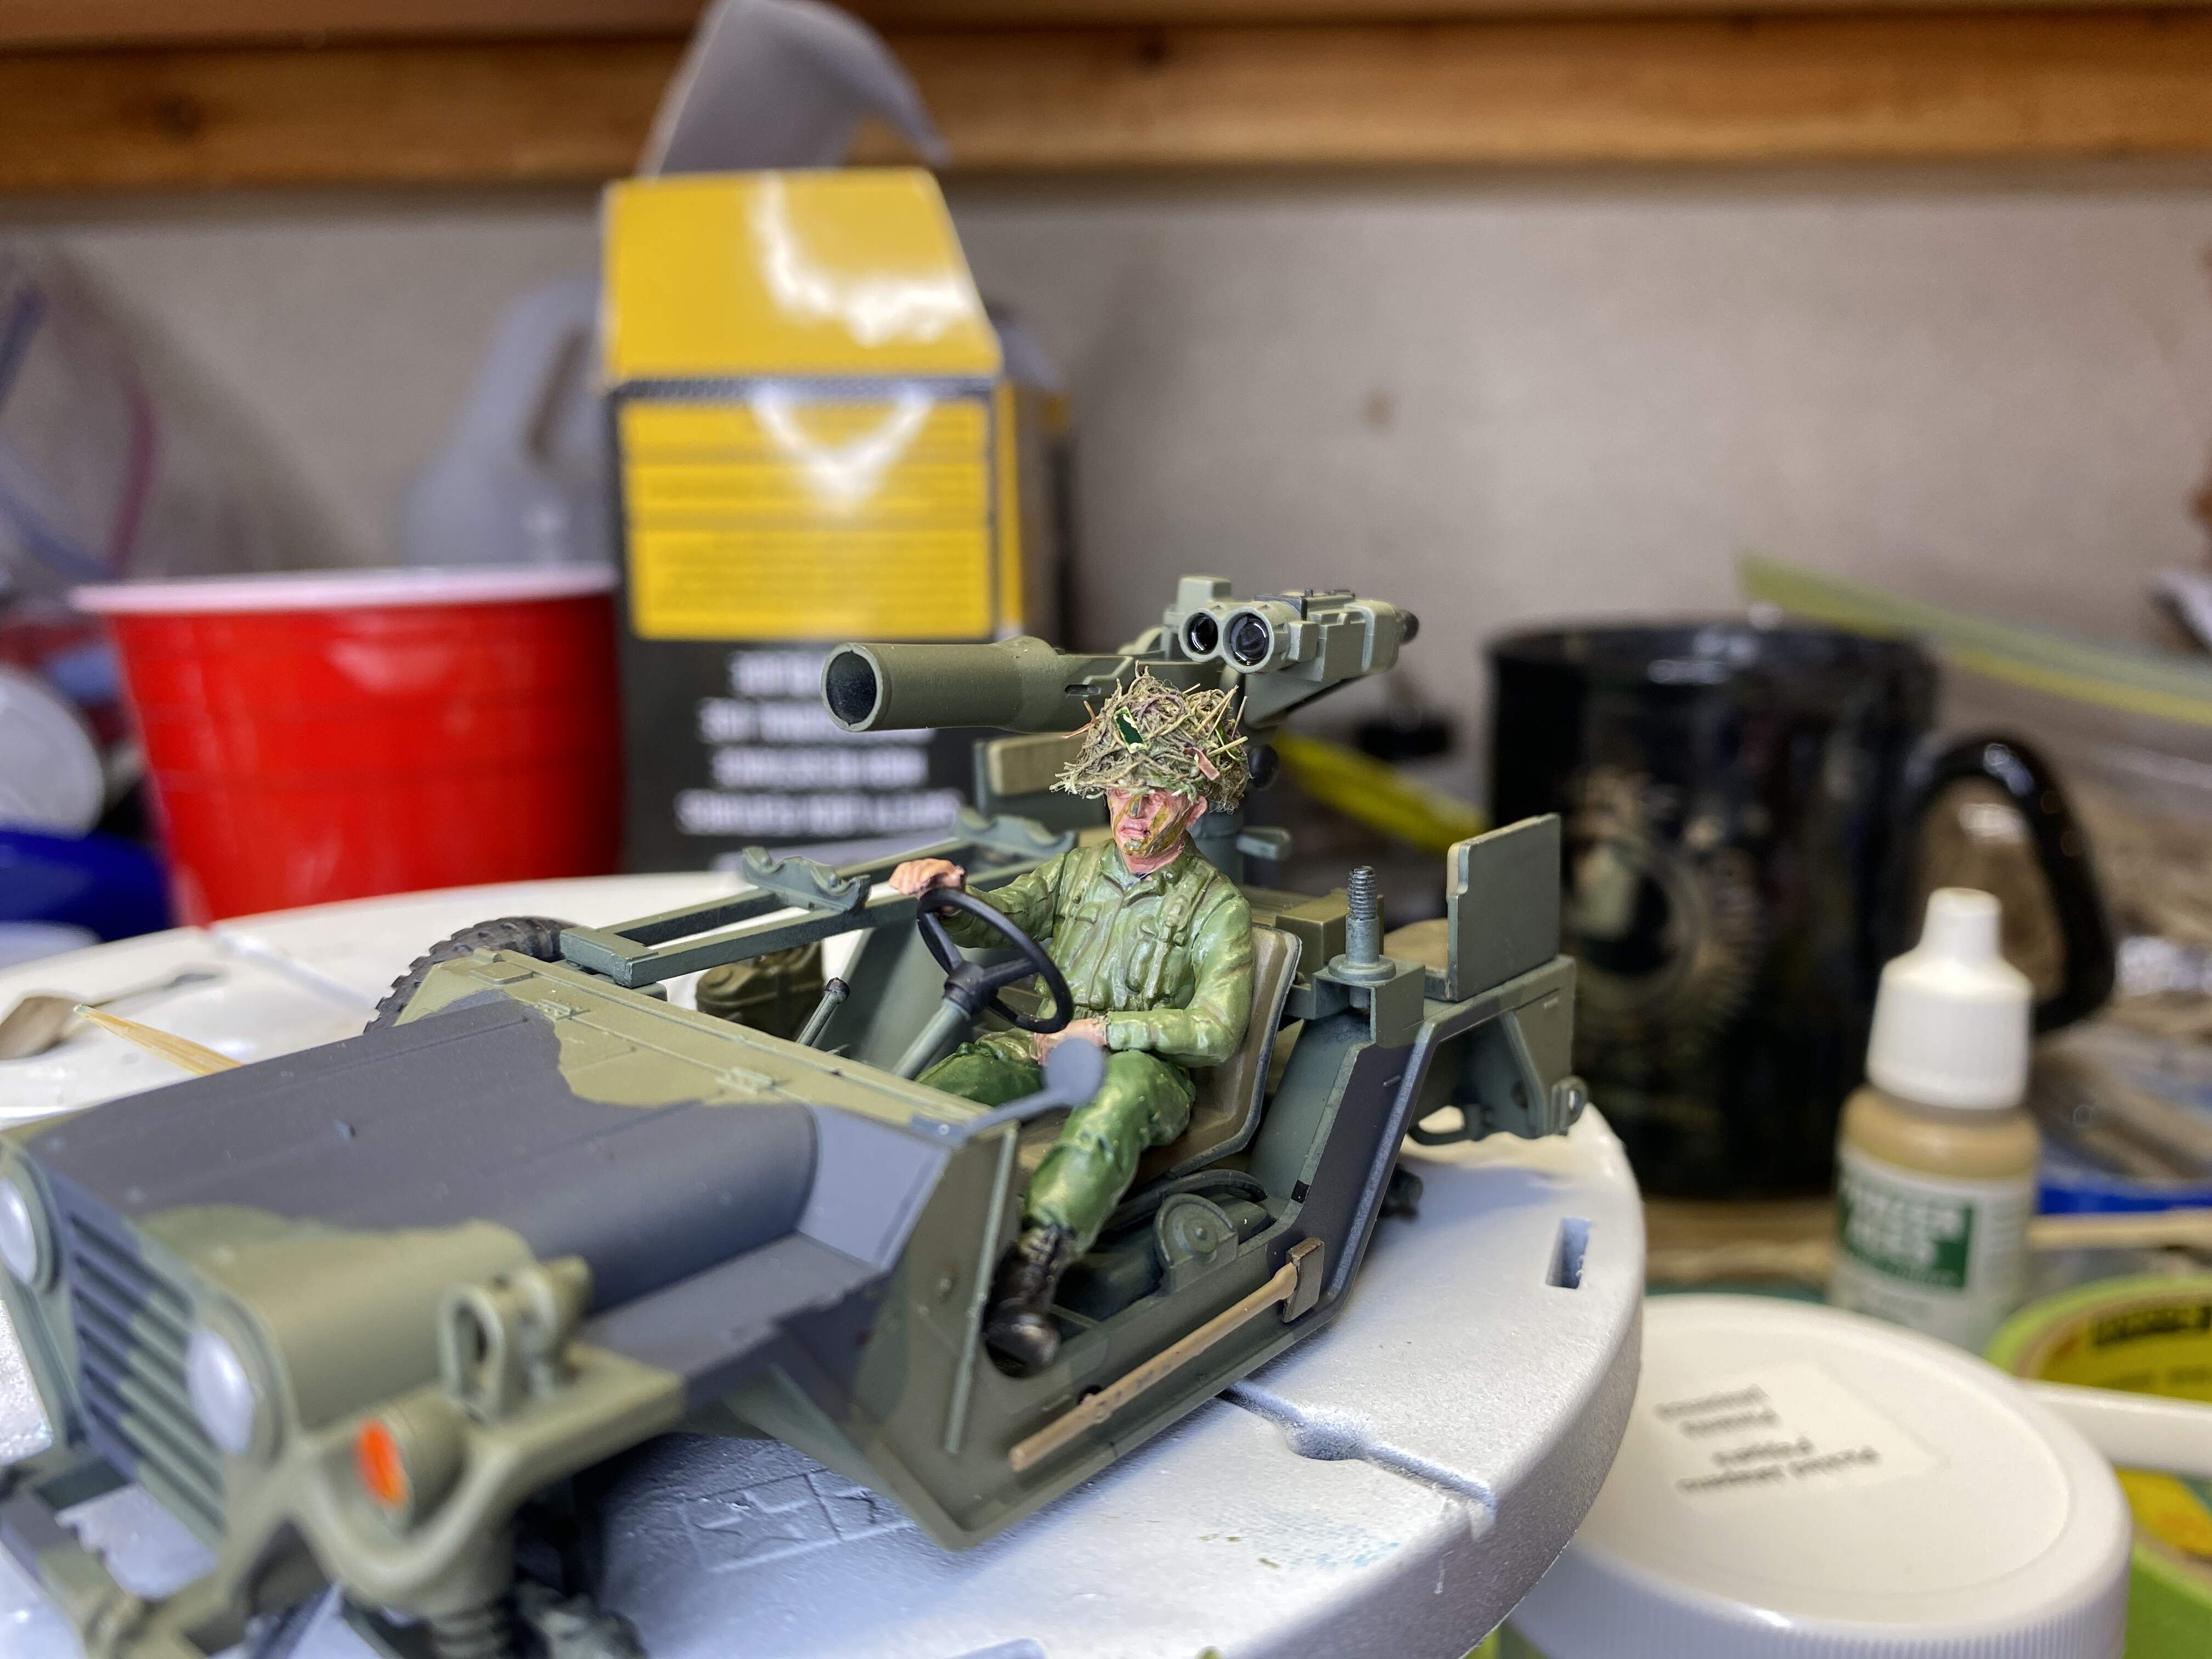
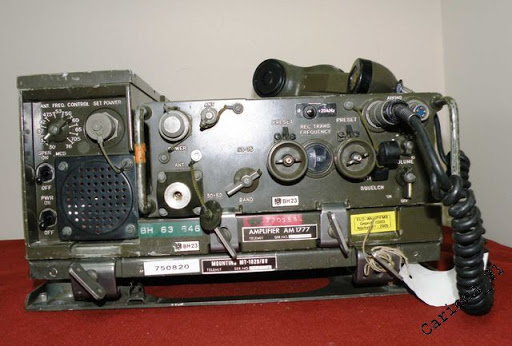
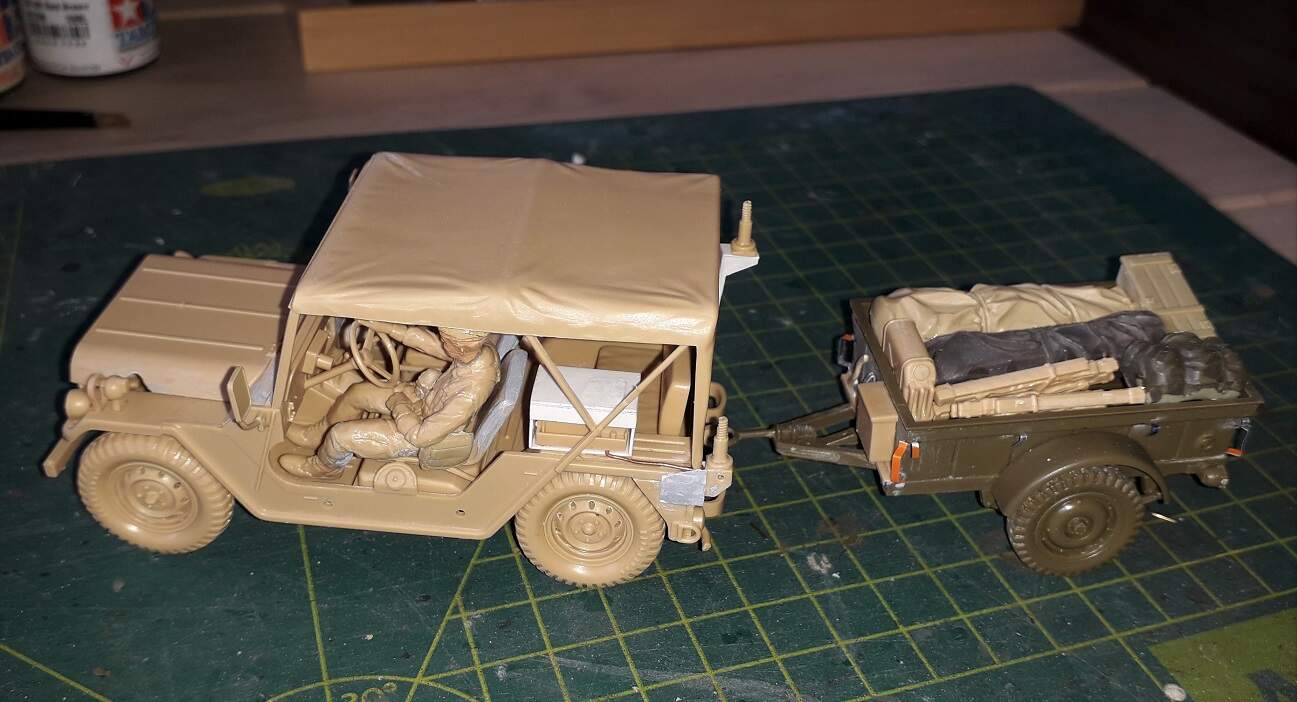
I have completely run aground when it comes to the radios used in the Canadian M151.
I have “reconfigured” the US radios that come with the kit, but a) messed up badly and b) am probably using the wrong sets to begin with!
I forgot you were working on the command Jeep and not the TOW unit.
Hard to tell without being able to see the face plates, but those small boxes on the tops are about the right size for the add on loud speakers for the VRC-12. Or additional receiver boxes.
That website is kinda busted to hell but if you punch VRC 12 into the search box it’ll pull more diagrams for you.