Thanks Chris! Glad someone is following along! Helps me stay focused when I know others are interested
1 Like
Yes .I have been watching this close. The part I find the most impressive is the way you have gone about your scratch work. It is clean and well represented .
Thanks man! Fletchers book has been an excellent reference for the interior details.
Superb!
You will paint the mudflaps?
1 Like
Alright! Build number 2 is about to start for this campaign. After finishing the hull interior scratch work on my Churchill ive gone a bit squirrelly! Decided I need to stop cutting styrene pieces for a while and get back to basic building. So I’ve chosen a relatively simple kit (I think under 100 parts).
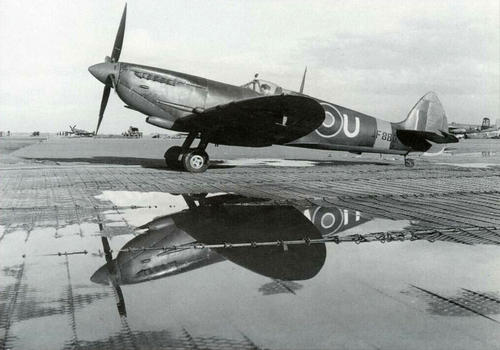
I’ll be building the ICM spitfire MKVIII as one of 417 squadron of the RCAF in italy in 1944. These planes had a semi unique paint scheme with a dark green and ocean grey top, but azure underside and red spinner!

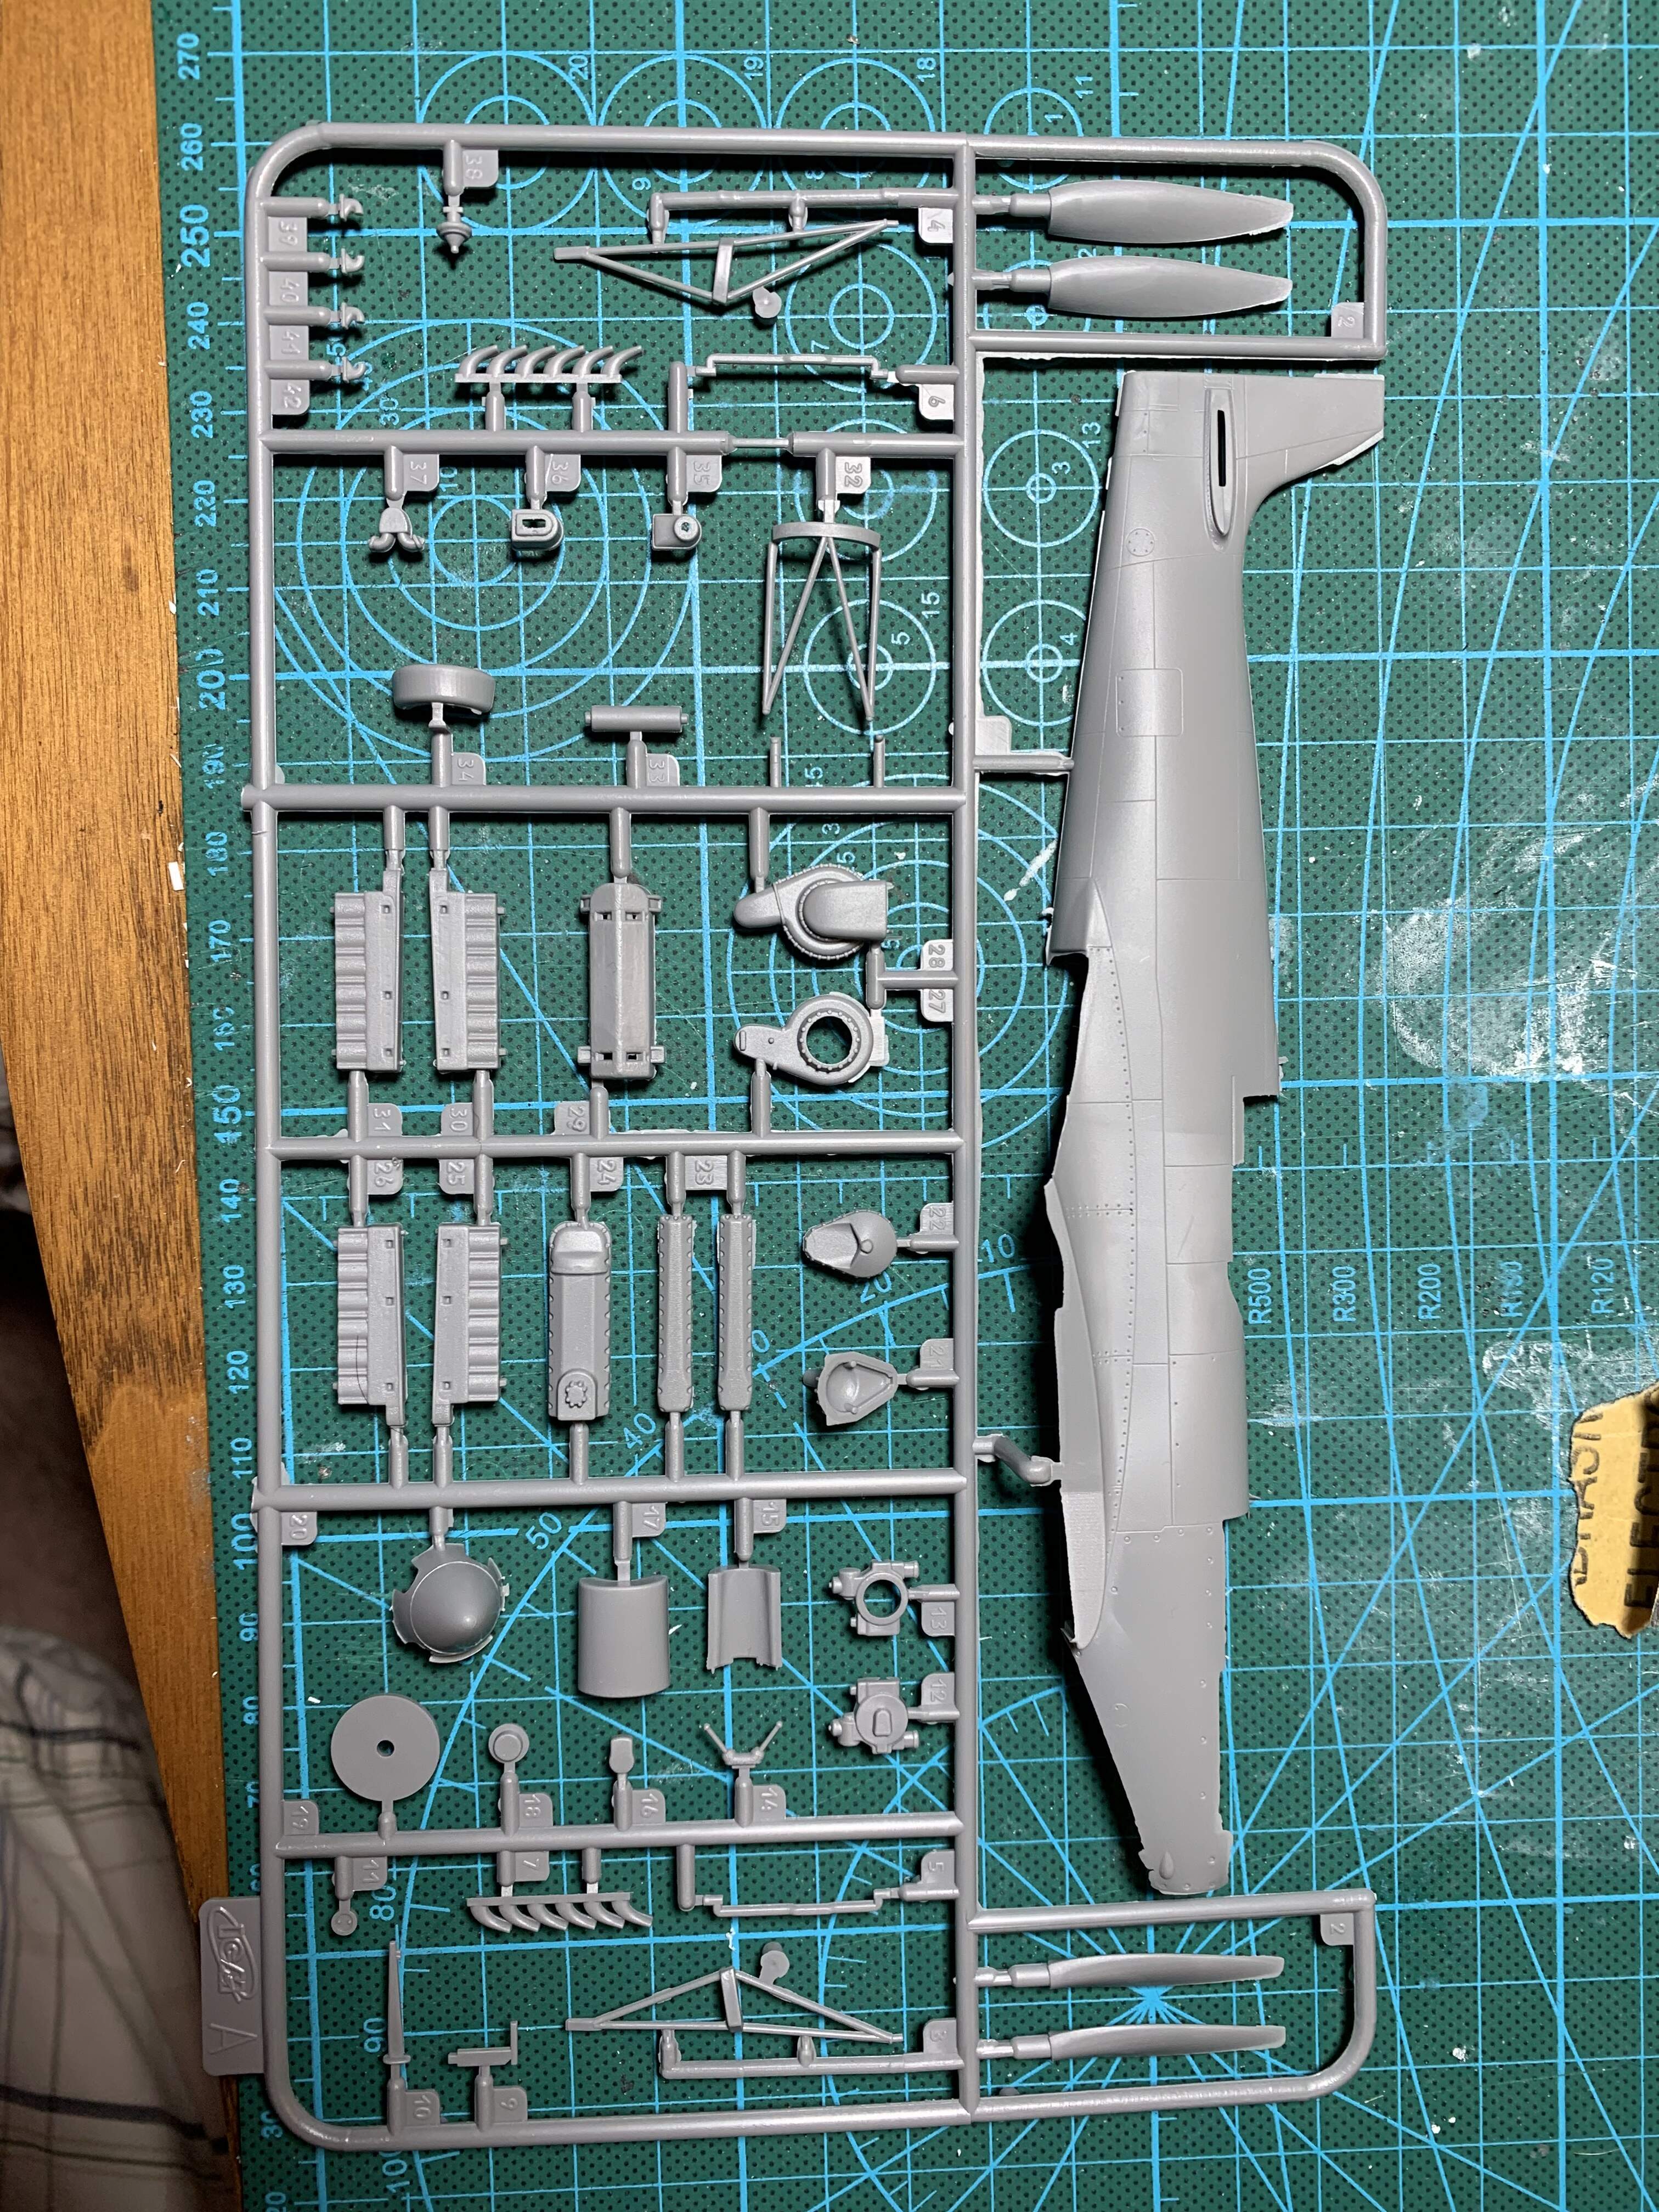

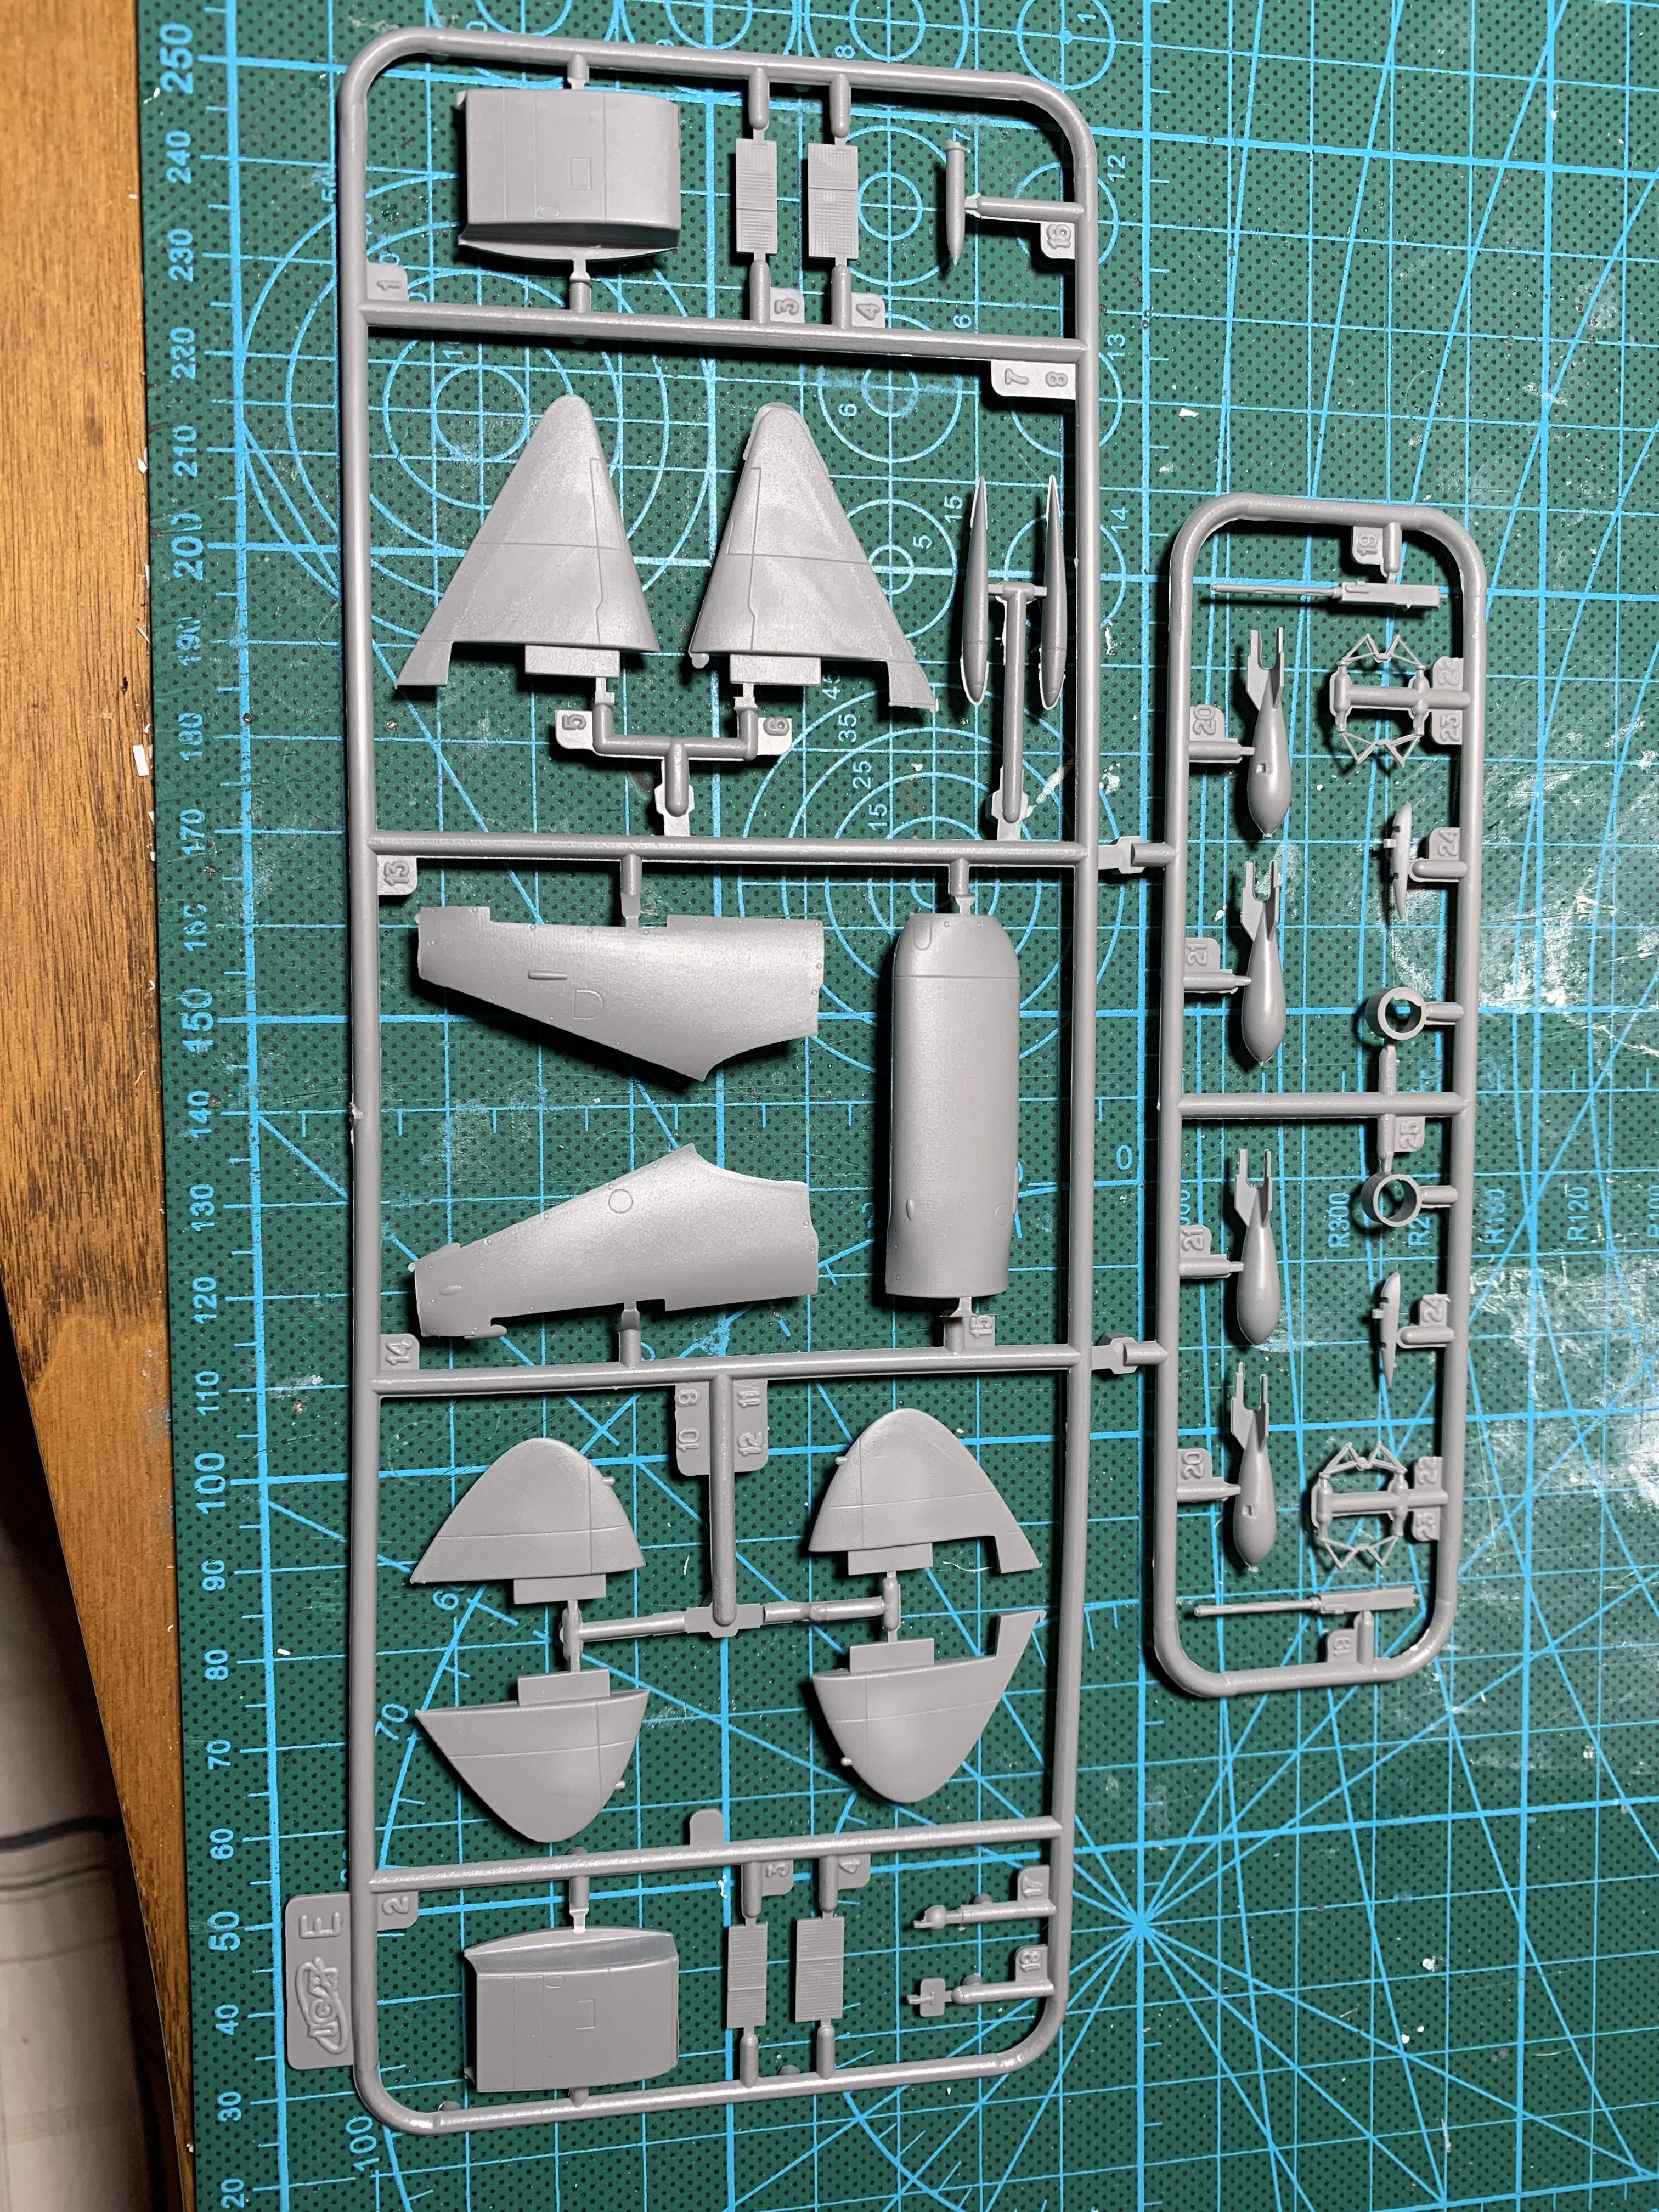

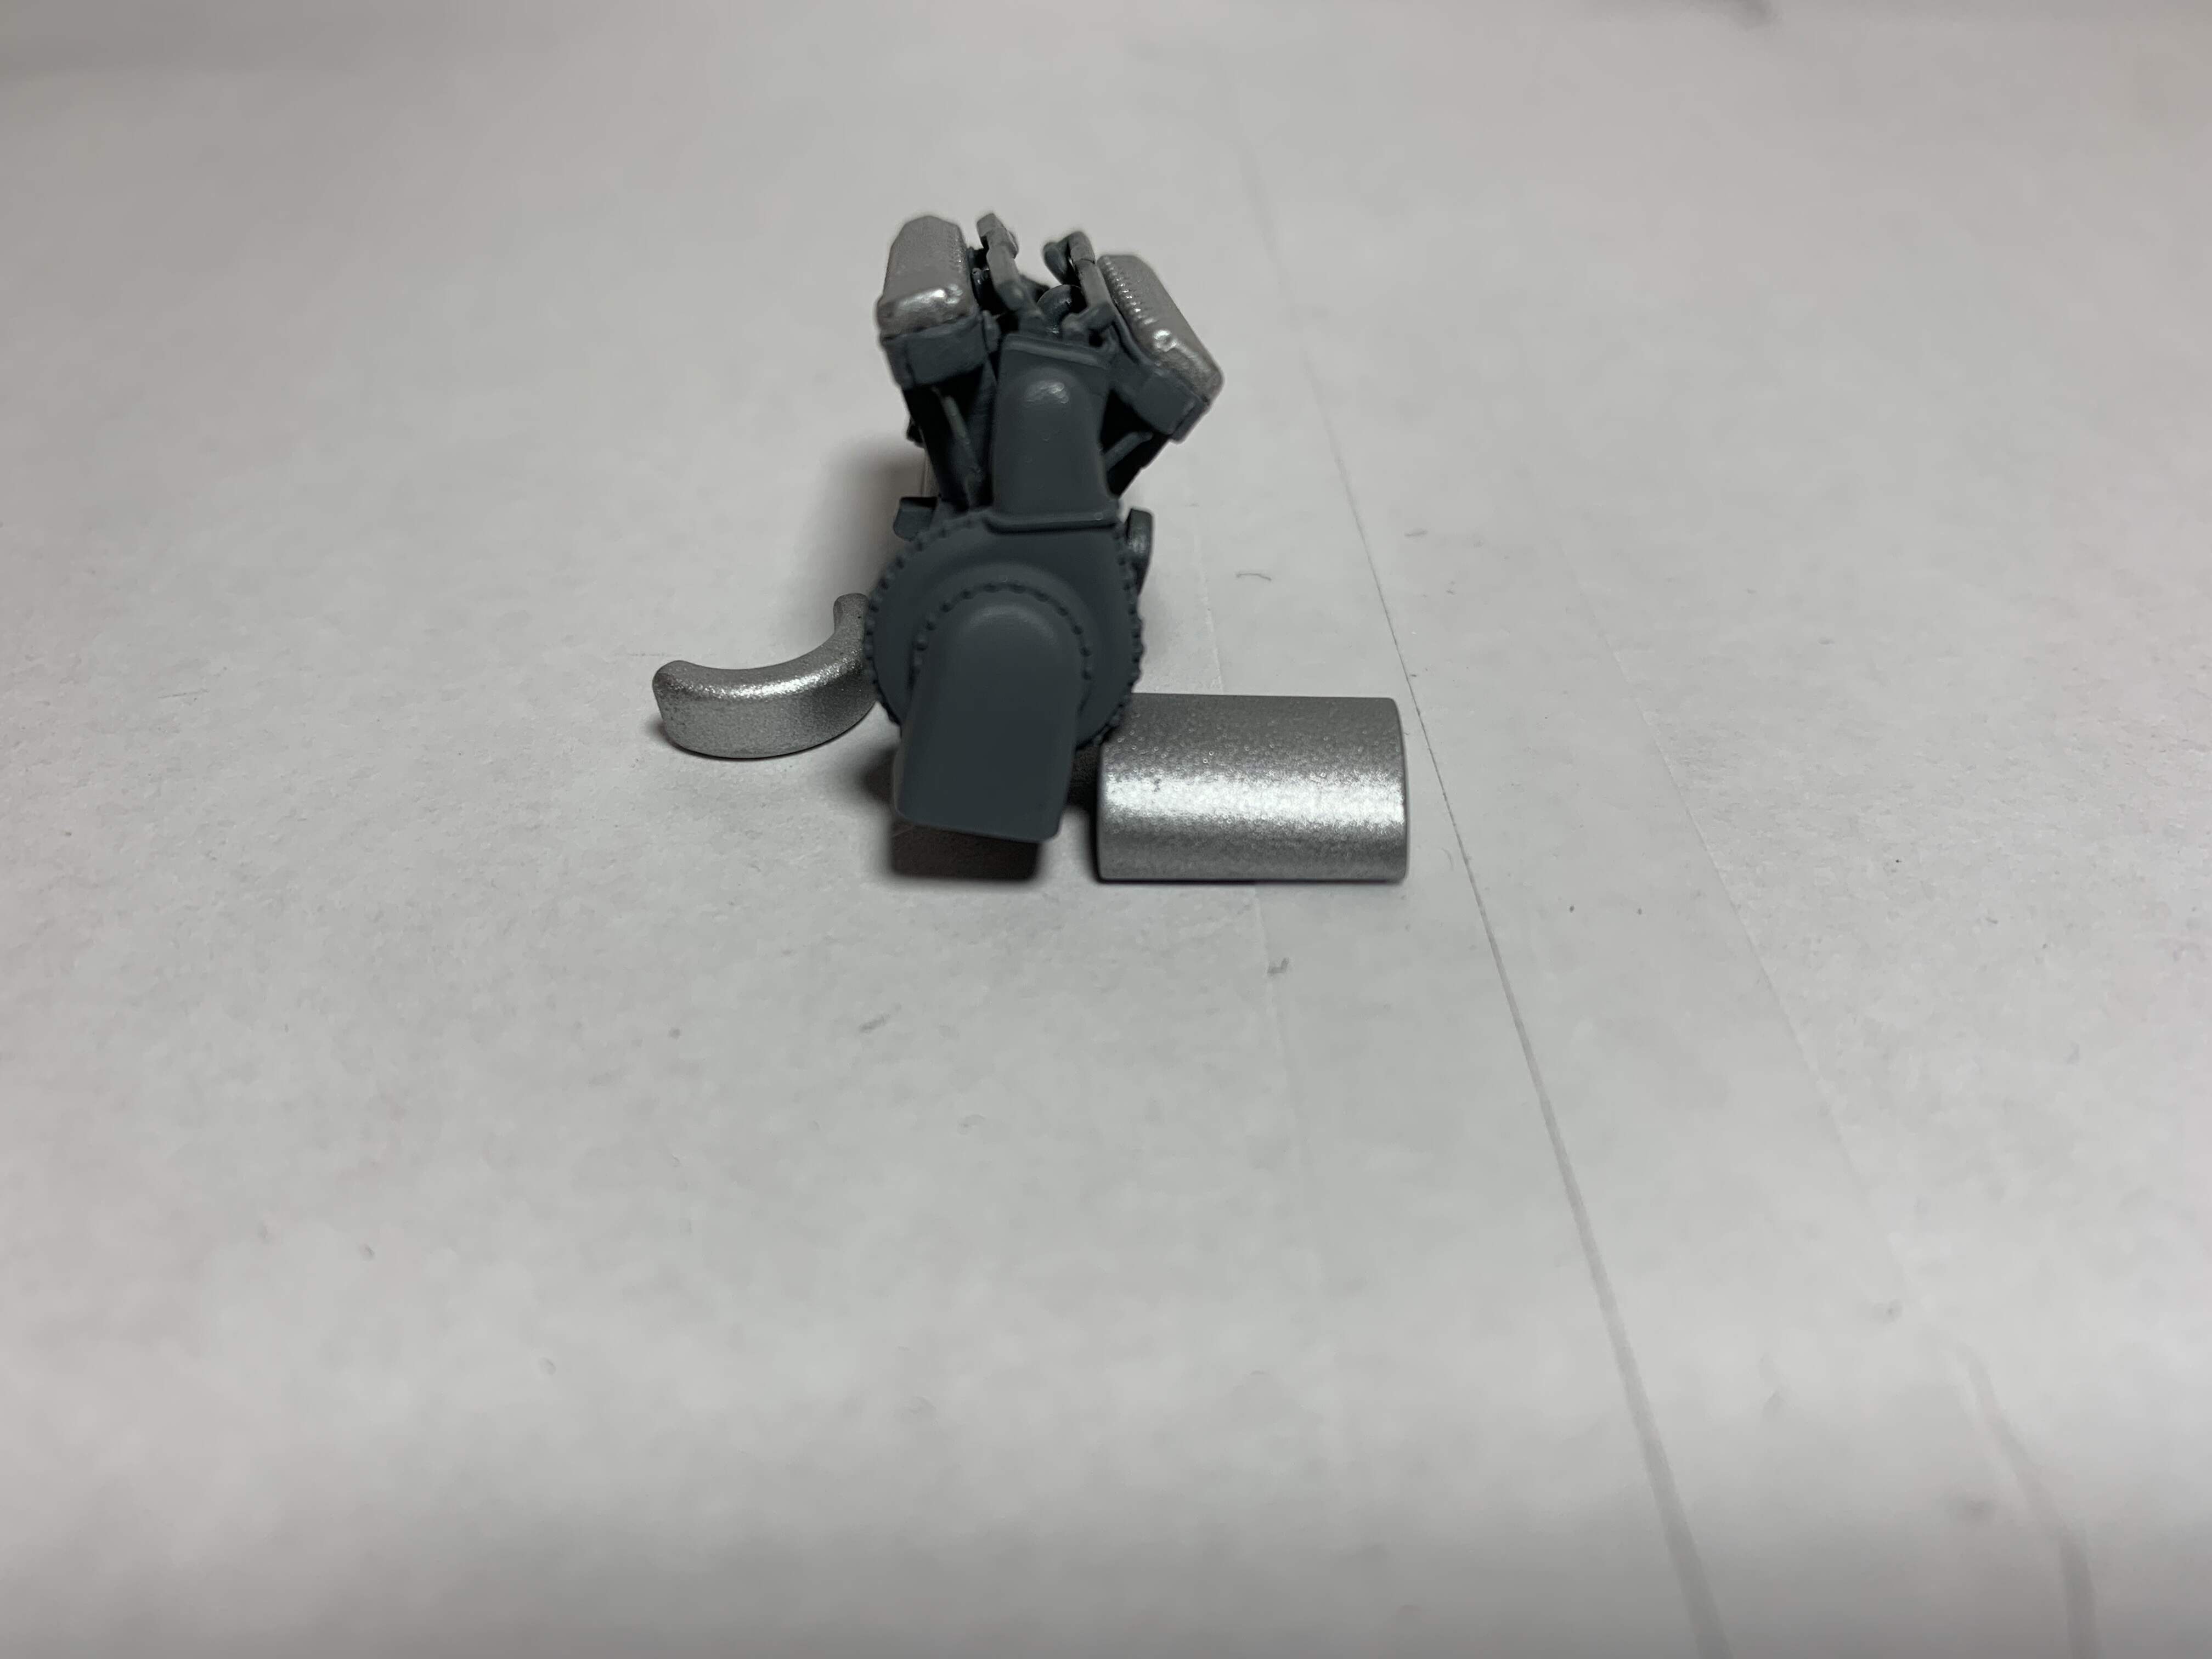
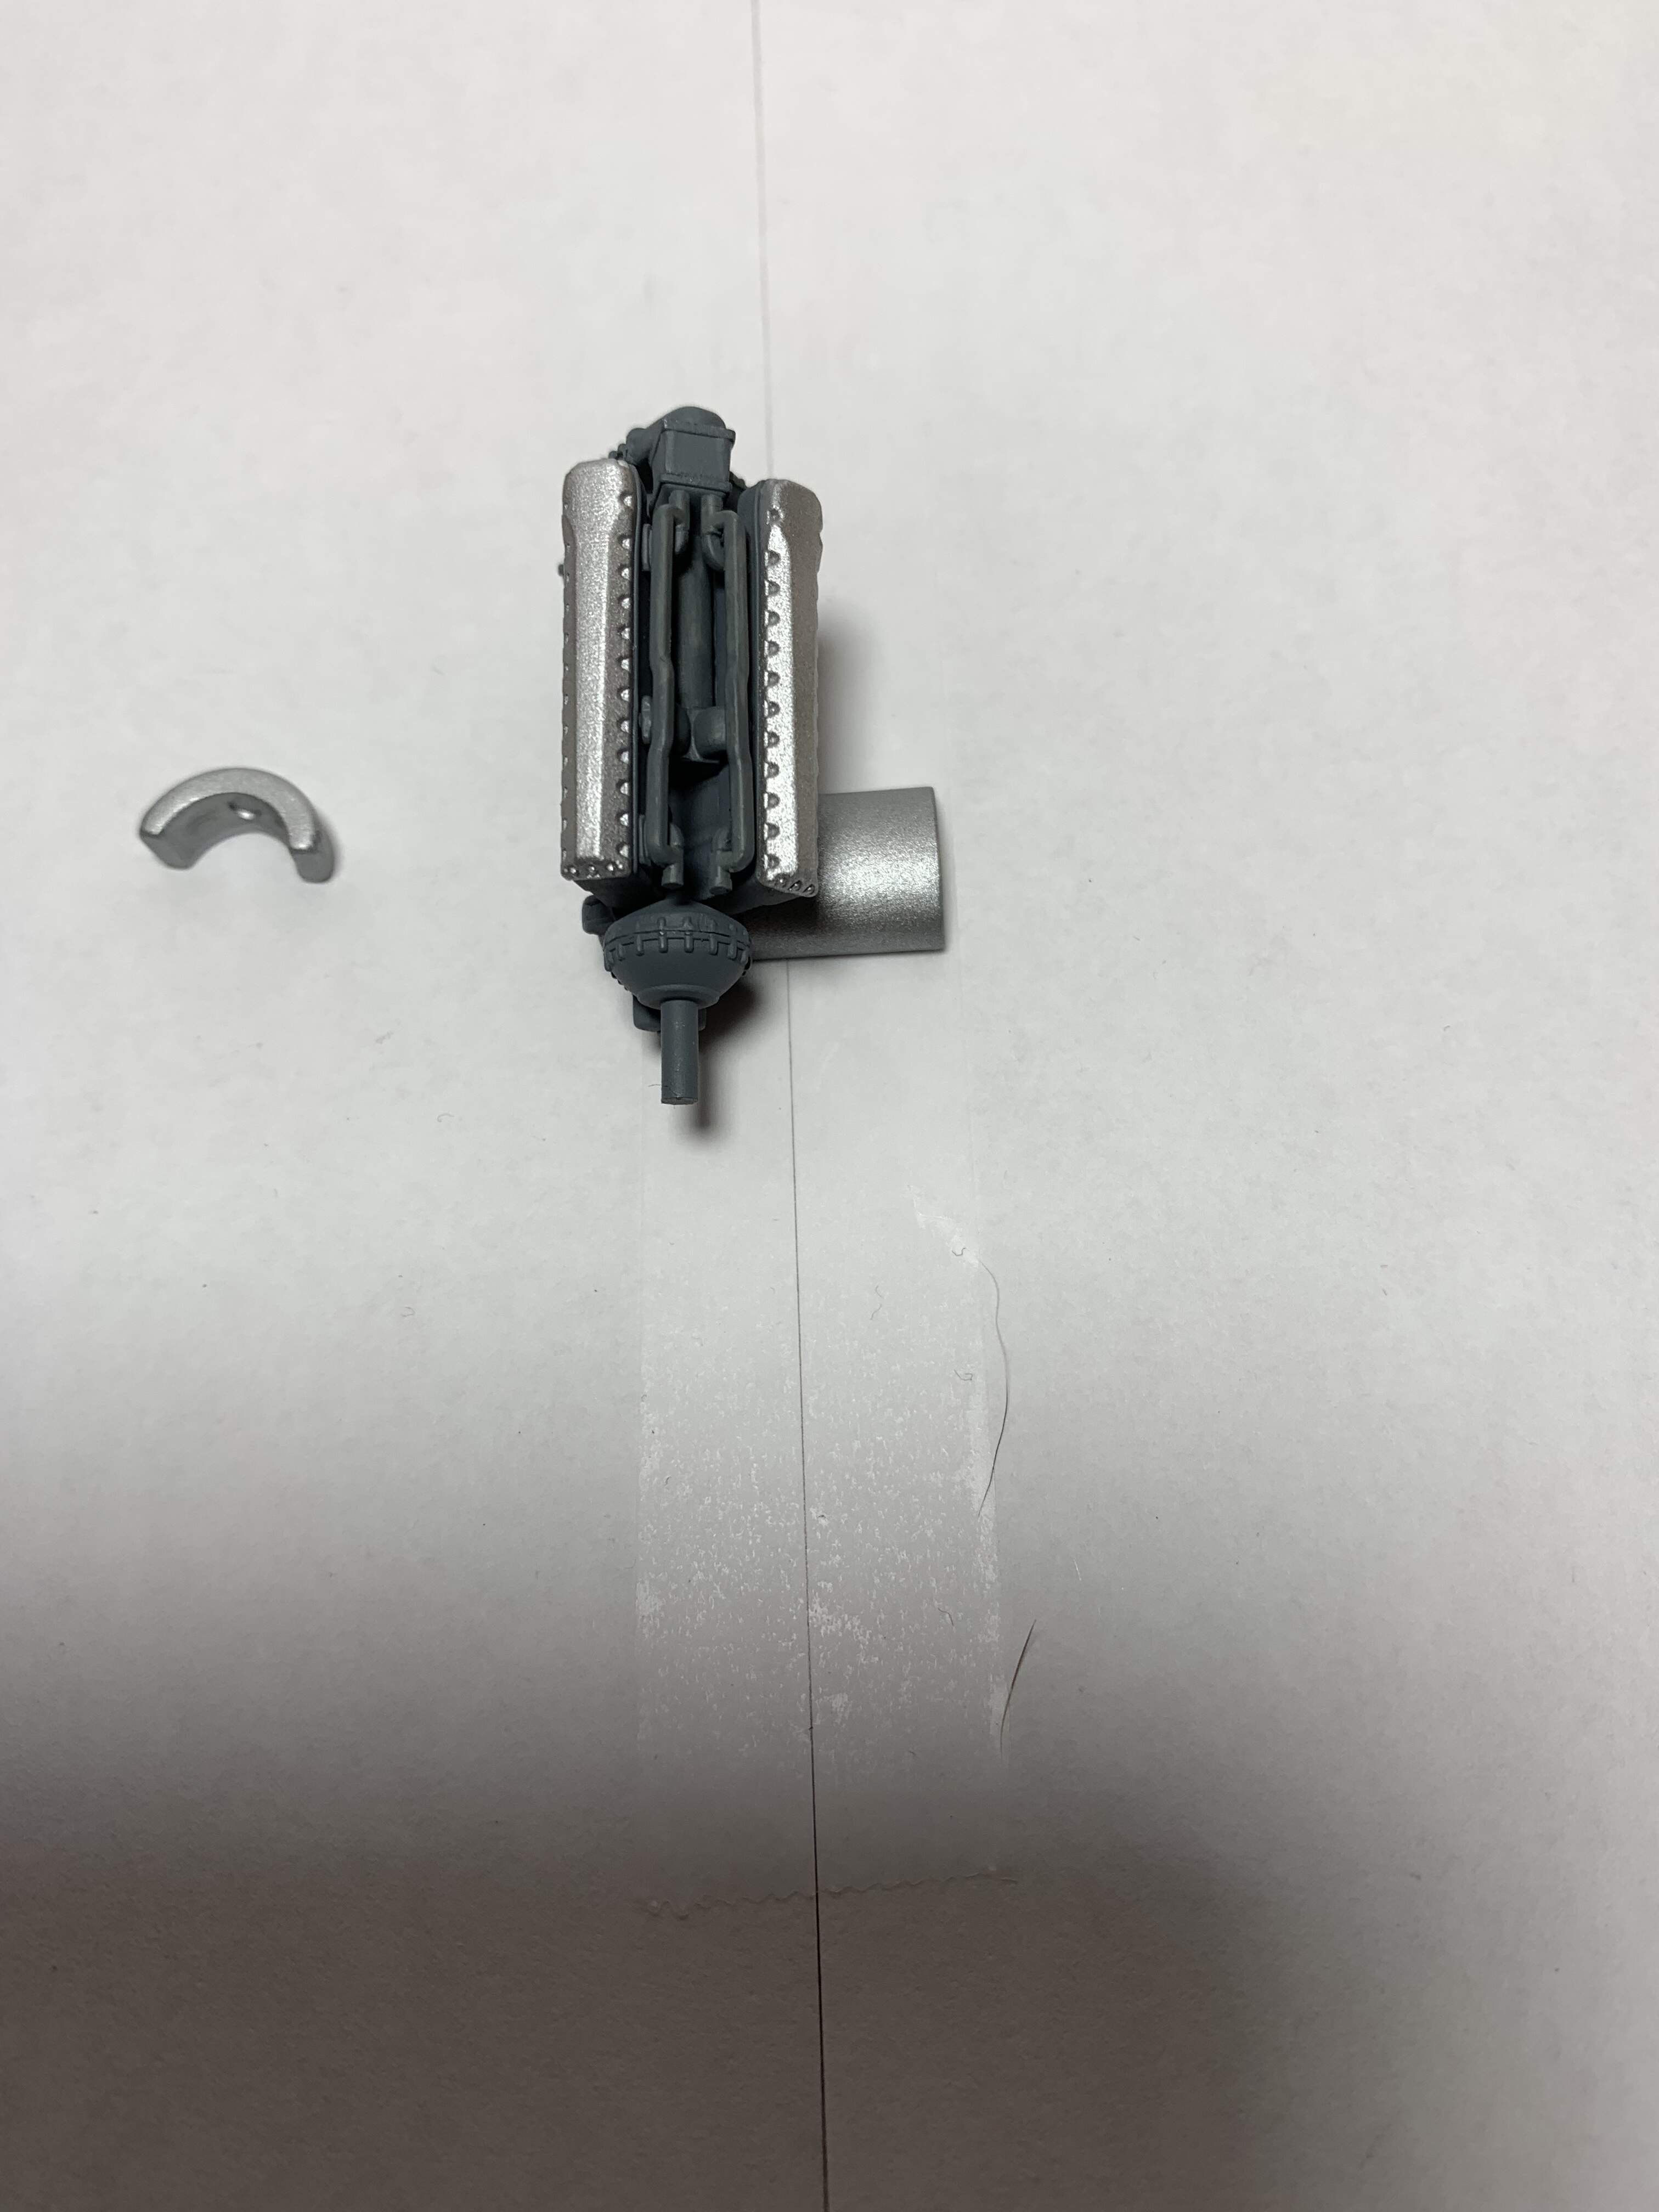
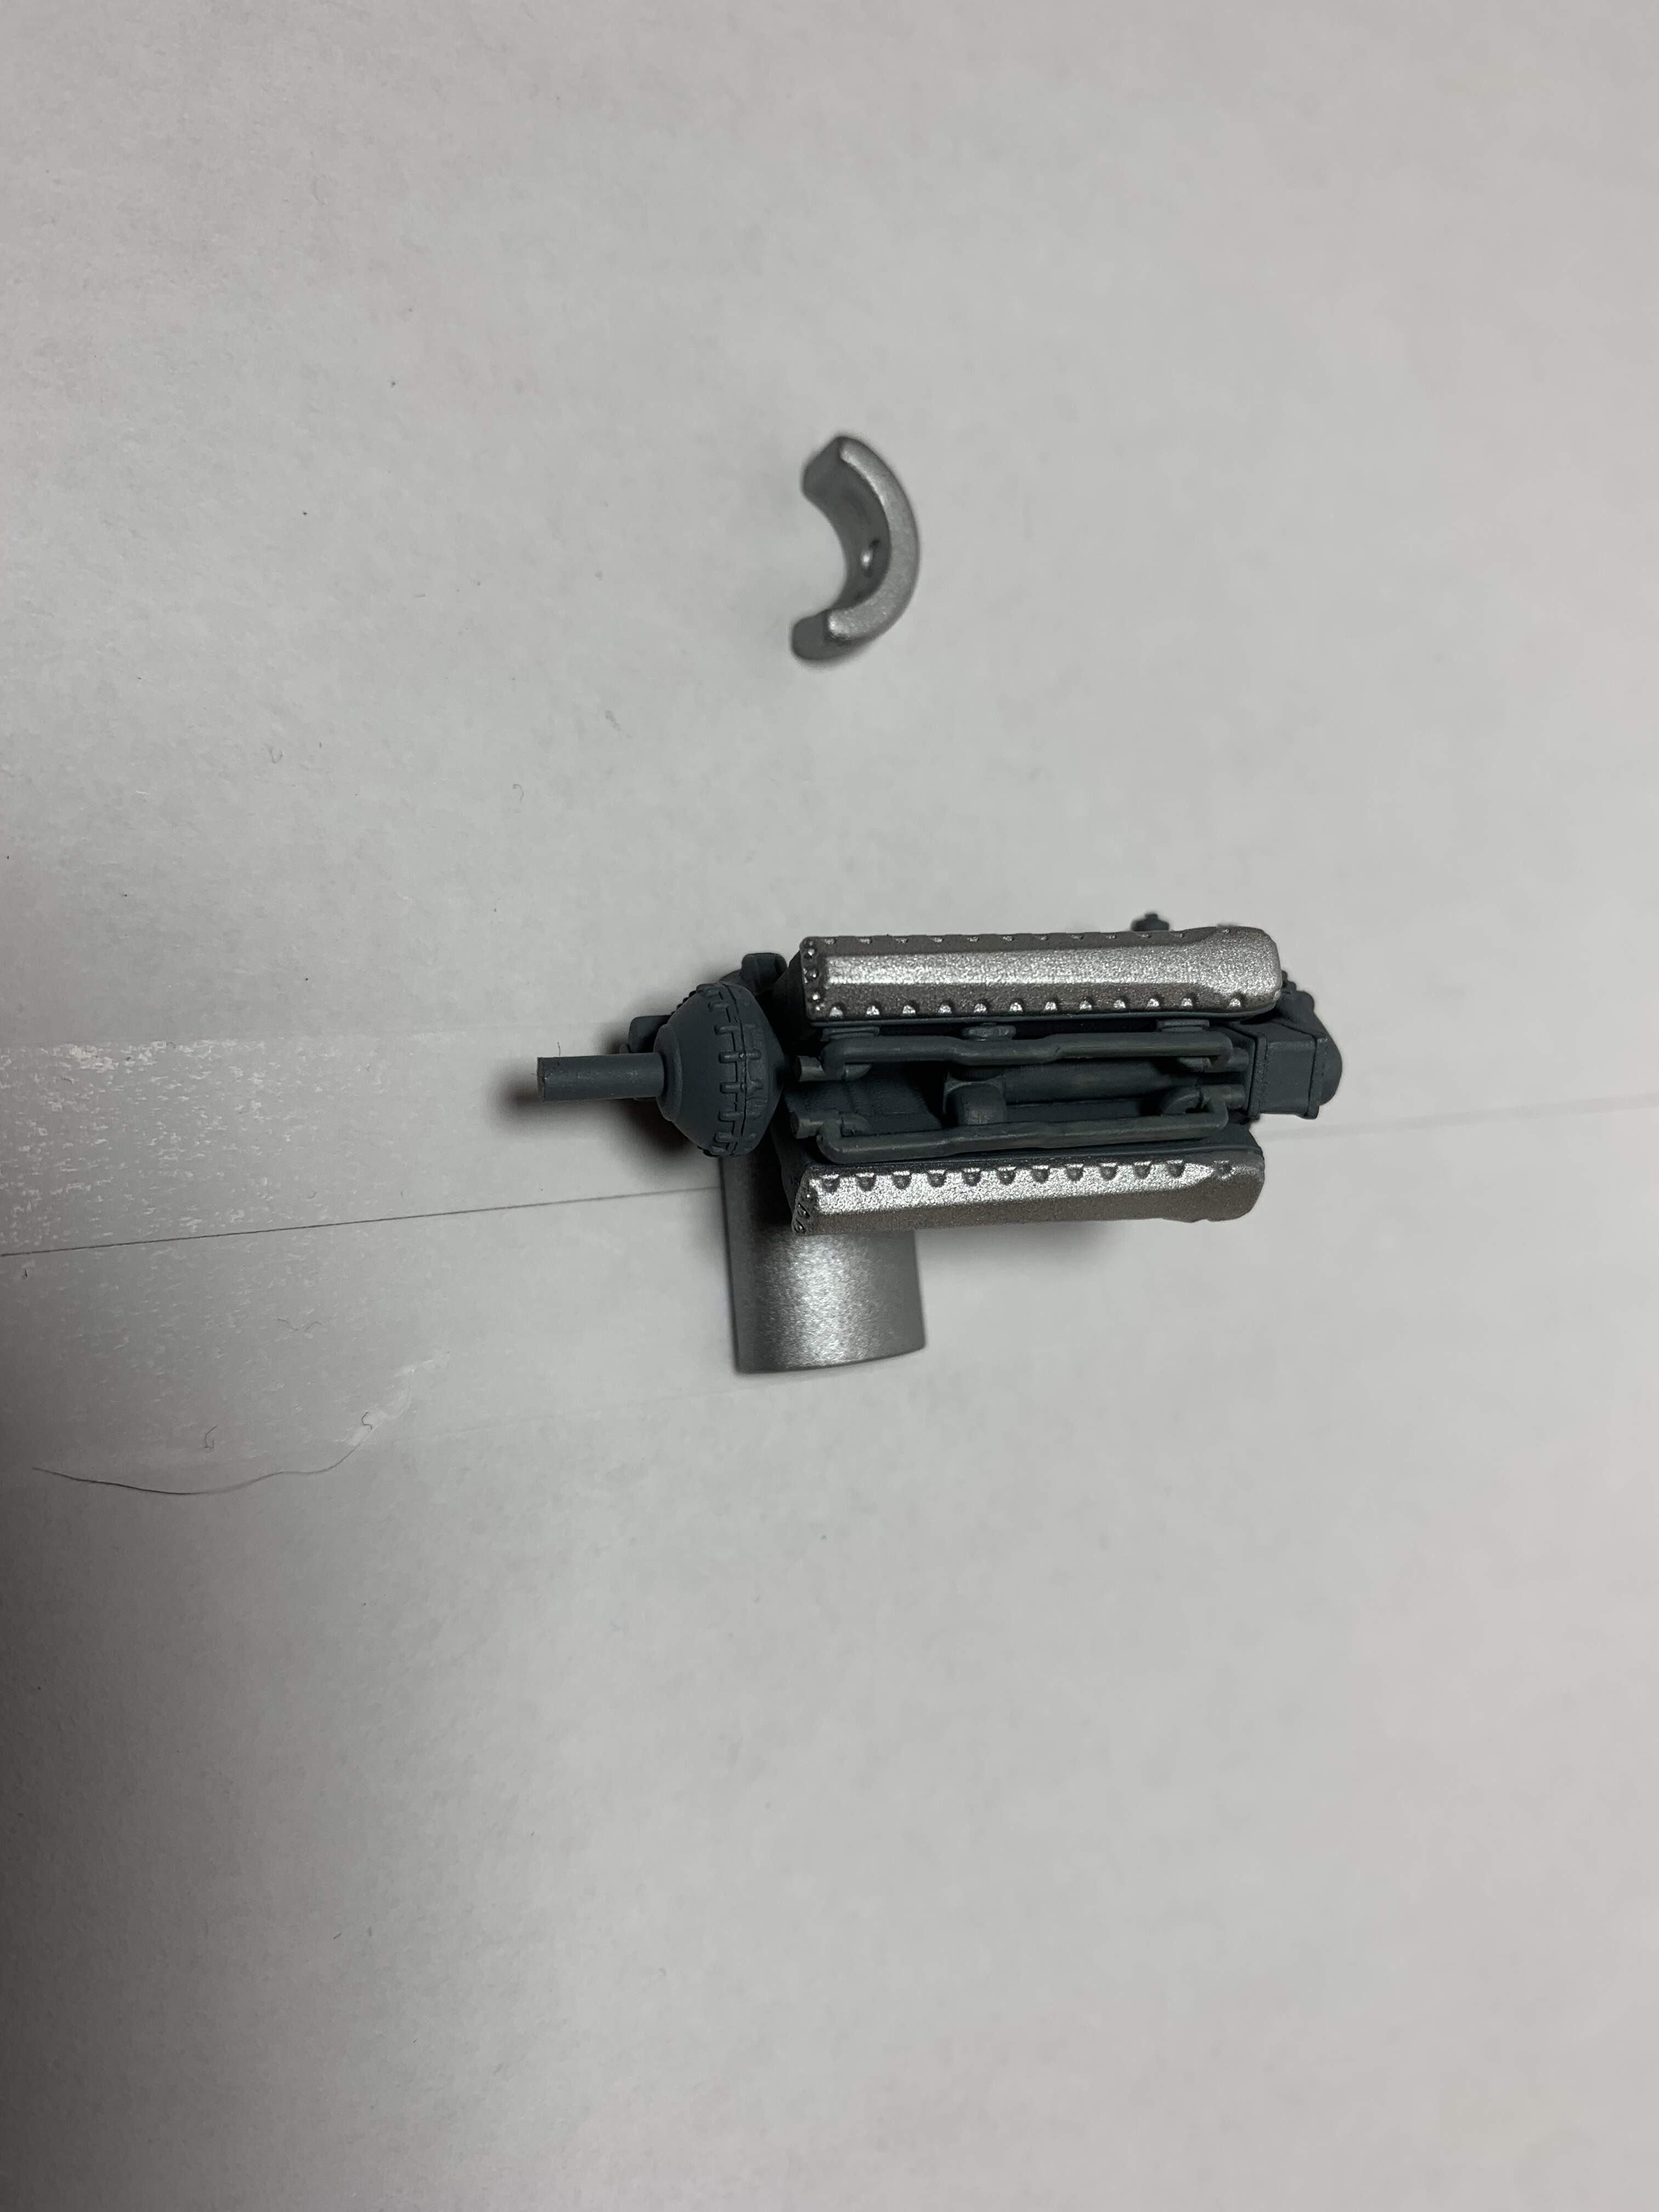
I am about to start on the engine! This is my first plane build in about 5 years, wish me luck
3 Likes
I am a little confused . Where are the tracks and the turret???
No seriously looking forward to seeing this.
1 Like
In a burning wreck as the spitfire flies away! 
Looking forward to a straight forward simple build!
In a burning wreck as the spitfire flies away…
Ok thats a good one .
All I can say is brilliant… brilliant! ![]()
1 Like
A bit of progress on both builds. Got the engine built up in the spitfire. I don’t think I’ll leave much of it visible as I want a simpler build and don’t want to have to add wires and hoses to the engine. It went together pretty smoothly.
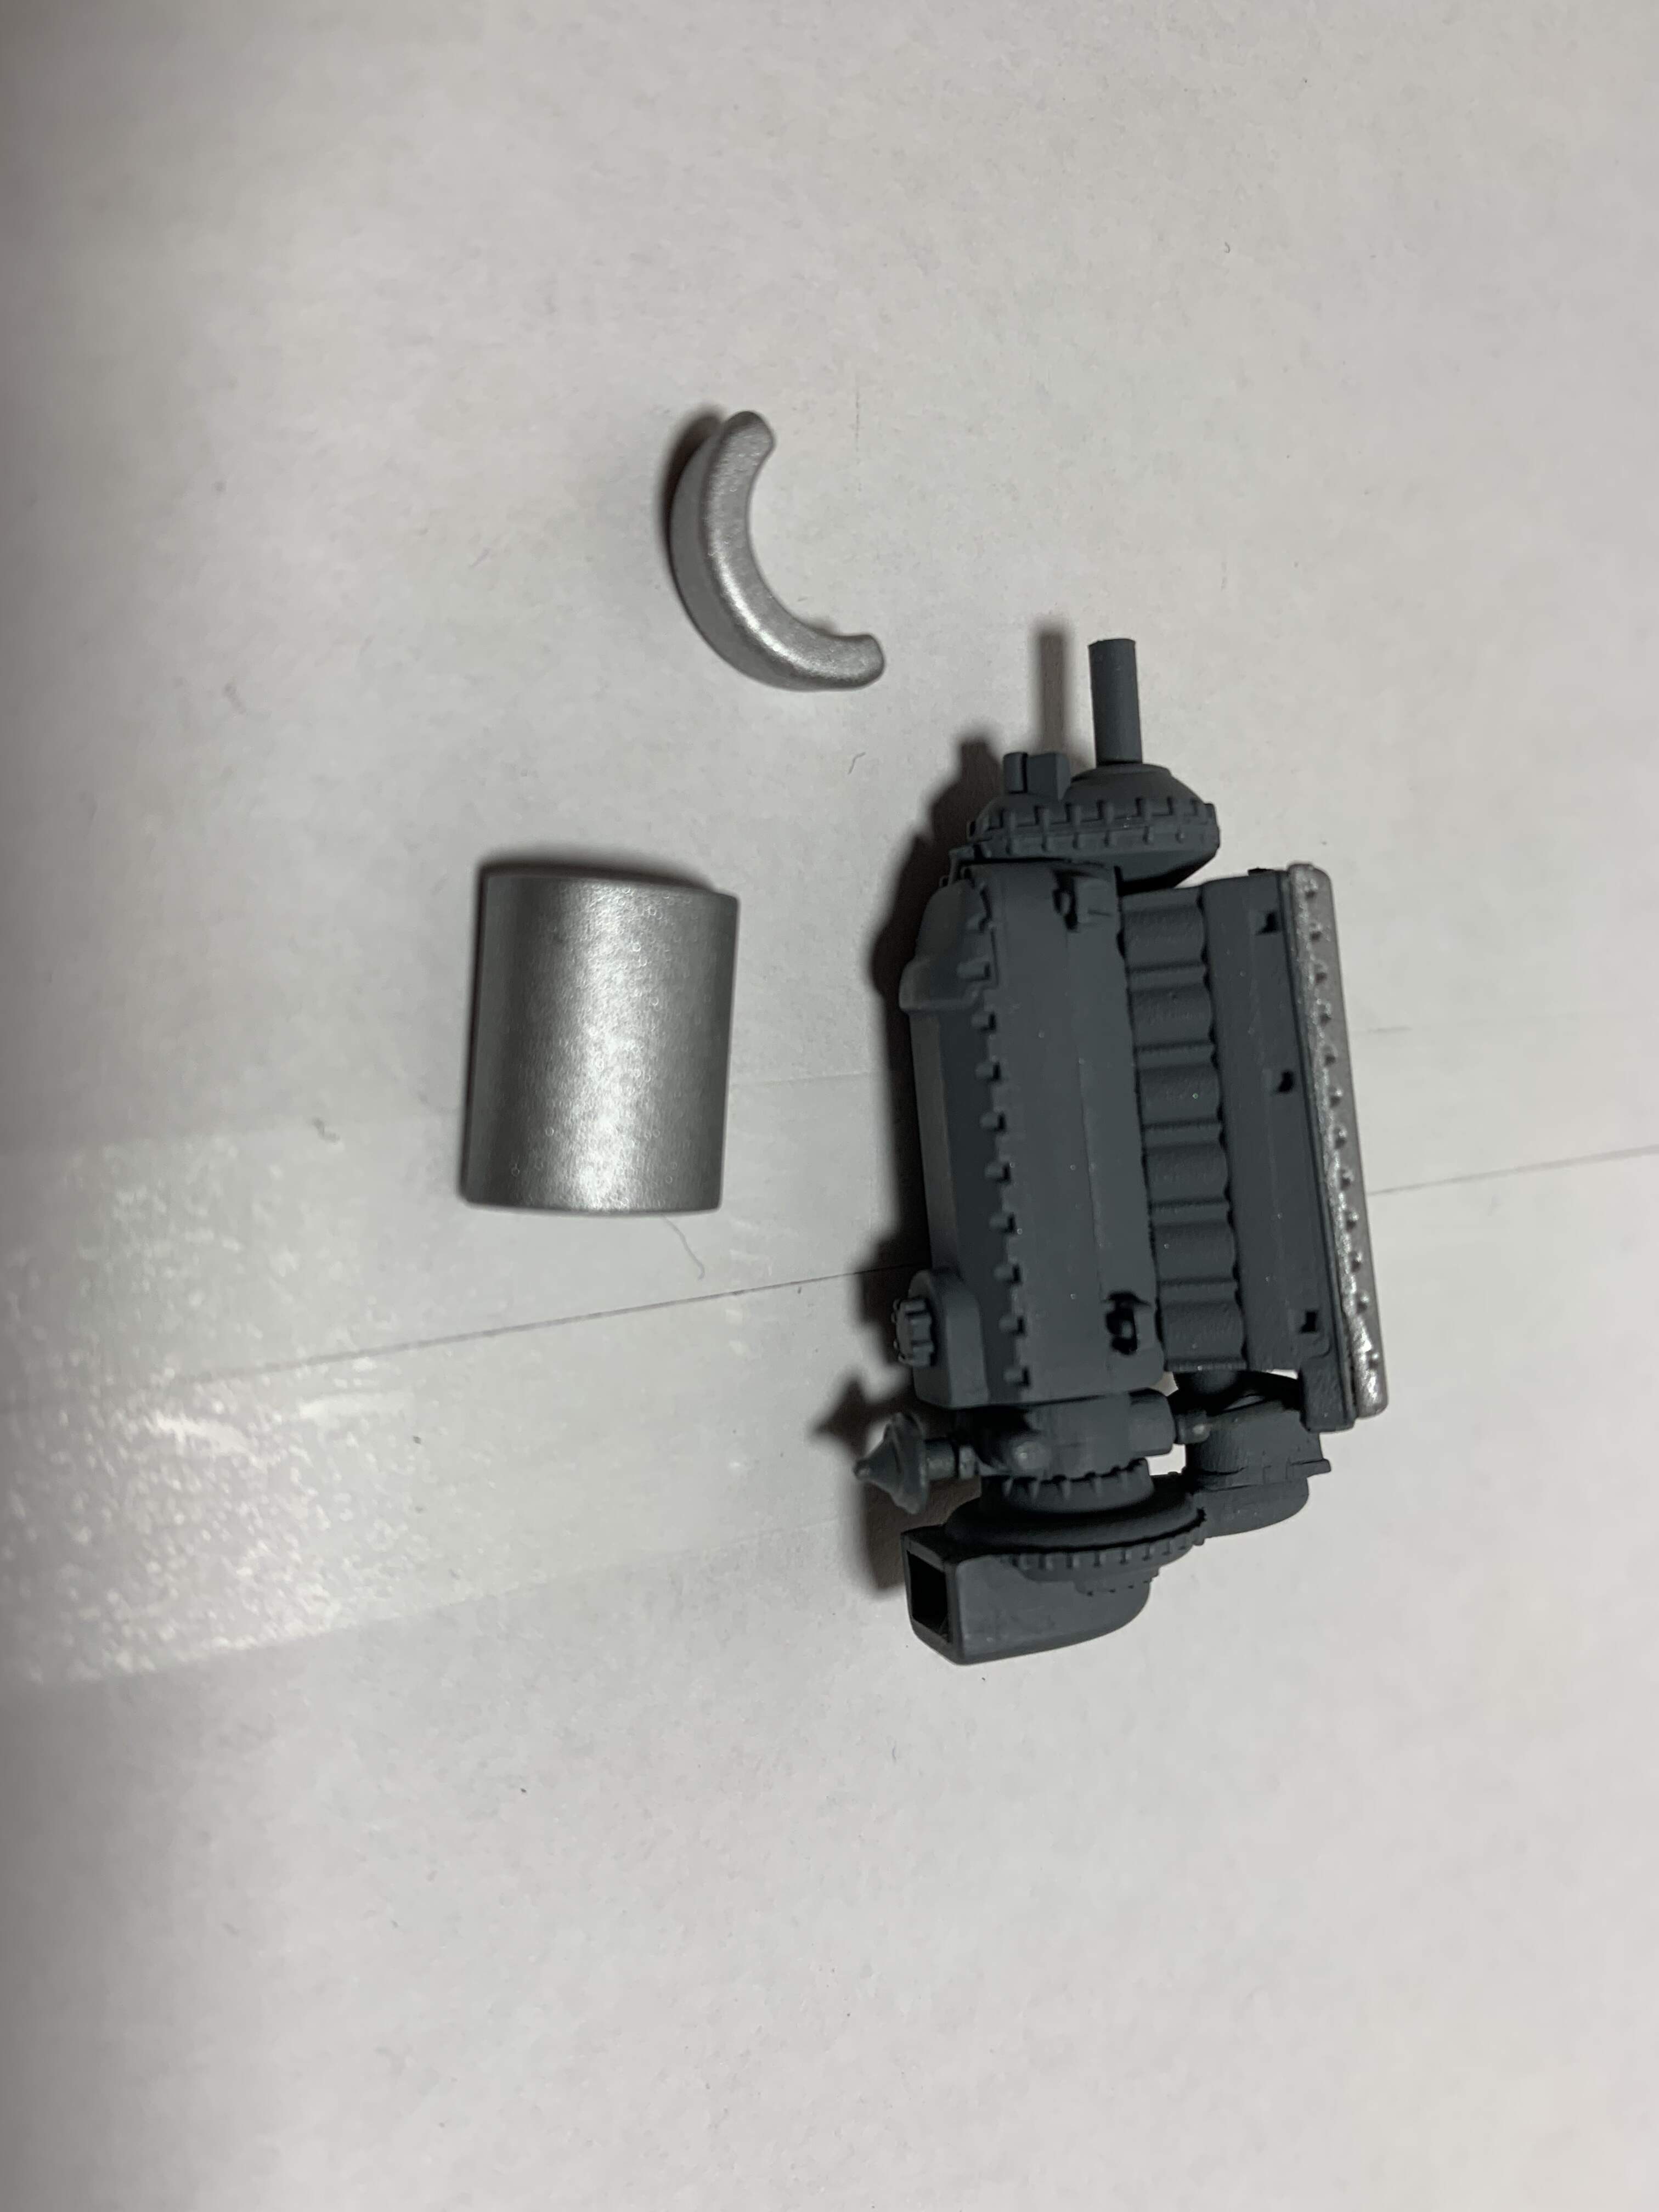
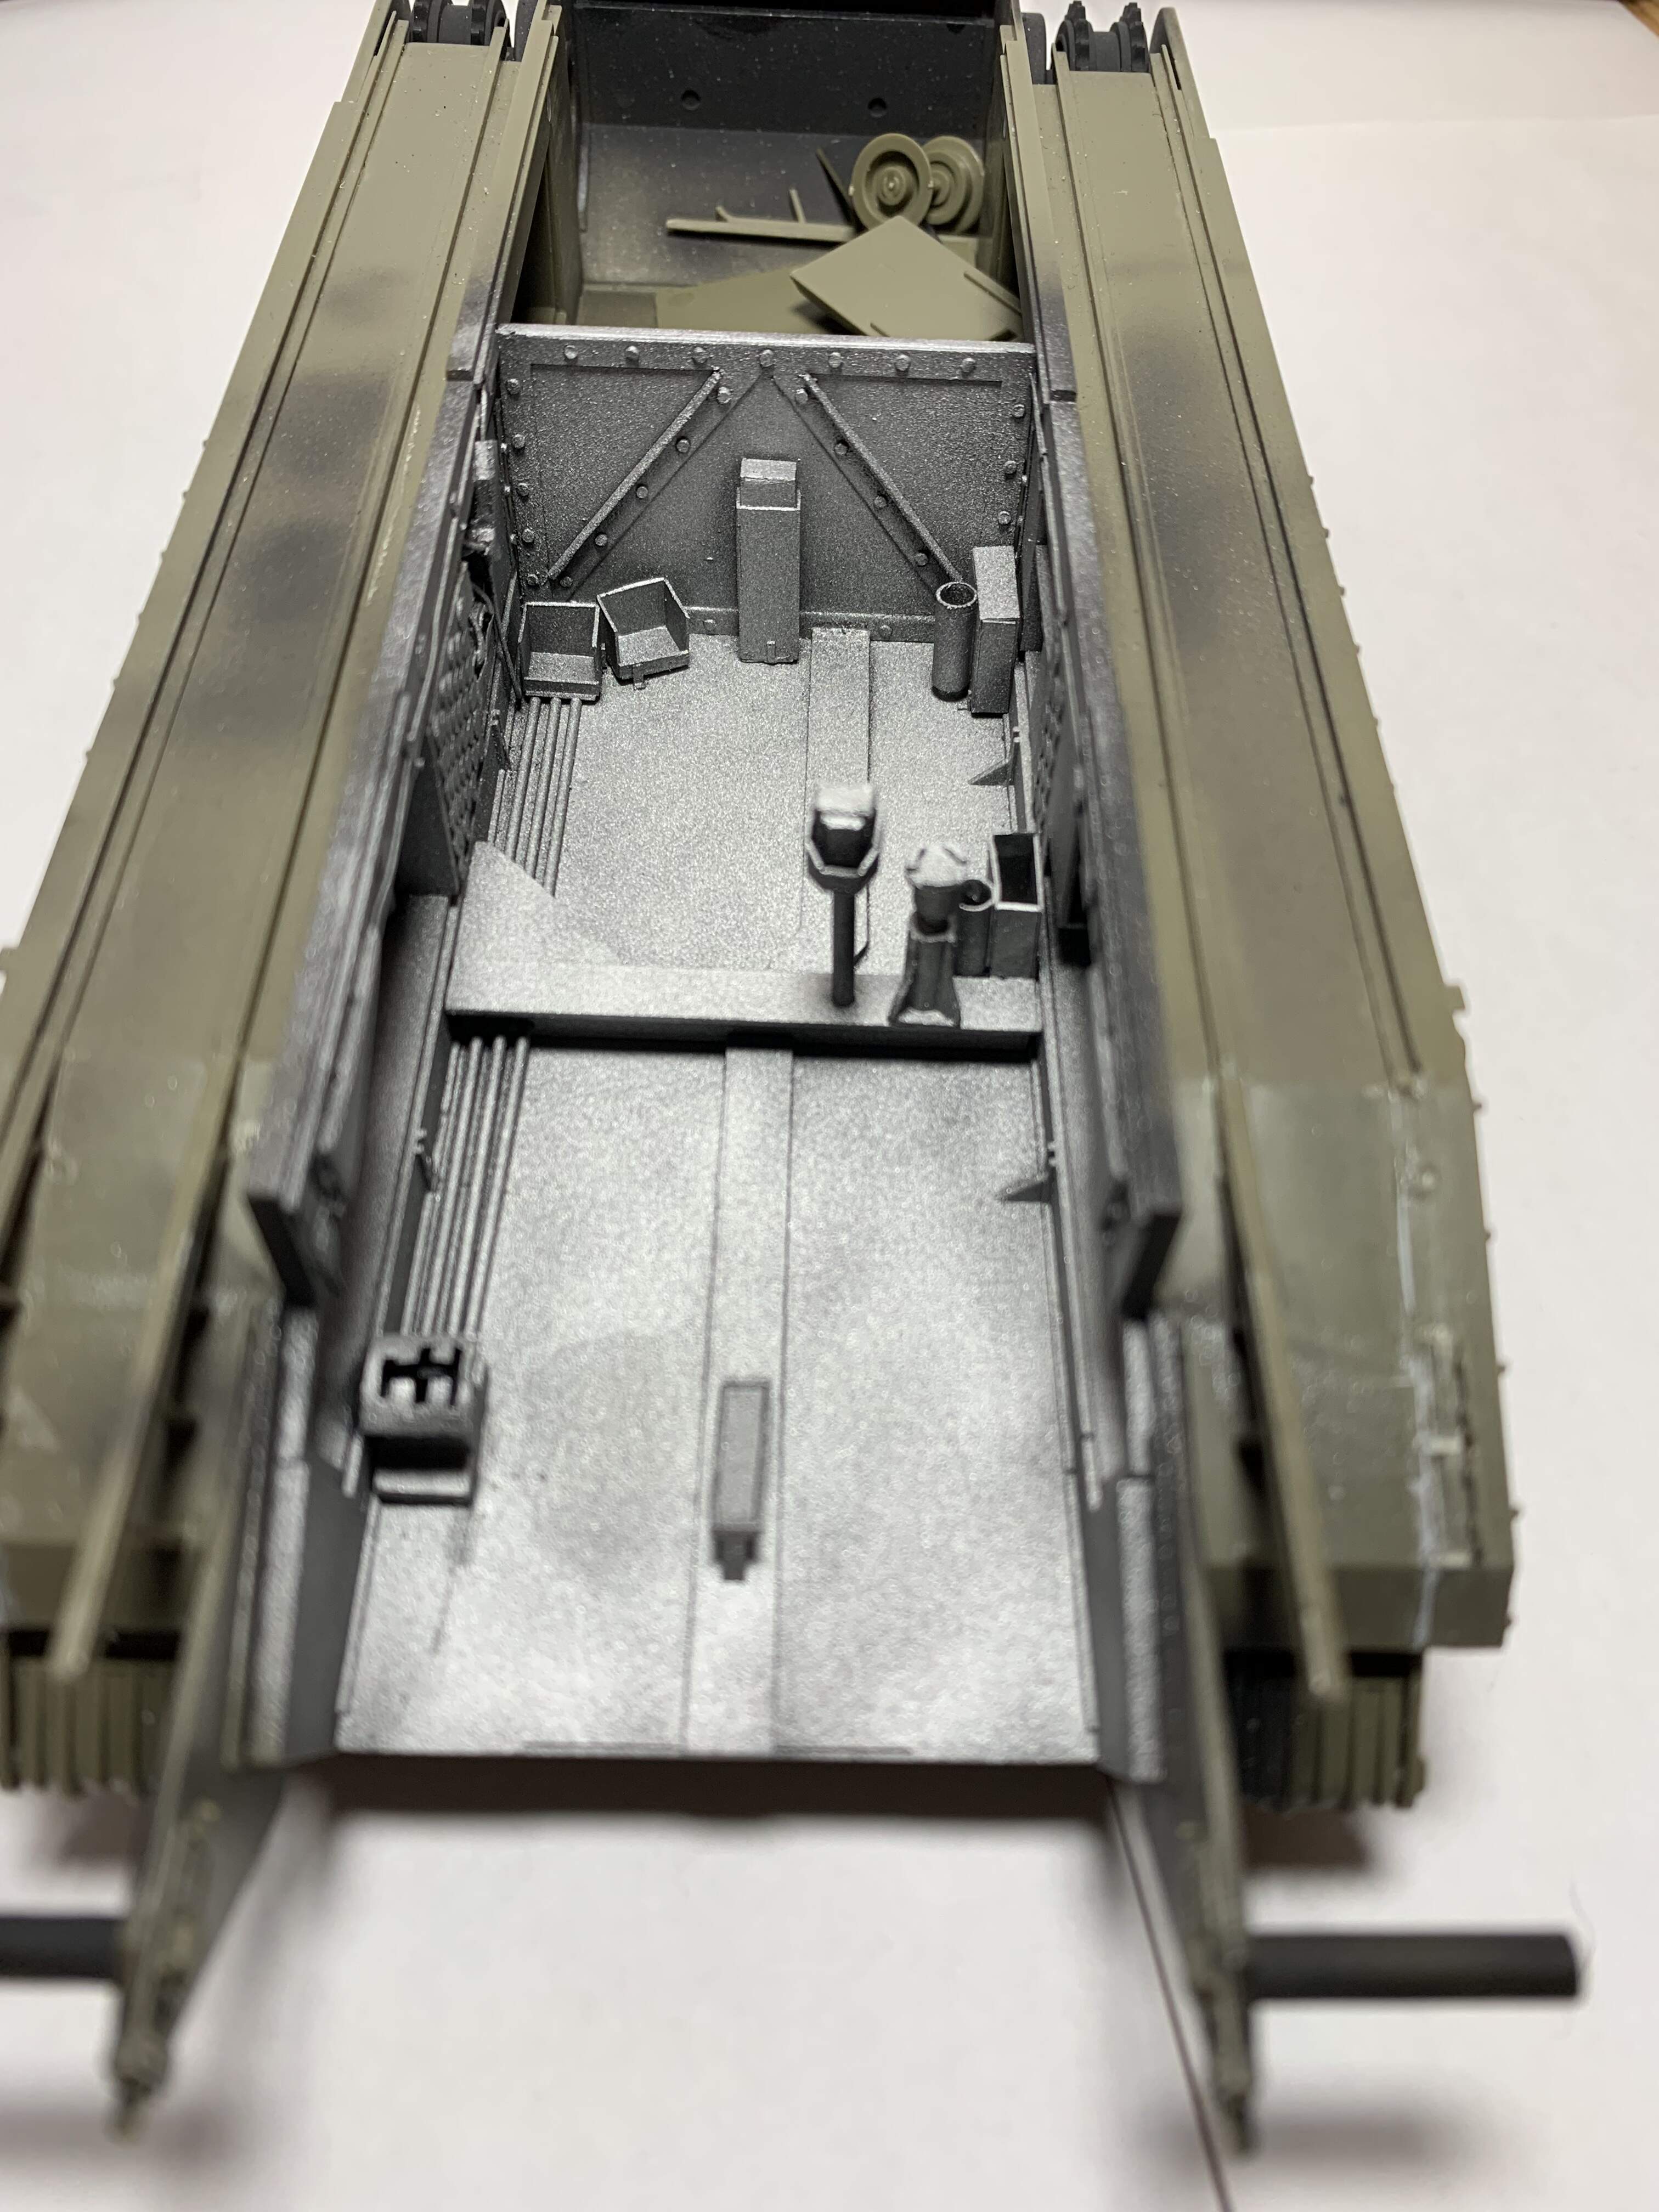
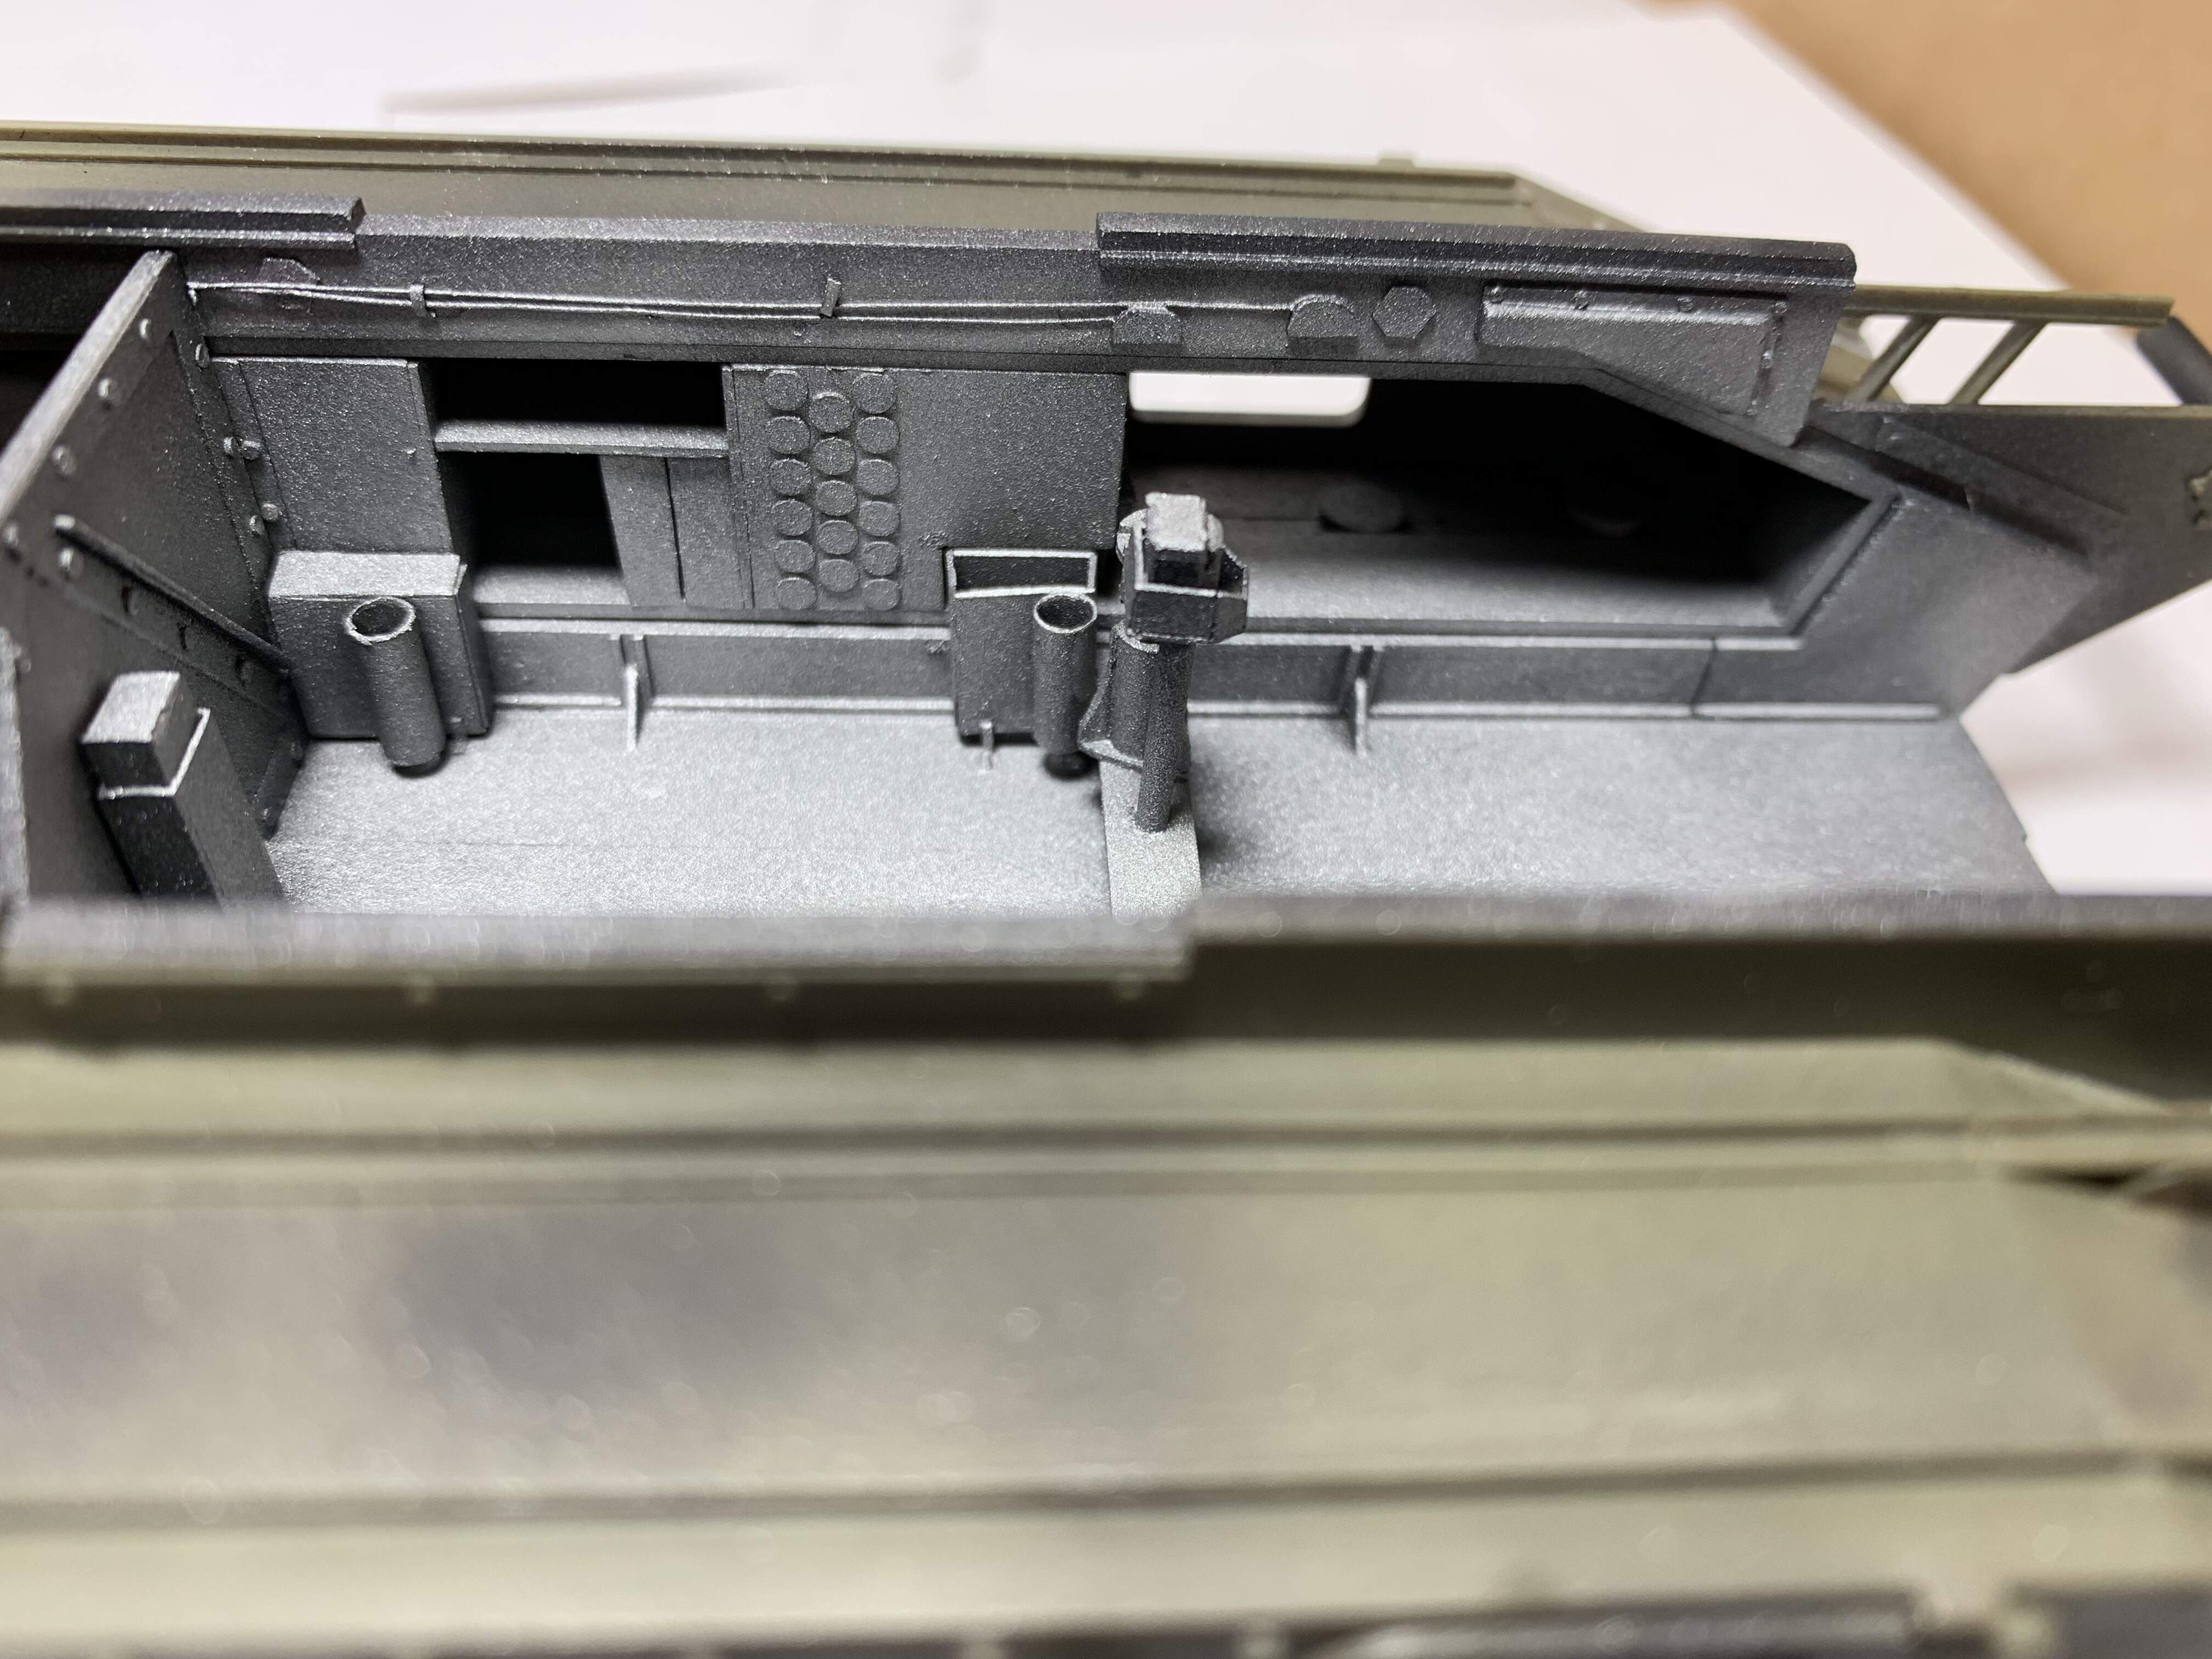
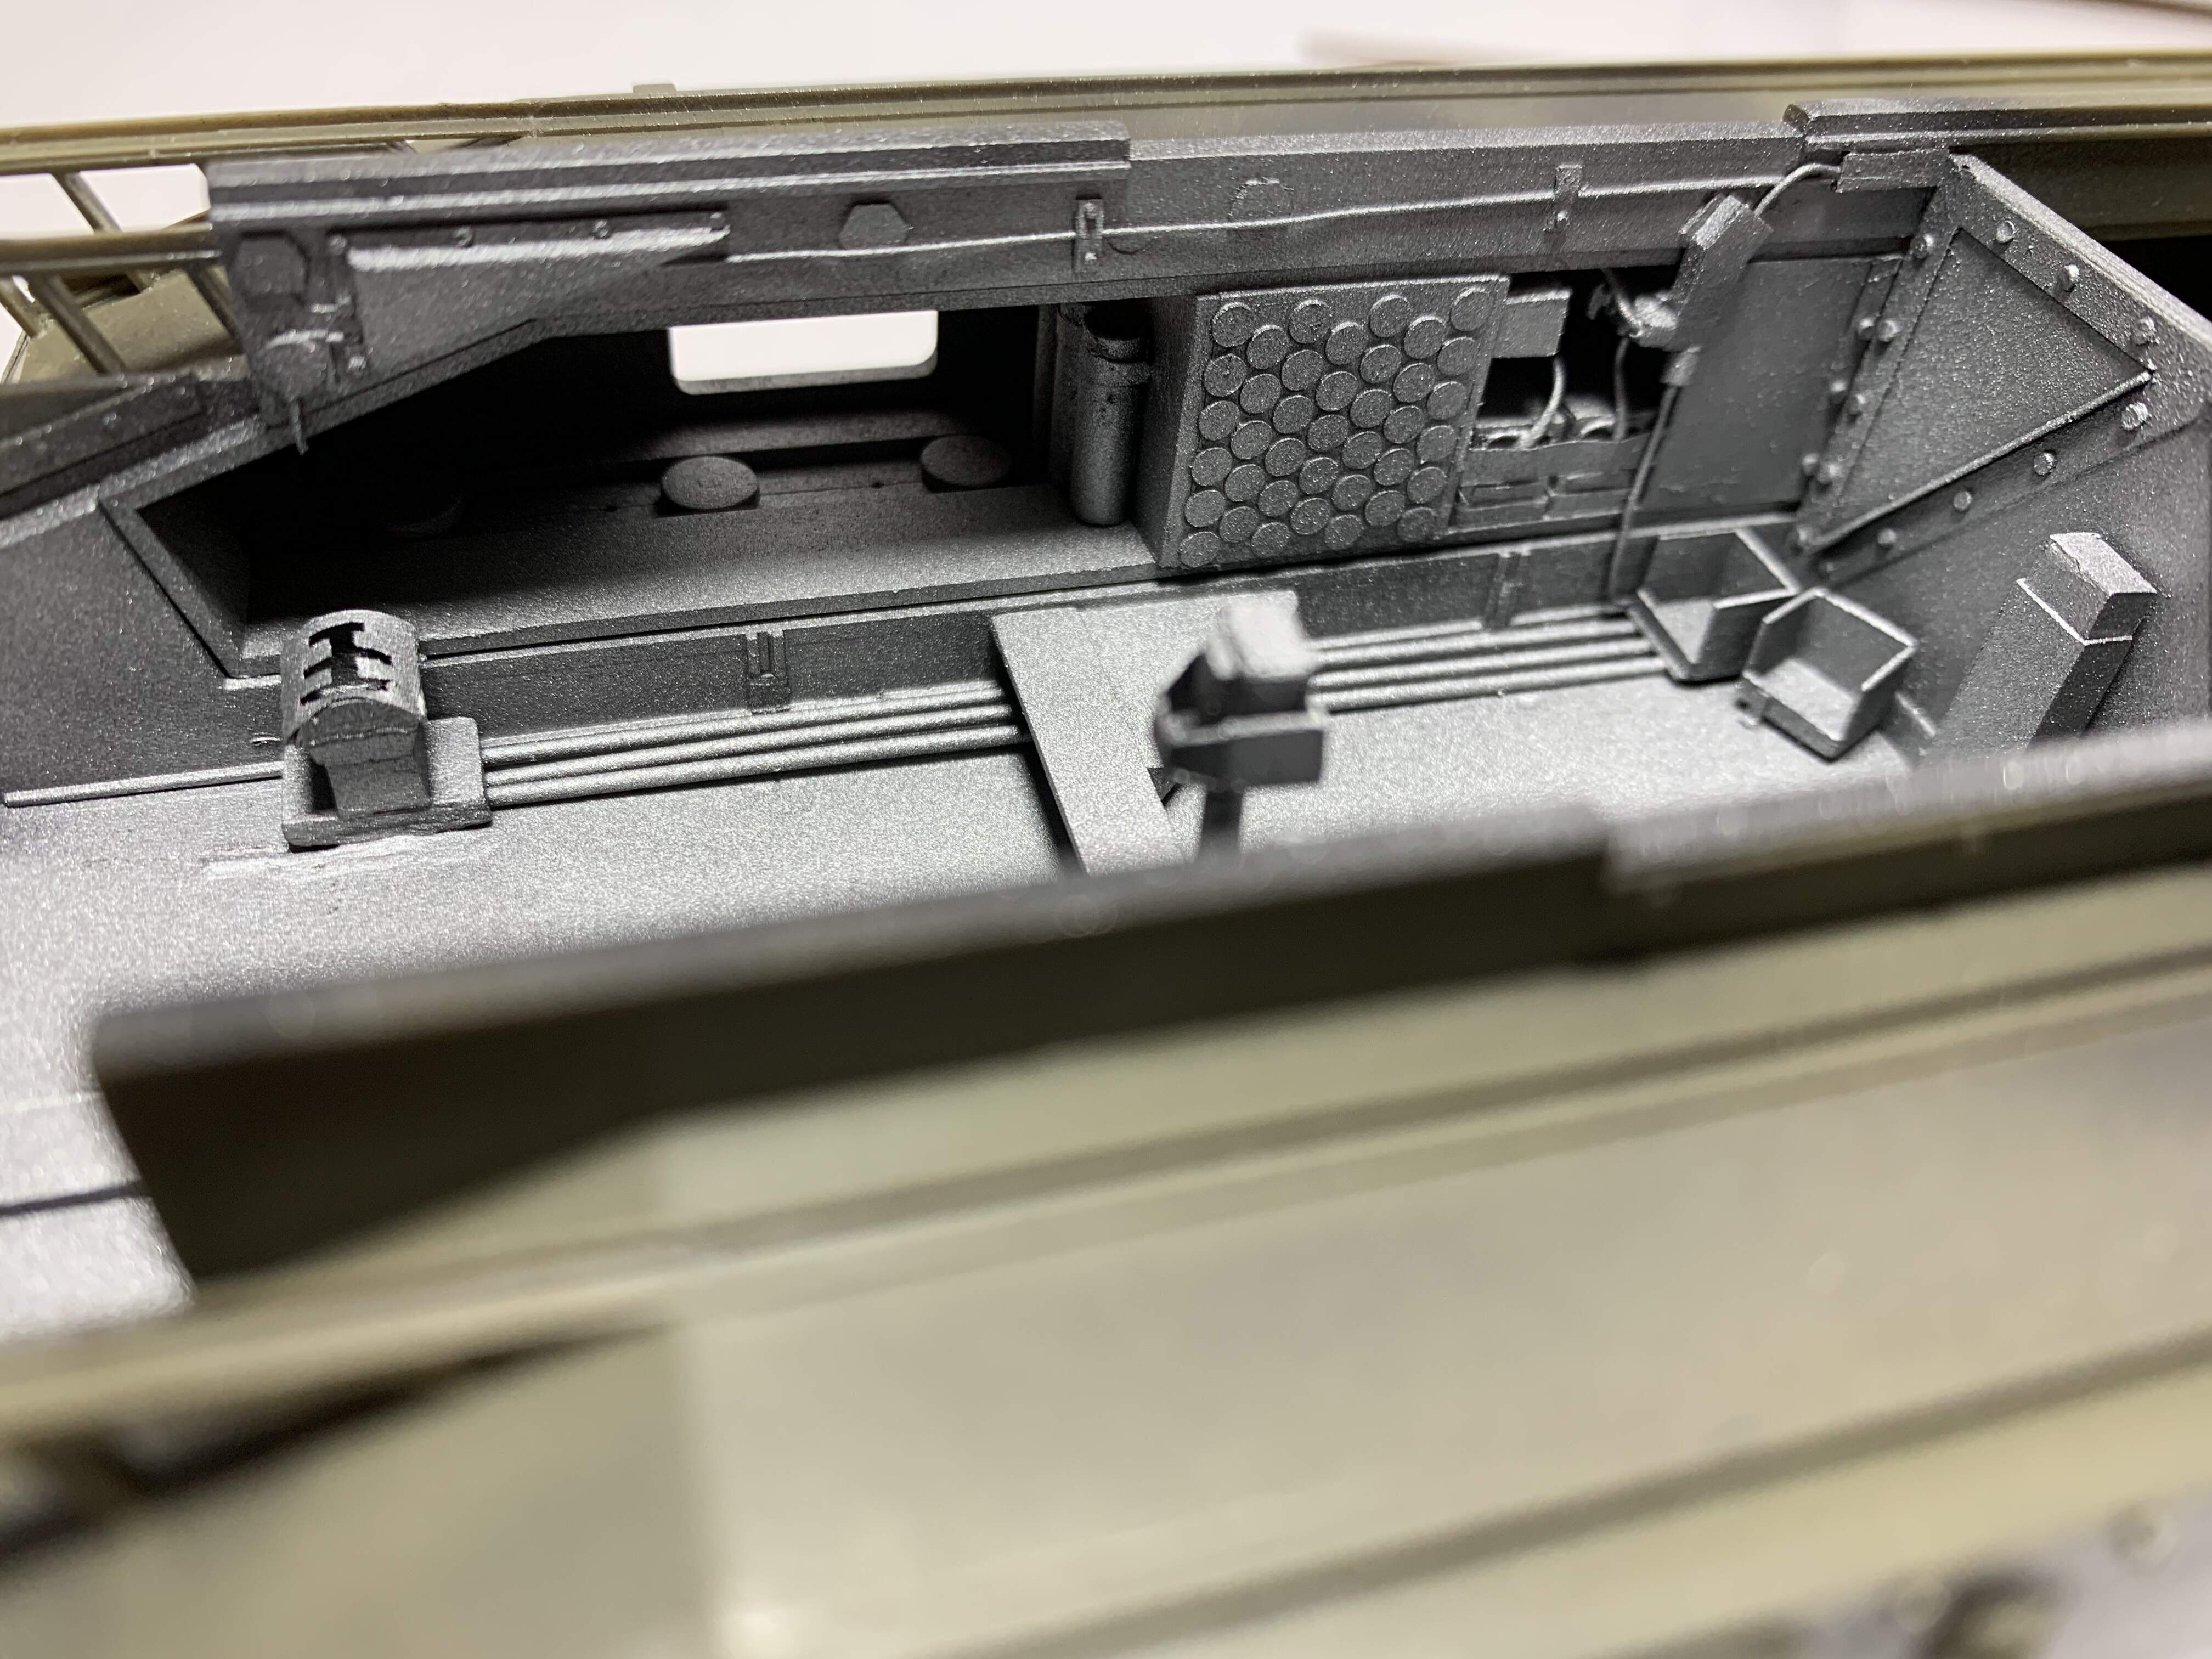
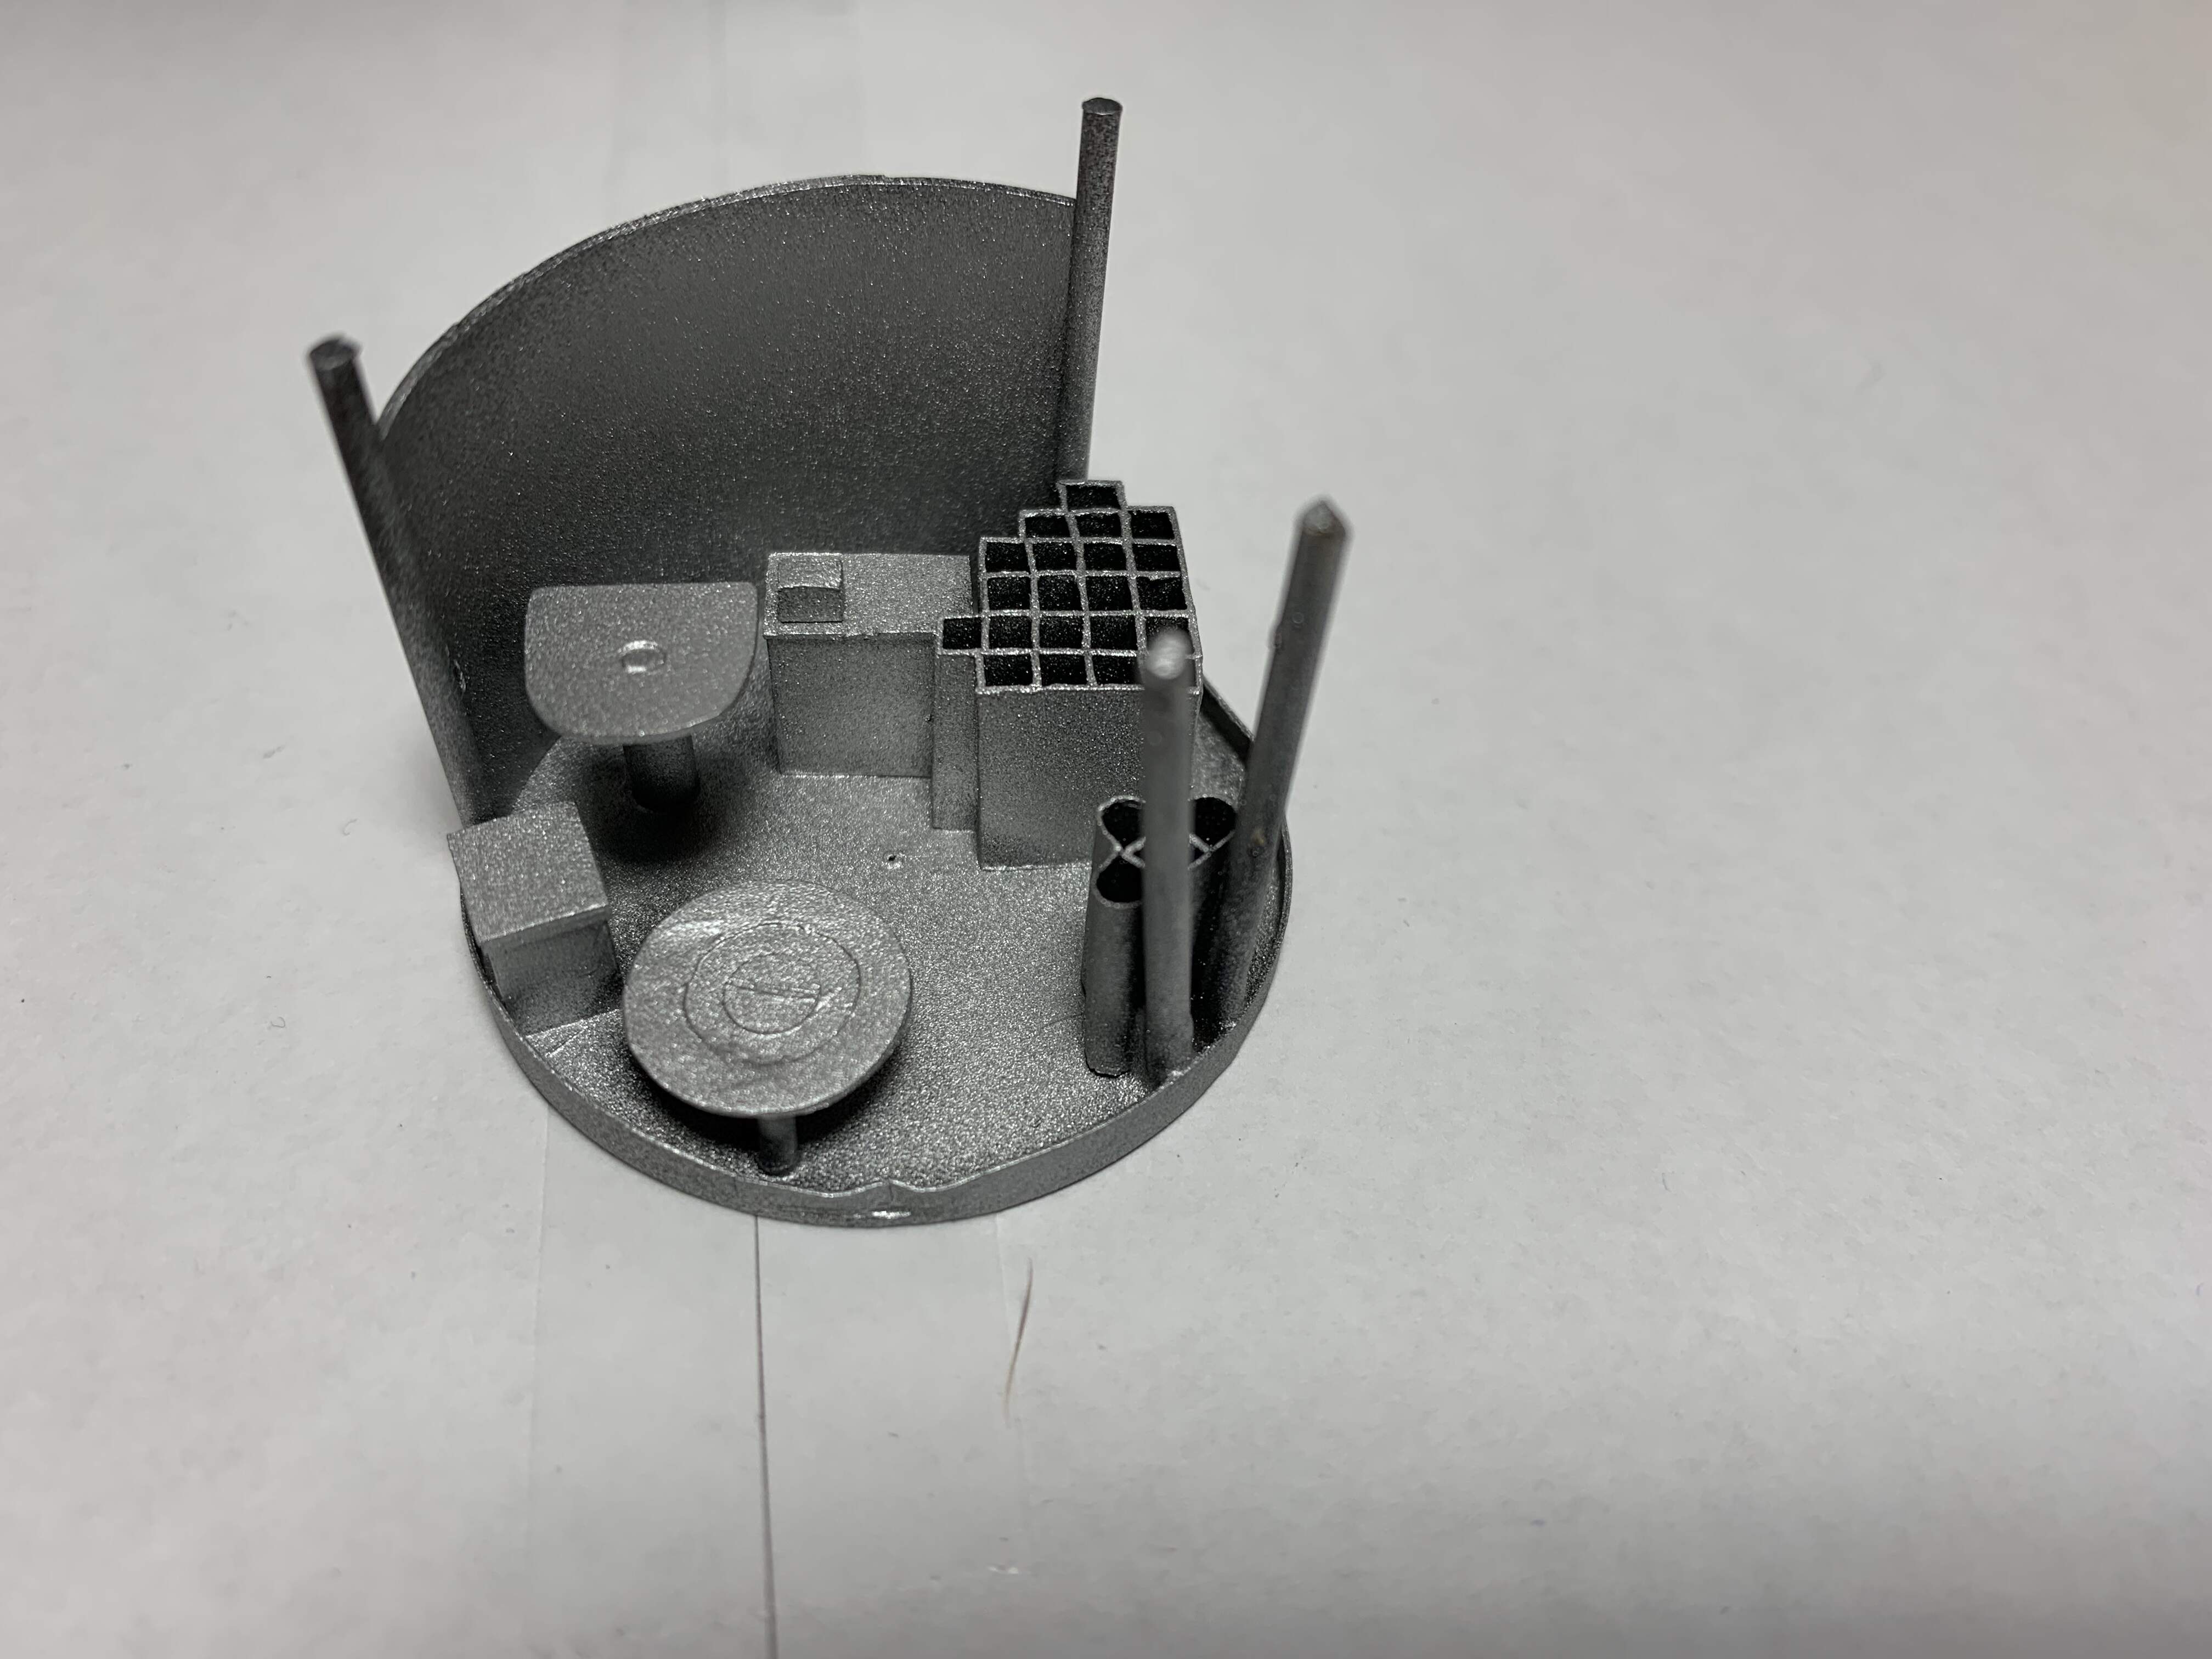
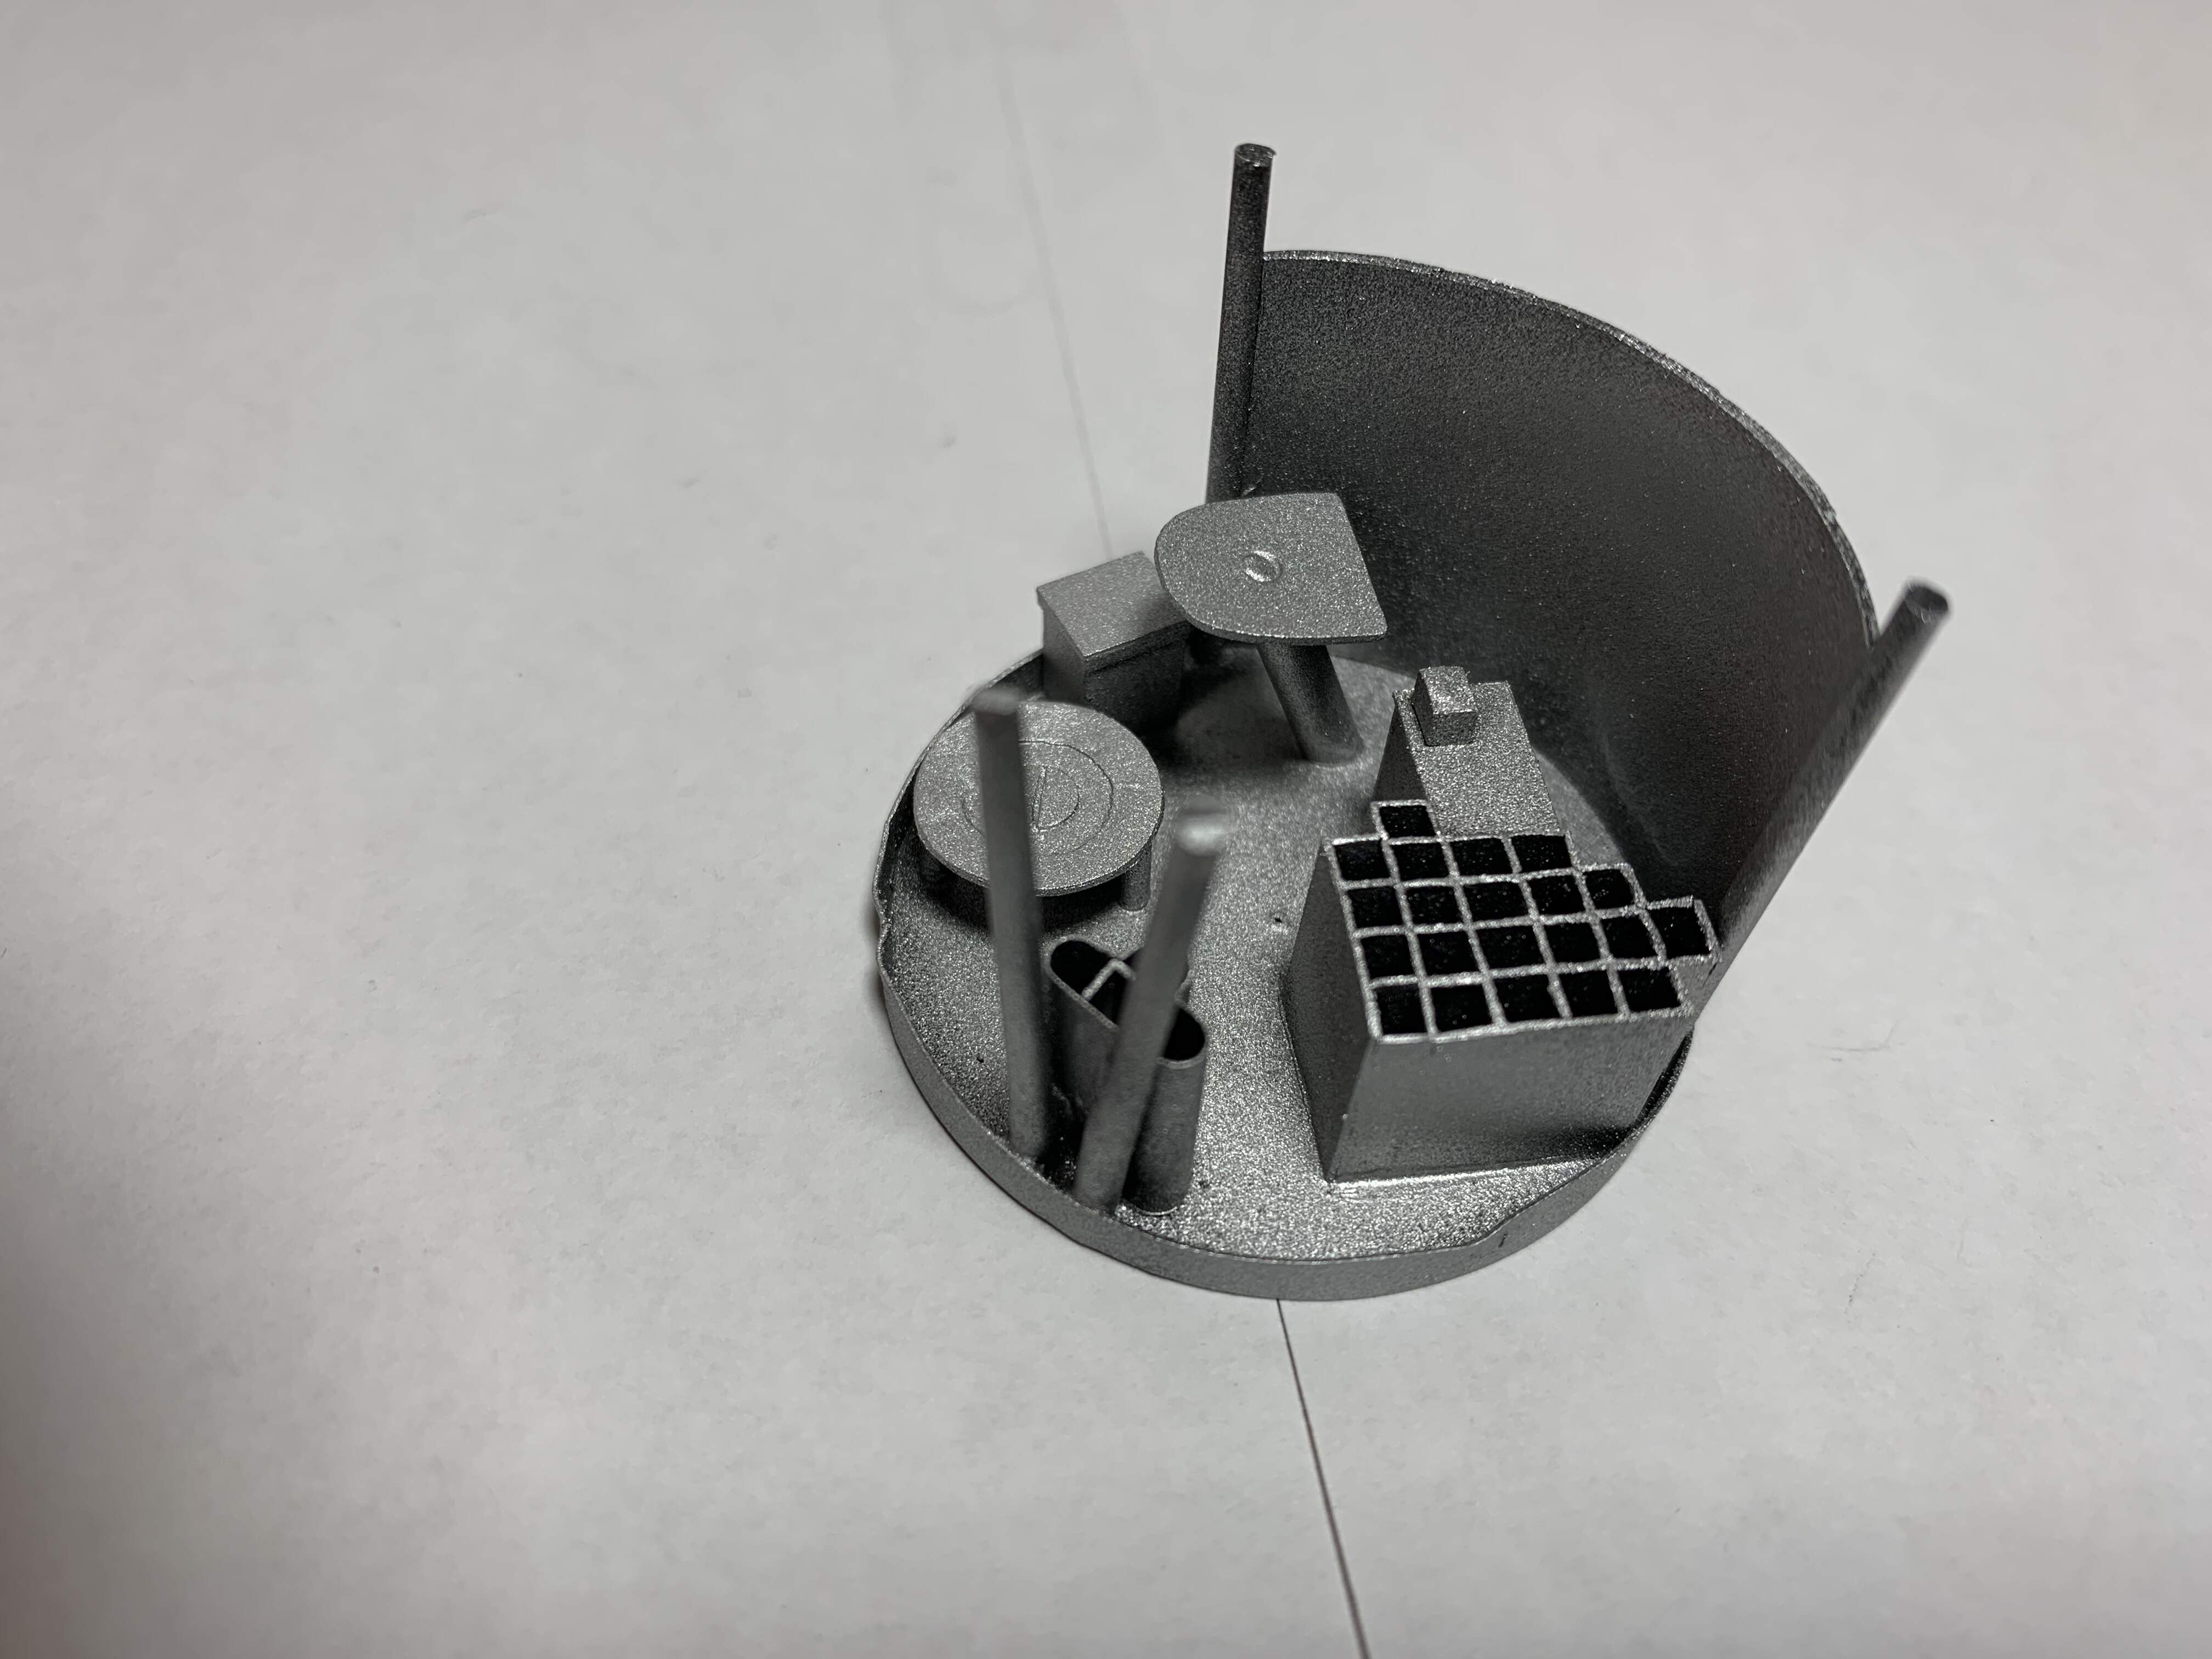
Well I had the aluminum paint in the airbrush, I decided to also paint the base coat for the Churchill interior. To me it looks a little salt and pepper texture. I think this is because I primed in black and didn’t spray enough in some areas. The from of the turret basket and the spitfire engine done show this salt and pepper look so I think this is a result of some black showing through. I will also tone it down with a dark grey filter as I always find Tamiya metallics a bit bright


6 Likes
They are painted!
I’ll weather them a little differently than the tank, but every photo I have has them the same/similar colour to the tank rather than just black rubber.
Oh, ok.
I throught as much, but figured that the paint would wear off of the rubber rather quickly?
1 Like
Looks awesome!
I decided to try my hand at making a ribbon for the campaign. How do you guys like this?

6 Likes
I like it a lot!
The subtle tones making it look kind of dirty and old is a nice touch
1 Like
That’ll do nicely!
1 Like
Awesome, eh!
1 Like
That interior looks amazing .
Also the ribbon is cool .
Thanks! It always amazes me how a little paint brings a things to life
What thinner did you use Mead? I never use their acrylic thinner as I find that results in the grainy effect. I find Tamiya metallics (and their standard colours) work best with their Lacquer Thinner and a very thin mixture; metallics need to be thinner than the 50/50 I use for their standard colours. Spray a very light coat, let dry and then recoat.
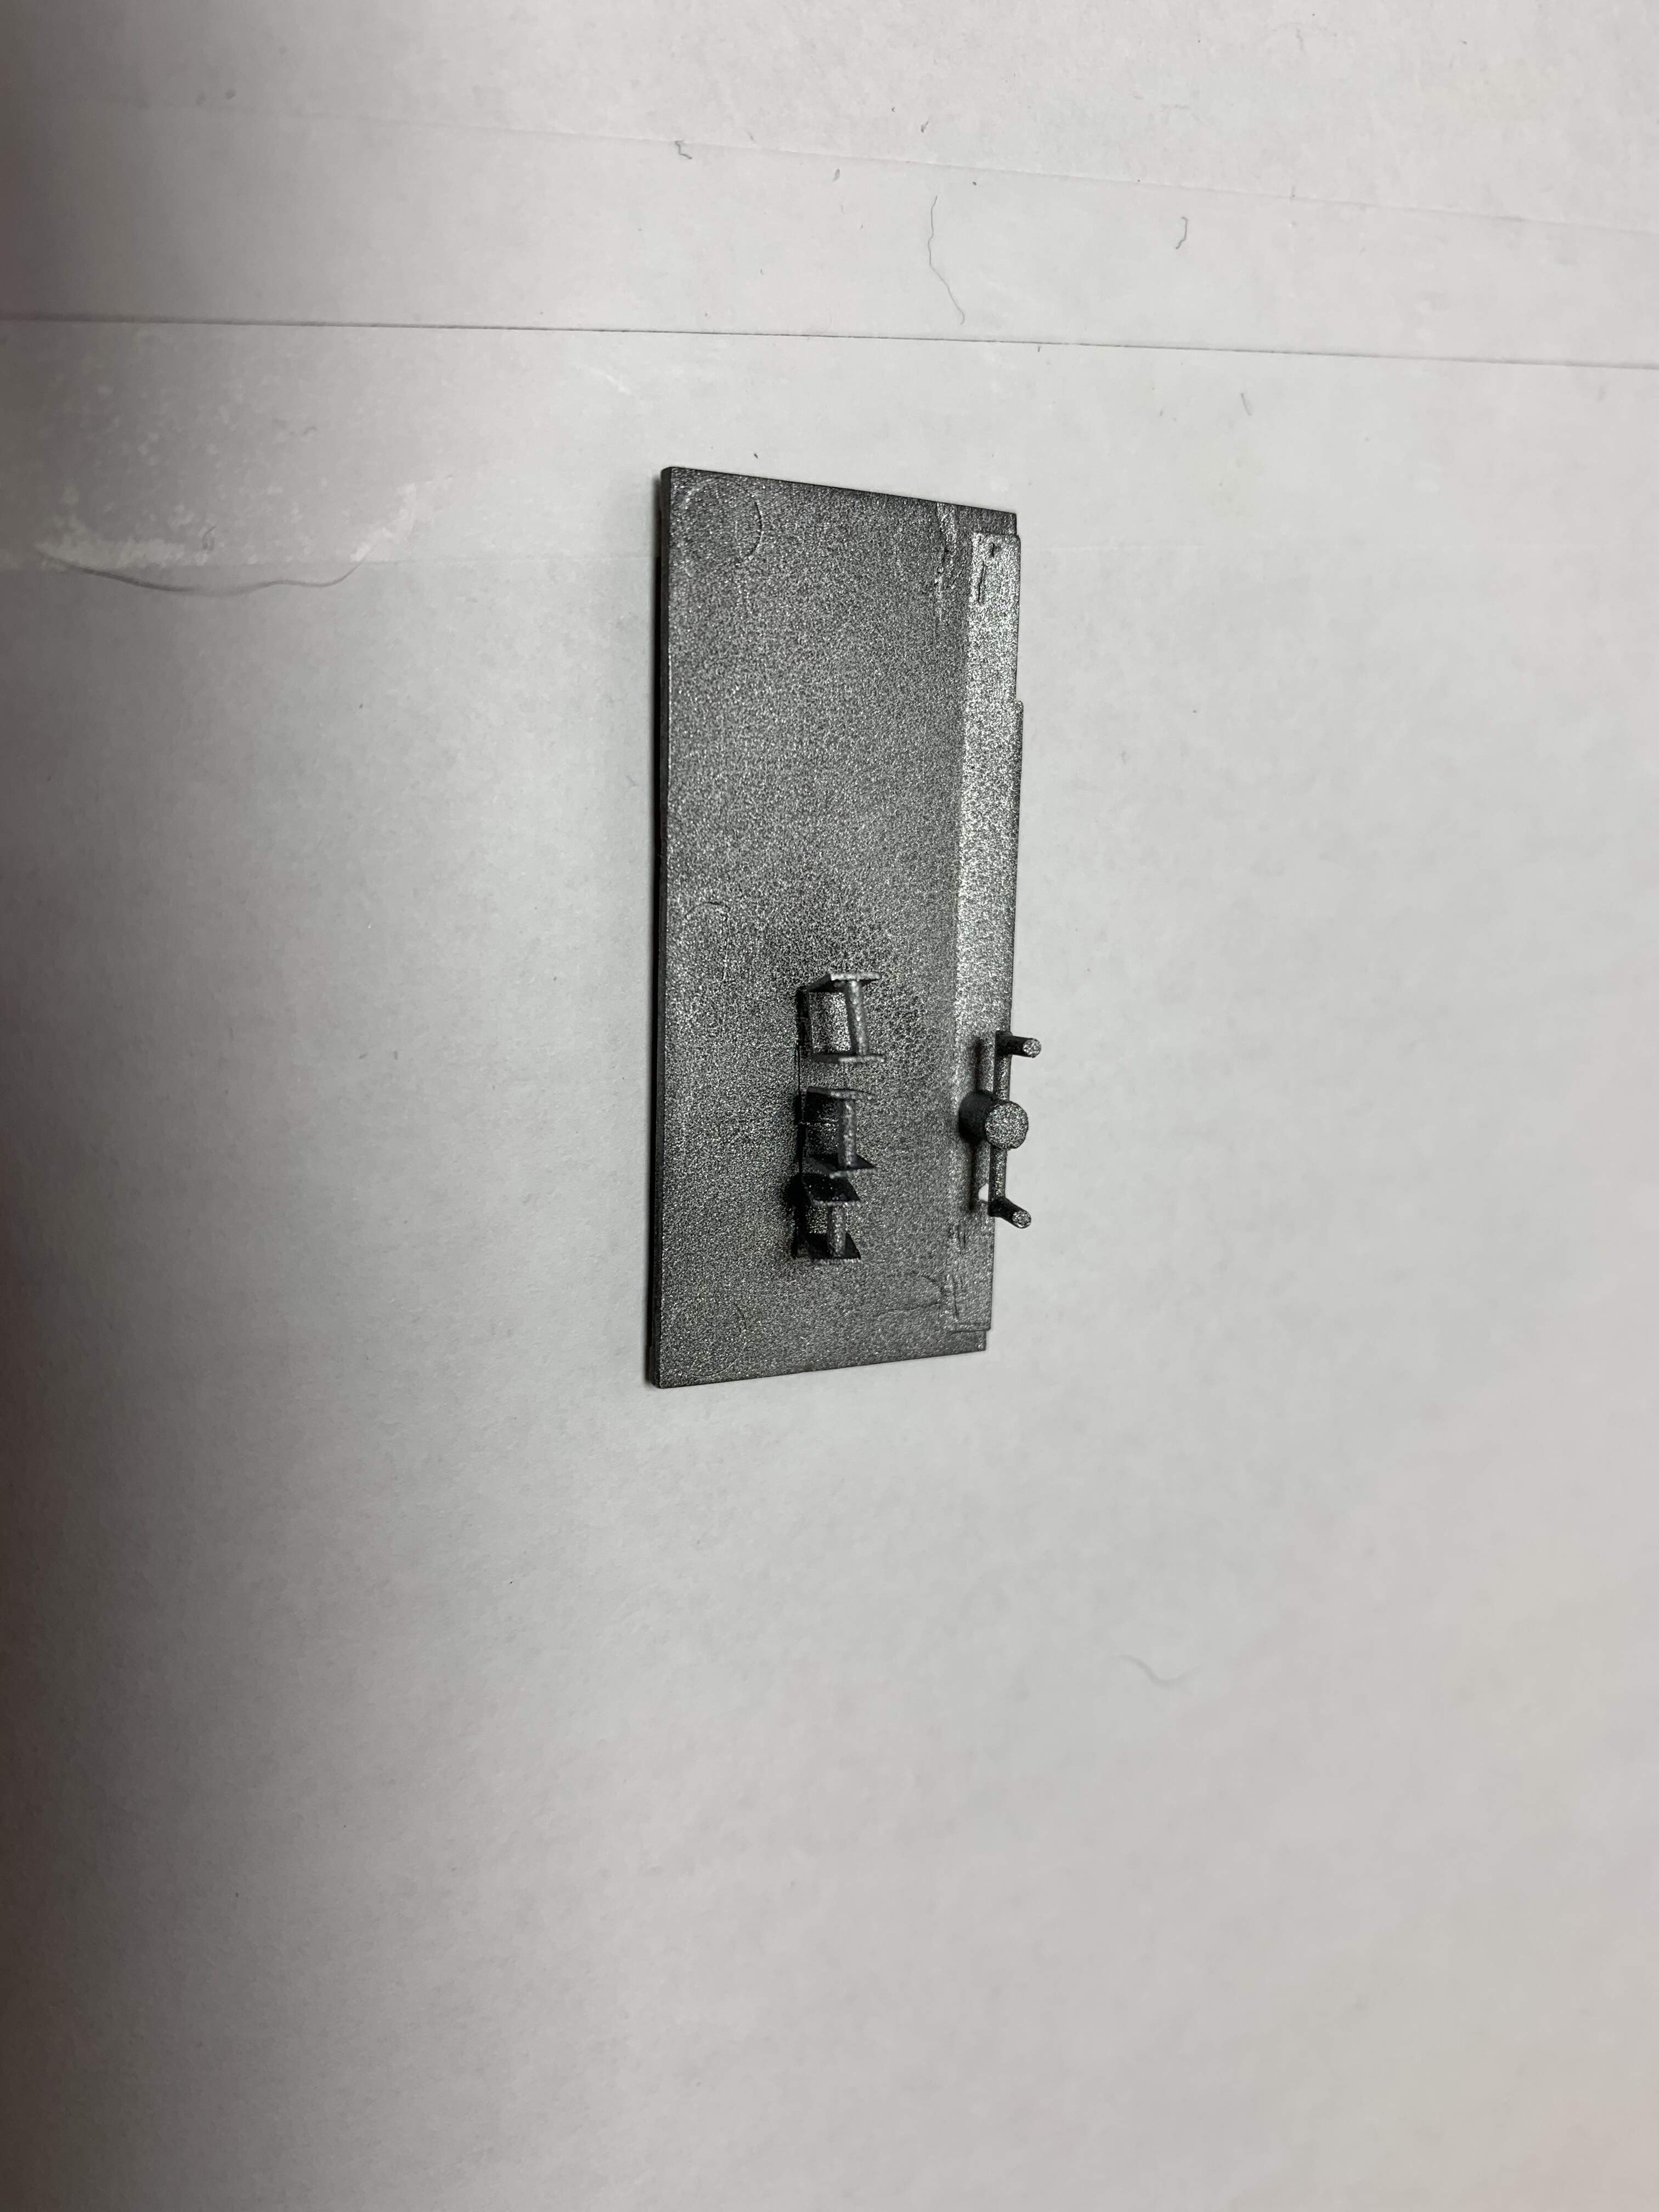
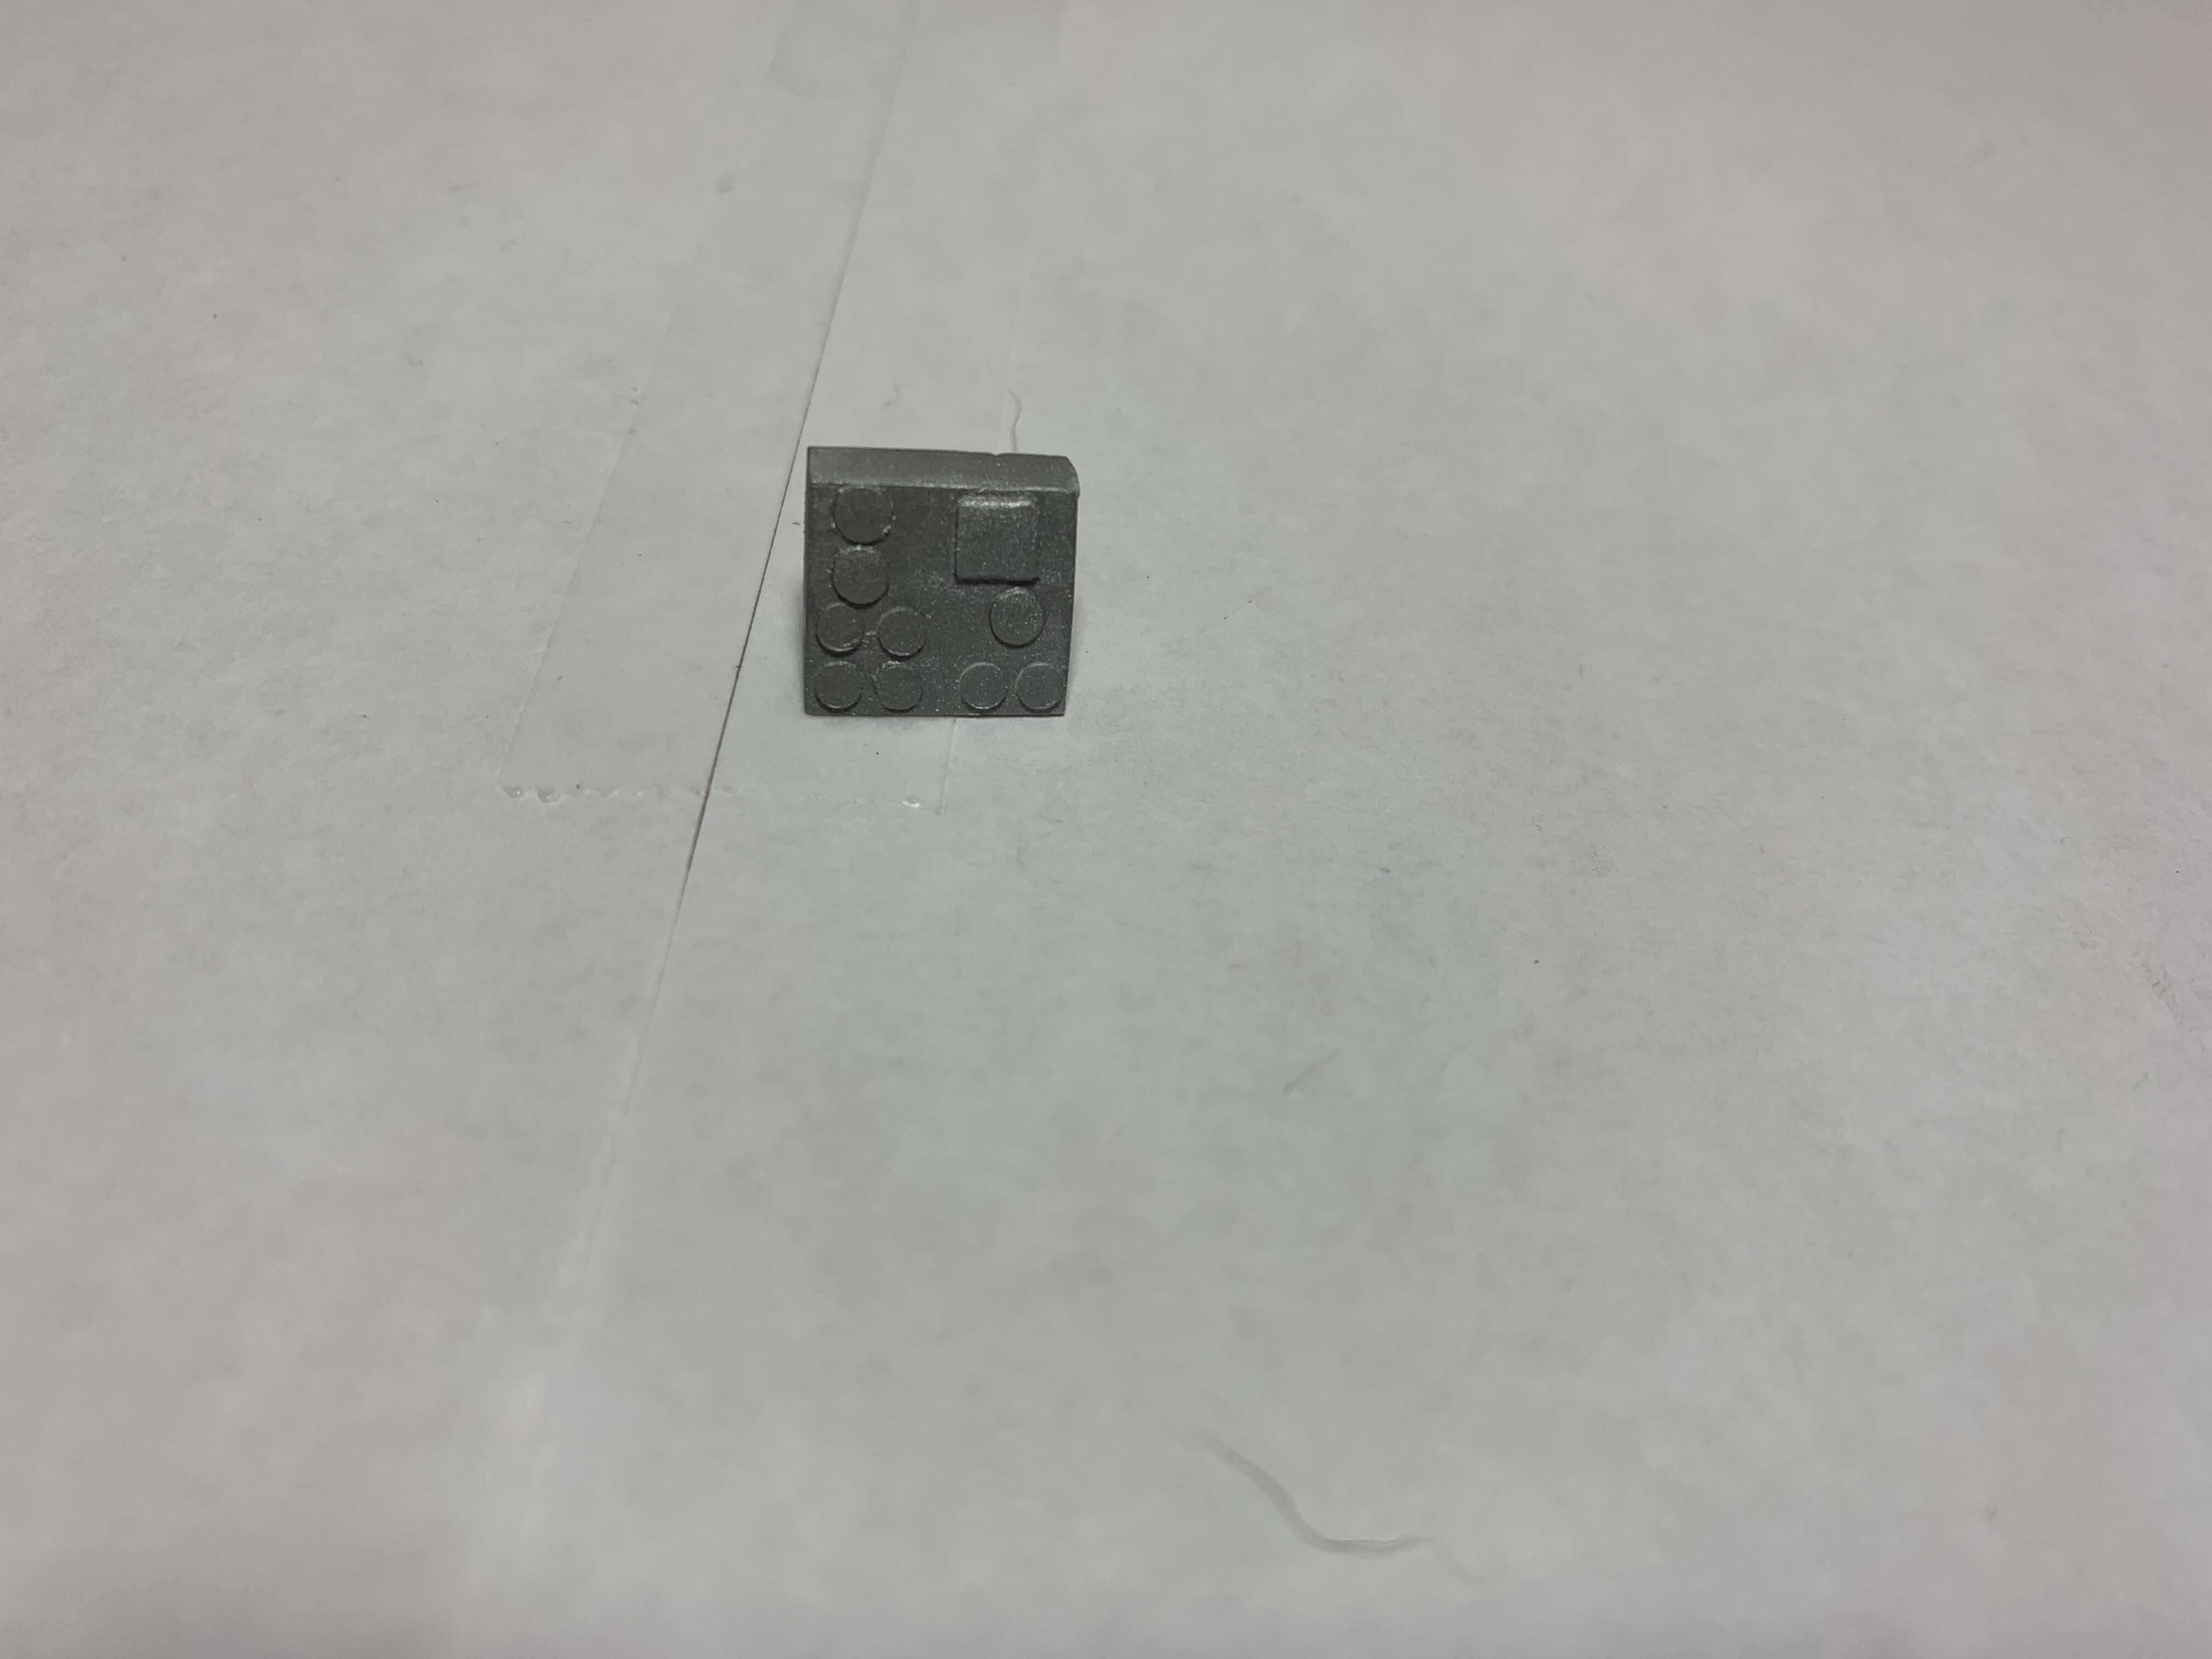
This bucket is an example - unfortunately I have added a thin wash to it and a pin wash already, but you can see the difference anyway. It was also primed black.

I was using their lacquer thinner but perhaps I need a thinner mixture. It’s honestly not that grainy per se but almost looks like it has flakes of metallics. I’m considering re-priming and then respraying the metallic coat. It’s smooth to the touch so repriming should eliminate the grainy visual appearance
That bucket looks good and much better than I’ve done with their metallics
1 Like