Superb job! Did you do it yourself?
1 Like
No, and yes. About ten years ago I had the idea to start making 3D printed items to sell. Like many guys on here, I have a substantial collection of military gear. My area of focus has always been Vietnam. But I can’t use CAD. So I hired a 3D modeler and sent him photos of gear and dimensions for modeling. He sent me the files and I uploaded them to Shapeways. My idea didn’t exactly work out as planned, but this manpack radio was one of those items modeled from photos of my collection.
1 Like
I haven’t seen any traffic on this build recently and I was beginning to wonder if I wasn’t getting notifications. Clearly that isn’t the case. So here’s an update.
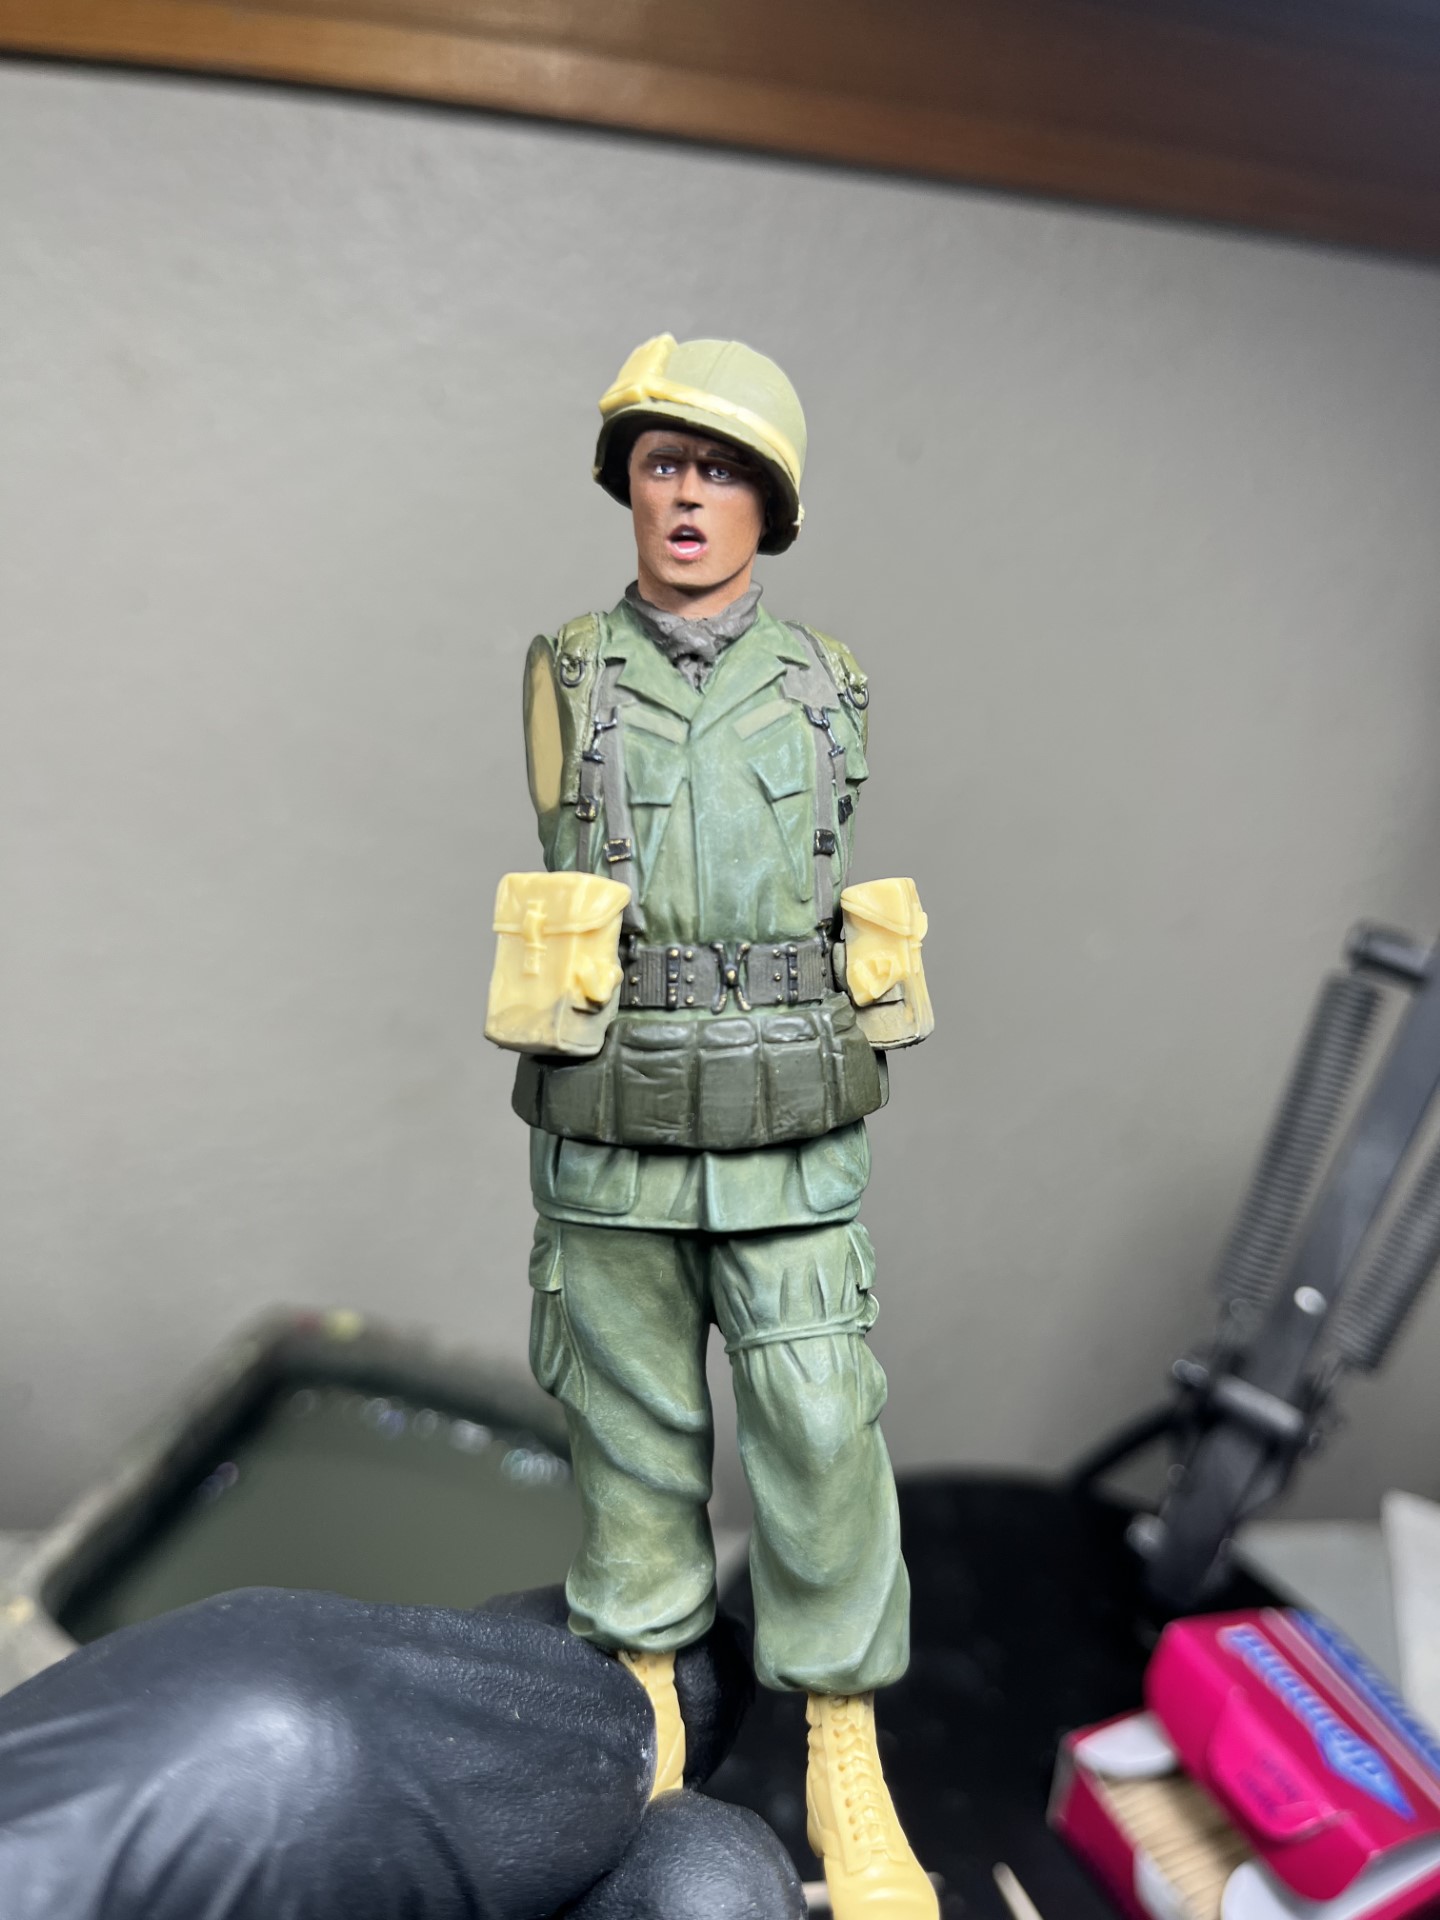
The uniform is largely painted with some details pending the application of pouches. I sculpted the lightweight rucksack frame shoulder straps (the back of which can be seen in a previous post). I have a couple other details to work out, such as the straps and buckles for the ruck frame. Otherwise, it will be a smooth build from here.
5 Likes
It indeed has been slow, myself including. Haven’t done a single thing modelling-wise.
2 Likes
I’m probably a week or so from hitting the paint booth with the Tiger 1 for black base coat and first color coat. Have to wash & dry the model.
3 Likes
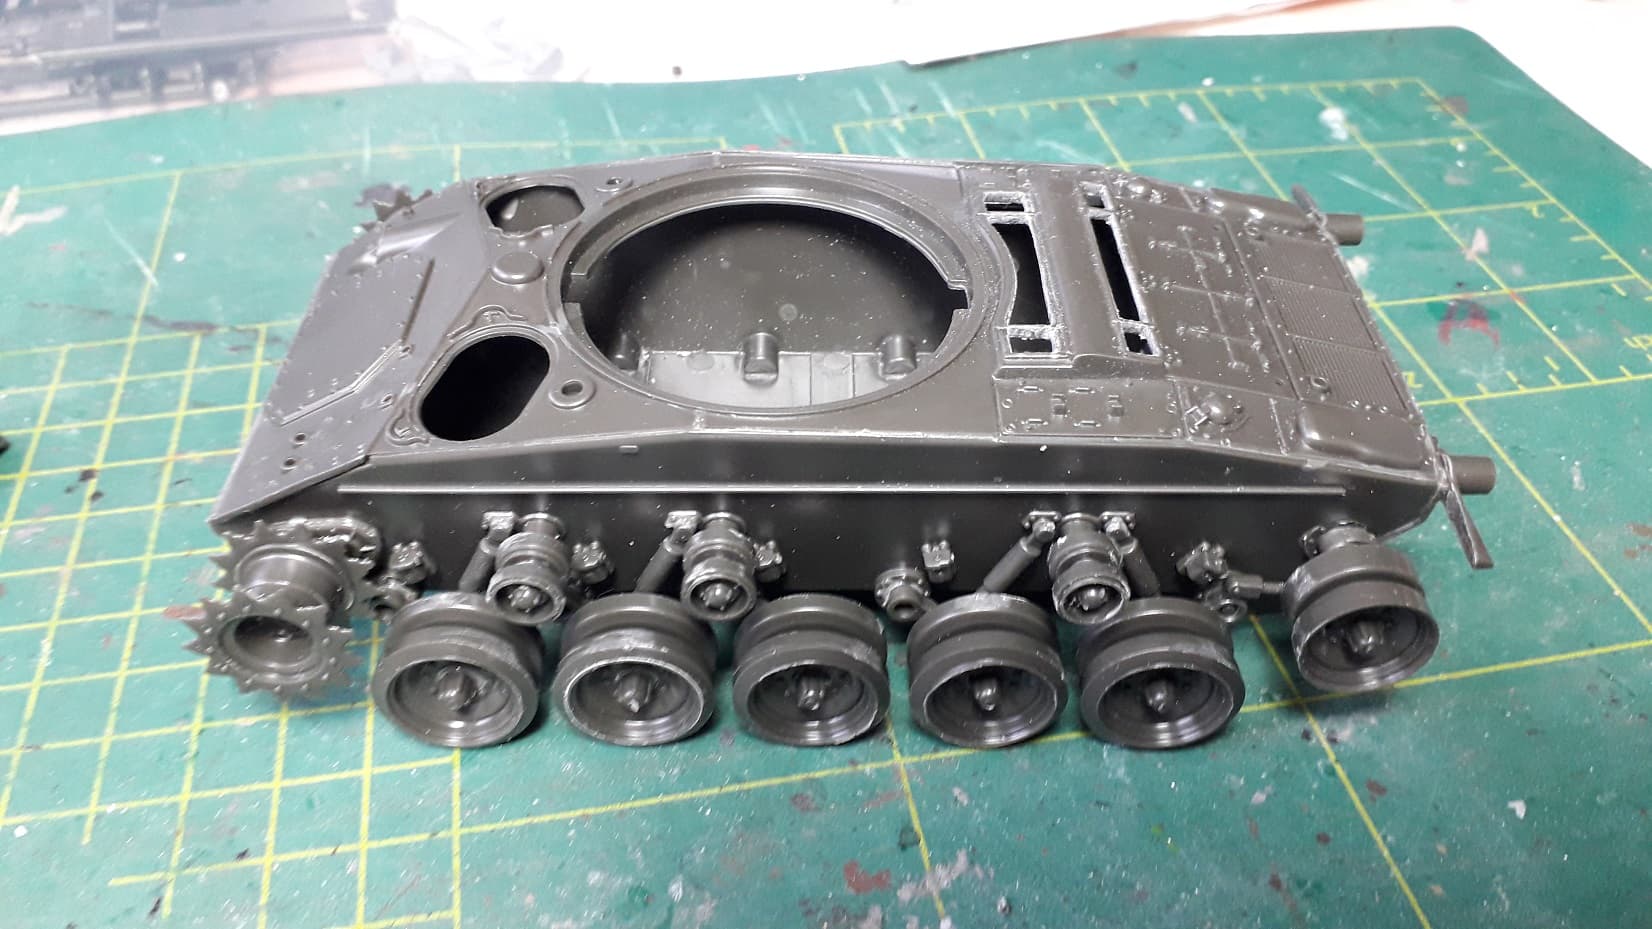
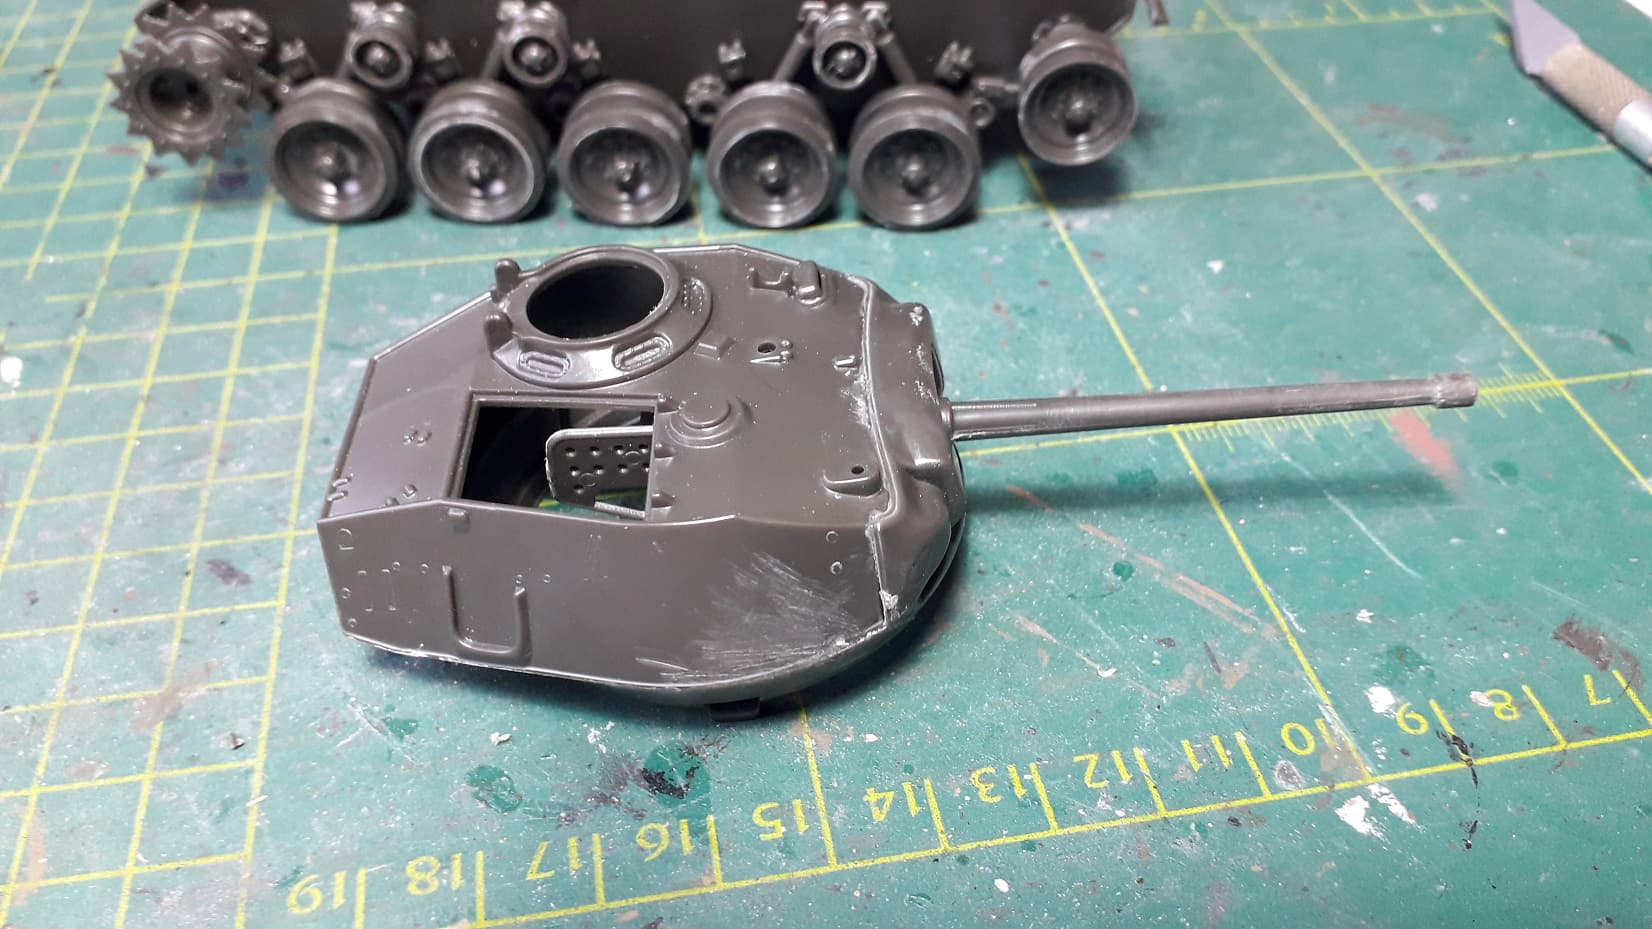
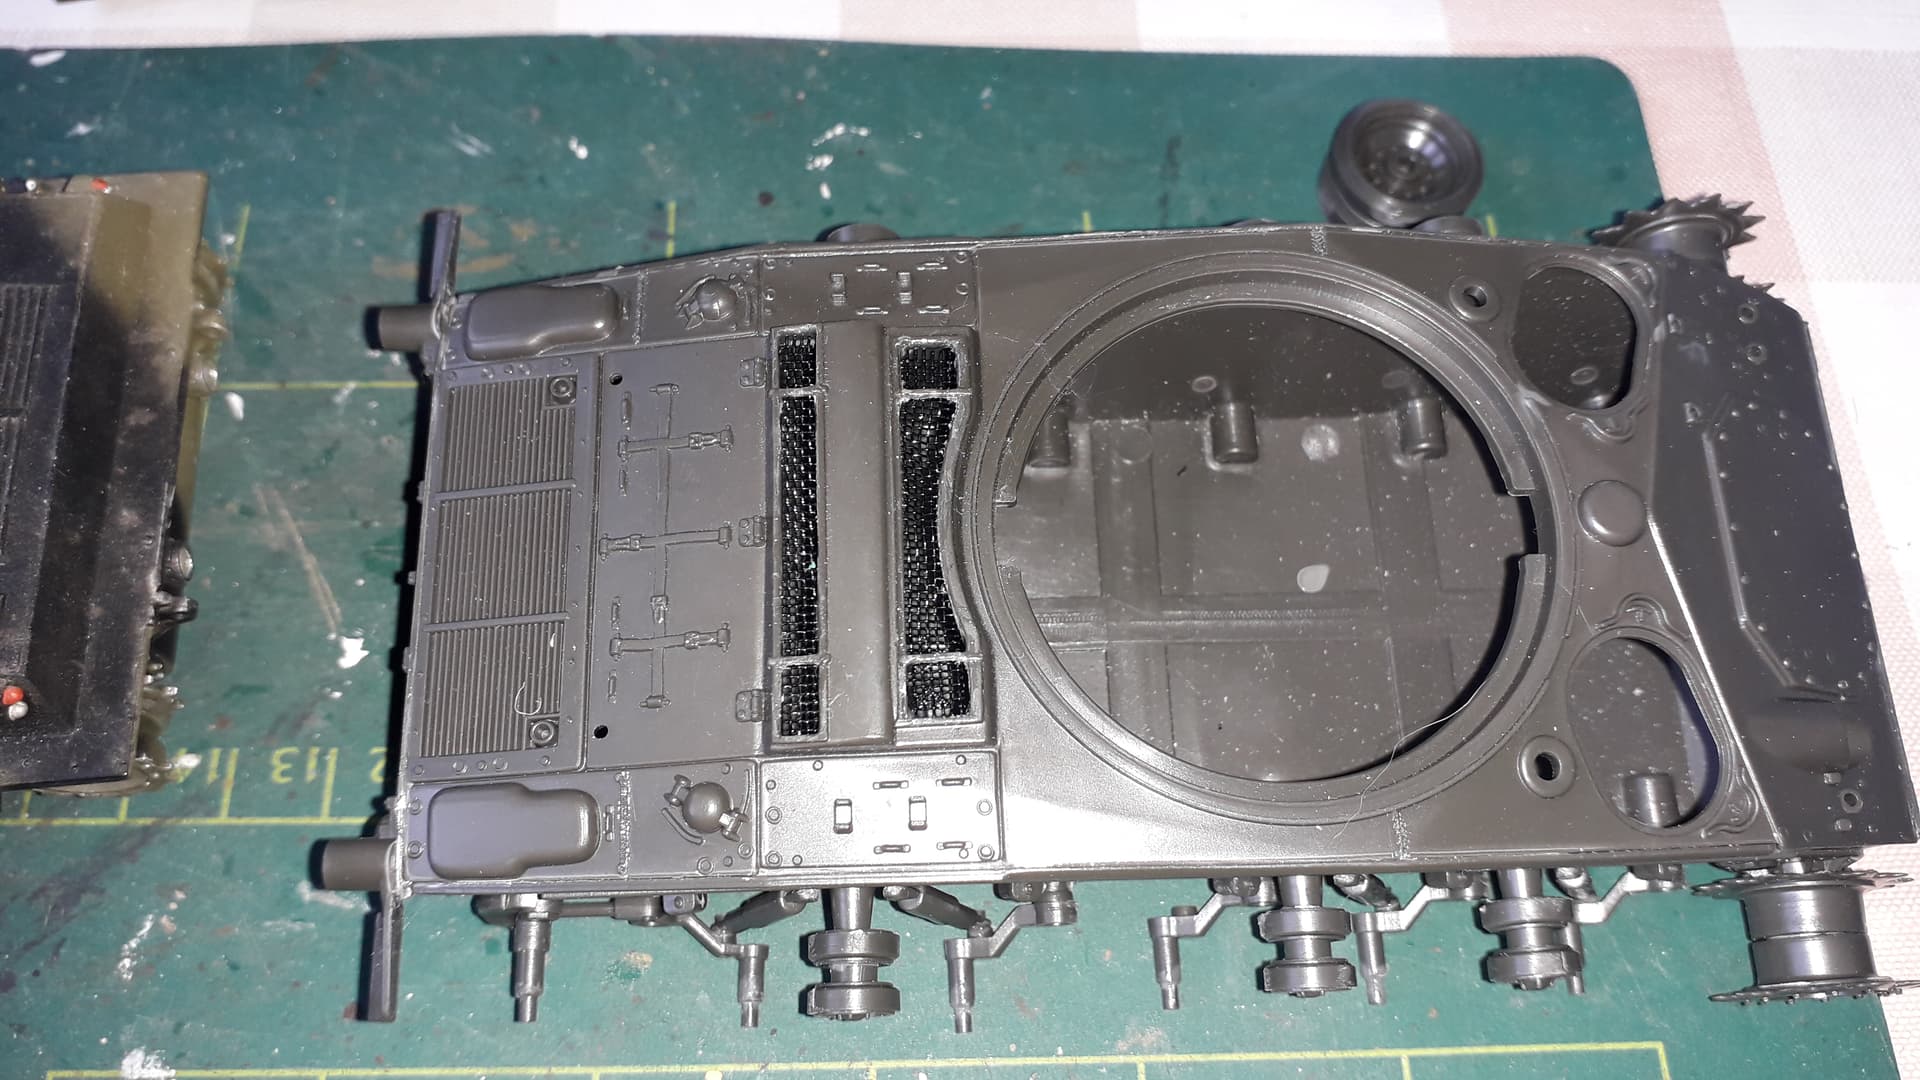
Got some work done on the Chaffee: basic assembly apart from the removal of the engine grills. I will replace the bad castings with mesh.
I am also thinking about the turret interior, since the hatches will be open. What is provided, which is even less than rudimentary and wrong at that, needs replacing. The sidehatch “lip” is incorrect too.
6 Likes
OK silly me. When I toted the danged squakie radio I preferred to carry it on my chest and the pack on my back to balance the weight and make it easier to work the knobs.
1 Like
How did that feel when you had to go prone fast?
1 Like
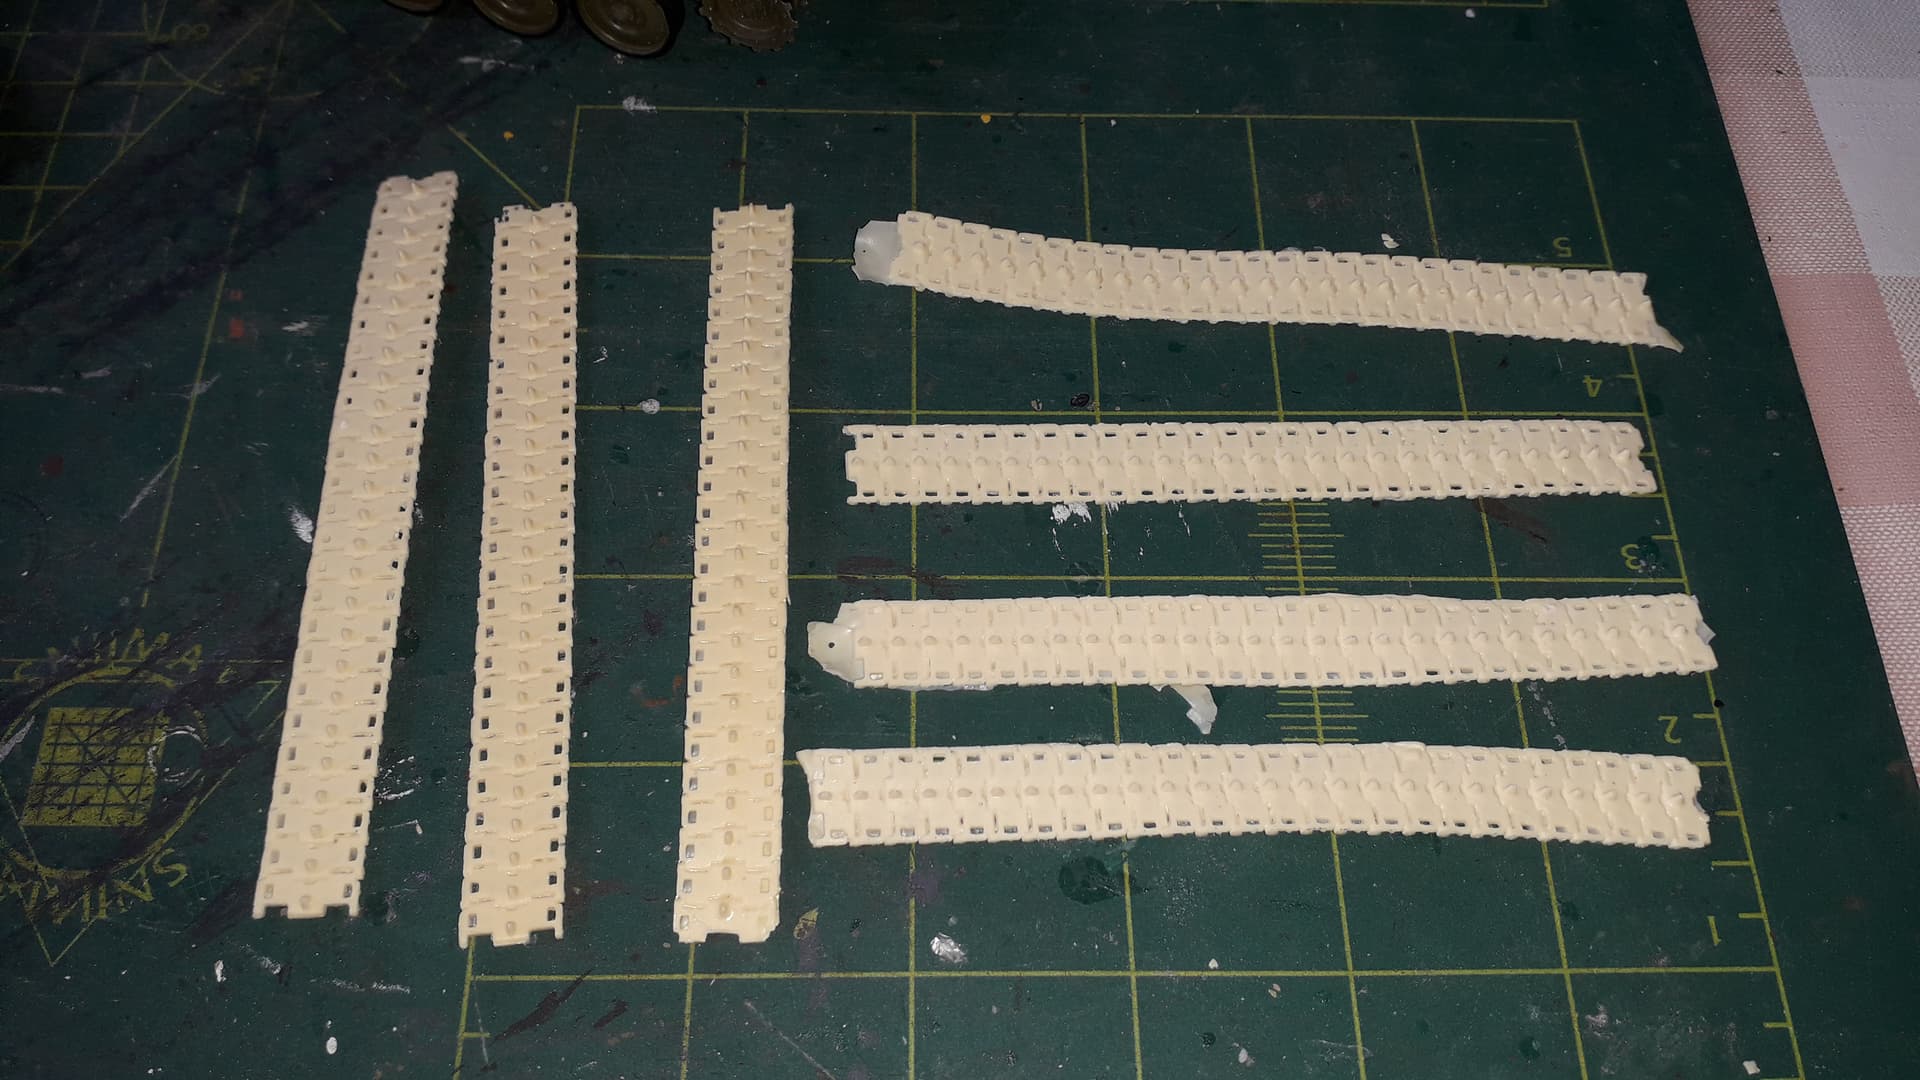
The Chaffee is really frustrating me. I have to either close the large turret hatch or completely rebuild the interior. The AA tracks, when finally soft and pliable, would not fit! The teeth and holes do not match and the resin became springy when cooling down. There were 2 different batches too. The lighter ones were the worst; warped and full of flash.
And then there were the grill/mesh of the air intakes; it took me an entire morning, just to get some mesh to fit and stay in place… And I am not even talking figures yet. Can’t find any that would suit…
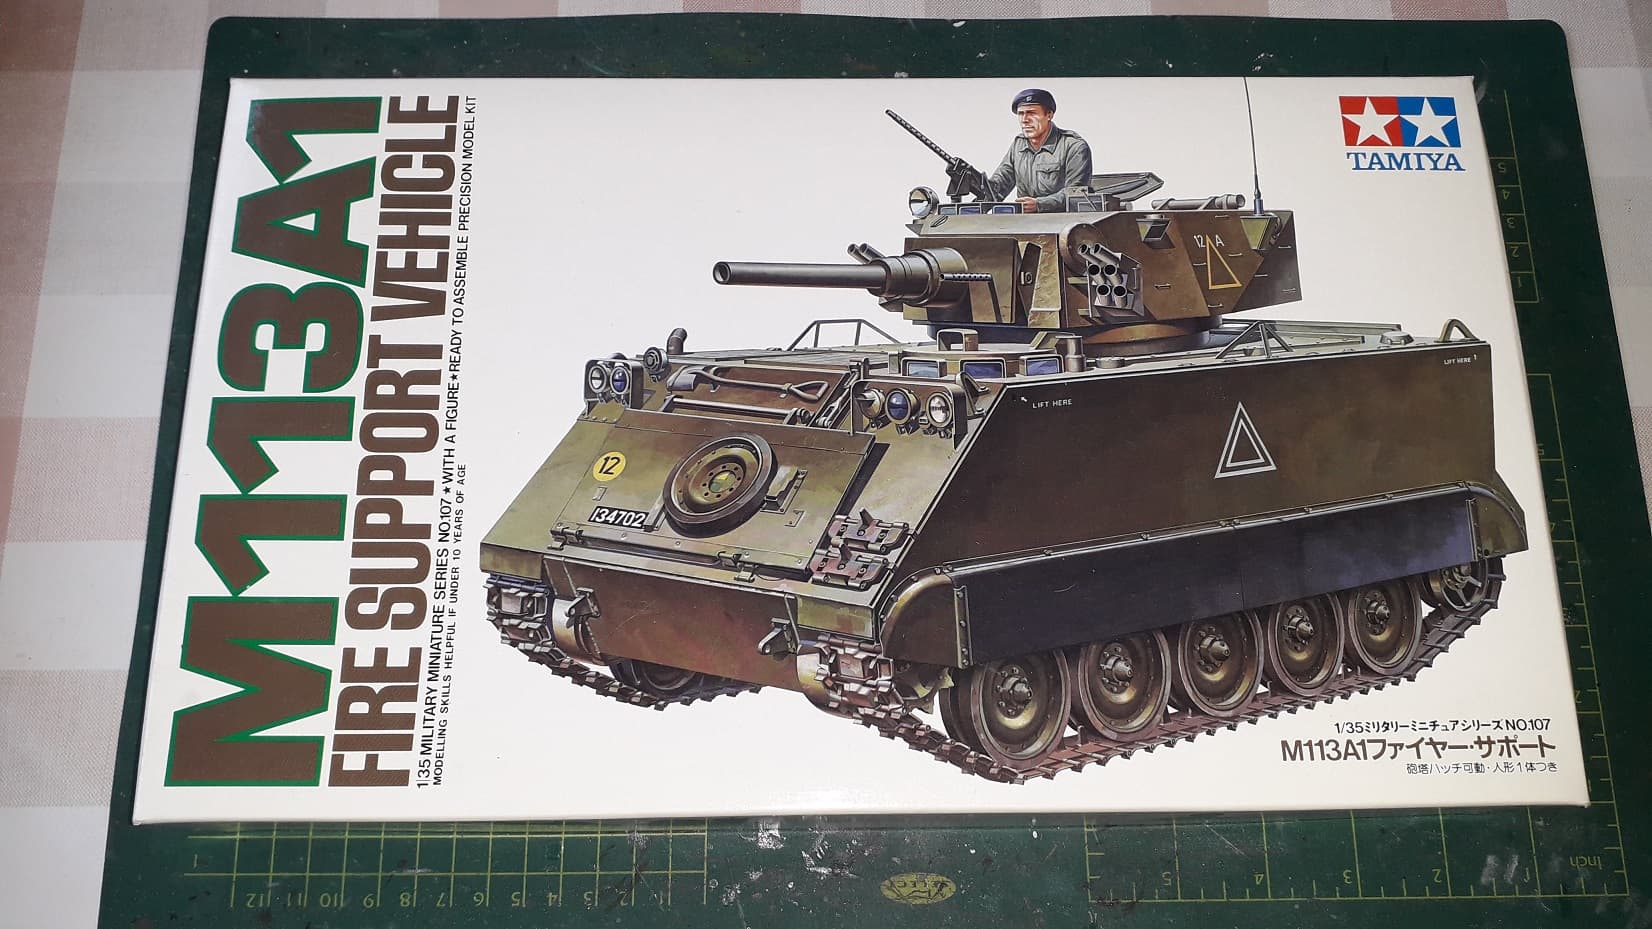
So, in order to get/keep the flow going and temper my frustration, I did what every sane modeller would do; broke open a new kit!!
A fast and easy build… so far. It’ll be an Aussie in 'Nam.

7 Likes
OOB Ron? Or are you going to do some upgrades?
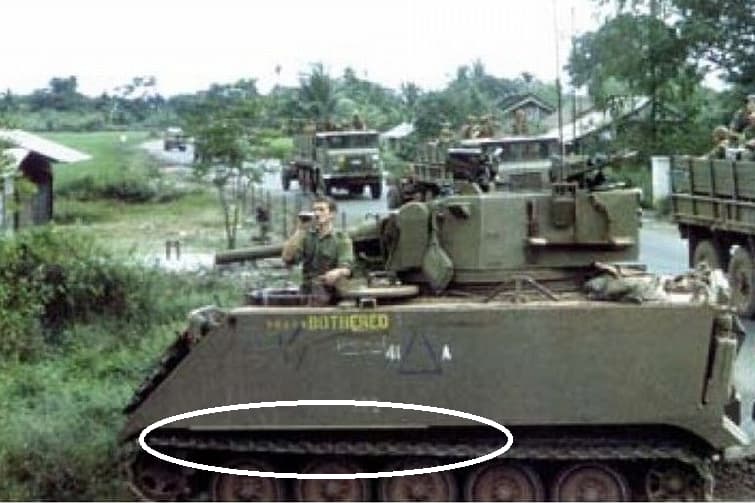
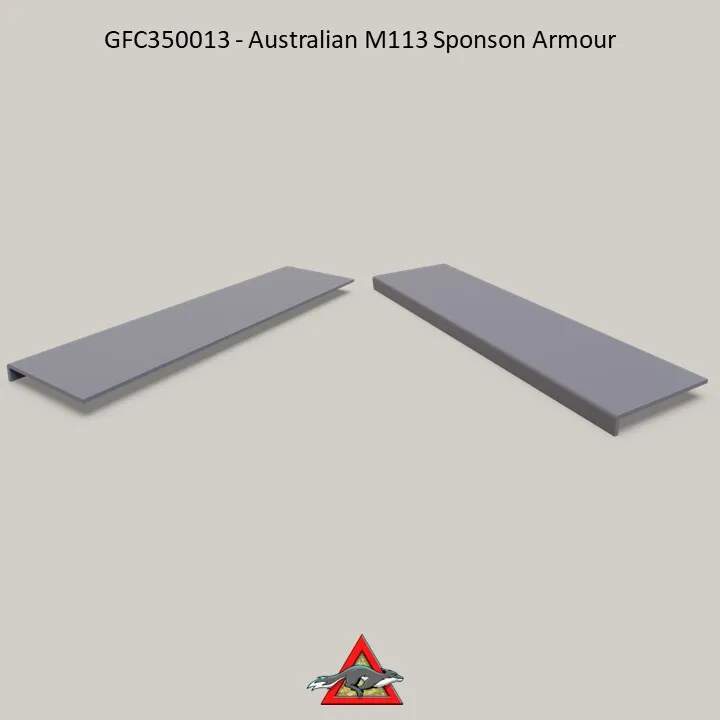
As a minimum, I suggest you add the mine protection plates under the sponsons and belly as they really stand out:

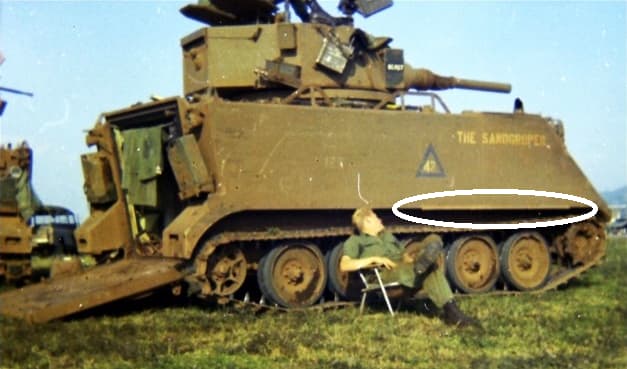
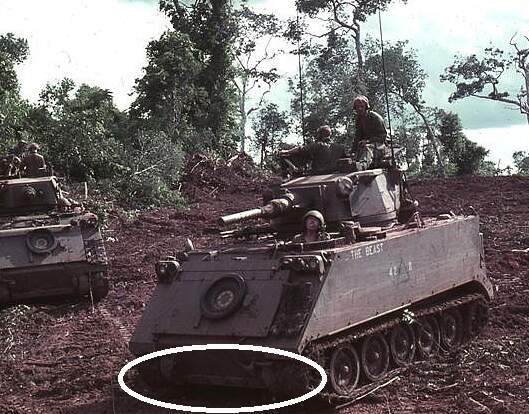
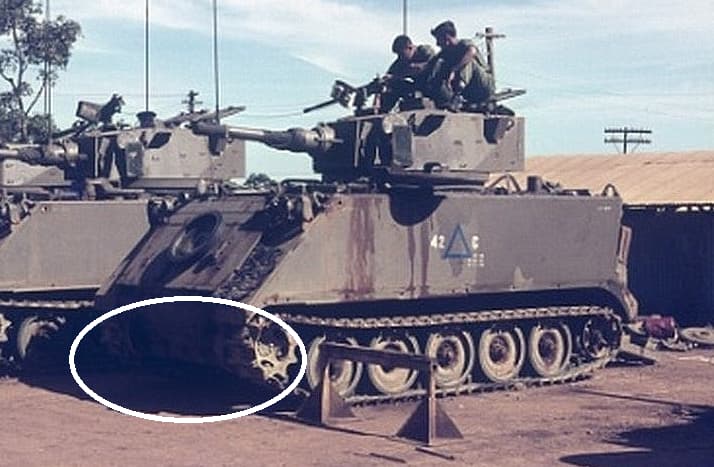
Easy to replicate with card - These are for the AFV Club kits, but give you an idea:
4 Likes
Neat vehicle! Never seen it before. Seems like a very pleasant project. ![]() Kinda looks like a Stuart tank ate too much and needs to hit the gym.
Kinda looks like a Stuart tank ate too much and needs to hit the gym.
2 Likes
It is an Australian version, so yes the plates will be added. Also looks like the trimvane needs to be extended, smoke discharges not added, but an extra plate for the protection of the gunsides.
And I am thinking on how to replace the 18 loops on the turret, which are but strips on the kit.
1 Like
There are some pics where the trim vane extension is not present, but possibly it was damaged and removed. Most had the extension. The SD were removed in theatre after they were being ripped off by vines (same as the Centurions). Here is a larger pic showing the trim vane extension - Tiny Teddy (Note the Aussies used the L3A4 version of the Browning Machine gun) (Keep clicking on it to get full size)

If you have not seen this article, take a look for details on the trim vane and also for inspiration - Mouse House is now defunct.
2 Likes
Thanks!
Those bananas might prove to be tricky to scratchbuild, though. ![]()
2 Likes
Easy with Milliput… go on, you know you want to do it now… ![]()
Re tie downs. 70 pieces in this set and you can use them on US vehicles too:
Cost out of US for the similar ones the 3d guys here on armorama do is a bit steep but maybe these out of Australia, may be okay for you?
Also available for a tad more from BNA Modelworld:
Using the Utrecht Postcode postage is $10.23 AUD
$12-50 + $10.23 = AUD $22.73 = EUR 13.80 approx
maybe this is okay for you, especially if there is something else you can add to it. I understand a lot of guys OS buy from BNA as the price is good against EUR costs.
1 Like
Using new stuff would defy the purpose of this campaign.
Total to Sweden, where I live, would be €15.35 upon which postal services and customs would slapp an additional €7.50-€10. And the Swedish crown is at an all time low… so not an option. But thanks for the suggestion!
I was first thinking of covering them up with gear, but all vehicles appear quite “naked”.
2 Likes
Yes, I forgot that…
You can always try what I did on may Challenger 1. Use fine wire around the edge of a metal ruler to make a U shape, drill holes for the legs of the U shape to go in. Then glue down some punched discs so they protrude over the hole slightly. Re-drill through the bit of the disc over the hole when the glue has set. Insert the U shape (slip a spacer between the legs to hold it at the right height off the model) then dab super glue in the join between u shape and disc.
The Chally didn’t have discs and were wider at the base, but you get the idea:
4 Likes
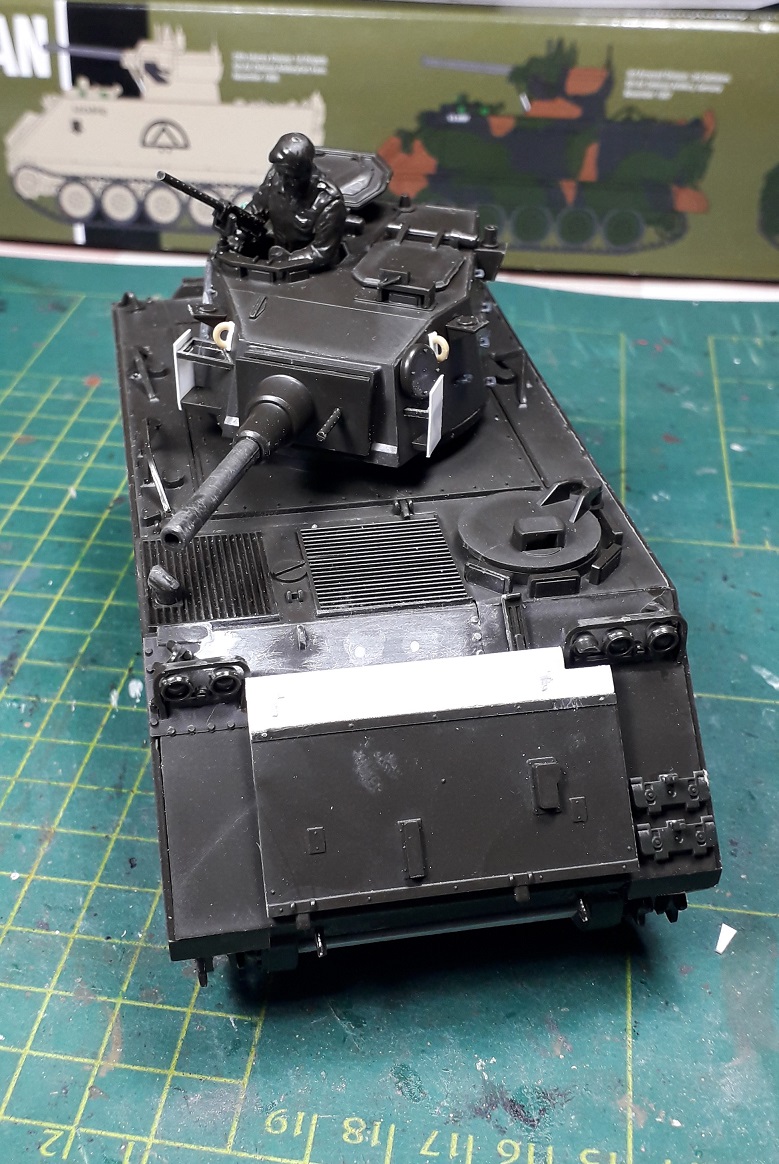
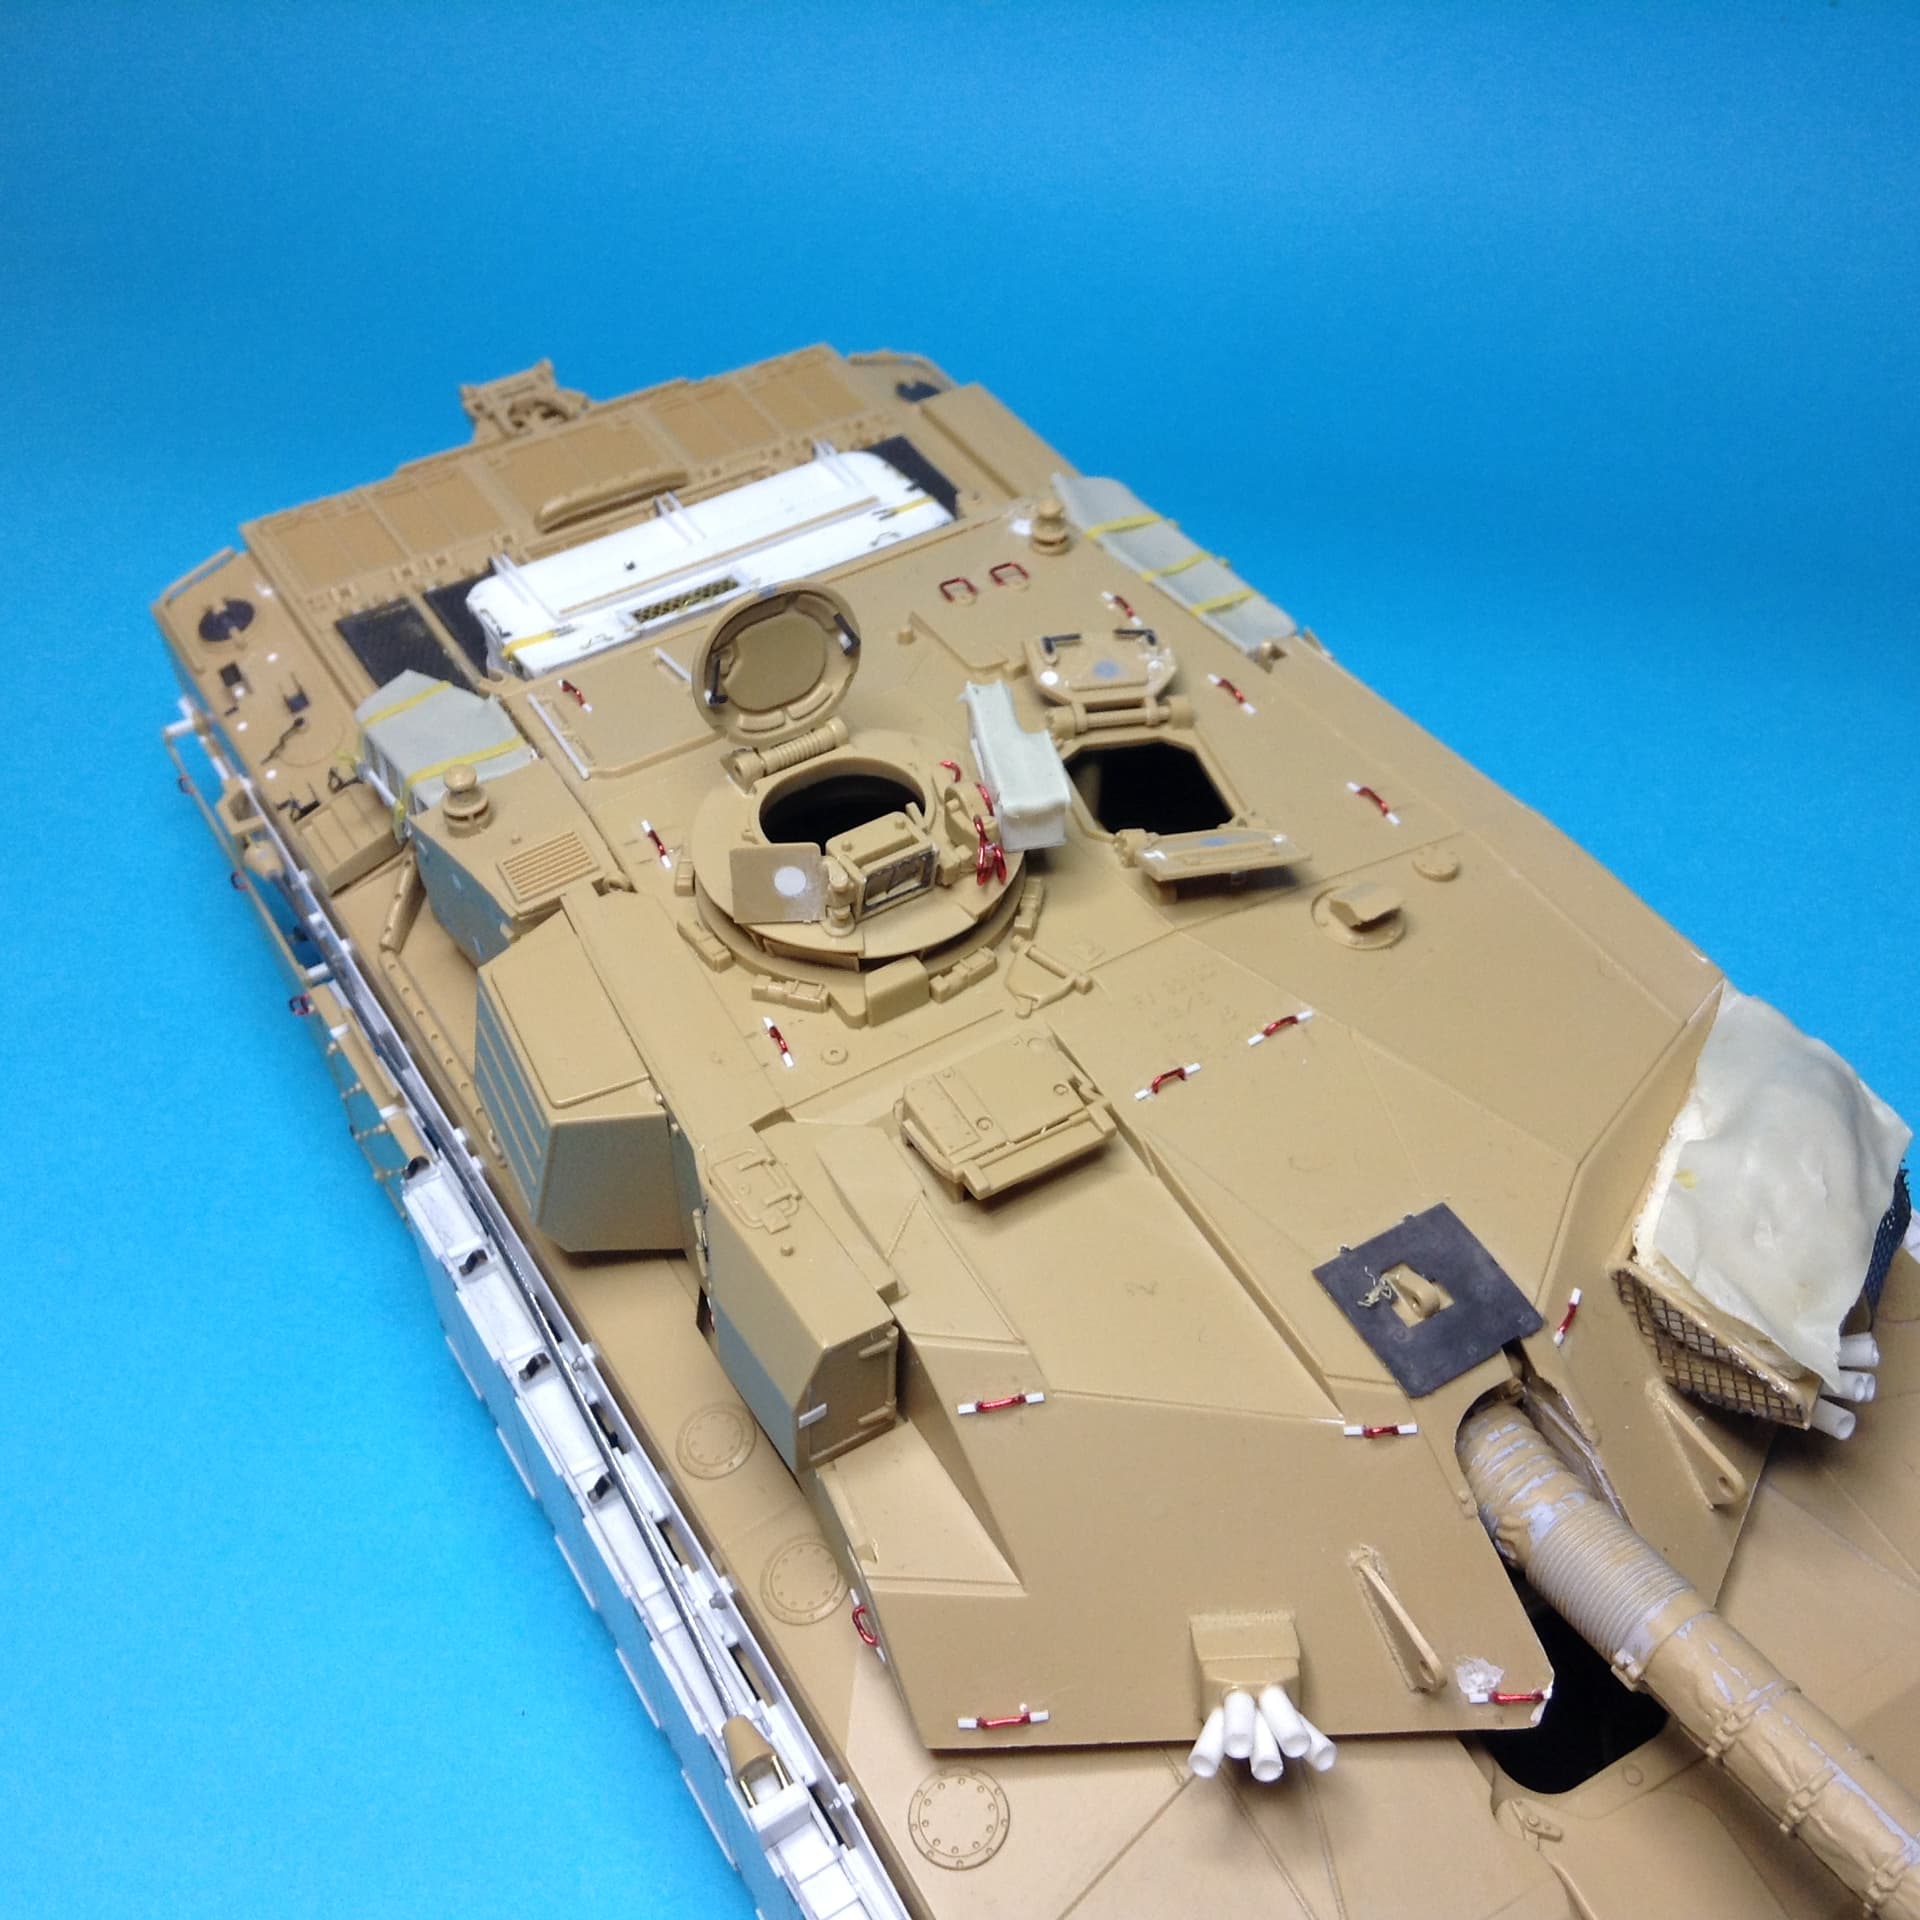
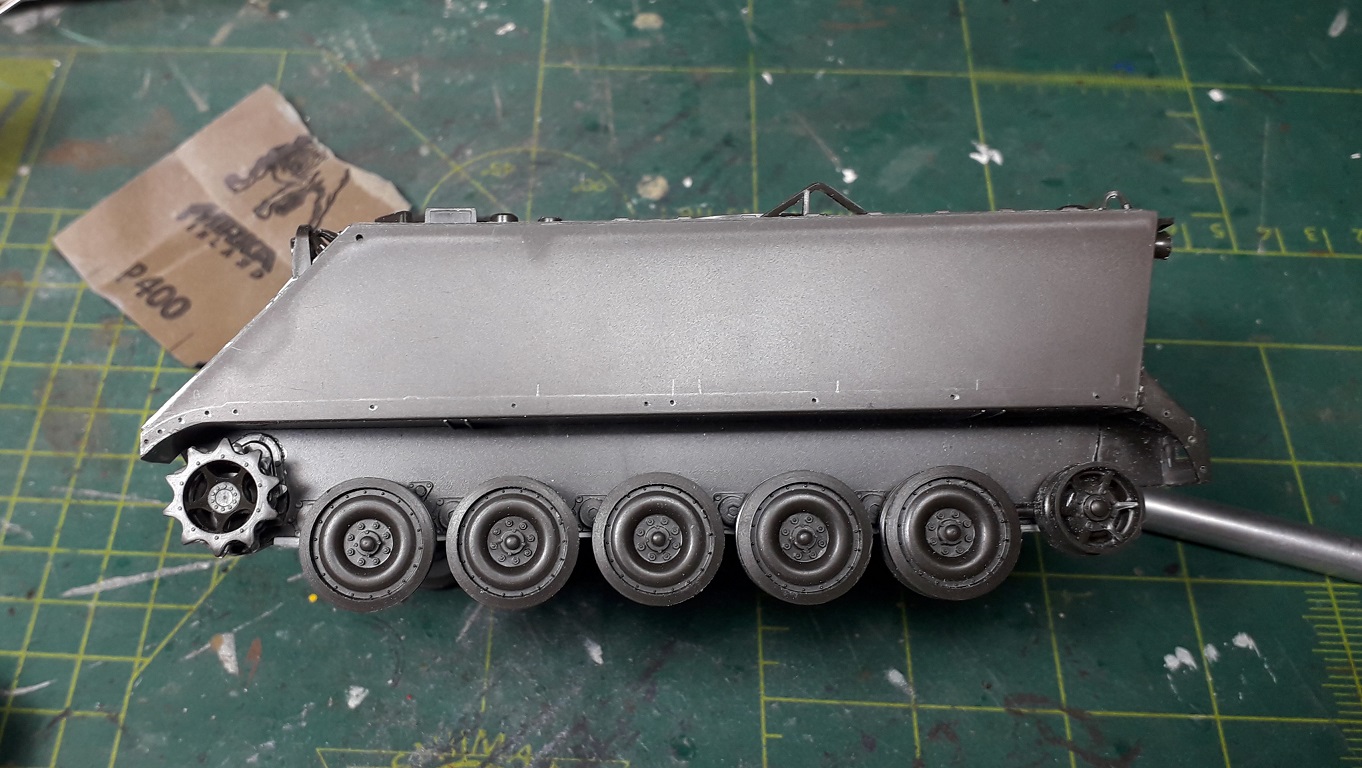
Continueing with the M113 (much more fun than the Chaffee);
I tried pre-drilling holes and making the U-shapes… did not really work. Rummaging through the sparesbox I came across a little bag with these plastic thingies; dark grey, so I suspect some German Italeri-kit. They were a bit too small, but so be it.

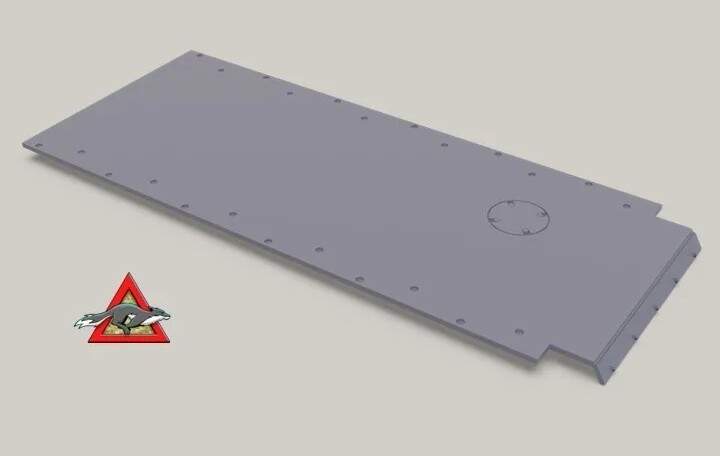
I also ended up scratching a few items like the backplate of the smokedischarges, the extended trimvane and the (impression of) bottom armor. Did not have enough thick plastic card, so ended up cheating for cosmetics.

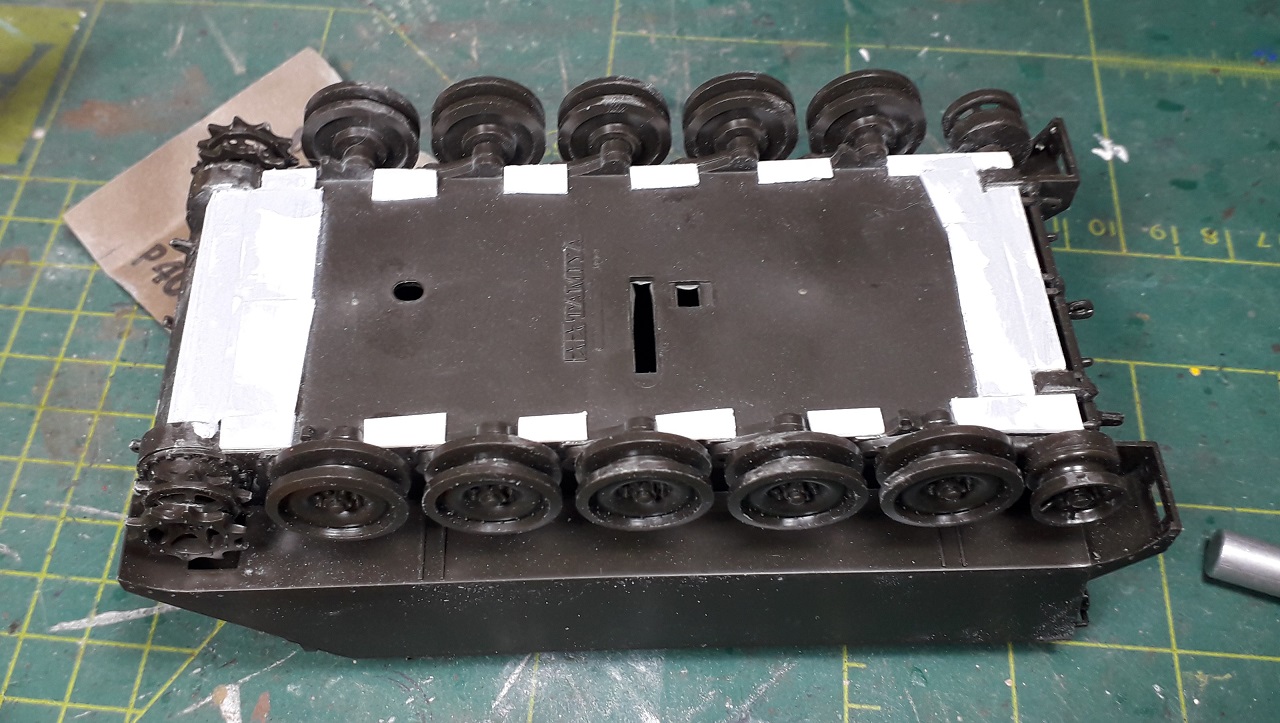
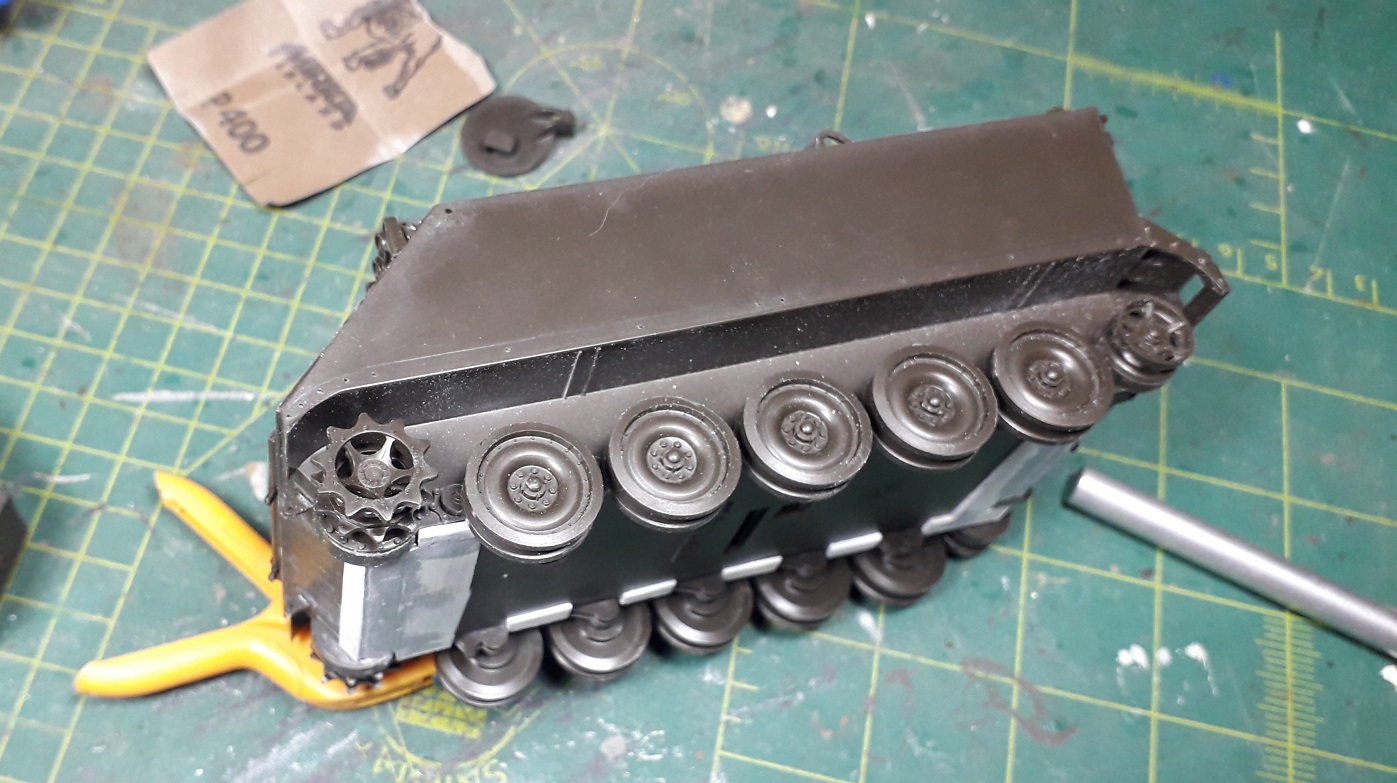
And since the sideskirts will not be added, some holes in the right places are a must.
5 Likes
This thread may help. No aftermarket necessary.
1 Like