Hi Everyone,
When I started off the year, one of my goals was to become more comfortable with biplanes. For me, and I’m sure with most other modelers, getting the top wings to align properly and the rigging are the most daunting. With two biplanes this year done, I believe that my comfort level has increased ten fold! I’m almost at the point of “Let’s dive in and have fun!”, almost. Having overcome the apprehension of wing alignment, for this build I wanted to focus on the rigging aspects. There’s many ways to rig, and for this one I chose using two methods. wire (think high E guitar string) and EZ-Line.
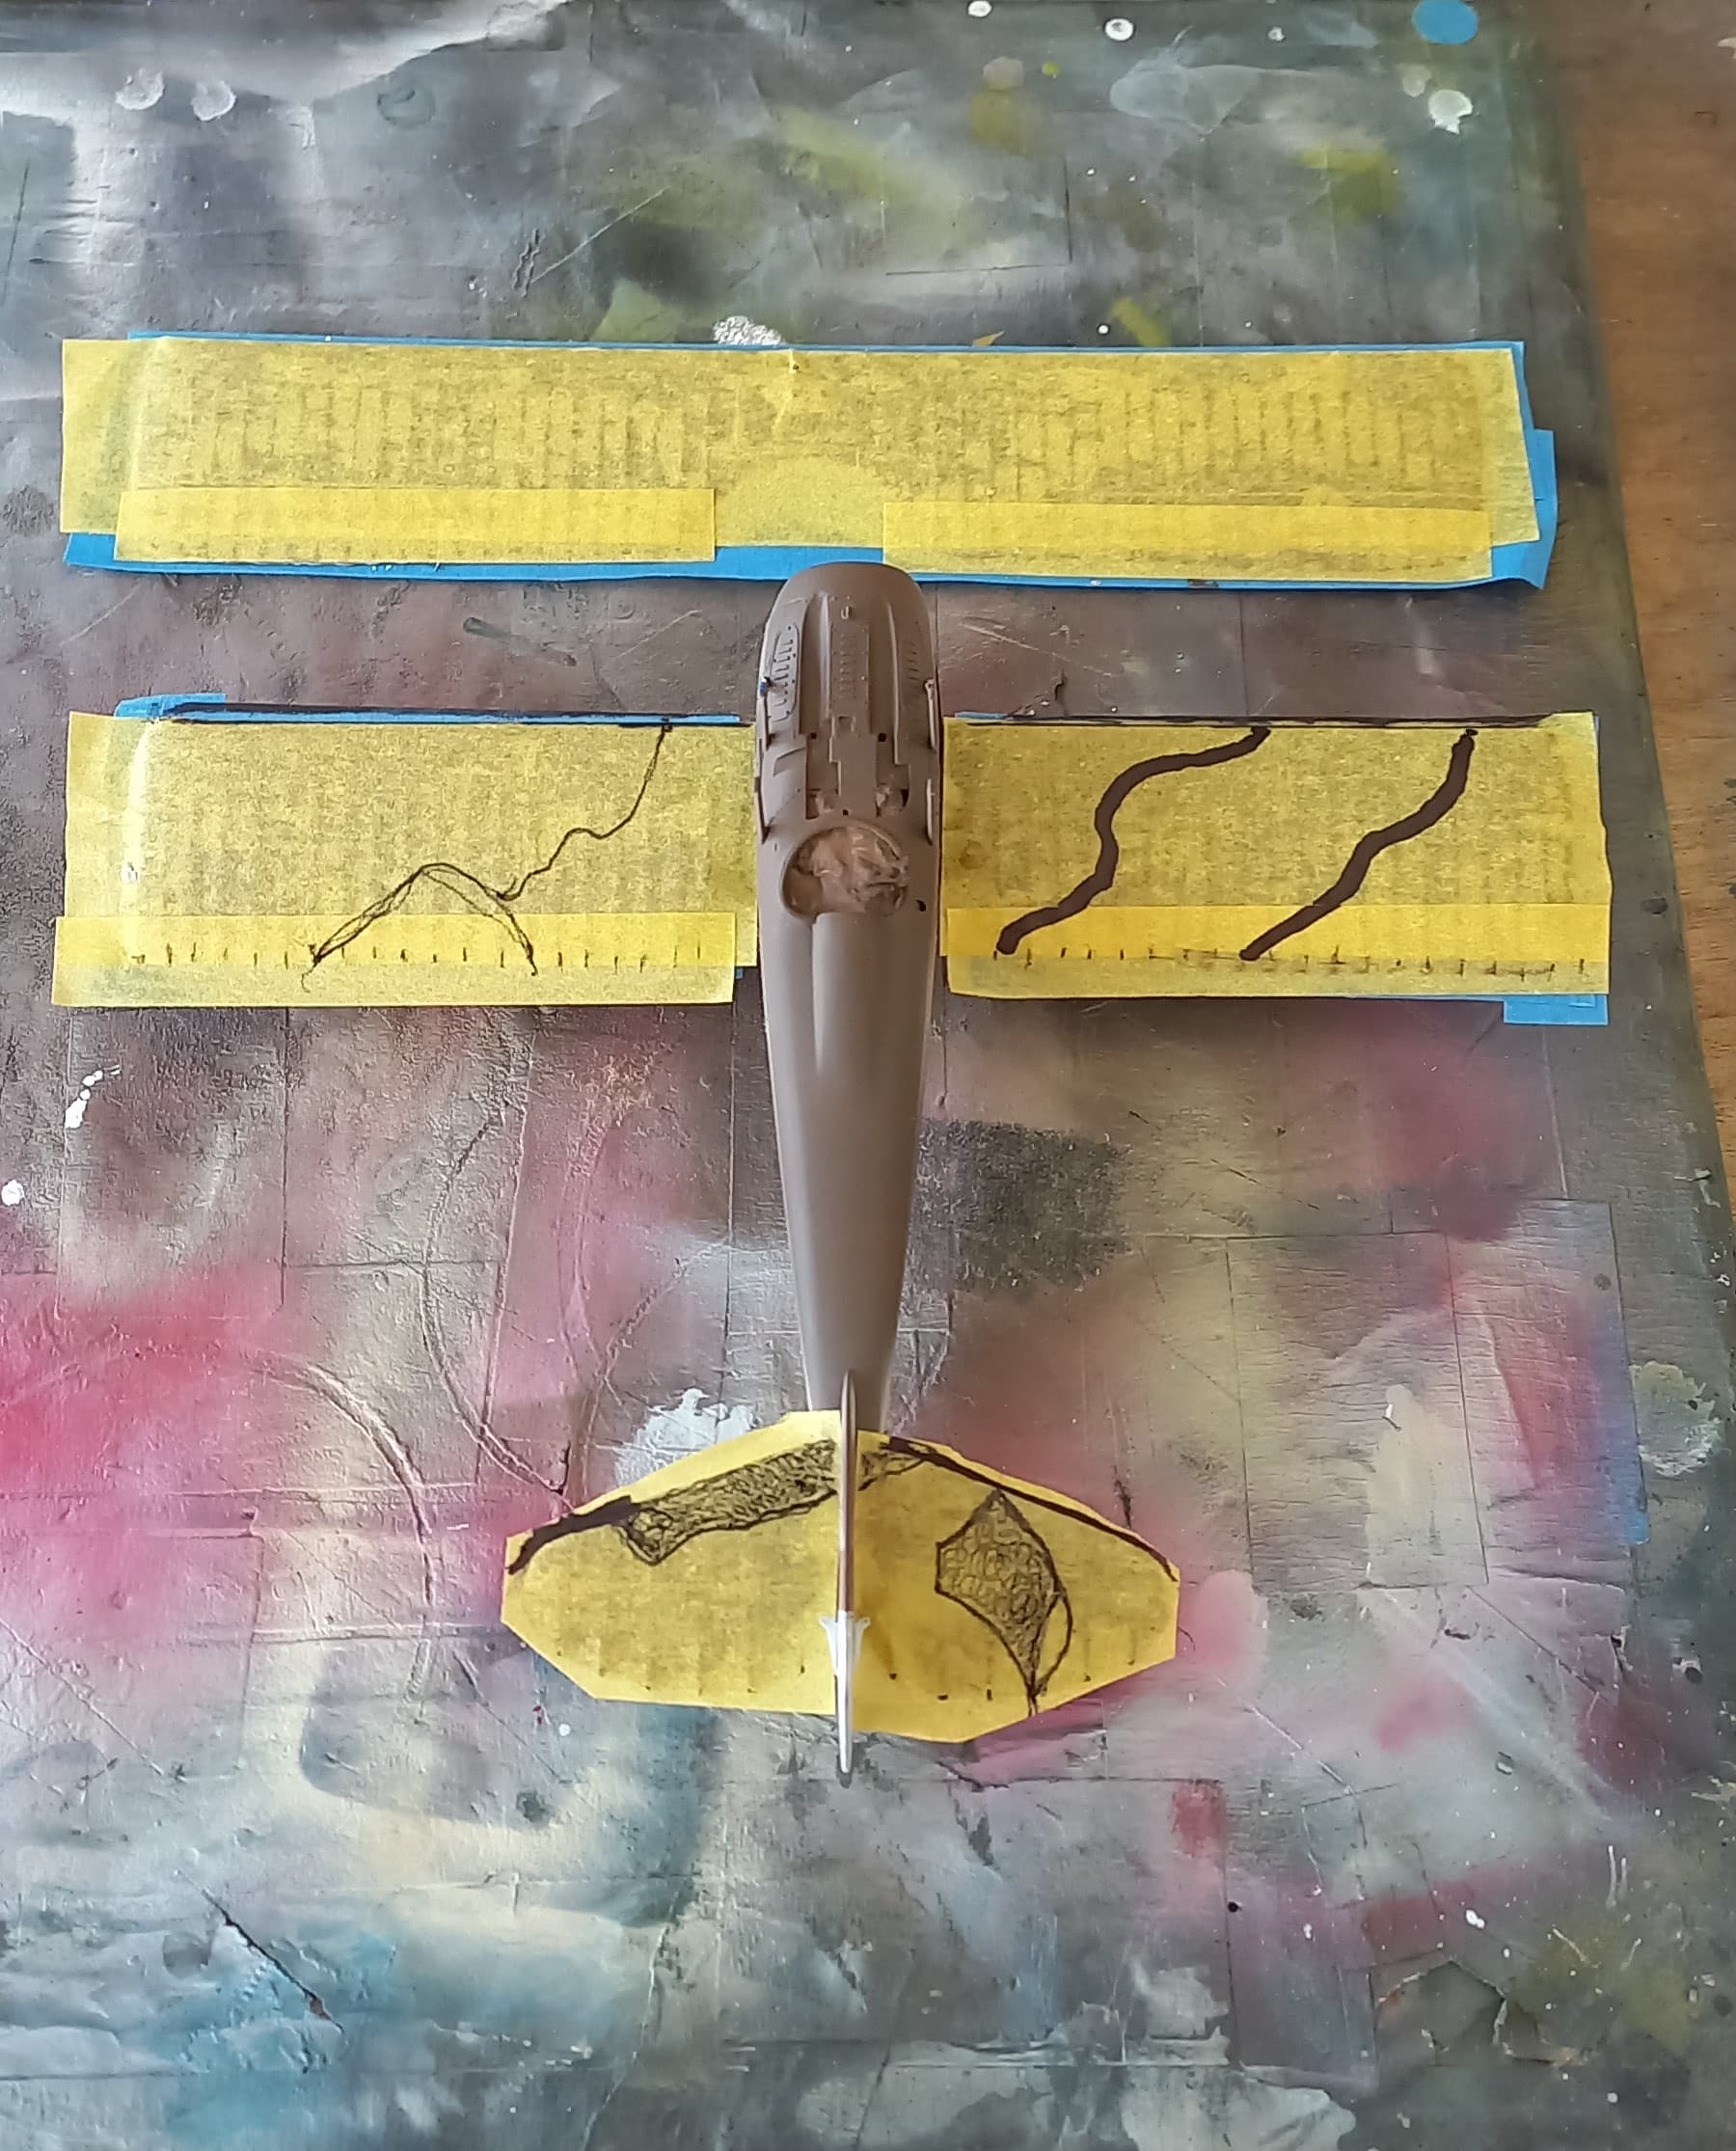
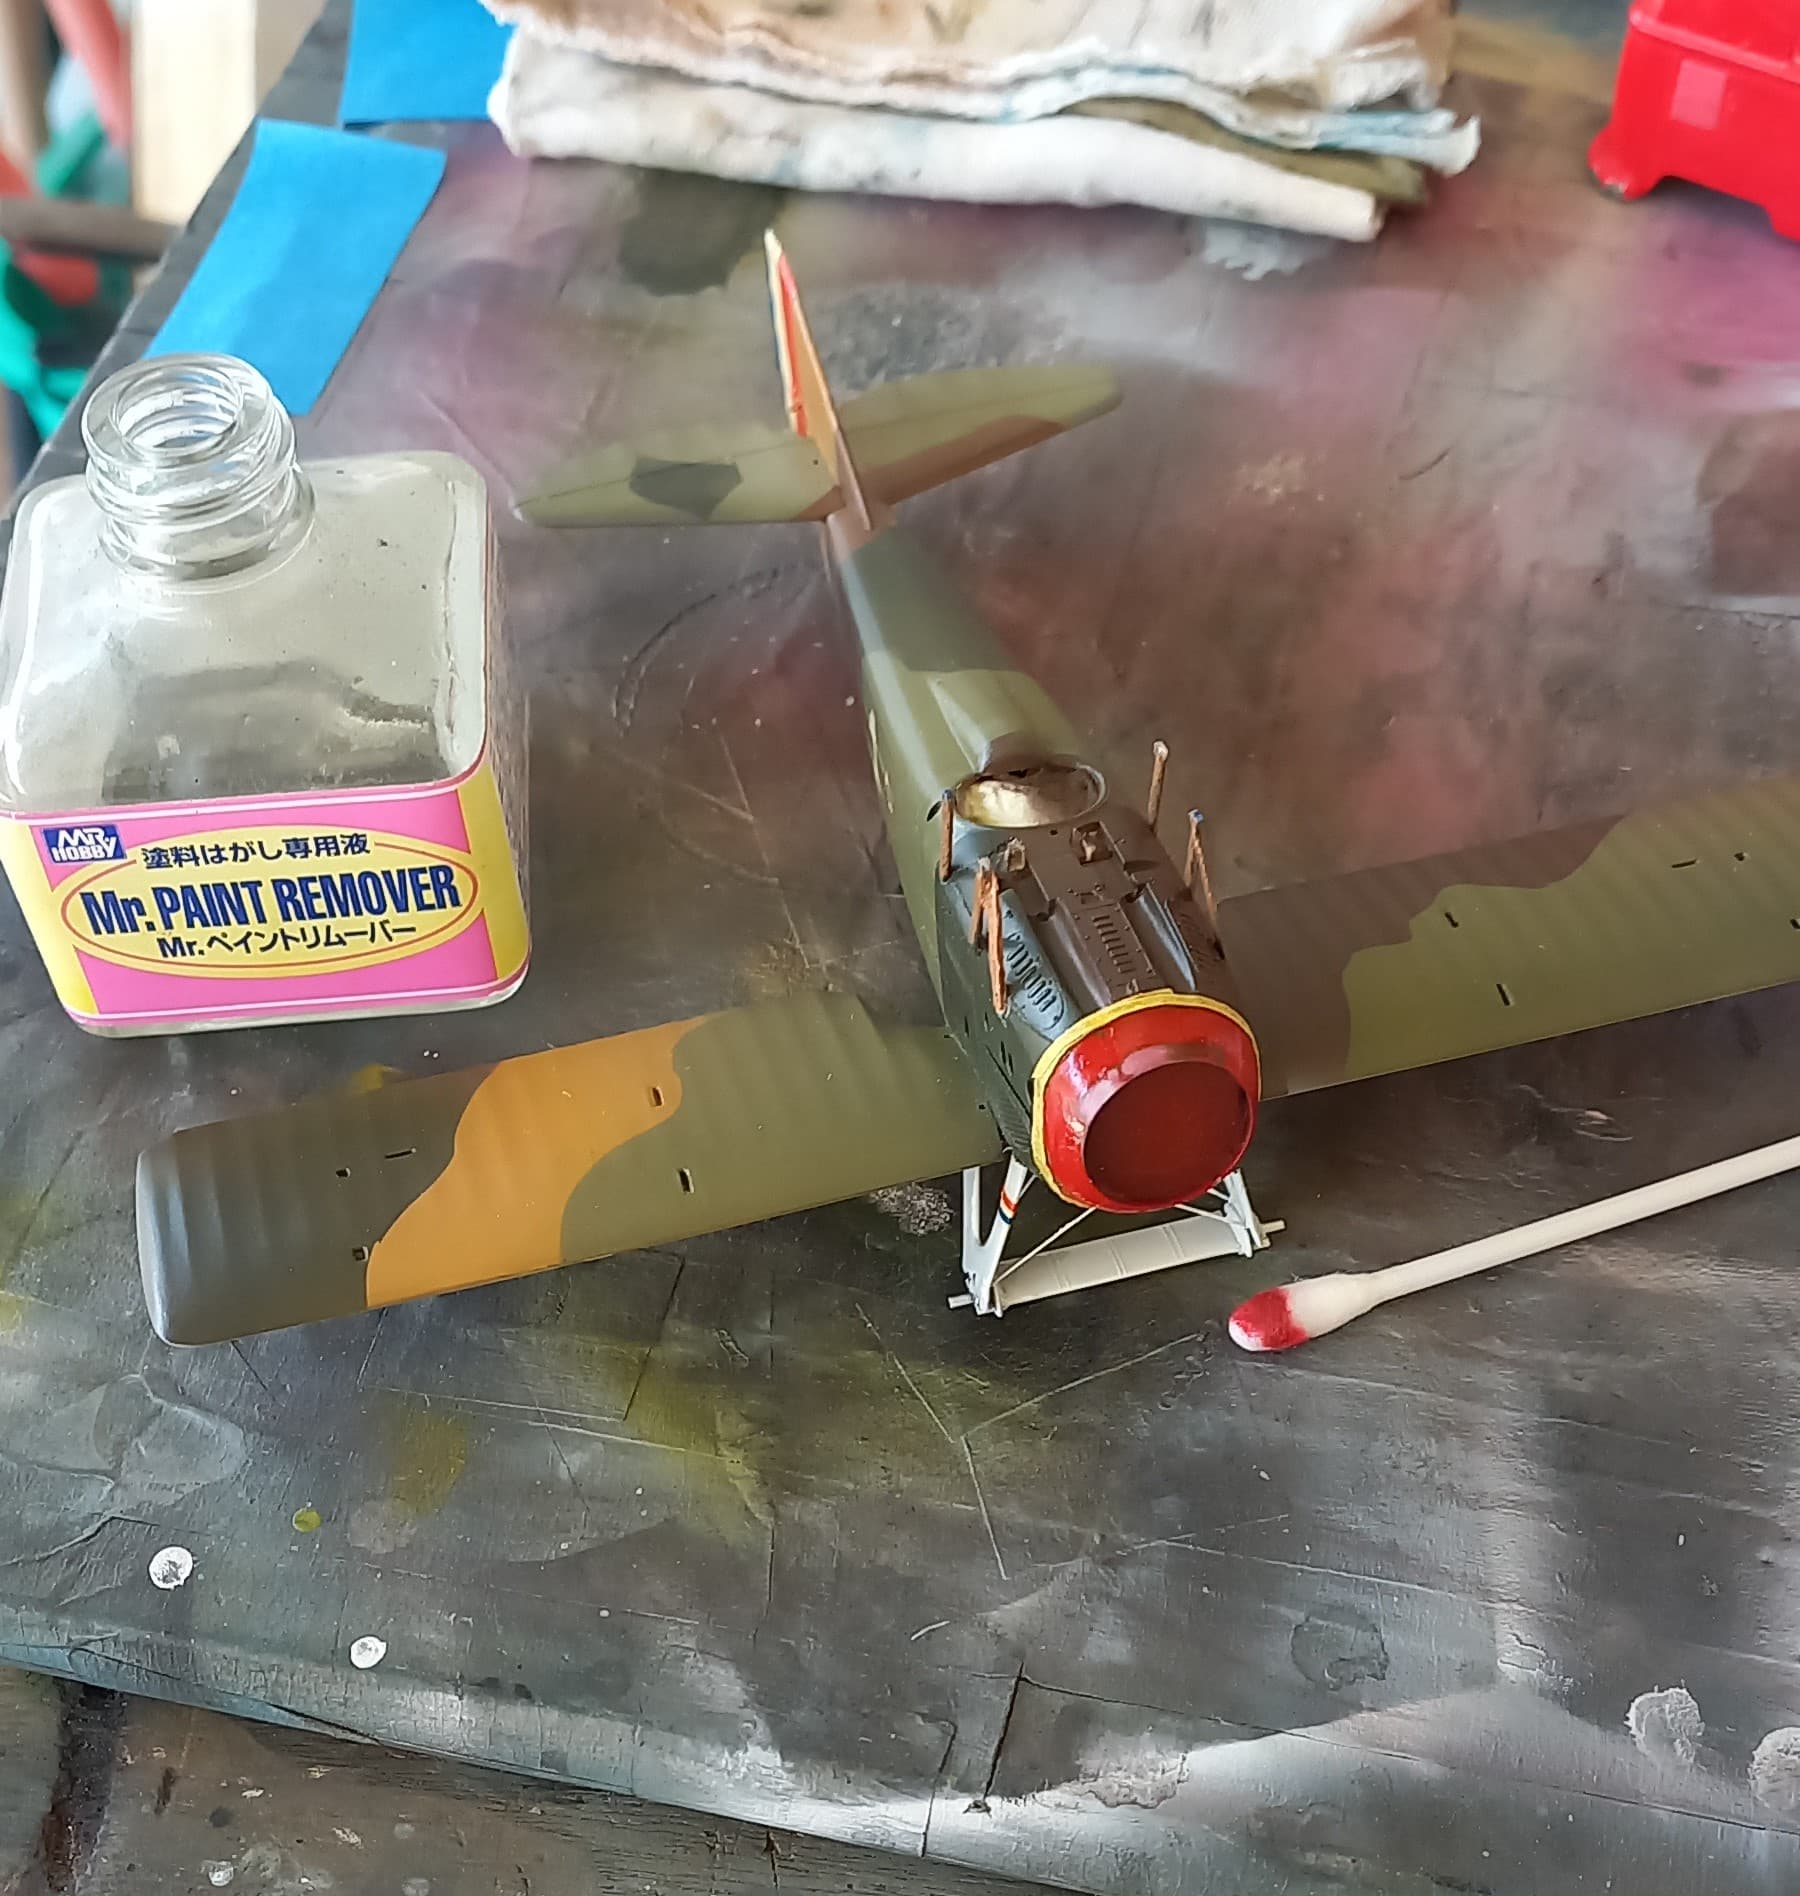
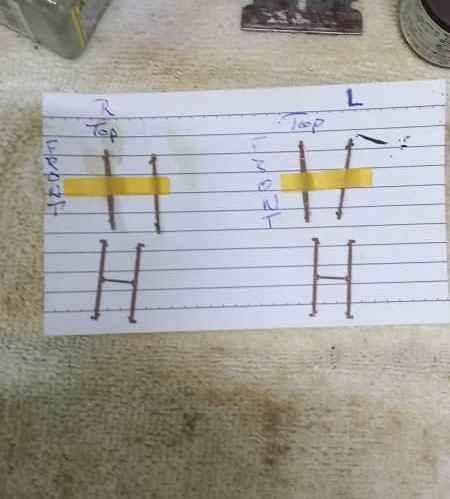
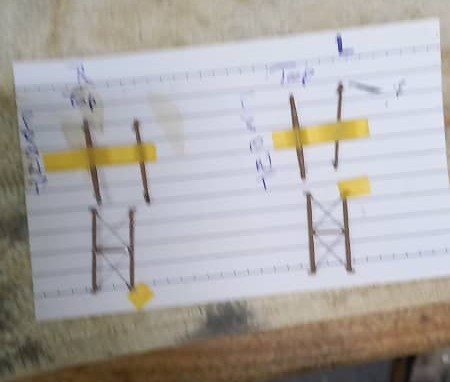
One thing I was not too keen of with the kit is DML’s use of PE for the inboard struts. These are sided, and care should be taken when laying things out. I’ve found that by dedicating the parts to the wing works very well for me. Getting the struts cleaned, painted and fitted, and then taping them to an index card labeled so that I don’t get confused later. The outboard struts were painted wood brown, and the metal was replicated using a silver Prisma pencil.
The PE provided has nice little holes to accommodate the rigging, I felt it was a bit on the small side, so using a new #11 blade I opened them up. I then ran EZ-Line through the holes, securing with superglue to rig the inboard struts. This turned out to be quite easy, though the photo turned out to be a bit out of focus, though enough to get the idea across.
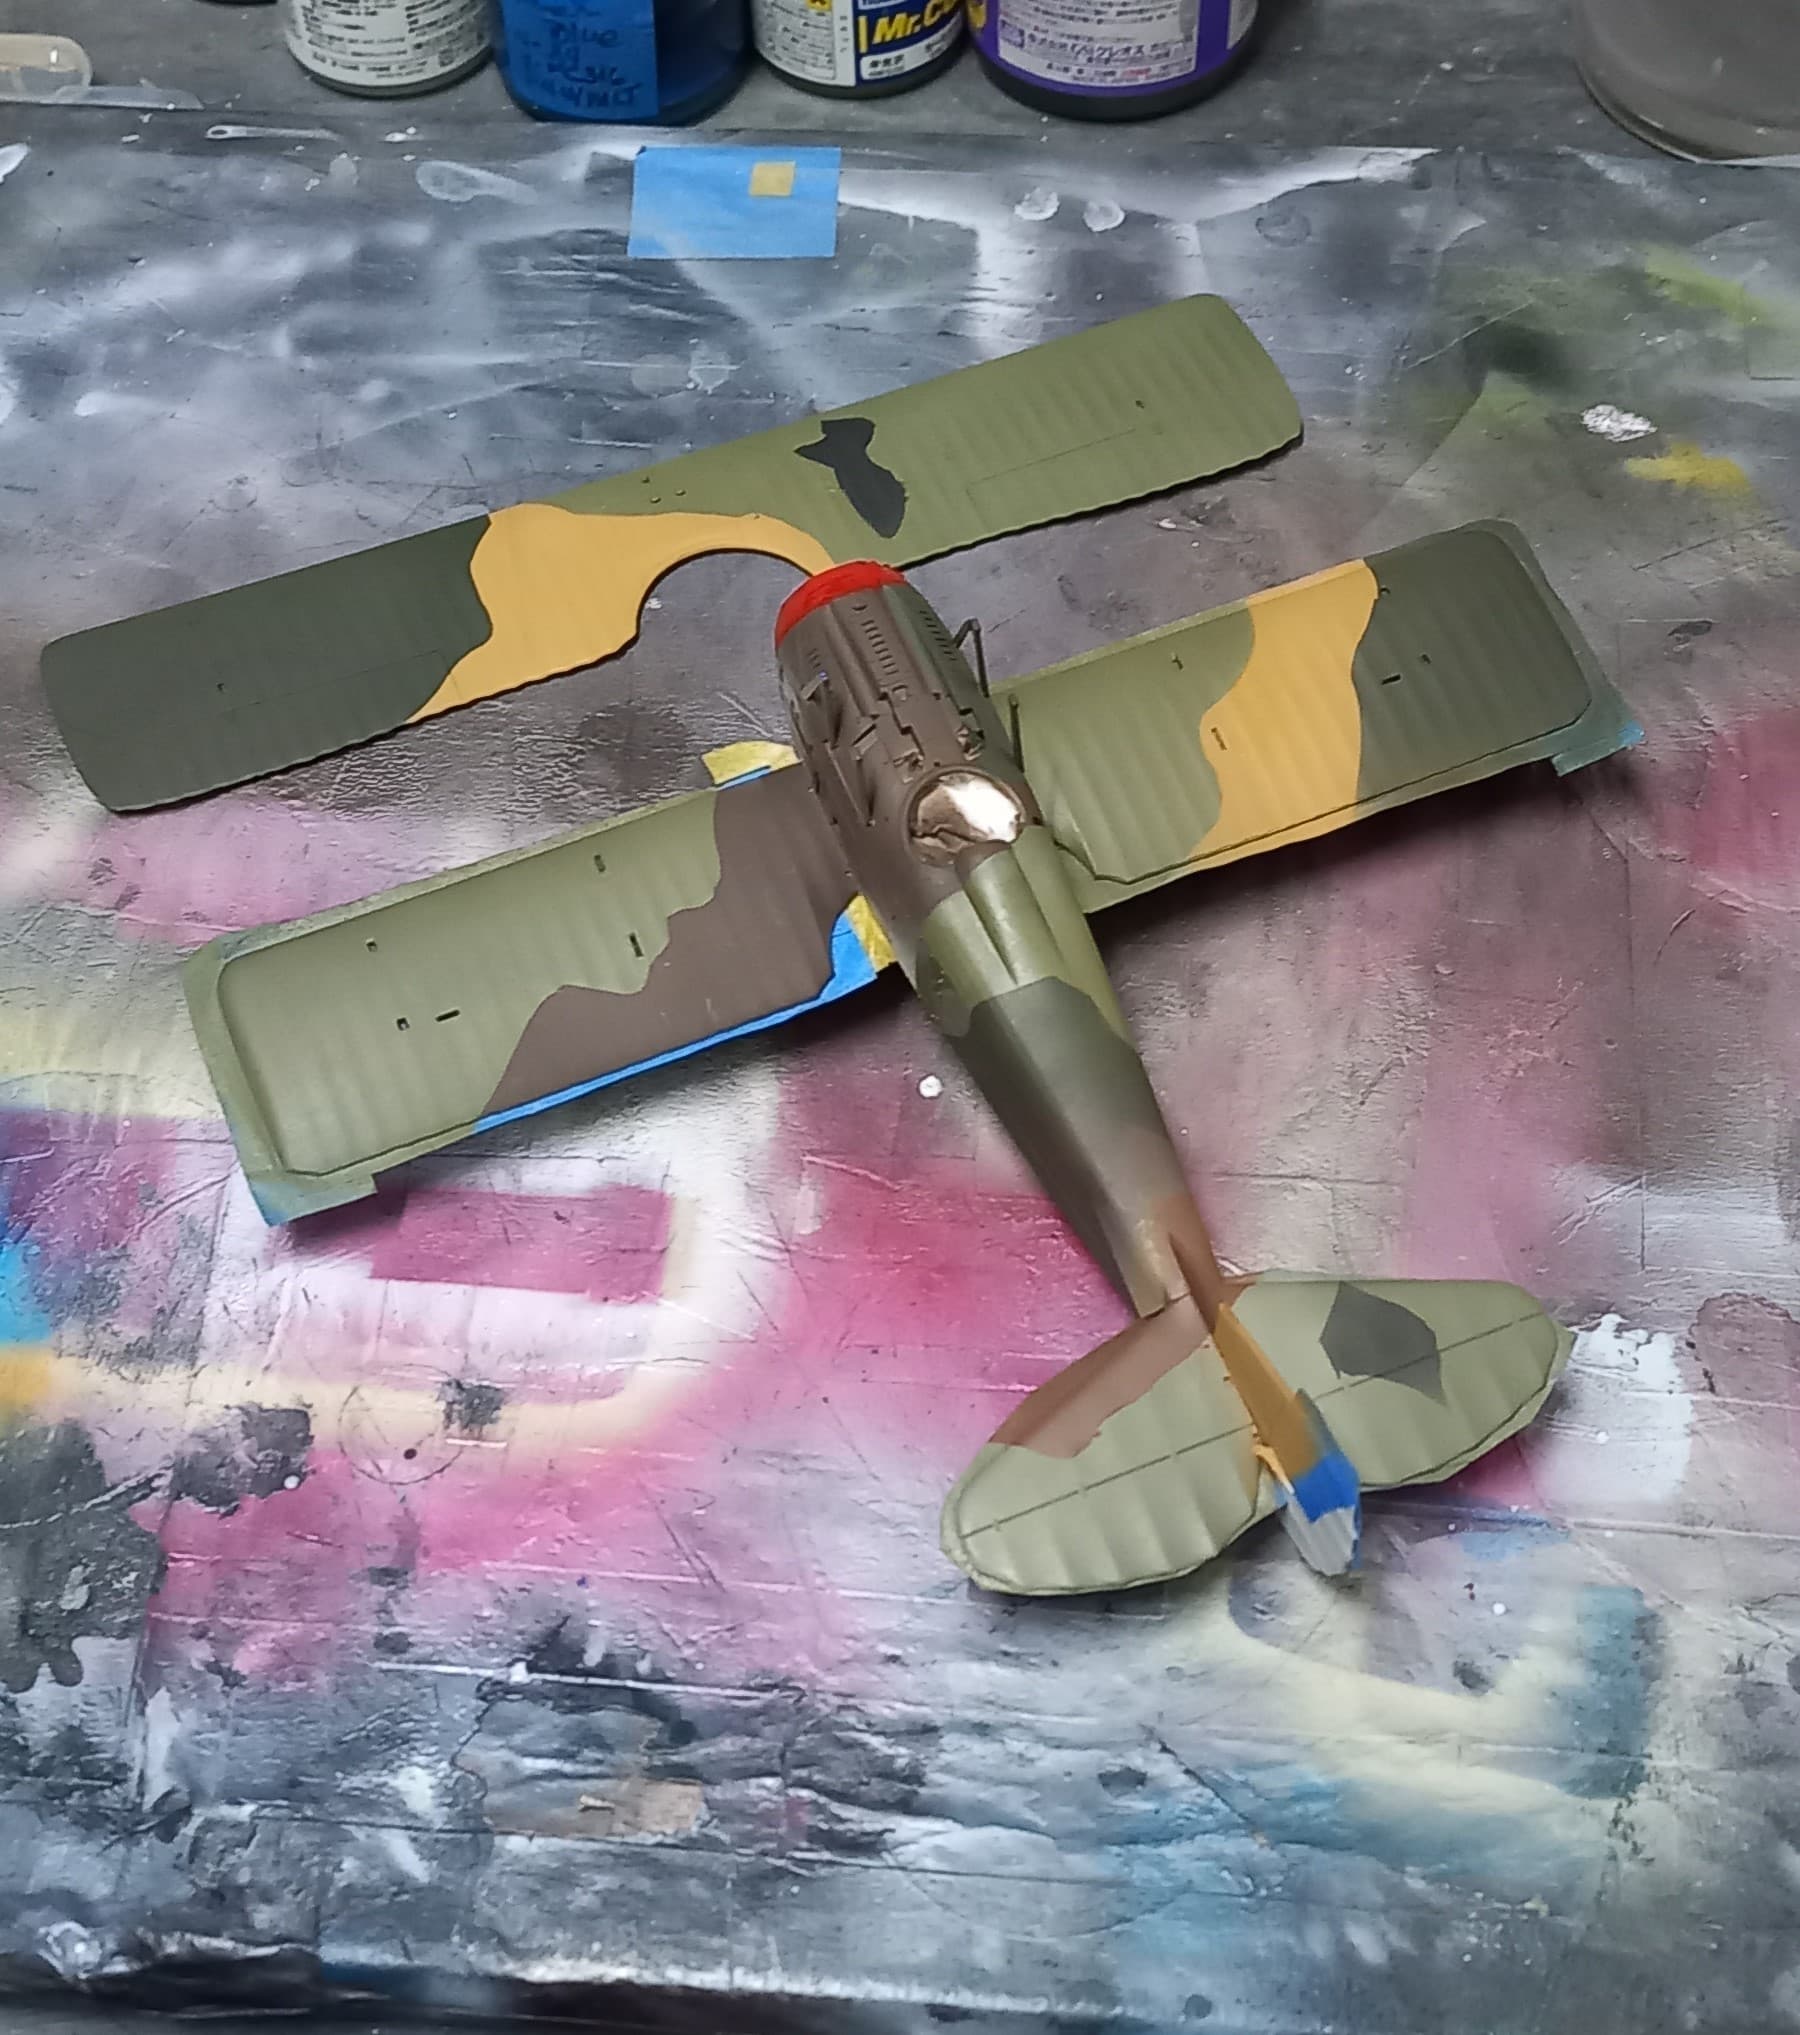
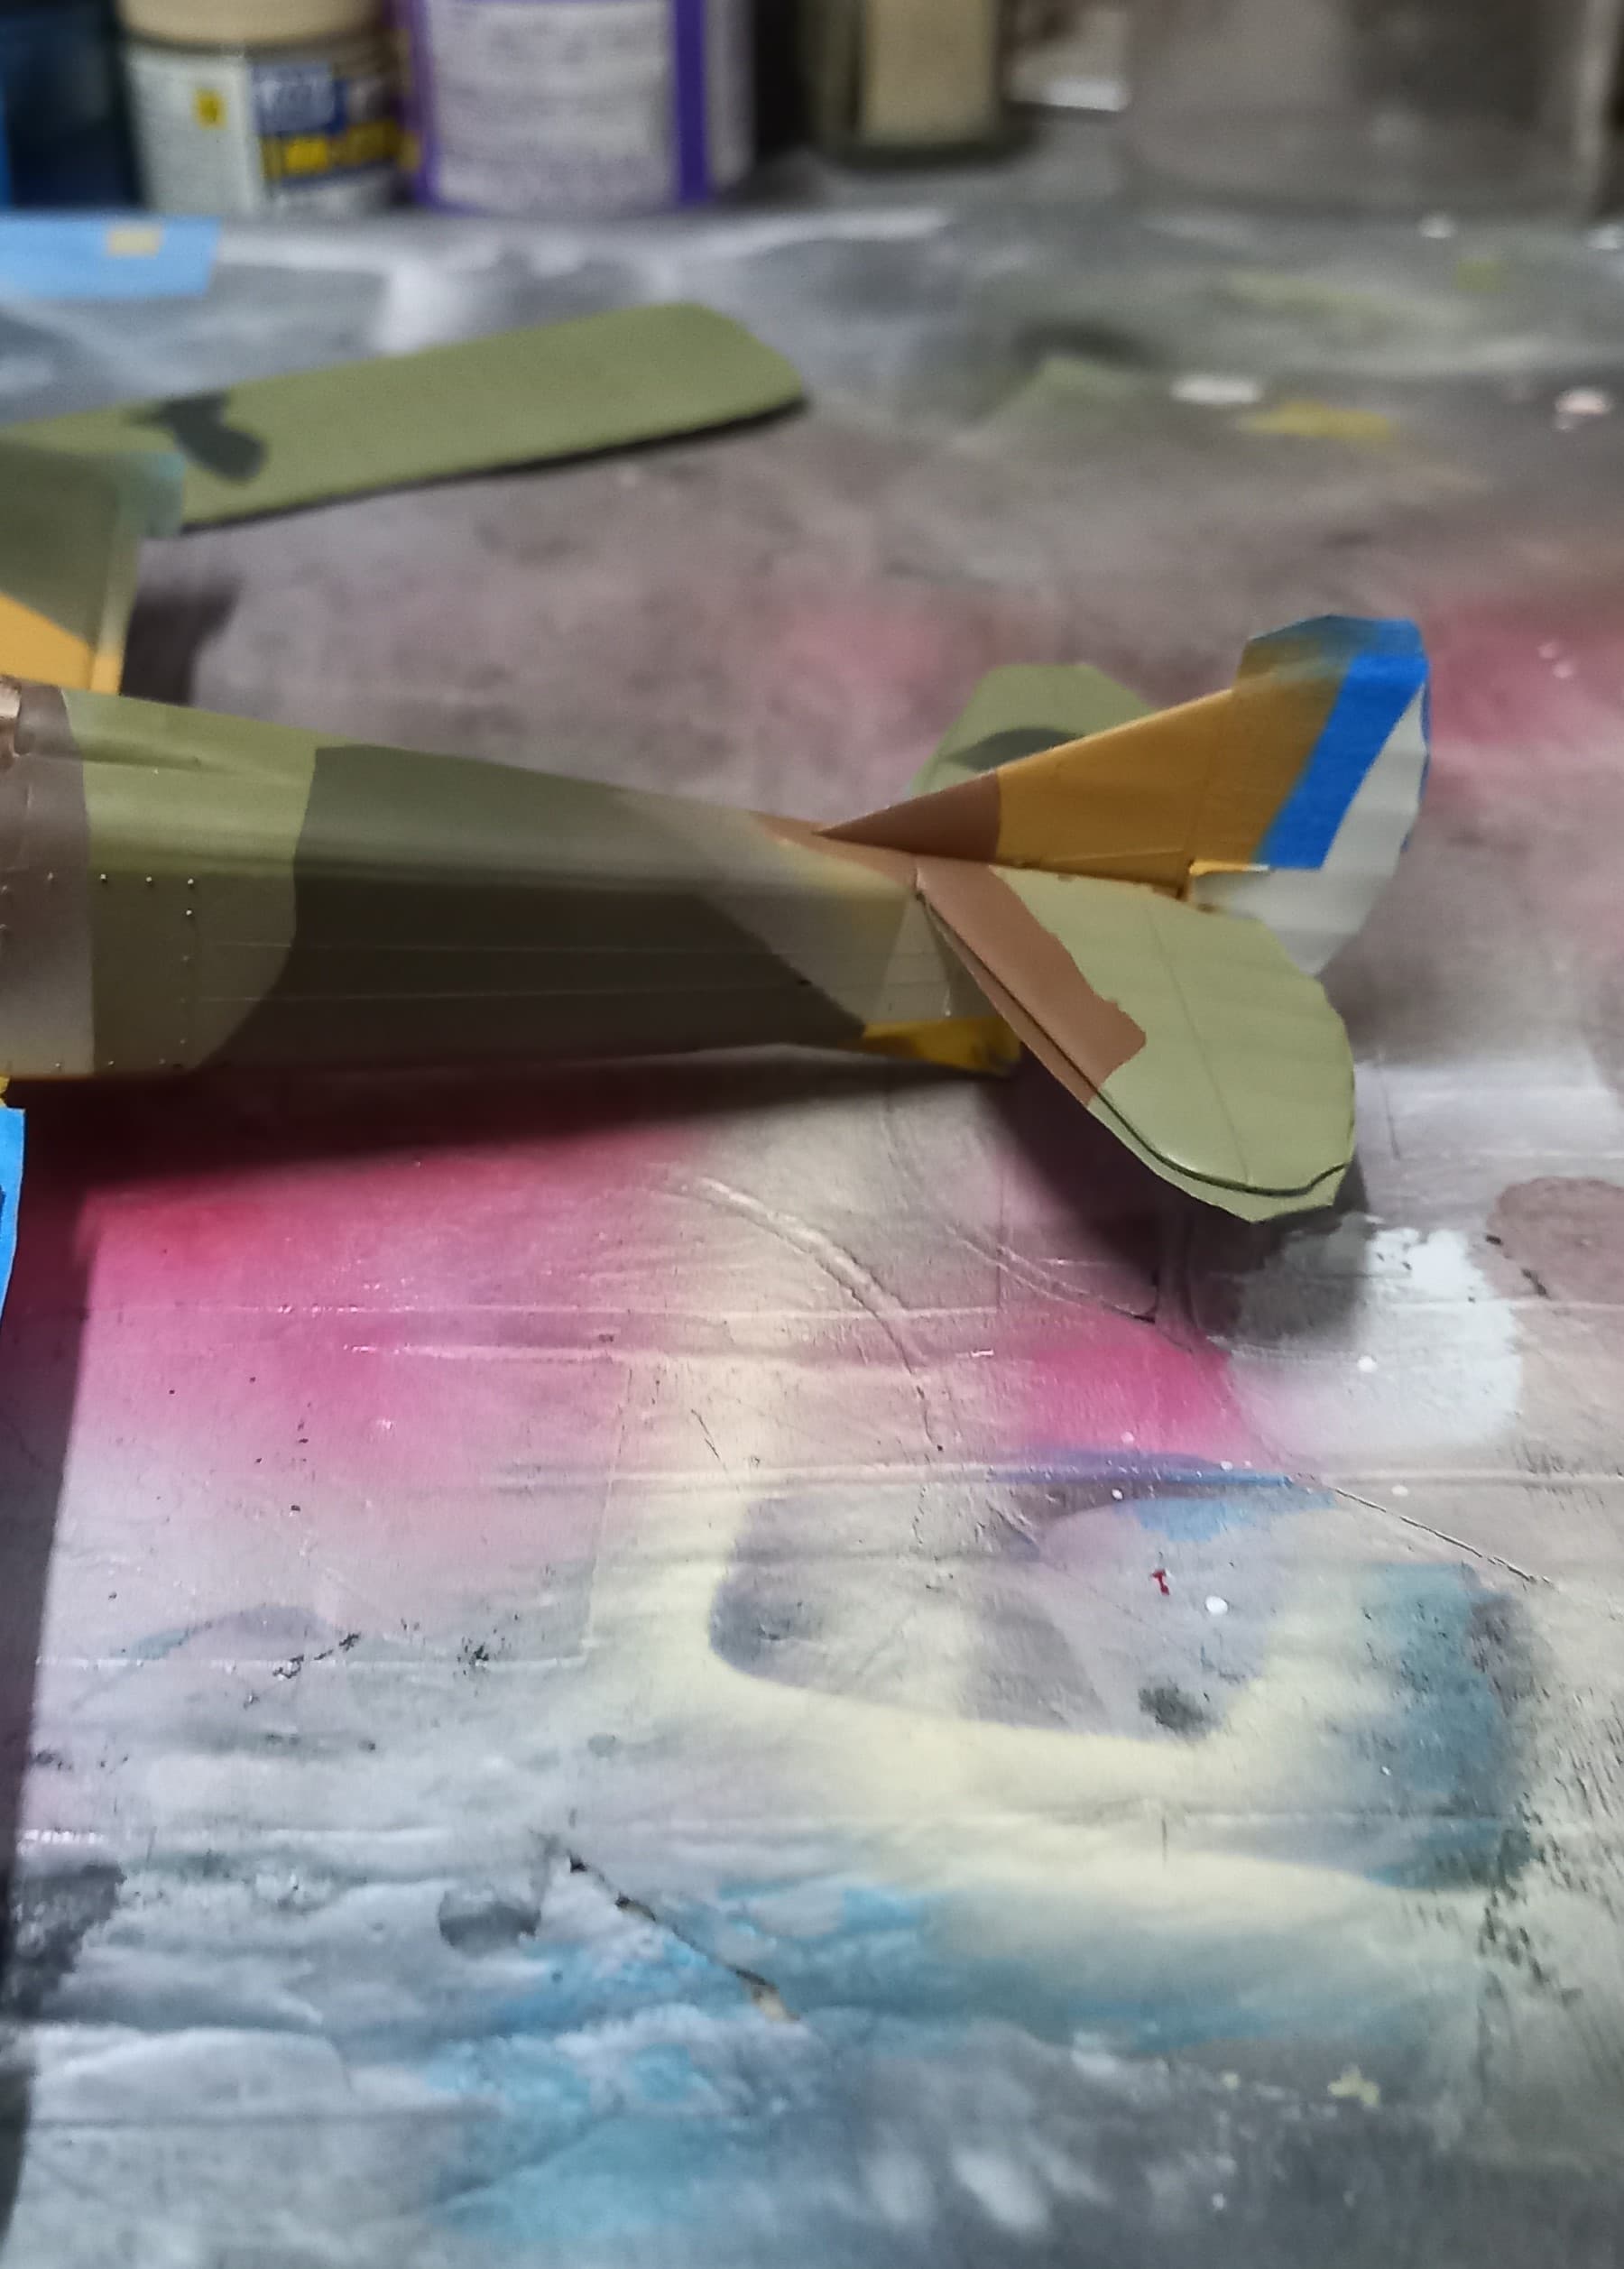
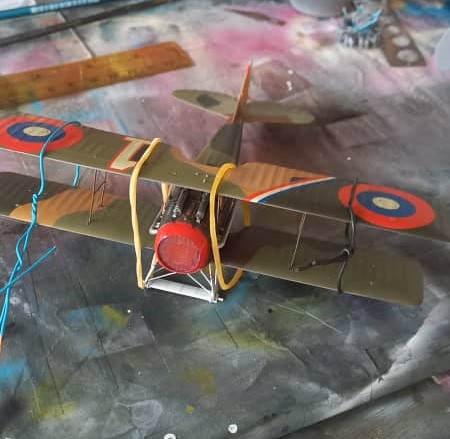
At this point I needed to get the wings onto the inner cabanes and stay. My attempts with rubber bands turned out to either be too loose or too tight, so I opted for tape. Where I’m at, the humidity can really cause grief, as in the case of trying to use tape. Third time was the charm using some thin wire and twisting it to hold the wings in place and not crush the cabanes.
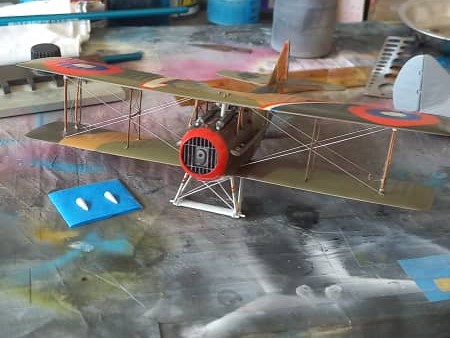
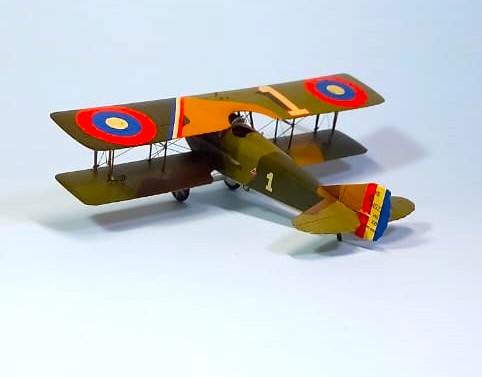
The kit comes with PE that is attached to top and bottom of the outer struts to facilitate with the rigging. I found it a double edge sword, great for rigging, lousy for the fit and alignment of the wings. Additionally, the instructions would have you rig the wings and then add the top wing. Test fitting this turned into two days of frustration, with many times having to walk away from the bench and do something else to rest the eyes and vent the frustration. As things progressed test fitting got the wings aligned and using the PE guides, I was able to get the rigging done on the outboard struts using EZ-Line. It was also during this time that I decided for to attach the top wing. This entailed superglue on the bottom strut and then securing the top wing again with superglue. While it sounds nice and fun, it wasn’t, as there are twelve attachment points that have to be all aligned. Nevertheless, with patience and sudden offensive outbursts at the design engineers, things did come together and look pretty darned good. Rigging the outboard struts was a simple task compared to getting the thing aligned.
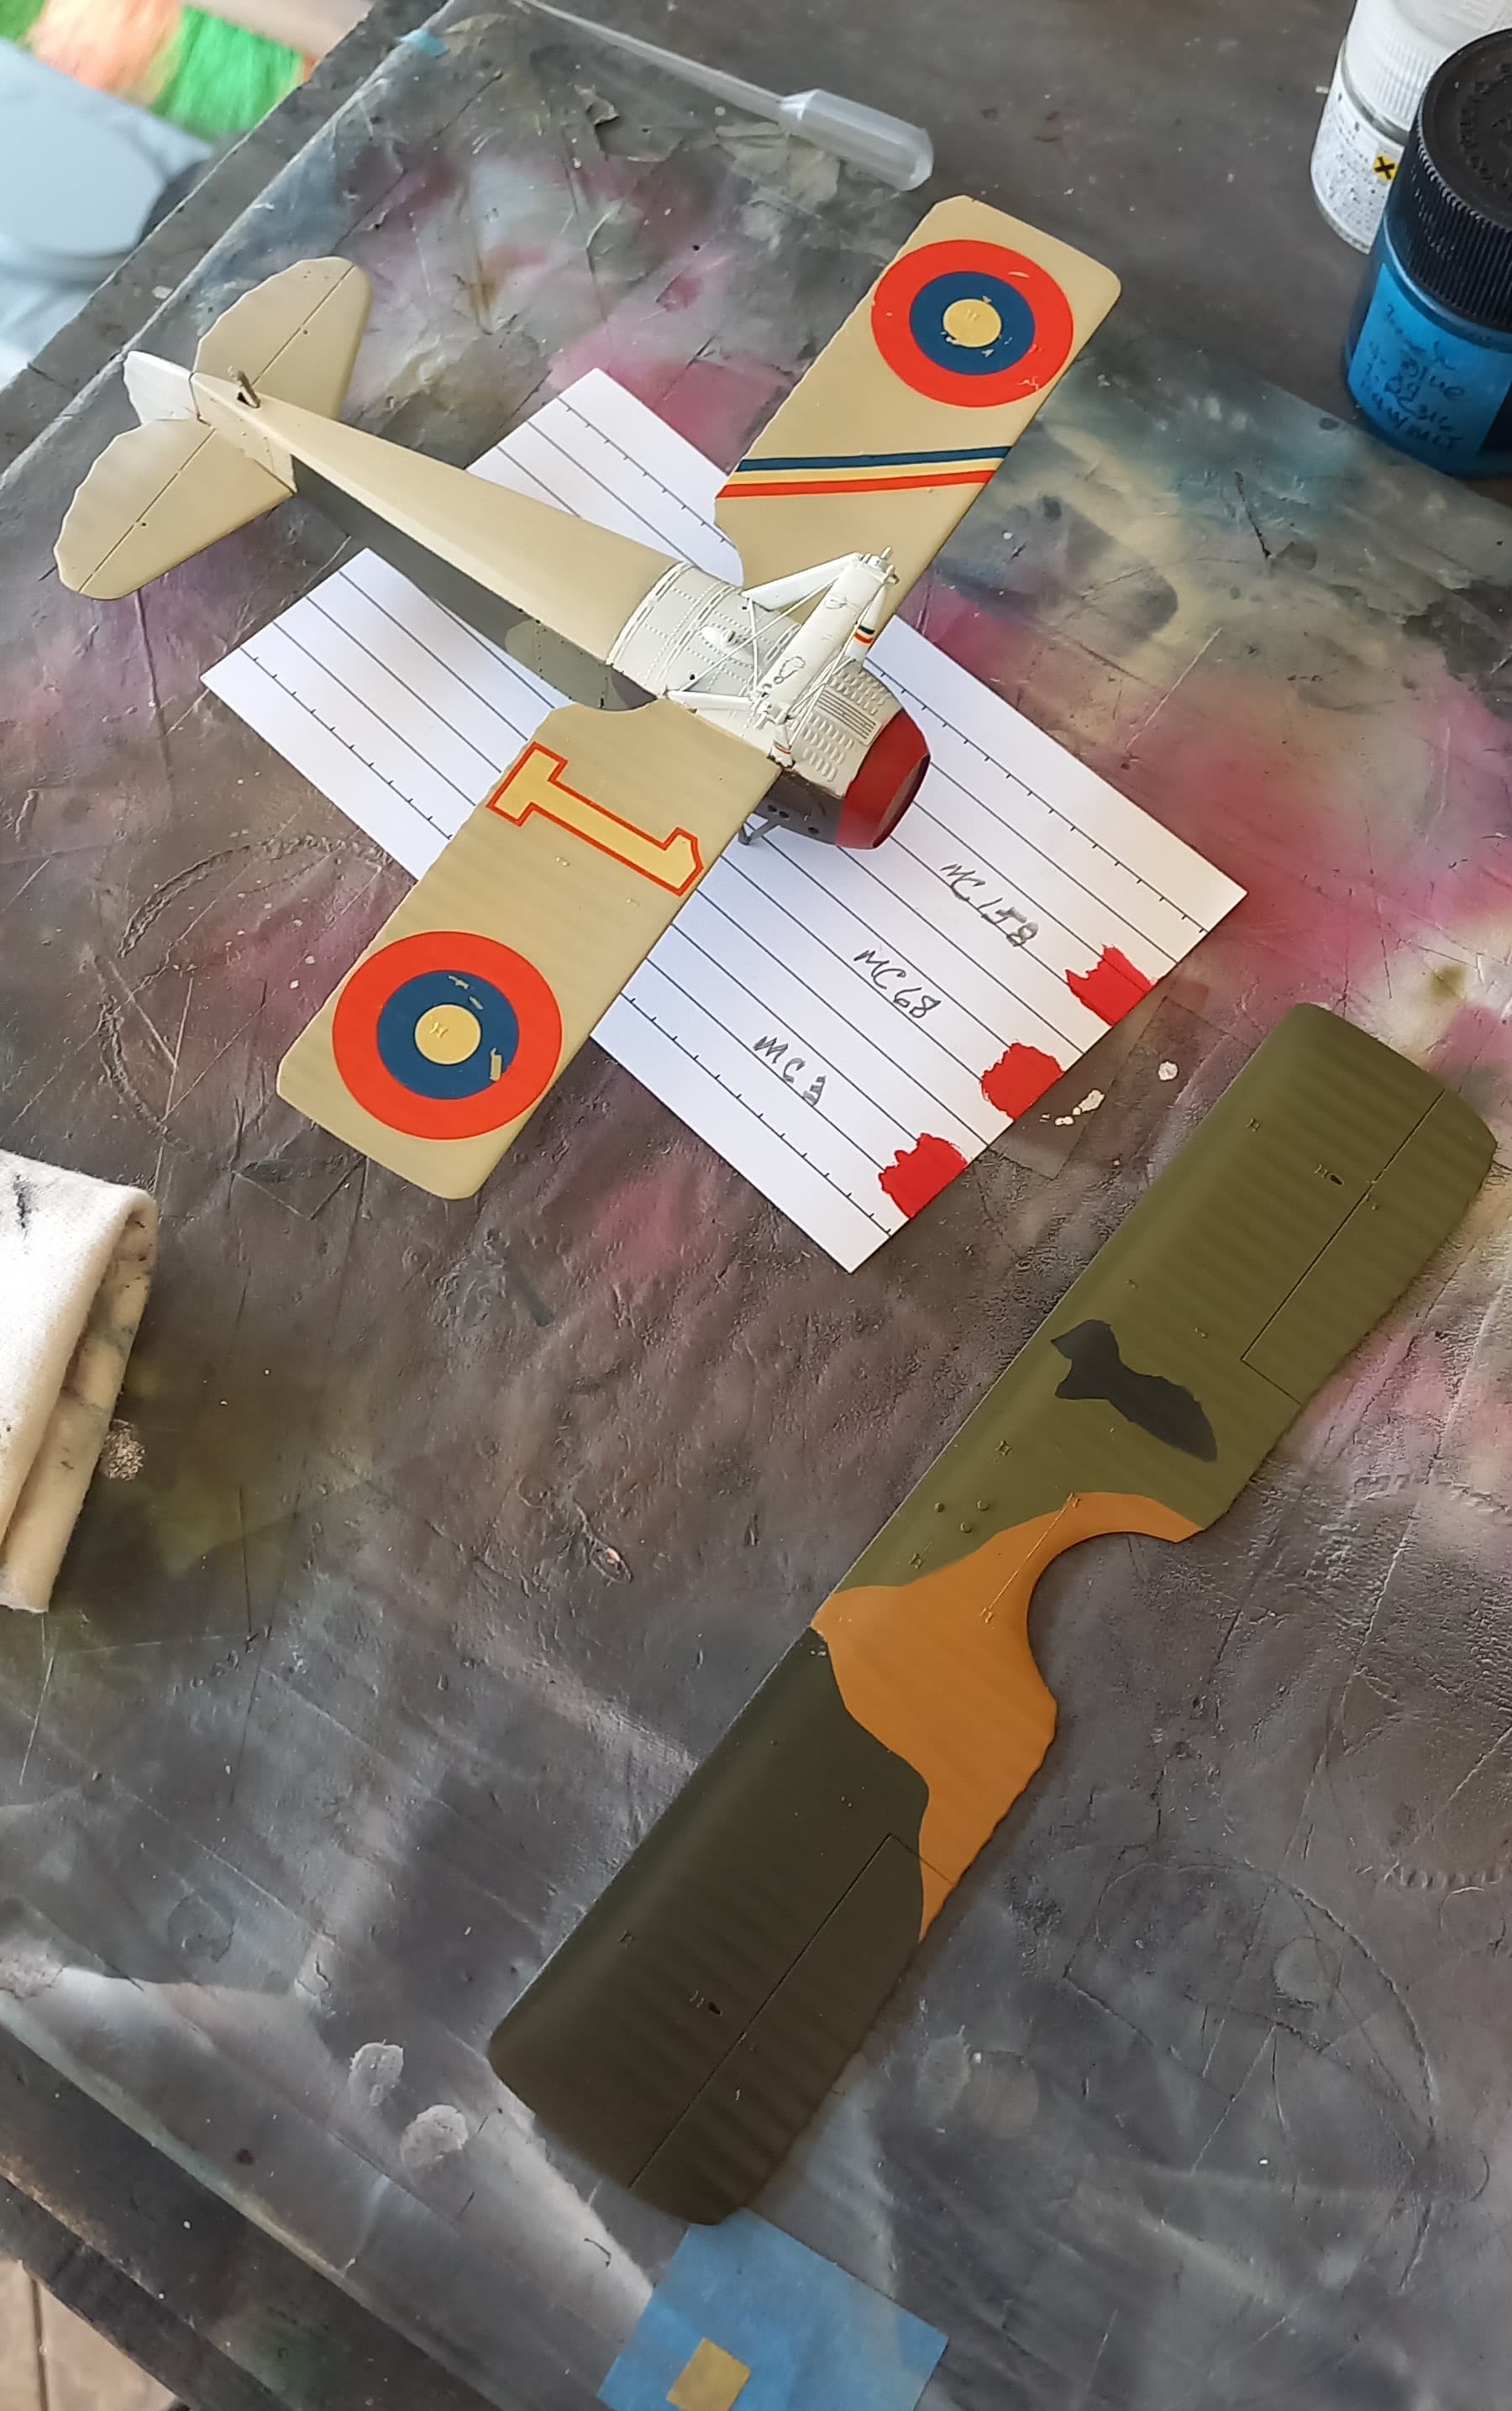
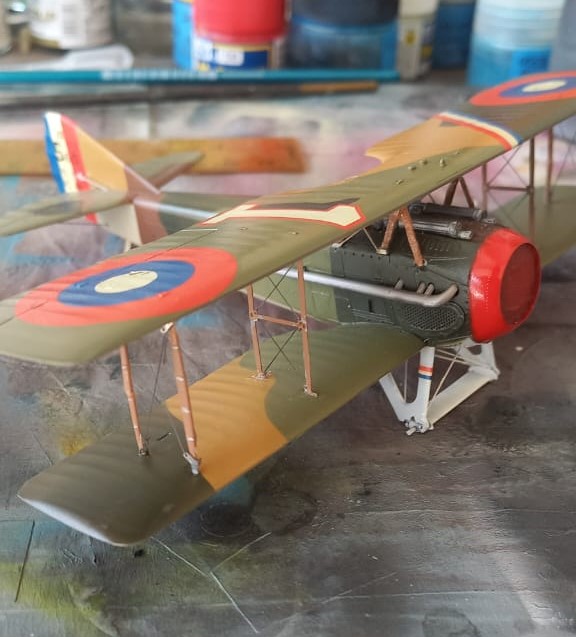
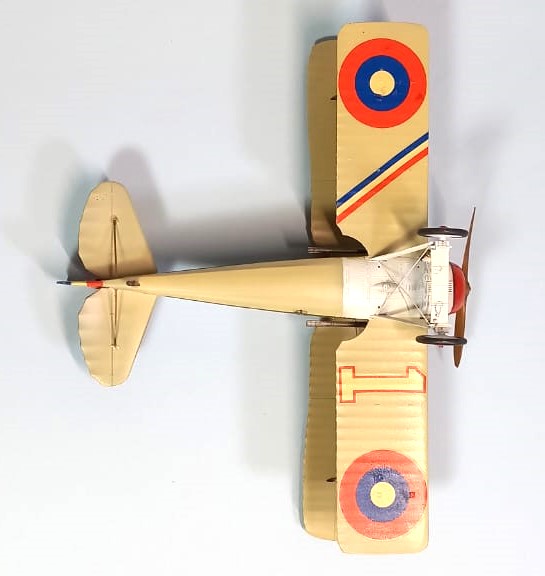
Getting the cross wires in place became a relatively easy process, since the kit instructions had the wire lengths laid out and were quite accurate. Placing the eight wires was straight forward and I only managed to mess one up being a little long (of course it was right up front). Despite the frustrations I was rewarded with a very nicely rigged SPAD.
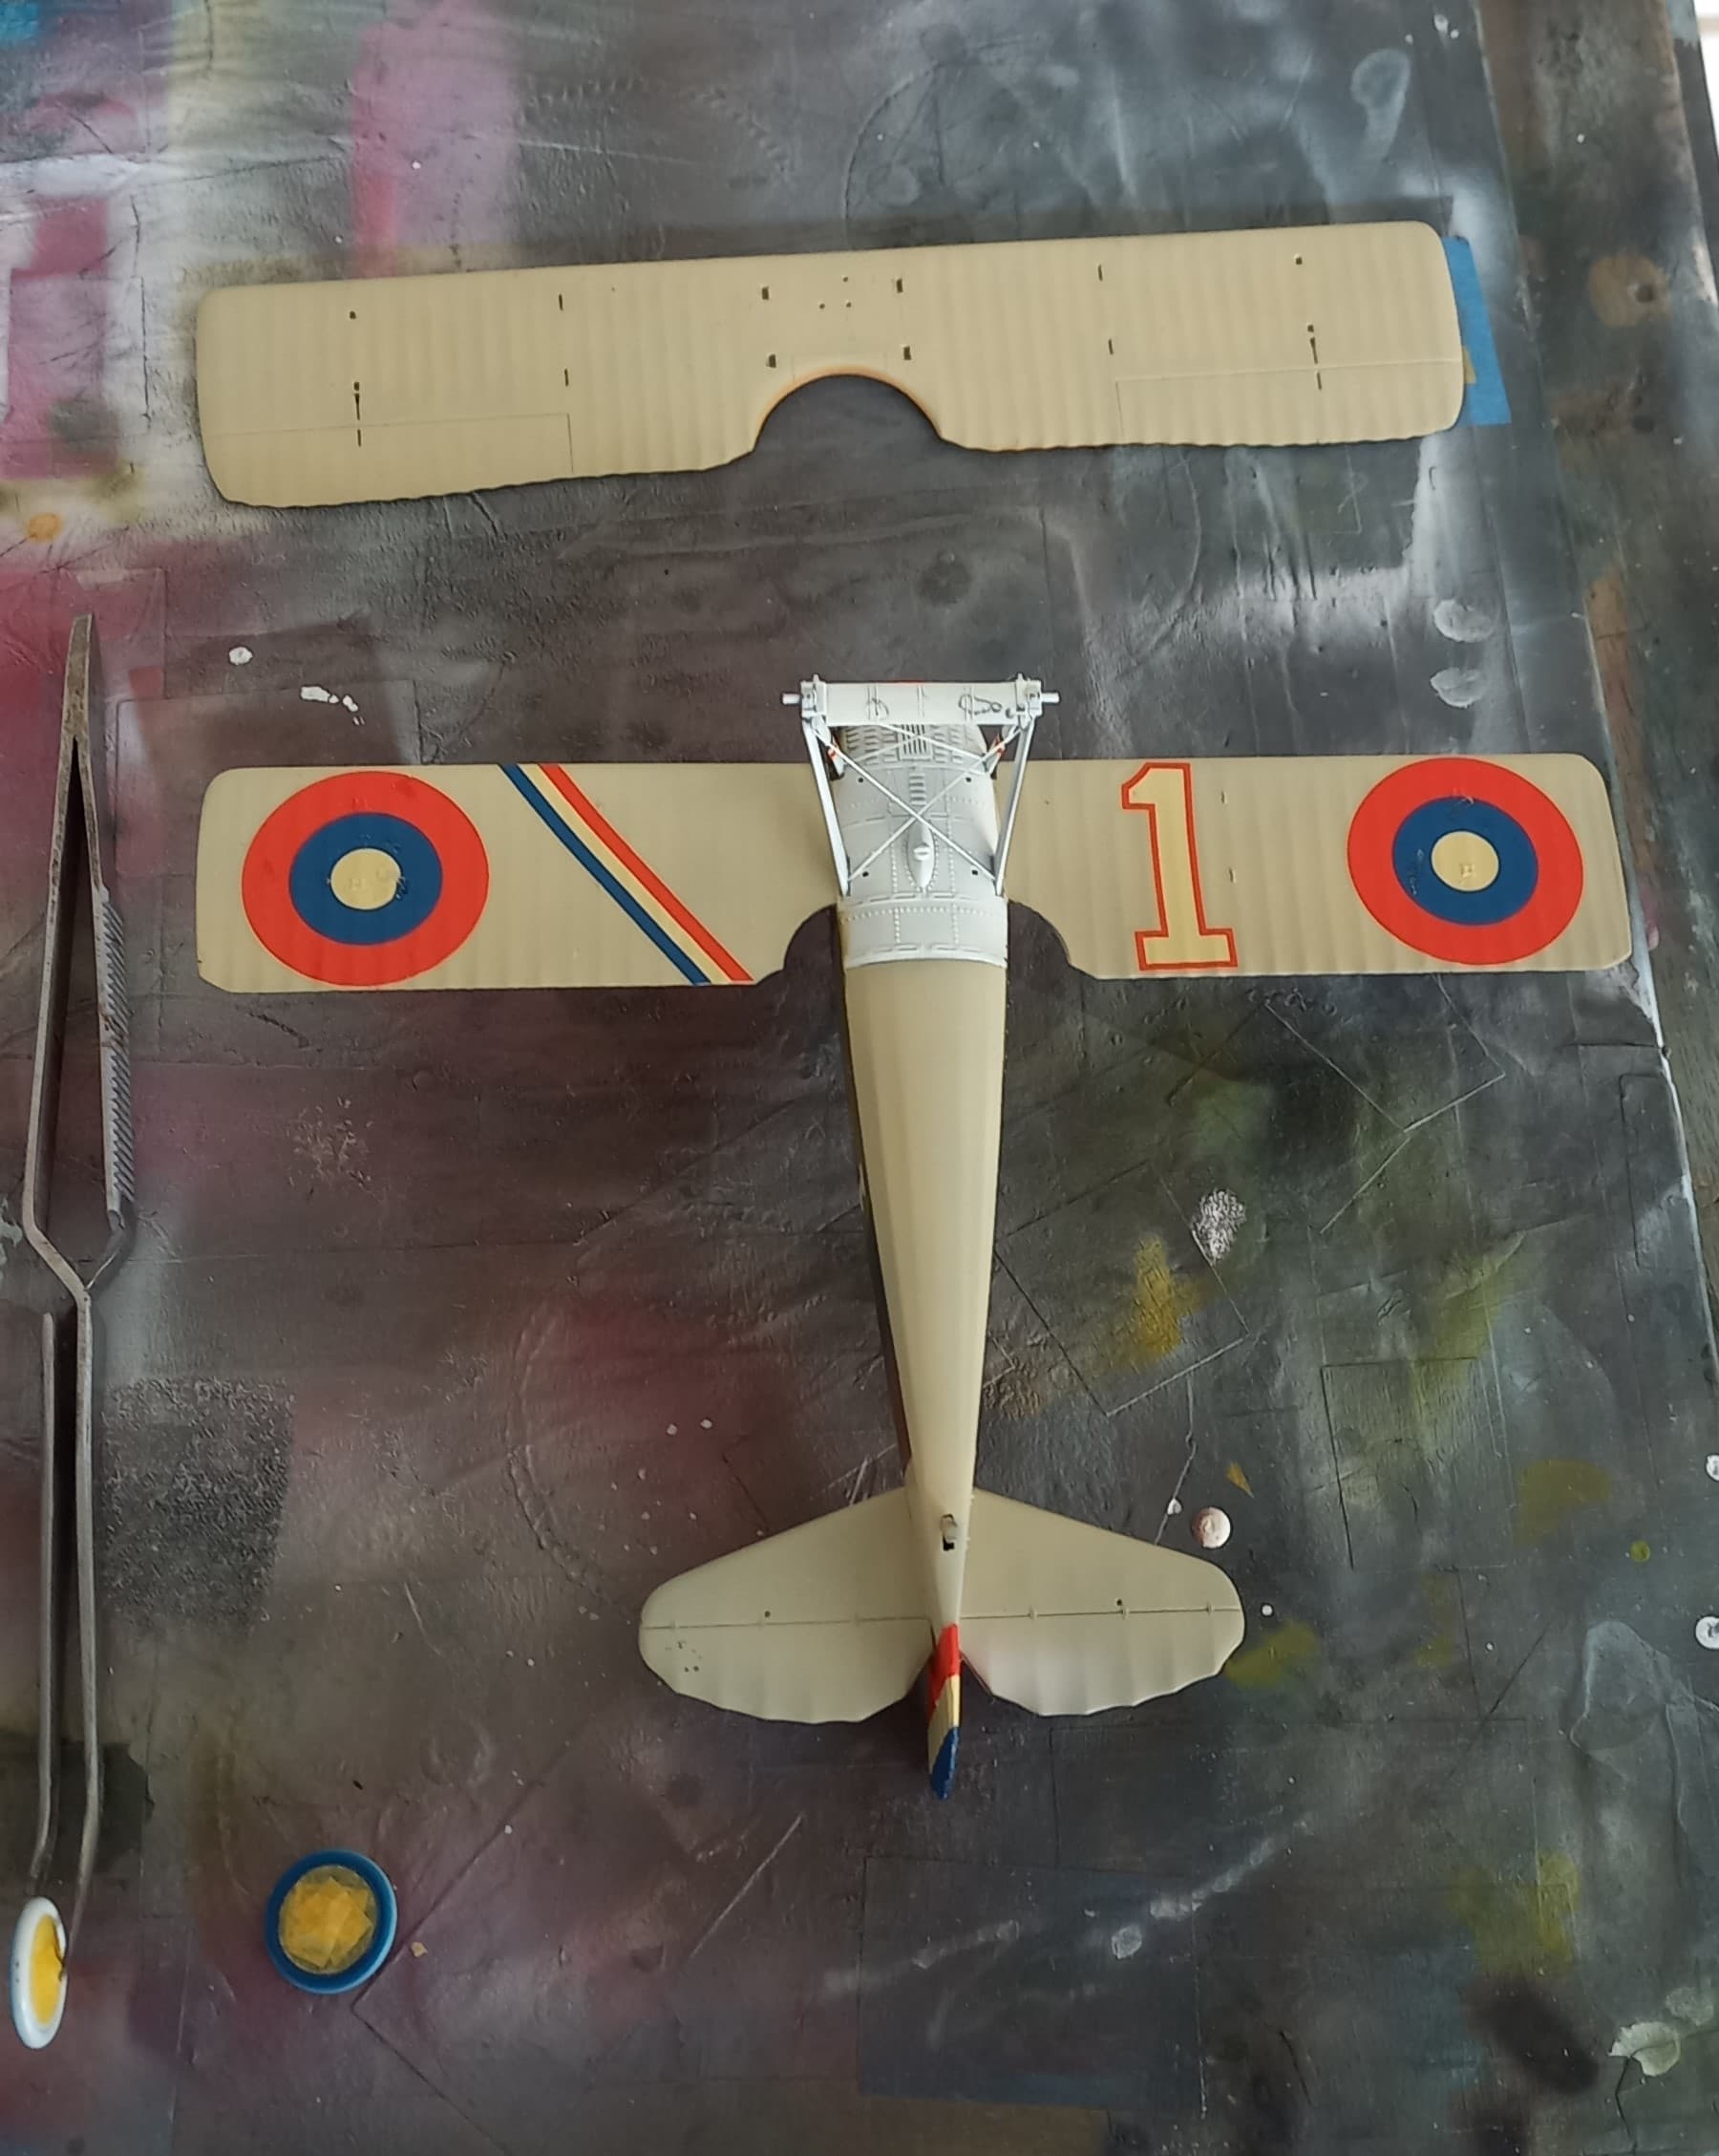
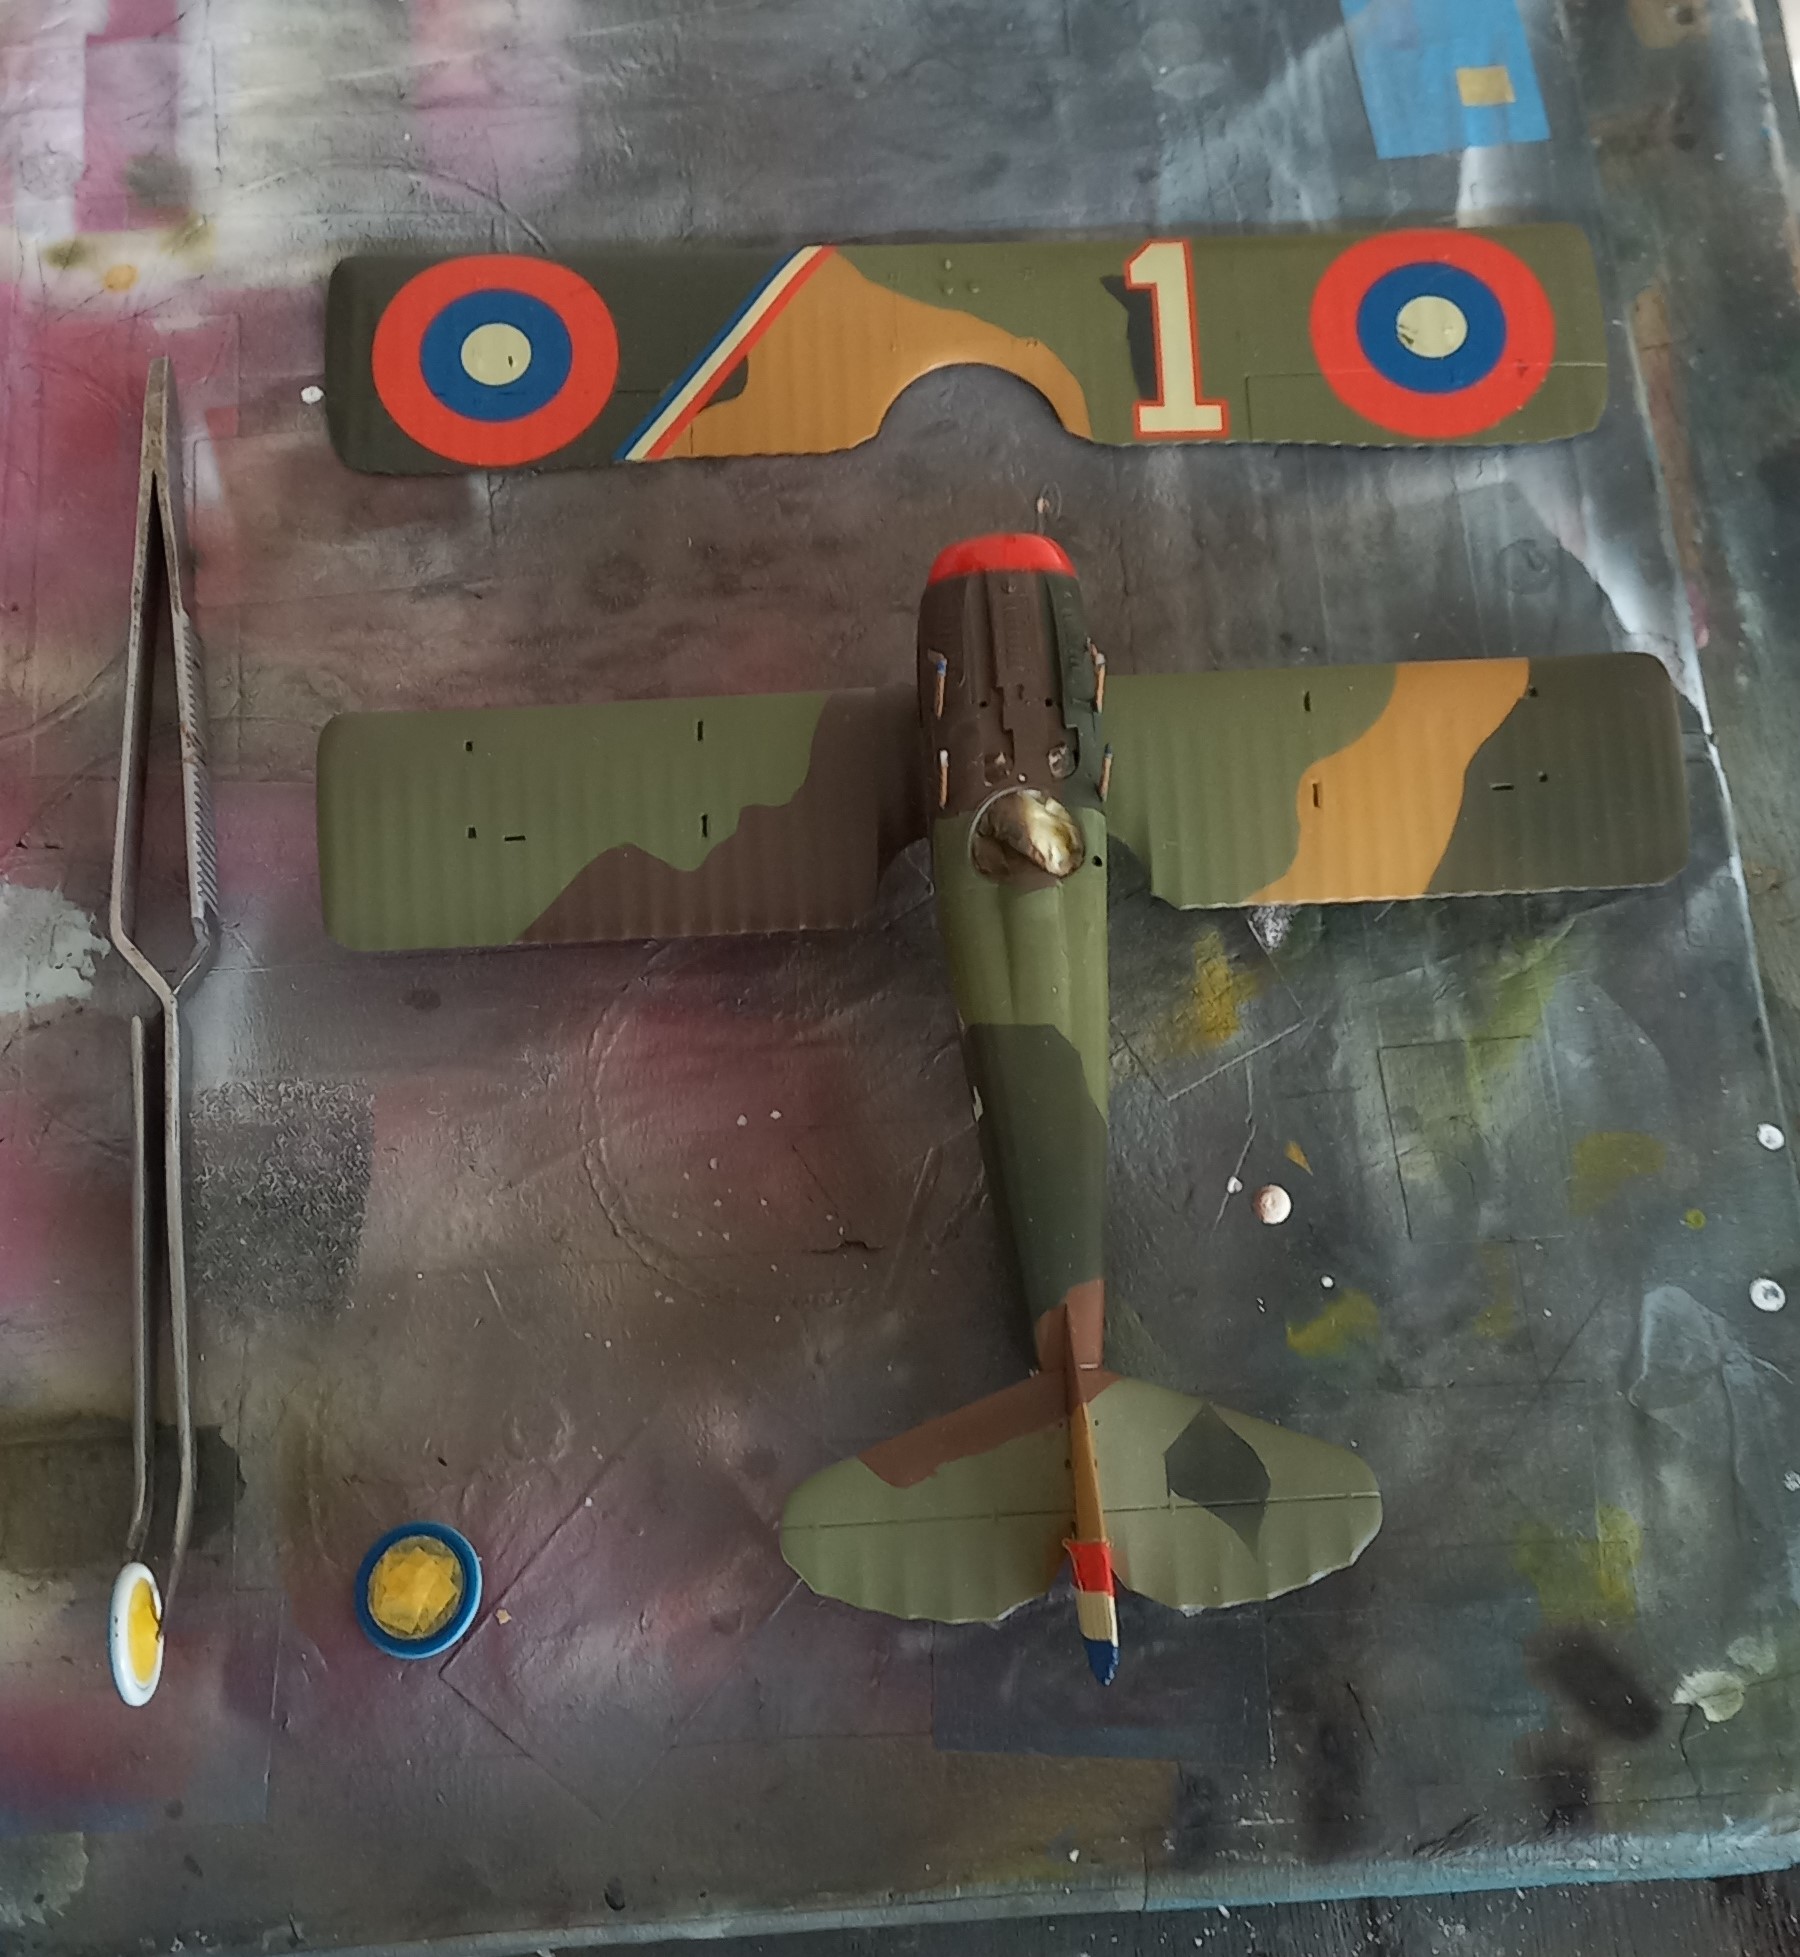
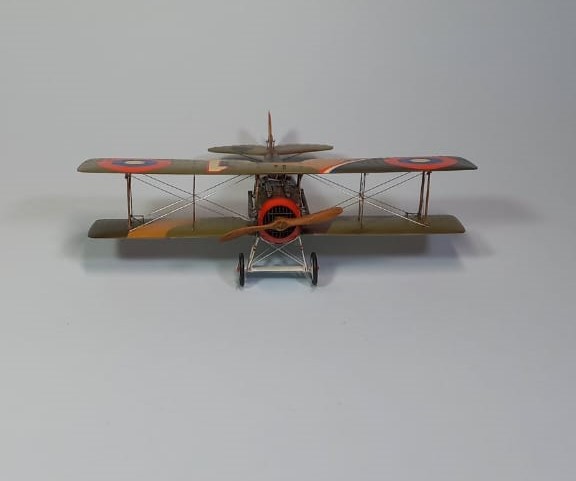
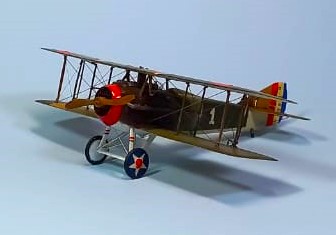
Following the rigging, the rest of the fiddly bits seemed to be anticlimactic, and things went together fine. I followed this up with some touch up painting.
So, I’m calling this one done. I’ve gained a lot of experience, and confidence with this build. I could have gone through the ordeal of trying to match and paint the places where the decals failed, but I figured it gives it a sort of antique look, so I left it as is. While not perfect, I give it a passing grade.
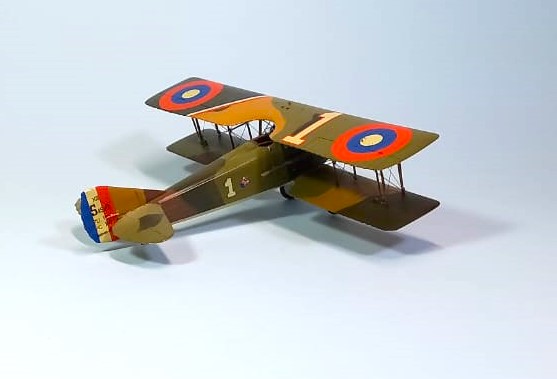
Thanks to all that watched this little adventure and gave me encouragement! This was a fun campaign loaded with lots of interesting builds. Thanks again!
Till next time, be safe, wash your hands and have fun!!