The Great War - 2023 - multi-genre

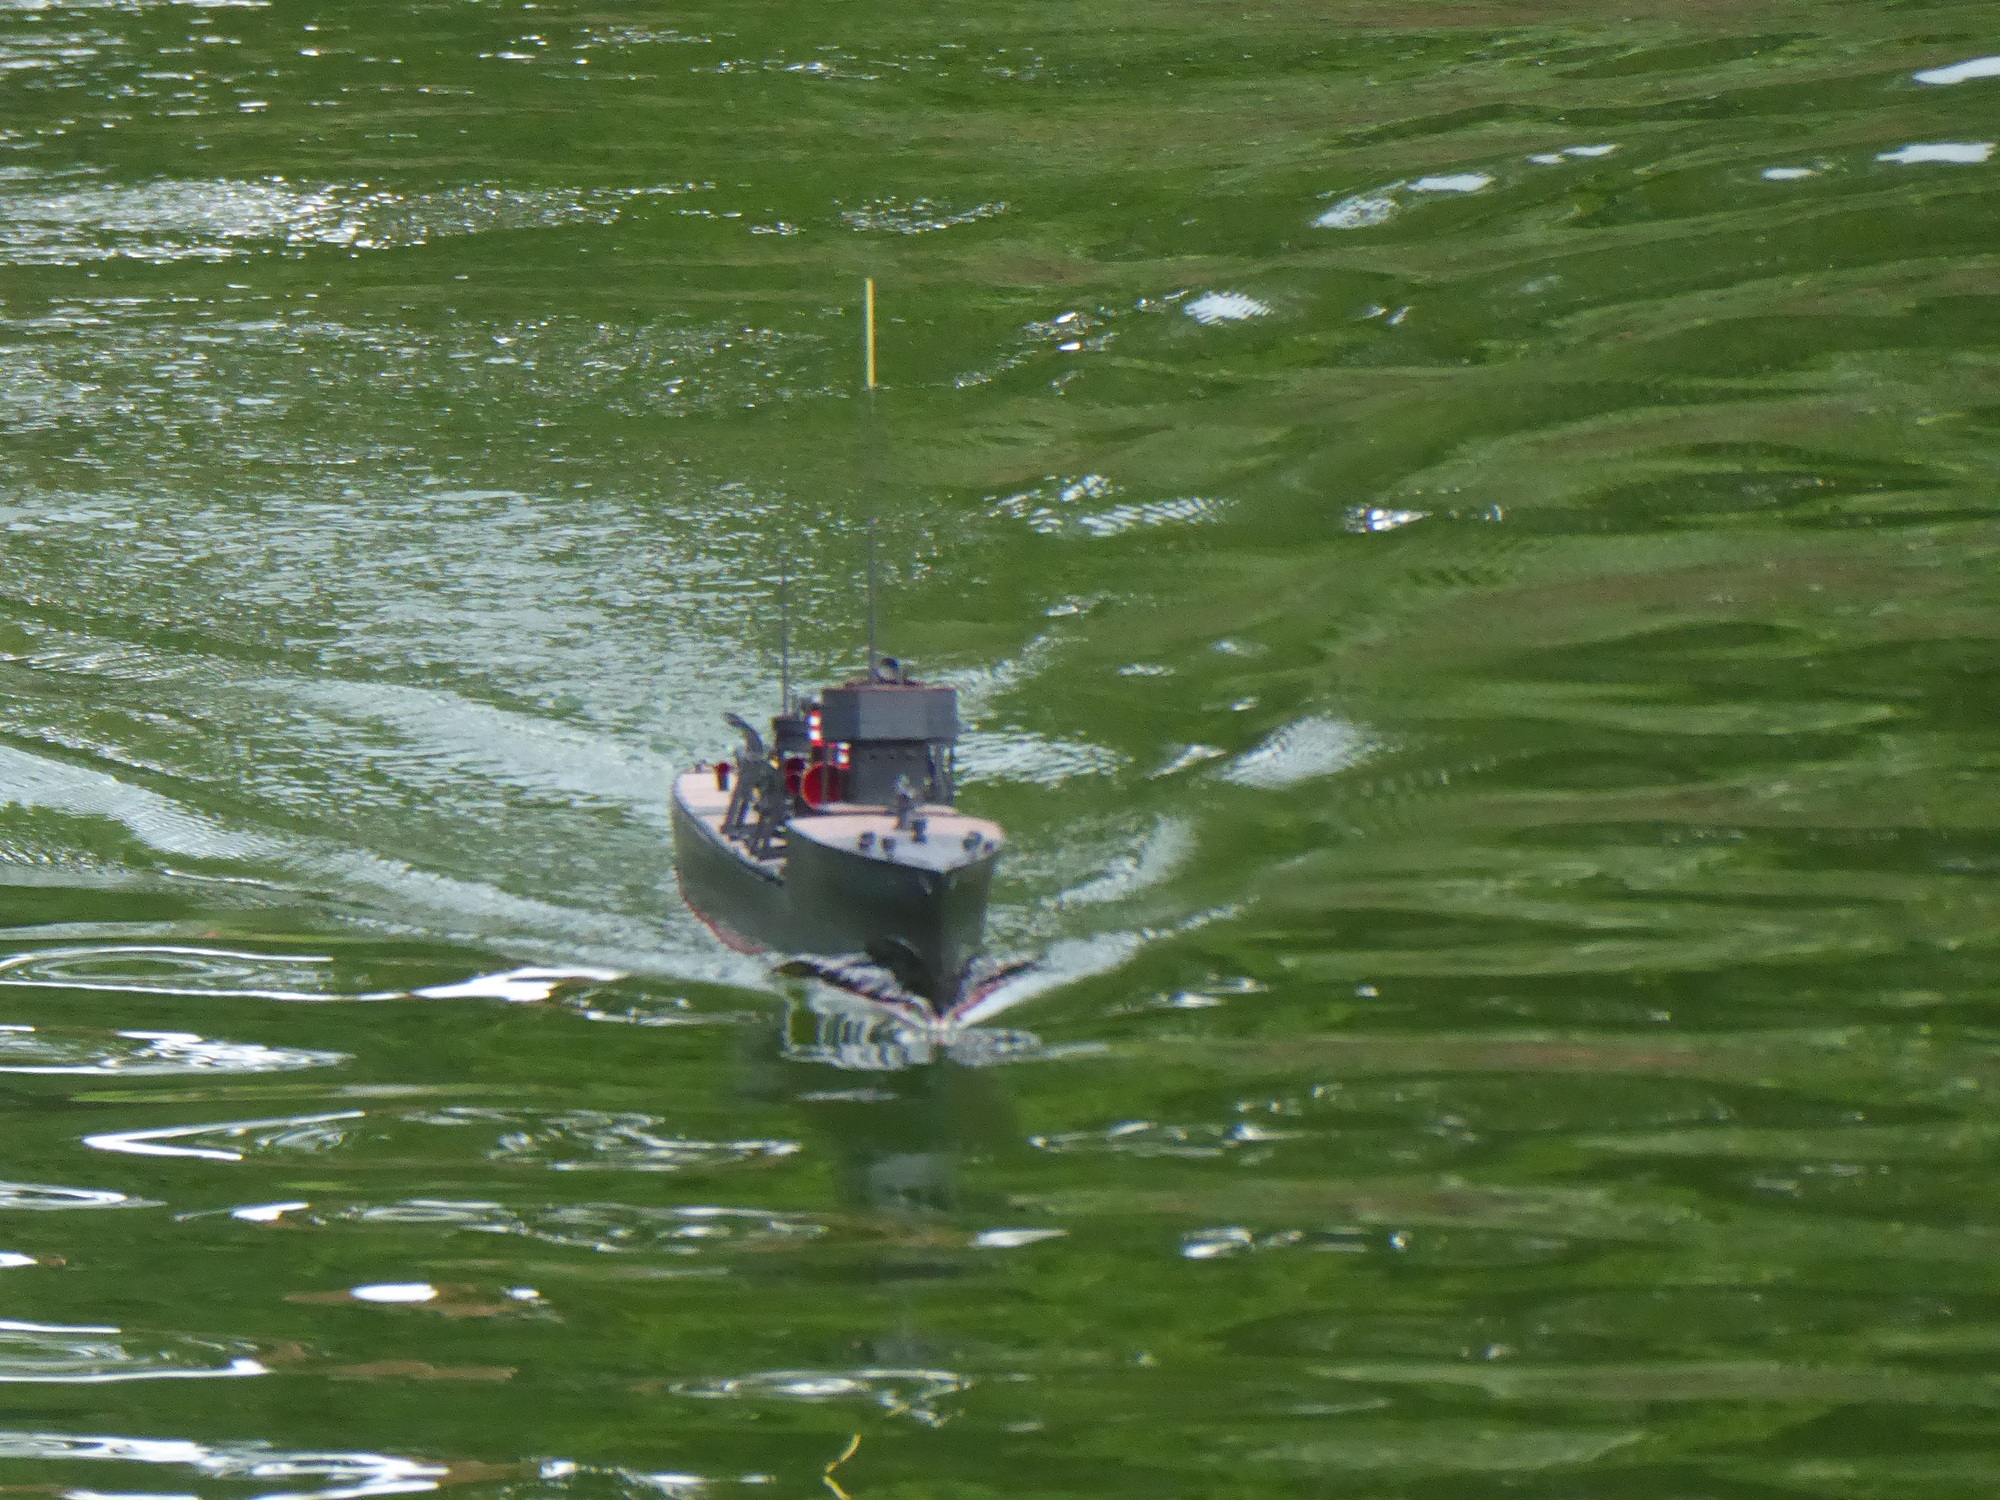
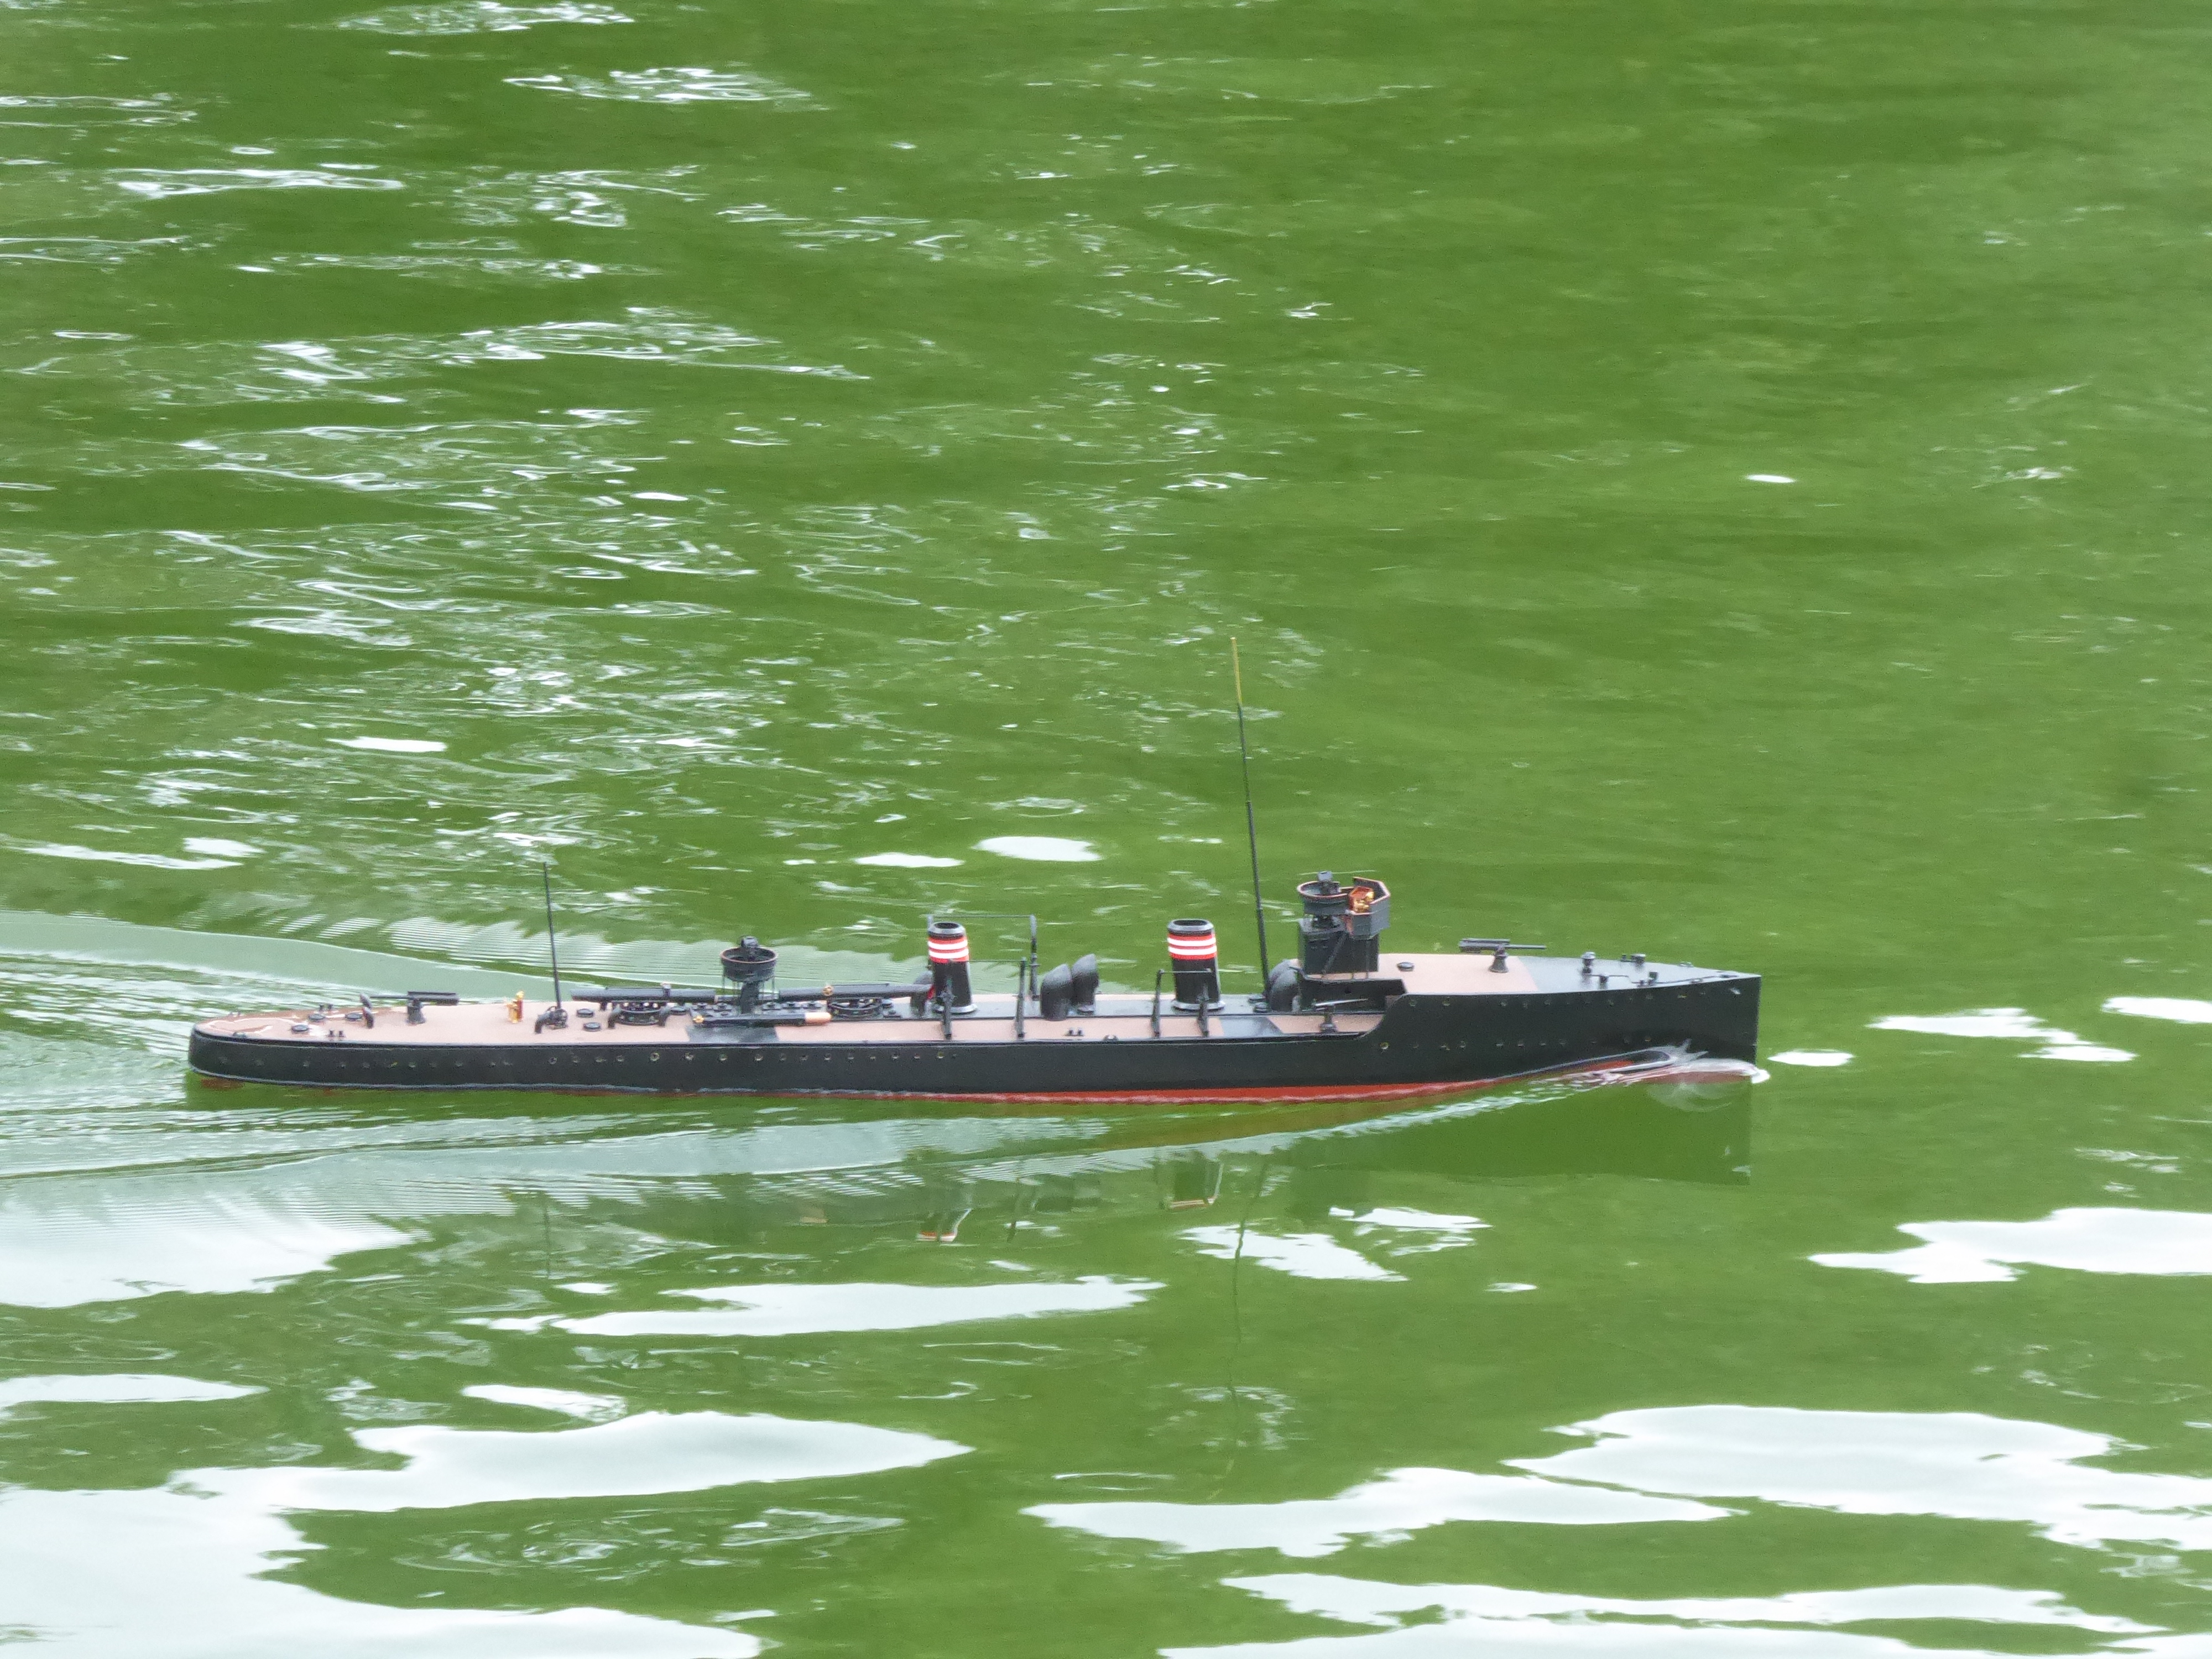
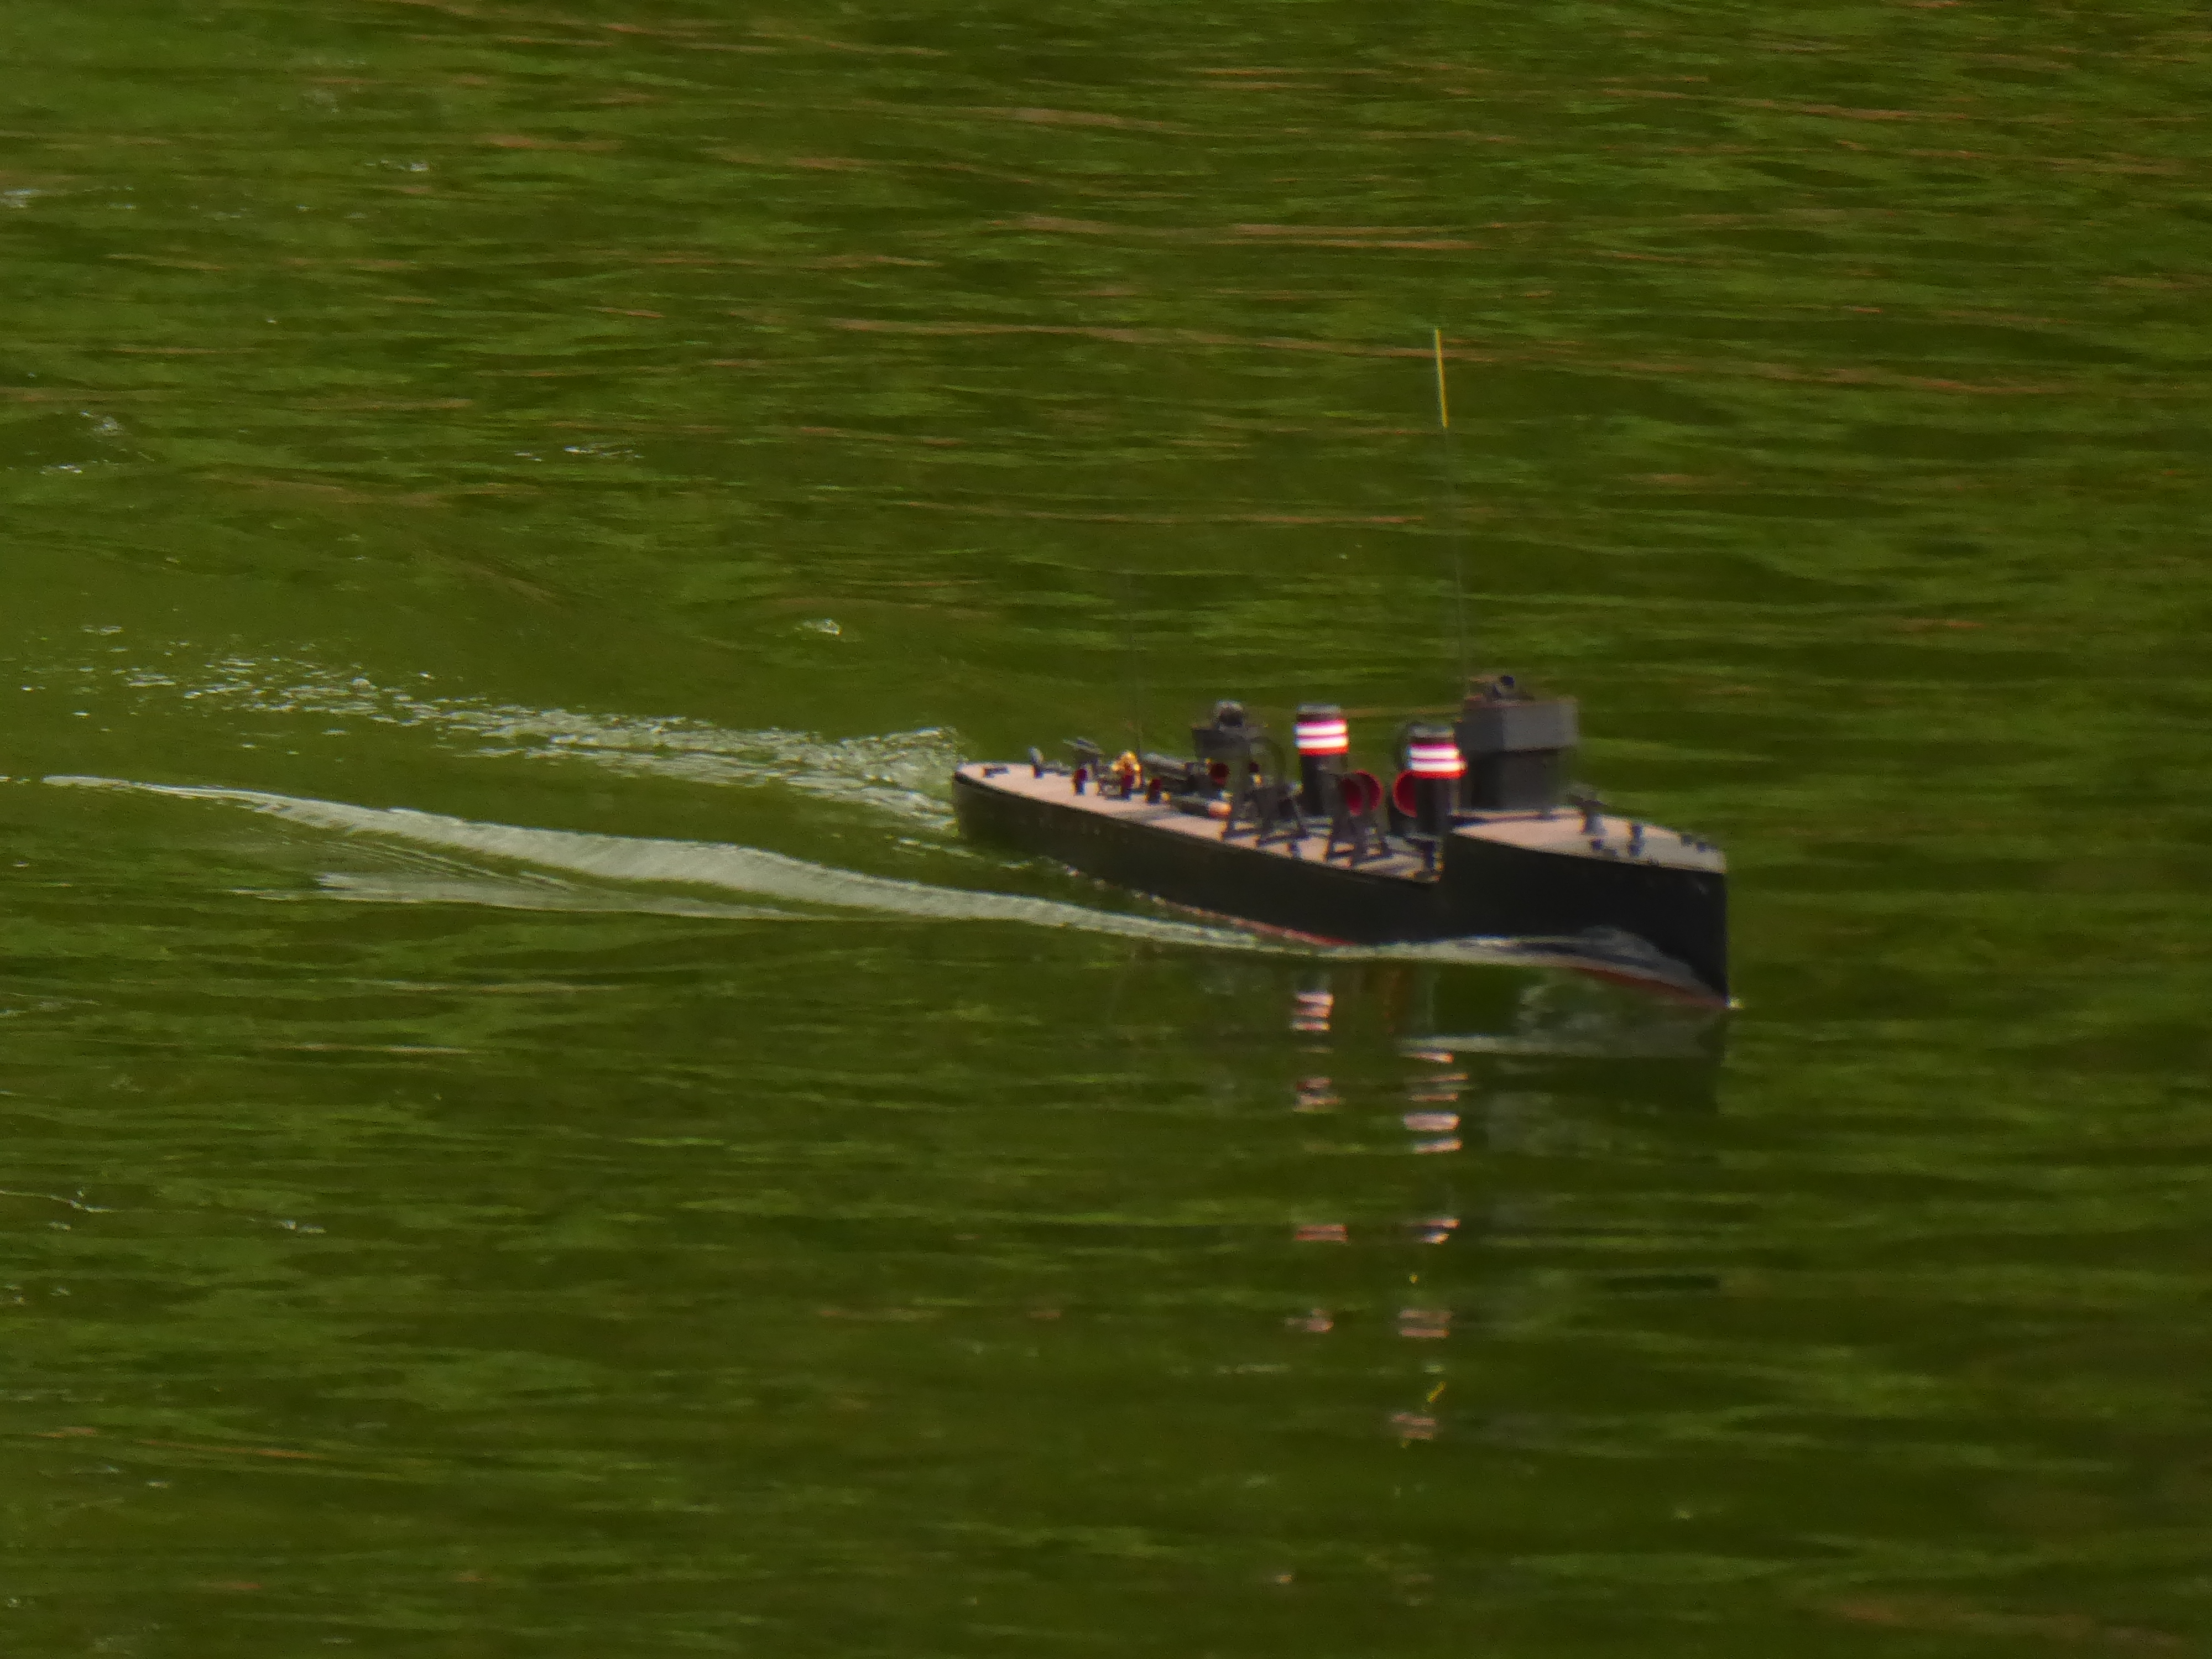
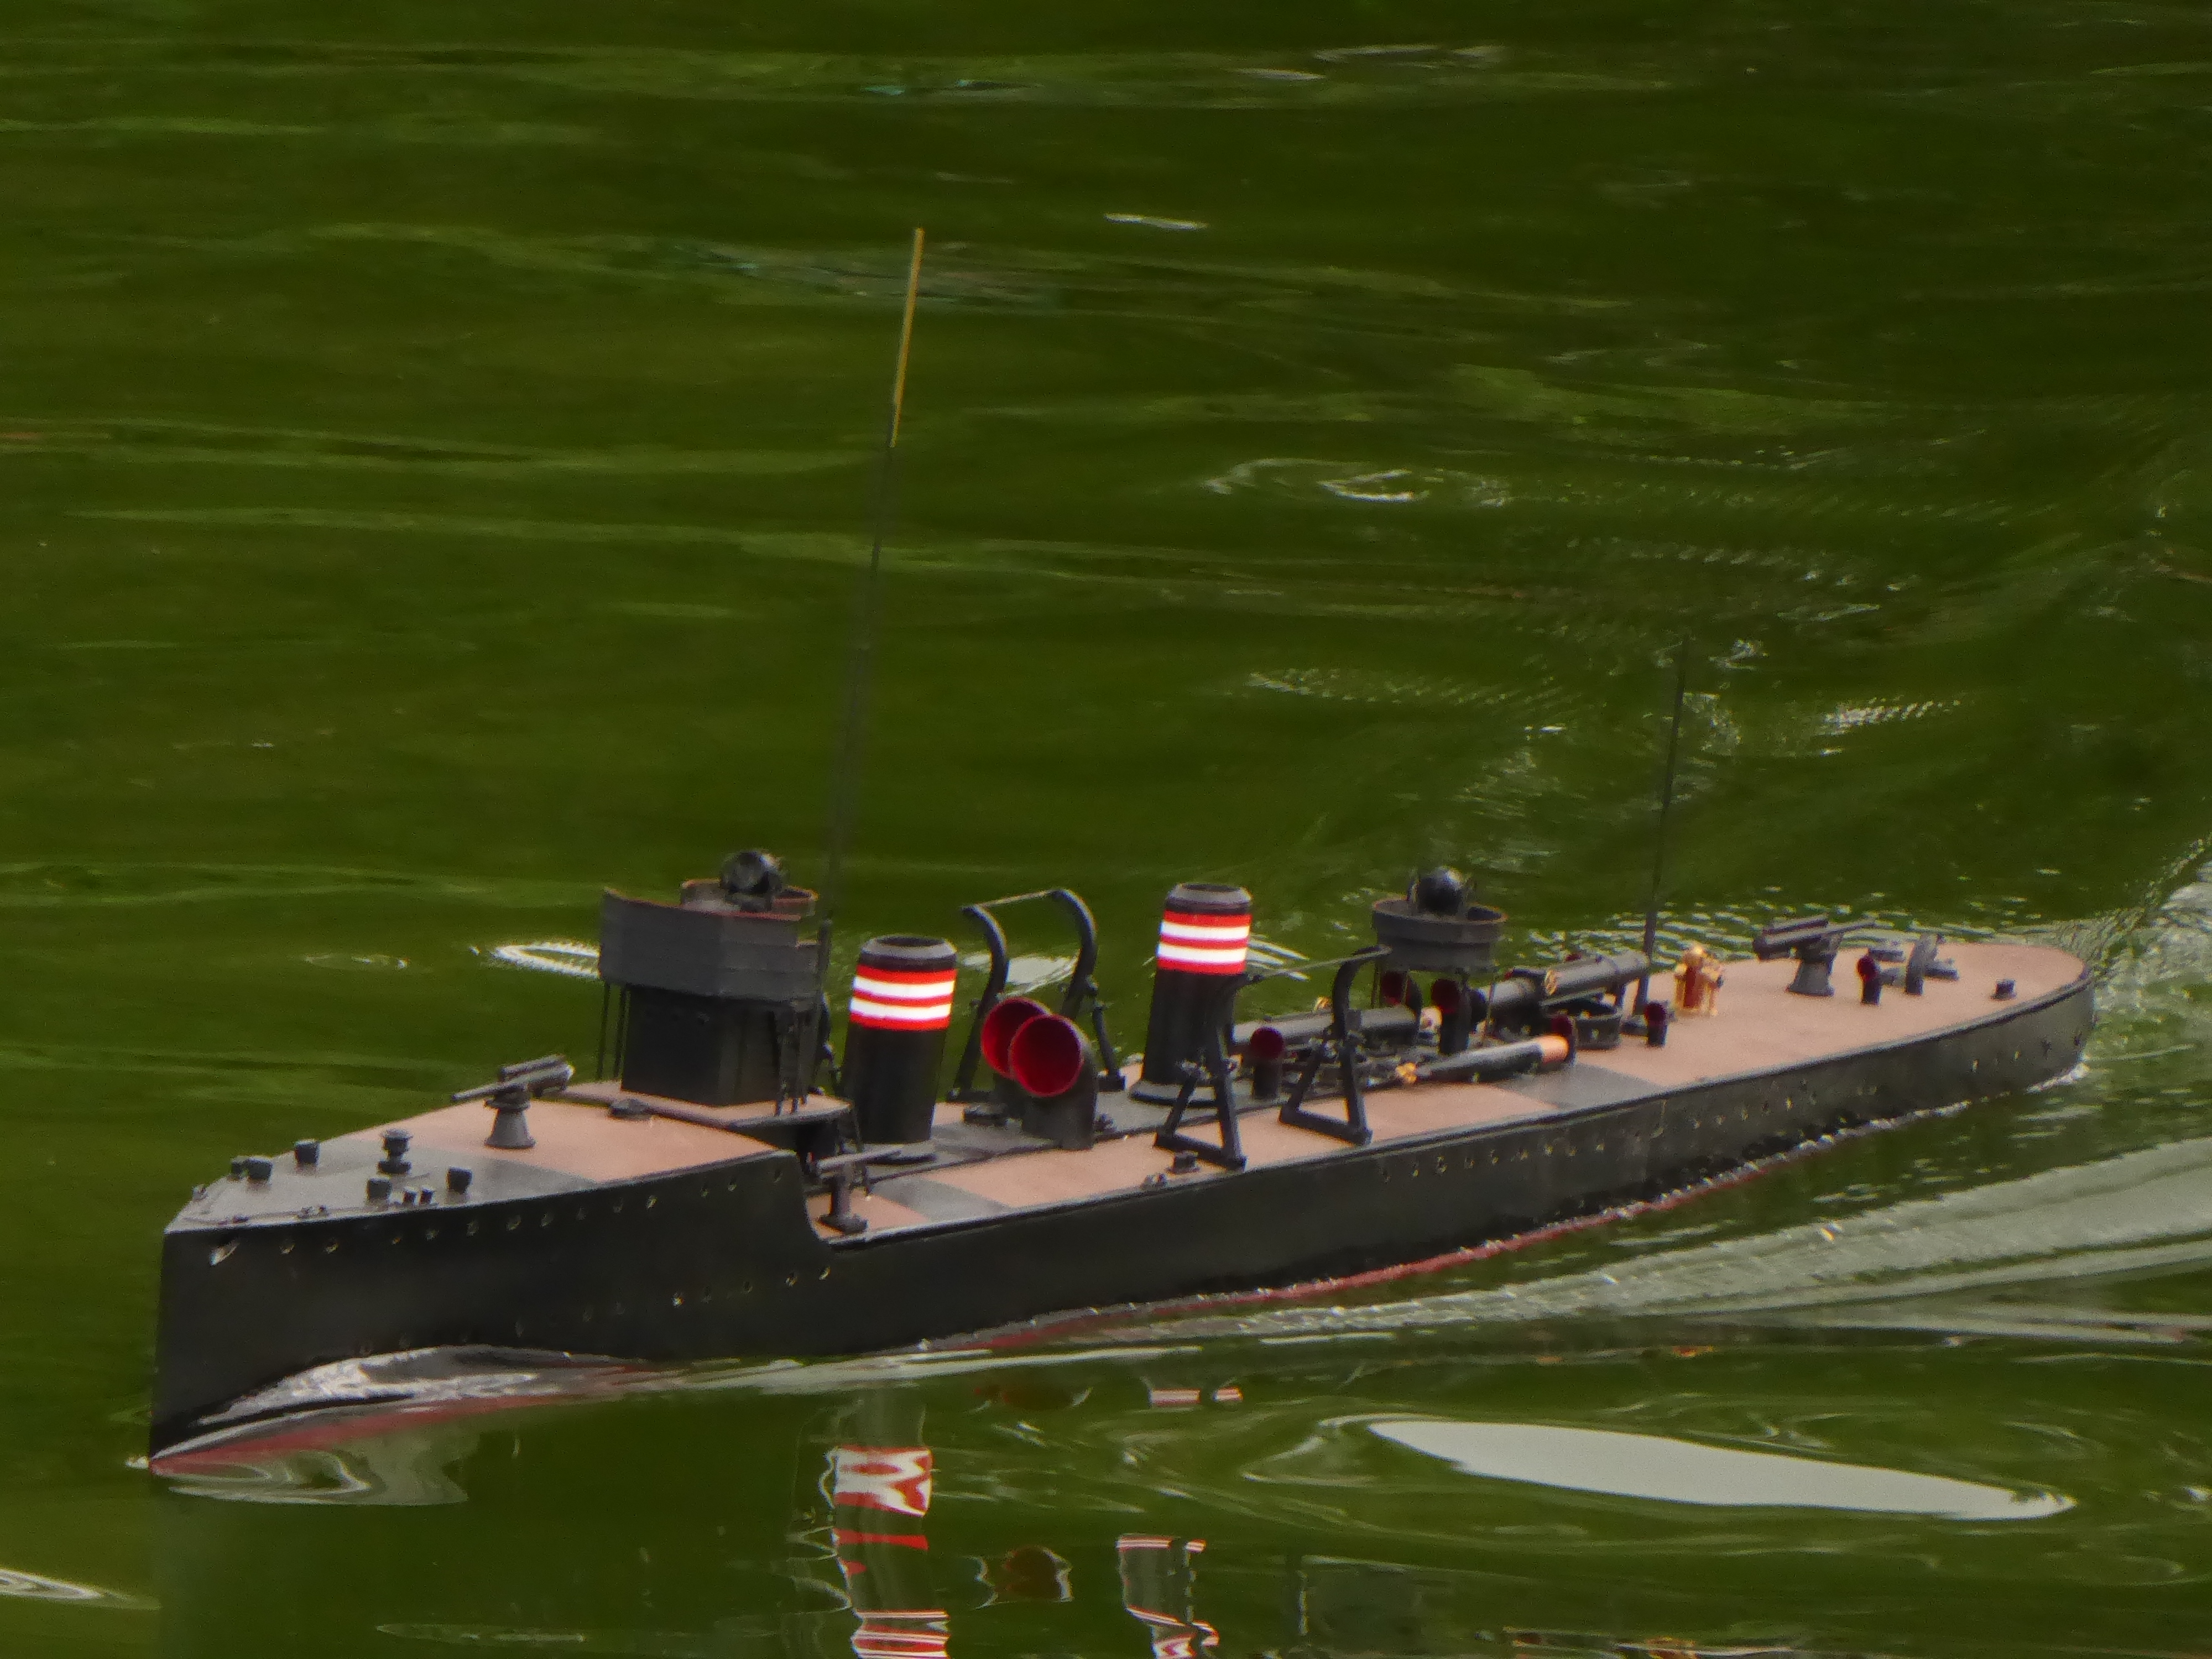
Today Jackal sailed on her maiden voyage, ok trials on our local boating pond


Trial went well, she is fast, handles well and looks good

Very little needs changing so on to more fitting out work

For those interested, power is 3 385 electric motors fed from a 2.2AH LiPo battery. Motors a controlled by Chinese Bruch controllers. Motors are controlled individually, one motor per radio channel.

Only down side appears to be the considerable amount of water coming over the stern when going astern, typical destroyer!

12 Likes

Whoa! I don’t think I realized it was going to be a working model. That is way cool!

3 Likes

Now I understand the large size. It really looks great to see it at speed in the model pond. Its ready for movie work!

Paul

3 Likes

Andrew, that’s impressive!

3 Likes

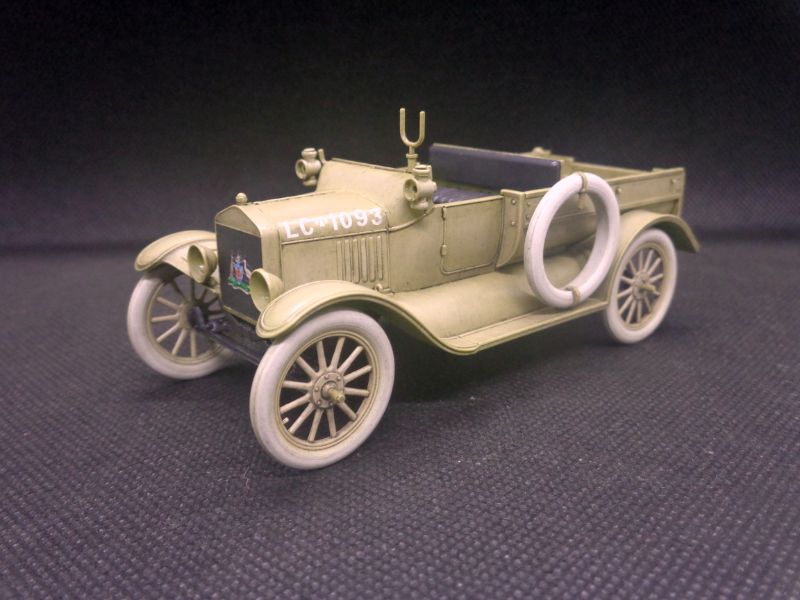
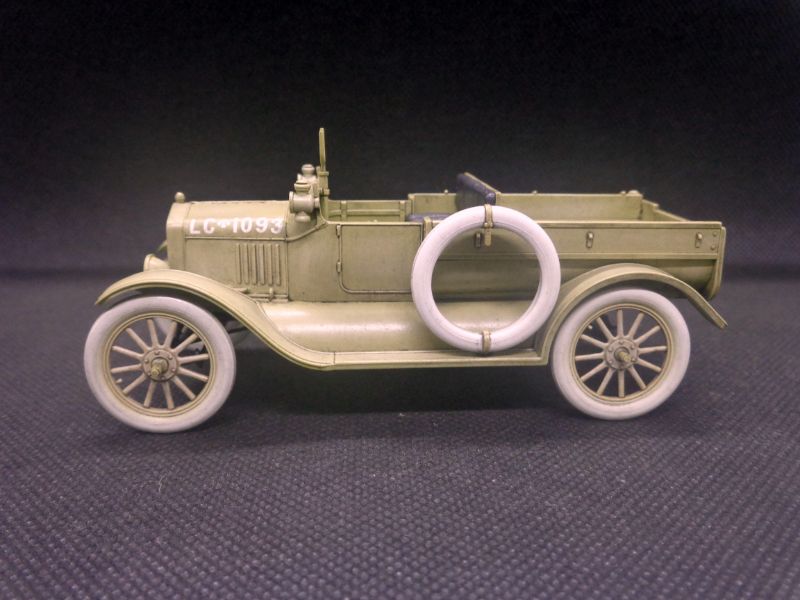
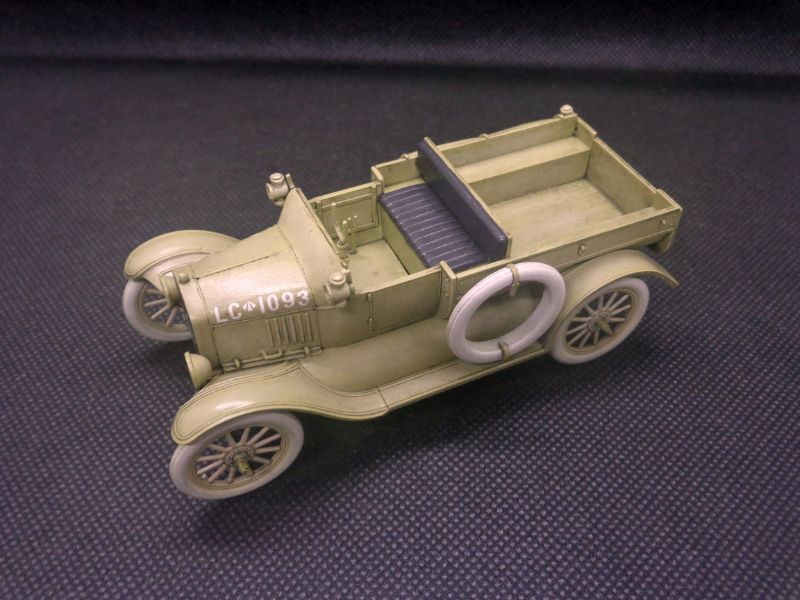
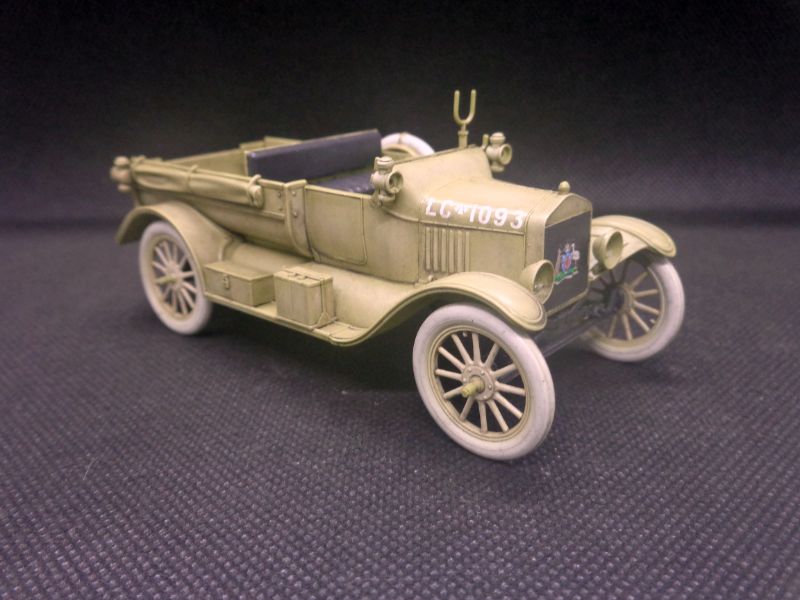
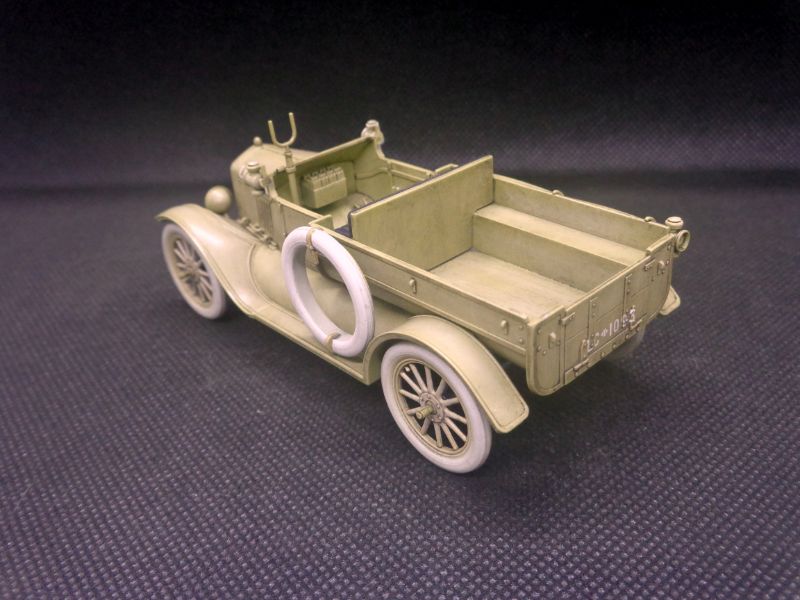
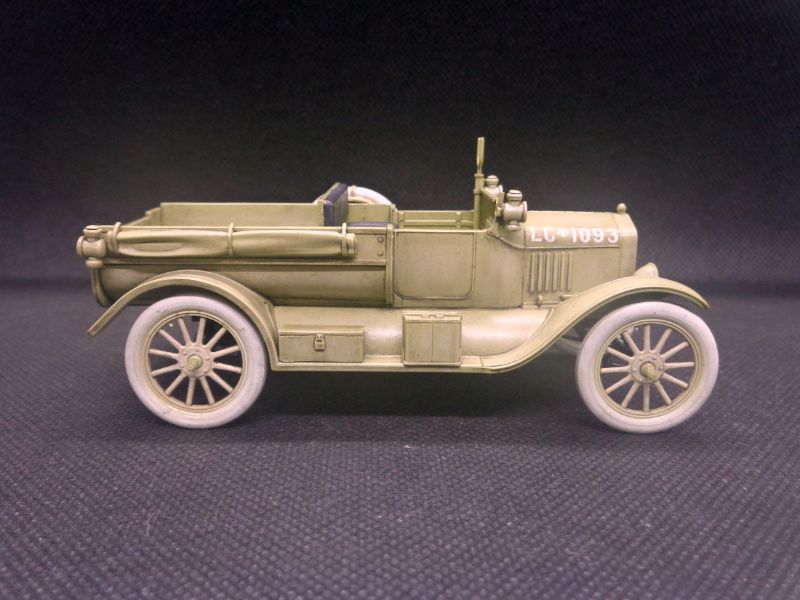
After several months, paint added. First dark yellow for the base and then lighthened with white. Then detaiIs painted and decals added. Finally, some oils for washes.
And this is the result:

To be continued…

11 Likes

That Model T looks right, a very hard task to accomplish. I have seen many models in several different scales that tried to capture the elusive shapes. ICM got it right with their kits of the steel radiator Ts. Their brass radiator kits missed the mark someplace. I have one of each of the real Ts in my garage so I’m probably a tougher judge than most.

Paul

3 Likes

Looks great, Tomas! A very nice faded subtle finish.

2 Likes

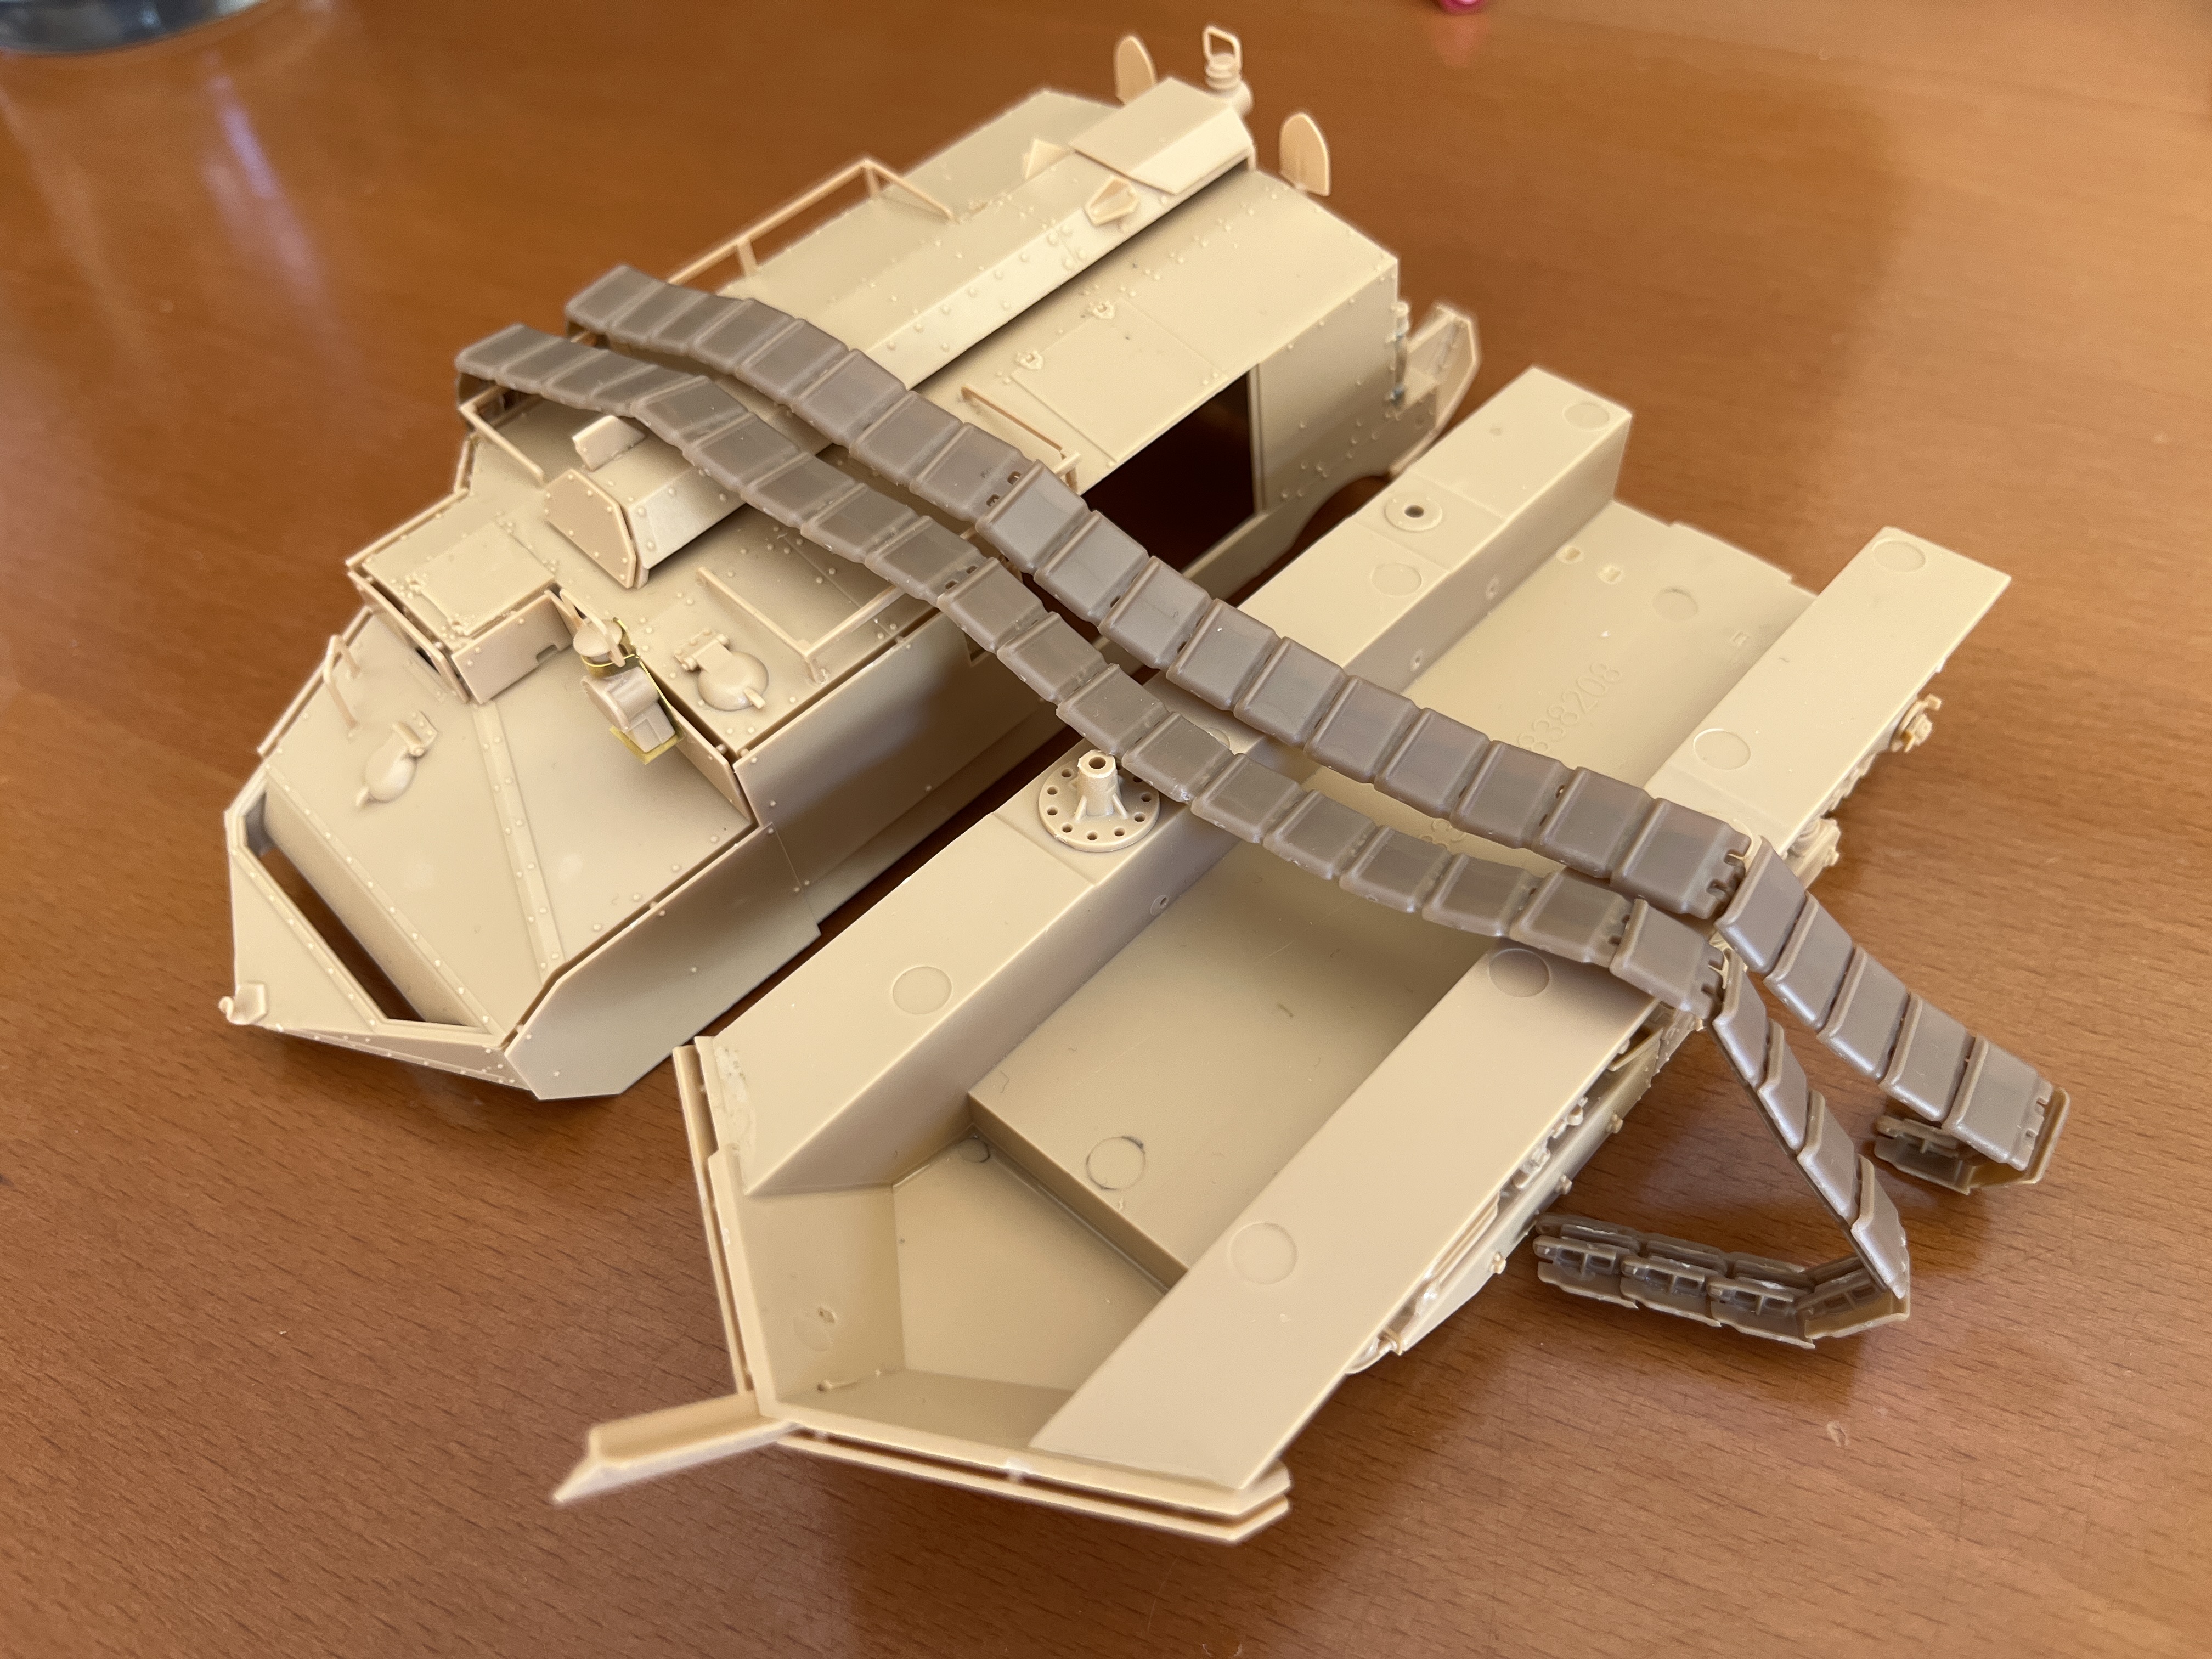
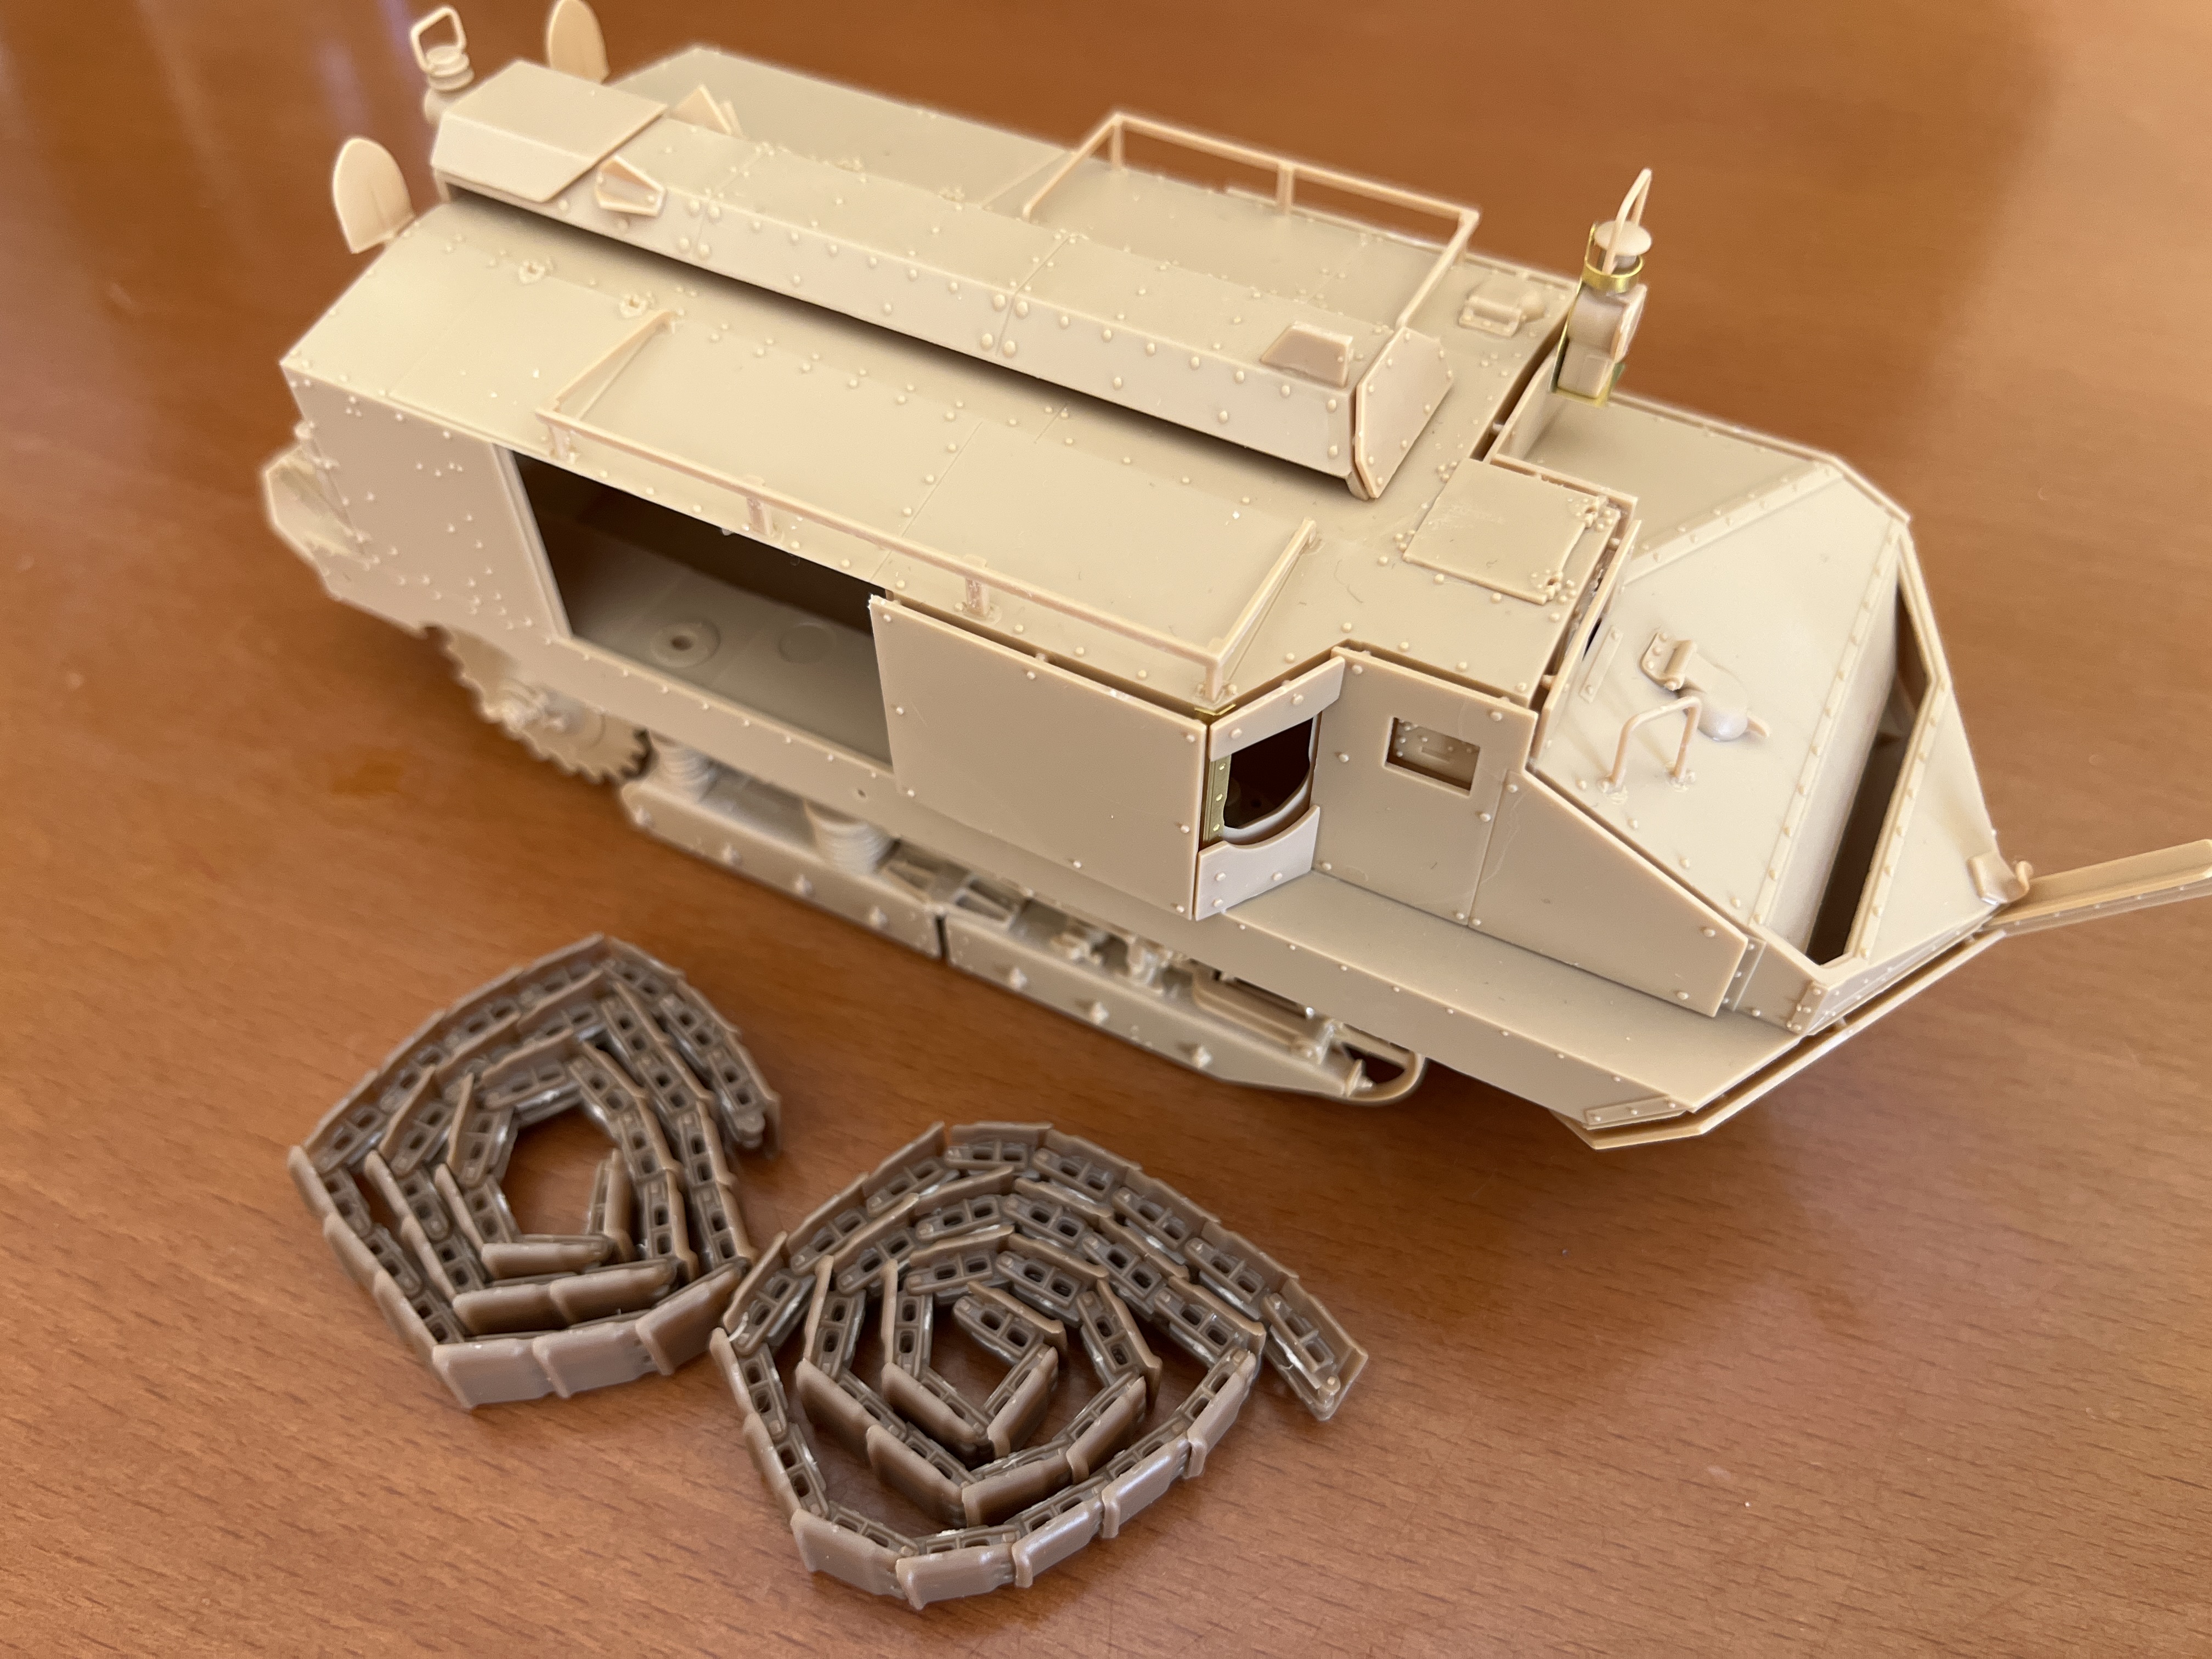
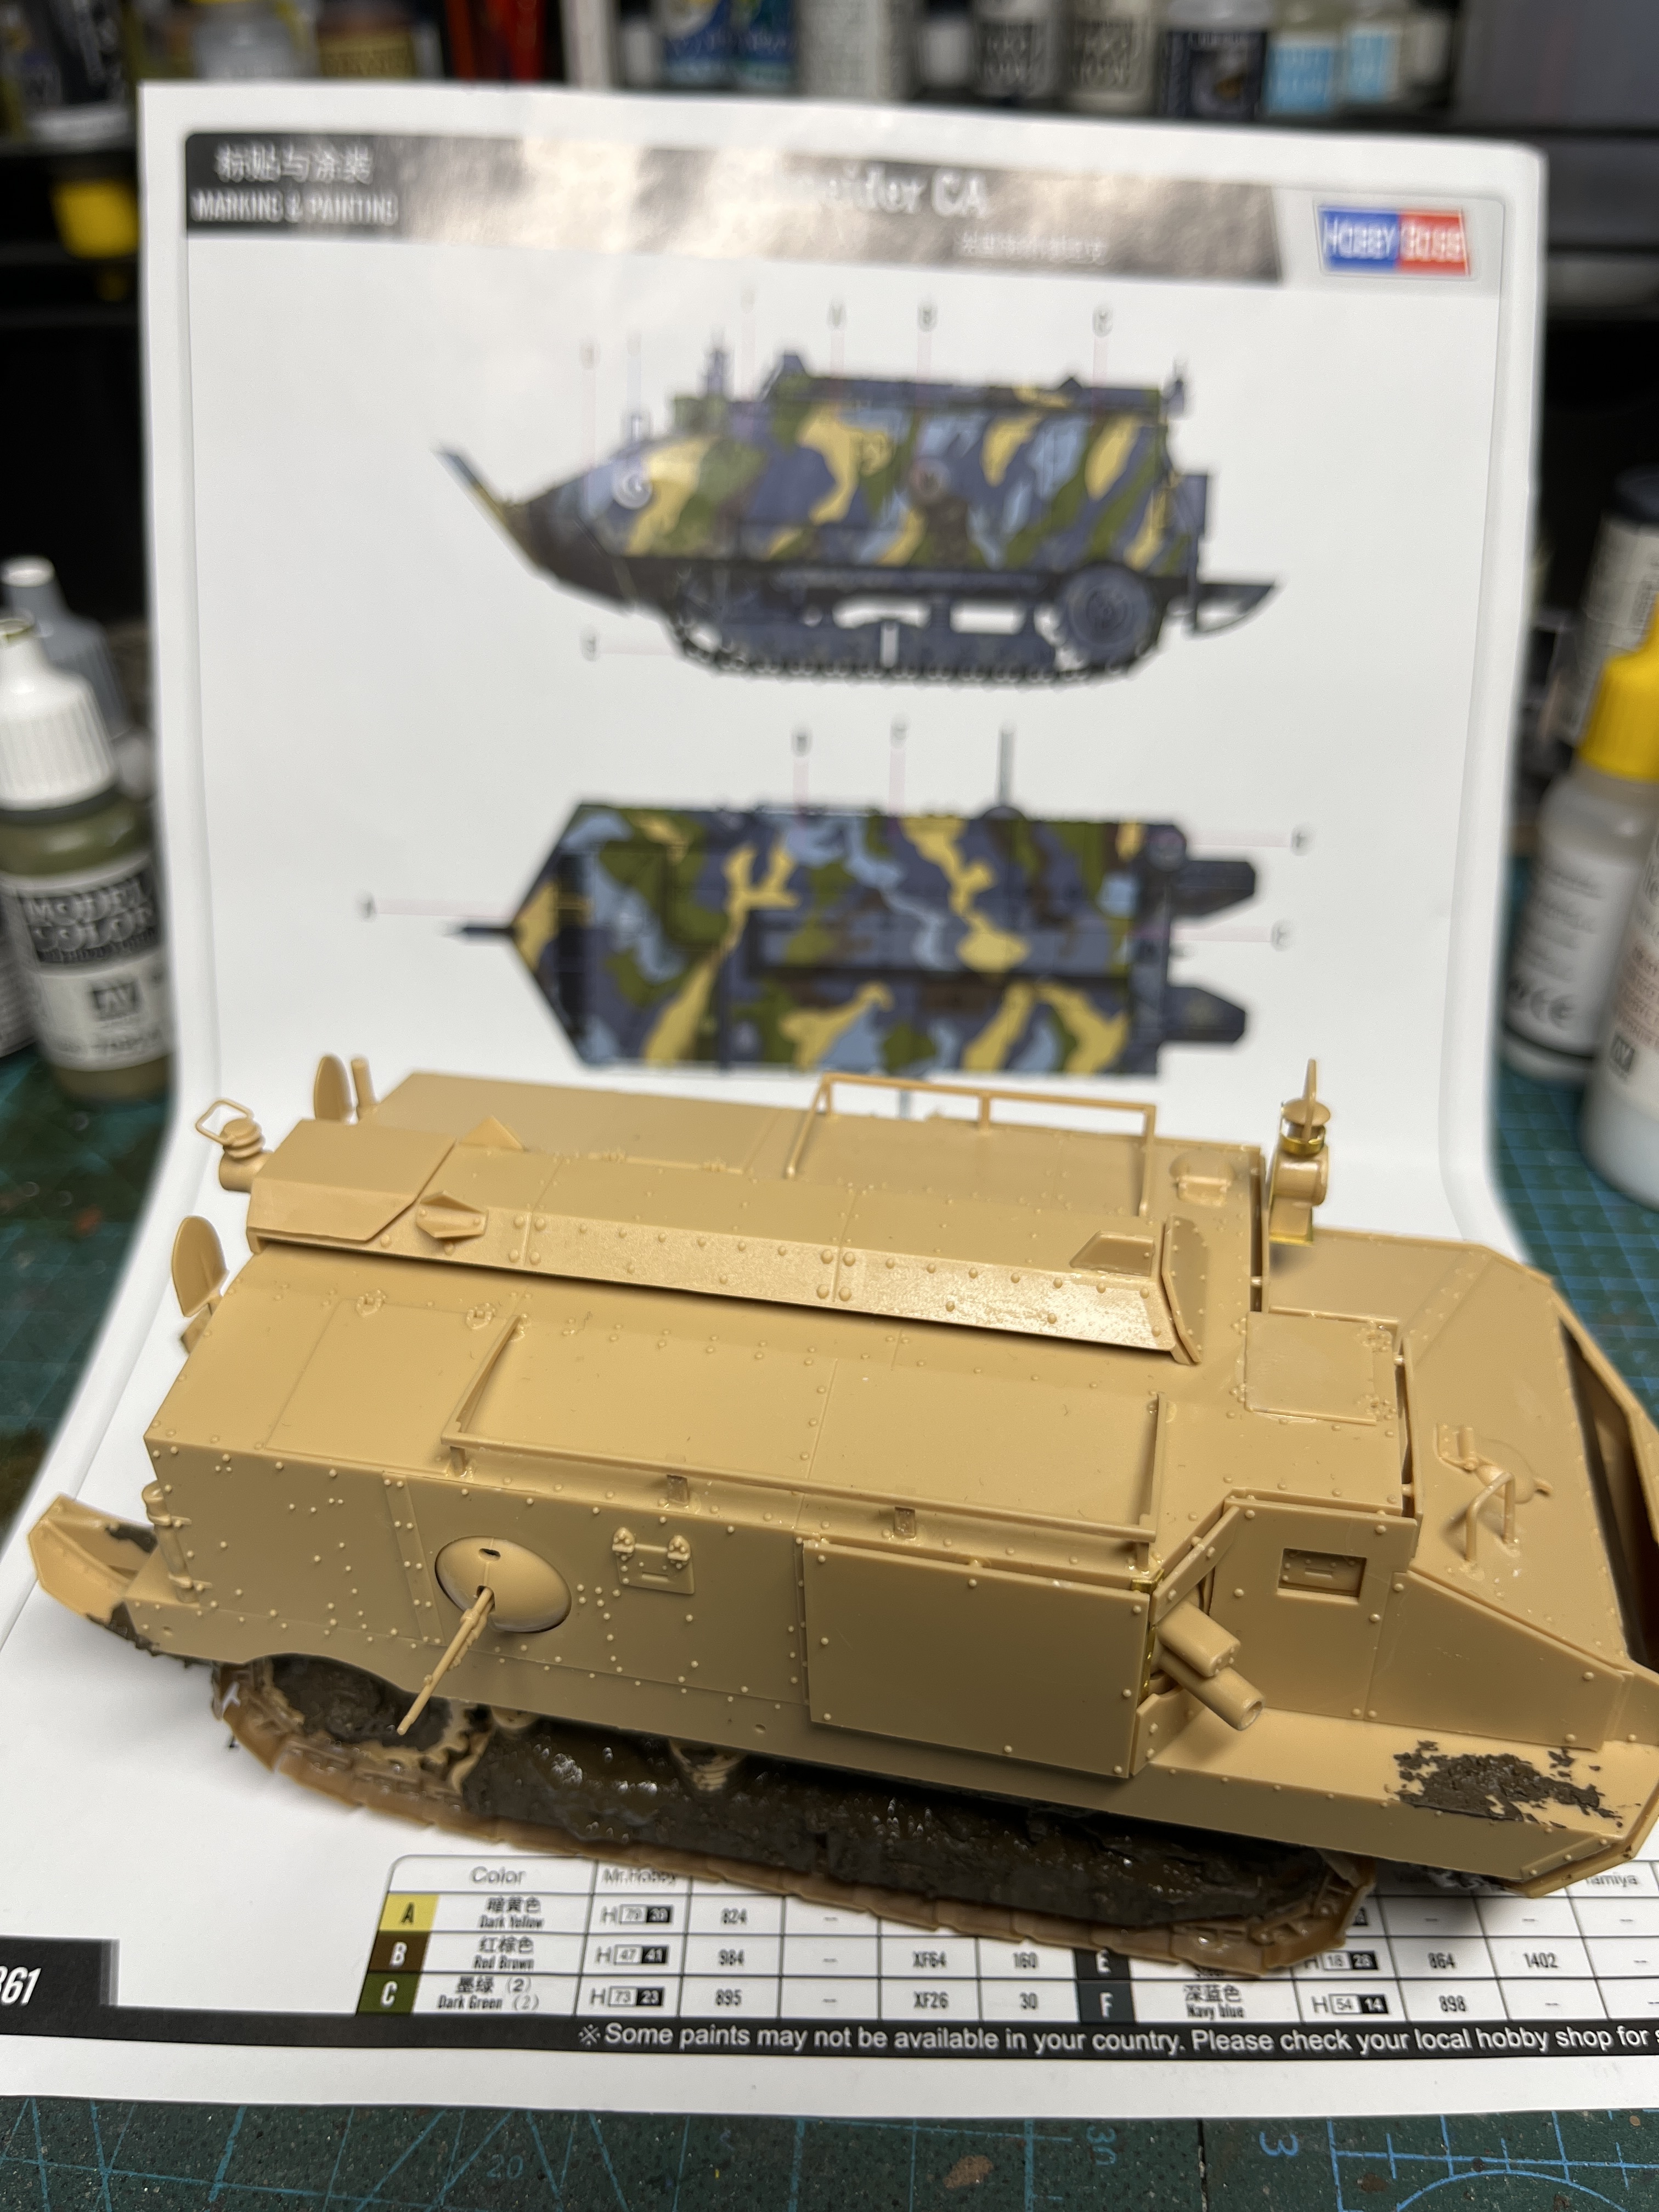
Finally construction is done. Half the time spend on cleaning and gluing the tracks. Worth it in the end. Looks stunning when finished.

Hope my painting will do it justice.

More to follow :slightly_smiling_face:

11 Likes

Hi Everyone,

Tomas and Jesper, very nice work! Till next time has come! I’ve made a bit of progress, so here goes.

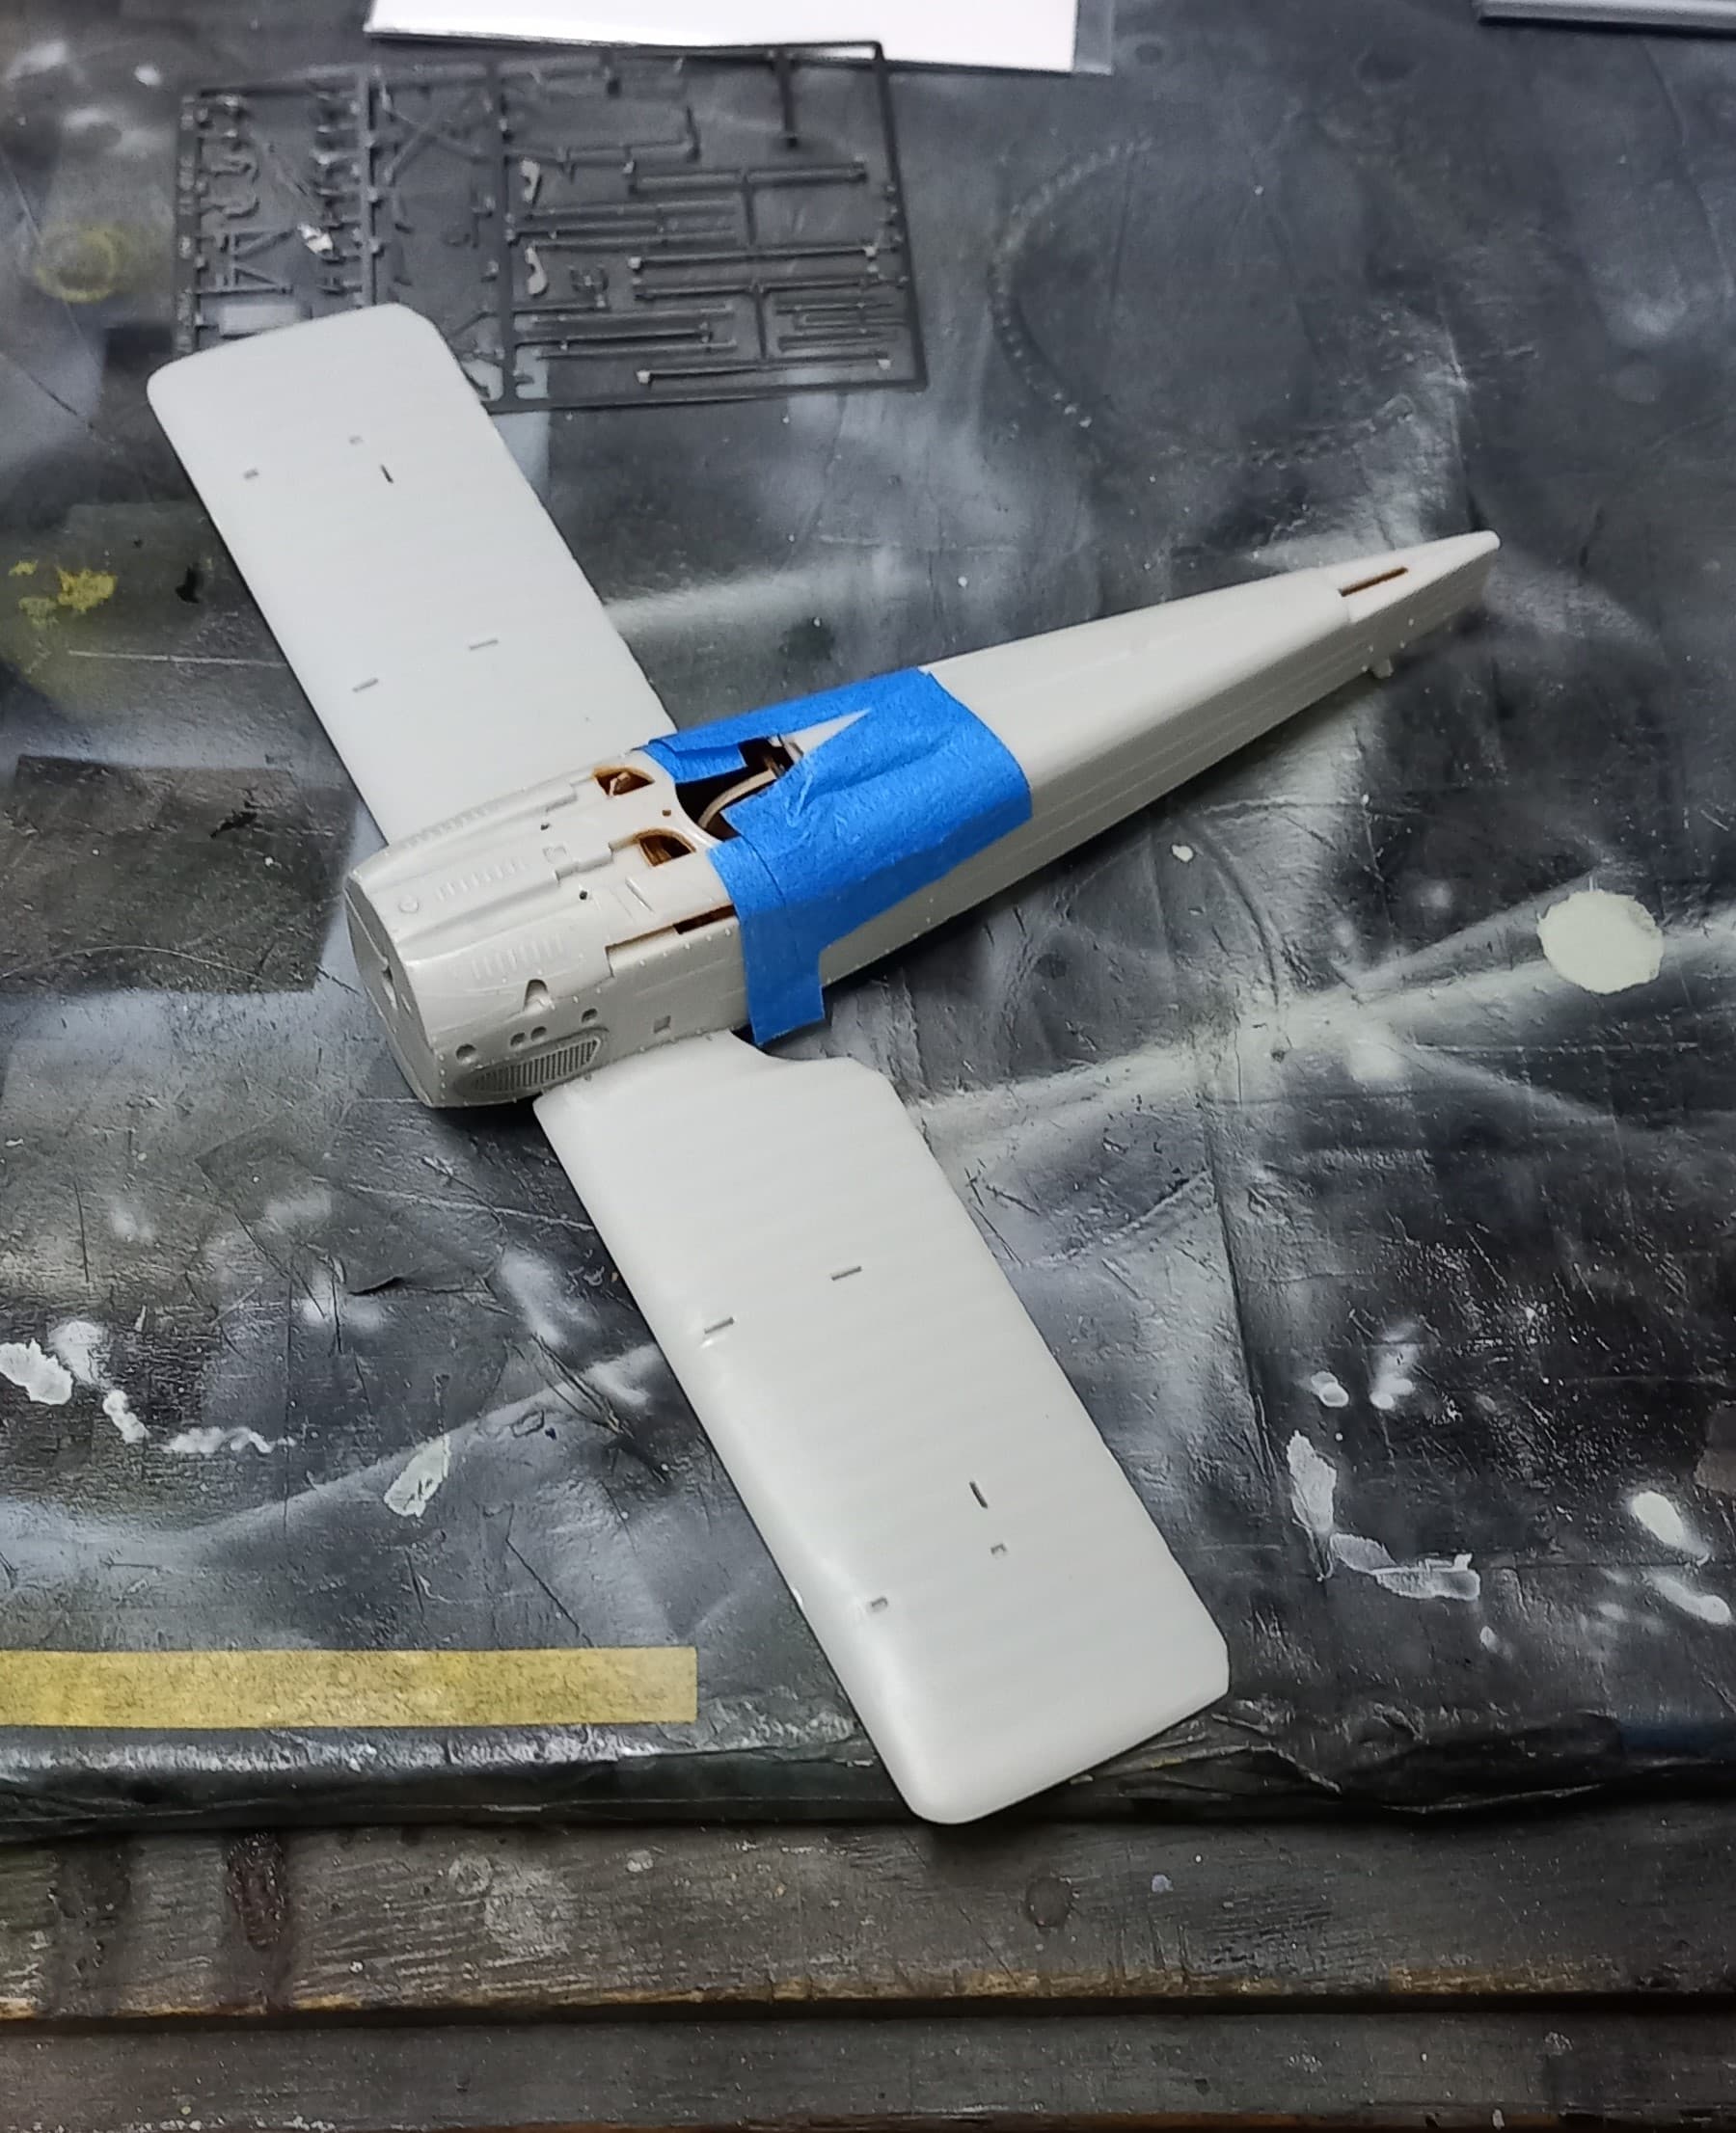
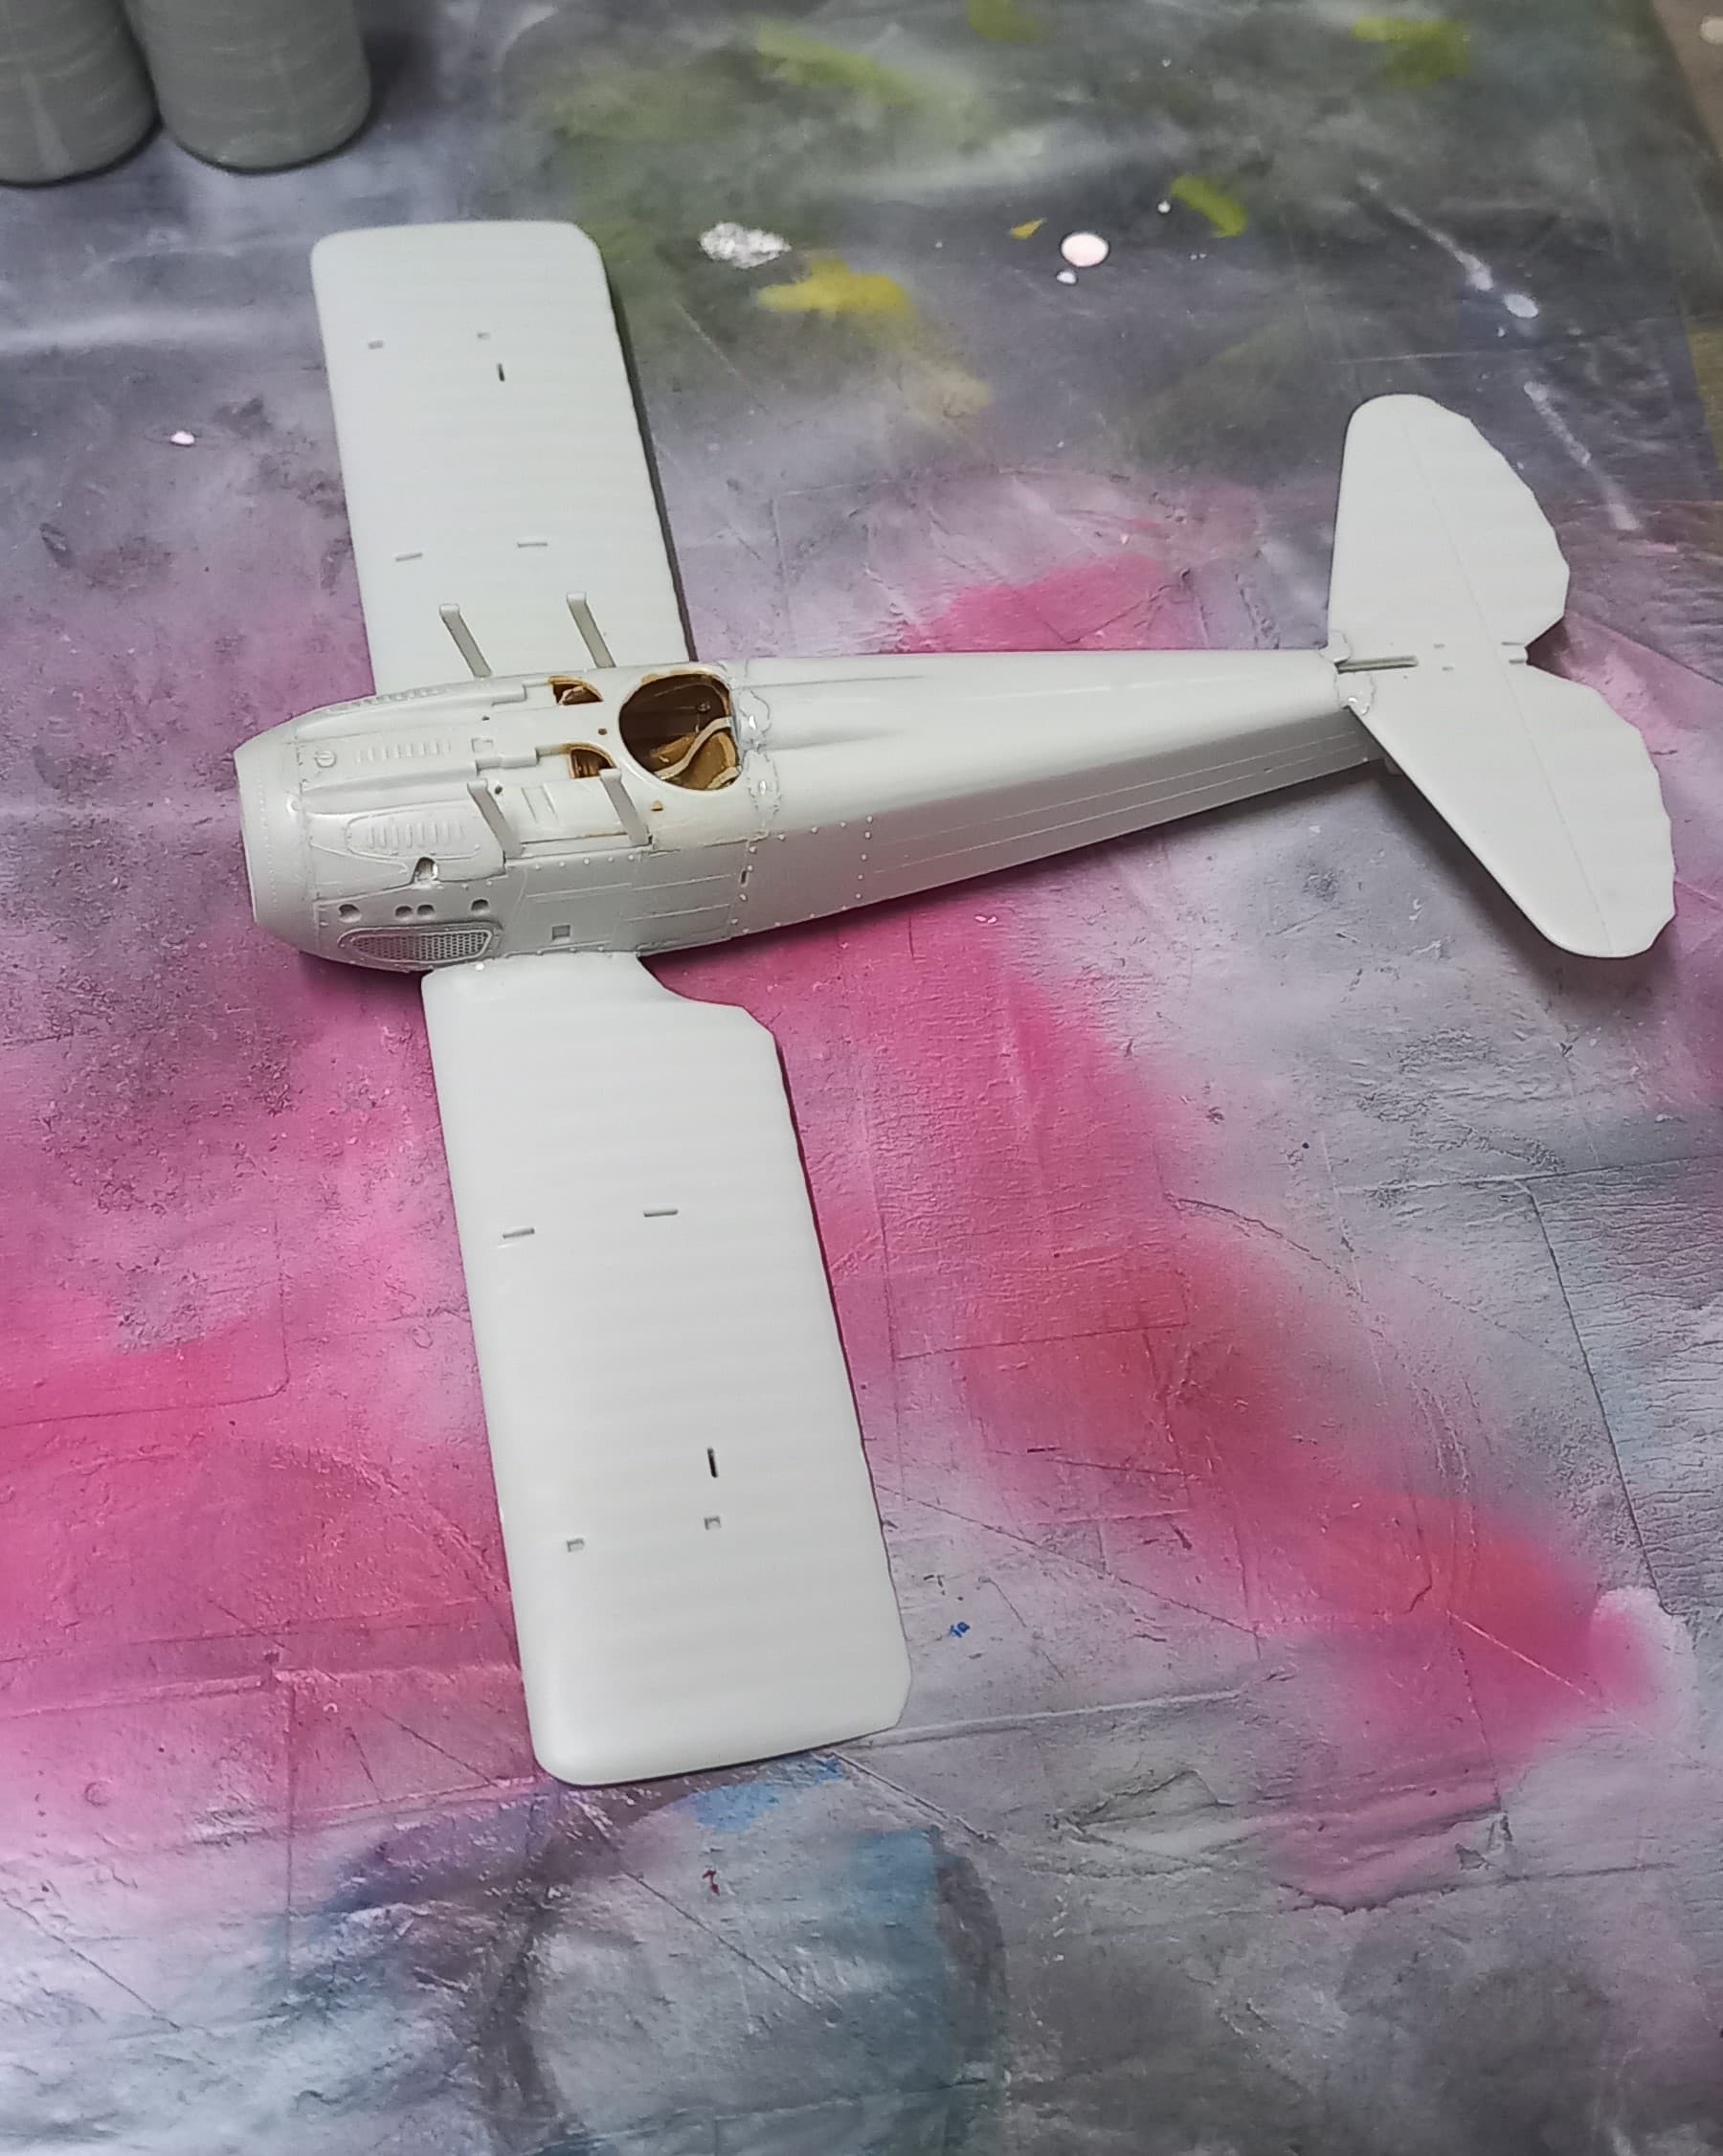
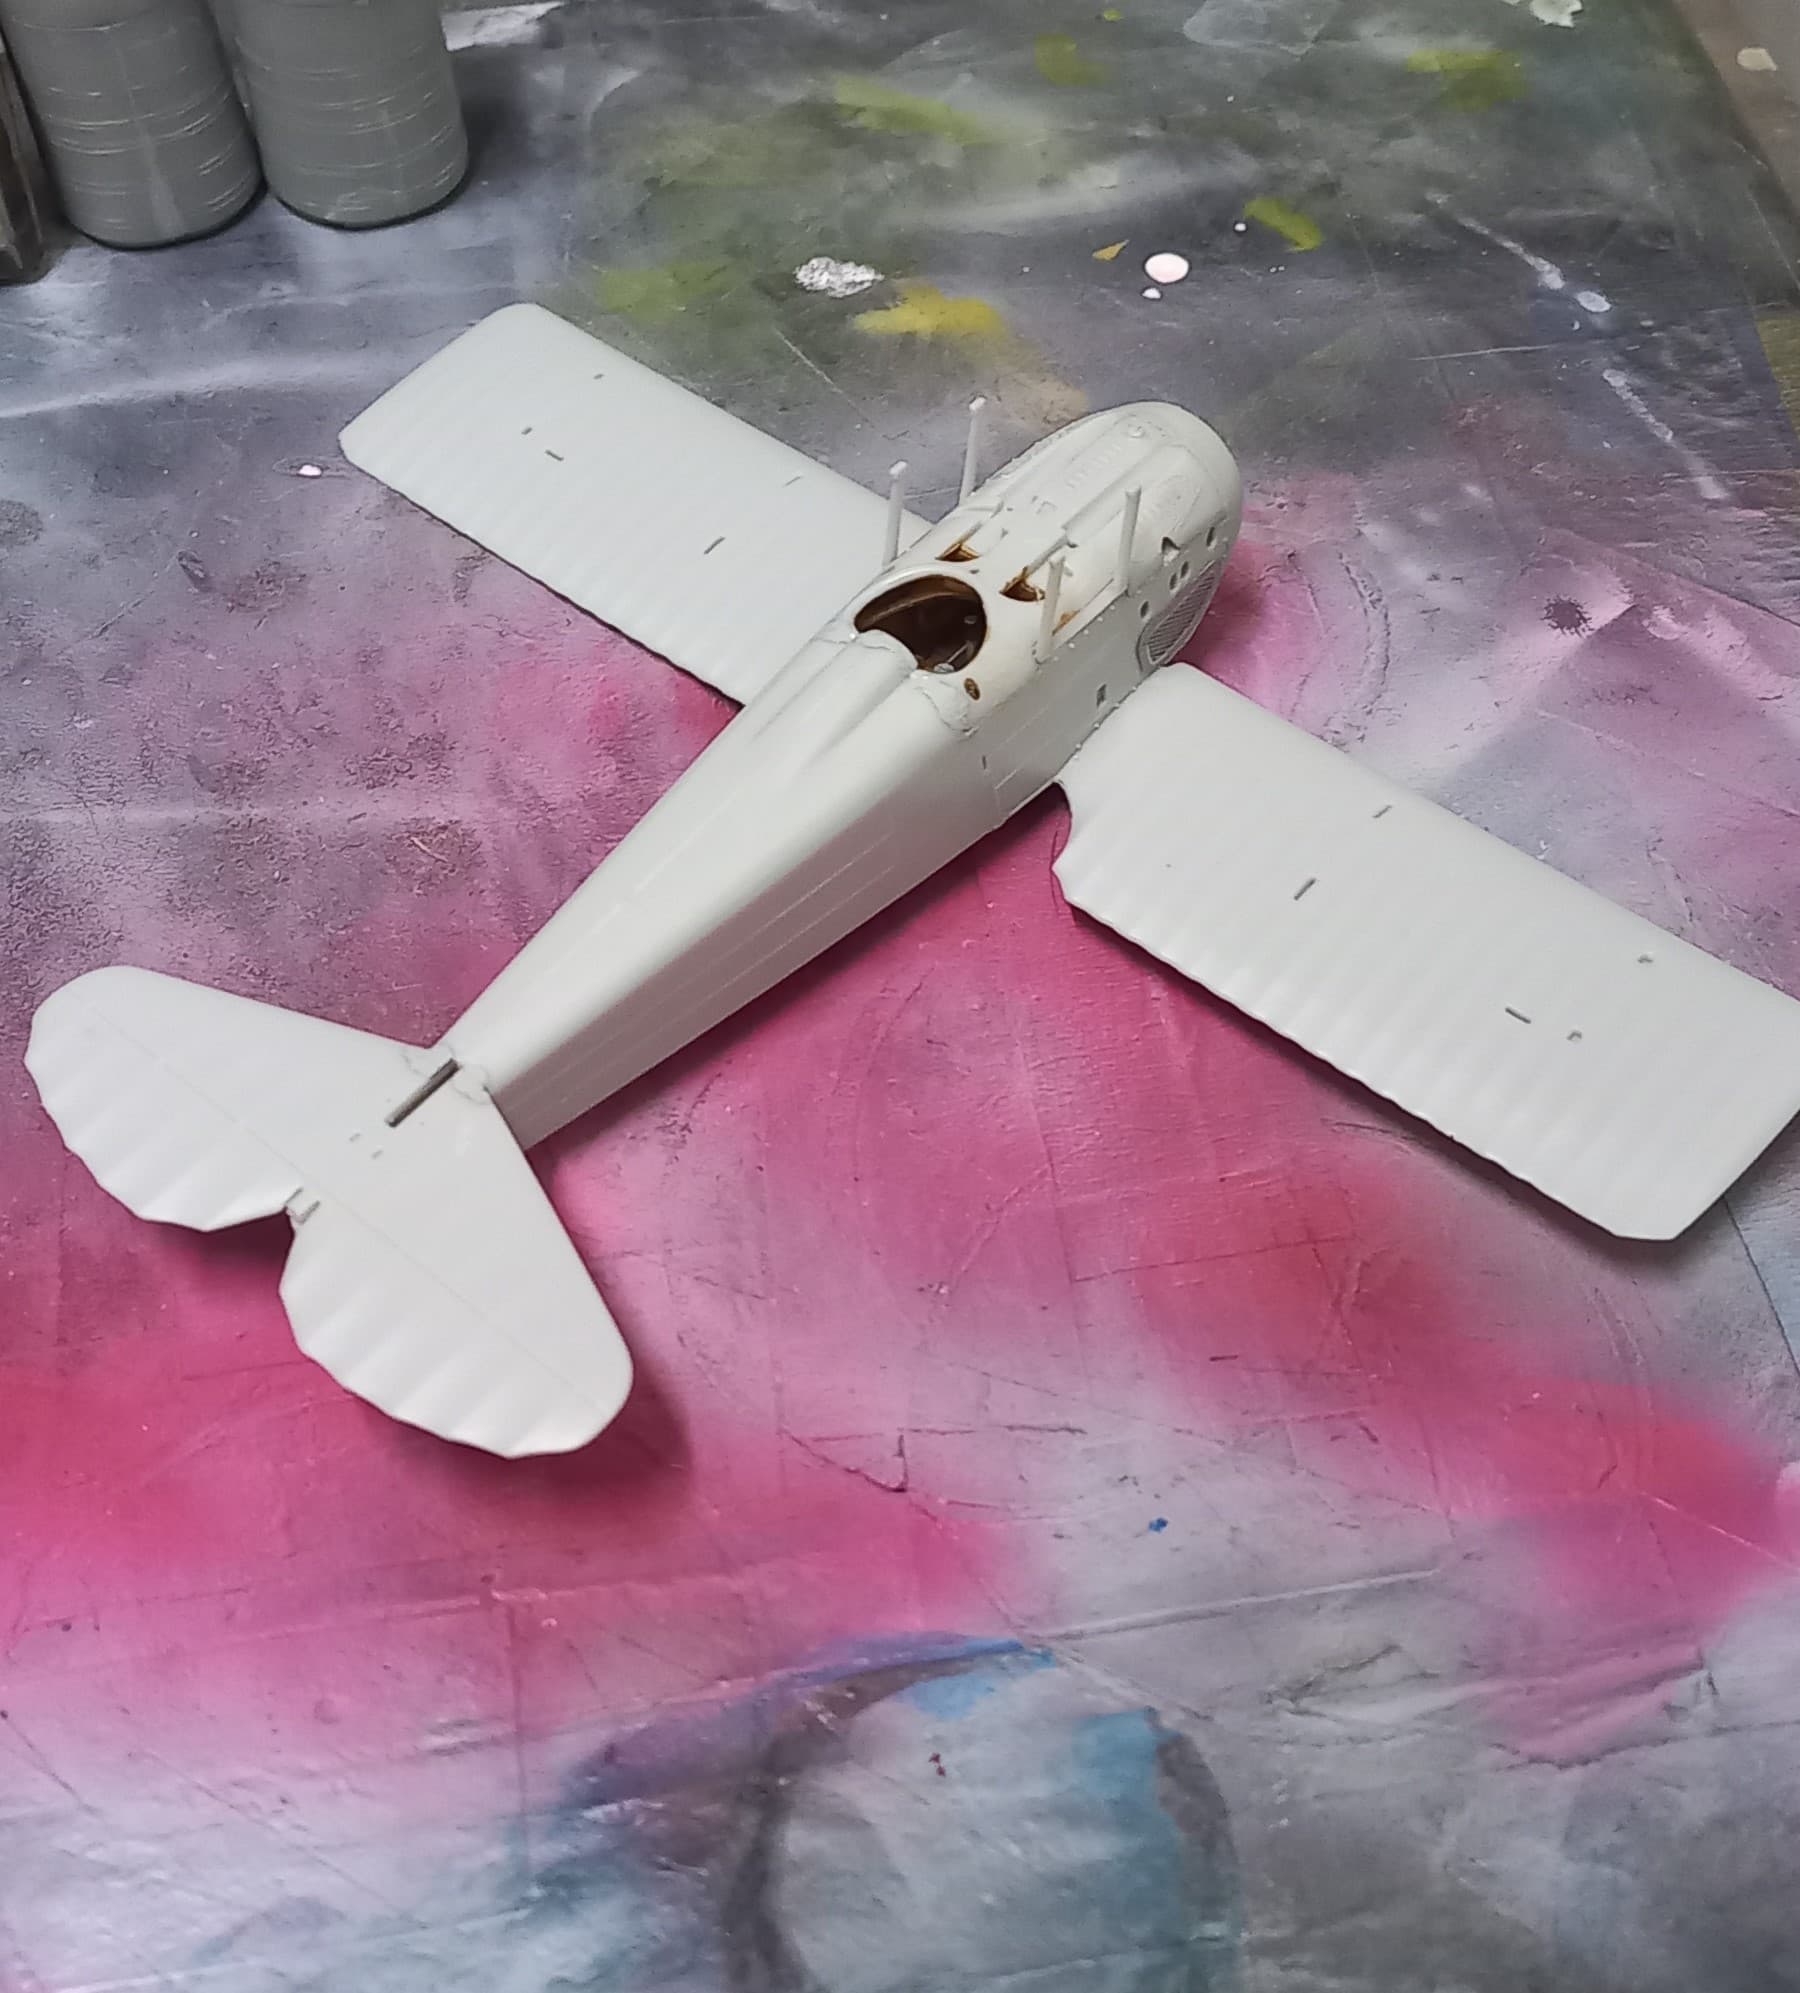
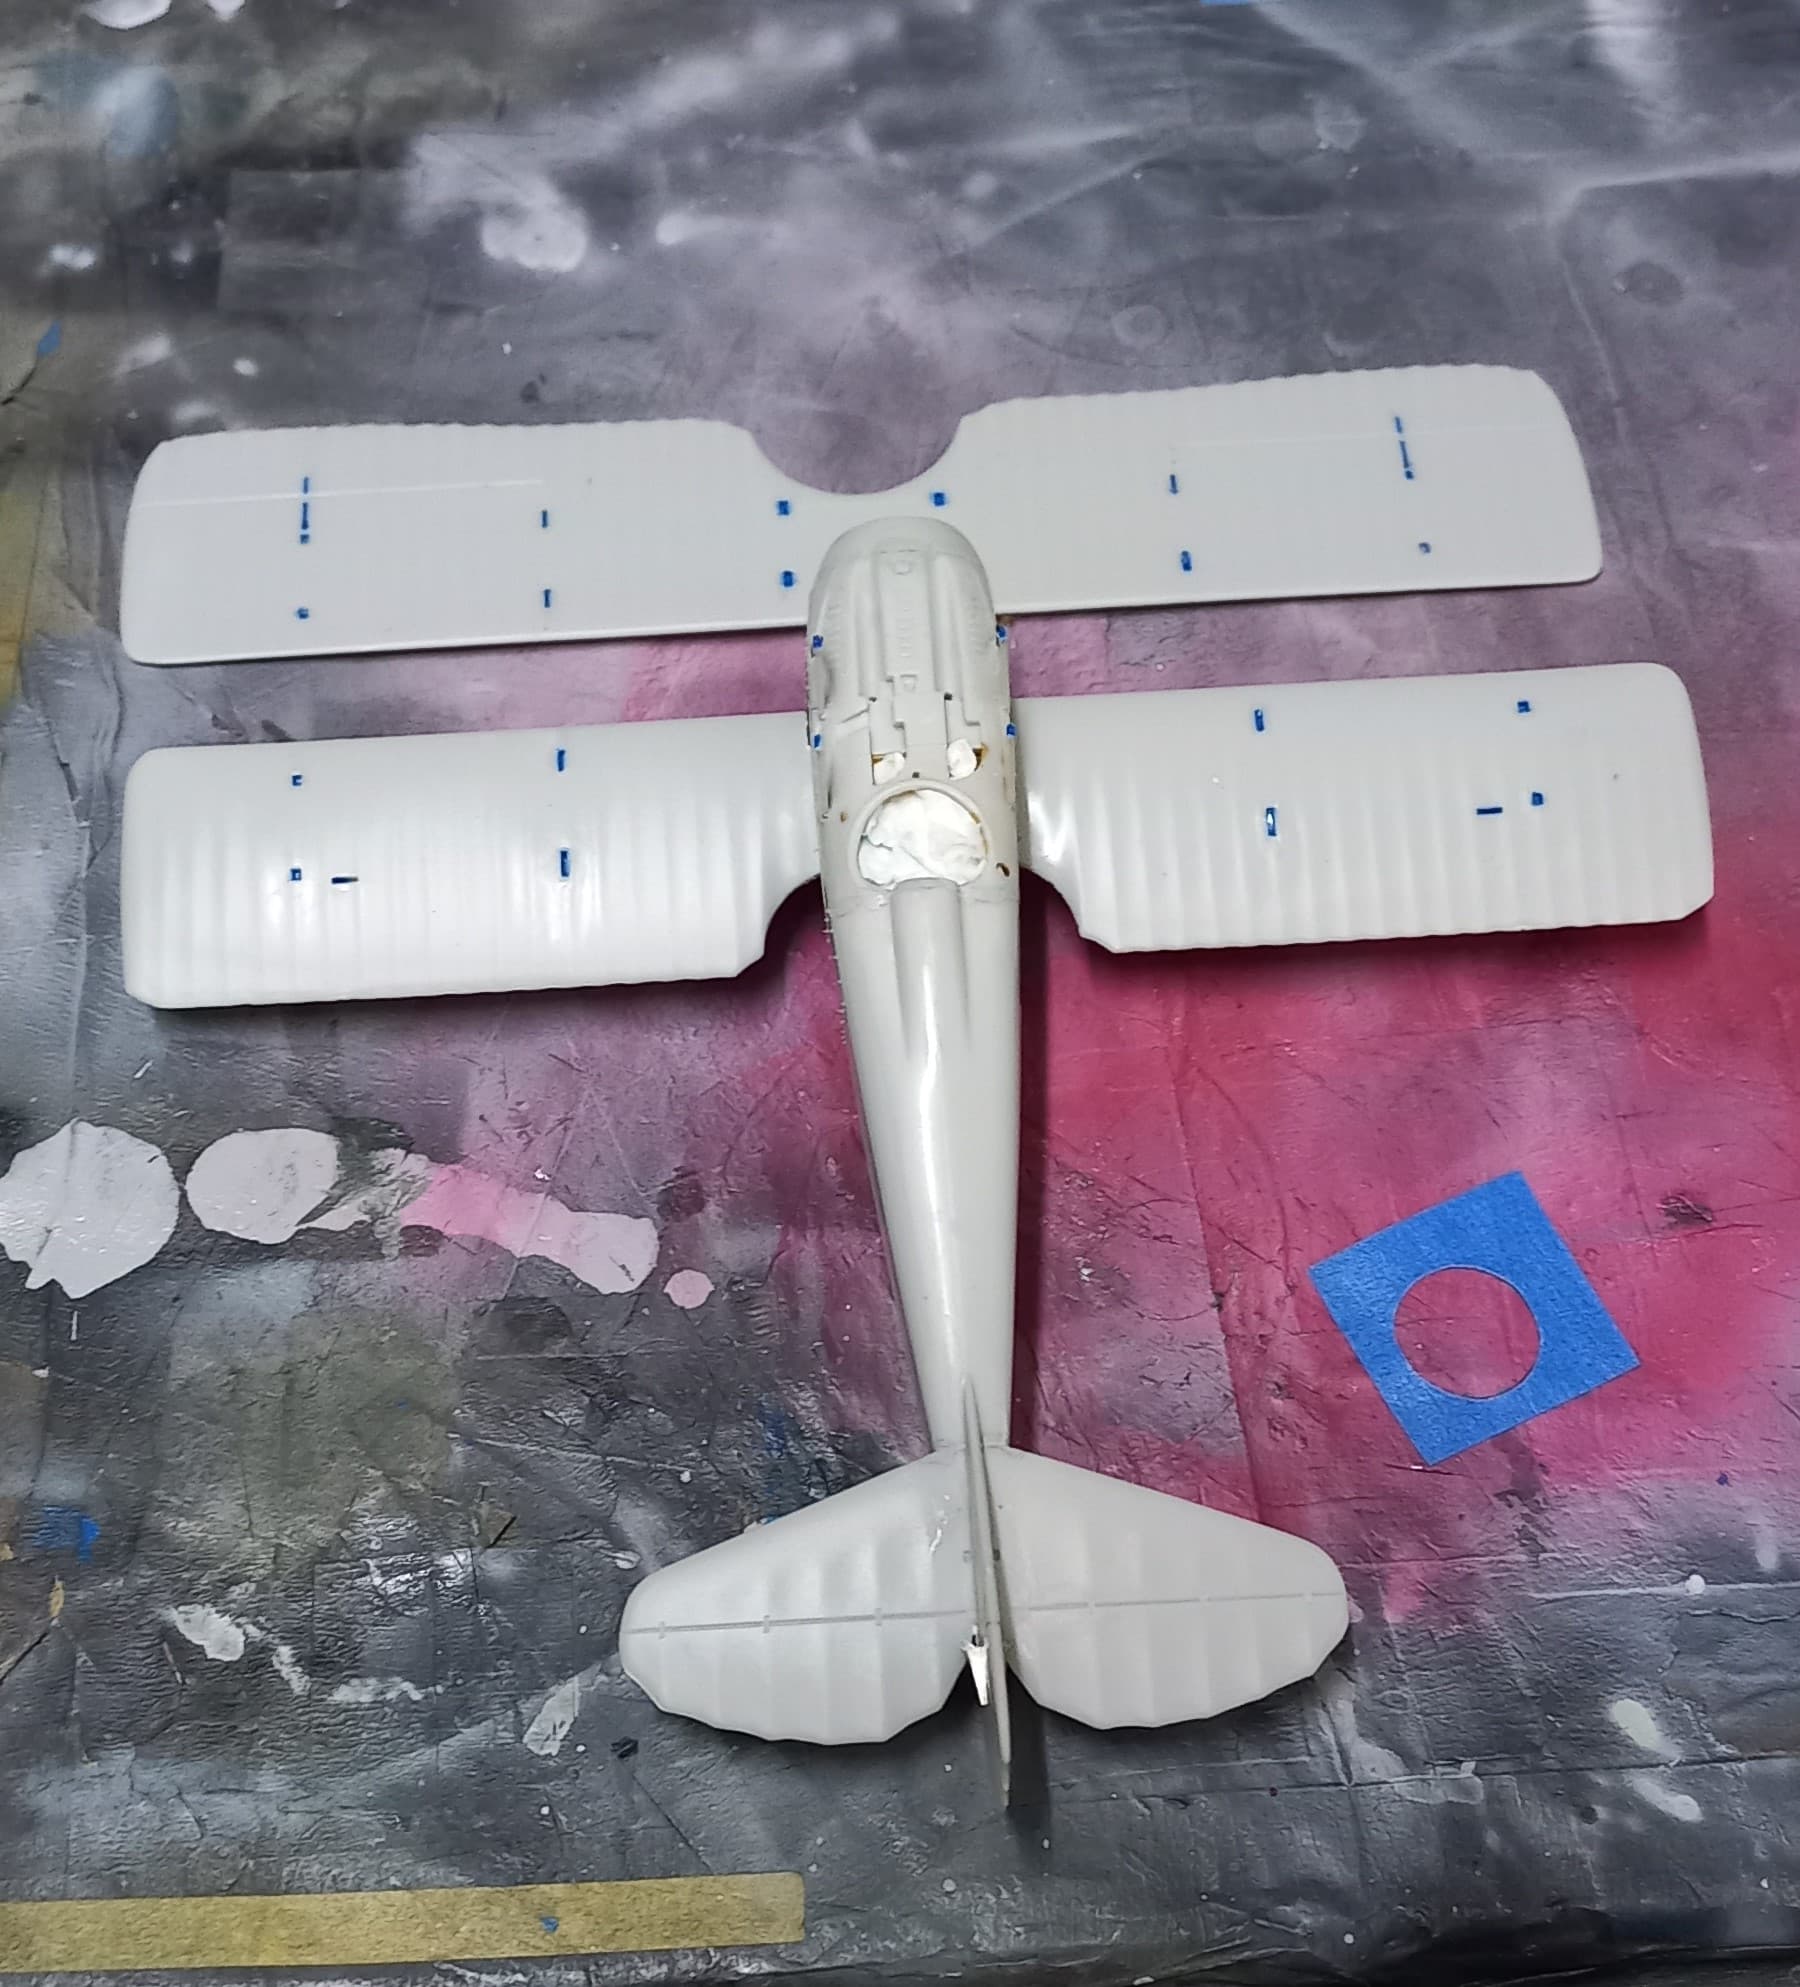
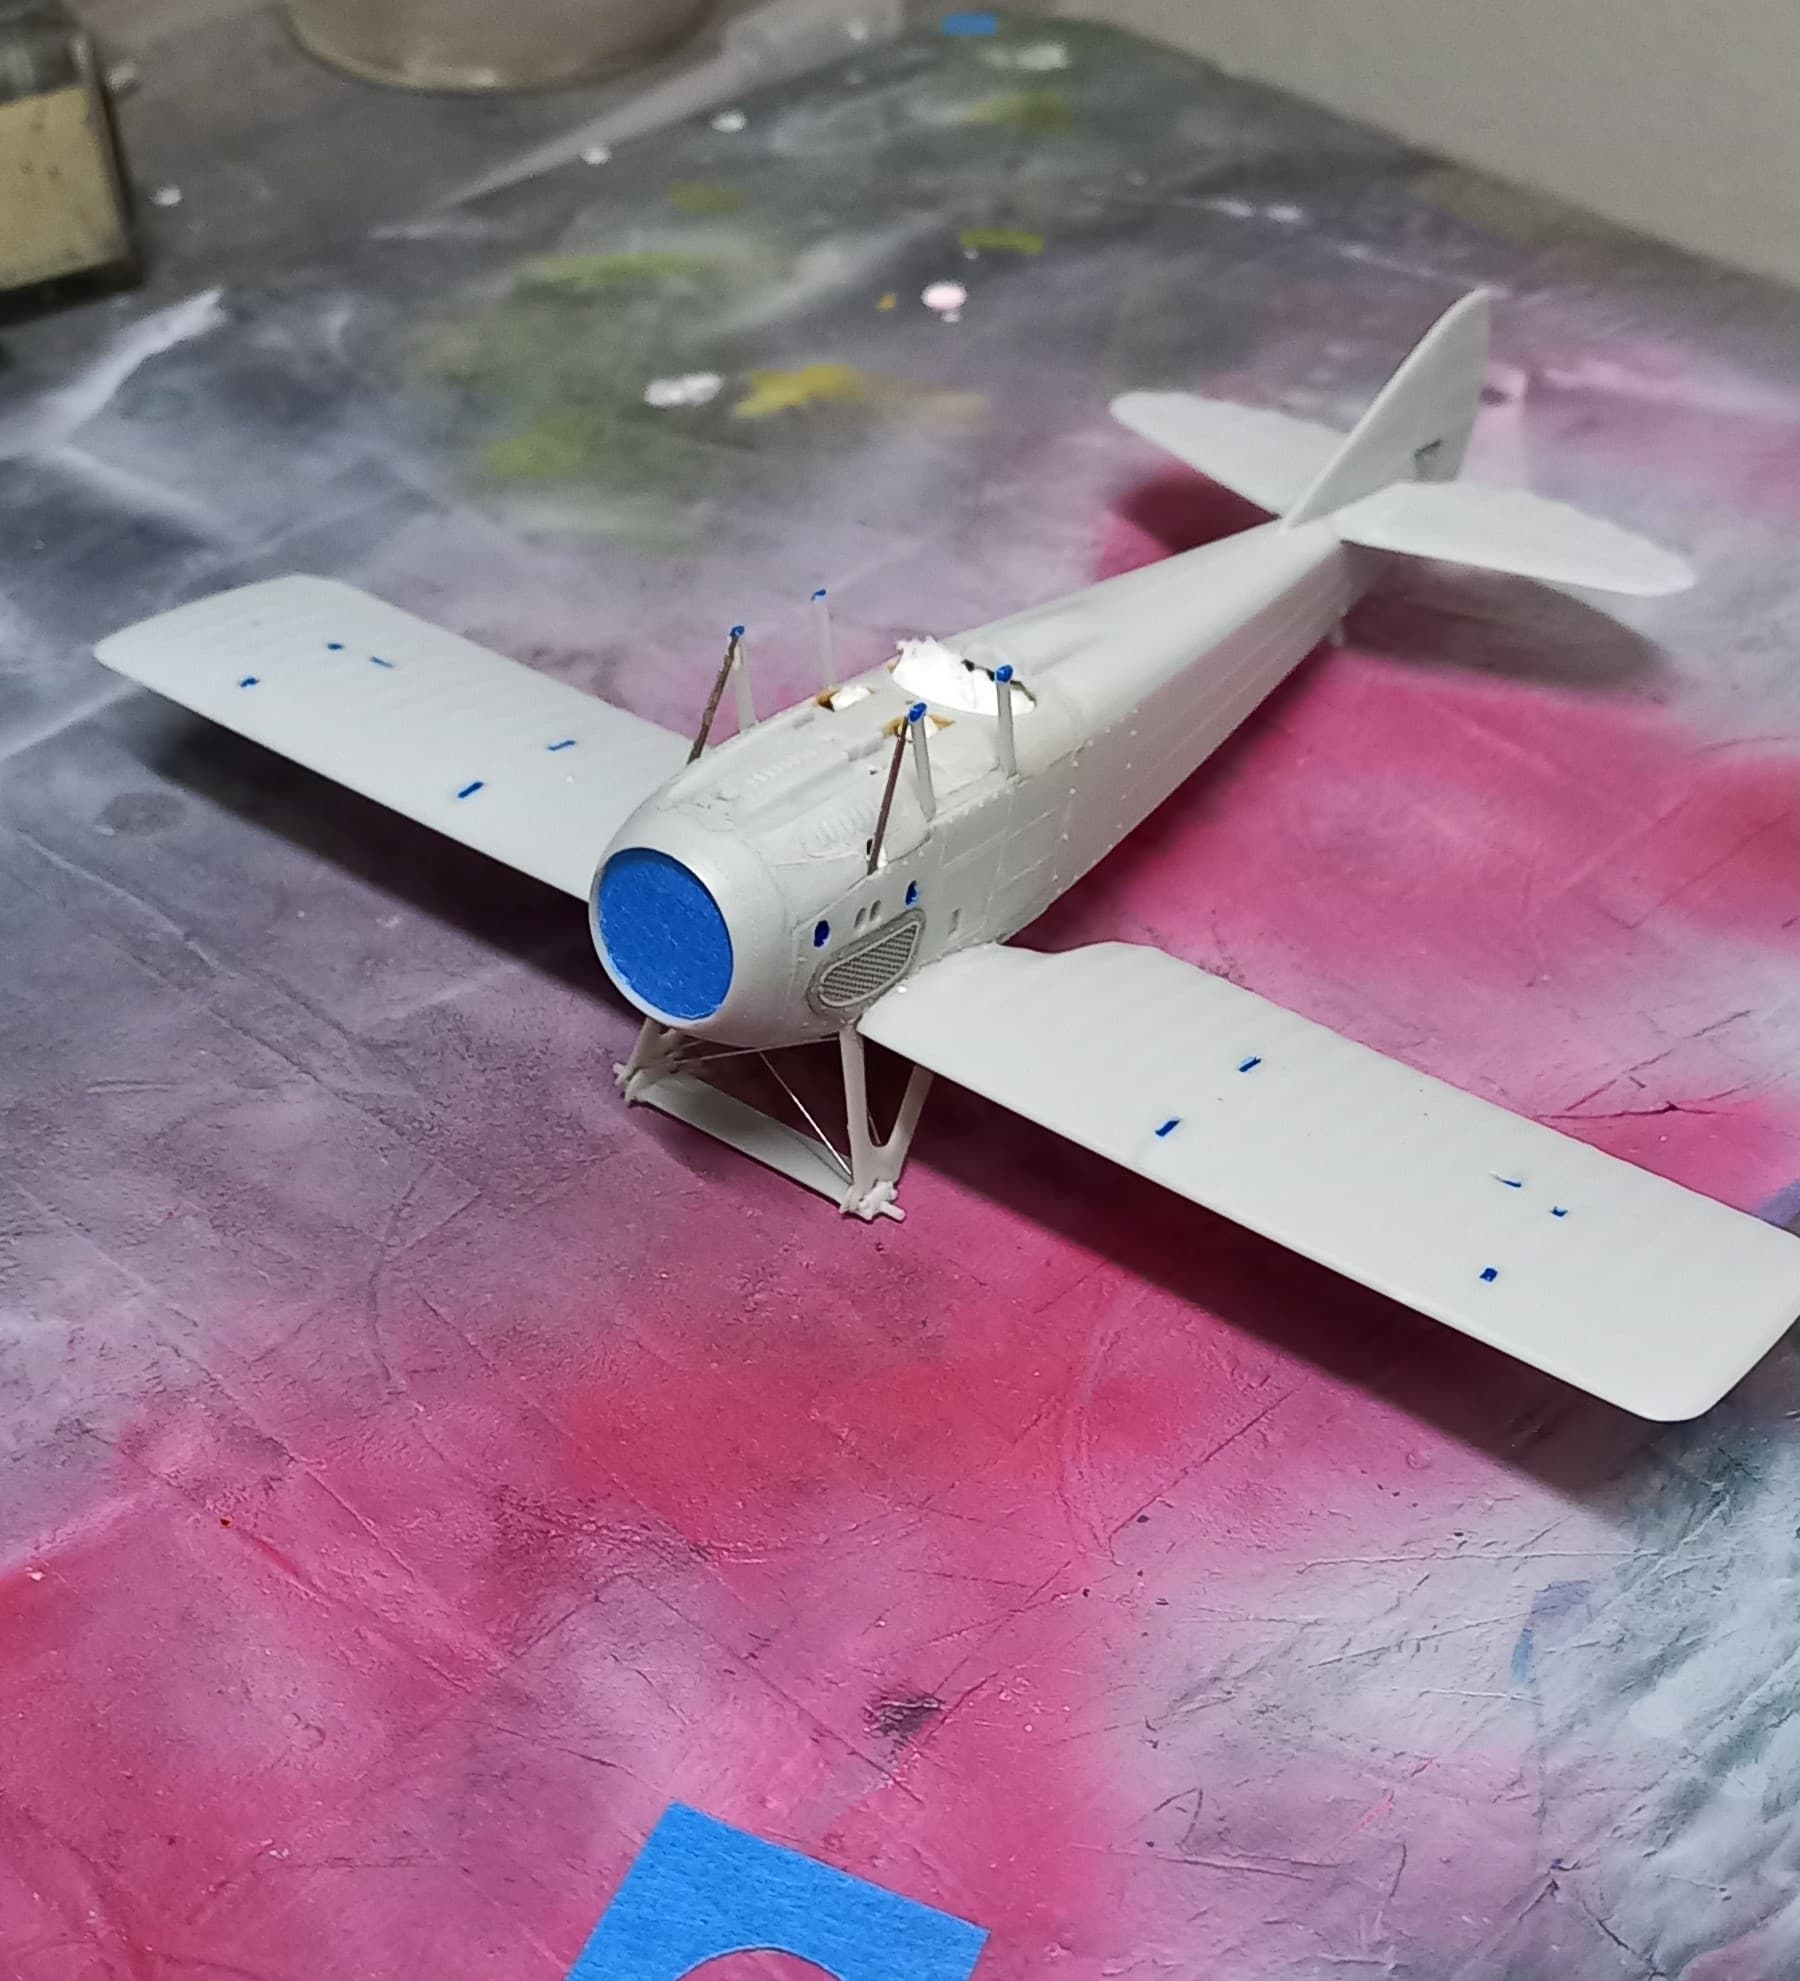
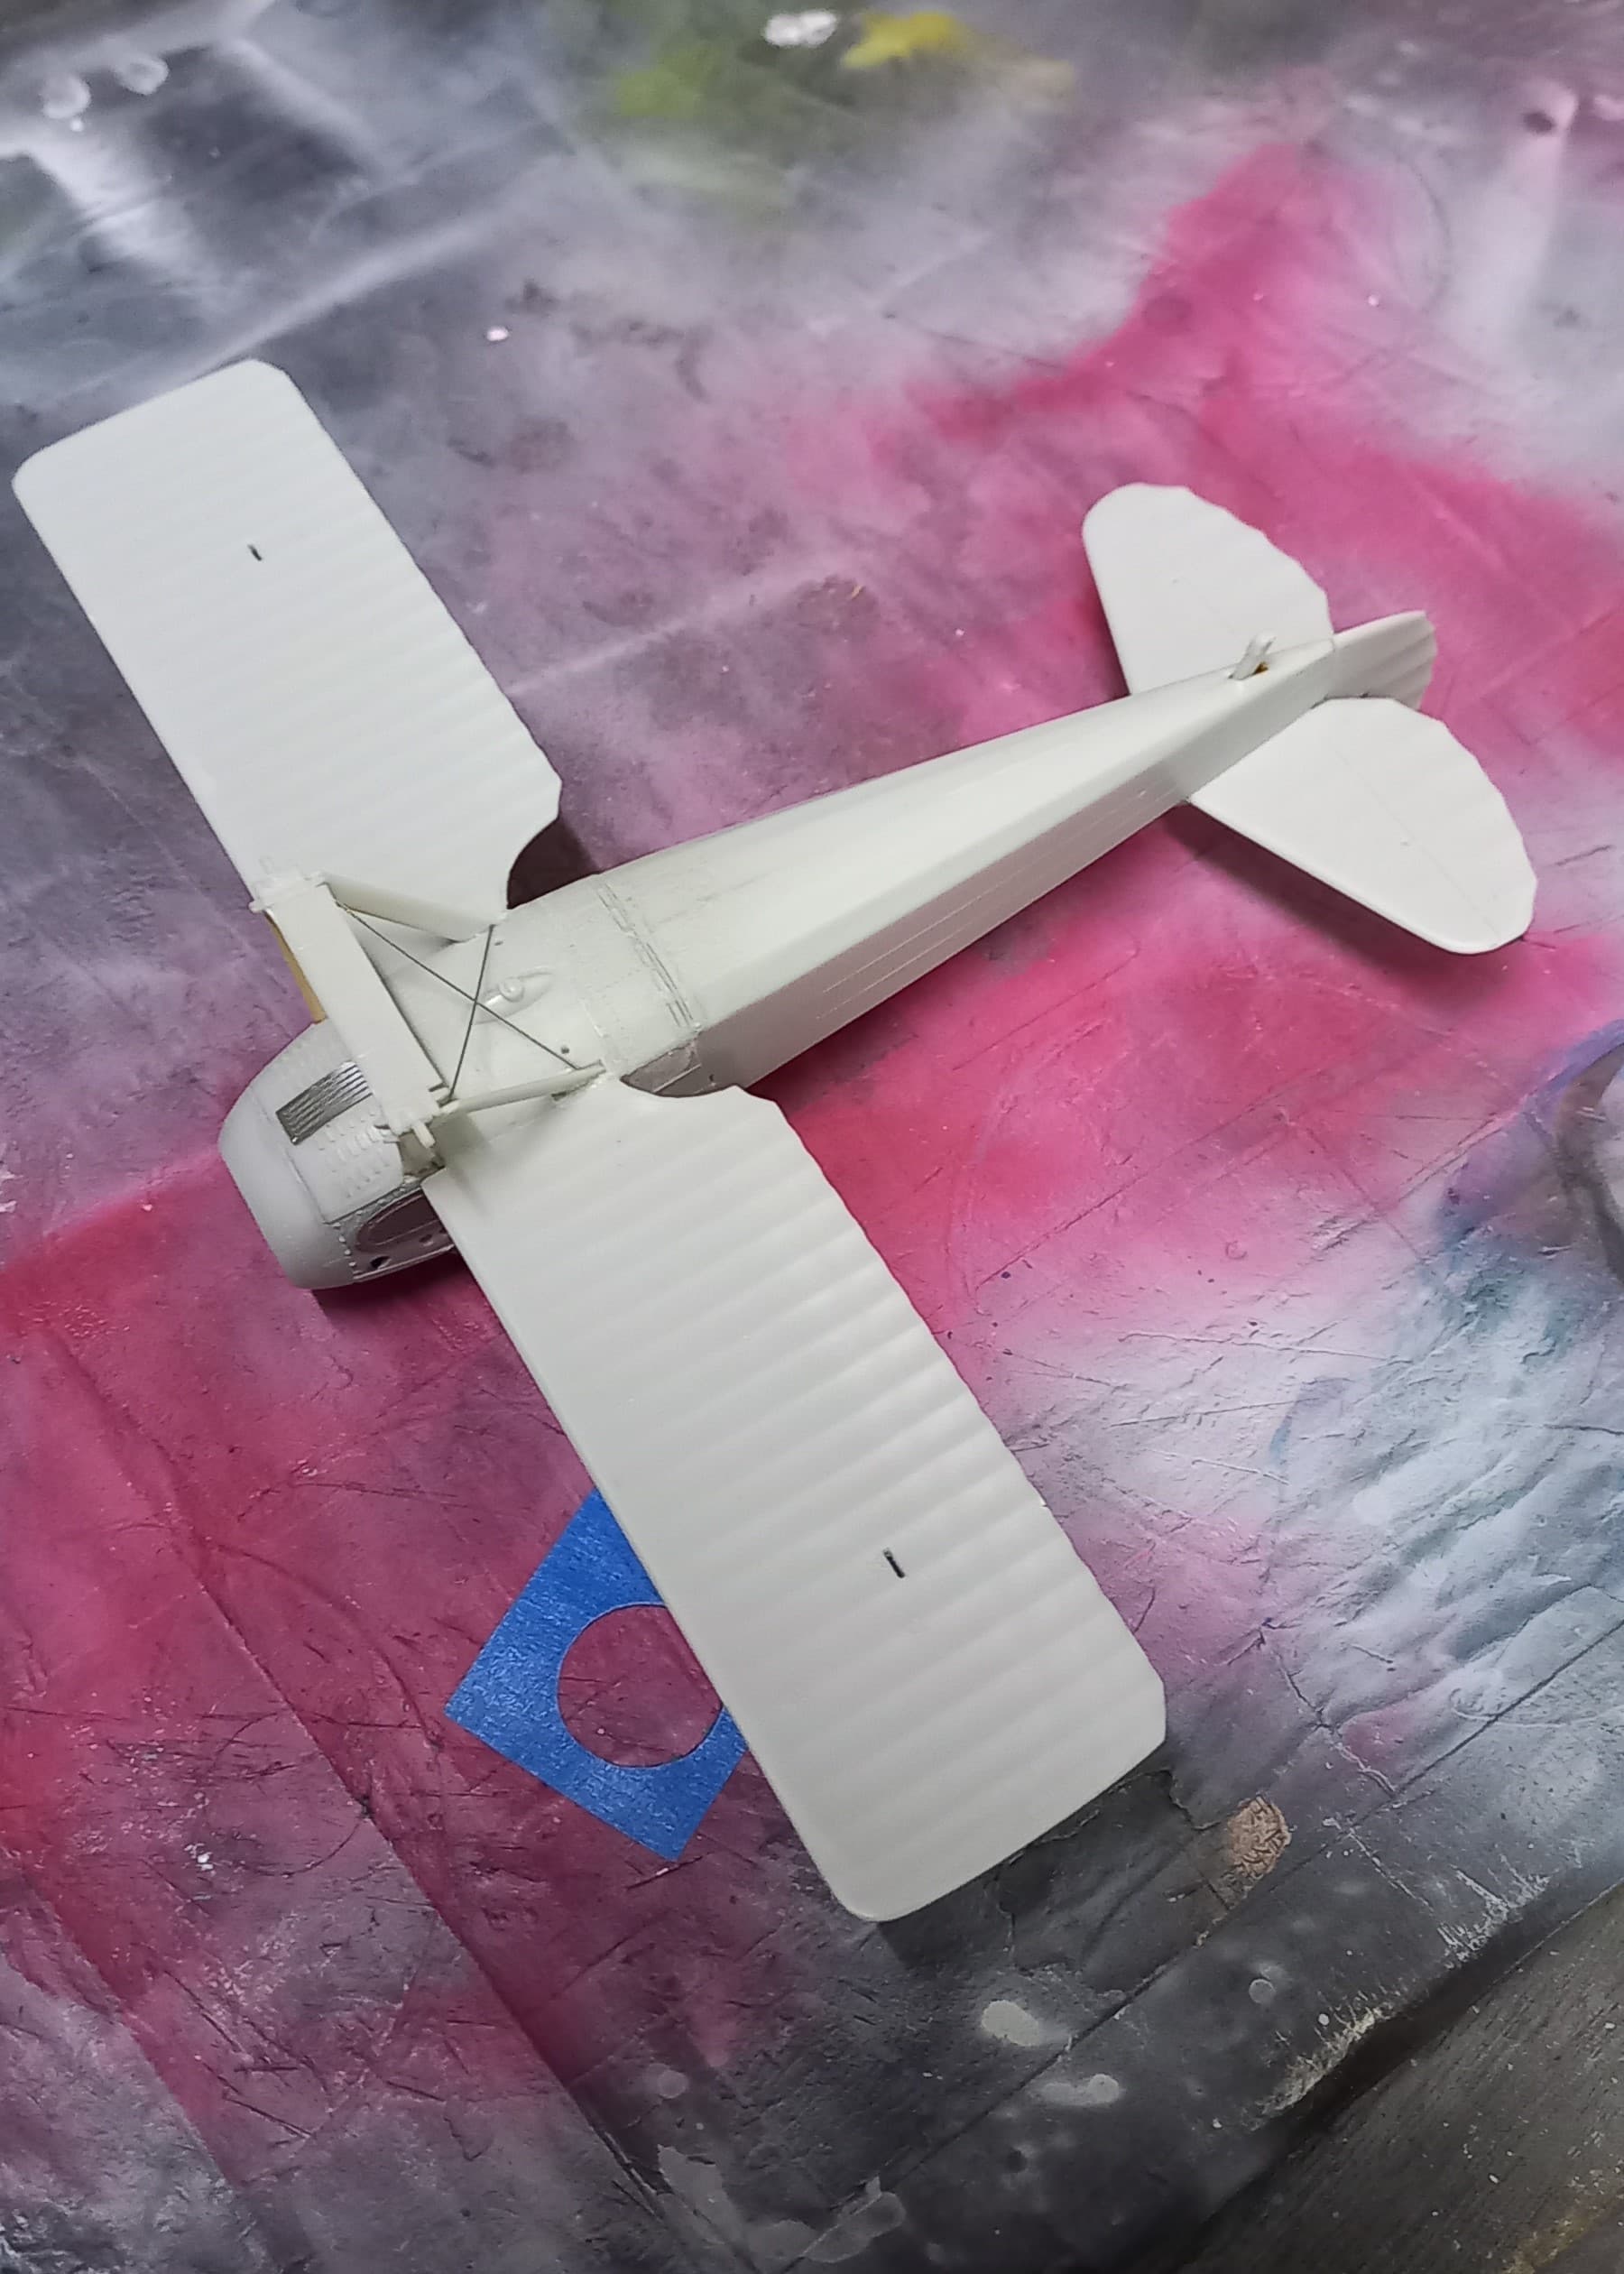
I closed up the fuselage and attached the wings. Fit overall was not too bad, the deep gaps were filled with Vallejo plastic putty, and then overcoated with Mr. Surfacer 500. As of late this method of gap/seam filling works pretty well, if additional filling is needed, I opt to use superglue (the cheap stuff, works just fine).

The stabilizers and cabanes were added, and the minor filling was made. I was pleased that the airframe was finally taking shape!

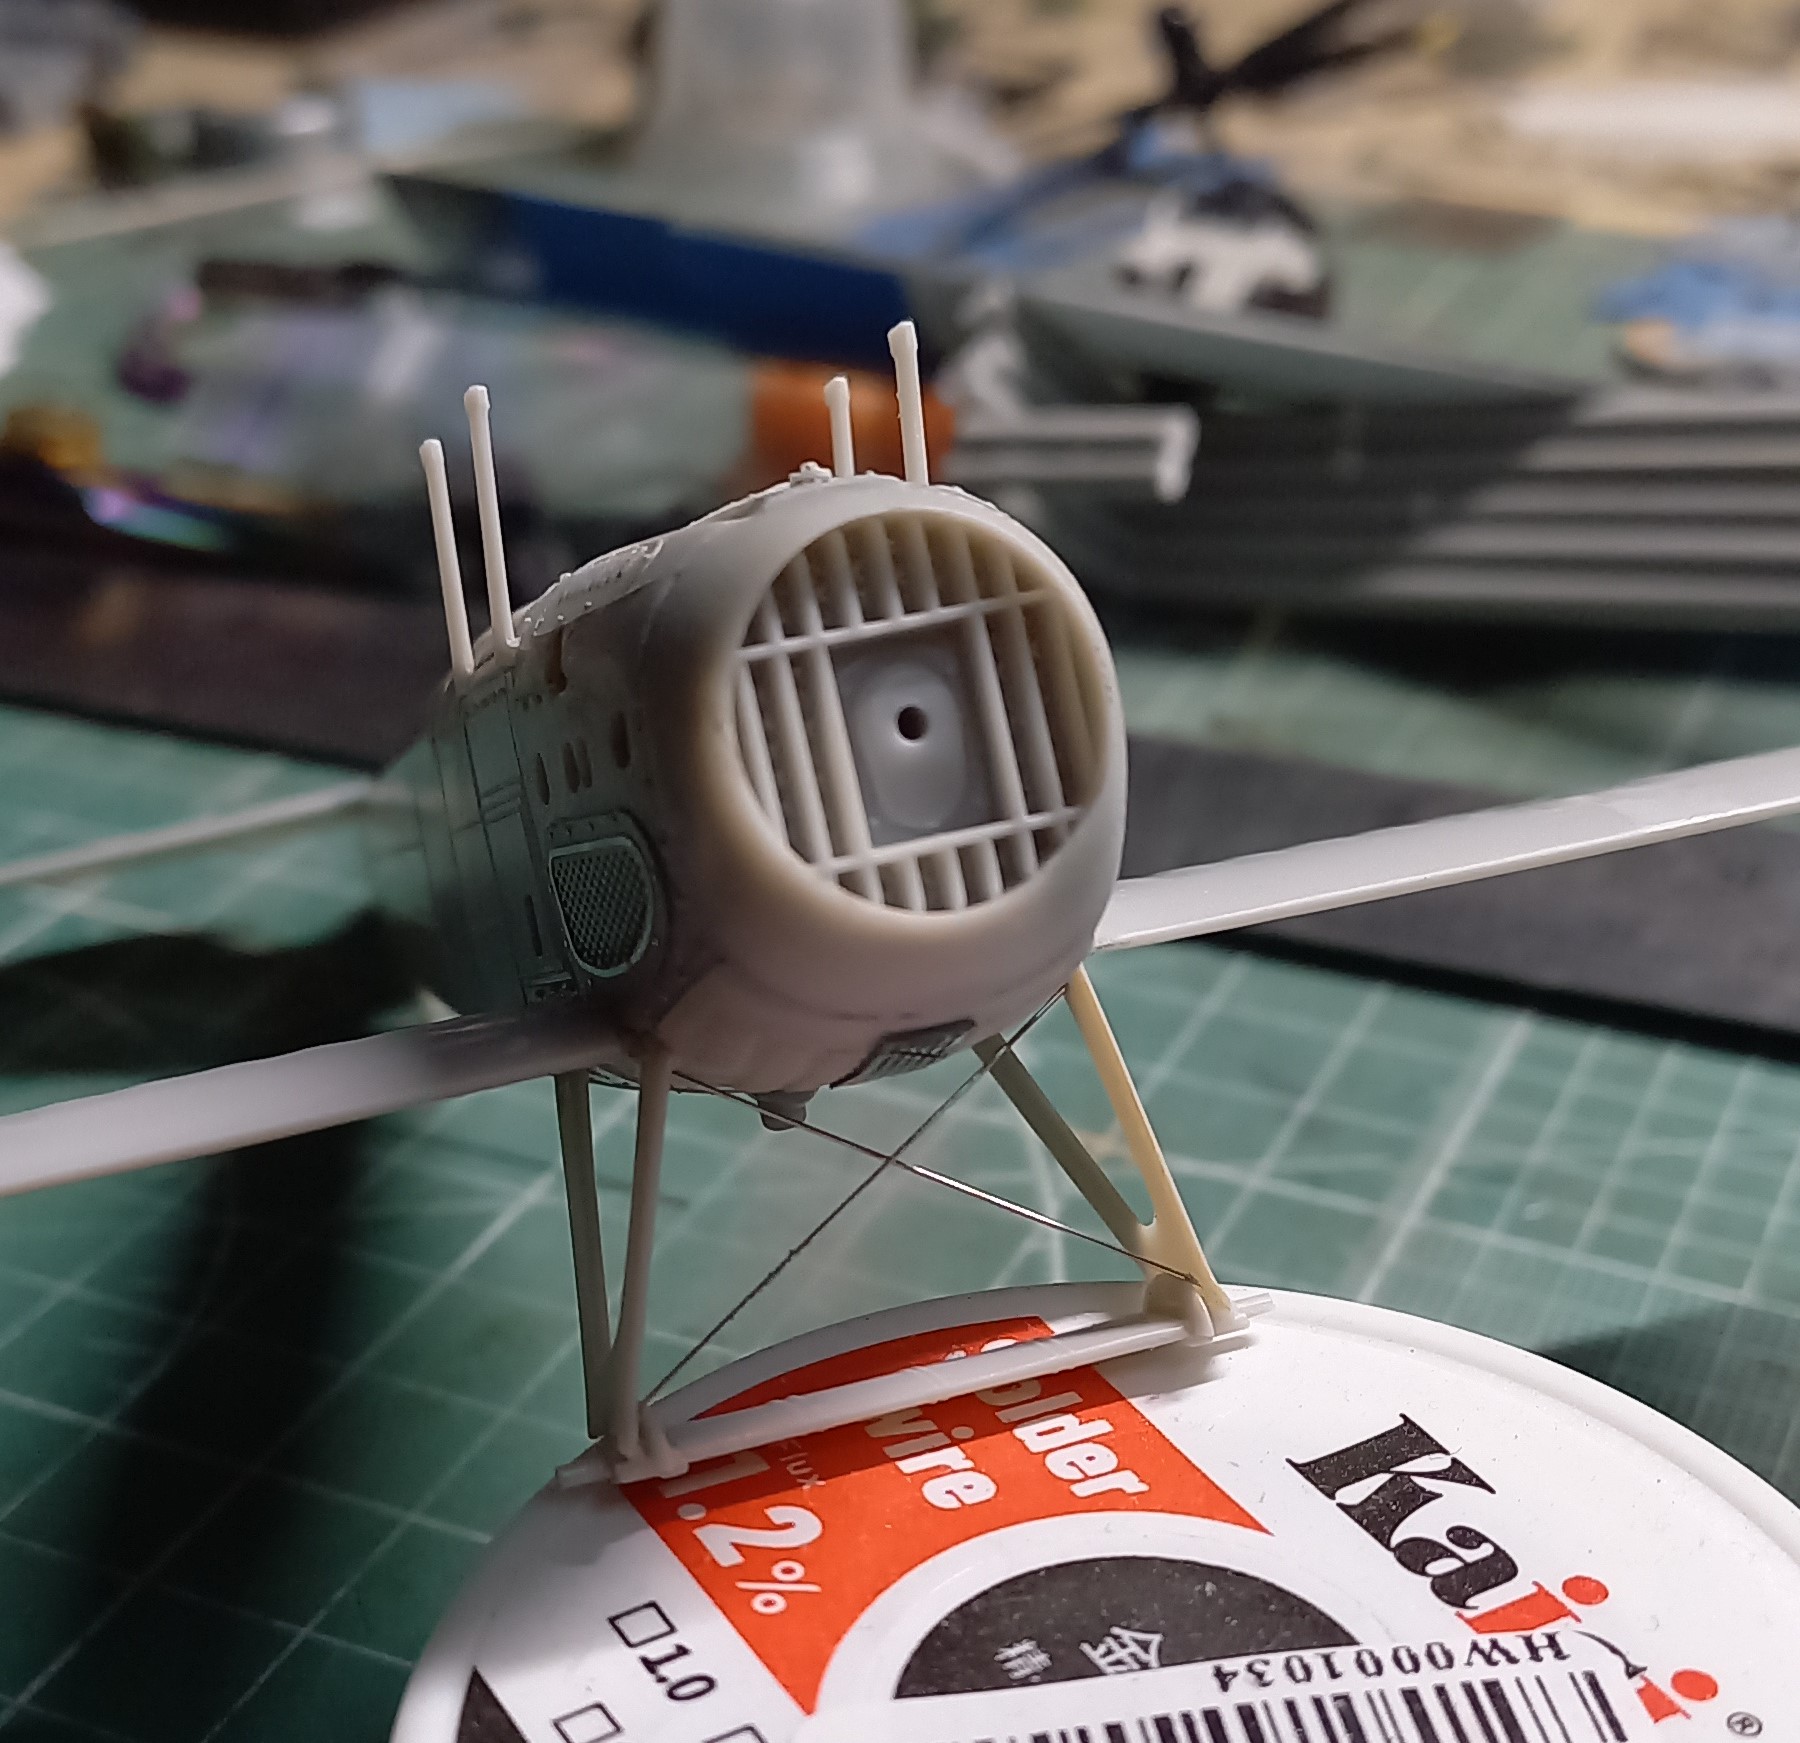
After long consideration, I decided that adding the landing gear at this point would make the rigging of it easier and wouldn’t interfere with the paint job that is soon to follow. For the rigging of the landing gear, I decided to utilize the provided rigging wire that came with the kit. The wire is thin (less than 0.0156mm per my smallest drill bit, my guess is 0.01 mm dia), and really looks good in place. Furthermore, the measurements provided by the kit instructions were dead on, only having to file a little off on one wire most likely due to alignment errors on my part. I like it!

I added the little bits of PE per the instructions at this time, including the rudder horn connectors, and the rudder. Everything was given a once over, looking for missed gaps and other things that have to get done prior to painting. Once satisfied, the bird was washed with 70% IPA, and any of the attachment points filled with liquid mask (a trick I picked up from one of our own member modelers, whose name escapes me know) so as to make life easier down the road.

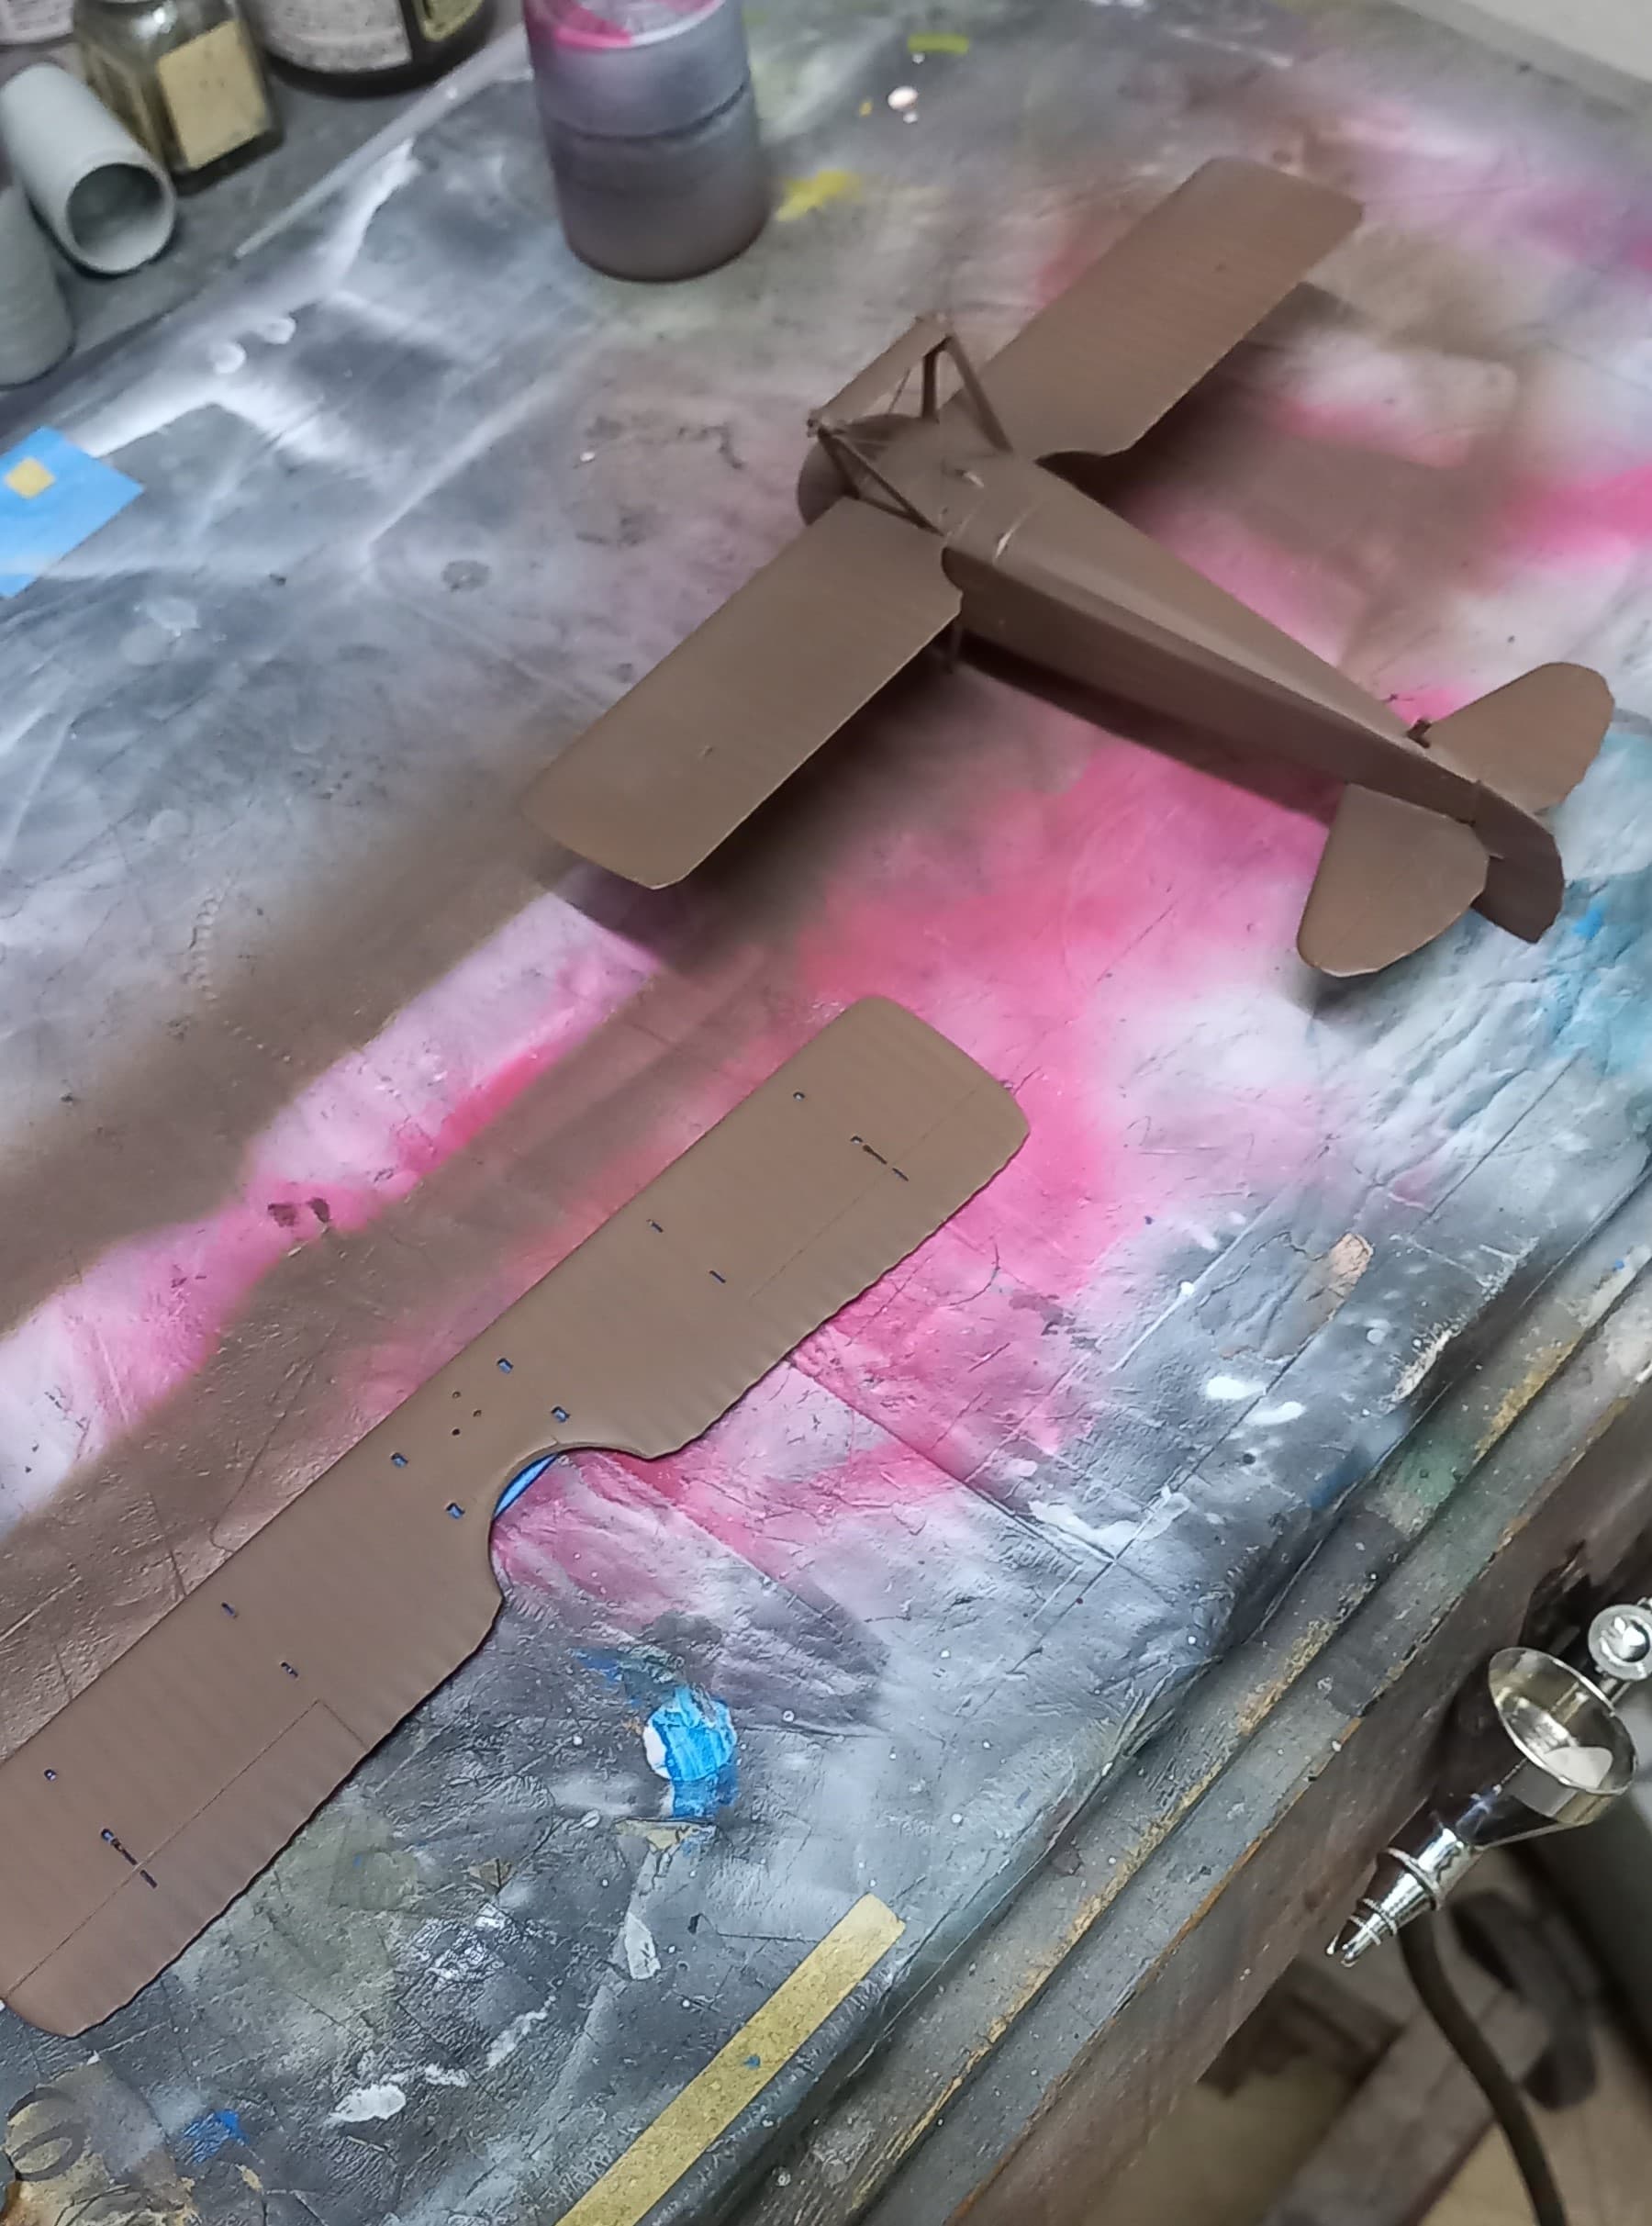
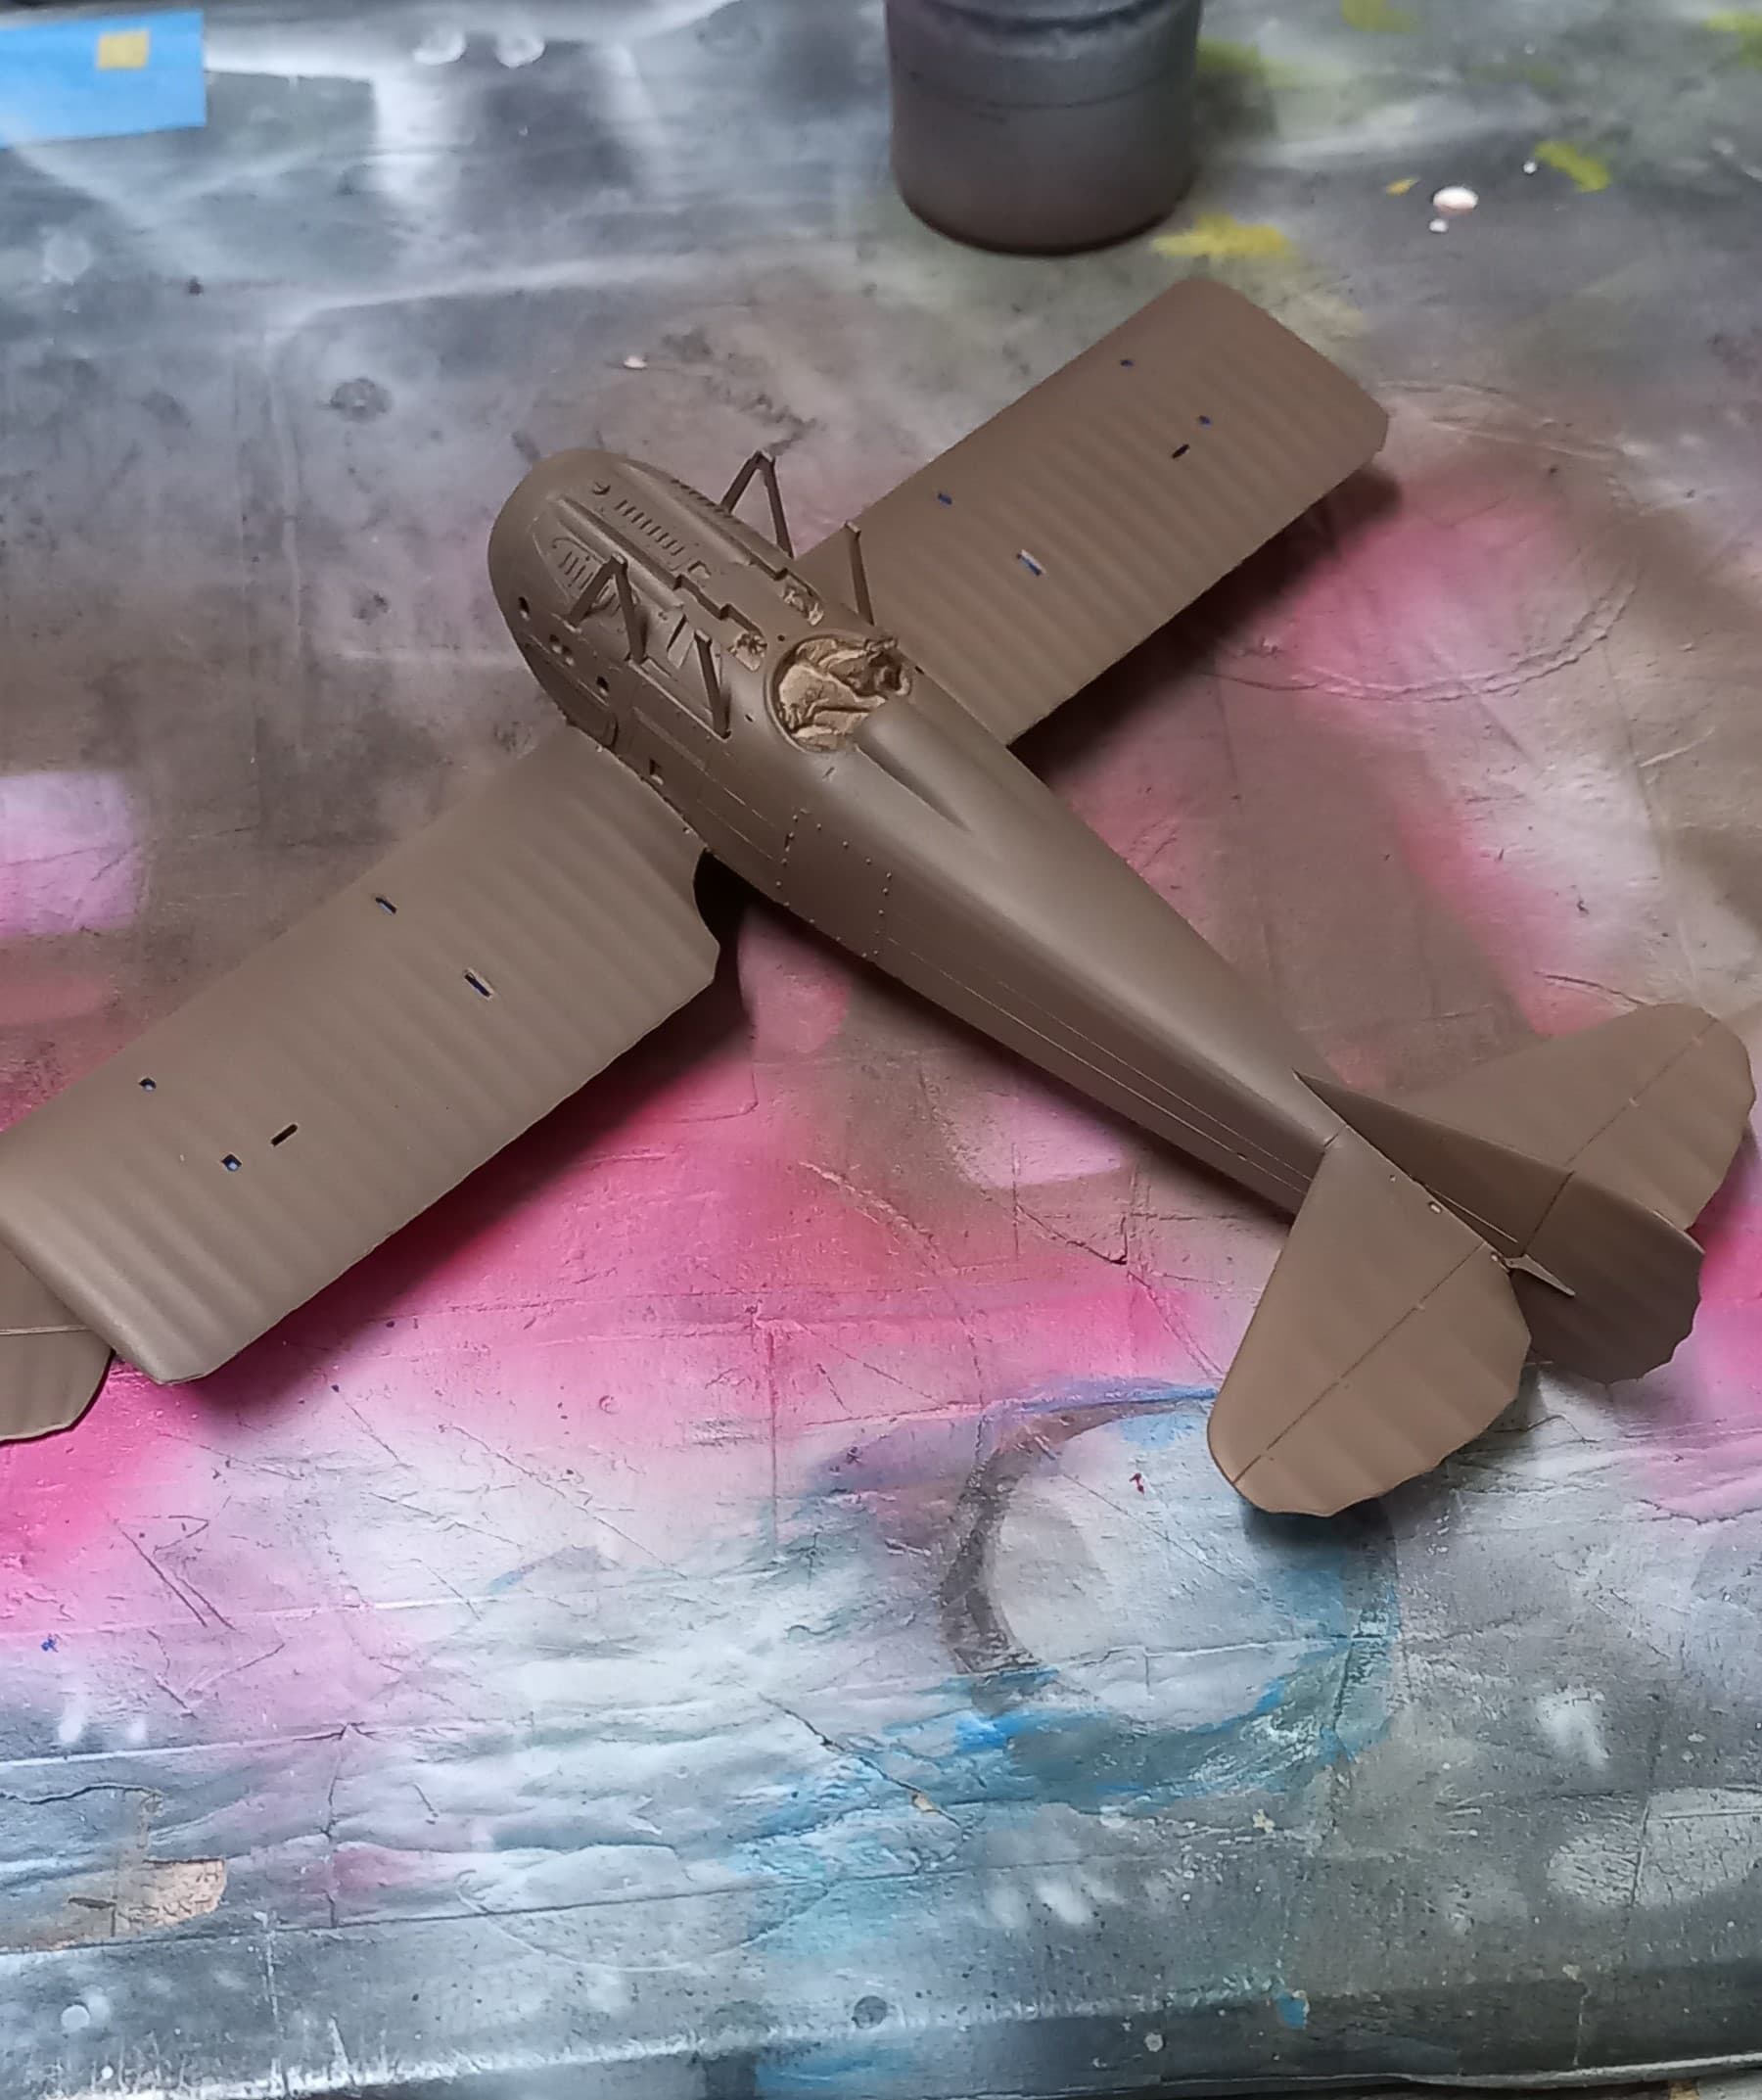
I chose to prime the bird, and after much deliberation, I decided on Mr. Mahogany 1000. I chose this primarily due to the color being a good match for the dark brown camo scheme on metal, and also would make a nice pre-weathering color, especially for the underside.

Next comes the fun part of making the masks for the French 5 color camo! Then painting of this little bird can get underway. As a side note, the wife thinks this one looks cute! Not the words I’d use to describe it, but I’ll take it.

Till next time, be safe and have fun!

7 Likes

Very neat, SPAD? Which kit?

1 Like

Hey Andrew,

Yep, it’s a SPAD XIII, from DML in 1/48. It’s from their Knights of the Sky series. While the PE is tough to work with, their rigging approach is unusual and yet simple as long as things are aligned correctly (one of the biggest challenges in biplane construction for me). It’s a pretty good kit, and I chose it based on several online reviews where it’s claimed to be good for beginners. In the area of biplanes, I consider myself more at the start point as opposed to the totally comfortable point!

1 Like

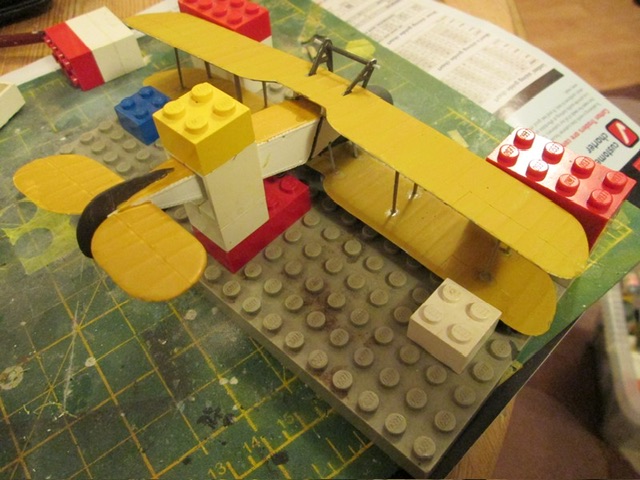
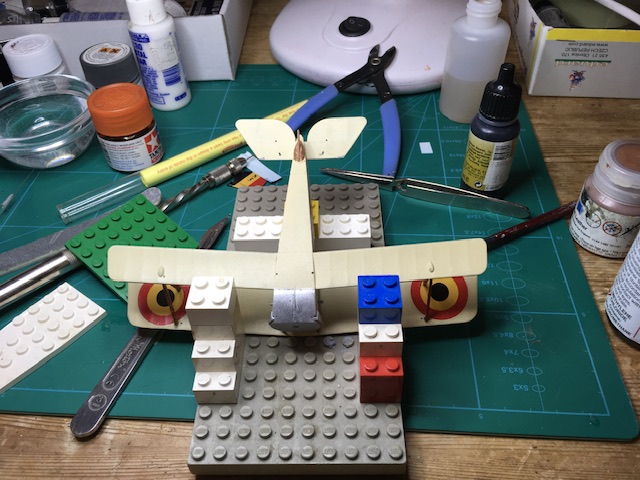
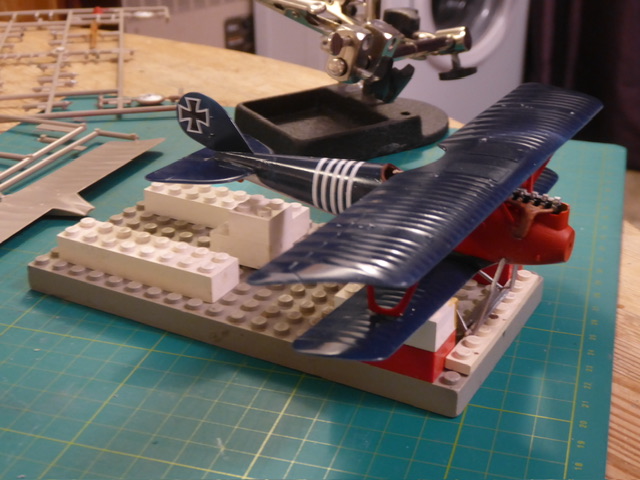
I use Lego as a jig to try and keep things square. Cheap if you have or had kids, infinitely configurable, square if assembled properly
Airfix Bristol Fighter
IMG_4876
Eduard Ni11
IMG_4881
Eduard Pfalz DIIIa undercarriage
IMG_4406

9 Likes

I have been using the Lego for this type of thing for years. It is especially good at supporting multi wheeled vehicle chassis so you can get all wheels touching the ground before you add glue to hold everything in place. If you need a slight height variation to get the right ride height, build the Lego upside down, place the chassis on that, then use a section of thin ‘Post-it’ note leaves under the wheels (or the chassis) to make up the necessary added height.

5 Likes

Excellent Jesper. We wait for the paint job.

Great advances with your SPAD, John.

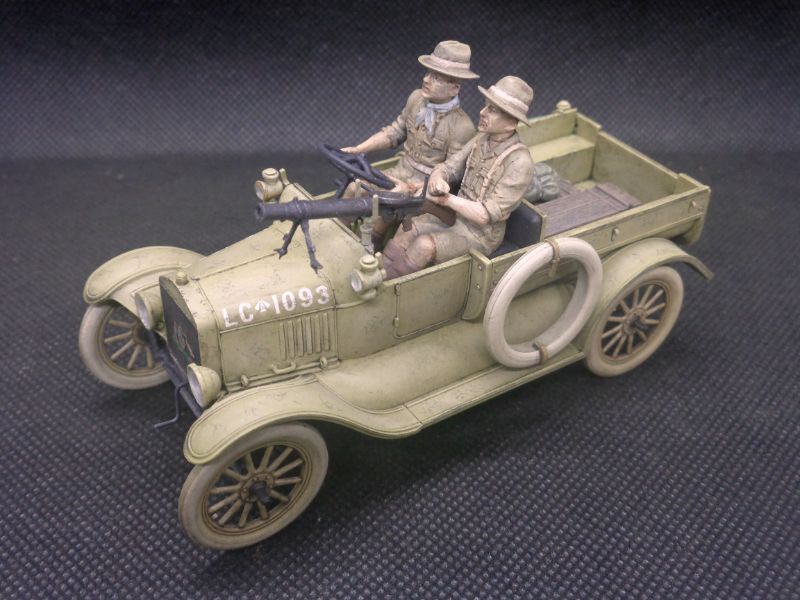
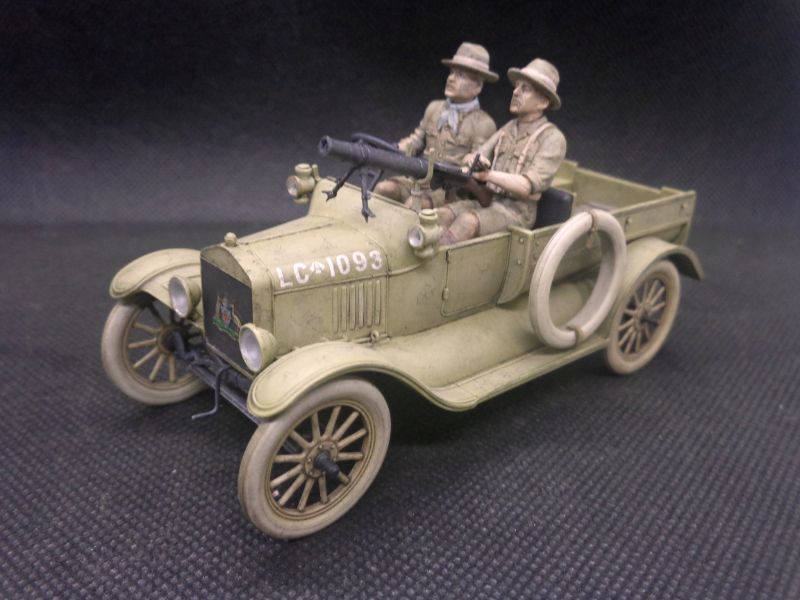
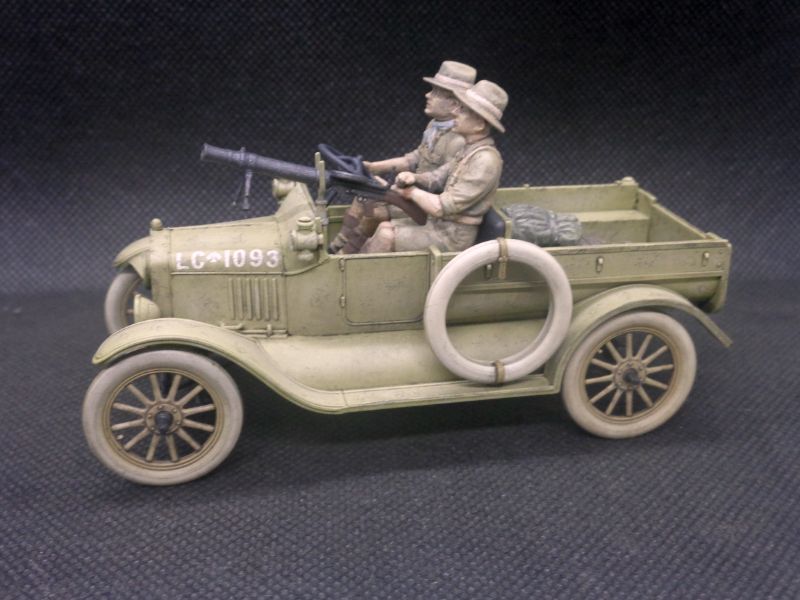
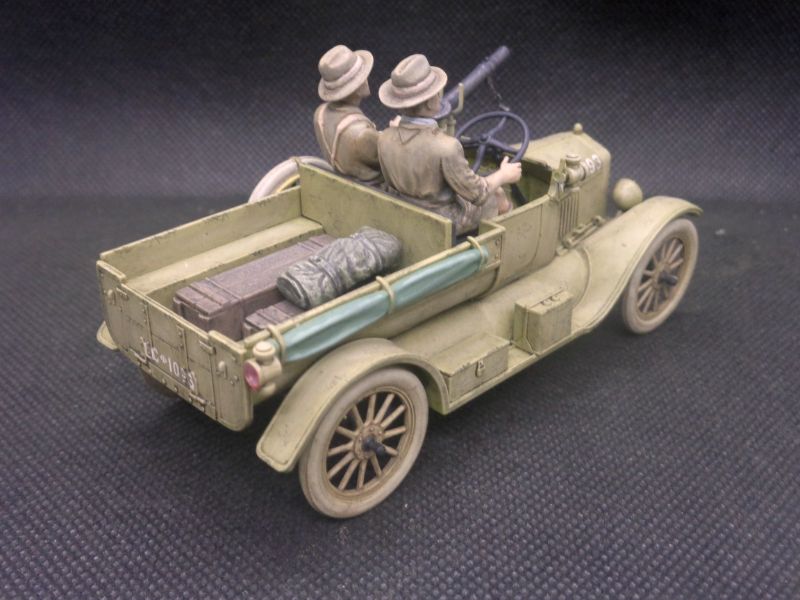
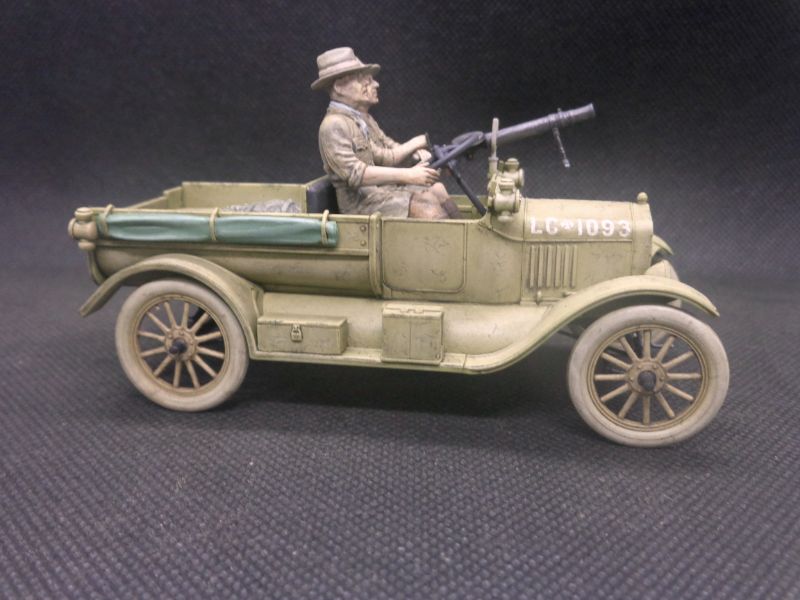
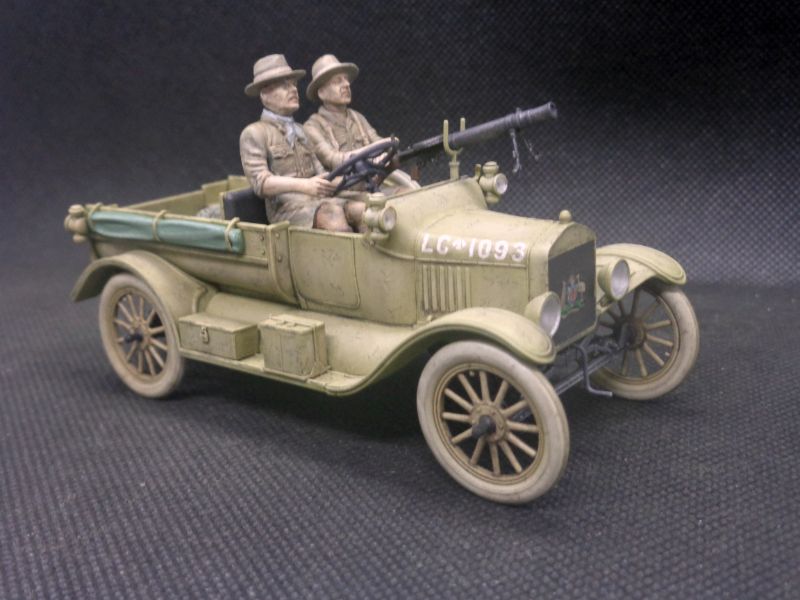
After some subtle scratches and some extra dirt, I´m calling my Ford T done. And also the two boys… I’m pretty new to figures. That´s why I´m quite happy with the result.

I lost the starter lever, so I made it with wire. And cargo was stolen from an Academy Hellcat kit… :smile:

Here it goes. My first WWI model.

Thanks for this very interesting campaign!

10 Likes

Very nicely done Tomás. The figures look great.

2 Likes

Very nice job, Tomas! Congrats on finishing :slightly_smiling_face:

1 Like

Thanks Peter and Jerper! I´m glad you like it!

1 Like

My Schneider tank is constructed. Next is a base coat and then brush paint the camouflage. Quite a task to get the camouflage right, but I will try :slightly_smiling_face:

More to follow :slightly_smiling_face:

9 Likes

Good Luck Jesper. I’m sure you will nail it.

2 Likes

That Schneider is a pip! I will be interested to see how your brush painting works out. Years ago there were some paints that were pretty good with brushes. They covered well and flowed out smoothly. Humbrol used to be very good for a brush. Now every paint I have tried seems to cover poorly and leave brush marks.

Paul

1 Like