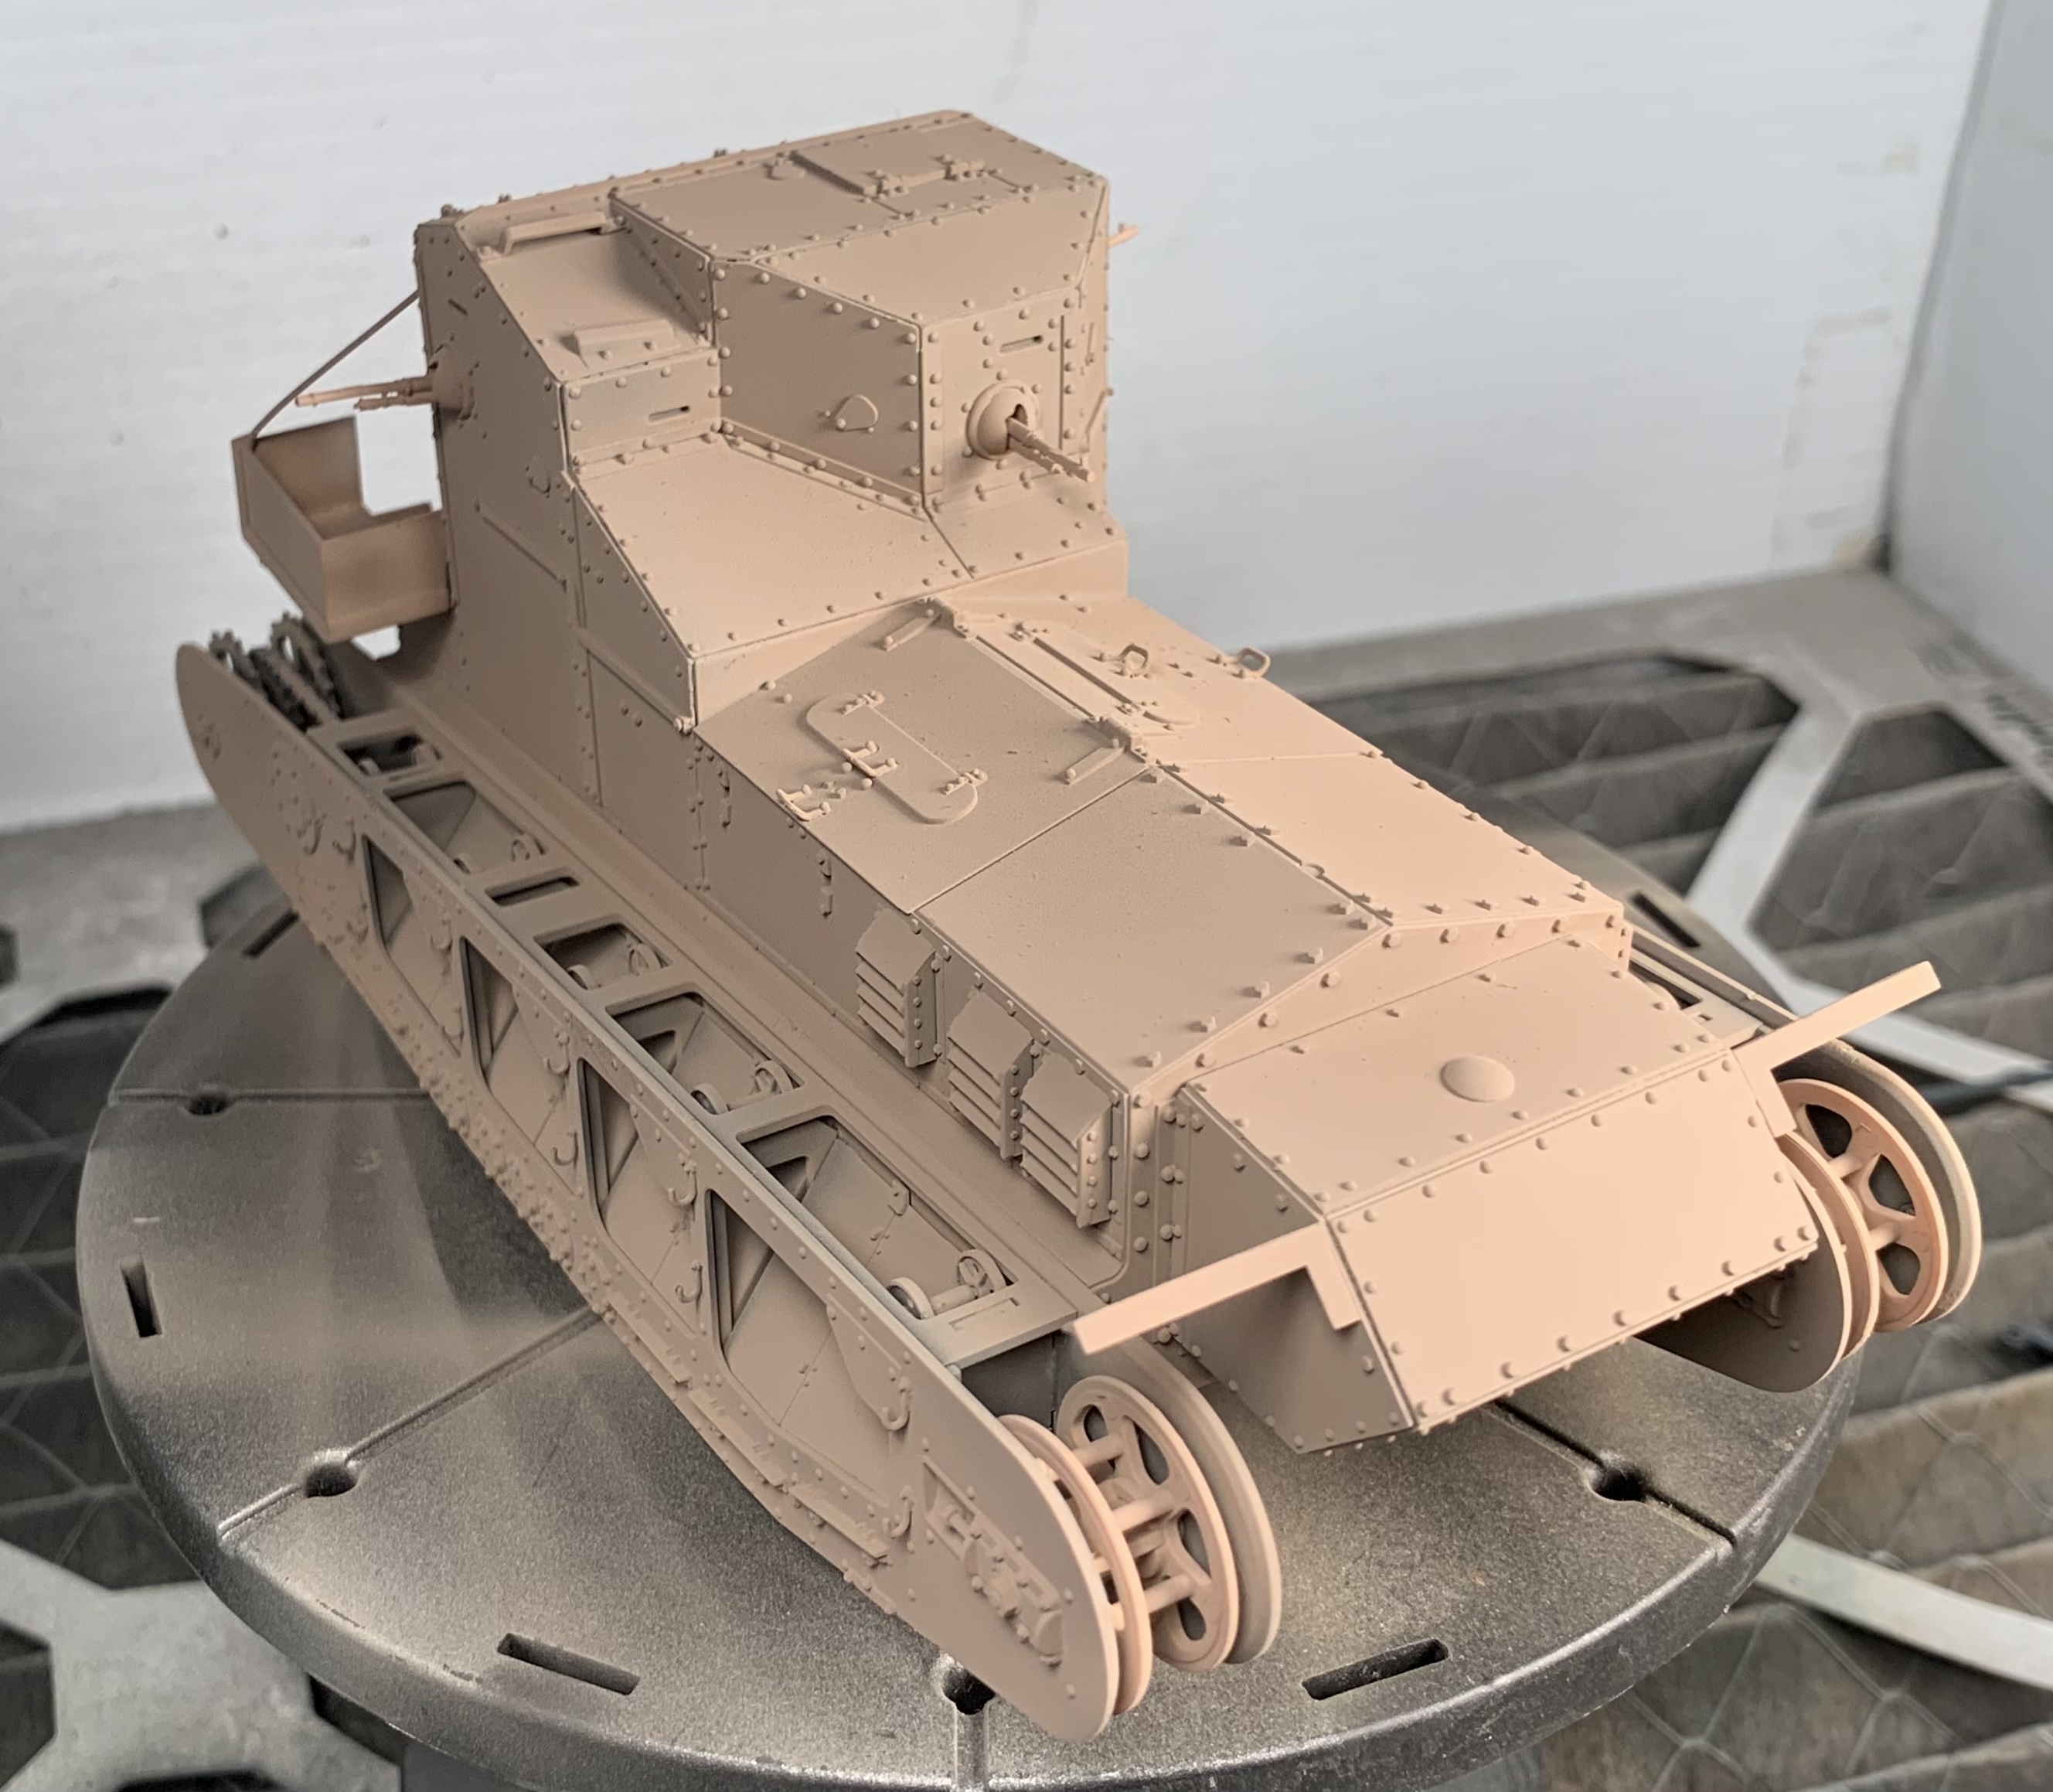
The CSM wire wheels for the Minerva & Lanchester armored cars arrived today, just a couple of weeks after they were ordered. I am very impressed with these, they are very close to scale, delicate and possible fragile. I’ll have to be on my best behavior to keep them from being damaged during the building process.
On the dual rear wheels the tires have two different treads, a great touch.
I have a 1914 car with wire wheels in my garage and these CSM wires look the part to my eye.
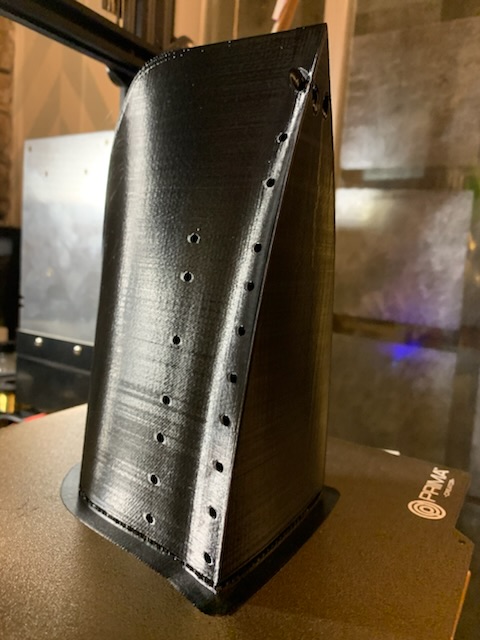
Finally got all of the hull together for HMS Jackal at 1/72. There are a couple of minor faults, nothing that can’t be rectified in finishing the hull. Now for the deck.
From the stern
The bow is dry fitted atm, the rest joined with epoxy
I’m impressed with this 3D build. Did you design it yourself or get the “plans” from a 3d print designer? How do you get started in 3D printing? I have been building some of the 3D kits by Vargas and the latest ones are terrific.
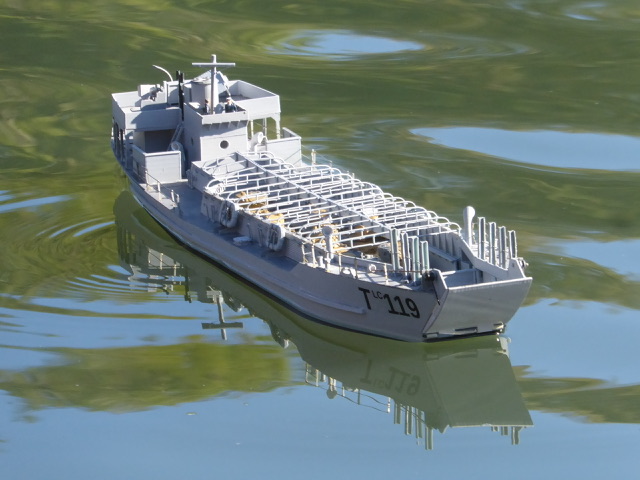
I started with the ship plans for another of the class. I first tried to draw it in the previous software I had used for my landing craft but it couldn’t produce the smooth compound curves. Others mentioned Blender, I gave it a try. Learning curve is steep, mistakes many, I have started this five times in all and could have built it in wood quicker. I have been printing for a little over two years in FDM and one year in resin, have done fittings for my LCG and the whole model for LCT119
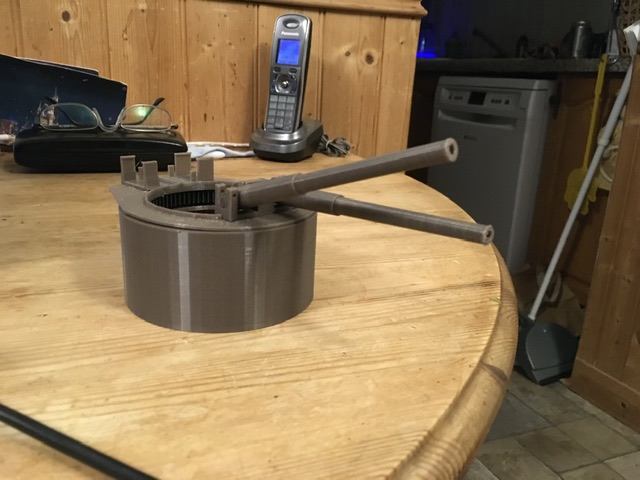
I started with a Creality Ender 3 printer using TinkerCad for design software. Easy to learn, somewhat limited, editing a drawing can be a pain, still managed this in TinkerCad. 1/96 scale 13.5” barbette with training and elevating gear
Couldn’t do the gunhouse though.
Changed to FreeCad, harder to learn but easier to edit designs and better for accuracy. Most of the landing craft were done in FreeCad
I’m very impressed with what you were able to achieve. I have been buying & building 3D printed kits recently and the quality is impressive on the latest efforts. Thanks for sharing what has worked for you.
A bit of a change. The first two deck sections printed and temporarily in position. After using Blender for so long I thought I would draw up the funnels. Can’t believe how quickly they went together. Printed the forefunnel. I like the look.
Jackal, that is most of the FDM printing done, only rudder and P-brackets left now. Motor positions sorted as well. Deck is reinforced with two carbon fibre tubes underneath to ensure it can be handled.
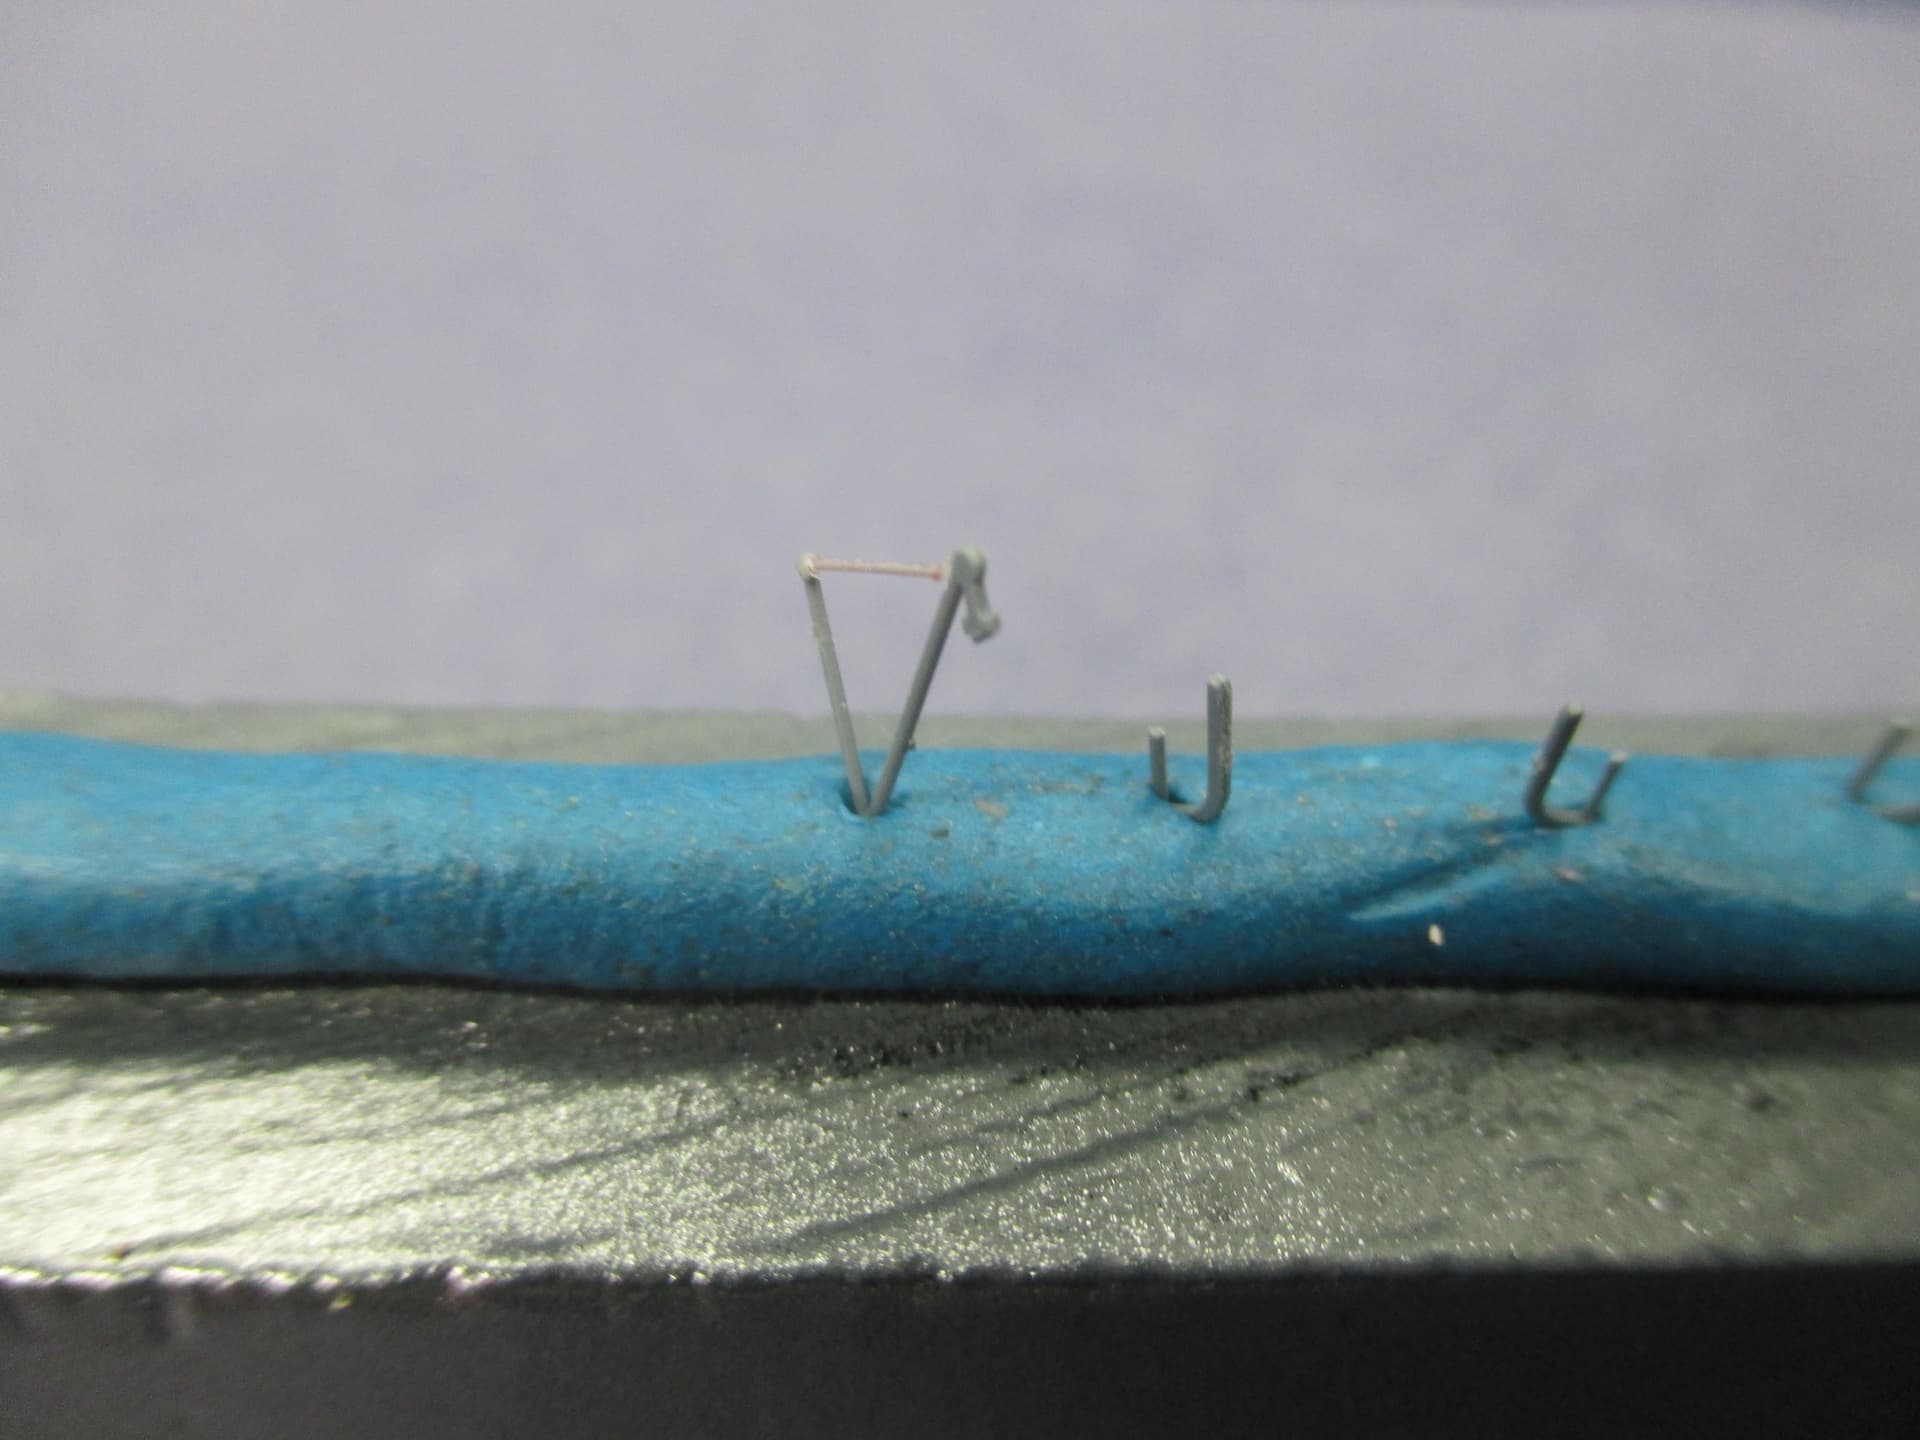
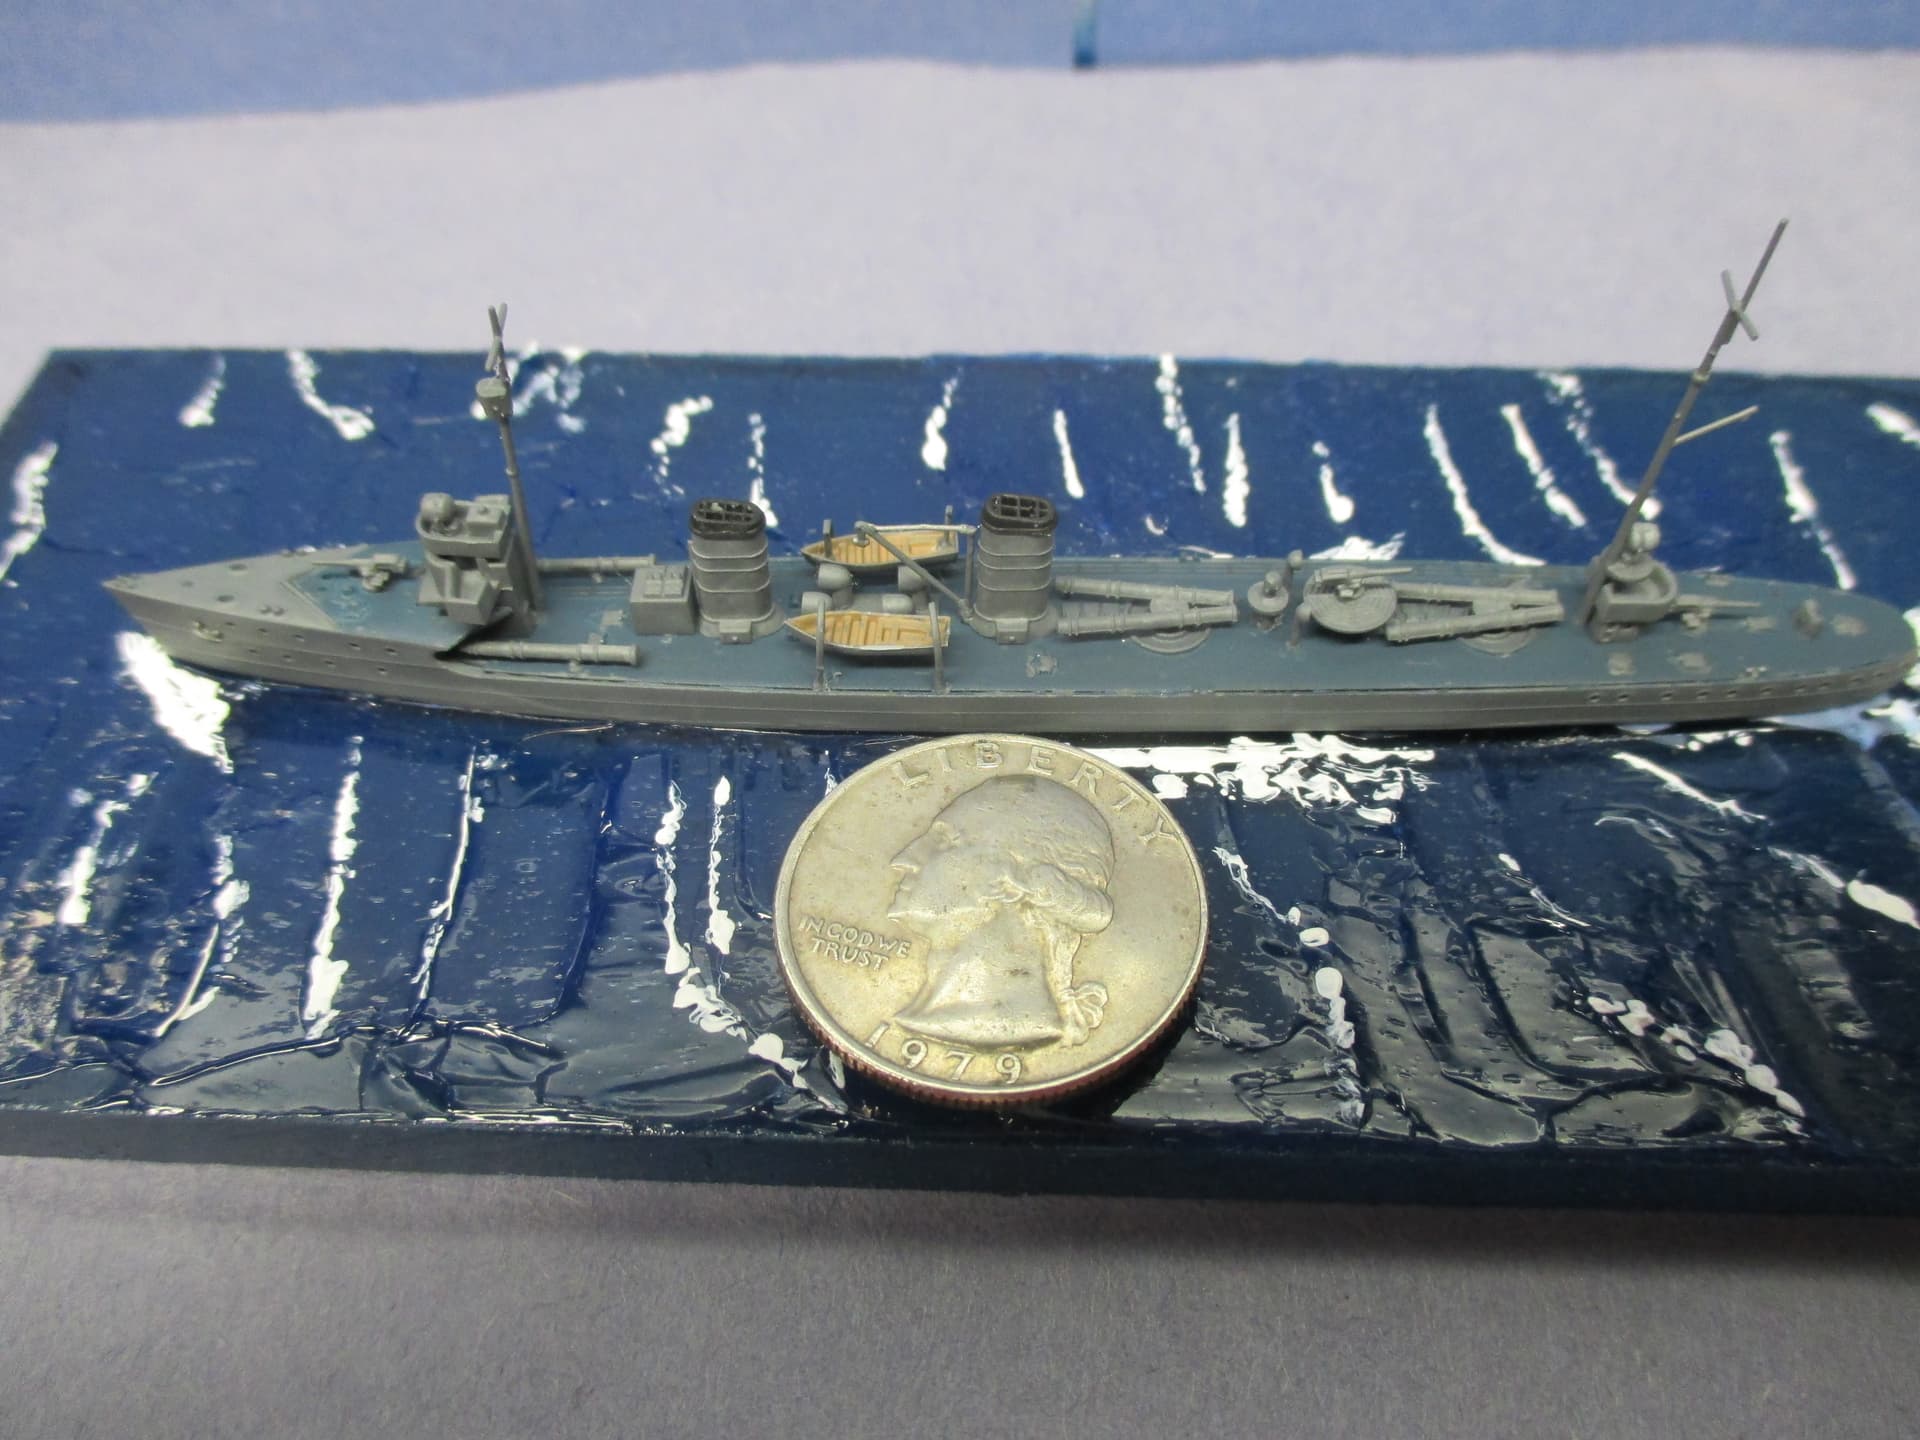
Started on the G-39 today. Took all the parts off the tree that will have to be painted off the tree because of their attachment points. Did some sub assembly of those parts
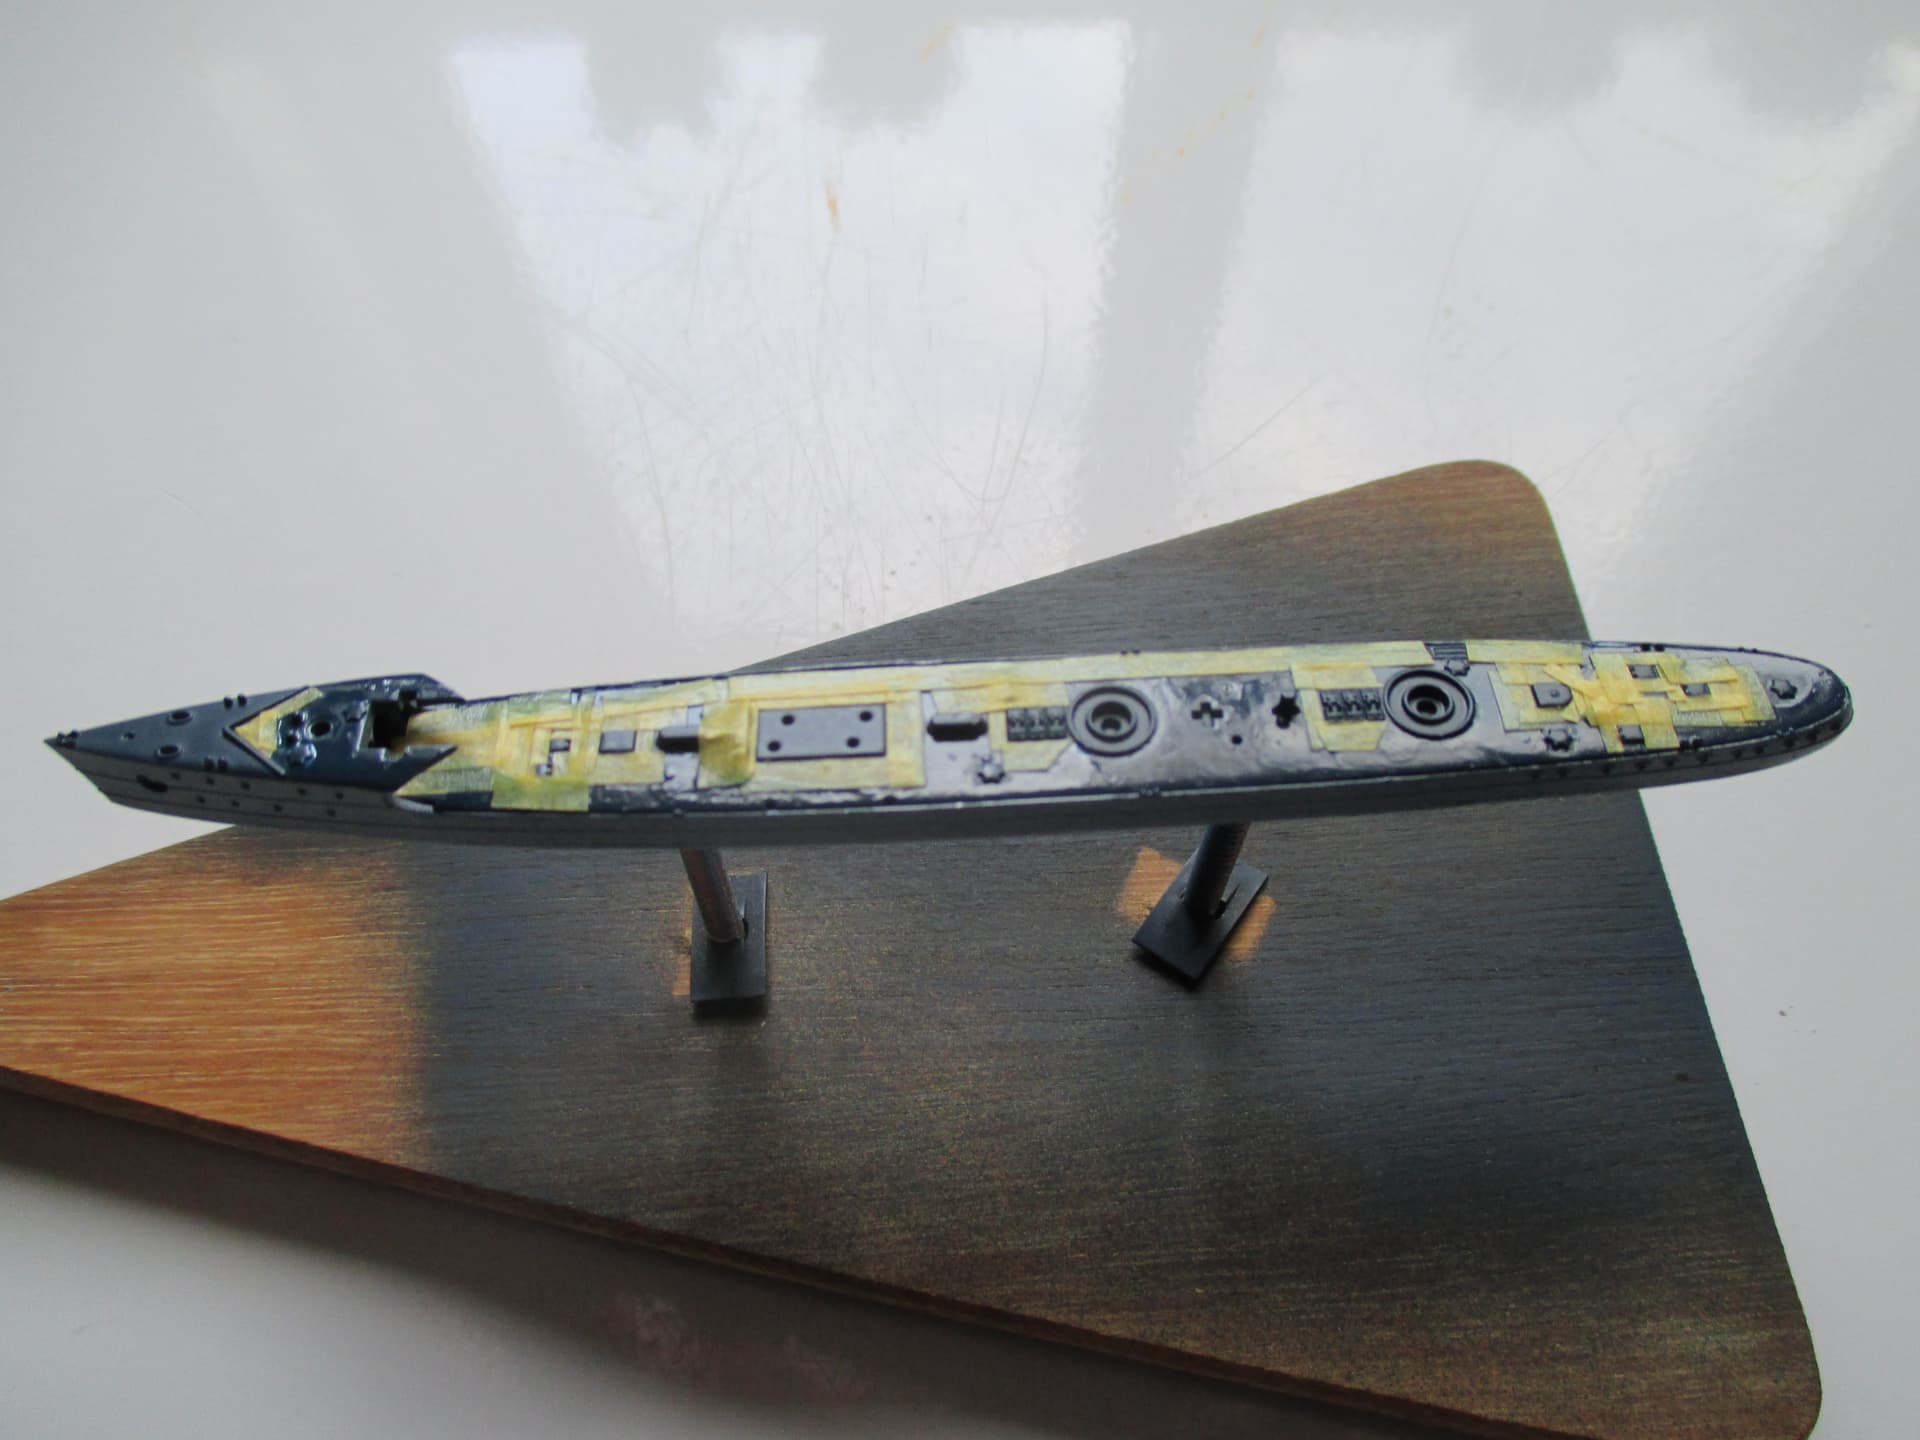
Hull assembled and the deck painted dark blue. The color instructions call out Tamiya XF-63 German grey for the hull and dark blue for the deck so “Deck” Blue it is.