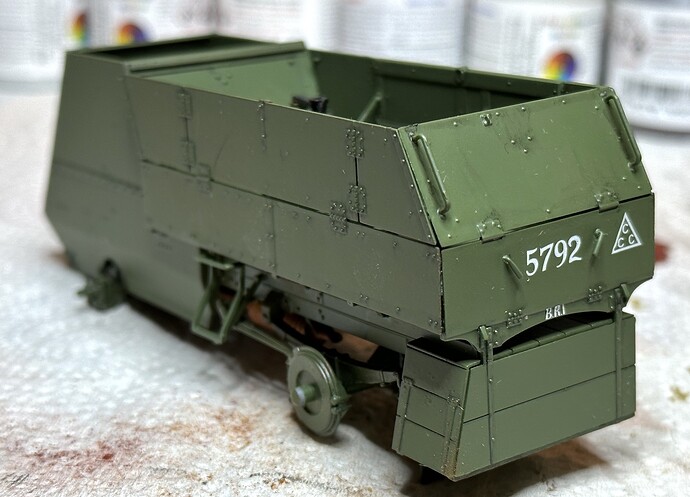
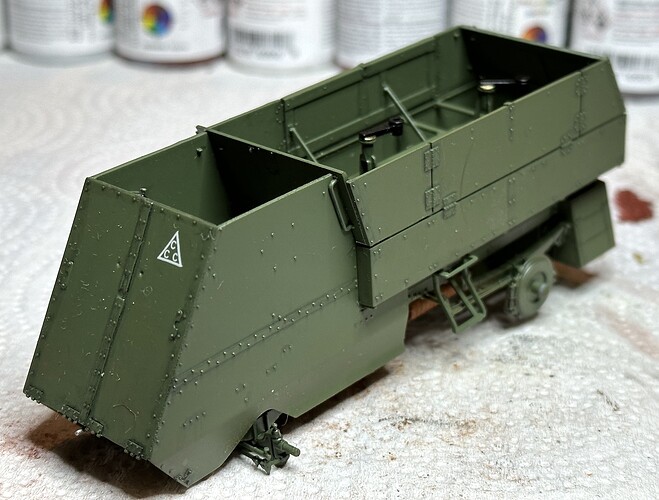
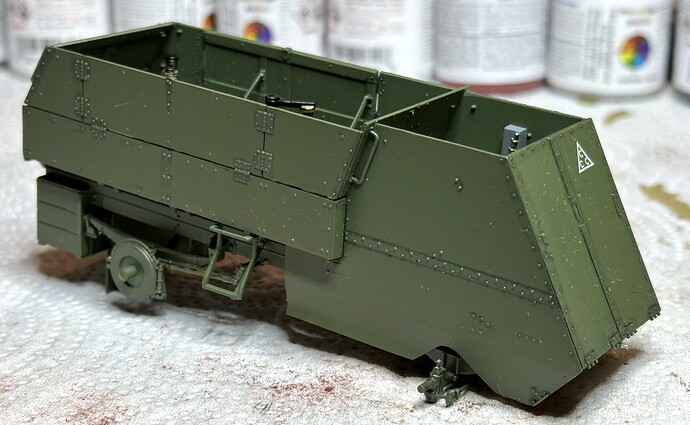
that’s a cool looking ride
Thanks Phil.
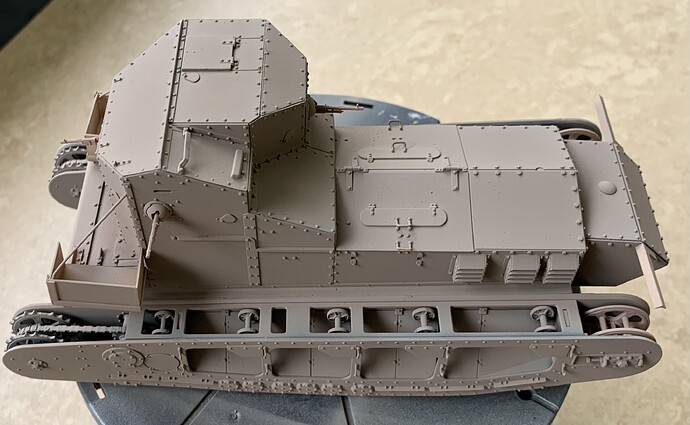
Really nice base paint Ryan! Your scratchbuilding work looks fantastic under paint. The color looks wonderful. It will darken up nicely with a burnt umber wash.
Thanks Matt, I hope so.
It indeed is rather bright!
From this side of the monitor it looks really good so far, Ryan! ![]()
Thanks Torsten.
I’ll add to the chorus, that Whippet looks awesome! Which kit is it? I might have to add one of them to the list.
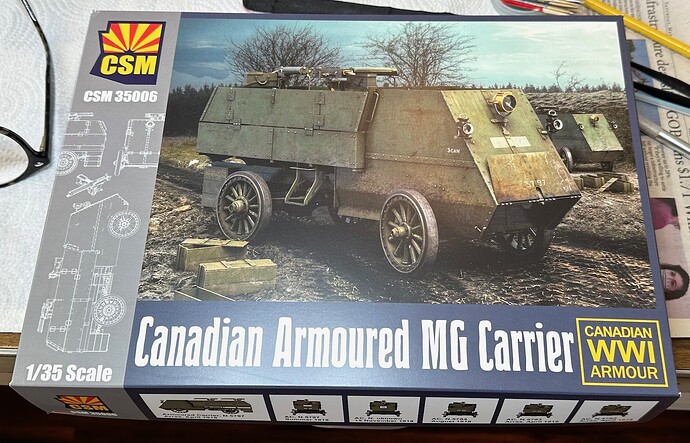
I finally got a start on my project for this campaign. After considerable turmoil I finally decided on the CSM Canadian Armored Machine Gun Carrier. CSM has a number of great kits that I really want to build but this one, built on an Autocar chassis touched me personally. Back when I was pushing rigs myself in the 1970s I saw a lot of Autocars in the field. They were rarely over the road rigs but used extensively in the oil patch and elsewhere really heavy duty rigs were needed. I owned a White Freightliner but always wore an Autocar hat.
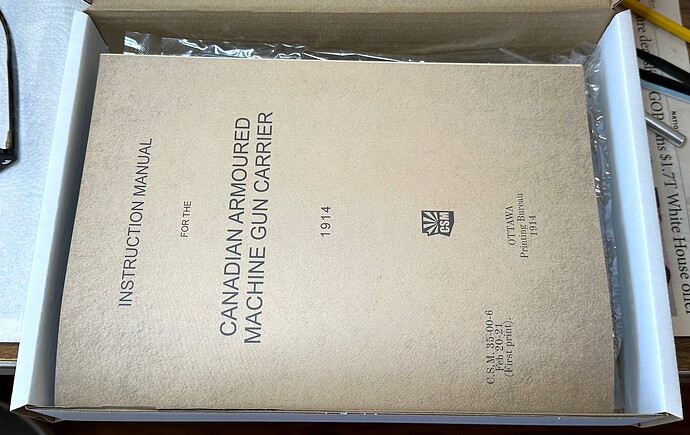
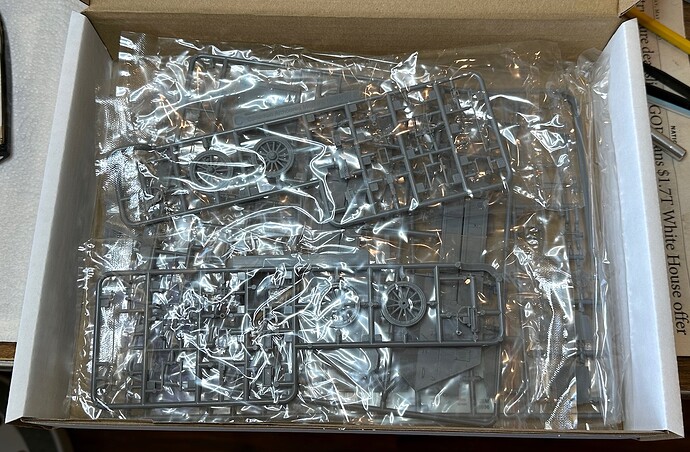
These CSM models are very nicely done. The detail is excellent and the instruction booklet is much like the one that the late and much missed WNWs put out. There is an extensive history and as detailed a guide to painting as could be hoped for.
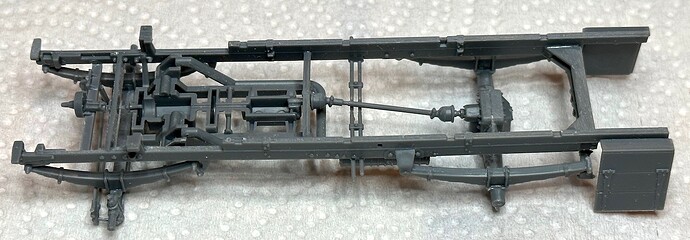
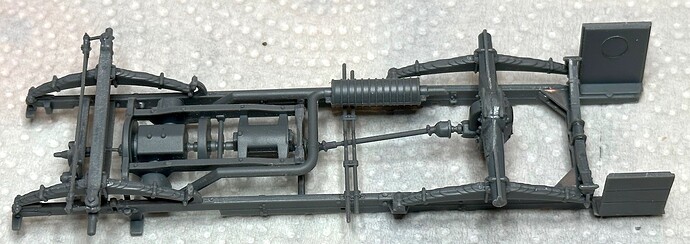
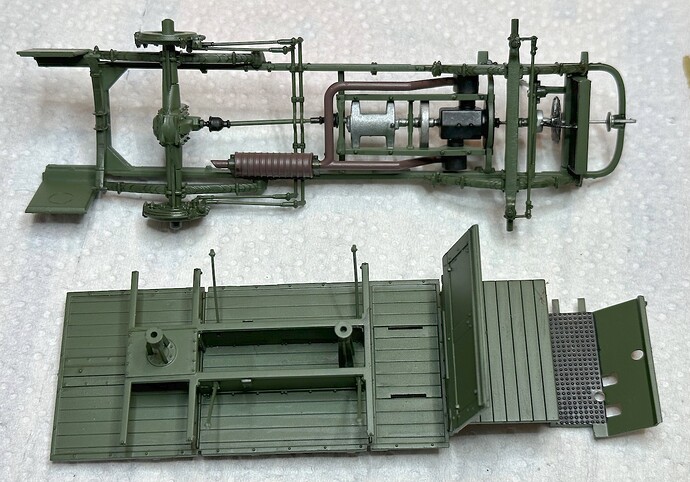
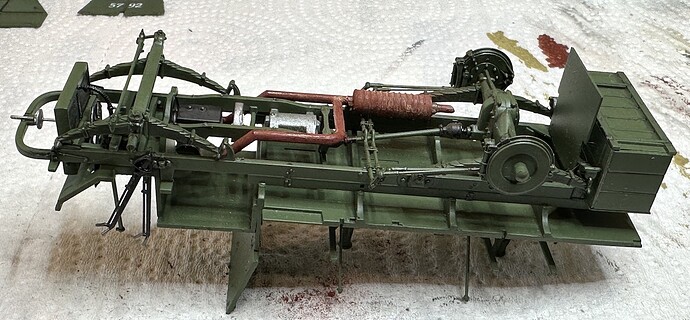
I got a start Memorial Day afternoon and got a lot of primary assembly of the chassis done. it will need a bit more work and some cleanup and then be ready for paint.
The exhaust system gave me some worry as I would have liked to paint and detail it separately and then add it to the finished chassis. With the other details it has to be trapped between some parts. Oh well, we’ll see how it comes out!
Paul
Here is the chassis as it is right now. There is no detail to the top of the engine as this can’t be seen with the body installed.
Paul
Thanks Paul. This is the Meng kit.
Had to take a break away from this campaign and modelling in general whilst other commitments got in the way.
All sorted now and some really nice builds progressing well since I last caught up on this thread. Only the rigging on my sopwith to finish, but it’s not going to plan.
Only previous experience with a biplane was an ICM Tiger Moth, for which you drilled holes and threaded rigging through. This cut gluing the ends of the rigging in half and was pretty easy to achieve.
For some reason I’m not entirely sure of, I’m really struggling to get the rigging to attach on my sopwith with CA. Seems to either harden too fast, or too slow. The rigging seems to curl on contact with the CA as well. Same CA I’ve used previously do not sure why. May try UV activated glue as an alternative.
Uv activated worked well for me, but I have noticed on the Moth one wire did come out of the hole after. Need to make sure there is glue in the hole before activating it
I have been constructing one of Jackal’s boats in Blender, which has taken far longer than it should. Result is quite good though.
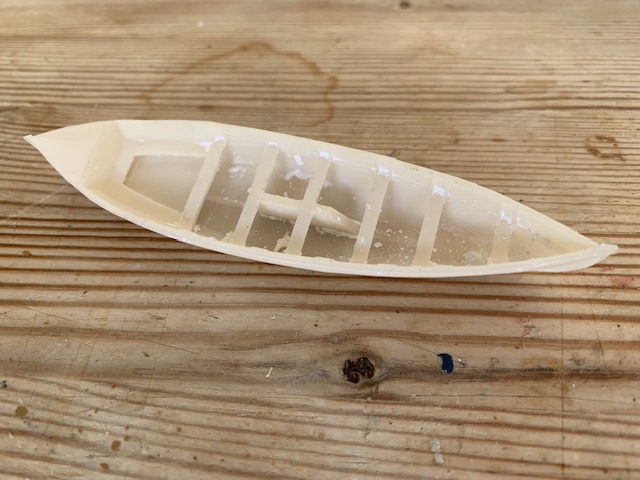
A 27 ft whaler, straight off the printer, needs some clean up yet
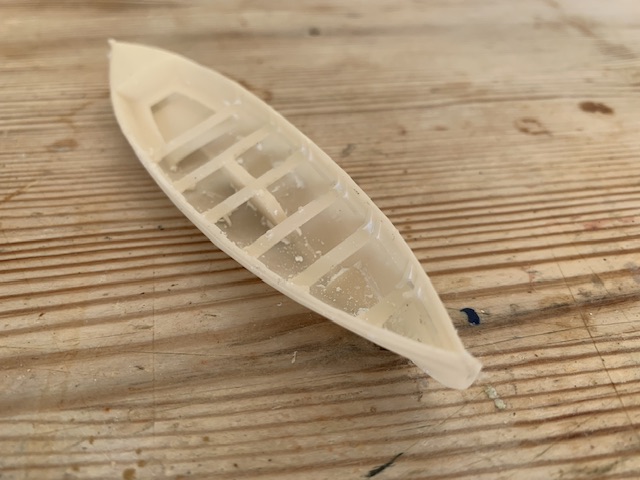
Add some oars and a rudder, should be ok
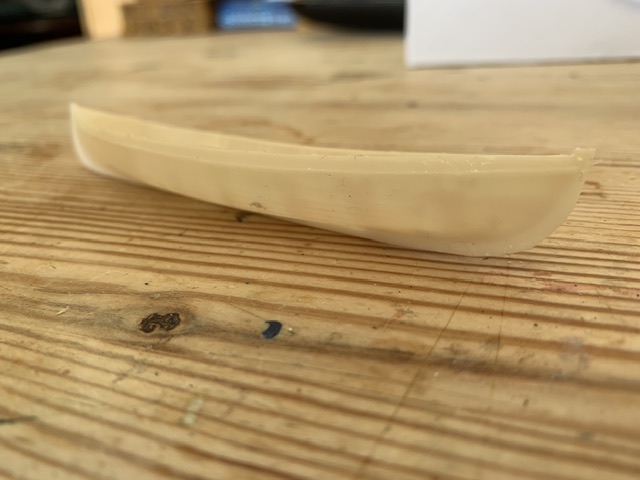
Now need to think about davits to carry it. Jackal would carry two other boats, a 20 ft motor boat and a 14 ft dinghy. Need drawings for those
I’m impressed with what you are able to do with the 3D printing. It opens up new vistas in modeling beyond what can be done with kits.
I have been poking along with the GSM Canadian Armoured Machine Gun Carrier. It is a very detailed kit and has been fun to build. In researching the vehicle I have found that it was not built as a unit. Autocar shipped the chassis to Canada where it was mated with a locally assembled body. If this be the case, there seems little chance that the chassis & body would have received the same paint. An Ottowa newspaper reported the cars were painted a light blue grey. Chassis & other components such as fuel & oil tanks? Who knows!
By the time the vehicles were shipped to England and then on to France the war had settle into the static quagmire and the Autocars saw little use until 1918. By that time they were painted a “mossy green” and somewhat altered from their 1914 origins. The Colt MGs were replaced by Vickers and they were overhauled and had other changes such as deletion of lights and the adding of a Lewis gun where the gas light had been mounted.
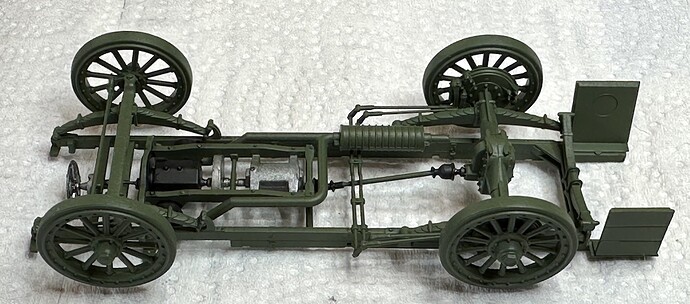
The instructions say paint it all green so I did barring some details which might plausibly have been finished some other way.
BTW, I have long been unhappy with the modern PC paint which does not brush worth a damn. I recently bought a bottle of Model Master Flat AL enamel and despite extensive stirring, it came out glossy. Really! See the gearbox on the Autocar. It had to be coated with a matt varnish to look halfway decent.
I tried something new on the exhaust. It is a Tru-Color brushable Acrylic paint. It applies smooth and steak free, dries quickly & is somewhat flat. I liked it so well I just ordered a selection of other colors.
Paul
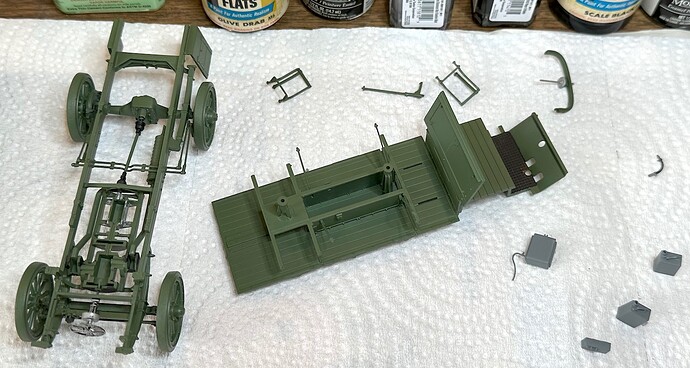
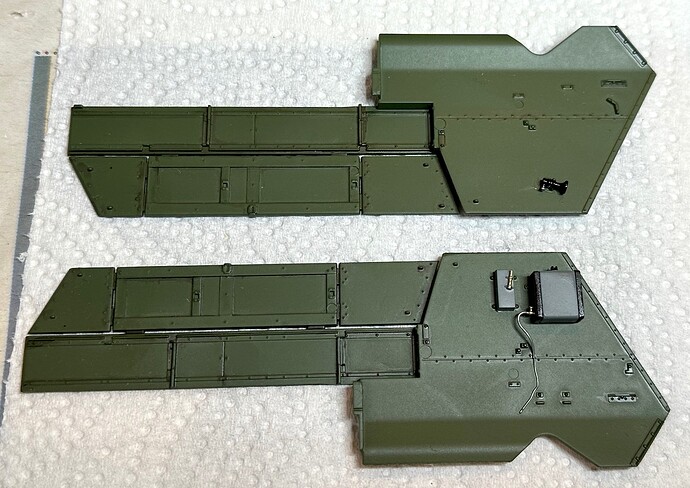
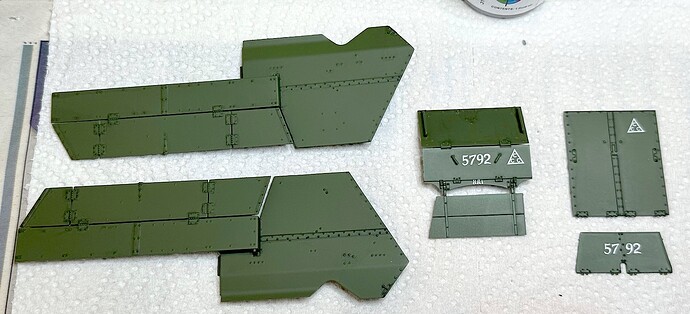
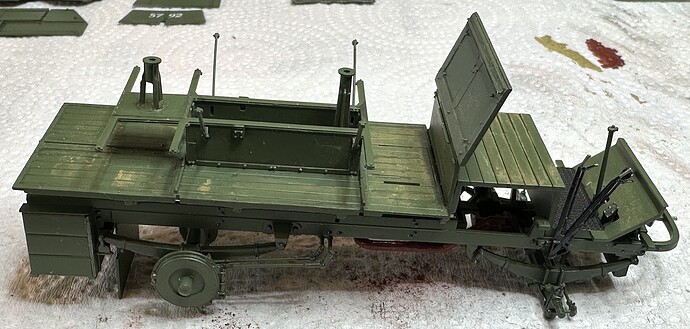
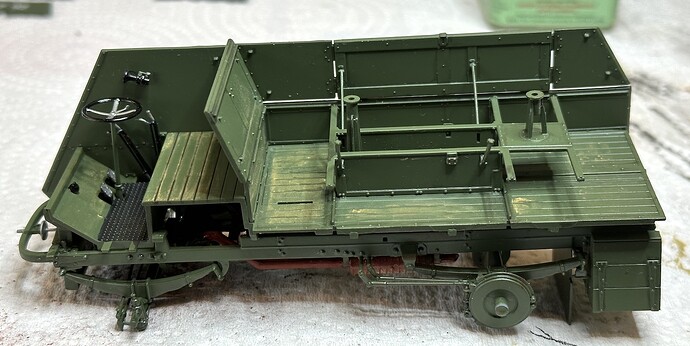
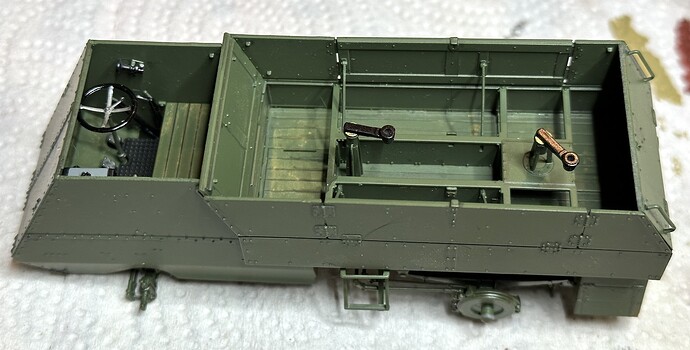
A lot of work done on the Canadian Machine Gun Carrier but its all detail work and doesn’t show very well. I choose to do most of the assembly like the instructions suggest as I couldn’t figure a way to assemble the body first before assembling it to the chassis. I would have preferred to assemble it then paint it as a unit but that’s not the way its going to be. I’ll be careful with that liquid cement, honest! Here are a couple of pre assembly pictures.
Paul
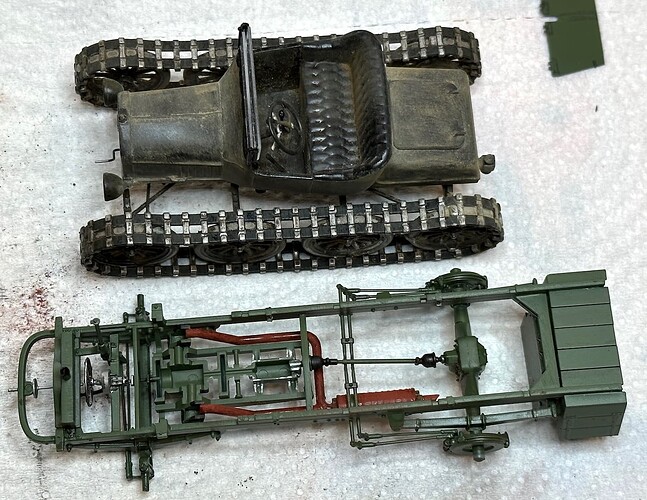
A bit more work done on the Canadian Armoured Machine Gun Carrier. First I set it next to the Chase Ford for a size comparo. It looked small and it is. Both are in 1/35 scale and the Autocar actually has a shorter wheelbase than the Model T! It had a crew of 8 and must have been very crowded.
Most of the work was done in subs and now its mostly a matter of assembly. The fit of the parts was very good and I was able to do a nearly seamless job getting the body panels together.
Paul
Here it is with the body assembled. Next will be some crew wear & tear and some dirt & dust but not too much. The photos show these vehicles in a fairly clean configuration. Perhaps they had recently been overhauled when the snaps were taken.
Paul
Great builds going on here folks! I just stumbled across this Group Build and have worked my way through the thread, awesome stuff and I love the variety of subject matter. I won’t be able to join in but I do have an old “Shelf of Doom” Great War build in progress at the moment - Sopwith Camel (Revell 1/28th Scale) - Aircraft / WWI & Interwar - KitMaker Network
Cheers, D
