I’ll be watching and following this one Rob. This should be an epic build. You really know your Bradleys and you’re an outstanding modeler.
1 Like
I had an epiphany yesterday - I didn’t need an angle grinder to shape my chisel blade. I just used my belt sander instead. Although designed for wood I’ve been shaping much larger metal shapes on it for years. I know, why didn’t I use my Dremel? Because I’ve got about three dozen cutting disks for it, and can’t find the shaft. At any rate, I was able to shape the chisel enough to slice off the return roller mounts.

So now I’ve got the suspension finished on both vehicles. You can see the before and after. You can see that another problem mounting the front shock is that the old return roller location was in the way. They are now correct:

It won’t be as visible on one, but the second will have all of the side skirts raised, like this:

I’ll use half round to mimic those welds on the hull, since they’ll be visible.
I’m glad. Now you can see what Jaque’s products can do even in the hands of an average modeler. For years I’ve been cobbling together builds using MLRS parts, but let me tell you this is so much easier. The sprockets and idlers (not shown) fit perfectly onto axles. No finagling or cursing - just slide them right on,
5 Likes
Do we have a link where to order Jacque’s products?
1 Like
Ebay link in this thread.
NEWS: 1/35 3D Printed Bradley update sets - Armor/AFV / Modern - KitMaker Network
Hopefully his turret parts will be on sale soon.
1/35 Tamiya Bradley M2A2 ODS turret upgrades coming soon - Armor/AFV - KitMaker Network
2 Likes
Thanks man.
You can see a photo of the turret parts in the link, but I have fondled them with my own meat hooks. Simply oustanding. But that’s for another build I’ll probably get back to this weekend.
1 Like
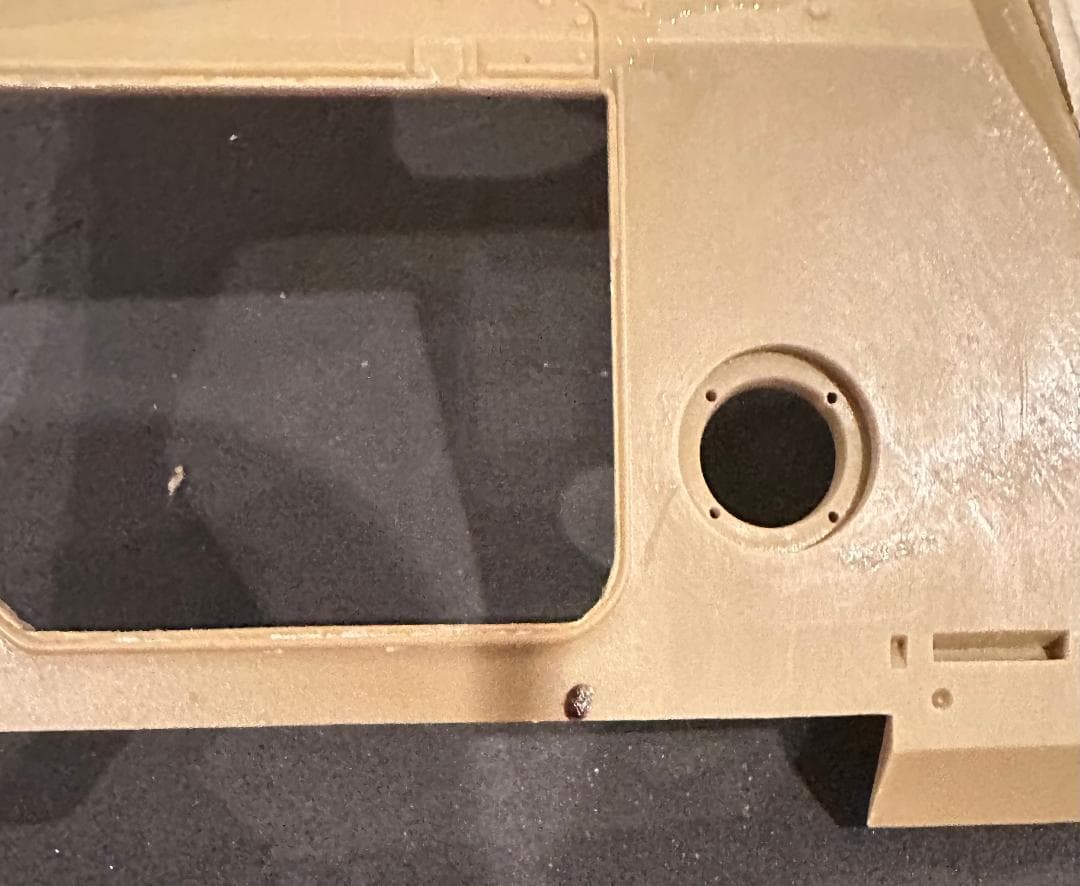
Before I add texture to the hulls and floors, I need to prep them. One of the Bradleys will have an opened transmission access door and also an open access hatch. Neither Tamiya nor Academy make allowances for this. In fact, they don’t even show the access hatch at all because it’s normally hidden by the trim vane.
I marked where the hatch would go and then rough cut it with an old X-Acto blade. To get it perfectly circular I wrapped a tapered dowel with sandpaper and worked it until it was the right diameter. Then I add another piece behind the opening with its own hole. The larger door was simply a matter of cutting it out.
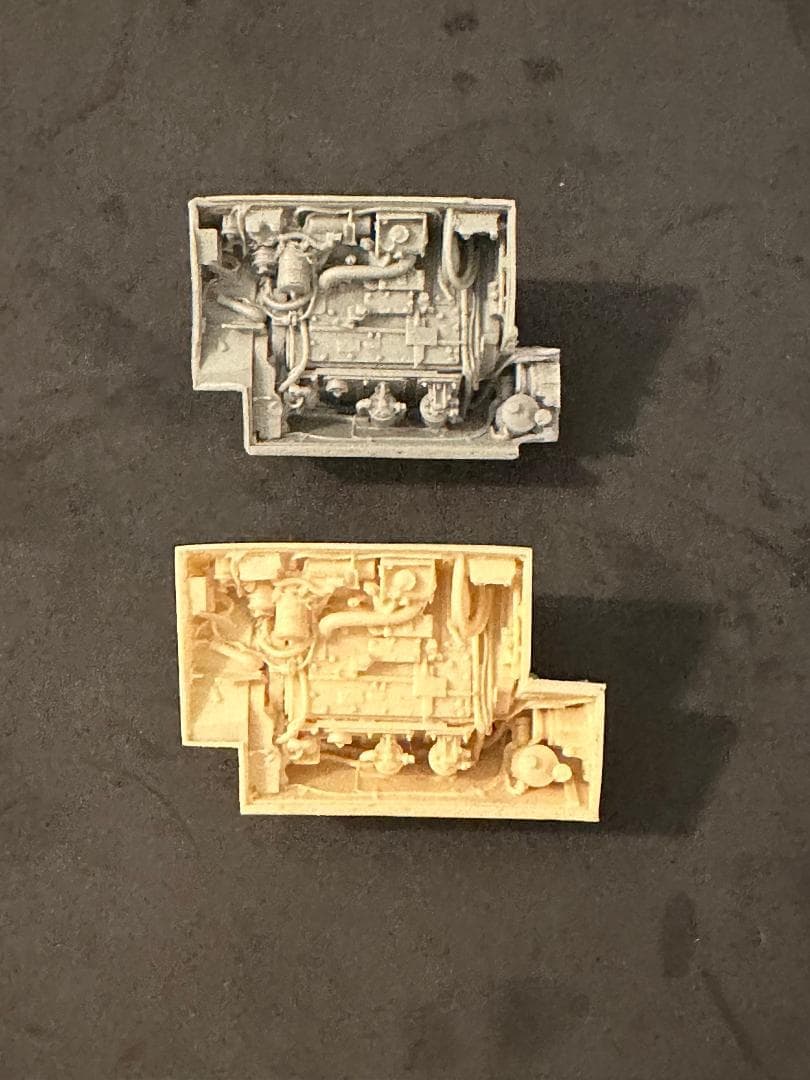
I’ll add one of these transmissions. Makes more sense than wasting one from Meng, of which I also have several, but those are for modern builds. These will barely be seen, but seen nonetheless:

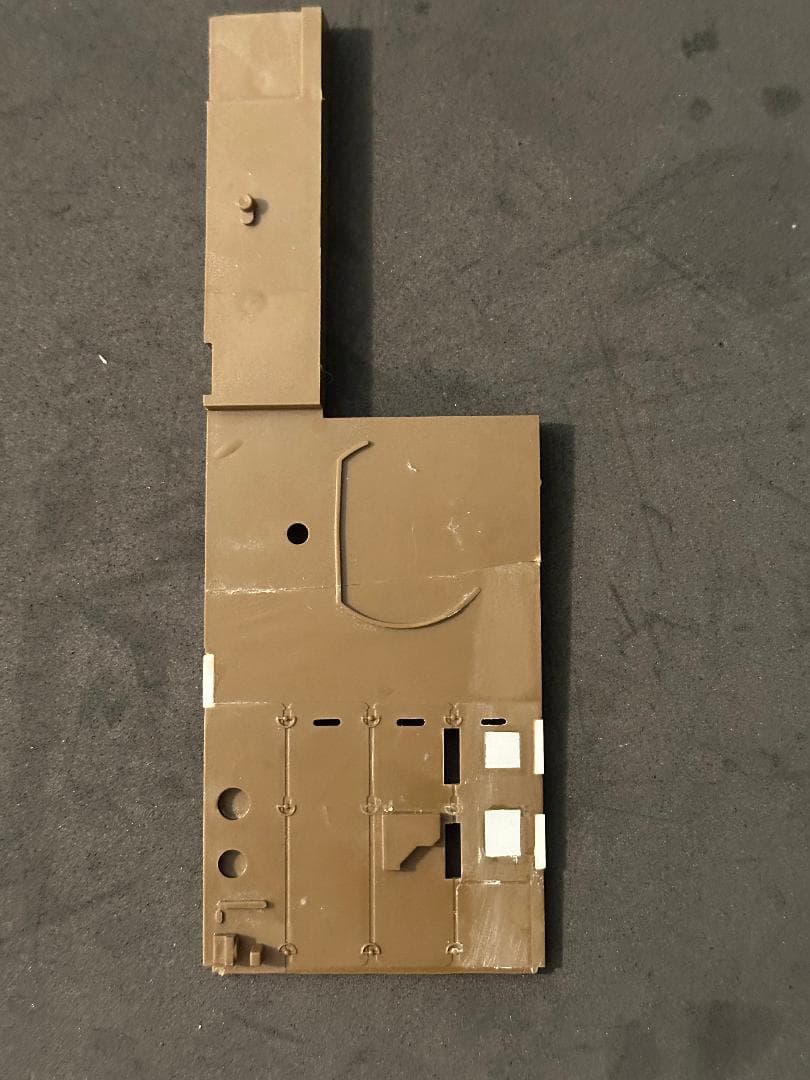
Finally, I corrected the floors. I removed the cast on ammo cans. For my Reforger build they would not have carried live ammo . Perhaps I’ll have a few ammo cans for cleaning equipment or other necessities. For the derelict Bradley it won’t need ammo cans at all.
The notches on the sides were where the fictional seat mounts go. Tamiya chose to have the outboard seats mounted on tall slabs of plastic, when in actuality they mount directly to the hull. Honestly, Tamiya’s method is barely noticeable, but it still there for prying eyes to see.
6 Likes
I made some improvements on the Hoffman simulator.

It’s thicker front to rear, and has cutouts for the plugs. I think the discs were just to wrap the charges’ wires around to prevent accidentally unplugging them.
6 Likes
I know I’ve posted this before, but it bears repeating. Every Tamiya and Academy kit up through the M2A2s needs this fix. The low notch on the ramp armor needs to be reshaped. The right side is done. The left still needs to be reshaped.

5 Likes
I don’t remember. I bought all that were available from two sources. It’s been so long - at least ten years.
1 Like
They look like the old Real Model Transmission & Compartment for Bradley sets. It includes the transmission insert and parts for a new inner and outer engine hatch.
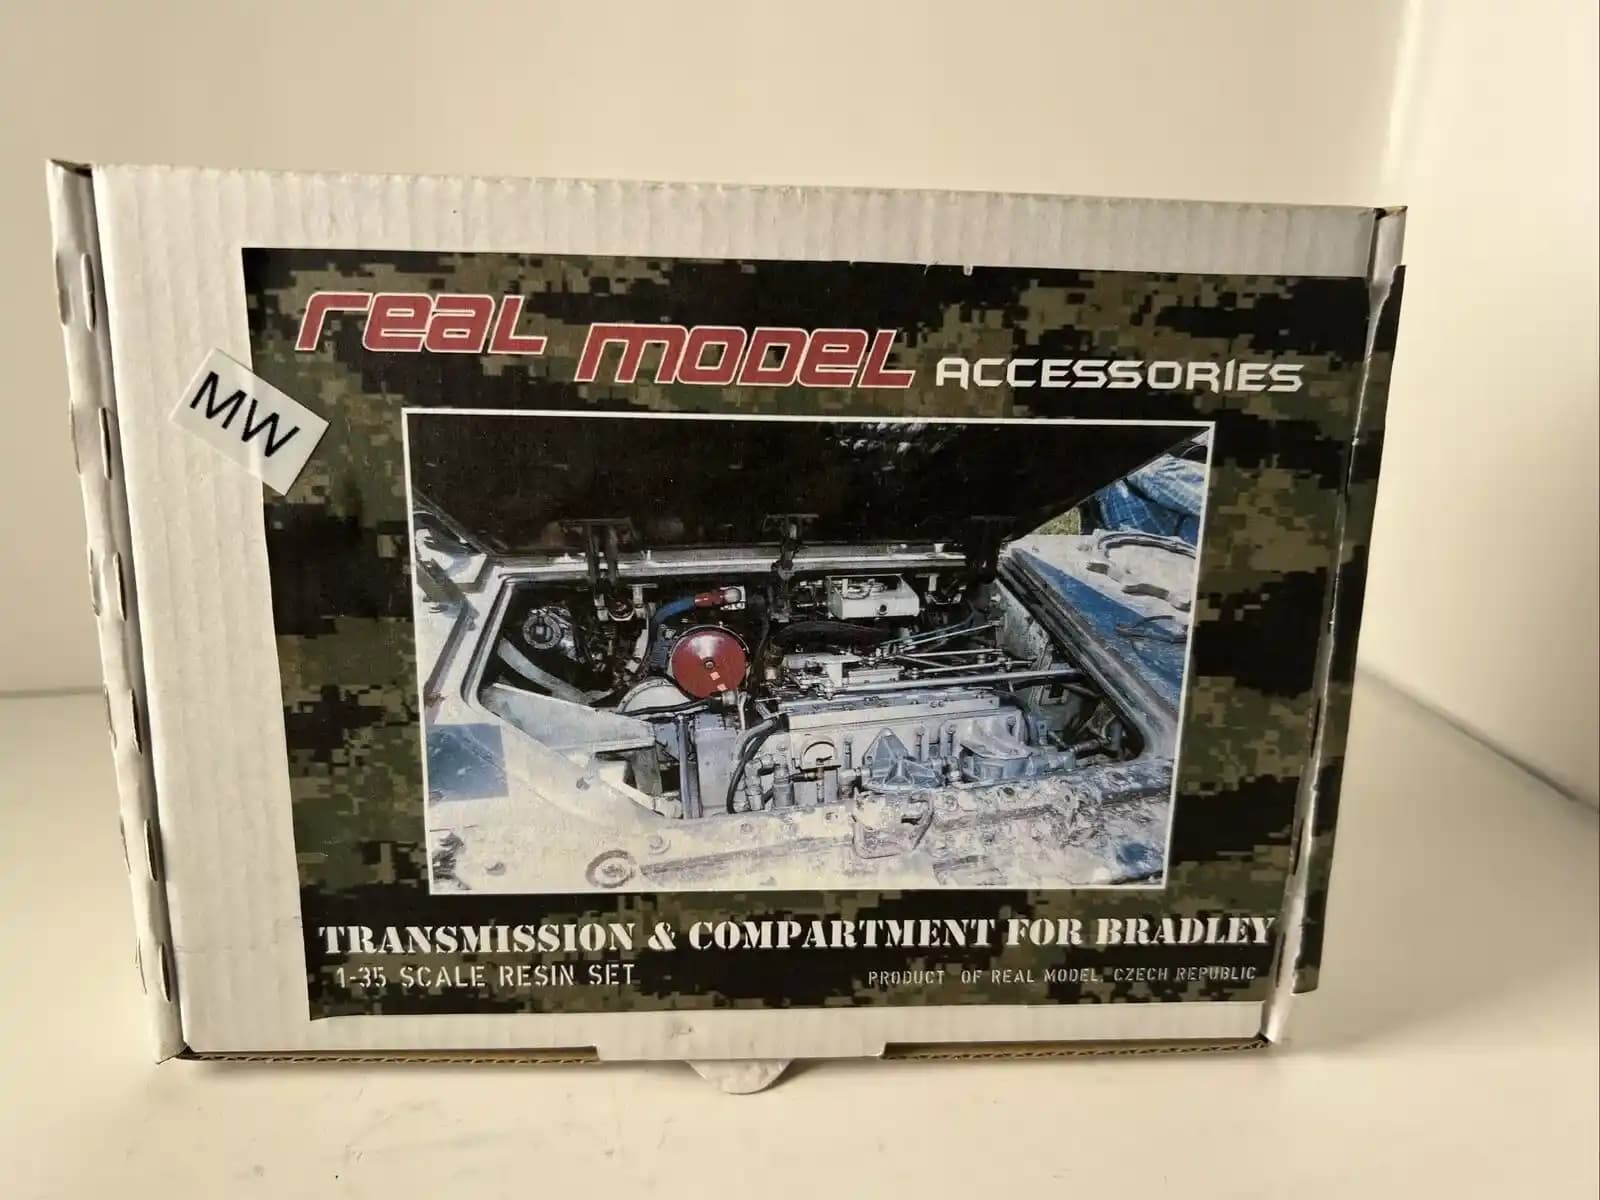
There is one for sale on eBay, but I wouldn’t pay that much for it.
Real Model Transmission & Compartment for Bradley 1:35 Resin Set | eBay
1 Like
These days you’re better off purchasing the Meng interior set for the M3A3. Keep your eyes peeled on the Buy, Sell, Trade forum.
1 Like
@HeavyArty and @18bravo Great information, thanks!
The Meng set is great, but a bit of an overkill and most of the engine can’t be seen. I have an old Academy/Tamiya M2 with interior and that engine set would be great for it.
Ken
2 Likes
It’s more than you need, but you can put the actual engine on a stand. And I’d bet someone on here would offer to build the other interior bits from you.
1 Like
And for people that have been around the real deal to annoy them. I know it does to me with how simplified the Humvee interiors sometimes are. I can imagine is the exact same thing when you look at the interior of the Tamiya/Academy M2/M3 once you build it.
2 Likes
I didn’t do a whole lot today build-wise. But I did spend a couple of hours advancing the hobby. More as it develops.
I did have time to replace the front suspension arms on two more M2s, and completed the no slip texture on two upper hulls, and most of a third one.
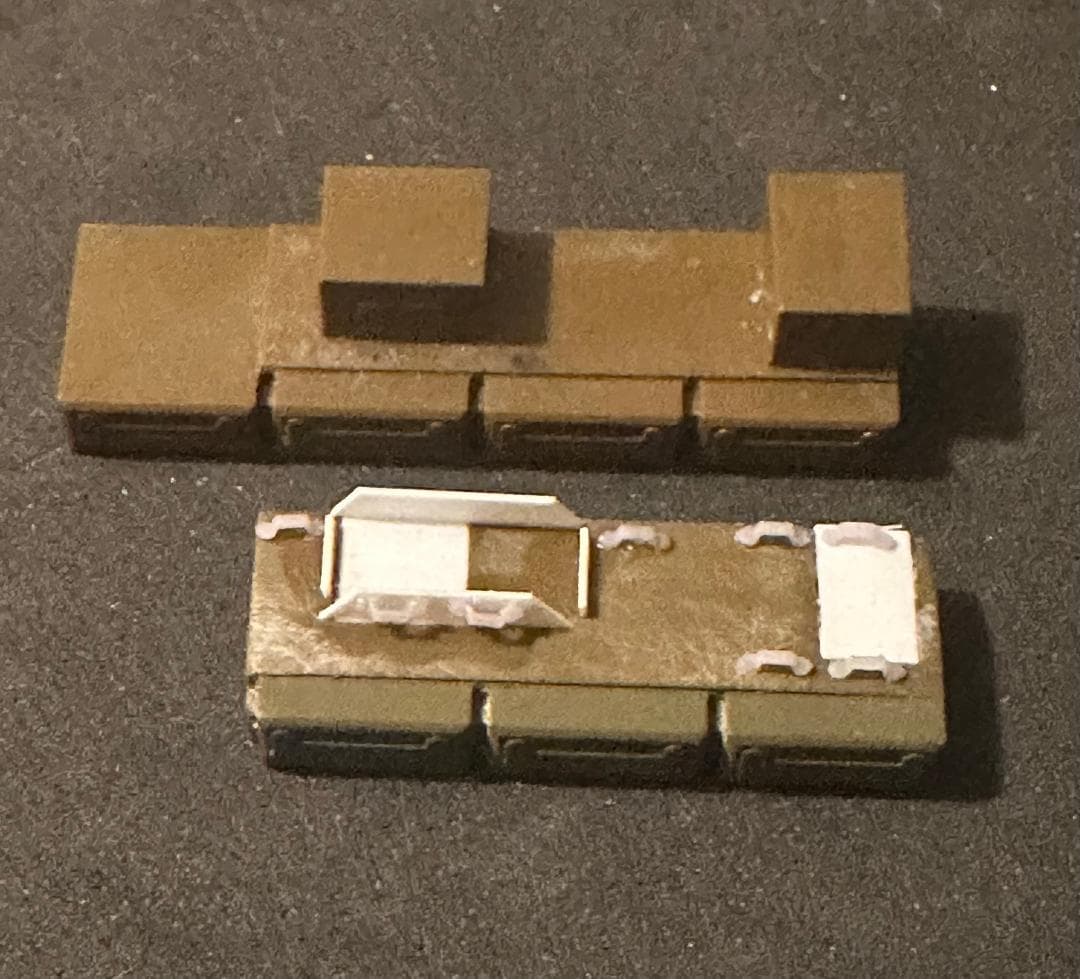
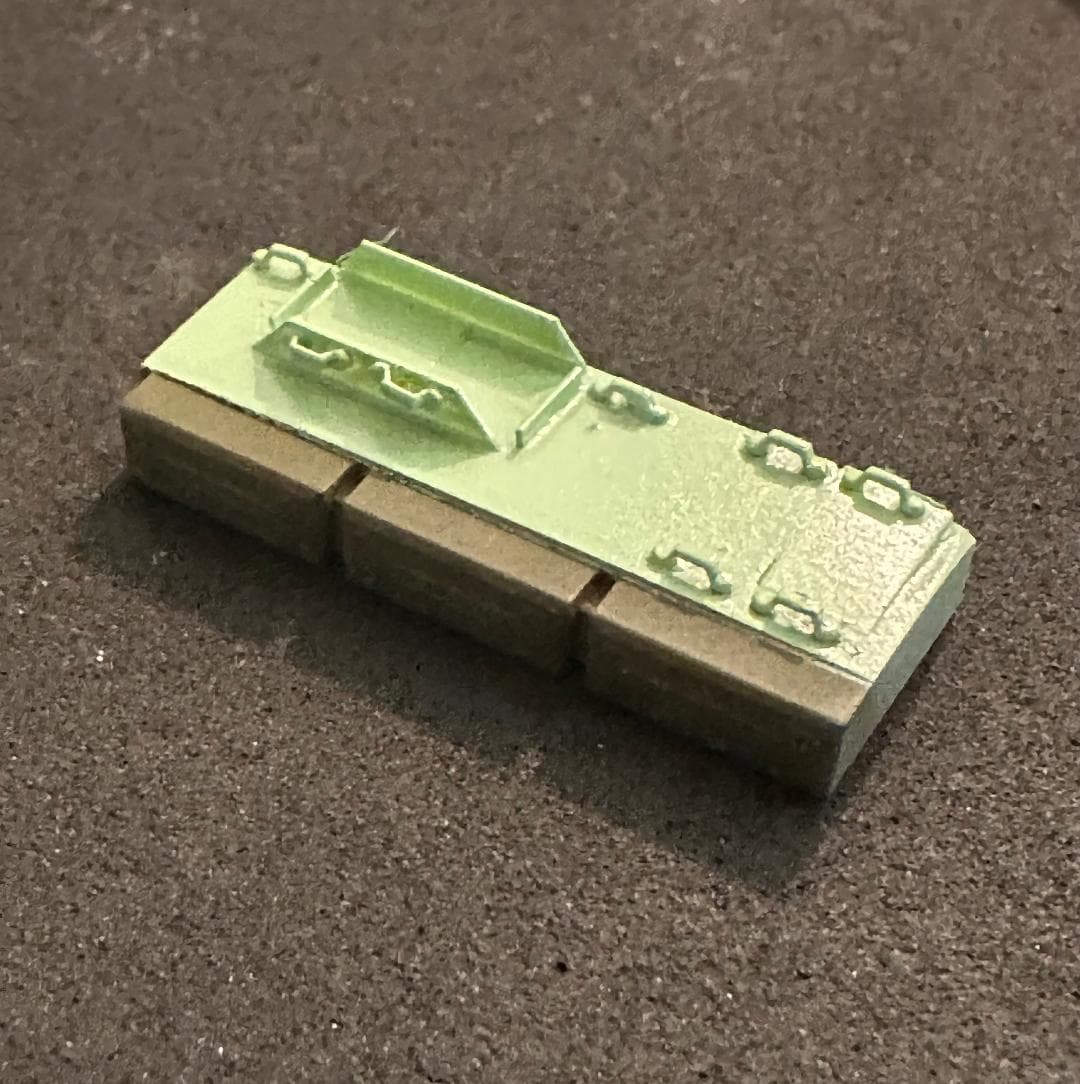
I also managed a little interior work. Again, cast on ammo cans have no place on this build. The 25mm cans I can live with. They get reused and most often stay with the vehicle, loaded or not. Original kit part vs, reworked part with Jaque’s footman loops. These things really make a difference:
4 Likes

This is from the time when they were metal. Besides, in another thread I show where both were used simultaneously.
4 Likes