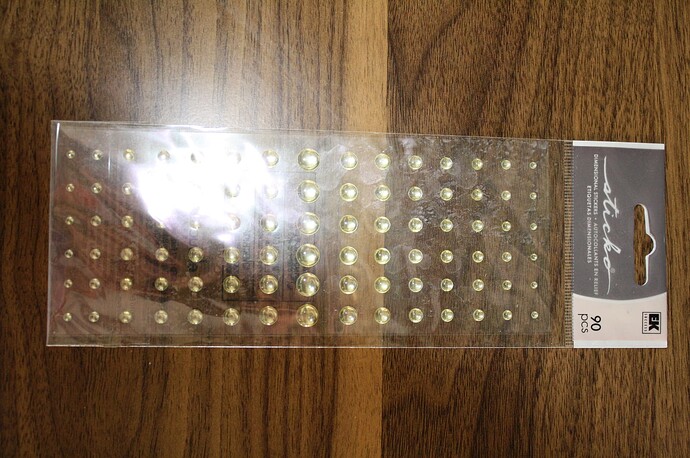
Some years ago when I ran out of MV Lenses I was in Michael’s around Halloween time and chanced upon these Sticko “Shimmering Dots” which were perfect for vehicle lenses. I bought them out, and subsequently spent the day driving to 4 other Michael’s in my state, buying all they had, too. I now have what I think is a lifetime supply of lenses in all sizes. Don’t bother looking for these, they went out of production. Still searching the craft stores for a modern replacement though.
You’re killing me! I’ve been on the lookout for something similar for years, but still no luck. In Japan, there is every sort of bauble imaginable to dress up your smartphone case, but not that ![]()
![]()
For several reasons, I took another month long hiatus from modeling, but I suppose I should get back to it. In the interim I have managed to do some very good research for the future, as well as for the OG Brad, which I fould two of. I’m glad I went with the .5mm bolts on the applique armor. Will paint they will scale out exactly right. The others would have been too large.
Finally eased back into modeling again today. Started with something small.
I’ve noticed my first trim vane, on which I used PE, was incorrect. Although there is a version with a cutout on the end, it’s also rounded, making the PE part somewhat incorrect, even if it is much closer to scale thickness.
I just went with the stock piece, but thinned it to almost the same thickness as the PE part:
I can still use the other one if I use the armor modeler’s best friend, the “hide it with a tarp” technique.
Either one looks so much better than the stock part.
The obligatory (for any Bradley kit) space armor at the rear. The footman loops by Jacques really look good. The jury is out on the ramp - down, or up with opened rear hatch. Leaning toward opened rear hatch.
It’s looking great.
Cheers,
Ralph
Hullo Jakko!
I think this answer nails it!
Or…put some mud on it ![]()
Slowly getting my groove back. Can’t use the surgery excuse any more.
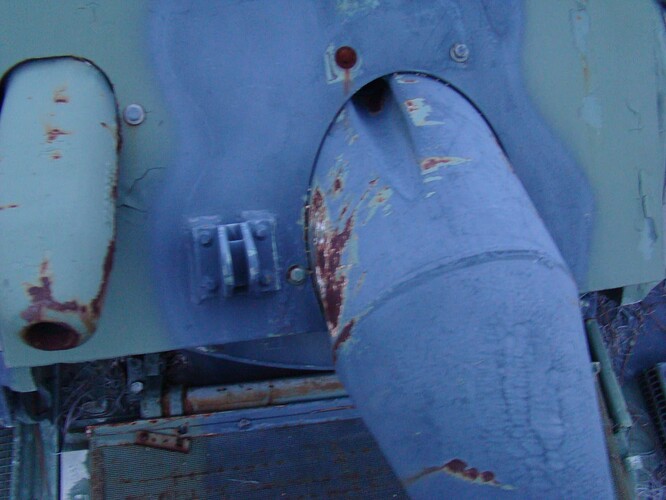
This fitting on either side was the last thing I wasn’t looking forward to:
But since I never get rid of anything, I found a part in the MLRS kit (of which I have many for donating purposes) which worked nicely after it was cut up:
And as I mentioned above, the .5 mm bolts turned out just right, even if they were so tiny that some took several tries to get them to land flat.
Time to start the turret. Whether you go with the kit parts, or use PE, the ammo can racks do not attach directly to the bin. You’ll have to make some spacers. It’s a small detail but it looks better once you know it should be there.
Good tip!
Thanks Rob!
![]()
![]()
I may or may not look into making the original Ammo Holders, but just as an aside for the newer ammo racks, there is no spacer. Not sure why that changed, any ideas?
Just a very uninformed guess - the older ones were made from steel. Mounting them directly against a surface would probably allow water to collect and eventually rust to form. The newer ones are polymer, hence no need to worry about it.
And in looking at that photo of my shoe, it appears they sort of have built in spacers.
I would guess they have no spacers because the side that faces the turret has two protruding parts pressed in that serve the same function: make sure the holder fits around the curve.
TO follow up on that; the newer ones are made of plastic and the spacers are molded in, while the older ones were folded metal and need the spacers.
Fabulous answers guys. And they all make sense. I personally have not been able to diligently look over a M2 OG so that helps to know about the steel ammo holders.
The great thing about this community is everyone has something to contribute - even Zombie lovers! I’m glad so many Bradley afficianados are following along. I know it has dragged on for a while. I did say I get distracted easily. Recently practiced a little Zen and the Art of Motorcycle Maintenance.
What a perfect segue. The next thing is the side ammo rack holder. Eduard did two types of external Bradley sets, a few years apart. The brass one on the left is the early version:
I have found three different styles of side racks - the one on the left matches none of them.
The one on the right has fold “zones” rather than sharp fold lines, yielding a slightly more rounded corner. They’re also easier to fold by hand, although a Hold and Fold is still preferable, The brass one was an exercise in mental gymnastics - not just in figuring out the correct sequence, but actually being able to get the part into the Hold and fold after the first few bends.
Here are both for comparison. The brass one is far too large for any I have documented,
The left one is still salvagable for a boneyard hulk - I just need to trim the left rack down by one one set of holes, and shorten the spacer between the two racks,
A short-cut - if you can track one down:
25mm M242 Bushmaster - Lufa do amerykańskiego IFV M2 Bradley Armorscale B35-020


