Excellent work Robert
1 Like
Thanks for the info. Also the photos. I wonder if 100 or so can be rebuilt and given to Ukrains?
1 Like
There are quite a few differences in the older version. I’m not even sure if they’re still there. Perhaps they’ve already been refurbished and brought up to A3 standards. It’s been ten years. I guess that’s a good excuse to go back to Mississippi. Oh, and the Barbecue.
2 Likes
IIRC aren’t M2, M2A1, and even older M2A2 chassis being taken back to 0 hrs and refurbed into M2A3/A4’s? They are not currently producing new hulls are they?
1 Like
That’s what they told me at the facility back then. Of course there was no A4 at the time. But an all aluminum welded hull is pretty doggoned expensive, so I imagine they wanted to reuse those at least.
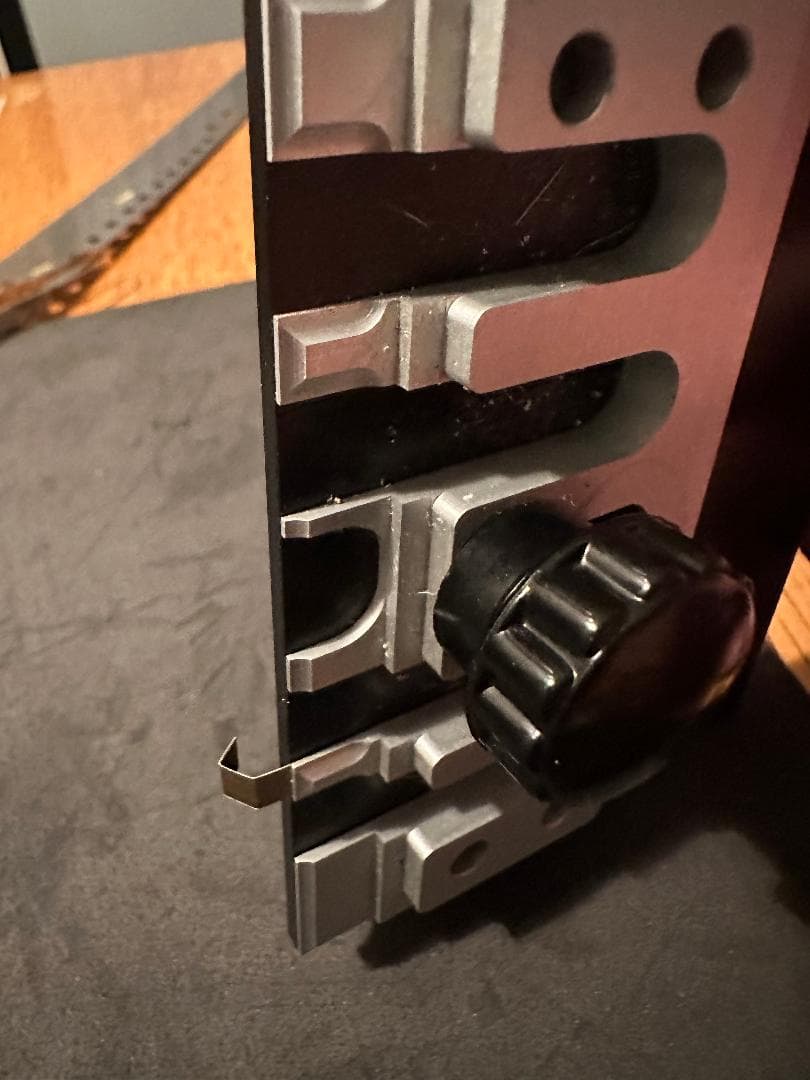
The above conversation about the fire extinguisher made me realize that as nice as yours is, it was designed for the M2A2, and not the M2. So I removed it to put on a later kit. Of course I had to make another brass one. This one wasn’t bad, but needs more angle. OCD-ness: A blessing and a curse.

4 Likes
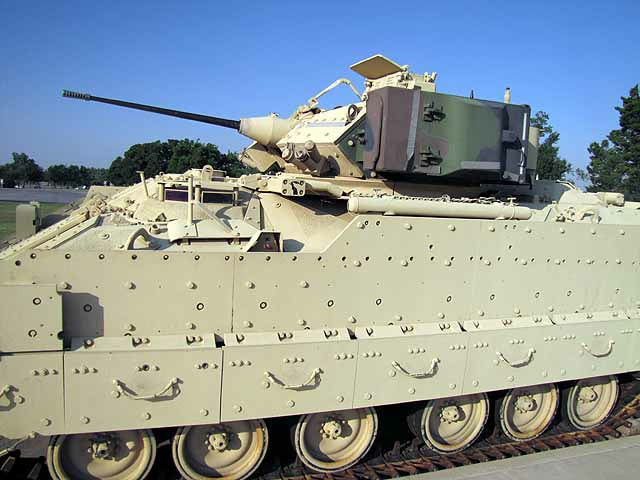
Here is a shot of the one at Camp Ripley, MN. It is a M2A2 ODS but it has a completely different style of FE pull. This is what I based my conversion piece off of.
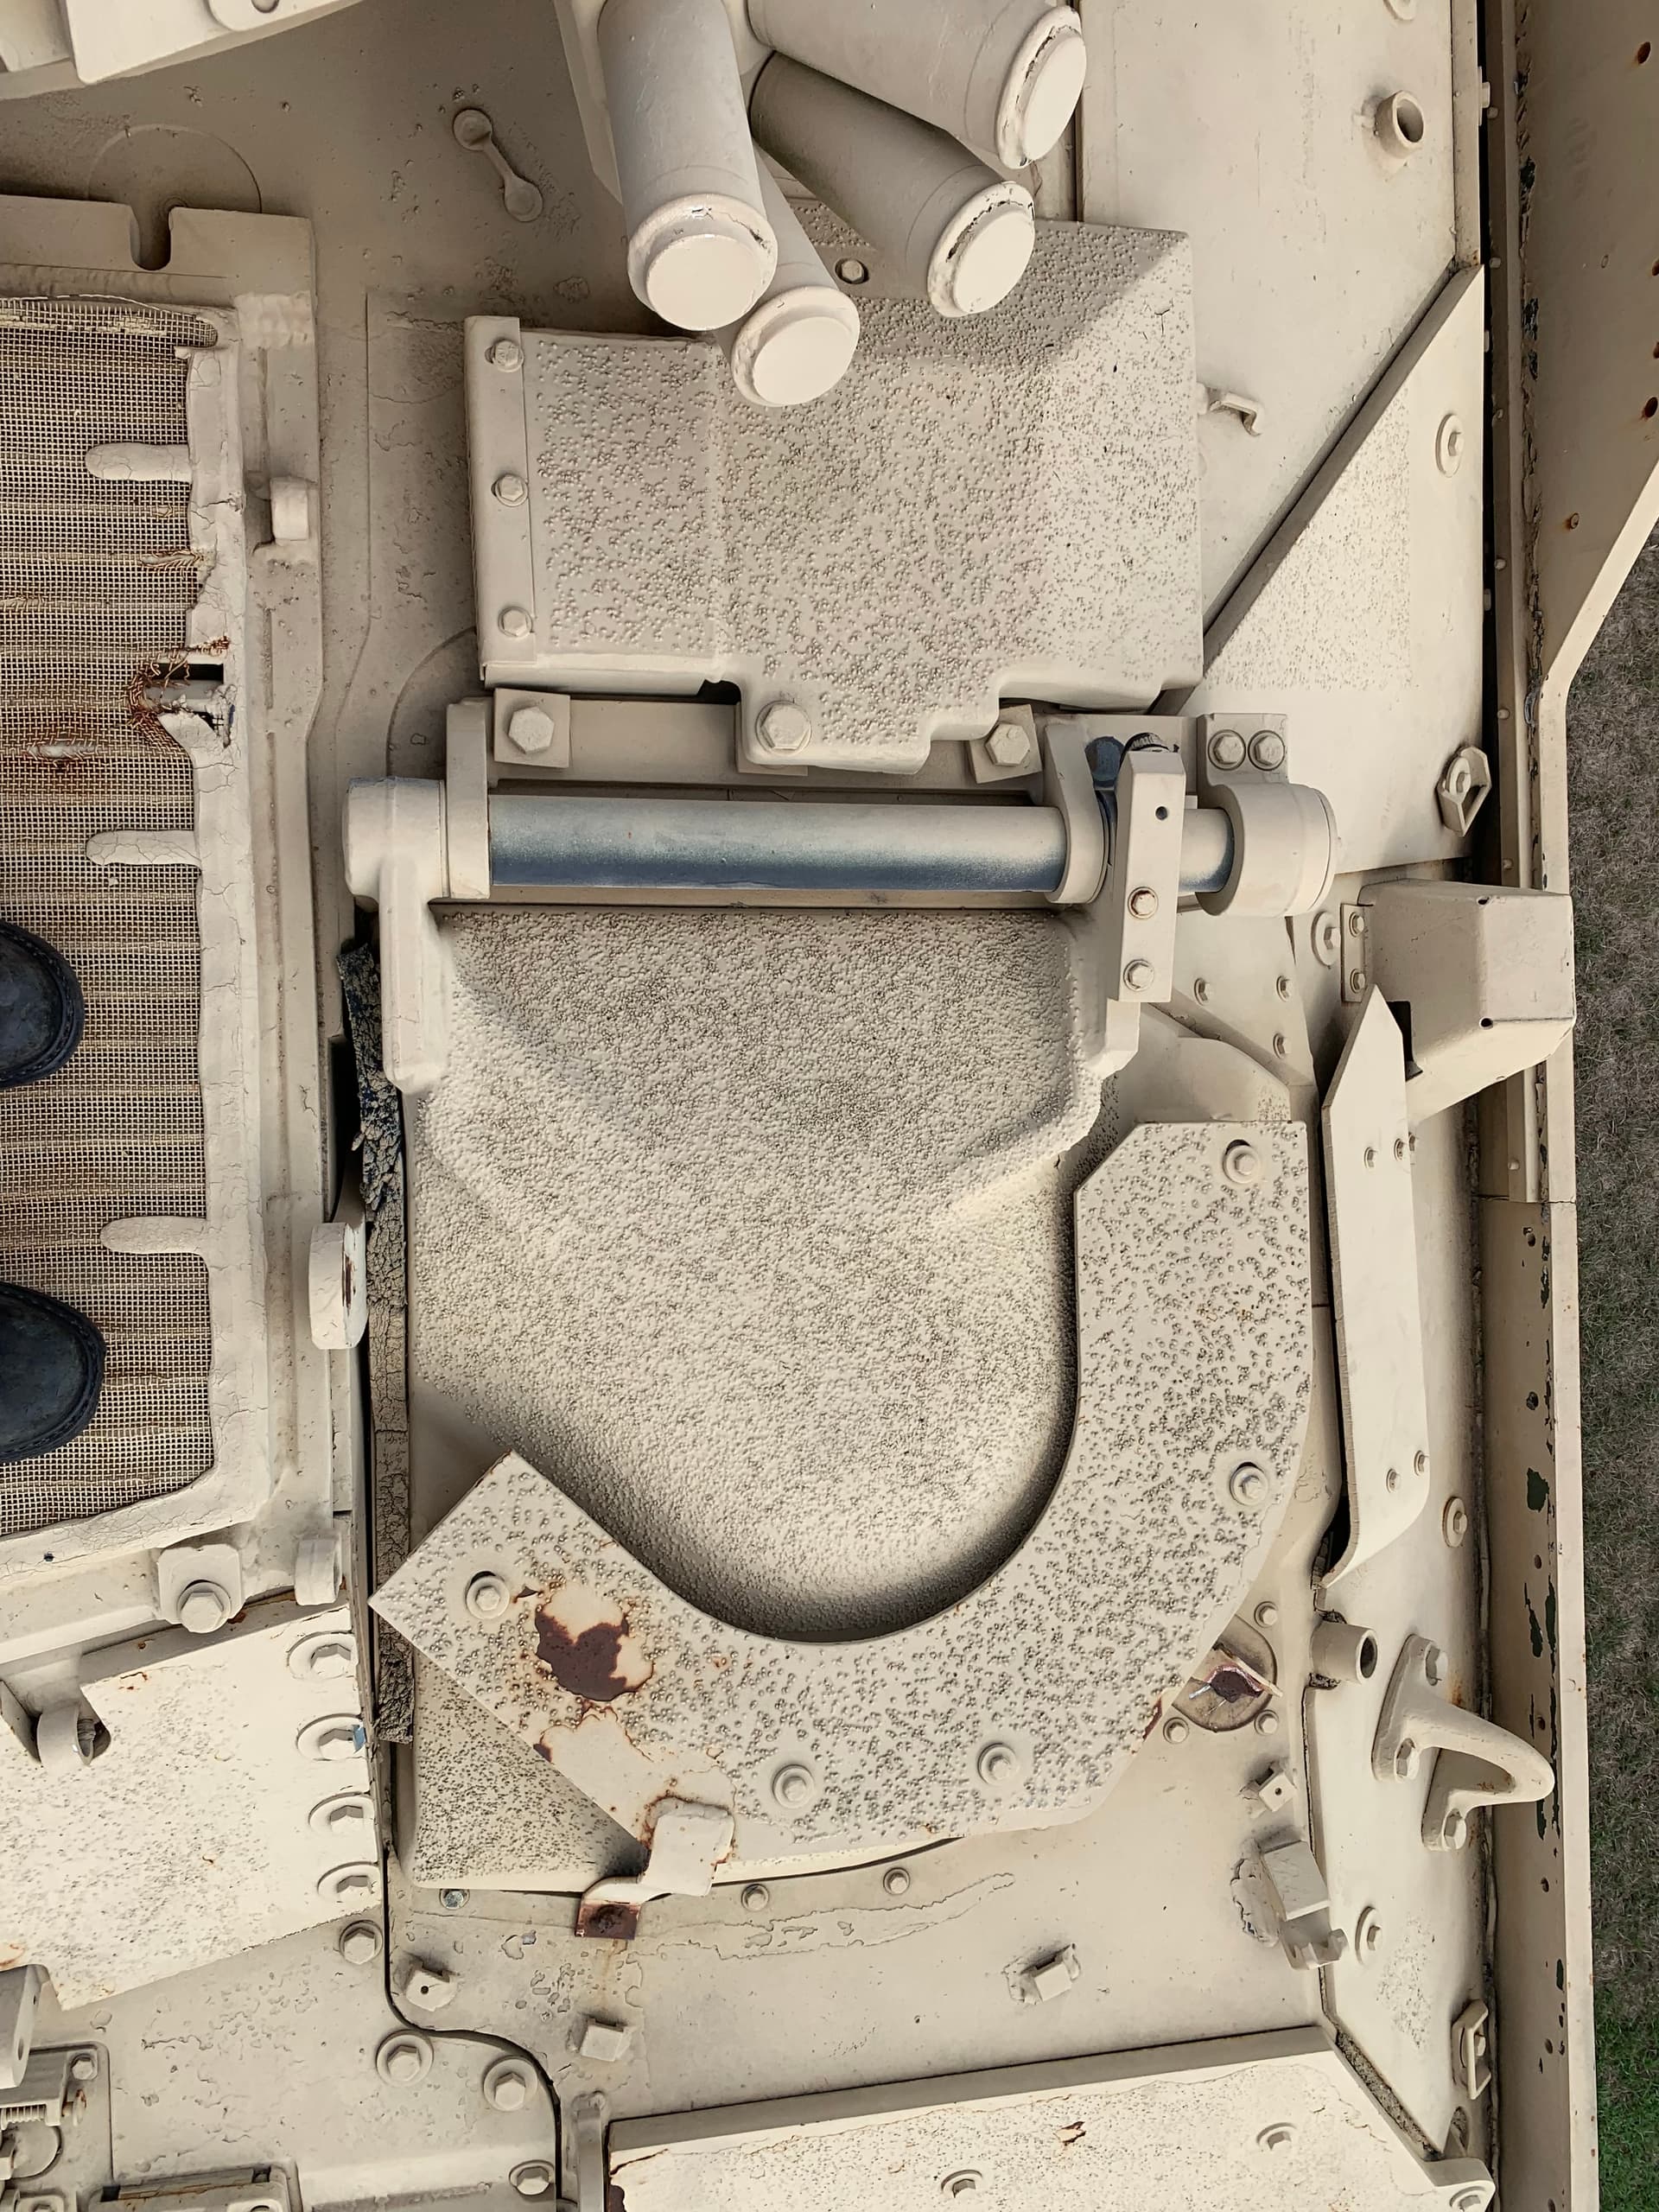
and one from the internet, same config. No bolt on the top of either.
2 Likes
Your work in brass looks great ! What are you using to bend it ? For instance, could you walk us through construction of that housing ?
1 Like
Thank you.
Trim:

Insert. Make sure it’s at a 90 degree angle. I use the Mk I eyeball.
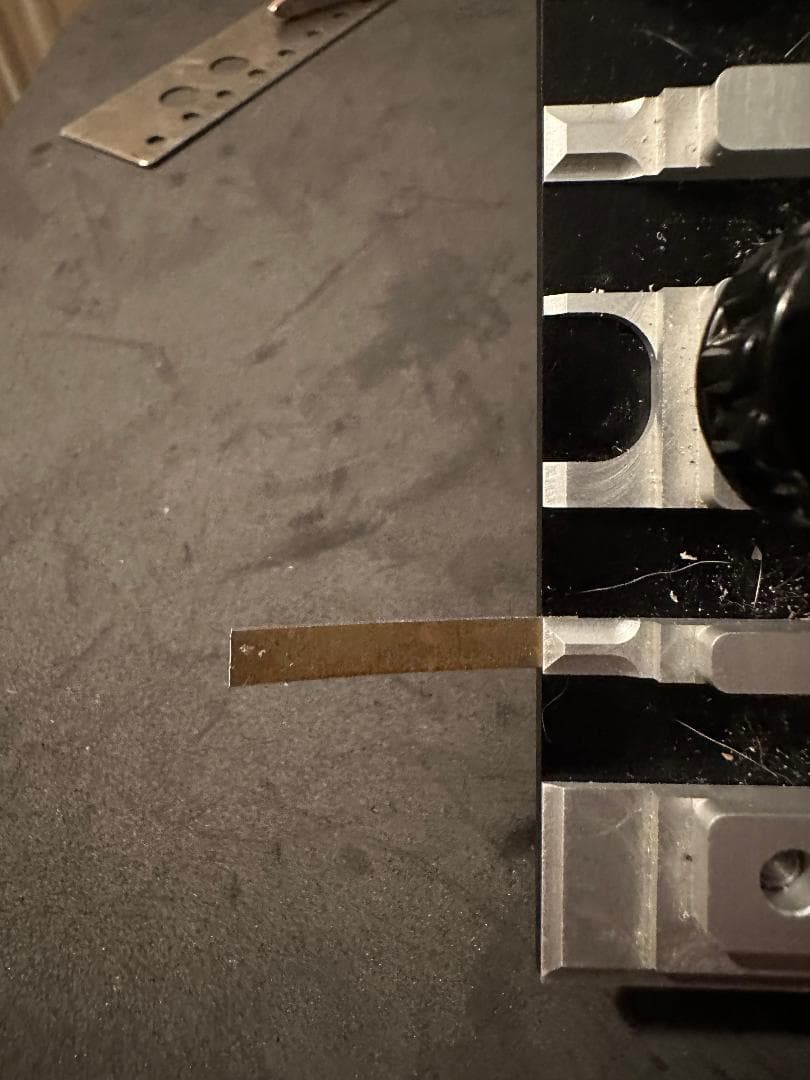
Bend upward whenever possible:
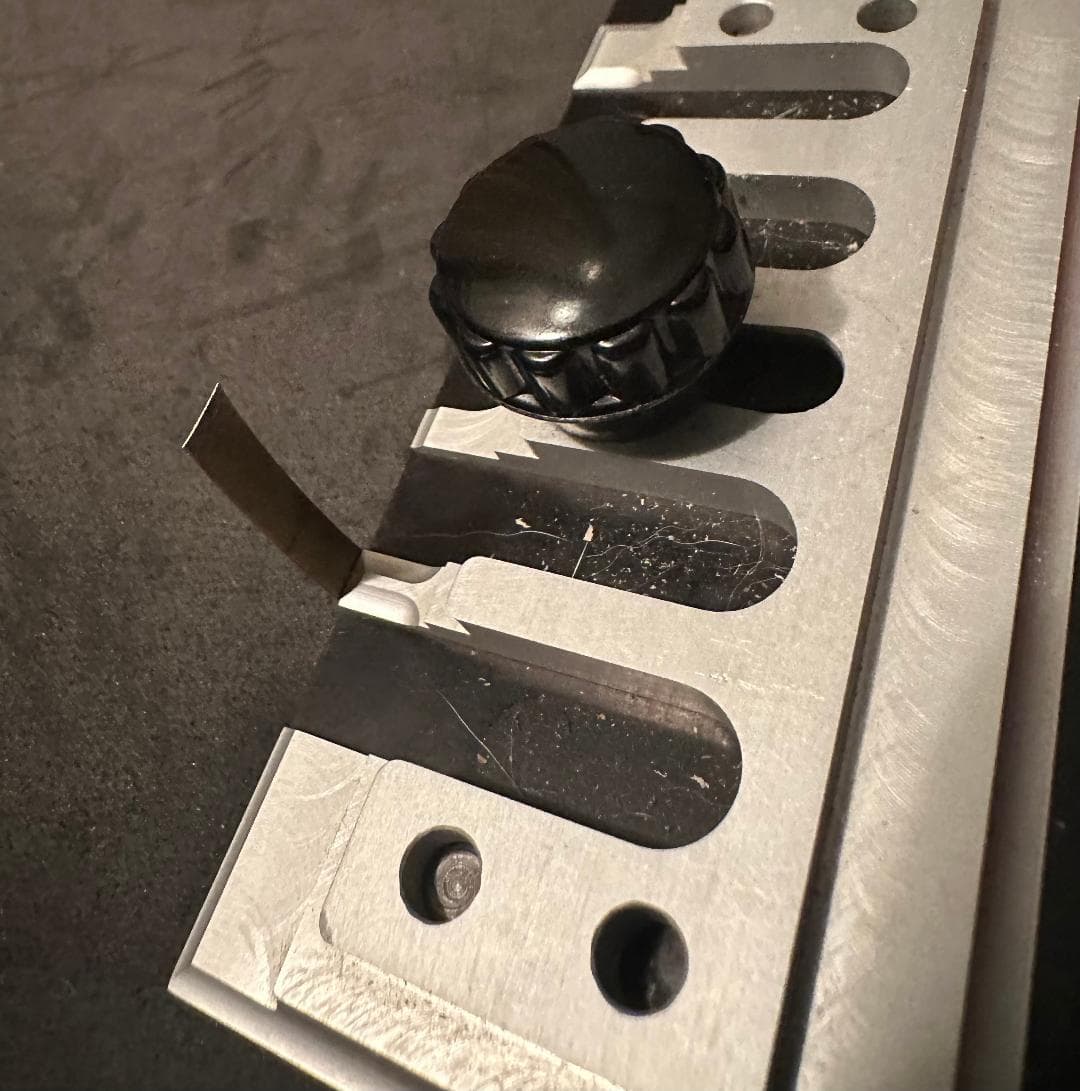
Reposition. Check angle:
Bend:
Reposition:
Bend:
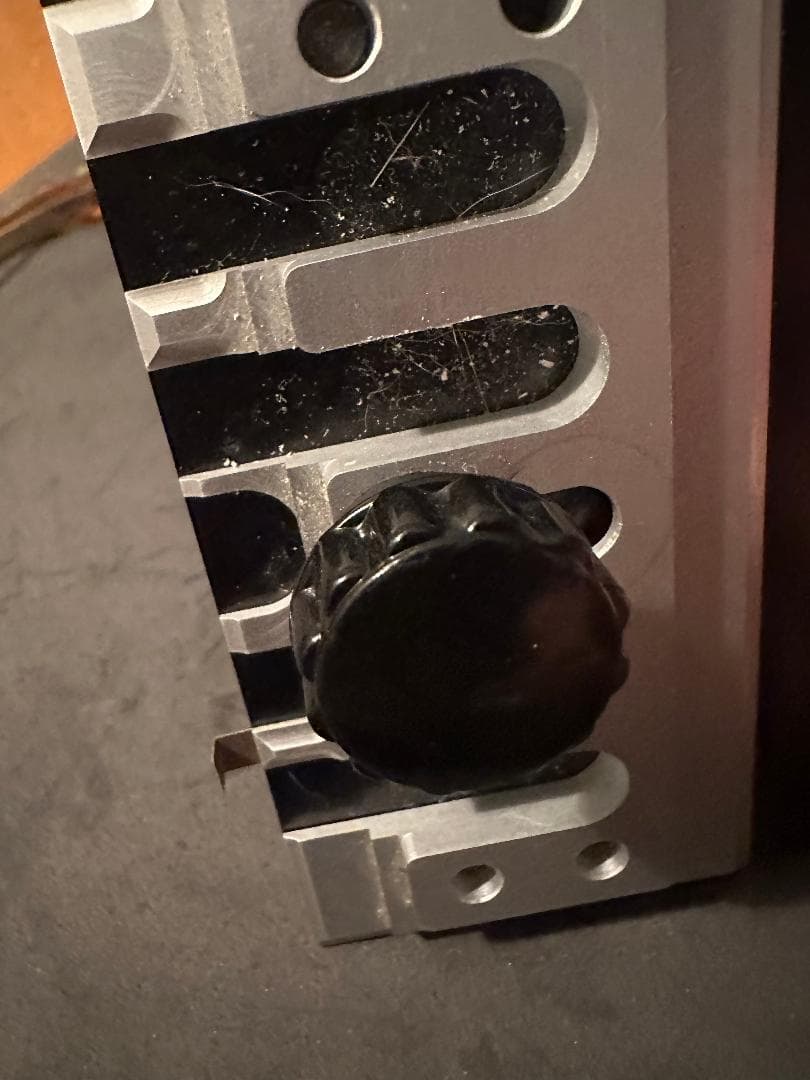
Check for overall appearance:
Trim:
Total time: A little over a minute.
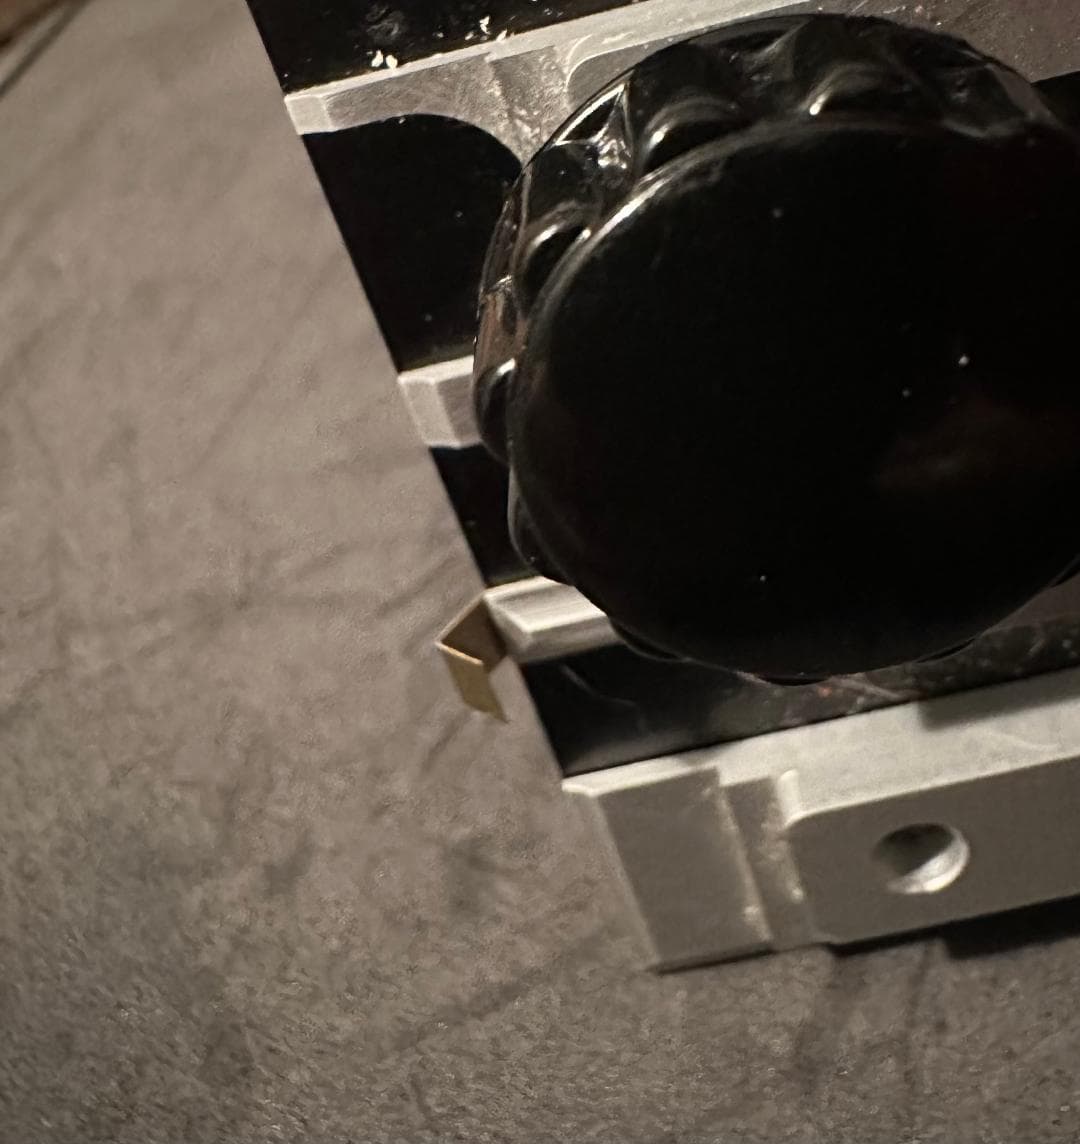
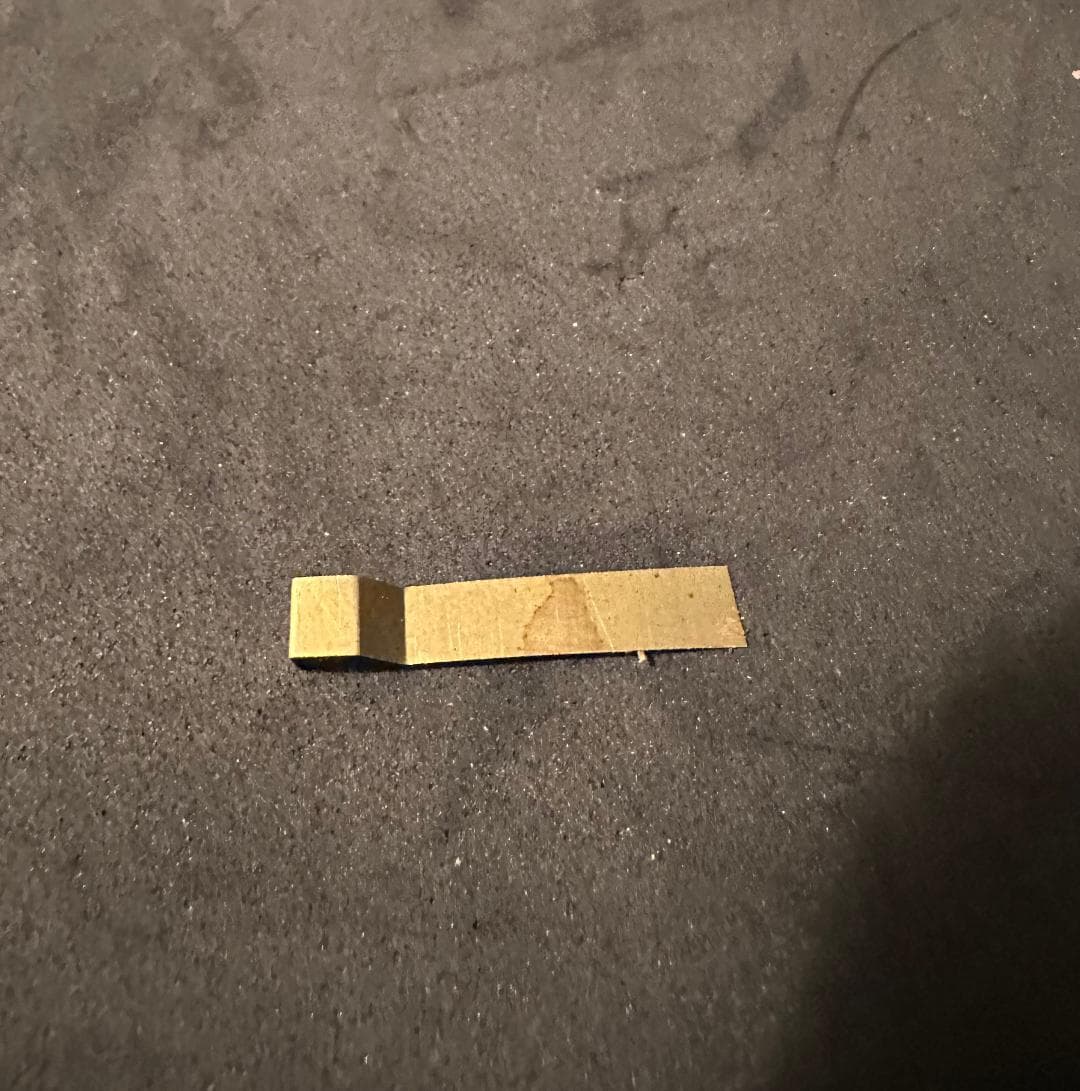
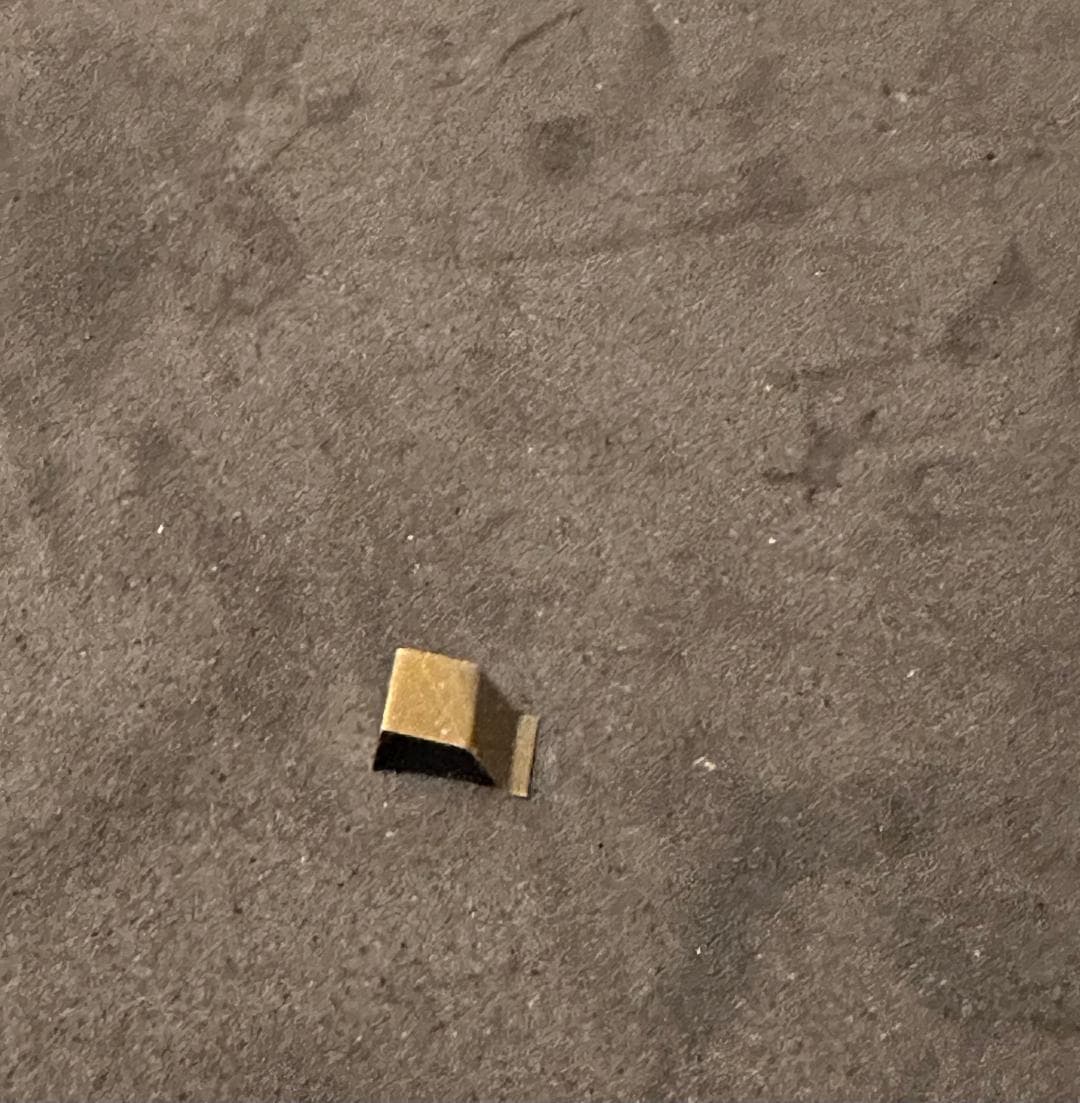
It needs a pull handle. You’ll need this:

Slice off a piece:
Trim. Done:

7 Likes
Sweet, thanks. Tin snips for cutting ?
1 Like
Kitchen scissors.
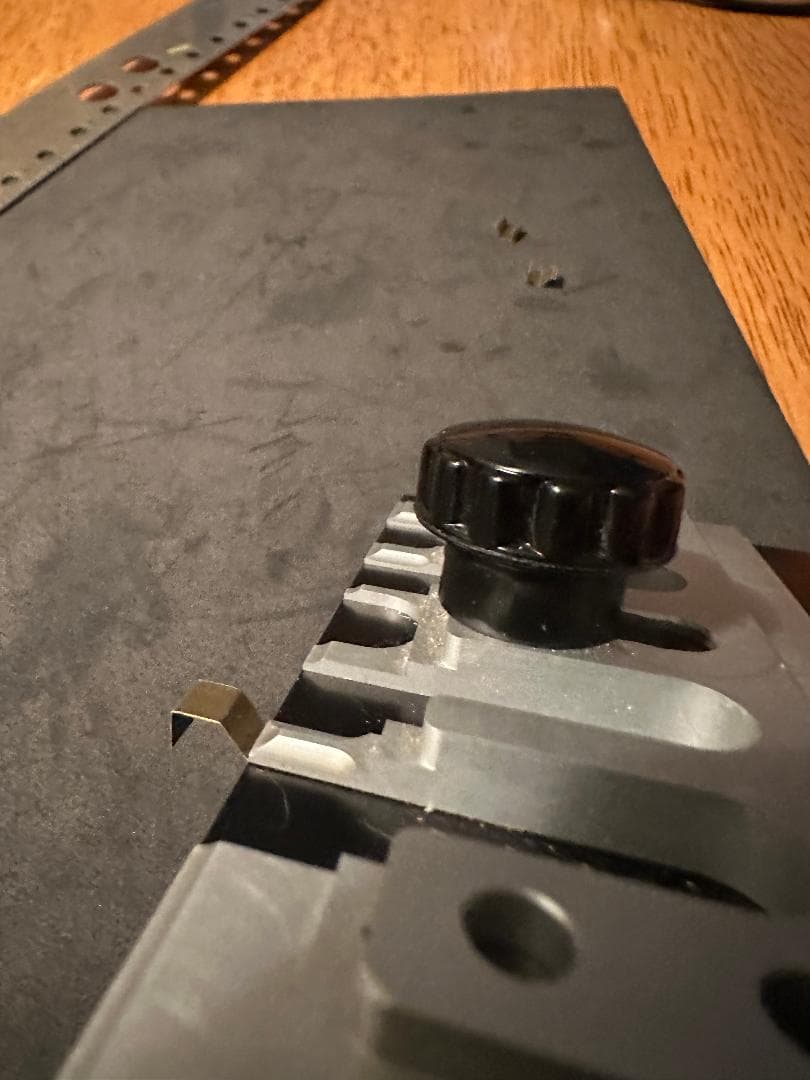
Final step in cover - add a back to it, and a mounting plate for the pull handle.

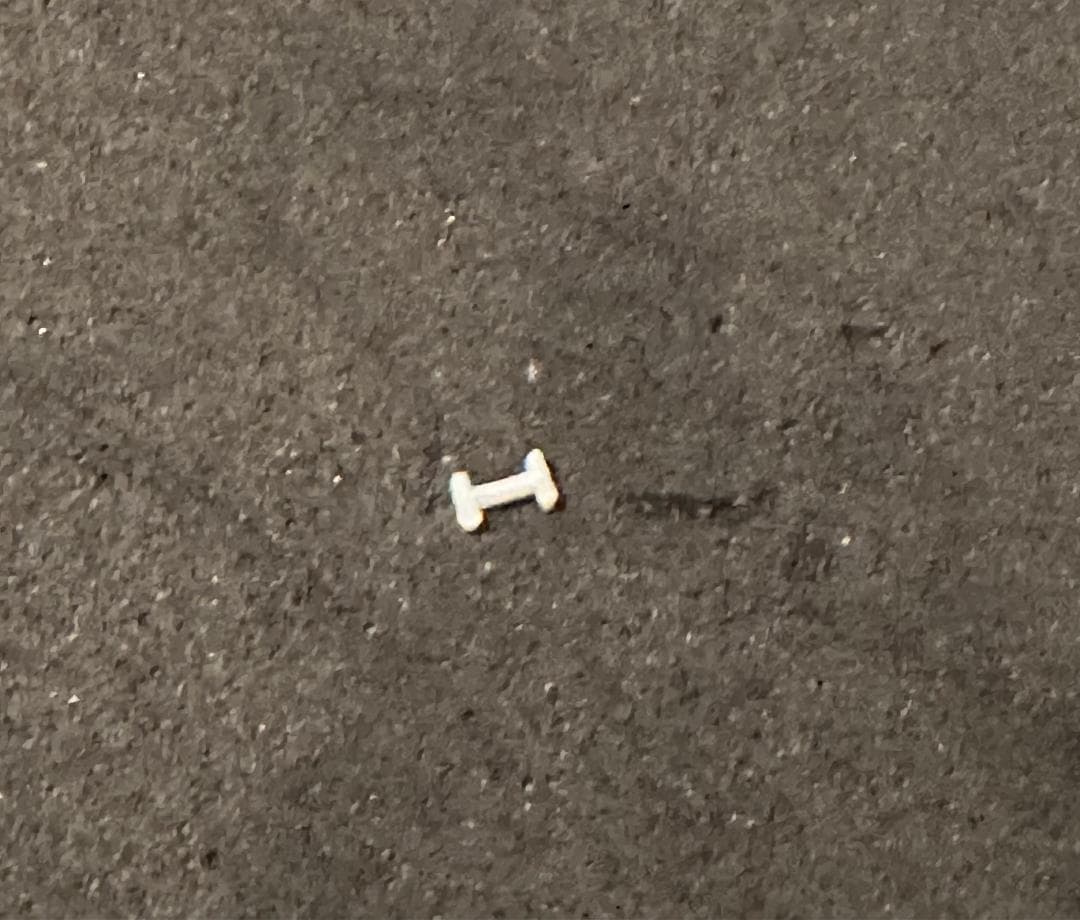
The pull handle is easier to see this way than from the front - white handle on a white background:

I relocated the handle so it’s more centered underneath the flat part of the cover. Just need bolt detail now.

8 Likes
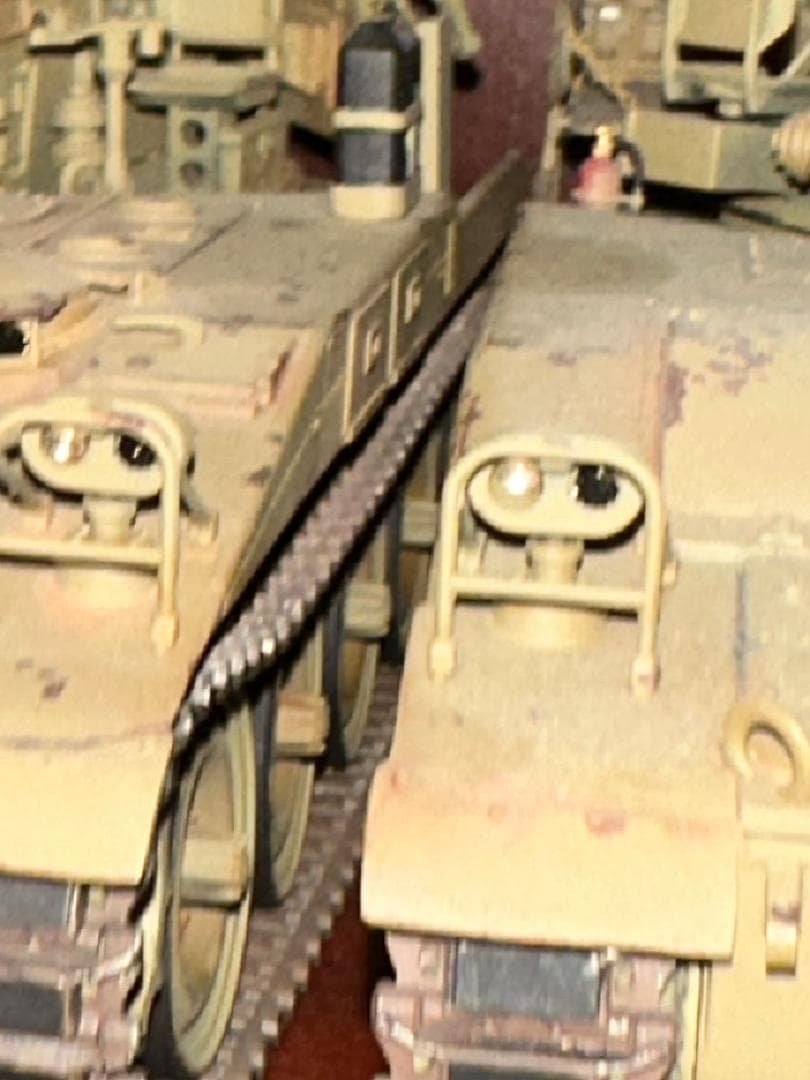
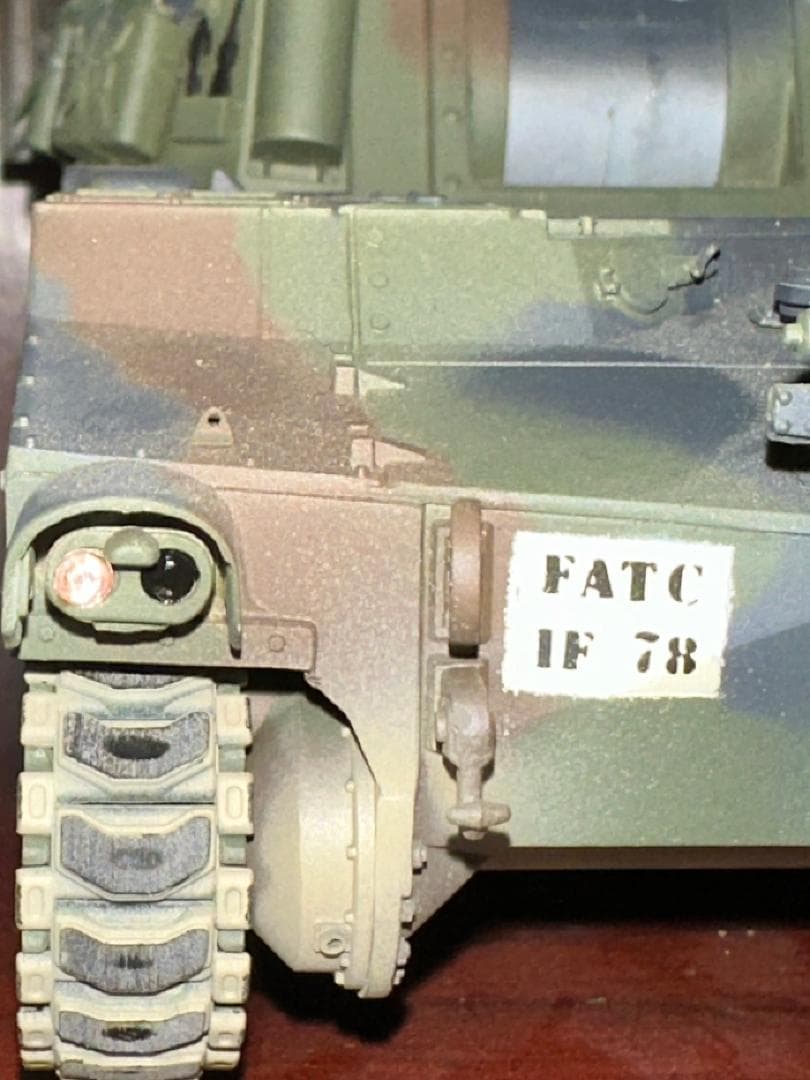
Any serious build of mine gets the headlights drilled.
I imagine this one gained “serious” status when I began to notice every part on the kit that should be inserted and cemented into place was starting the take several minutes reworking it.

4 Likes
I think the taillights could be sanded down a bit as well. The hobby has come quite far since this kit came out.
1 Like
I like all the details that you are adding to it.
Cheers,
Ralph
1 Like
So far almost every part has needed tweaking of some sort.
This what happens when brick and mortar places go out of business. You buy out their stock, I’ve done this at three locations. Running low as every customer build used to get the treatment just for the pizazz factor.
4 Likes
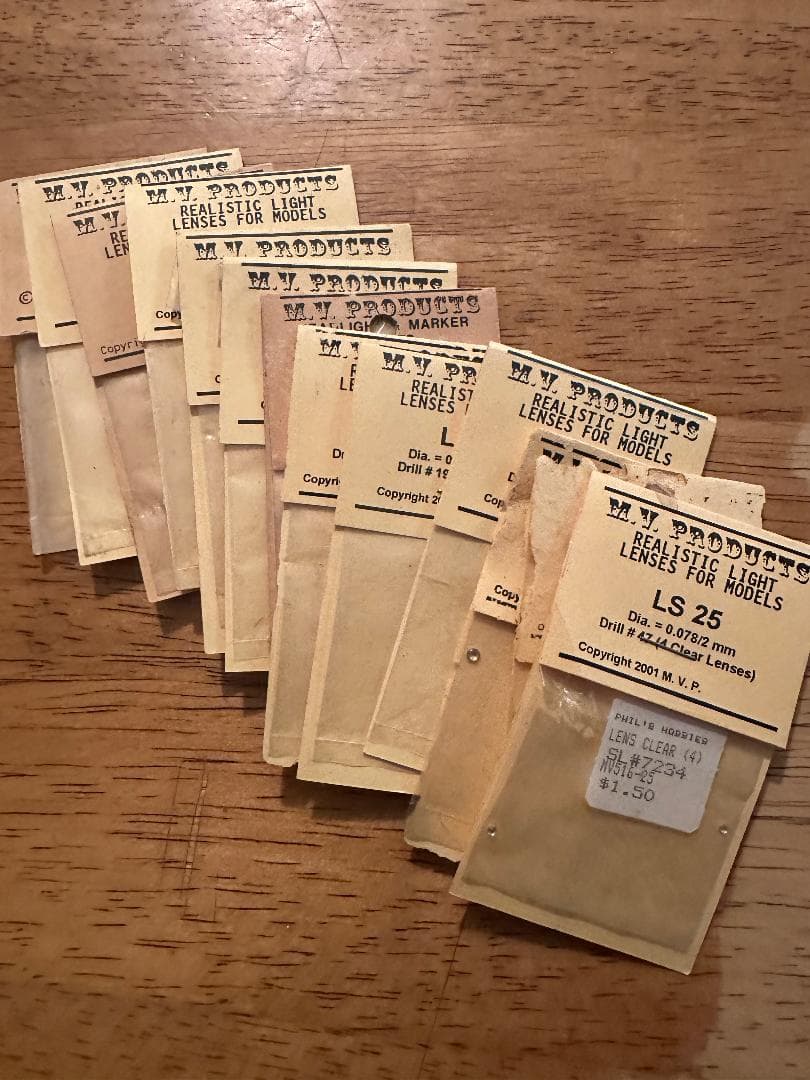
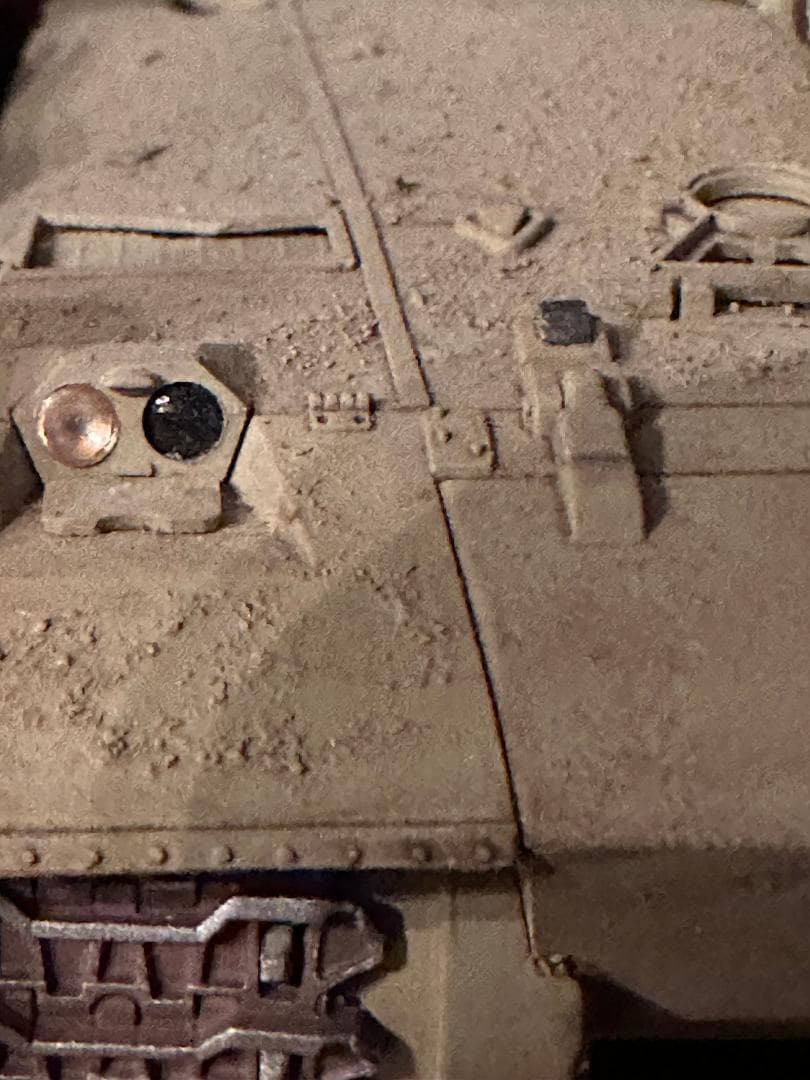
Oh, whoa. That brought back memories. Back in the late 2000s, I used MV Lenses on various projects, especially M4 mediums. Wonder how I drilled out the headlights. Looks like I squirreled away about a dozen packs. Not seeing them in online shops. Did MV Products go the way of the do do?
1 Like
Indeed.

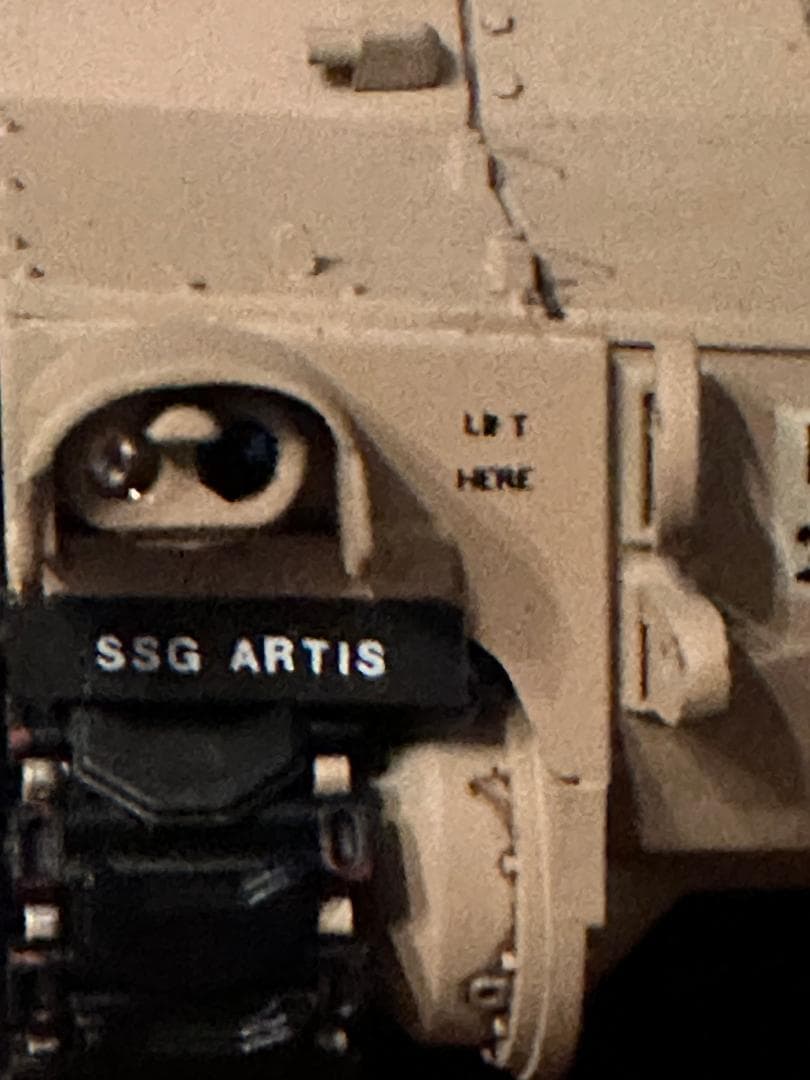
Since this thread is not so much about showing off a model as it is helping folks learn new techniques, I hope it will encourage people to give it a try, If your fundmentals are tight (especially decaling) these are absolutely one of the best ways to make your model pop.
Other examples:


5 Likes
In BCNOC, I got in trouble for singing that wonderful cadence, “Just two things that I can’t stand -
a bow leg-ged woman and a straigh leg man!” One of the female instructors, who was undoubtedly bow legged, didn’t take kindly to it.
So at the highly improbale risk of her reading this post, two other things I don’t care for - overly thick women, and overly thick brush guards. Overly thick anything for that matter.
I thin them out whenever possible. It’s easier and less likely to cause breakage if you thin them while still on the sprue. I think I can thin them a littlle more:

9 Likes
Very nice job so far Robert, I agree as I often try to thin or even clean up parts while they are still on the sprue.
1 Like
These look like M113 brush guards , for the “Jack of all trades “ campaign ?
1 Like
I think there’s some commonality of parts - it’s from the M2. But I will do the same for the M113.
1 Like