Thanks G,
As you’re about to see, the Hataka ‘for brush’ paints actually went on well with a brush… but like the basr coat, I found that they were prone to rubbing off a little with repeated handling - at least until the varnish went on.
Thanks G,
As you’re about to see, the Hataka ‘for brush’ paints actually went on well with a brush… but like the basr coat, I found that they were prone to rubbing off a little with repeated handling - at least until the varnish went on.
Thanks JP.
I’m glad you have found something of interest here. As I have said, my interest in Japanese / Pacific subjects was alnost non-existent until I foiund myself pulled into this one…
Thanks Rick,
More fun and games with Hataka paints coming up…
Thanks Erik.
Cheyenne, I am certainly no expert! I have to accept that I was trying to airbrush paints that were clearly designed for brush painting - so I don’t feel it’s fair to complain. But on the other hand we are all used to using the likes of Vallejo paints from the same bottle for both airbrush and brush use - appropriately thinned if necessary - so I’m not sure why Hataka feel they need to sell two types.
Thanks Omar!
OK, so the next stage was definitely the most daunting.
Hand-painting camouflage is something I don’t believe I have tried since I was about twelve… and that would have been either an Airfix plane or a Matchbox tank.
There are other ways, of course. The most popular these days seems to be to use ‘crazy putty’ to mask the different layers of camo one after the other and then apply the colours with a airbrush. Or you can try and mask each area with multiple layers of masking tape.
However, both of these involve a lot of pre-planning and, it seems to me, an awful lot of work before you even get to put paint on the model. Plus this was, after all, a hand-painted pattern and I had a set of paints that were designed (apparently) for brush painting.
So who was I to argue?
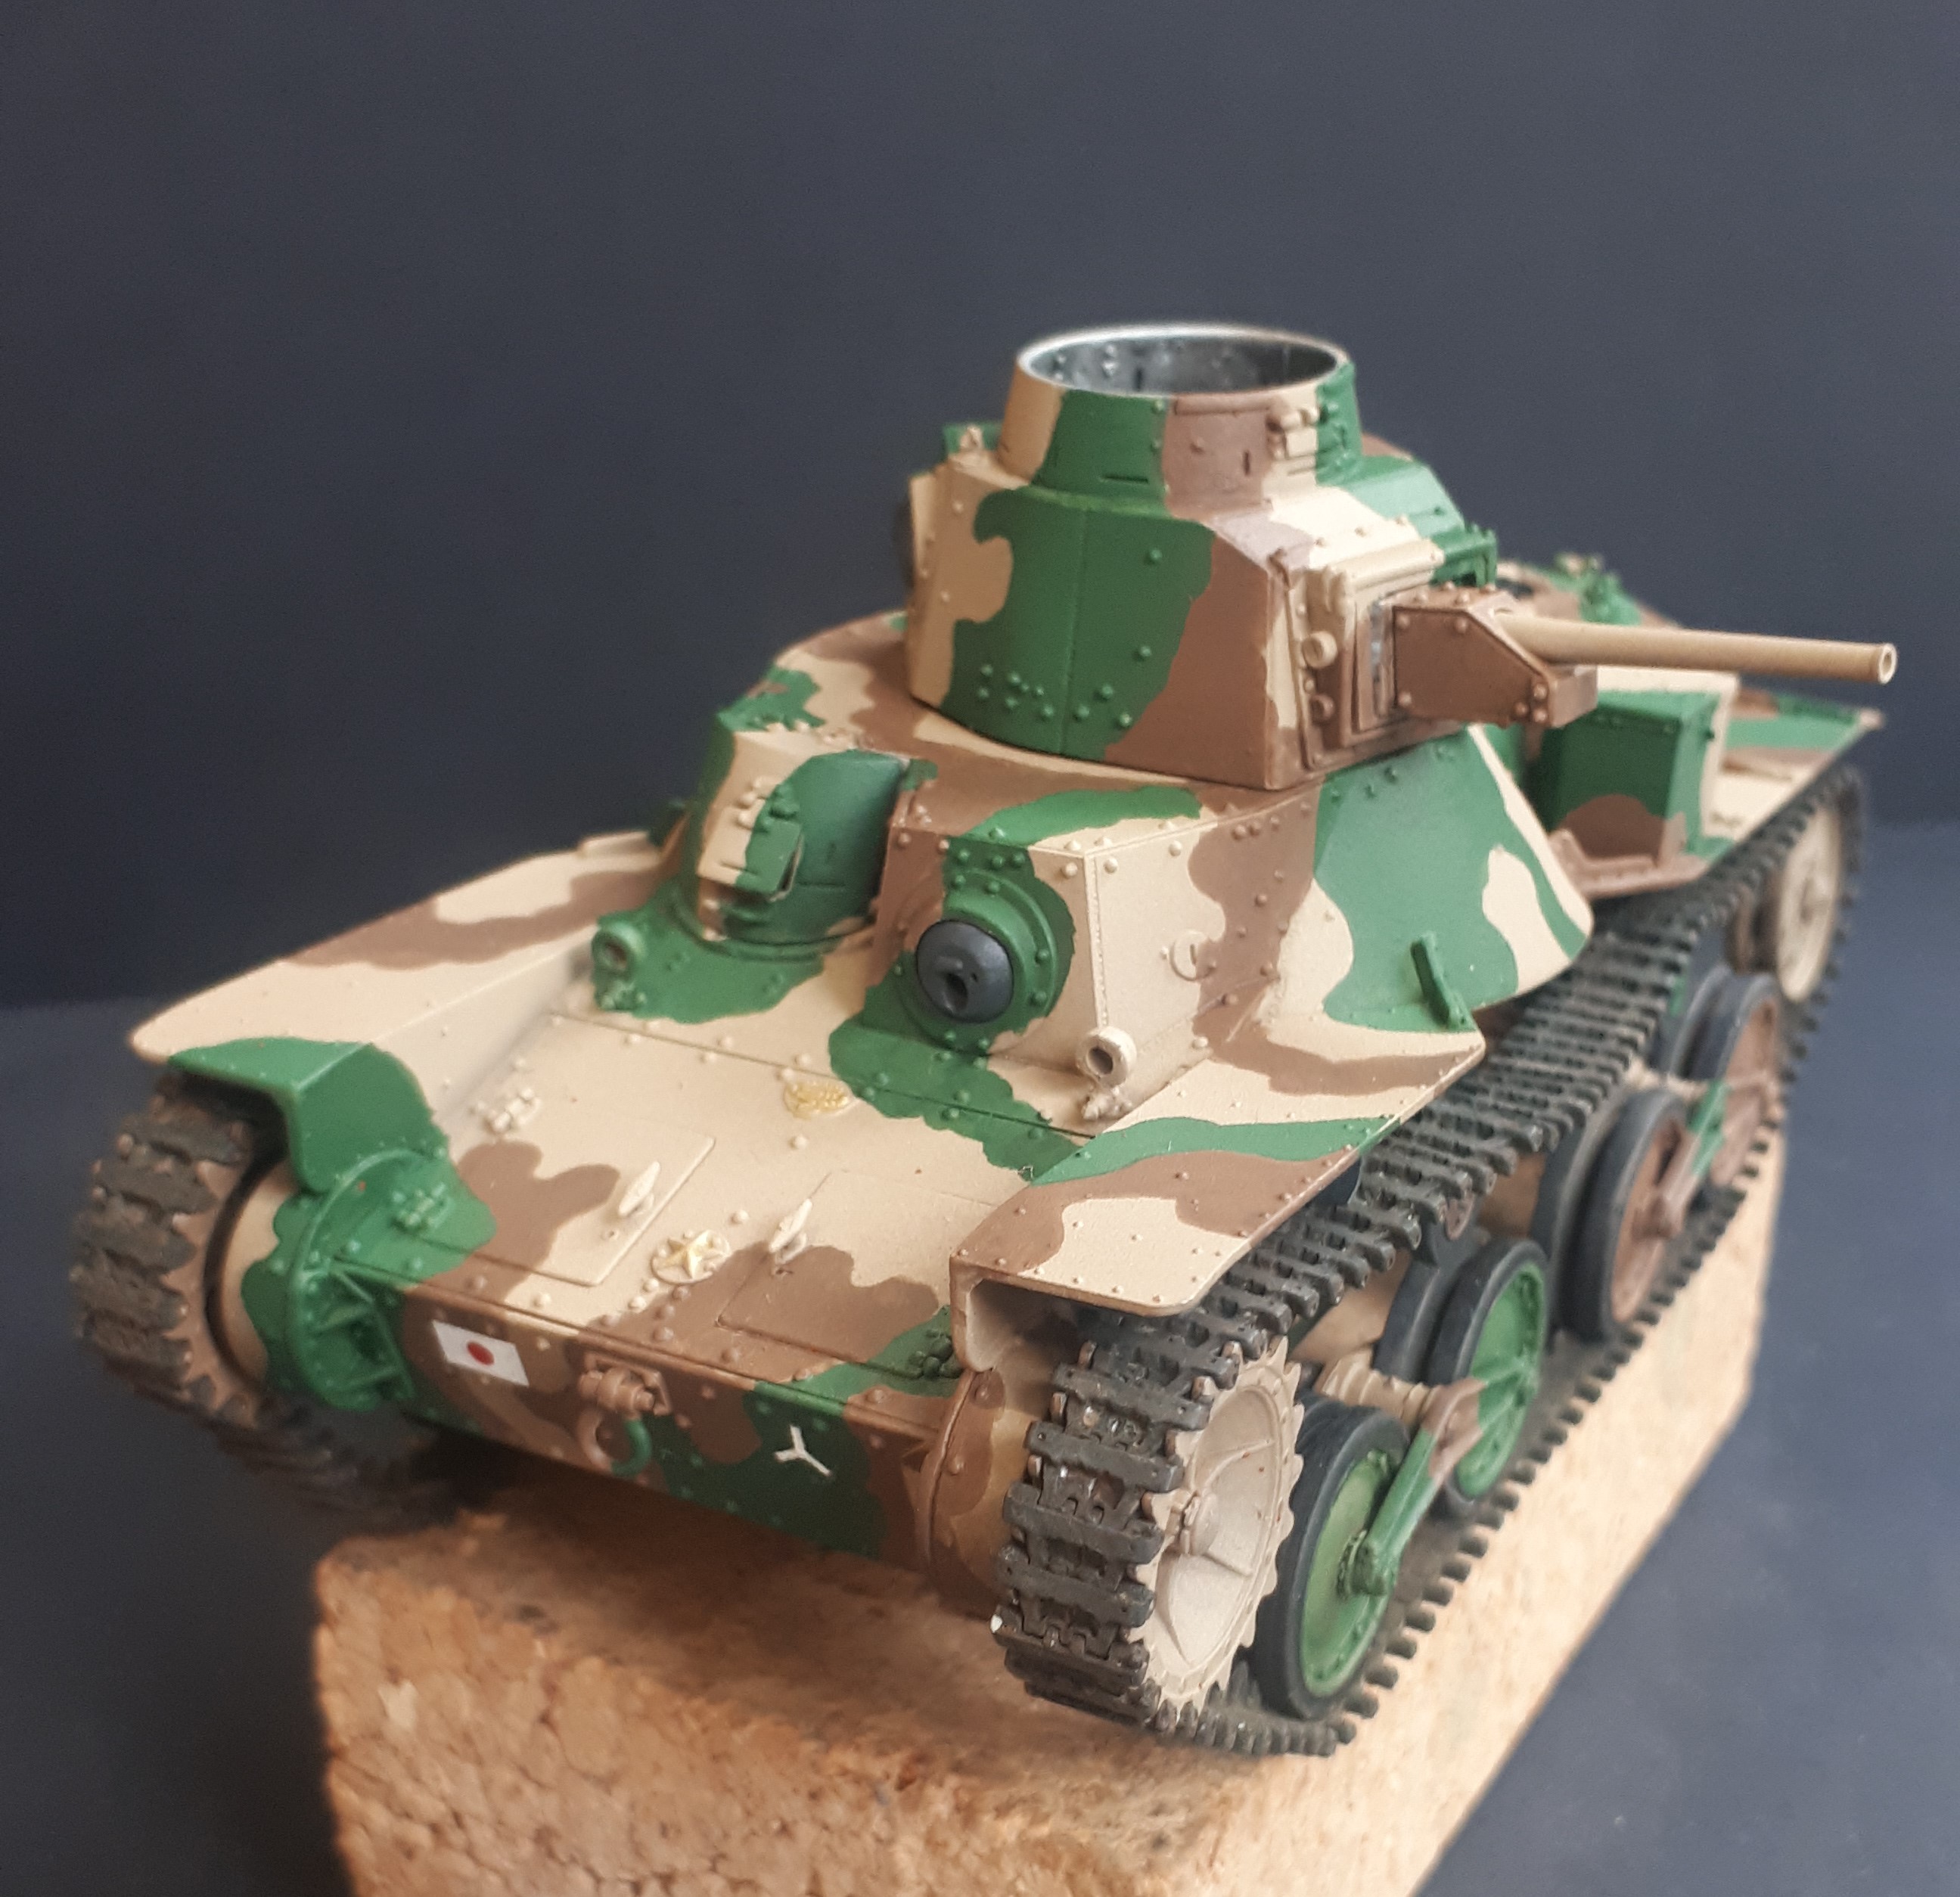
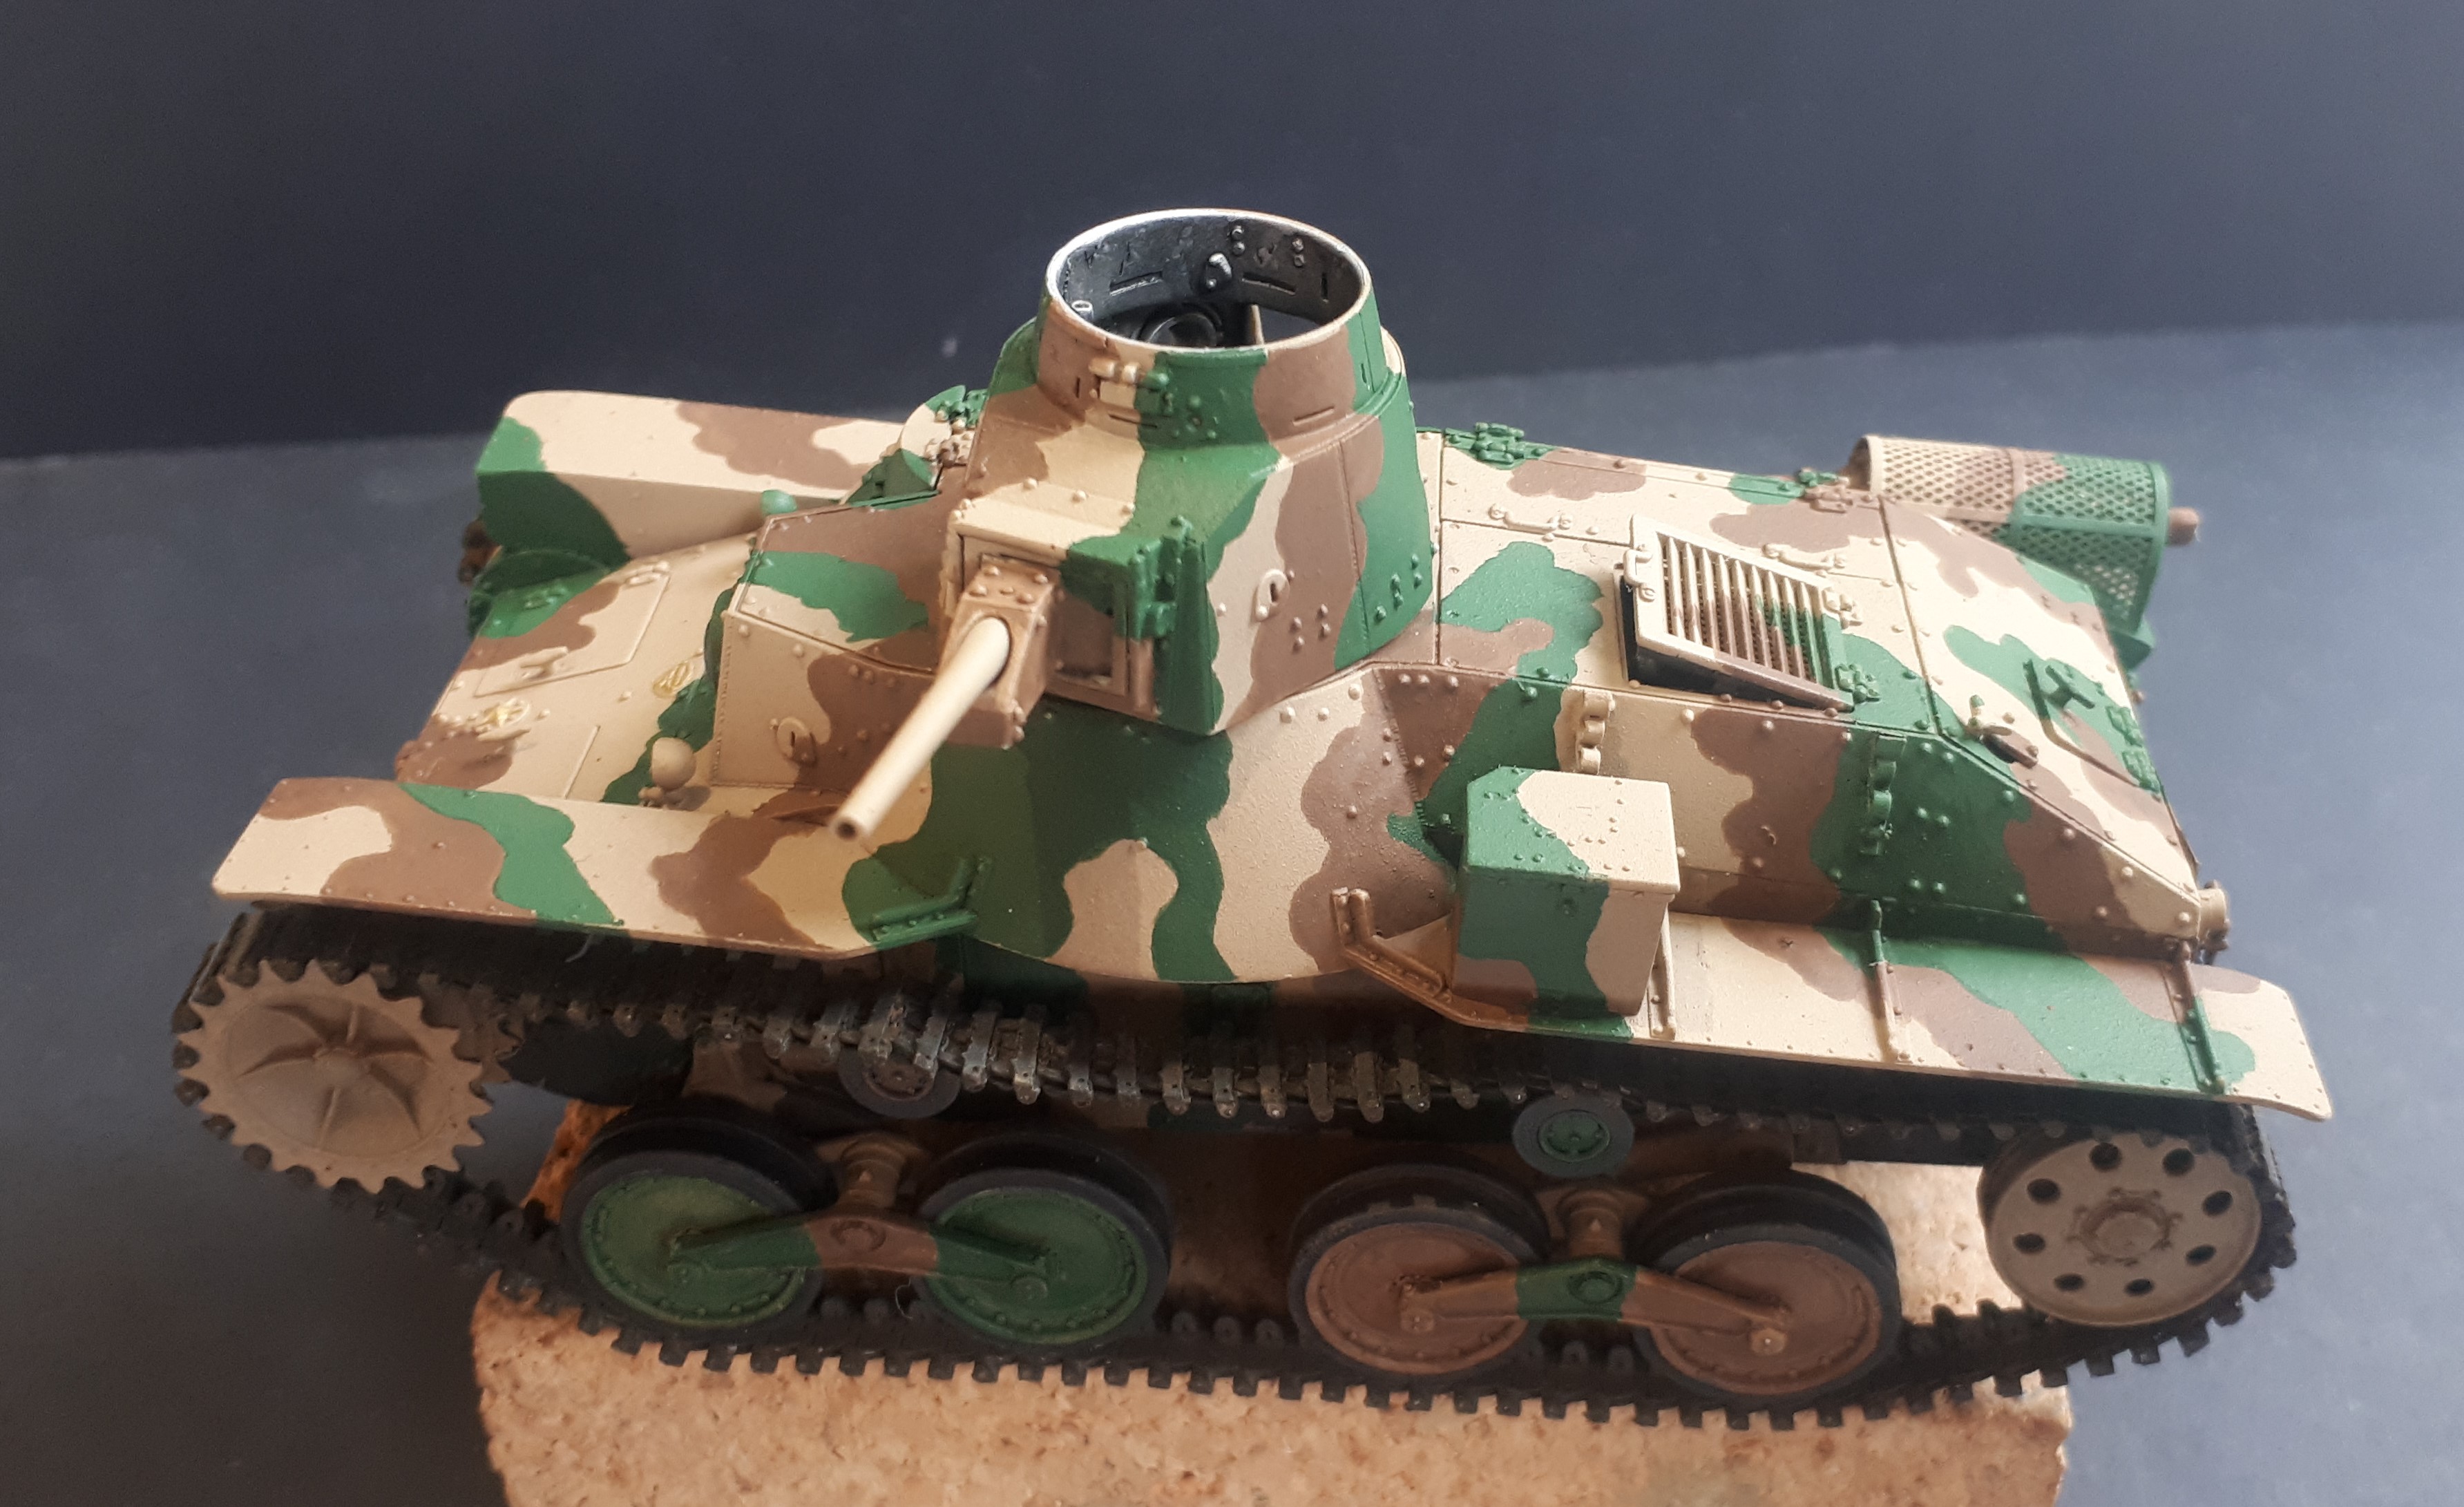
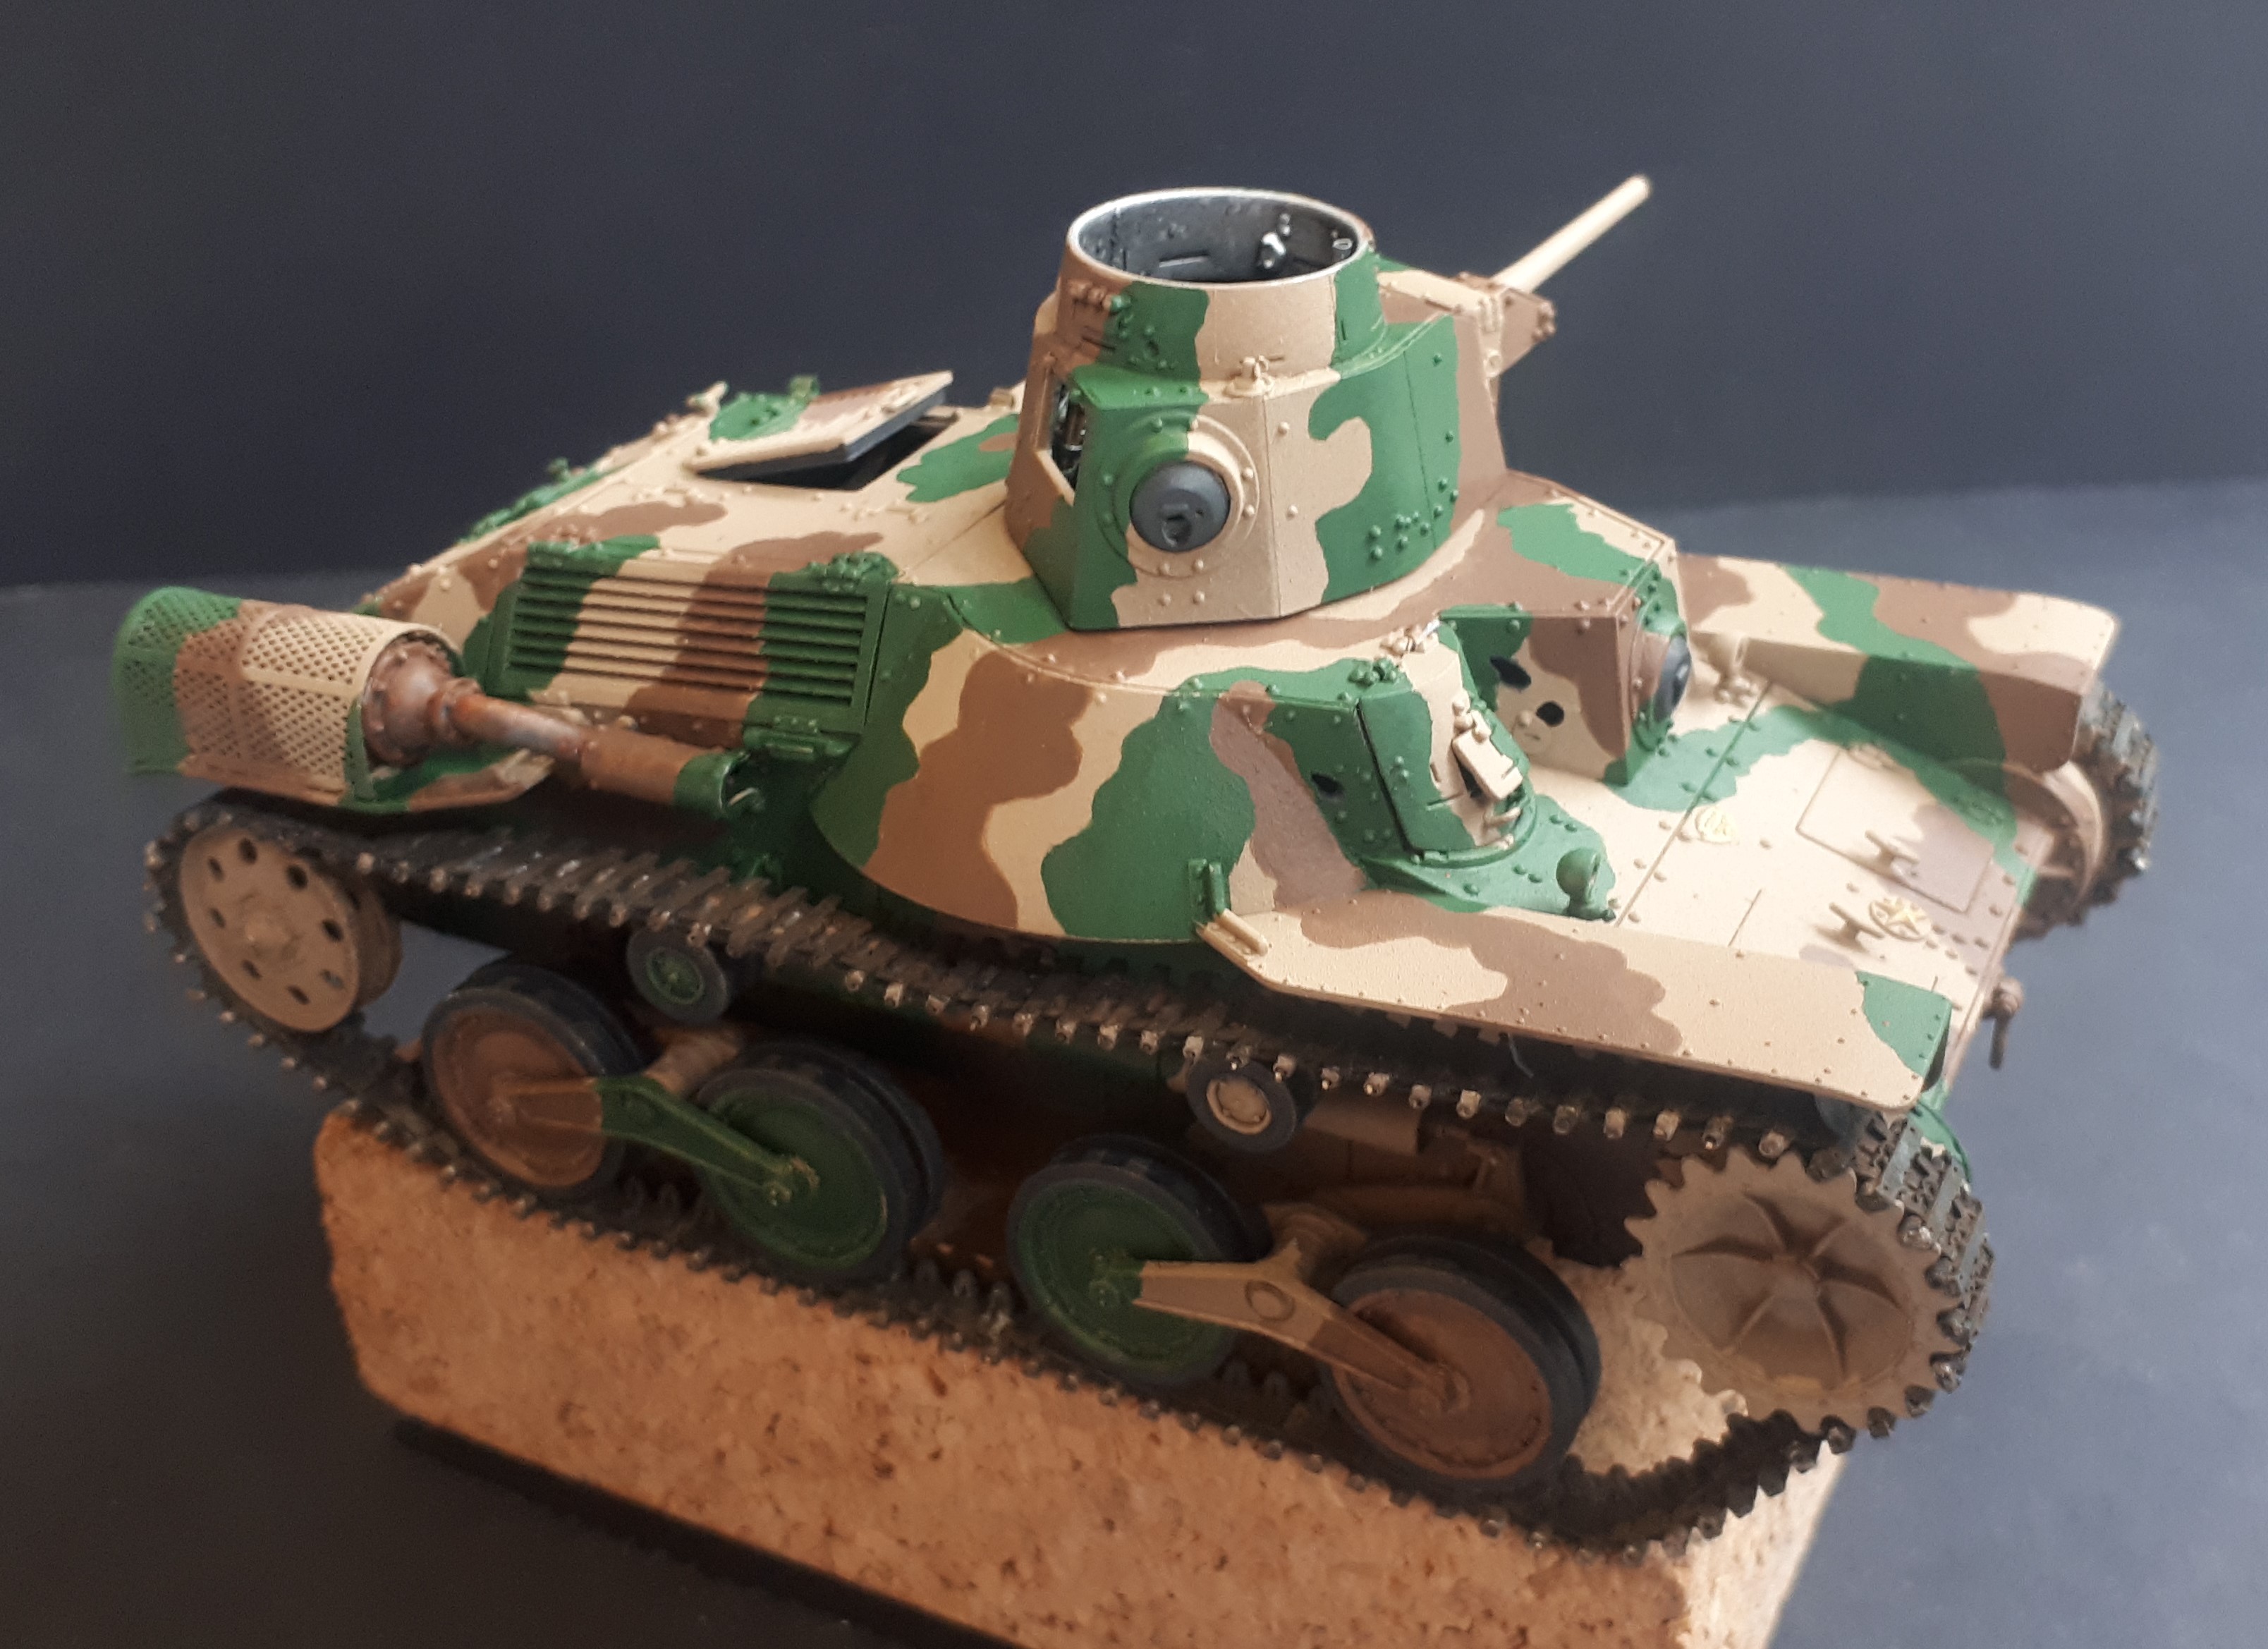
That didn’t stop me from trying to be clever in other ways. Initally I printed out some line drawings of the Ha-Go and started to map out the pattern on those with felt tip pens. But then I thought: “Just get on with it!” So I did…
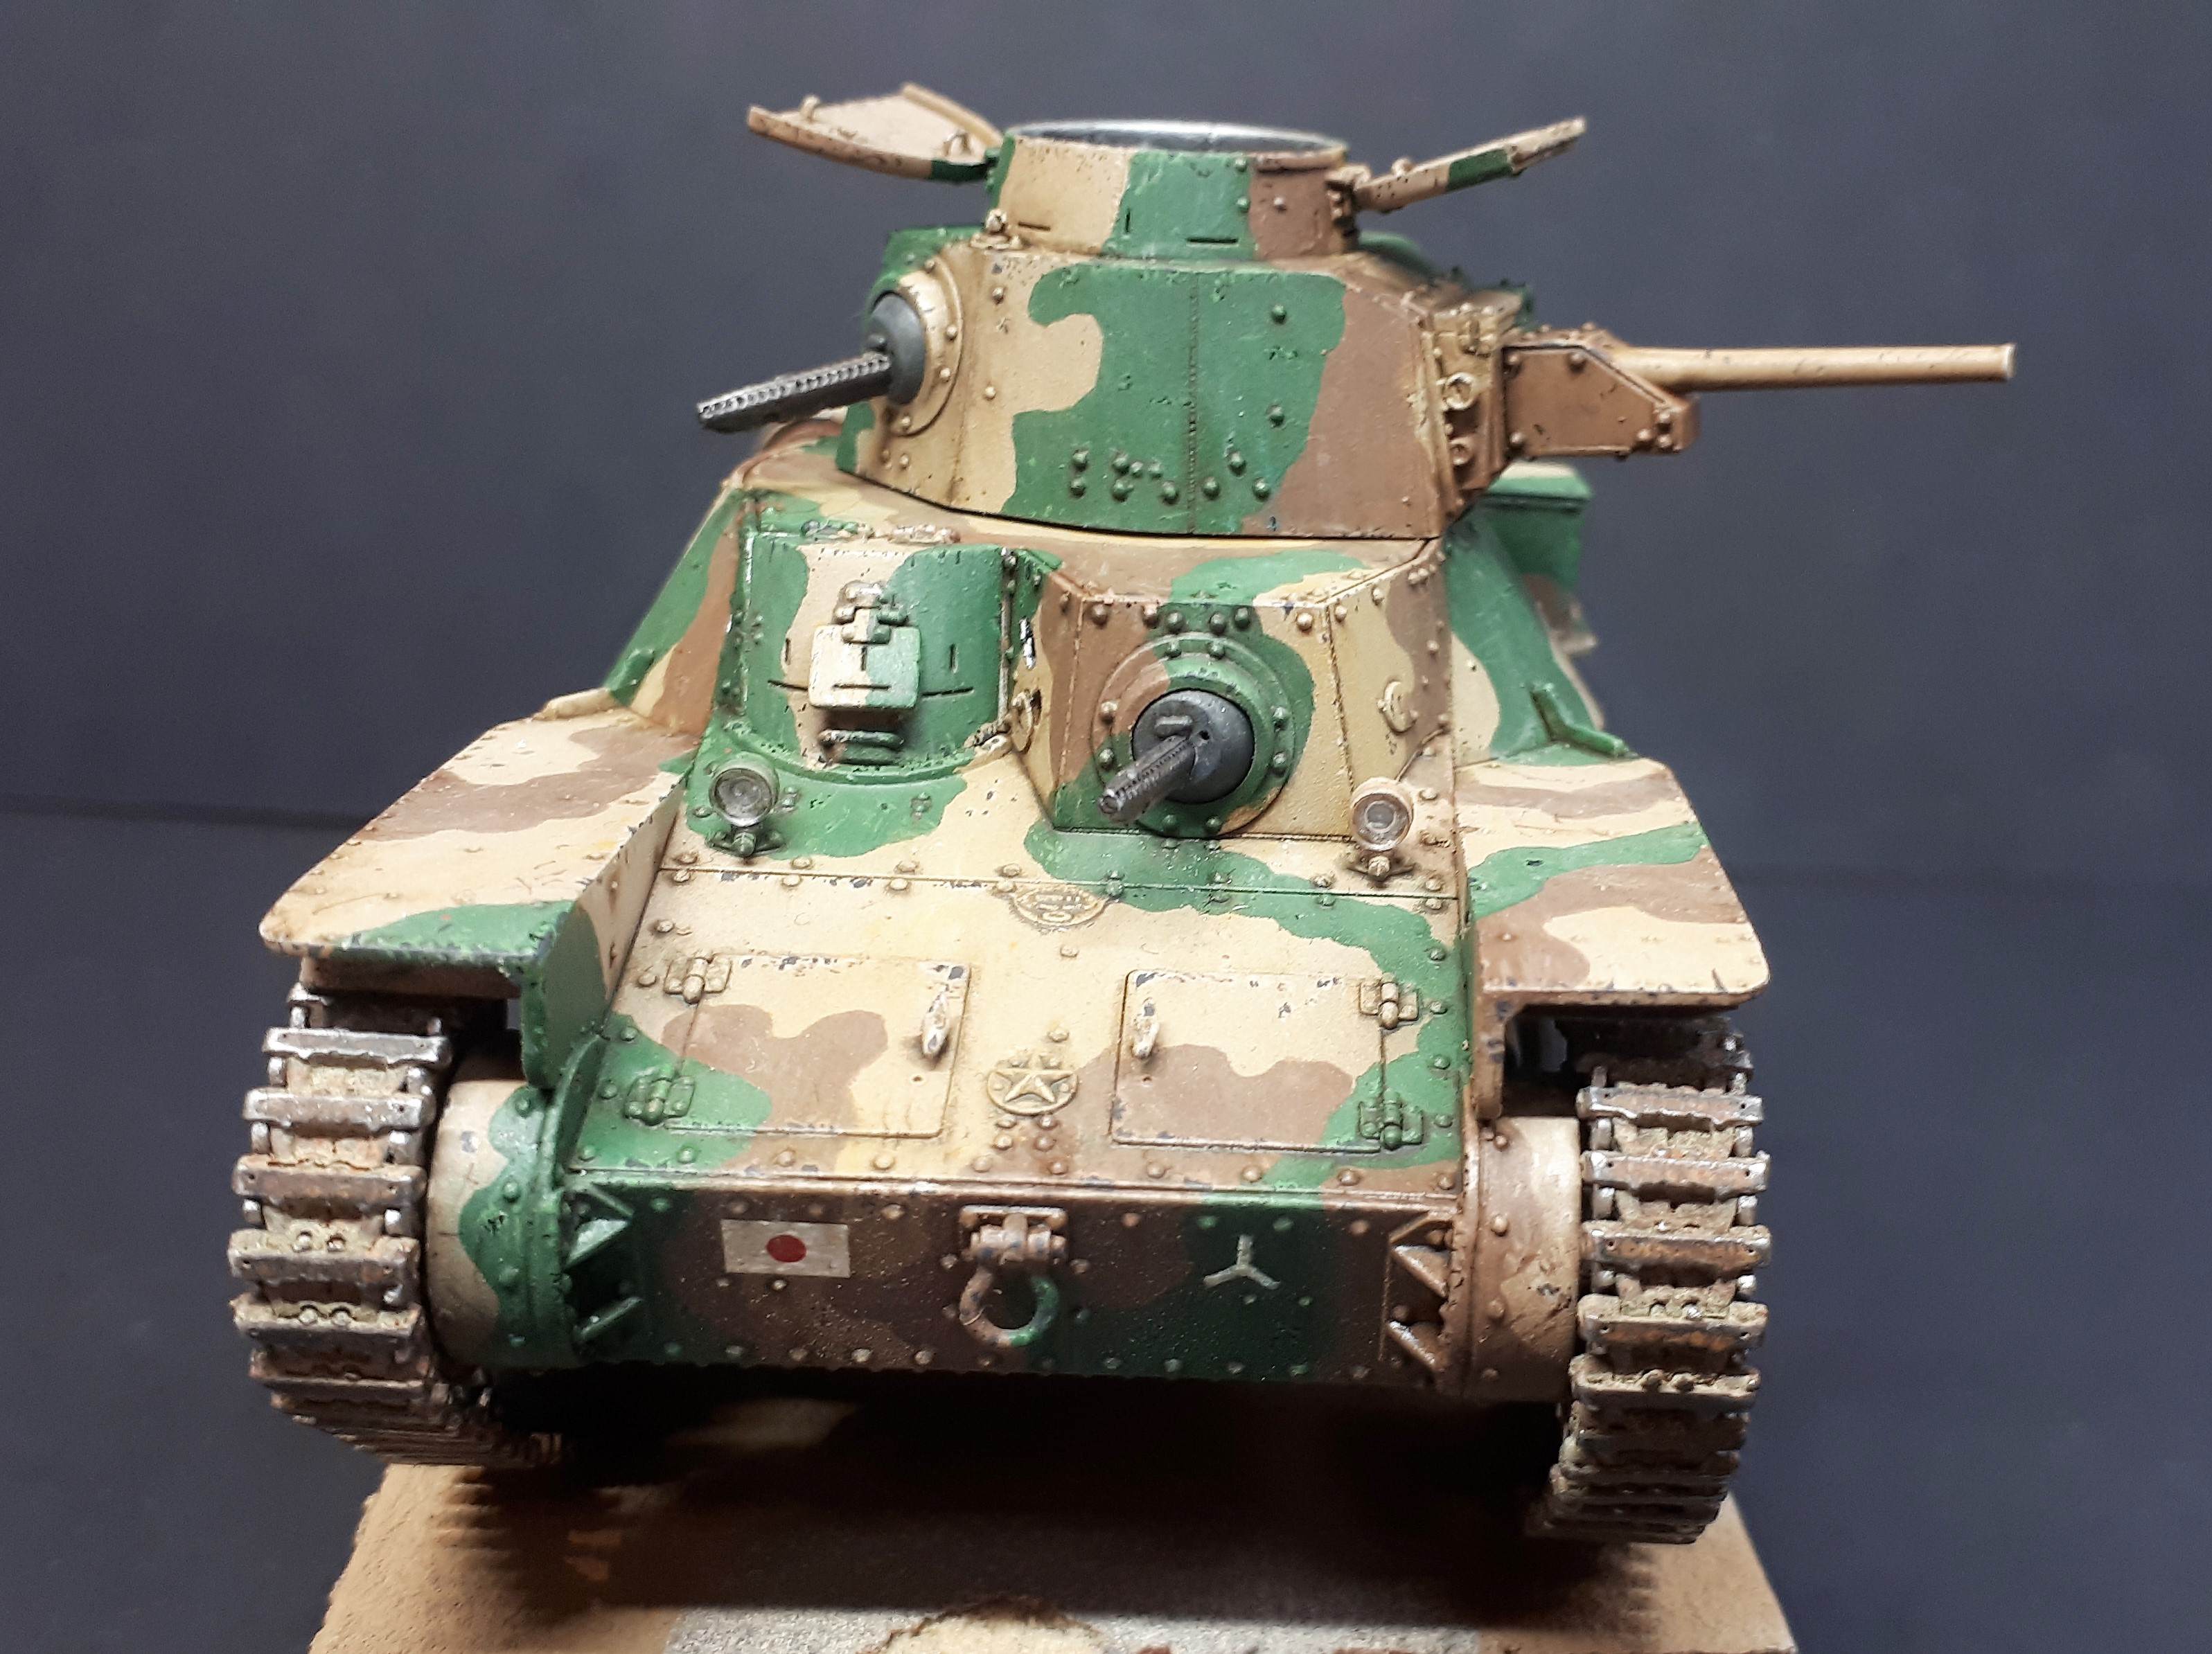
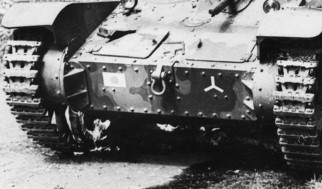
As I have said, the Type 95 I am depicting here must be one of the most comprehensively photographed examples of the Second World War, so at least I had something of a head start. However, the difficulties with old black and white photos are many and various. First off, we do not have a nice walk-around to show the tank from all angles. Secondly, even when we have what looks like a decent shot (like some of those above), the tricks of light and contrast simply make some of the tones simply disappear.
However, using the parts of the pattern which are visible - most notably the front of the hull, the turret side and the port side of the fighting compartment - I did my best to guess what else was going on. So I am certainly not suggesting that this is anything like 100% accurate…
At this stage, with no washes, etc or weathering, the results are a bit toy-like I admit. But then that is what the next stage is all about - making this look more like the real thing, albeit in miniature.
Hi Tim,
Thanks for the feedback regarding the Hataka brush paints, very useful,  .
.
Nice paint job on this latest vehicle,  .
.
Cheers,  ,
,
G
Thanks G-Man.
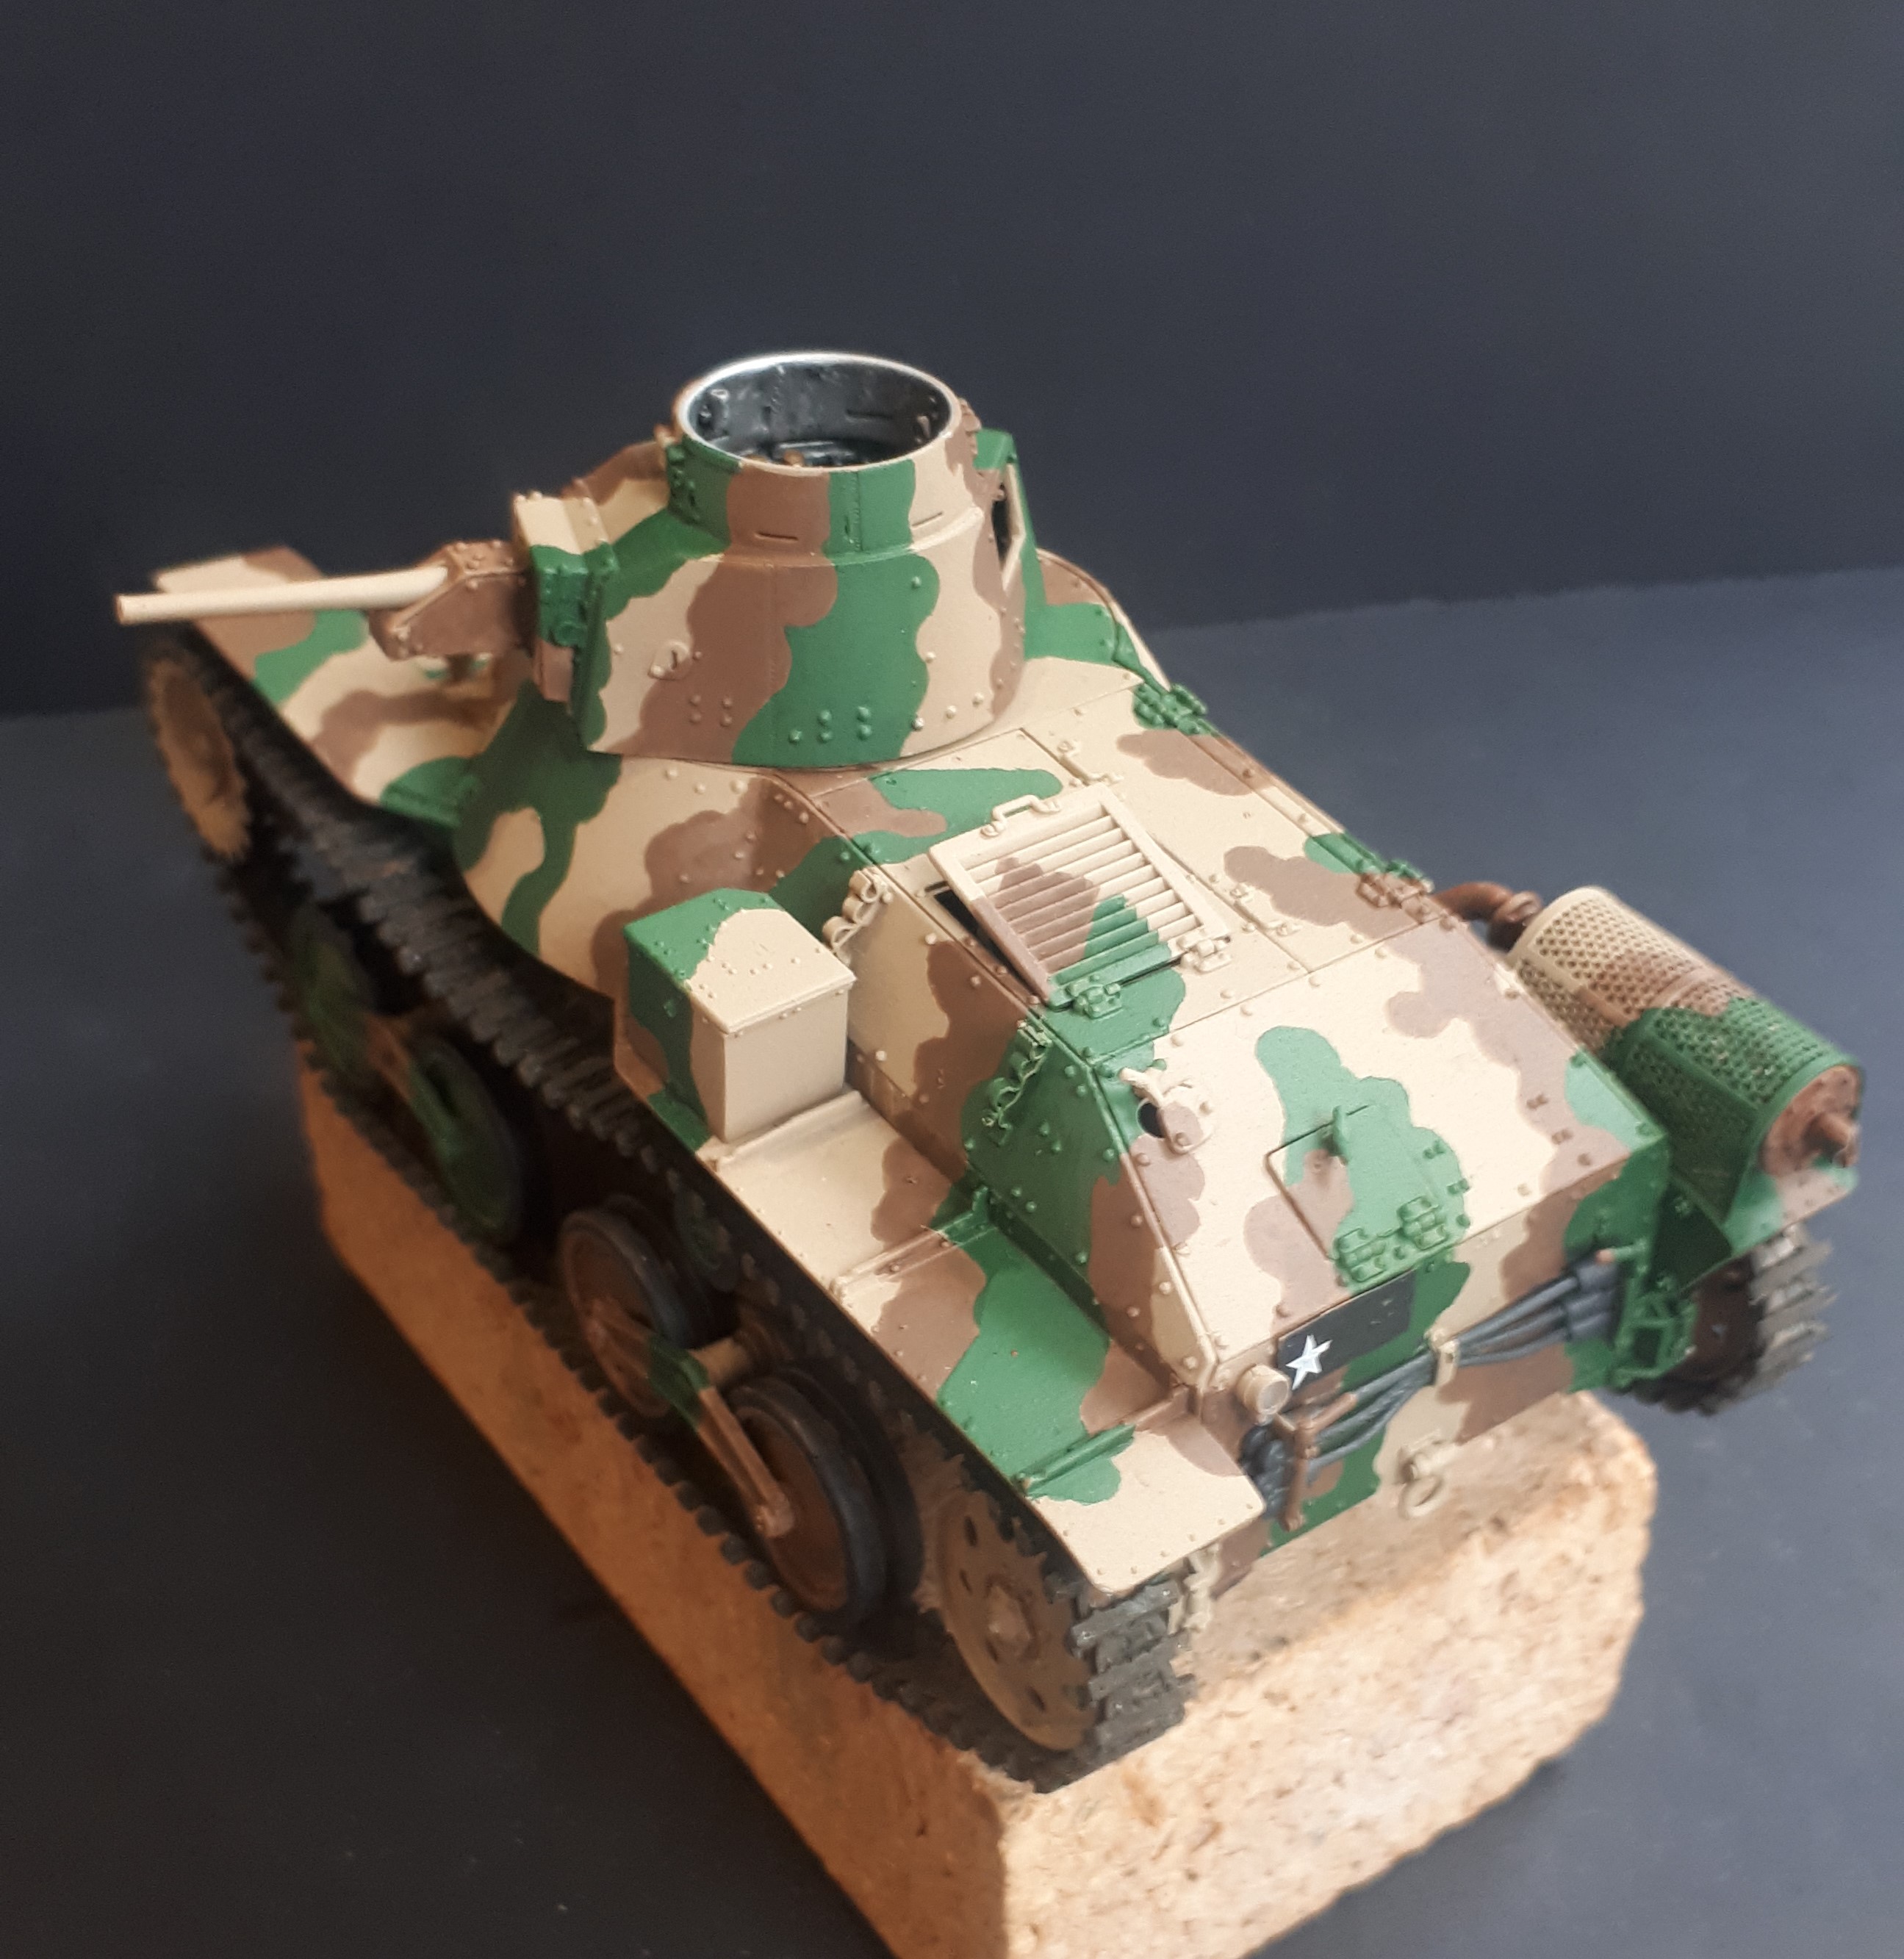
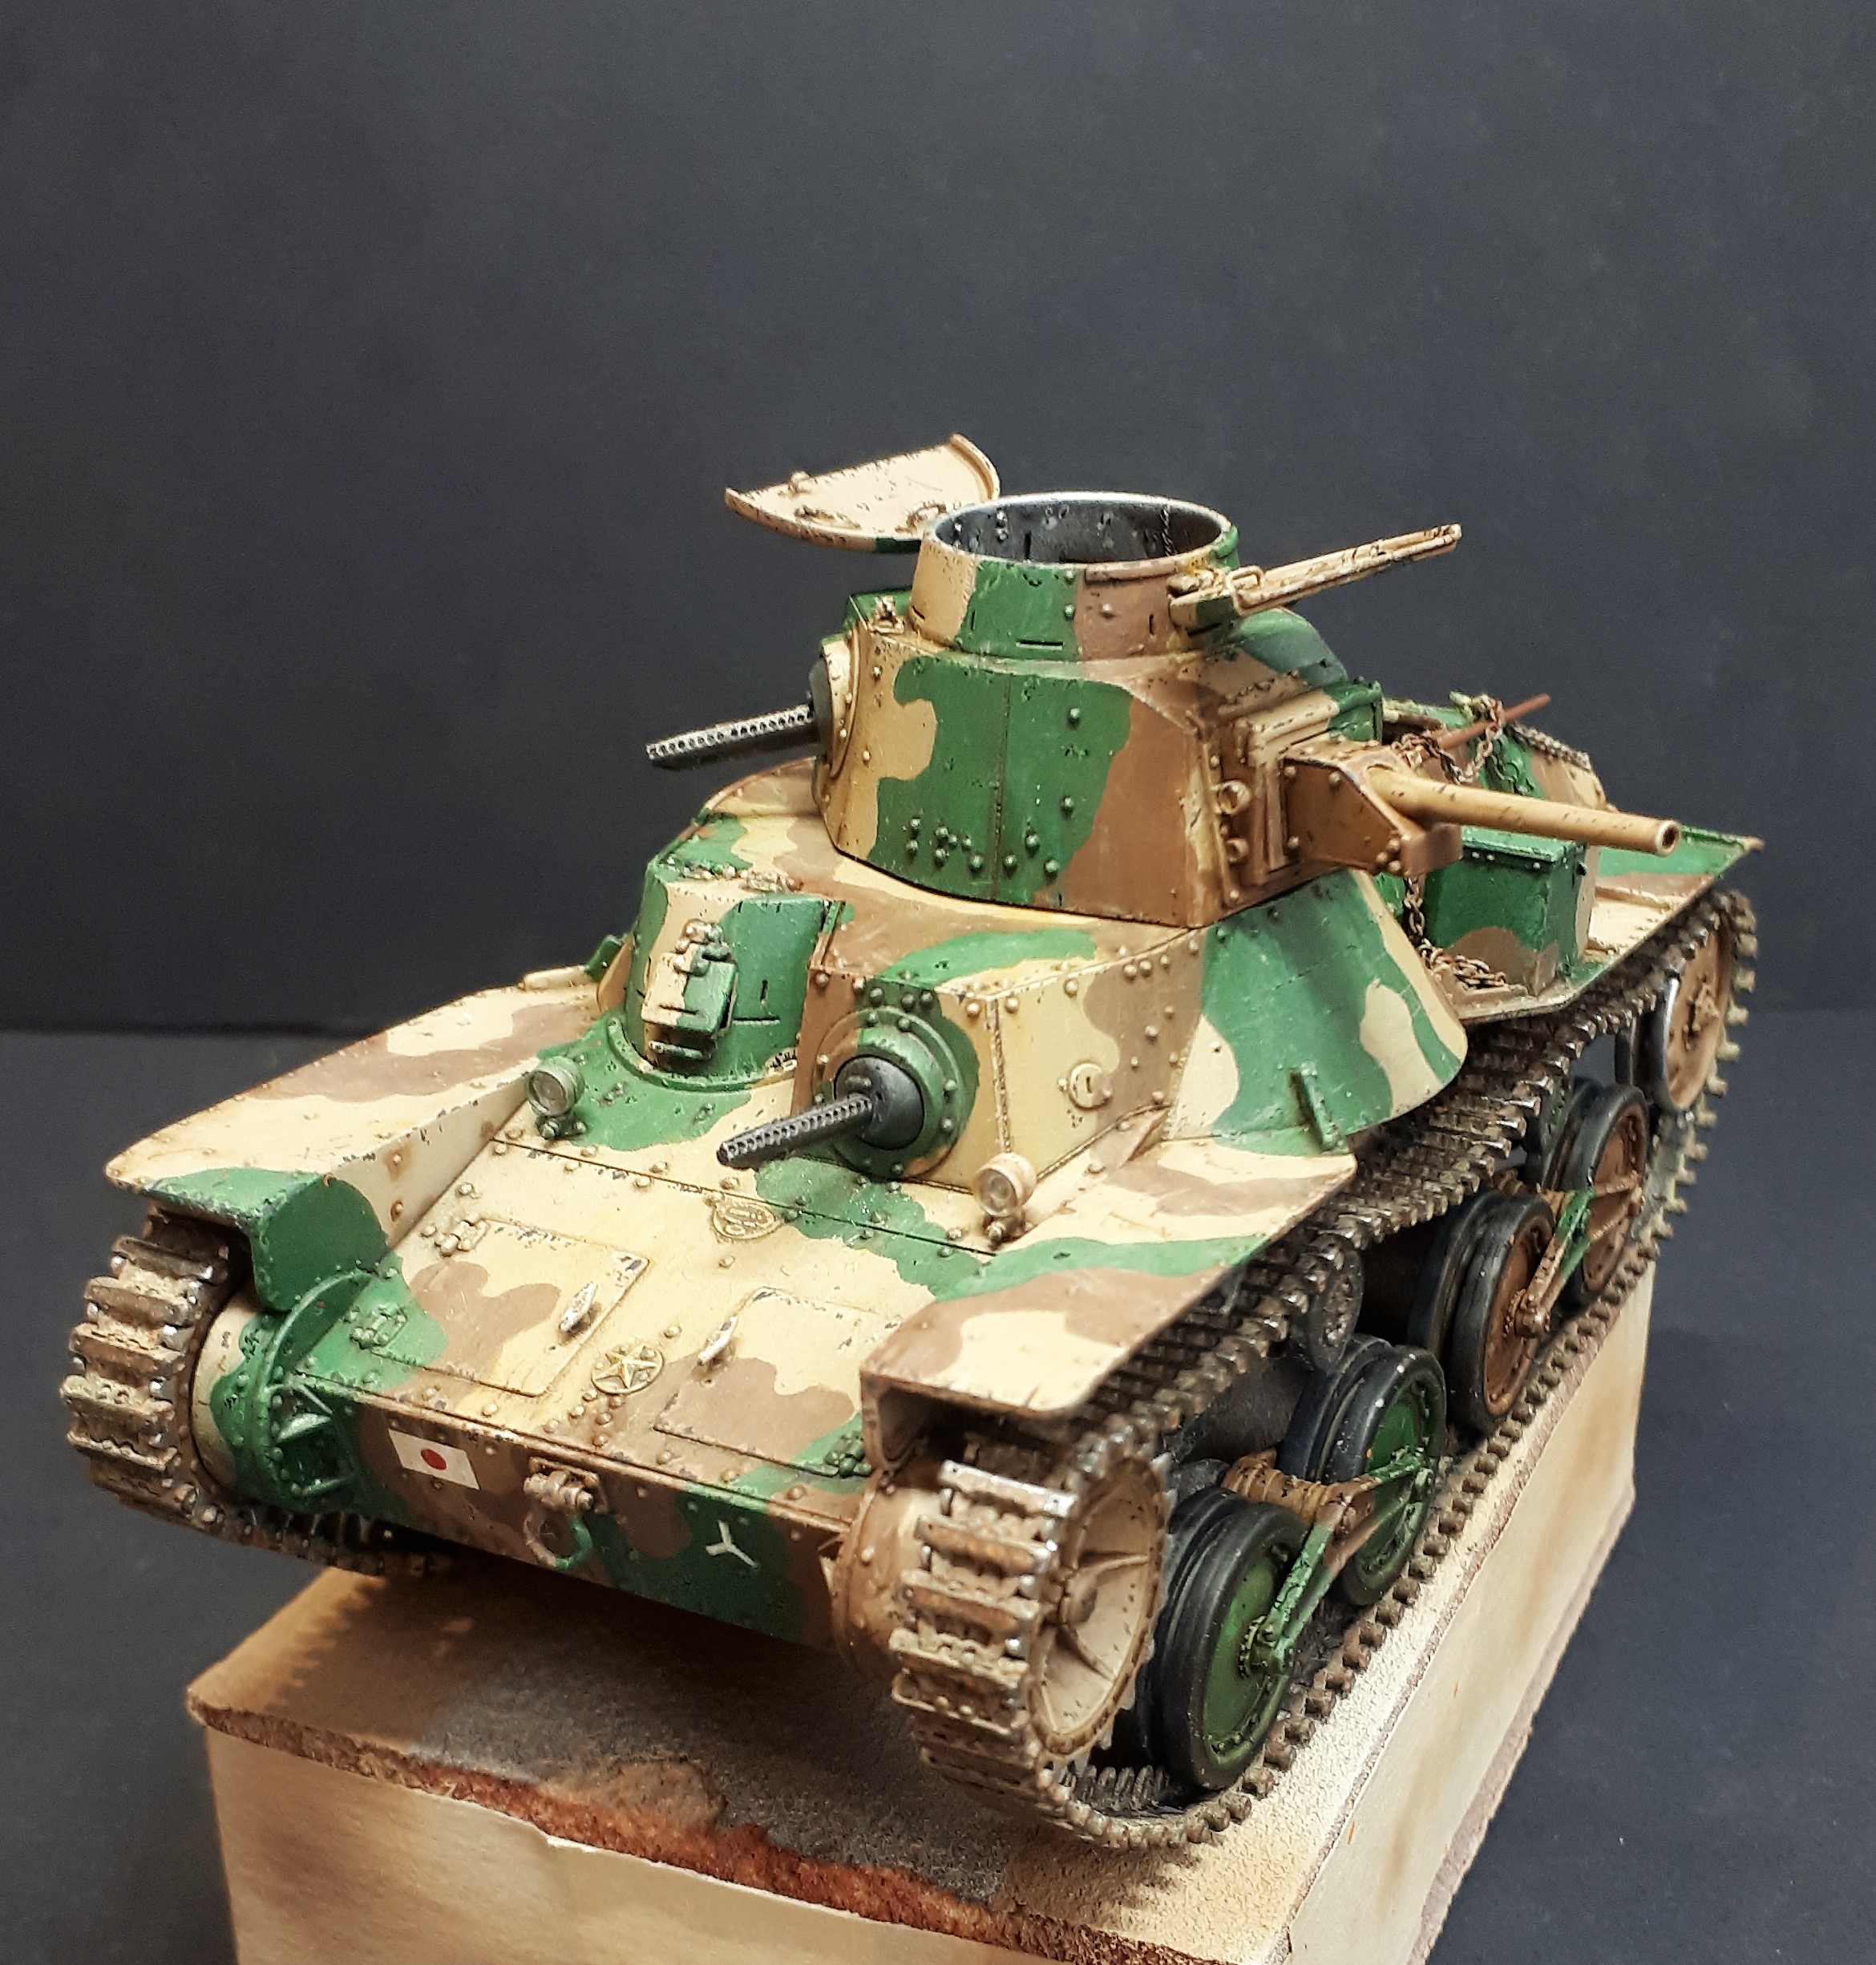
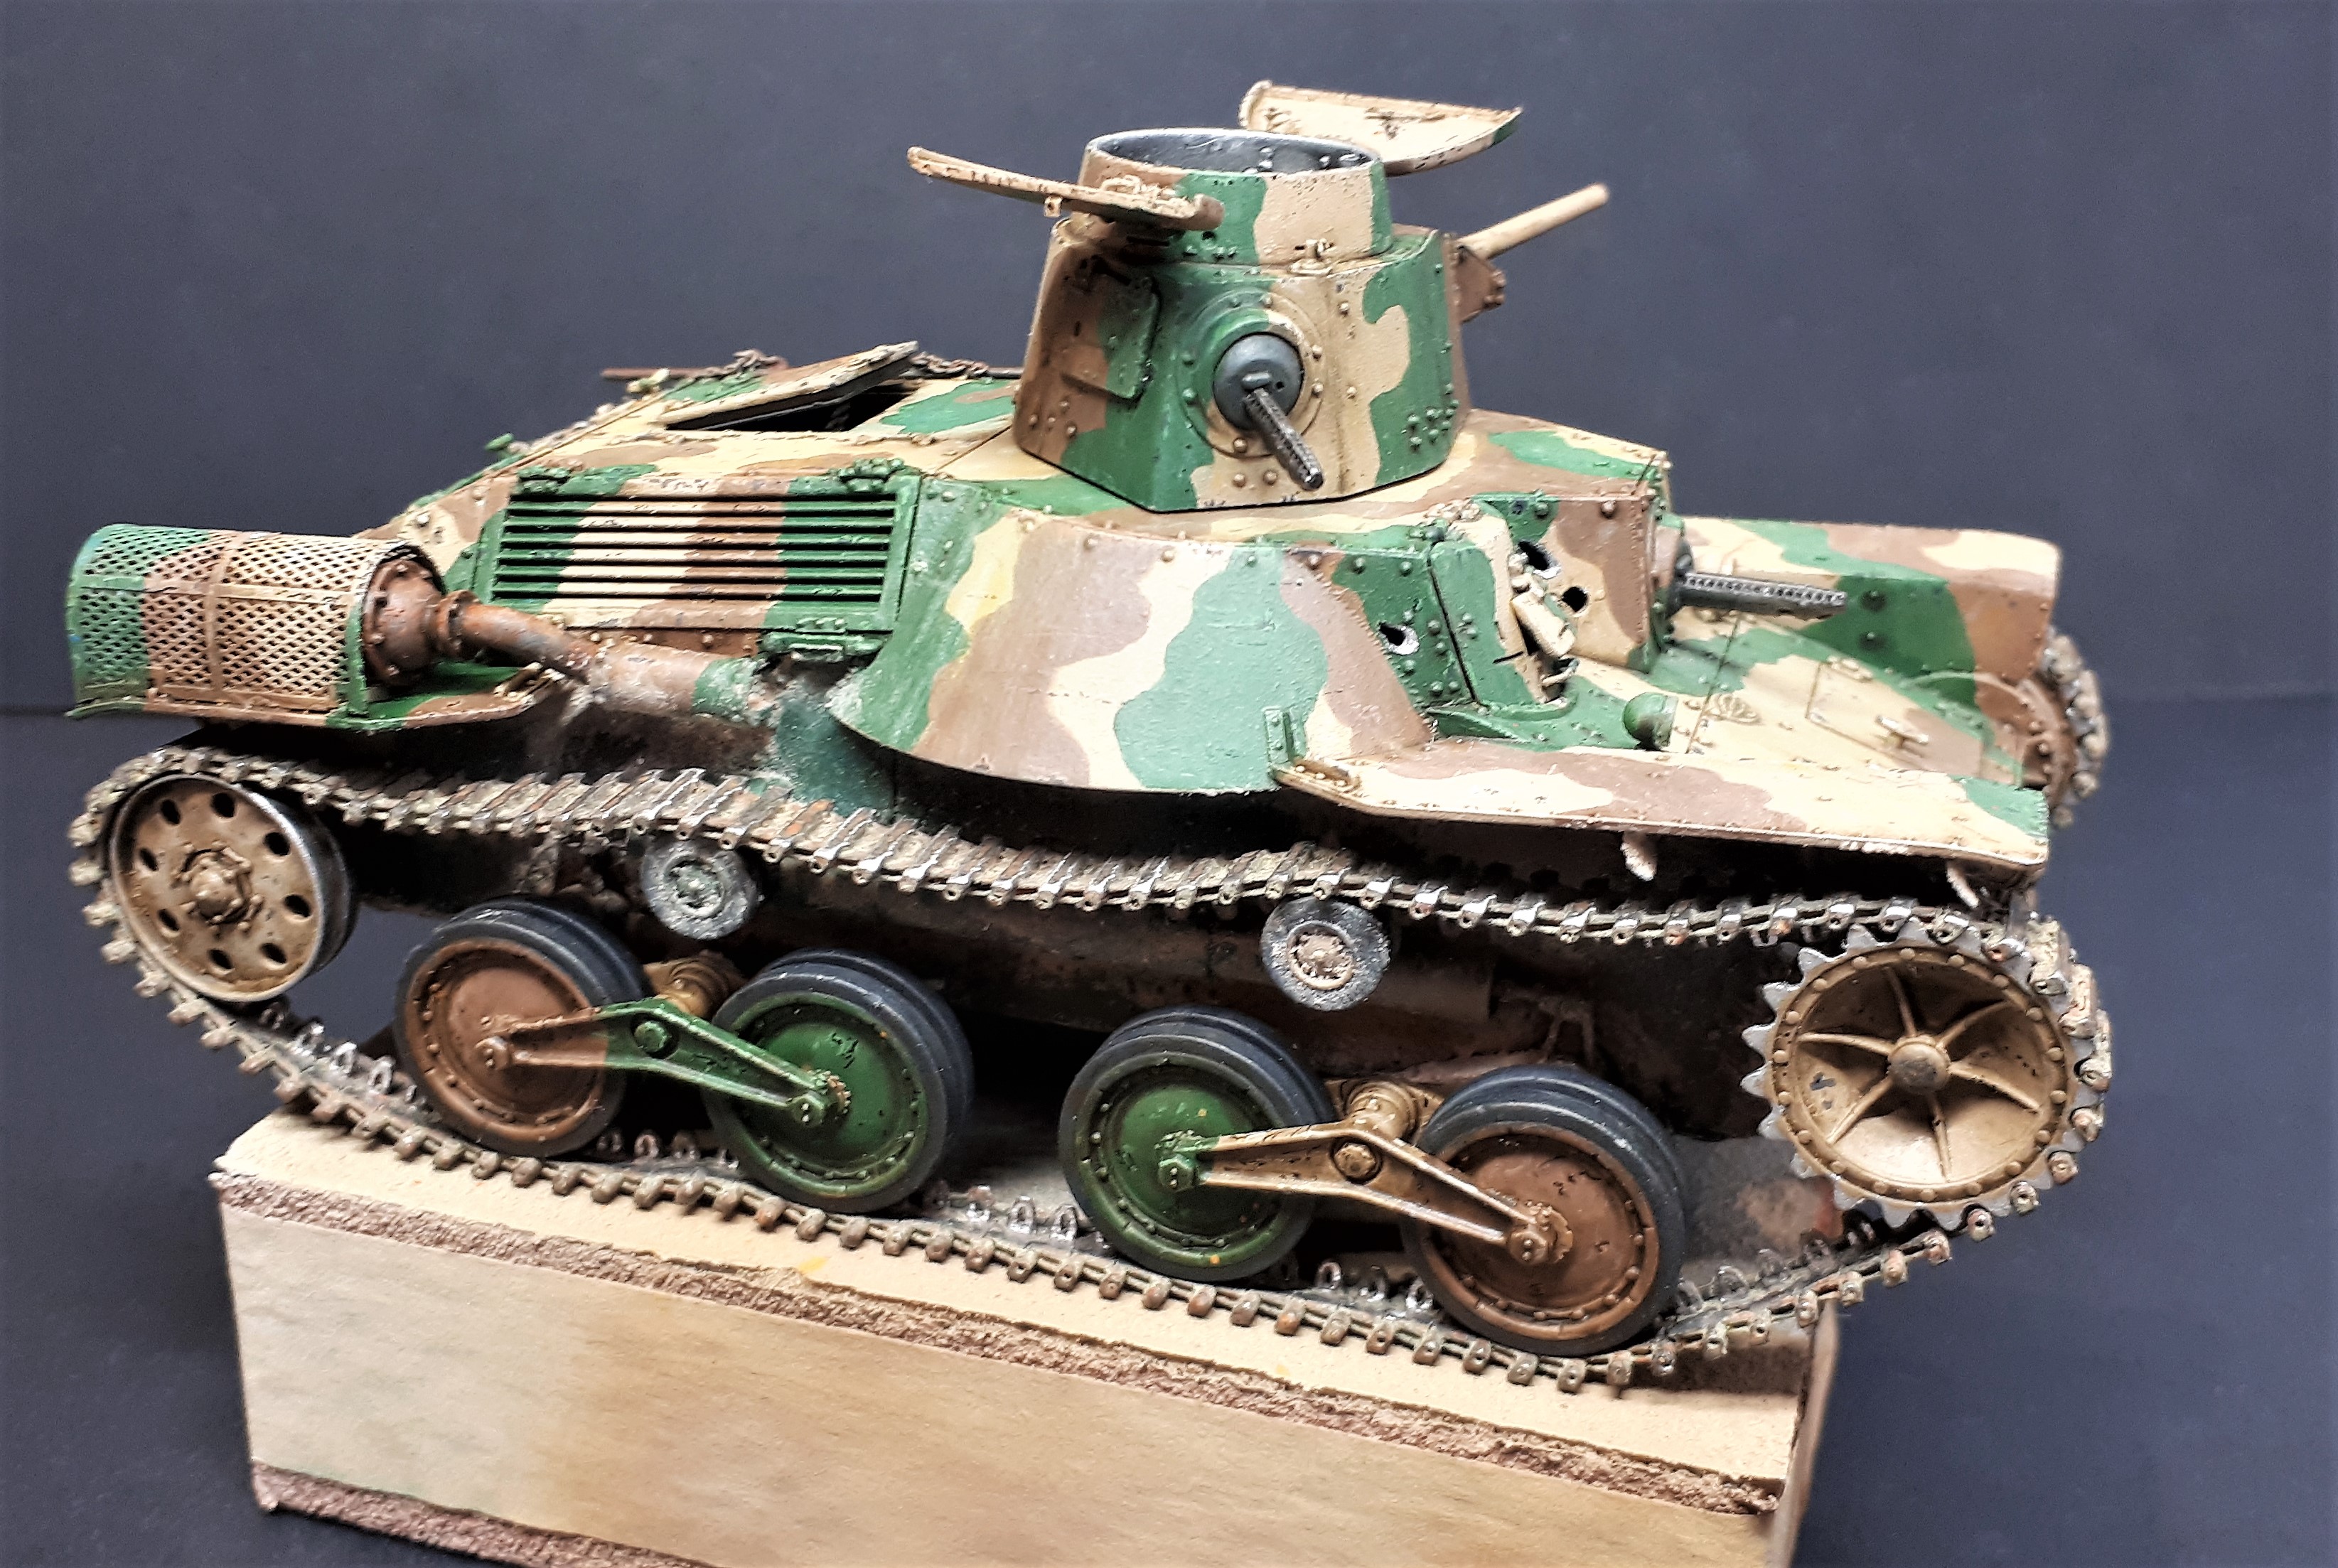
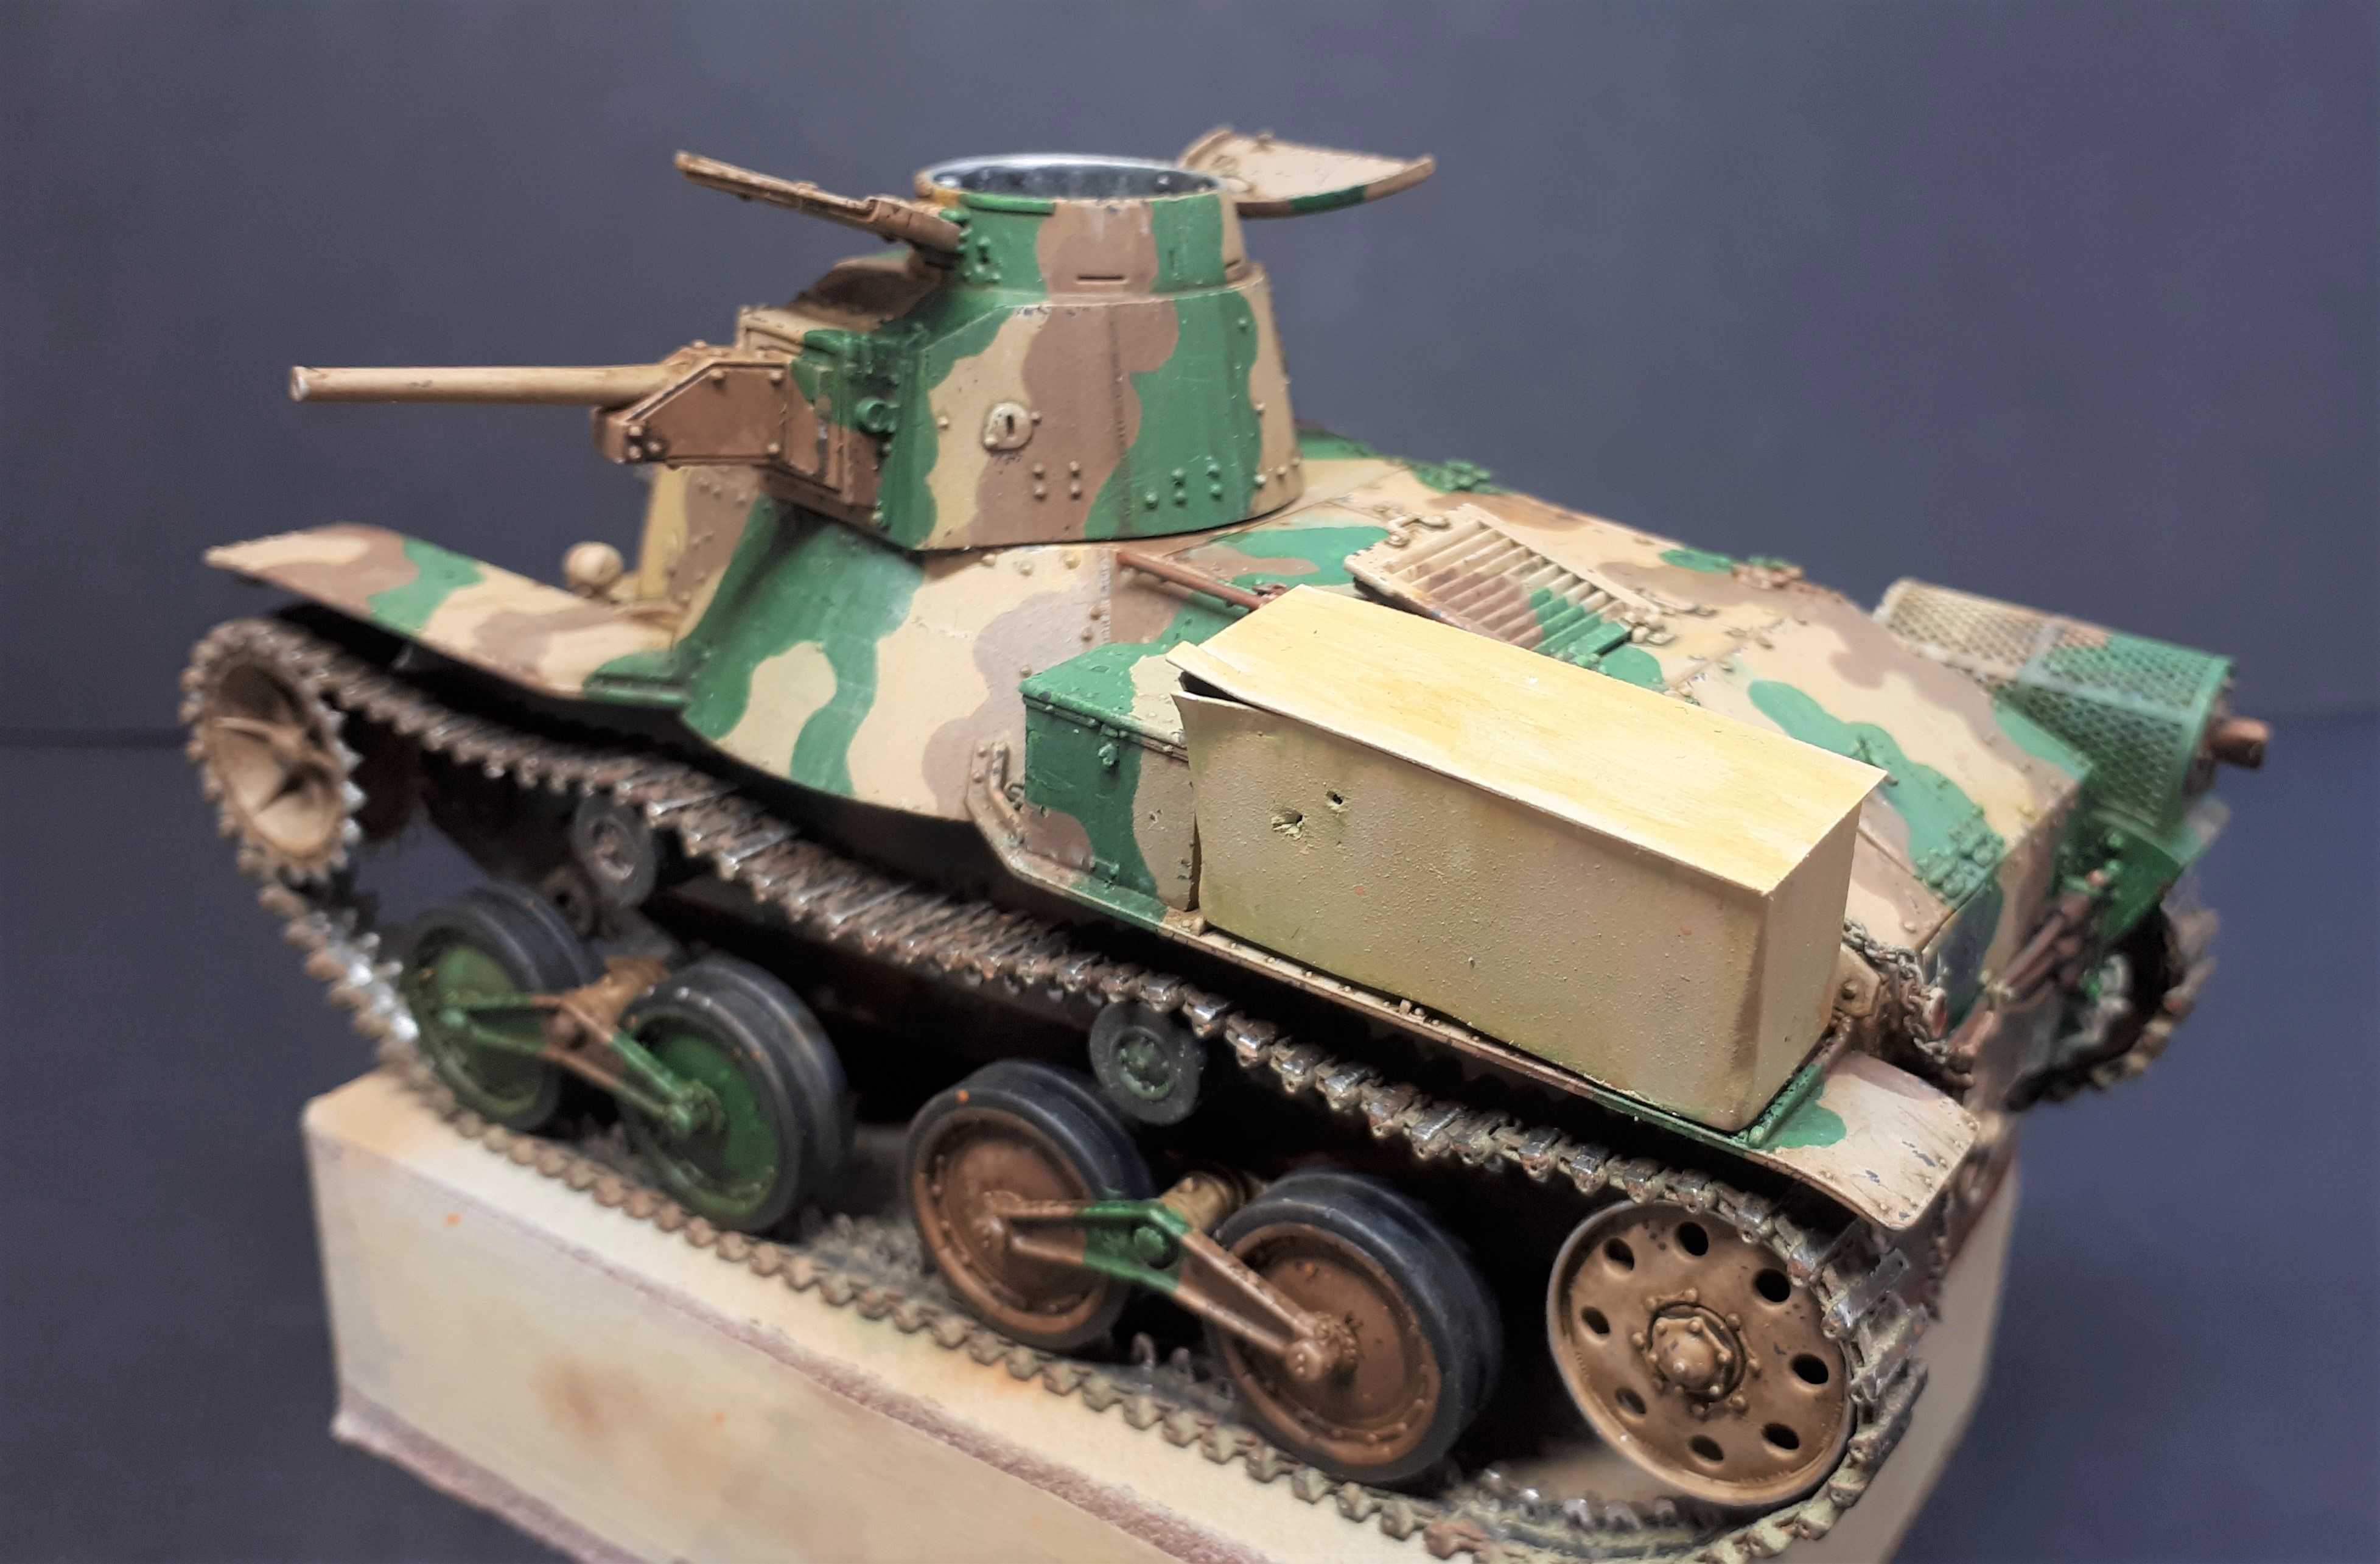
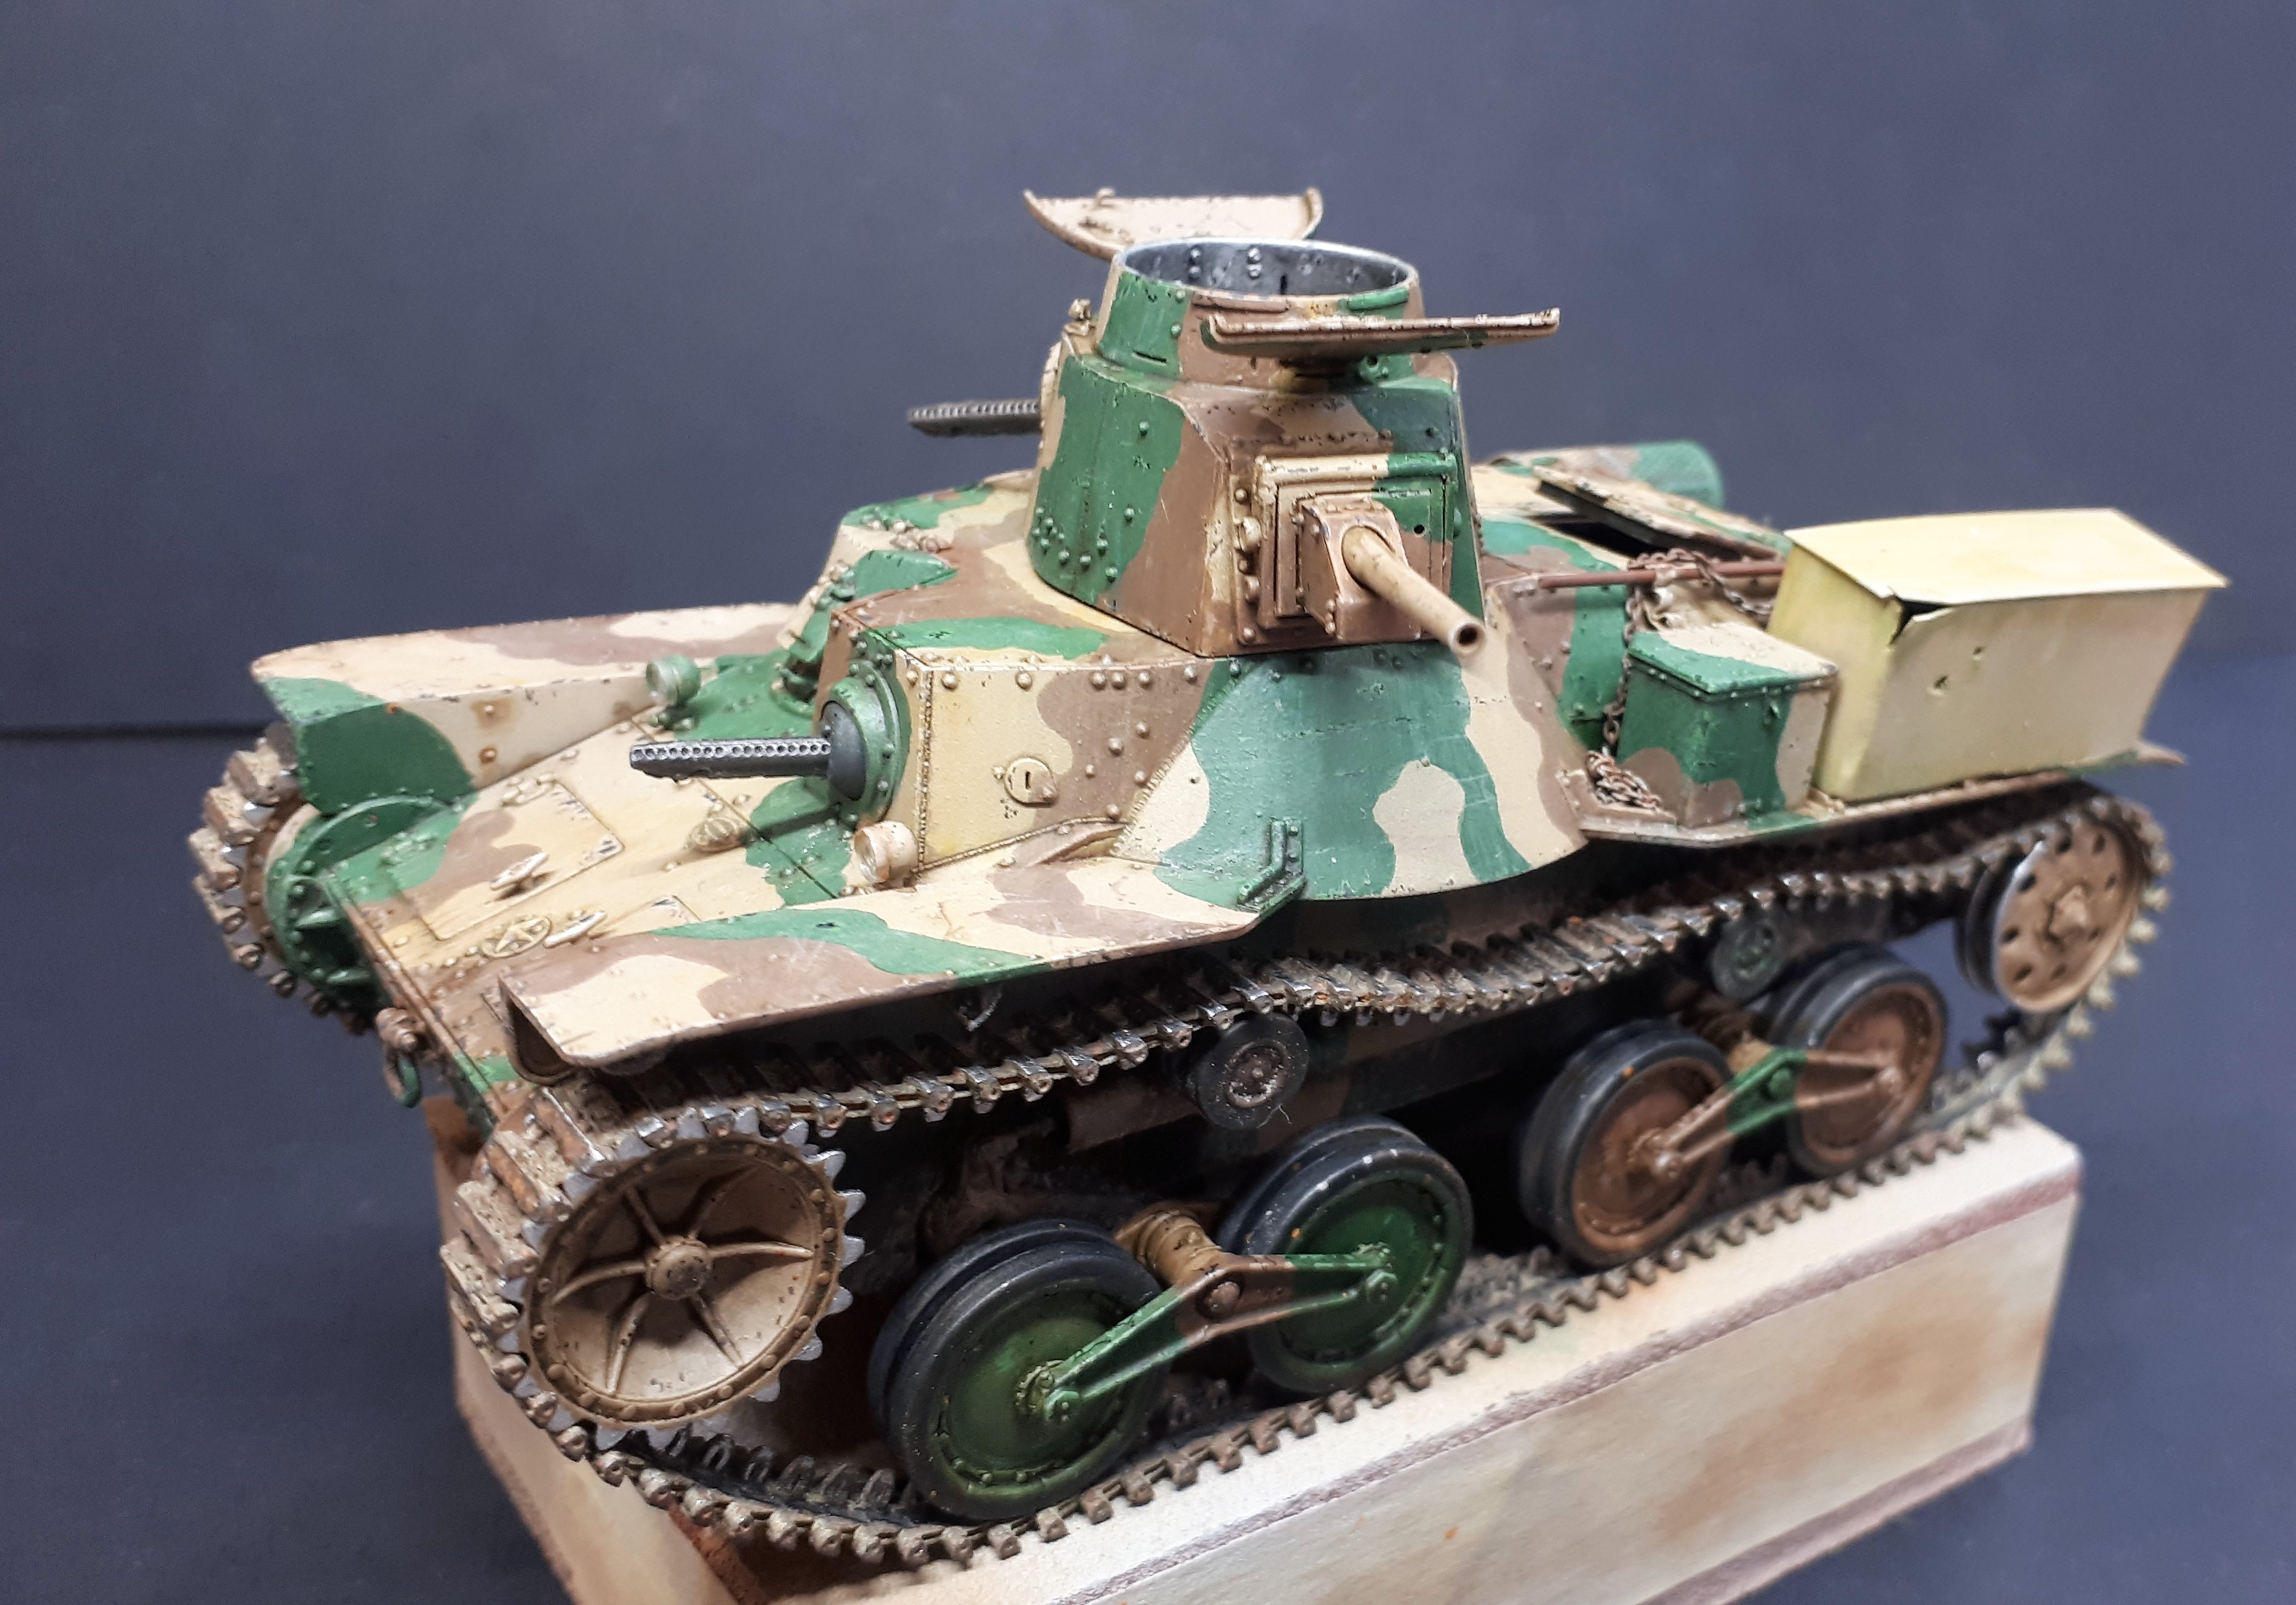
OK, so before I get stuck into the 2-pounder here are a few more pics of the Ha-Go. This is chipped and weathered - but only up to a point. I am leaving the final dust wash and other details such as stowage until the diorama is further down the line…
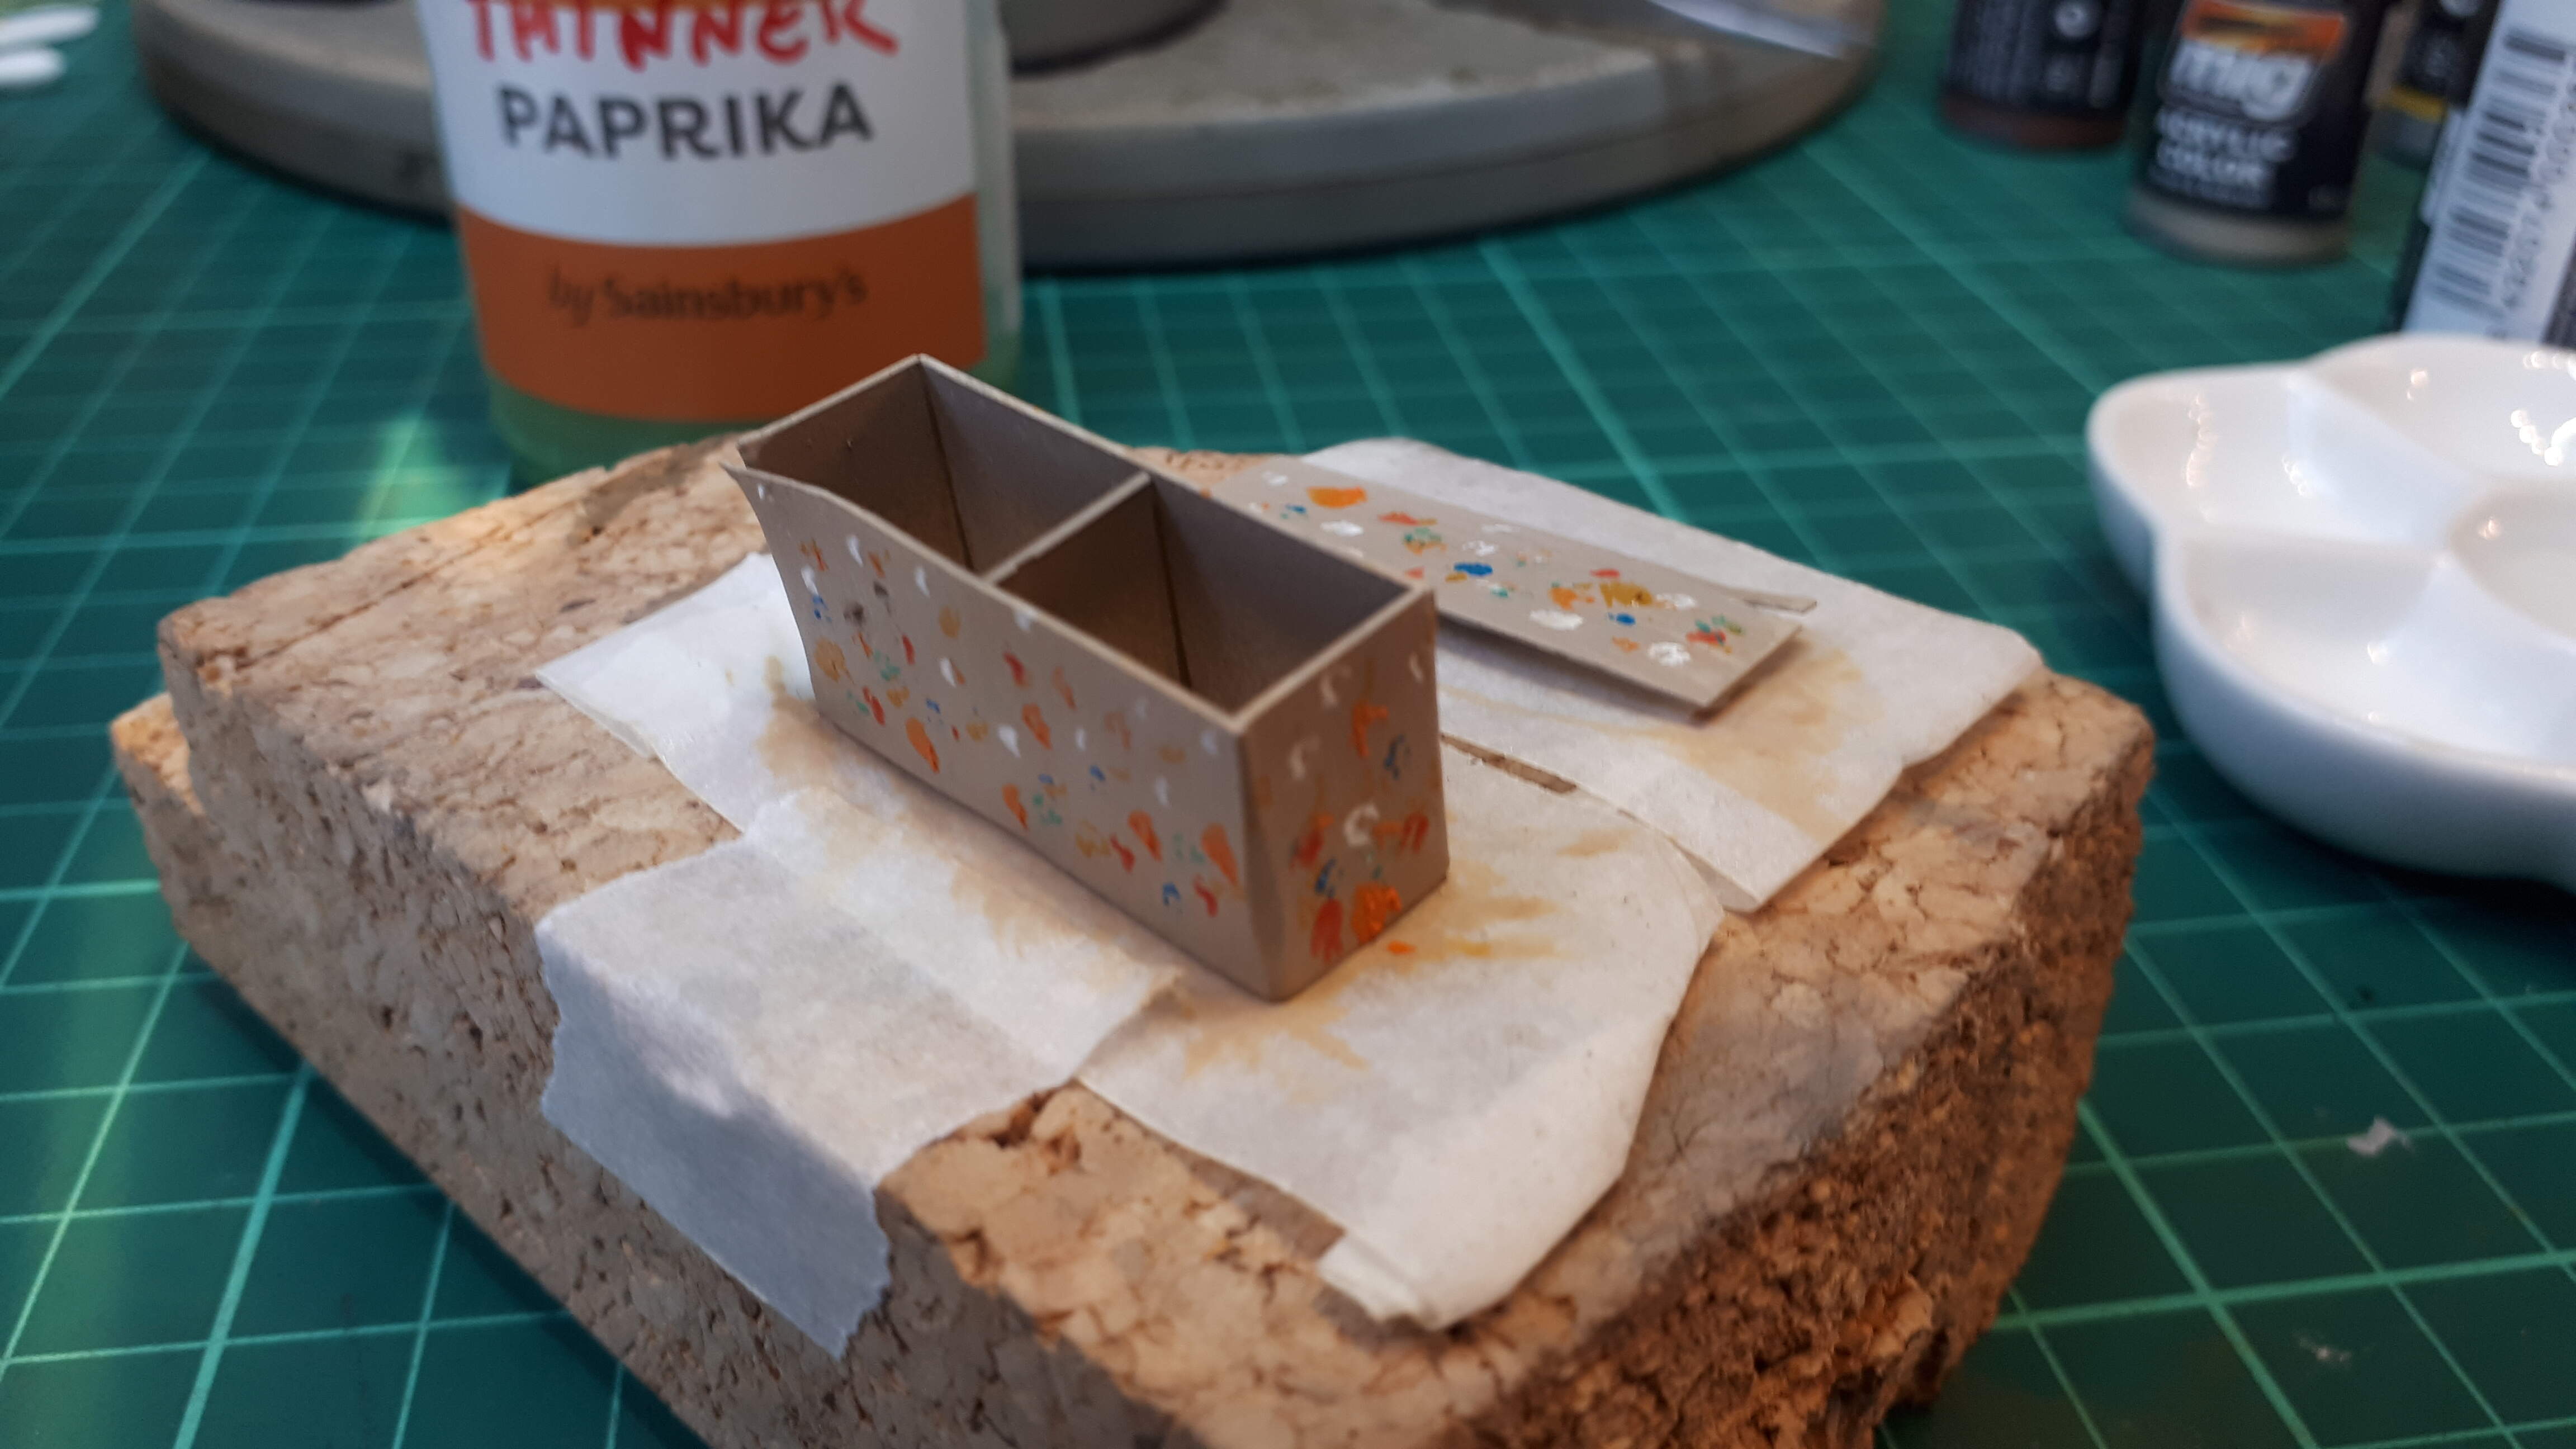
The large stowage box, in particular, is only pre-shaded with oil washes at this stage and is going to need a lot more work to make it look more interesting. Here it is before I blended the paints…
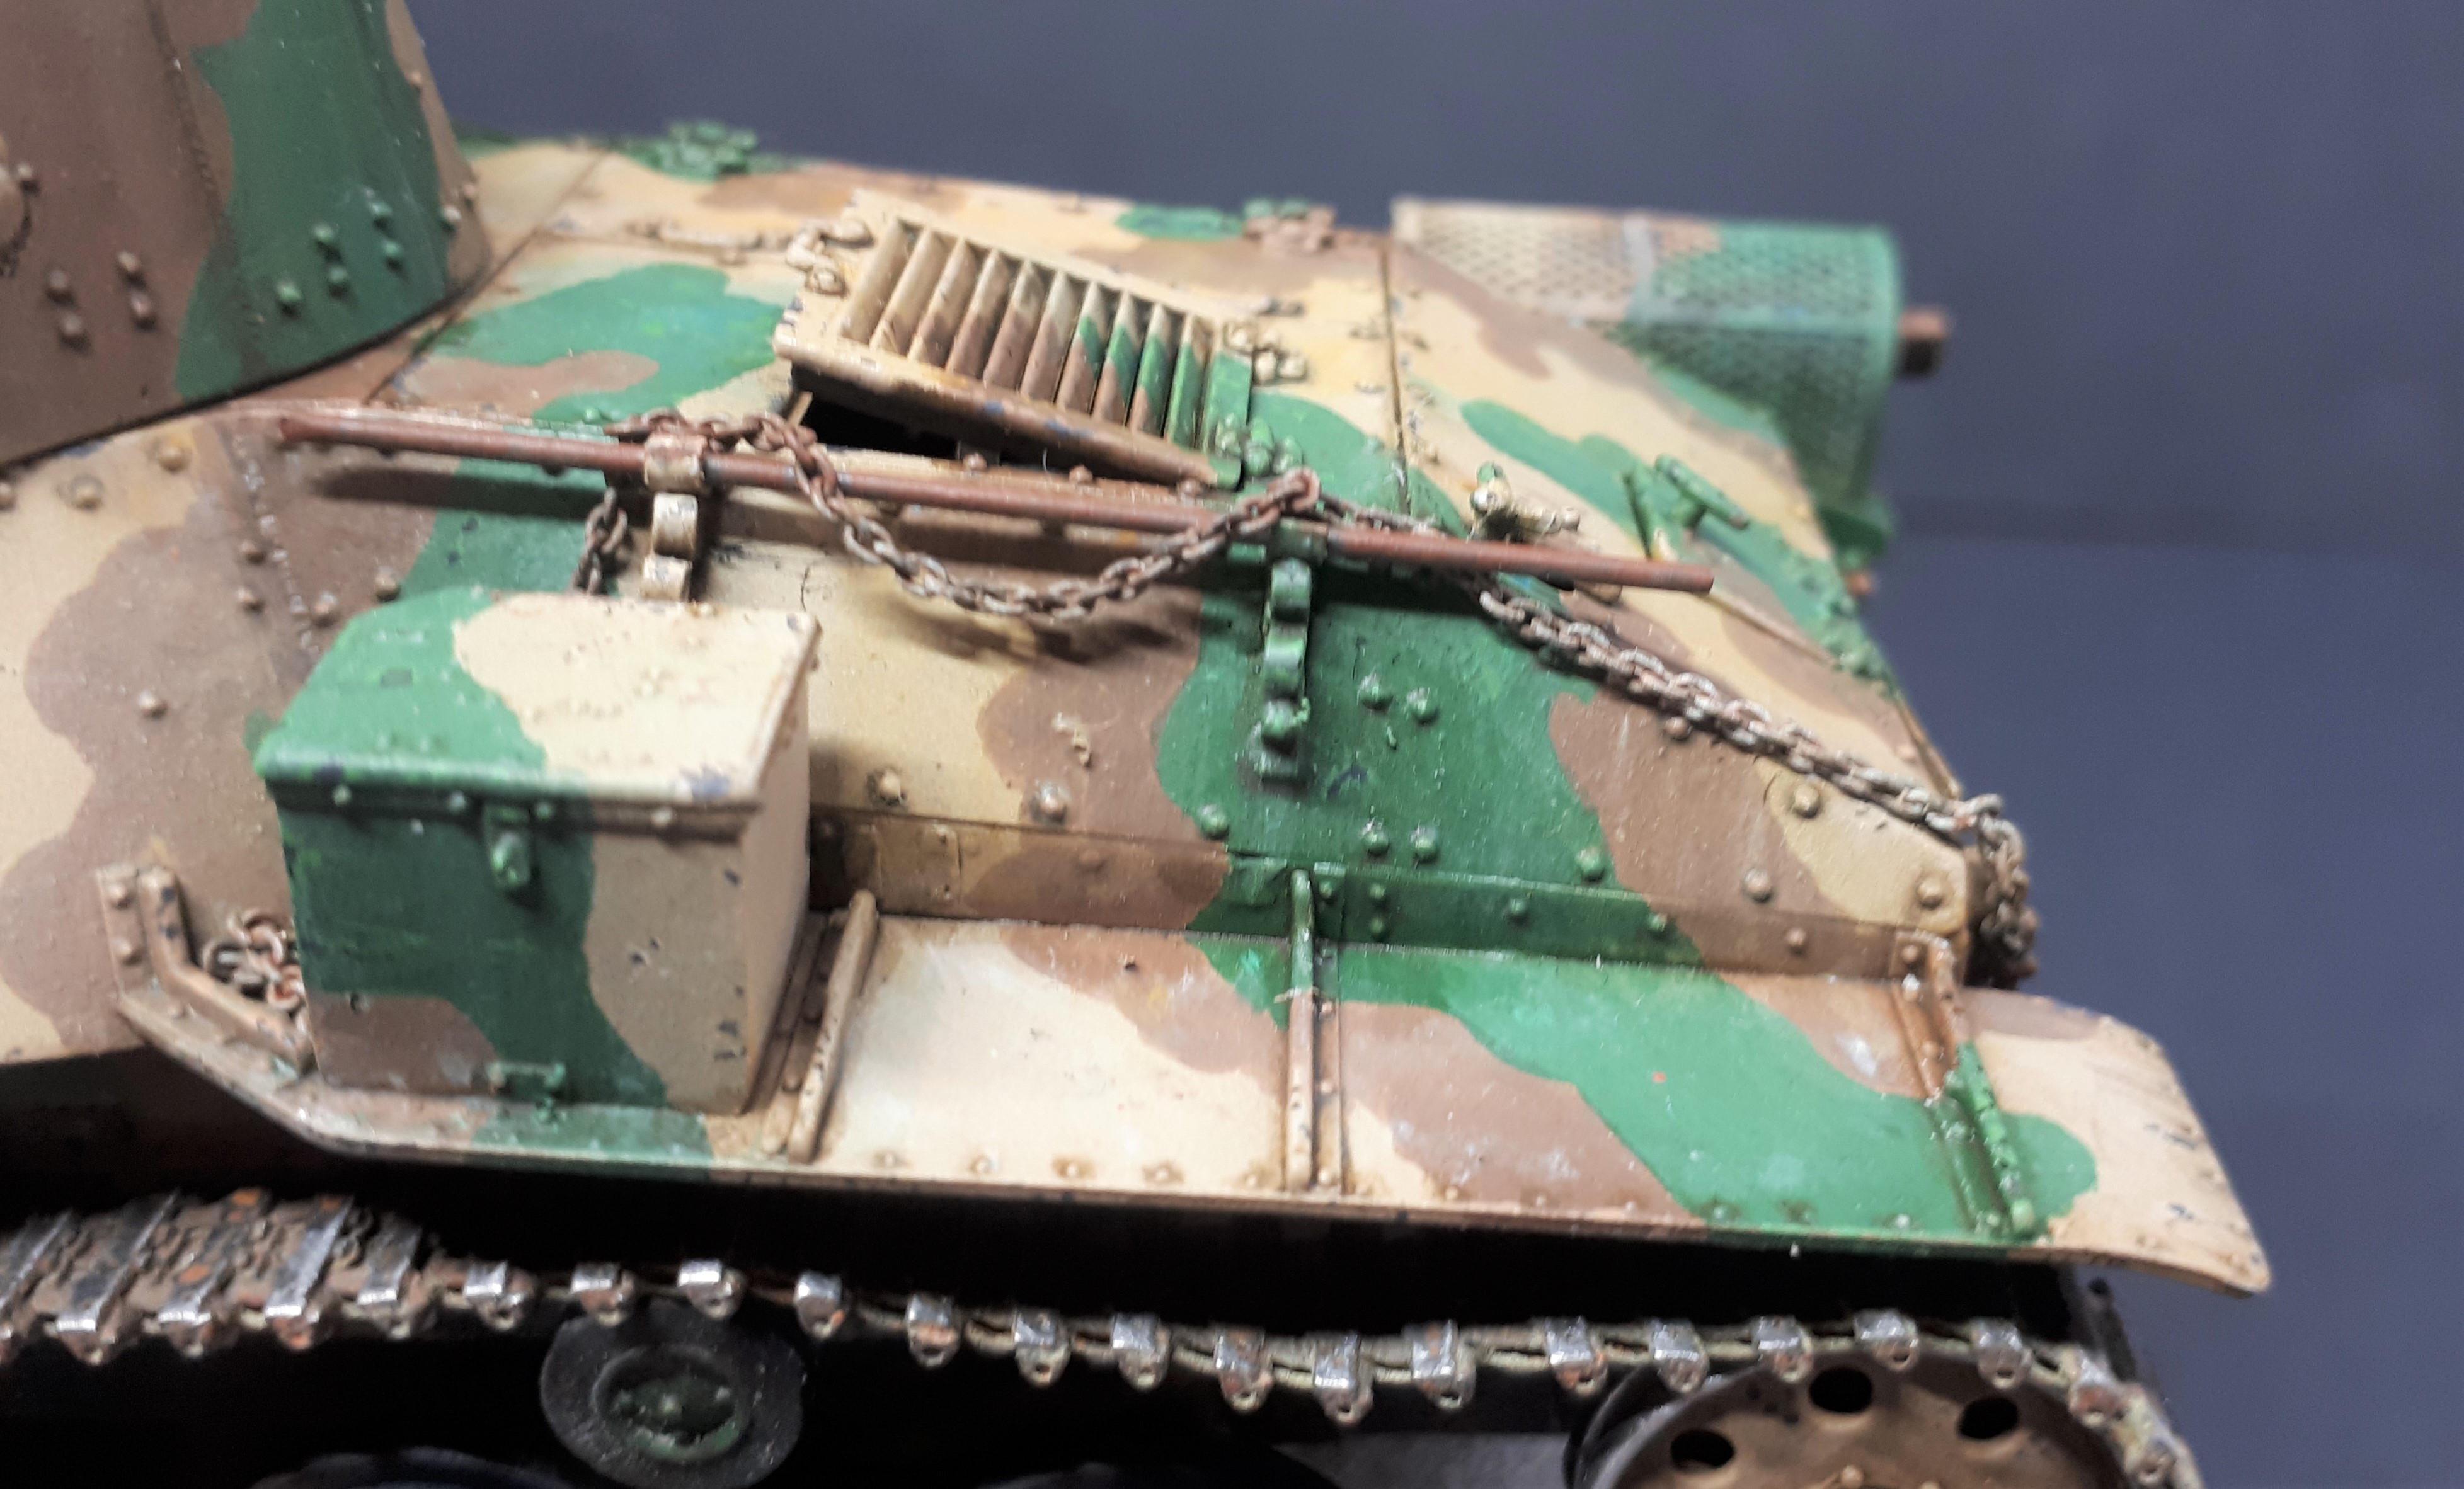
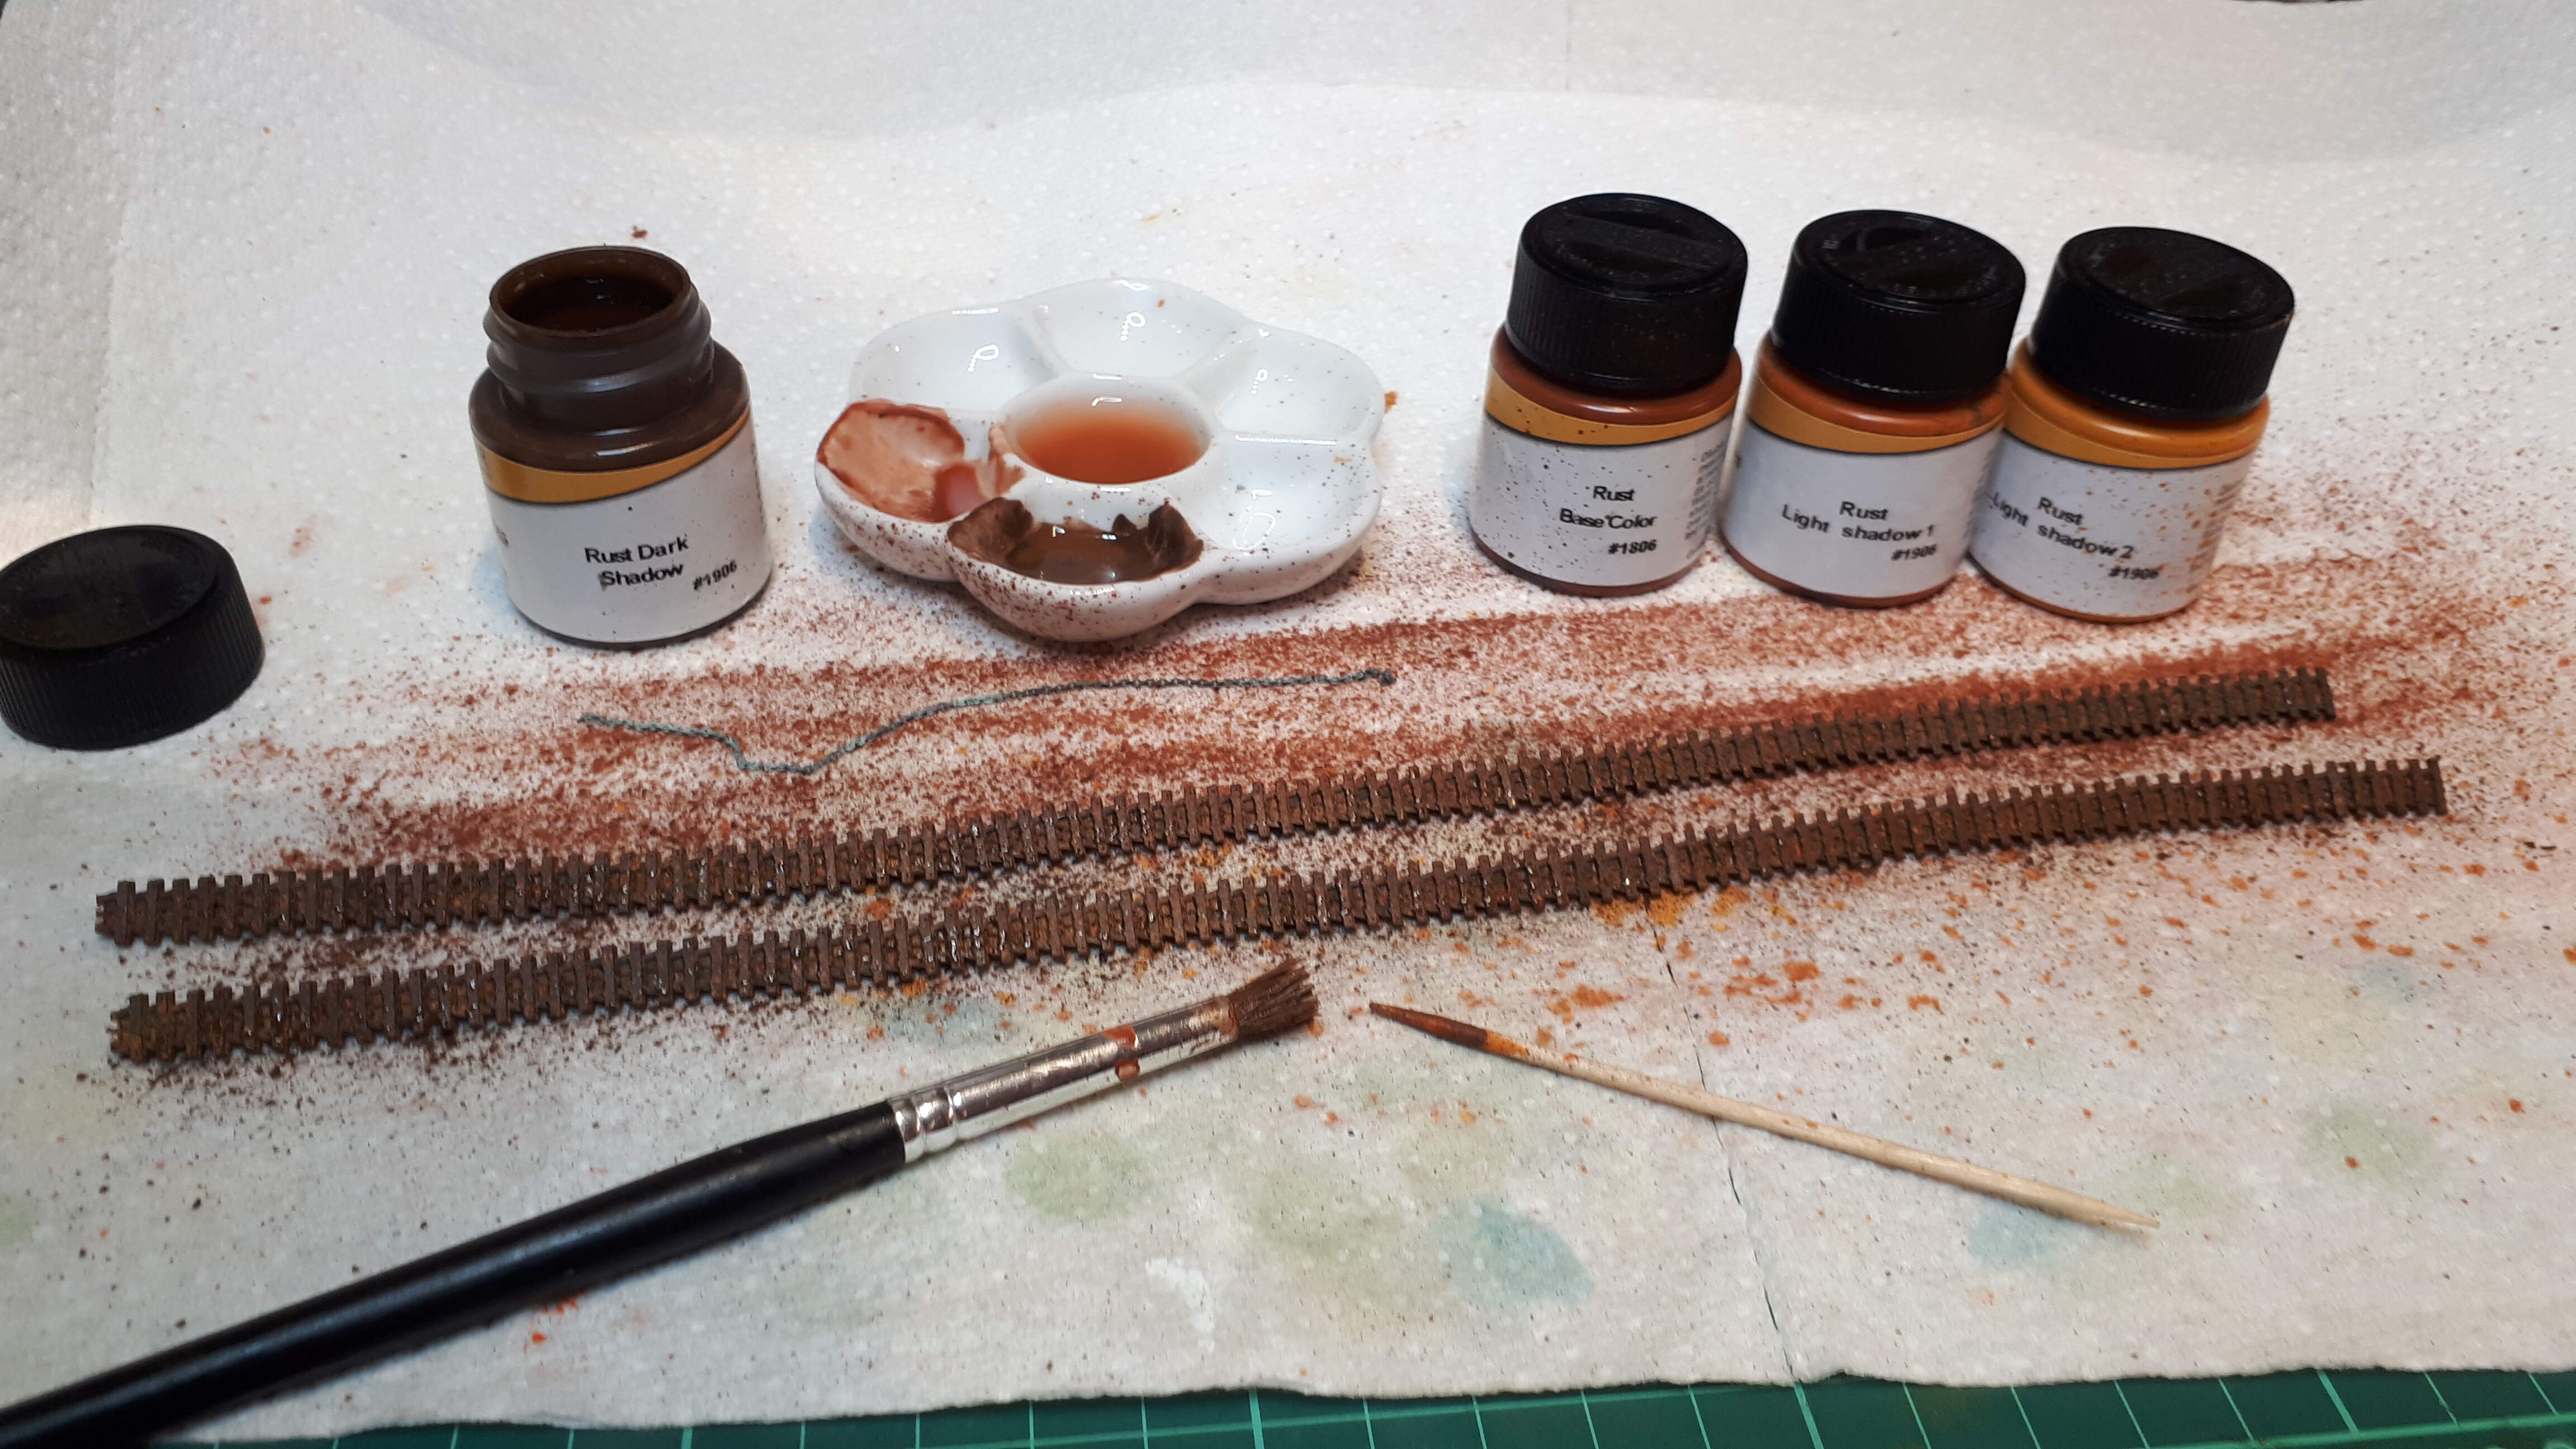
The metal tracks were initially darkened with metal burnishing fluid, then speckled with various shades of Lifecolor rust tones (using an old paint brush and a toothpick to flick the paint on). I then built up the earth / dust layer using Wilder water-based washes. Finally I used sanding sticks and wire wool to buff up the metal and added the exposed linear surfaces on the inside (from where the wheels rub against the track runs and guide horns) with a graphite pencil.
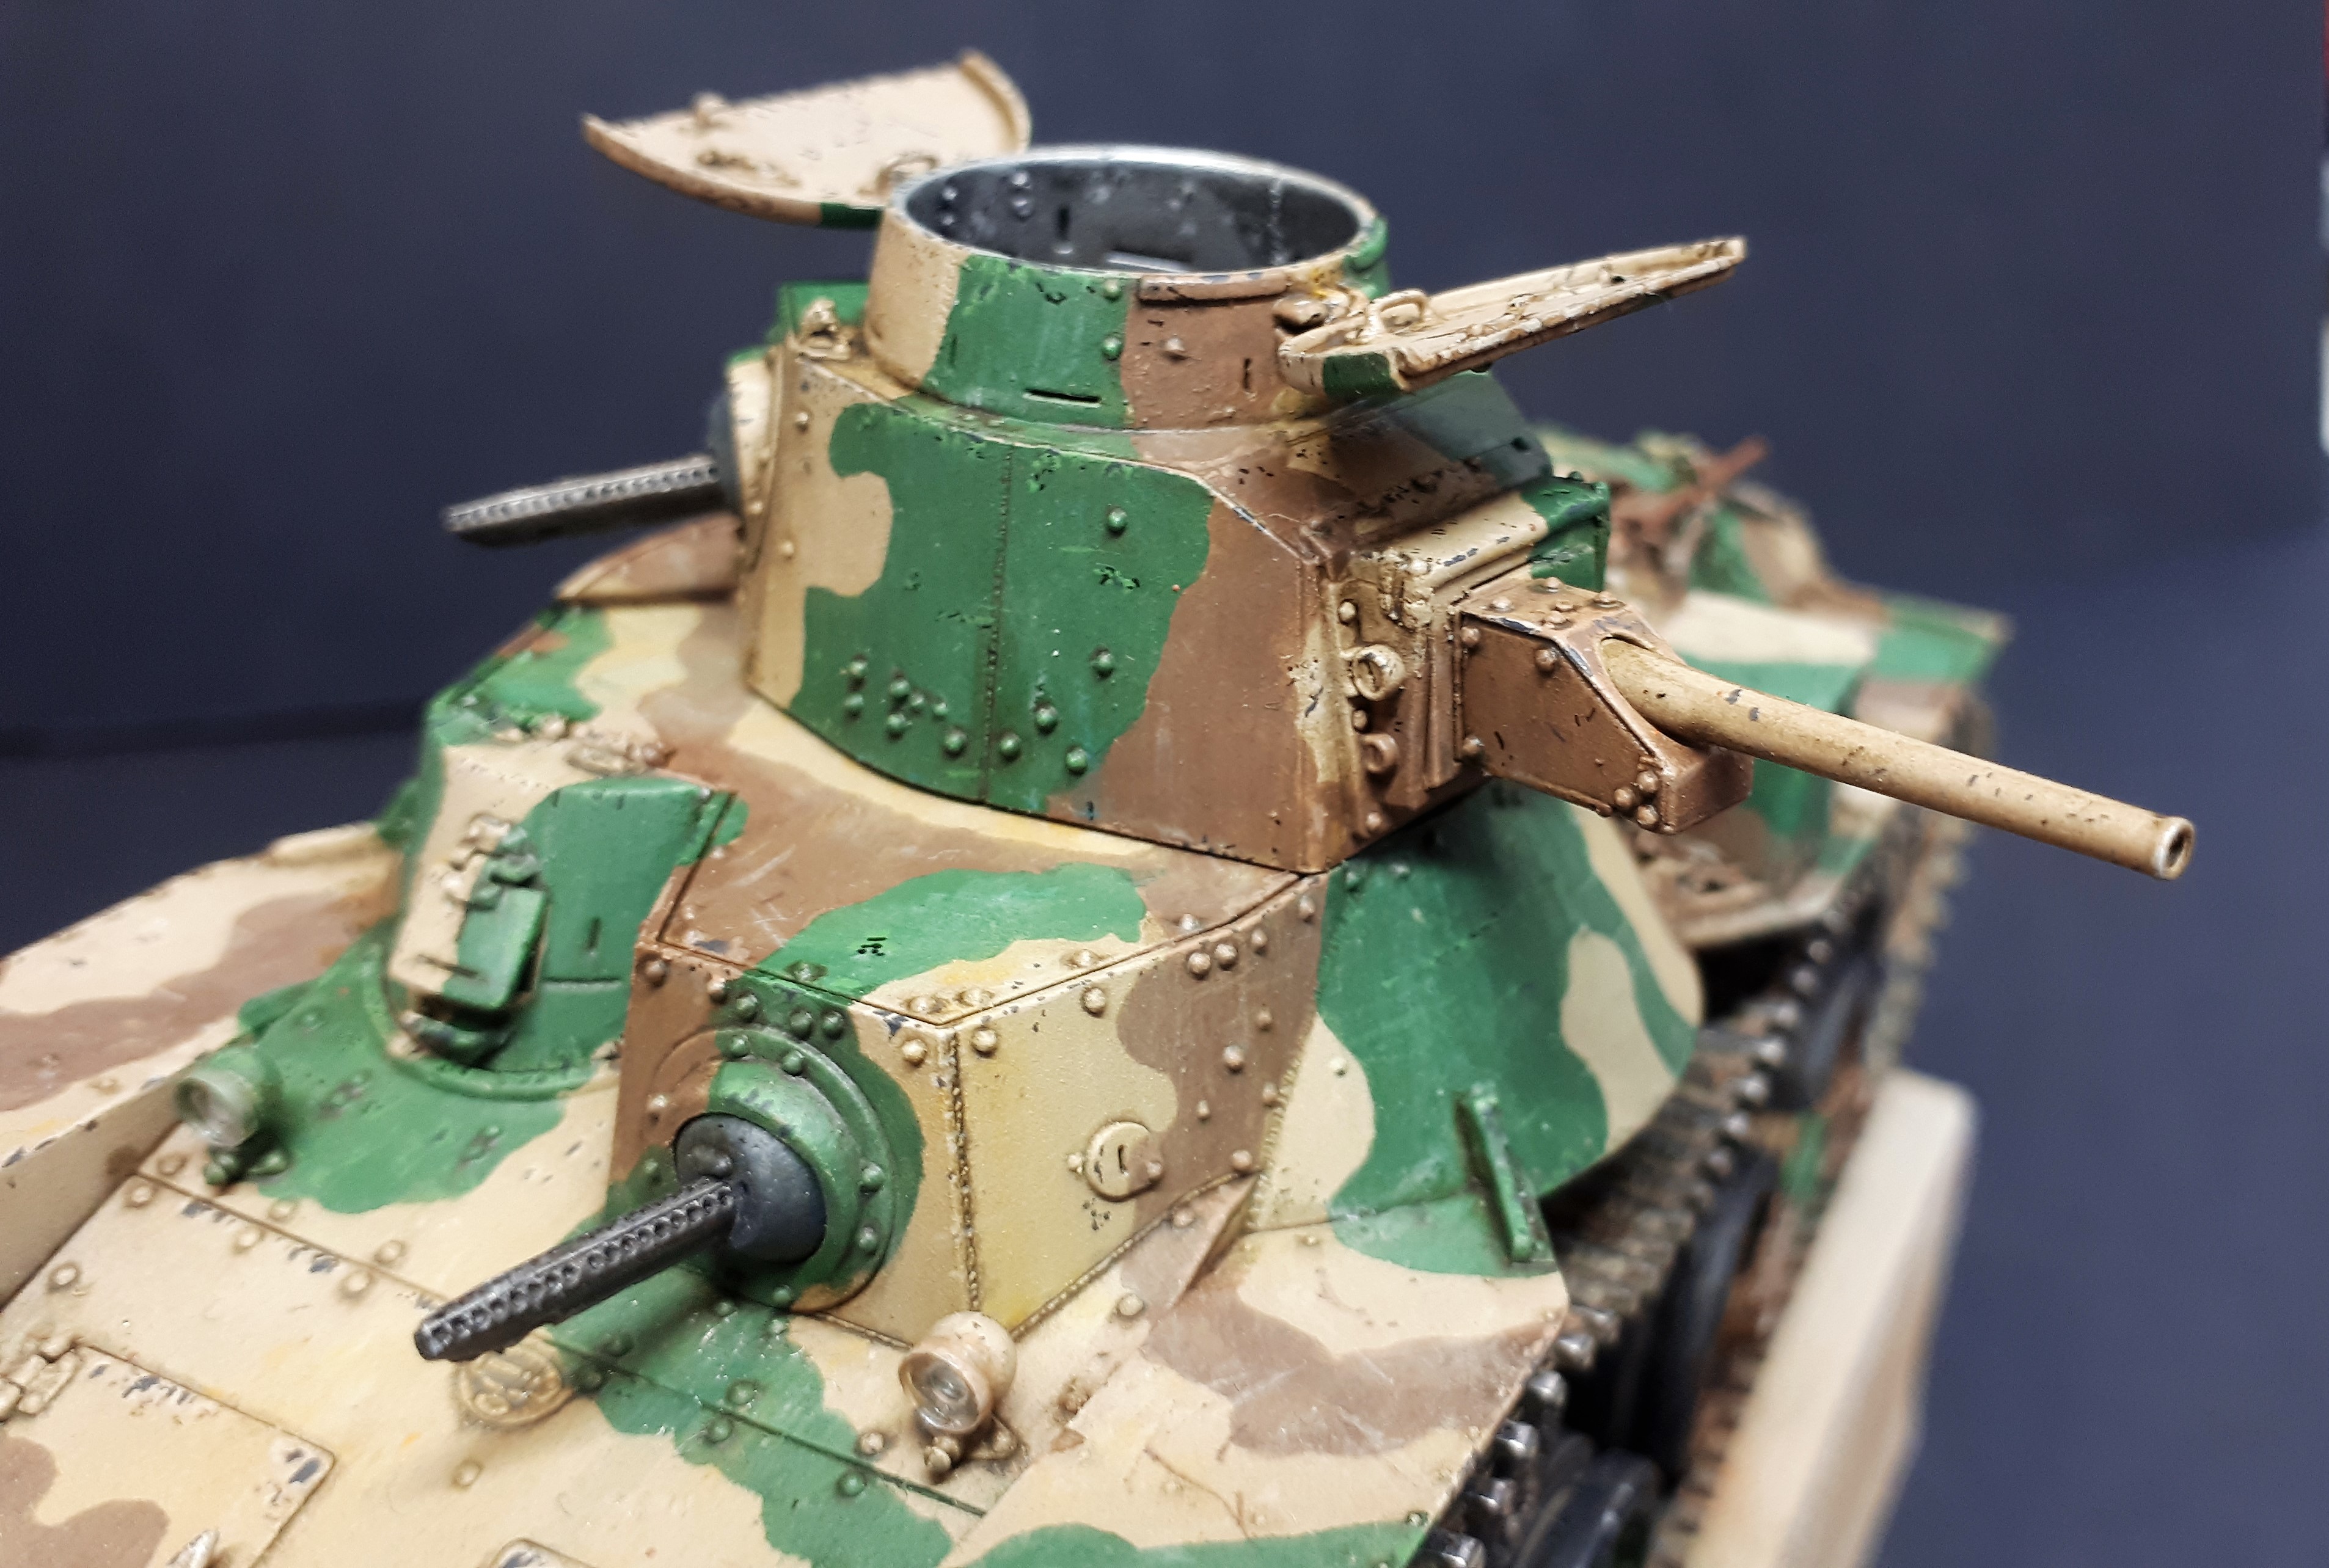
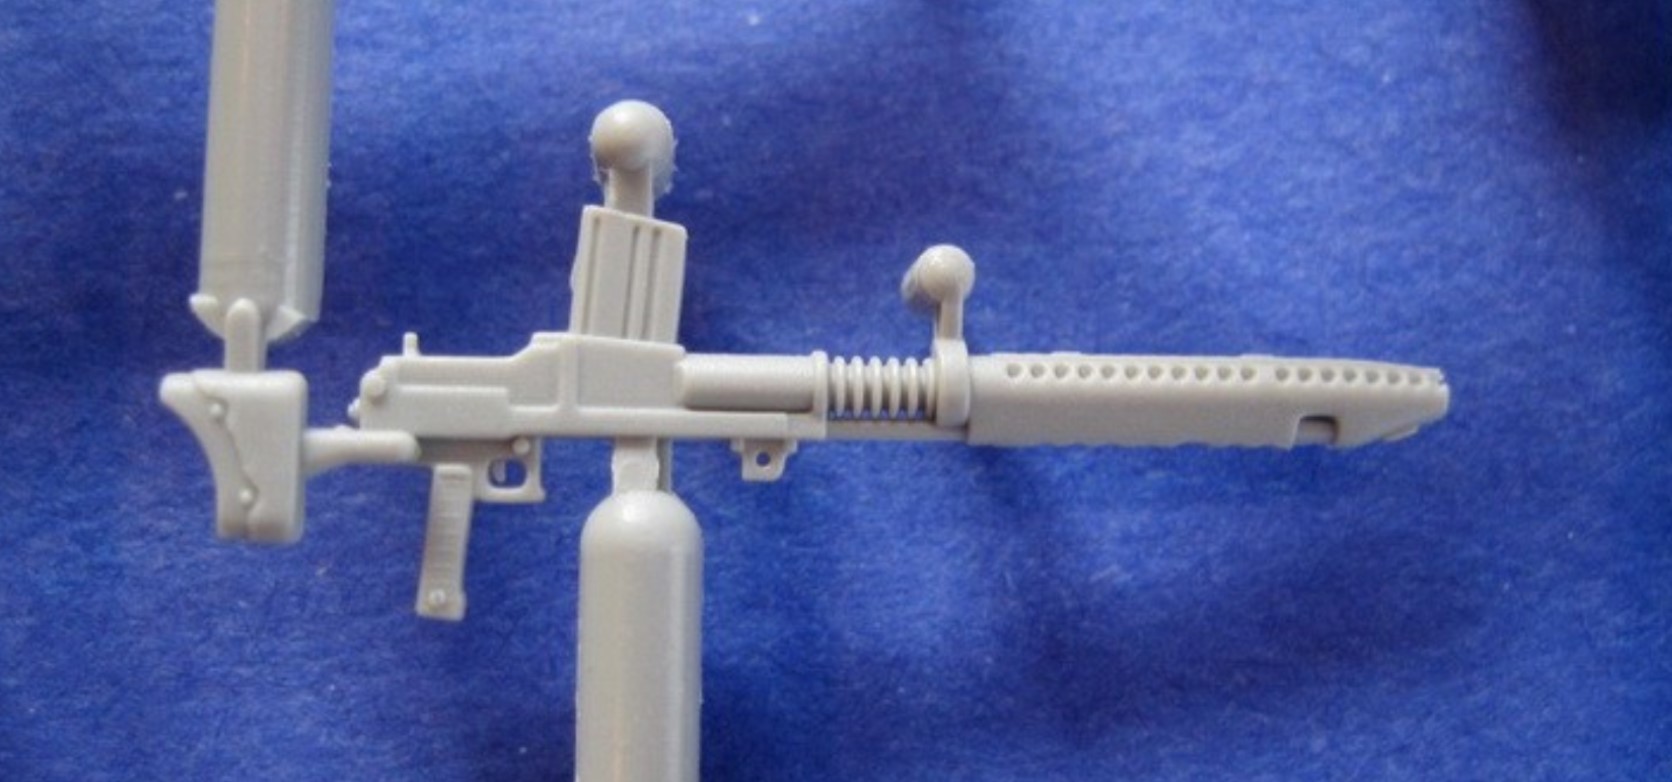
Undoubtedly one of the finest aspects of the Dragon kits are the beautifully moulded machine guns.
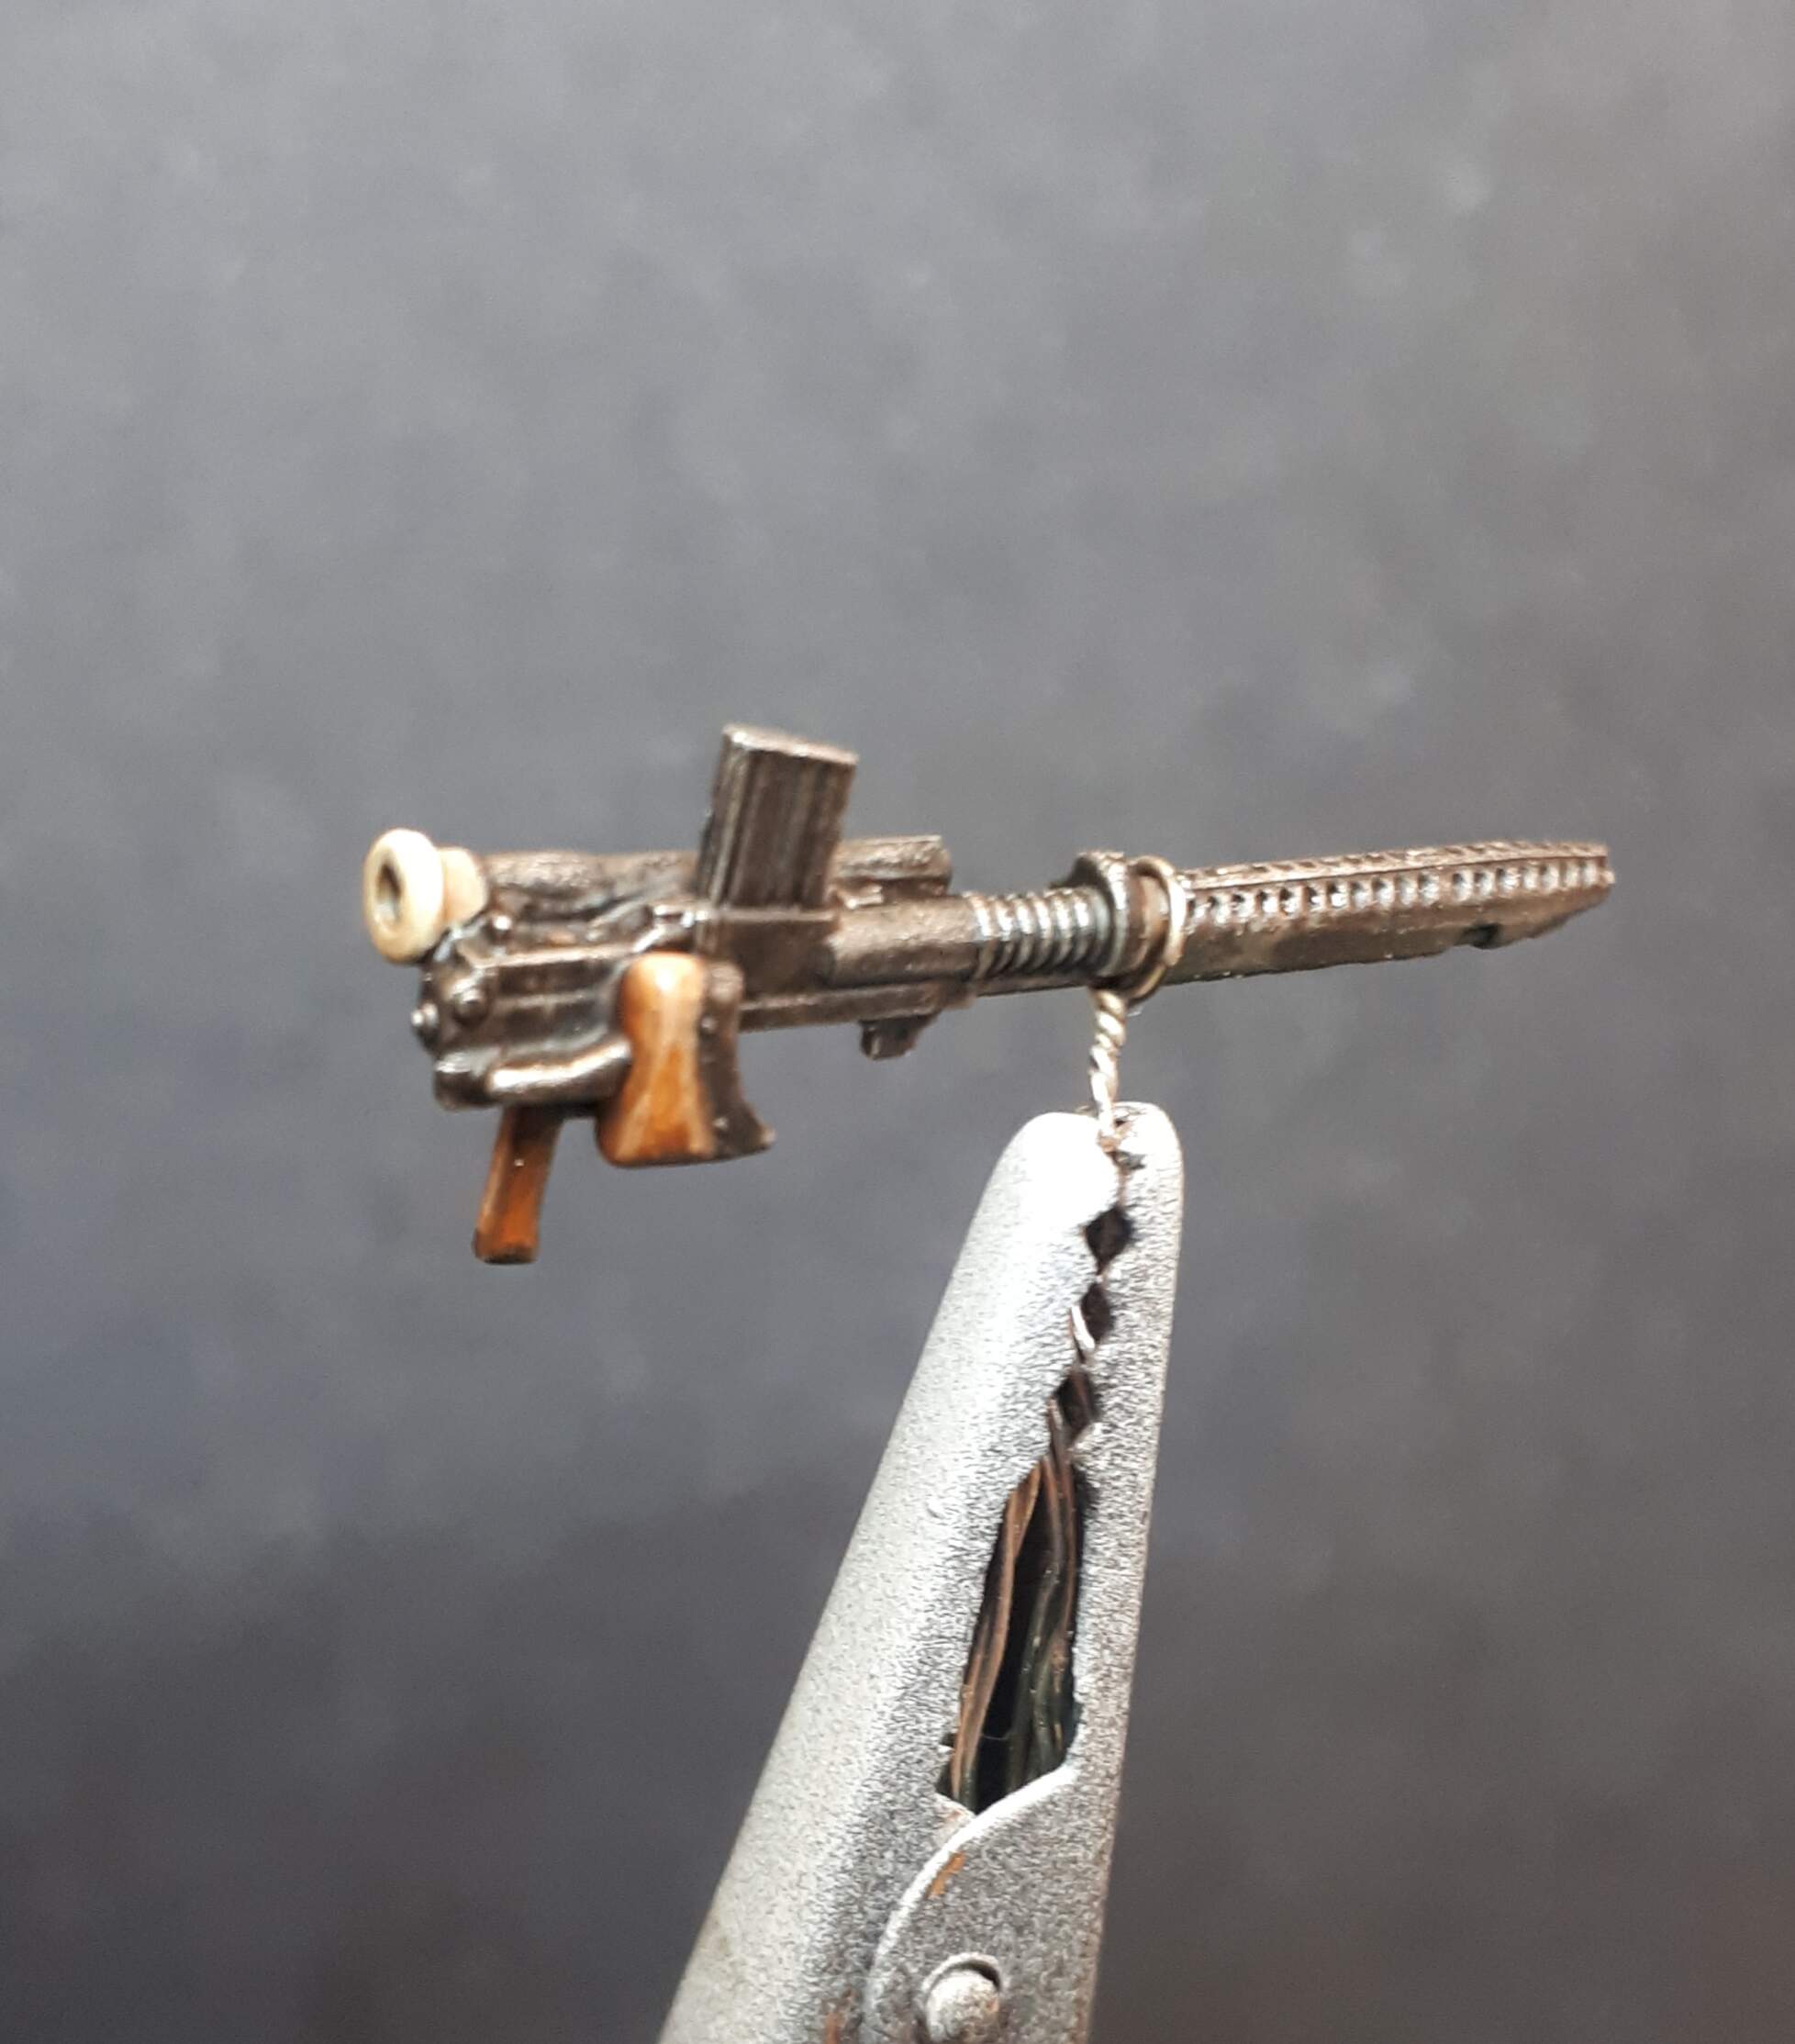
The Type 97 heavy tank machine gun had some interesting modifications from the infantry version of the same weapon: a sighting telescope and a folding stock. The latter pivoted vertically and faced in the opposite direction when not required. Presumably it was most useful when the gun was used in the AA mount or dismounted. Given the very limited amount of space in the Ha-Go’s turret, it would seem most likely that the stock would be folded away when in this position. On the model this was achieved by carefully slicing off the stock at the mounting point and rotating it into the stowed position. Once painted up you can appreciate the exquisite detail on this slide-moulded piece.
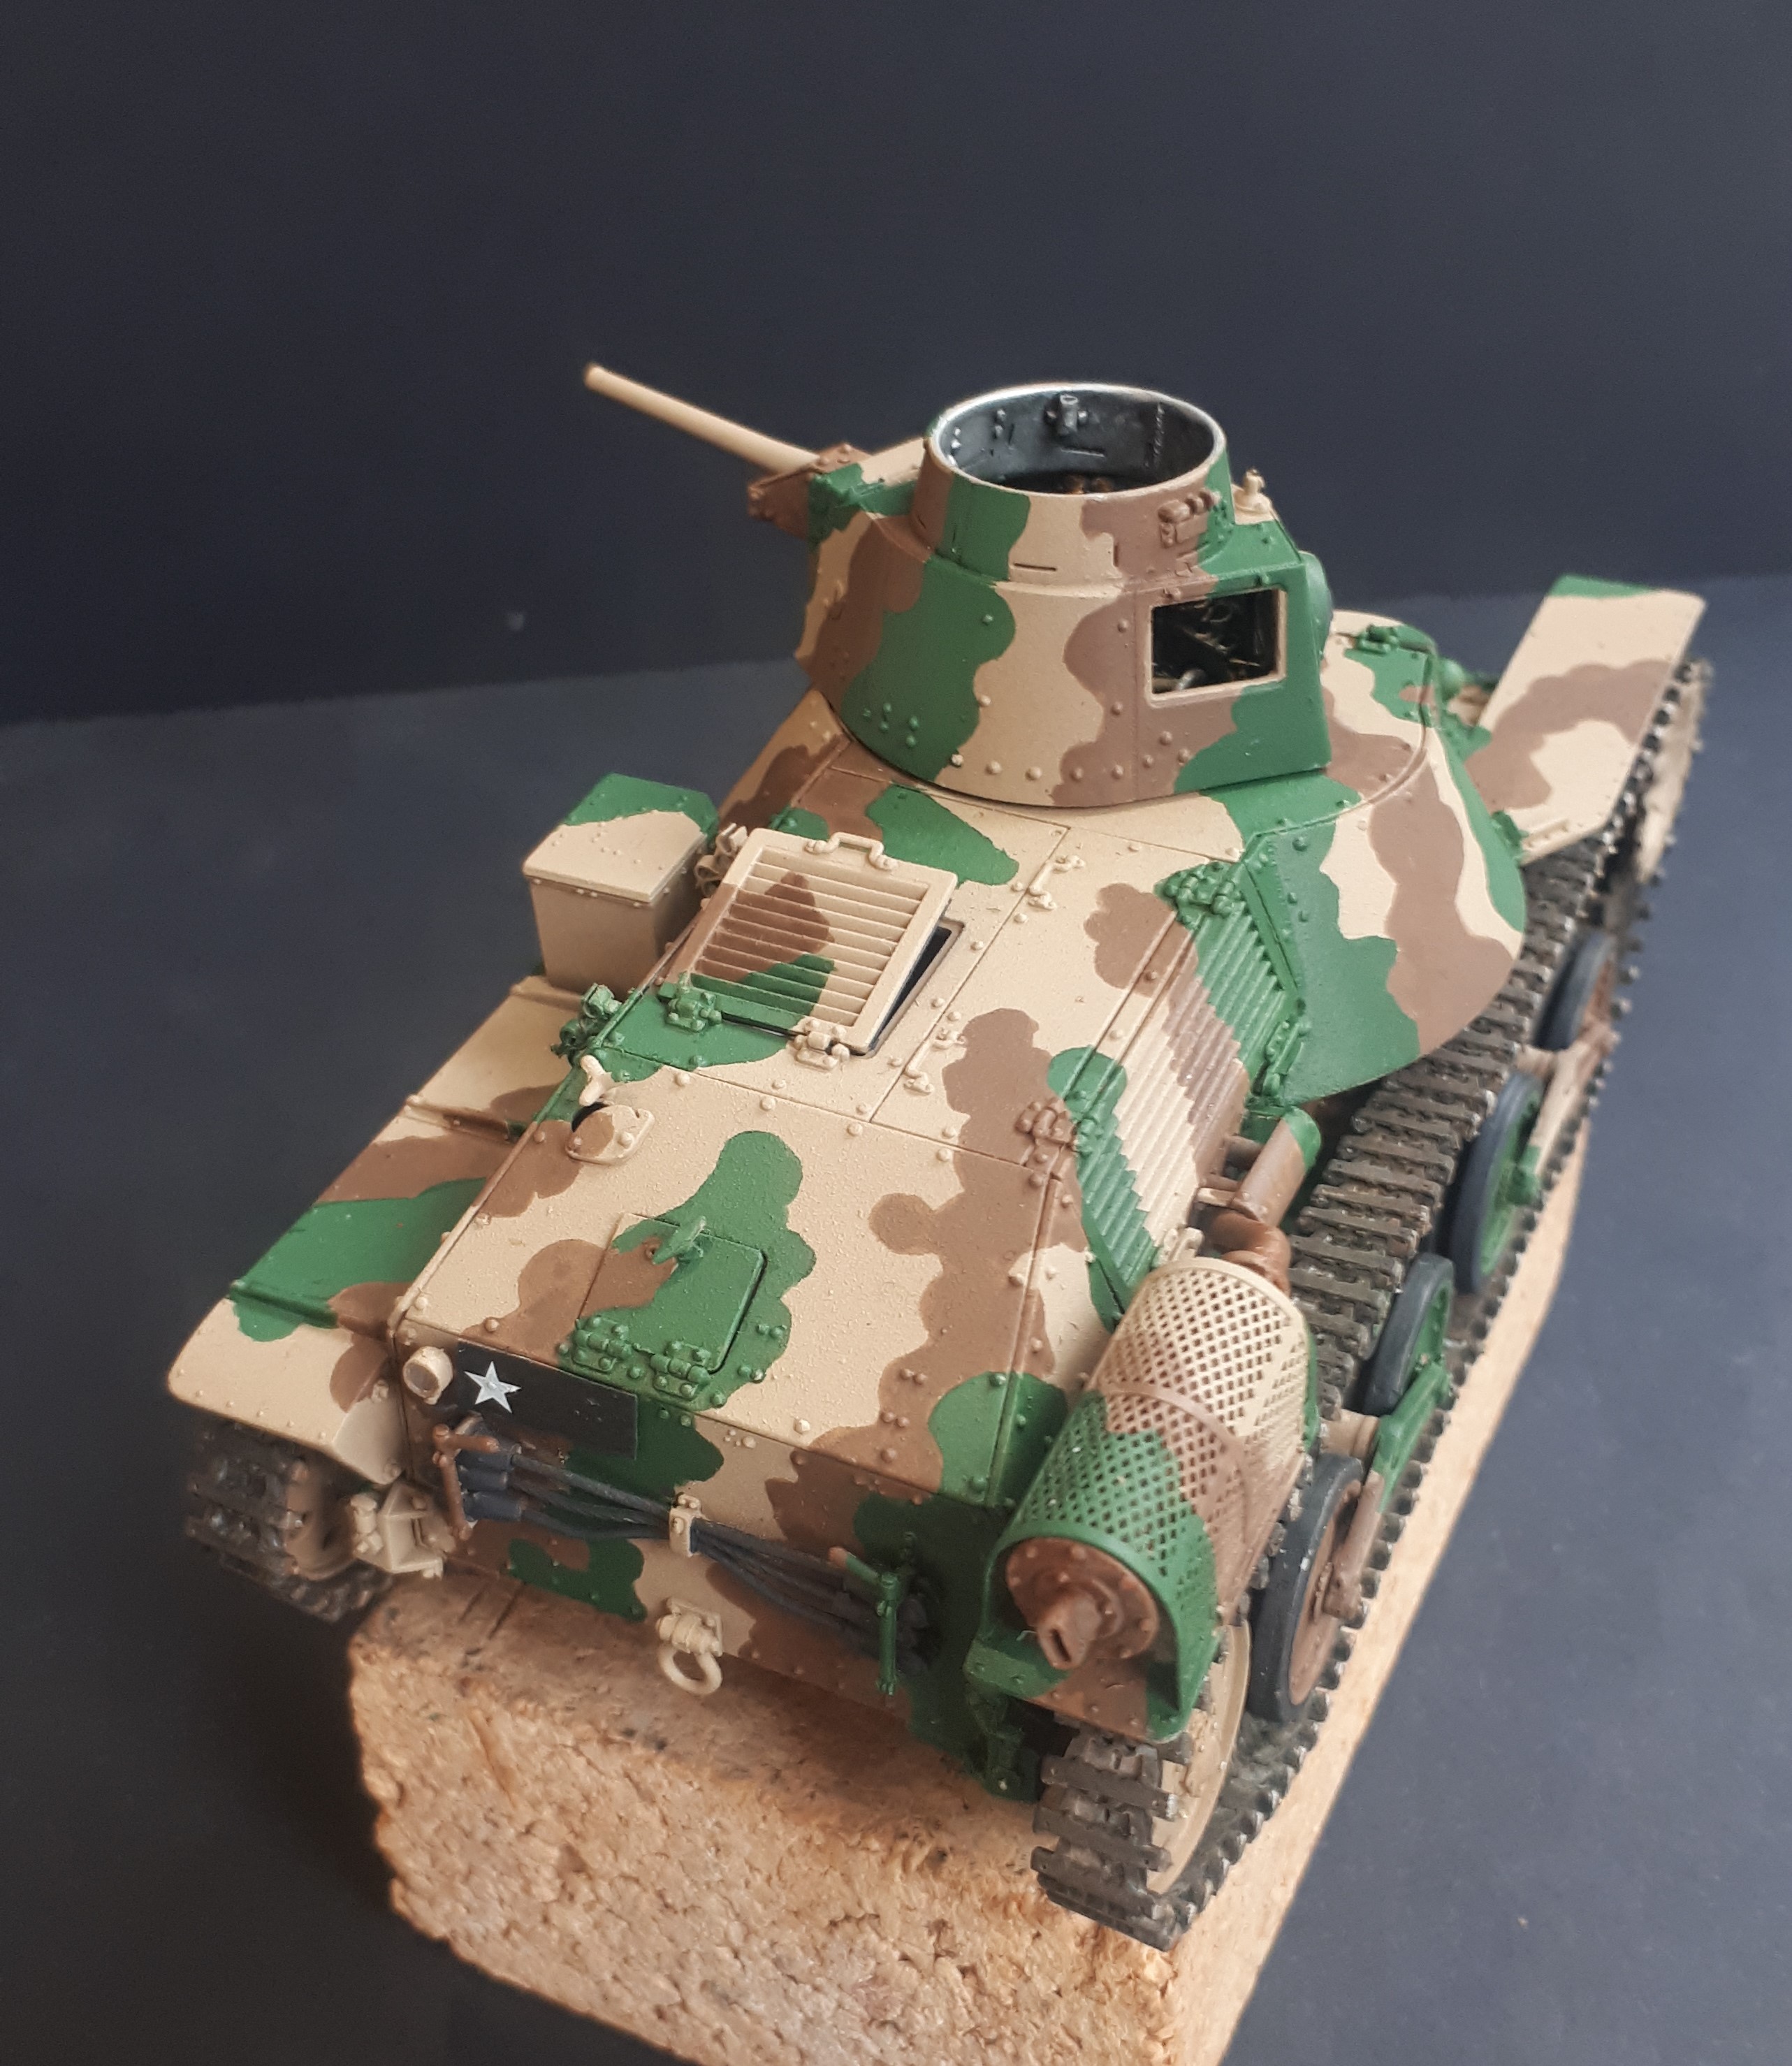
Looking at the exterior you will also notice that the MG ball mounts themselves are painted black (actually a dark grey - black rarely works as a surface shade in this scale). I read somewhere that this was standard practice for Japanese tanks of the era - perhaps because the internal mounts were manufactured elsewhere from the tanks themselves.
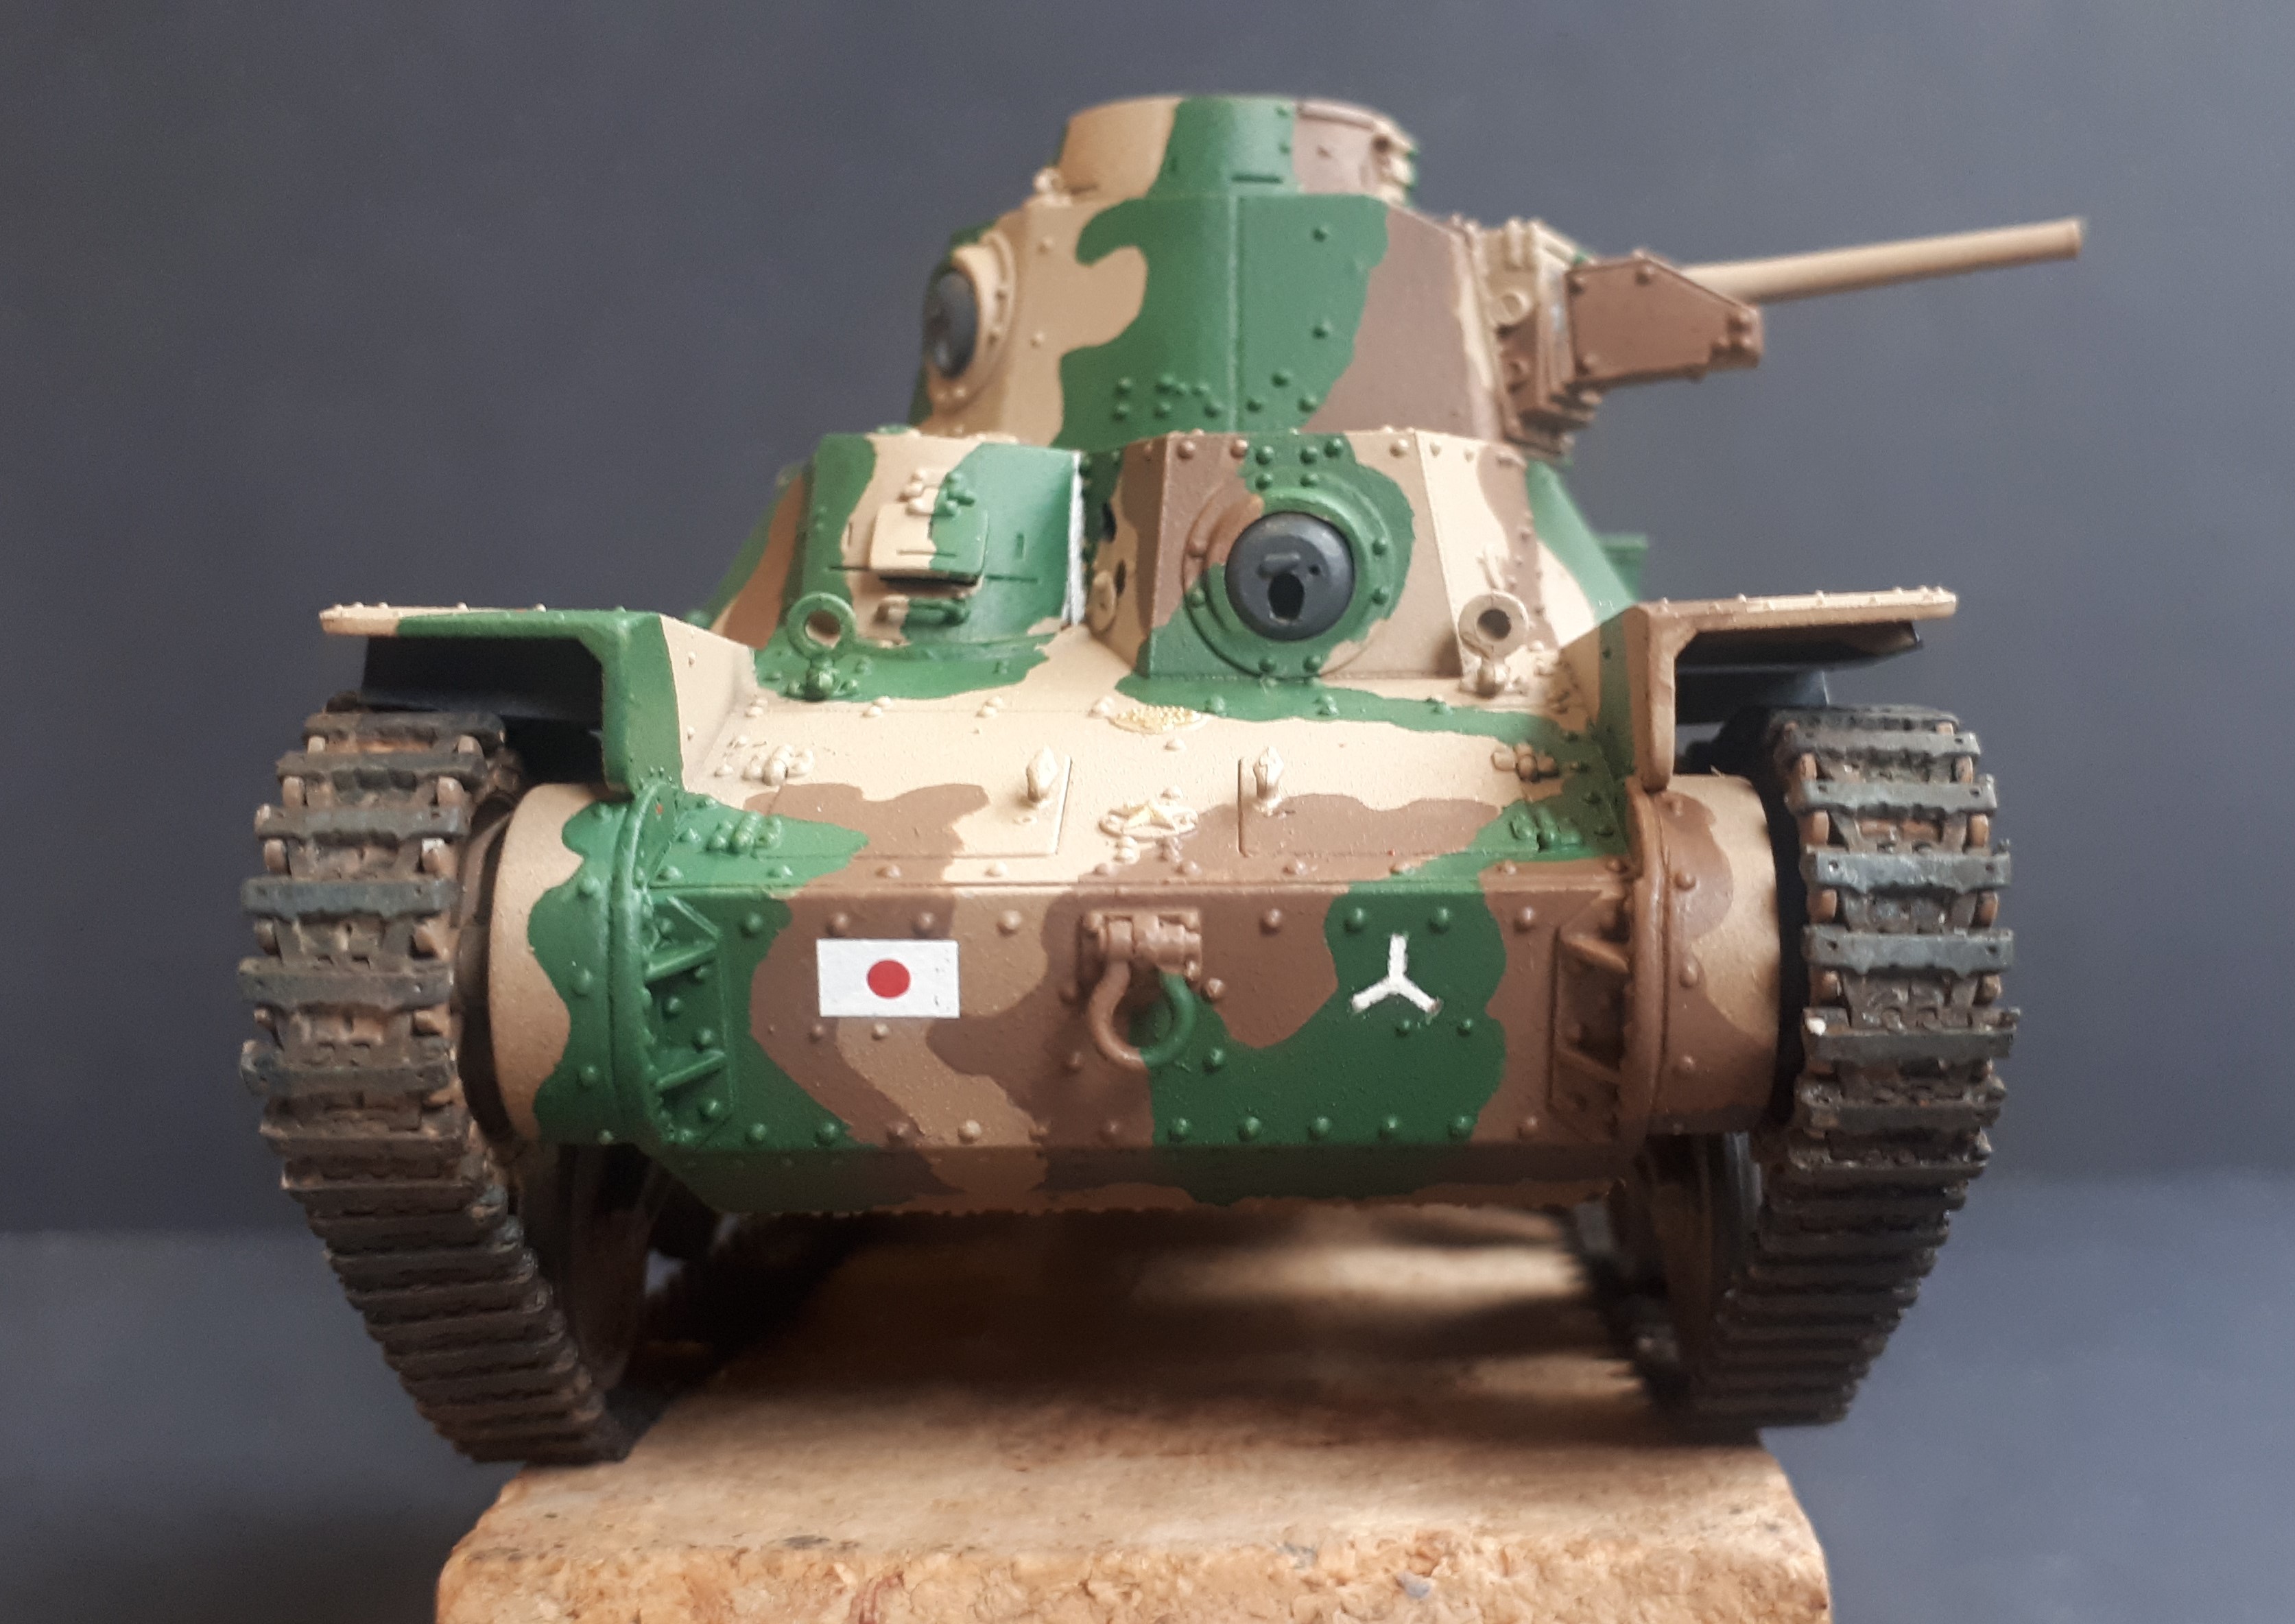
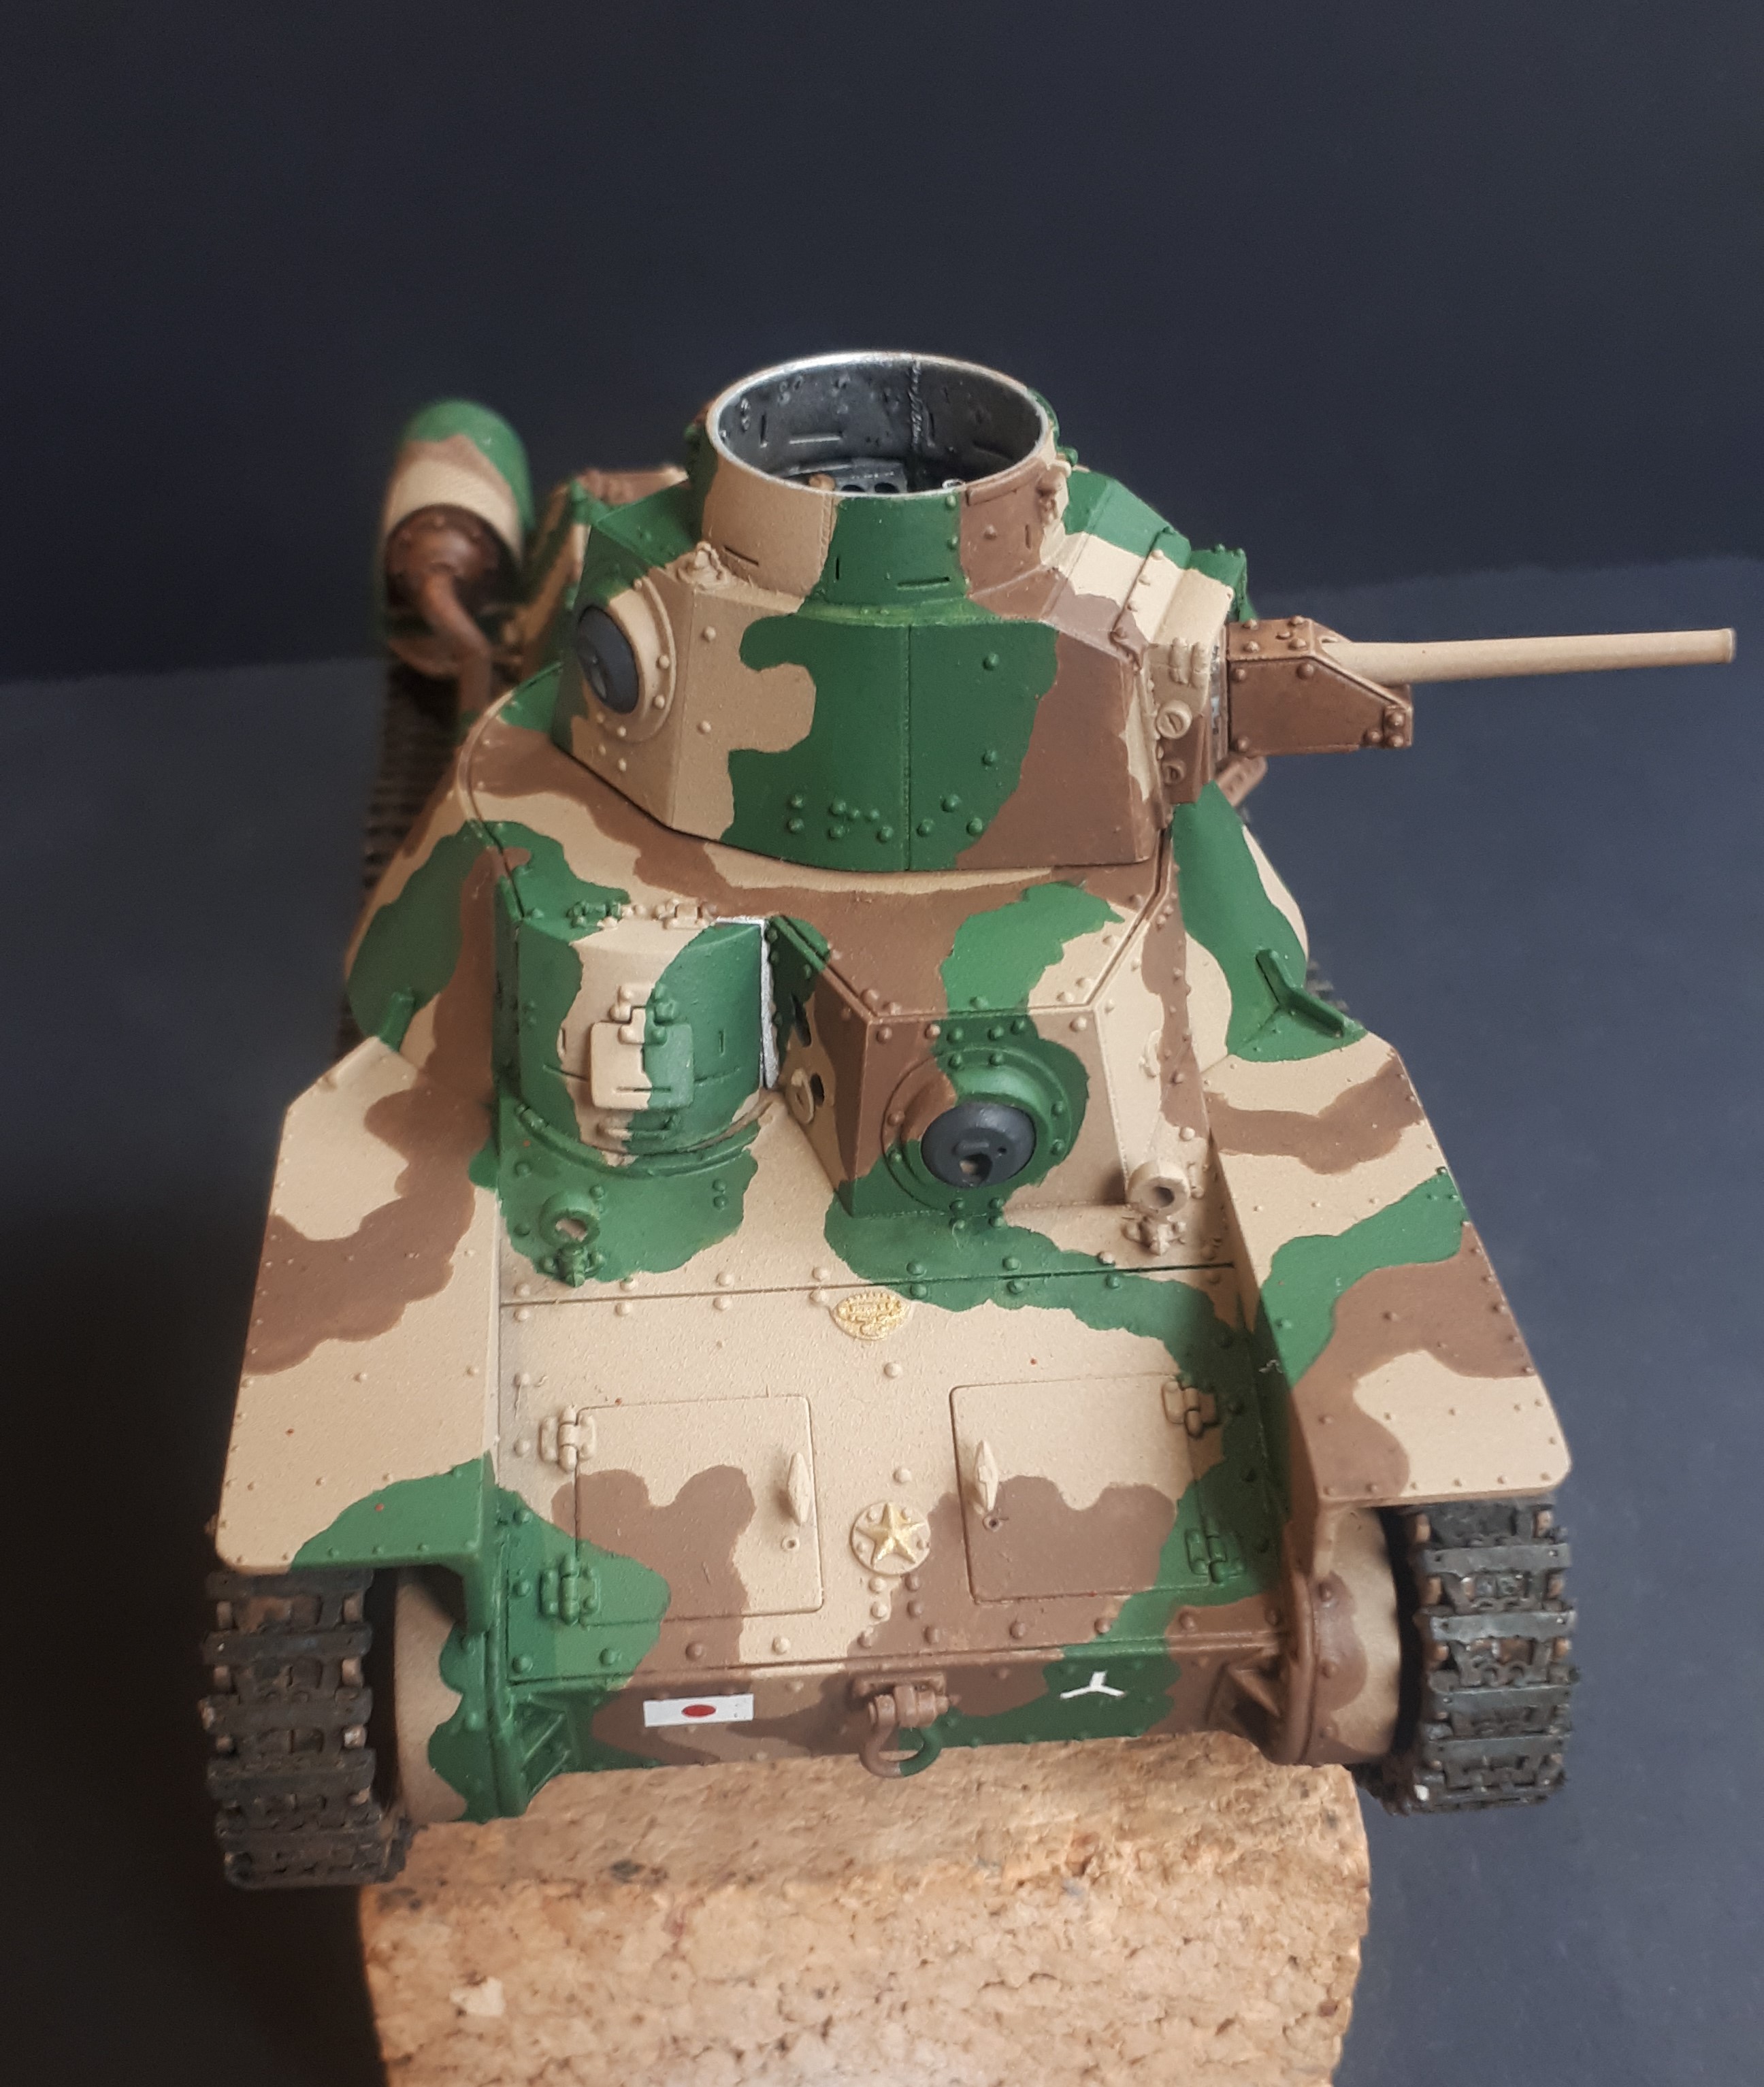
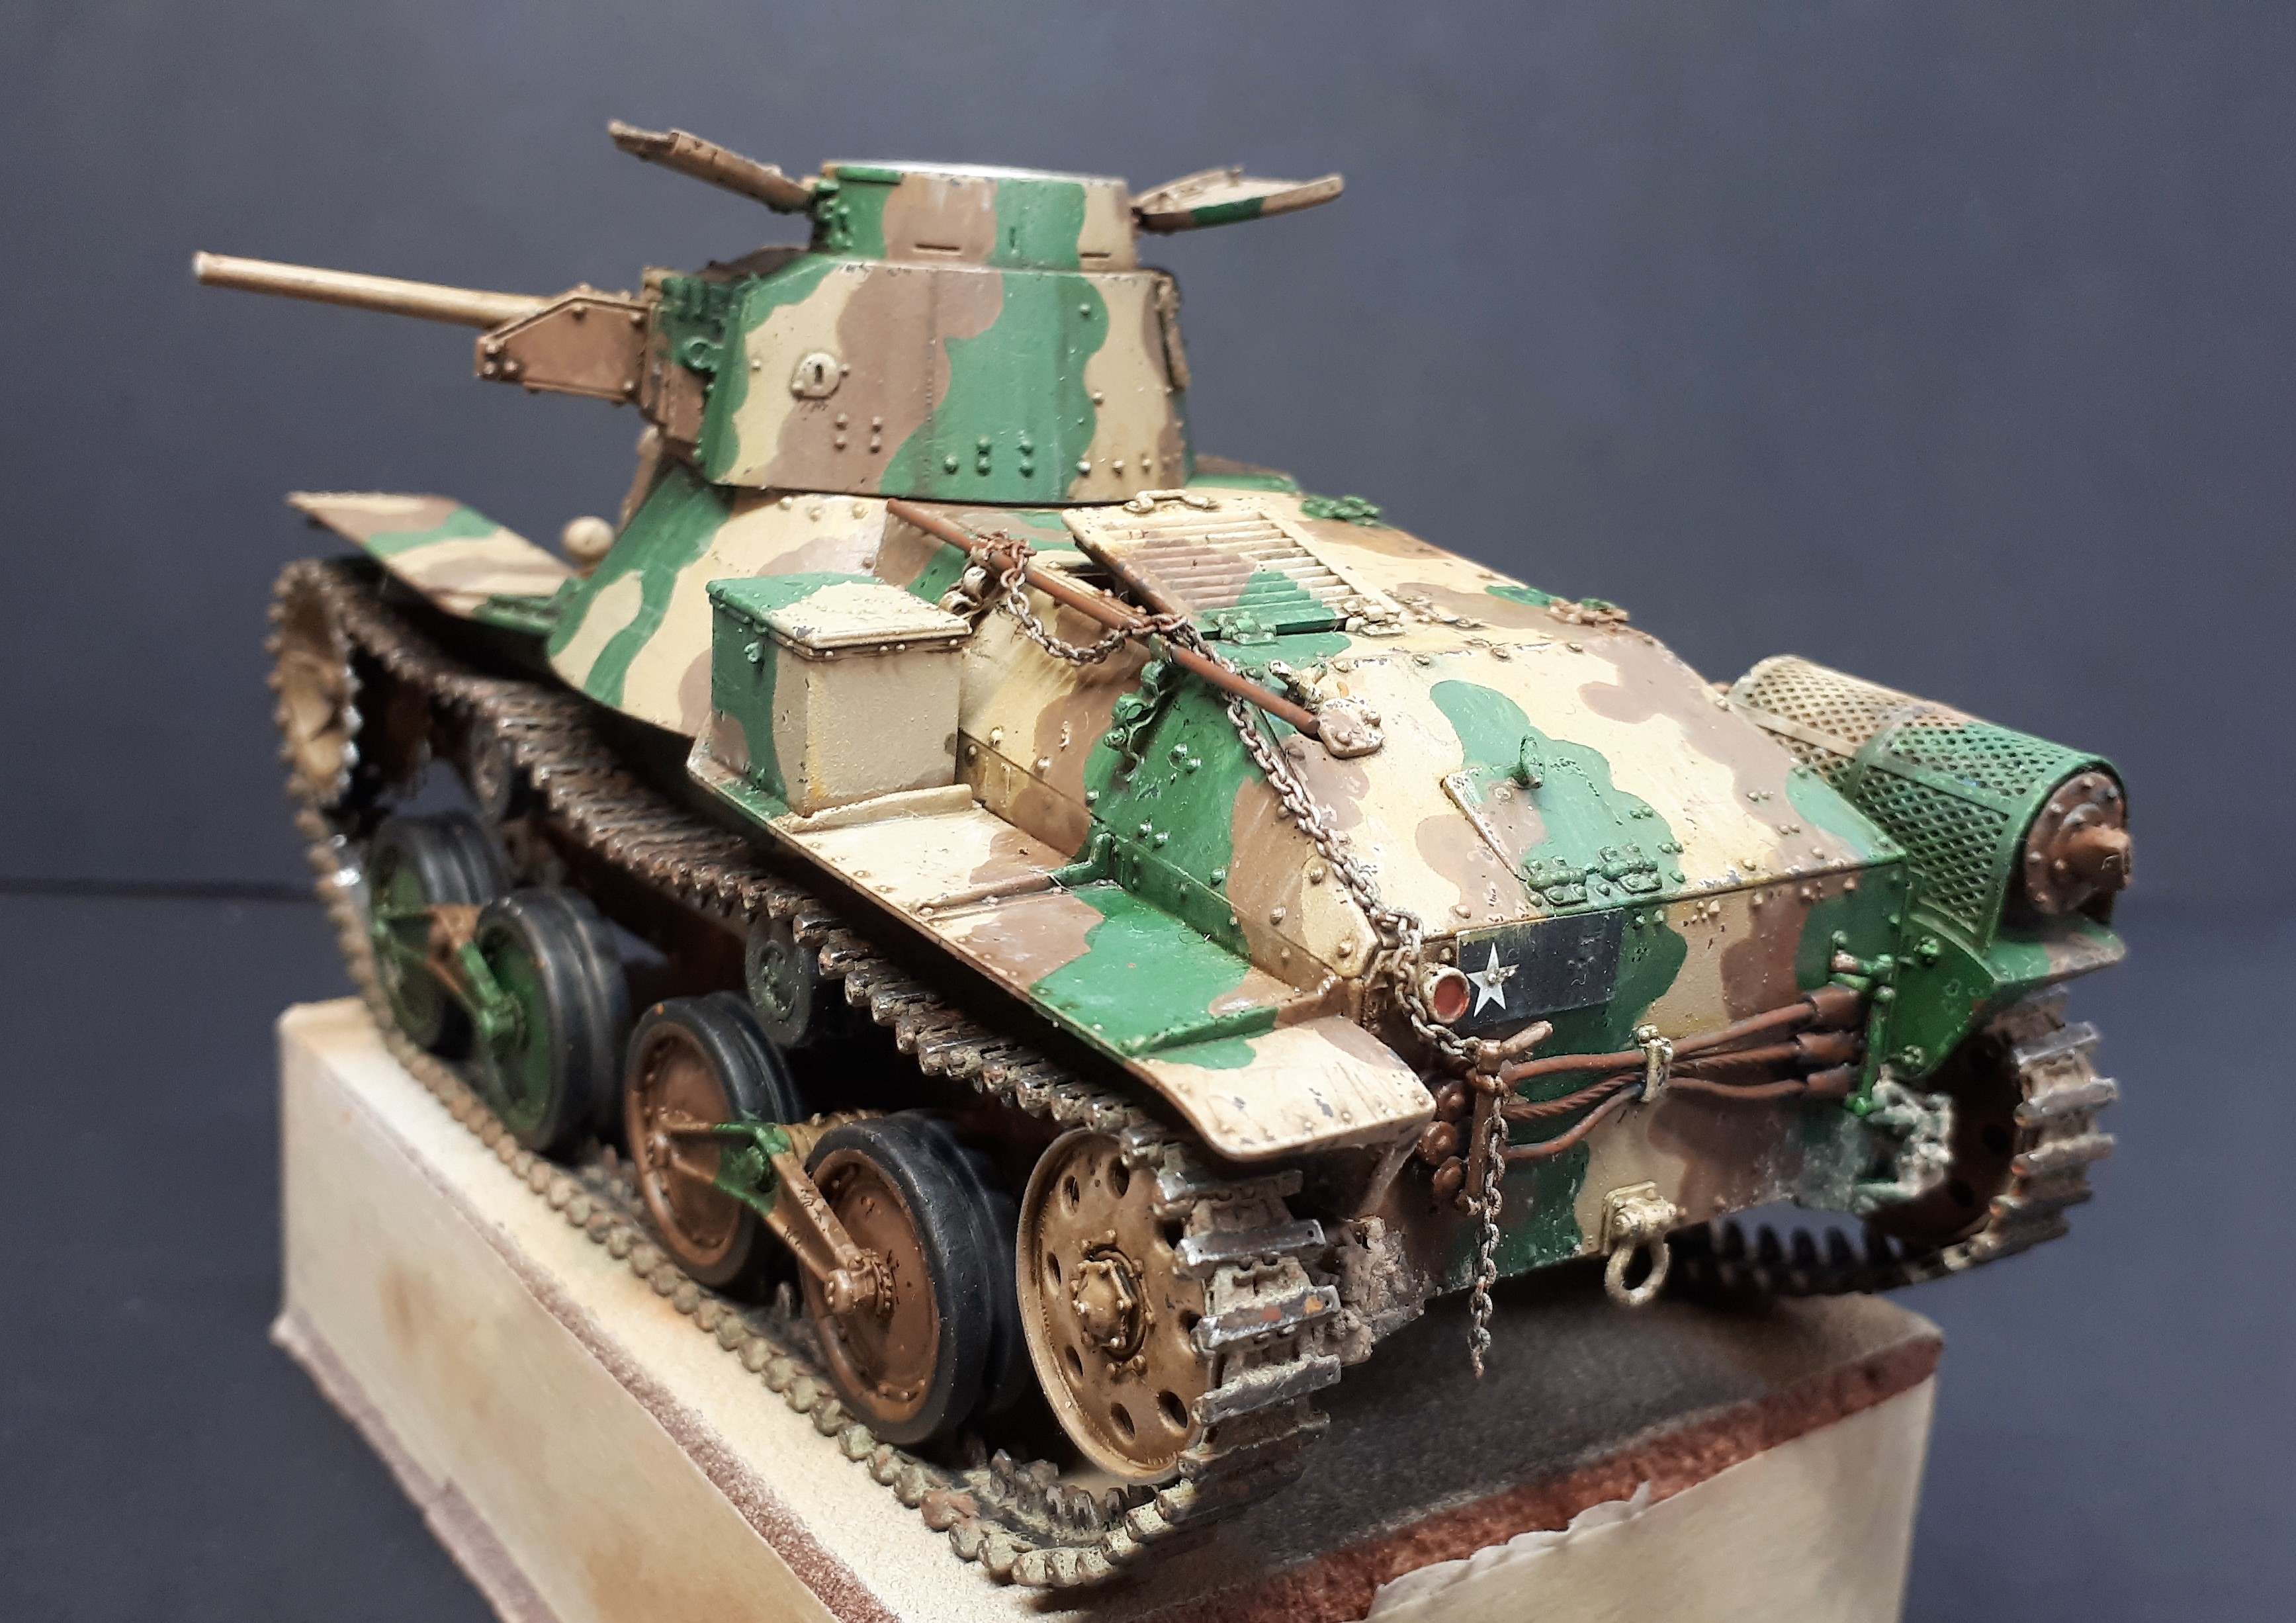
Finally, there are the markings. This is another puzzling aspect of the kits, both of which claim to supply schemes for the Malayan campaign. The Dragon kit (at least the one I have) has neither of the markings needed for this particular tank. The Fine Molds kit does at least have the Imperial Japanese flag emblem. Yet neither have the inverted ‘Y’ which is prominent in the photos from the Bhakri battle. So I had to resort to some old-fashioned brush painting…
The white star on the rear plate actually came from an old 1/76 Allied decal sheet in my spares box. This was because both kits supplied a decal that attempted to reproduce the entire black surface of the plate, complete with the tank number. Instead I simply painted the entire plate black and then added the star. Interestingly, the number itself was written in Arabic numerals… presumably even the Japanese had to accept that, beautiful as their script may be, it is not designed to be read at a distance! So, if anyone has a suggestion for the actual number I should apply to this tank, I will be very interested to hear it…
Beautiful attention to detail! 
—mike
Yeah what Mike said, that’s a magnificent example of model-making Tim, & the Dio police have duly noted the final dusting is postponed with good reason. Wow with a capital ow, superb! The small national flag on the bow-plate raised my curiosity – it was adopted in 1870, although the sun-rays version was adopted 1868-1945 as the “War flag of the Imperial Army”…interesting then that the Japanese tank corp (by inference) considered their tanks as….peacekeepers?? 

Beautifully rendered 95 Tim !!
The 95 turns out great… 
Love the details you pour into it!
Thanks Mike… I try!
Thanks Martin.
Look, I am a complete novice when it comes to Japanese markings of any kind. However, the Japanese ‘red dot’ emblem is there as clear as day on the Bakri Ha-Gos. At least it adds another splash of colour!
Thanks Cheyenne…
Thanks golikell…
Now, as promised I am going to turn my attentions away from the Japanese attackers and on to the defenders.
Believe me, noone is keener than I to get back to the diorama itself. It was during the first months of the first UK lockdown a year ago that I managed to get an awful lot done - those trees, for example - so with the weather starting to improve I can feel that some more sessions at my garden table are not far off. That’s when I will get to grips with all the foliage…
However, the 2 pounder anti-tank gun and its crew are going to be absolutely pivotal. It was, after all, from the famous photograph at the head of this post that I took the inspiration to begin this project. Plus they will be at the forefront of the scene. So I am keen the get everything right…
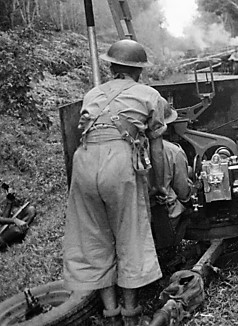
Perhaps the most important figure of all is the commander of the rear gun, Sgt. Charlie Parsons. He was later captured by the Japanese, but thankfully survived his harsh experiences and was later awarded a Distinguished Conduct Medal (DSM) for his part in the action.
Luckily we have some good images of him on the day itself: the well-known shot with the burning Ha-Gos in the background and a more relaxed shot showing him and some of his crew relaxing against the 2-Pounder. If you watch the cine film taken at the time it is possible to see more details.
Here is a close-up of him behind the gun:
And here is the shot of the crew (Parsons is in the middle):
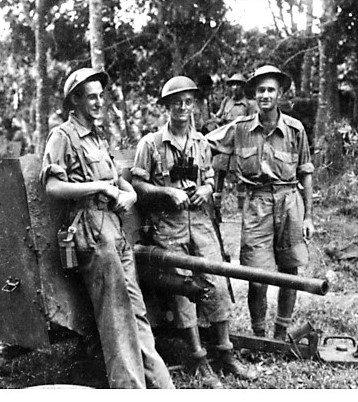
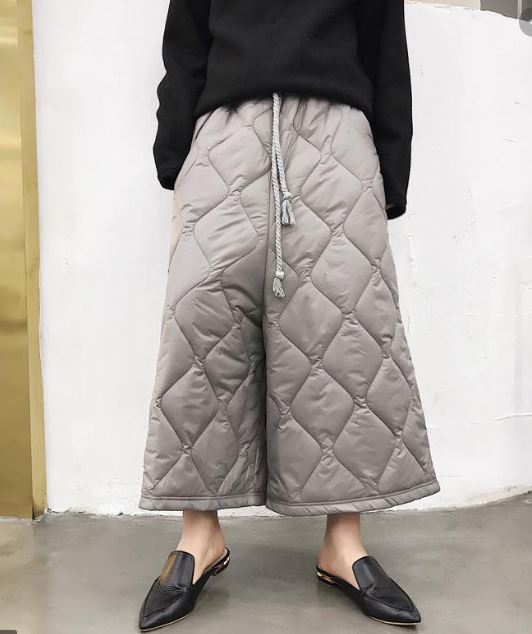
One thing which stood out immediately to me when I first saw these images were… his ‘strides’! Are they short trousers? Or long shorts? The contrast with the other two crewmen is interesting.
Now I am no expert on British WW2 battledress, so I will gladly be enlightened to what exactly these are - but they do seem unusual. I managed to find this image of a New Zealand infantryman in the Western Desert, where the soldier is wearing what seems like an identical pair:
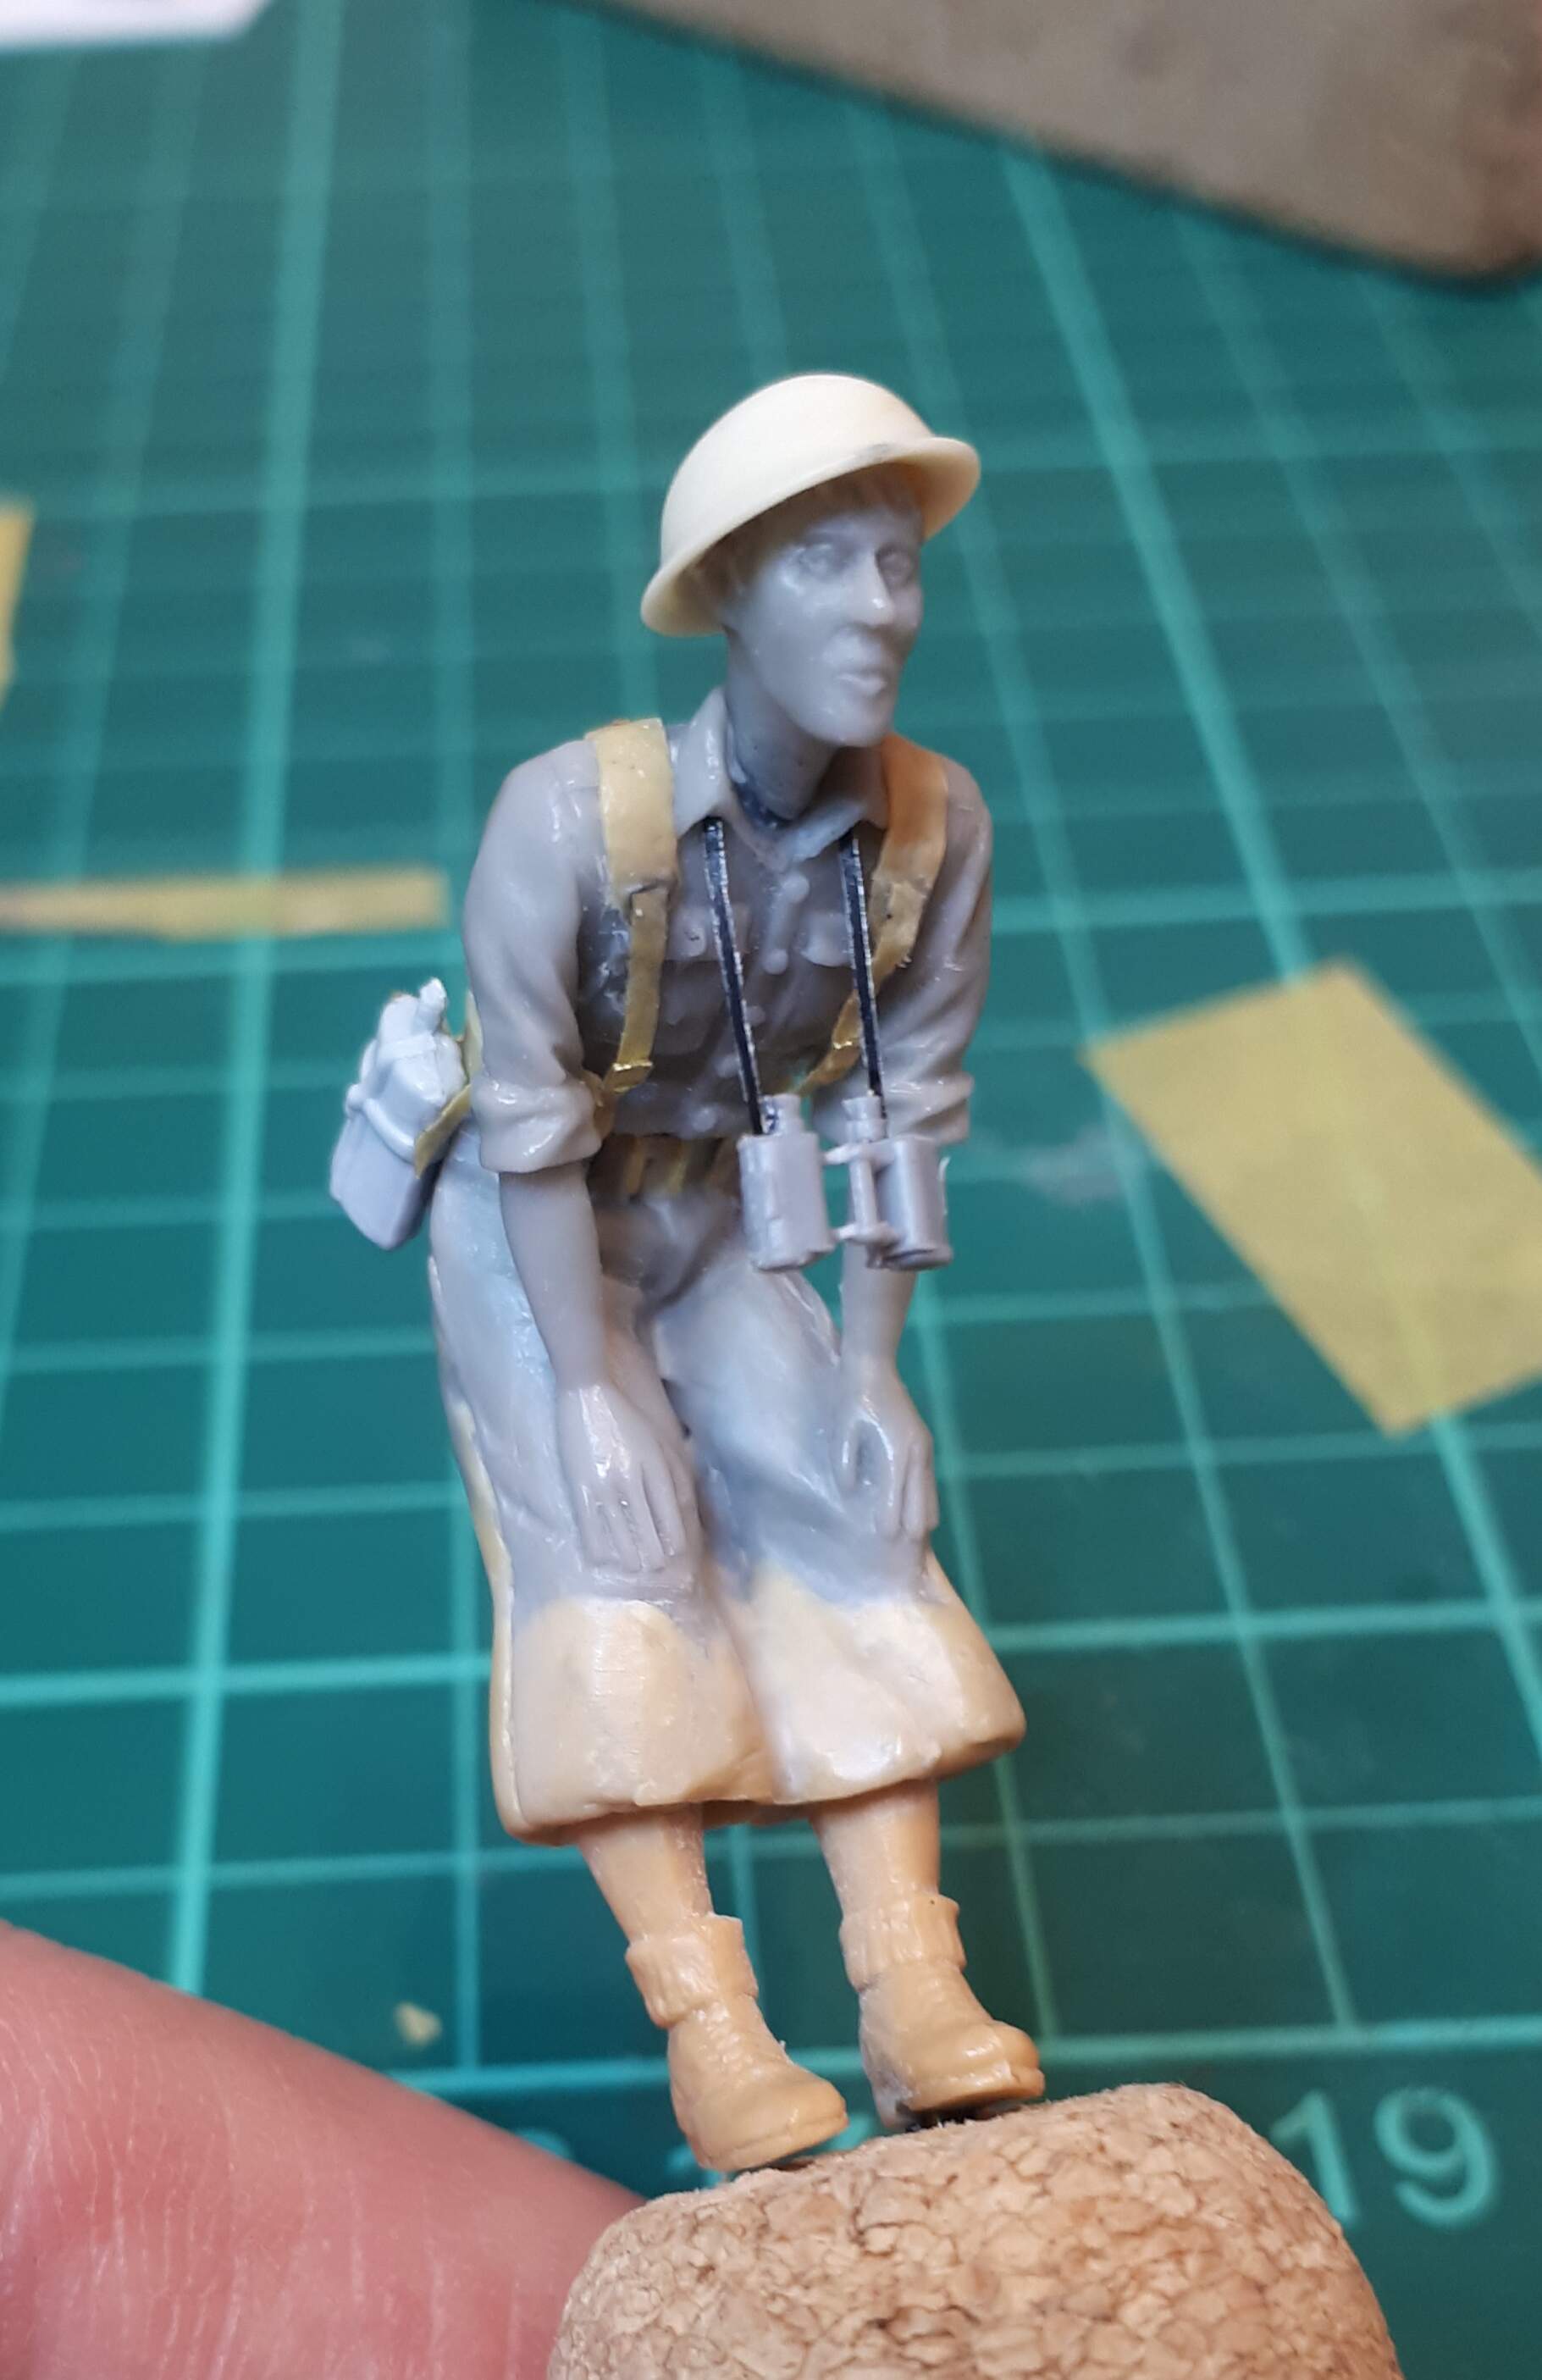
Well, I can tell you that I had a good look for any 1/35 figures that even approximated these sorts of garment and I drew a complete blank! I also needed a figure with that distinctive stooped stance.
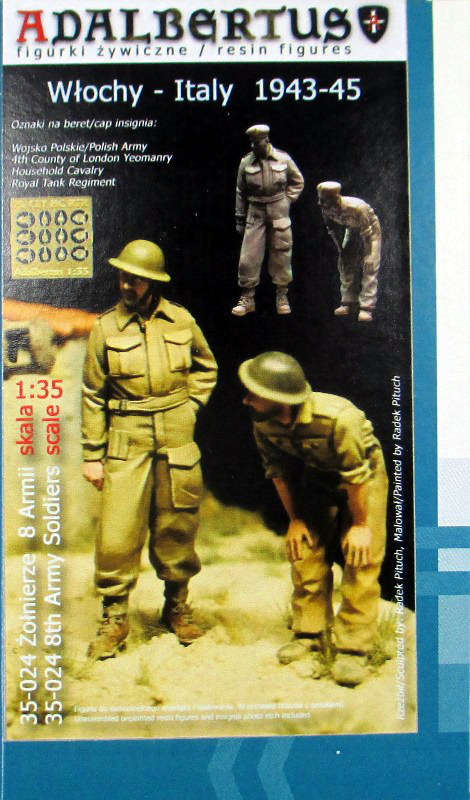
This is where the stash of figures that I had accumulated for my Italian diorama came into play. One set I had bought (but not used) were these beautiful sculptures by the Polish Arma Hobby company - marketed as Adalbertus (they also appear to have been issued by Rado Miniatures):
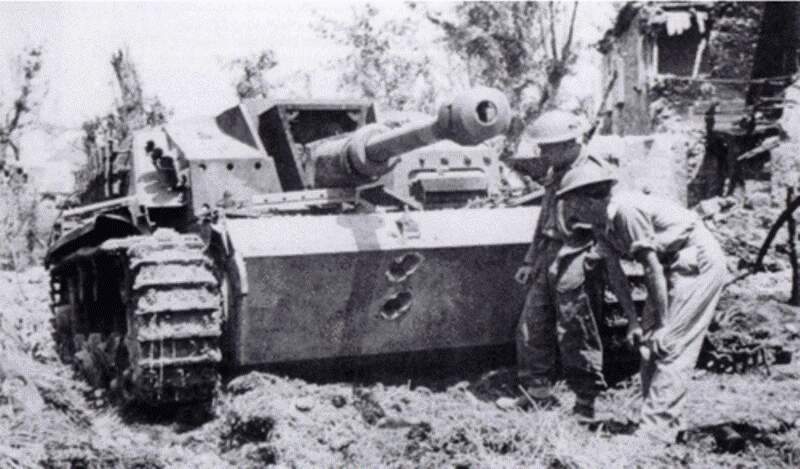
These were scuplted by Radek Pittuch for a superb dio he did a few years ago based on this famous image:
And that was, in turn, inspiration for my Italian project… but I digress!
So, as you can see, it was the possibilities of the guy bending down that interested me. But first I had to tackle those trousers…!
Very nice work on the ‘Sgt. Charlie Parsons’ figure!
—mike
Hey Tim2 from Tim1 – I know you’re replicating the flag perfectly, my comment was querying the Japanese tank corps usage of a peacetime emblem. Parson’s leg-wear is indeed priceless & a rare opportunity to sashay the winter campaign version inexplicably rejected by the War dept…
Good to see you back