Looking great. The etch is the only thing that puts me off this kit. It’s awkward stuff to work with. I understand that the prop shroud needs to be rolled into a ring? 90° angles are no problem, but curves I always manage to mess up!
2 Likes
I decided to paint the hinamarus on my jill. i got a circle cutter and had no problem cutting the red under wing insignias but i it has been a PIA trying to do the wing and fuselage with the white boarders. I made an initial circle and sprayed the white first but it is nearly impossible to line up evenly the mask for the red. i used clear frisket for the masking because i can see through it. tape i think would be impossible. i even tried cutting the mask in half thinking if i line up one half the other half would line up automatically, didn’t work. Is there a trick any of you have to get everything lined up?
Joe
3 Likes
Just a guess, but multiple layers of frisket with a cardboard spacer and one middle pinhole to make it concentric? I see taking the layers apart before peel with the central hole used to position everything. Clearly the outer diameters must to be controlled with that little center hole. What do you think? I wish I had a proper hole cutter for the 2" to 6" circles.
2 Likes
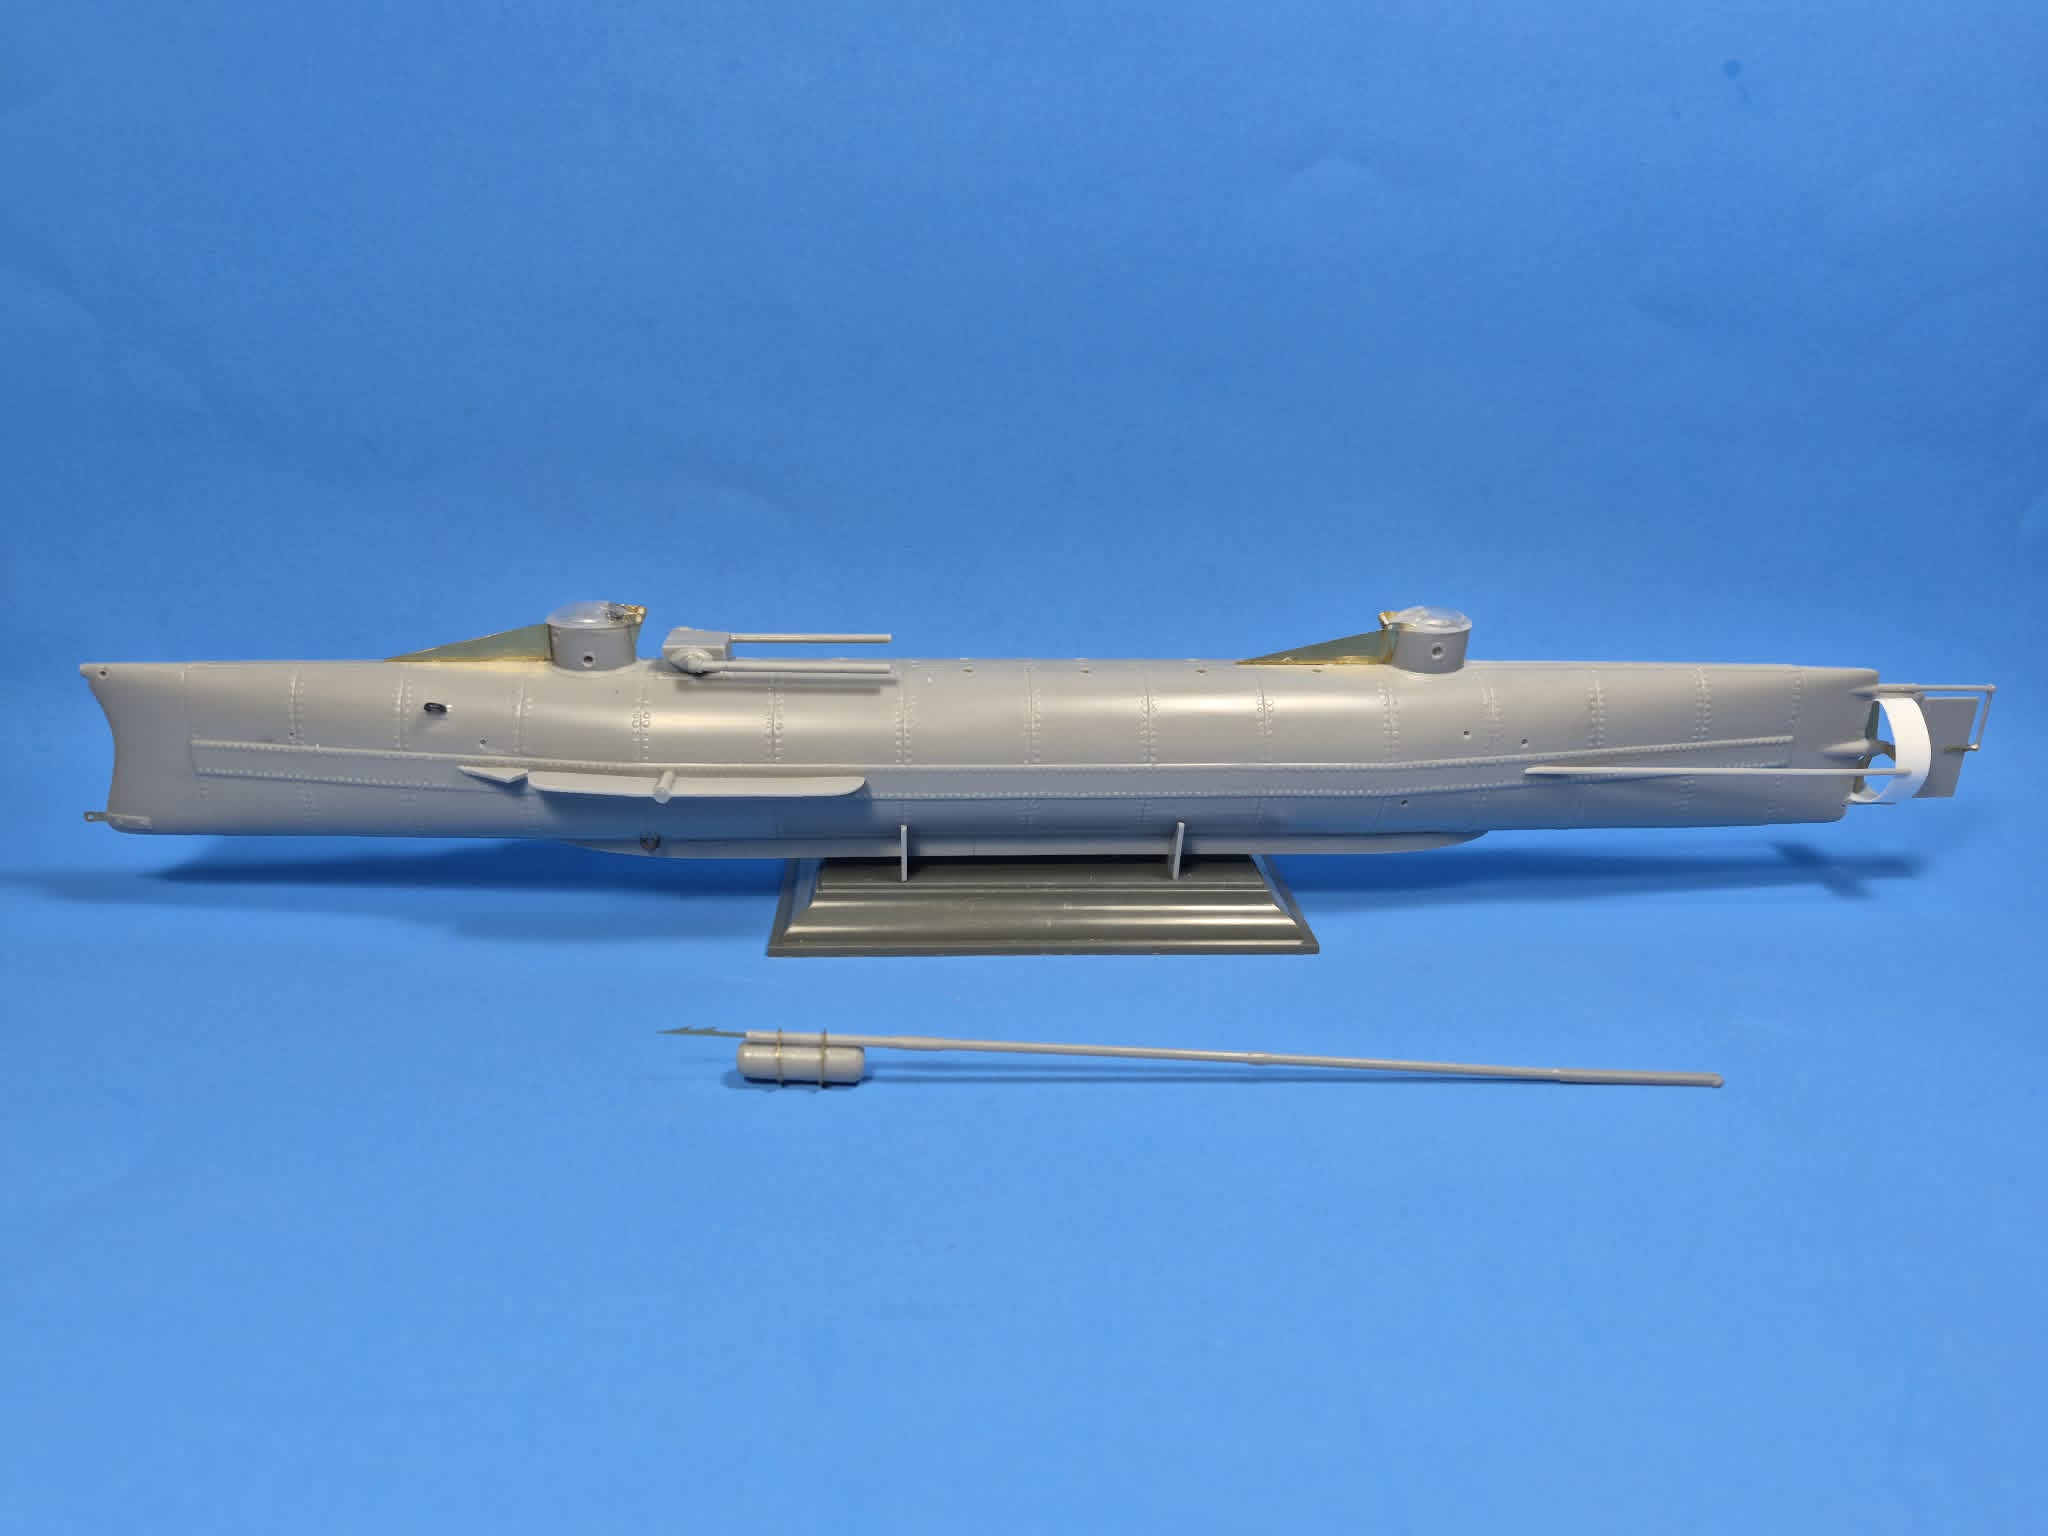
I finished up the construction of my Hunley. I am leaving the spar with the torpedo/bomb off until I am ready to display it. I can foresee issues if I attach it before cleaning and painting. I got frustrated with the photo-etch brass pieces that make up the propeller shroud, so I made one out of some plastic card stock. I am going to set this aside for a few days to give the glue a chance to dry before I wash it and give it a base coat.
8 Likes
Thank you Stephen, I appreciate it. Yes, I definitely do not like photo-etched brass. To me it is definitely a pain to work with. The propeller shroud comes in two pieces and you have to get them to match up when you curl them and then the two pieces have to sit on the same supports for the rudder and it is very thin. So I said the heck with that and made my own. I cut one piece of plastic to the same dimensions and ran it back and forth on sandpaper to get the thickness right and then glued it in place. A lot easier in my opinion. 
So if anyone else builds this model and find themselves in need of an extra set of the brass shroud pieces…I know where you can get them. 
Thanks,
Randy
2 Likes
looks great randy. what color are you painting it?
Joe
1 Like
A good solution to the problem, worked really well. I imagine it also holds better to the plastic supports. Etch can sometimes be stubborn when attaching to plastic. I recently got some water based acrylic adhesive for clear and etch parts. Strong stuff when it’s dry, but it takes a while to set.
I had thought of using a piece of plastic tube, but it’s finding one of the right diameter and thickness. Your solution works much better.
What’s the general consensus on the colour? I’d guess they used black or dark grey? Not sure if any of the original paint survived on the wreck for analysis.
1 Like
Thank you Joe, I appreciate it.
I am thinking of giving this color a try to see how it looks.
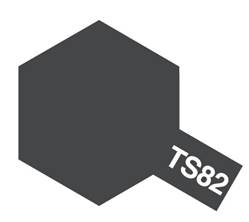
TS-82 RUBBER BLACK
3 Likes
When I decided to use plastic instead of the brass, I thought about buying a cheap toilet paper spool and cutting a piece to size and sanding it to size. Might have been more trouble that it was worth though.
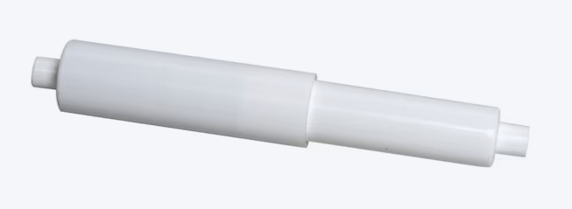
Going to see how this looks.
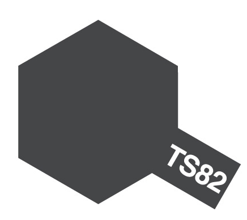
TS-82 RUBBER BLACK
I figure it won’t be too black and maybe help it look a bit faded. Then I am thinking of dry brushing some rust color over the rivets and things to weather it some.
Thanks,
Randy
3 Likes
That should look good. A black wash and rust will bring out the details and give it a good used look.
The loo roll holder probably would’ve been more trouble. Quite thick plastic and I’m not sure how well it would stick to styrene. They feel like ABS plastic.
3 Likes
Right. They should change the acronym to PITA Plastic! 
—mike 
4 Likes
Control surfaces and prop shafts are on. Only parts remaining are a mast and the propellers, but I will leave those off till after painting.
6 Likes
That color looks like a good match for the reproduction one I saw at an event I was at a few years back. Wayne
2 Likes
Thank you for letting me know that Wayne. I appreciate it a lot.  I plan on letting it sit for a couple more days and then give it a base coat this weekend.
Thanks again,
Randy
1 Like
Well, unplanned setback today with the Hunley. I decided to do a little more clean up work on the upper seam and ended up knocking one of the snorkel tubes loose. So I reglued it. Later, I picked it up to make sure the tube was sitting straight and dropped the submarine and broke off the rudder, which went into two pieces, and knocked both of the propeller shroud supports loose. 
So…a little cleanup…a little gluing…a fair amount of cussing…and it is all back together…with a bit of battle damage!! 
Another little life lesson…when everything looks good…leave it alone!!! 
6 Likes
that is an interesting sub lain. almost looks futuristic, what navy did she serve?
is this a 3d printed kit?
Joe
1 Like
lol, that is a lesson i keep learning over and over again!!!
Joe
2 Likes
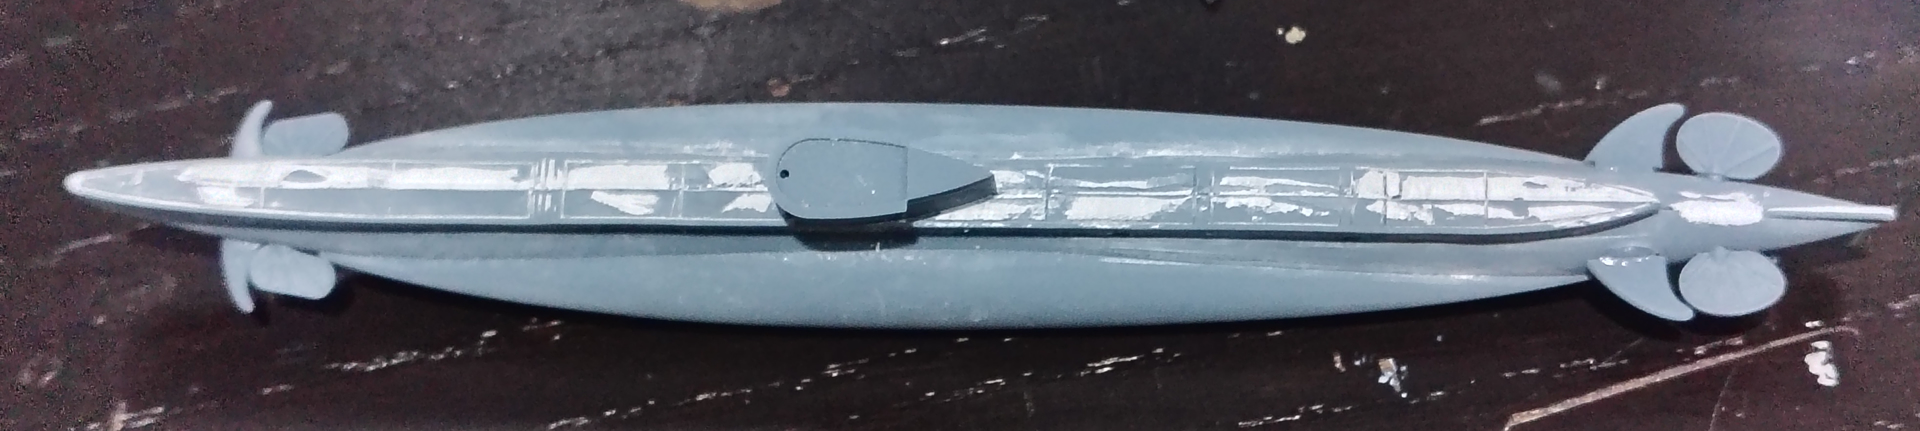
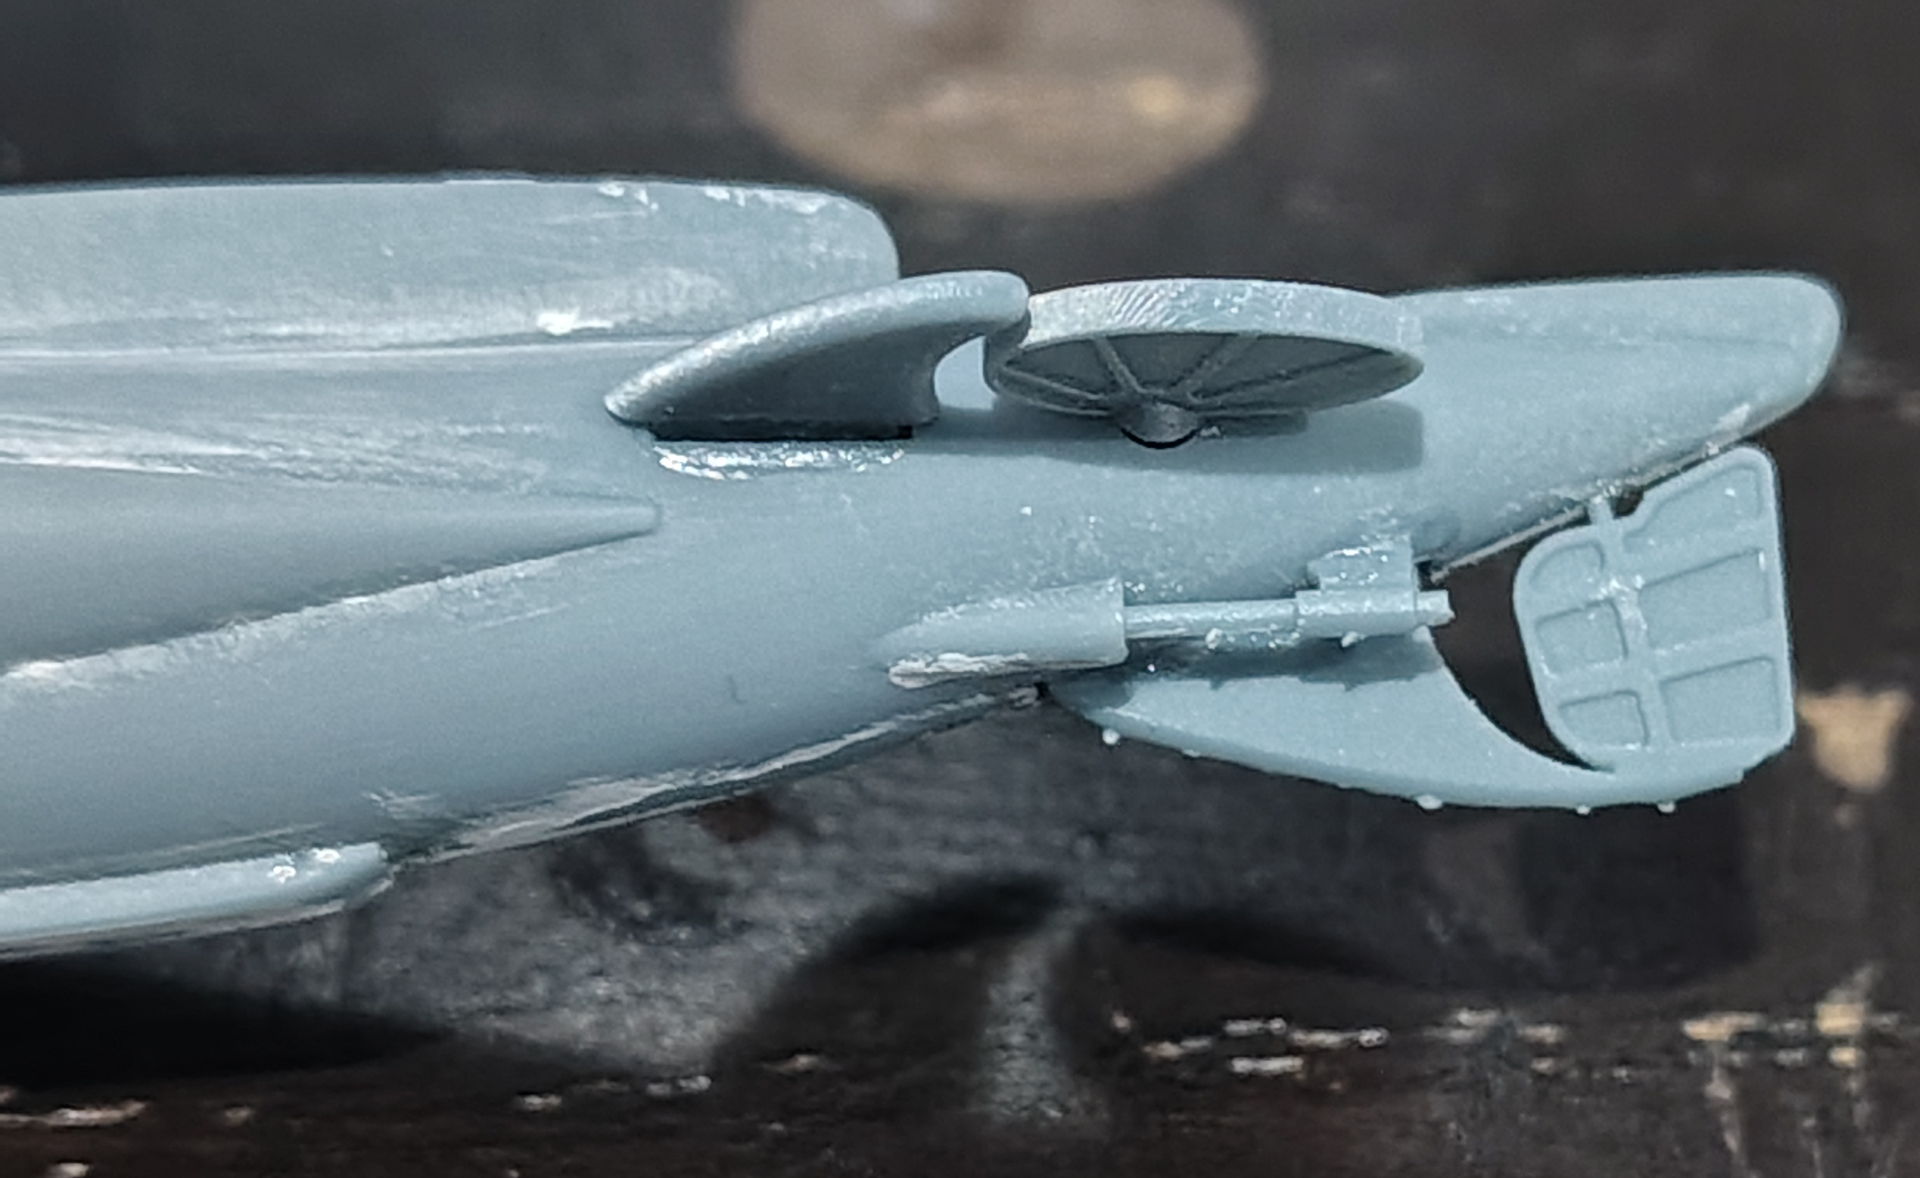
1/350 HMAS AE1 or AE2. Royal Australian Navy circa WW1. AE2 snuck into Turkish territory before being sunk.
AE1 sank around PNG probably due to an accident.
Its a 3D printed kit from Hobartville Hobbies.
1 Like
Added the mounting pins, m2 screws with the heads cut off.
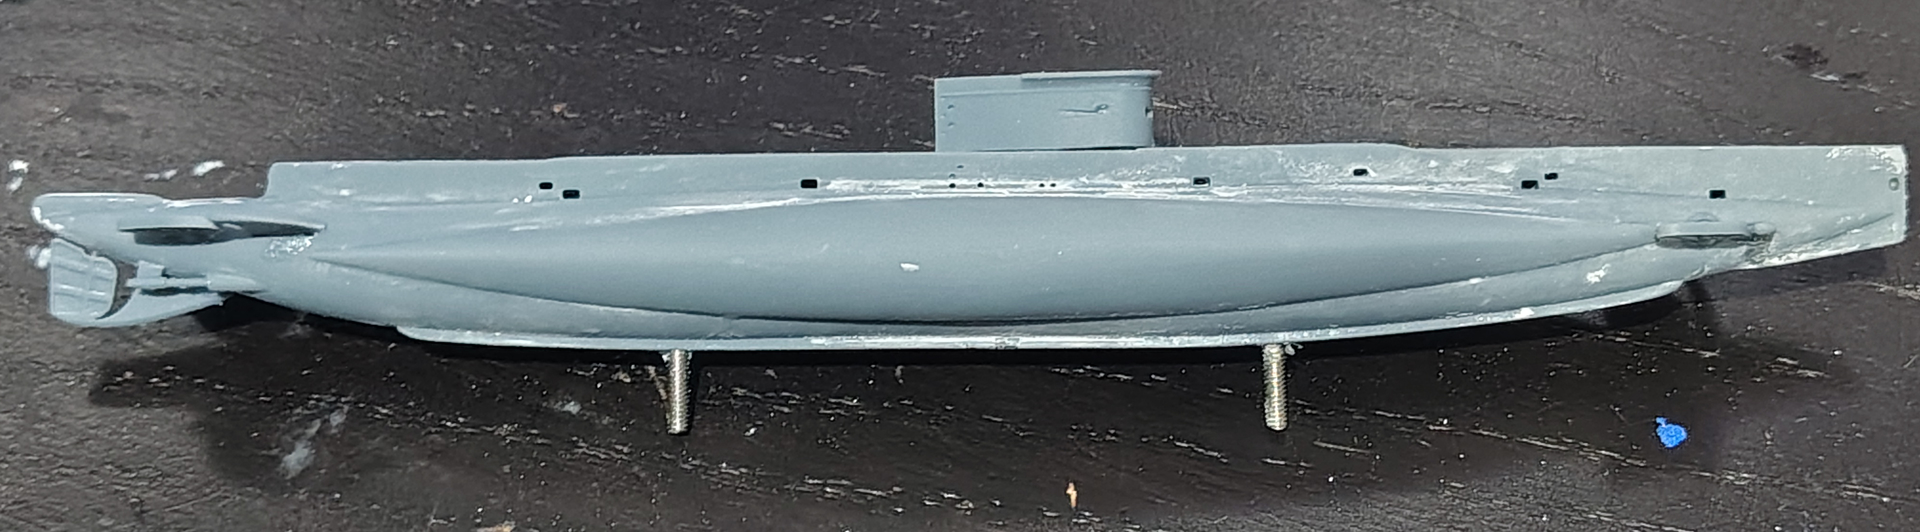
Once it is painted I’ll mount it on a jarrah and eucalypt board with some brass stand offs to match the o-boat and Collins.
Here it is next to the o-boat showing size difference and the mounting though the o-boat and collins got m3 stand offs.
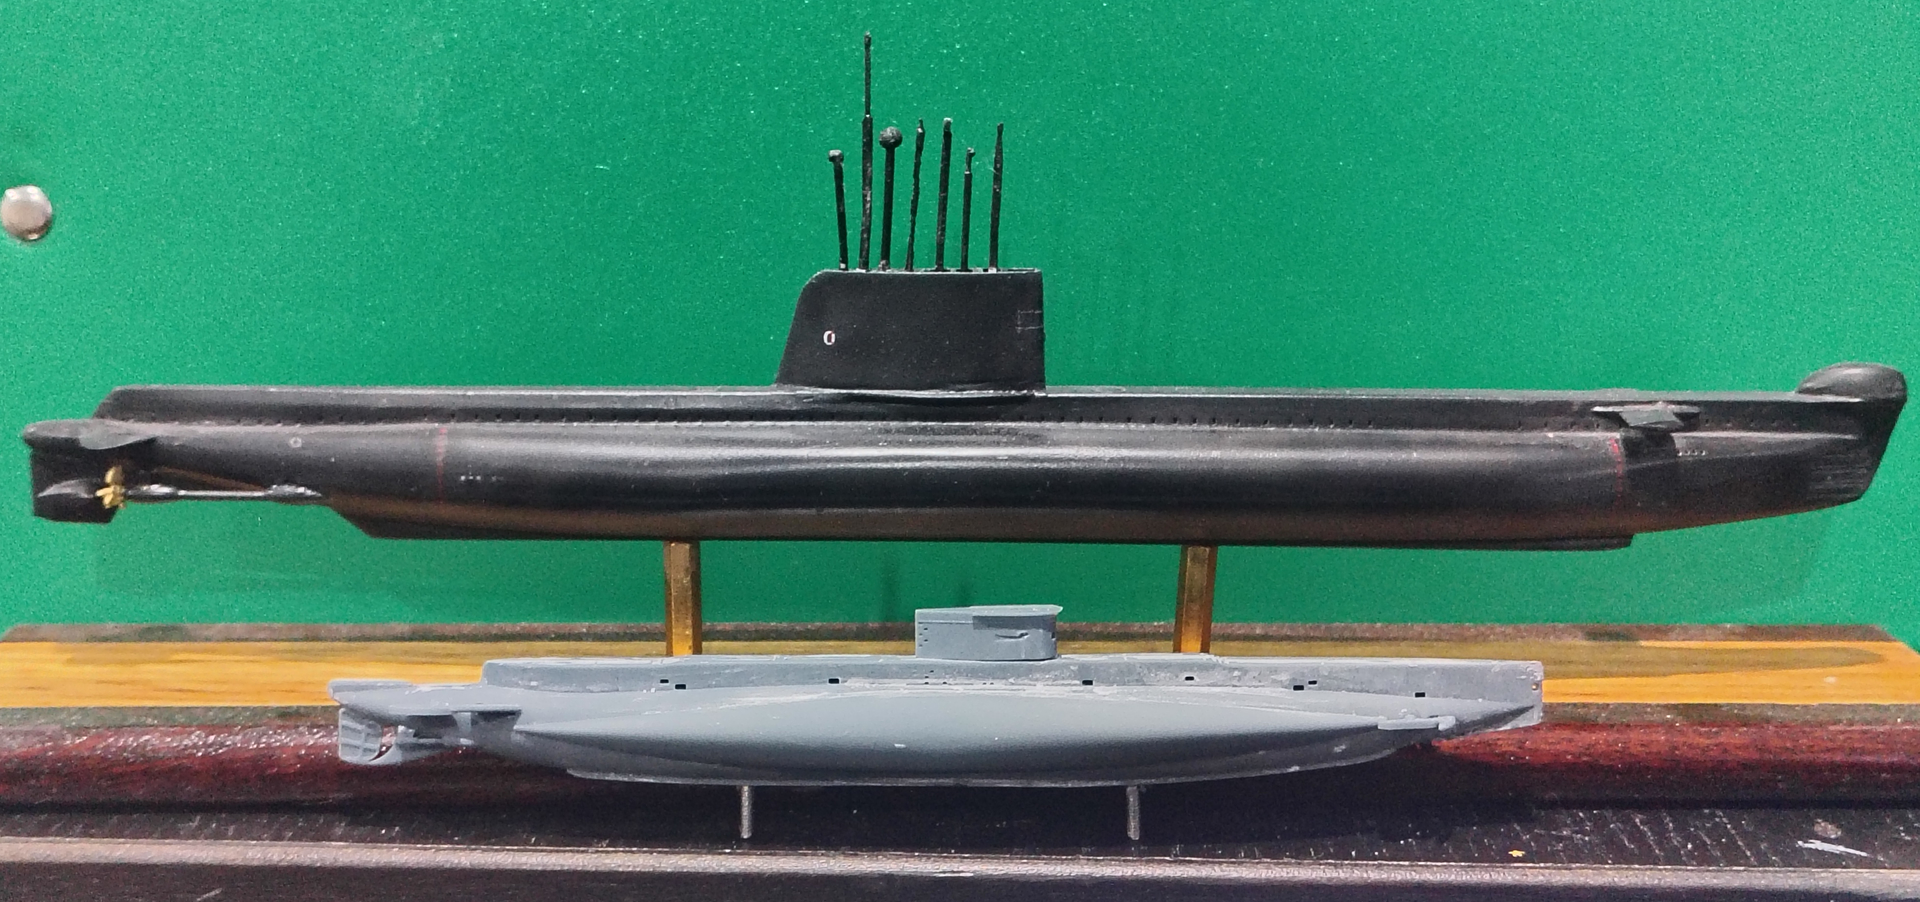
6 Likes