It even sinks every time it is used!
4 Likes
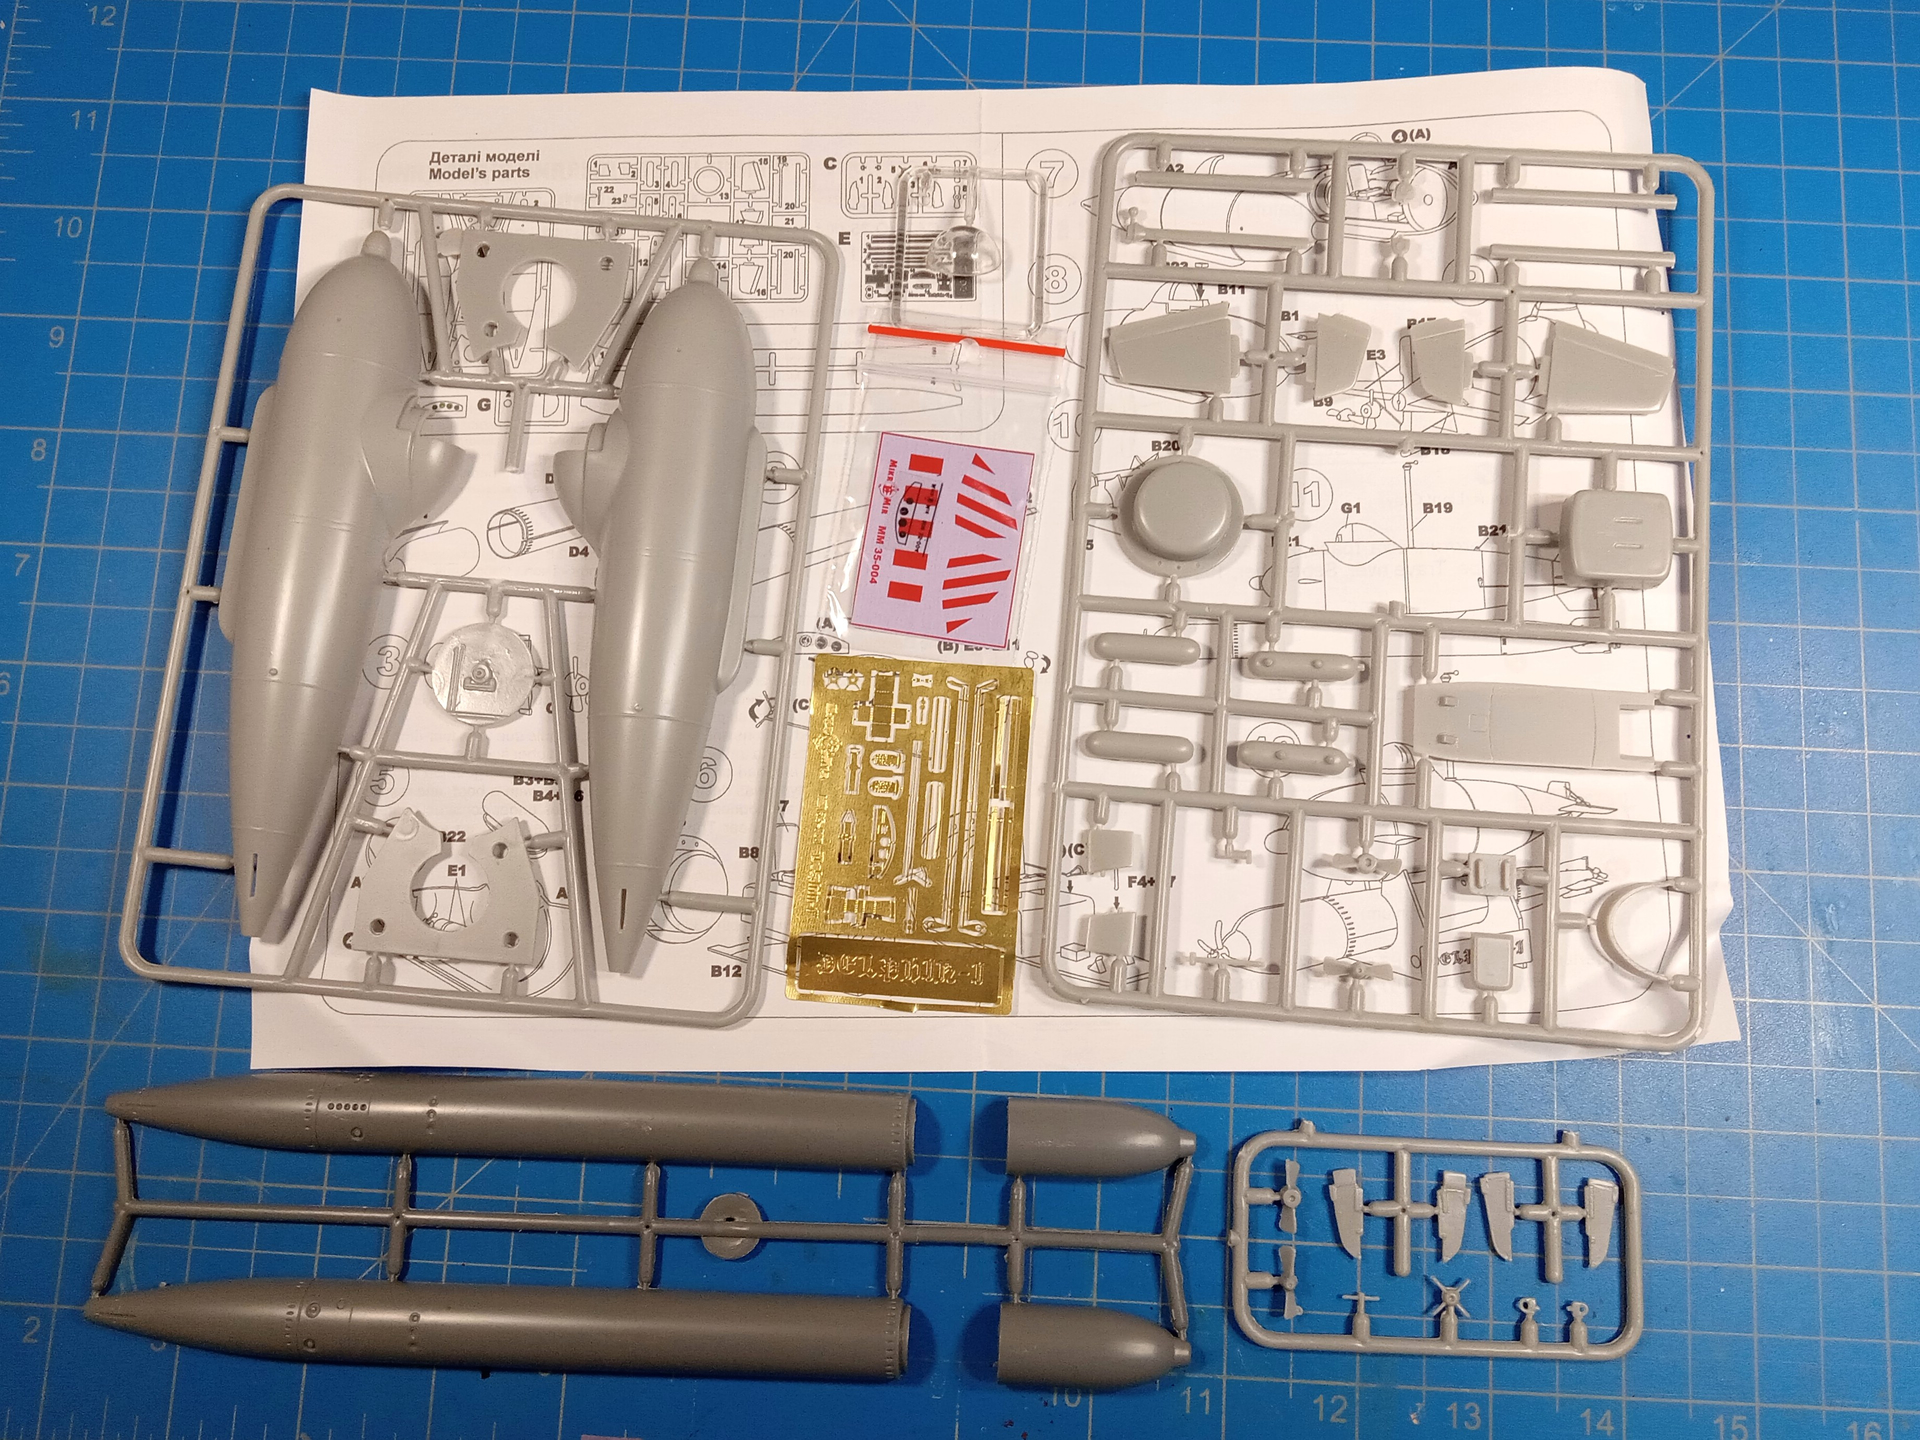
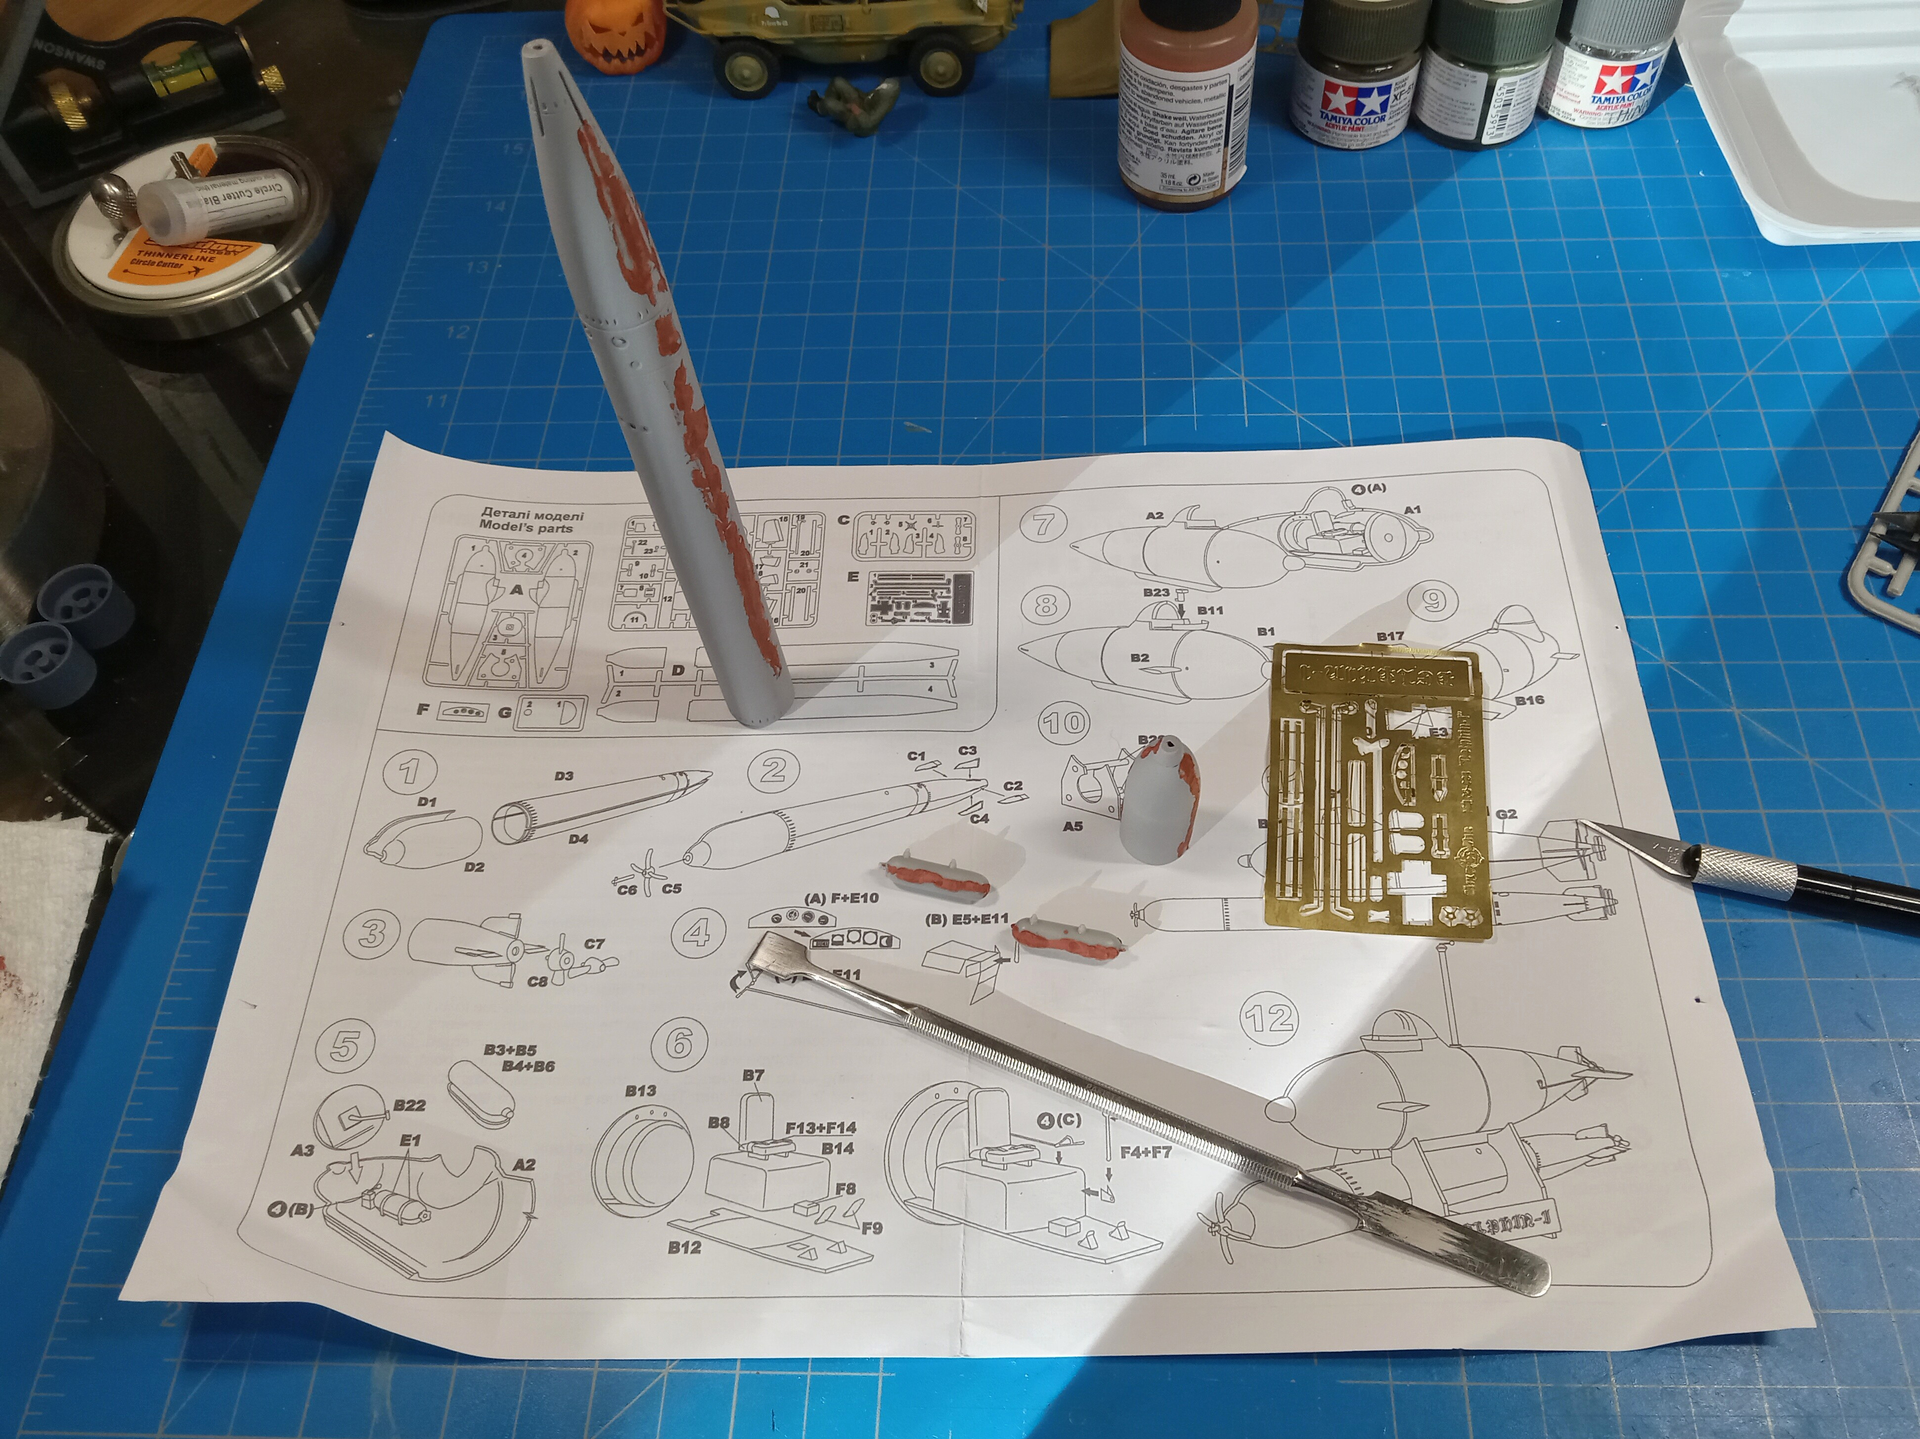
On the bench ready for some plastic surgery (of the styrene type).
Simple but pretty concise instructions, however no color-callouts for the interior. I’ll see what Google comes up with.
Mike
3 Likes
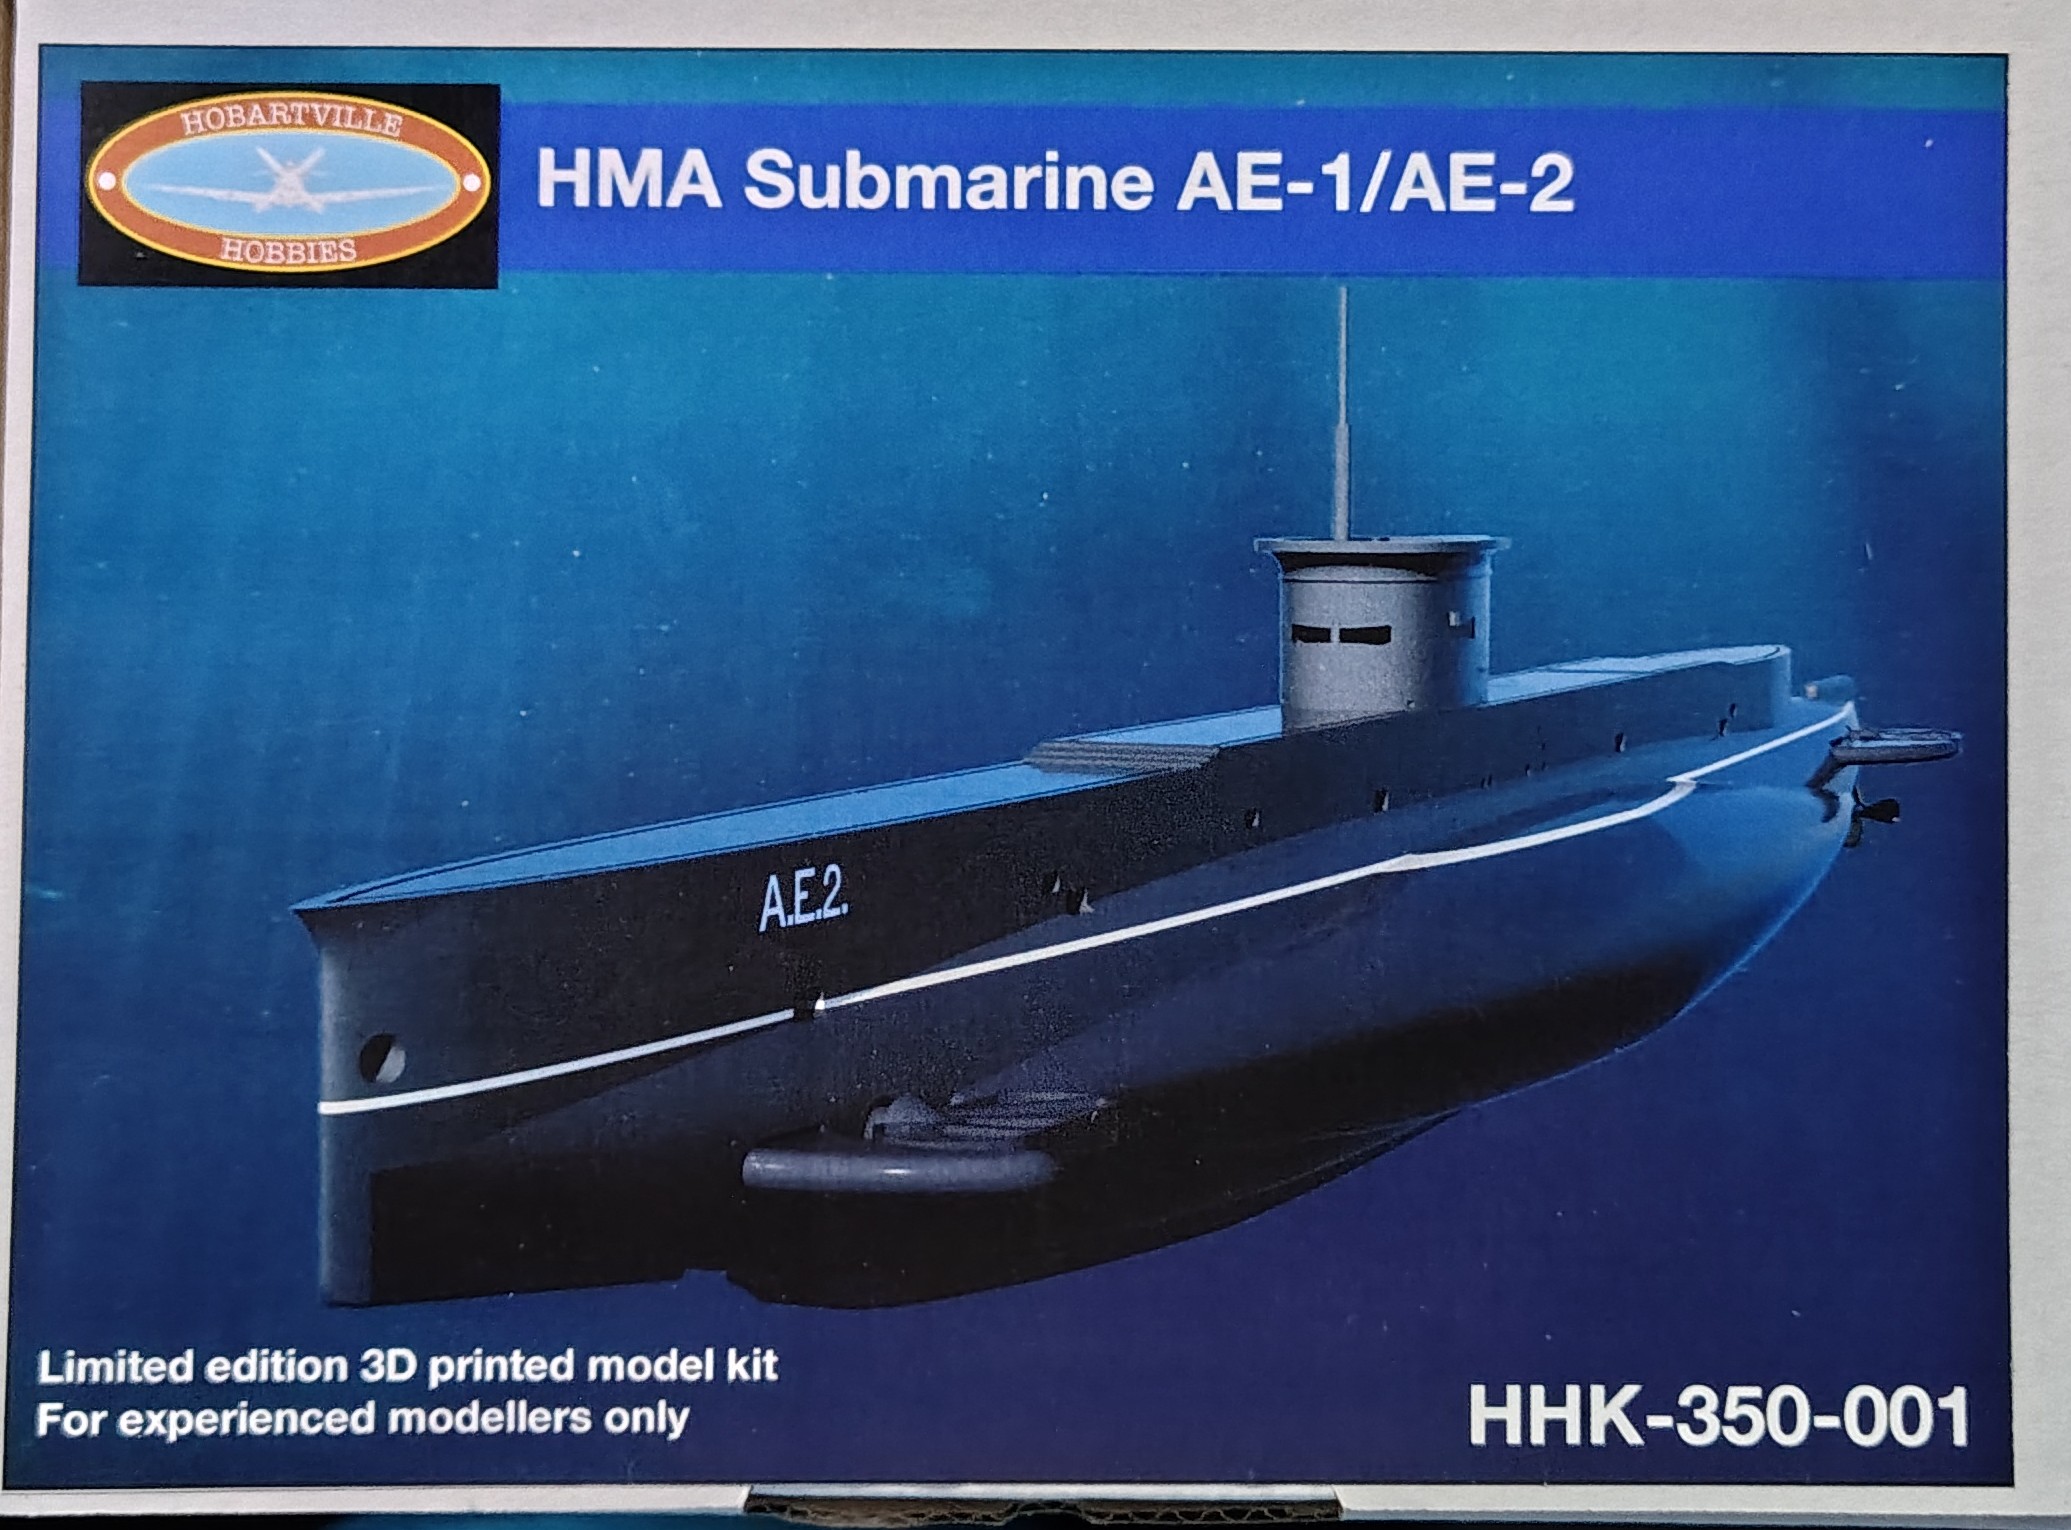
I am going to give this one a go for this campaign.
Will hopefully sit nicely next to my Oberon and Collins class submarines

5 Likes
tempted. i have a couple of campaigns on the go, but this could give me the incentive to build one of the 1/35 scale boats i have. if only i had a bigger hobby room with more shelves and display places…..
hmmmmm ![]()
1 Like
Hi guys,
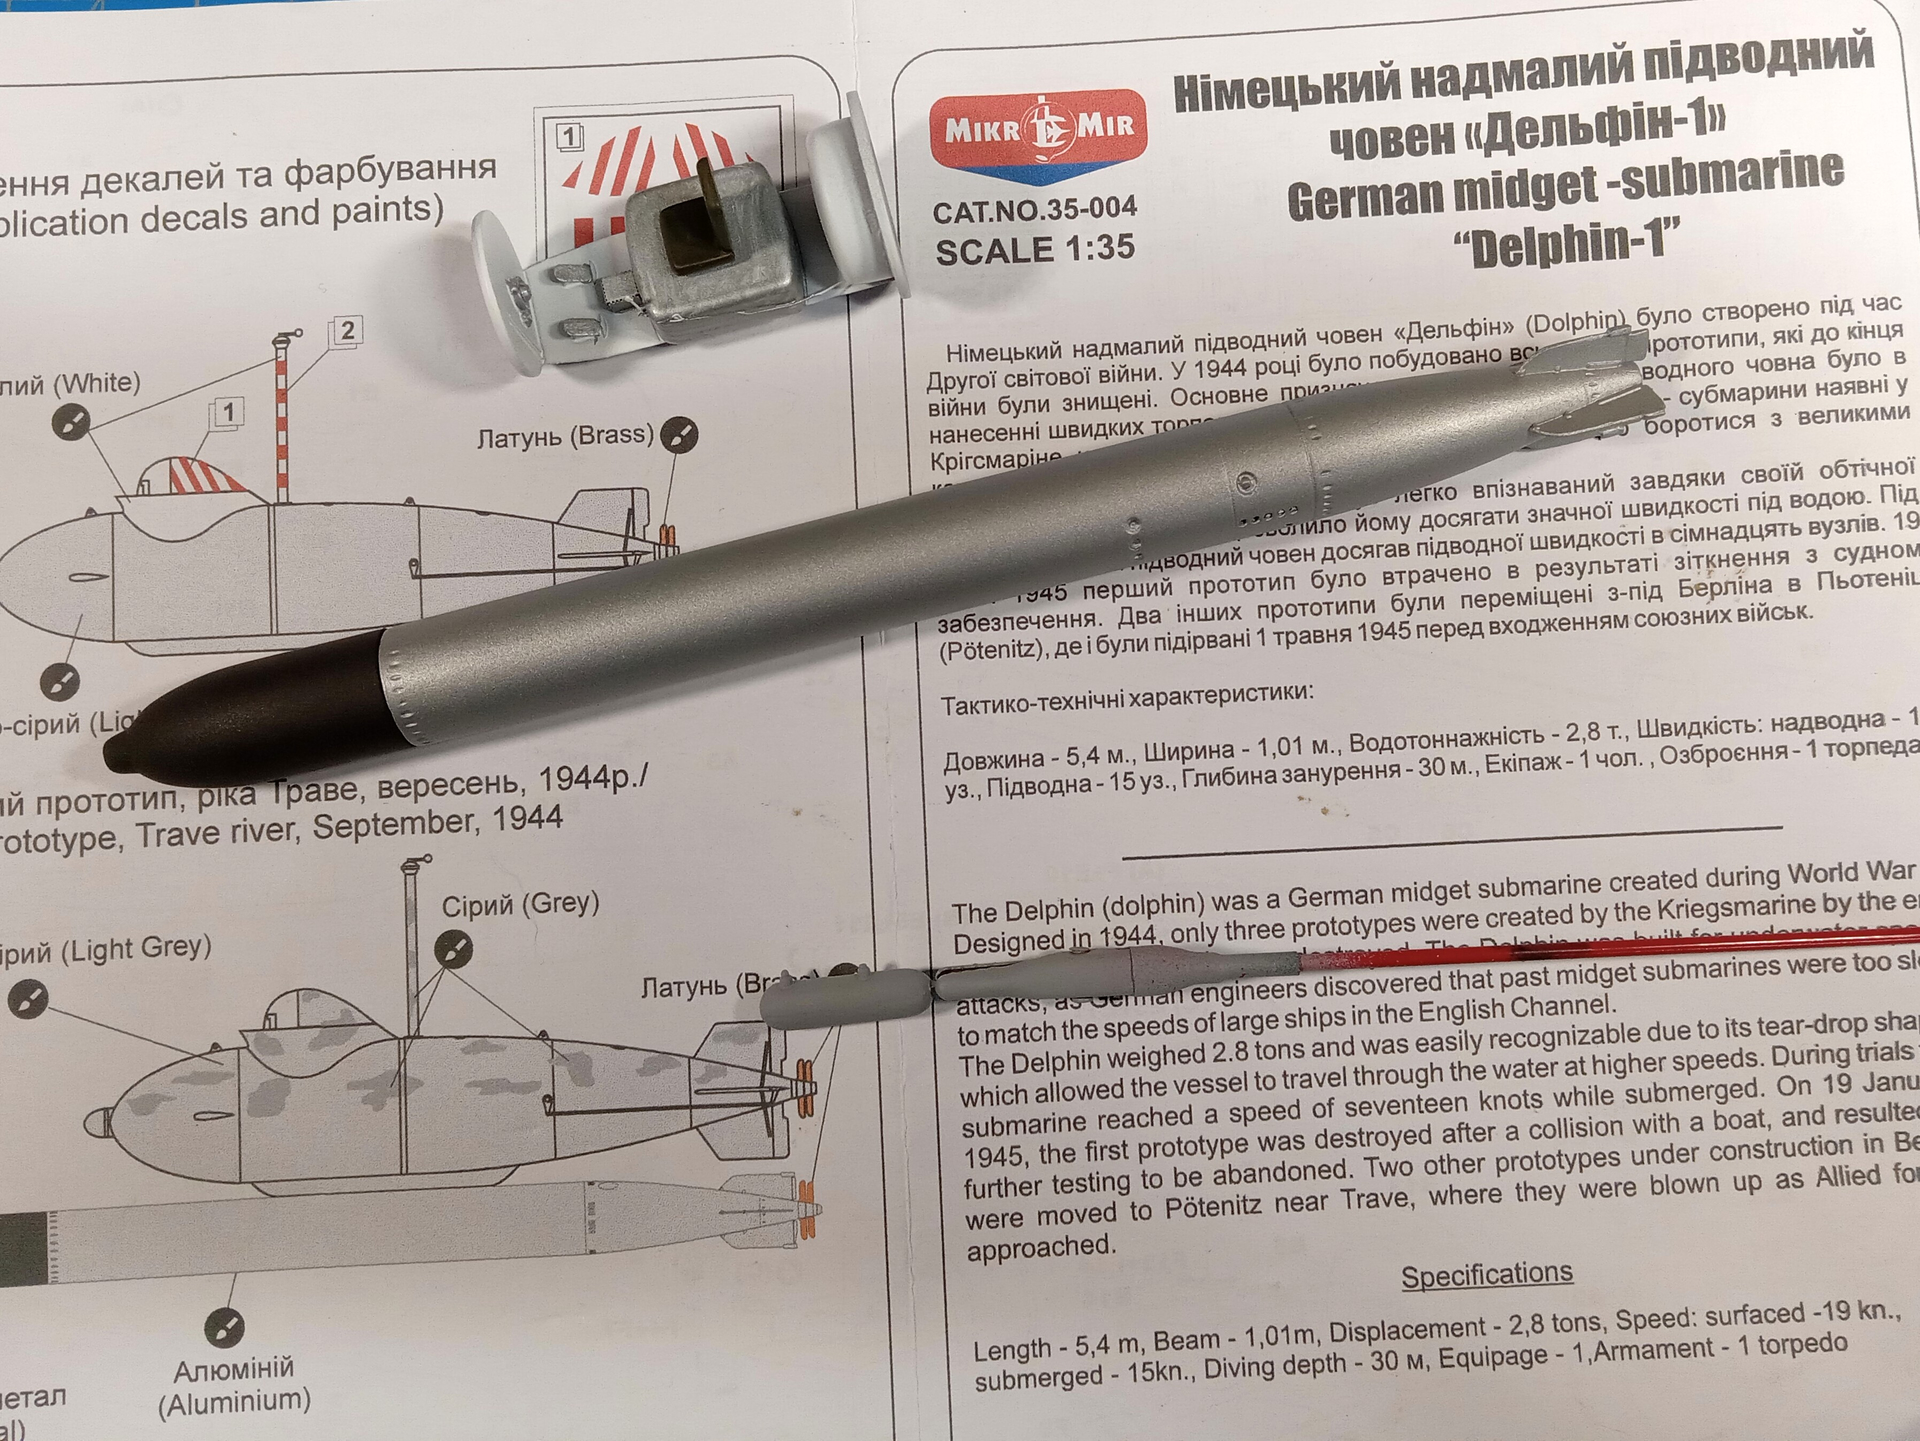
Here I go — assembly of the aforementioned “test fish.” ![]() …
…
The fish gave me absolutely no alignment issues — sanded-down nice and round. But, oh those thin trailer rails! One side decided to disintegrate soon after removal from its sprue and it got a whiff of Tamiya Extra Thin.
So, before “launching” into the actual Ju 88A-4 assembly, this was exactly the warmup needed to familiarize myself with ICM’s Styrene (very nice).

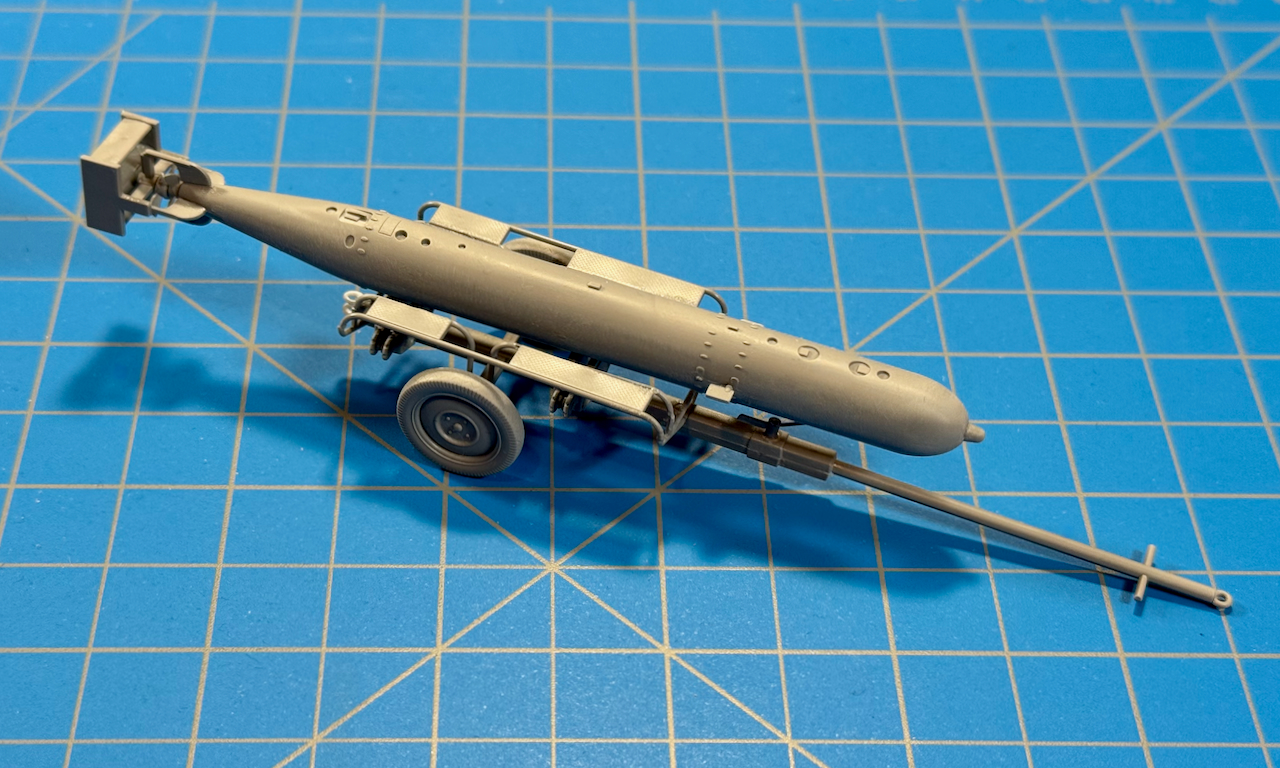
Did a little Evergreen Tubing upgrade to the rear pintle just for the heck of it. ![]()
Torpedo los! …![]()
—mike
13 Likes
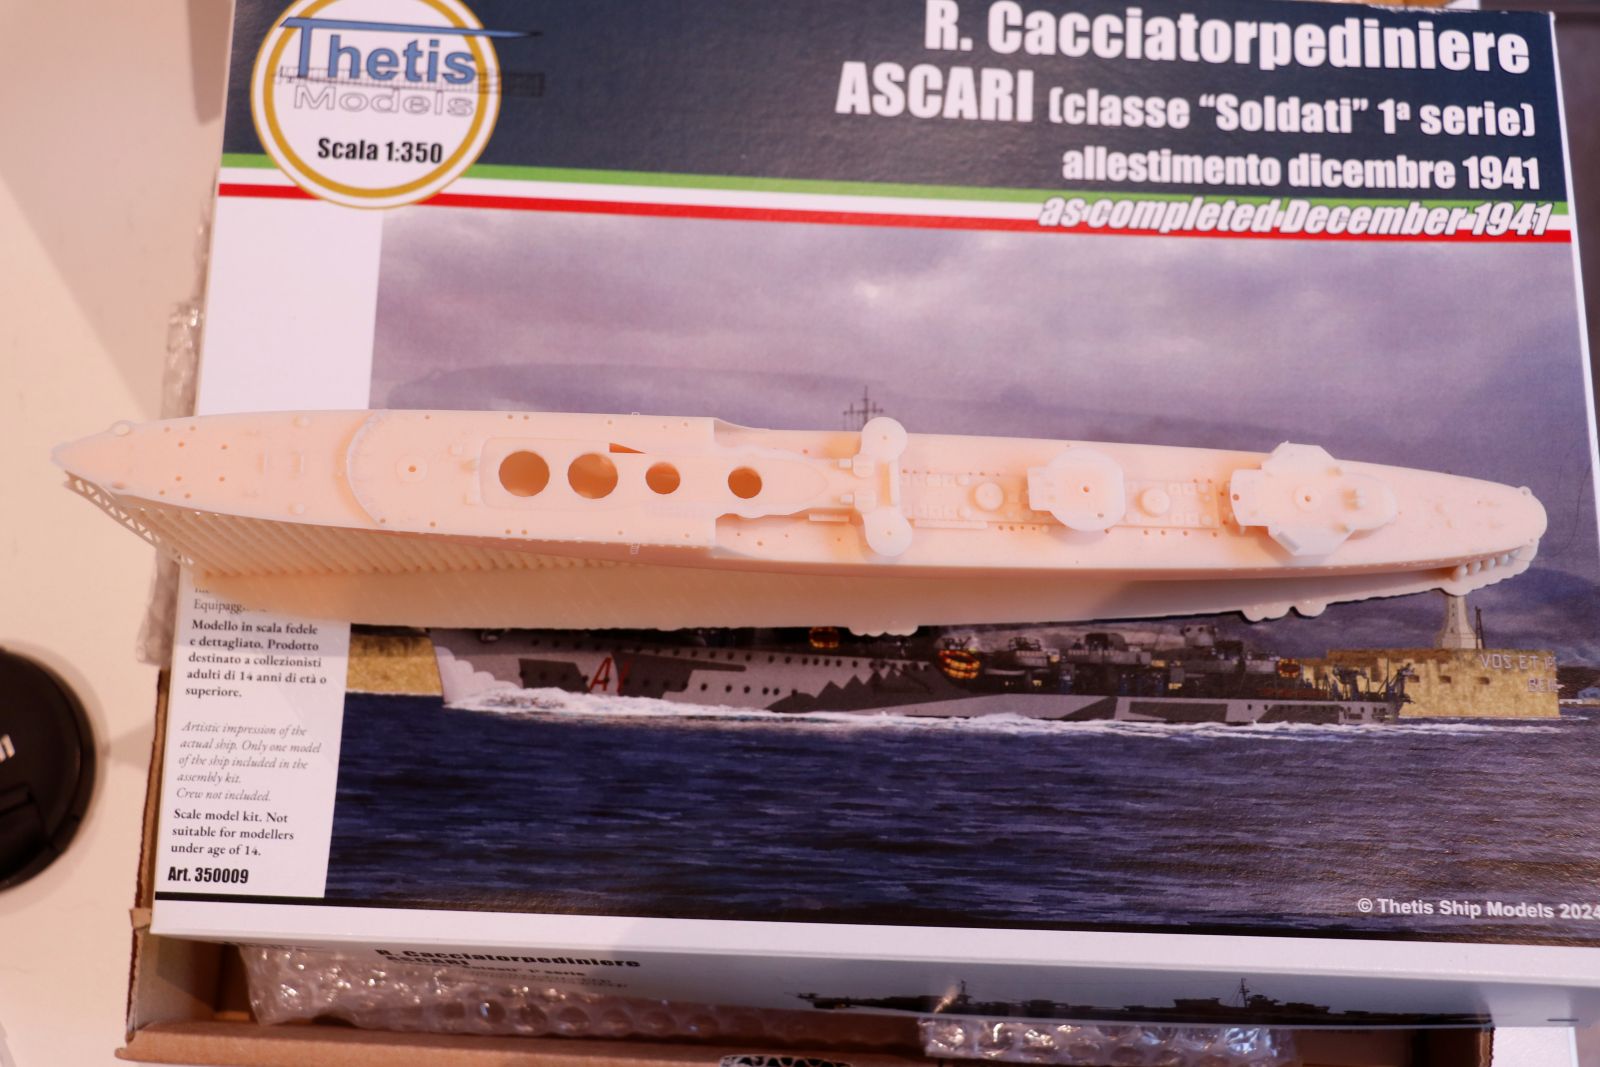
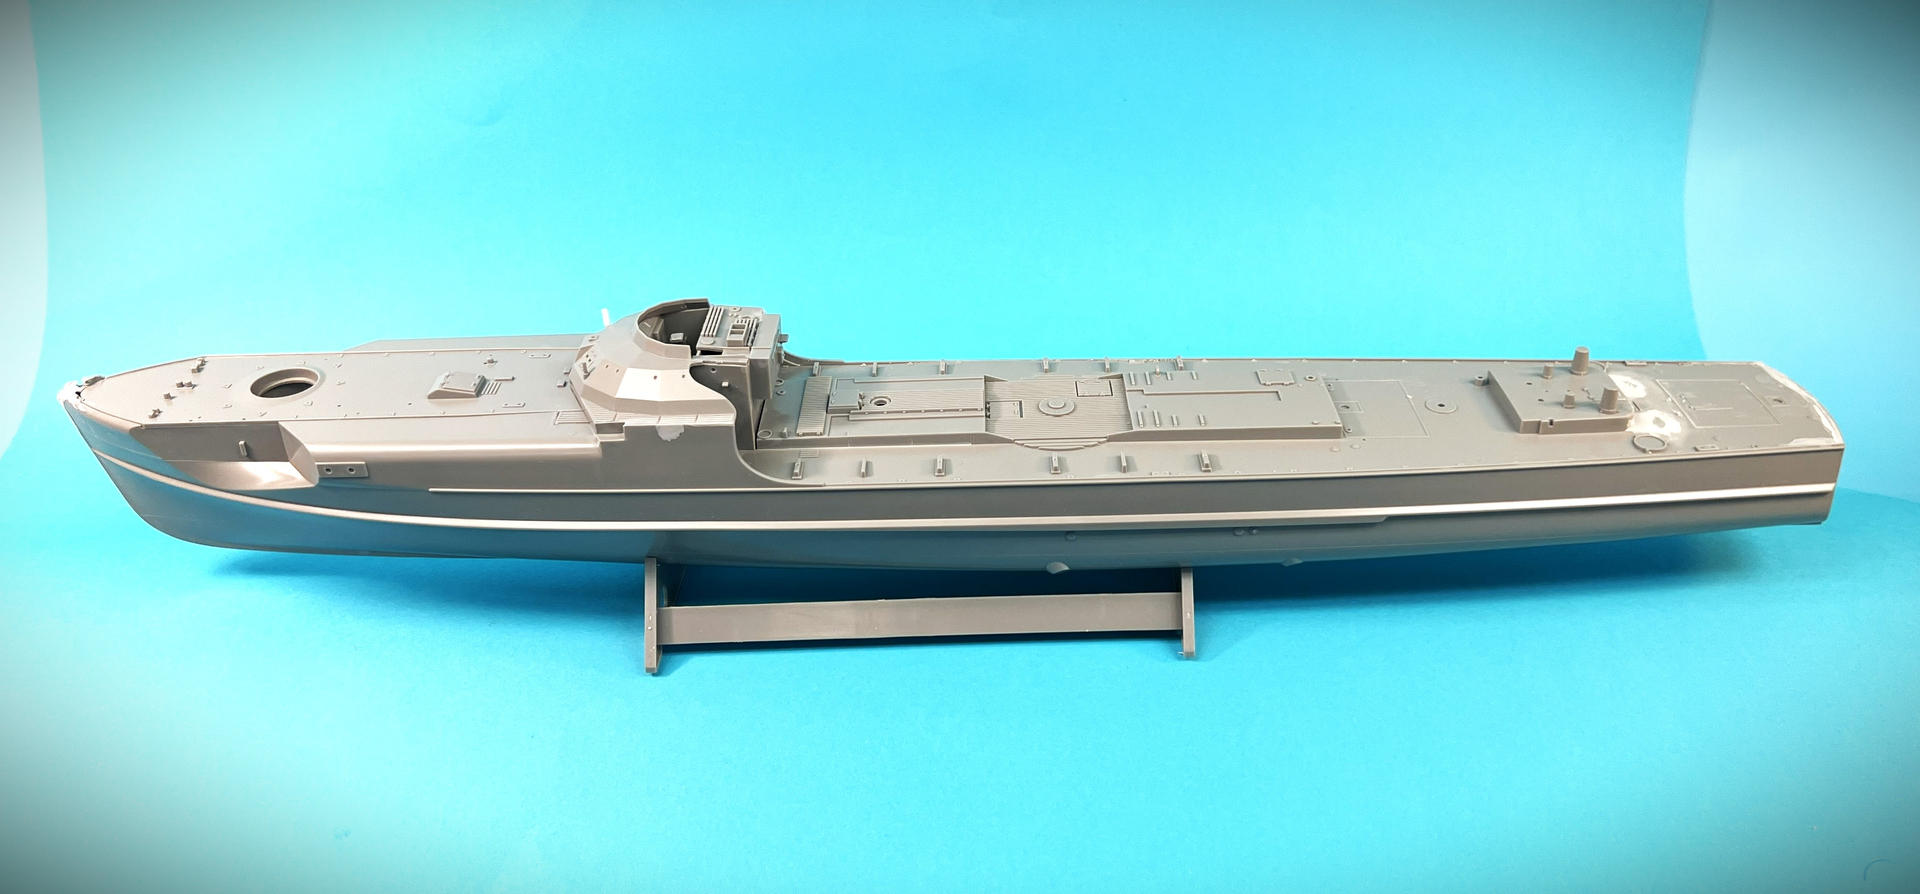
Well this is what I am pitching in with, an Italian destroyer carrying two triple launchers.

This is a 3D printed kit that also has some very nice PE as well.
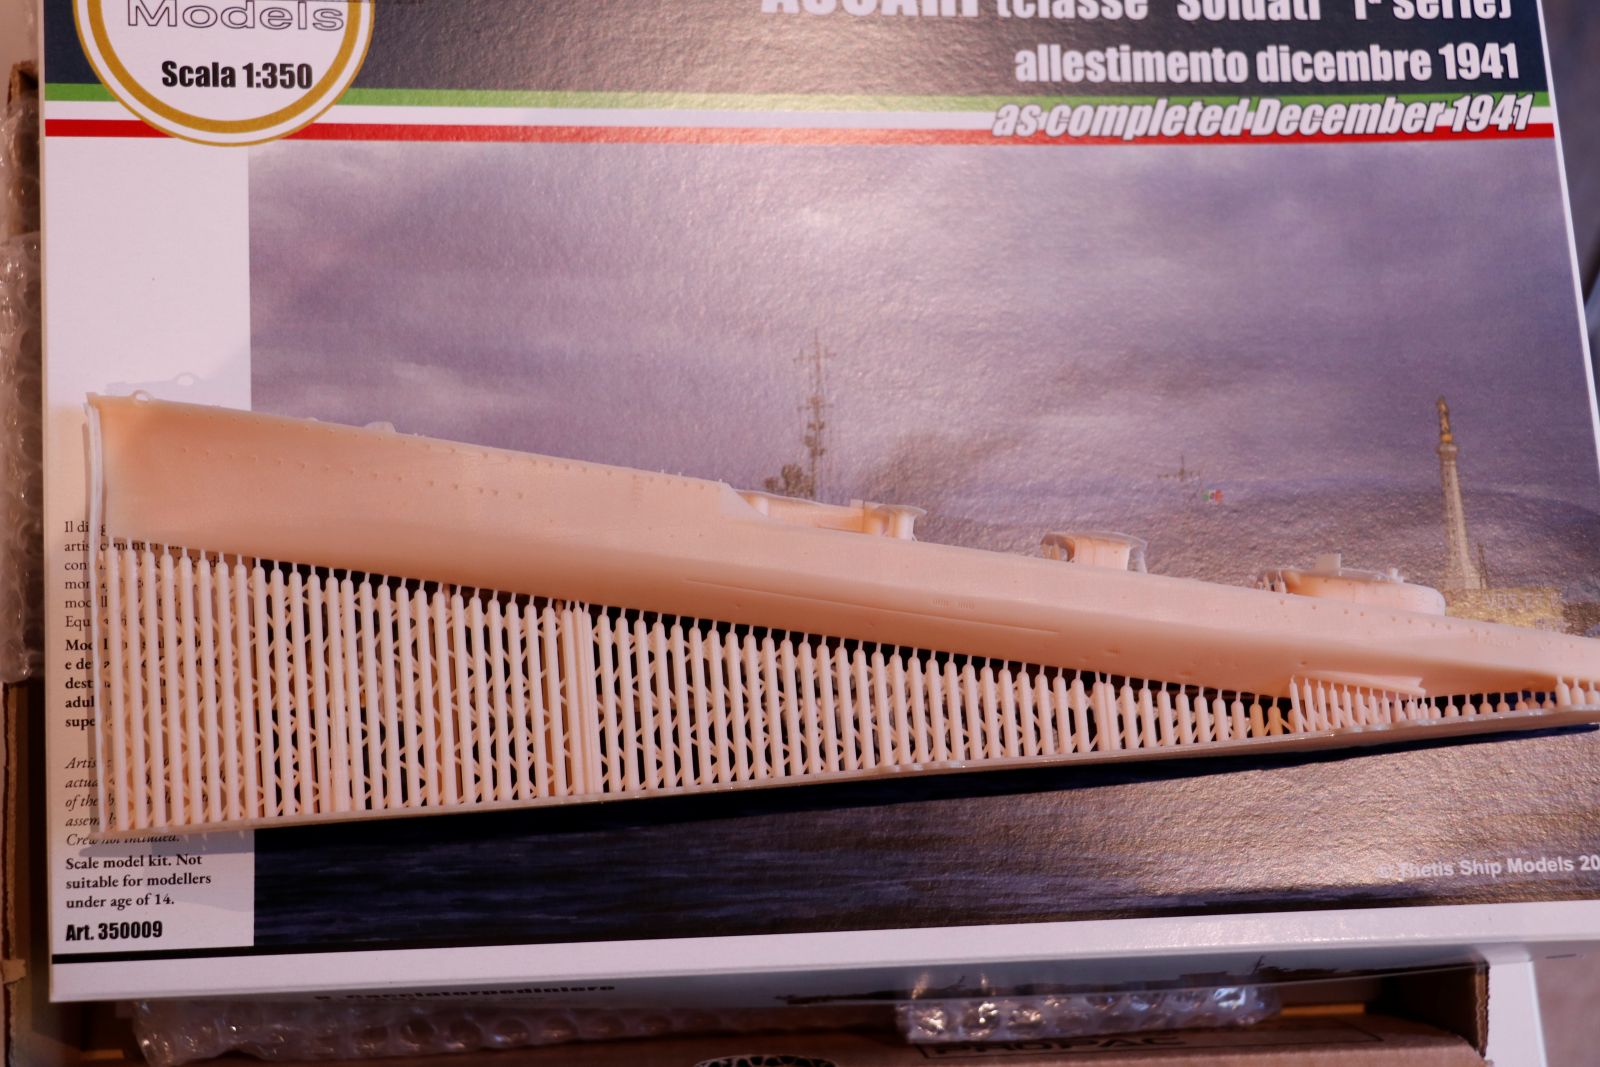

The hull has some very finely printed details on it
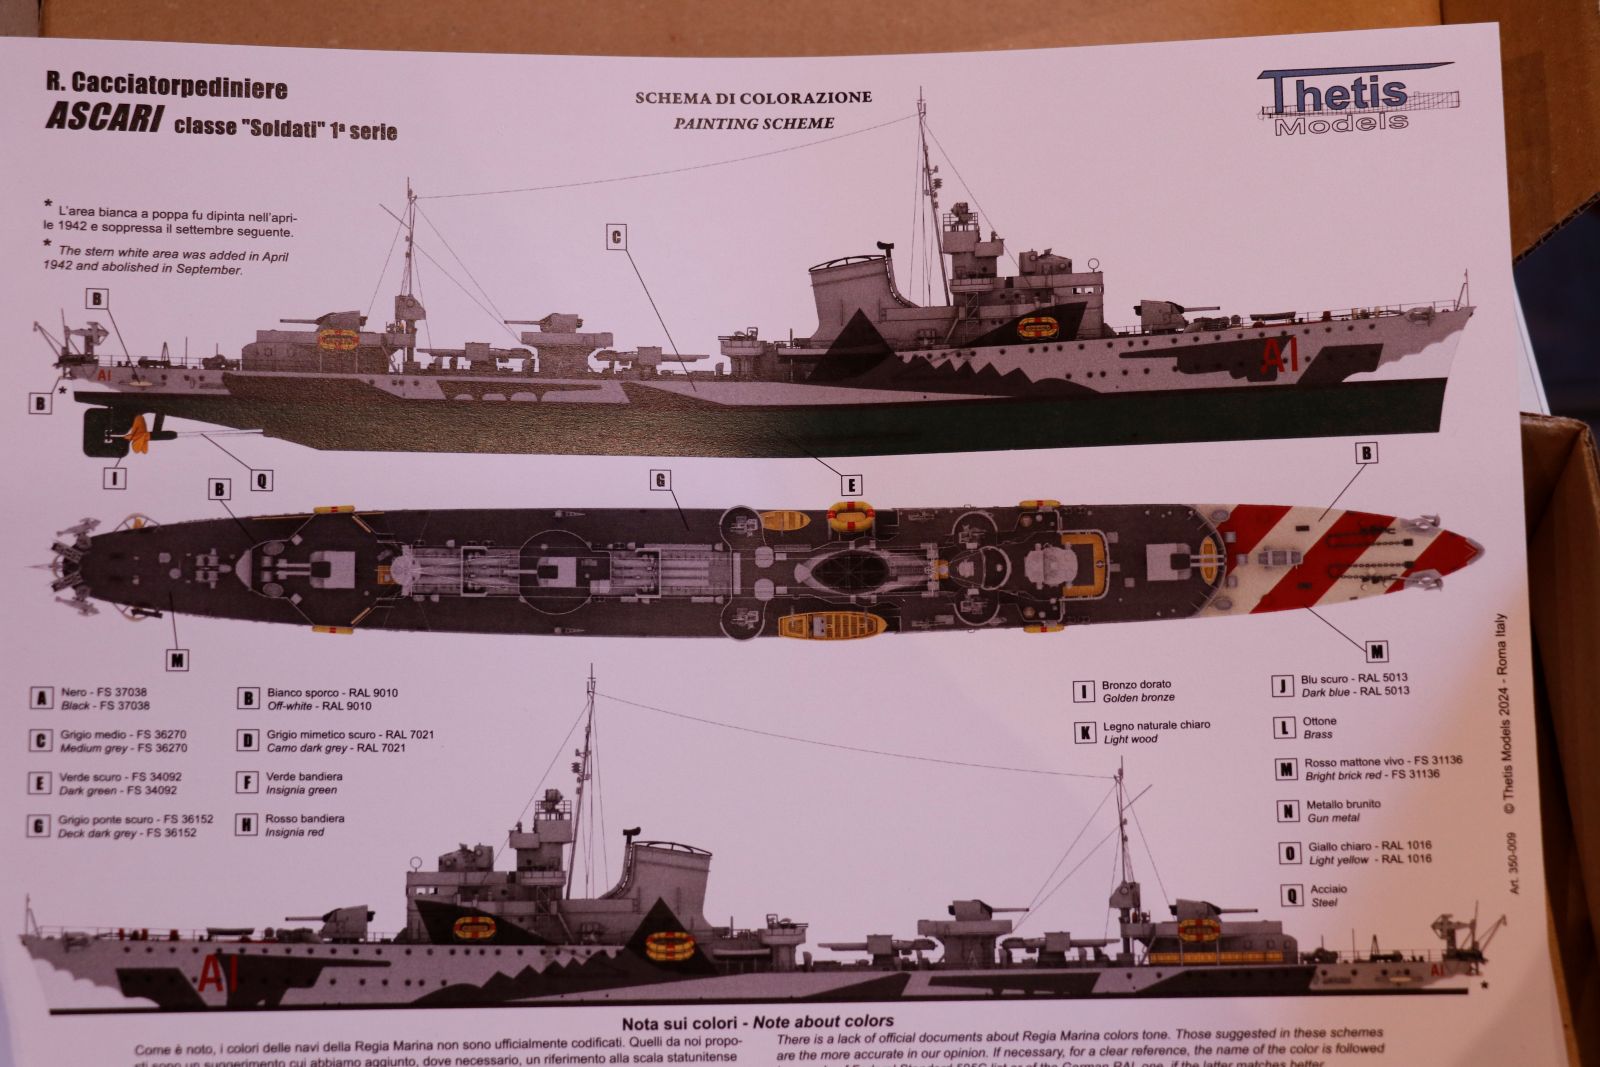
and this is what I hoping to achieve
cheers Michael
10 Likes
that looks very cool!
neat subject and very cool paint scheme.
3 Likes
I fibbed about the instructions - not so concise as I thought.
Torpedo halves are glued, puttied, primed, sanded, and puttied again.
I’ll paint the interior white and the O2 tanks blue.
Mike
4 Likes
Howdy Y’all, I will probably build this as one of my entries: 1/700 Pit Road IJN Submarine. The kit contains 2 submarines & I’ve built the I-13 already. I would like to build the I-14 & this time include the float plane.

6 Likes
I also have a couple of more possible entries. Both are Tamiya IJN destroyers so theoretically I could use one for the Tamiya campaign. I already have some Tamiya builds going on so I probably will enter these in this campaign. Our club has a special theme contest for Japanese subjects this year so they’re perfect. I even have this special styrofoam holder so I’m less likely to smash up my model from careless handling. Not that I’ve ever done that, lol.

7 Likes
Lot of interesting projects. The Hunley will be a good one.
I’ll be doing the Hobbyboss Lynx HMA8. Despite the box art showing it launching Seaskua’s, it does provide Stingray torpedoes. And also what I think are training torps. The only boxing that Hobbyboss included Seaskua’s is the German Mk.88. A strange omission as they were the main armament of the Royal Navy Lynx. But, it’s not a problem for this build.
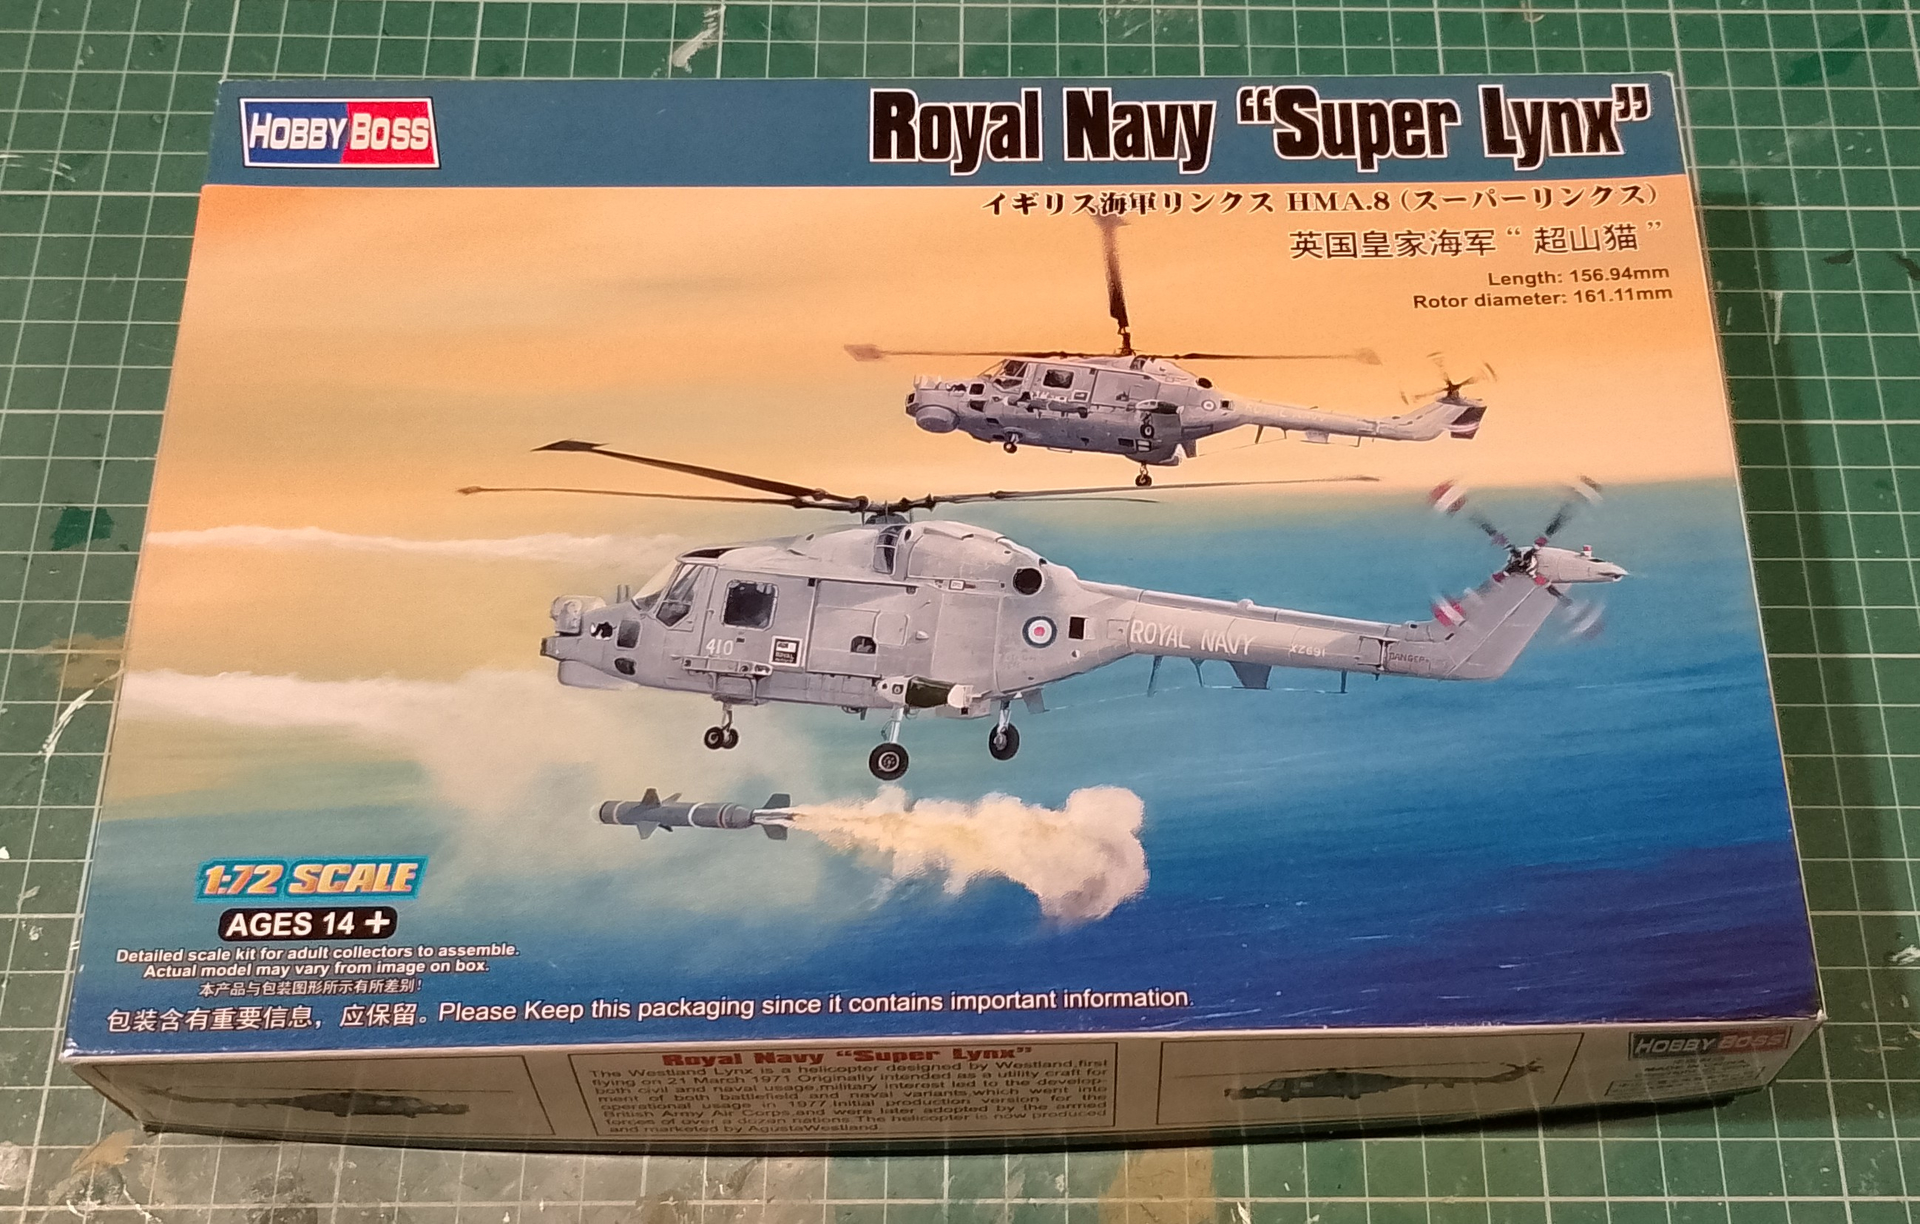

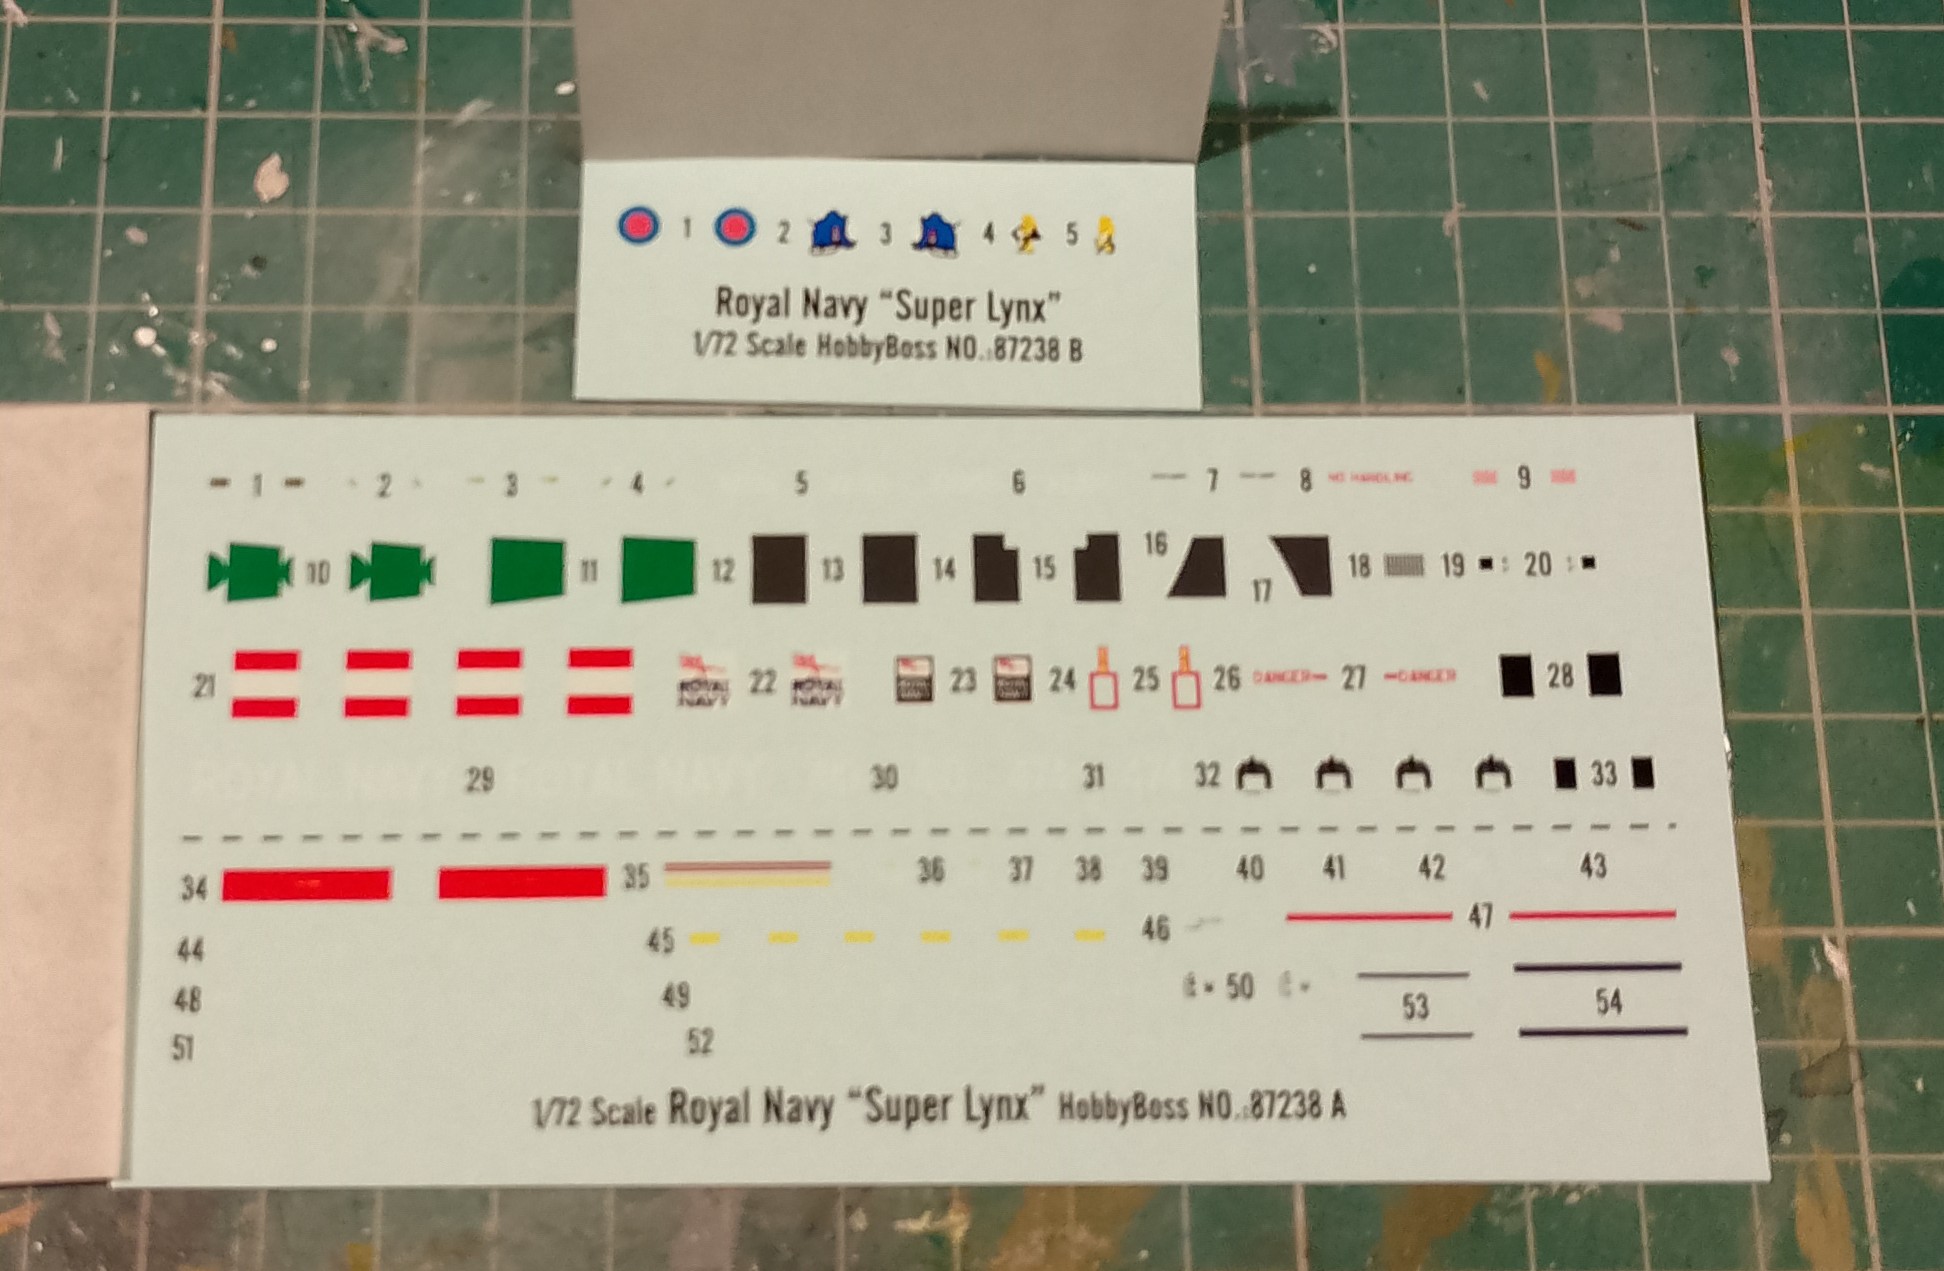
I might look into replacing the kits decals, colours seem off and the print quality of the noseart is quite poor.
Chief reference will be the Haynes Lynx manual. An excellent book for building Navy Lynx.

9 Likes
Got the cockpit painted on my Judy build and started detail painting the interior. Plan on using the decal for the IP
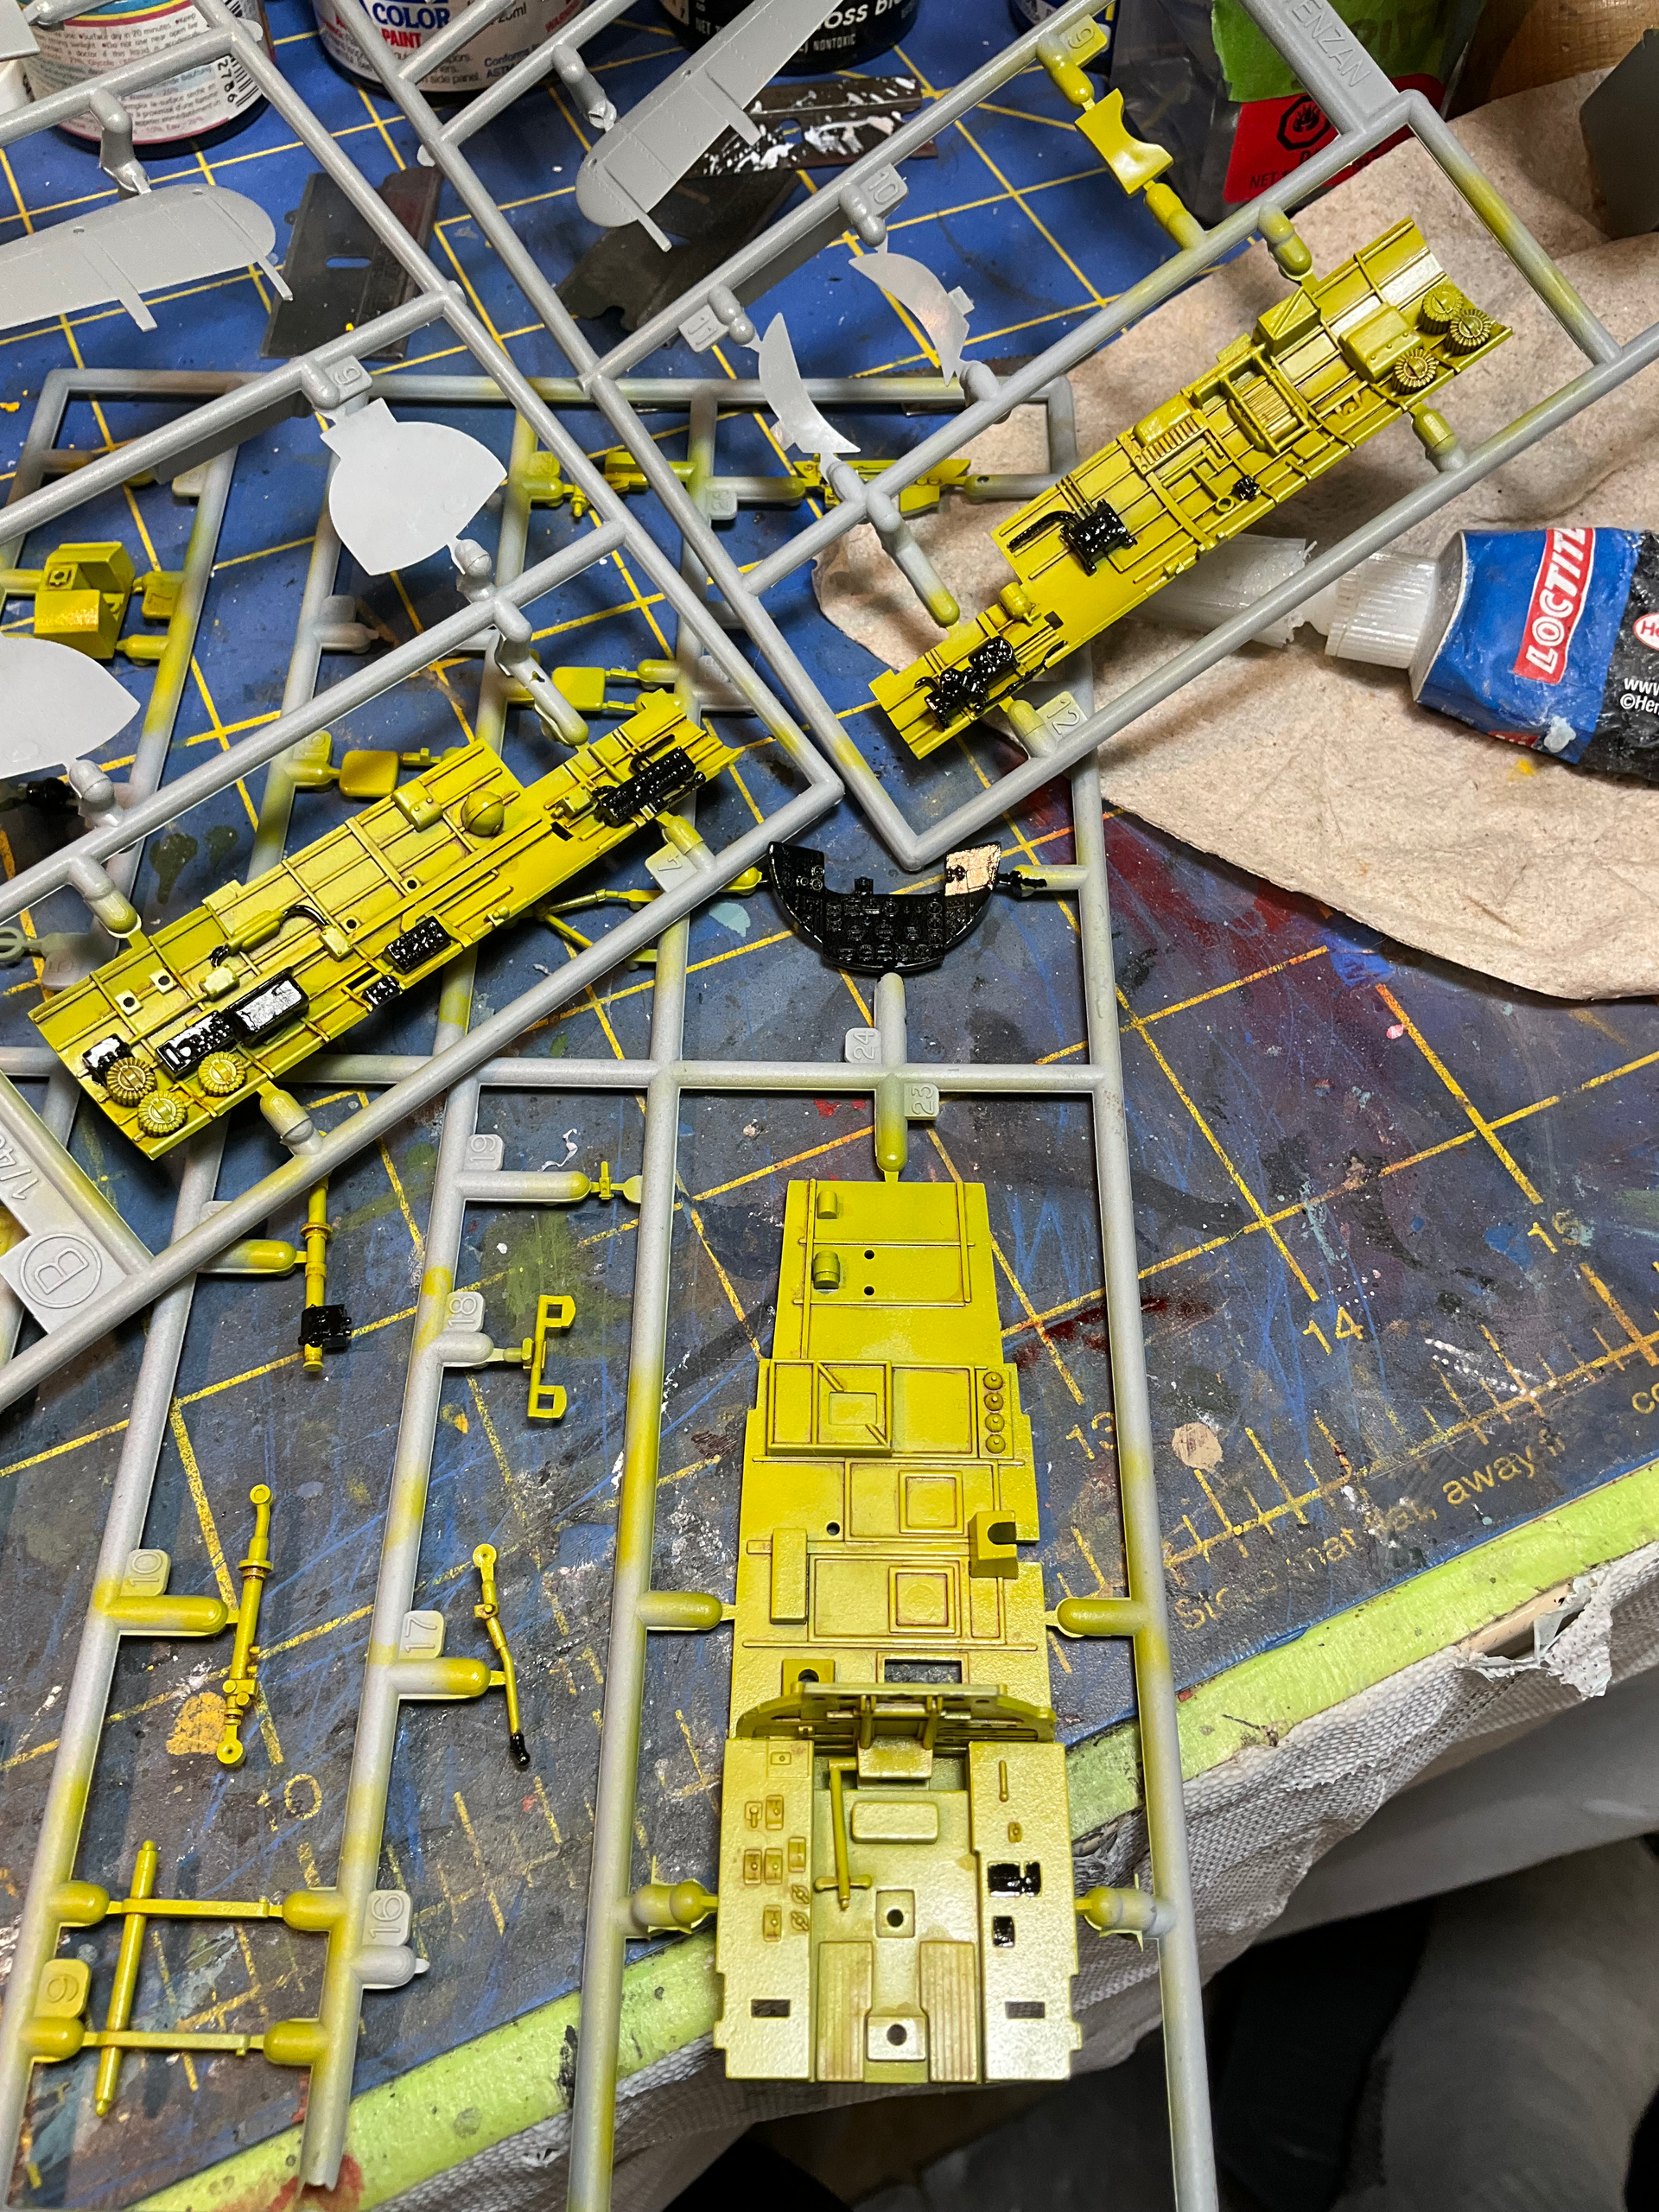
7 Likes
I am building the Molch for this campaign. Starting is still some way of, but looking forward to this one.
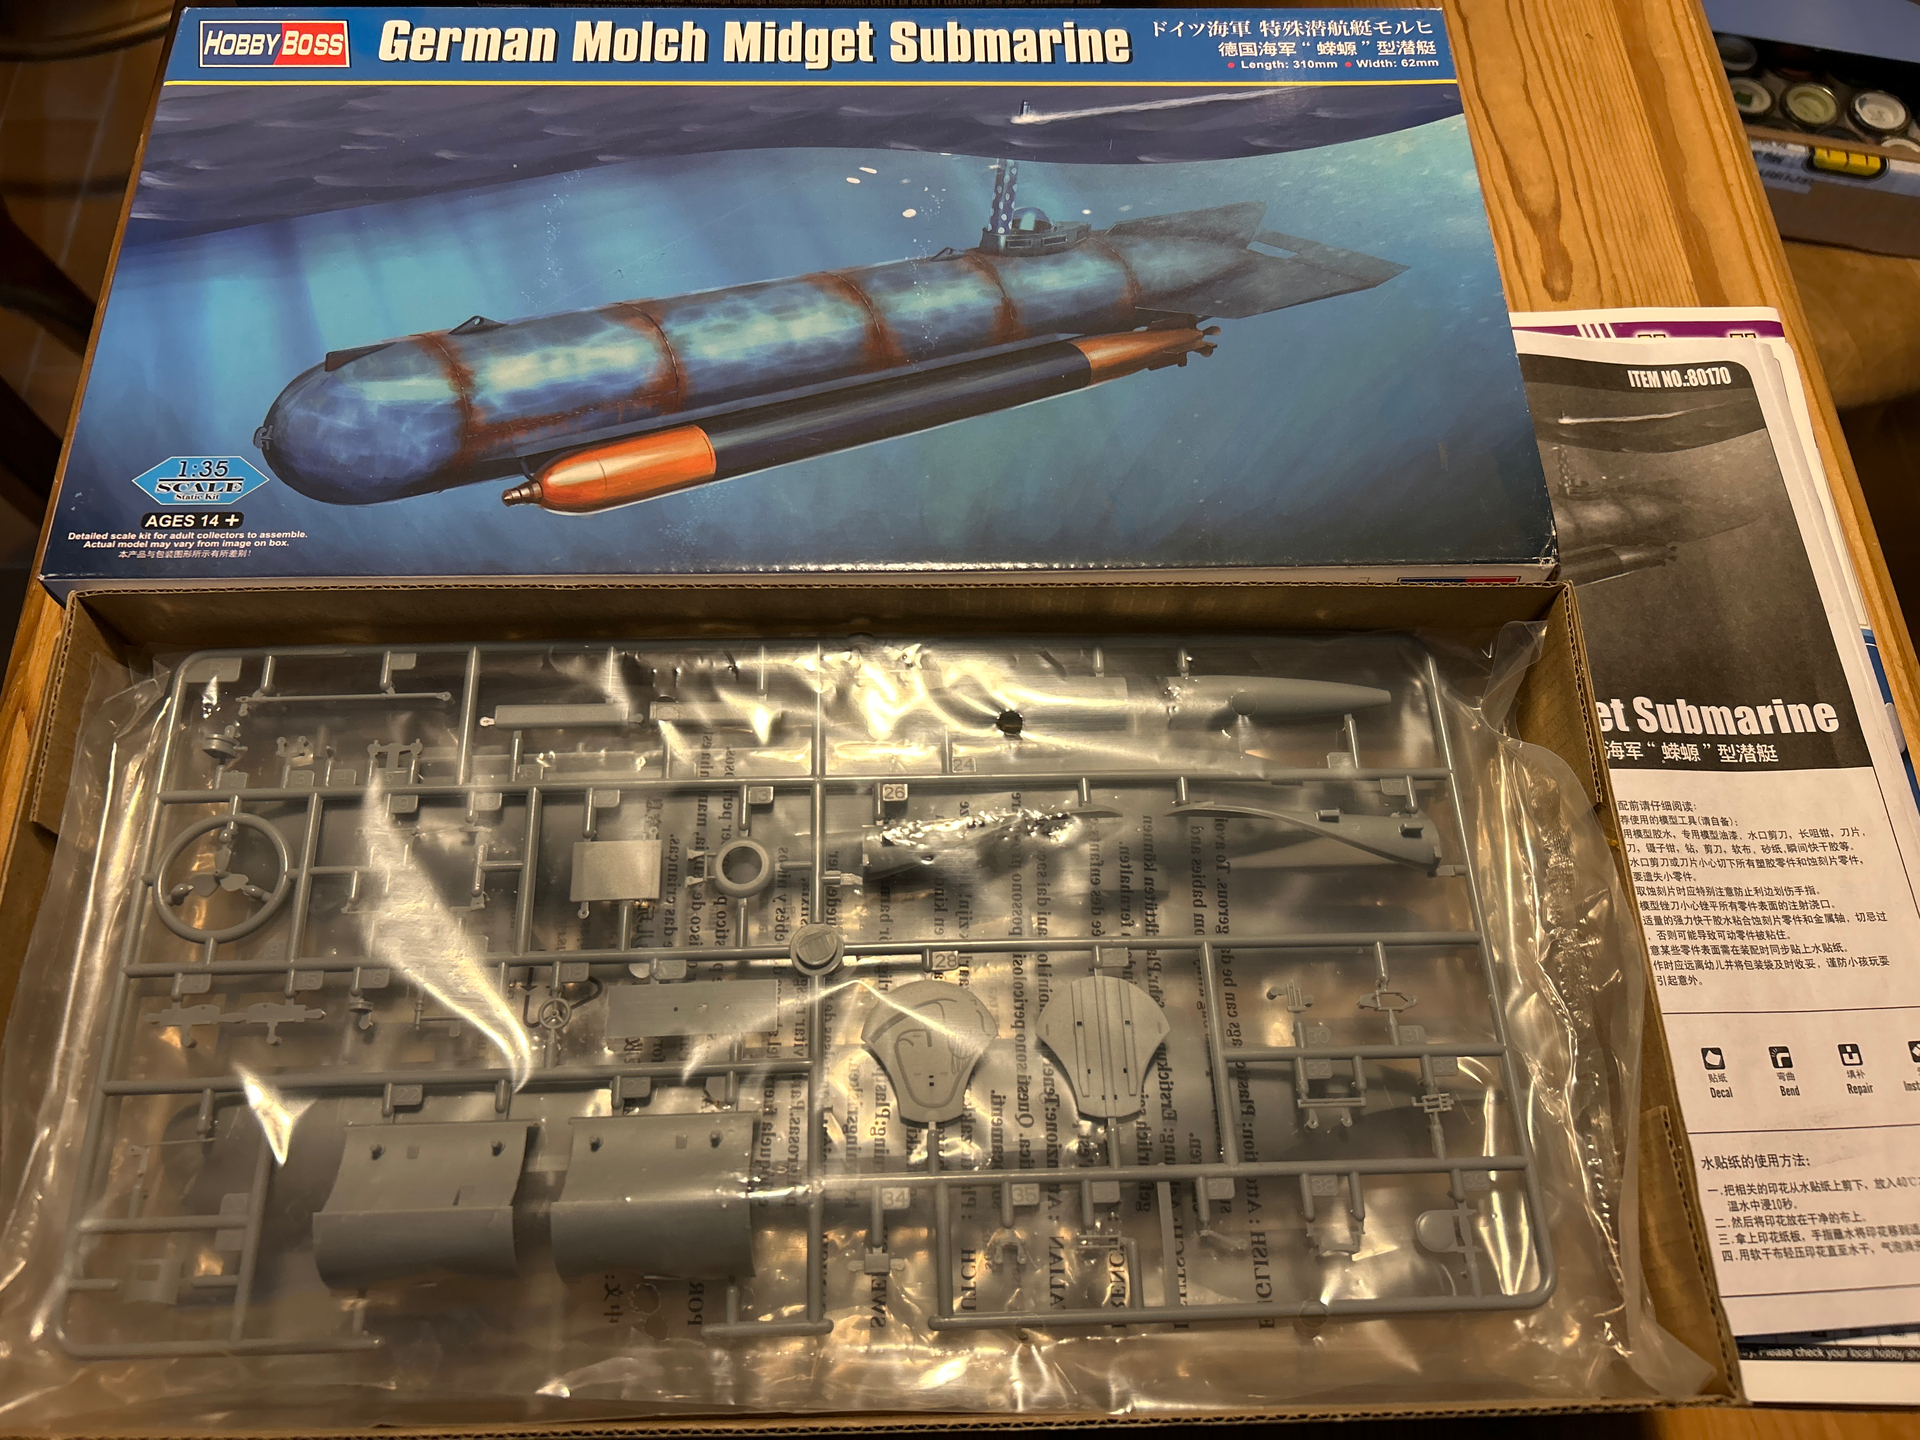
8 Likes
Fish on! 

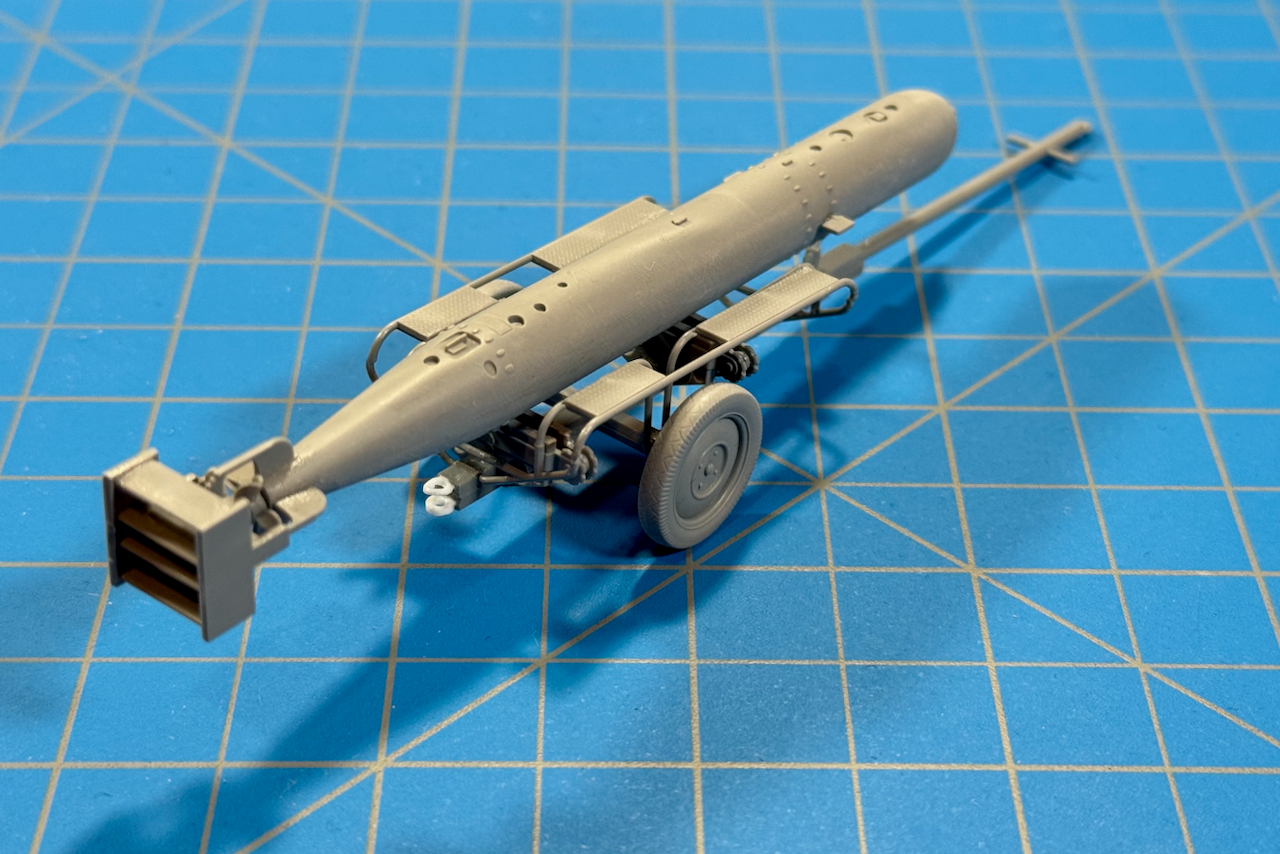
Built-up two more torpedos and added the fin braces. In addition, I clipped all the extra parts from the Ju88A-4 airframe sprues. ![]()

Torpedo los! …![]()
—mike
6 Likes
Wow, lots of people off to a start already. Go!
2 Likes
Most of the minimal insides are done - I just need to add the gauge panel and a small part that gets attached to the front curve inside the “driver’s” compartment. I’ve added the “fins” to the sides and will add the top and bottom “fins” once the two halves are glued. Replaced the poor cross supports for the stand with solid styrene rounds. Bondo’s Glazing Spot Putty has become my go-to seams and the like. ![]()
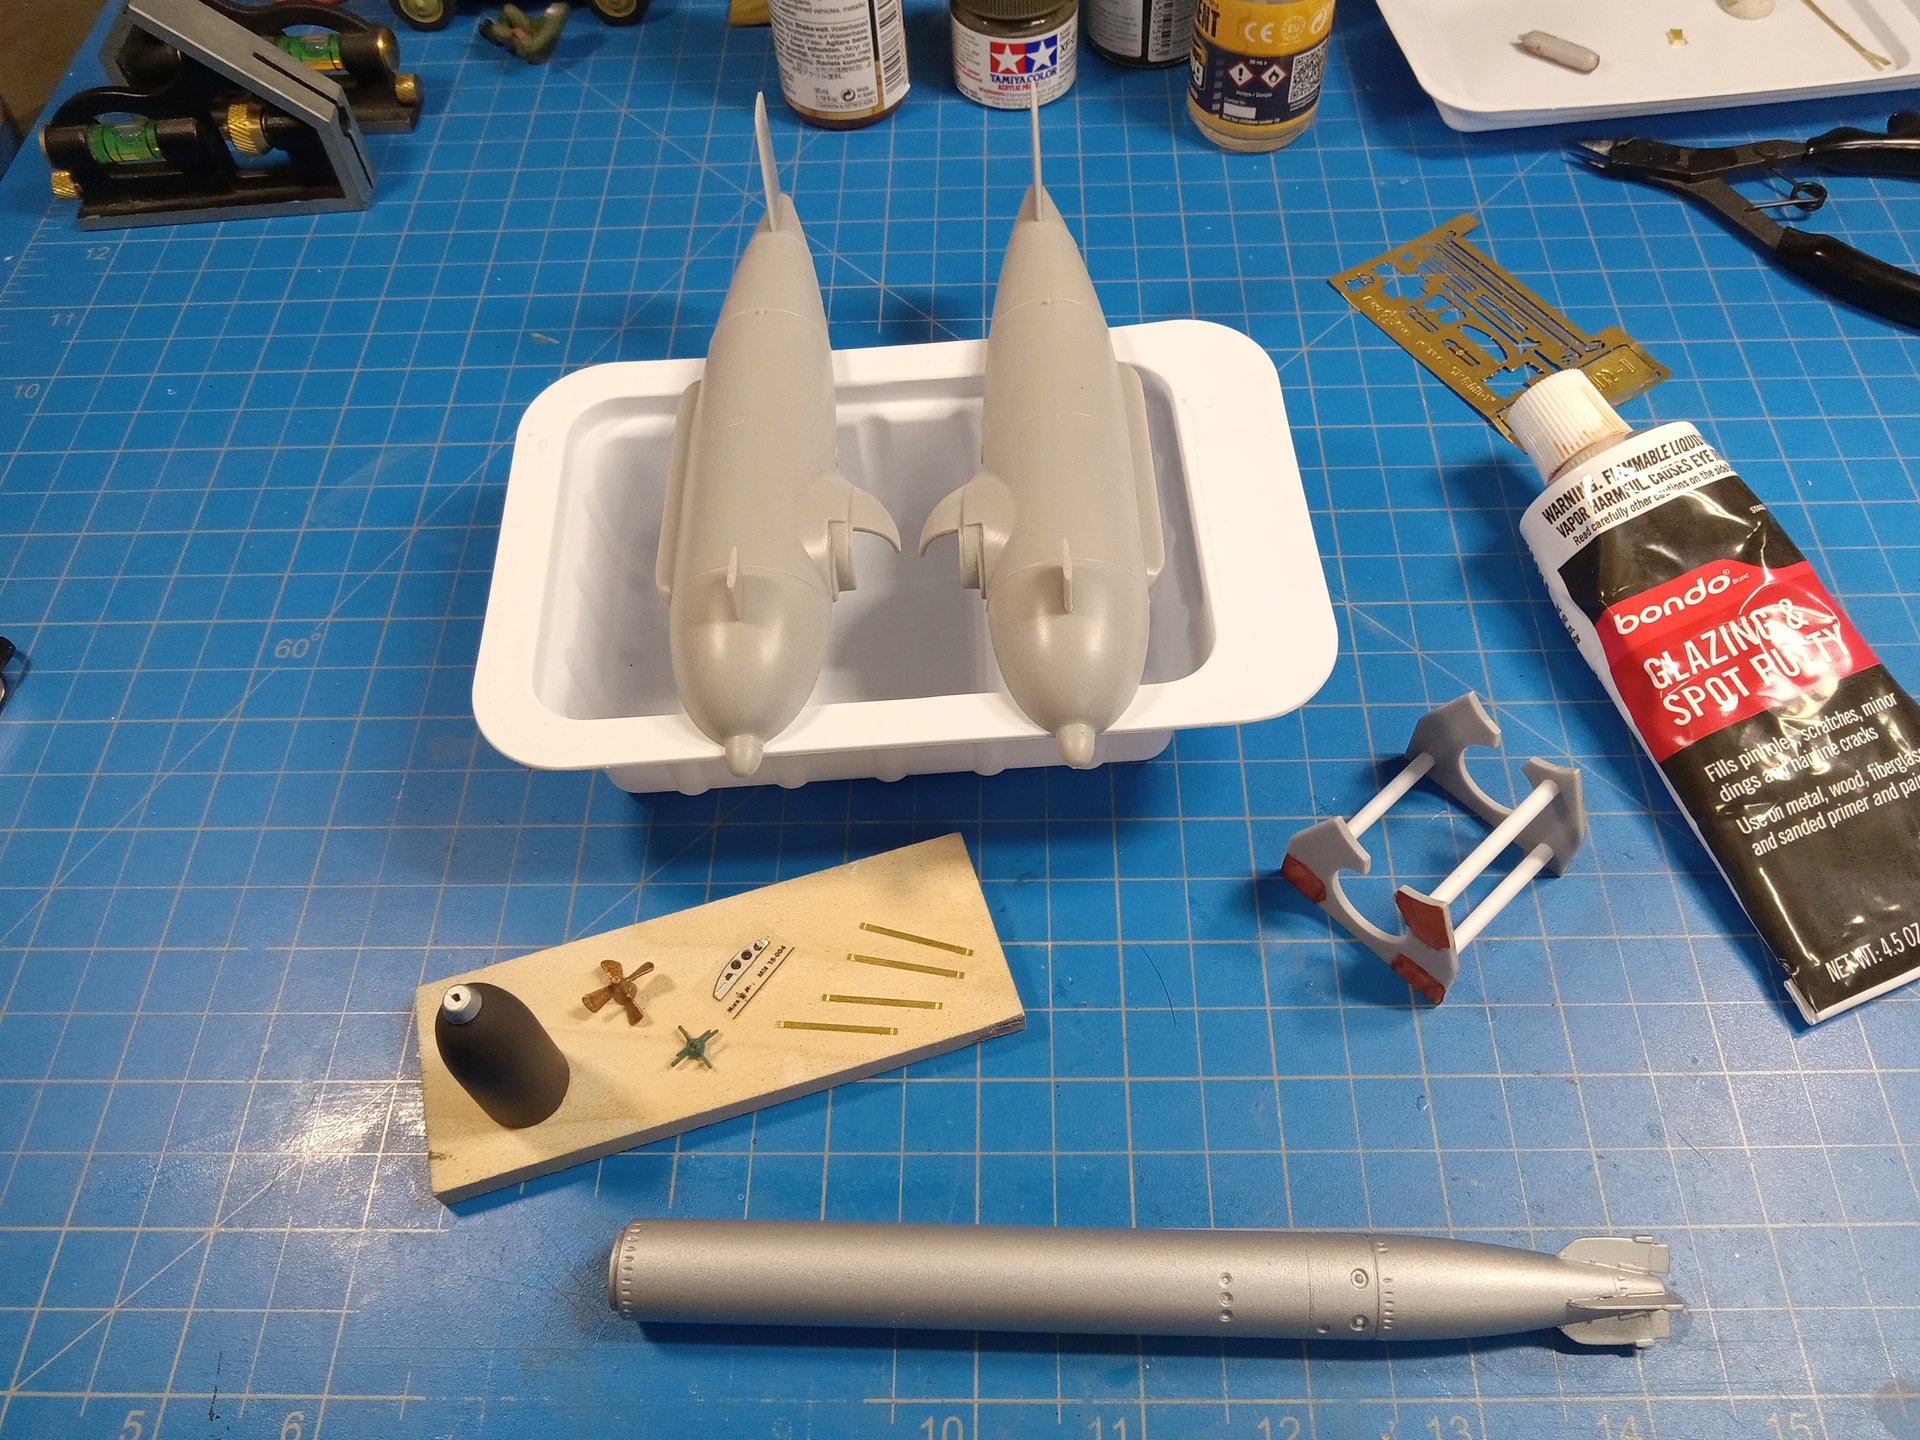
Mike
8 Likes
Sharing some modelling techs and tips concerning ship handrails. This is the required process.
- Identify and carefully confirm and trim part from sprue.
- Carefully restrain loose part with tweezers to apply liquid and or tube cement to get correct tack
- Carefully find and approach proper installation location on ship
- Over squeeze tweezers and fling part into space filled with identical colored bits and dust
- Search for 20 to 30 minutes depending on knee pain
- Punt
- Stretch sprue and form to correct diameter and length. Form all radius
- Launch into space this part in a similar manner to original
- Choose correct wire diameter
- Form and bend wire to match handrail.
- Instantly find original plastic part on build table center in front
- Go to bed
13 Likes
Sounds like a fun evening, Stuart! ![]()
![]()
![]() I feel your pain.
I feel your pain.
I hope it works next time! ![]()
3 Likes