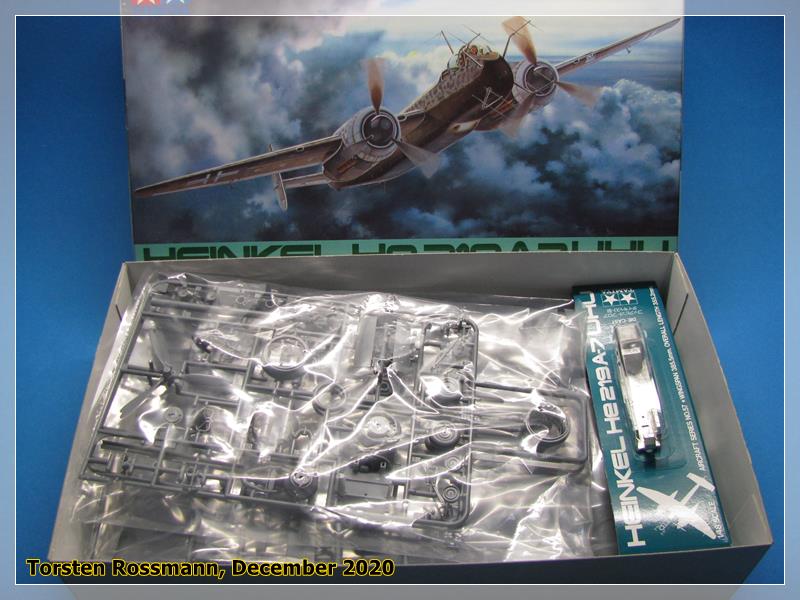
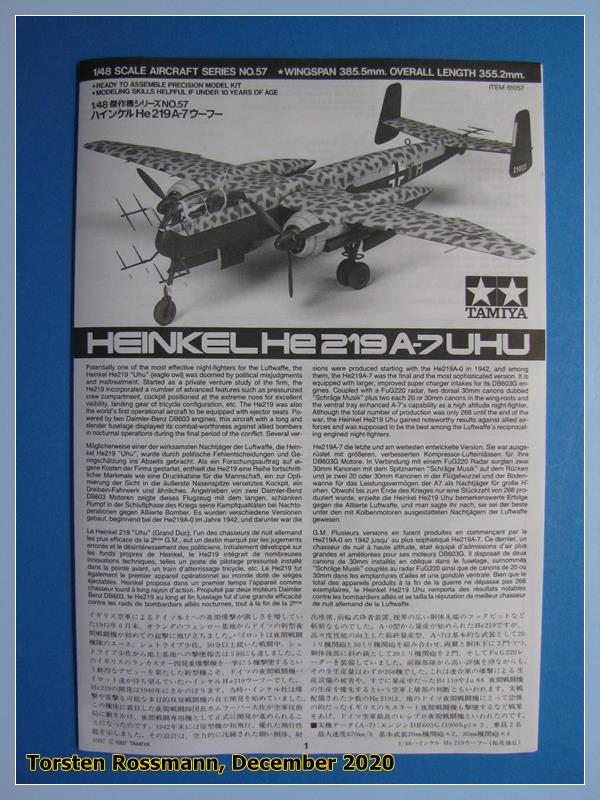
Now that my Dingo is running its final lap on Armorama before leaving the assembly line, it’s time to think of the next kit to approach on my work bench. I have picked a long time resident out of my stash. It’s the Heinkel He 219 A-7 “Uhu” from Tamiya in 1/48, which I have at least for 10 years in my stash … 
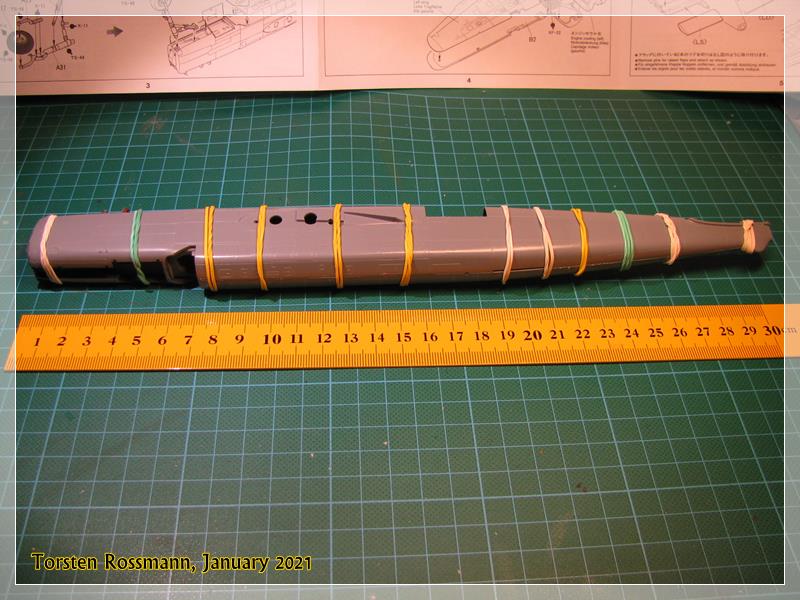
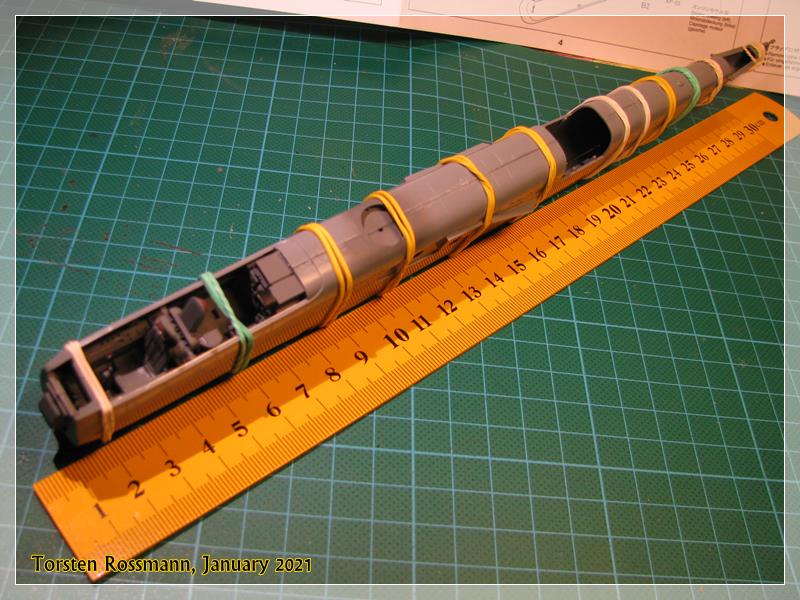
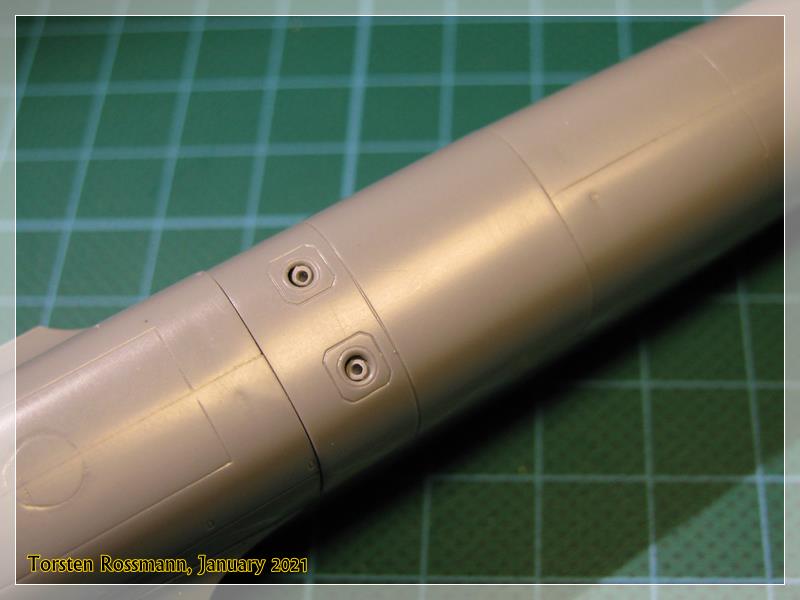
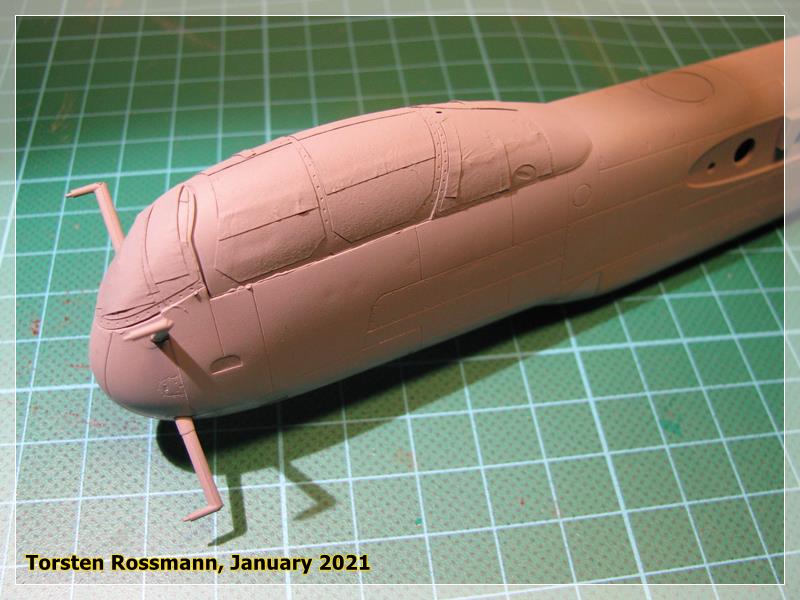
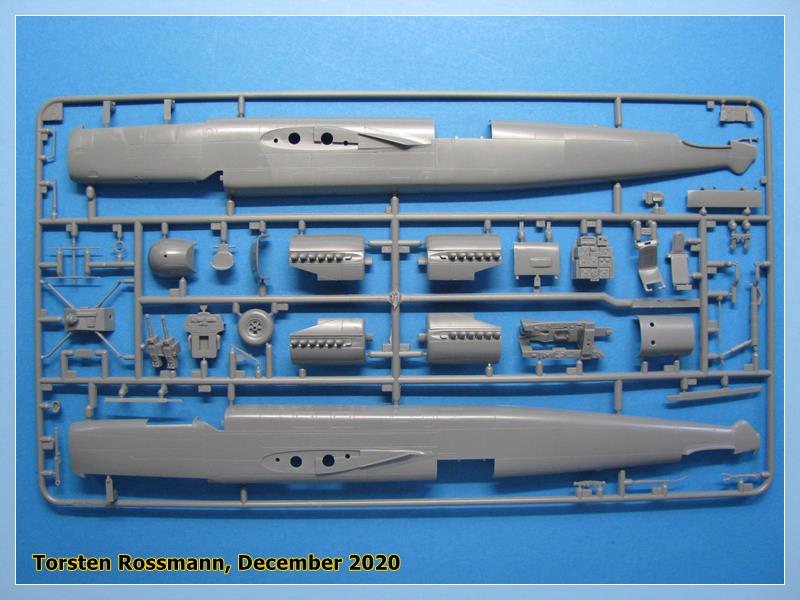
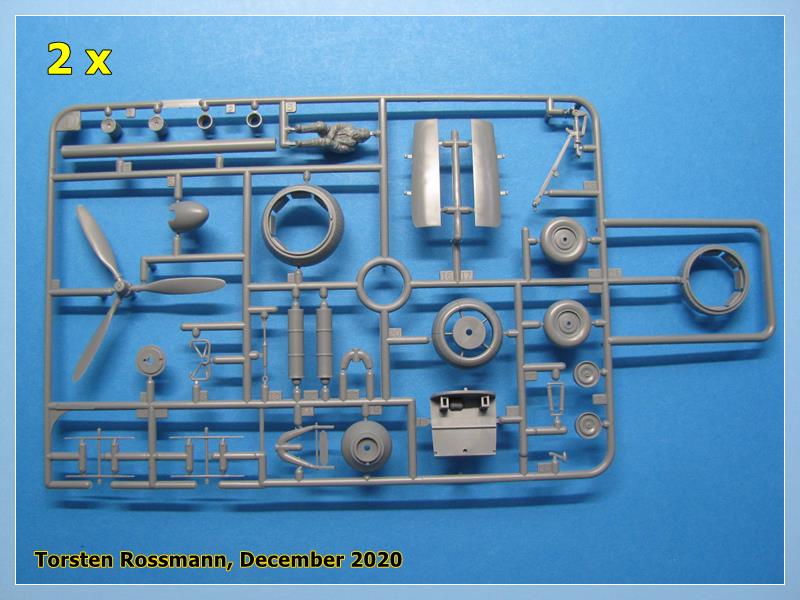
… Sprue A has the fuselage side, cockpit and engine parts …
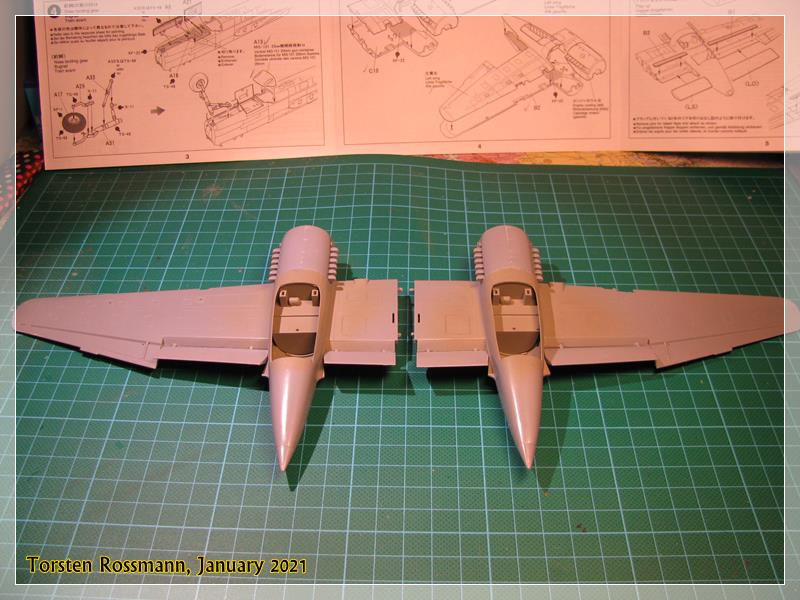
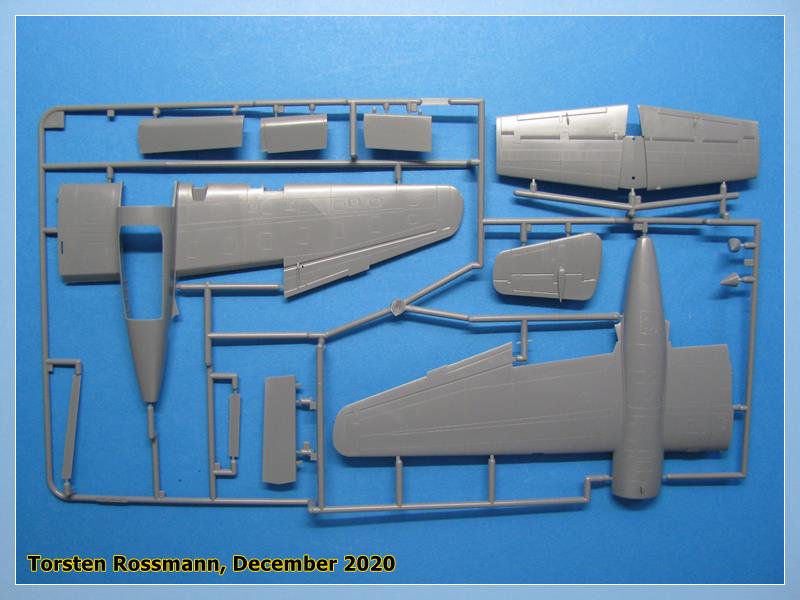
… Sprues B and C have the right and left wing parts and the rudders …
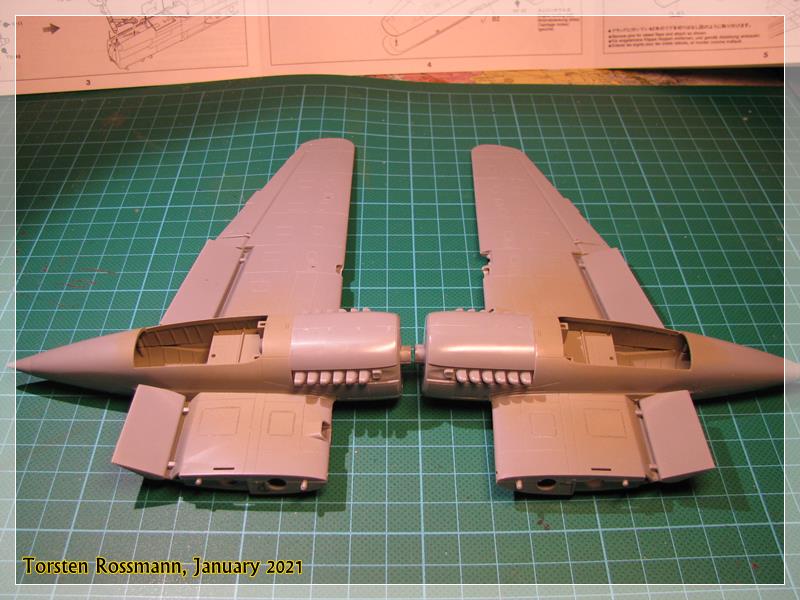
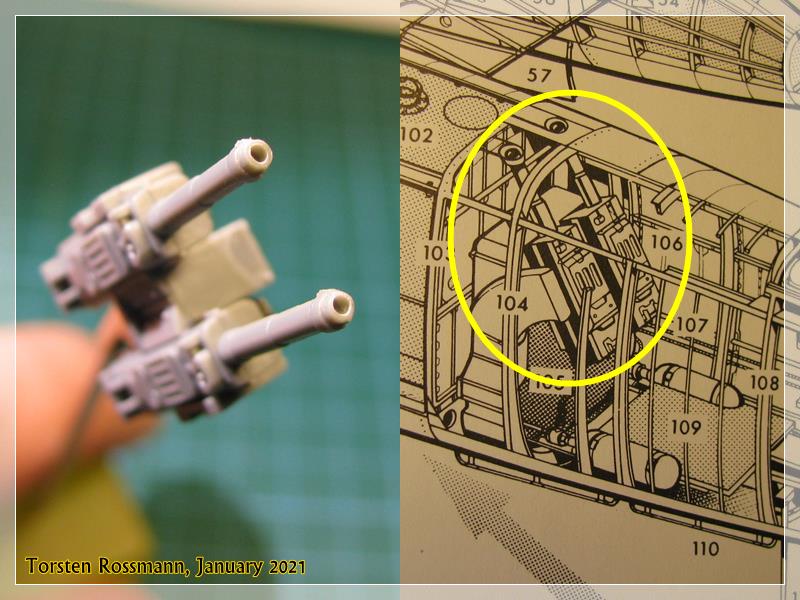
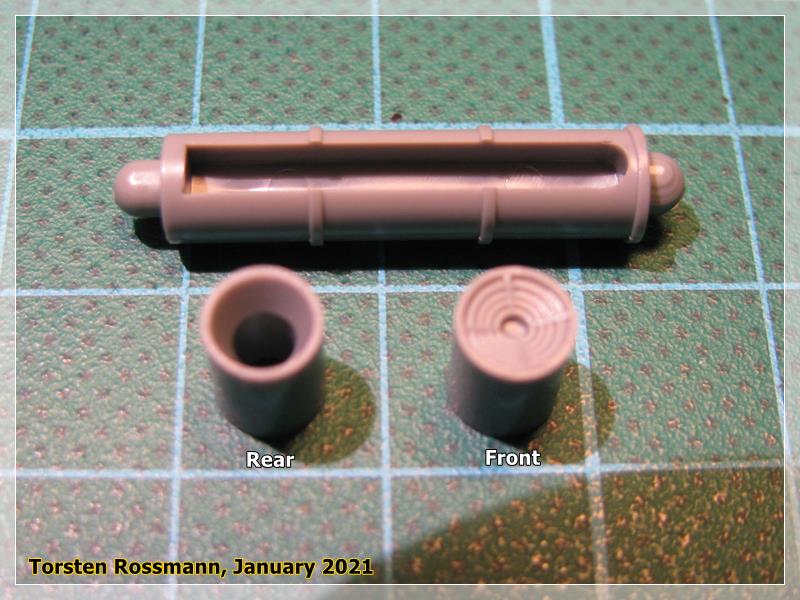
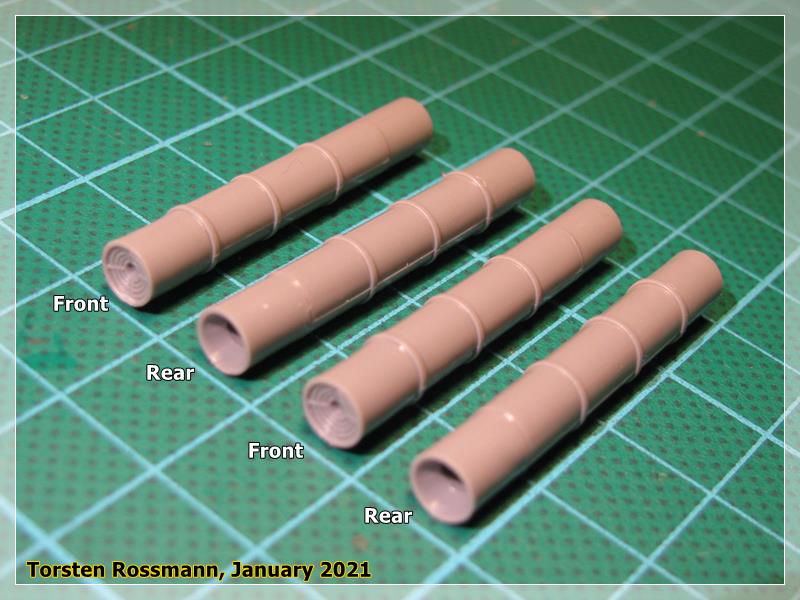
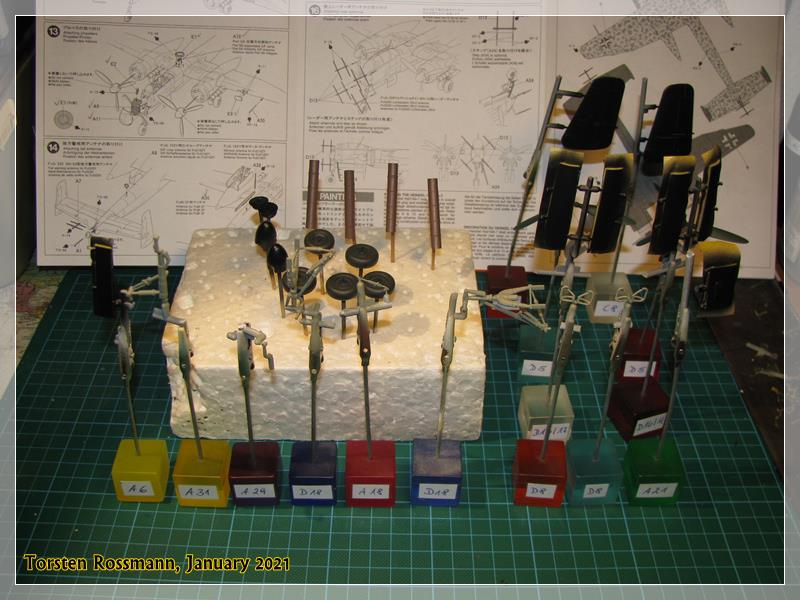
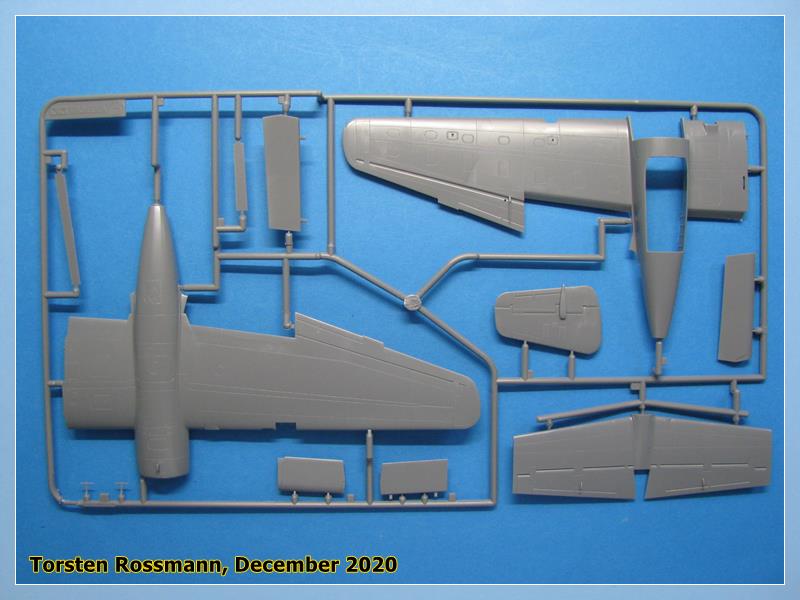
… Sprue D is 2 x in the box and holds the landing gear, parts for the FuG 220 Lichtenstein Radar, plus some more engine parts. Not sure yet, if I use the pilots …
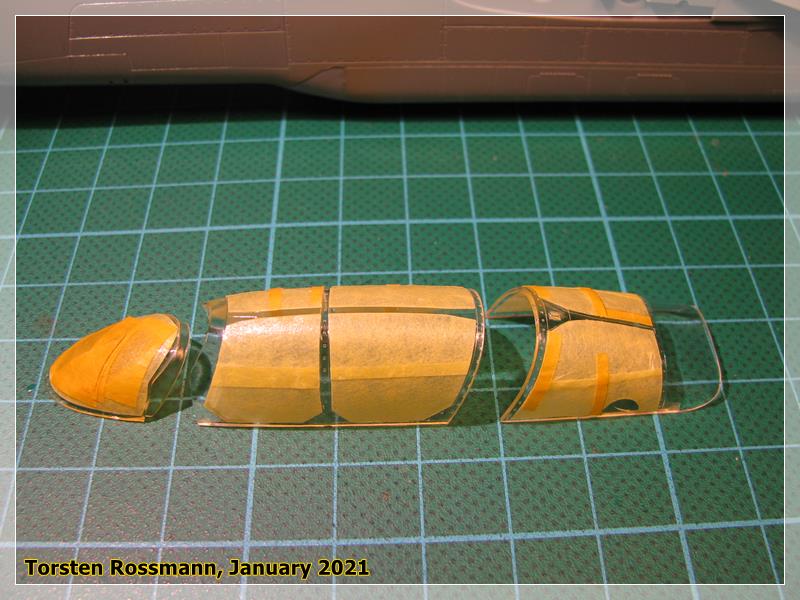
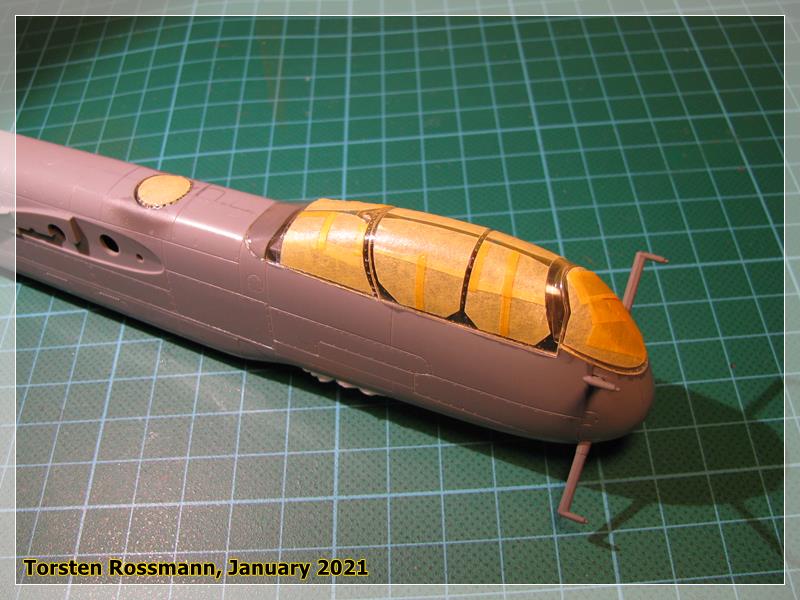
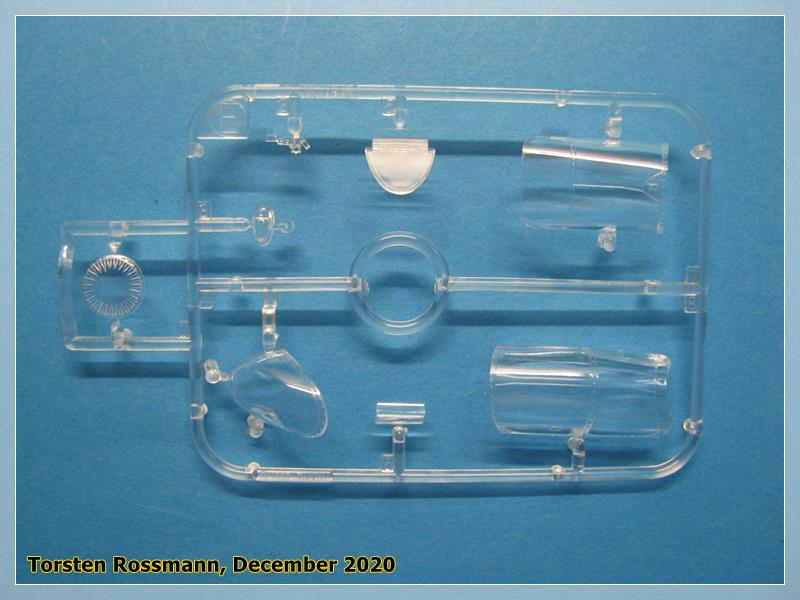
… Sprue E holds the clear parts …
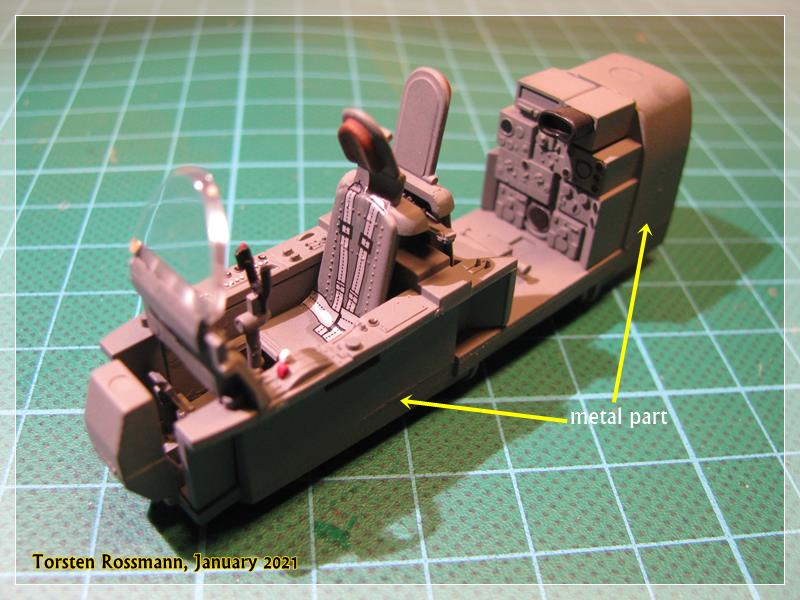
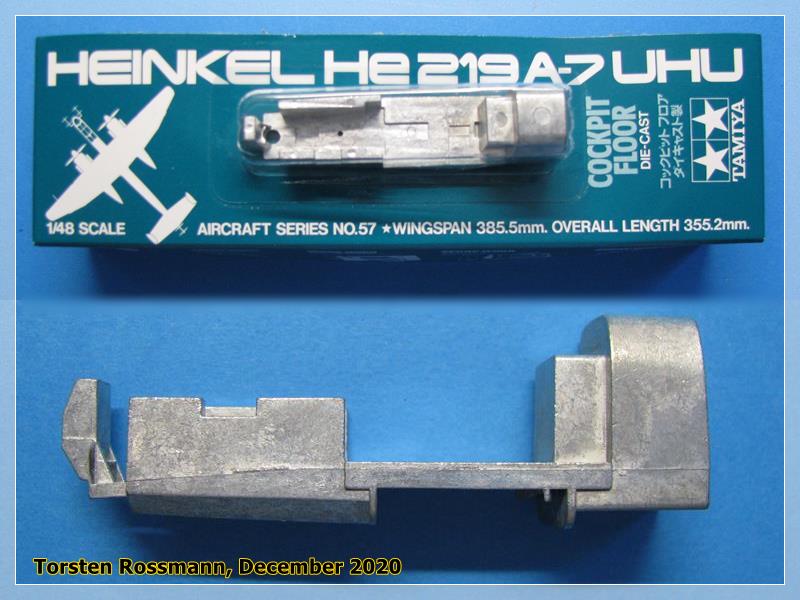
… you have already seen it in the second picture, Tamiya offers the cockpit floor as a metal part as there is not much space for weight in the nose. I hope it will be sufficient, otherwise I’ll try to put some lead balls in the engine nacelles …
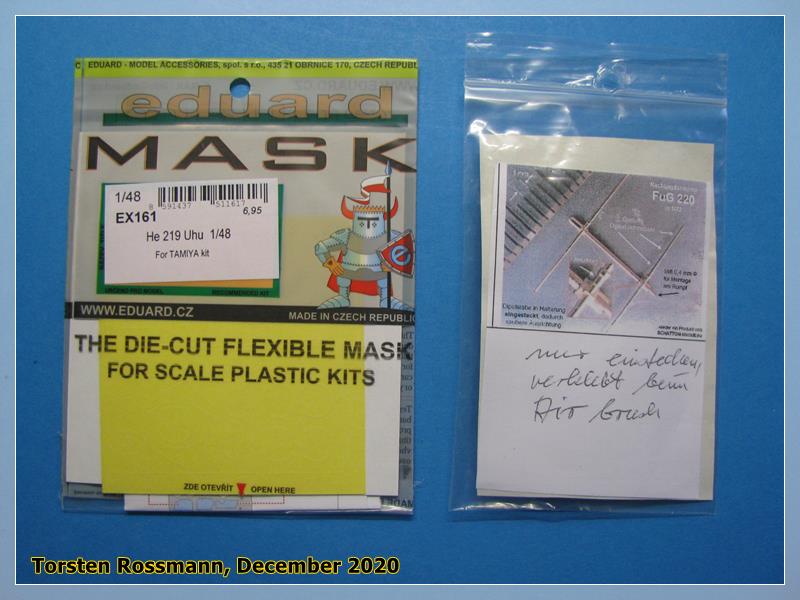
… the build will be out of box, only extras are the Eduard mask EX 161 and brass made parts for the FuG220 from Modellbau Schatton. I’ll give them a try. If I fail, I still have the kit parts …
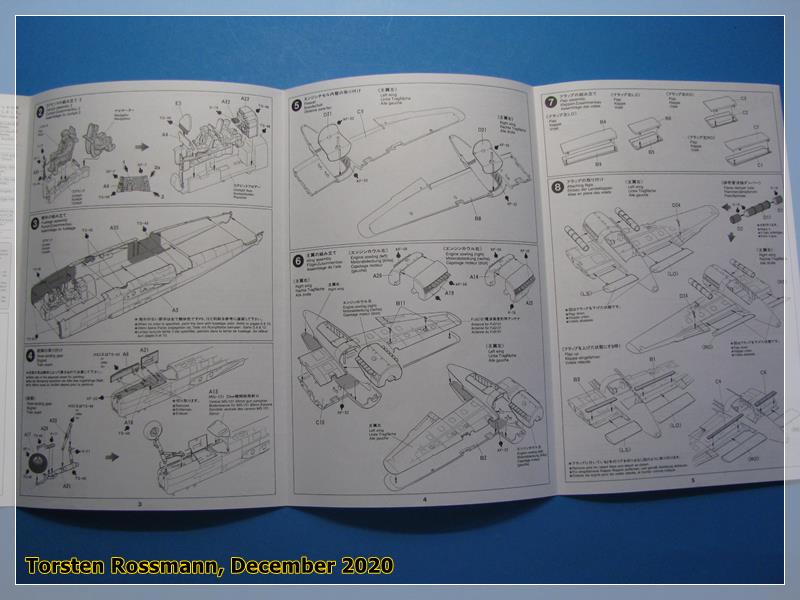
… the instruction is clear as usual. 16 steps, including sub-assemblies, will bring me to a good result, hopefully …
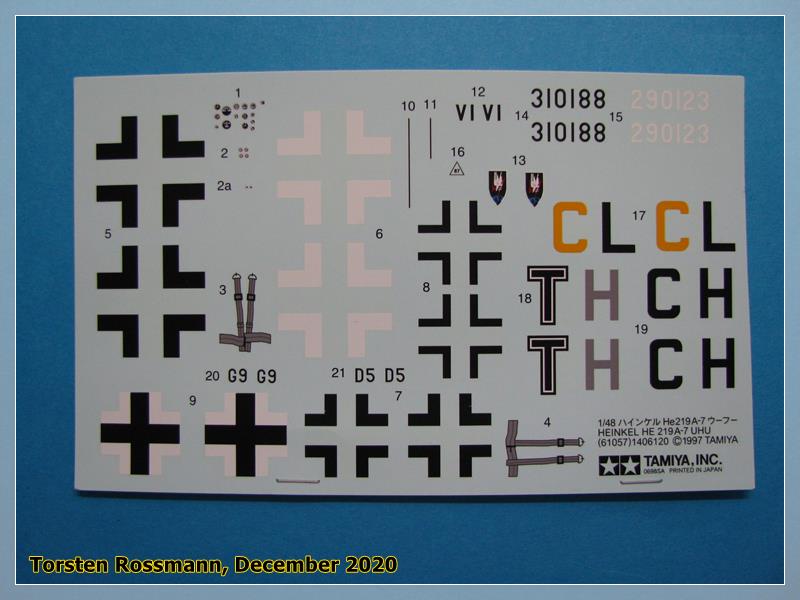
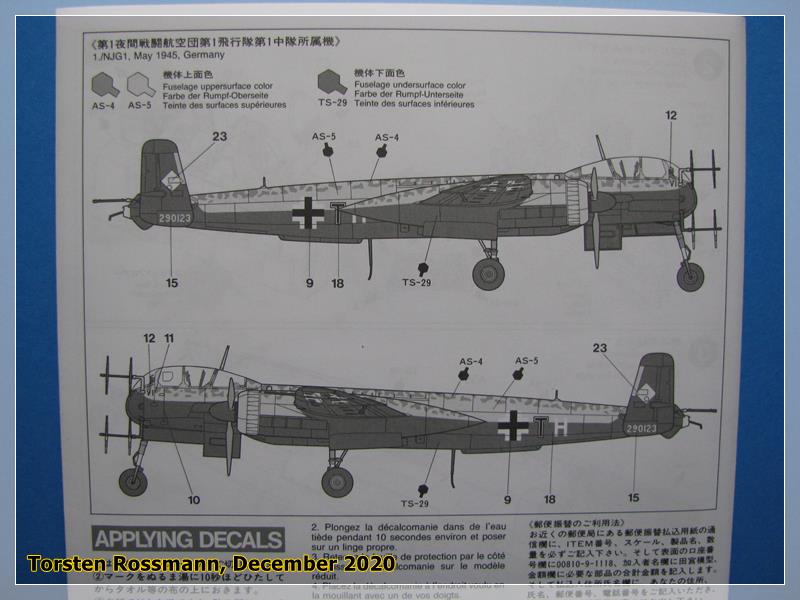
… Tamiya offers 2 options for this kit, NJG 1 and NJG 3, both from May 1945 …
… both airplanes look alike, except for the black underside only on the NJG 1 machine, that’s why I’ll build this one as shown on the box art …
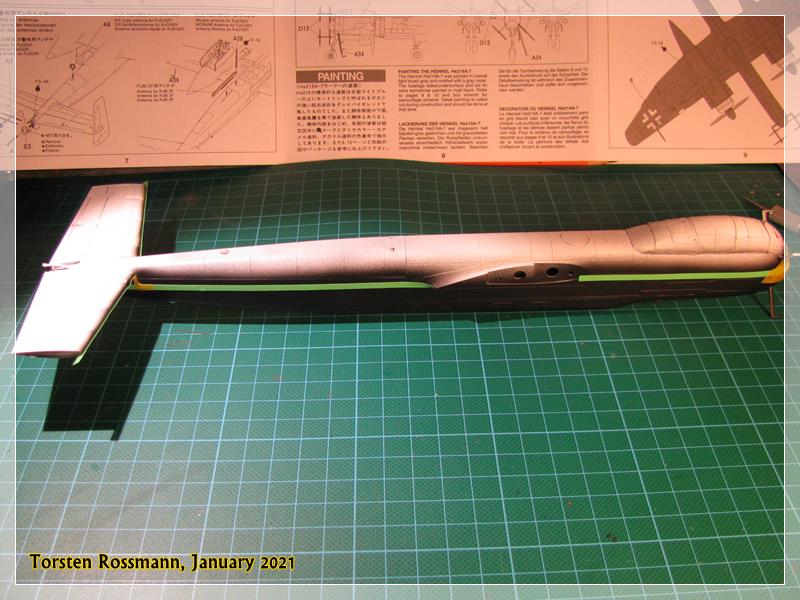
… paints are quite easy here, Black on the underside, RLM 76/75 on the upperside. I wonder how I manage the RLM 75 mottling . Well, I 'll see …

I’ll start the build some time after my christmas break and hope to show first progress pics in January. Until then I wish everybody here a Merry Christmas - Frohe Weihnachten - Hyvää Joulua - God Jul - Joyeux Noel - Feliz Navidad - с Рождеством !
Happy modelling also in 2021!
Torsten 
 And close to it comes the P-38.
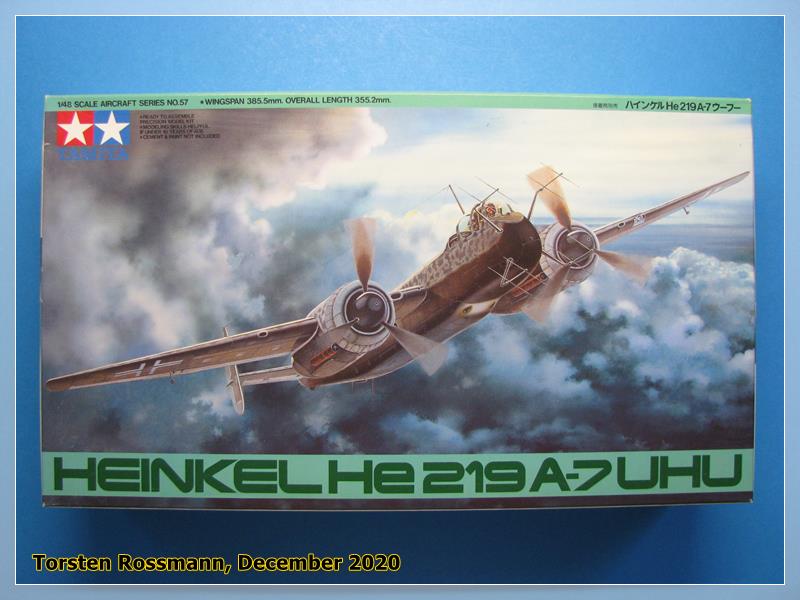

 ! Stay safe!


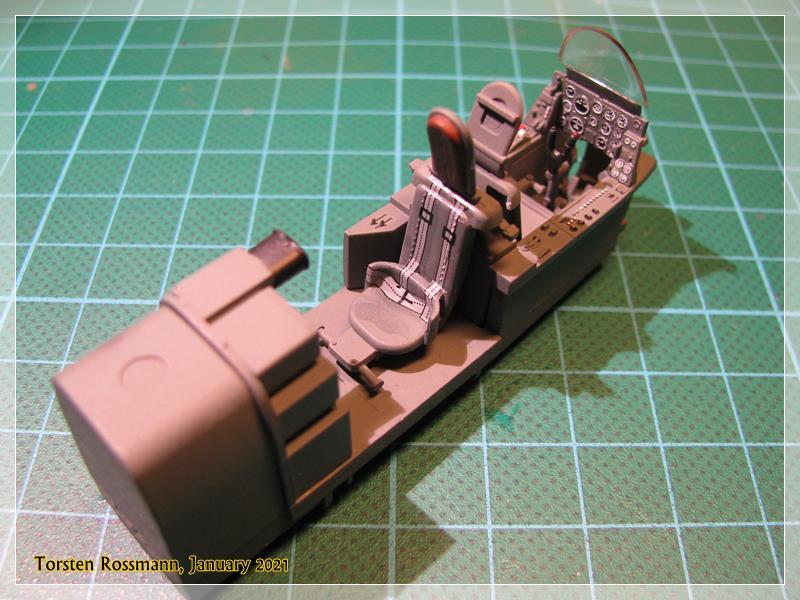
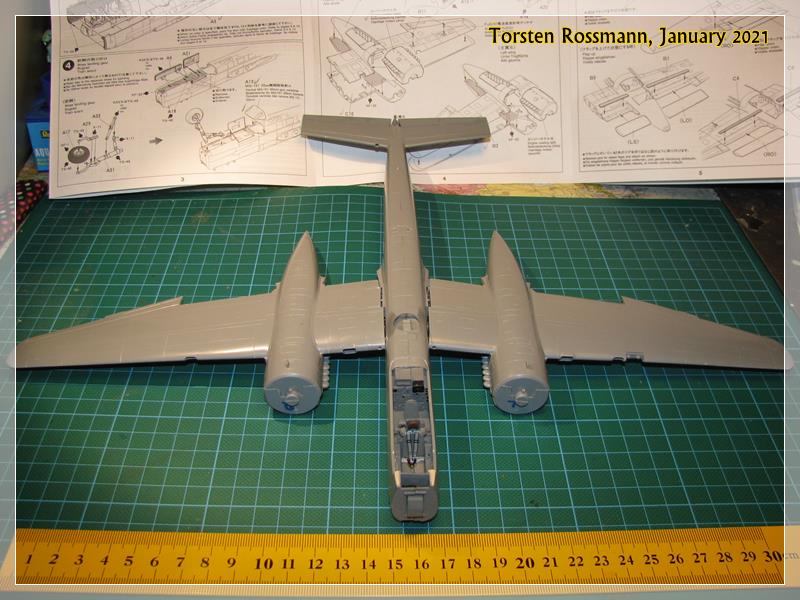
 I have used the decals for the intrument panel and the seatbelts. Paint is again Revell 77 Dust Grey for the cockpit. Did some detail painting today. For a kit of 23 years of age the fitting is still great and the cockpit fits perfect into the weight which is the underside of the cockpit and the upper part of the front wheel well …