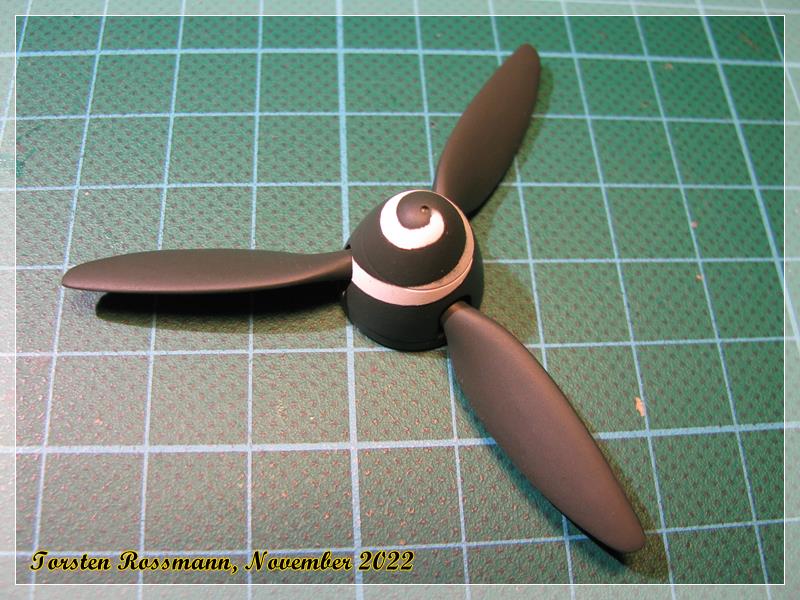
Thanks for your feedback, guys! As I said, I’m quite happy how the paint job was done and the Stuka is close to the end of the assembly line now. This is the propeller painted in Black Green RLM 70. A little overspray on the spiral but I won’t repair it because it sure would look worse afterwards …
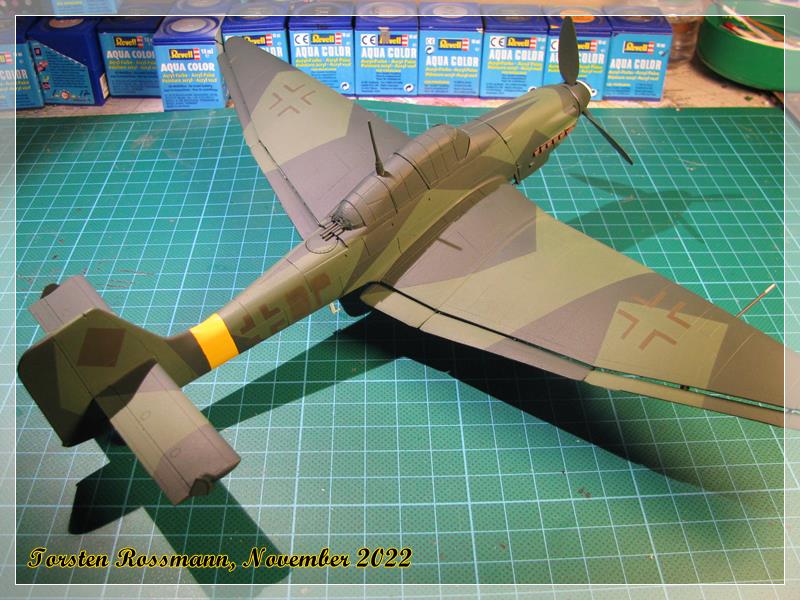
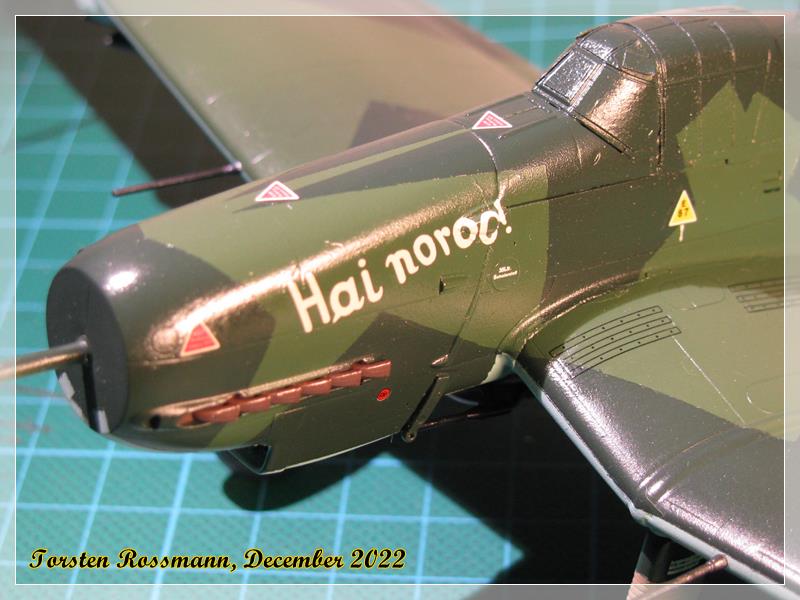
All paint corrections are done now and the Ju 87 stands on her wheels. All small parts are now added, only the MG 151/20 are still missing. The overpainted codes on the fuselage are brush painted and look more like “OP”, on the original it looks more like “KP”. I don’t care …
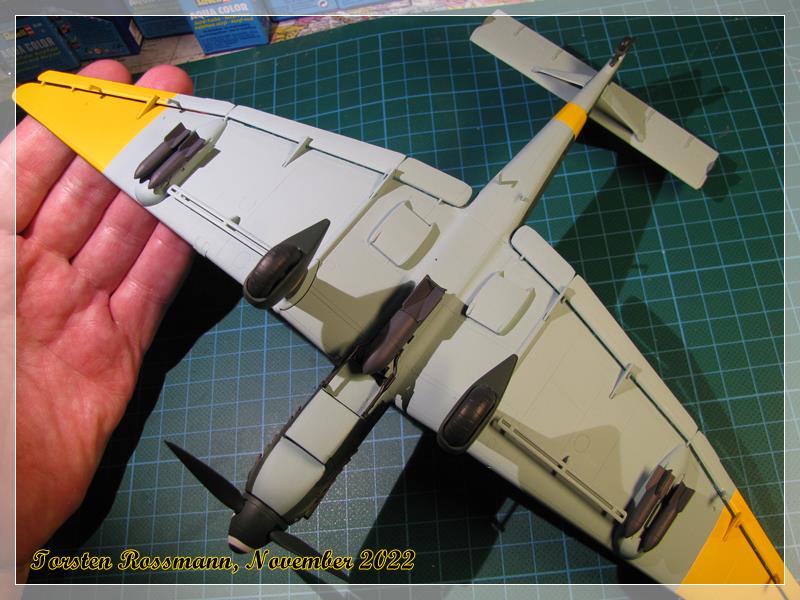
I leave the Stuka now to dry thoroughly over night and start with the decals tomorrow. There are not many decals on the sheet. A few more than for the C6N1 Saiun, but not many. This is no Eduard kit … Hope to finish this bird by next weekend.
Torsten,
Decaling looks perfect. As for the spinner, I’d say you did one outstanding job on it. I highly doubt that in real life that they were perfect.
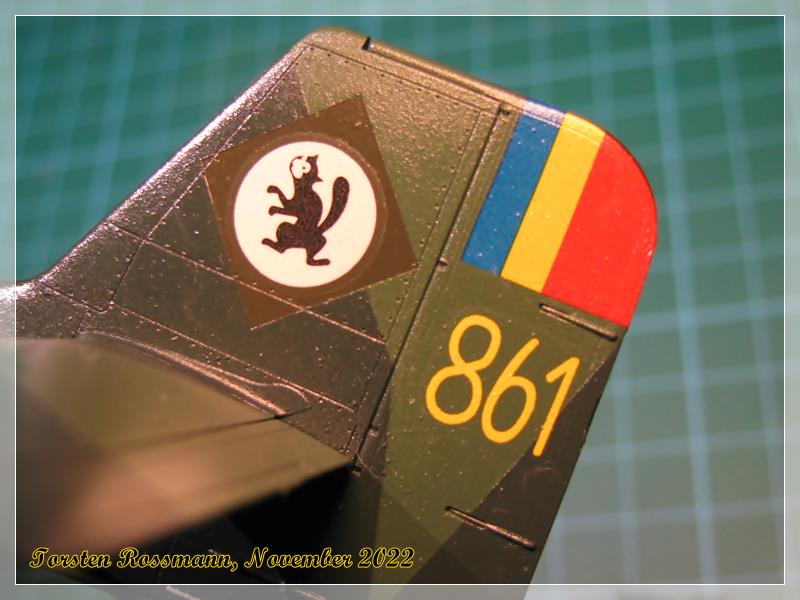
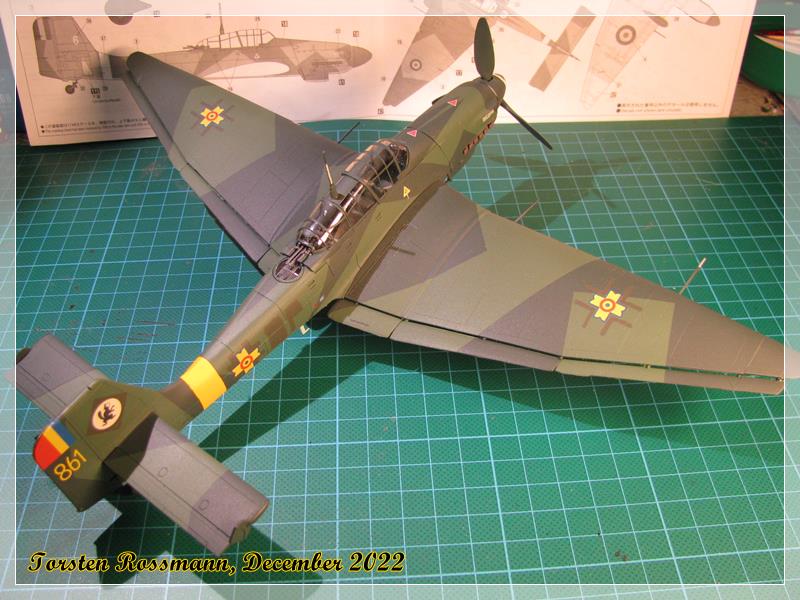
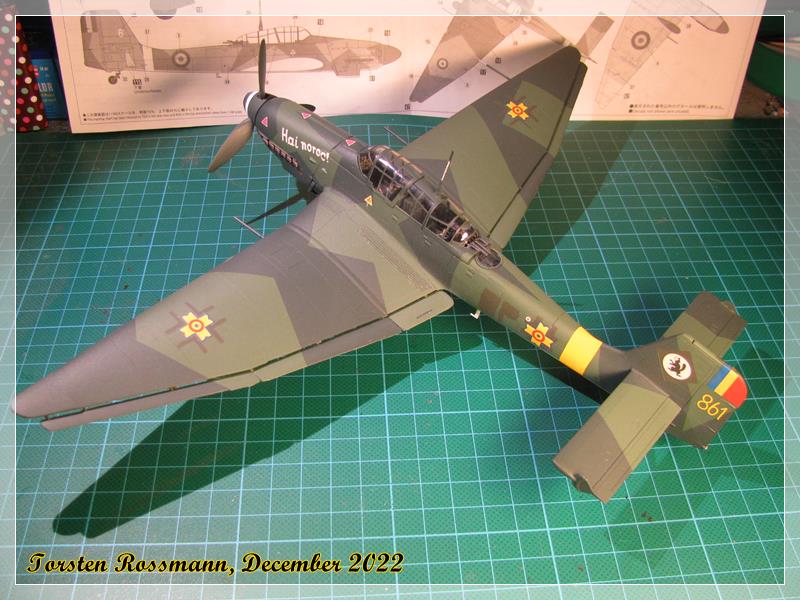
After about 110 w.i.p. photos I call this build finished Junkers Ju 87 D-5 “861” Esc. 86, Grupul 6 Royal Romanian Air Force ARR Southern Sector of the Eastern Front, Summer 1943
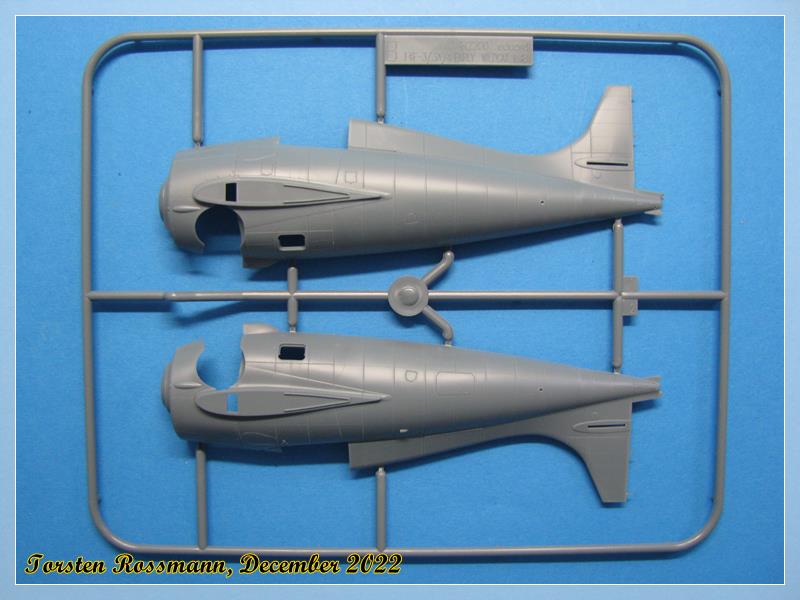
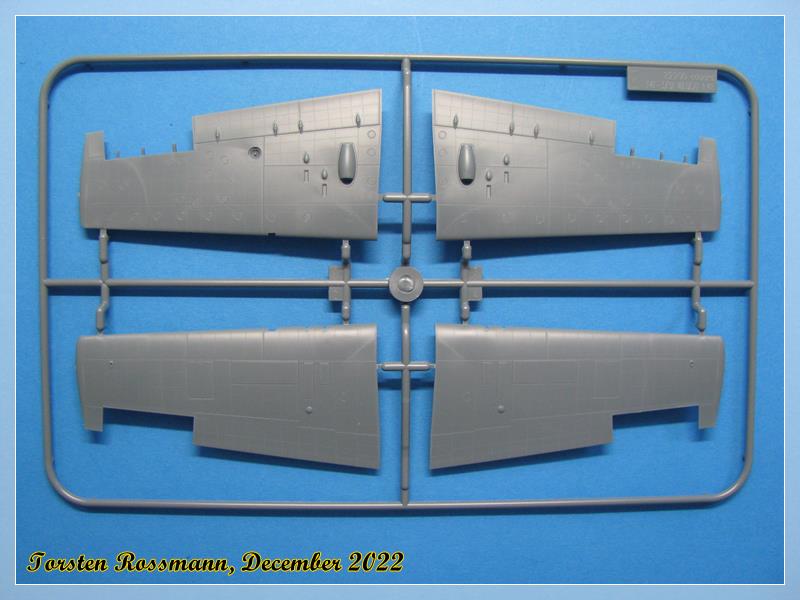
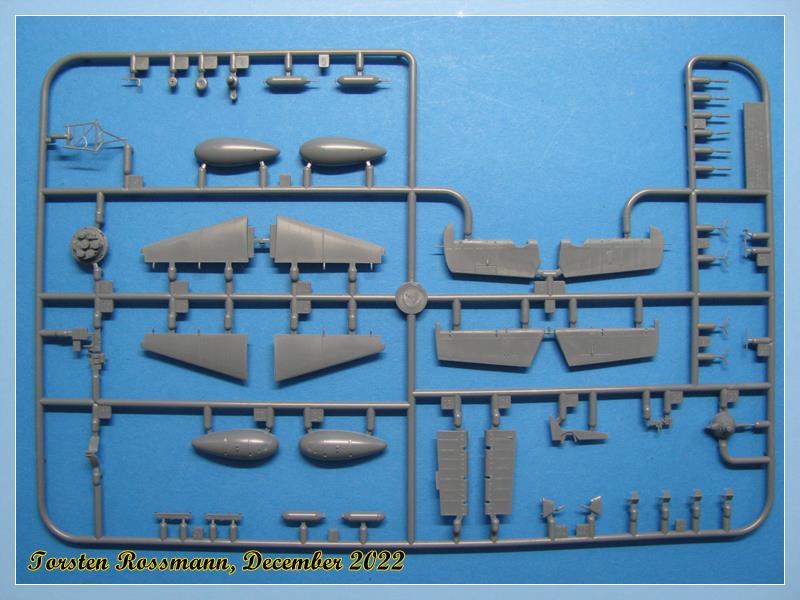
Kit: Hasegawa 1/48
Used paints (all Revell Aqua):
No. 8 Black
No. 9 Anthrazite
No. 39 Dark Green RLM 71
No. 40 Black Green RLM 70
No. 49 Light Blue RLM 65
No. 68 Dark Green
No. 69 Granite Grey RLM 66
No. 78 Tank Grey
No. 88 Beige
No. 301 White
No. 310 Yellow RLM 04
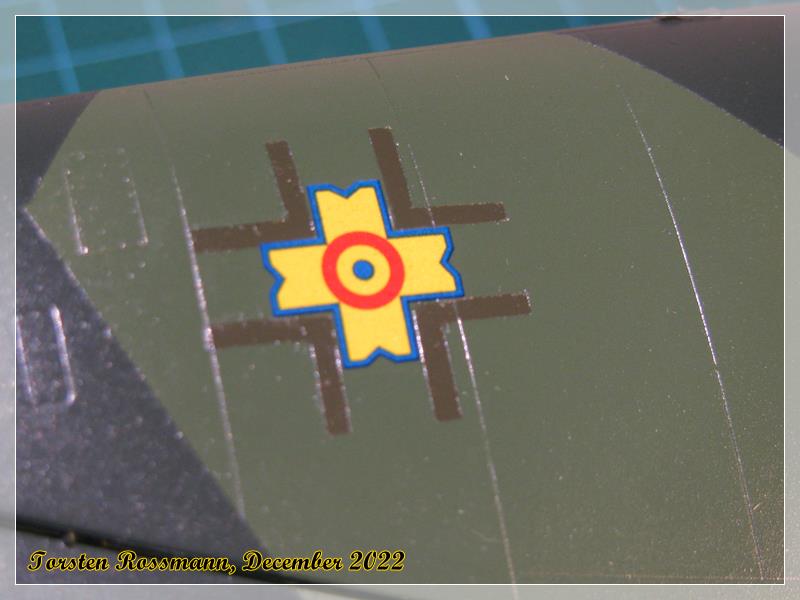
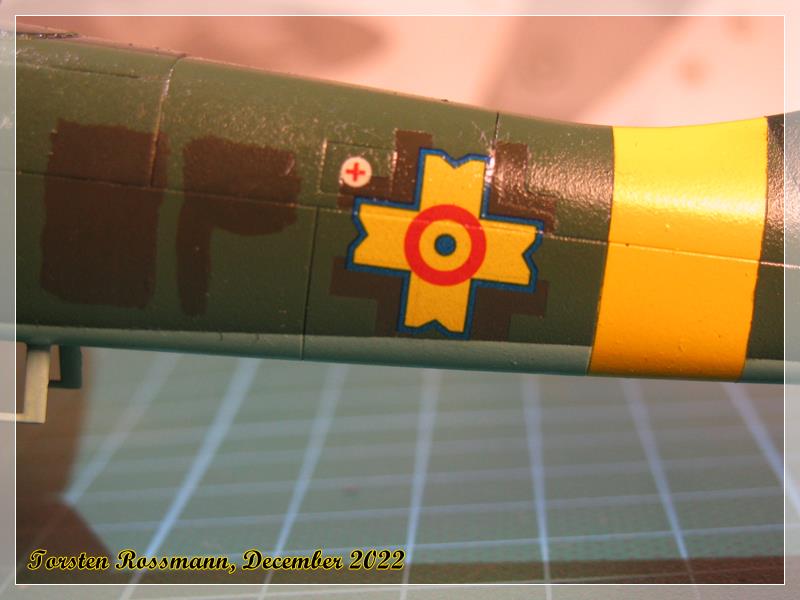
The decals went on really easy compared to the C6N1 Saiun. I just wonder if the stencils were left in german language? Probably they were overpainted as well. The original mould of this kit is from 1998, this limited edition from 2006 and it has its flaws but all in all it was a fun build of this iconic plane. Final coating was again made with a 70/30 mix of Revell Clear Gloss and Matt. I’m quite happy how the Stuka looks in the end. Demasking the canopy was a bit fiddly because the Eduard masks were a bit sticky. More and better photos soon in my Assembly Line Thread.
I want to thank everyone who has followed this build with comments and/or likes. Hope you’ve enjoyed it. A special bow goes out to Peter and Dragos for their help in the beginning. You were of great help, guys!
Thanks for your kind comments, Mike, Peter, Dragos and Russell! Glad you enjoyed following the build as I enjoyed building this kit. First show for this bird will be in March next year. Dragos, I hope we will see your Stuka here one day …
It’s already around the corner, Peter! Took the photos at the weekend, just have to prepare them.
Torsten, I hope that too , battle of the Stukas. But if it will not be ready by then, at least I hope to attend as a visitor. No harm in dreaming. However, what show is that?
Thanks, Joel! Glad to hear that you like my efforts
Dragos, the model show is a small, more familial like one about 200 kilometers away from my home. I attend it as an exhibitor since 2008 every year (except 2020 …). It’s always the start of “my” show season. See Post 398 in this thread …
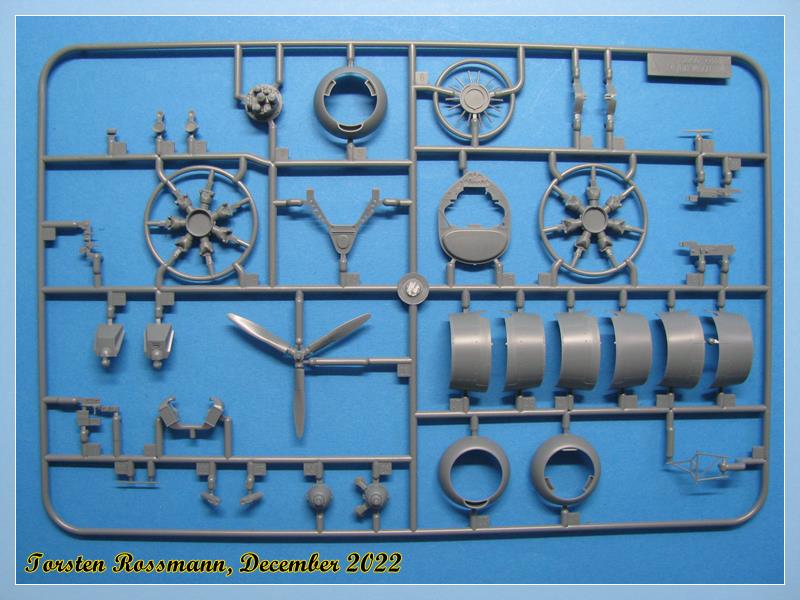
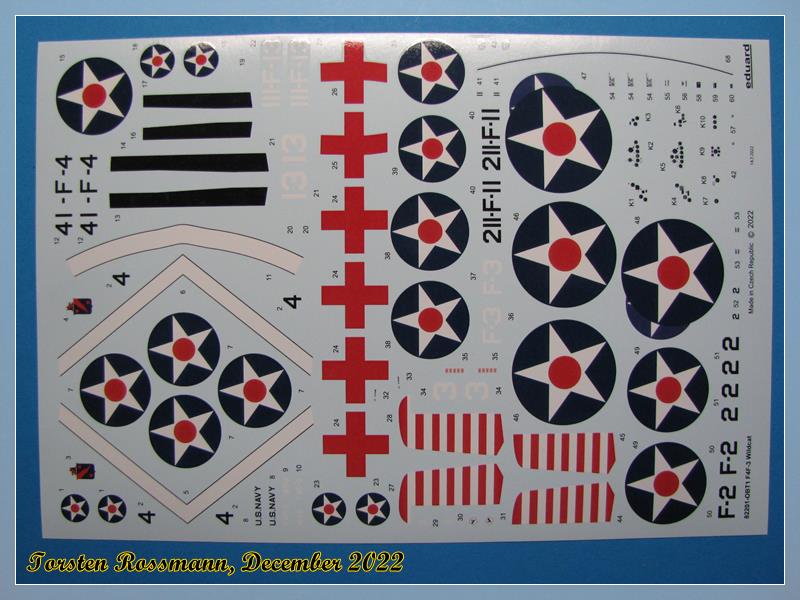
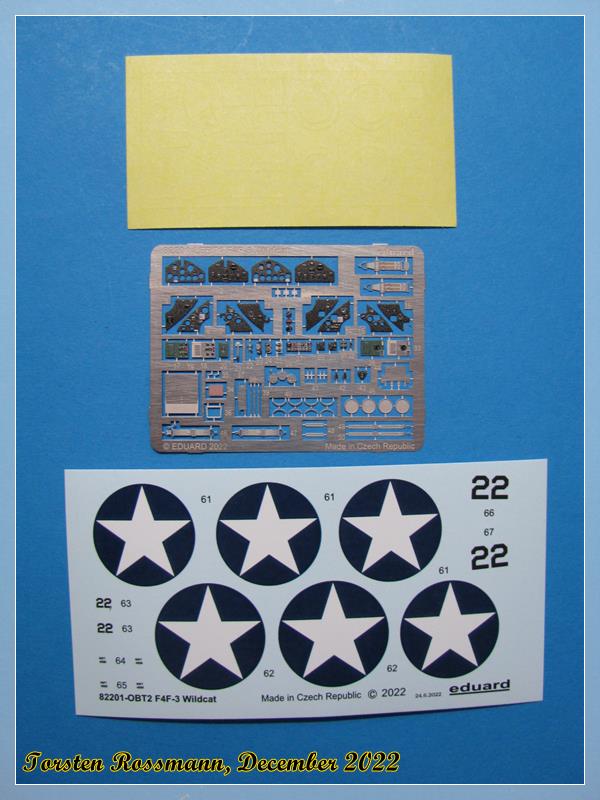
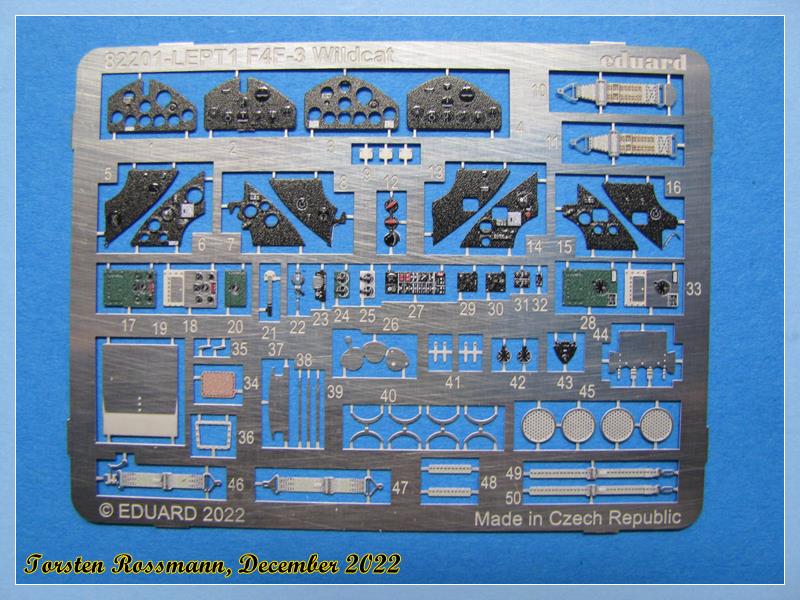
While the Ju 87 is nearly 20 years old, my next kit is brandnew. In October I bought the new F4F-3 Wildcat Profipack directly at the Eduard Online Shop. And as they had a 20 % discount offer I decided to make it a Dual Combo …
Though I still have a few Hobbyboss Wildcats in my stash I give this brandnew kit a try. Paints will mainly come from Vallejo. I have just recently got their USN & USMC Air War Colour Series No. 71157. Will start in the next days and hope that some of you guys will accompany me again. But first I’ll finish my memorial tour at the Somme thread, something completely different.
The first one should look great, with all those colours. Can’t wait to see it finished, I’m sure you will do a great job.
Got a seat in the front row, chomping on popcorn.
Good luck Torsten