Visit my part of the world, you’ll get all the snow you want HA HA. The cockpit is looking tremendous!
1 Like
I live in one of the storm areas and it’s not a big deal to get 24 inches of snow. The woods are really pretty when filled with snow and I would not like to live anywhere else
2 Likes
Dear fellow glue sniffers!
Back from holidays in Vienna I wish everyone here at the Kitmaker Family a Happy New Year or as they say in Austria …

I’ll be back at the bench in the next days … ![]()
Torsten
![]()
7 Likes
Thank you Brother all the very best to you!
1 Like
Happy New Year to you too, Torsten! ![]()
![]()
2 Likes
Best Wishes for '23 Torsten, looking forward to a happy, safe and productive year!
Cheers, D
2 Likes
Thanks for your well wishes, guys! ![]()
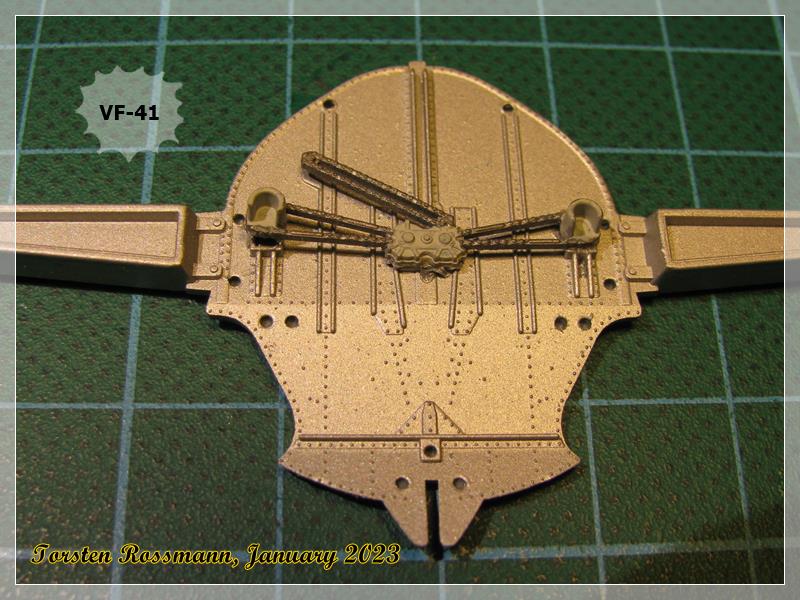
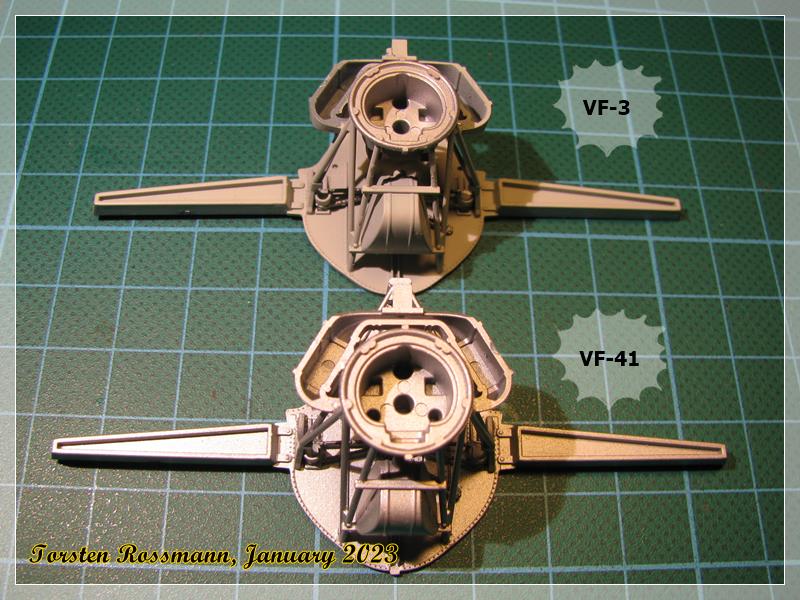
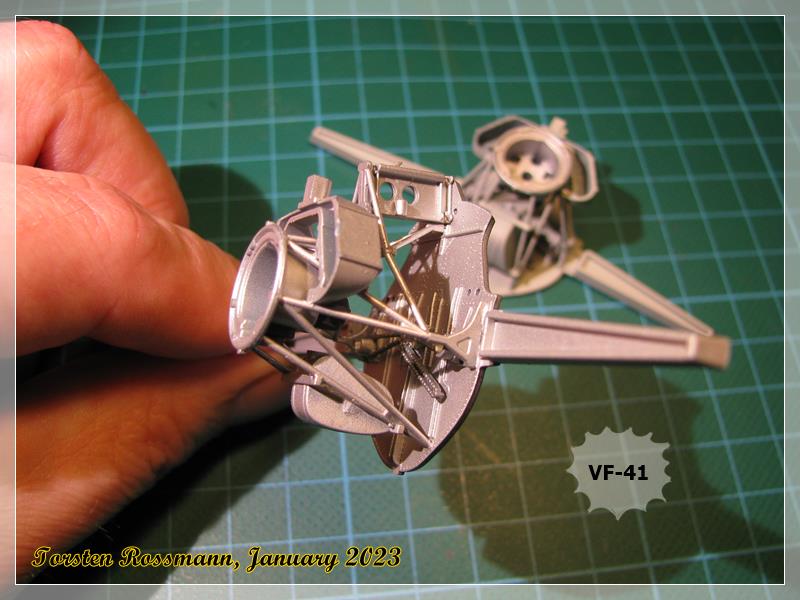
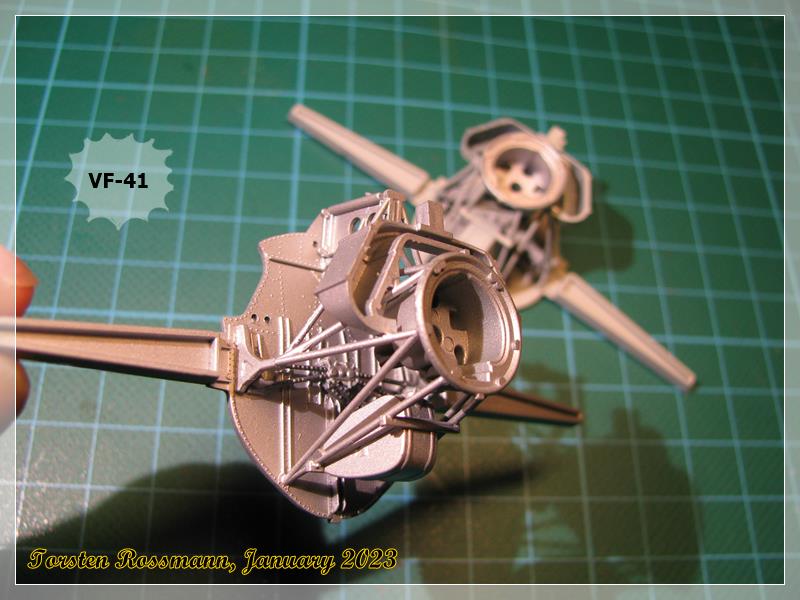
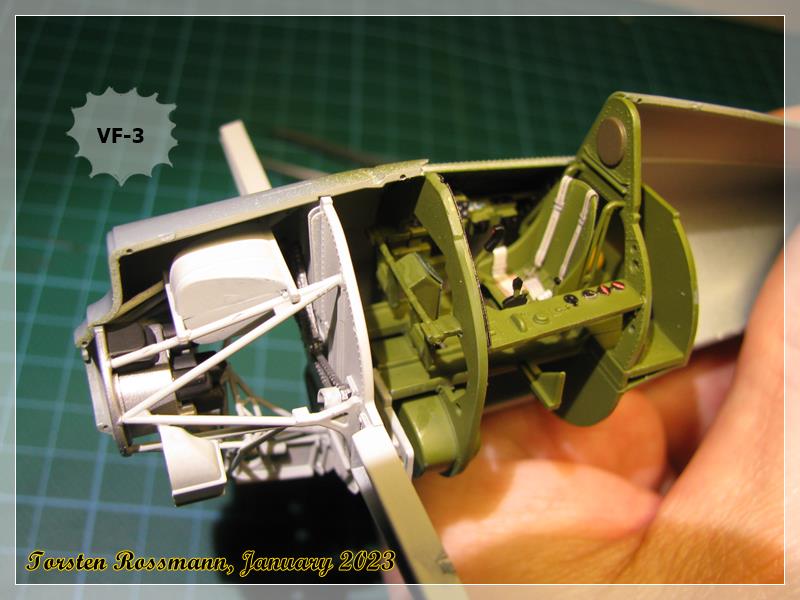
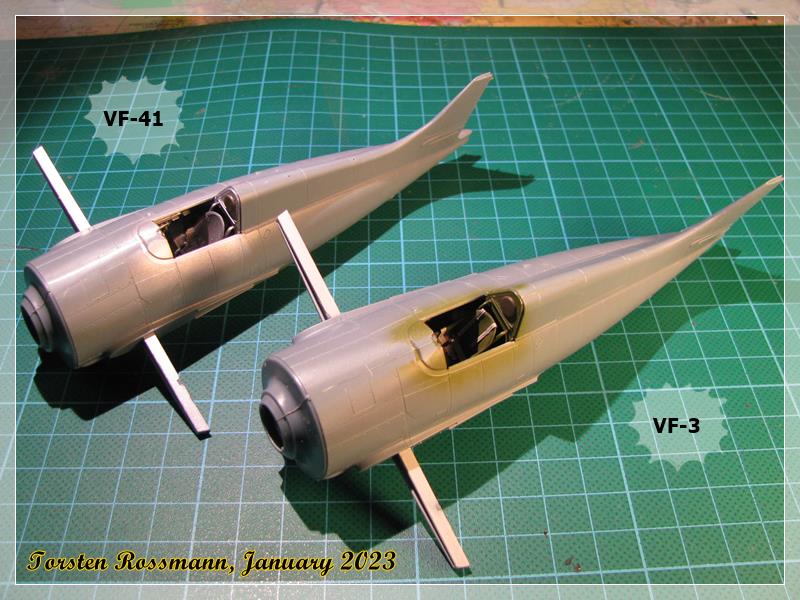
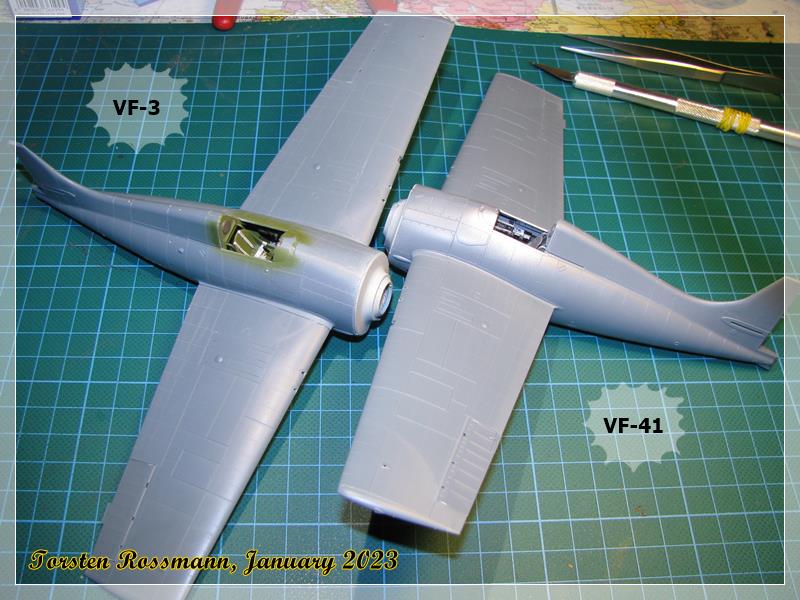
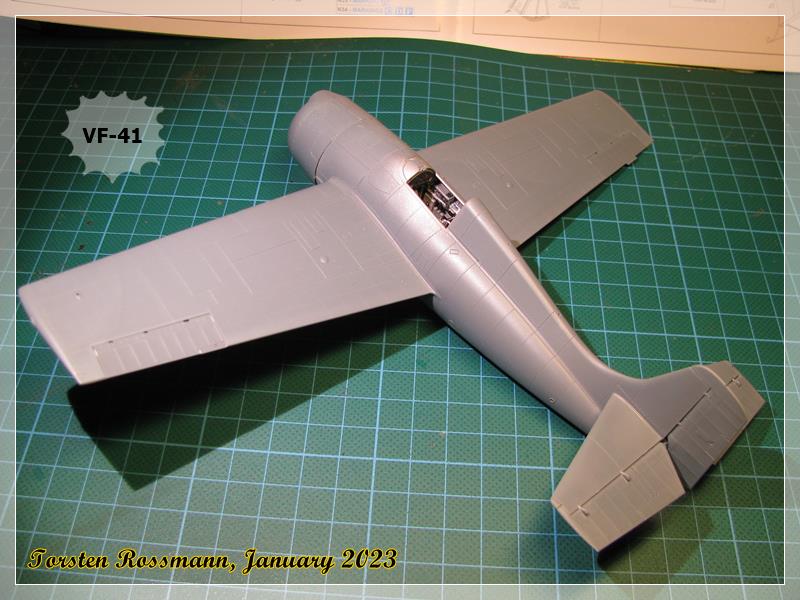
Time for the first update in 2023. The fragile mounting for the engine and landing gear was as fiddly as I assumed. I made it step by step for a few days giving the glue time to harden over night. Have used Vallejo 71121 Light Gull Grey (VF-3) and Revell 99 Aluminium (VF-41) …

The fire wall in front of the cockpit, here for the VF-41 Wildcat …
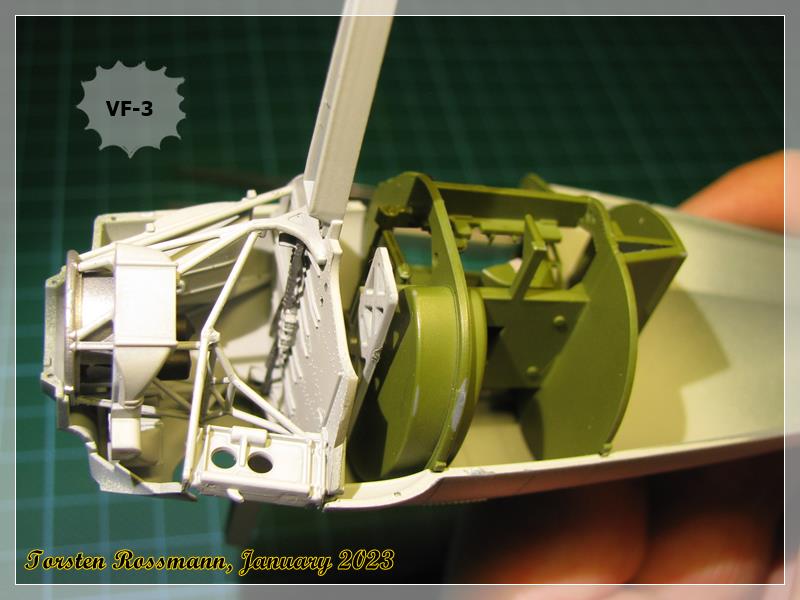
… and all parts glued …
… first clear parts are in place …

… first dry fitting yesterday showed a nice fitting … ![]()
… getting serious with glue now … ![]()
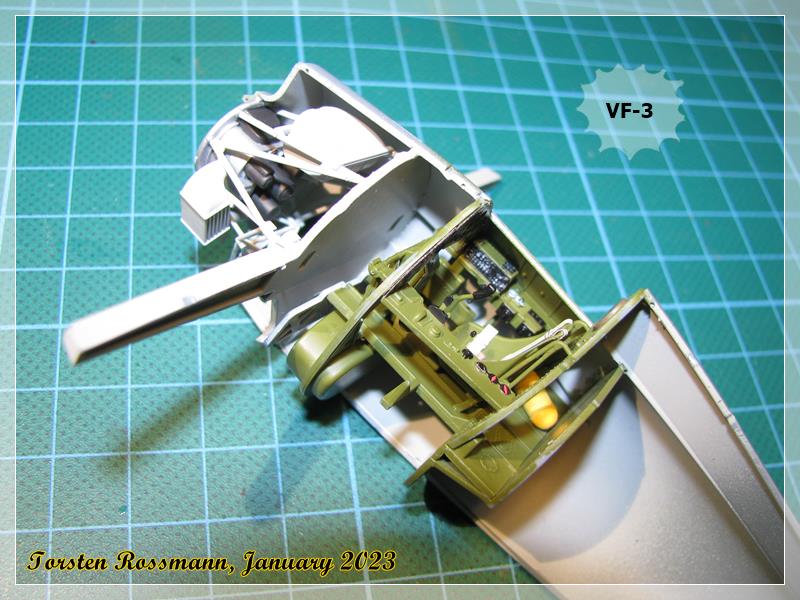

… after a few more test fittings it was time this afternoon to get the fuselage parts together. Needed a bit squeeze and press but the fit looks good to me …

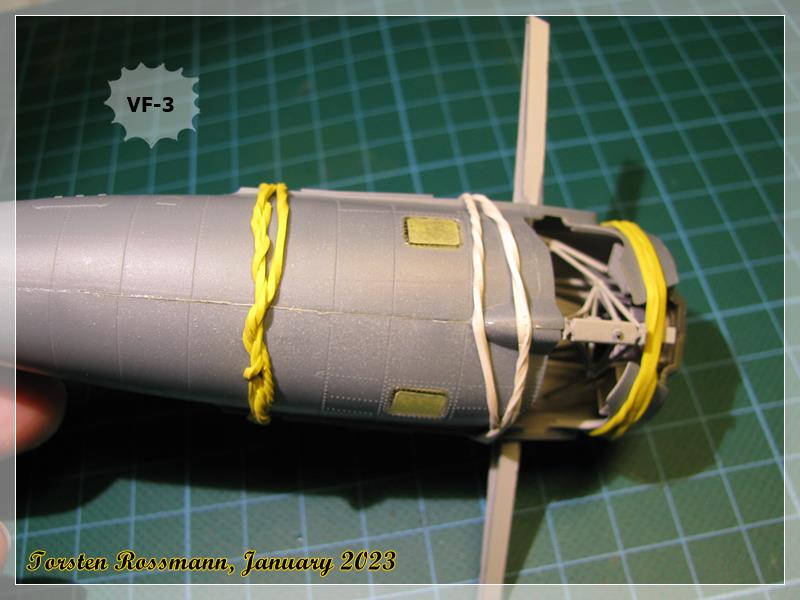
Will leave it to dry again over night. More work tomorrow. This is O’Hare’s bird, same procedure in the next days on the VF-41 Wildcat … ![]() More to tollow soon …
More to tollow soon …
Have a nice Sunday!
Torsten
![]()
9 Likes
Looks like a very nice start to the year Torsten ![]()
2 Likes
Yep, what he said! ![]()
2 Likes
Torsten,
The completed and glued fuselage really looks quite good. Not a gap to been seen top or bottom.
joel
2 Likes
Good job on those engine mounts, they look very fragile. And a good fit so far. Hope the second one is the same.
Noroc ![]()
2 Likes
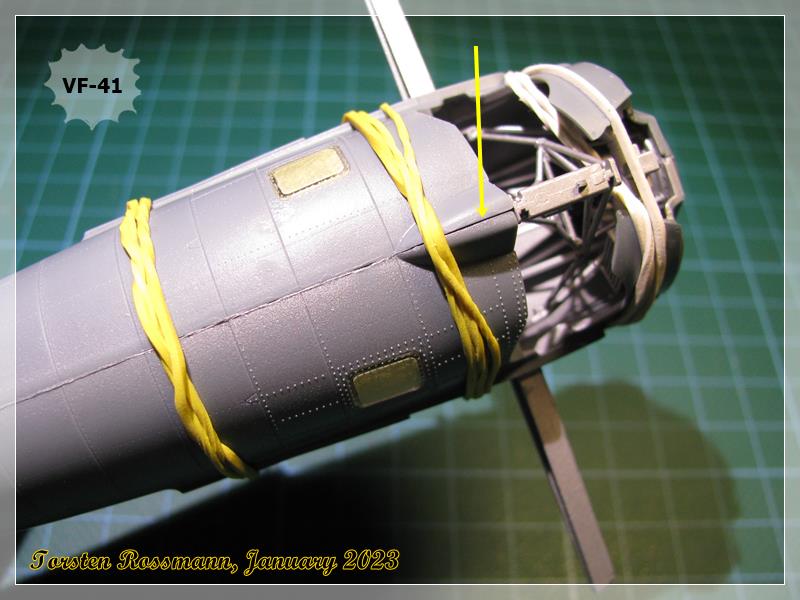
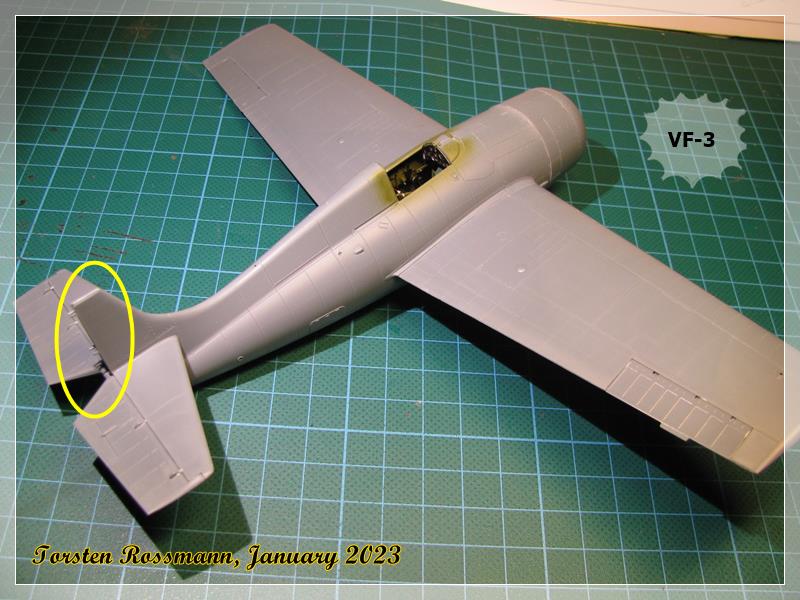
Thanks folks! ![]() Yes, I’m quite happy how everything went together so far. Just glued the fuselage halves of the VF-41 Wildcat together after again some test fitting. While the upperside looks fine, there’s a small gap on the underside. I’ll have a look at it again tomorrow. Maybe a tiny bit more glue already helps. Though the gap looks more dramatic on this macro photo than in real …
Yes, I’m quite happy how everything went together so far. Just glued the fuselage halves of the VF-41 Wildcat together after again some test fitting. While the upperside looks fine, there’s a small gap on the underside. I’ll have a look at it again tomorrow. Maybe a tiny bit more glue already helps. Though the gap looks more dramatic on this macro photo than in real … ![]()
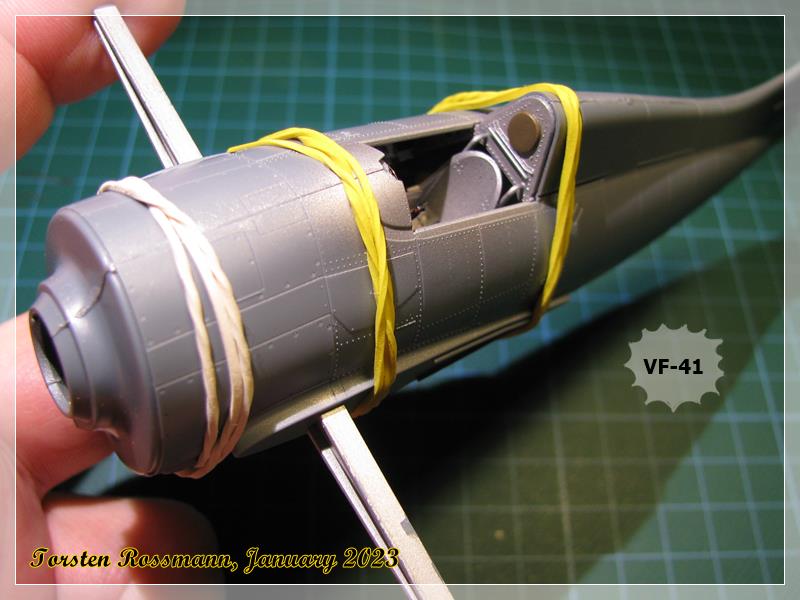
Sanding the seams will start tomorrow. Next step from the instructions should be the main landing gear but I’ll leave that out until late in the build because of easier painting. Instead I’ll start with the wing assembly next.
Torsten
![]()
9 Likes
Time for another update on the Wildcats from the last few days. Sanded the fuselage seams …
… and worked on the wings. Fitting here is very good, so sanding was done in a minute or so …
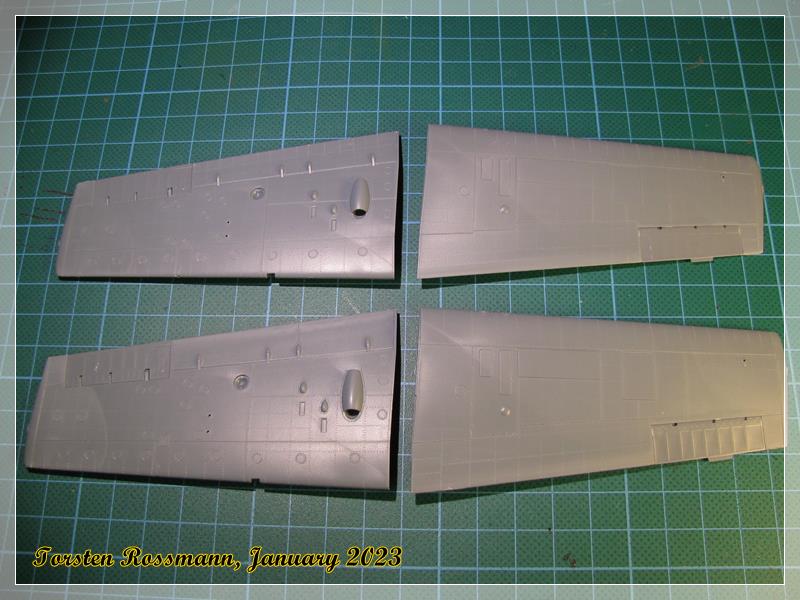
… perfect fitting also on the transition between wings and fuselage. No need for putty or sanding.Wish it would be this way on all models … ![]()
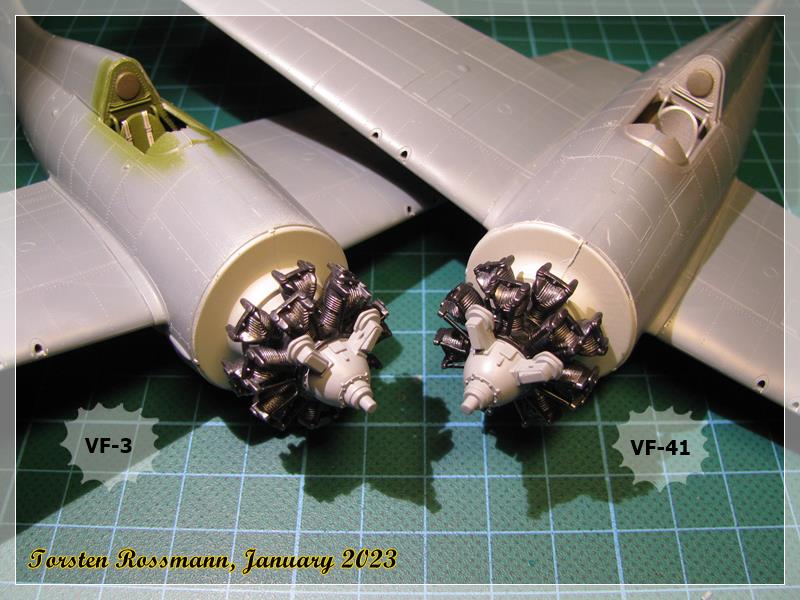
… next step are the engines. For the first time I have used Vallejo Metallic Black 71073 here. Came out really nice. Looks a bit like a dark Gun Metal …


… and attached to the fuselages …
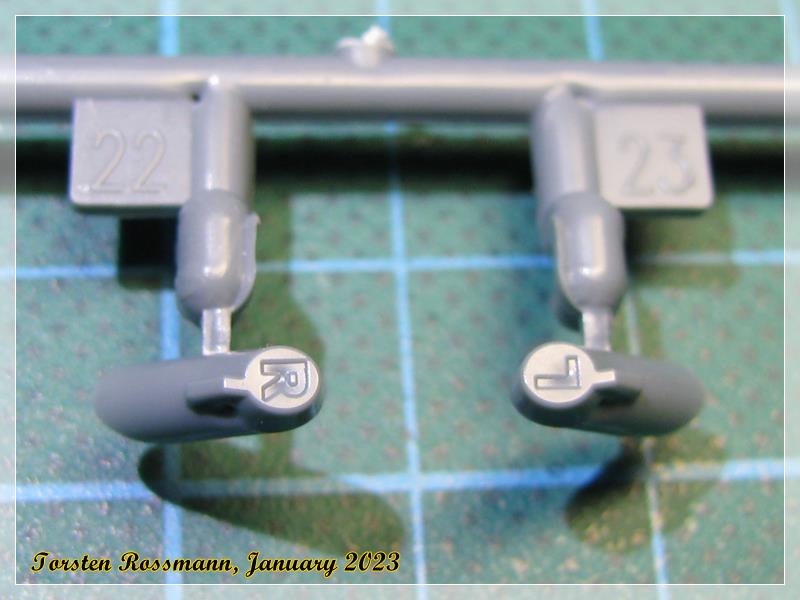
… though the parts have different numbers N22 and N23, the exhaust stacks are also marked with R and L, so it would be stupid to mix them up …
and attached to the builds, here on VF-3 …
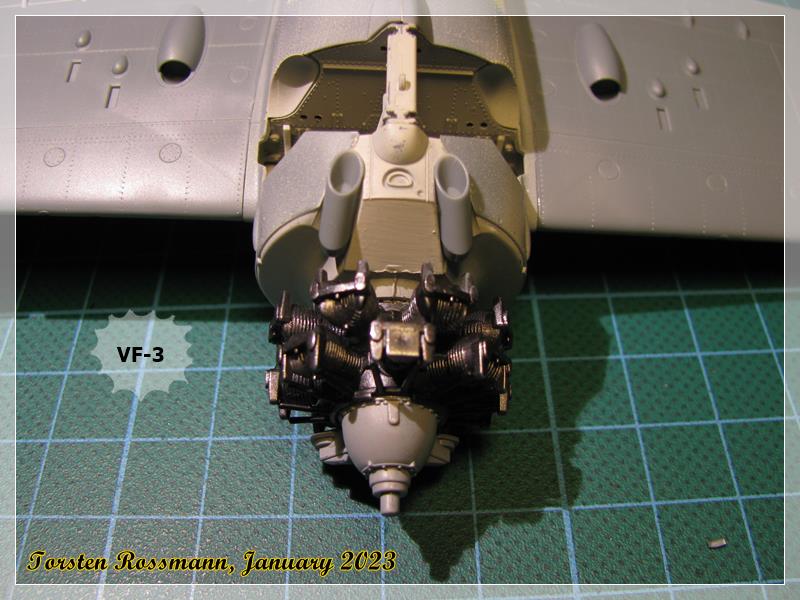
I’m already working on the cowlings and hope that I can throw the first paint on the cats by next weekend … ![]()
Torsten
![]()
8 Likes
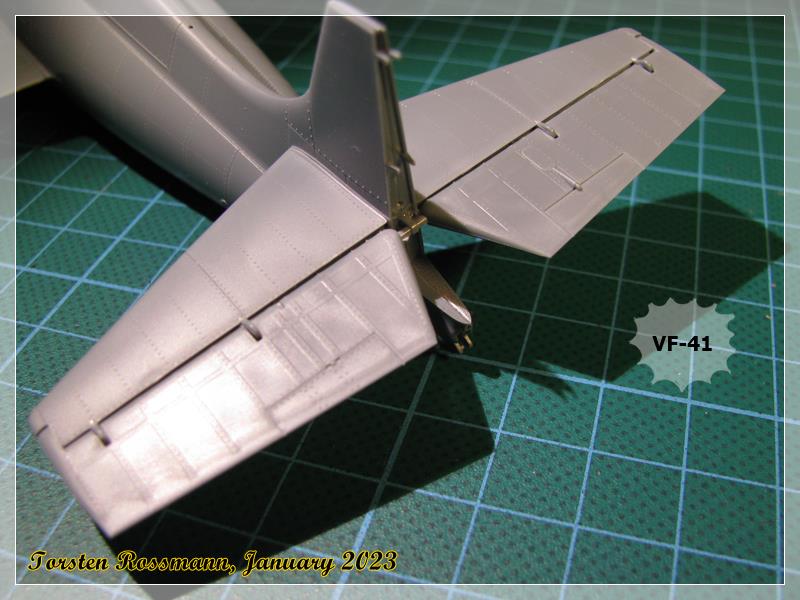
Attaching the elevators to the fuselage was a very tight fit (or fight?). In fact too tight for my taste, so I enlarged the holes a little bit until the the elevators fitted easy. A tight fit it okay but if you have to press hard and nearly break parts there’s something wrong …
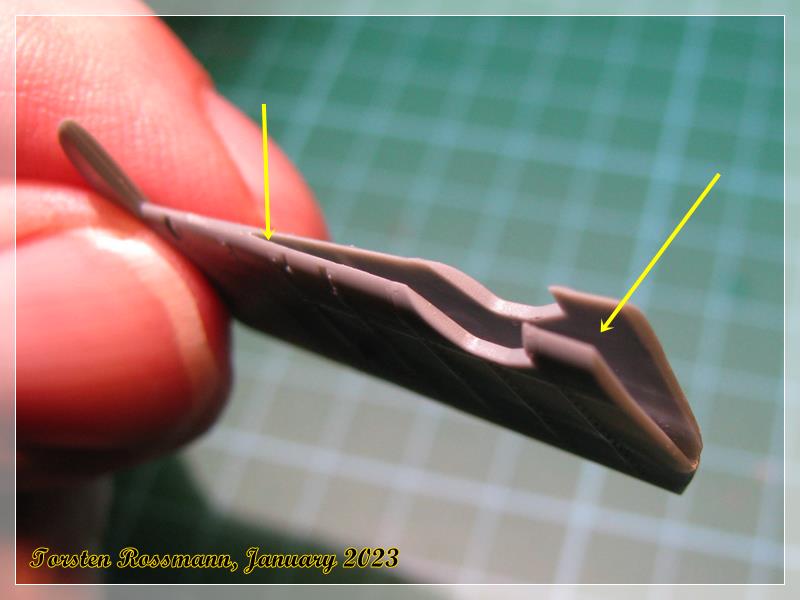
Meanwhile I have also the feeling that this kit is a bit “over engineered” as we know it from the first batches of Eduard’s Fw 190. Here’s a view in the intructions for the installation of the side rudder …

… Part M27 had to be glued inside Part M15 …


… but it just won’t fit properly … ![]()
… so I had to do some surgery to make fit as it should … ![]() Of course on both builds.
Of course on both builds.

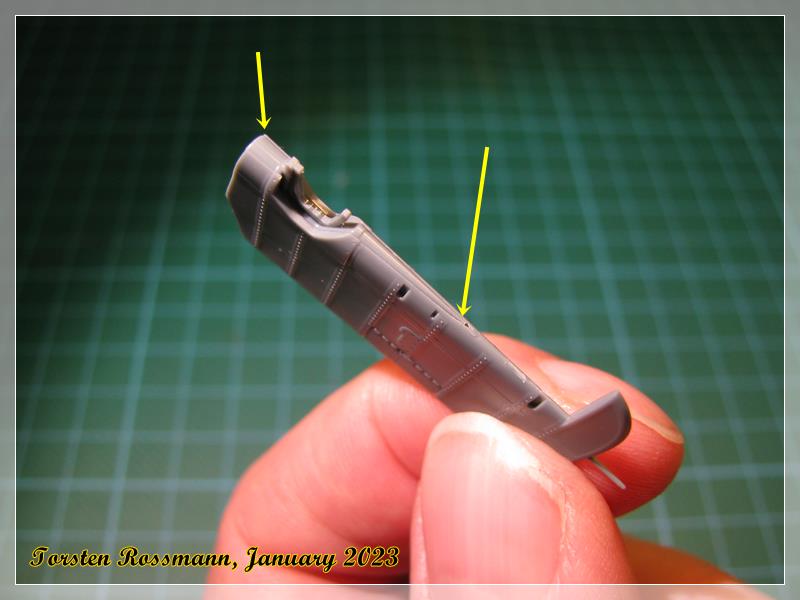
and now …

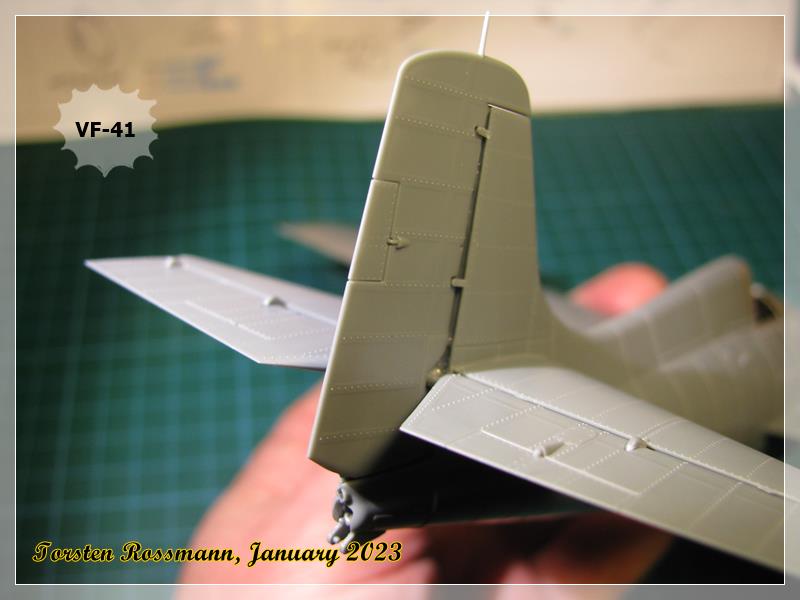
… while VF-41 has got the whole side rudder …
it’s still missing on VF-3 because of the red and white stripes. Not sure yet if I use the decals or if I paint them … ![]()
Next step will be the canopy and closing the engine and landing gear with some kitchen paper. The big assemble party slowly comes to an end. I’ll keep you updated.
Torsten ![]()
10 Likes
Wow. Really is a case of “High Parts count because we can”.
Looking great Torsten.
2 Likes
Shouldn’t you be wearing gloves when performing surgery? Nicely done Sir!
2 Likes


Was wondering where those went. ![]()
2 Likes
Torsten,
Excellent job on engineering the fit of both the rudder and the elevators. It’s all about the visual end results, and your F4’s are looking more and more as Mr Grumman’s 1:1 version did.
joel
1 Like