Torsten's bench works

I came pretty far in the past days with my He 219. :slightly_smiling_face:
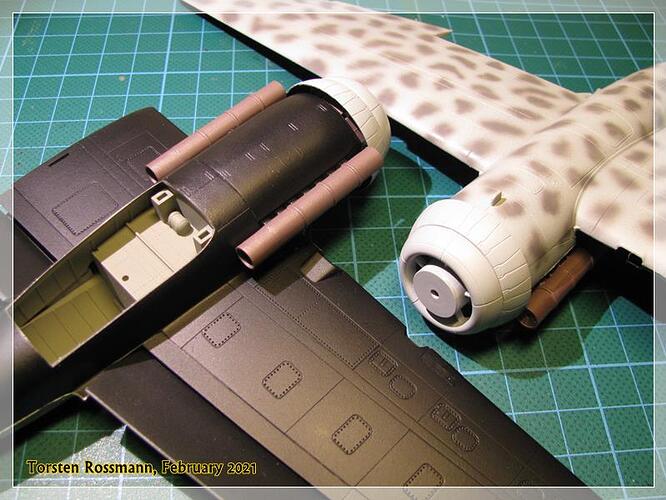
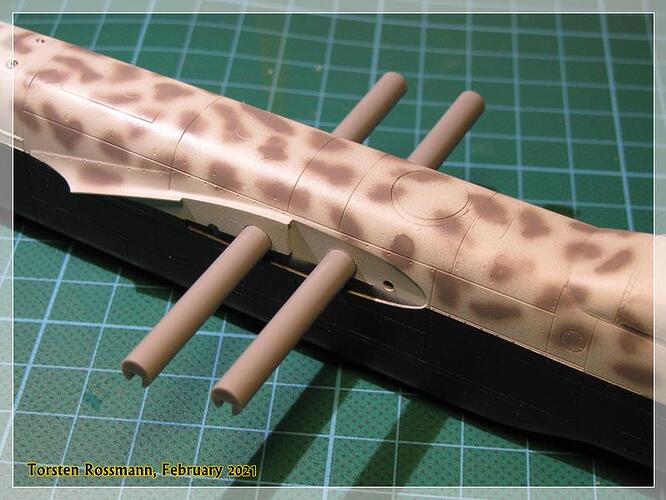
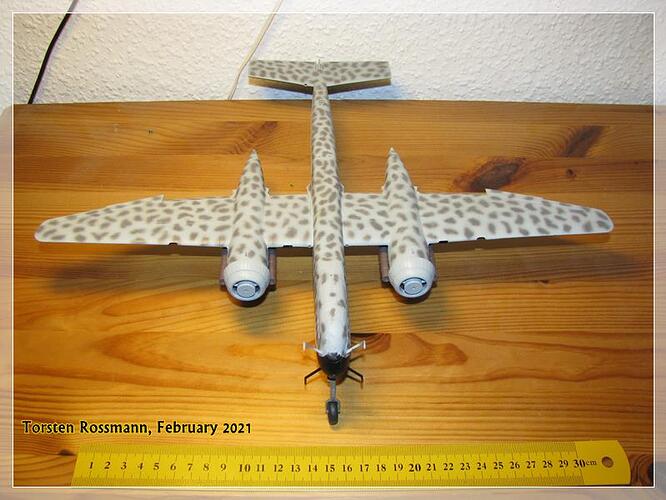
First flame dampers and cooler flaps were attached …


… good engineering back in 1997 are the 2 braces, which hold the wings right in place …

… for the left wing I needed a bit more power to bring it in place but the right wing was very easy to attach … :slightly_smiling_face:

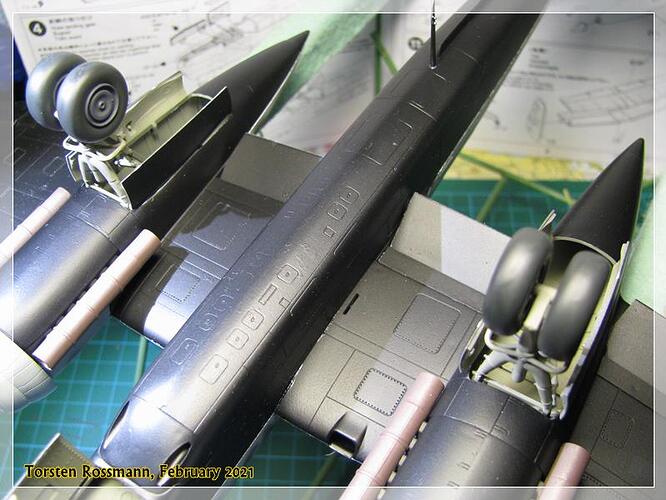
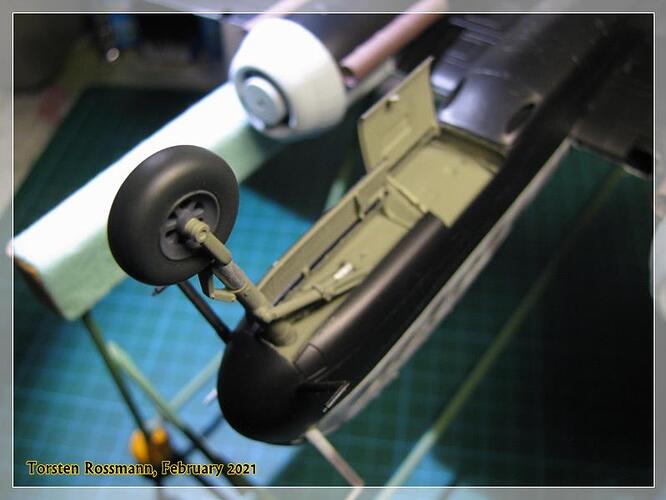
… yesterday I added landing gear and gear doors …


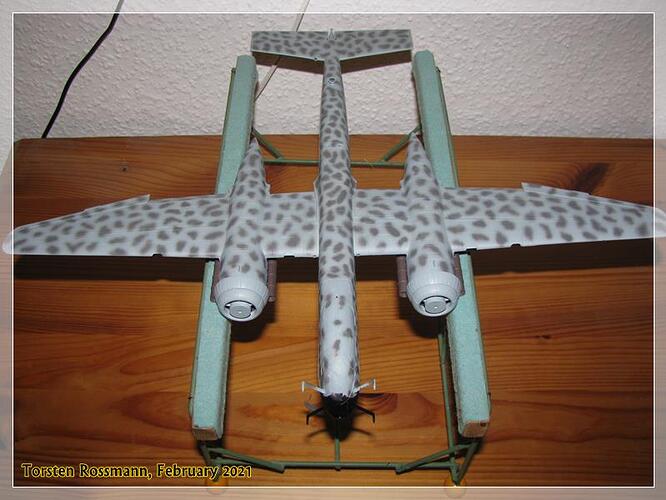
… et voilá! No tail sitter! :slightly_smiling_face: Earlier during assembly I noticed that this kit will become a “heavy” fighter. The metal cockpit part weights between 55 and 60 grams. And it’s no “little” friend either … :wink:

Today I will add the side rudders and do some final touch ups. I think I can spray Bodenglänzer and do the decals this weekend. Only left is the FuG 220 then …

Have a nice weekend, folks!
Torsten :beer:

8 Likes

@BlackWidow Maximum points for the blotches, well done! I was wondering if you managed to pull it off using Vallejo but saw that you used Gunze for them which is my go-to paint for anything that needs precision!

:raising_hand_man:

Magnus

1 Like

top marks so far, Torsten :grin:

1 Like

Thanks, guys! :slightly_smiling_face:

Magnus, as I said before there’s some overspray but it’s okay for me and some blotches are not perfect but I see it only at a closer look. I remembered your advice in the older Utti Air Racer thread to give Gunze another try after the desaster the mix of Gunze and Vallejo on my SAAF Gripen in 2019. I still don’t know what happened there but here it was vice versa. First Vallejo and then Gunze and it came out well.

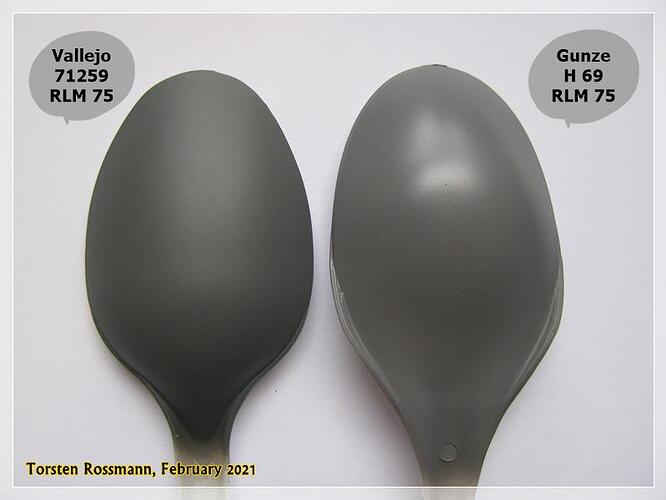
Just checked out if there’s a difference between Vallejo RLM 75 and Gunze RLM 75. Yes, there is! Here a photo from this moring at my kitchen window on a cloudy day. At least the sky is grey again and not yellow, as it was yesterday. No, it was no alien invasion, it were just some Sahara winds to blow sand over half Europe.

Anyway, here you can see the difference. Light makes a difference as also the gloss level makes. While Vallejo is dull, Gunze is semi gloss …

1 Like

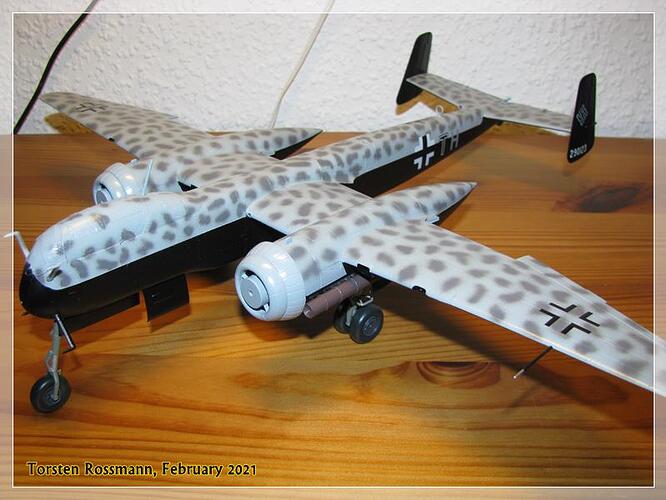
Just a quick update from this evening with 3 simple shots. All markings are on, only a few decals. No stencils at all on the sheet for this bird. Hope to get the matt varnish done in the next days …


… and now I take care of the FuG 220 Lichtenstein.

Torsten :beer:

7 Likes

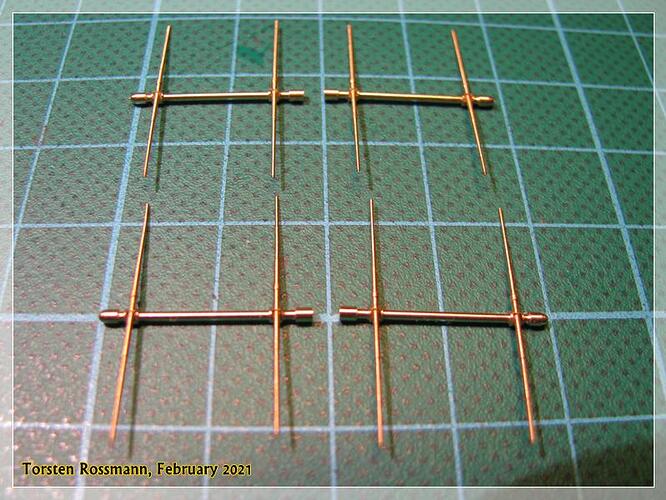
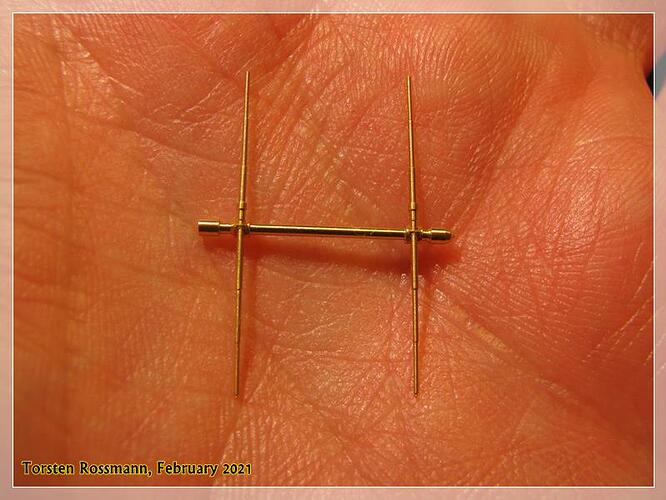
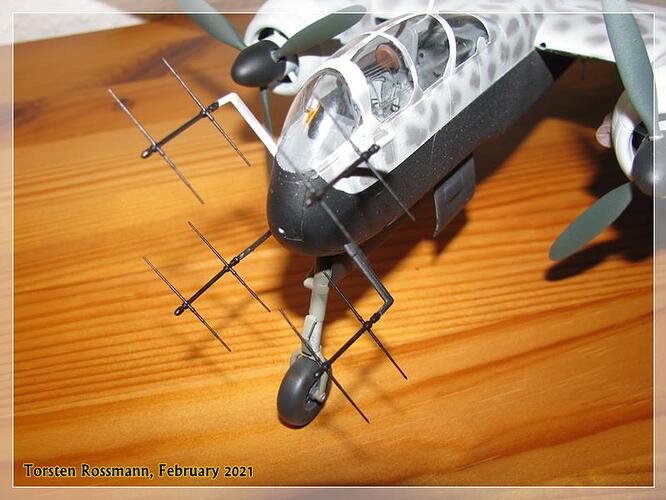
This are the FuG 220 parts from Modellbau Schatton. The dipoles are much more detailed than the kit parts. I just had to stick the parts together and fixed them with a tiny drop of ethyl acetate. I hope that will do. Unfortunately the set includes only the front parts. So for the rear I have to use the parts from the kit.


9 Likes

Progressing beautifully. Very nice work on the brass AM parts, they will look great!

Cheers, D

1 Like

Coming together very nicely Torsten :slightly_smiling_face:

But those External antennae sets give me the shivers just looking at them: possibly the reason I’ve never wanted to build a Luftwaffe night fighter :disappointed_relieved:

1 Like

Thanks for your comments, Aussies! :slightly_smiling_face:

Russell, honestly this is the first time I use these fine brass made radar parts from Robert Schatton. Some time ago I built the Do 215 B-5 Nightfighter (Revell/ICM) and used the “mattress” called FuG 202 from the kit. When I attached the parts to the build I leaned the Do 215 with the wheels against the wall and the front facing to the ceiling over night to let the cement dry thoroughly. It looked like a big bug. It’s much easier with these brass parts now.

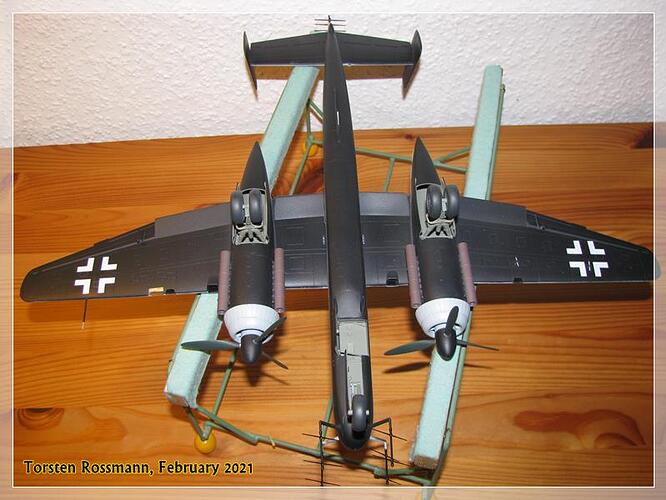
Have demasked the canopy and attached the propellers and radar parts now. The brass parts are glued with CA glue to the He 219. They are very fragile and I hope not to deform the dipoles accidentally. That’s the reason why I won’t show the “Uhu” on model shows. Plus it’s quite a big and heavy bird. Not easy to transport. Have still to do some final touch ups and hope to show some final work bench pics tomorrow.

Stay tuned!
Torsten :beer:

1 Like

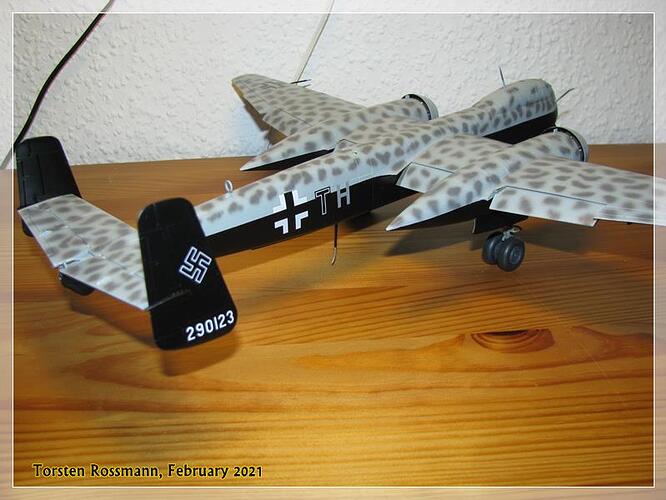
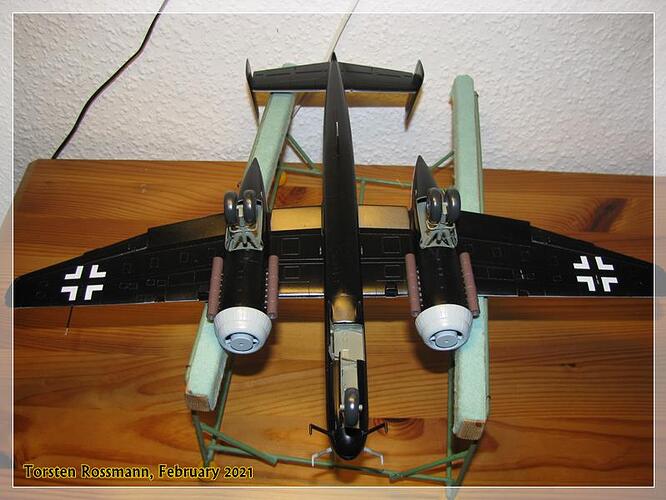
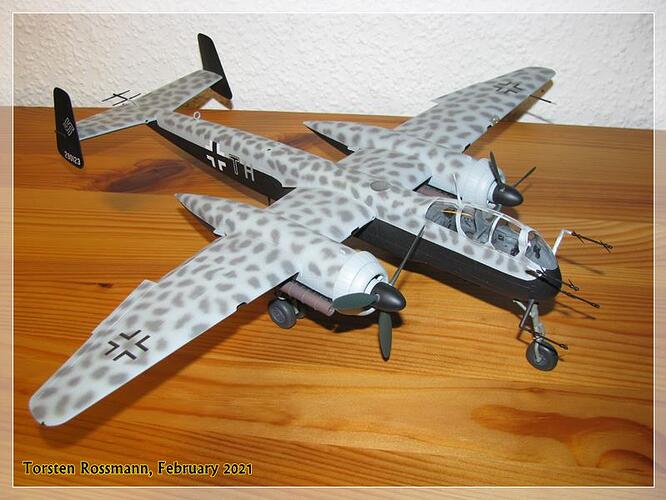
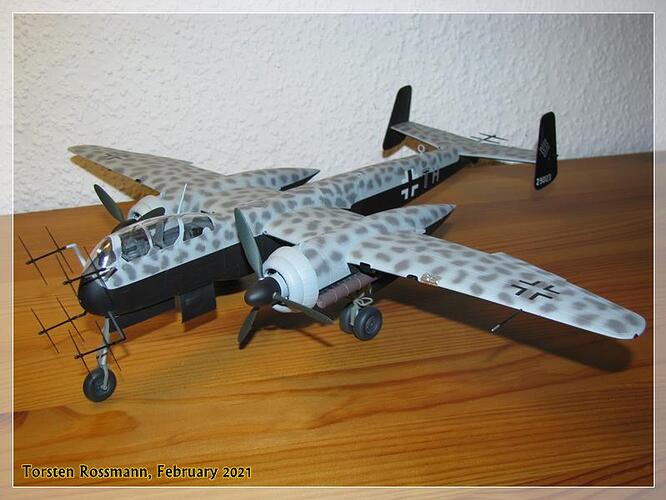
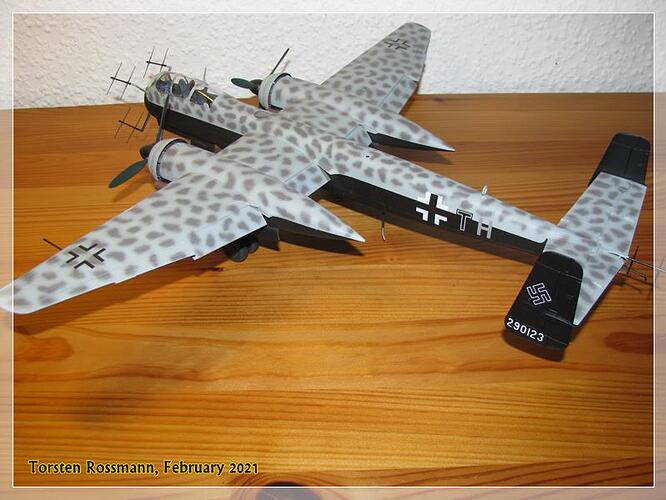
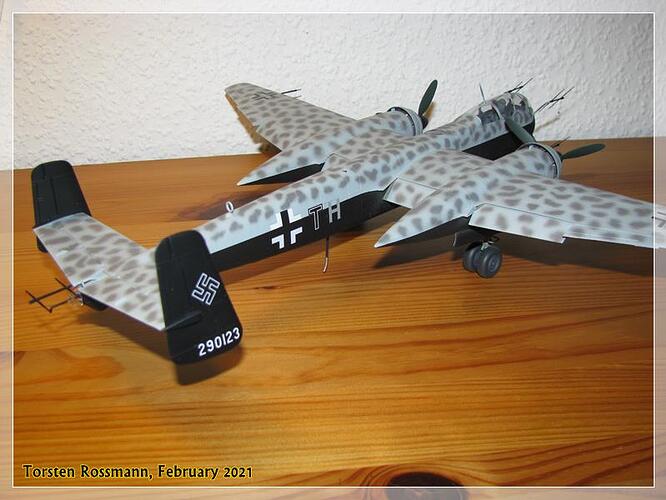
I hope, I have not forgotten anything, so after 60+ w.i.p. pics I call this nocturnal bird ready for take off. The parts for the Lichtenstein Radar are brush painted, it was the best way.

Heinkel He 219 A-7, I./NJG 1, Sylt Island, North Germany, April/May 1945
Kit: Tamiya 1/48

Some quick shots from this morning. More and better photos soon in my Assembly Line Thread. Building time was 6 weeks. Thanks to everyone who supported me along the way with comments and/or likes! :slightly_smiling_face:

Take care!
Torsten


8 Likes

Torsten, you know my love for the big night-fighters, and this is one of the best designs! Beautiful job my friend, another really neat build and great work on the complex paint scheme.

Cheers, D

1 Like

Great work Torsten. Really nicely done. That last pick with her upside on the jig makes me nervous just looking at those antennae though.

2 Likes

Really great work Torsten! :relaxed:

The mottling turned out great and those antenna are really refined :+1::slightly_smiling_face:

Thanks for sharing another fantastic build :blush:

1 Like

Not an airplane guy but I gotta say that’s one sharp looking bird. :+1: :+1:

1 Like

Thanks for all your comments, guys! I’m glad to hear, that you like what you see. I’m also happy with the final result. Another dust catcher on my shelf of pride … :smile:

Peter, these radar parts are indeed very delicate. I often use the Bundeswehr antennas from Modellbau Schatton on my tanks and they are also very fine and can easily be deformed, same here with the radar parts. That’s one main reason why I won’t show this model on expos.

Okay guys, on to new sins. My plans for the next build were completely different. I wanted to join the folks on Armorama again and build the new MCV Type 16 from Tamiya. But I had to change the plan because of the death of long time Aeroscale member Steffen Arndt, who died early in January 2021. Rowan organized a Memorial Campaign and it’s no question for me that I take part in it, as I knew Steffen personally from his time in South Germany where I live. Oh man, it’s already my third memorial campaign … :cry:

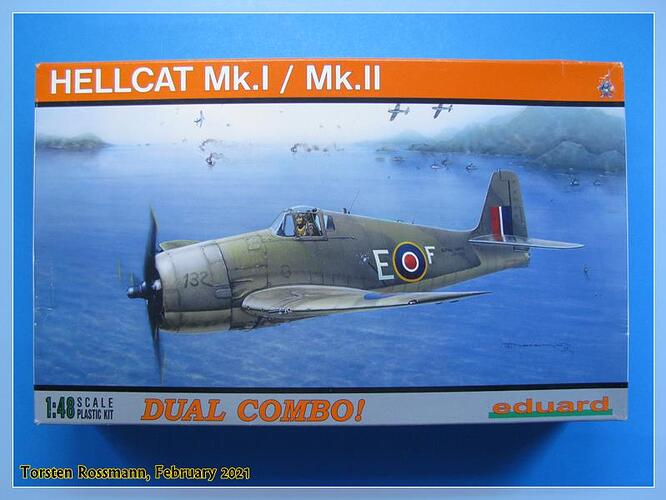
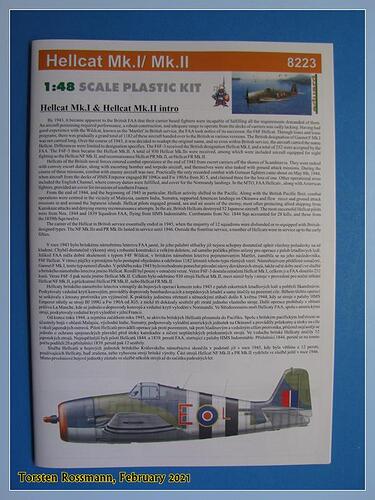
Anyway, here is what I will dedicate to Steffen. This kit was in my production plan for this year anyway, so it just moved a bit forward. It’s another fine Dual Combo from Eduard which came out in 2008. Never built a F6F before, so it’s time now for these “Royal Hellcats” …


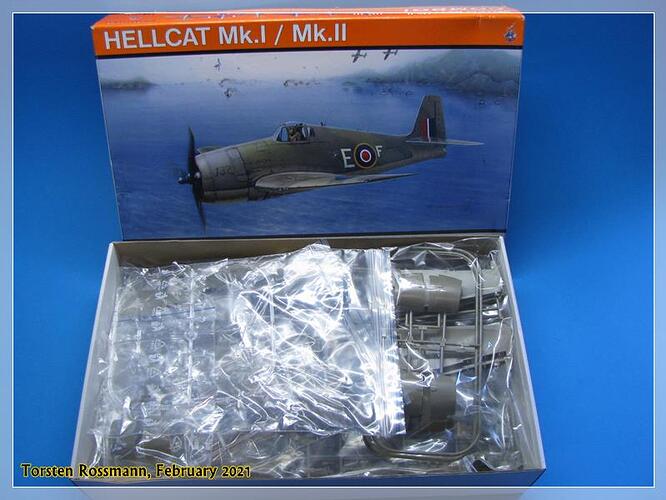
… a box full of building fun for weeks and weeks … :slightly_smiling_face:

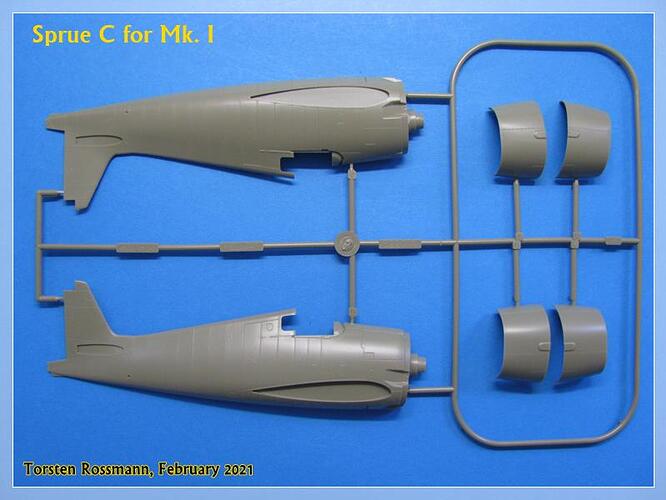
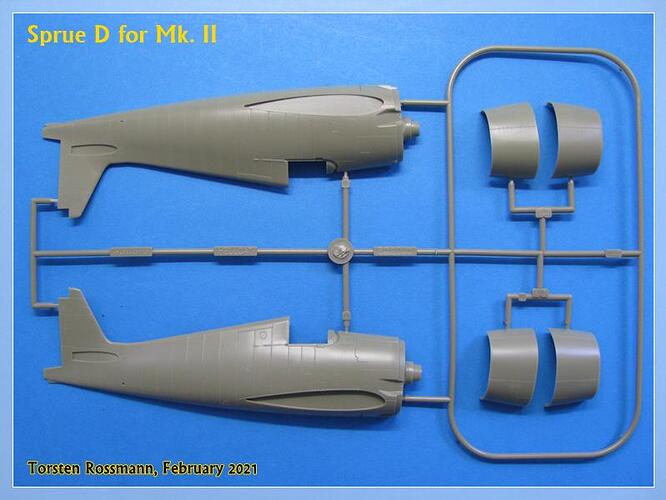
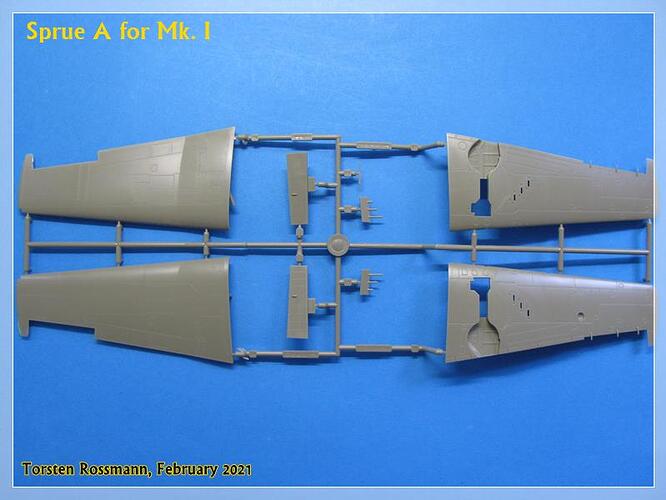
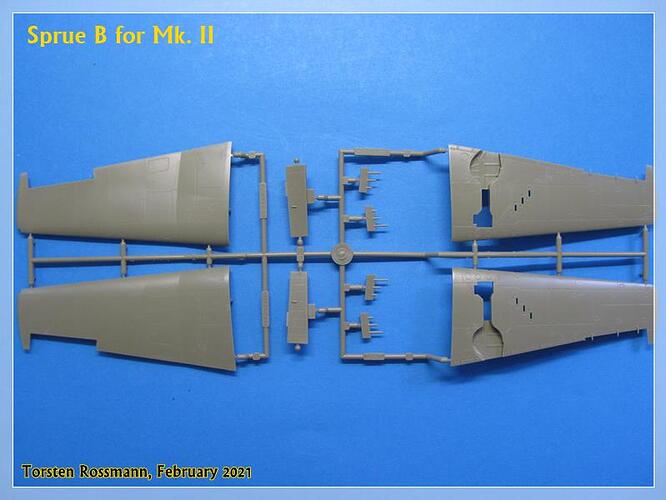
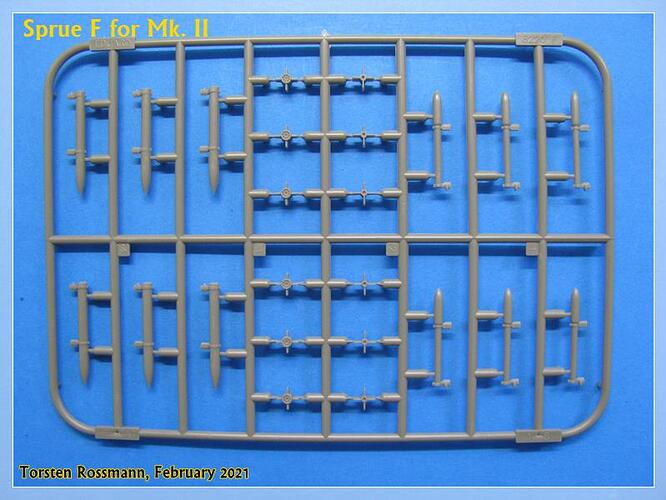
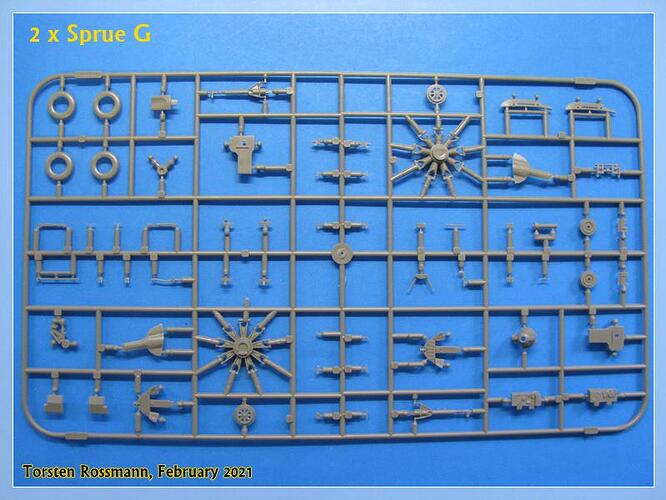
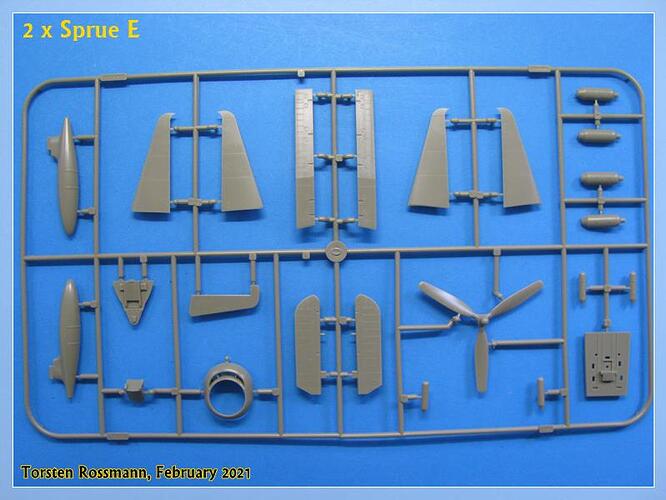
… the kit includes parts for a Hellcat Mk. I and Mk. II …


… all other sprues are double …


… the package also includes PE parts and masks for both kits …

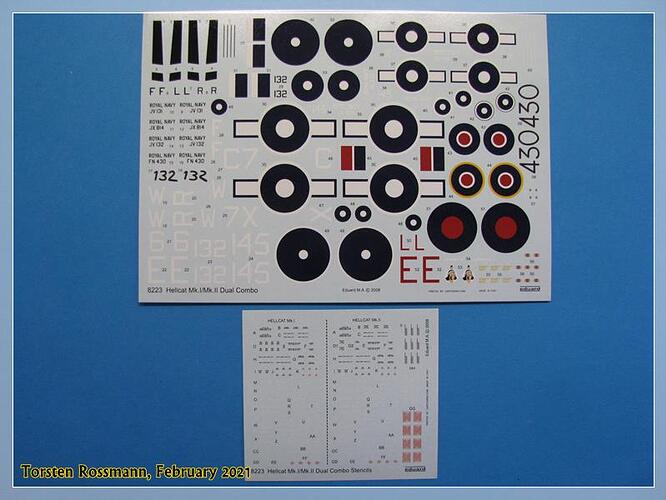
… and some fine decals, made by Cartograph, which means perfect printing quality …

… the instruction booklet is not build up as the Finnish Bf 109 booklet. Here both Marks are mixed, so I have to read carefully before building … :smile:

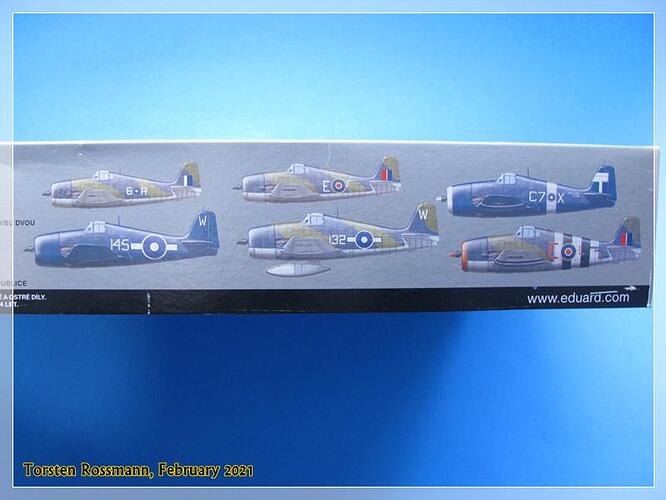
… Eduard offers 6 different Royal Hellcats, 3 x Mk. I and 3 x Mk. II …

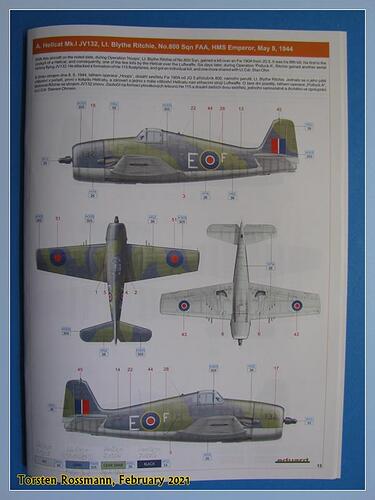
… and I have decided for this JV132, a Mk. I, flown by the Scotsman Lt. Blythe Ritchie 1944 …

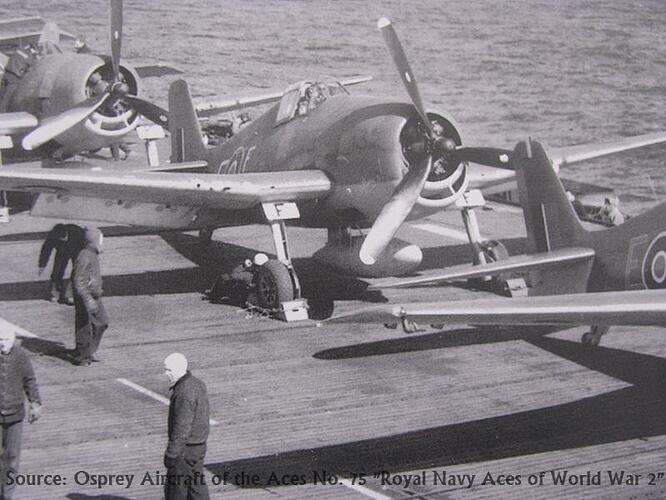
… found even a photo of the plane in Osprey’s “Royal Navy Aces” …

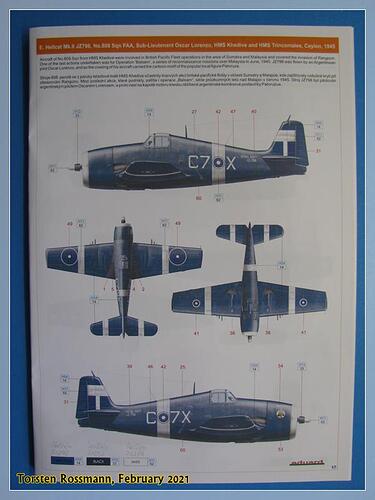
… the other build will be JZ796, a Mk. II, flown by the Argentinian Sub Lt. Oscar Lorenzo 1945 …

… unfortunately I have found no informations about this guy yet. I will start with the builds in the next days, so a first update will follow soon afterwards. The camo is easier than on the He 219. I will mainly use Vallejo paints.

Hope some of you will join my along the way again.
Torsten :beer:

6 Likes

Looking forward to them Torsten.

1 Like

Thanks, Peter! As always I will try my best …
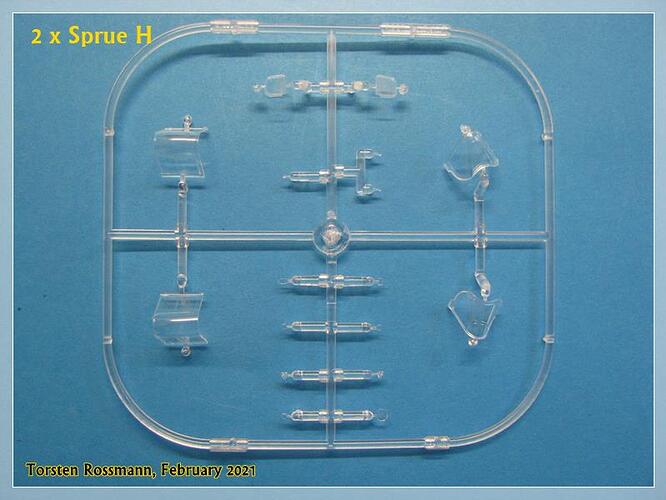
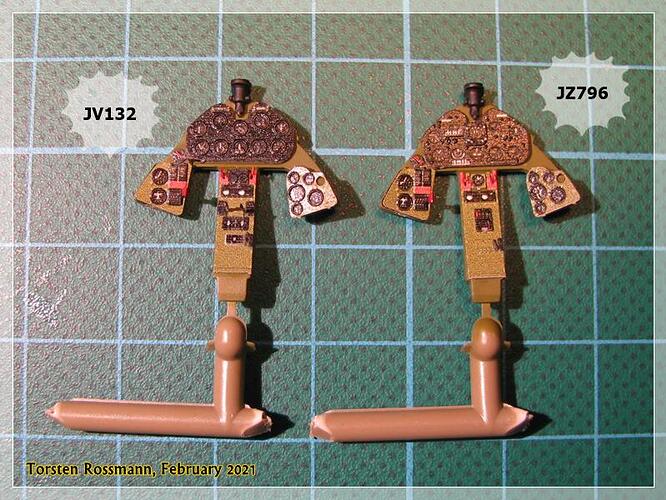
First small update on my Hellcats. It doesn’t look like that, but I managed to glue all 15 PE parts per IP. Some are so tiny, that I hardly can see them. Not too bad for my clumsy fingers. The gun sight is still missing …
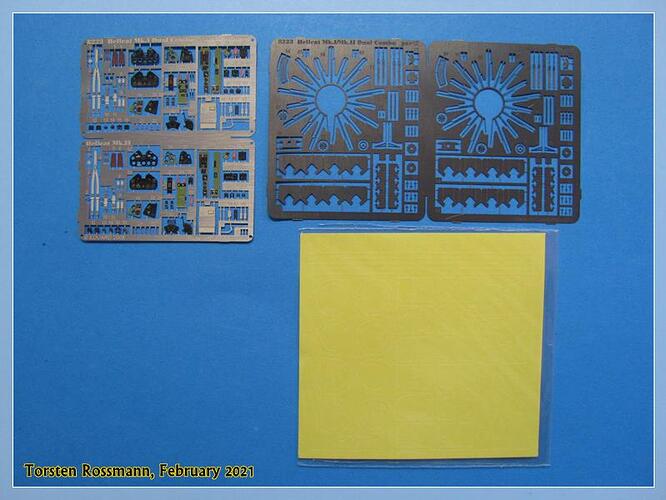

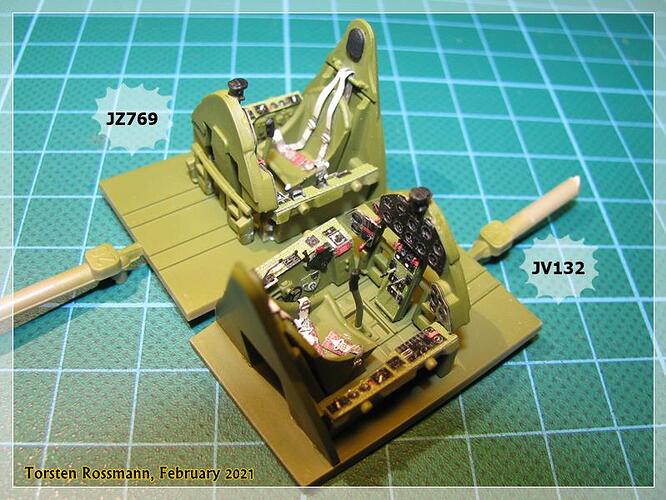
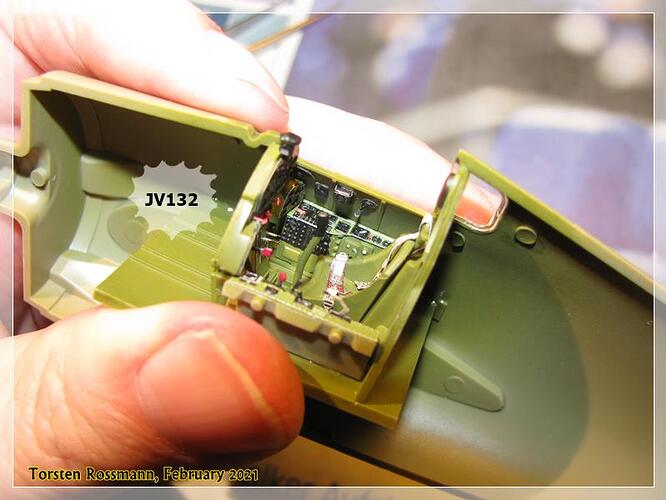
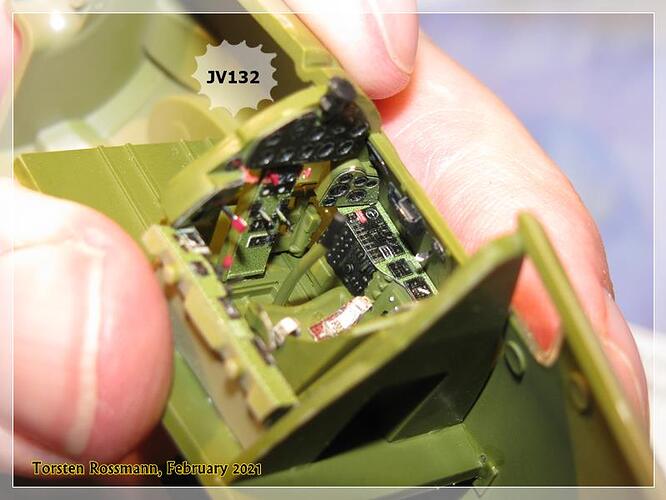
… and the cockpits are also done now. More PE parts …

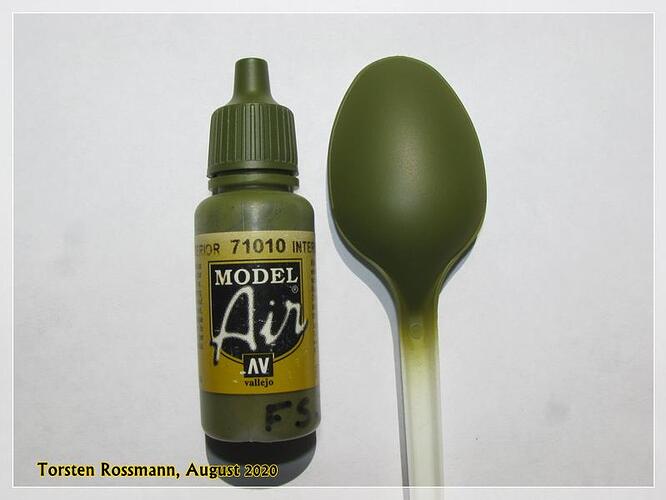
I’m not really a fan of PE parts and I think not all are really necessary but I tried to use as many parts as possible. Some are so small that my tweezers can’t hold them. The cockpit was painted again with Interior Green 71010 from Vallejo …

Have a nice weekend!
Torsten :beer:

6 Likes

A bit more progress is done in the last couple of days.

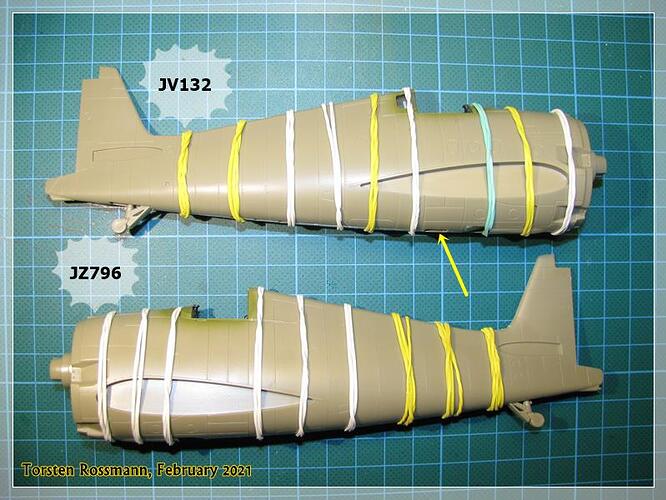
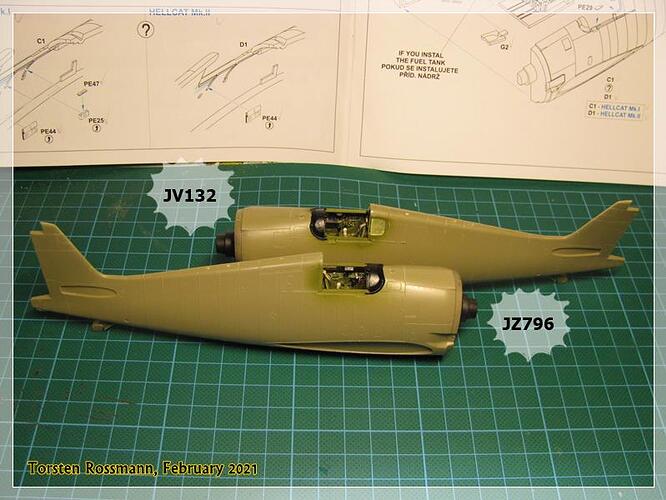
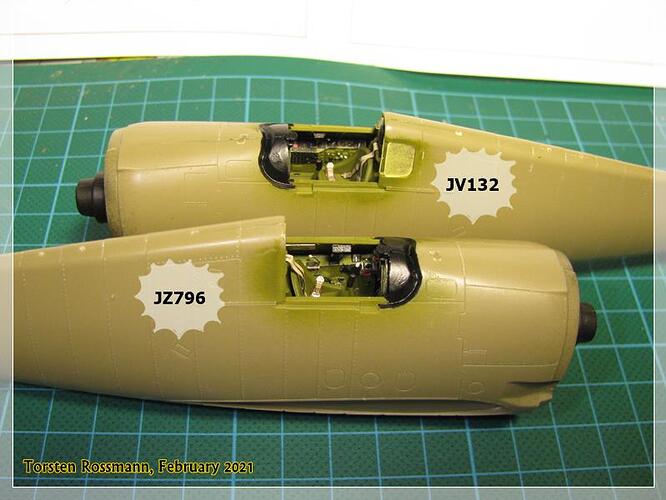
Cockpits are glued to the fuselages. I needed a bit of pressure to get them right in place. The fitting here could be better indeed. Here on JV132, the same problems showed up on JZ796 …


… and the fuselages are closed, I leave them to try thoroughly over night …

… just finished sanding both this evening …


… next steps will be working on the engines and wings. I hope to have finished the major assembly by next weekend. Stay tuned …

Torsten :beer:

6 Likes

Looking good Torsten! :slightly_smiling_face:

Tempting me to start on Eduard’s 1/72 version of the same :shushing_face:

1 Like

@BlackWidow Good progress and well done with the PE. I’m of the same opinion as you, I’m not too fond of the stuff either…

@Russelle Group build anyone :slight_smile: ? I have the same kit in my stash!

:raising_hand_man:

Magnus

2 Likes