Torsten's bench works

It was a rainy Sunday today, so a good day to stay at the bench. Sanded the gaps today but I’m not 100% happy with the result. On the underside the filler broke out on a few parts while I polished it … :disappointed_face:

I hope primer and paint will cover it. At least it’s on the underside, so no one will see it later … :grin:

On the upperside the left side looks bad and I will rework this …

The right side looks much better … :slightly_smiling_face:

Stay tuned for the next update!
Torsten
:vulcan_salute:

10 Likes

“Dive Brakes”

1 Like

:laughing:
Thanks Evan! Well, all needed letters are there, just not in the correct order … :grin:

Okay, here we go again …

… that looks pretty wild, doesn’t it?

Much better than before! Not perfect but much better!

Revell mixed up step 27 and 29 in the instruction plan. The trim flap (?) is on the port side …

… looking at other models and photos of the original plane saved me from this mistake … :slightly_smiling_face:

Further painting was done with Revell 330 Fire Red for the inside of the dive brakes (got it! :wink:). Wonder how much will be seen later …

I guess not much …

What I just said! :grin:

But the PE parts look really nice!

In the next step I will take care of the gunners compartment and the canopy. So stay tuned for the next update and have a great weekend!

Torsten
:small_airplane:

10 Likes

Looking good Torsten…

The filler must be frustrating you with it falling out… I have to say, I seem to have great success when filling gaps using medium CA… no flaking like with filler and it sinks back to leave a seam without being gap if a panel line is so desired… Or you keep applying until it’s flush.

Of course, sanding is still required though, and I check the finish with brushed on silver paint as it’s easier to see…

1 Like

NICE! I ordered the ARMA Hobby P-39N kit, The Eduard was on back order. As soon as I ordered the Arma, it was available the next day! There are some great you tube vids on the Russian use of the P39.

1 Like

Filling gaps, just one step down the ‘Hate ladder’ from cleaning roadwheels… Looking good though.

1 Like

Thanks for your feedback, guys! :slightly_smiling_face:

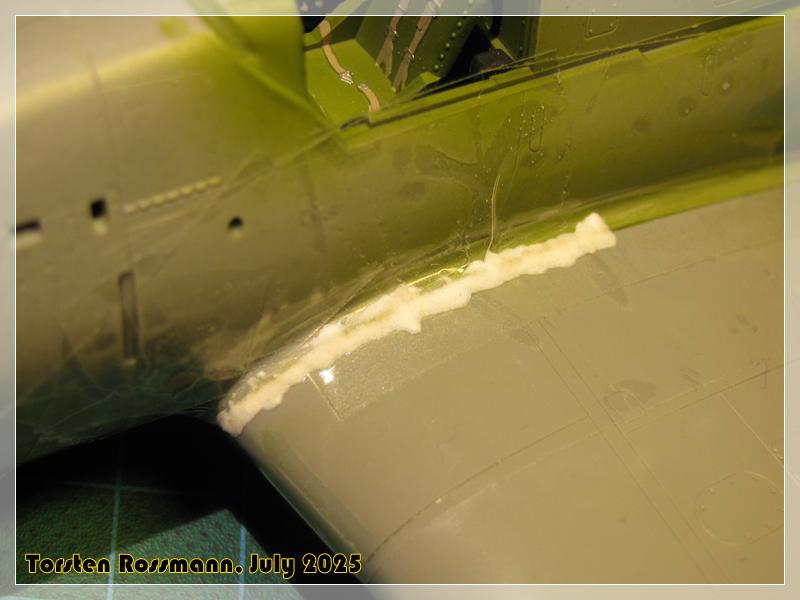
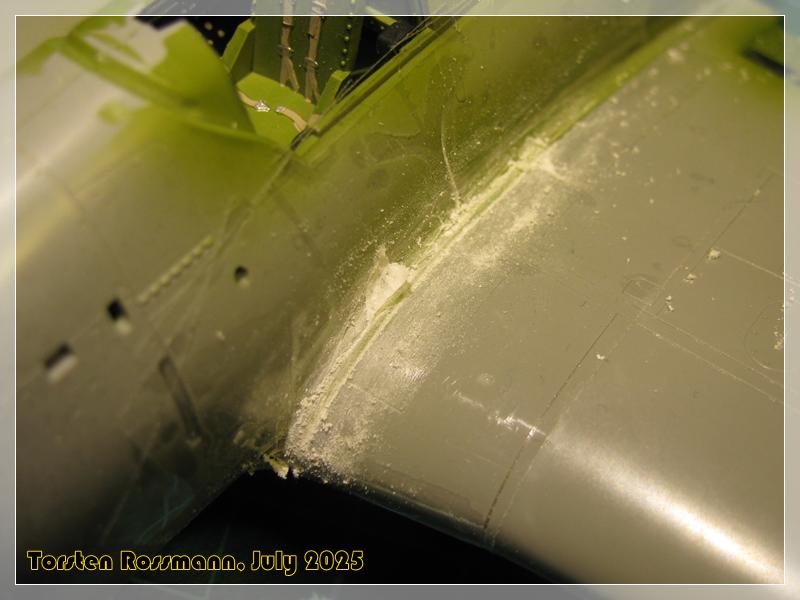
Russell, I use Revell Contacta and flour now for many many years as my filler and find it very helpfull. I know some guys also from my club use CA glue but oposite to Contacta CA glue doesn’t melt the parts together. But when I fill a gap I want/need that effect. Too much flour in the glue may have caused the falling out. Btw, how is your Punjabi proceeding?

Racer, thanks for your feedback! So you build in both scales? 1/72 and 1/48? AFAIK Arma has the Cobra only in 72 while Eduard has them only in 48. Still have a few kits of them here and many different decal sets, not only russian or US. Enjoy your builds! :+1:

Peter, filling gaps is nearly daily business when building aircraft, so I got used to it. Some kits are better, some are worse. And that’s not a matter of the age of a kit.But I know what you mean with cleaning roadwheels. I have built 6 Leopard 1 and 2 so far, so that means cleaning 28 road wheels, 4 idler, 4 sprocket and 12 support wheels per tank … :face_with_spiral_eyes: :zany_face:

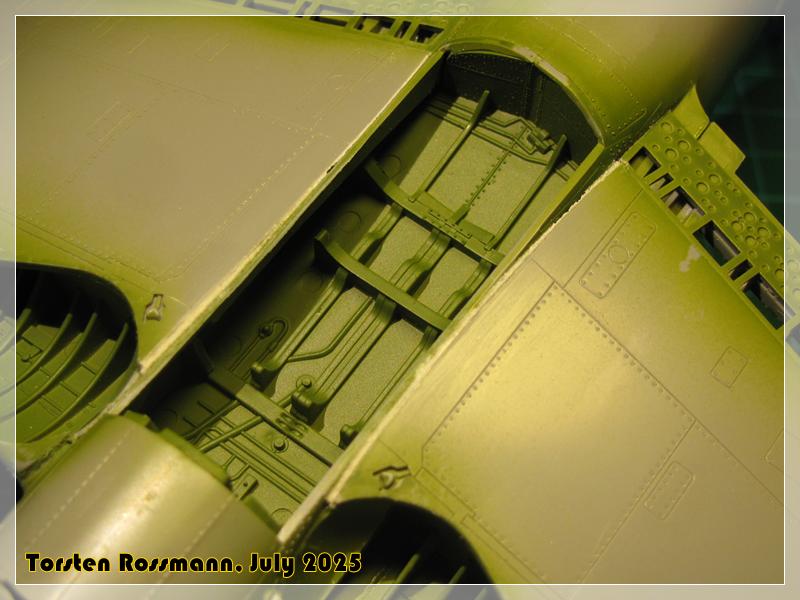
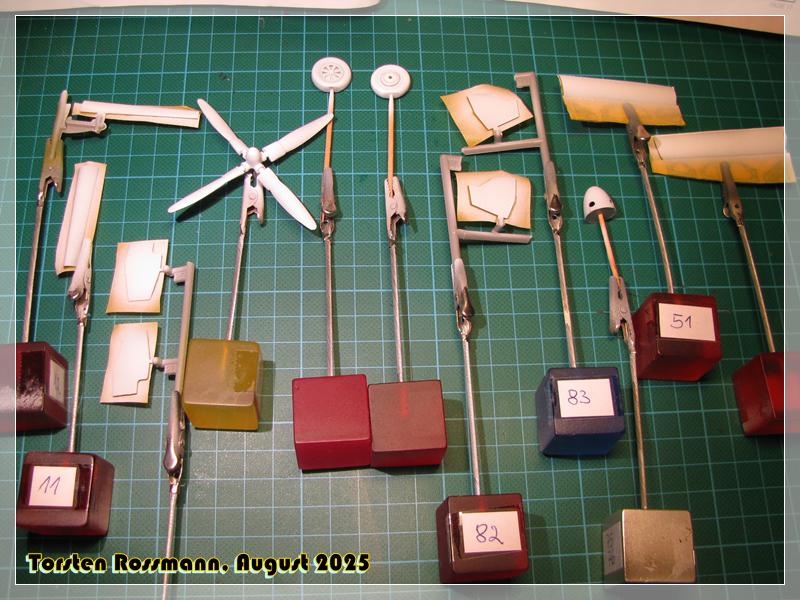
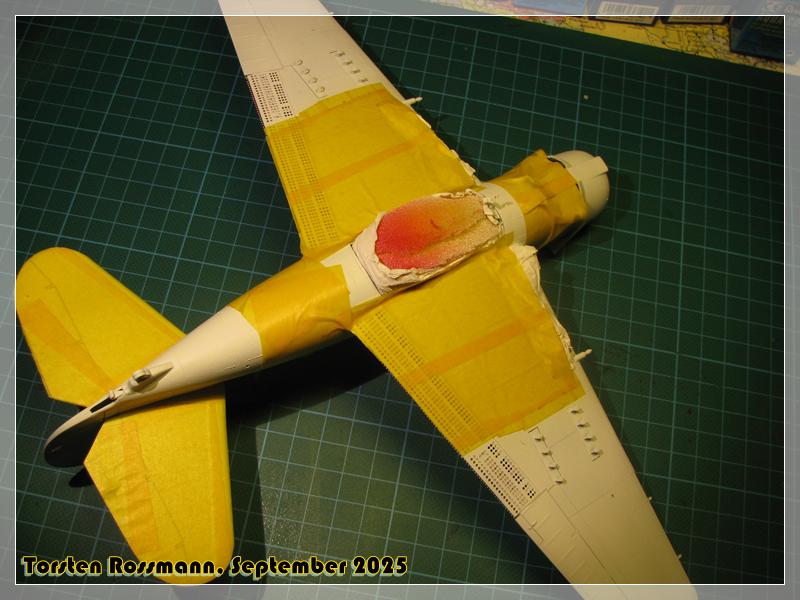
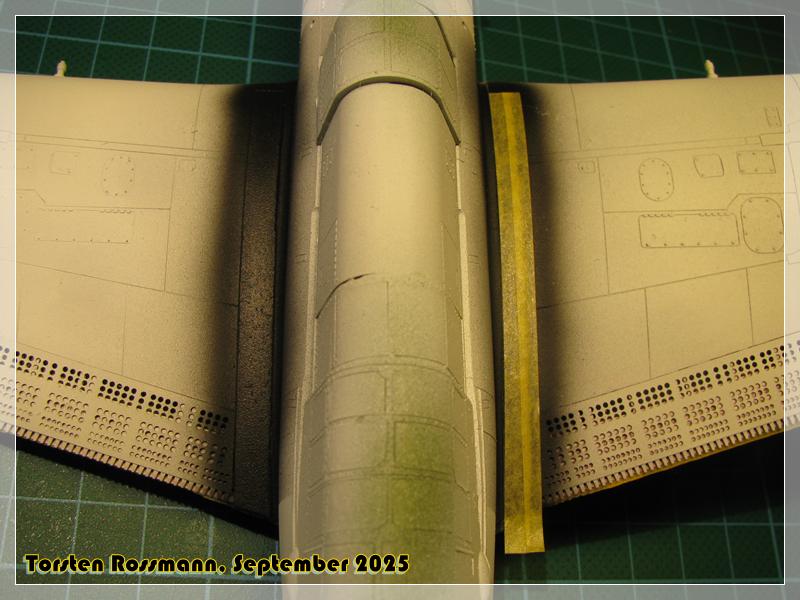
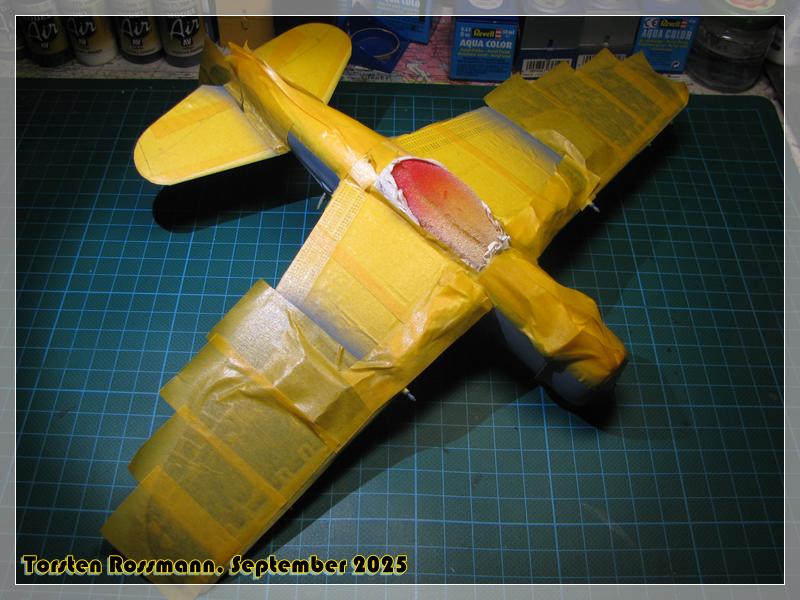
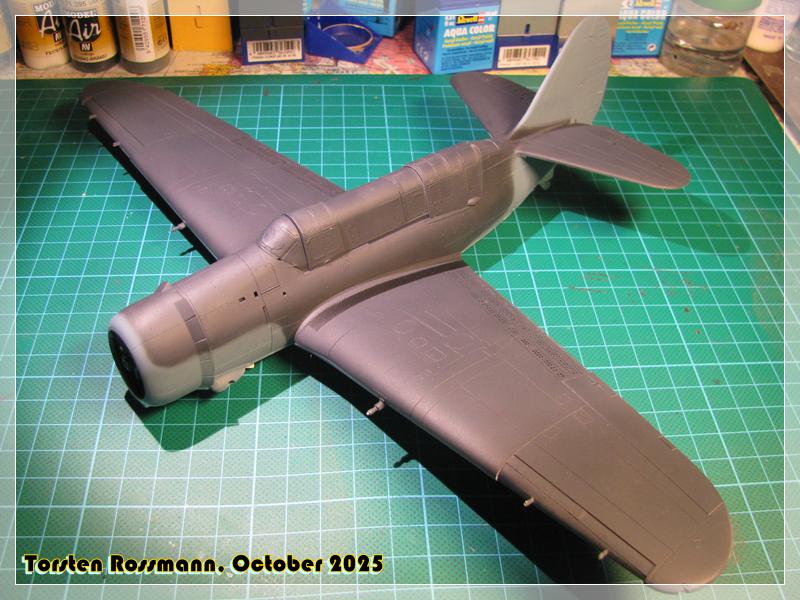
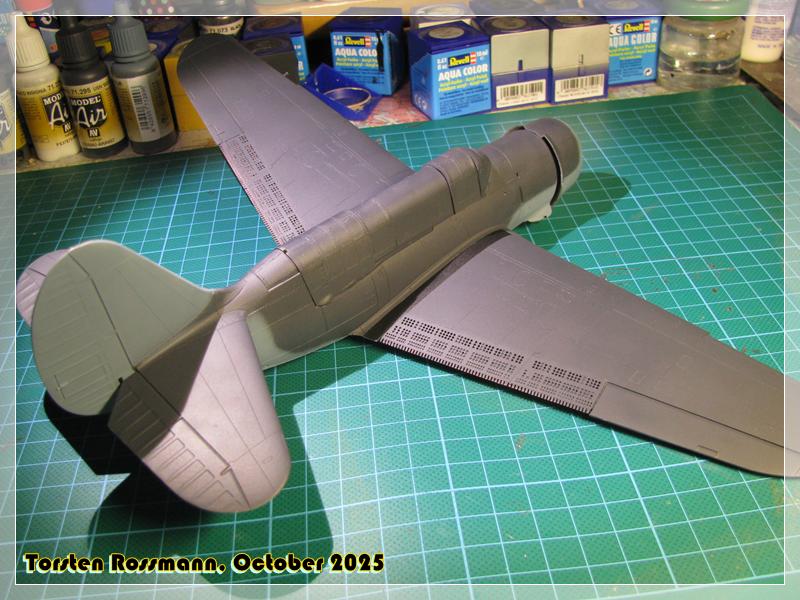
Anyway, another slow progress on the Helldiver. But even slow progress is progress! :grin:
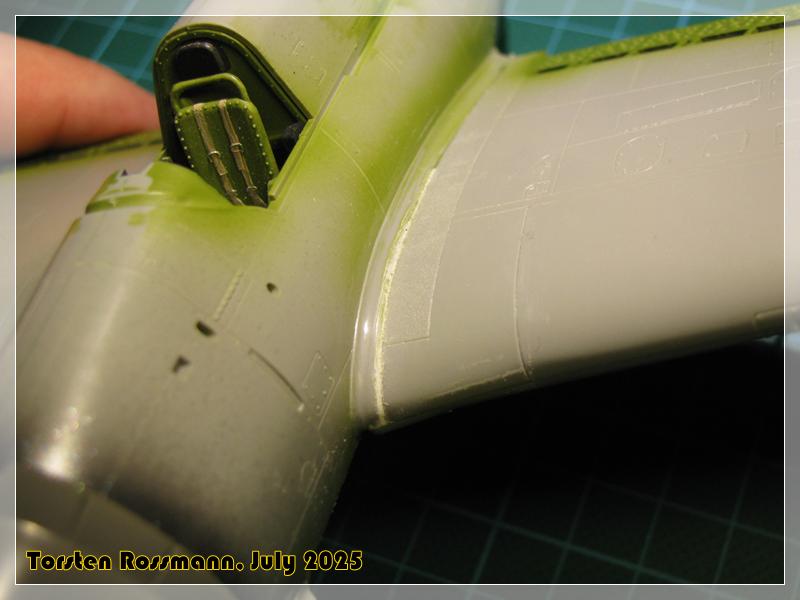
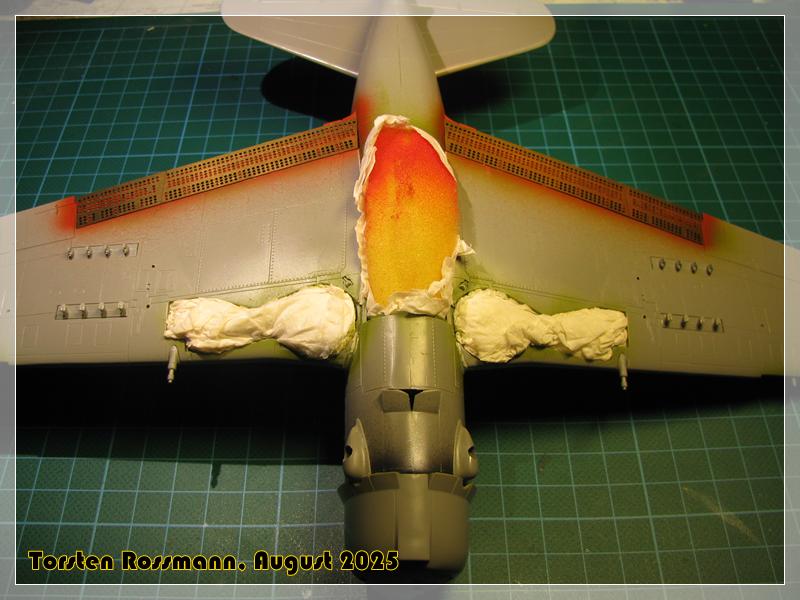
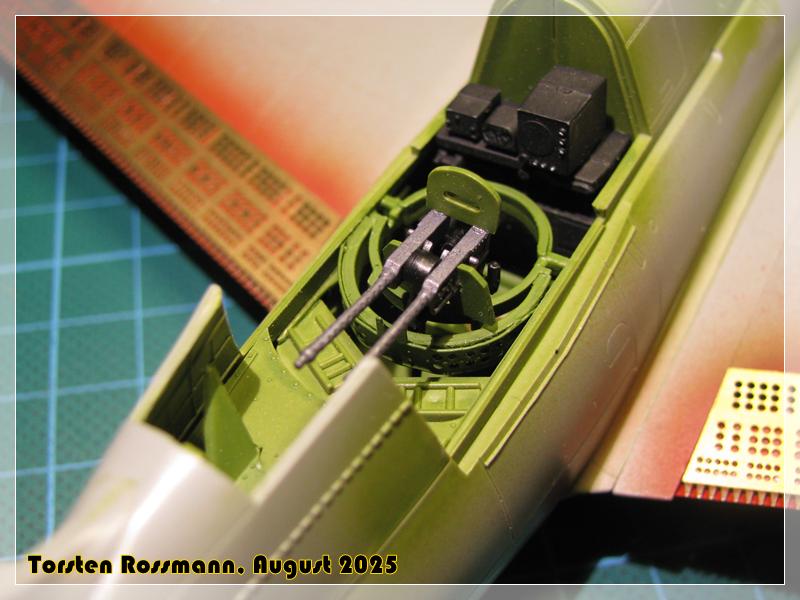
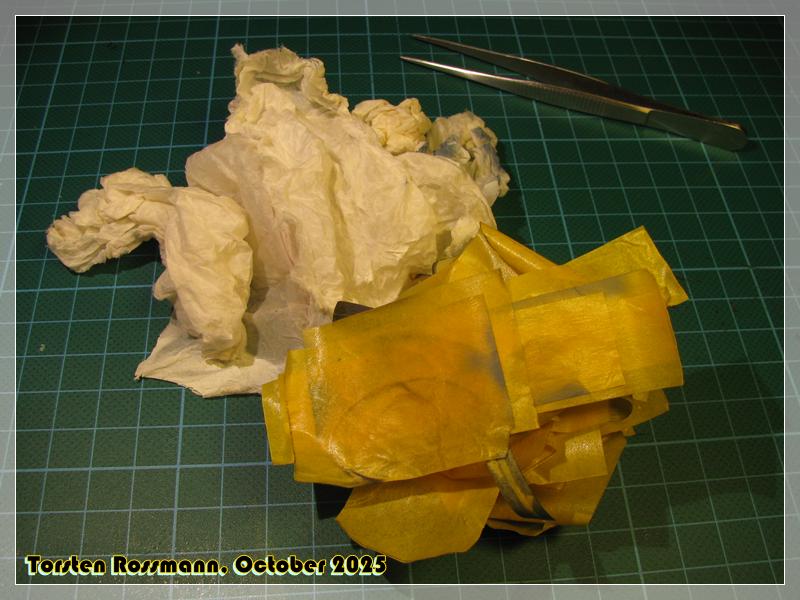
Have added the wing guns and filled the wheel wells and bomb bay with kitchen paper and a bit of sponge. I hope that does the job …

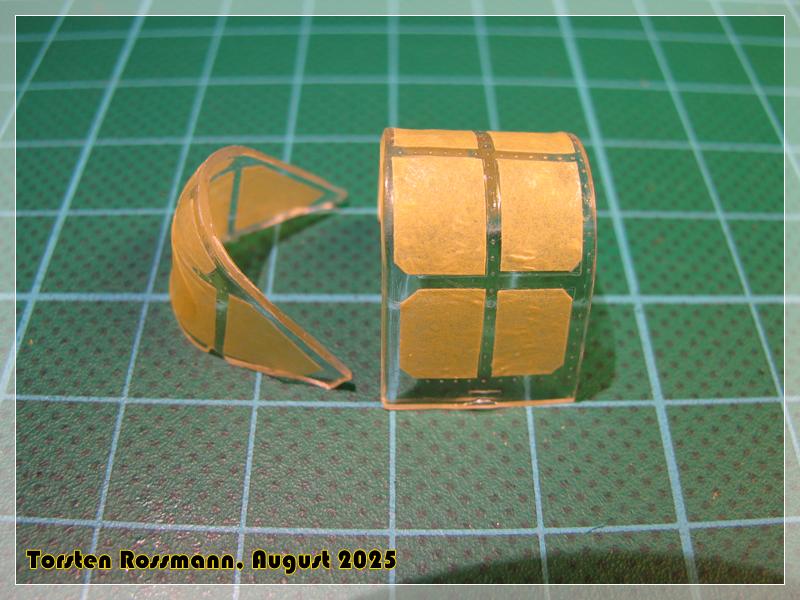
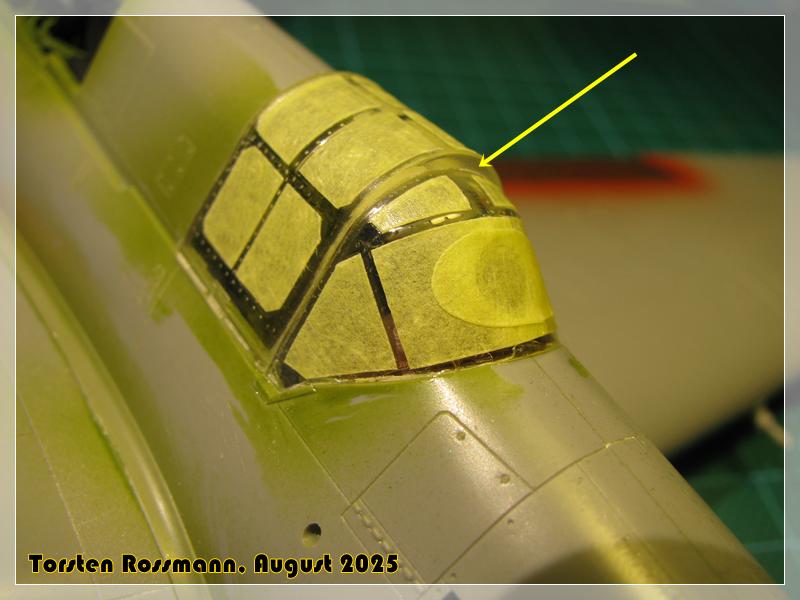
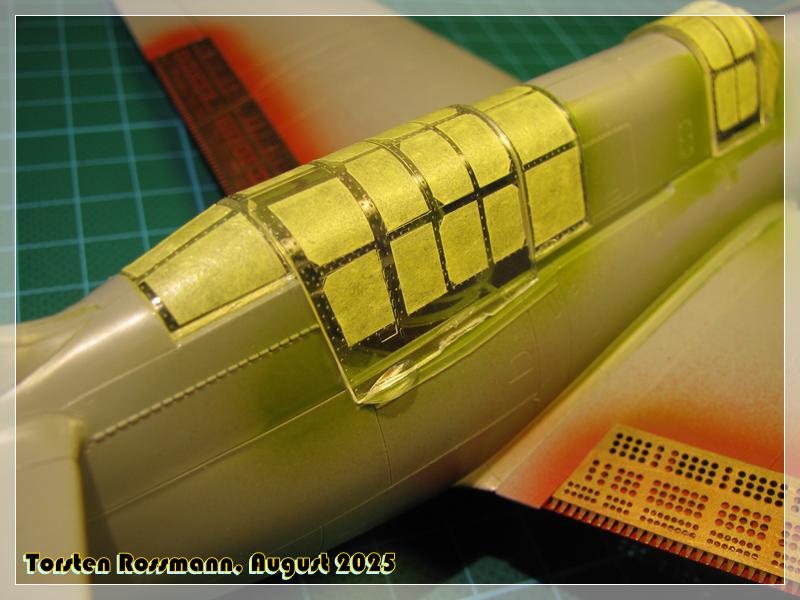
Then I turned my attention to the clear parts. Some of the worst I have ever seen! So much fish skin on them! The struts are barely visible, especially the wind shield. And the parts have a horrible thickness. Okay, we write the year 1997 with this kit …

That means a lot of extra time for cleaning the parts. This is the canopy for the pilot …

But the fit is even worse! While the wind shield fits quite well, the sliding part fits not at all. I have no other choice than to open it in the end. Both parts don’t close well to eachother so I might have some overspray inside later. Here you can also see the thickness of the parts …

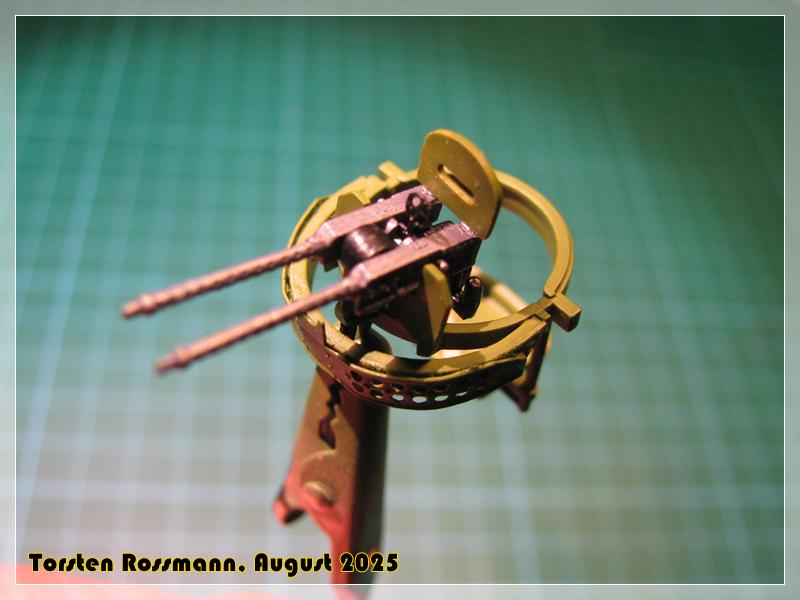
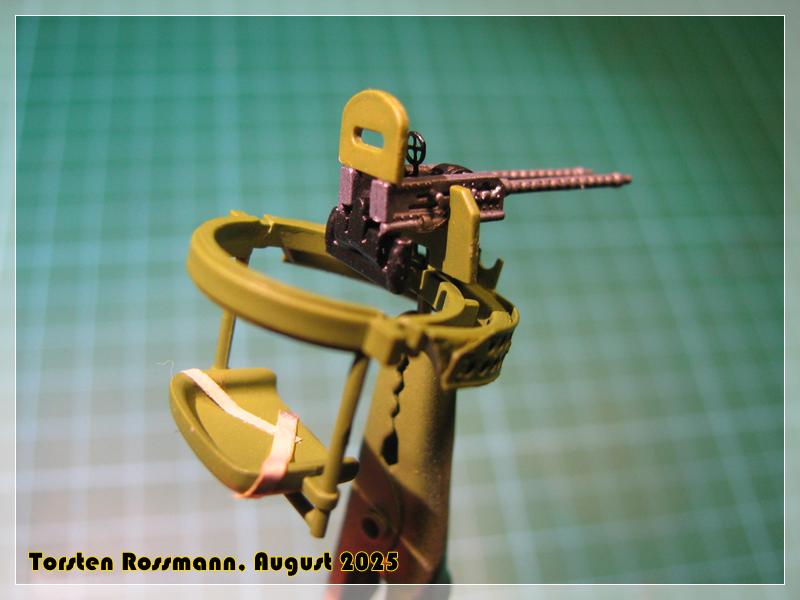
I also finished the gunners seat. The seat belt is made of Tamiya Tape painted with Revell 89 Beige.

Fitting inside the rear cockpit was quite a fiddly task but I made it. Though the gun sight, a PE part, became a victim of the carpet monster unfortunately … :disappointed_face:

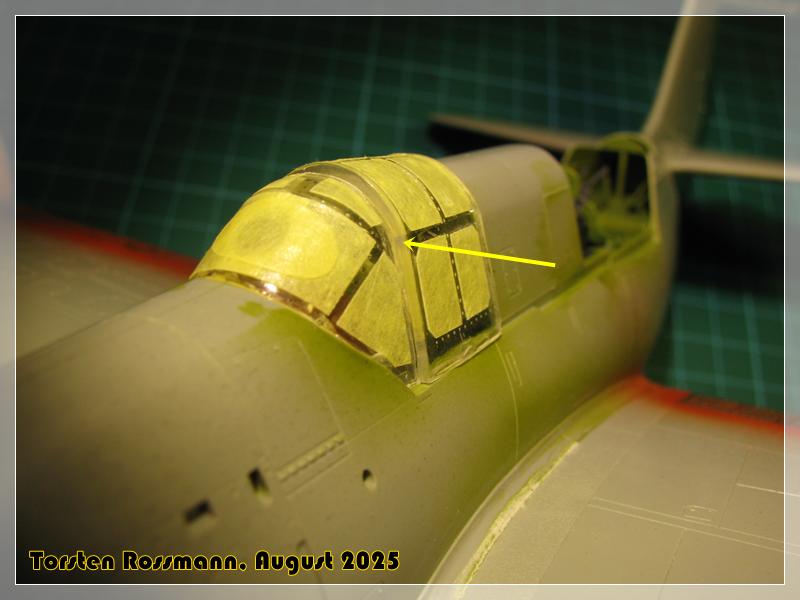
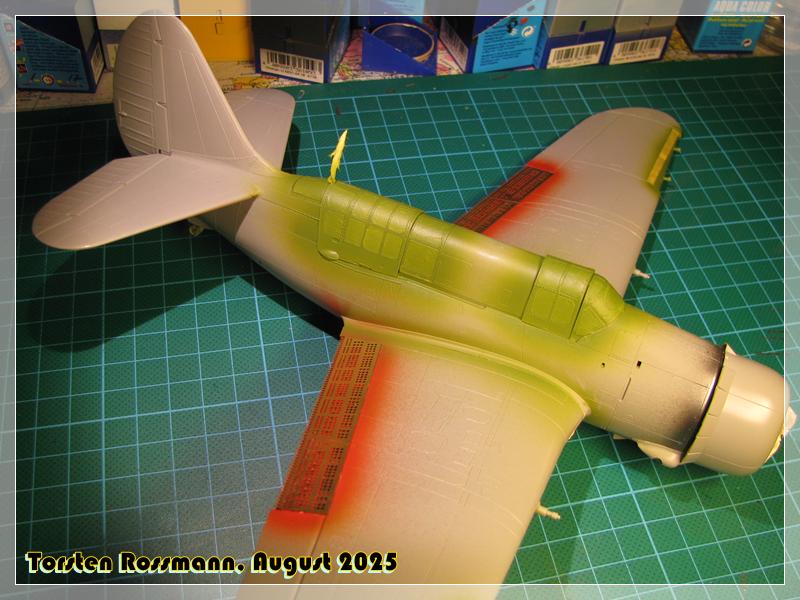
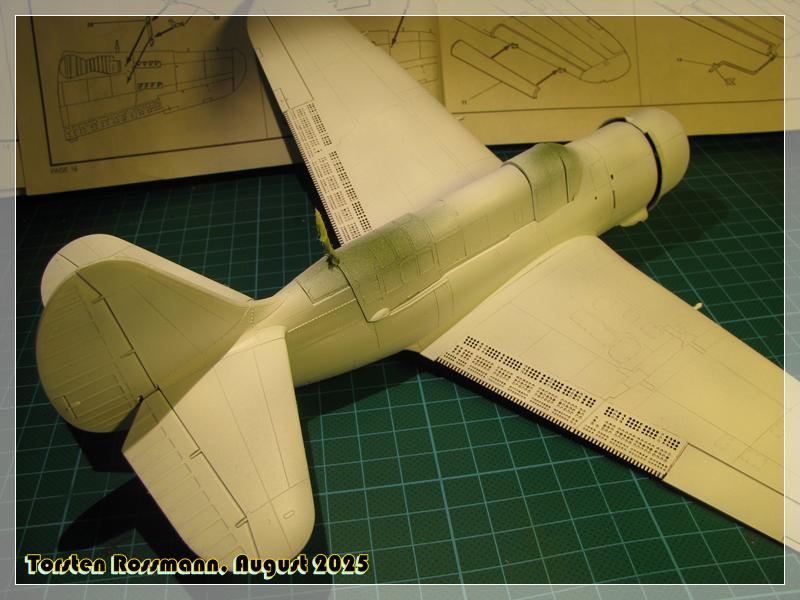
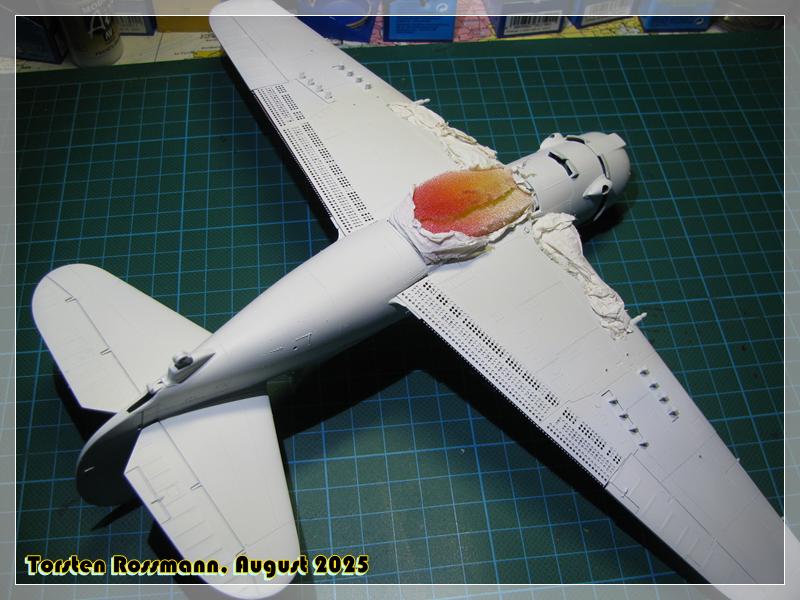
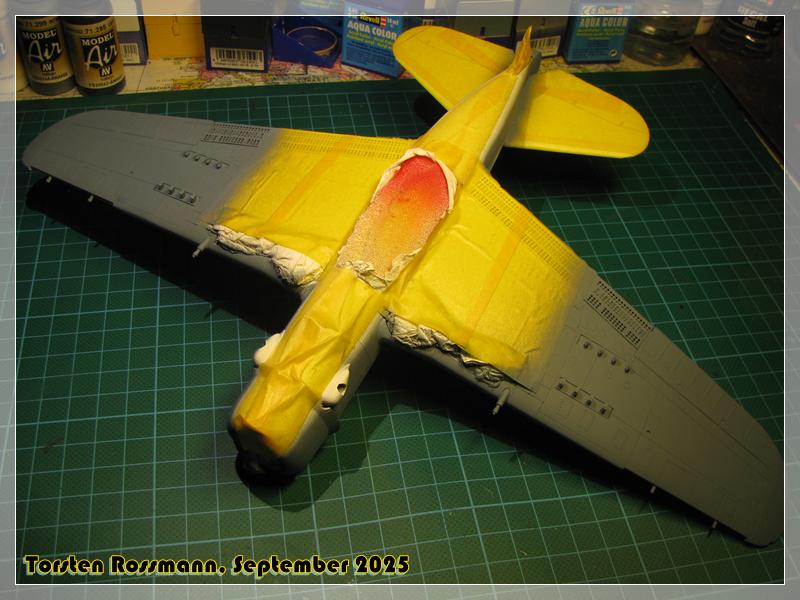
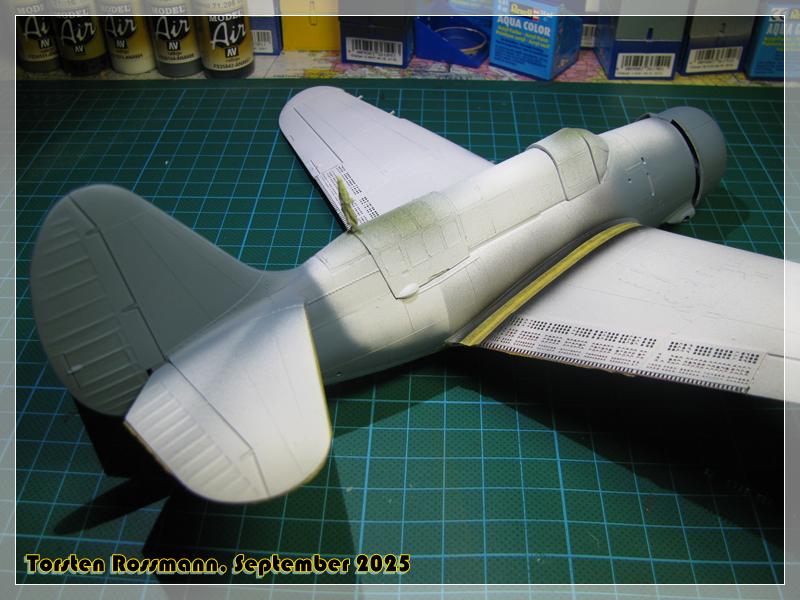
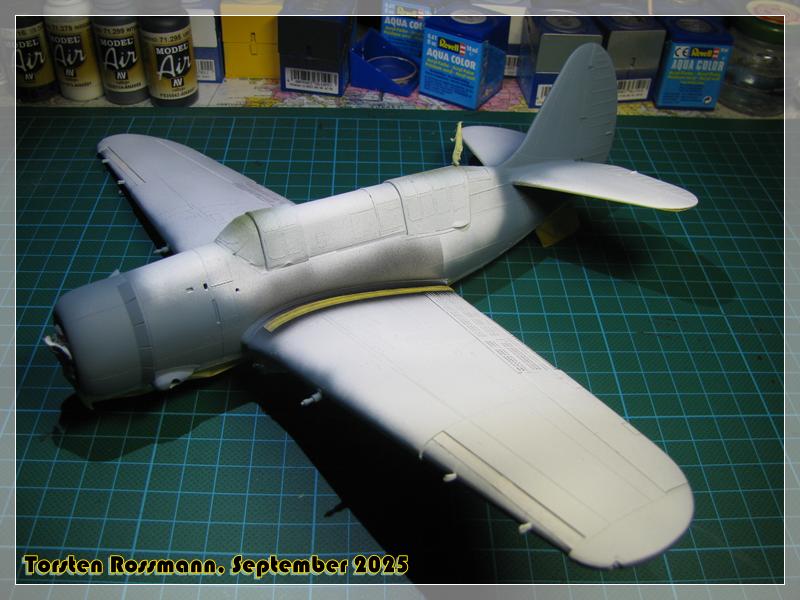
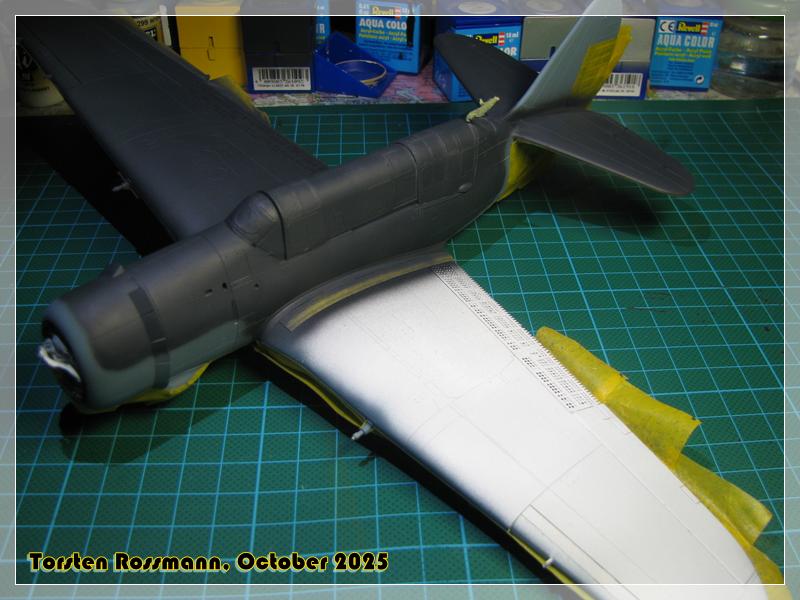
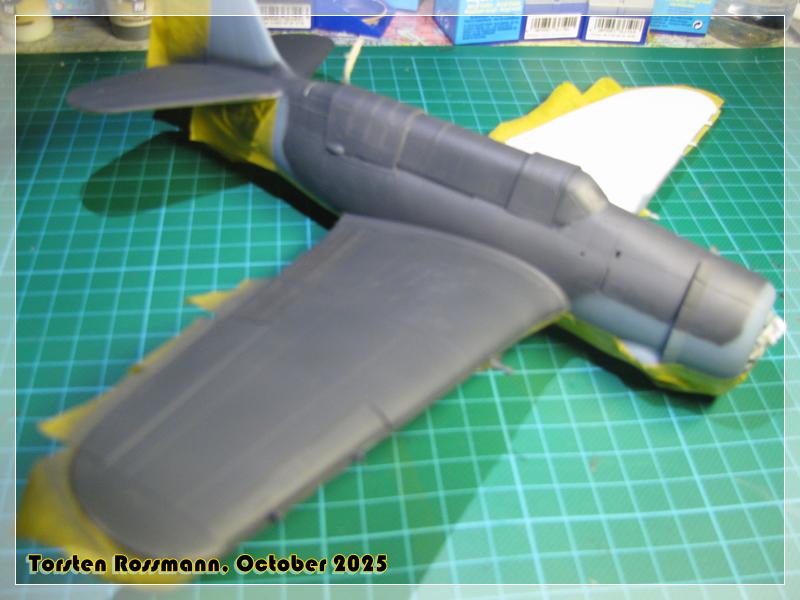
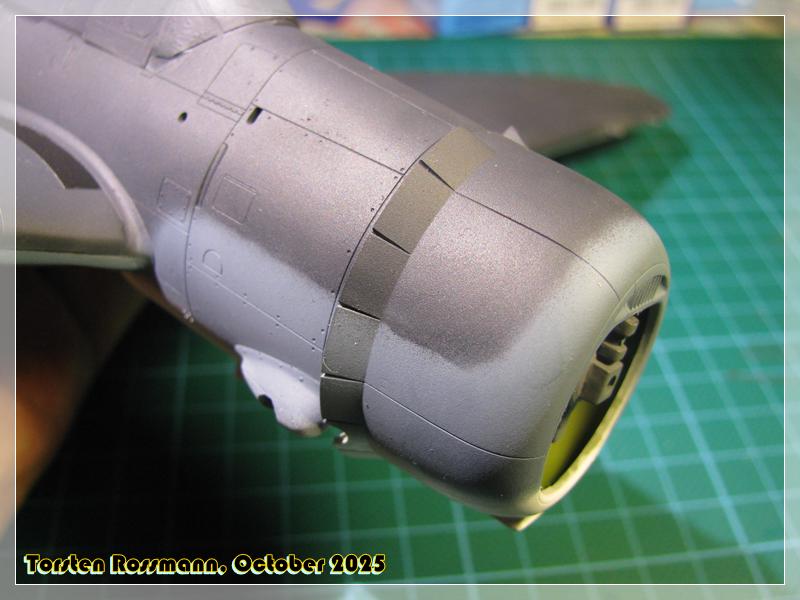
And this is how far I am at the moment. Notice also here the fitting problems of the clear aprts. I also noticed that some of the Eduard masks don’t fit well. Maybe these clear parts are just too worn out …


At least now we know why there are not many built Helldiver seen on shows. Now primer is not far away. Let’s see how har I get this week.

Torsten
:vulcan_salute:

7 Likes

Hi Torsten… :slightly_smiling_face:

Well, this is a really tricky kit isn’t it? You’ve done such a great job on it so far, but then the clear parts are causing difficulty… Fingers are crossed for you that there’s no overspray in the cockpit from the gap and that it turns out ok, when the masking tape comes off…

Punjabi is progressing slowing, currently it’s just a matter of cleaning up all the parts and mounting them for painting (air brushing)… So I have about 50 or so small parts ready to go and more yet to come :anxious_face_with_sweat:

My plan is to have as much ready as possible for painting to reduce the amount of sessions required in the spray booth :crossed_fingers:

1 Like

No work last weekend, because I was invited to a birthday party and BBQ to Switzerland :switzerland:

During the week I did a bit which is worth to show. First I finished masking the clear parts and to my surprise the gunner’s canopy fits quite well. Not much to complain about …

Not sure if I open this canopy also, but I fixed it only with a few drops of White Glue. So I can think about it. Would be nice to see the MG later …
Sprayed Interior Green (Vallejo 71137) on Thursday …

Yesterday I cleaned the parts with methylated spirit as usual and sprayed primer all over. I’ll see how much of it will be left on the inside of the canopy, Russell … :fearful:

… and some clamps are also at work now … :slightly_smiling_face:

I might throw Insignia White (Vallejo 71279) on tomorrow. During my research on USN Helldivers I found 2 photos which might be helpfull with the painting, I think …

Especially the second will help me with the contours of the paints as the Revell painting instruction in b/w with their different black or grey dots is a catastrophy as always. I prefer their newer instructions in colour.

Have all a great weekend!
Torsten
:small_airplane:

8 Likes

Torsten, maybe download manual from other kit ex. Cyber Hobby? They have painting diagram in colour.

1 Like

Thanks for your advice, Andy! :slightly_smiling_face: Will have a look.
I have the Vallejo set 71157 USN Colours 1940-1945 and on the backside they have some coloured samples, also a Helldiver. I just need to know where the contour lines are and the second photo in my previous posting shows them perfect.

And now back to the bench! :slightly_smiling_face:

1 Like

Yesterday I sprayed Insignia White FS 37875 on the underside of the Helldiver. Used Vallejo 71279 for it. It’s from the same bottle as on my Hellcat Mk. II from Posting 124 in this thread. Not easy to see against the white primer but it’s a bit yellowish, like RAL 9016.

This is most likely my last update before my vacations starting this weekend. Need the time for the final preparations, so not sure if get anything done in the next days. All my collegues have already been on summer holidays but mine are still ahead of me … :face_with_tongue: :grin: Restart will be in late September again.

Happy modelling!
Torsten
:waving_hand:

8 Likes

Dear friends!

I’m back from my holidays in sunny Sweden :sweden: which means I’ll be back at the bench in the next days to restart the Helldiver build. Had wonderful 3 weeks up there and saw a lot. It was my fourth time in Sweden. Here are some impressions … :slightly_smiling_face:

Happy modelling!

Torsten

:clinking_beer_mugs:

7 Likes

Welcome back Torsten :cowboy_hat_face:

Sweden, what a beautiful country … one day I hope to visit…

1 Like

Thanks Russell! As it was my fourth time in Sweden, I must like it. But I’m a fan of all scandinavian countries and the Baltics and have been there several times. This time I was really excited to find that rune stone you see in the 4th photo, over 1000 years old and erected for a fallen viking. The last photo shows my TT Line ferry, which brought me back to Germany over the Baltic Sea in 8 hours. After arrival I had another 700 km drive home.

Anyway, since my return I have done quite a bit on the Helldiver. First some inevitable masking

Don’t know why I didn’t paint the walk ways first, prior to the underside … :innocent: There are decals for them, but they look better painted.

Yesterday I airbrushed Intermediate Blue FS35164. Have used Vallejo 71299. A bit of overspray on the white underside is visible. I’ll fix that later …

Have to mask a bit more now before I can paint USN Sea Blue. I’ll keep you updated.

Have all a nice weekend!

Torsten

7 Likes

A bit more work work on the SB2C since last weekend. First some more masking … :woozy_face:

This is how the Helldiver looks after a first session with USN Sea Blue 71295 this evening. Sorry for the fuzzy photo. Don’t know what my camera focused on … :roll_eyes:

More work in the next days. Some overspray also need correction with Intermediate Blue. But I leave it to dry thoroughly first now. Hope I can do the rest of Sea Blue on Friday. Stay tuned!

Torsten

:vulcan_salute:

7 Likes

Doing a fantastic job Torsten

1 Like

Thanks Peter! :slightly_smiling_face: As always I try to do my best though I’m not always successful …

Got quite a bit done on this long weekend (we had Reunion Day on Friday). First the prop is ready for action …

After a few painting sessions with corrections and counter corrections :laughing: I demasked the Helldiver today. First another heap of masking and kitchen paper …

And this is the result so far. Not everything went as well as I hoped …

Quite happy with the soft edges between Sea Blue and Intermediate Blue here … :slightly_smiling_face:

… and here …

But the underside needs some treatment before I can carry on. Some paint even came off on the PE dive breaks with the masking paper (see arrow). But the major painting is done now.

Hope to have another update soon, so stay tuned!

Torsten

:waving_hand:

9 Likes

Looking good Torsten :+1: :slightly_smiling_face:

1 Like

Beautiful photos from Sweden Torsten but I’m ashamed to admit that I don’t recognise any of the places. OK, Sweden is big but still I thought I would nail at least some of them :slight_smile: .

Helldiver is coming along nicely, it’s a fascinating machine and I’ve long felt the urge to do a French one. The 1/72 Academy kit is said to be very nice but with so many other things to do (and stuck in my swamp of mainstream Messerschmitts, Spitfires and Mustangs) it hasn’t happened yet!

:man_raising_hand:

Magnus

1 Like