Slow progress on all fronts these days, but at least it’s progress …
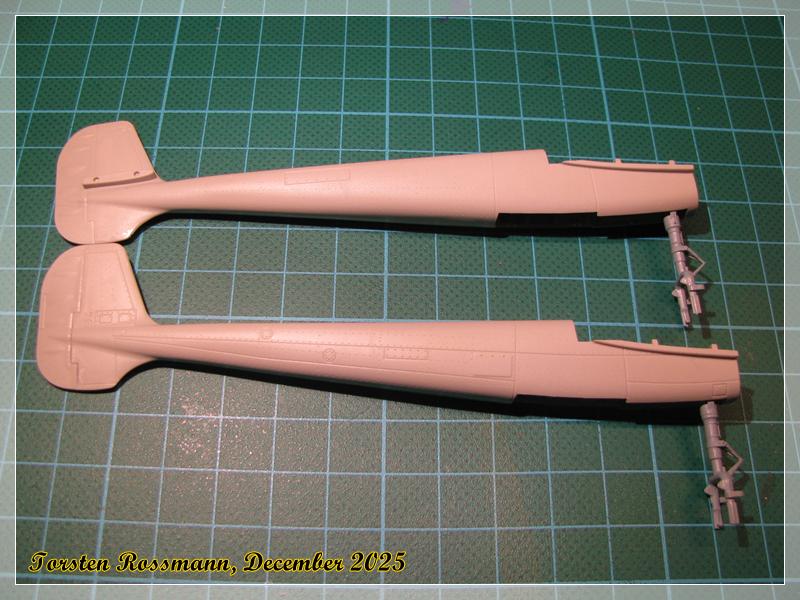
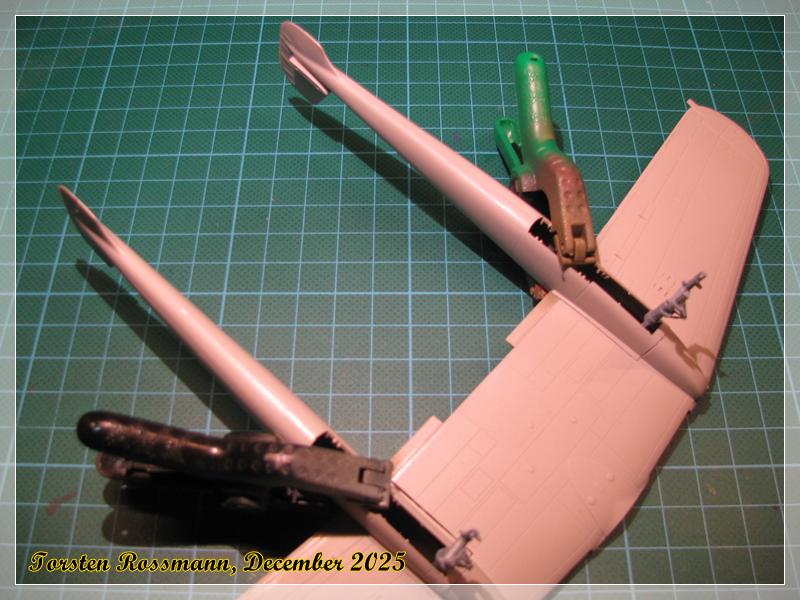
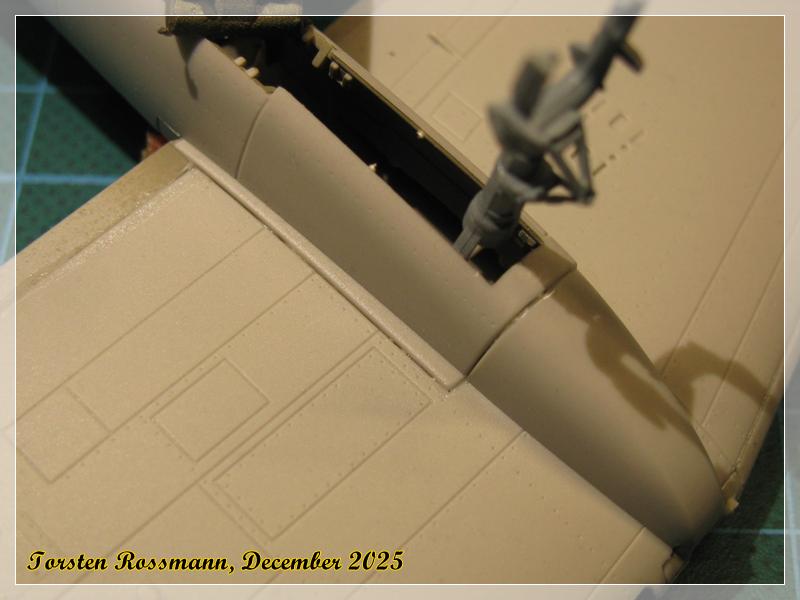
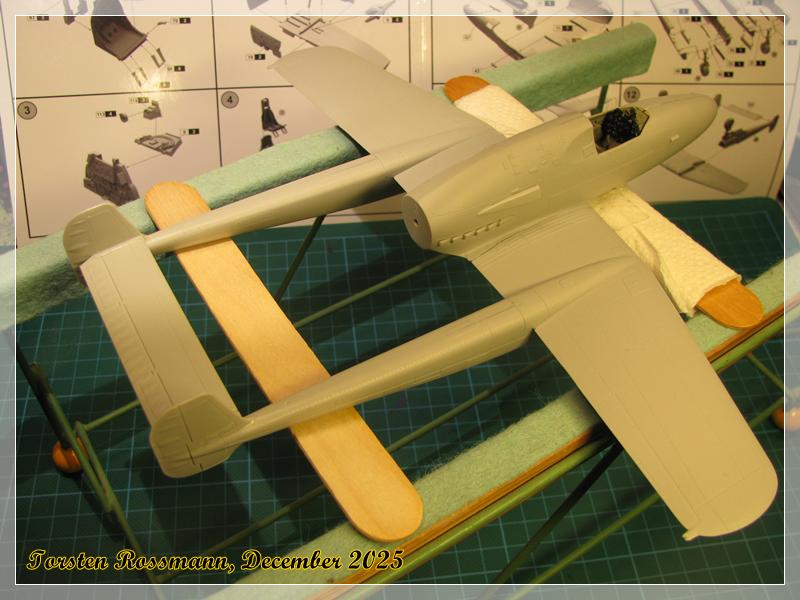
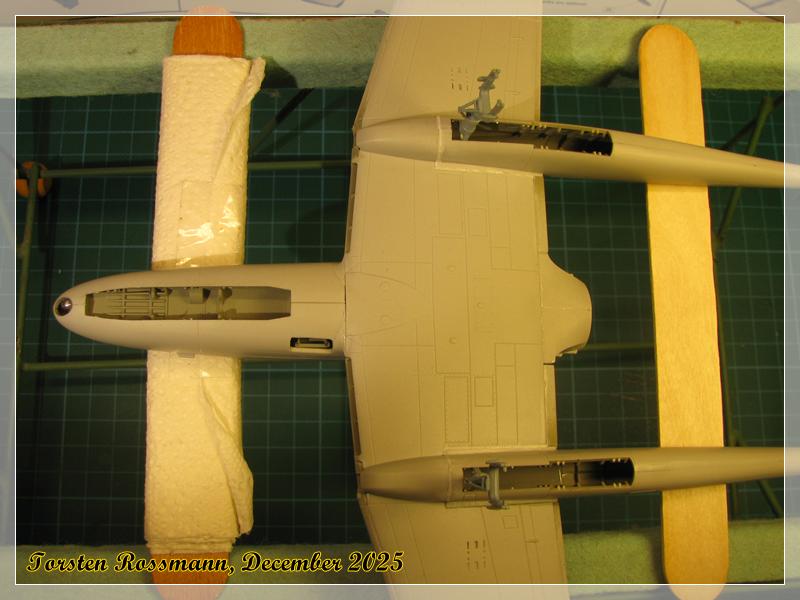
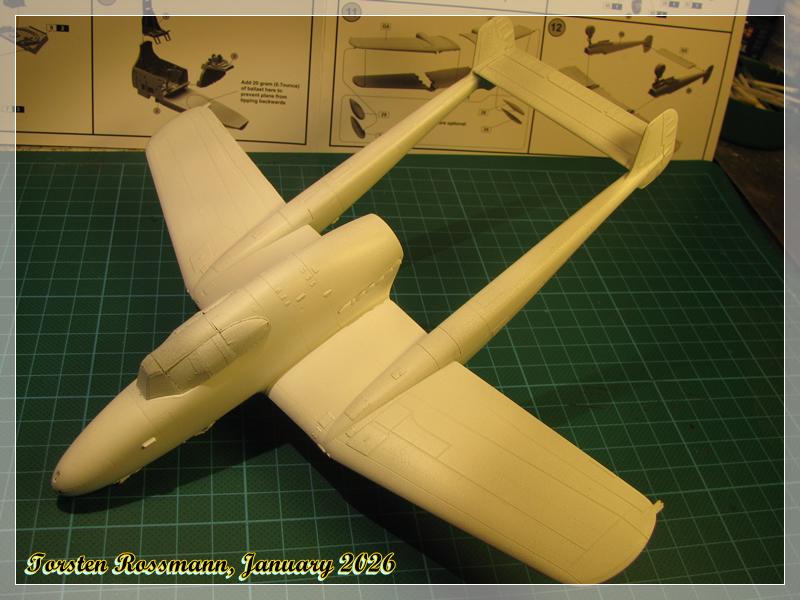
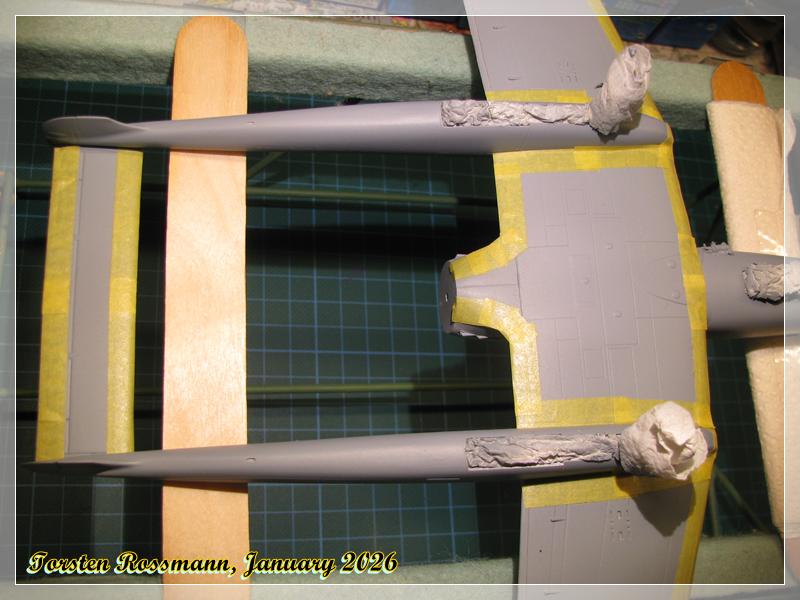
Another update from the J 21 from the last few days. First I have assembled the twin booms. Unfortunately the undercarriage must be in place before the halves are glued together. Not my favourite way so I have to cover them before painting now …
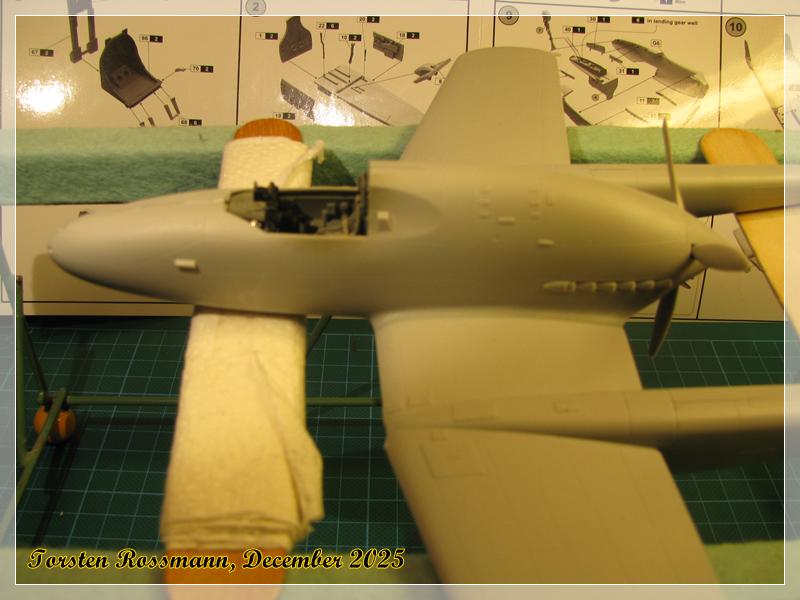
Next step will be masking the canopy. Meanwhile I’m tending to open the canopy though it’s not much detailed. This kit is really challenging or as I said before, it’s a creepy kit. The quality is not worth the money I paid for it. But in the end it’s a SAAB …
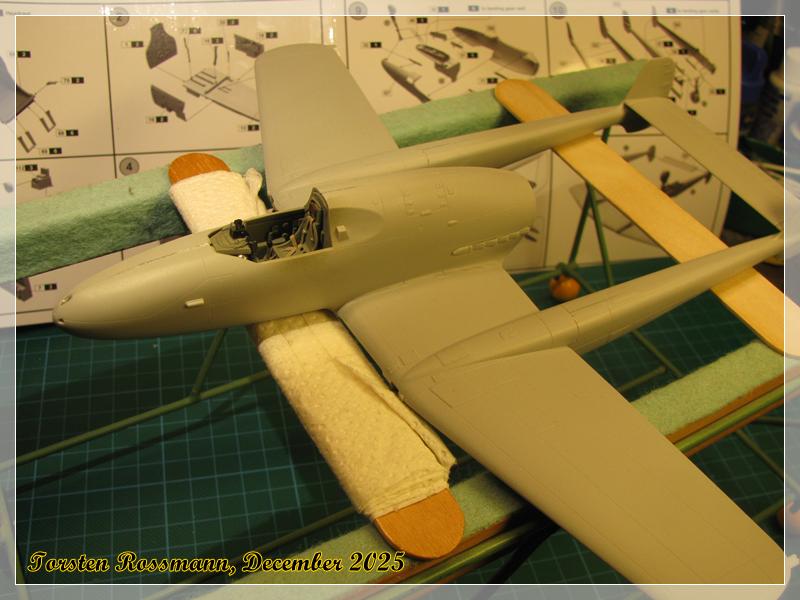
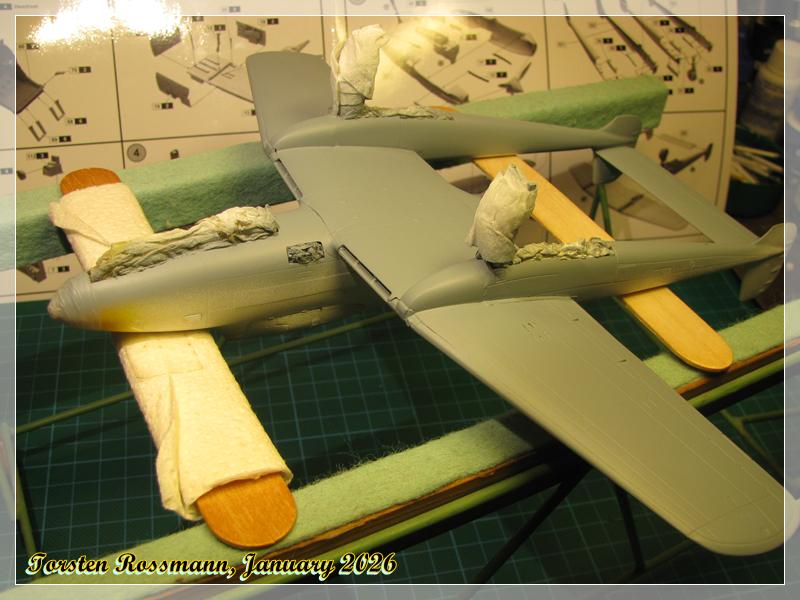
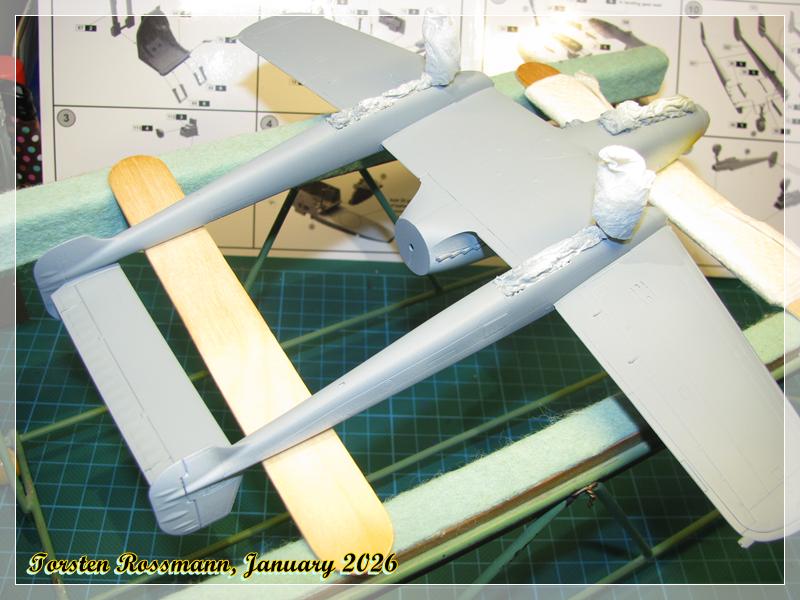
Anyway, just a short update as everything goes slow these days and I also have the Leopard on the bench. Many parts … I only managed to fill the wheel bays with kitchen paper.
I’ll be back before New Years Eve and might start with masking the canopy. But I could also start assembling the tracks of the Leopard. 4 parts per link, 84 links per side …
You can bet that I will be glad when this kit is finished. It’s quite a ride but in the end I always win over plastic. And this kit is a rare sight.
At the moment I mask the canopy which is an evening filling job as I have no pre cut masks. So everything is cut by hand on the clear parts … But I’m already half way through, 2 of 4 parts are done.
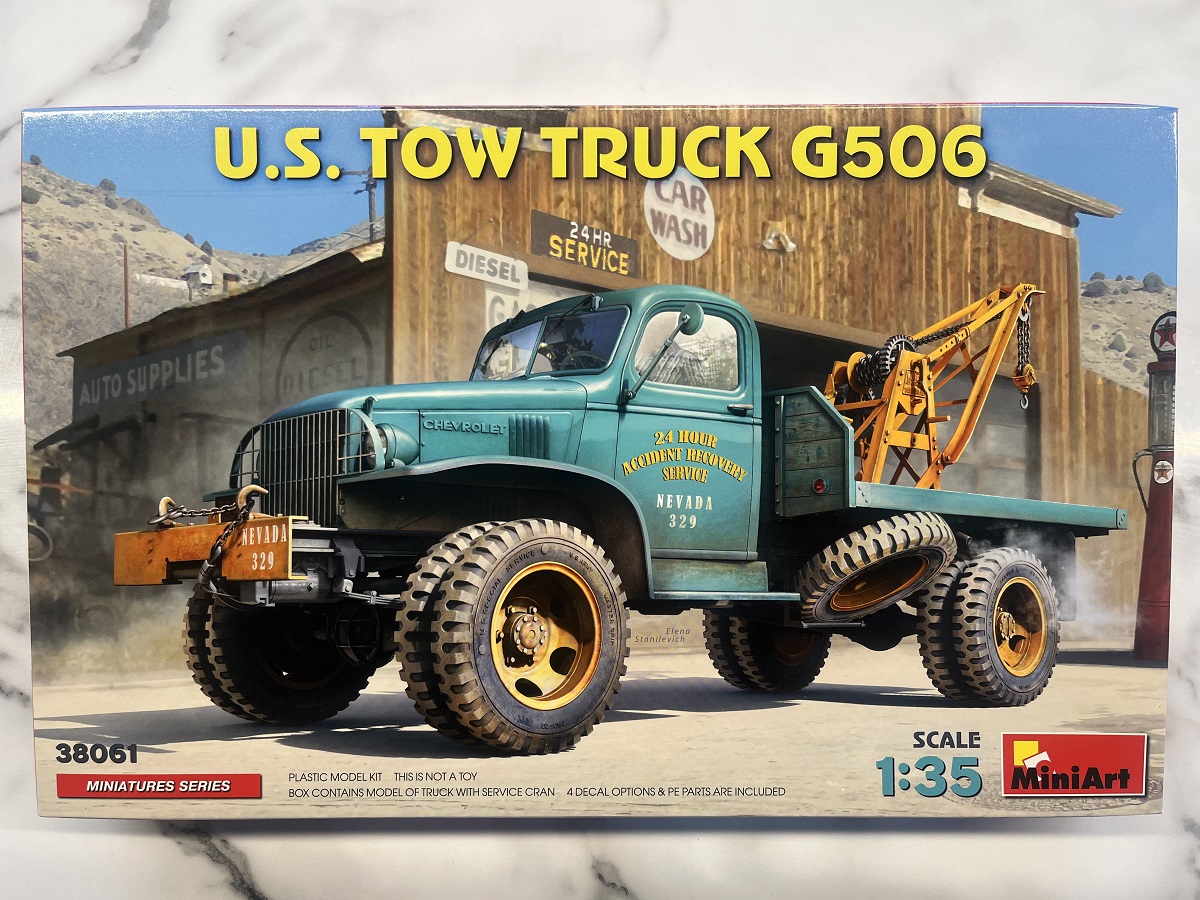
Hi Torsten. I have just worked through 12 months worth of updates here, very nice work on such a variety of subjects. The Helldiver and the L1500 Wrecker in particular caught my eye. I have the MiniArt G506 Wrecker in the stash, it looks to me like they used the same tray and jib sprues for both kits.
Looking forward to more updates on the SAAB, it’s such a cool looking airframe.
Thanks D and welcome back to my thread! It has been a while …
You’ve picked two of my difficult kits this year, the L1500 because of it’s amount of parts and the Helldiver because of it’s fitting And that’s 50 % of my whole output this year …
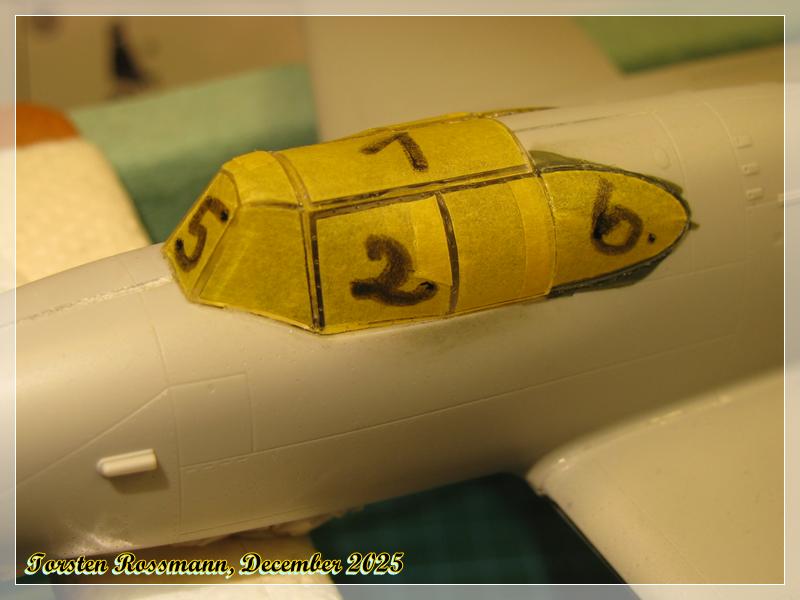
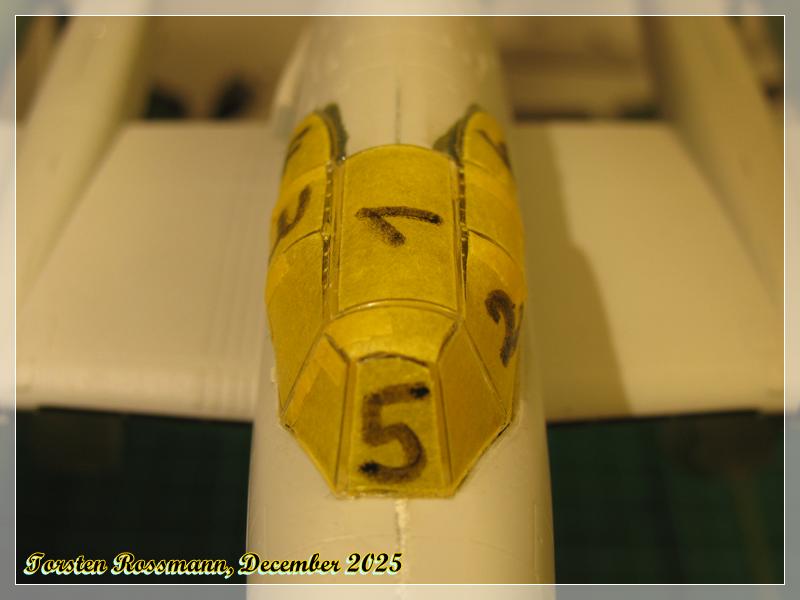
While it’s already 2026 in Oz, 2025 is running it’s final lap here in Europe, so it’s time for a last update this year. After I returned from spending the christmas days with my old parents I finally had the motivation to mask the canopy of the J21. And correction, it’s 6 parts, not 4. Not easy because the struts between the glas are not well visible. So I wonder how it will look like in the end and how many corrections I have to make …
Anyway, all parts are masked now, using Fine Line Gold Tape …
I decided to close the canopy. The cockpit is not well detailed. Started with the rear parts 4 and 6, then windshield 5 and the rest. Glued with Micro Kristal Klear, fitting is surprisingly good …
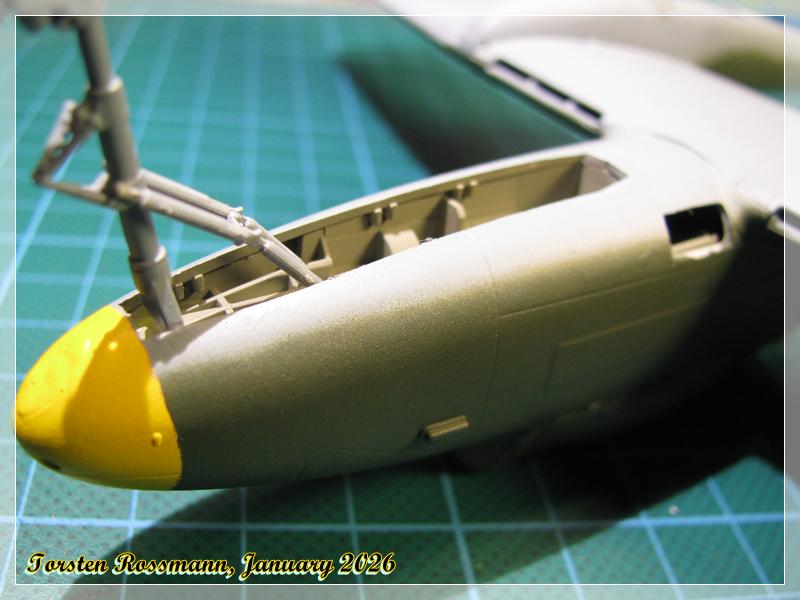
Adding the landing light to the fuselage was a bit tricky because a ball from the balance weight is in the way. So I had to sand it a bit but now it fits. Here I used Revell Color Stop Liquid Mask (same as Maskol from Humbrol). Painted Revell 90 Silver on the inside.
This is it for 2025. Wishing you all here at the Kitmaker Family a happy, healthy and lucky New Year 2026 with much fun in our wonderfull hobby. See you again in January …
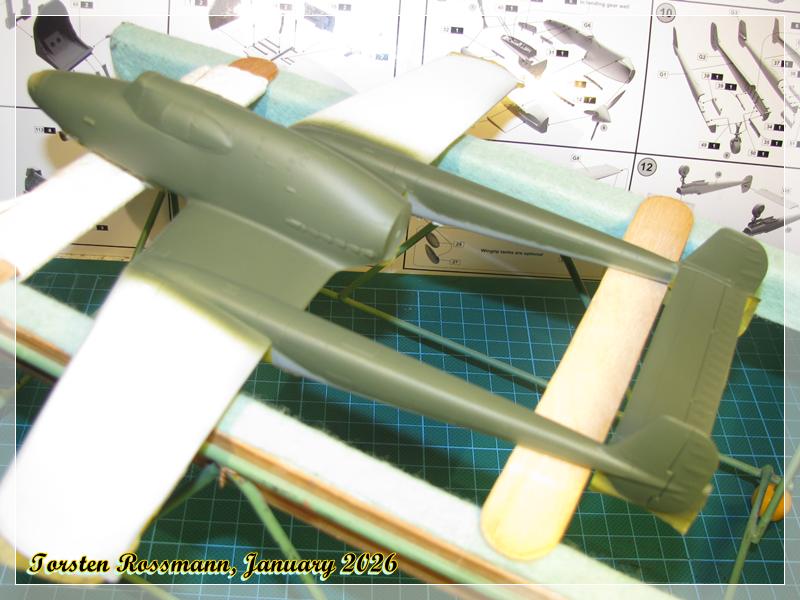
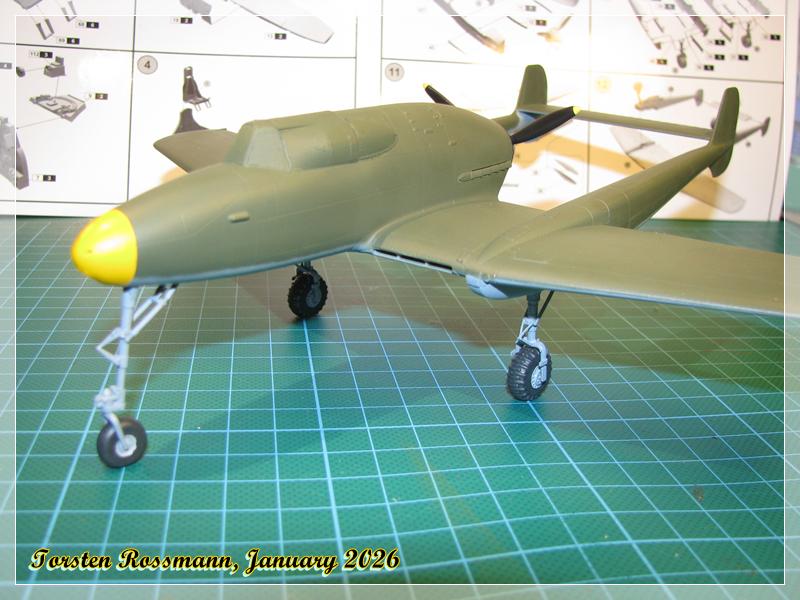
Guys, I hope you’ve all had a great start into 2026. As I was at home this year it was a bit quite here but I still have this week off work so I got some good bench time and made progress on the SAAB. First white primer over all. Balance weight should be enough …
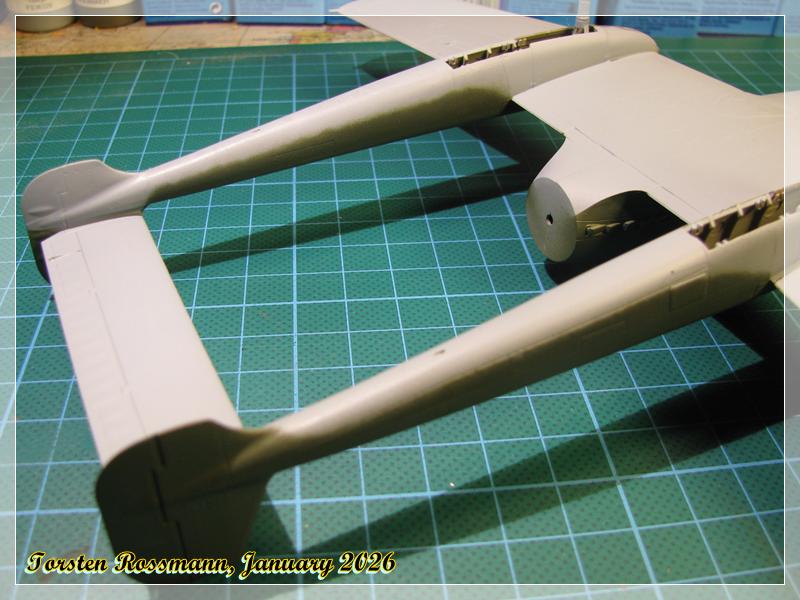
So, my J21 is making further progress. Beside working on the tracks of my Takom Leopard C2 I started masking the underside. First the outlines with Tamiya like 6 mm Washi paper. Mine is from 3M …
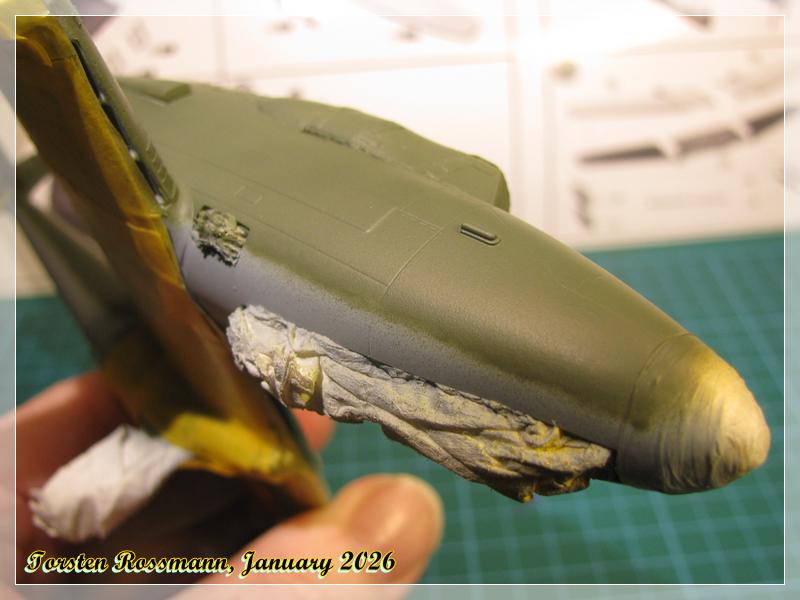
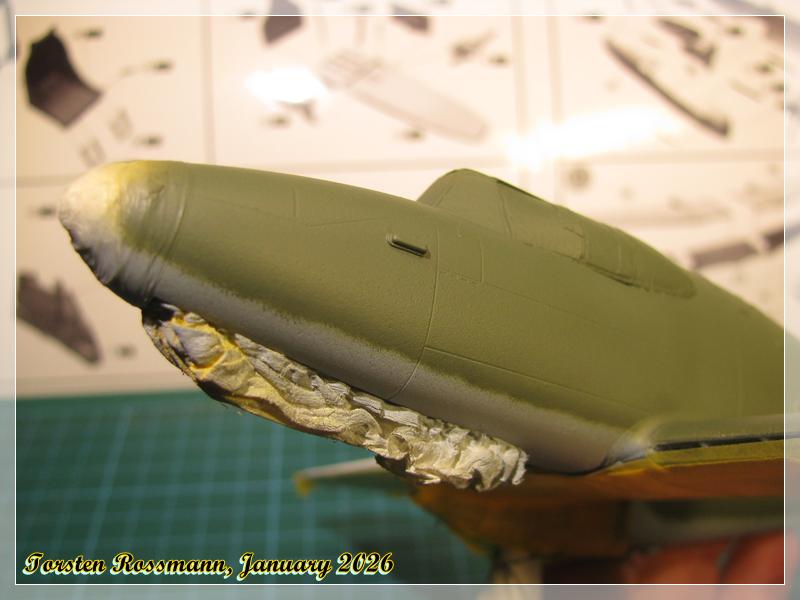
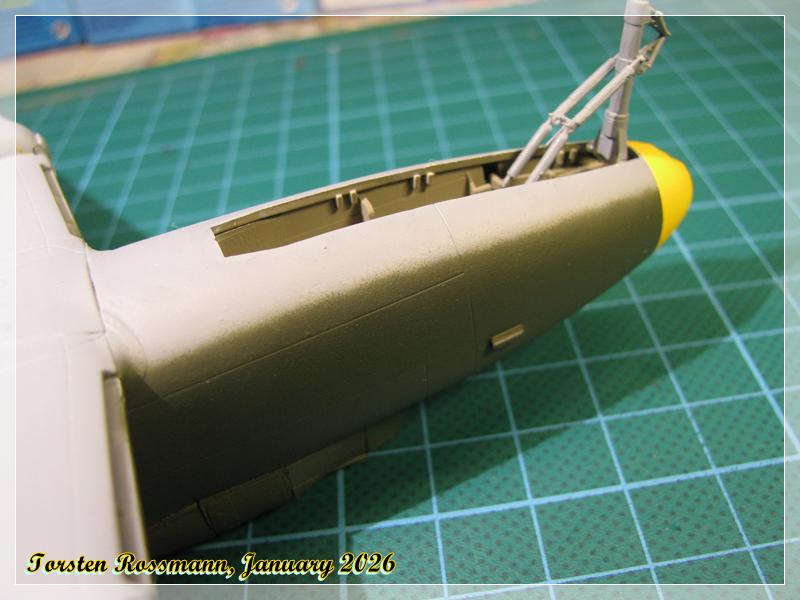
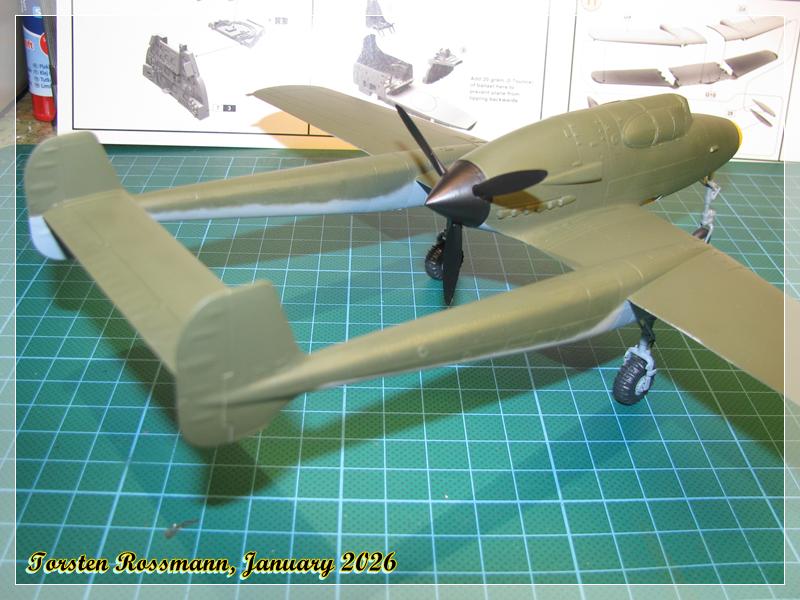
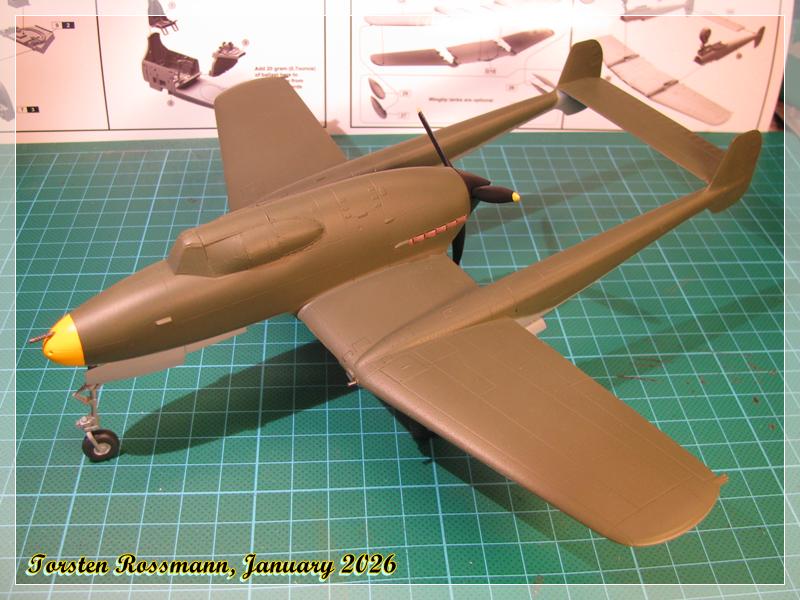
This is how the plane looks after the first session this afternoon (2 hours). Have used Vallejo 71294 US Forest Green FS34079, thinned by 30 %. The compressor was working with 0,6 - 0,7 bar (~ 10 psi). The paint is quite transparent, so I needed a few layers to get it opaque …
Quite happy with the transition here at the nacelle, though a bit of overspray is visible. A bit more is on the twin booms. I’ll take care of that later …
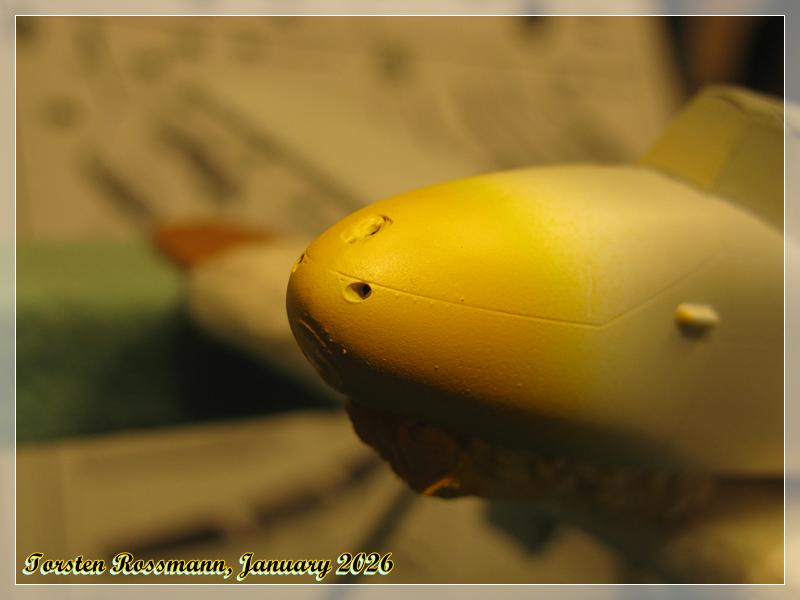
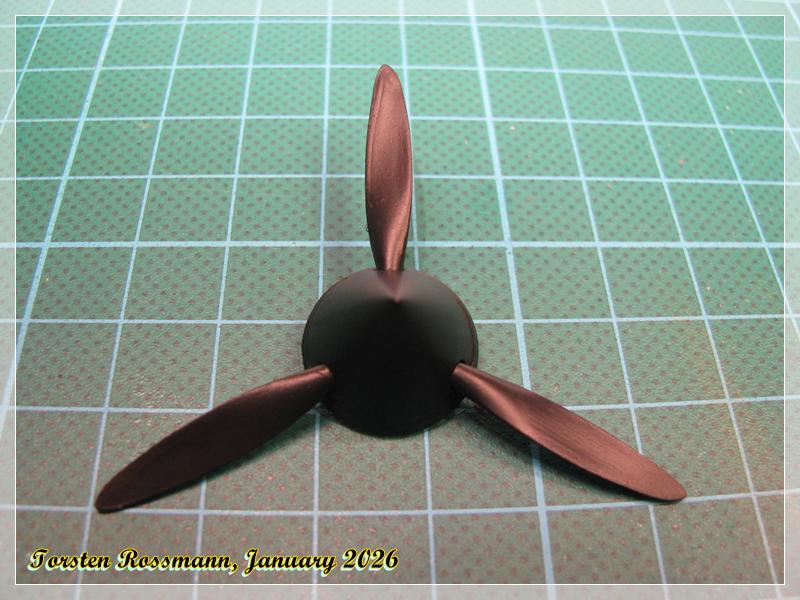
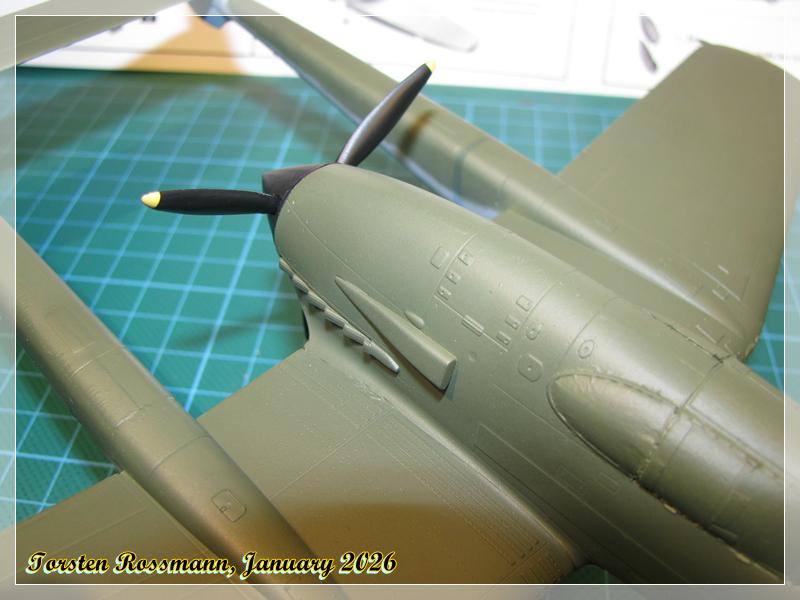
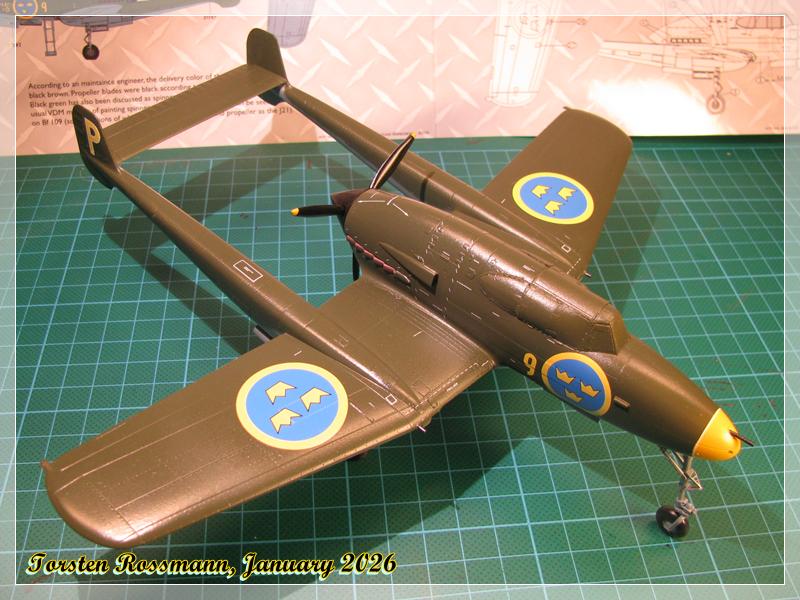
And the propeller has also got some colour. Painted with Revell 302 Black. PR says, the blades have yellow tips, but only on the front side, not on the rear. You can also see it in my photos from Linköbing in Post 1069. So this side is done, the other still needs some attention.
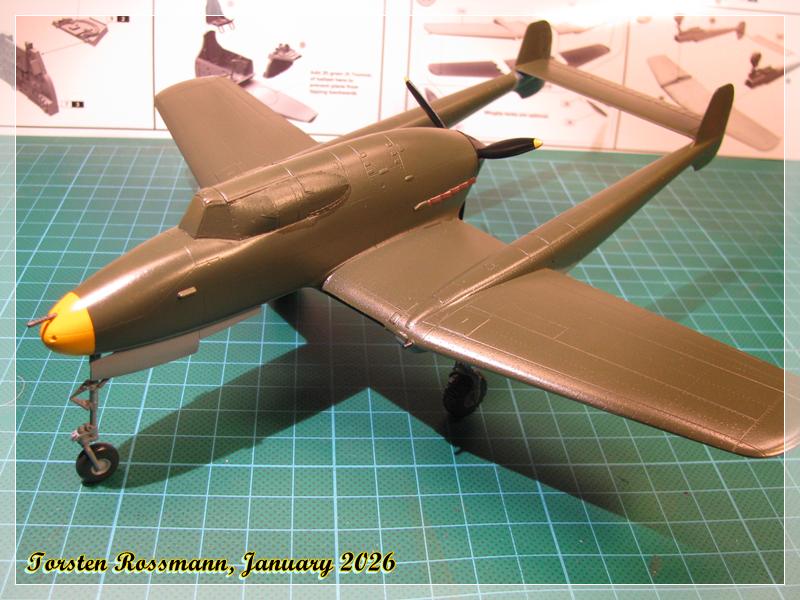
Within the next days I’ll have another “Green Session” for the wings and will check if there are any “clouds” left on the coating. Afterwards I’ll start with Dark Ghost Grey for the corrections.
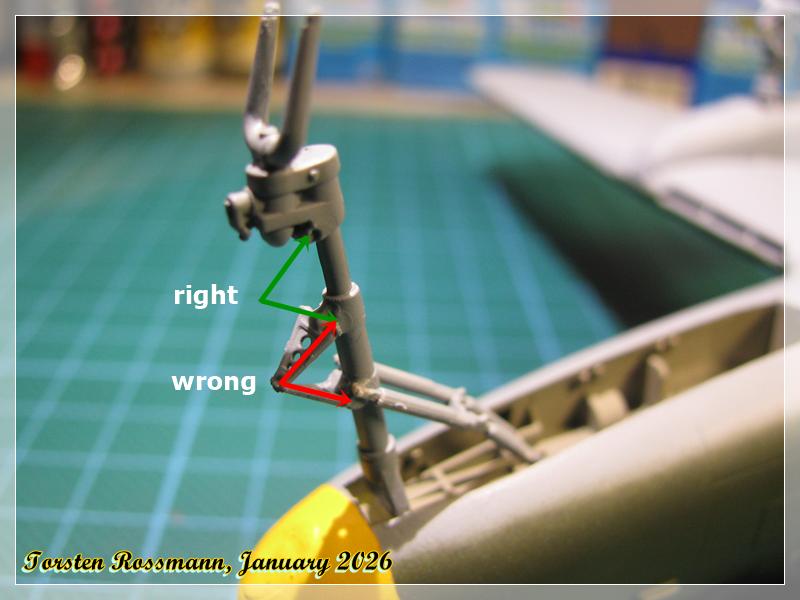
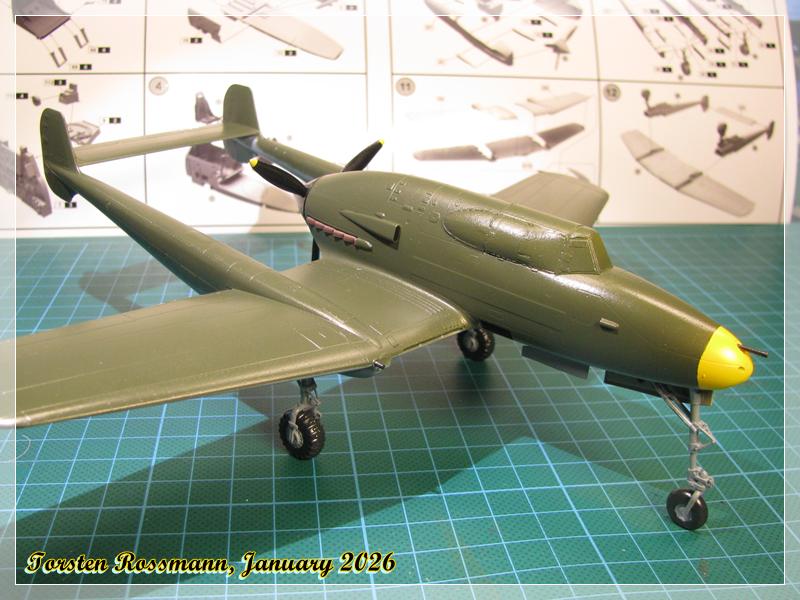
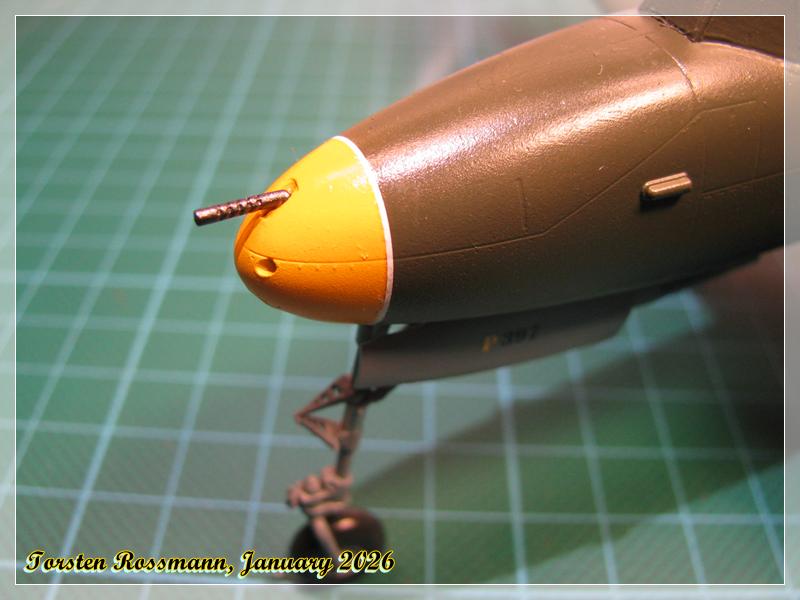
But I made a mistake because I didn’t check the instructions carefull enough. The torsion link on the tricycle landing gear is in the wrong position. I only noticed it when I assembled it into the landing gear well. But I will leave it as it is now. Would probably destroy more than I gain. Sometimes I’m an idiot … Don’t tell anybody! It’s our secret, okay?
Still have to add the wheel well doors and the wheels and some final touch ups here and there. That all should be done by next weekend. My first show this year is in about 4 weeks, so the pusher will be there.
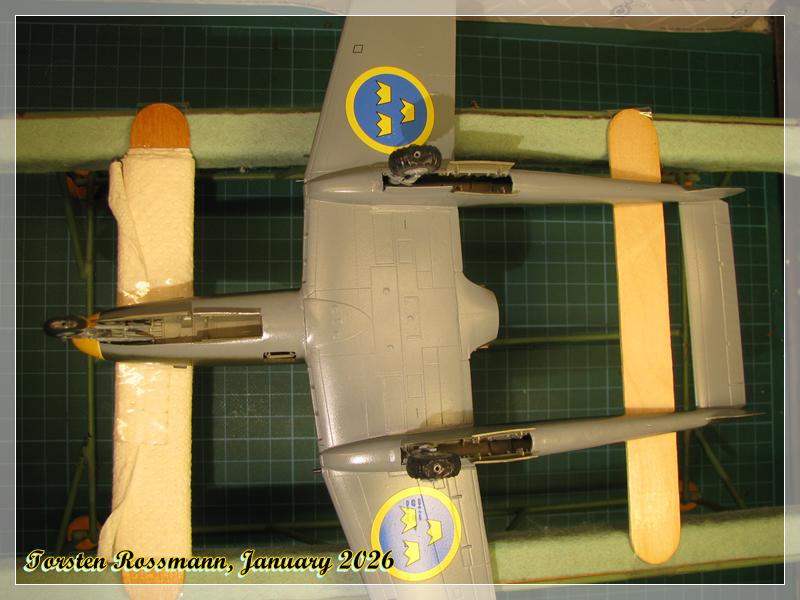
A bit tricky was the white stripe around the yellow nose but it went better than I thought. PR mixed up the number on the instruction with a similar decal Patience and some water were very helpful. Cartograph Decals are a pleasure to apply …
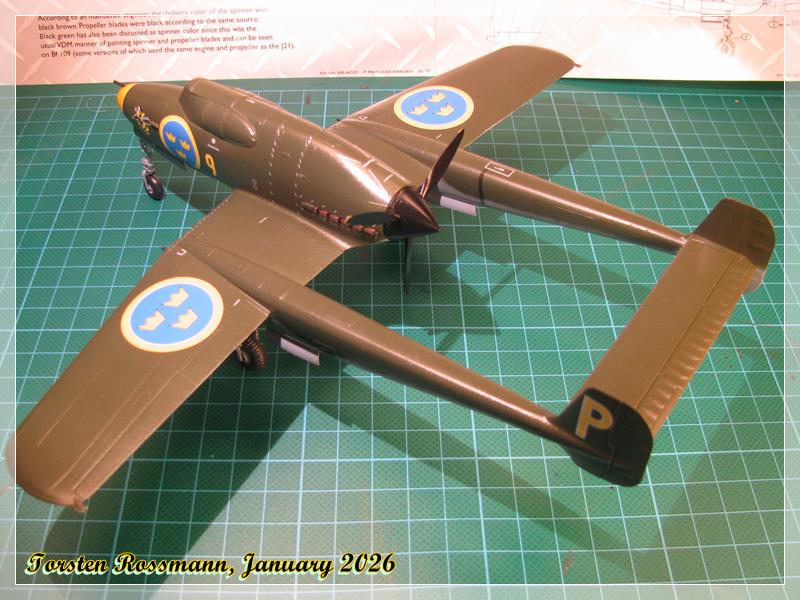
Everything is ready now for the final steps. Semi-gloss varnish and demasking the canopy. The propeller will get a drop of white glue in the end. Final assembly will be the ladder, which I have forgotten to take a photo of. But you’ll see it in the end. So the next update should be the finished (no, swedished!) model …