This thread has so much good in it. Congrats on the two P-39’s first off!!
Of special mention: I really like the way that He-219 turned out. I’ve had one of those in the stash for around 10 years as well and am looking forward to breaking it out.
This thread has so much good in it. Congrats on the two P-39’s first off!!
Of special mention: I really like the way that He-219 turned out. I’ve had one of those in the stash for around 10 years as well and am looking forward to breaking it out.
Wow! Thank you for the compliment, Joseph! Much appreciated!  I would be happy if my thread can give a helping hand to someone.
Yes, I think both Cobras turned out really good. If we’re lucky here, they will have their first model show in October …  The mottling on the He 219 was less difficult than I thought. It came out this at the first attempt. And the kit fits very well together - Tamiya quality. But I won’t show it anywhere, except at my permanent house expo, because the antennas are too fragile.
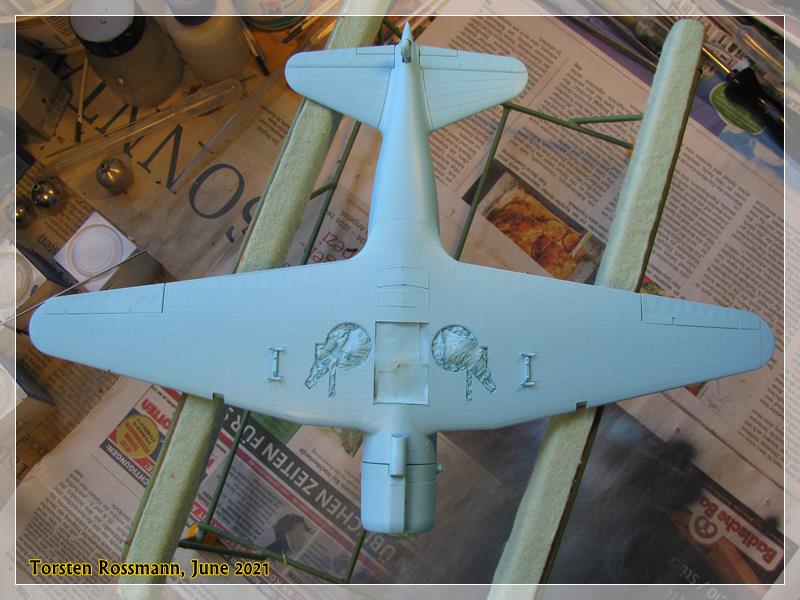
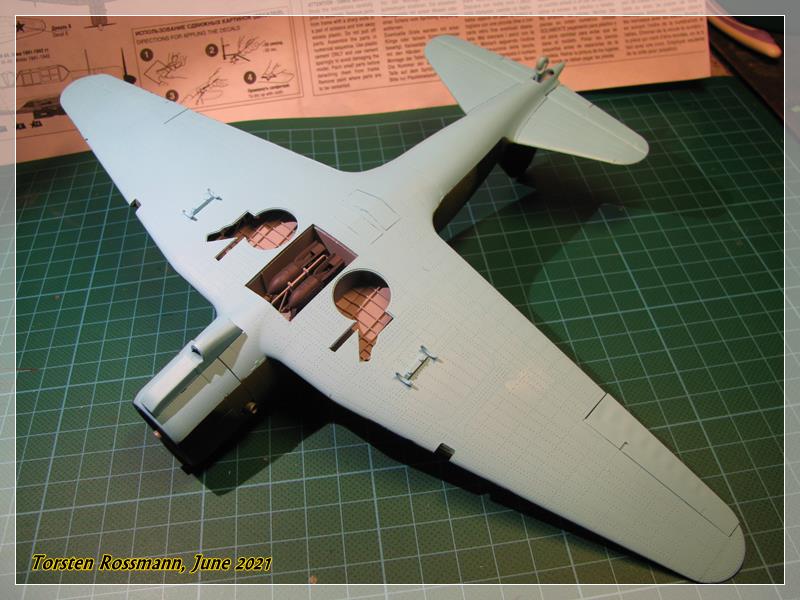
And finally … paint! First primer …

Torsten

Torsten,
As usual, your paint looks smooth as silk.
joel
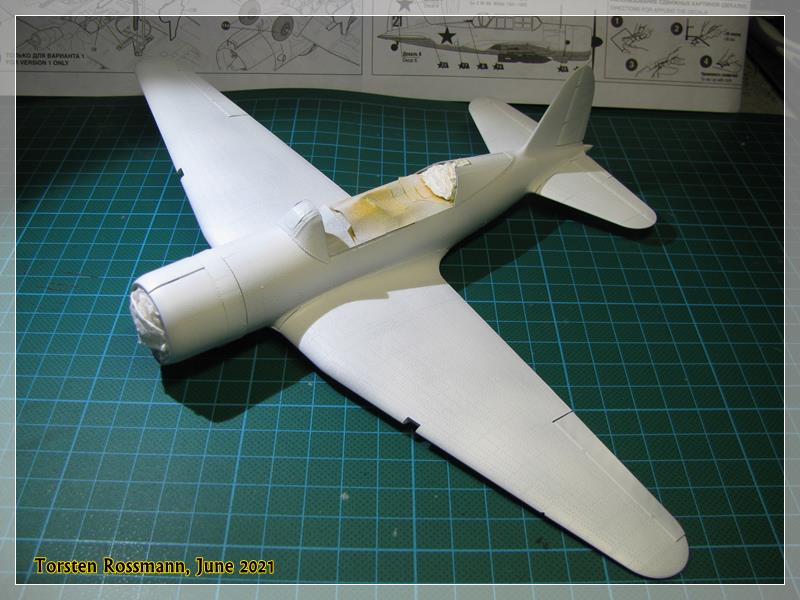
Without the cockpit canopy, that large opening and the overall shape reminds me of the fibreglass planes they used to make for children’s rides.
Looking great Torsten.
Thanks for looking, guys! 
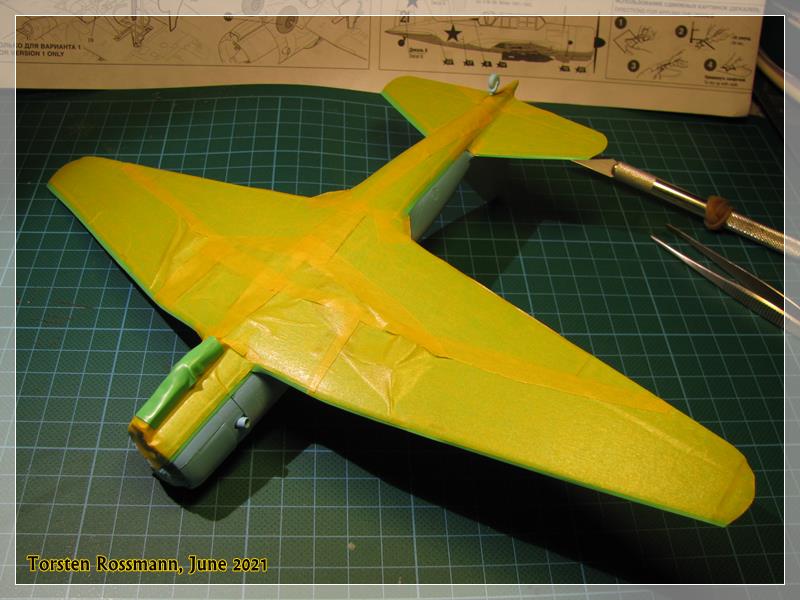
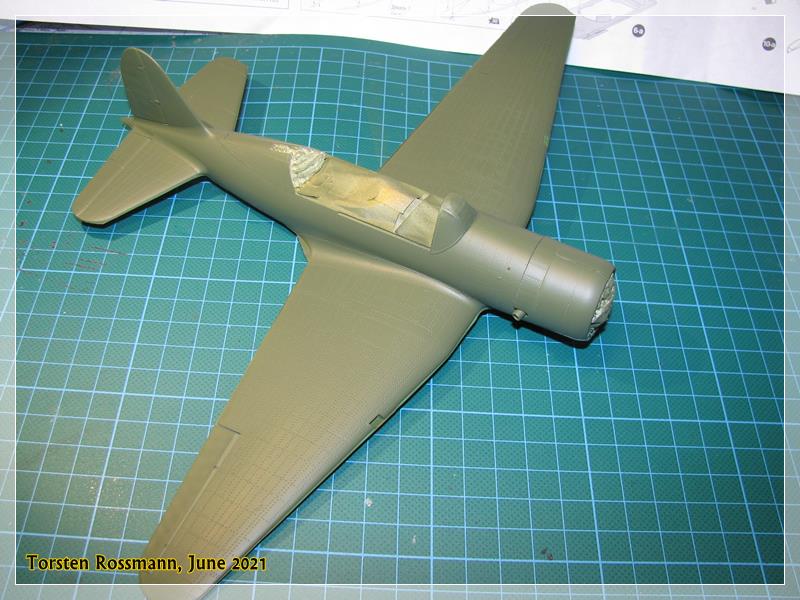
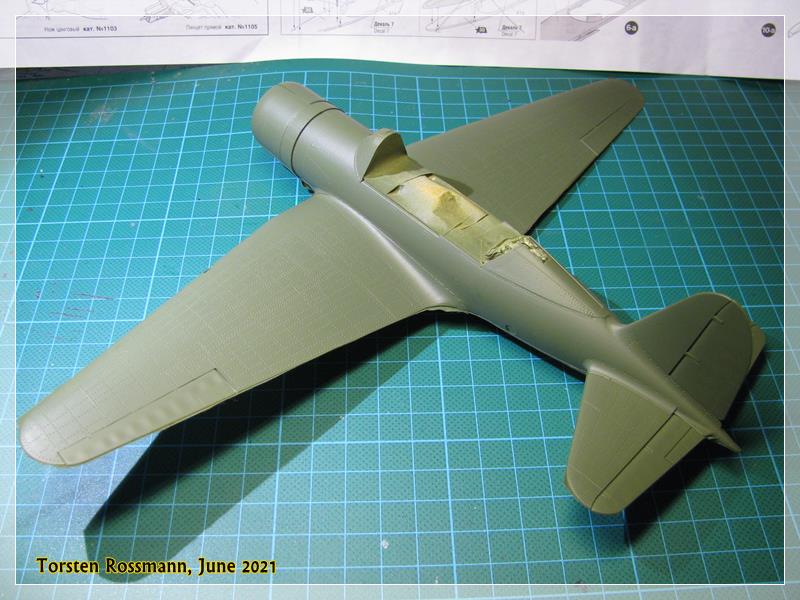
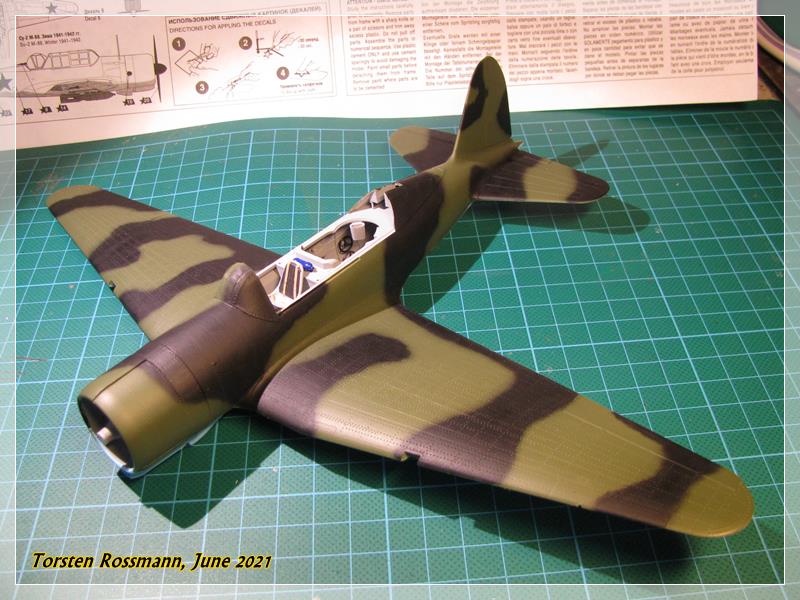
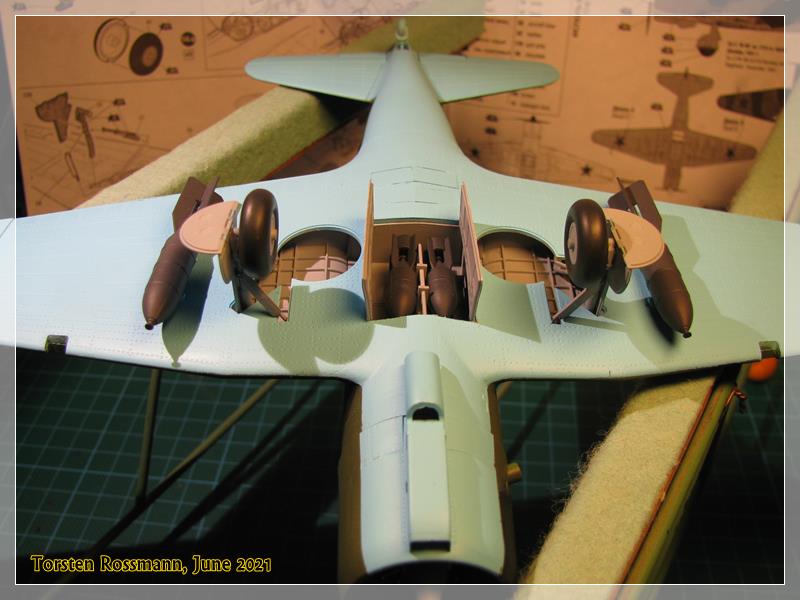
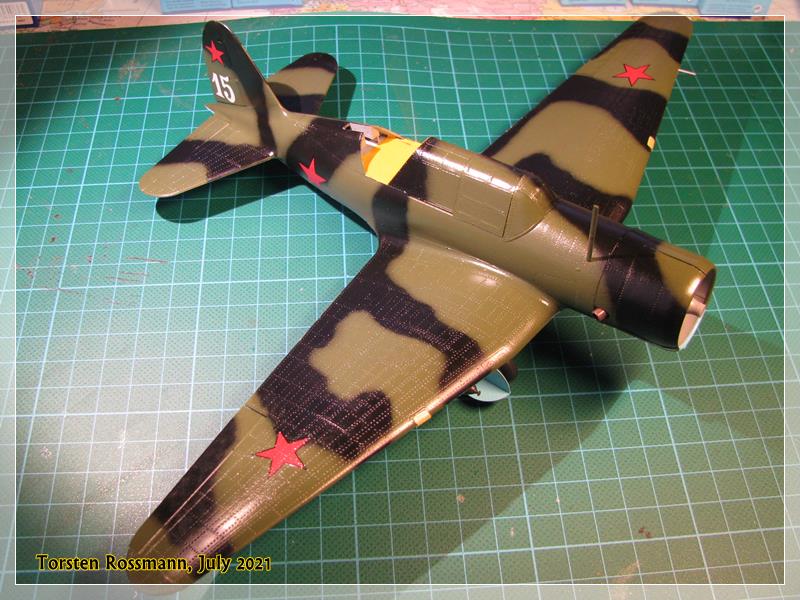
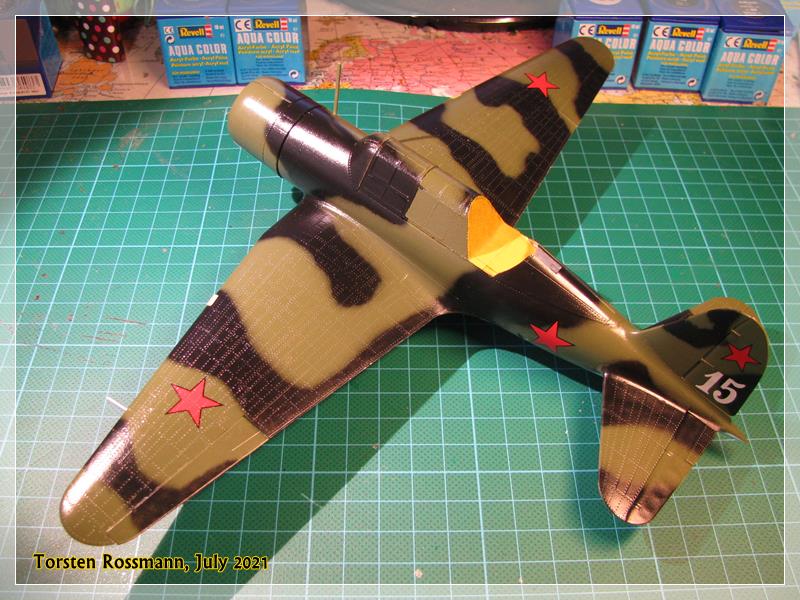
It took me quite some time but today I can show you a bigger update. There are always steps which need a lot of time but they are not visible when the work is done in the end. And that is masking. It took me 2 evenings with 2 hours each to achieve this …
… followed by 90 minutes airbrushing the next day. I needed 3 layers to get the paint opaque … 
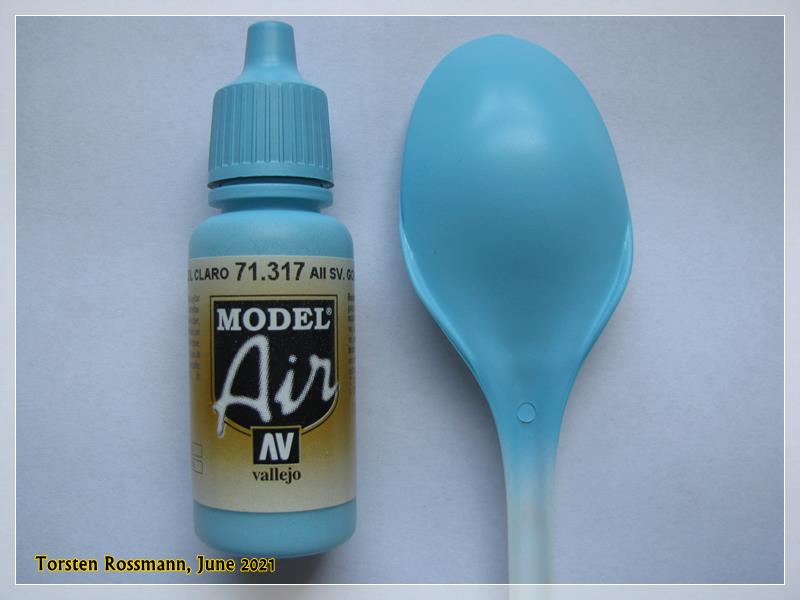
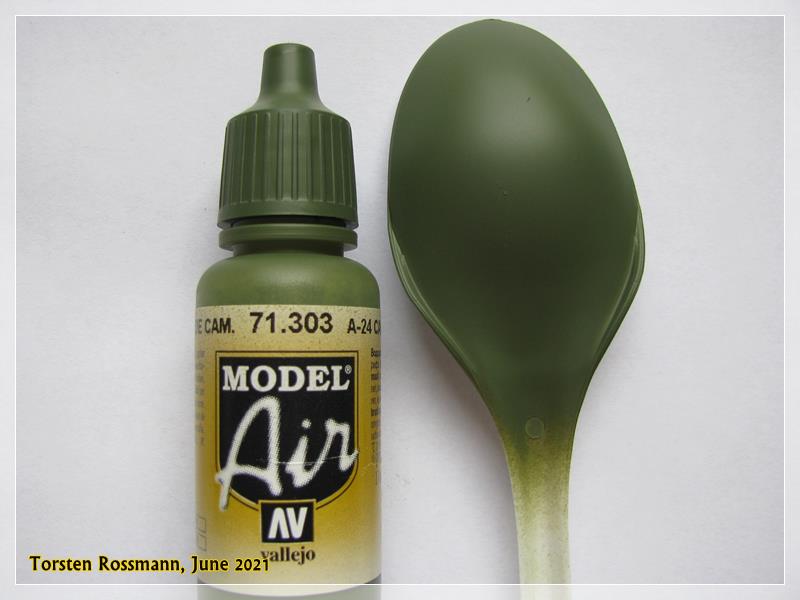
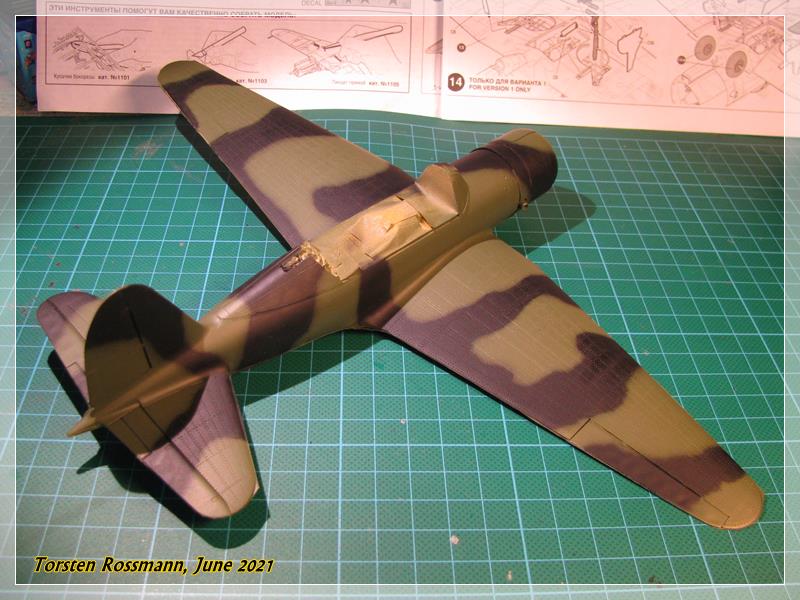
… I’ve used Vallejo 71303 Russian Cam. Green A-24 for the basic paint …
… the last 3 afternoons with 1 hour each I sprayed Vallejo 71057 Black freehand. I thinned the paint by 30 % and sprayed with 0,2 bar, using my 0,35 mm needle …
… the camo on the right fuselage side is hypothetical because I have no profile from that side …
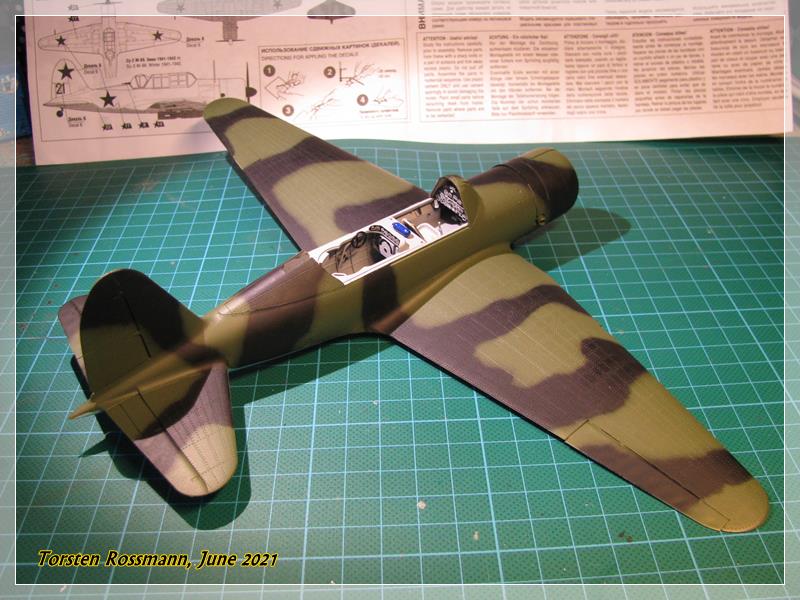
… after the paint has dried thoroughly I took the masks off today and I’m quite happy with the result now …
There are some minor touch ups here and there where the paint run under the mask but the major painting is done now. So the next steps are working on the landing gear and the gun turret.
Stay tuned for the next update
Torsten
Torsten,
The effort to properly mask paid off big time as the bottom color still is perfect with no over spray anywhere. As for the top camo, sure looks like you nailed it.
joel
That’s a lot of tape! Paint application looks pristine as usual I especially like the slightly feathered edges on the camo pattern. Well done!
Marty
Thanks guys!
Joel, I have already repaired the few paint runners under the masks. They were mainly on both sides of the cowling and at the leading edges of the wings. Nothing serious. Meanwhile I have attached the landing gear and I think tomorrow the Su-2 will stand on her own feet … wheels …
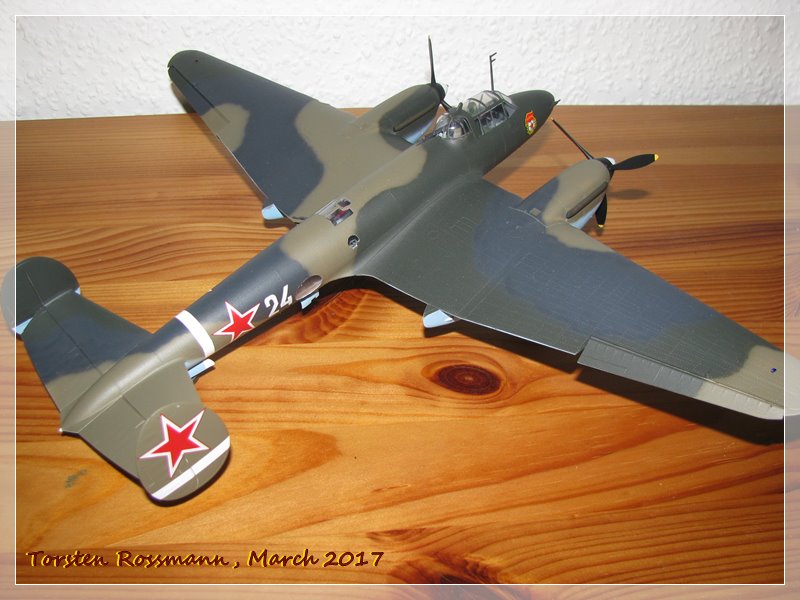
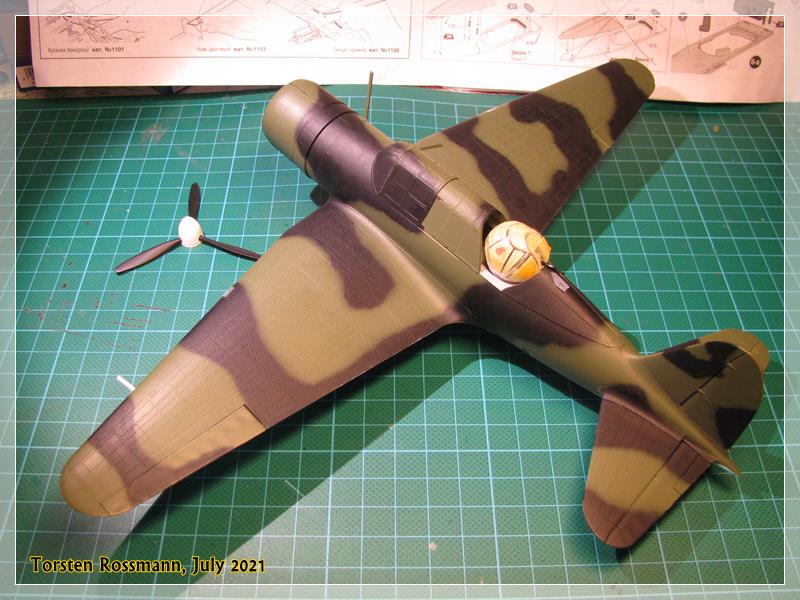
Marty, I probably always mask more than what is necessary. But better a bit too much than a bit too little. Most of the masks still look clean when I take them off again.There’s a little overspray on the camo but I notice it only with my magnifying glasses on. It’s okay for me. I also like the soft edges of the camo. Here’s my Pe-2 “Peshka” (also a Zvezda kit) from the “Soviet Phoenix Campaign” in 2017 with a 3-tone-camo, also airbrushed freehand. It’s Russian Tan, Russian Dark Green and the Dark Grey is RLM 74 … 
Beautiful result Torsten.
Beautiful work, as always, Torsten
![]()
I don’t care who ya’ are - that’s funny!
Torsten, wonderful work. I’ve always wanted to see a Su-2 built.
Thanks again for looking, guys!
Fred, you’re right, a Su-2 is rare seen. I think, I’ve seen only 1 or 2 built to date. But Zvezda is more known for their armor kits. Their quarterscale section isn’t big, though they have some nice kits there.
Just a quick shot from the landing gear. Not finished yet but you’ll get the picture …
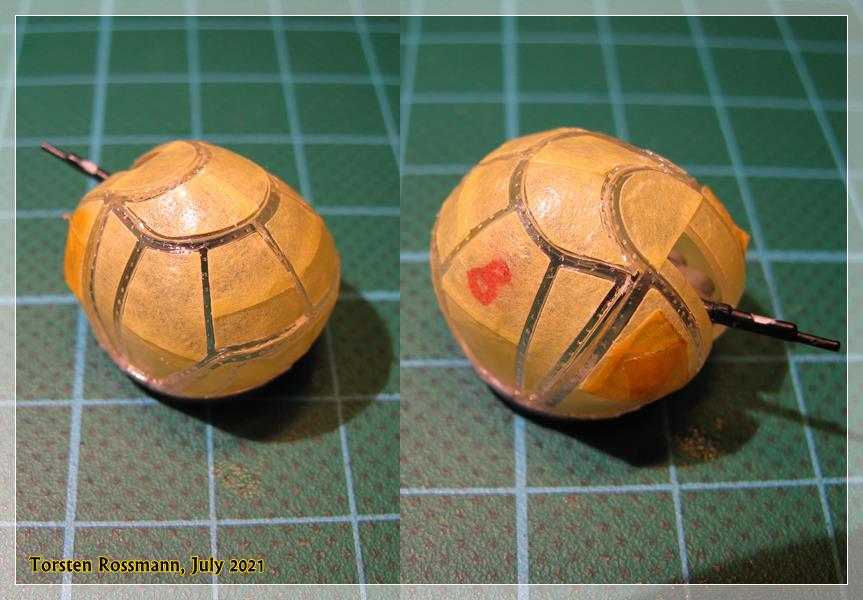
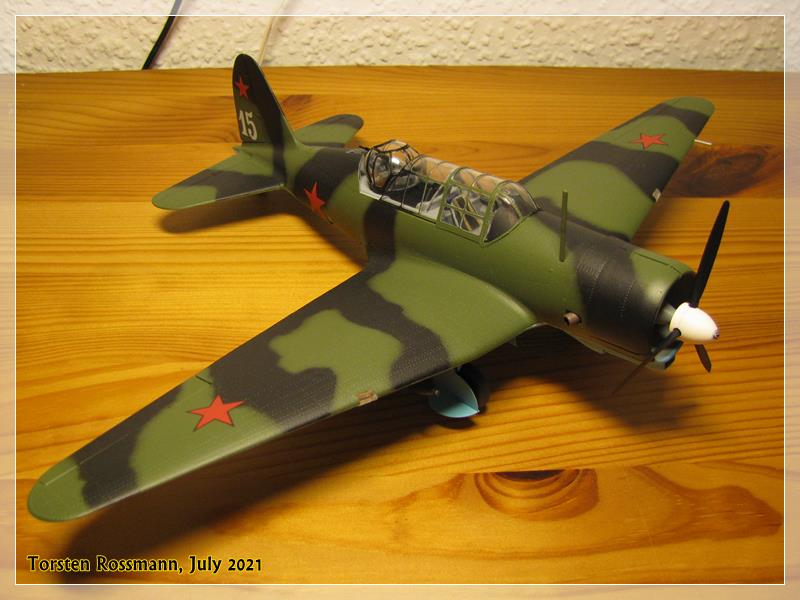
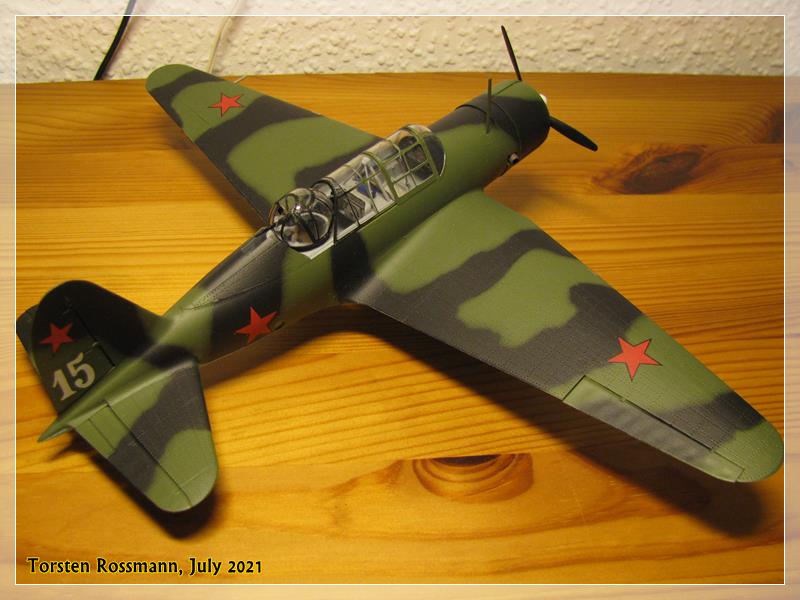
A bit of slow progress now but the Su-2 is flying the final rounds on my workbench now. Fitting of the clear parts for the turret is not good but this is my result. I will brush paint it black and install it right at the end of the build …
Torsten
Torsten,
I’m really impressed with your masking of the turrets, but I’m a little leery about hand painting the black frames. Every time I’ve tried that exact technique, I got paint to bleed right under the masking no matter how many times I re-burnished it down. So I’d really consider air brushing with a light primer coat instead.
joel
Thanks for your concerns, Joel, but everything went well with the painting of the turret. 2 layers of Black and it was done.
Well, the Su-2 is nearly finished. First Bodenglänzer (german Future) …
Take care!
Torsten
Straight up KILLIN’ it with the camo work Torsten!!!
Torsten,
Just goes to show you that you should never trust a car guy.
paint camo looks absolutely perfect as does the decaling. Simple yet so effective.
joel
Really impressed with the camouflage Torsten. Seems to be the most effective way to achieve the feather edge. Wish I had a steady hand.
tim 
Thanks for your comments, guys! Much appreciated!
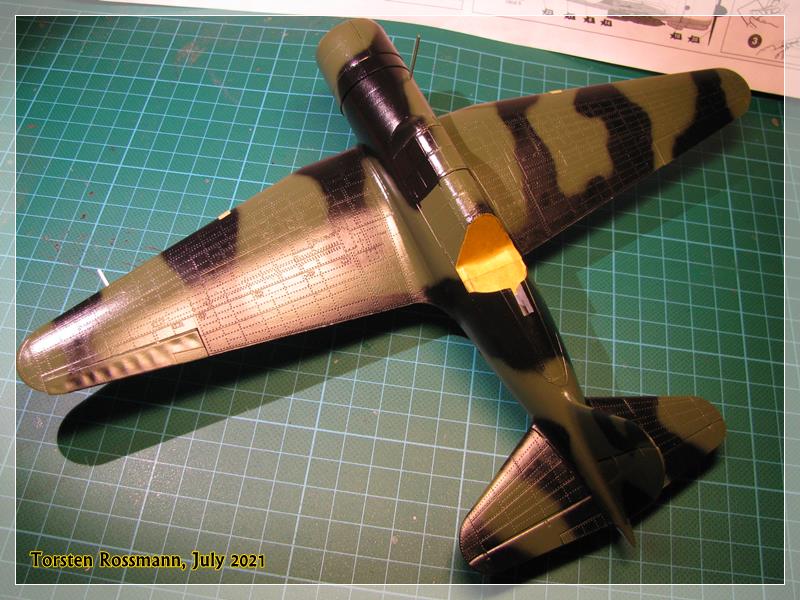
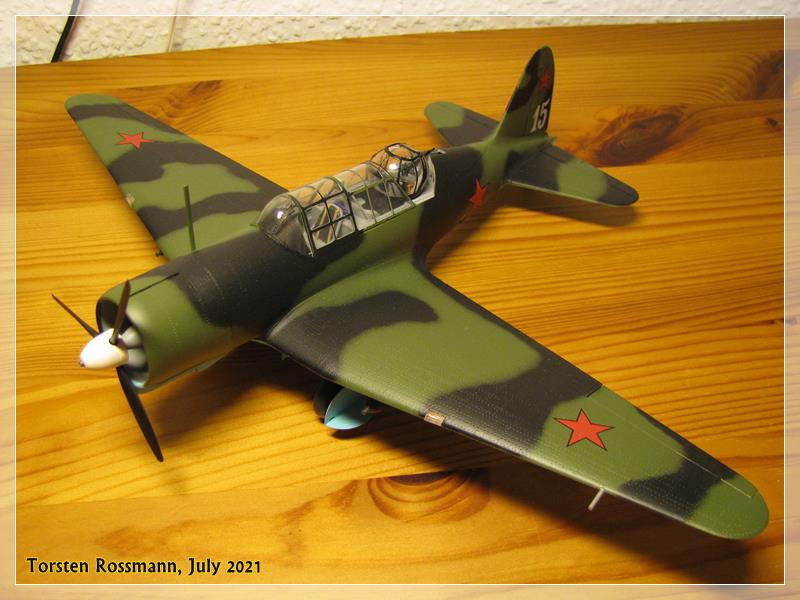
So, I think I have finished build No. 5/2021 today … 
Suchoi Su-2 “White 15” of the 210. BAP (Bombardirovochniy Aviapolk - Bomber Air Regiment) in late 1941
Kit: Zvezda 1/48
Demasking the canopy was a bit tricky because the frames of the windows are really small and the masks were a bit sticky after all these weeks on. So had to do some smaller repairs, especially to the windshield. Hope you don’t see it … The build went together really nice though also this kit has its flaws, so the clear parts of the turret don’t fit well but I tried my best. The use of the Eduard mask is essential. Final coating was again made with Marabu Clear Matt.
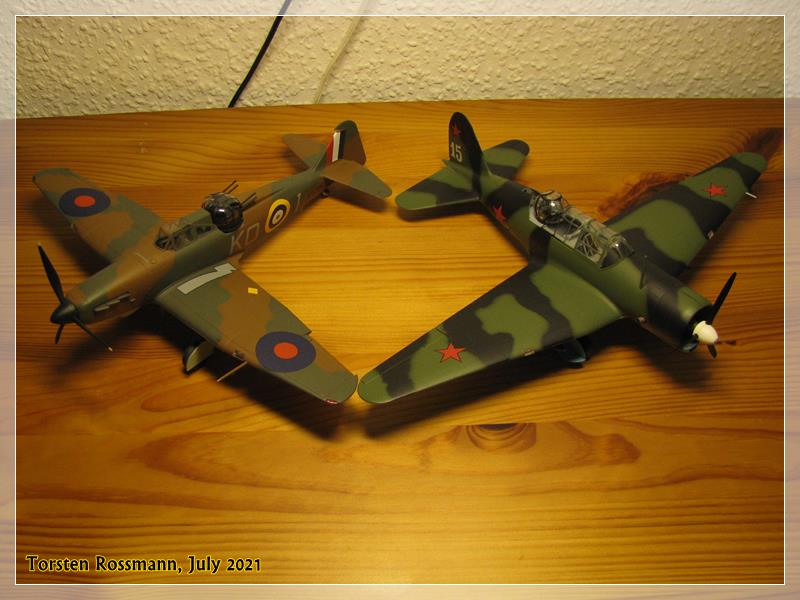
… I knew I had seen this concept before with a turret behind the pilot and no forward firing weapons…
I want to thank again everybody who accompanied me along this build with comments and/or likes and I hope you’ll join me again with my next build.
Happy modelling!
Torsten