You don’t need to host the pics here Russel, just post the pics directly from the device you are using to post. Click on the symbol that looks like a landscape photo and add your pics to the post, it has really transformed posting for me and many others on here.
2 Likes
I’ll second that; it’s transformed Armorama for me!
4 Likes
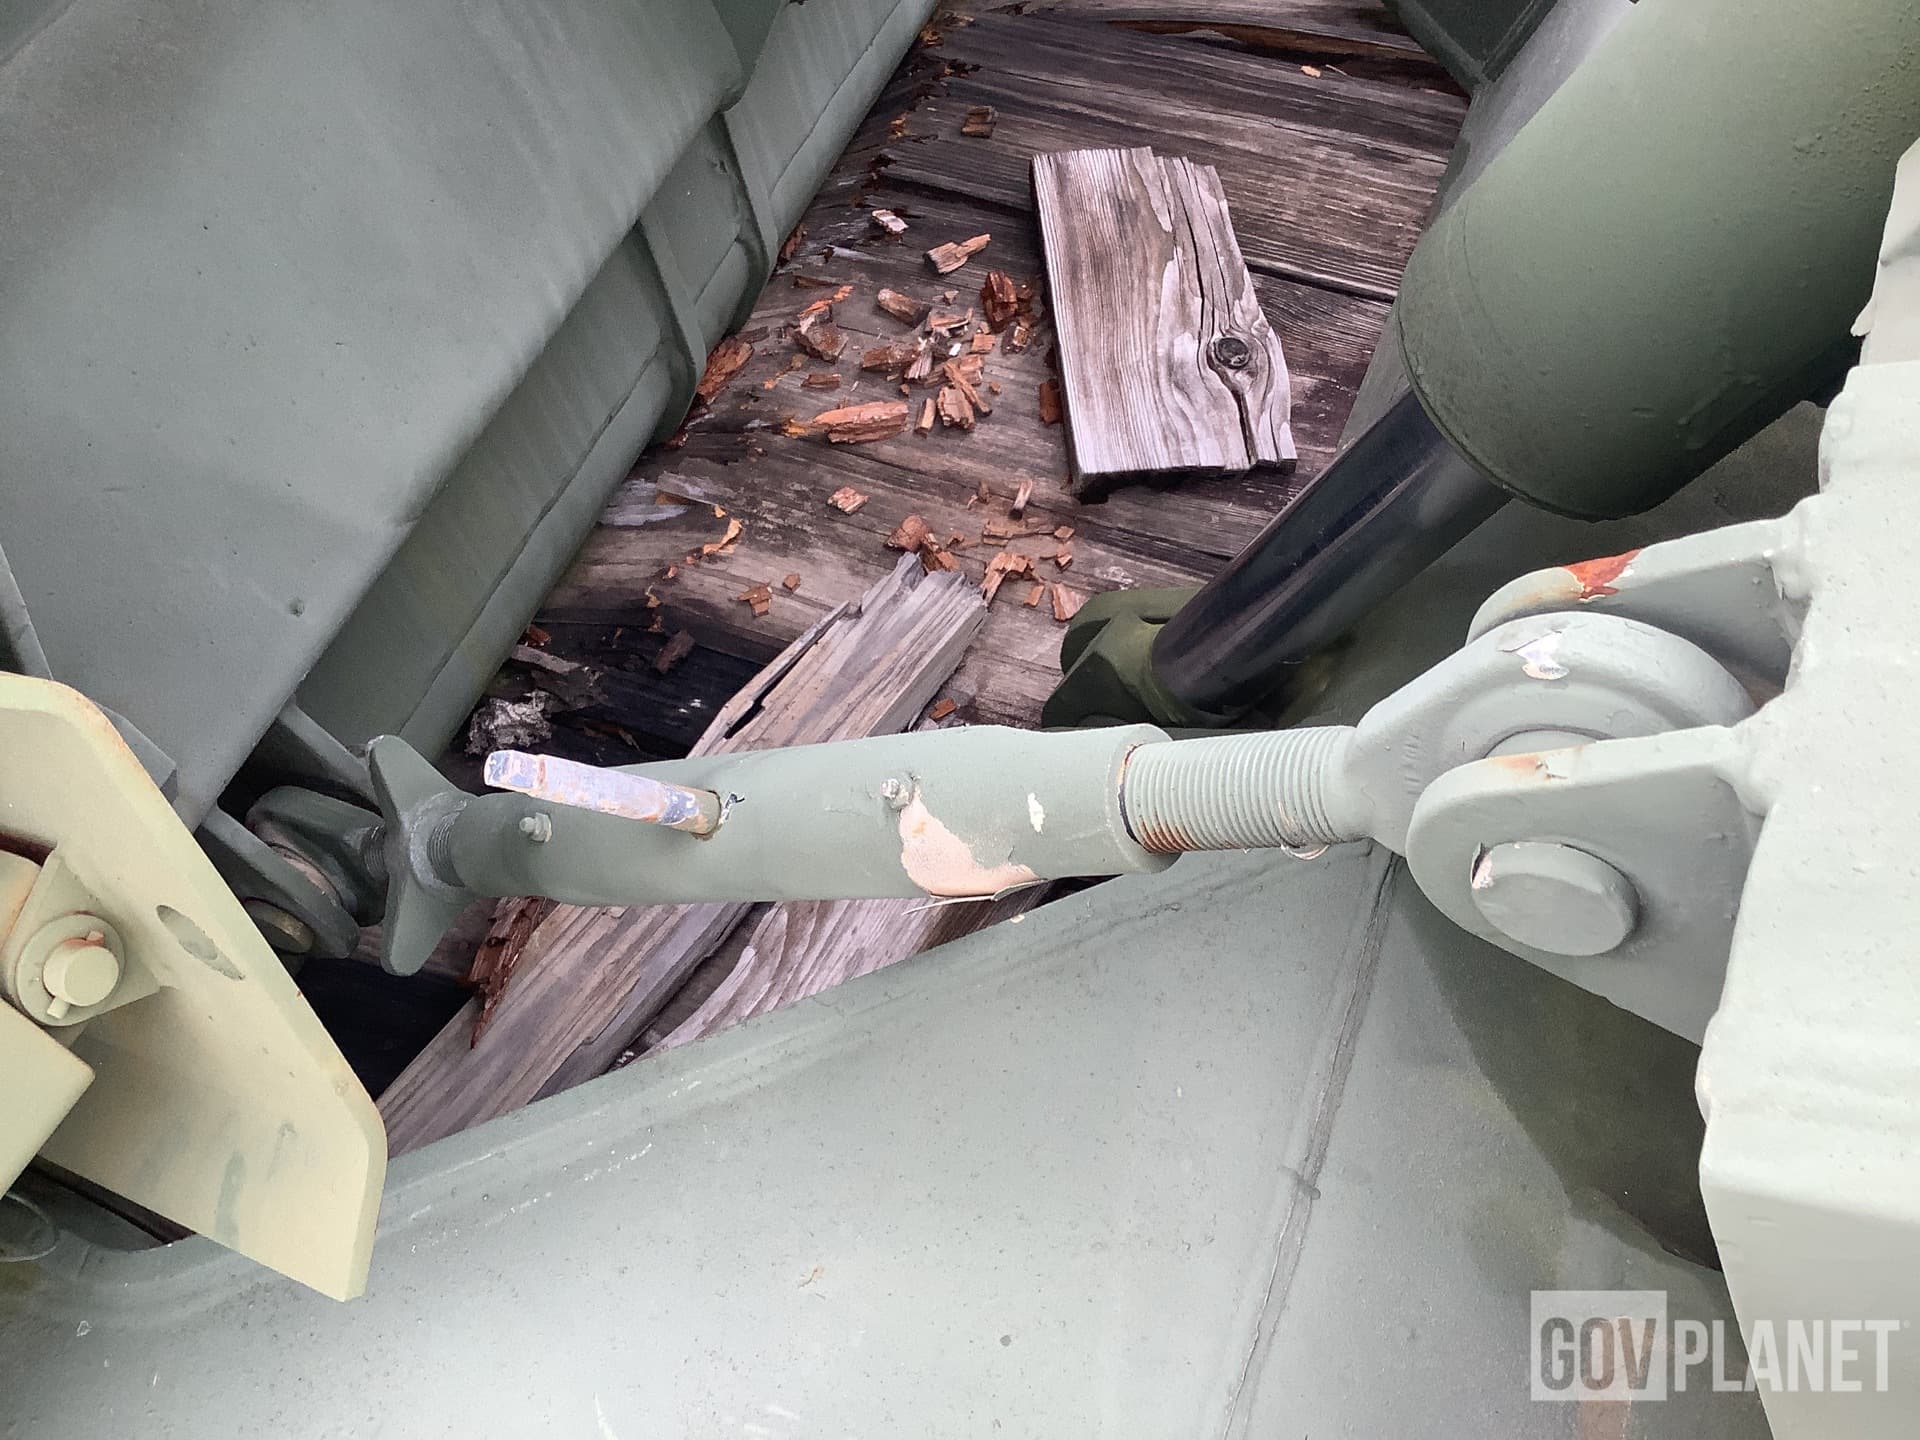
Reference the blade, I may be out of order , but I’m sure it’s electronically motored through the entrance hole on the lower plate, so only one cable to the worm motors
2 Likes
Thinking about it more, Frank @frank may well be correct.
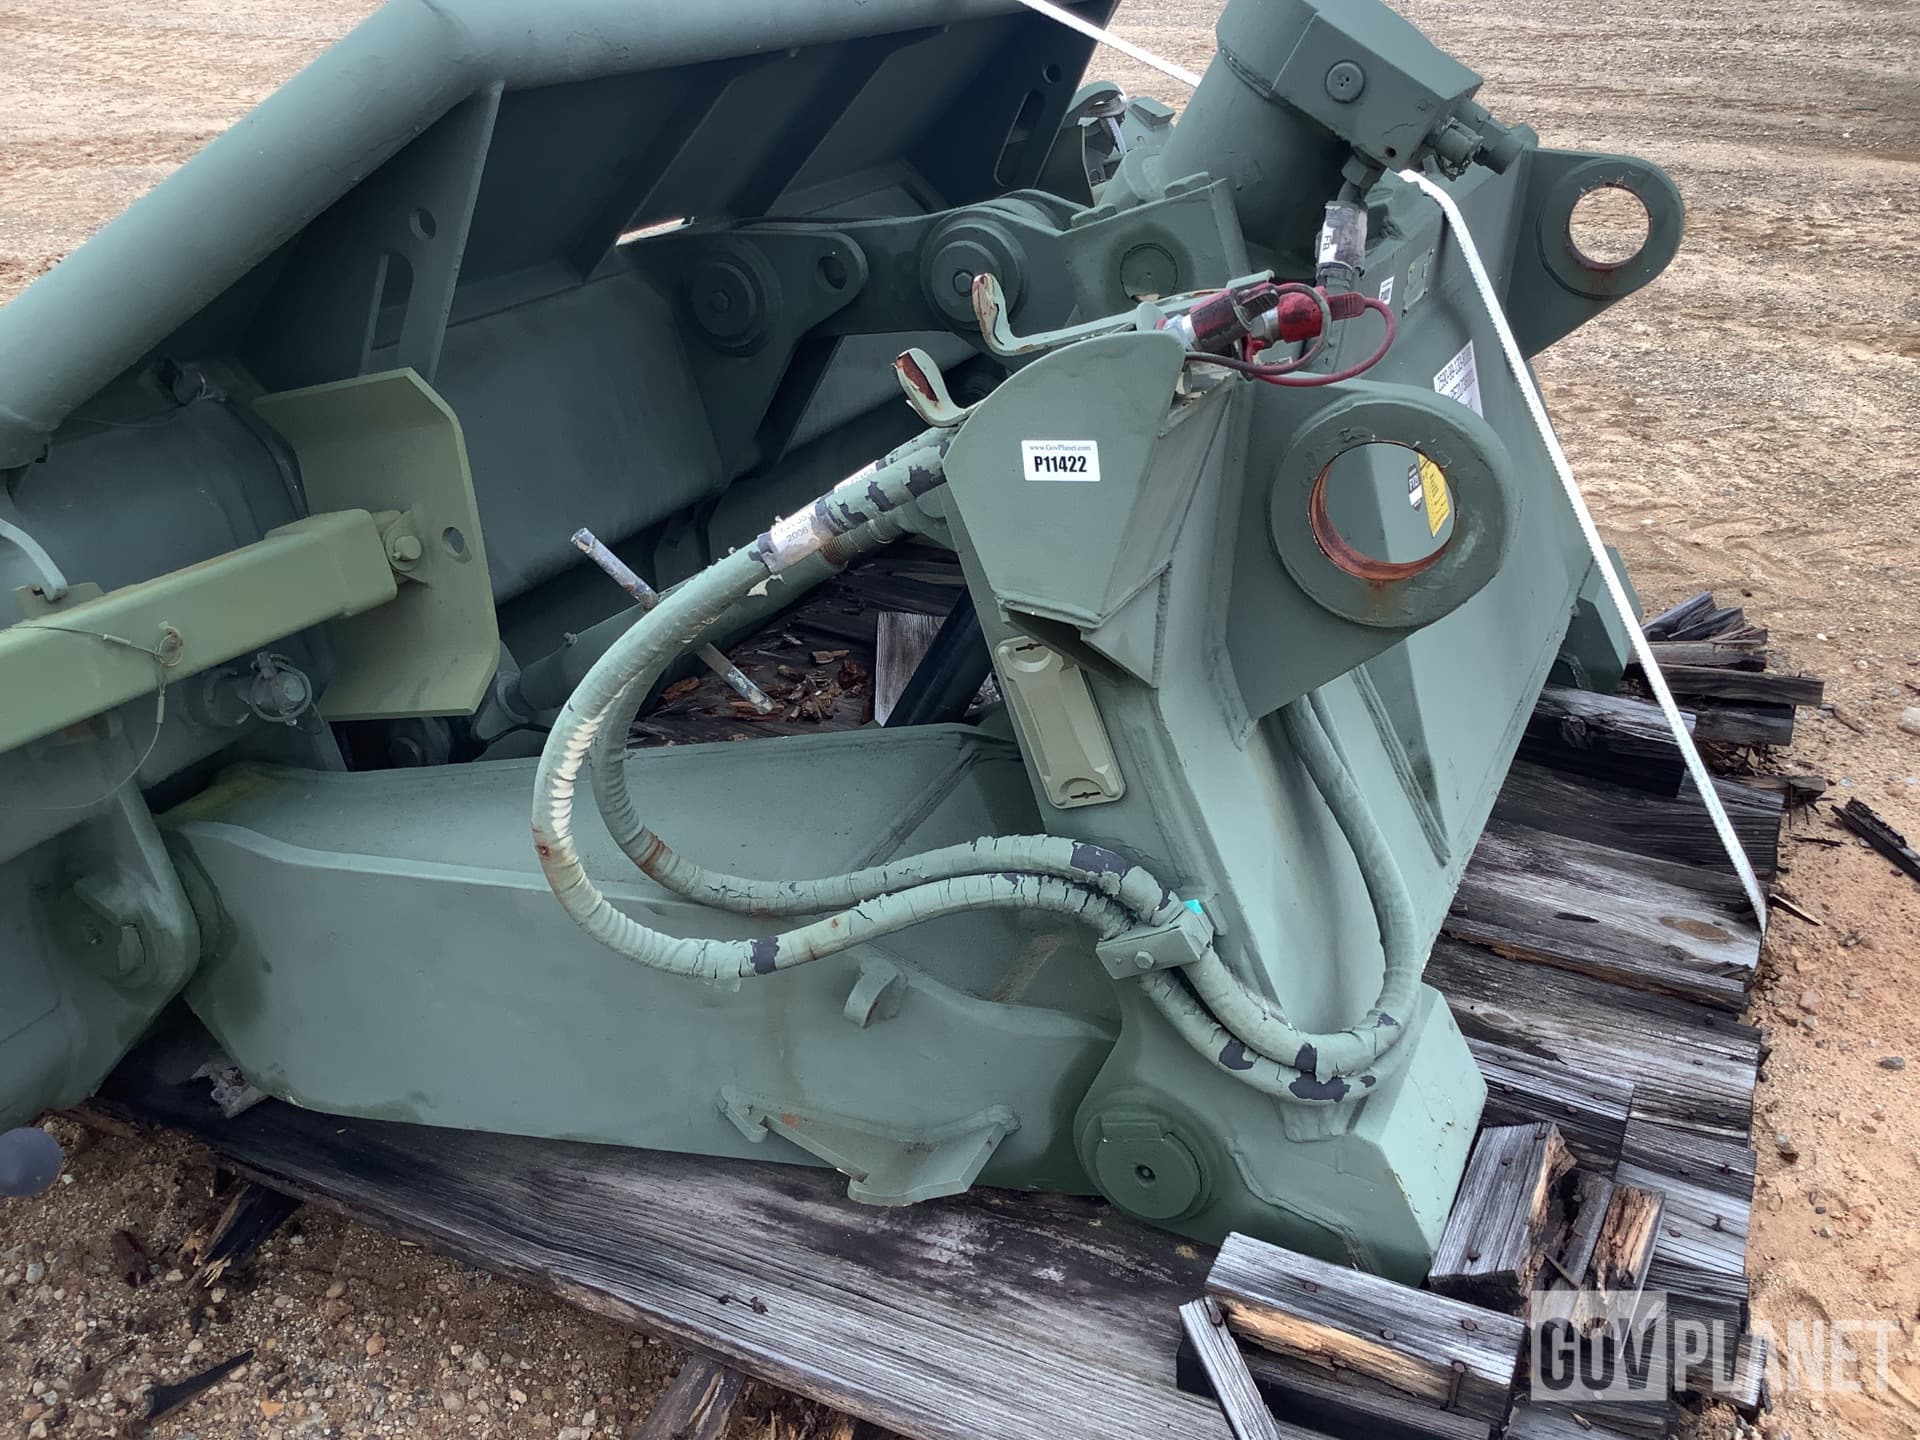
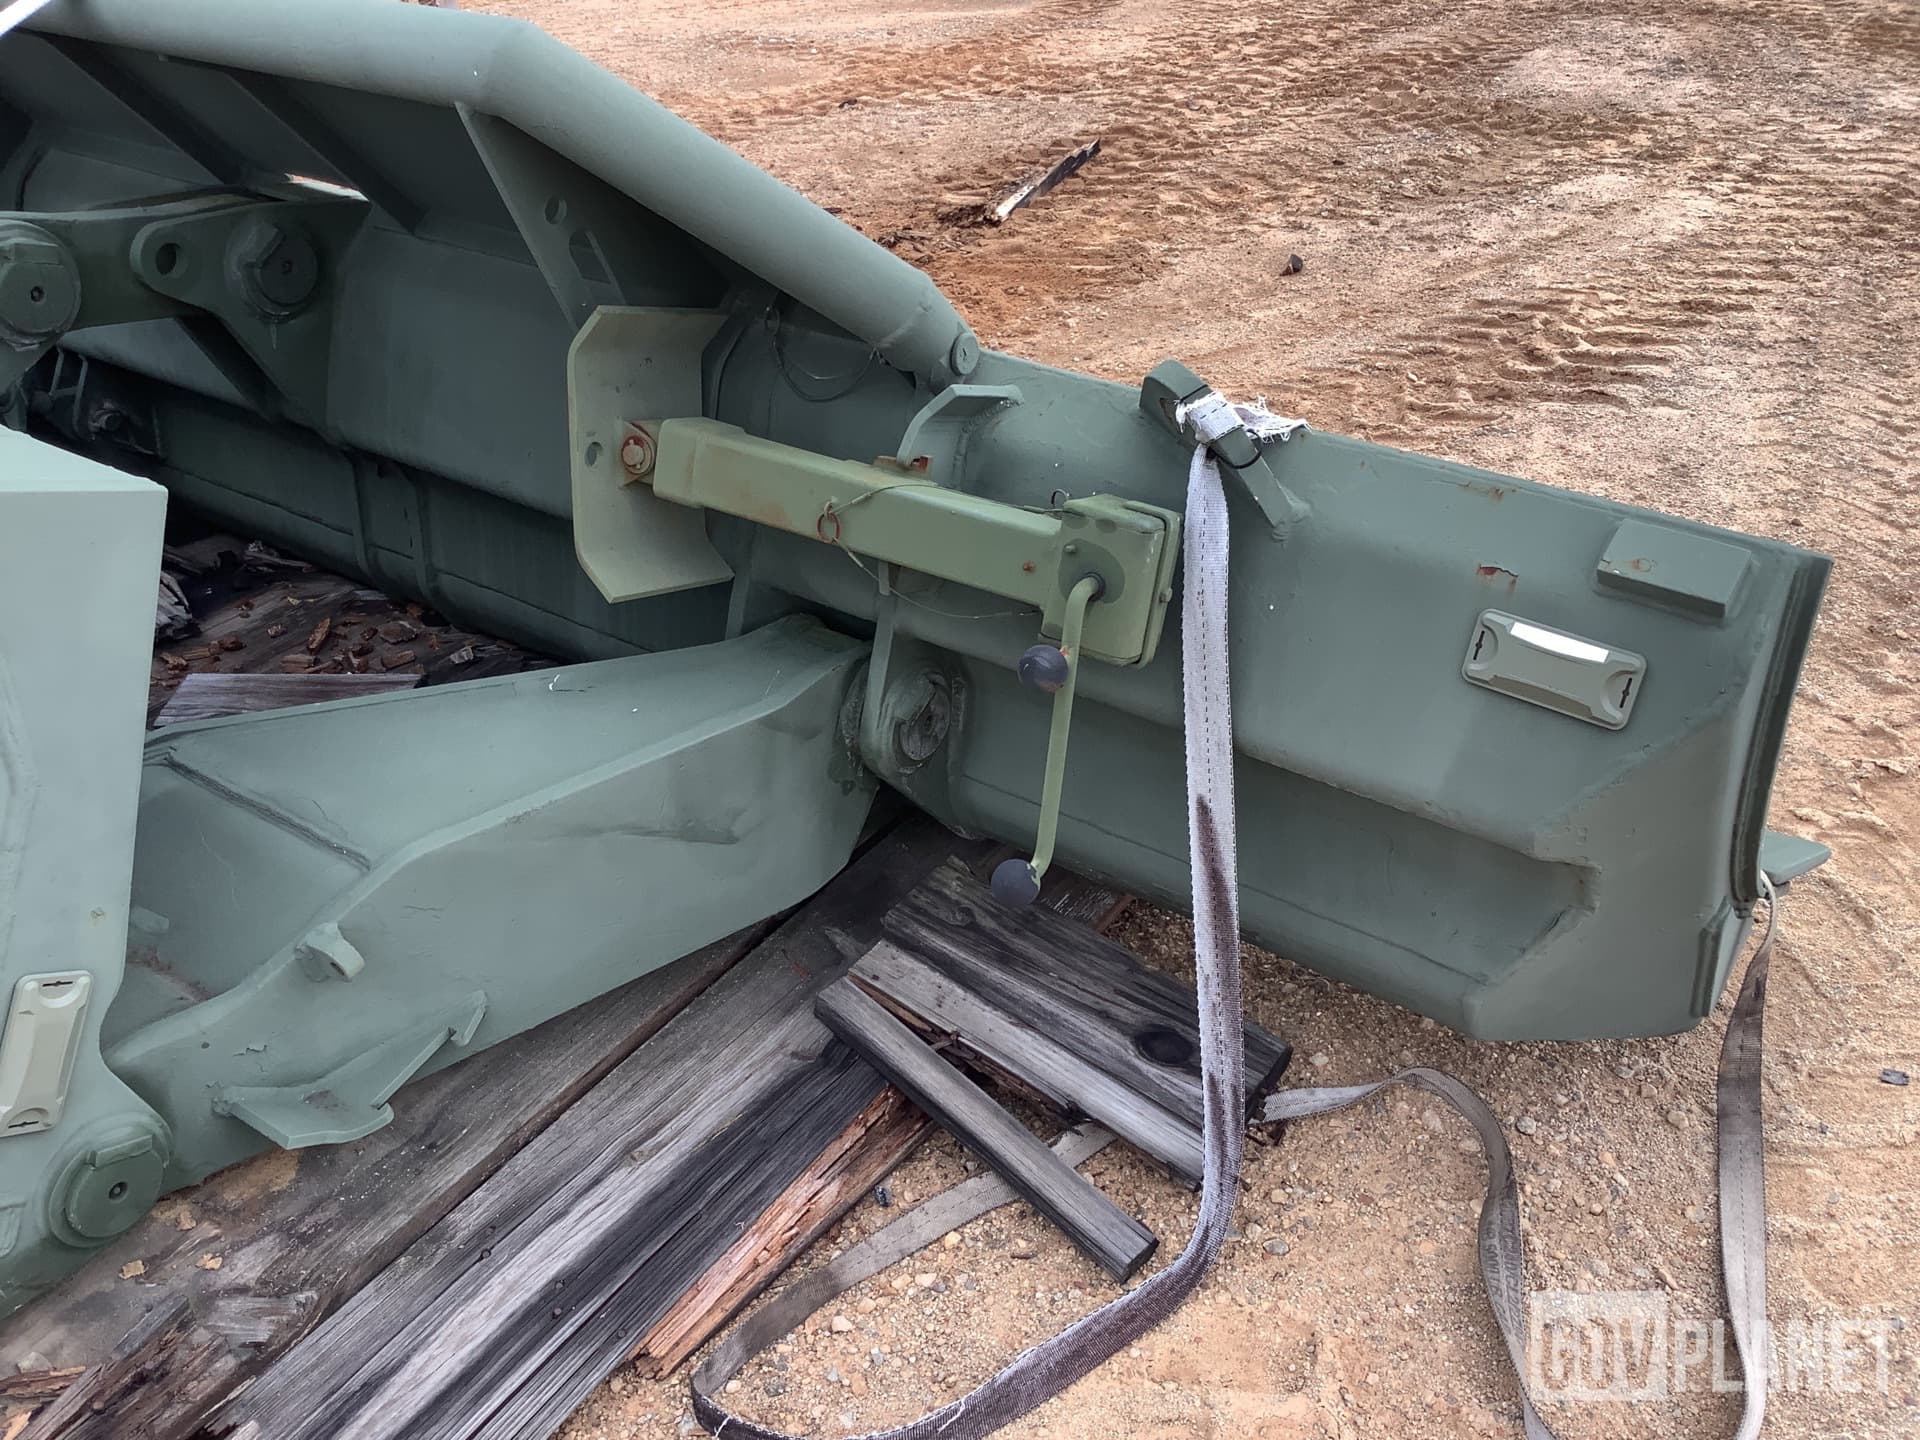
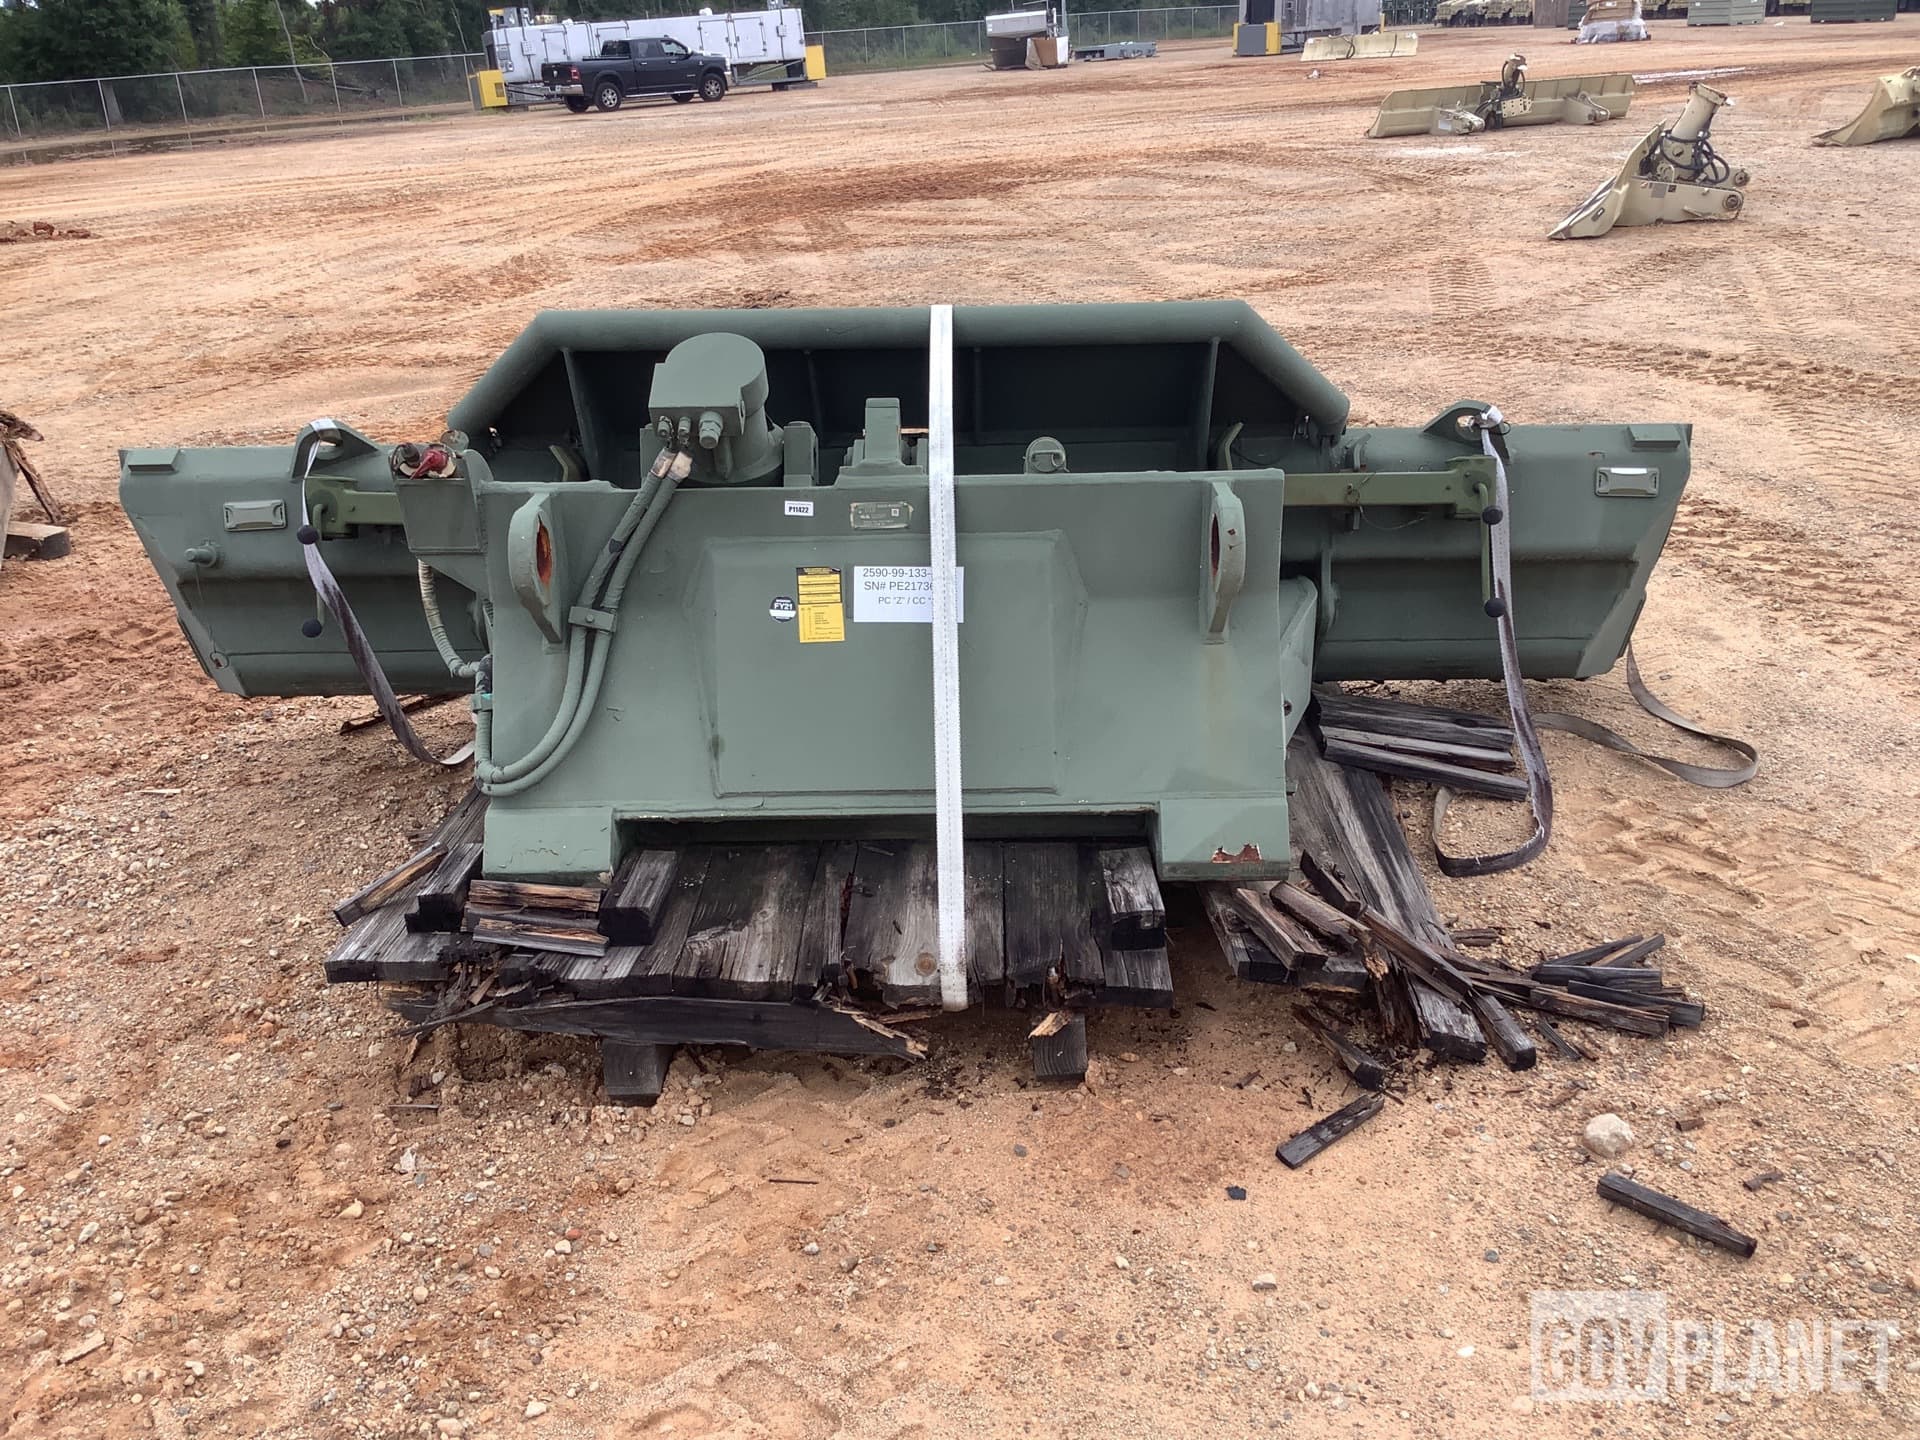
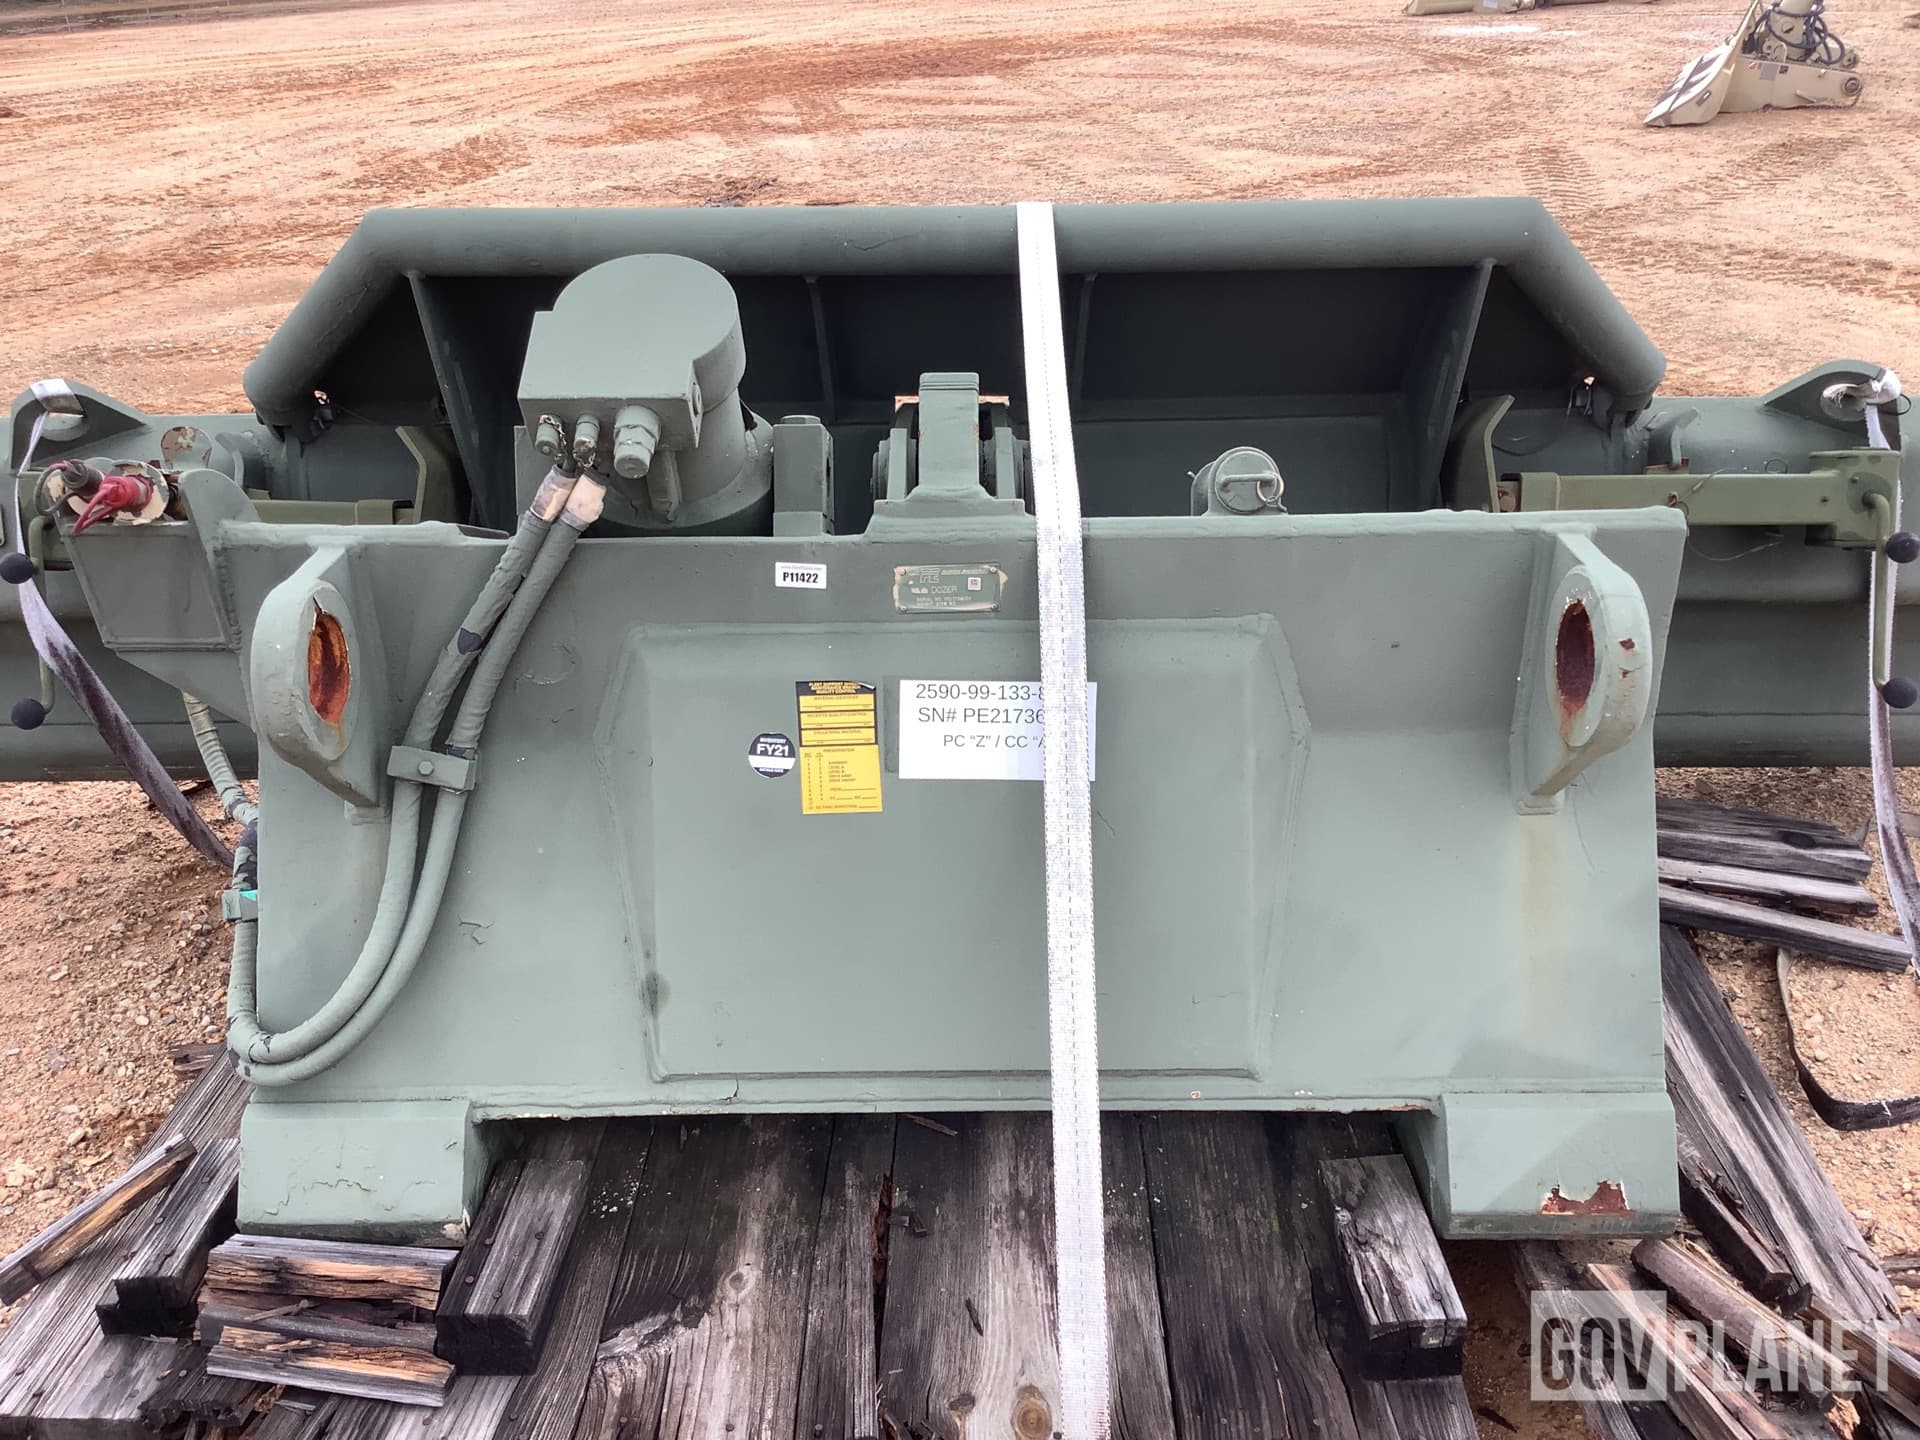
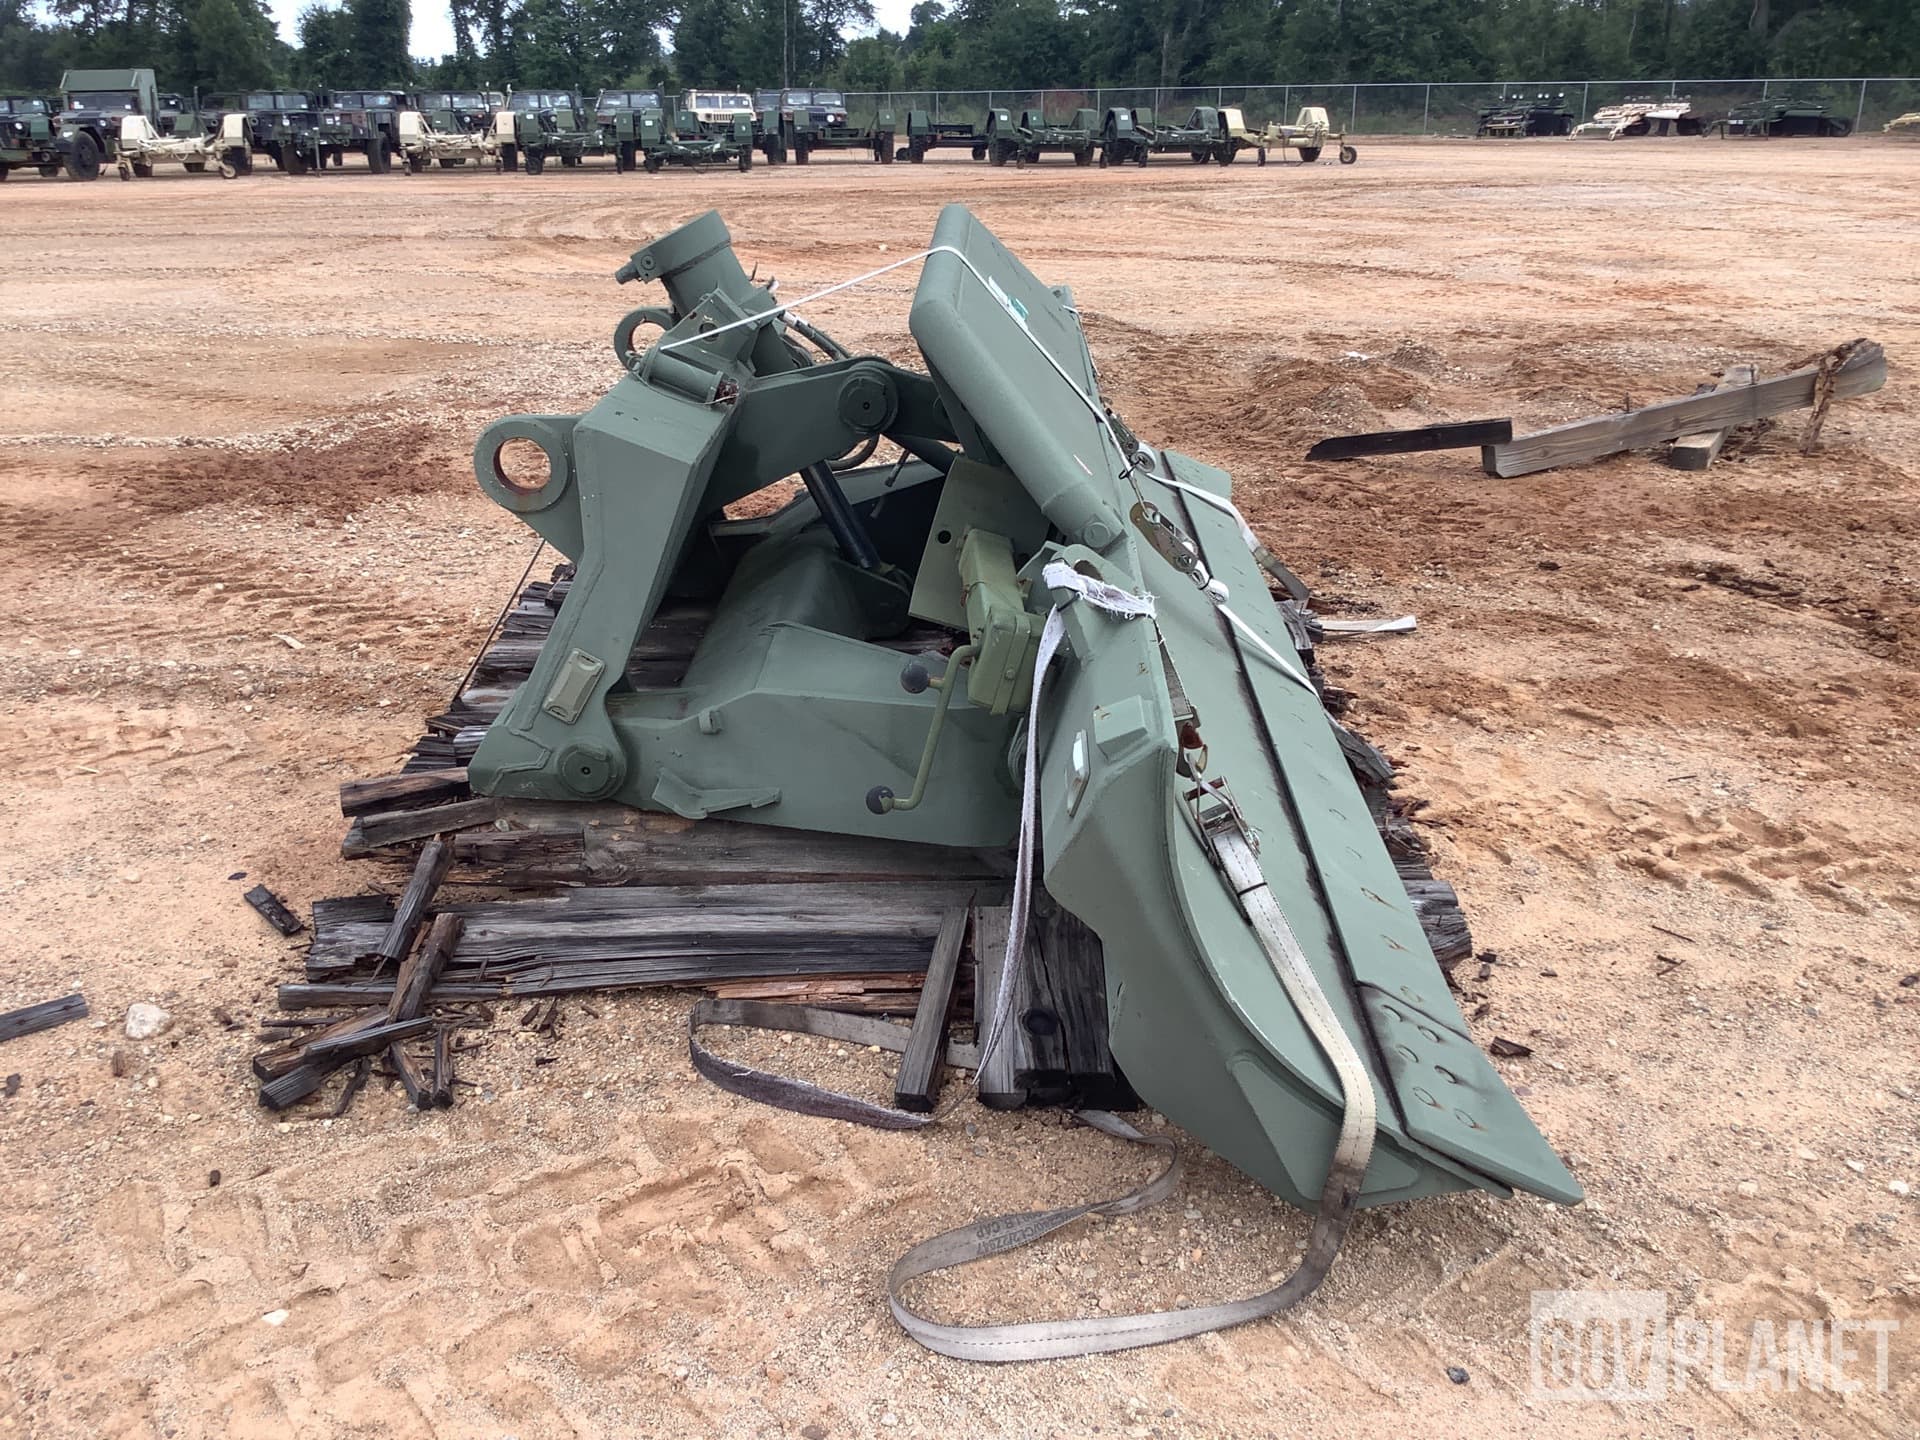
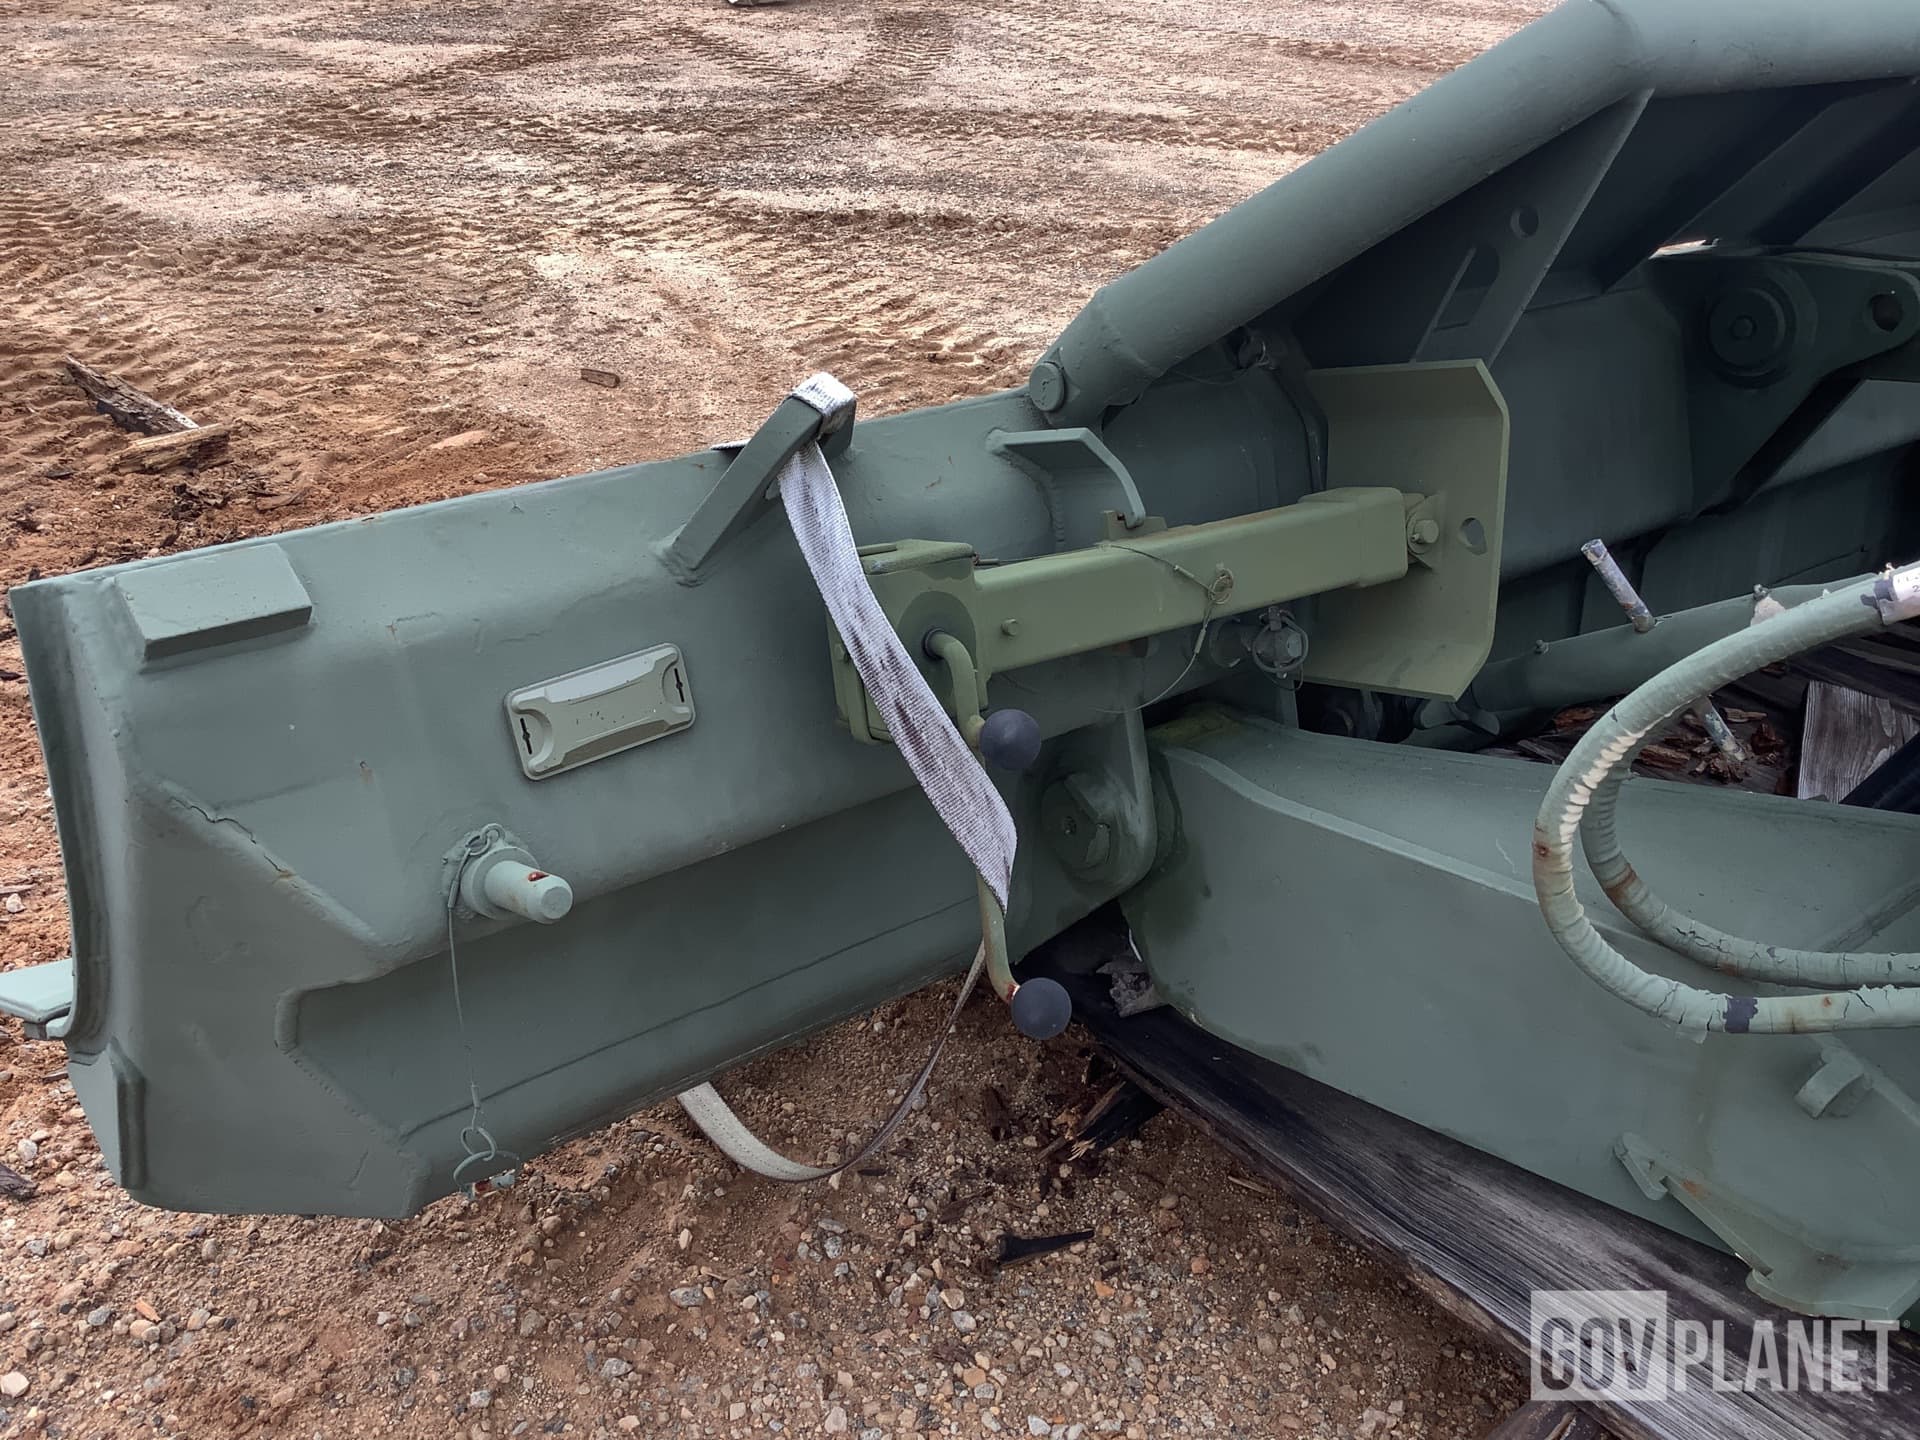
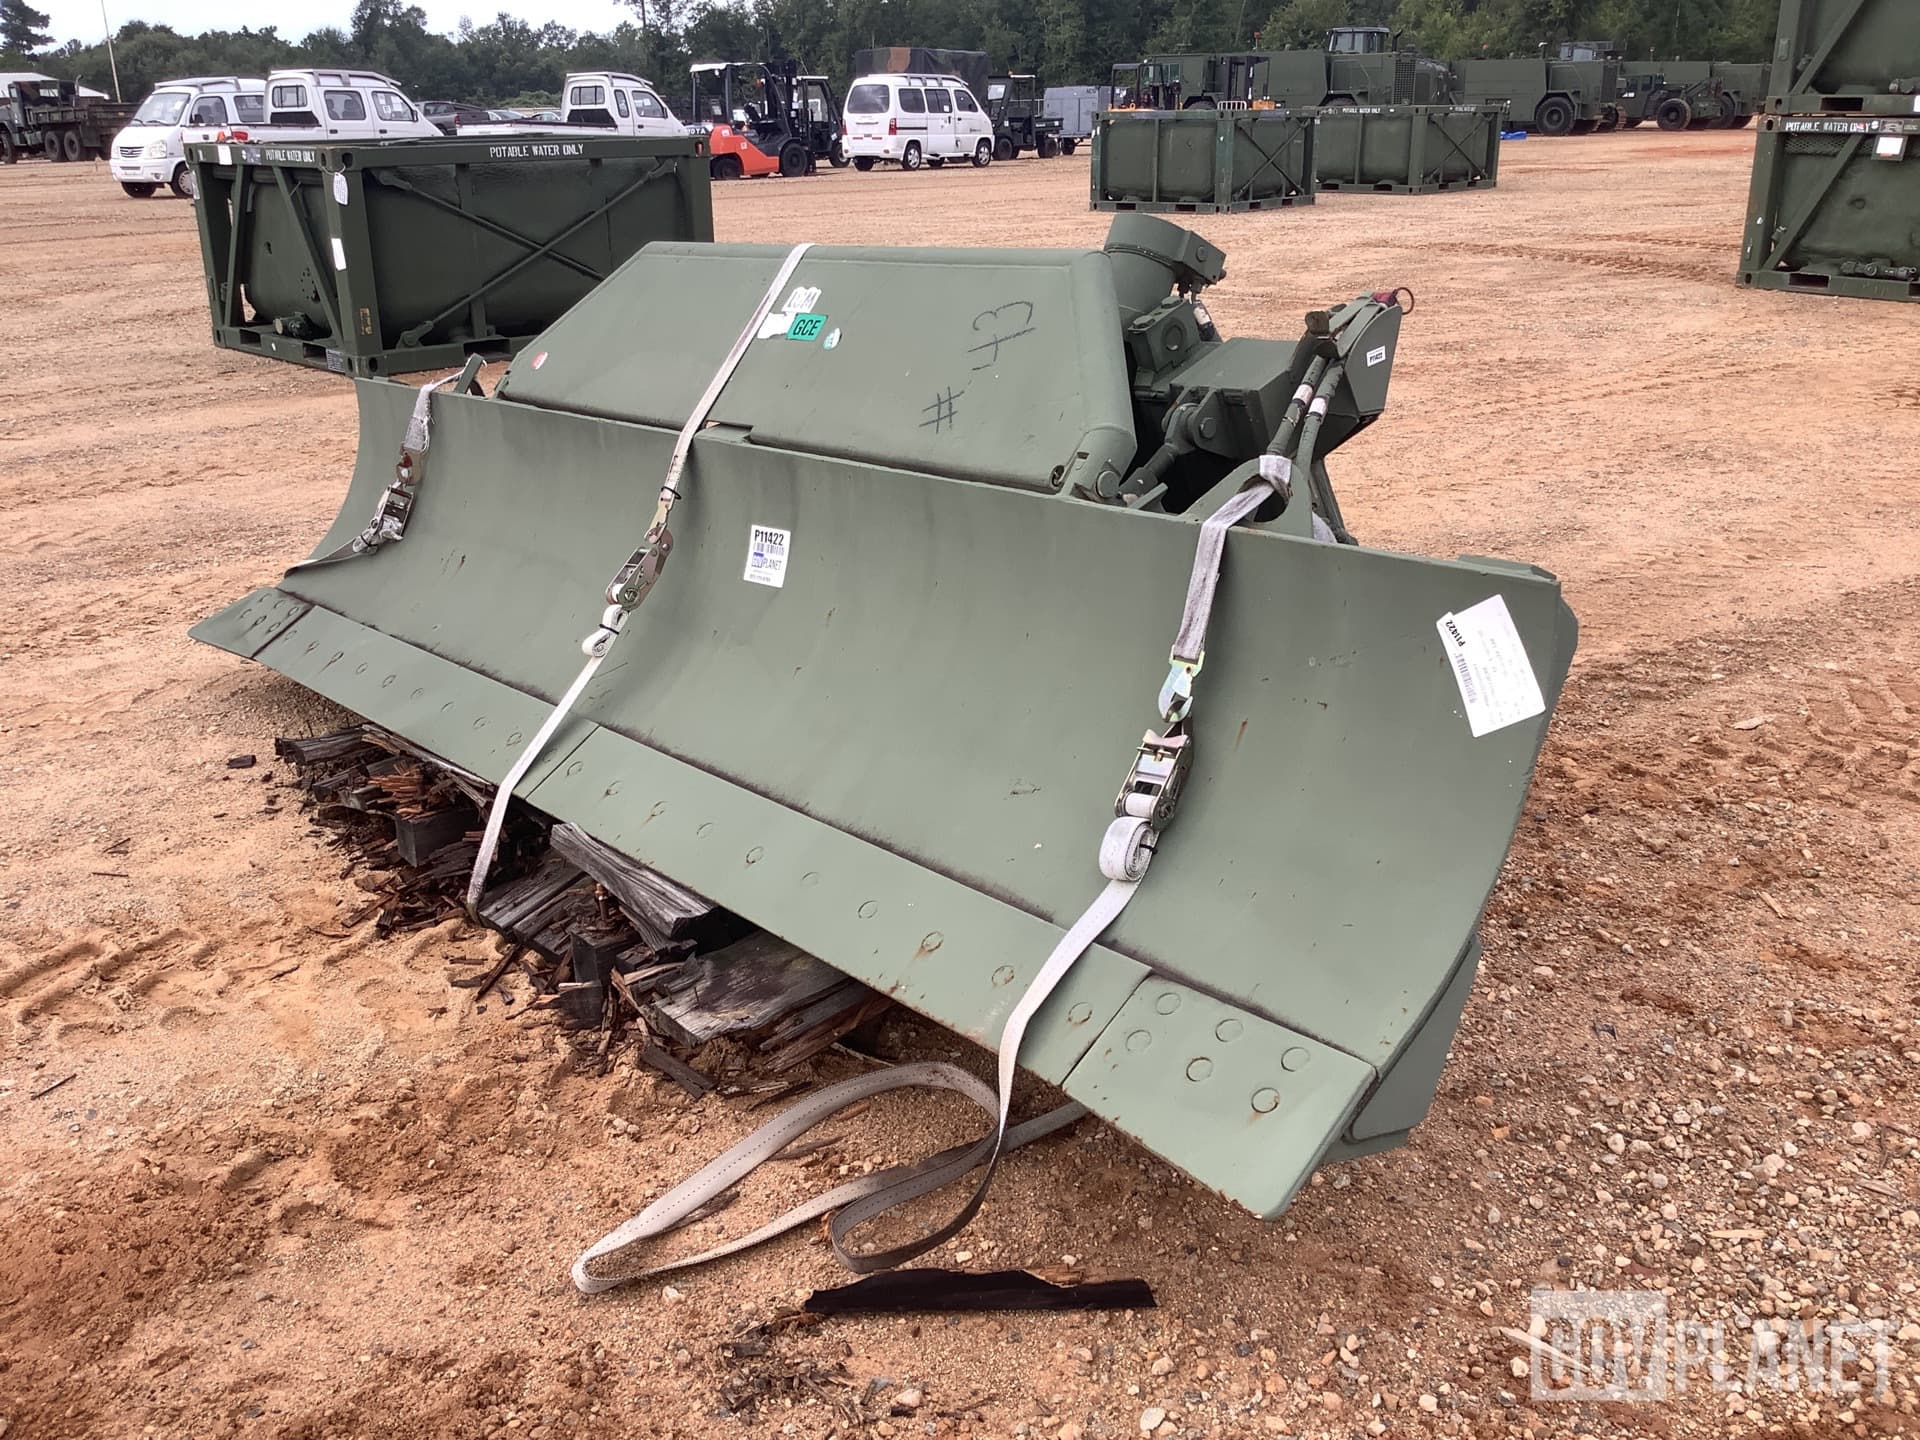
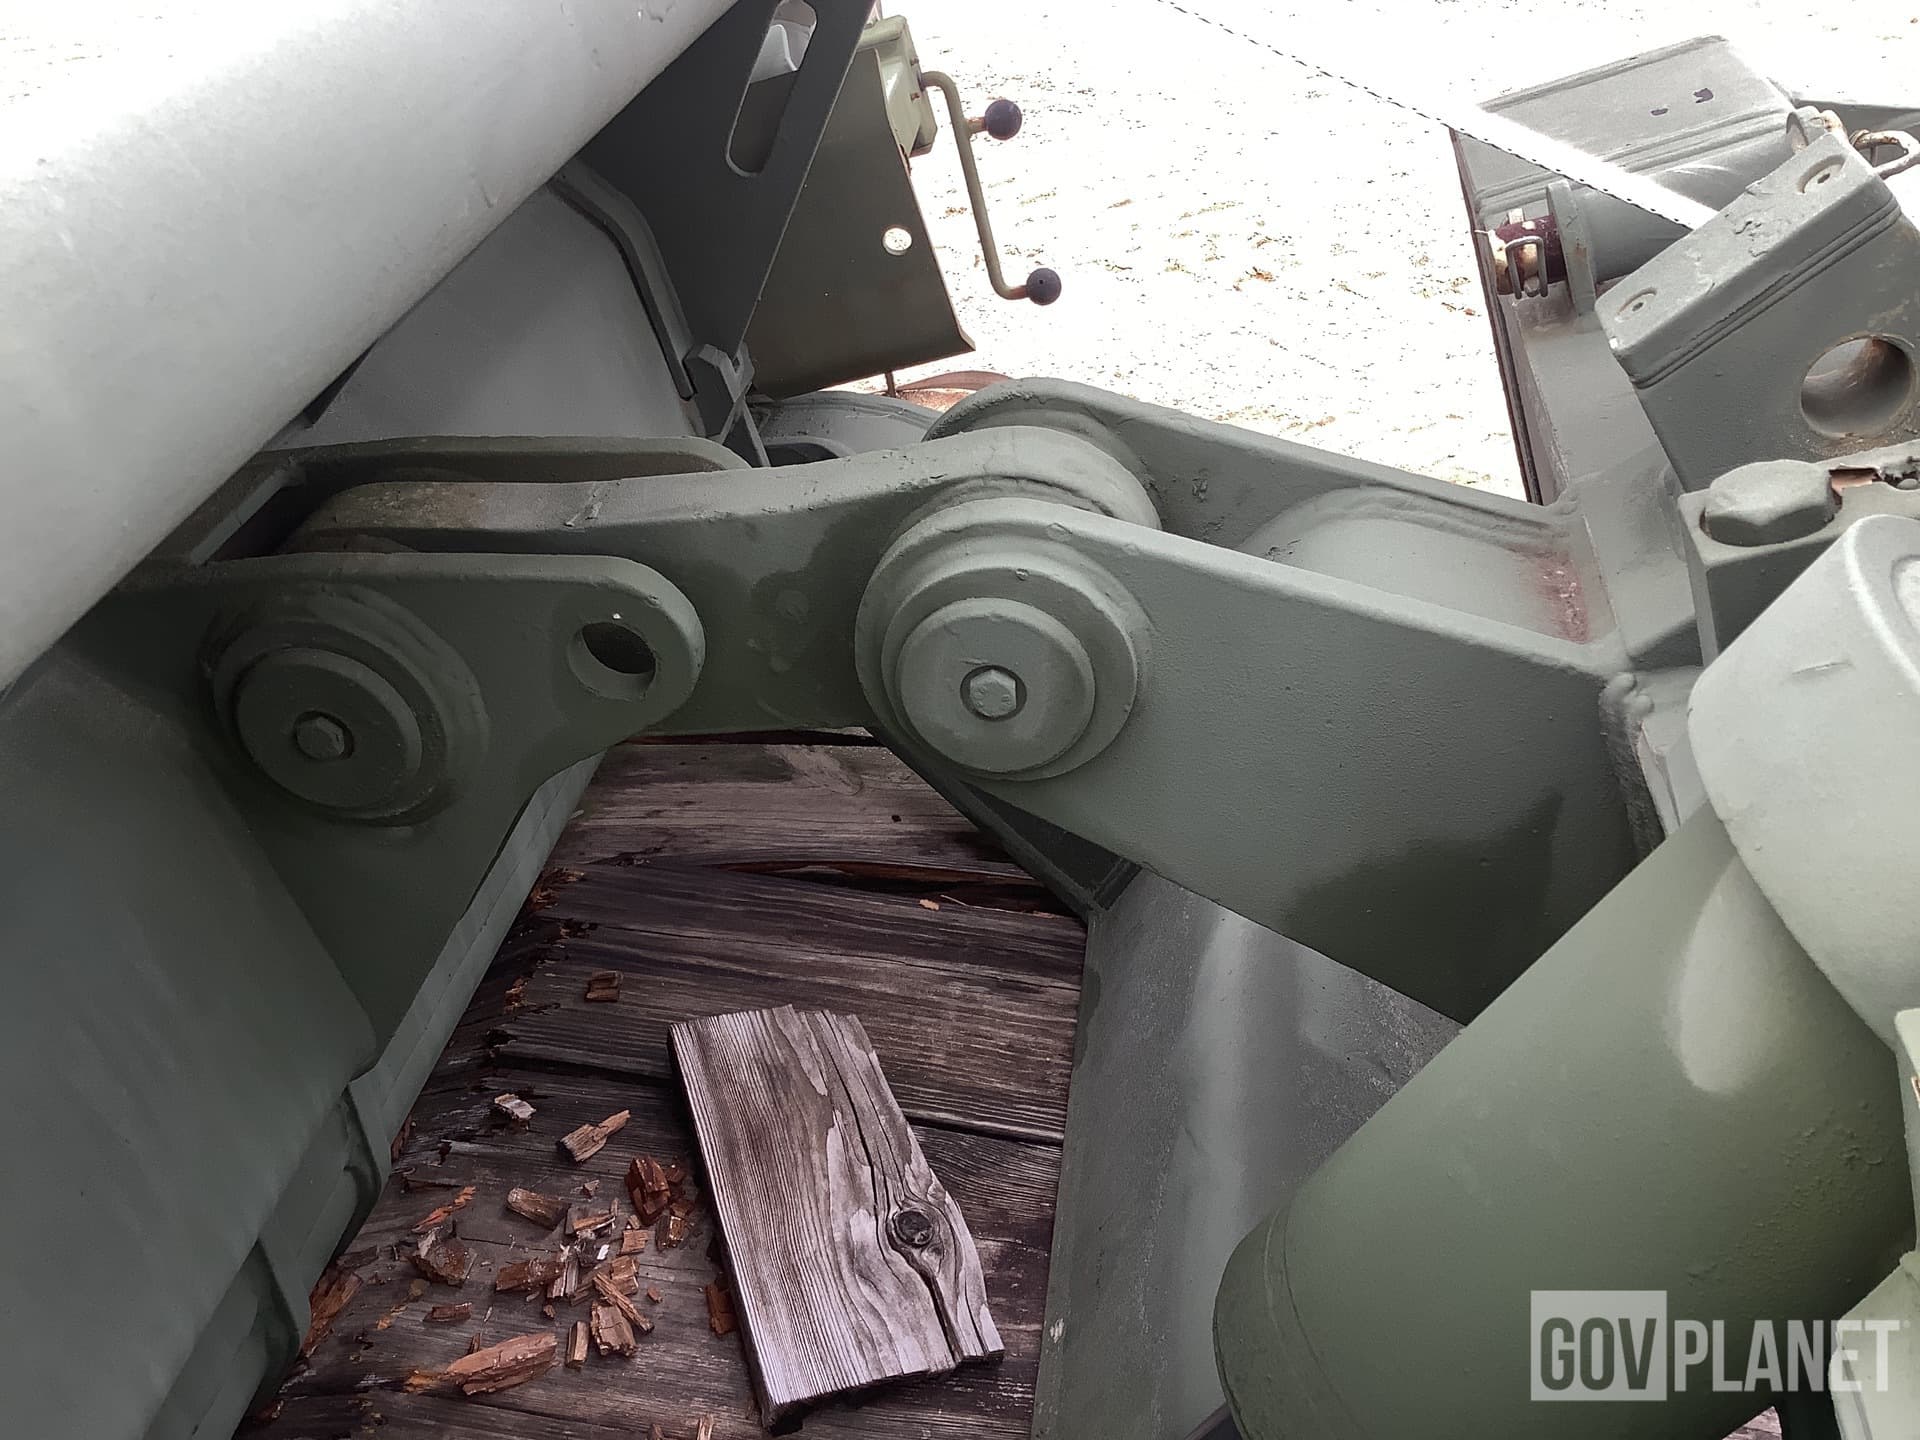
If you look at the BEMA mounting points on the circled areas below ;
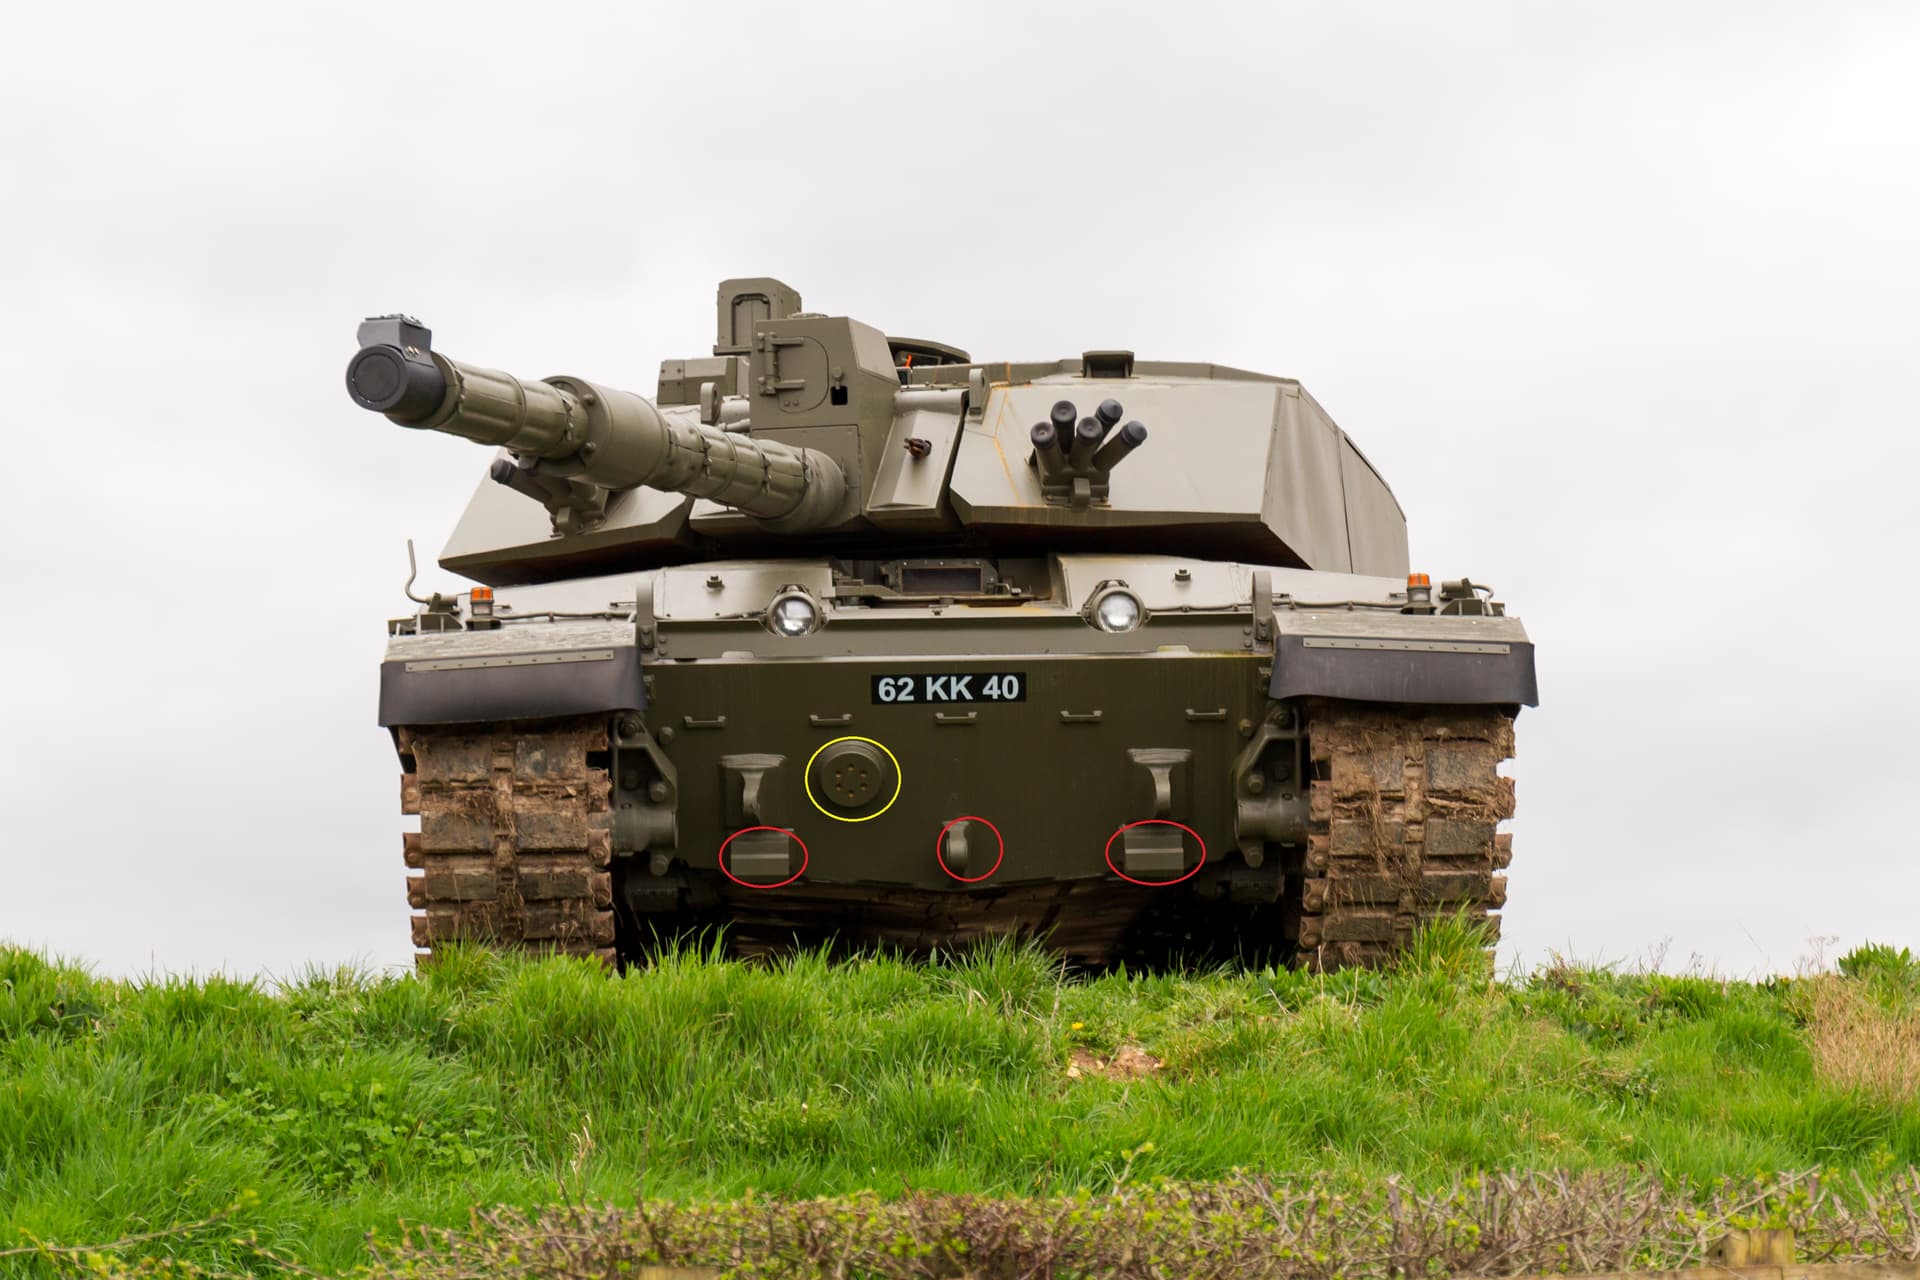
you see the bottom mounting points in red, but the yellow circle looks like its just one electrical junction flange, which would just just operate on the motor gears in the blade drives as Frank mentions. Finding that other end will be the tricky part
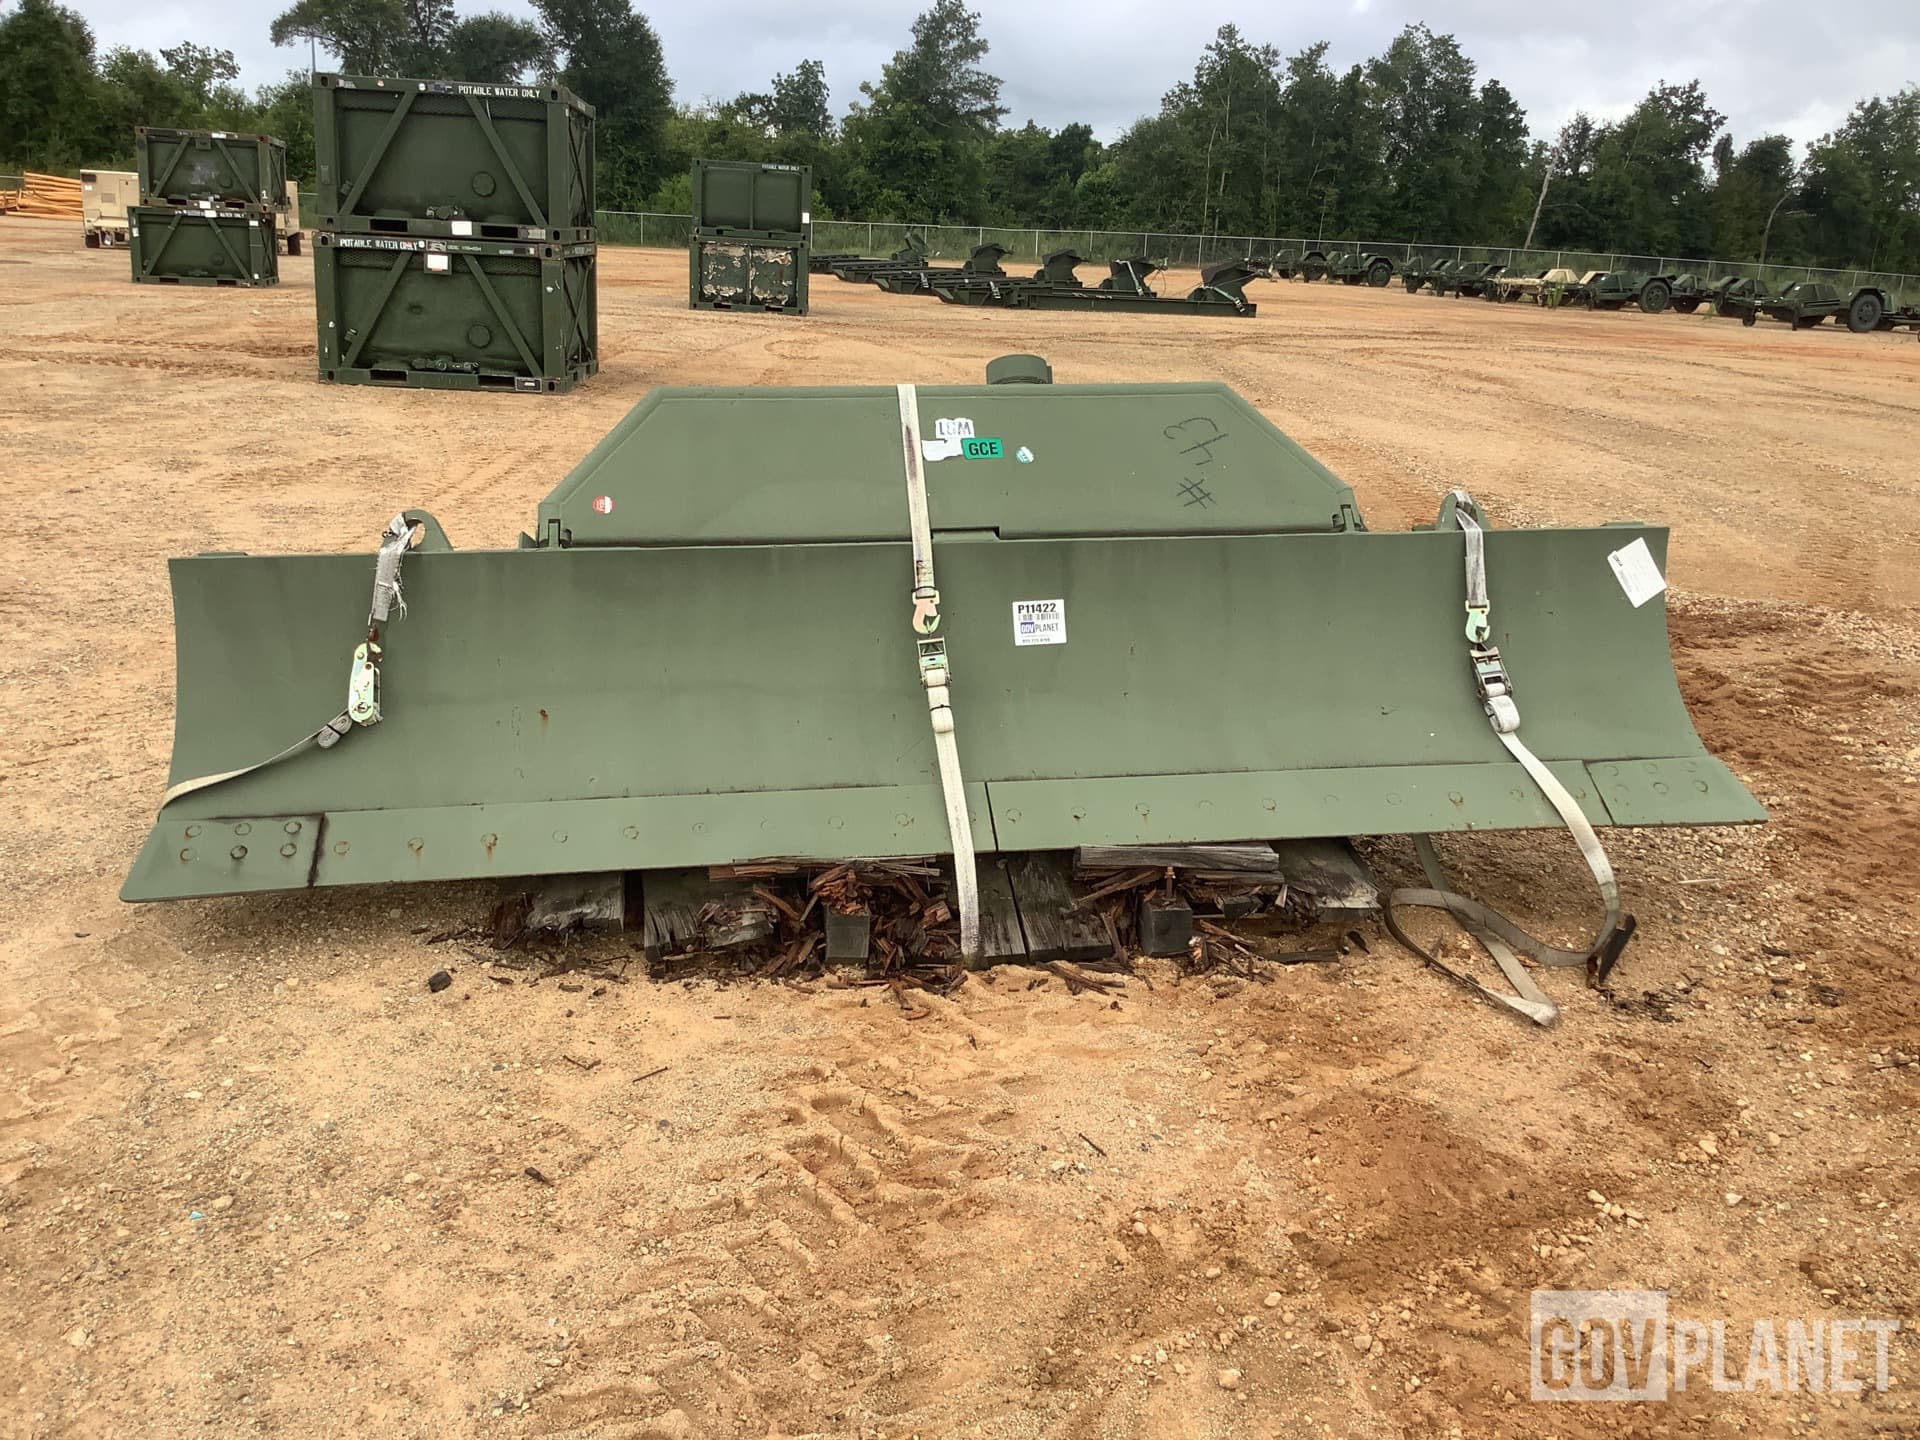
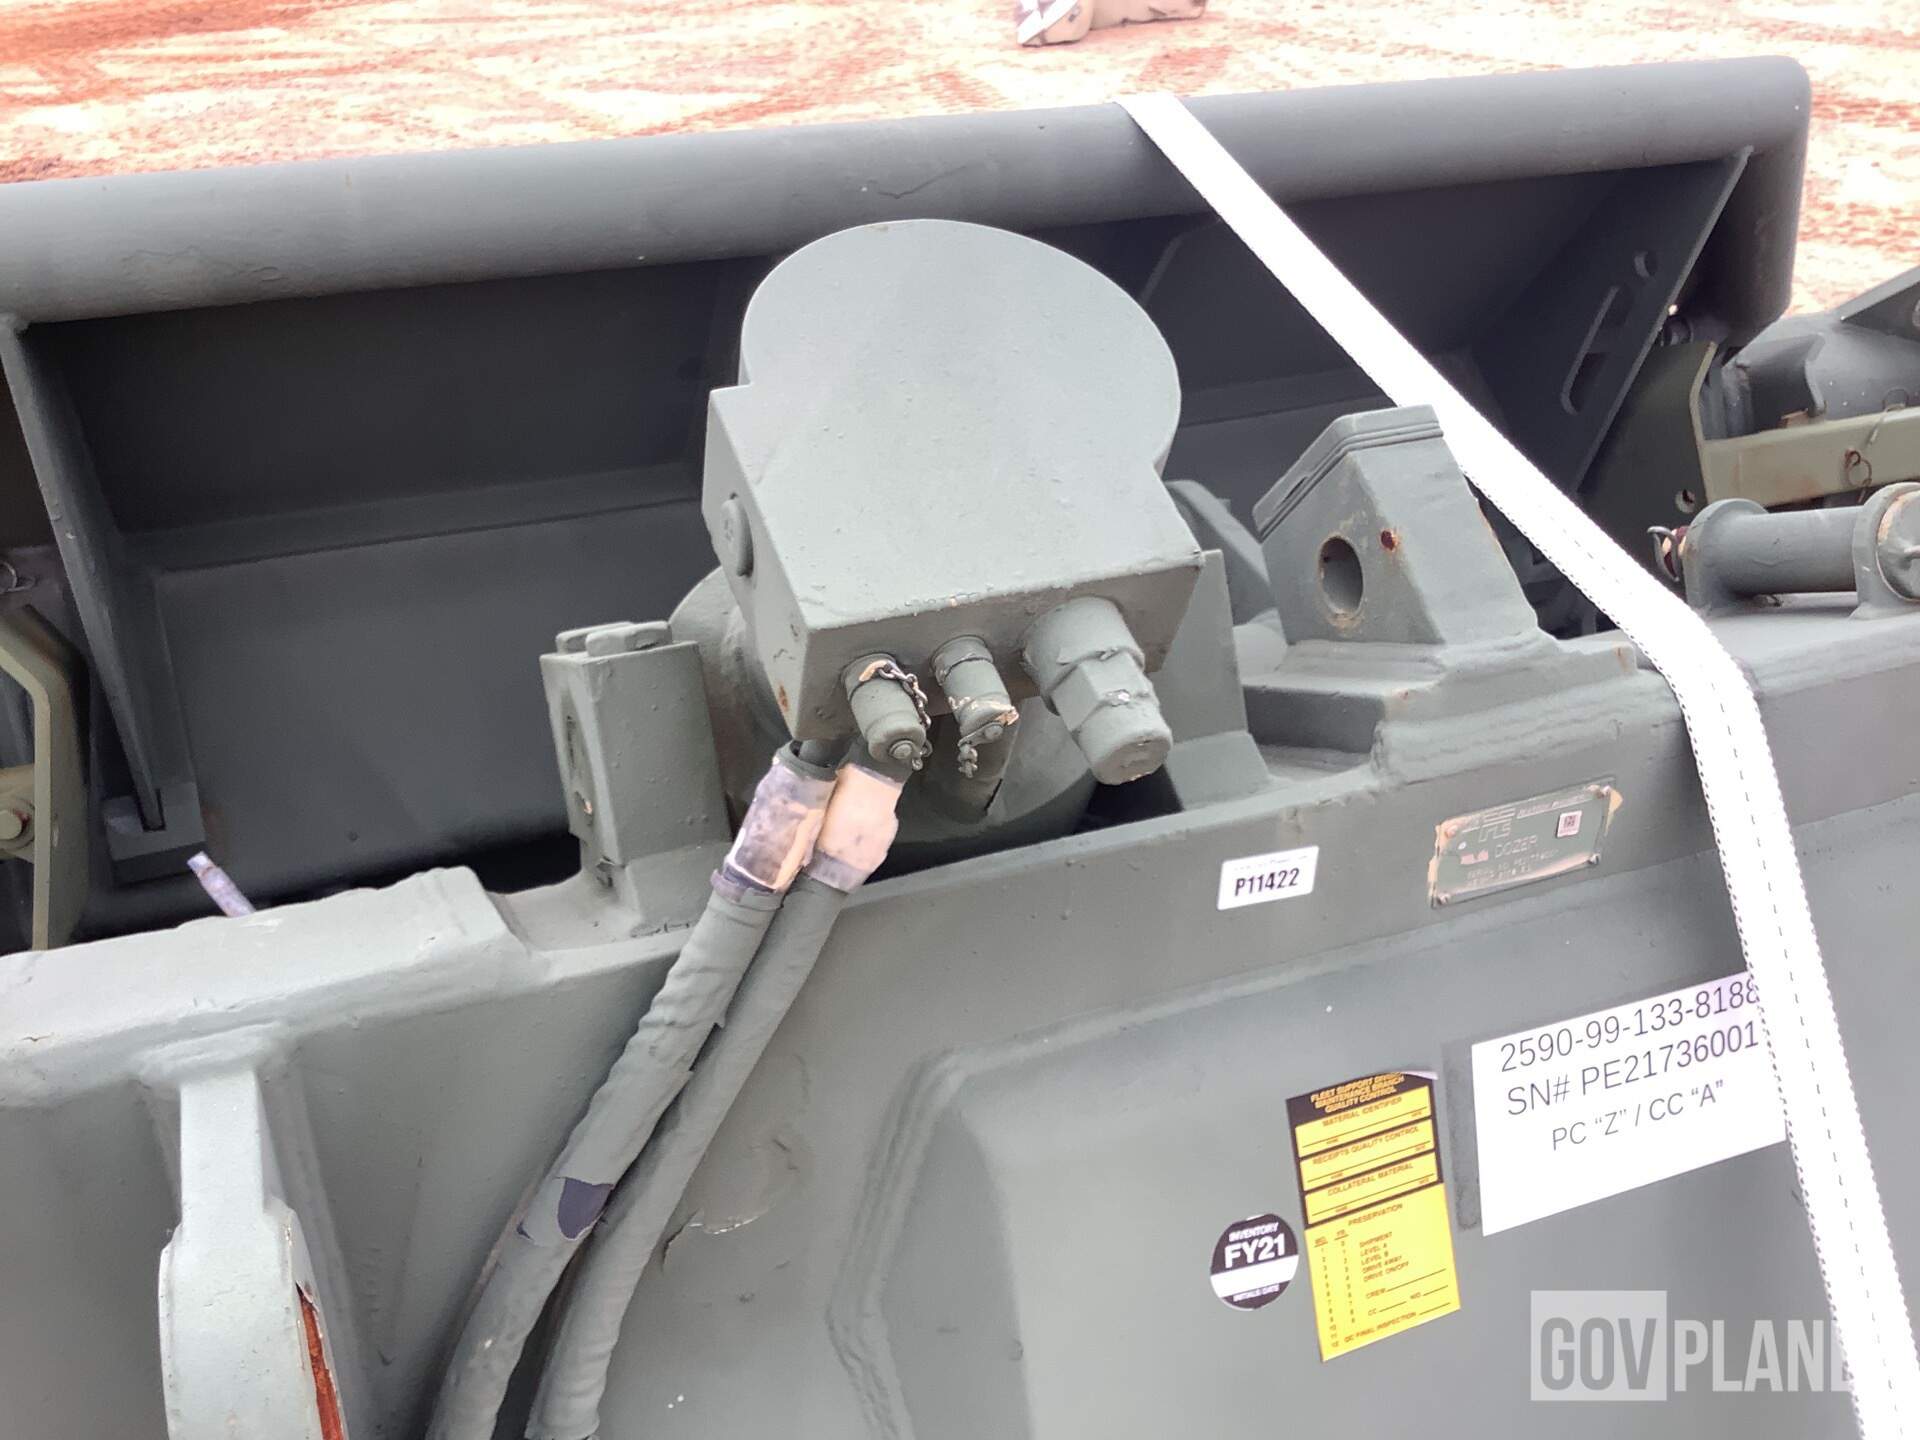
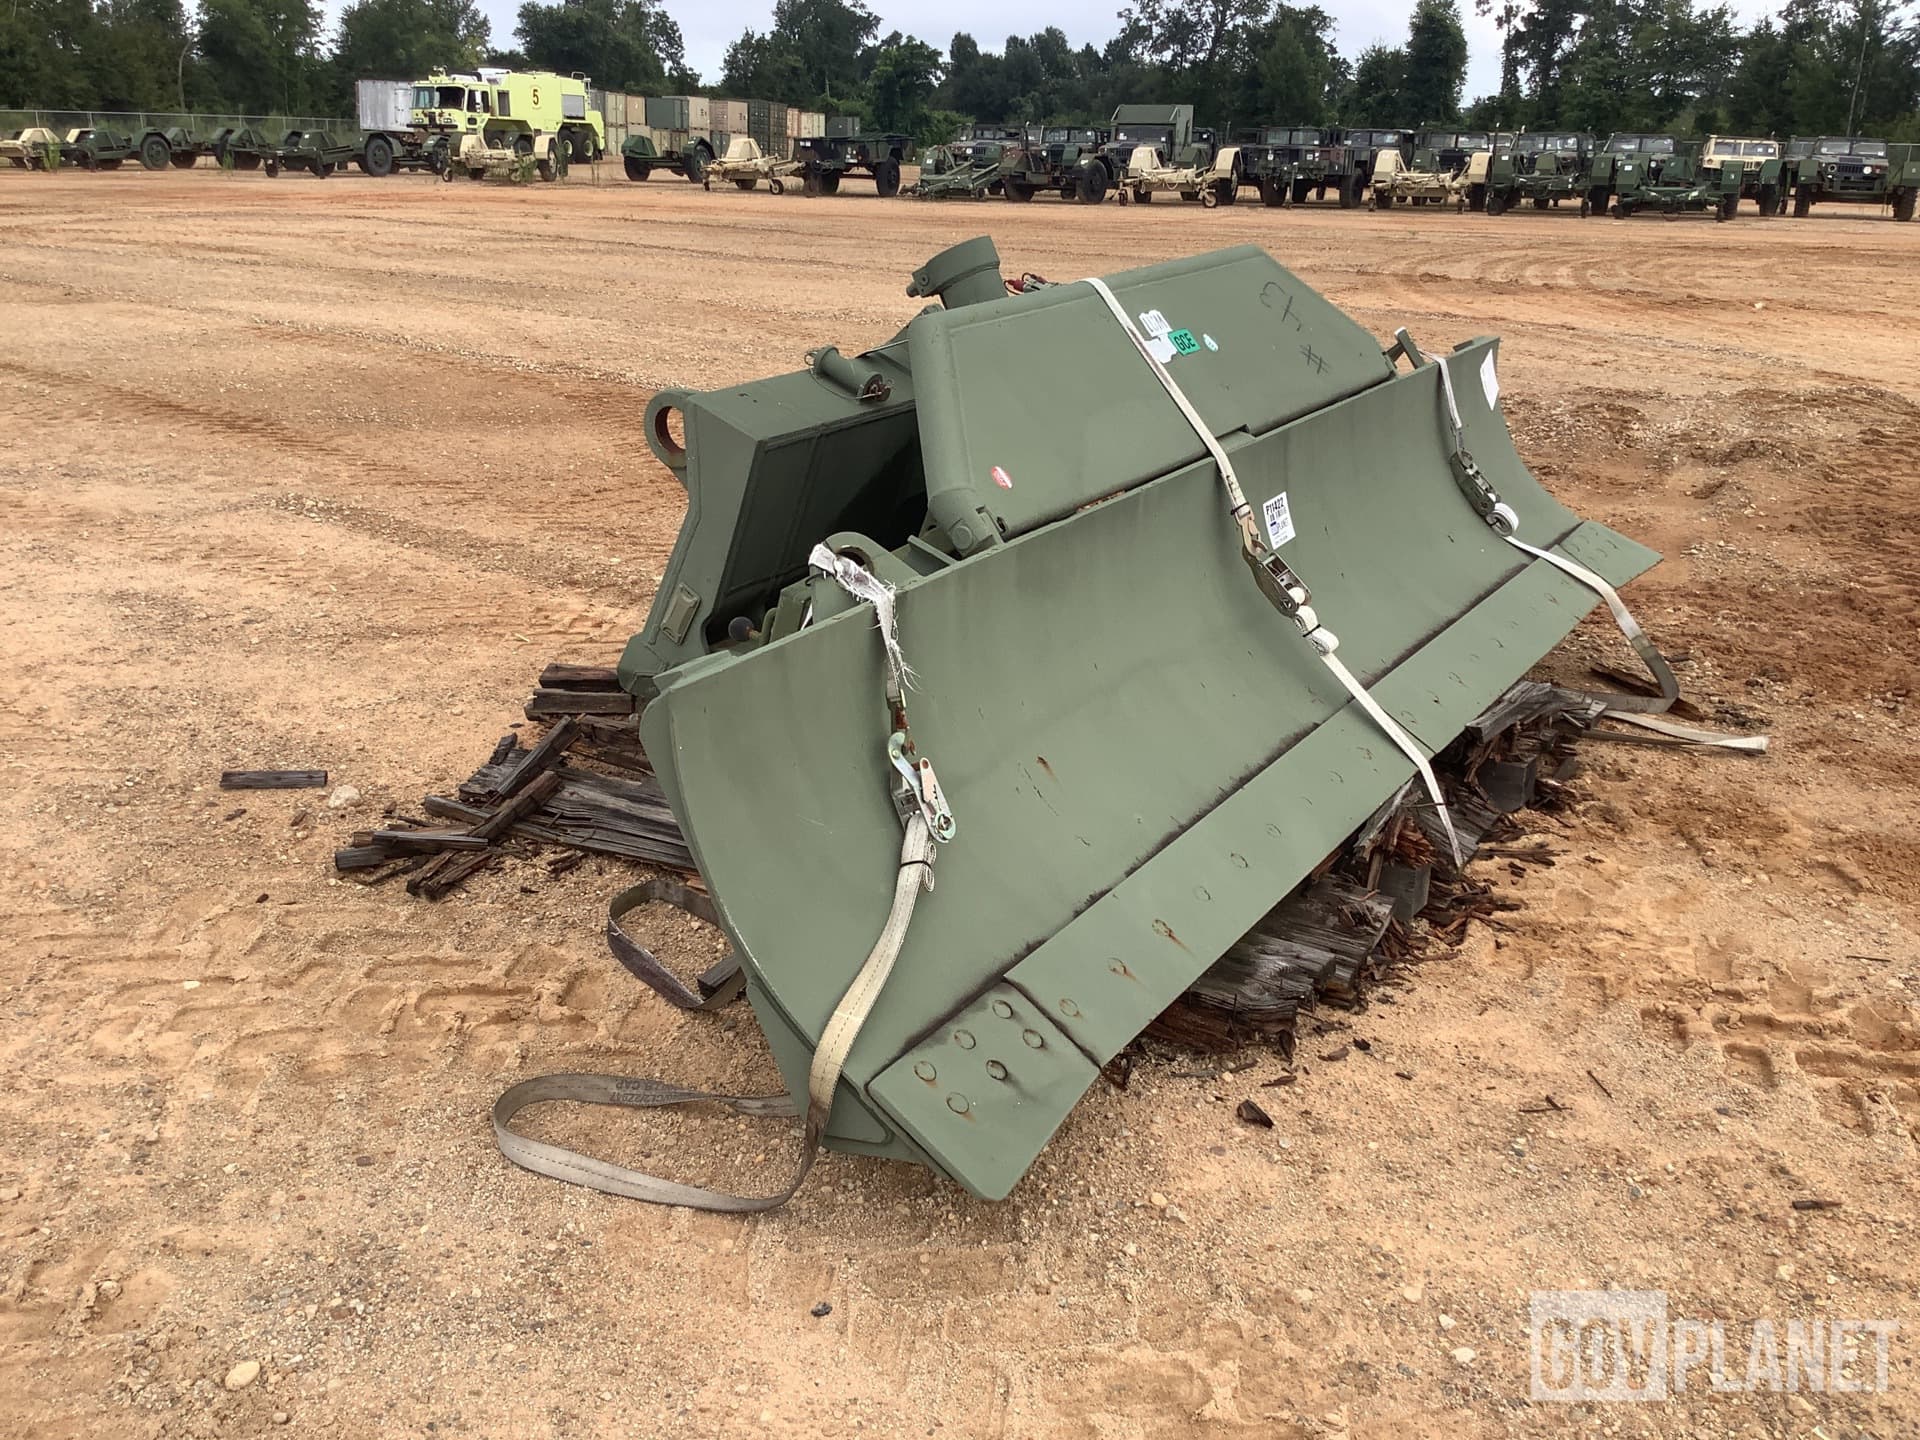
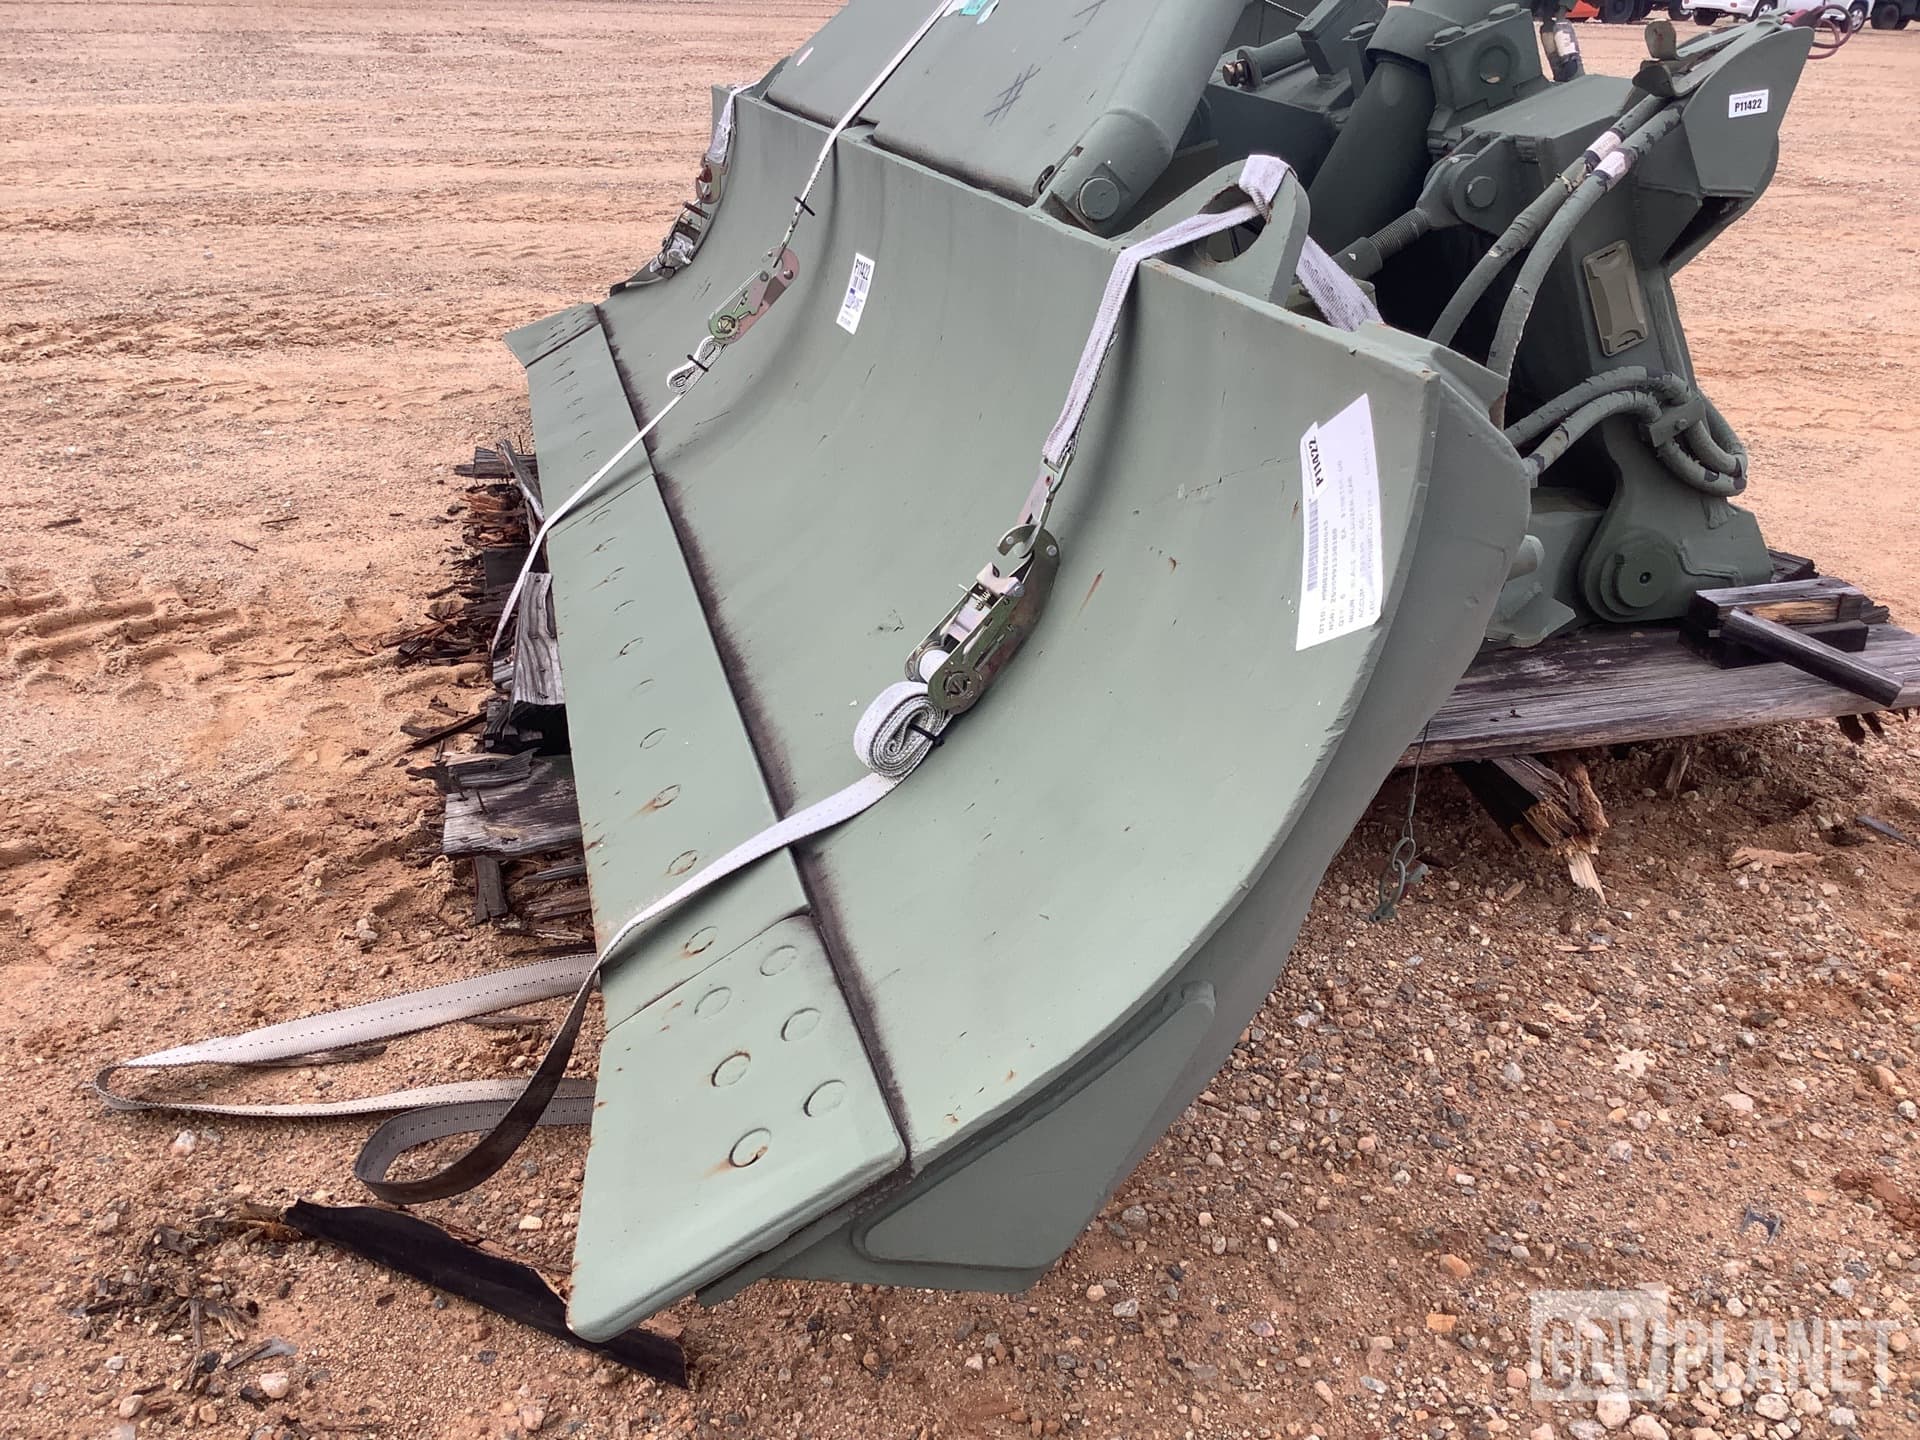
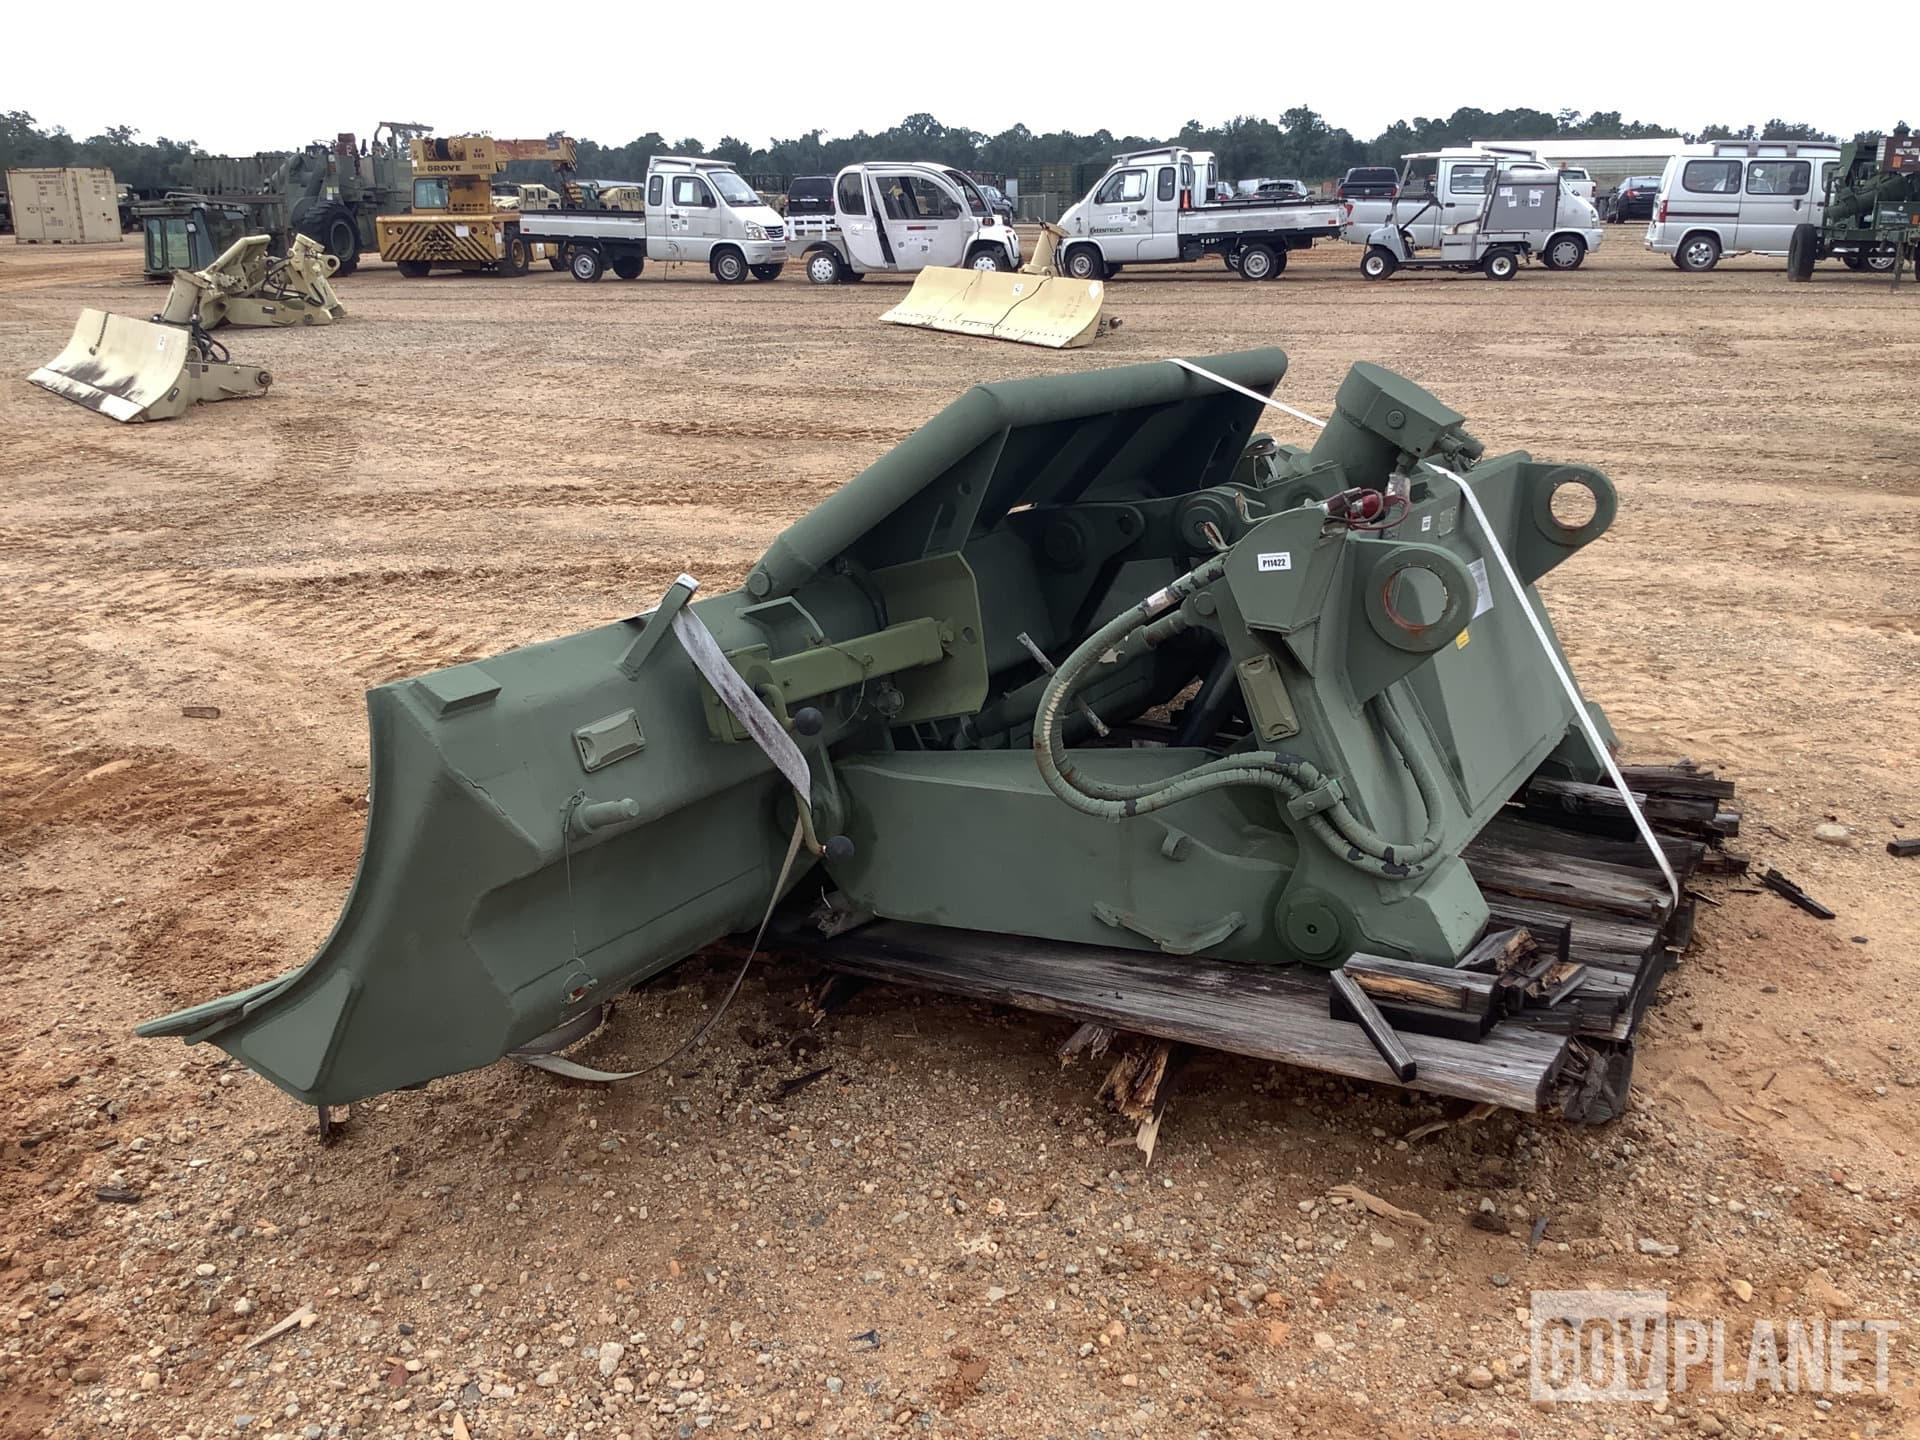
These might help with the connectors of the blade:
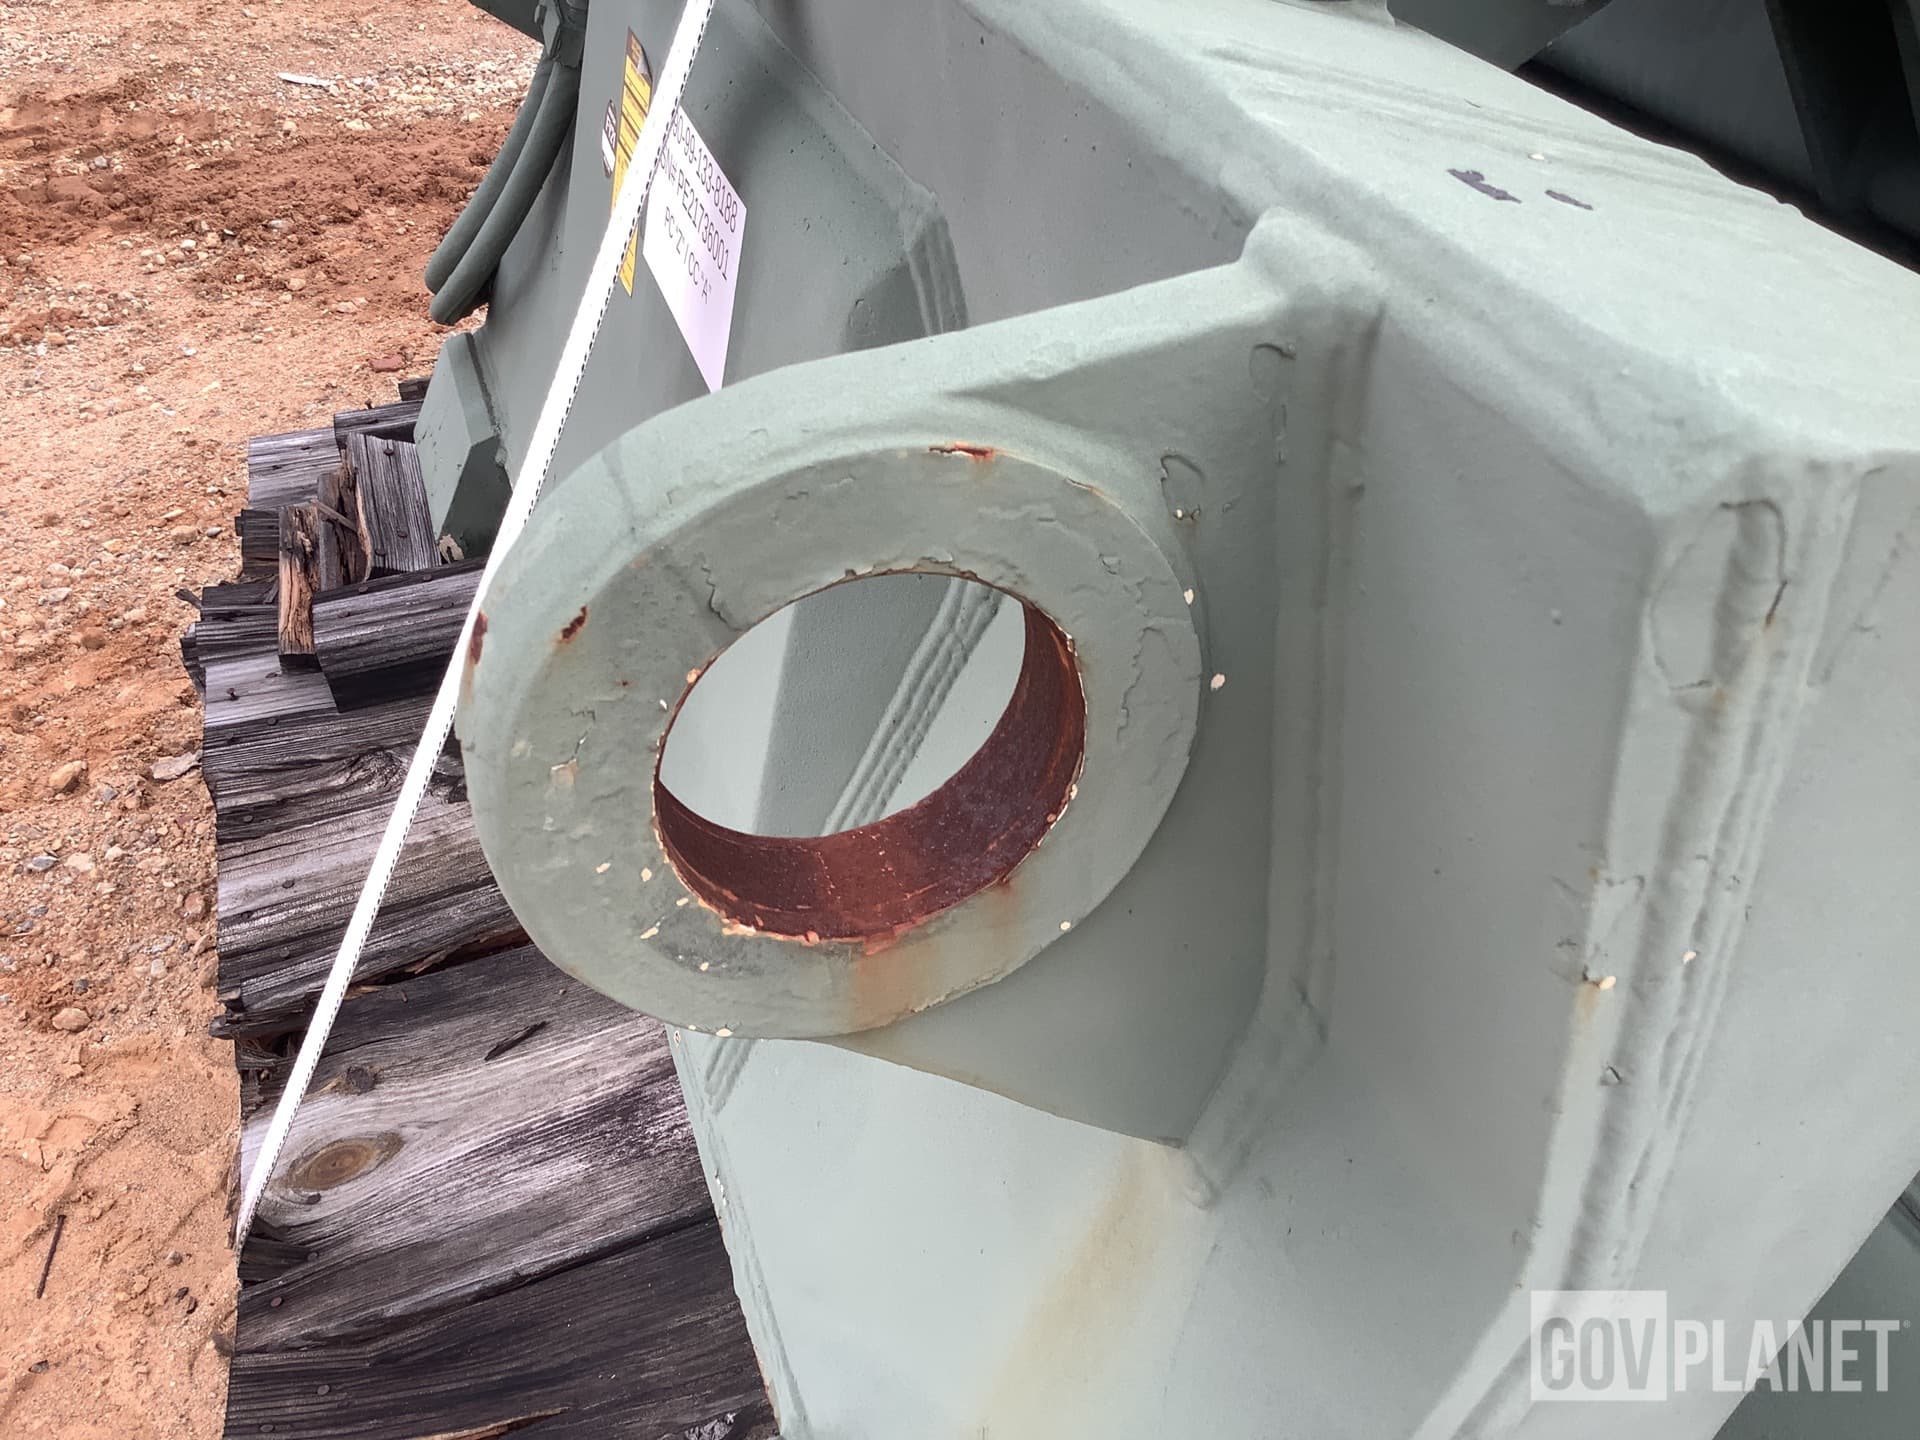
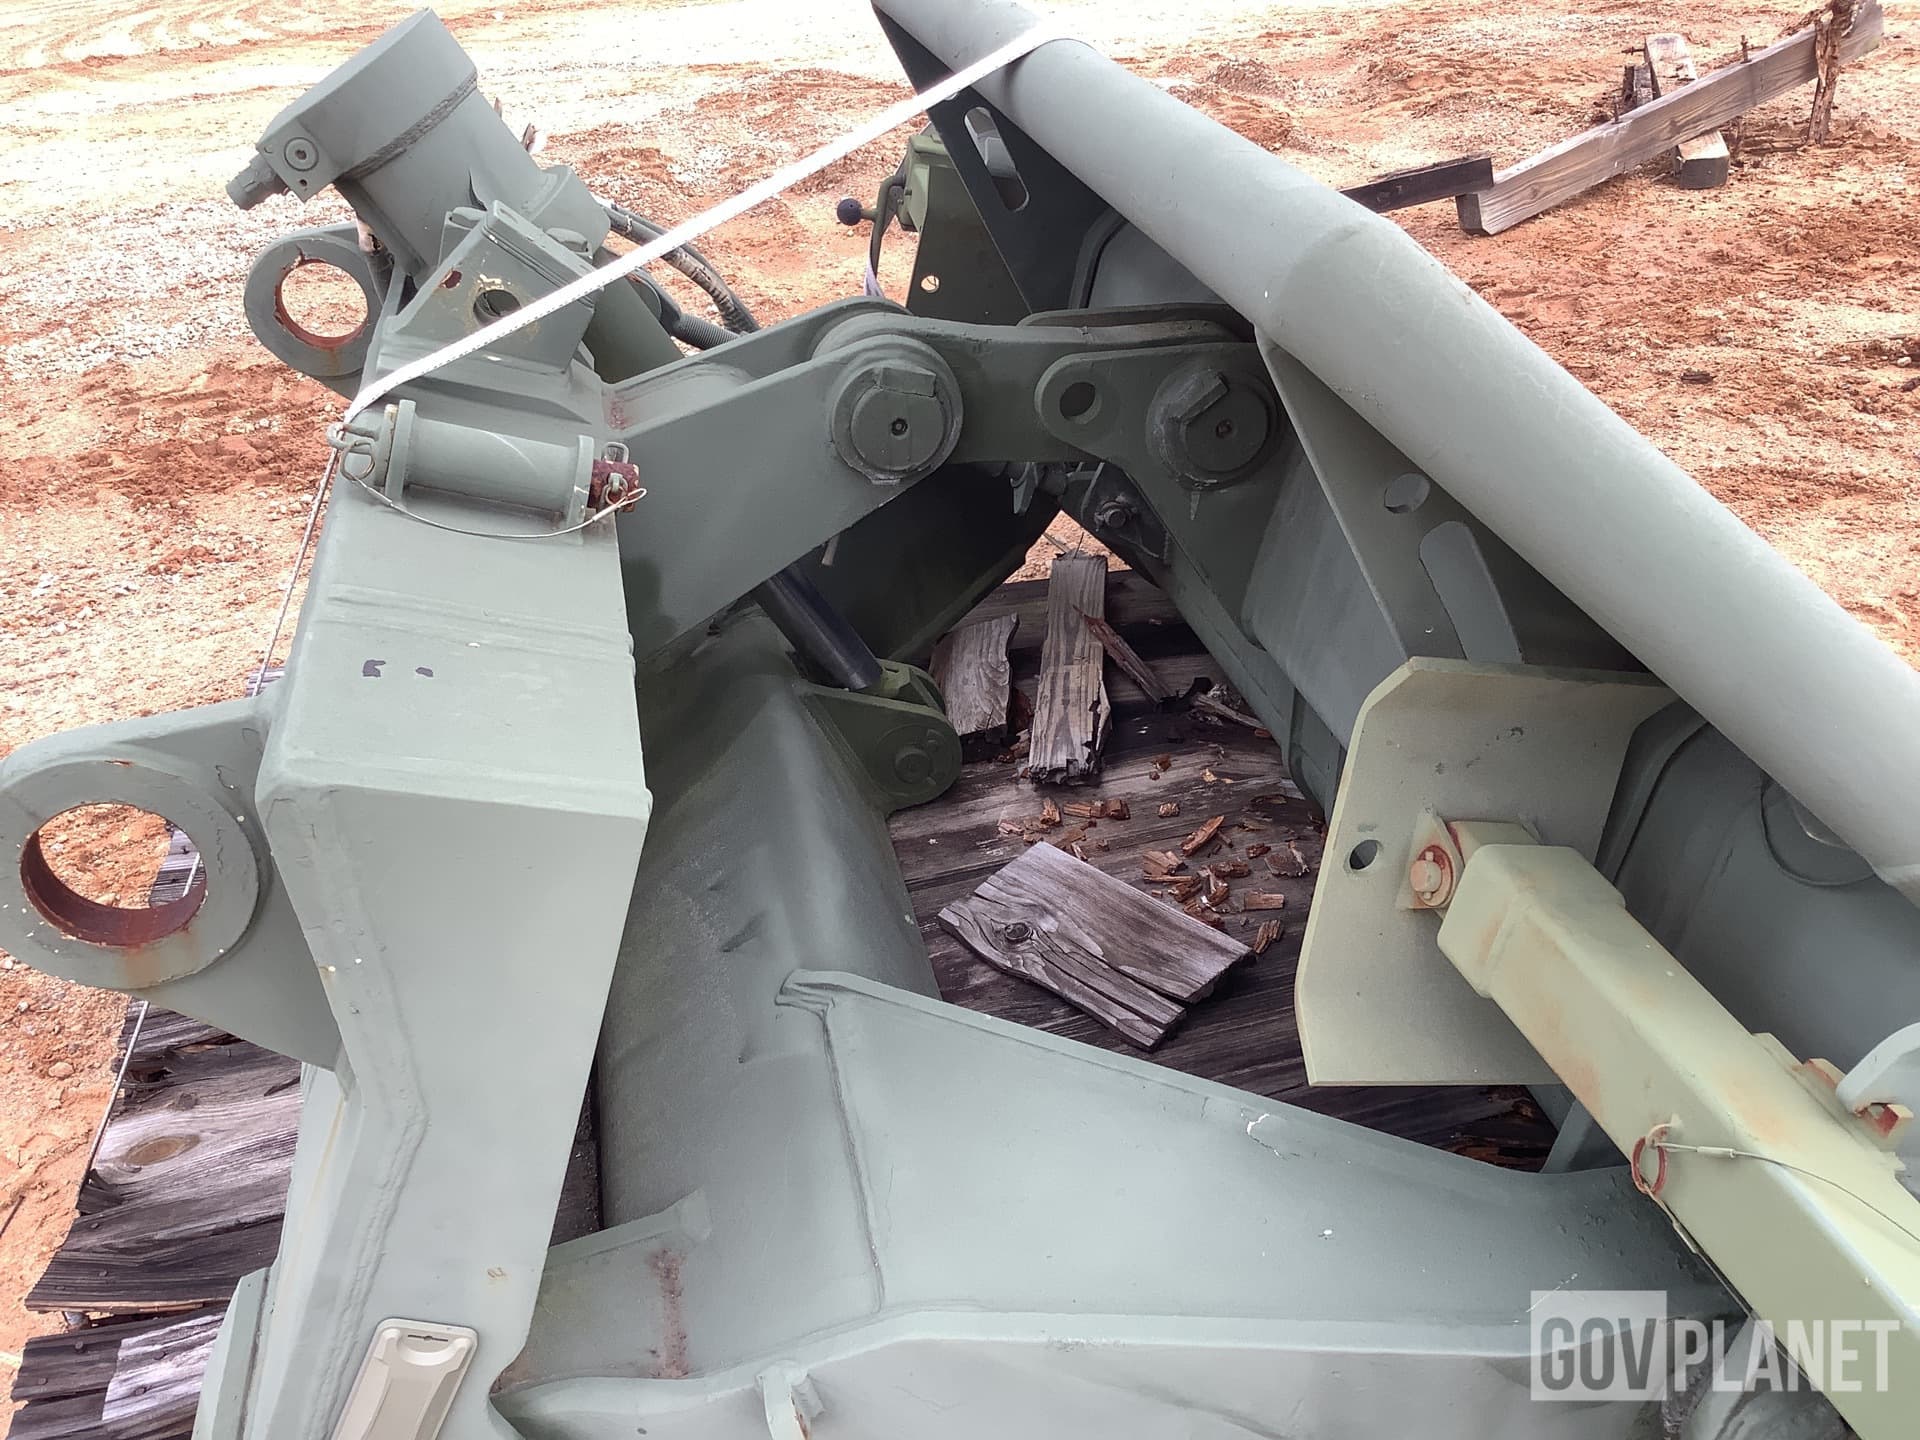
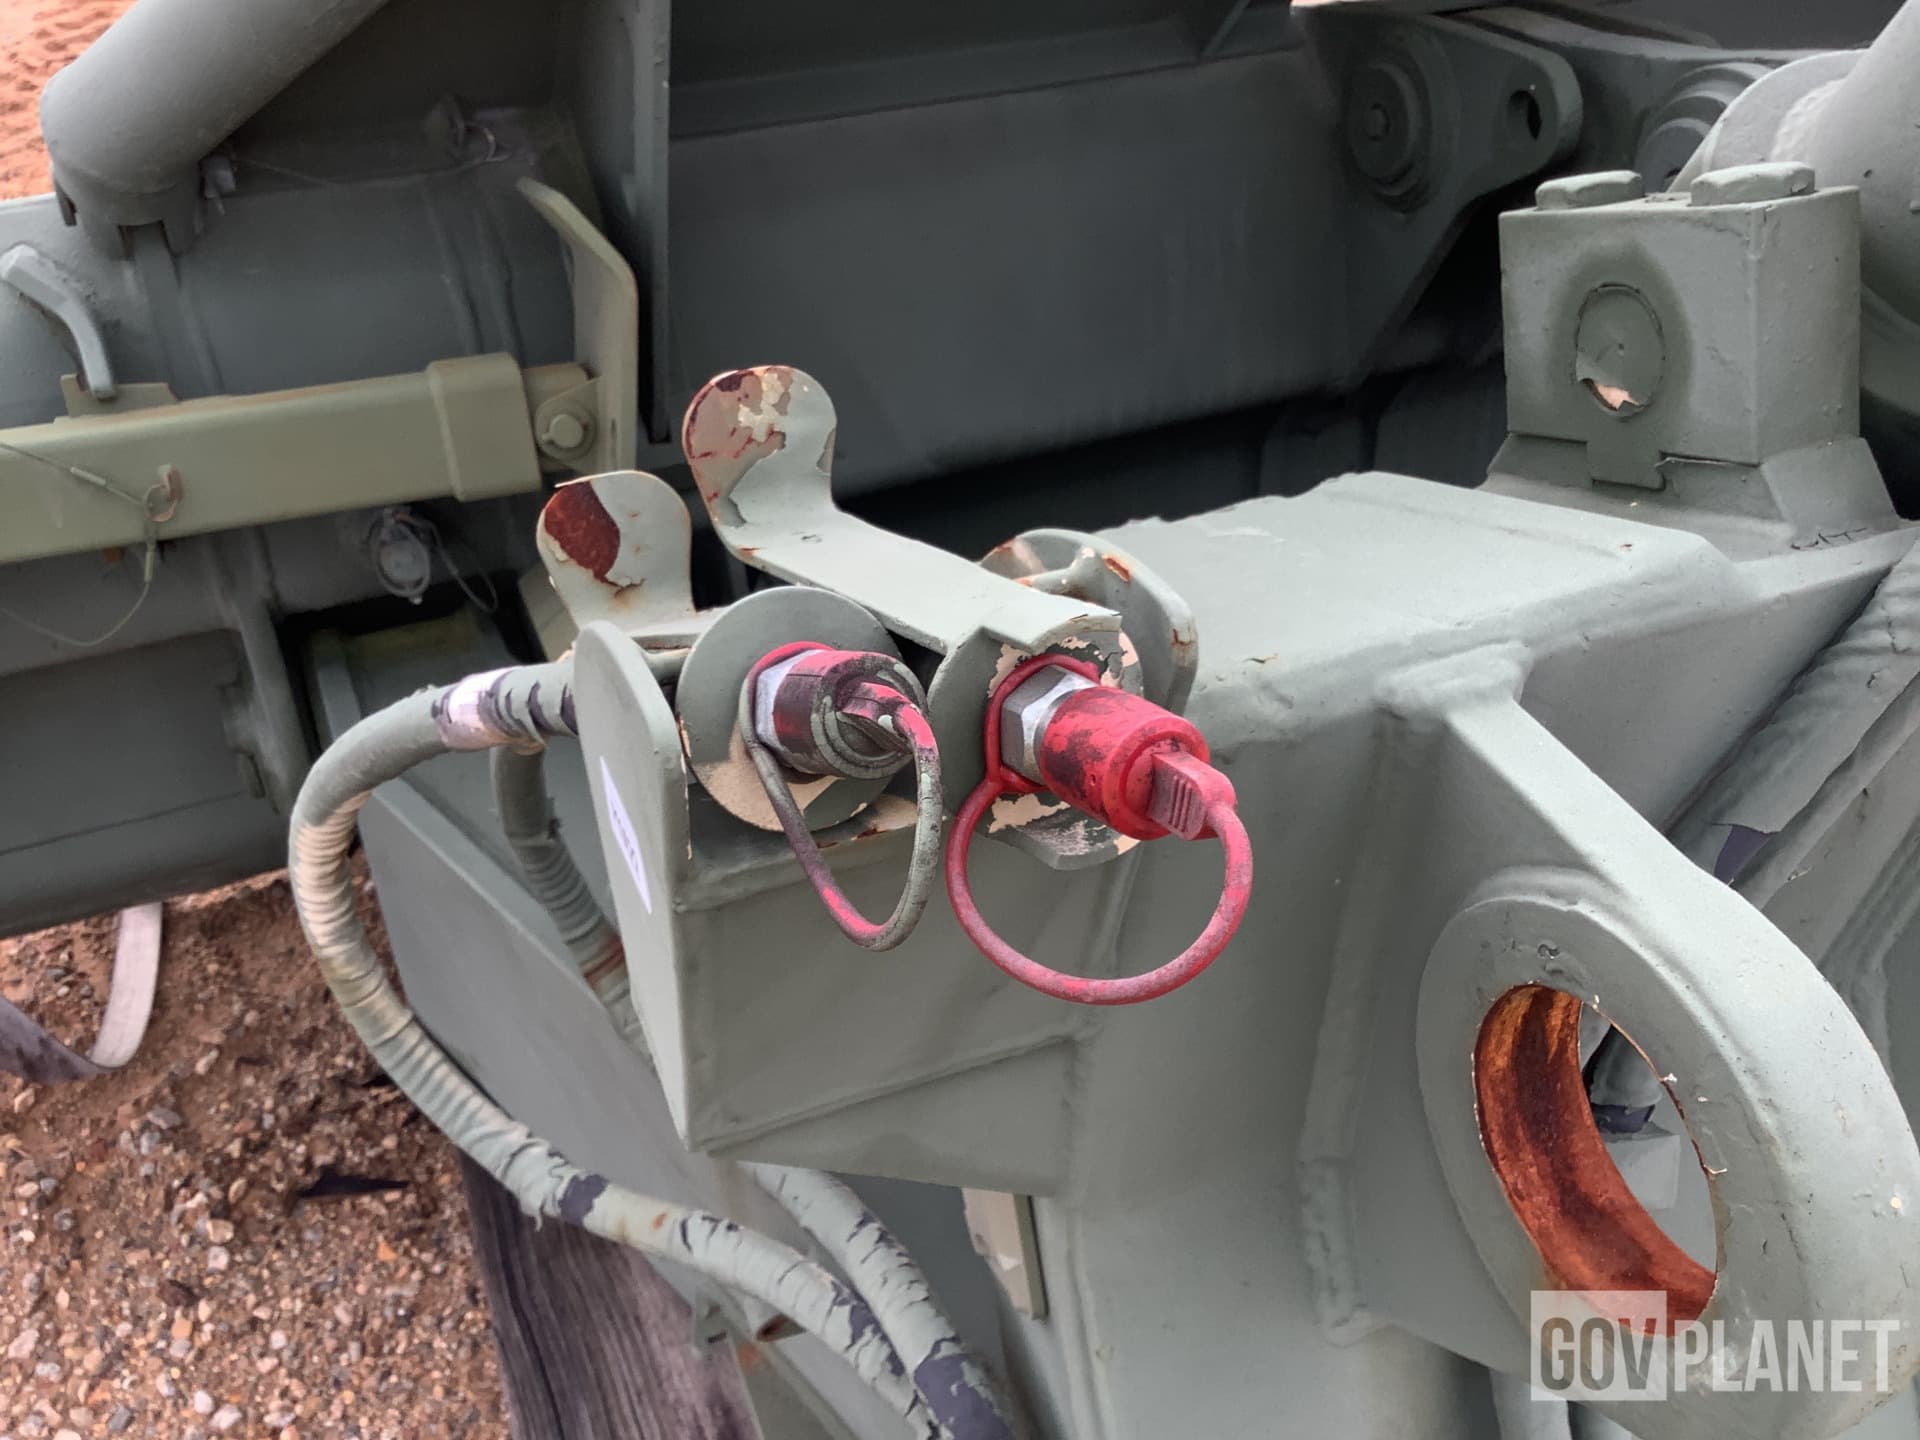


![ffb1fb2d-51e1-4458-af71-ec1a58be5cdc-hr|666x500]
(upload://21FgLcBr0fAWPJo55BMgvc9hLWs.jpeg)
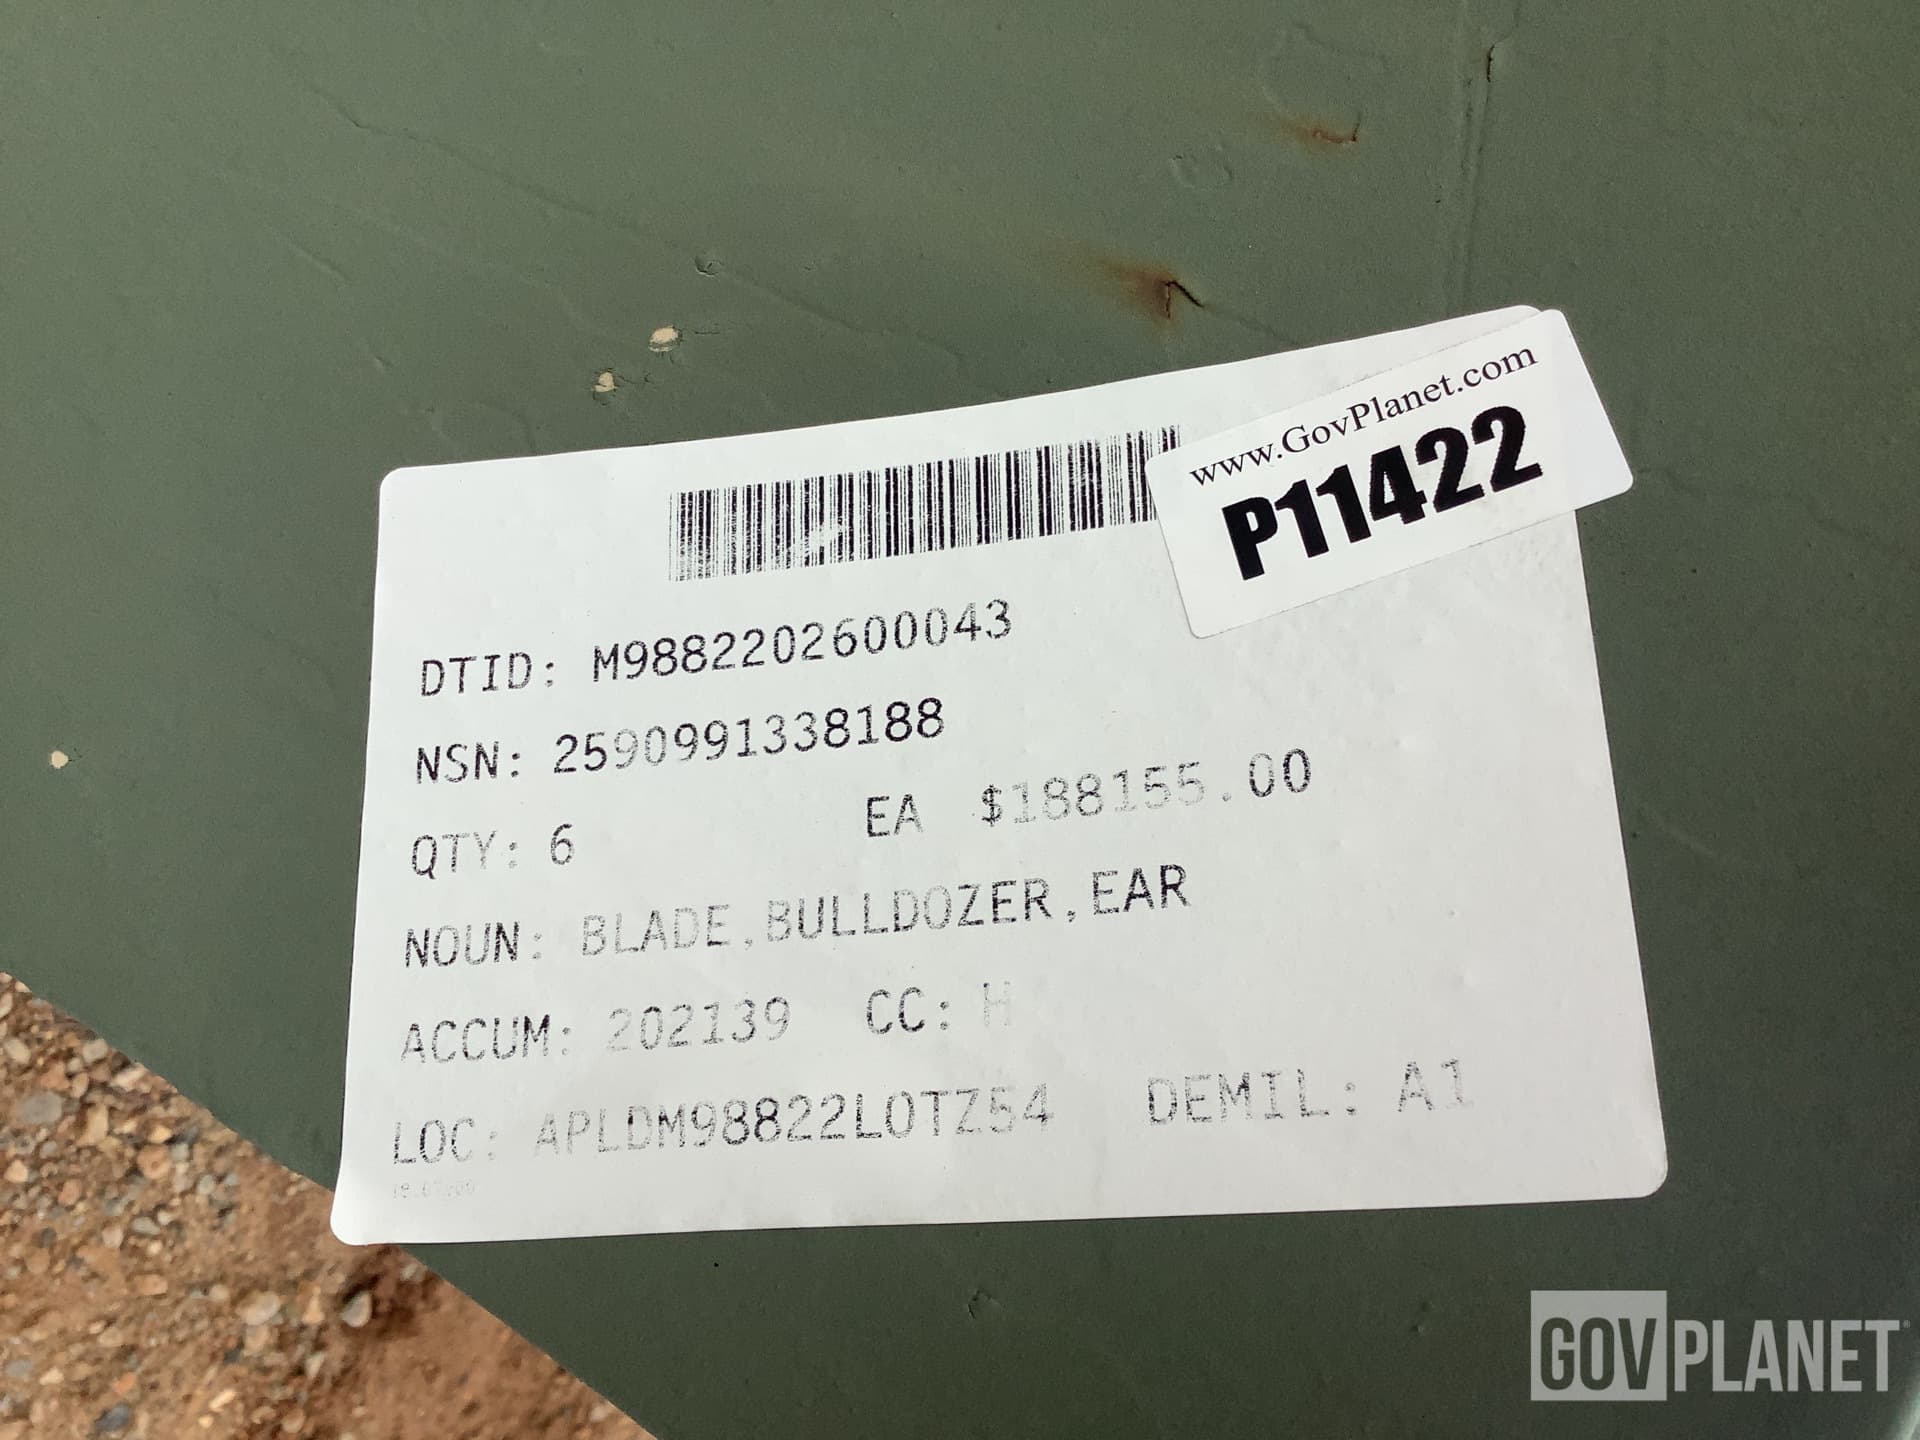
plenty more here: Pearson Engineering PE21736 Dozer Blade in Albany, Georgia, United States (GovPlanet Europe Item #8070149)
2 Likes
This is going to turn into an engineering thread lol … Im not sure they are the same fit outs for a Cr2 though ? and I get the UK one may have a hydraulic reservoir on the blade, but there are no fittings to connect hydraulics into or from the tank ? The other issue is, all the images I can find for UK BEMA’s have the protective armour plates on covering any cables.
So we have the blade and we are missing the hydraulic unit for it. Going digging…
1 Like
Well, I can always “fake it” and just do the lines that show when the blade is mounted…
Have you decided on a timeframe for your build?
If not https://www.pearson-eng.com/product/direct-interface-slice/
1 Like
That was an interesting link Nikos ![]() … and Russ, I think you will be pretty safe not adding a cable as when the BEMAs are fitted, because of the armoured covers, you cant see anything anyway
… and Russ, I think you will be pretty safe not adding a cable as when the BEMAs are fitted, because of the armoured covers, you cant see anything anyway
1 Like
+1 on that, no cables, no hoses not anything.
2 Likes
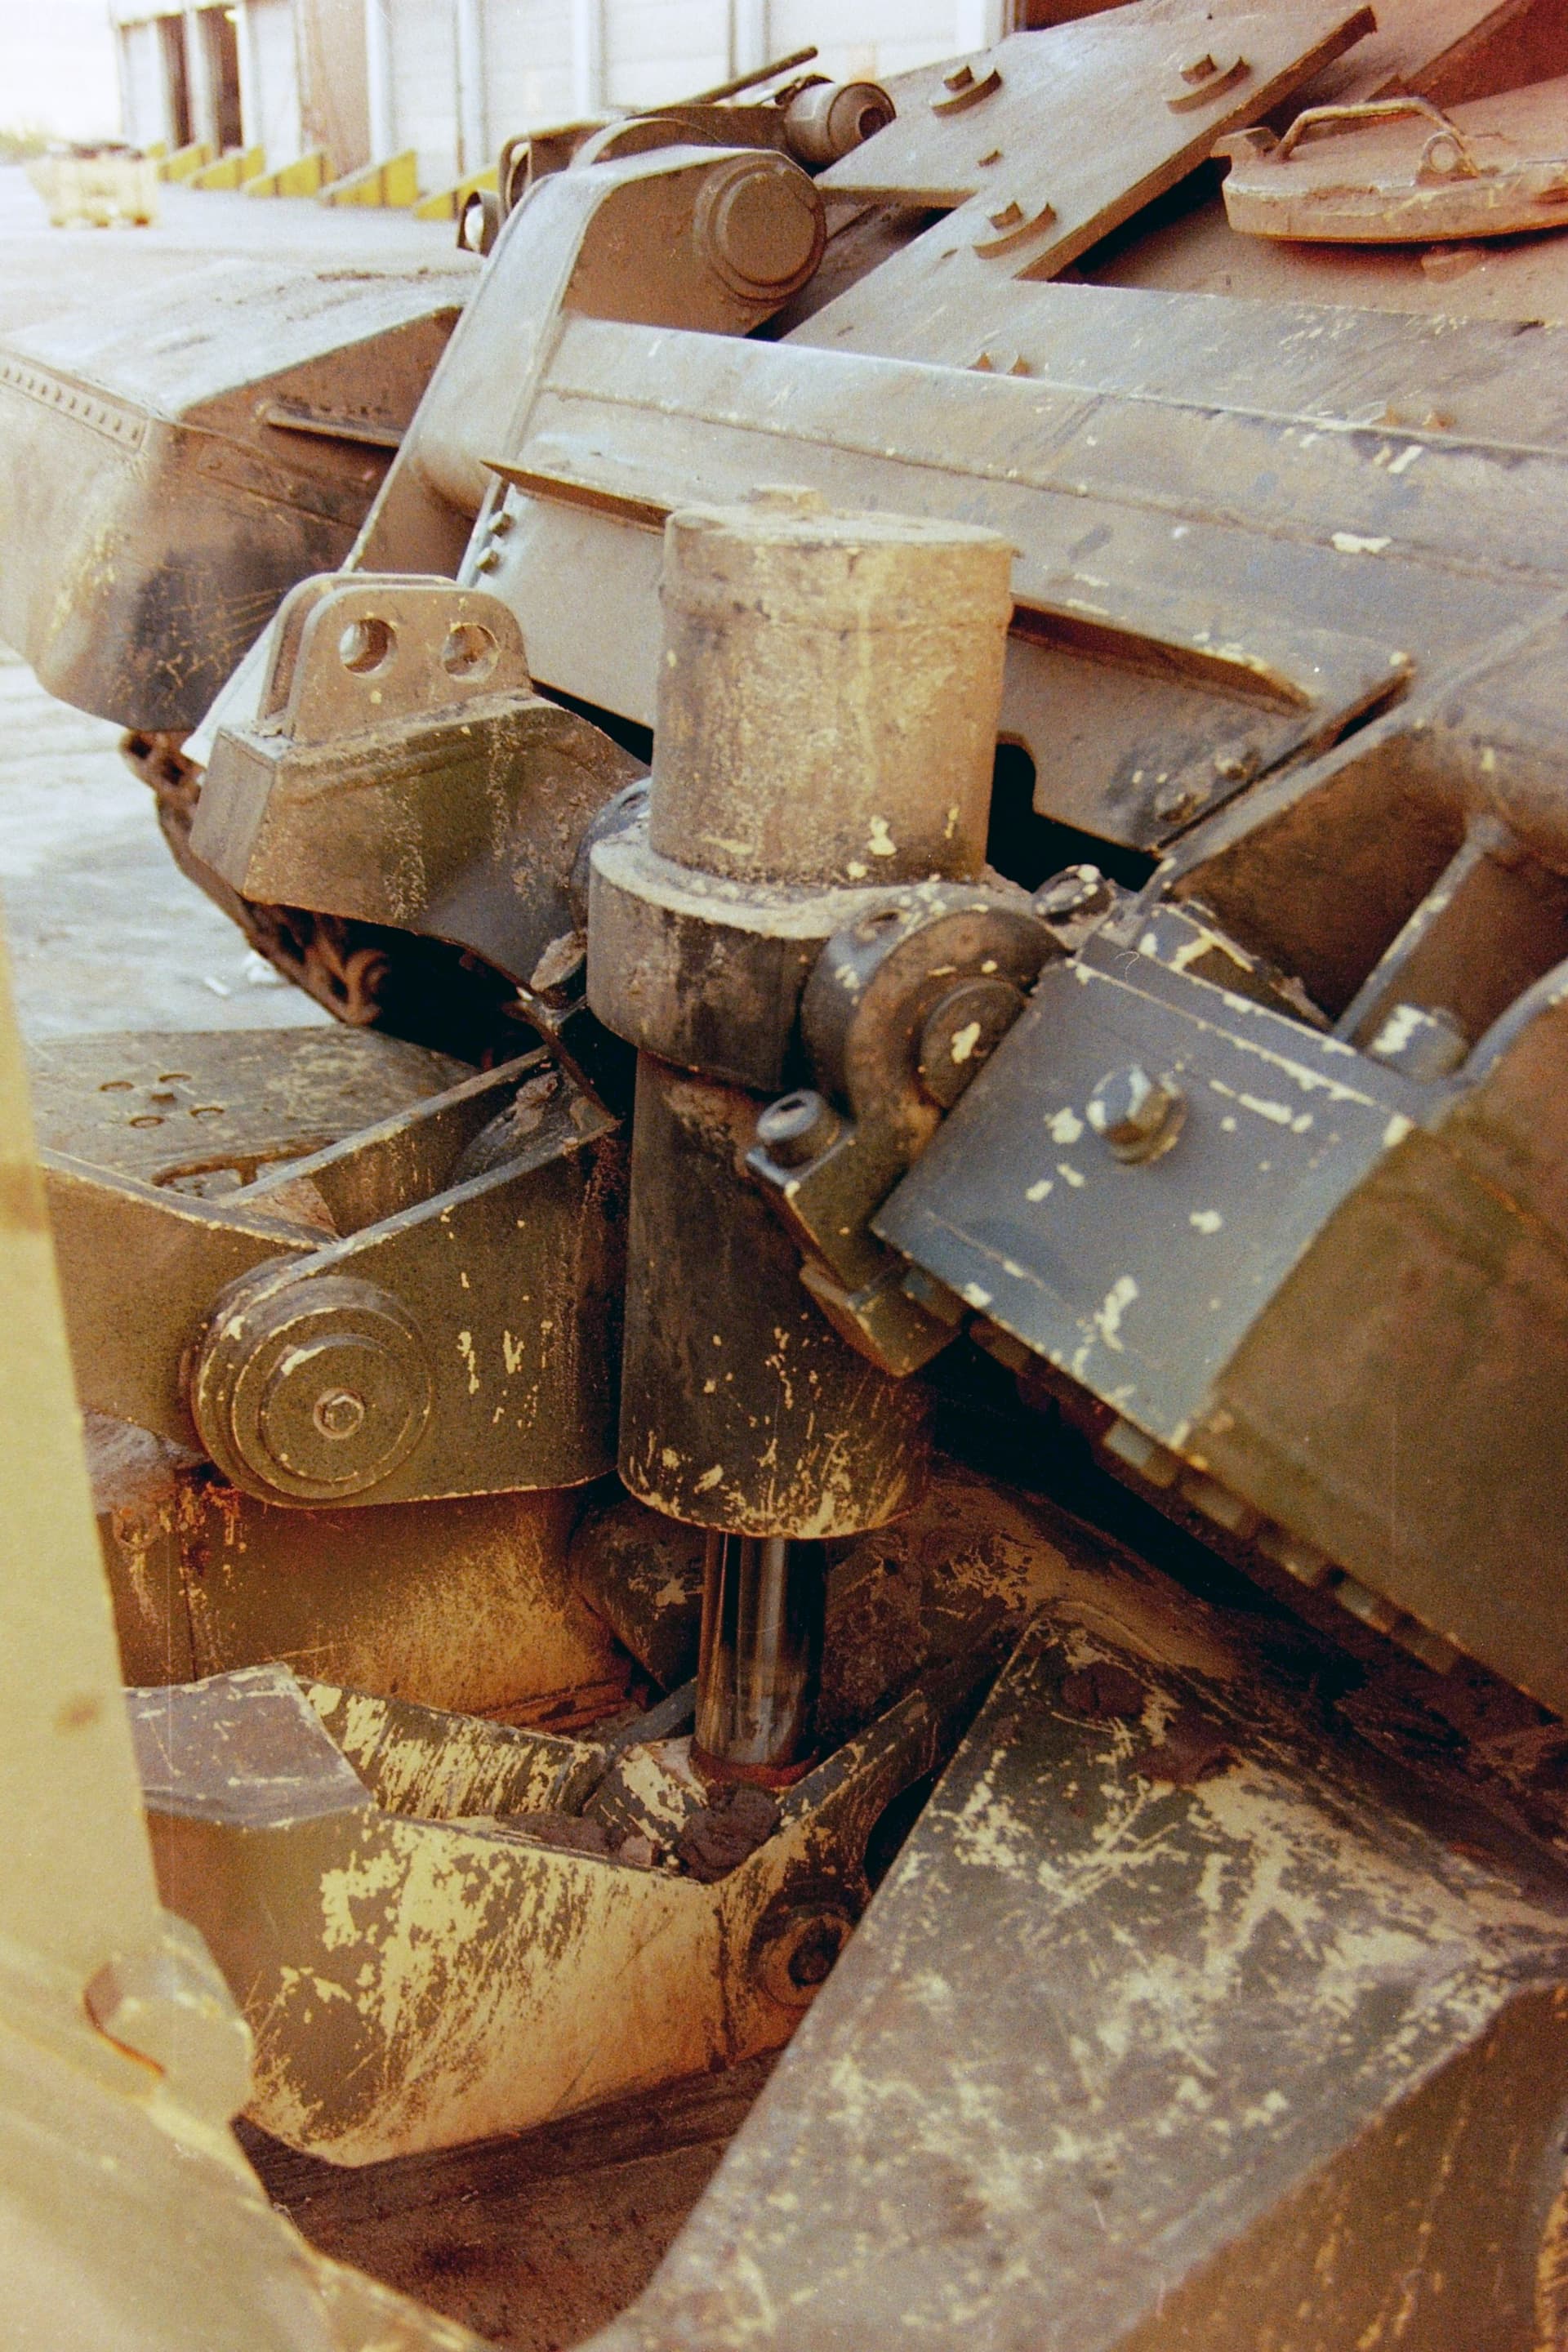
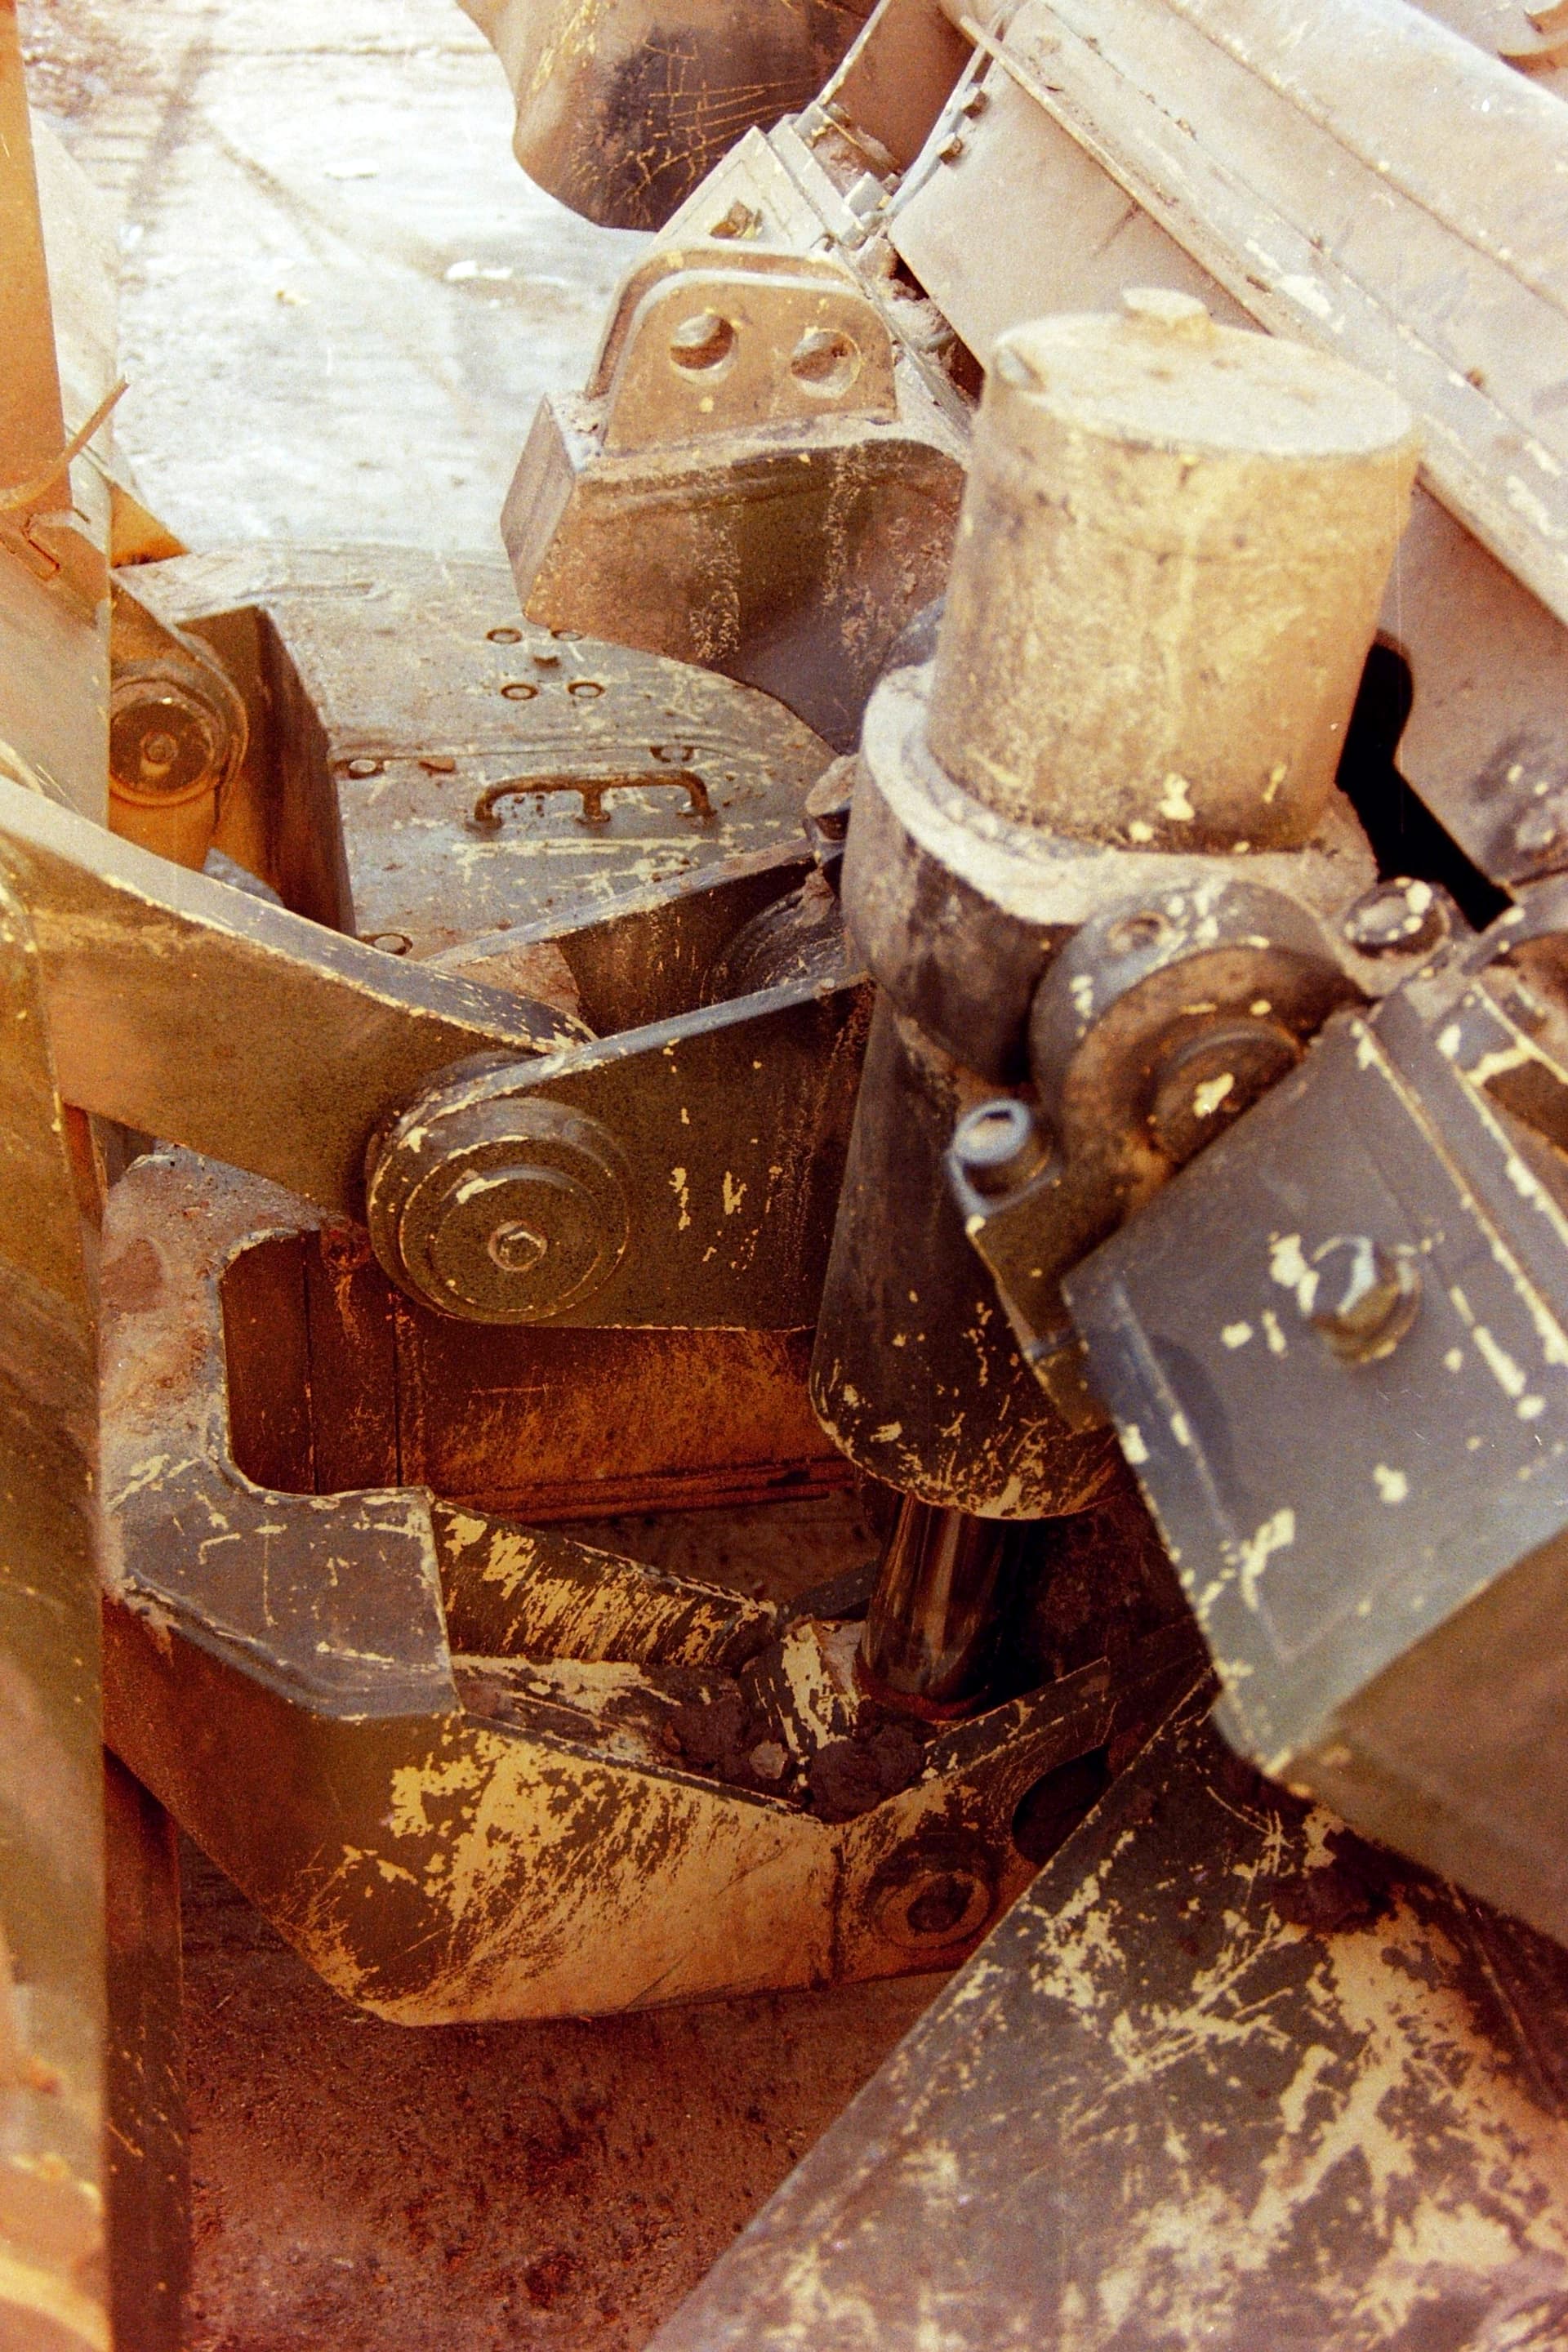
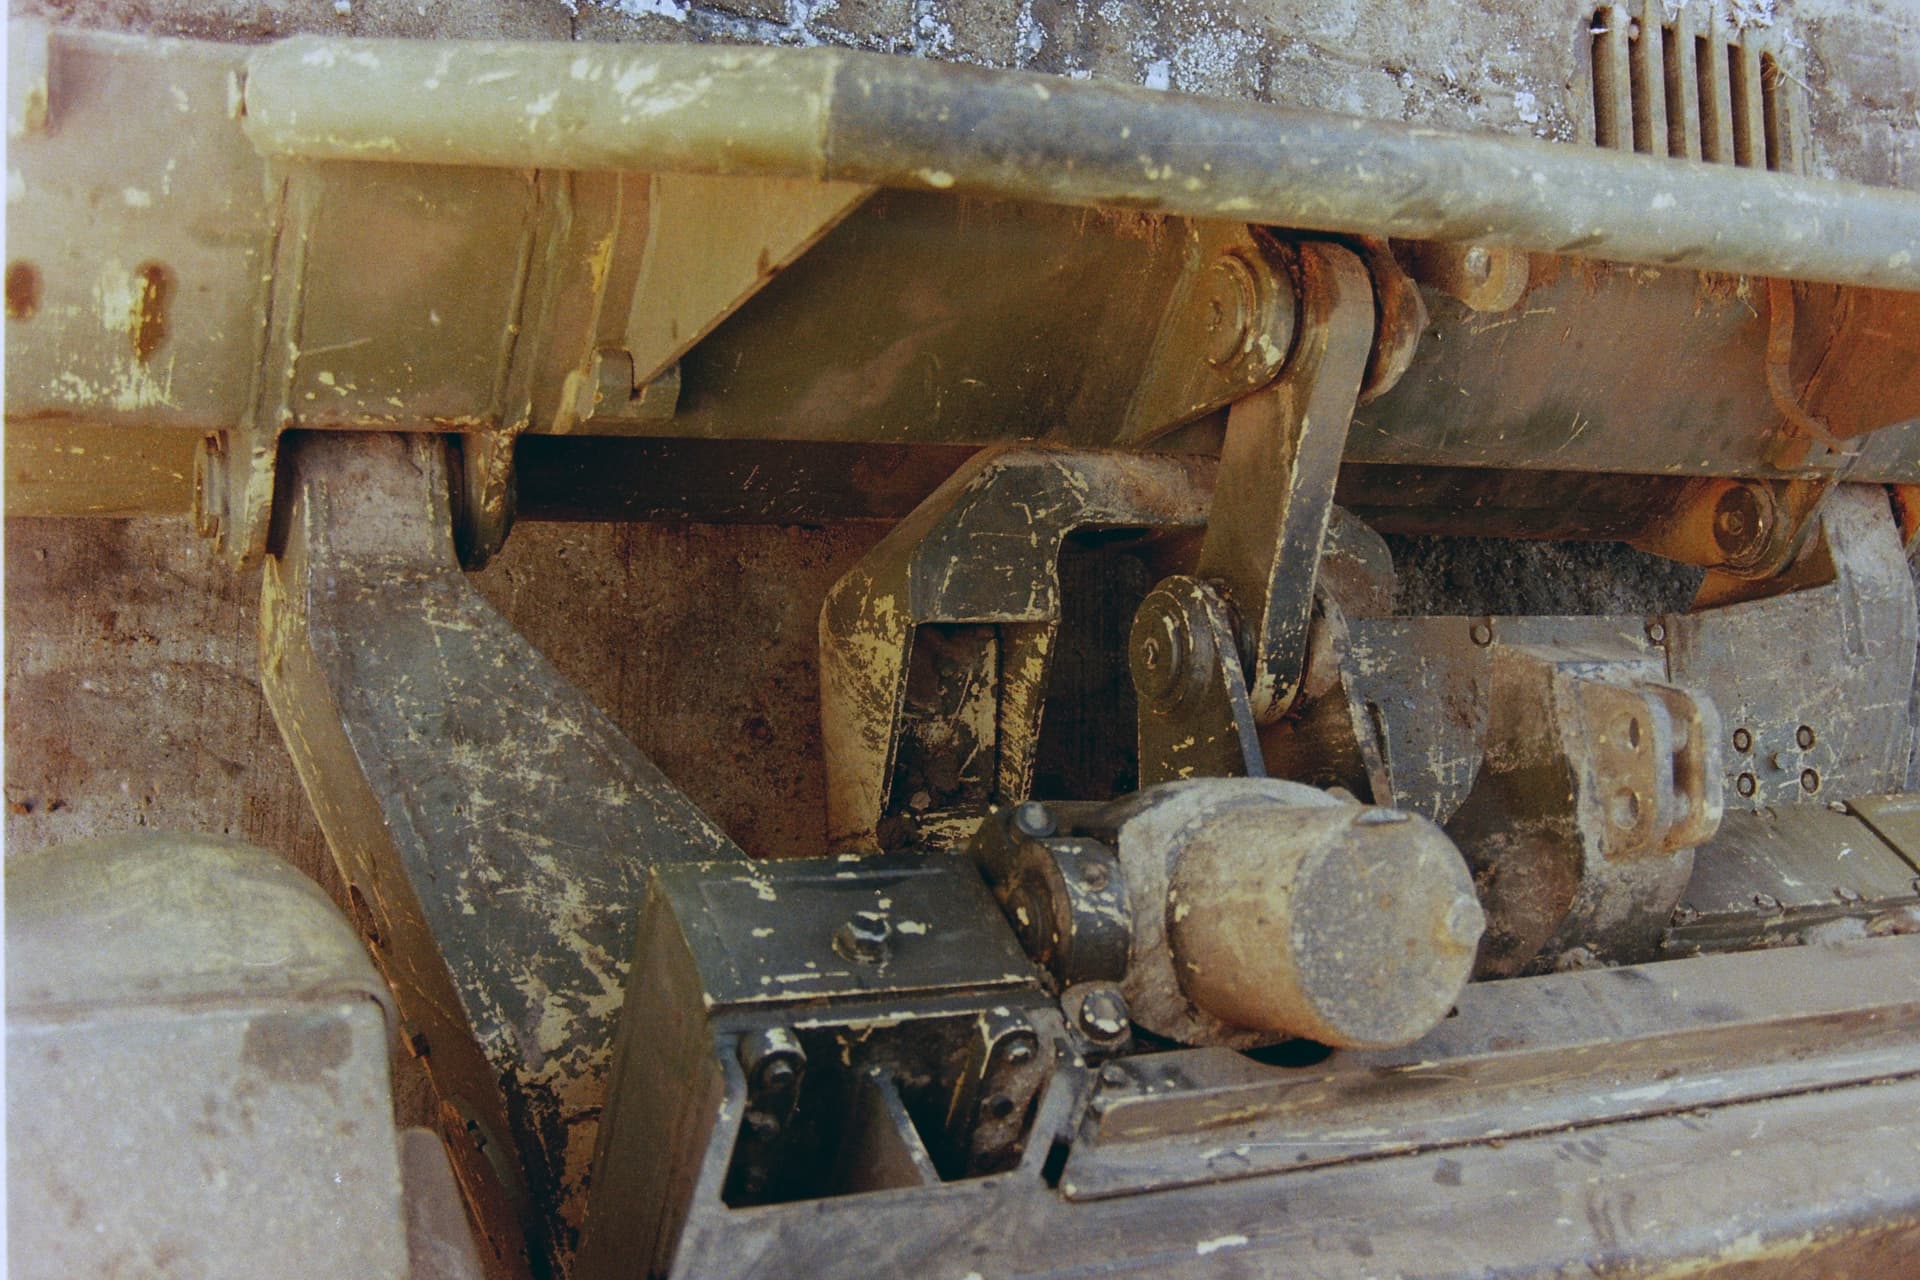
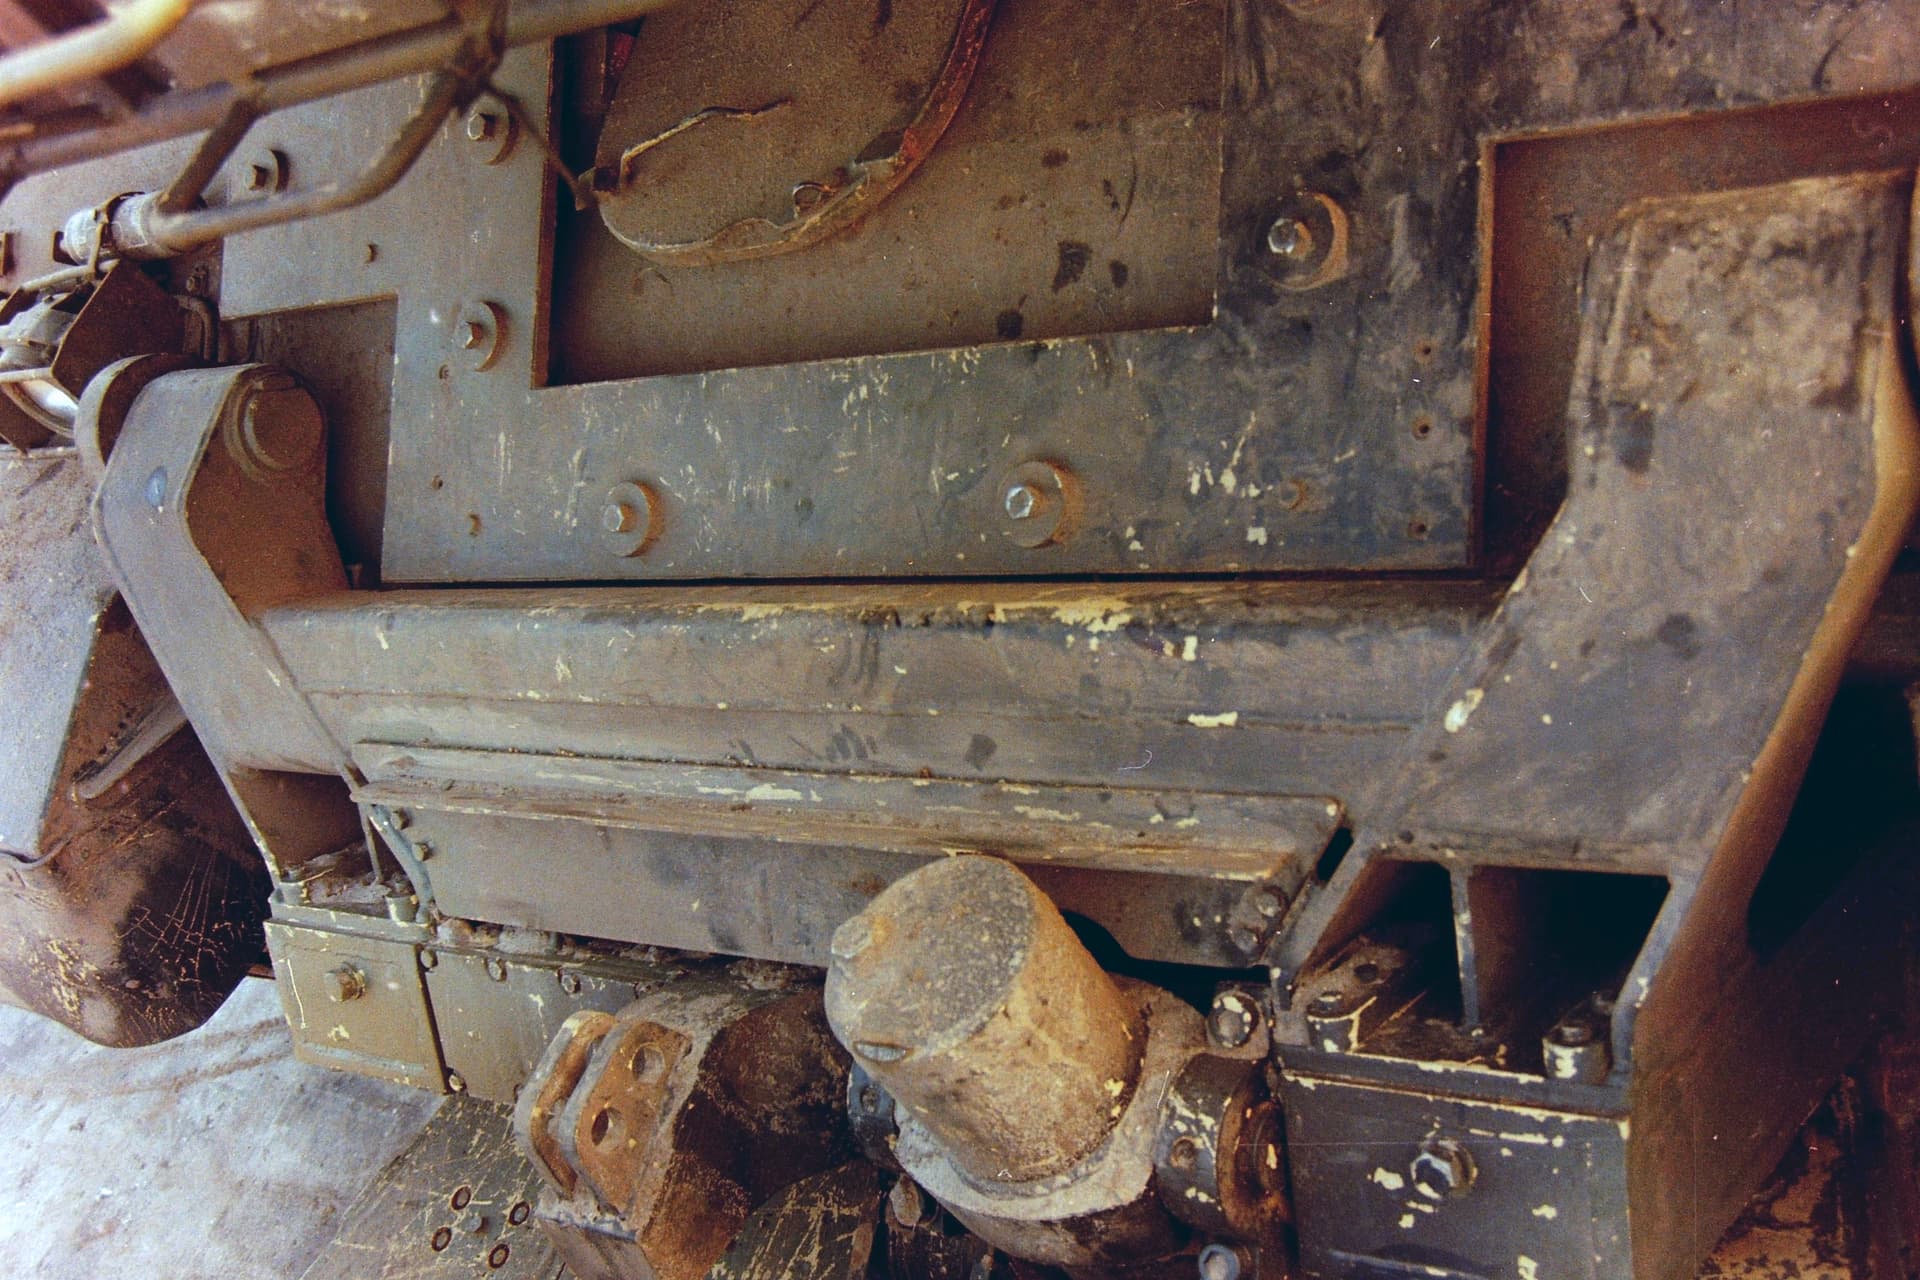
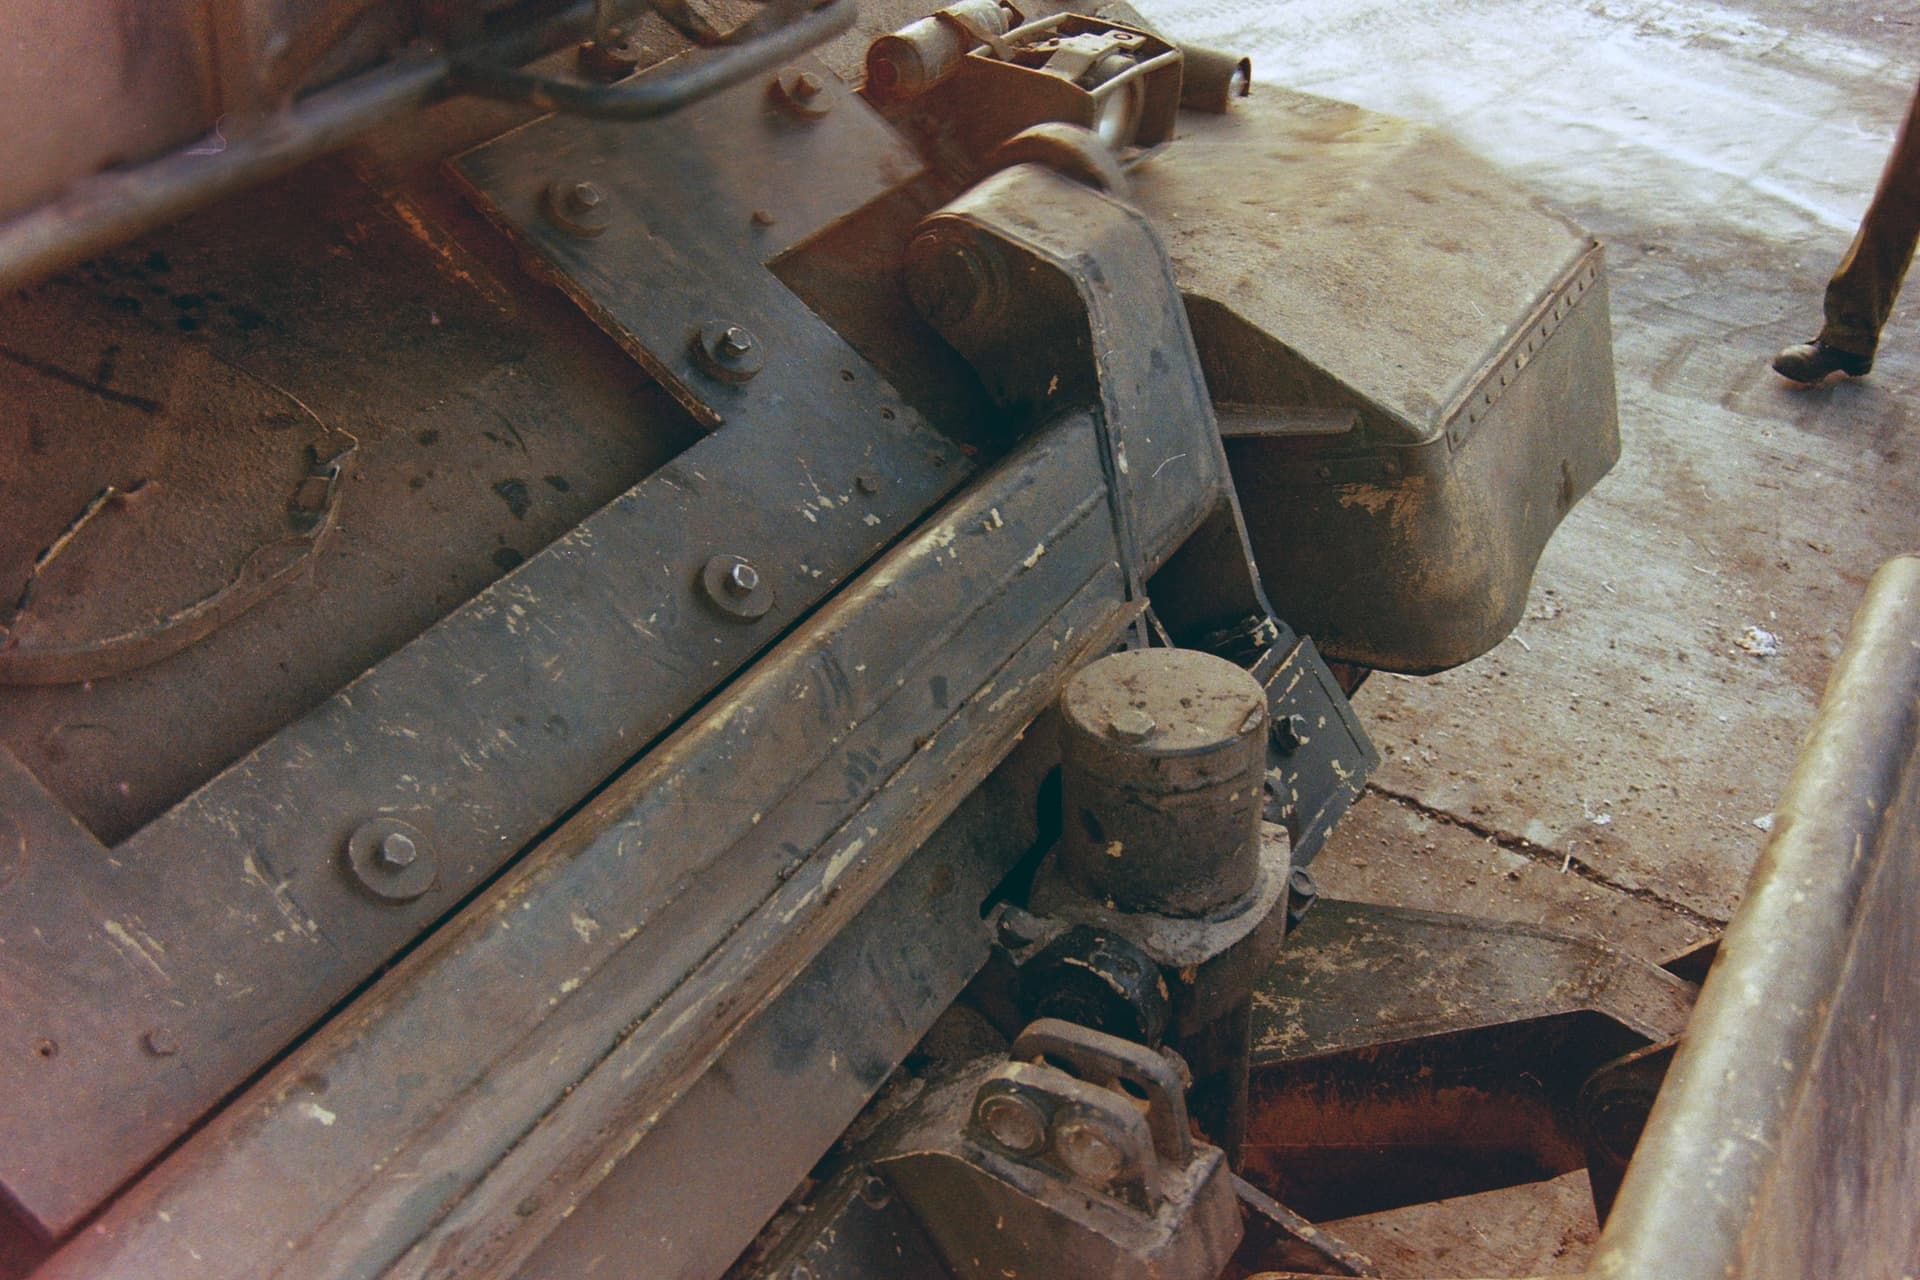
Here are a couple of pictures showing the formerly called UDK-1 fitted to a Challenger 1Mk3. The pictures were taken from a vehicle that shortly before came back from GW1. The system is fully boxed. No powerlines or hydraulics visible. Electric connection goes over a plug behind a circle shaped plate which is located in the hull front and when the blade is carried, is behind the mounting plate. I guess the same blade kits also were used with Challenger 2.
Andreas
5 Likes
Excellent pics, thank you! Looks like I’m pretty much go to go as-is.
I’ve got paint on, pics as soon as I can get my laptop to recognize the drive I use to load them…argh.
1 Like
Excellent reference pics Andreas ![]()
1 Like
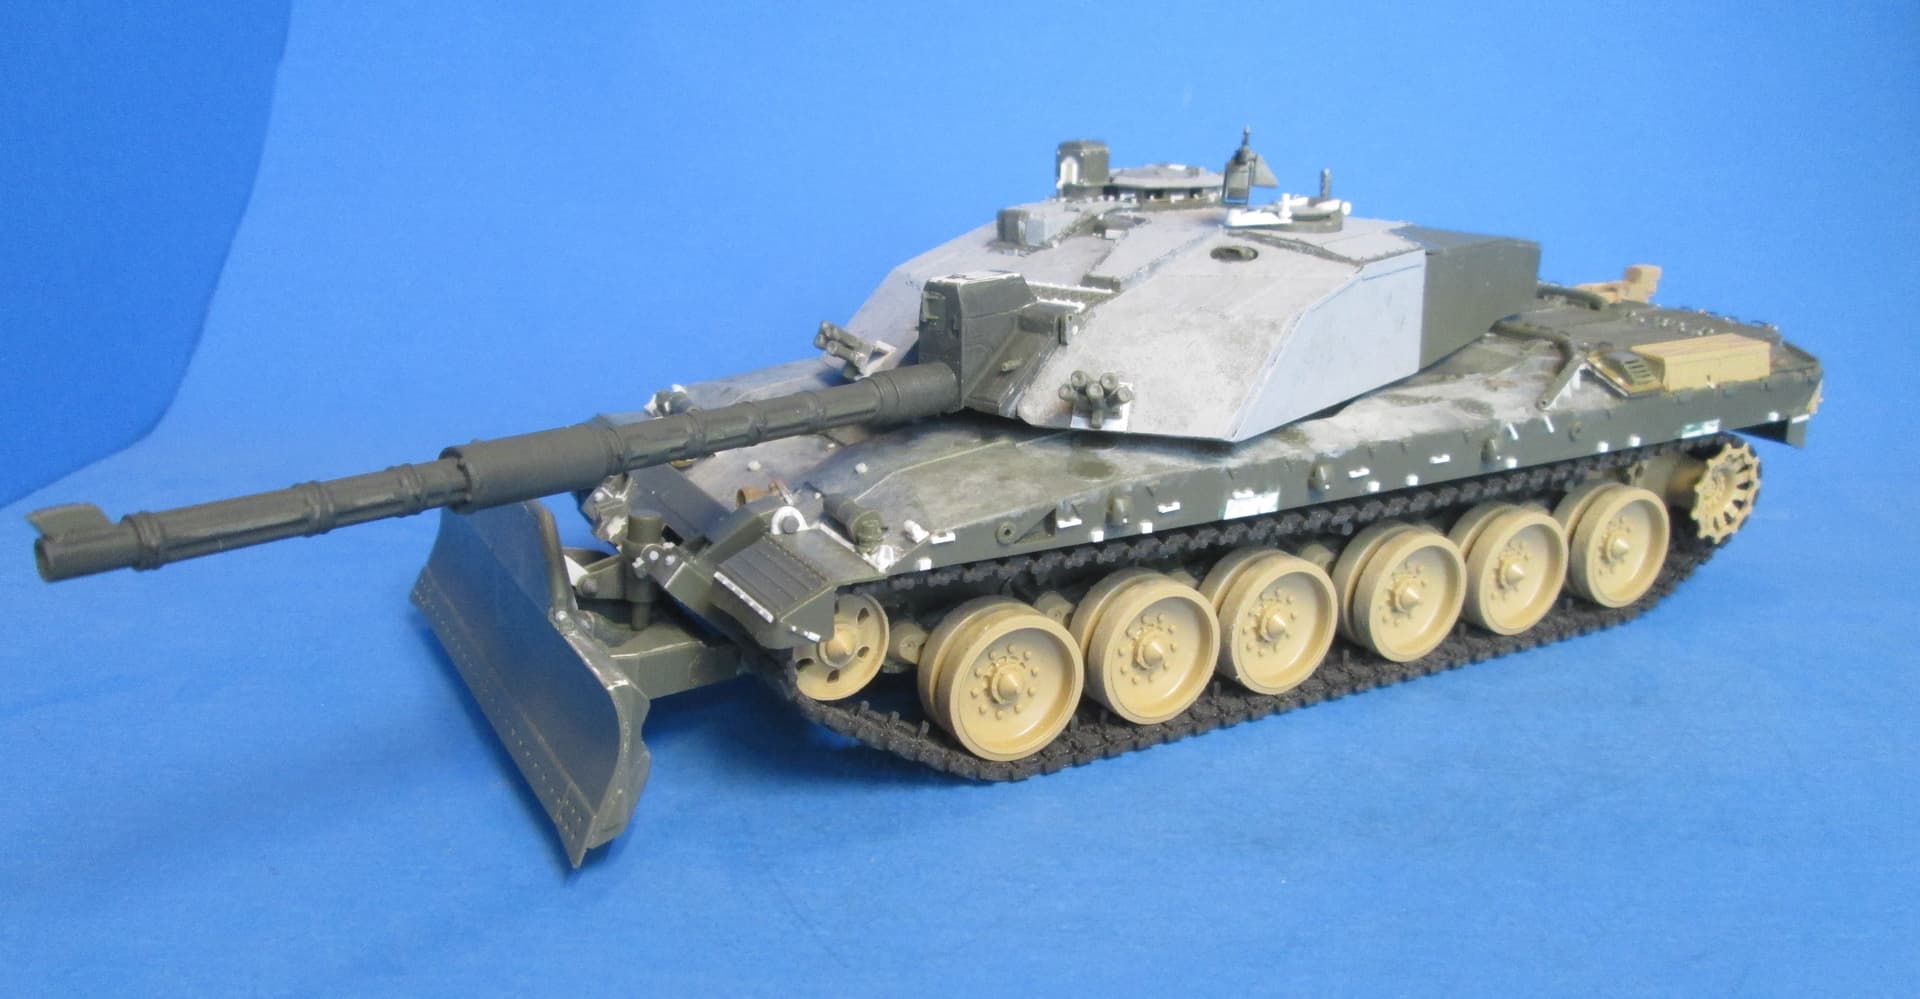
A real testament to real modelling skill turning this into a real good looking Cr2.
It’s a shame all that super hard work and scratch building and detailing is now hidden by paint … But we know ![]()
![]()
3 Likes
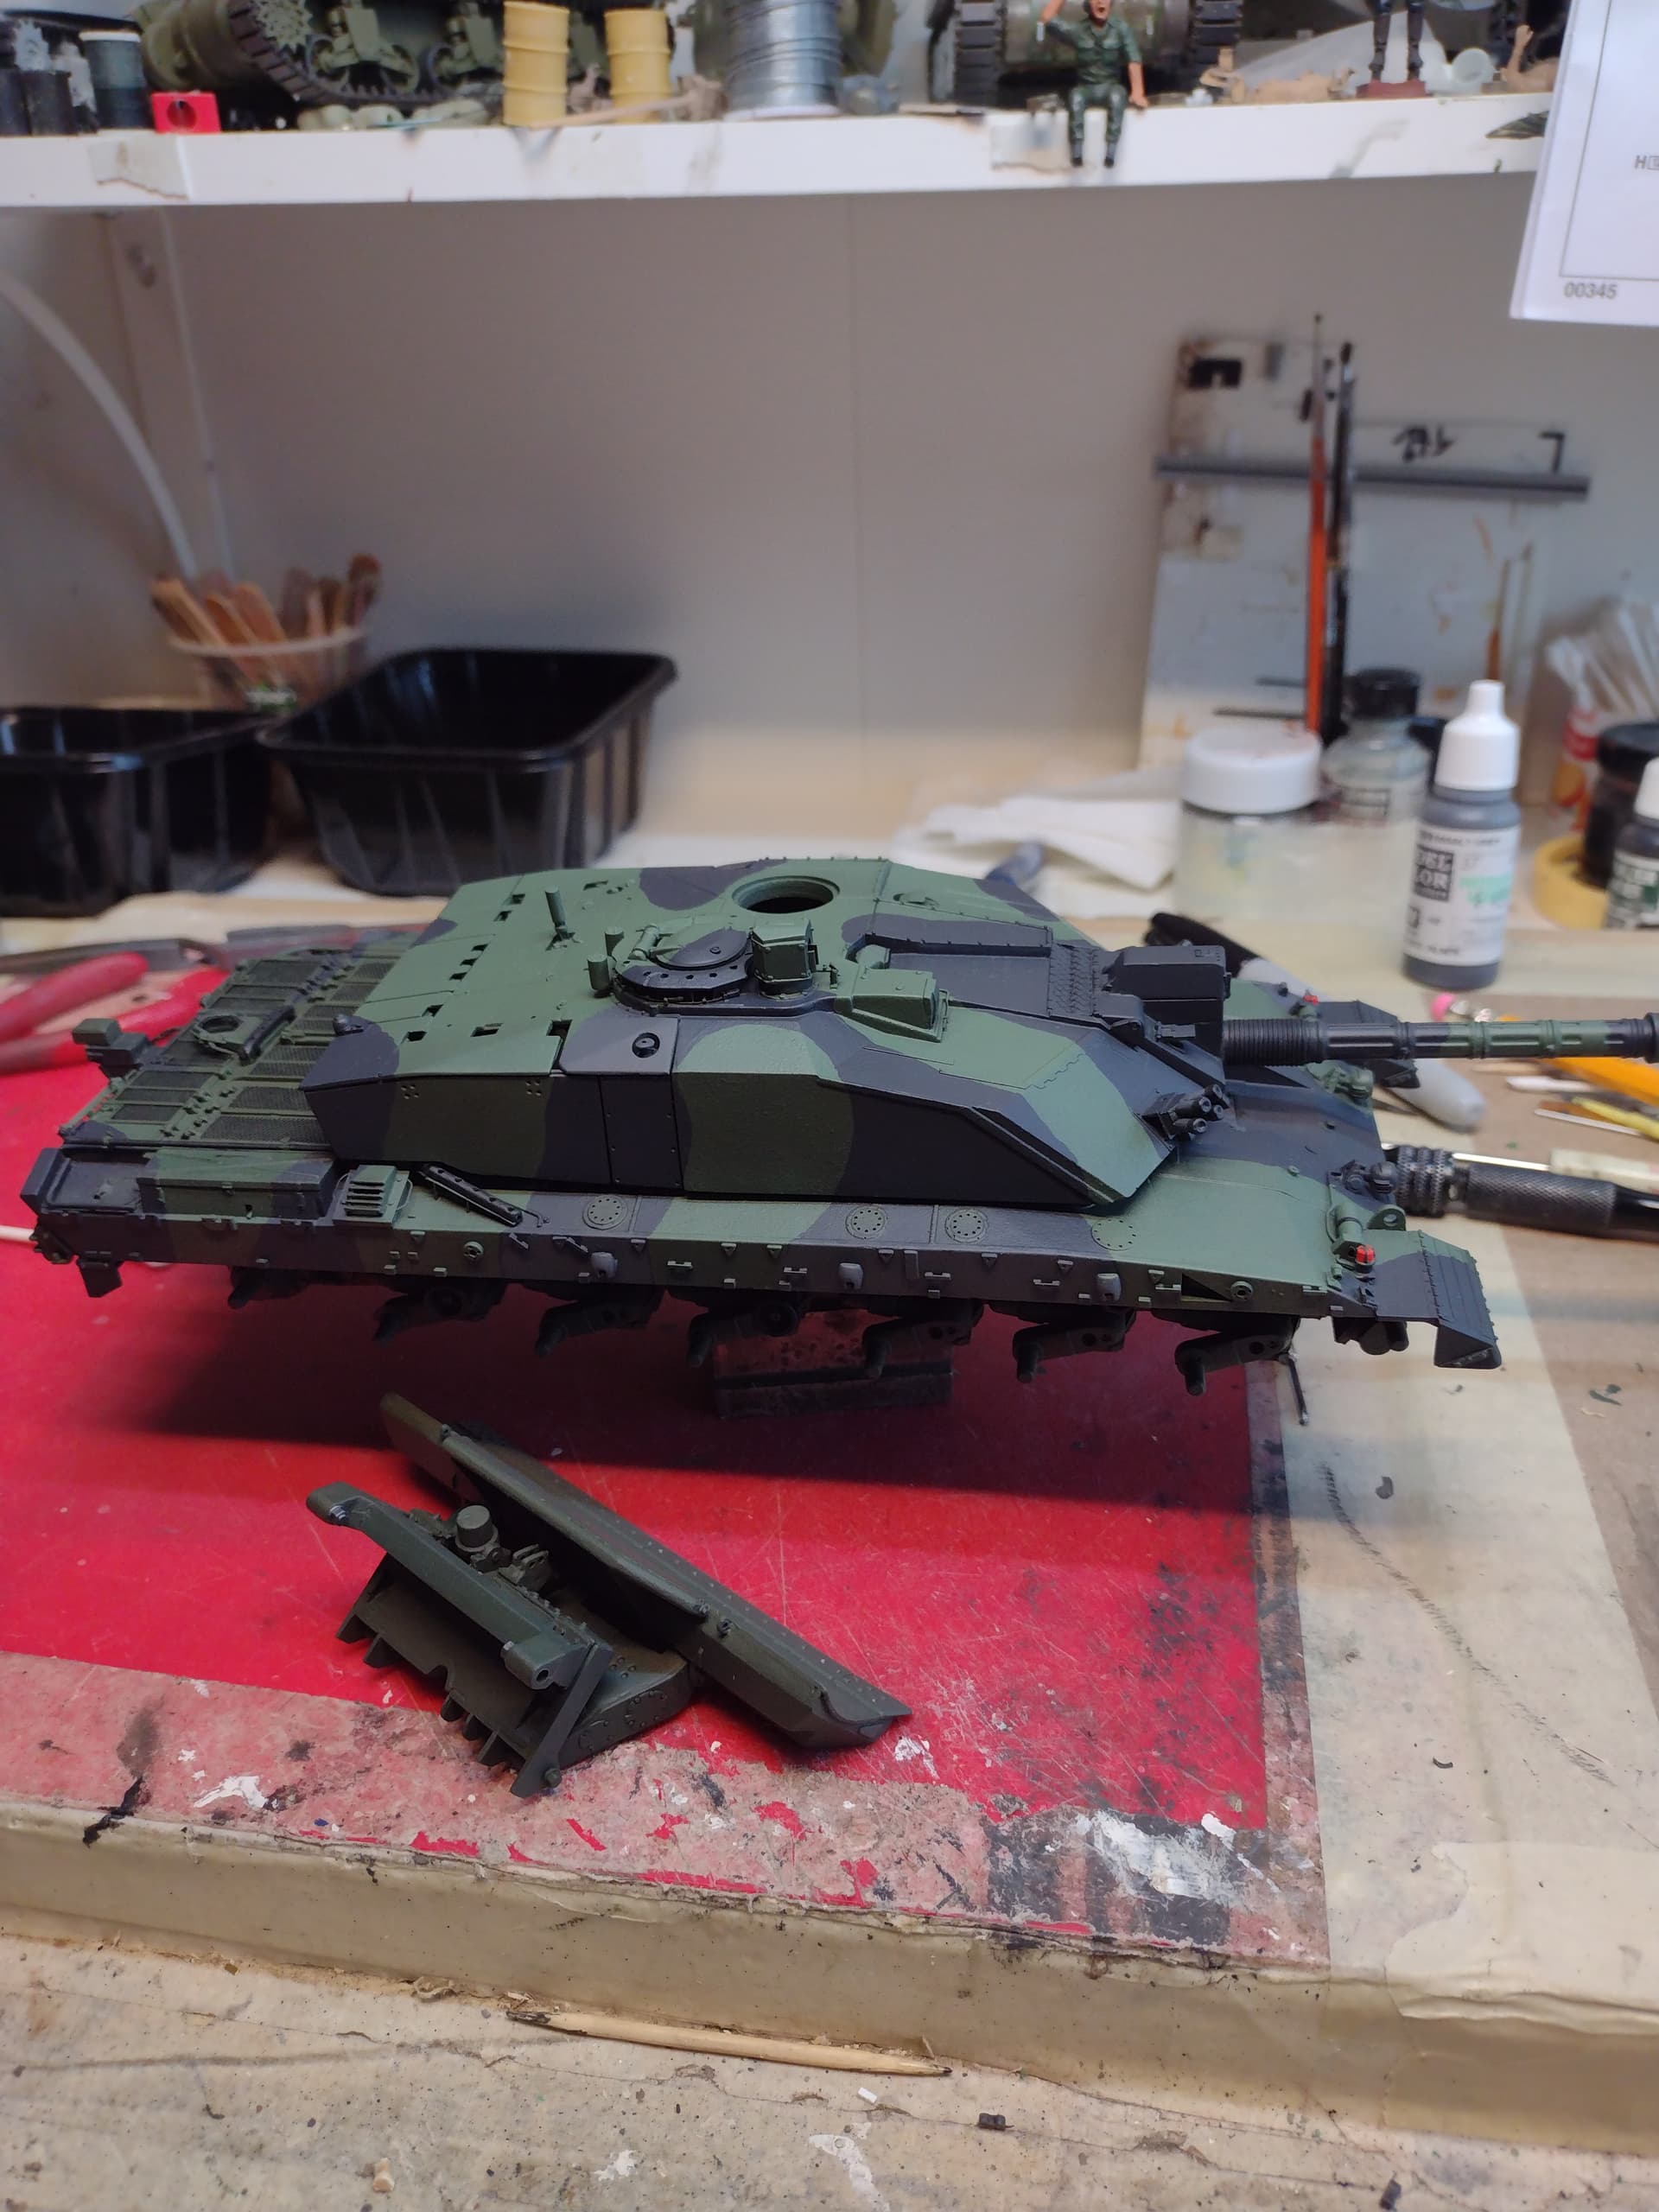
After a shot of clear I did the decals and a bit more detail painting, sealed that up with another (light) shot of clear and added a light wash using Vallejo olive green. I’m still considering how dirty I want to make this one.
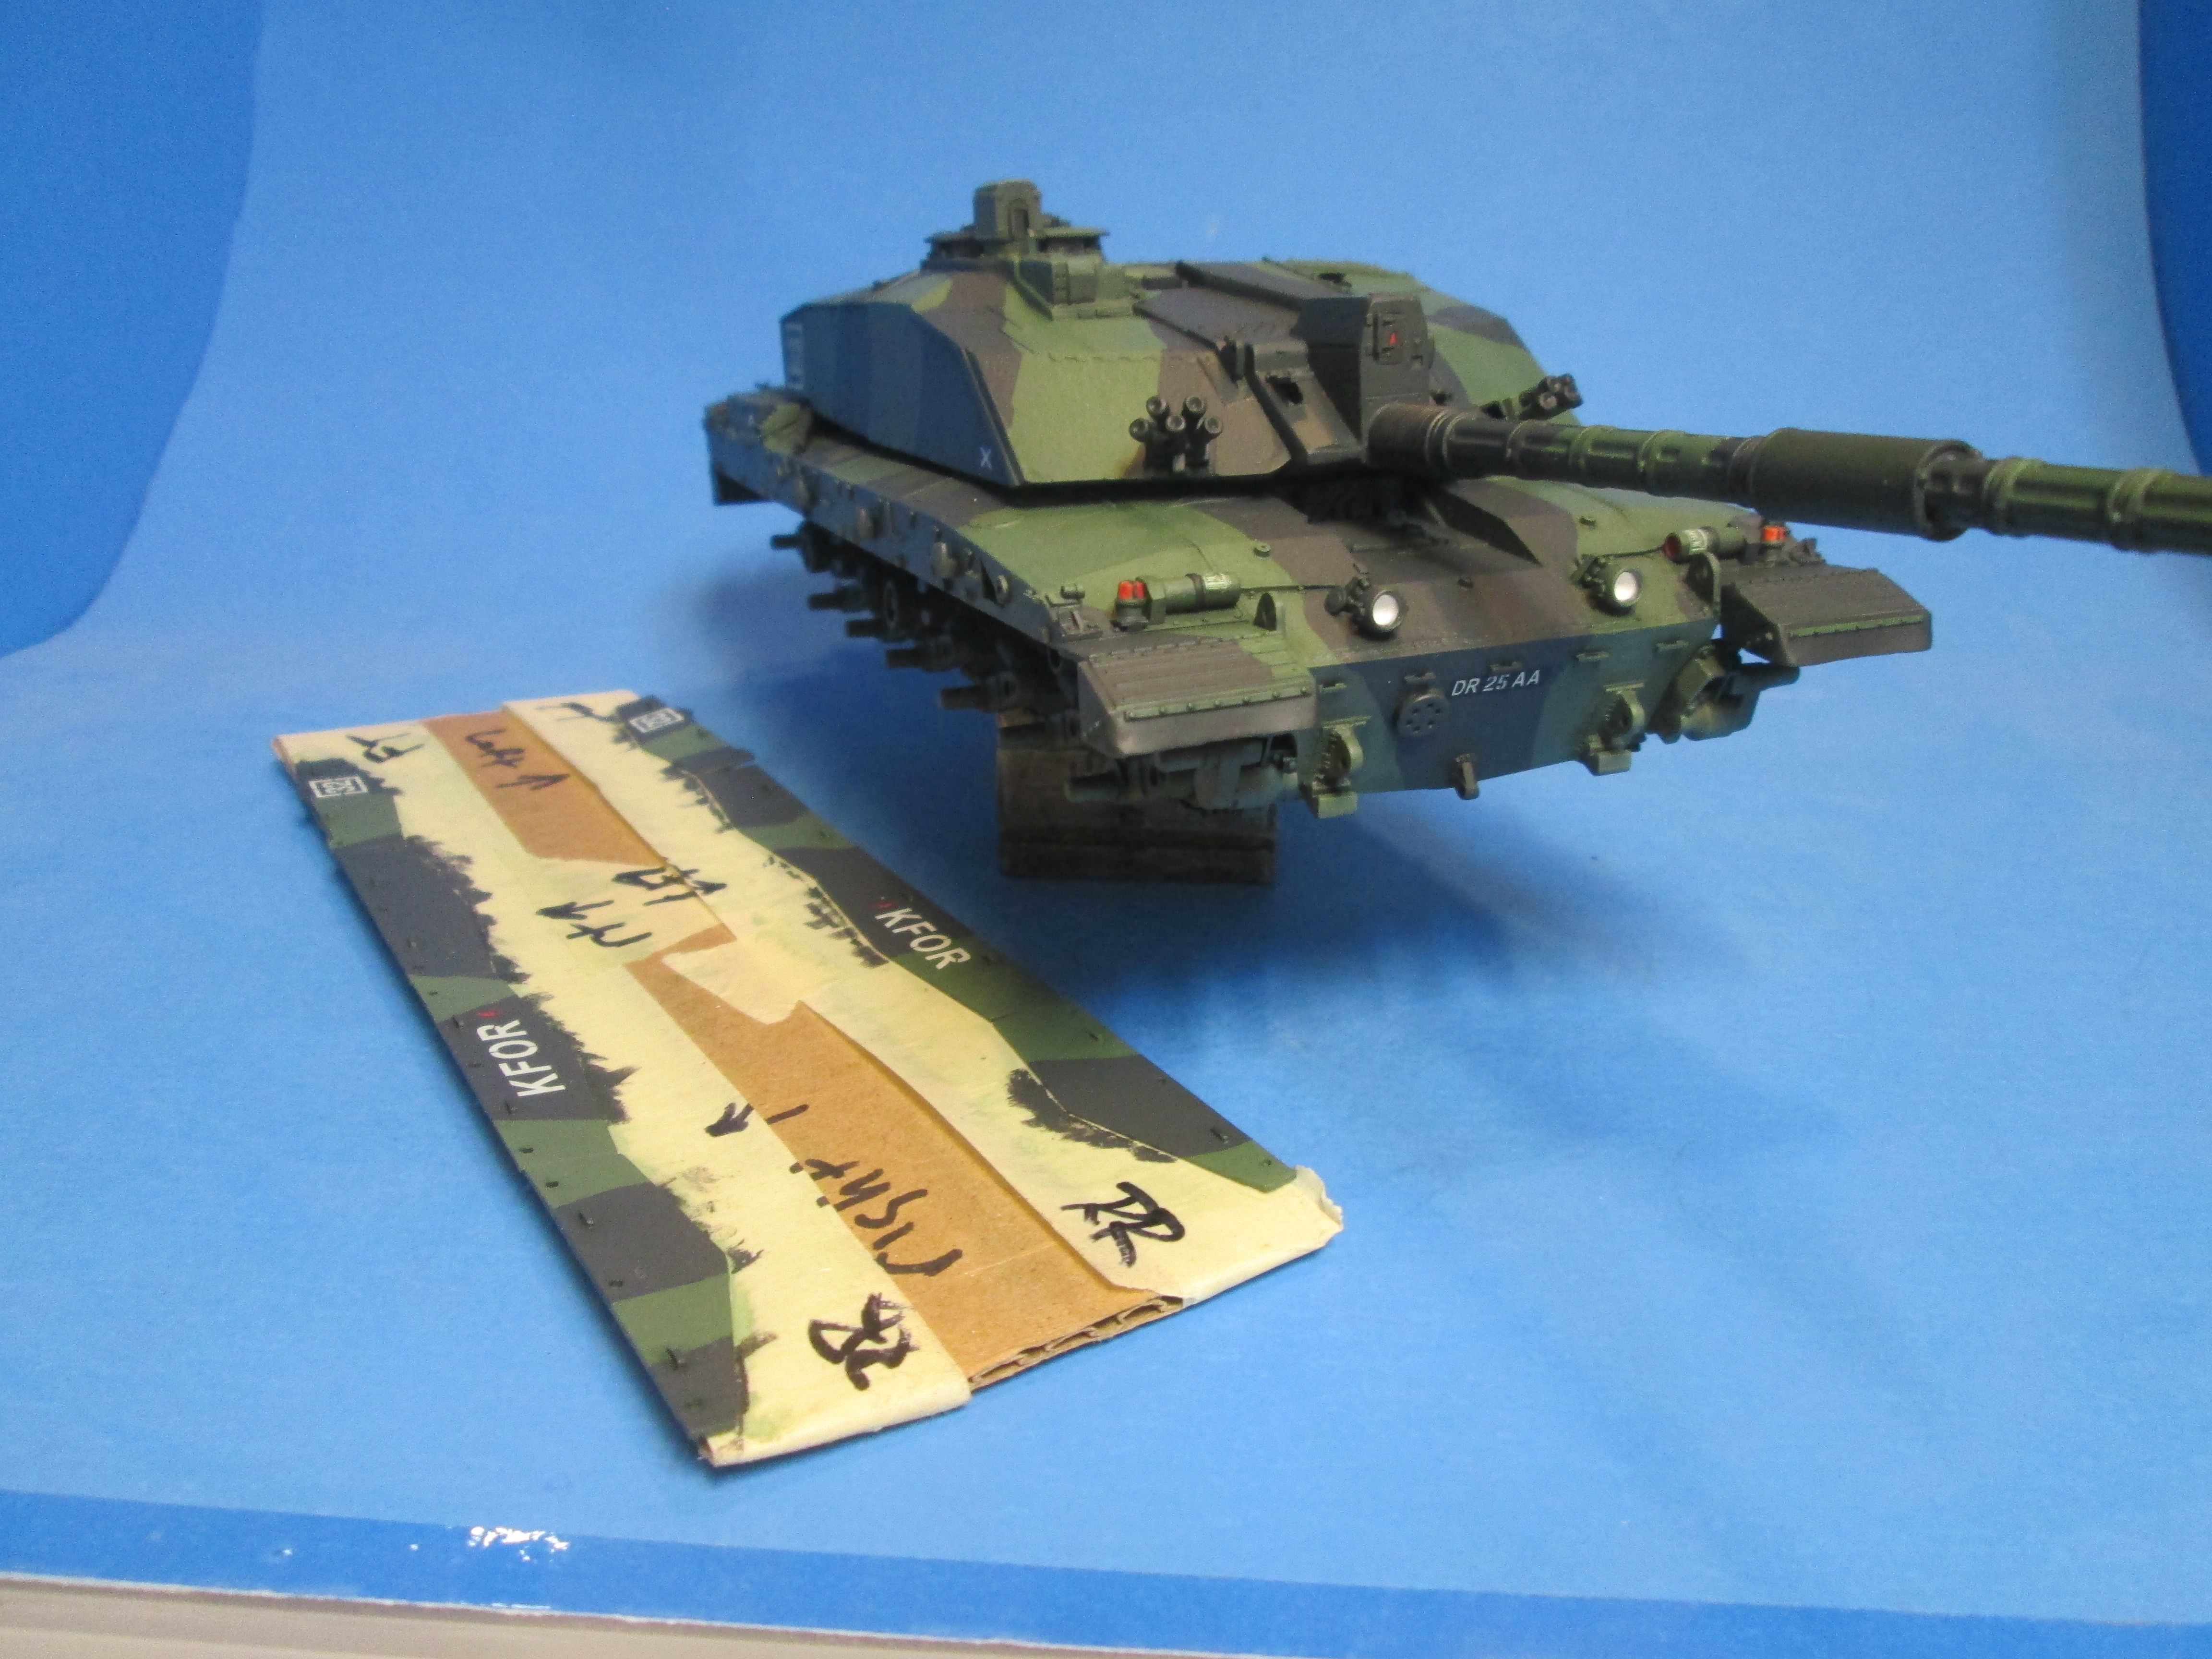 IMG_3719 by Russel Baer, on Flickr
 IMG_3718 by Russel Baer, on Flickr
For the aux fuel drums, I went ahead and painted up the Tamiya parts, pretty sure I’m going to use them.
6 Likes
Looking nice and almost there with it now Russ. Been a long haul, but you have worked wonders with it.
3 Likes
Very nice build indeed👌
1 Like