Paint.
Mike
Great medal, Peter. I like the top one best, but both are nice.
Rory, OMG, those tie downs are a true test of sanity. I hope they included some extra for the carpet monster.
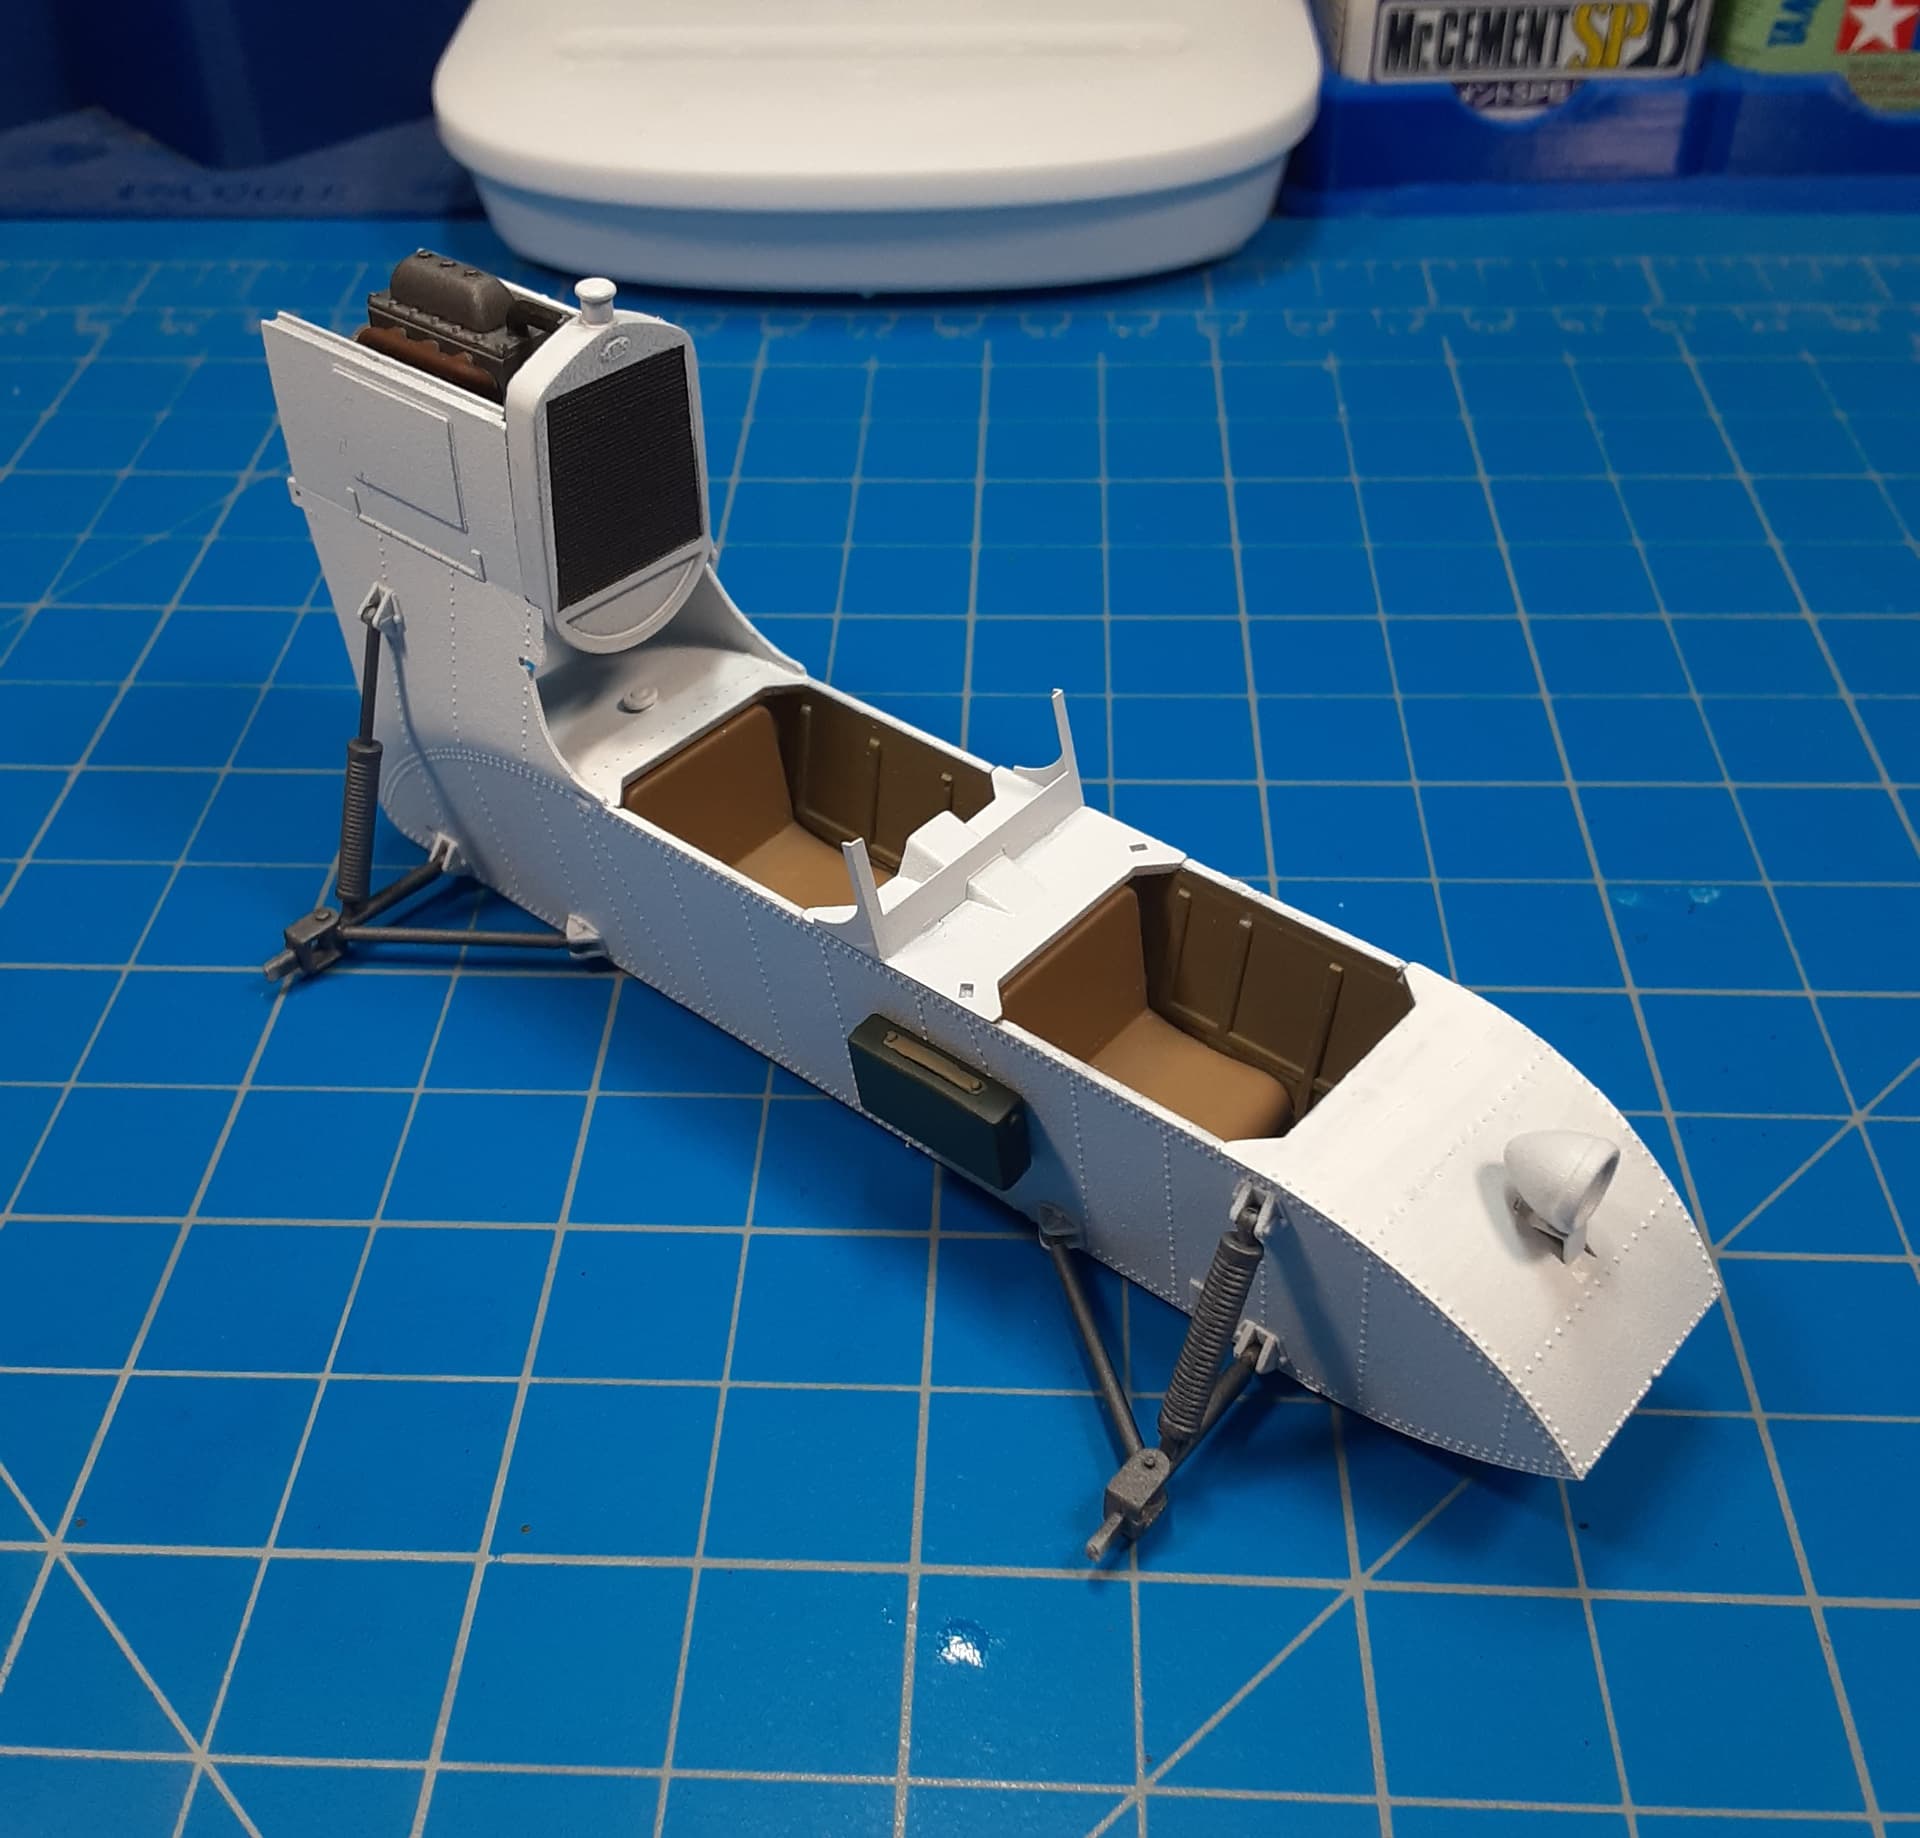
I should have mentioned: I lost one of the support arms for the ski suspension - a piece about an inch long that goes from the strut (the two vertical mounts) forward. How? I have ZERO idea. Cleaned (GASP!!!) of my bench, cleaned the floor, moved the RC tanks under the desk, and moved the drawer cabinet too!! Gone! Linoleum-monster, the SOB, musta snuck in.  So I made a new one out of brass rod and aluminum tube. That was fun.
I also added the film to the PE control panel though you can’t tell from the picture. The struts are primed and the painting call out calls for flat black…I think I’ll use the Mission Models Cold Rolled Steel (man, I LOVE that stuff!!!) those and the curved arm/support for the MG.
Mike
I like the top medal too. Looks great.
Mike
I absolutely hate it when that happens. knowing you put the piece down someplace then it just totally disappears … so infuriating … nice save though to keep it all on track 
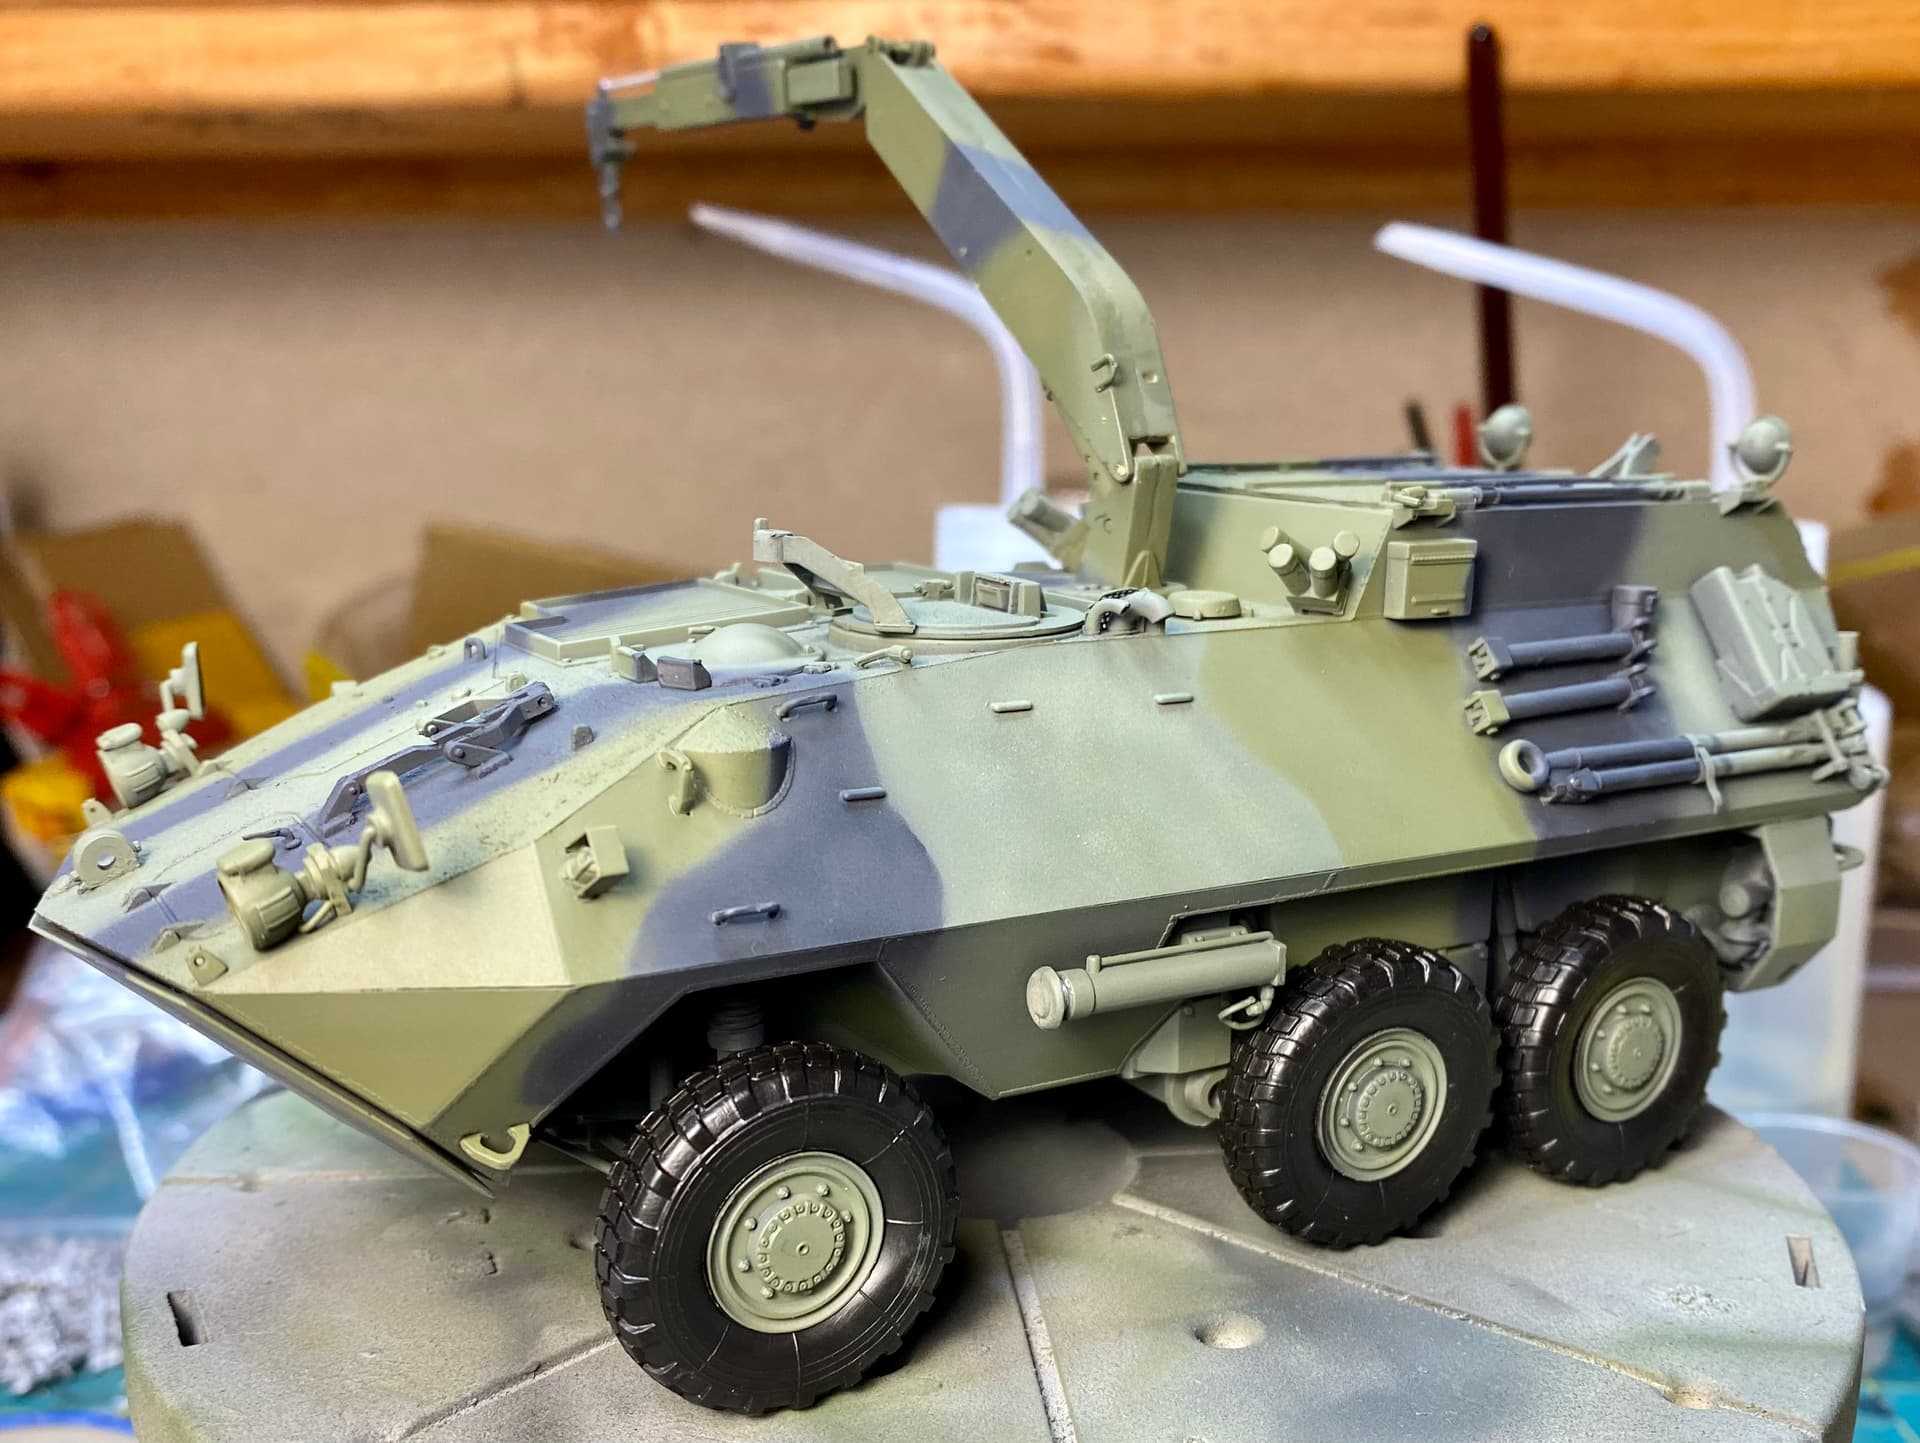
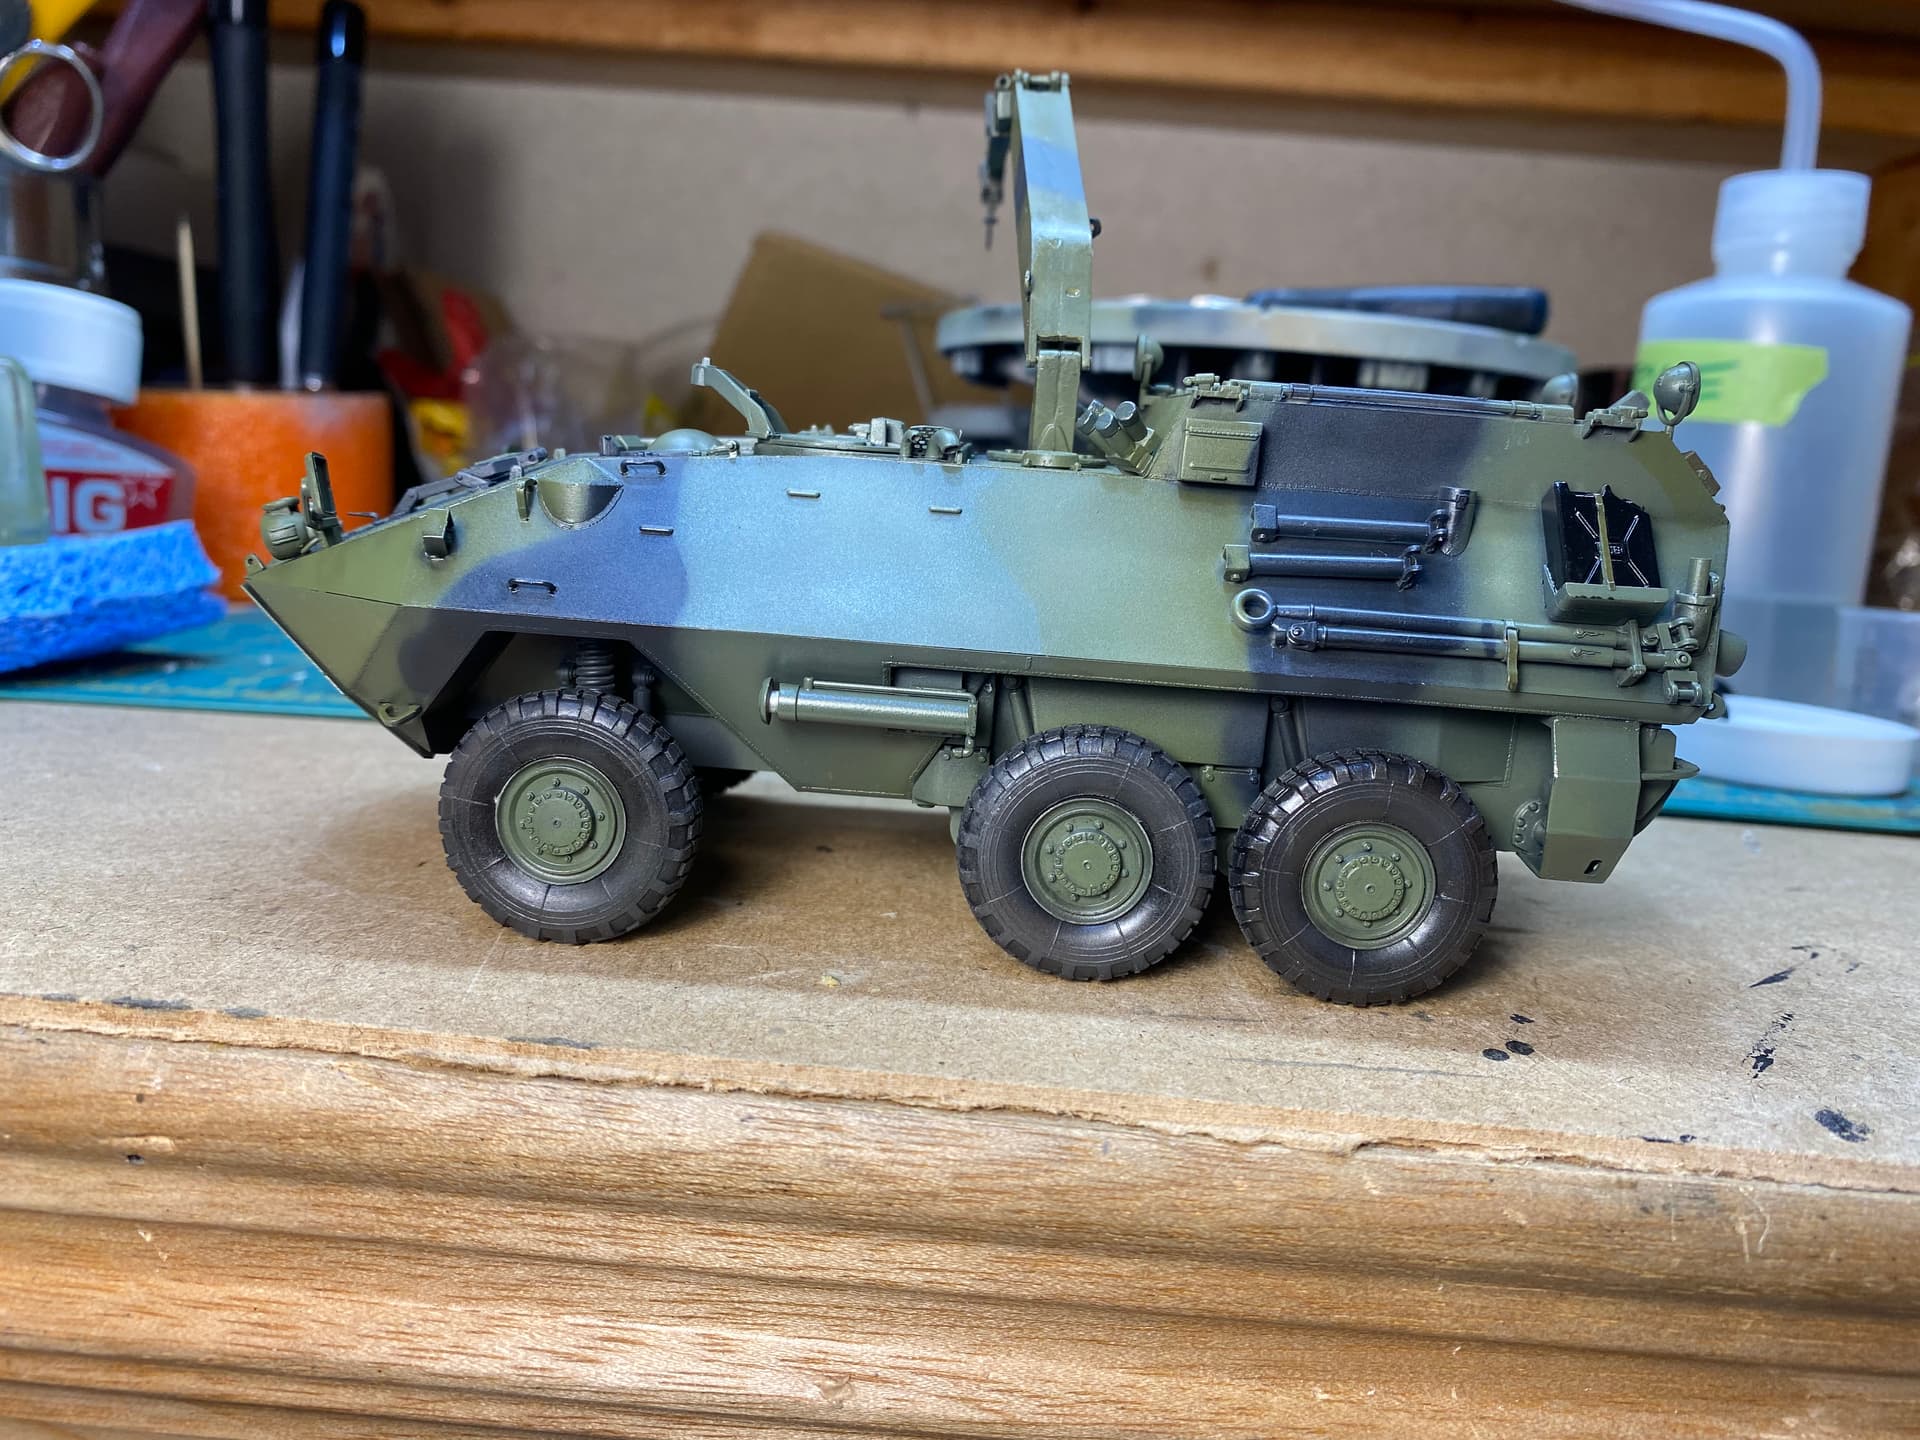
Ladies and gentlemen, we have paint!
Combination of masking and freehand for some touch ups. I’m quite pleased. I may go back a do a little post shading to help differentiate the greens. In real life they fade very close to each other, but sitting inside shelf it’s a little muddied.
I also had to go back last night and re-fill and sand that Death Star trench run down the back of the crane boom. It’s far from perfect but I think it’s the best that I’m going to get so I’ll leave well enough alone before I do something moronic and cad t recover.
Pay no mind to the rubber. They’re just stuck on at the moment. They’re gonna need a lot of TLC.
Next up painting the fiddly bits and then decals which I’m really excited for on this kit.
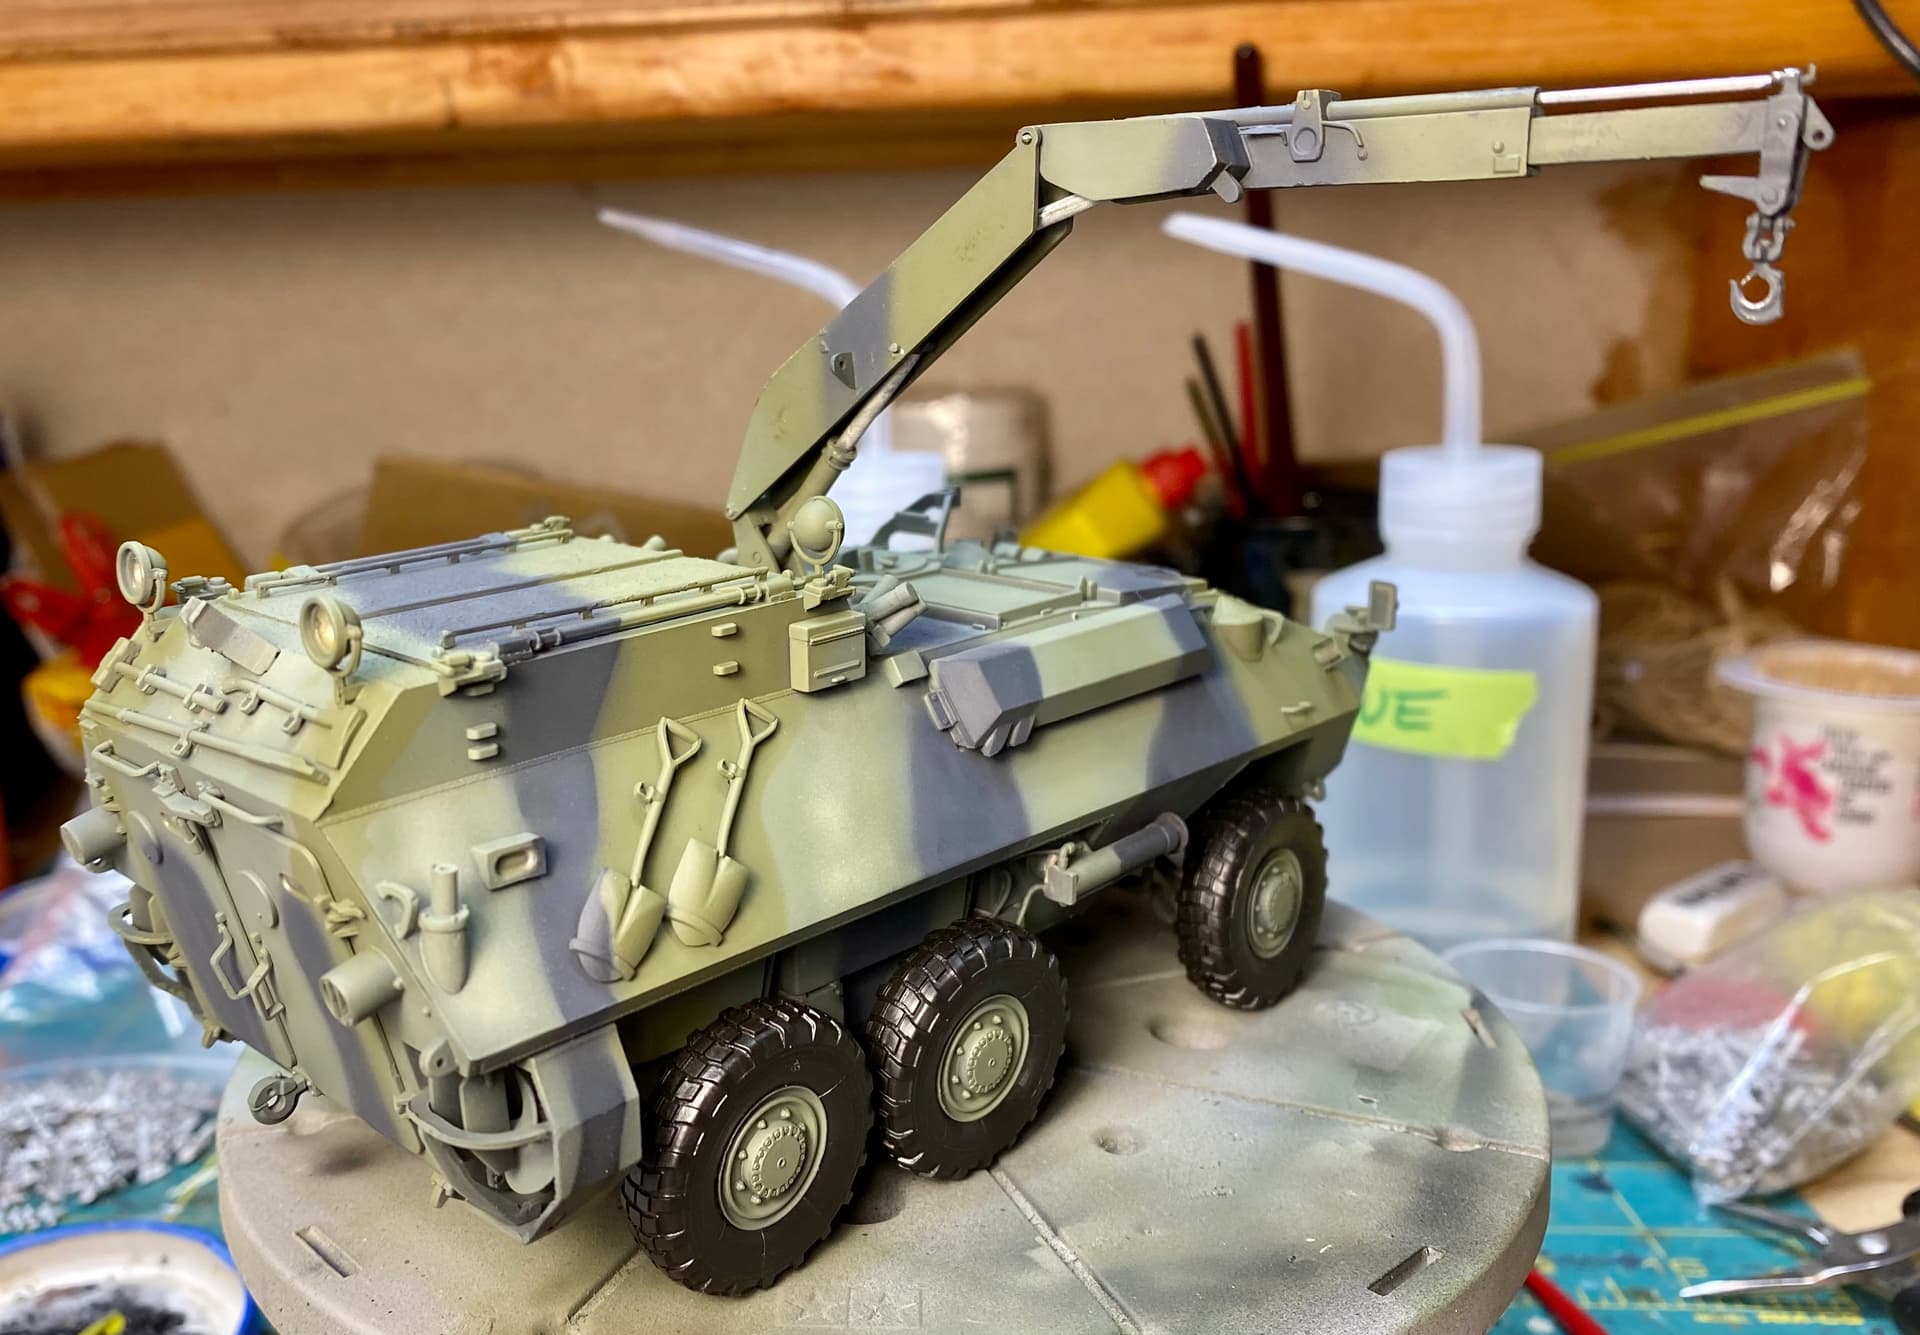
Very nice Don. You have gone a great job with the cam, and more so if you did some free hand, certainly looks the part to me. Having the crane up and the boom out does give it more impact so well done for doing that.
On my LAV AD the tyres are just as shiny as yours sadly, but I will just be giving them a coat of Tamiya tyre rubber like the Stryker I did and they come out fine.
Nice scheme and colors.
Thanks for the love boys. Really really happy how this one has been coming together…
Really nice coloring and that crane to the side looks really good!
As for the shiny tires: use some sanding paper, will make a lot of differene… from experience… ![]()
And there is a nice trick to make them
[weighed rubber tires](http://www.ak-masters.com/app/tut/AK%20TIRES%20TUTORIAL.pdf
This is my plan for future rubber tires.
Thanks Bert. Can you take another look at that link, it’s highlighted but I can’t actually click on it.
Fixed the link
Thanks Bert, I’m going to try this for sure.
Edit: @bwilt… game changing. Thanks for this.
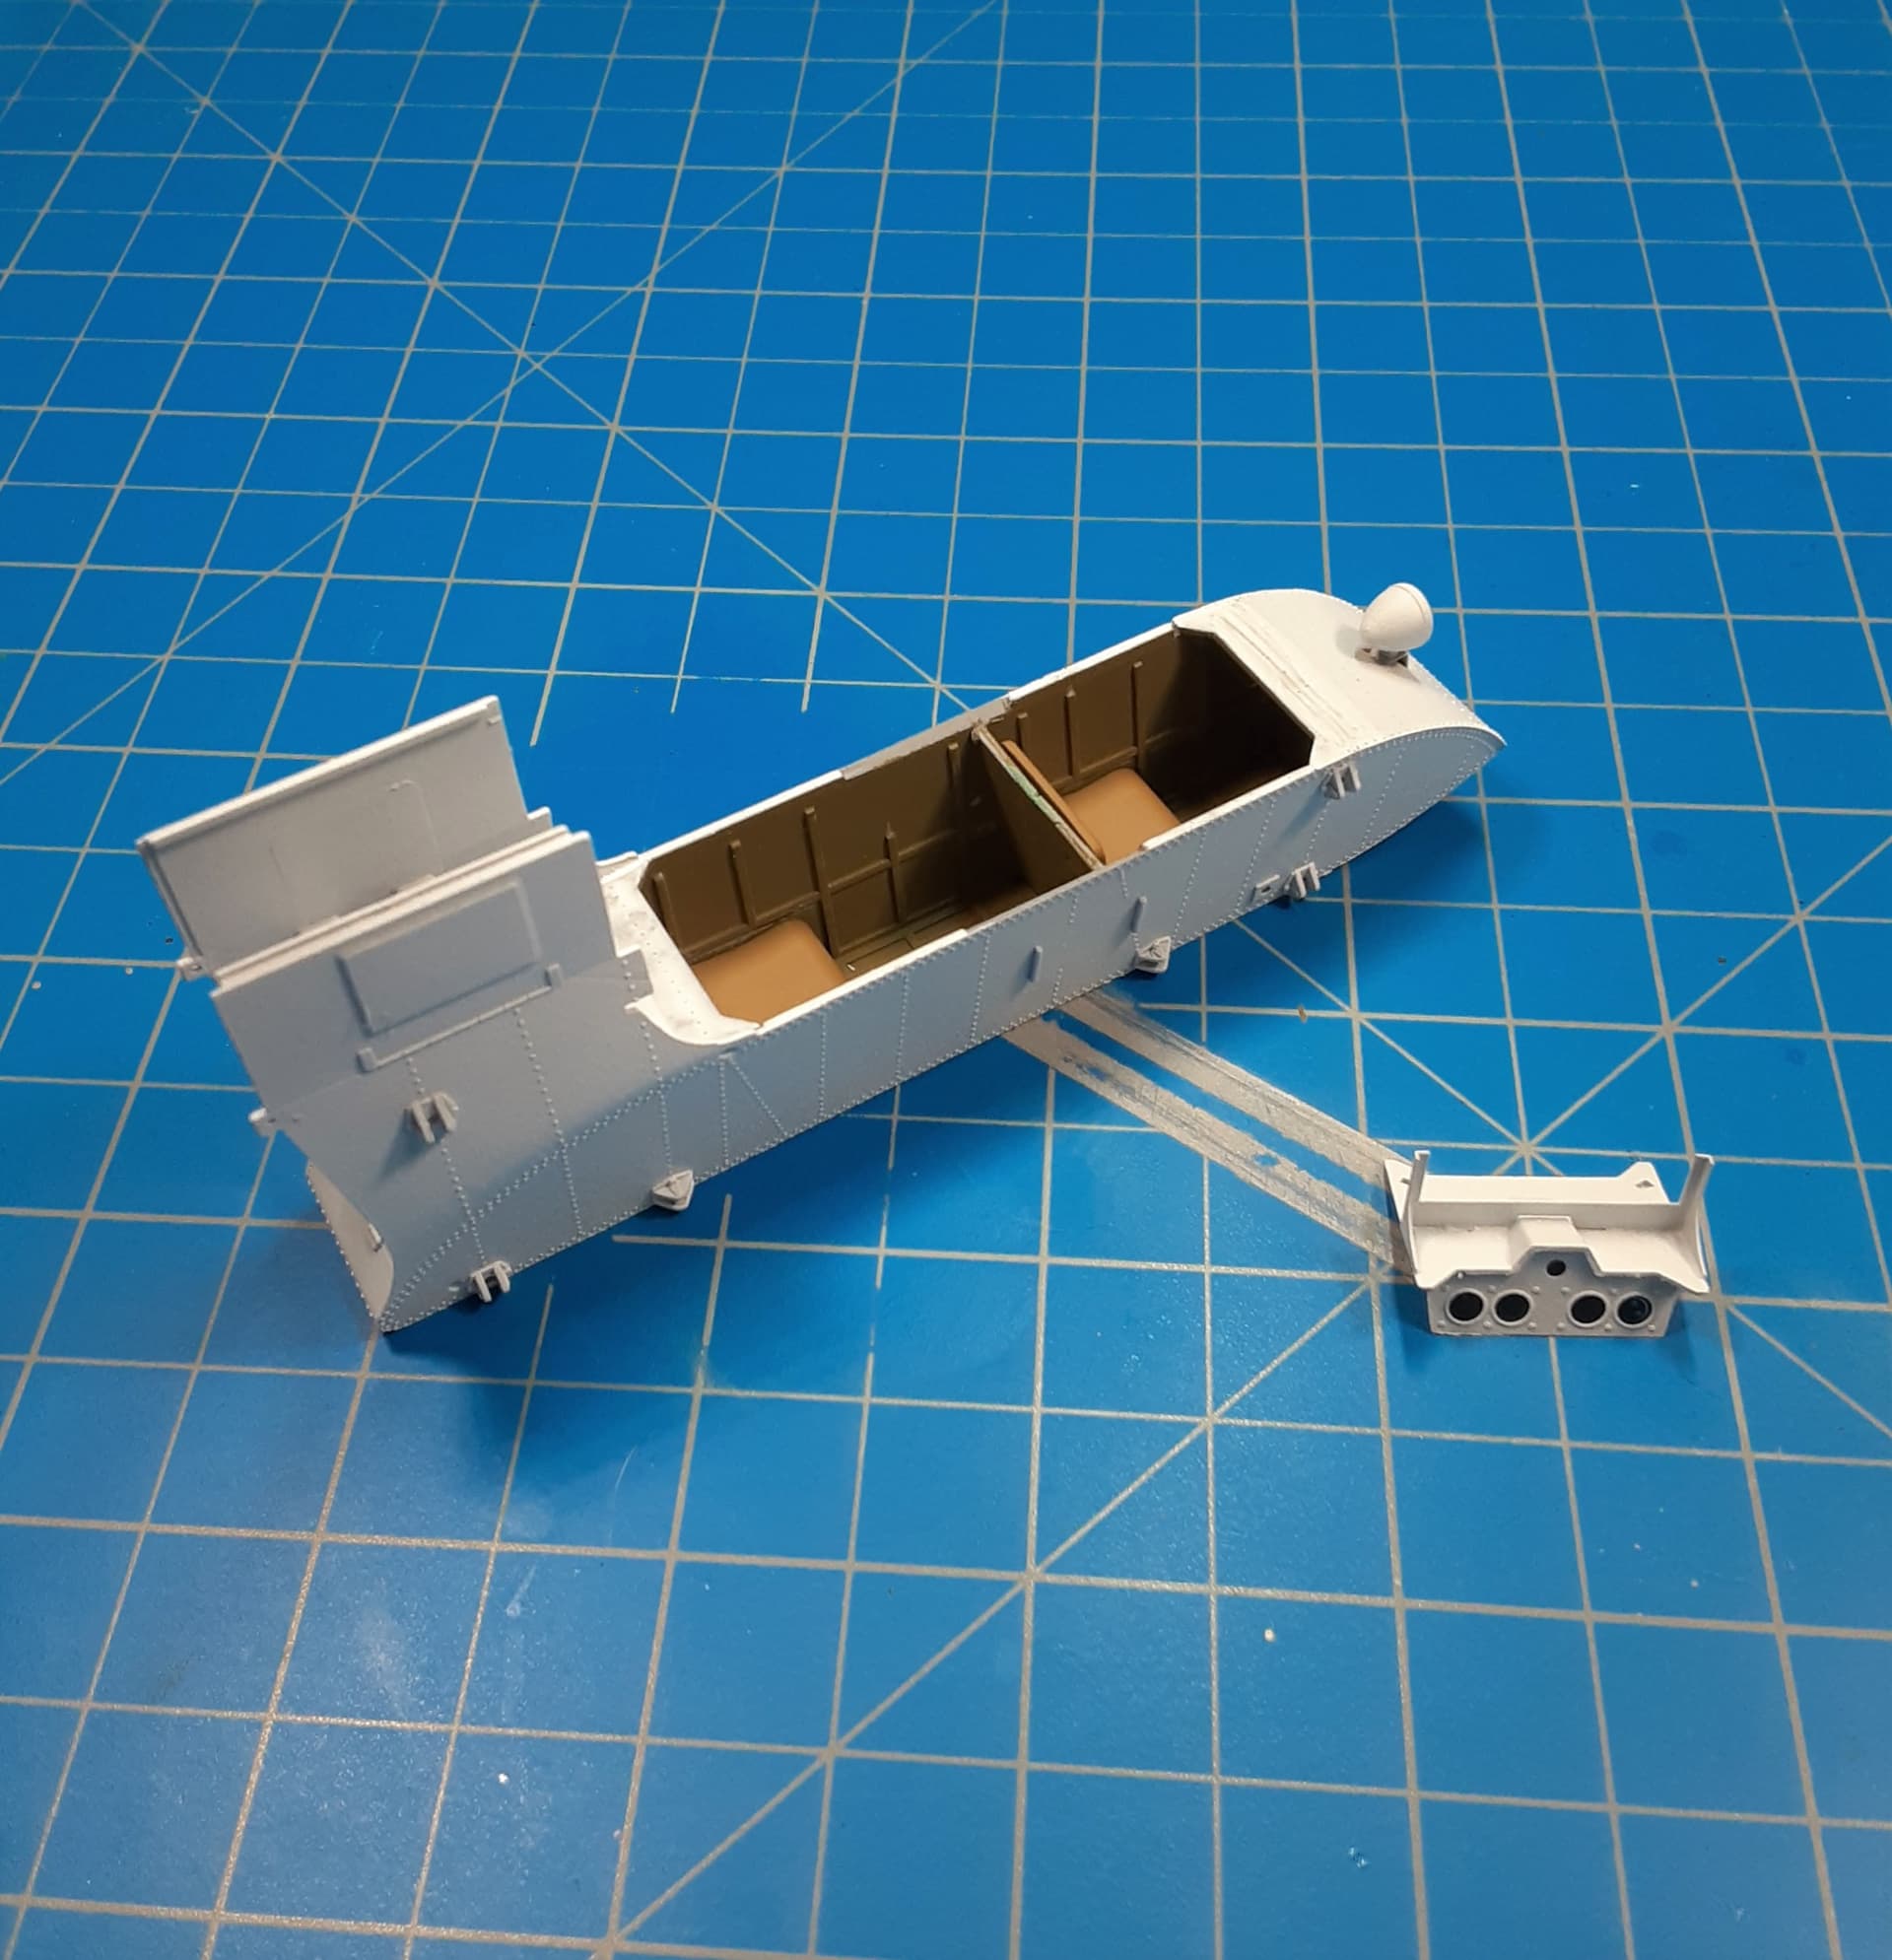
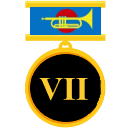
I got some bench time after work today. The cockpit “piece” is installed, the motor installed, radiator installed and the ski supports are installed. My “scratch” support arm worked like a charm.
Mike
Looks nice Mike. It is an unusual little kit … But good to see one being built.
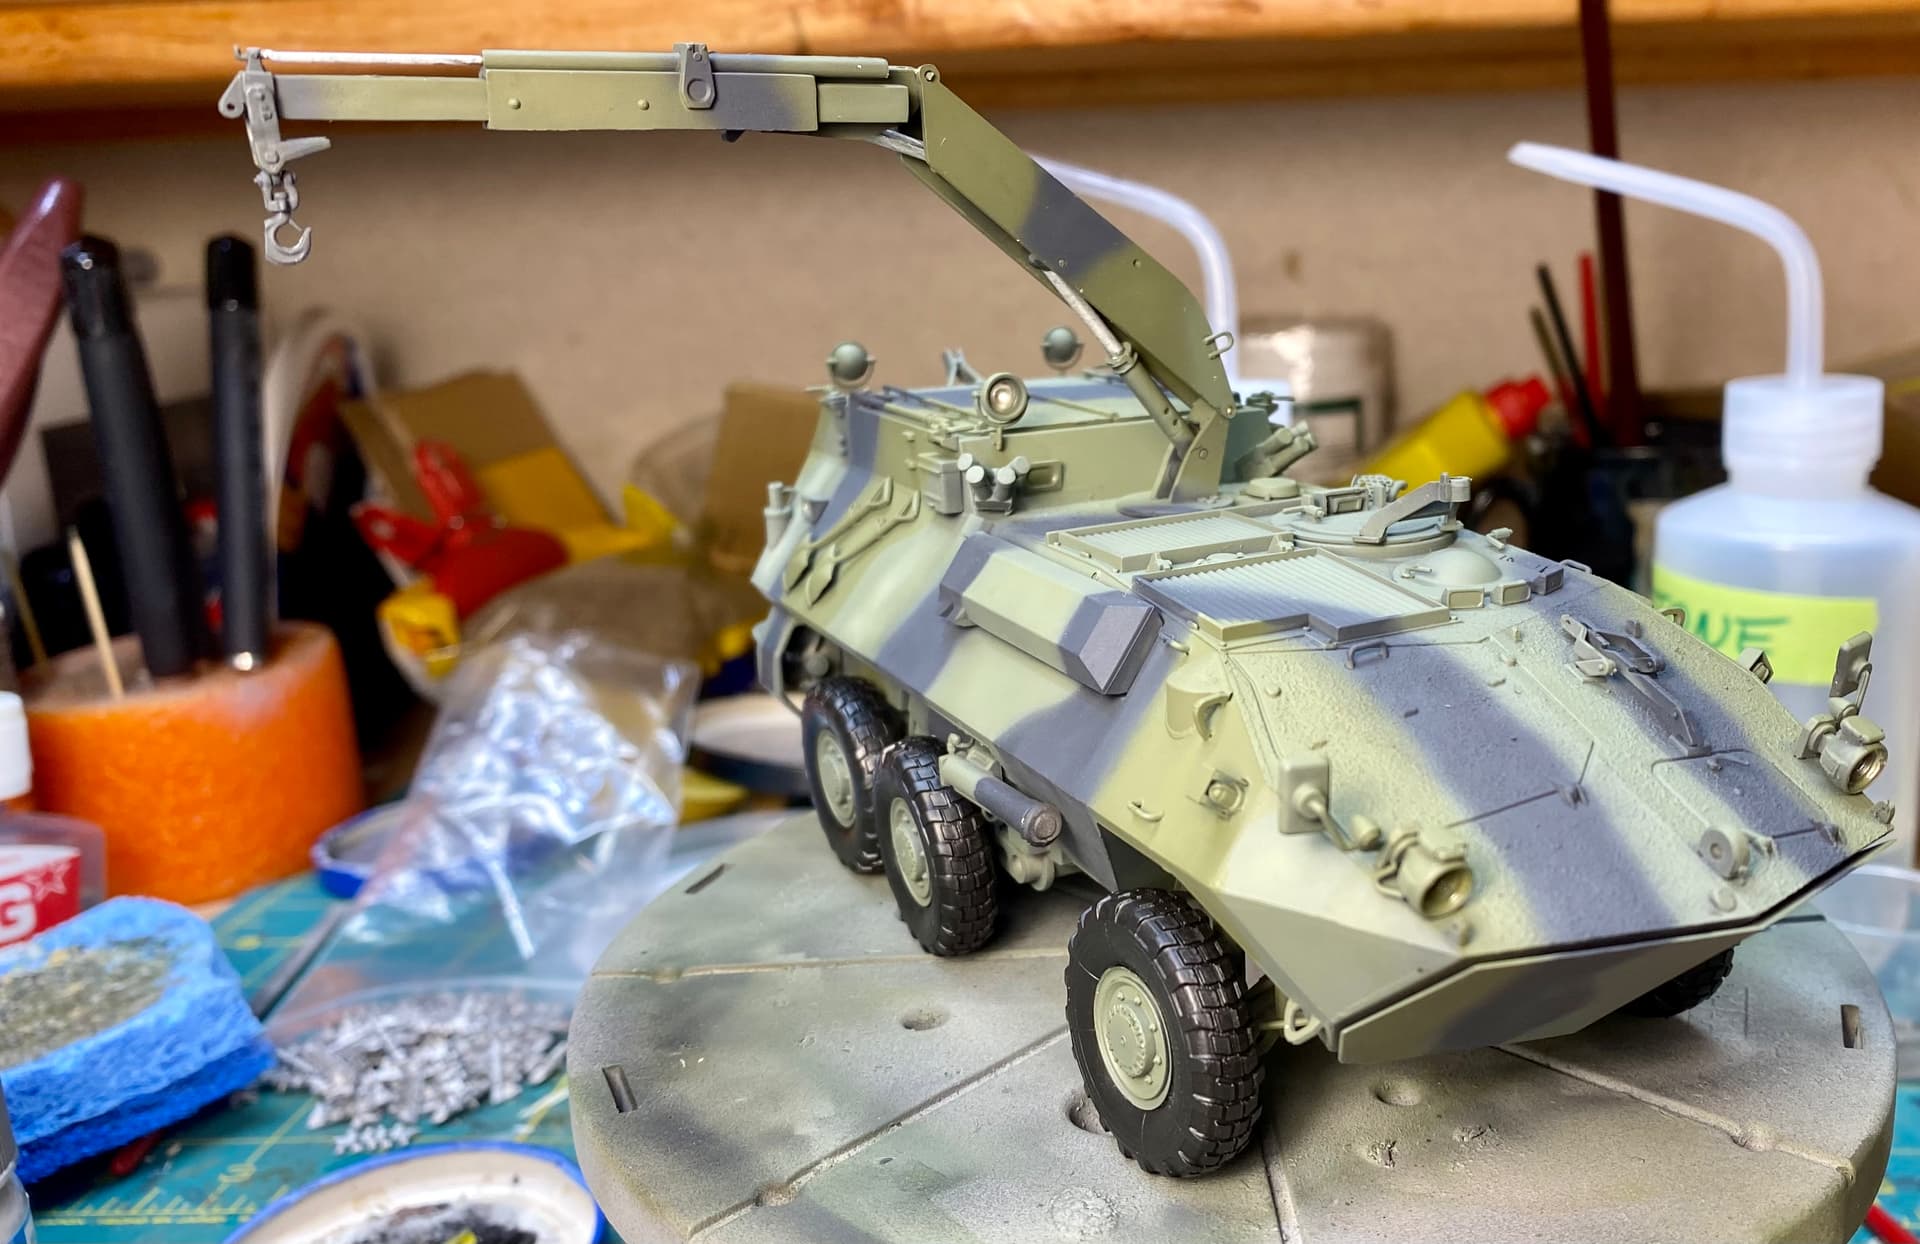
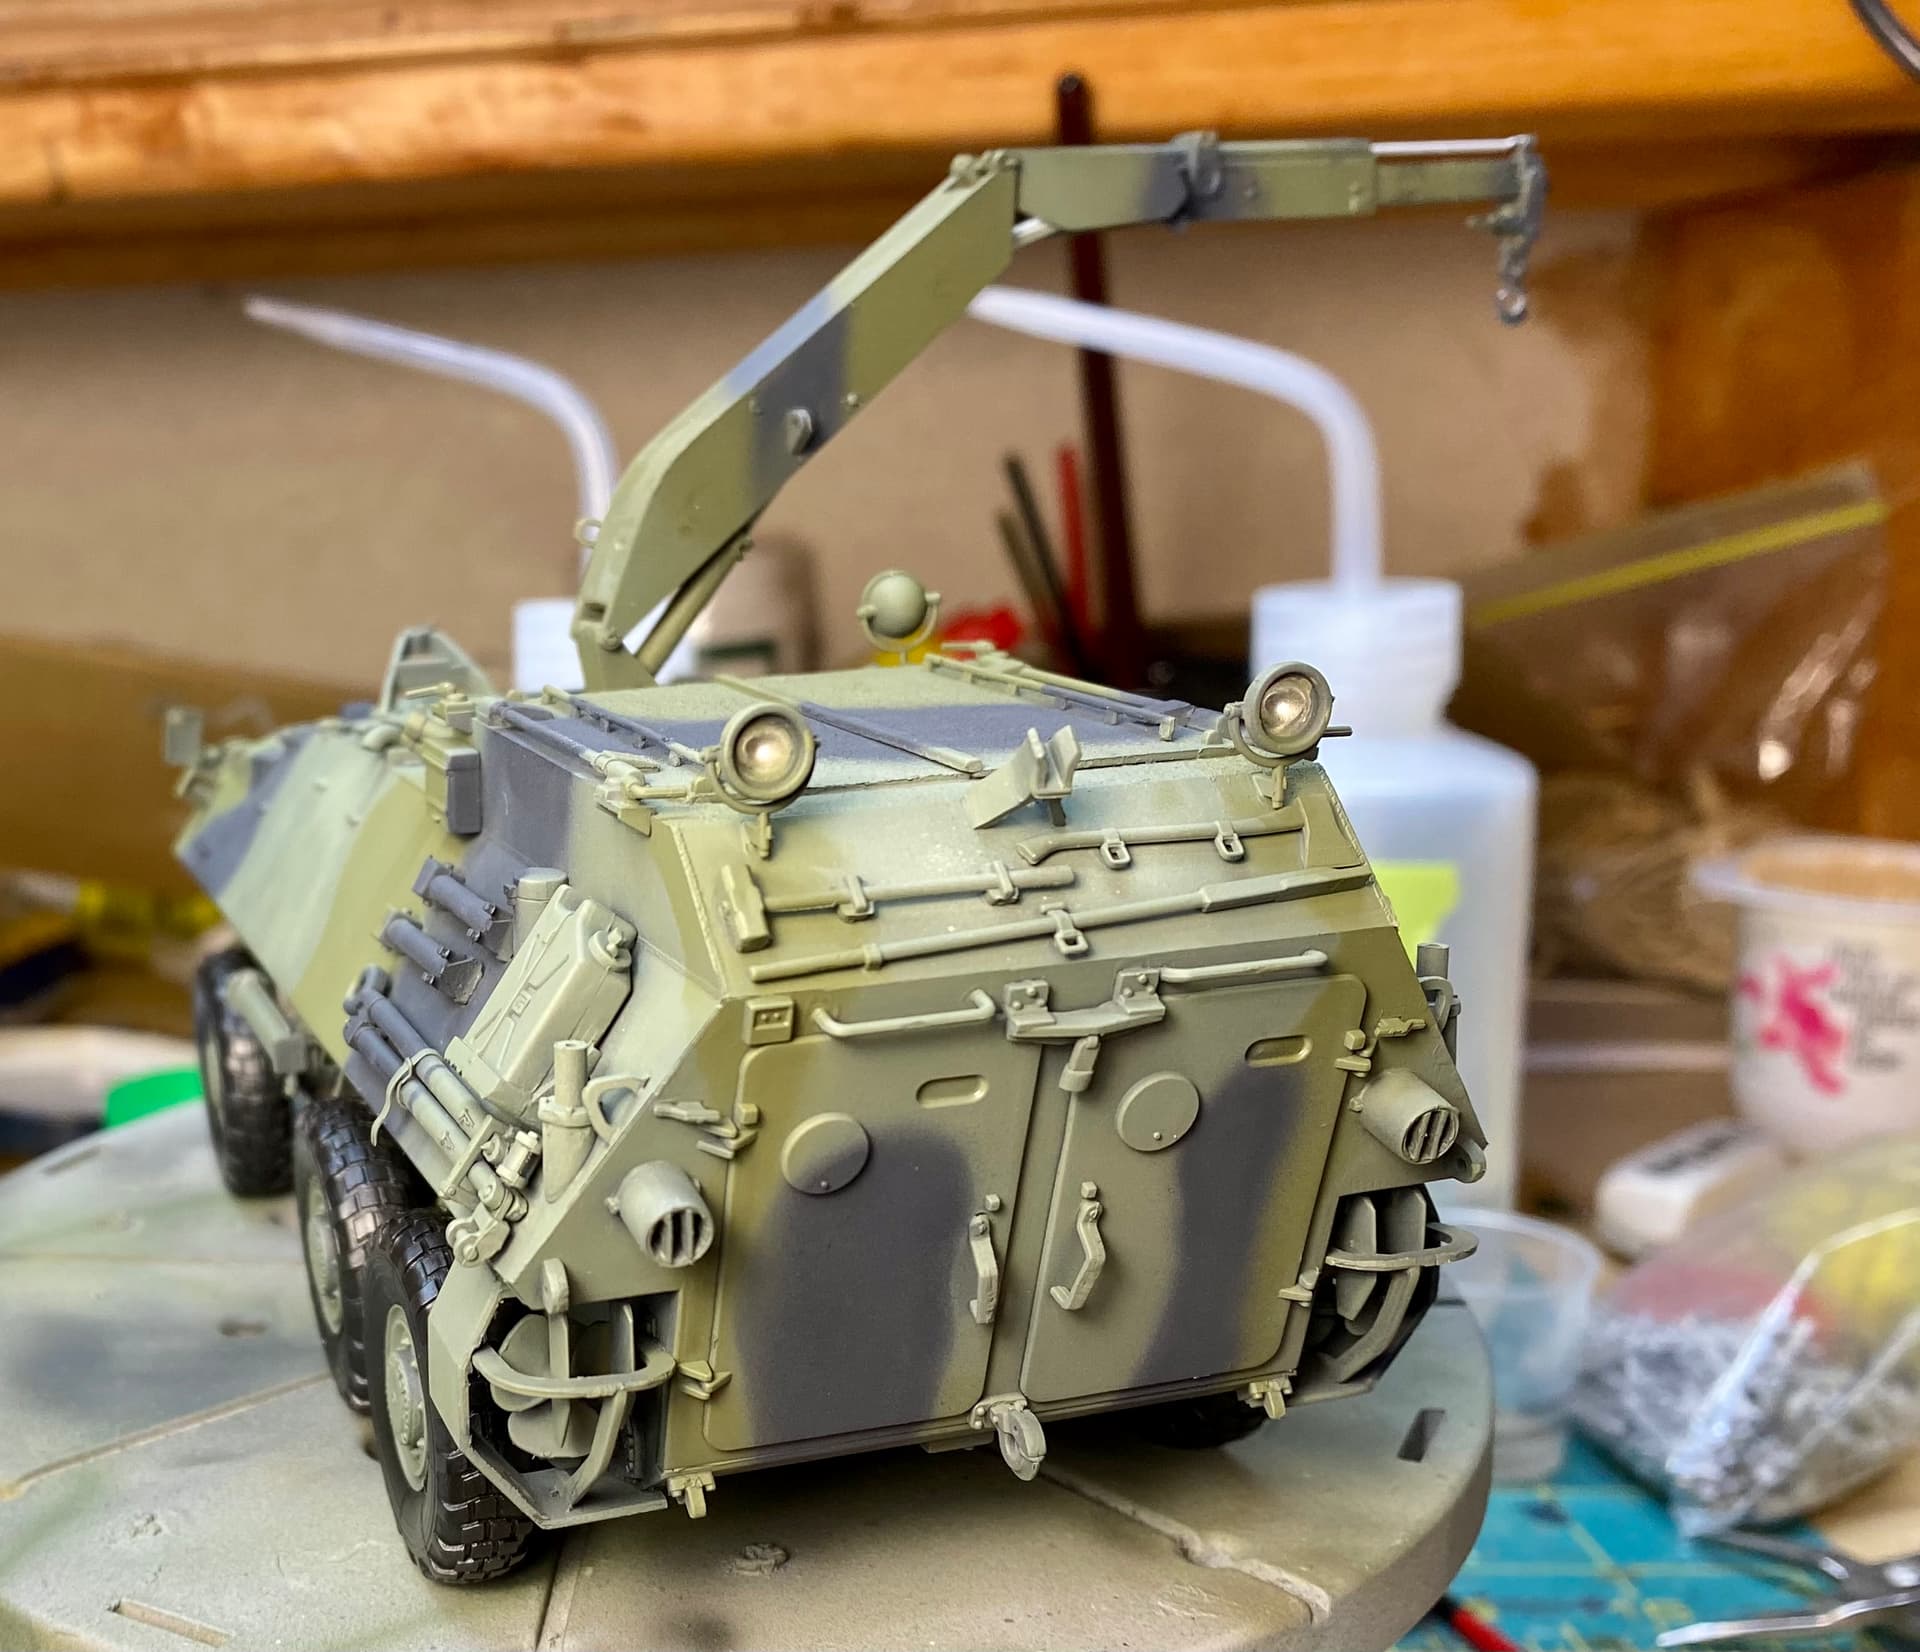
Did a little post shading around the panel lines and some shadows. Gloss is also on for decals tomorrow.
Tires are looking tired. I’ll need to fiddle more with that sagged technique that Bert posted, but I think for a first go they turned out not bad. Hardest part is making the squish even, which I didn’t, so I’ve got one tore that sits ever so slightly off the ground.
Here’s a shot next to my Cougar so you can get an idea of what these things were supposed to do.
Looks really good Don. I like it sat next to the Cougar as well, makes it look like its just about to get to work … you have certainly done it justice
I used little nails, drilled 2 holes in opposite sides of the rim, one the same diameter as the nail, the other just a little smaller, and wen you push the nail through the rim into that second hole, it will get stuck, so you don’t need to use superglue to keep it there, and you have the same suish on every wheel. Sounds a bit complicated, but I found it was a lot easier to do…
Don, if you are looking for a good paint to simulate the high polished Hydraulics, try Molotow liquid chrome. I used it on my Cheiftain ARRV.