This campaign still interests me. If the Henschel HS-129 B 3 will not work (it is really a tank buster, not much of a bomber), would an F-15E work?
The F-15E? Load her up with some bombs and she’s in.
Okay. I am worried the F-15E is too complicated for a one month build but it will serve as my fall back position. For now, I will look for something cheap, easy, and more bomberish.
1 Like
How about an Airfix Blenheim?
Update on the Lily, fuselage halves and wings are together.
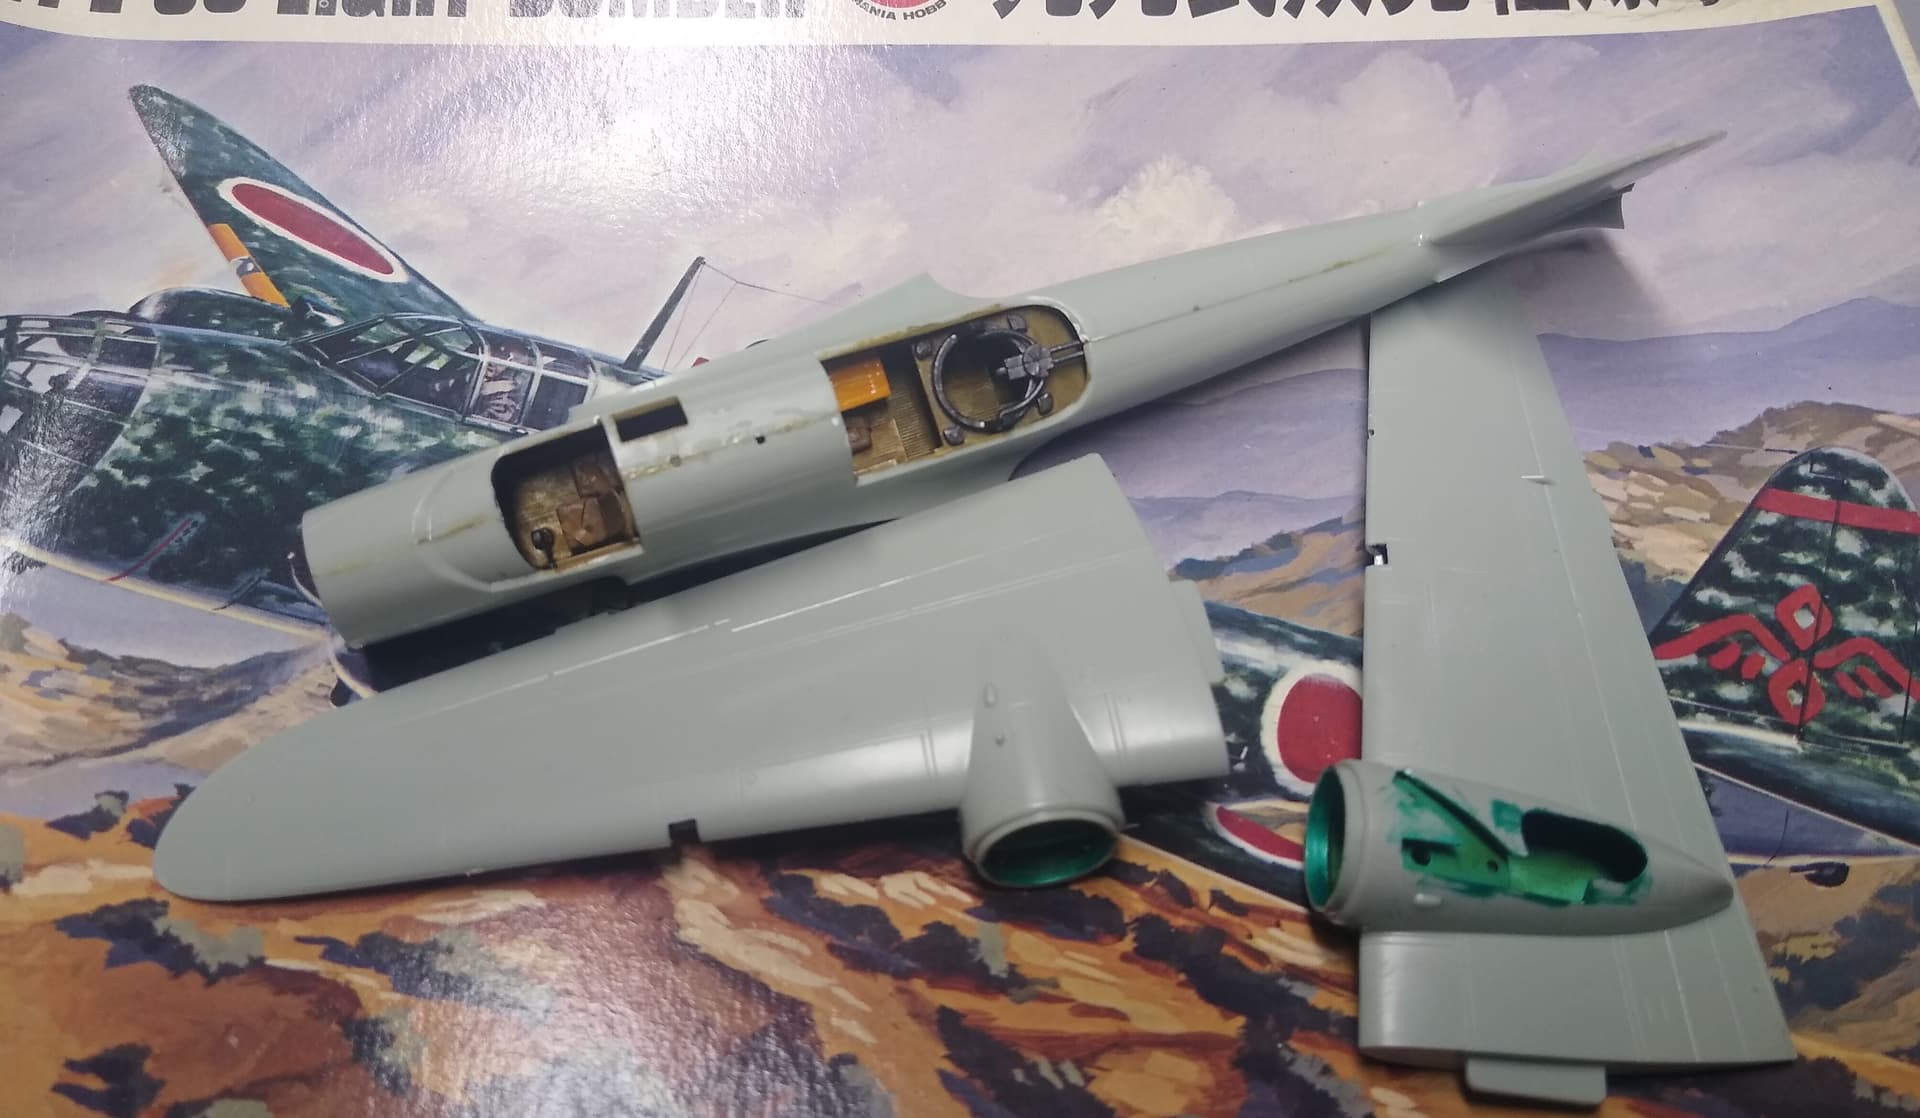
I’ll get the seams sanded smooth and hopefully should have them together tomorrow. It’s starting to look like an aeroplane at least.
2 Likes
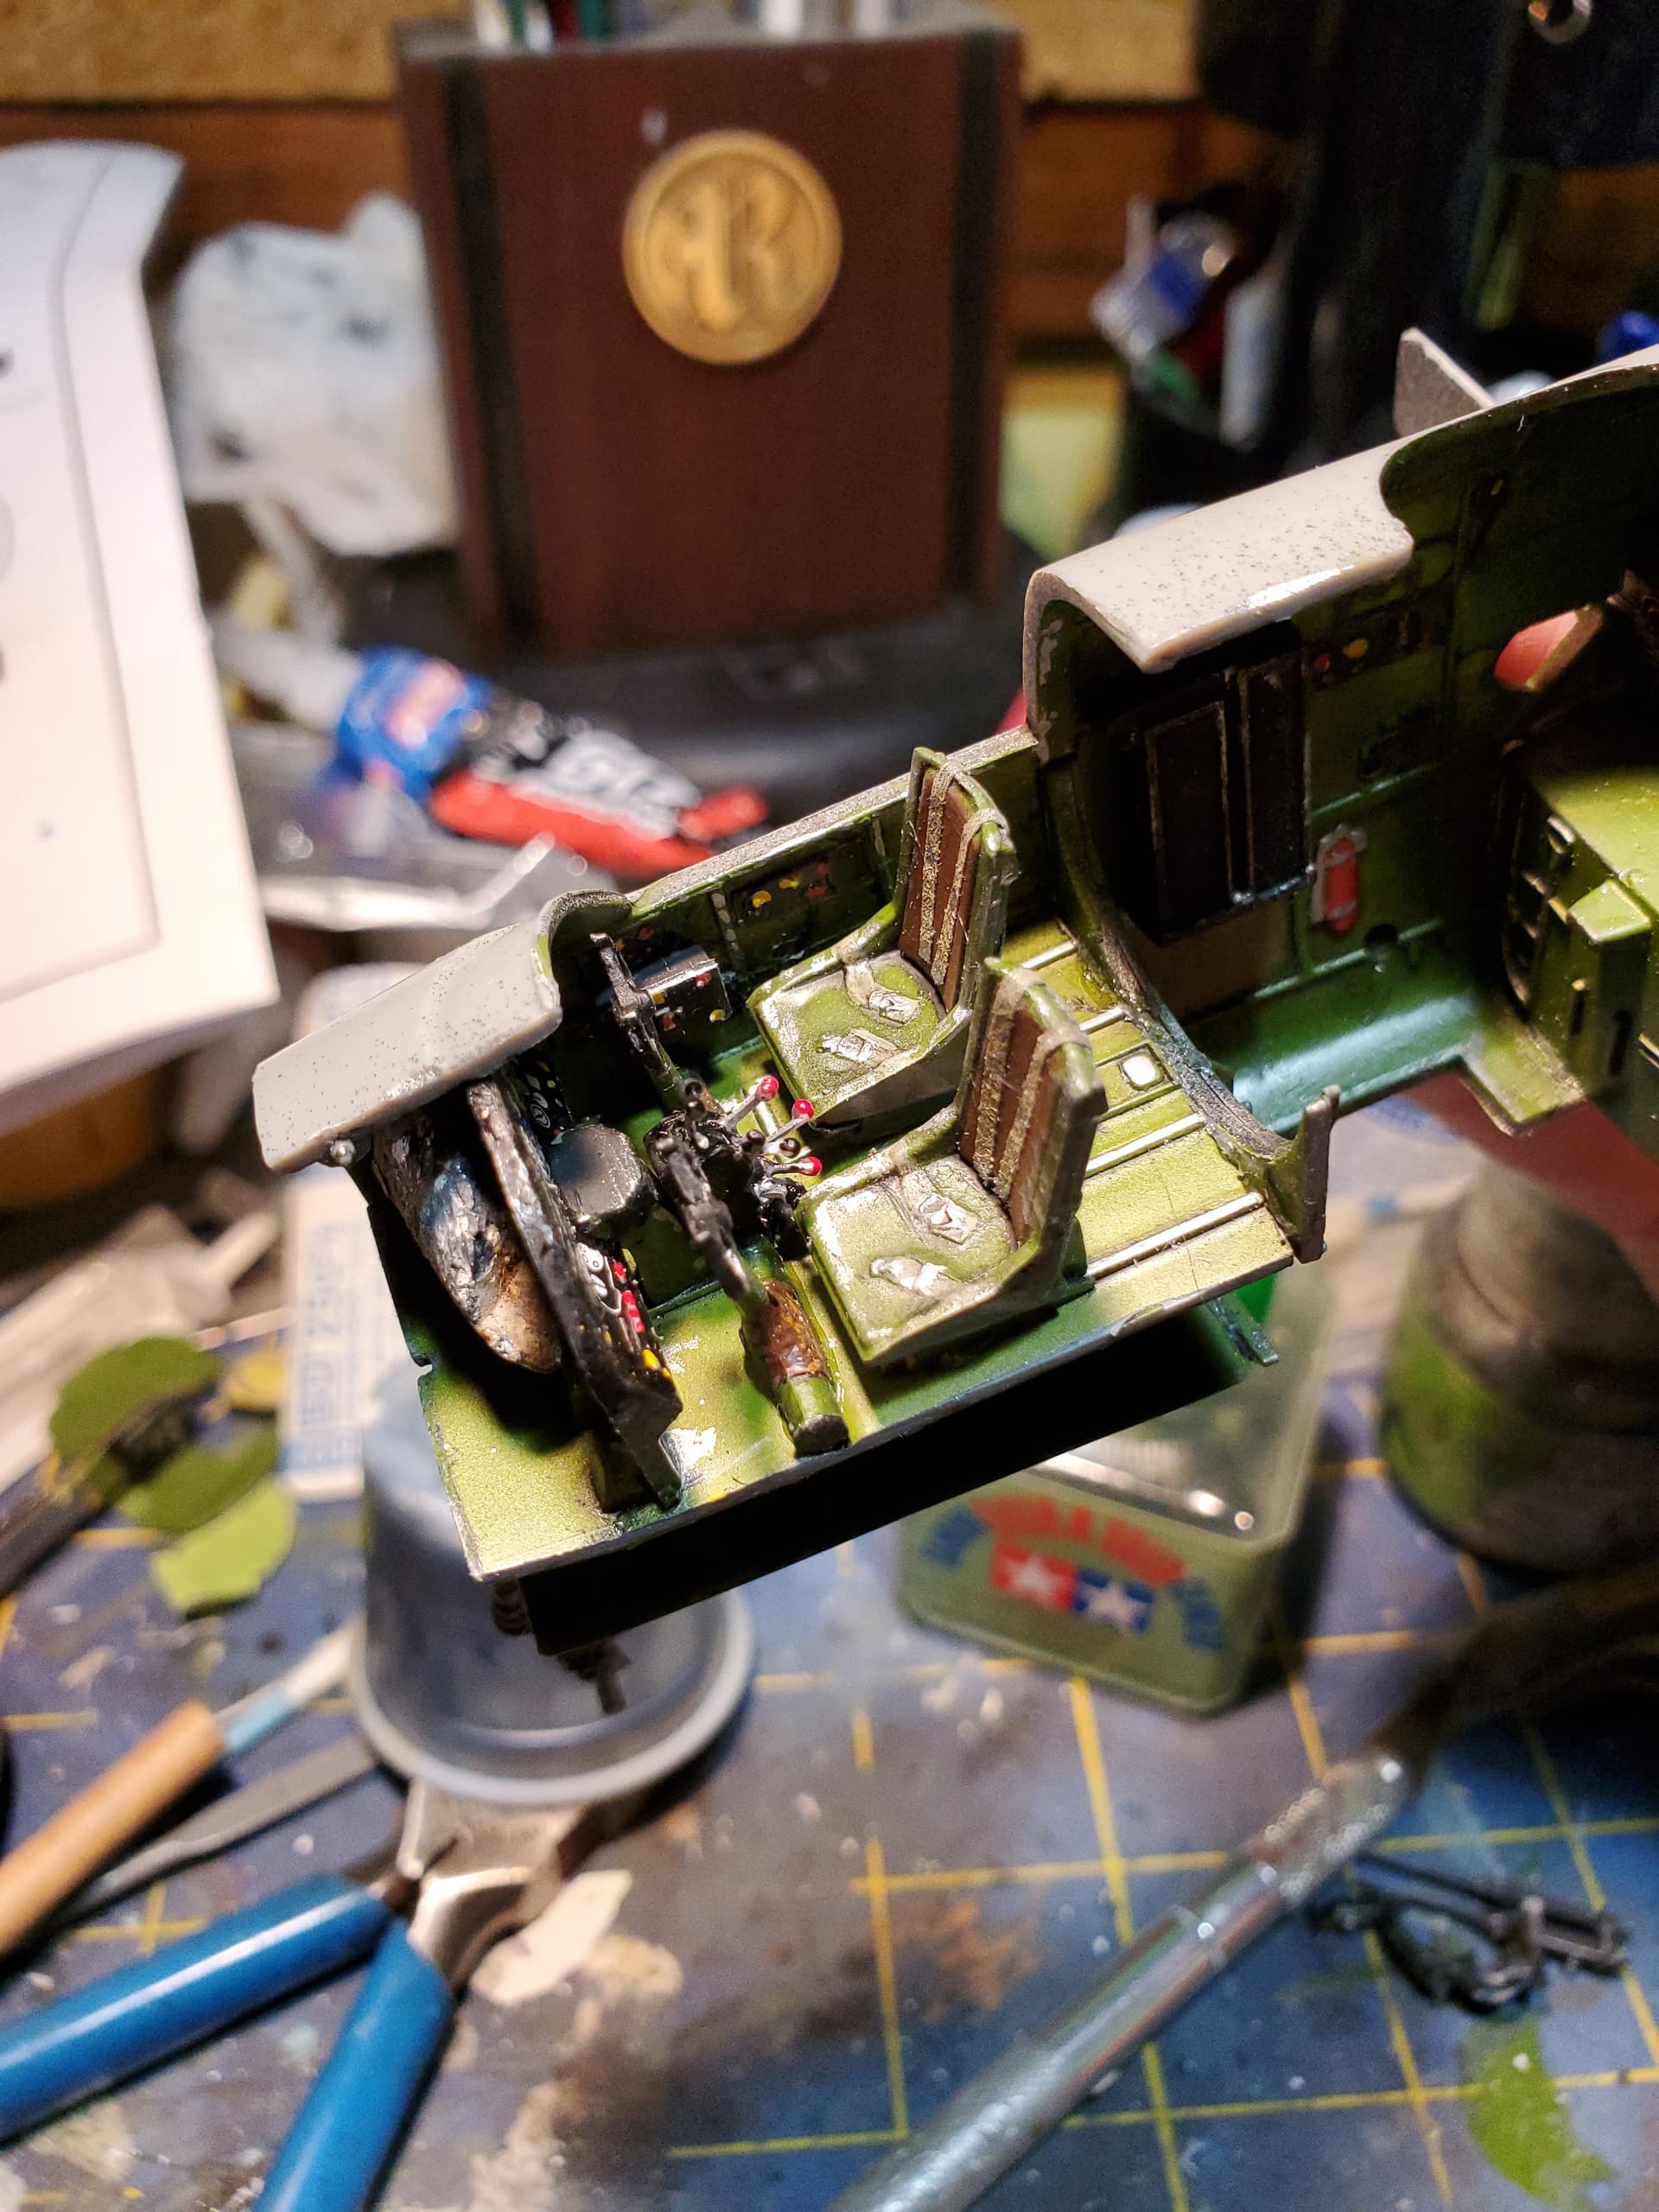
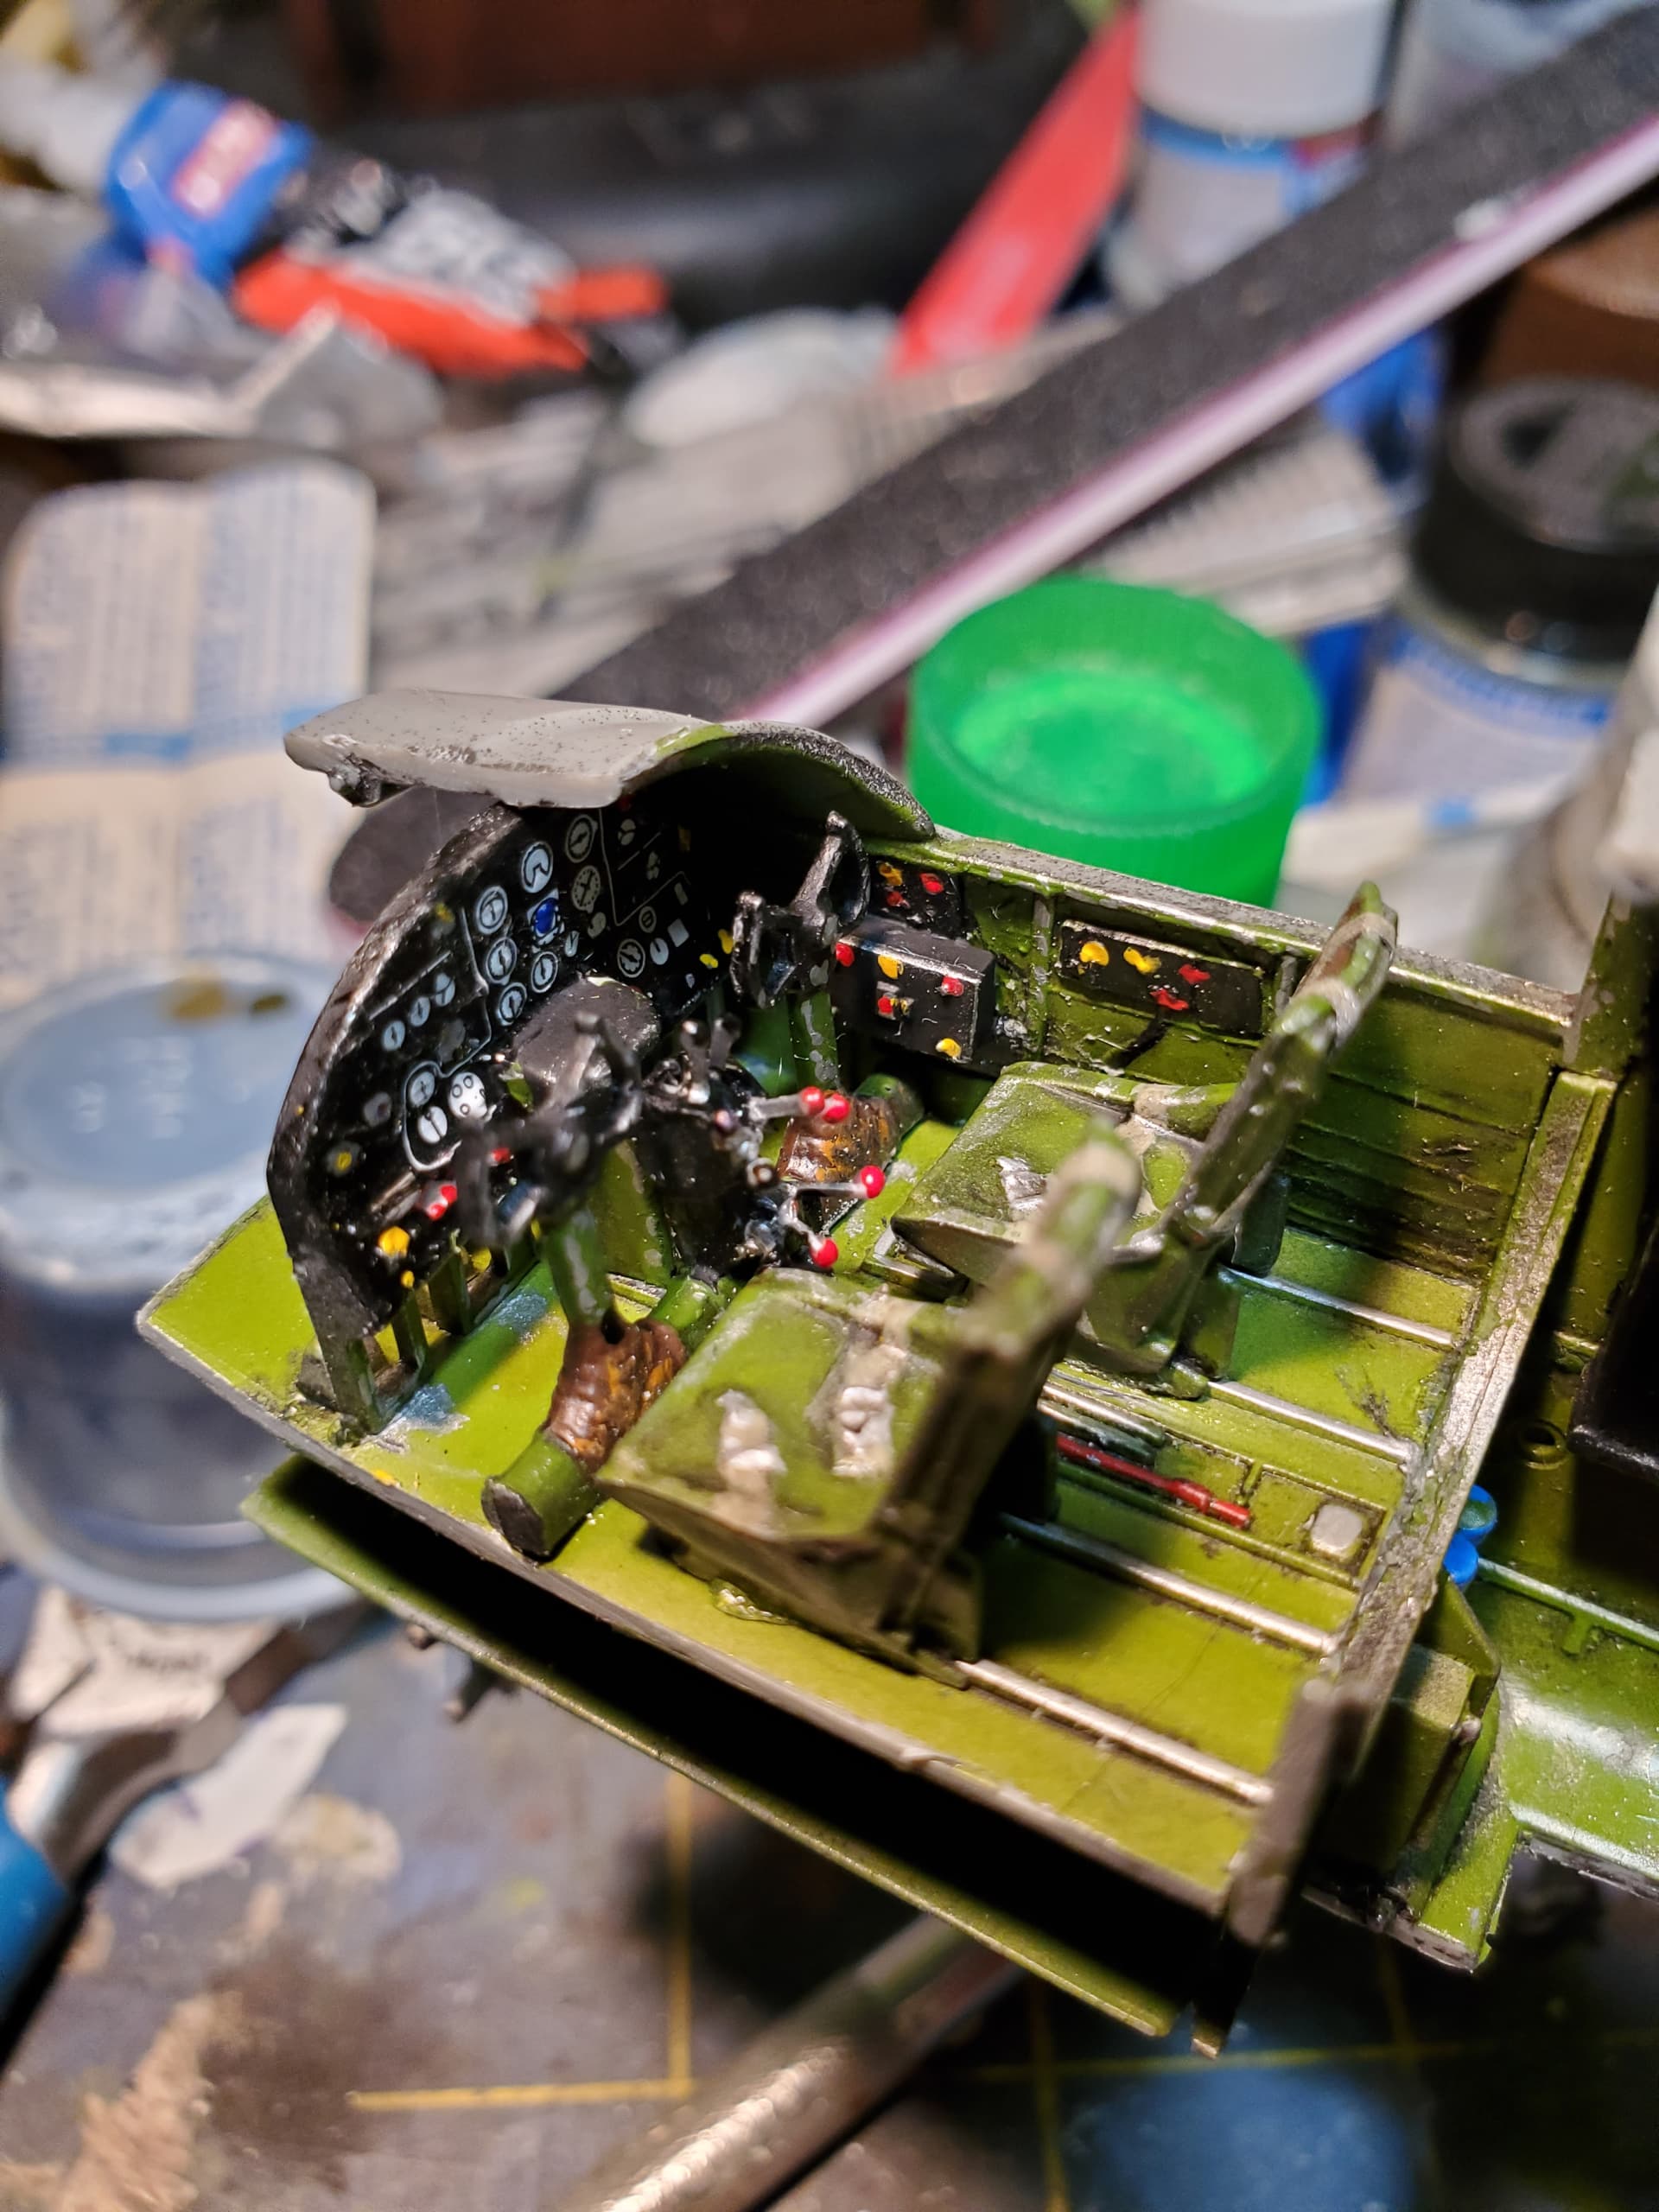
Your Lily looks quite nice. Painting complicated interiors requires a lot of planning and skill.
I did consider the Airfix Bristol Blenheim Mk.IVF but research revealed it to be a coastal patrol variant, not a bomber. Since the Henschel HS-129 B 3 did not qualify, I figured there was no way the Blenheim would make it in. My first choice was the Airfix North American B-25C/D Mitchell but I have no recent experience with aircraft, complicated interiors, or birdcage canopies so failure seemed certain.
Since I could not find anything easier, I ordered the Academy F-15E. It should arrive this weekend. While an older model, it does have recessed panel lines and I found some lovely out of the box builds to emulate.
2 Likes
some nice looking builds, i’m liking that arado, that is a revell kit you say? it makes me want to build one now.
my revellogram b25 is coming along. finally was able to get the fuselage together, what a horrible fit!! luckily i realized the front landing gear had to go in first and i manager to squeeze in some used wheel balancing weights in the wheel bay.
got some shots of the interior first, i added some control levers to the center console of the IP and used a ki 84 instrument decal and bits of some others to the main panel and i couldn’t resist adding some switch boxes from the parts box.

finished up the landing gear and tires, added brake lines and did a test fit of the wings. i think i need to shim up the starboard side of the stabilizers, looks to be drooping a little. i forgot how big this kit is.
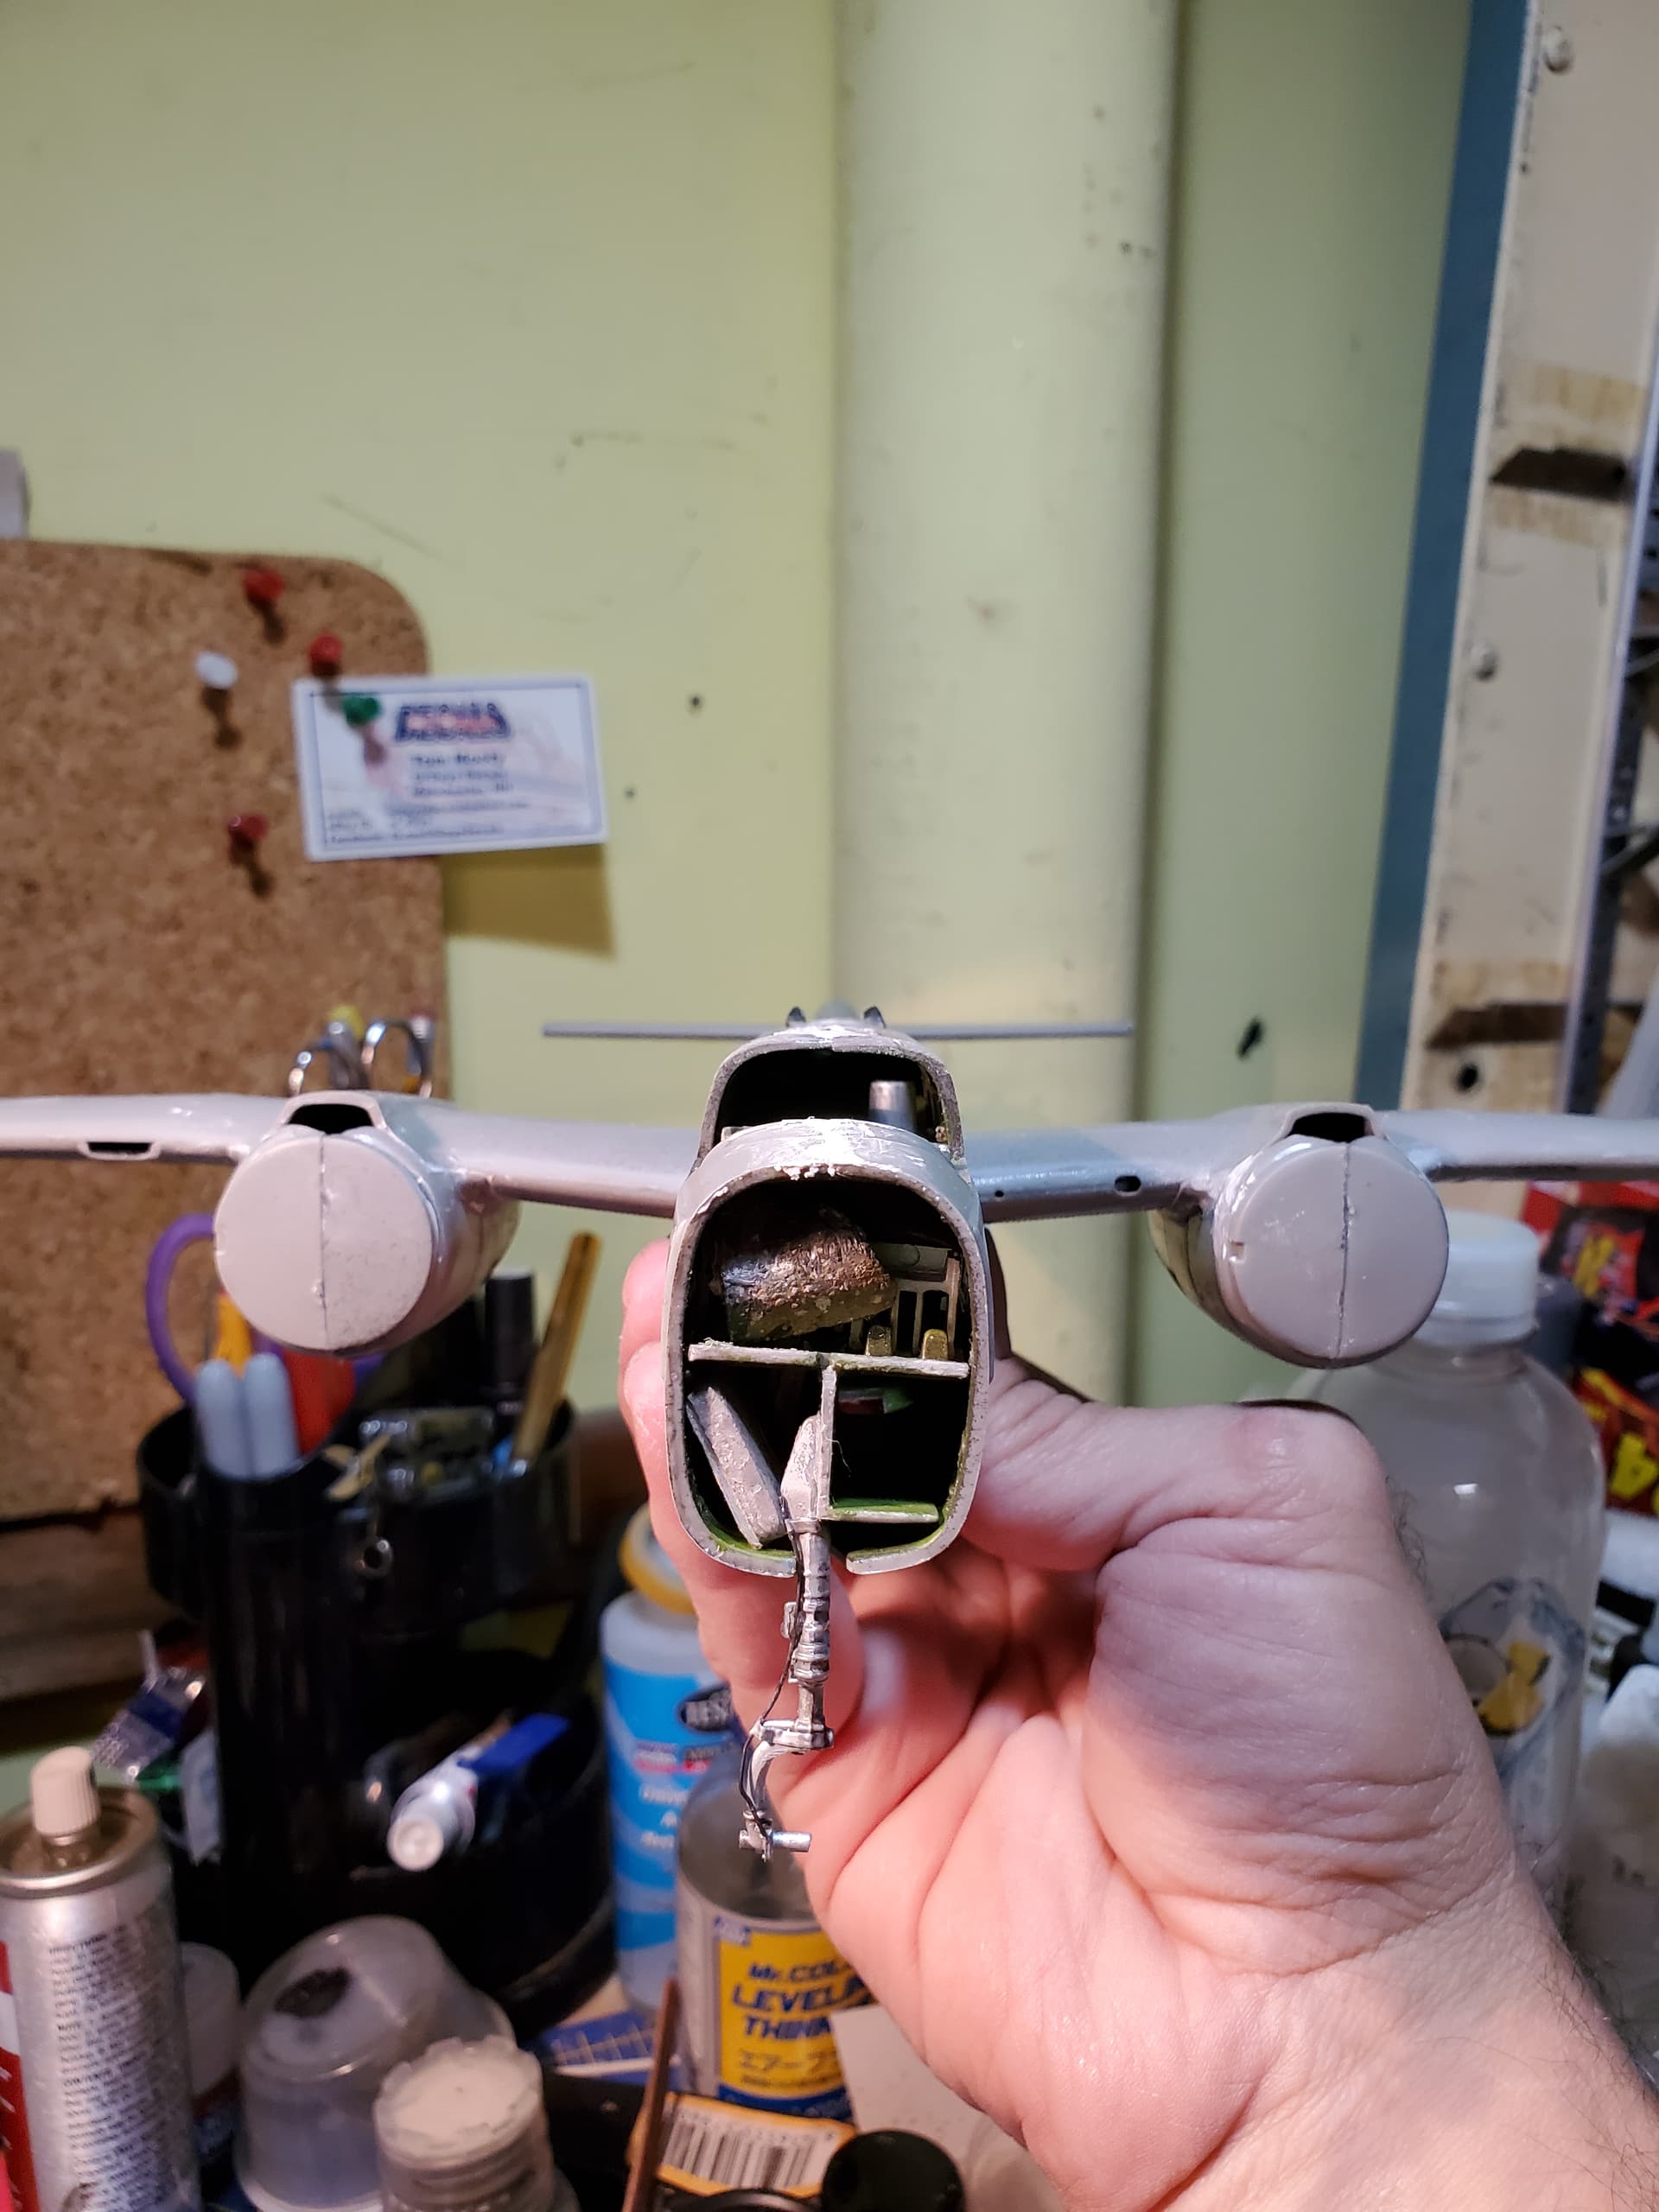
started filling the join seam of the fuselage with some glue goo, i hope i didn’t make it worse. i also decided to replace certain gun barrels with syringe needles. the ones most likely to break off- the front, rear and waist guns. the turret i will leave with the kit part also because i ran out of syringes. looks like i have to grab some more when i go to the doctor next.
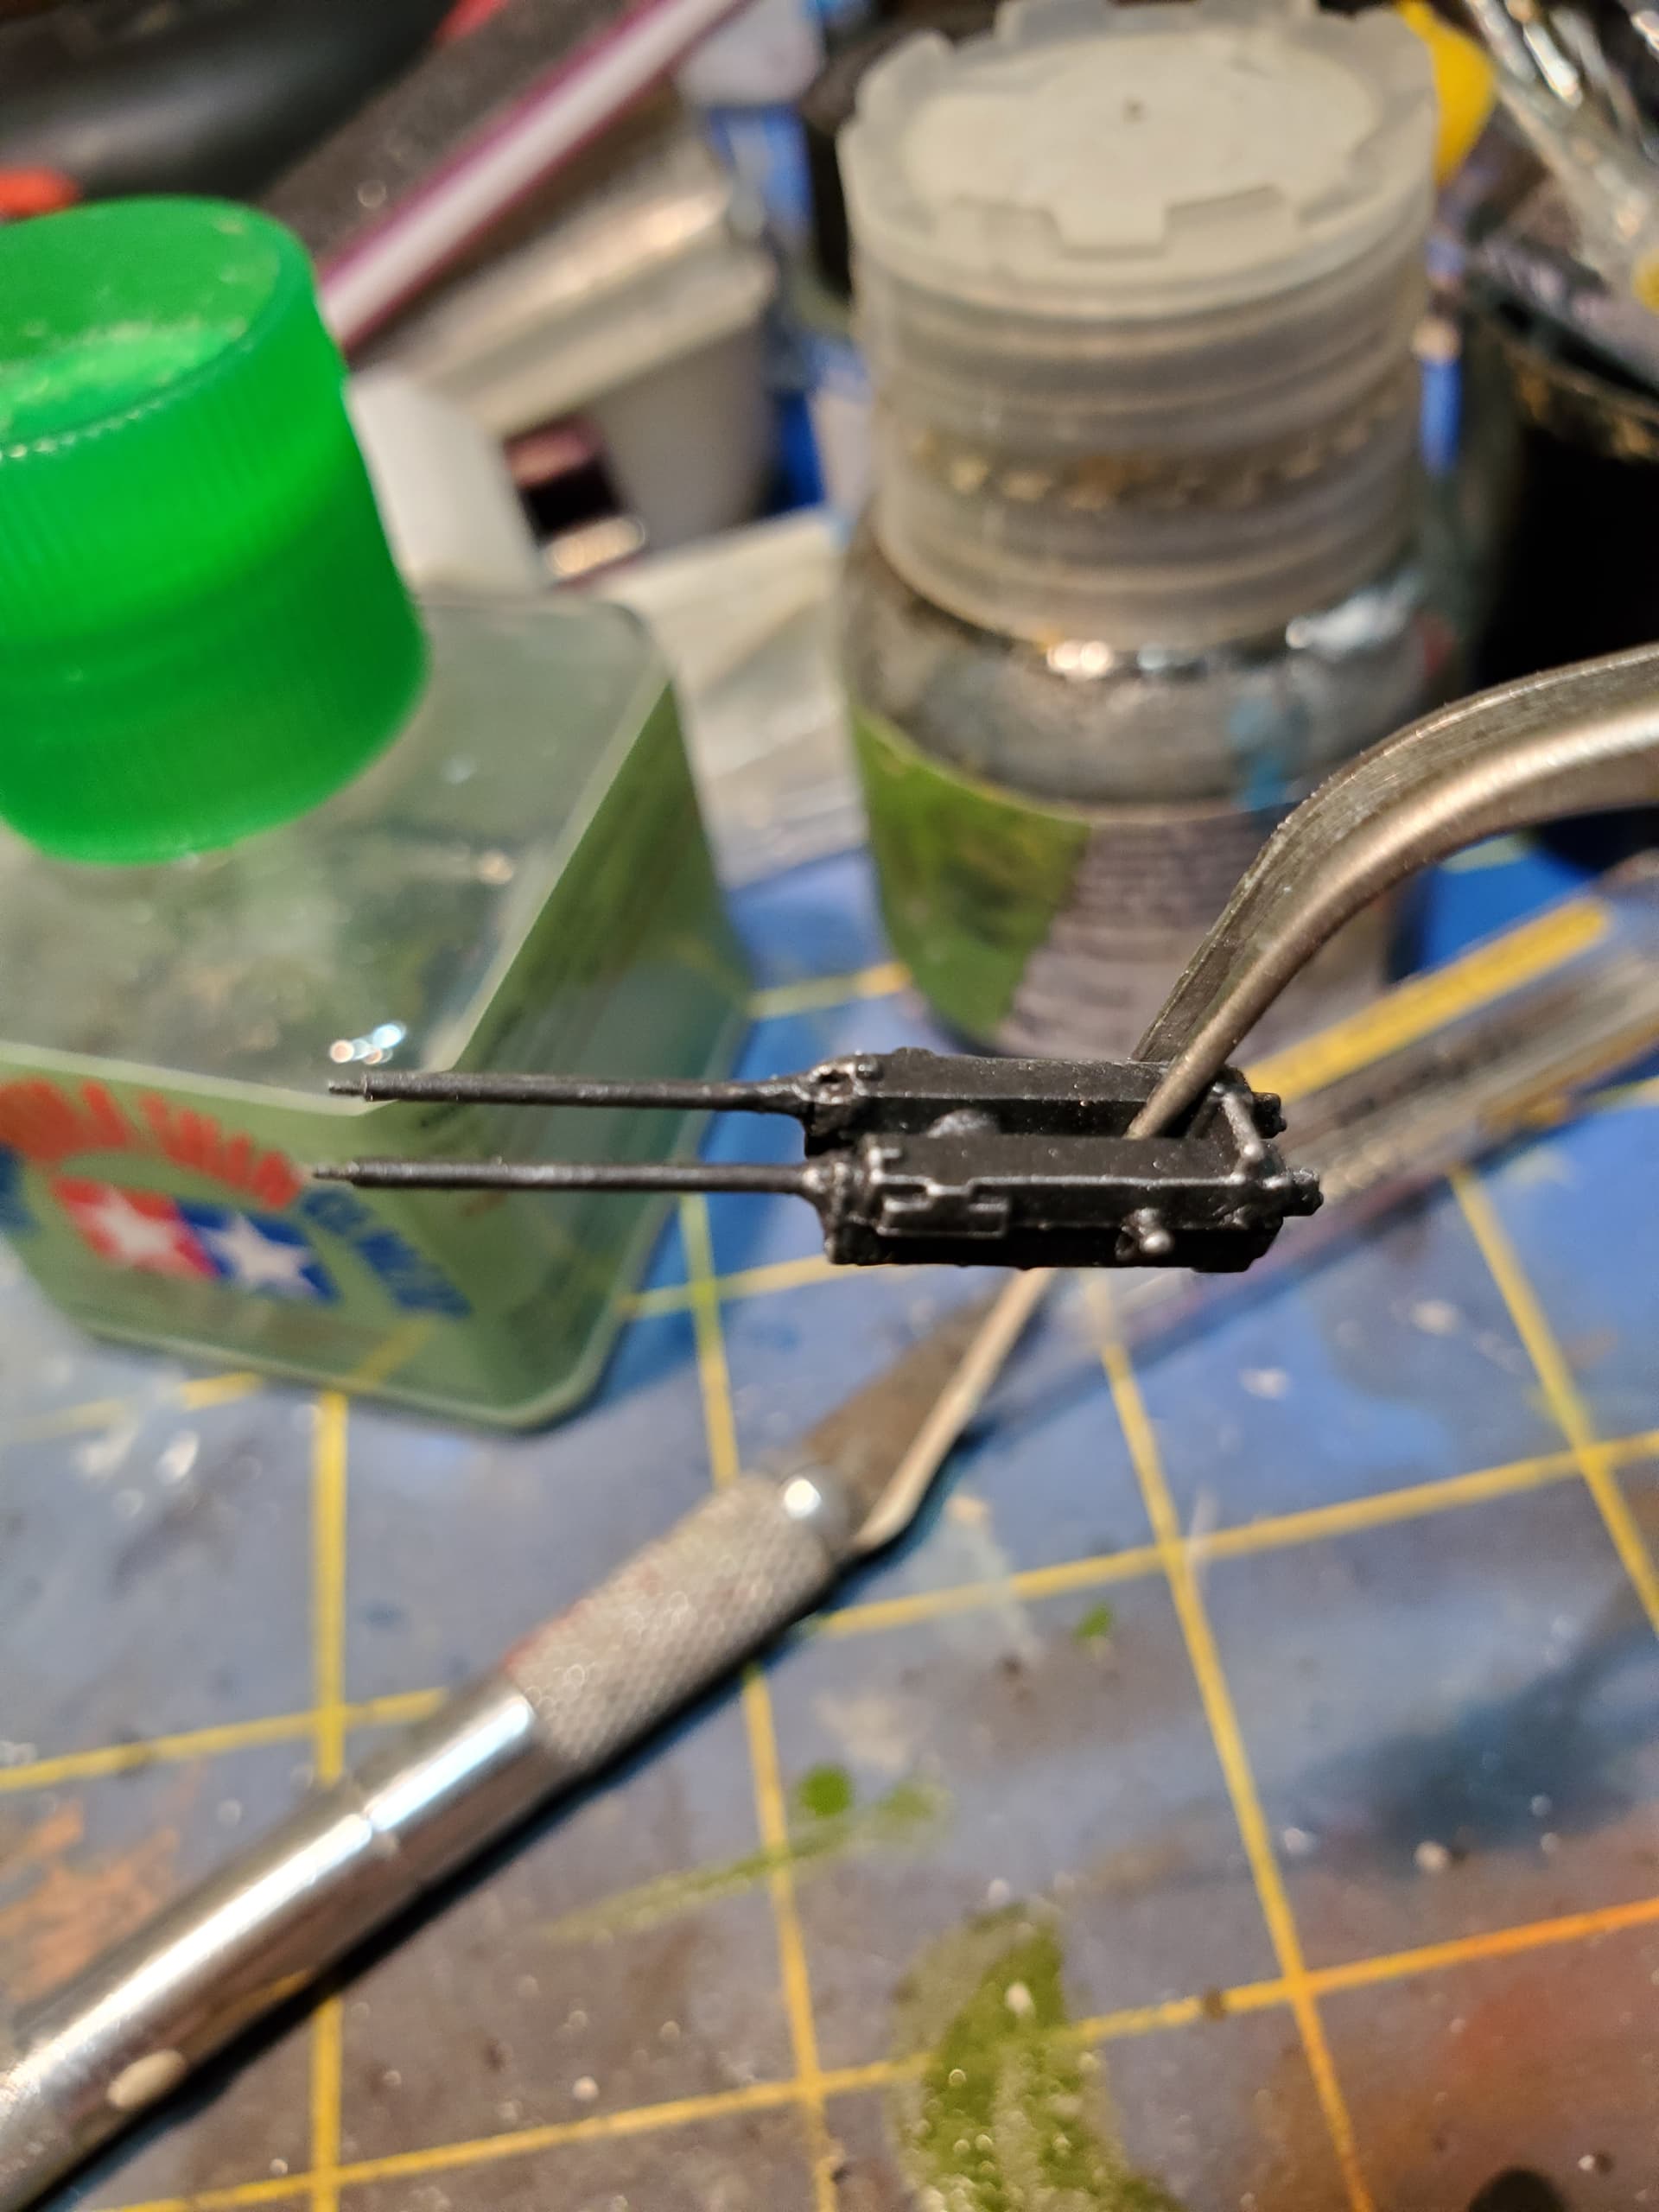
next clean up the seams and then mask the glass. when they packaged up this kit they put in it two sprues of clear parts so i have back up if i screw anything up. i think it would be a good idea if all kits included two sets of clear. it wouldn’t cost the manufacturers more and we get back ups.
4 Likes
I’m beginning my attack run. Someone hold my milk shake.
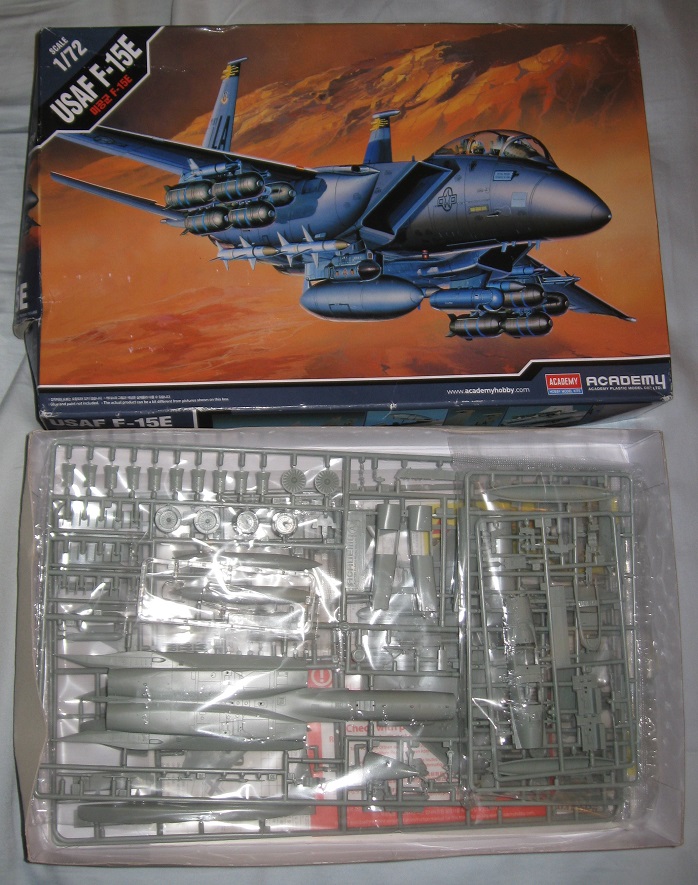
The kit arrived in a plastic mailer last night, box partially crushed, but the parts appear intact. Amazon package handlers definitely do not care about breakage.
Considering the age of the molds, the model looks surprisingly good. The cockpit and landing gear wells lack detail but that works in my favor as it will speed construction. This will primarily serve as a painting exercise.
5 Likes
Thanks Doug. Great choice on the Strike Eagle.
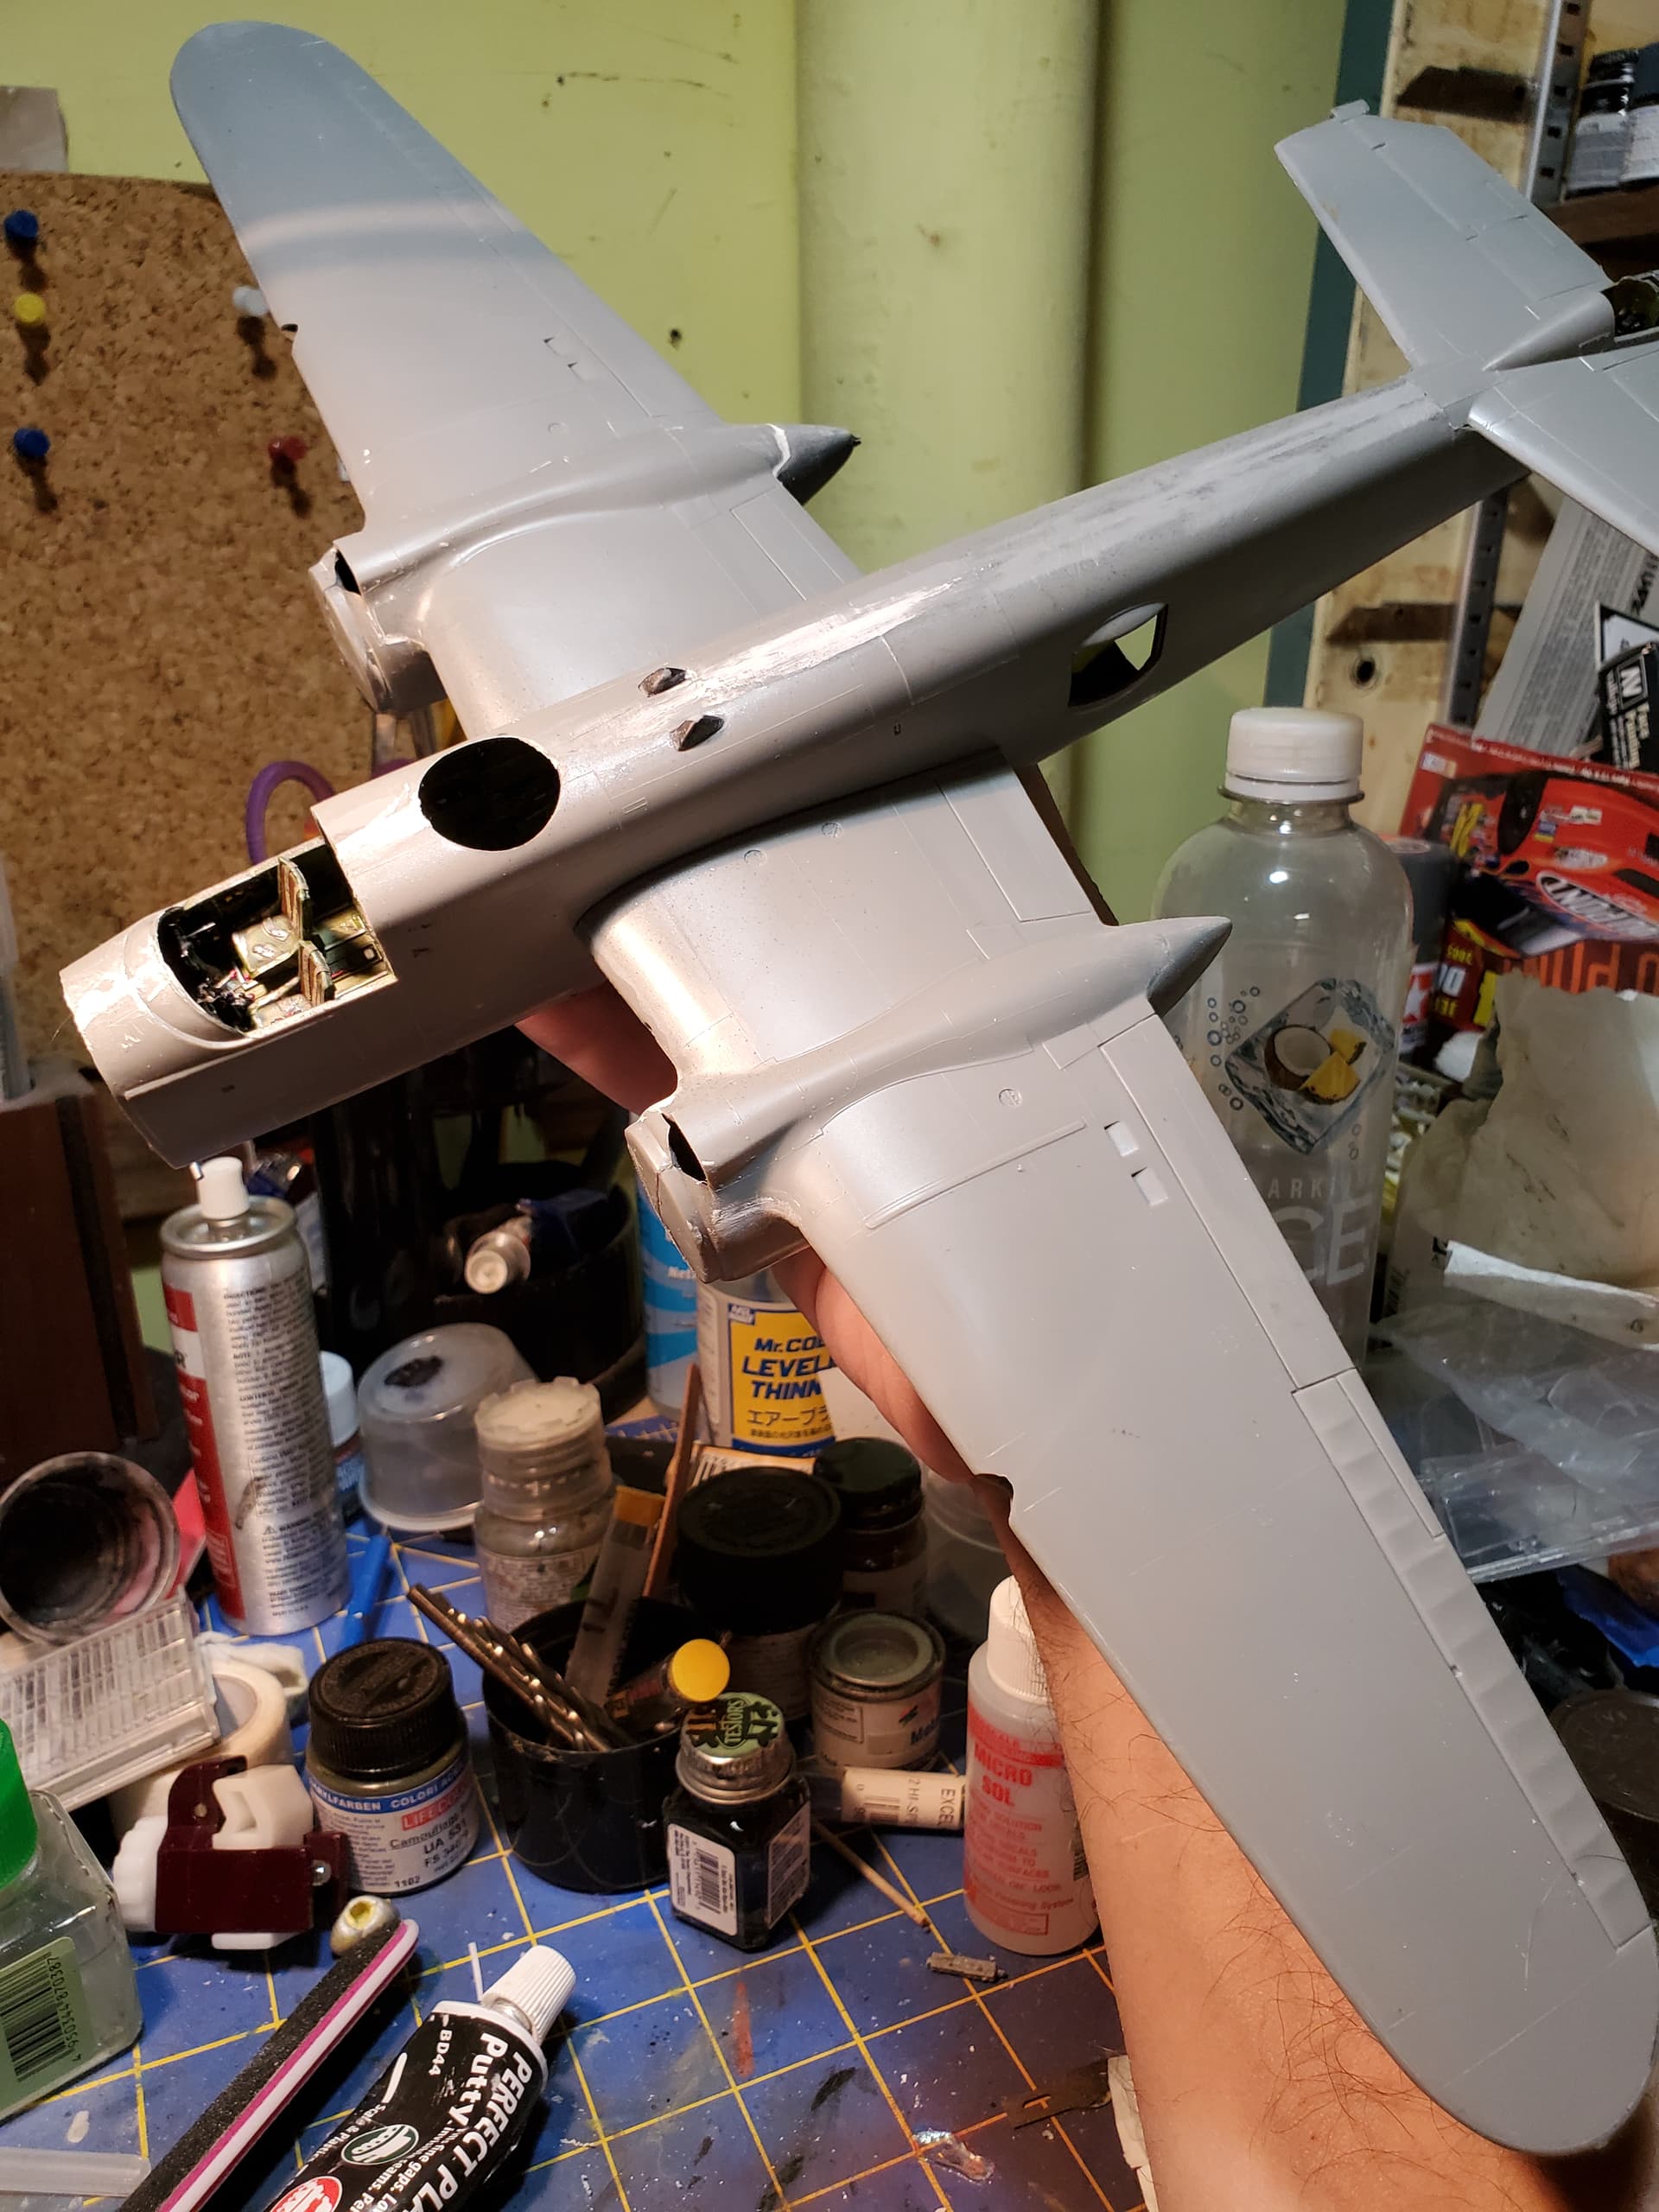
Got the Lily assembled today. The fit of the wings and tailplanes to the fuselage was flawless. Very impressive for a kit of this vintage. Don’t think the joins will need anything more than a light sand.
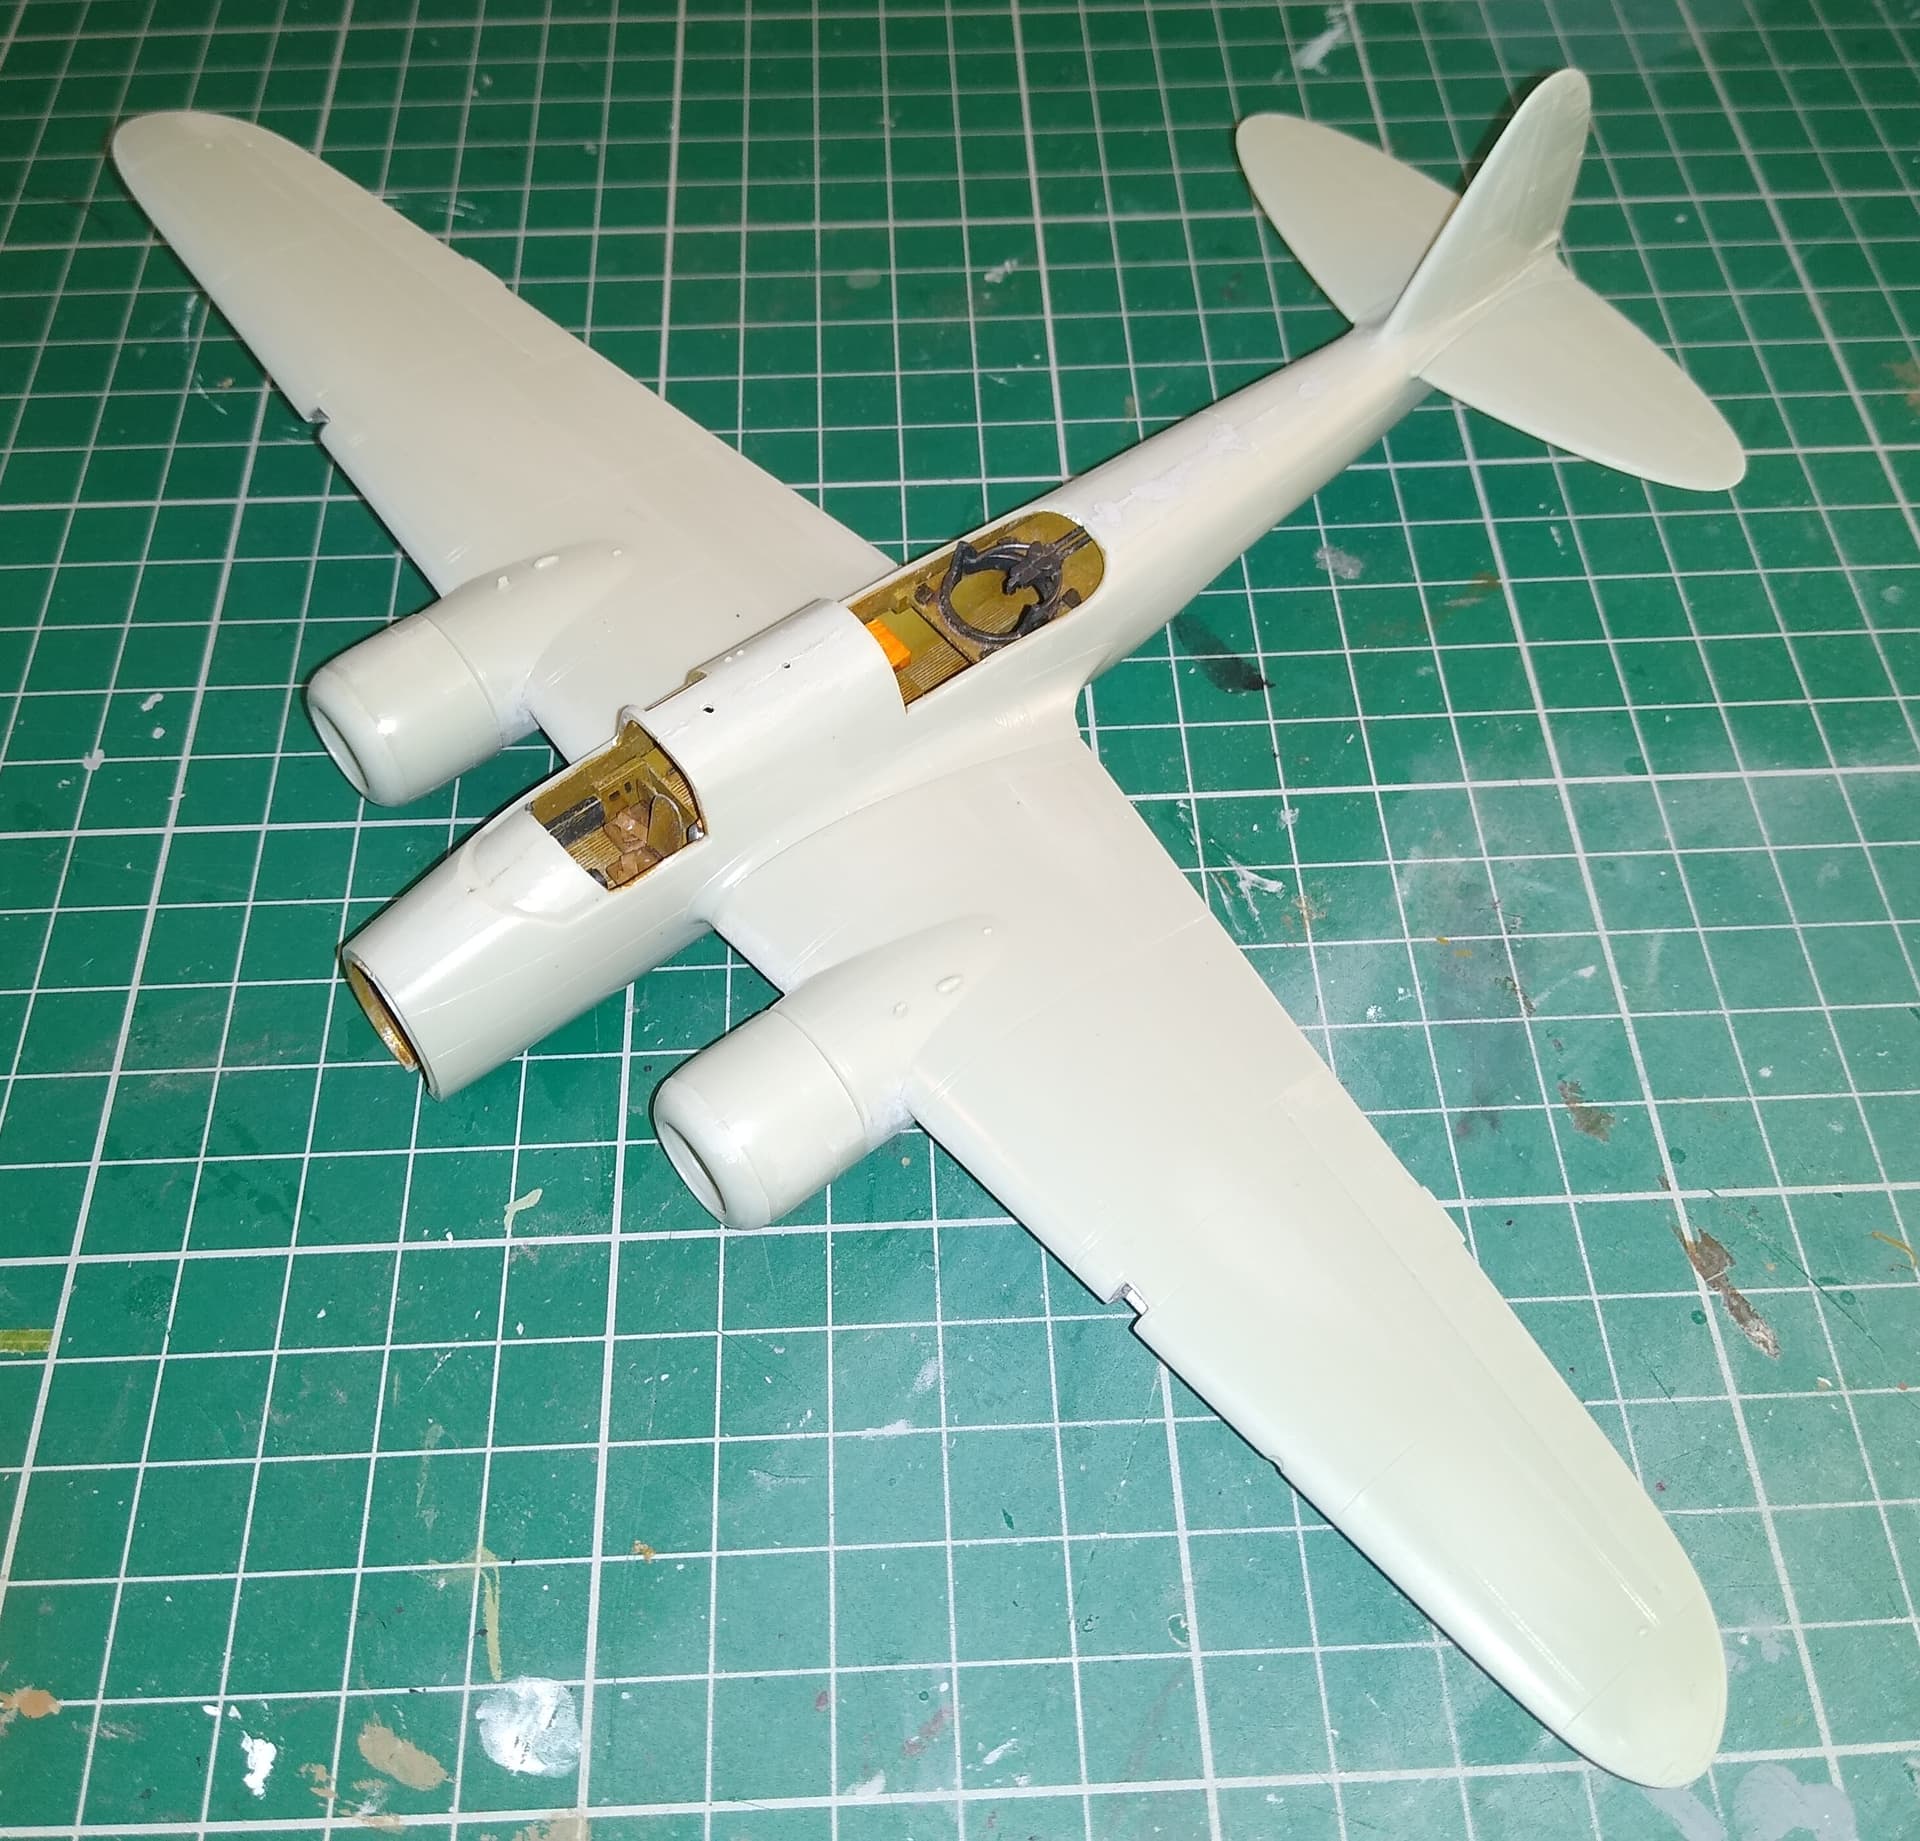
The engine cowlings are just dry fitted. I did have to refer to the updated instructions from the Hasegawa boxing to get these together, as the kits were not very clear as to which part was for which side.
3 Likes
You were out of luck with the B3, Italeri also did separate boxings for the B1 and B2 variants and both of those included parts for bomber versions. If they hadn’t gated off sections of the frames they could have released a single kit with all the options: Italeri do a lot of that sort of thing, look at their different M923 gun trucks…
Cheers,
M
Joe, your B-25 looks great so far, very nice interior! ![]()
The Arado kit is an older Dragon kit, reissued by Hobby 2000, but very good to build. I still have the old Revell model, mothballed in my basement and probably a write-off soon…
Good luck!
Peter ![]()
It would be really fun if every model contained decals, instructions, and parts for a half dozen variants. Oh well. I like the F-15E and can build the HS-129 B 3 another time, perhaps for a different campaign. ![]()
…

Except for some small parts, the F-15E is cleaned up and ready for primer. Said primer showed up in the mail this morning which works out quite well. Hope it works!
The exhaust nozzles were fun to build. The only visible knock out pin marks reside inside the intakes and engine ducts. If the model designer had flipped over the intake duct parts on the tree, the knock out marks would have been on unseen surfaces, saving me an hour of sanding. I always wonder why model designers do things like that.
Continuing with the intake ducts, the model designer must have bailed on the idea about halfway through designing the parts. ![]() It will take a lot of filler and sanding to make them work. Fit of fuselage parts is very hit and miss. It will take some effort to remove all the seams. The landing gear struts are super fine and I nearly broke one removing it from the tree. The nose cone does not have a locator tab so one has to guess at the orientation. I hope I do not give her an ugly nose. The decal sheet includes two sets of warning markings and leaves it to the builder to figure out which ones to use. I now understand why some reviewers were frustrated with this kit.
It will take a lot of filler and sanding to make them work. Fit of fuselage parts is very hit and miss. It will take some effort to remove all the seams. The landing gear struts are super fine and I nearly broke one removing it from the tree. The nose cone does not have a locator tab so one has to guess at the orientation. I hope I do not give her an ugly nose. The decal sheet includes two sets of warning markings and leaves it to the builder to figure out which ones to use. I now understand why some reviewers were frustrated with this kit.
It turns out Revell Germany released a new tool F-15E in 2021, a fact I only discovered last night. Based on pictures, the intake trunks, landing gear, and cockpit detail look much better on that one. However, the Academy kit comes with more ordinance and looks more bomberish.
Research your options twice. Press ‘Buy Now’ once. Oh dear.
4 Likes
Best of luck with it. I have heard that the old Academy Eagles can be challenging. They have done a complete retool of them which are supposed to be quite good.
Brief update on the Lily.
I found that the wing and tailplane joins needed a little help blending in. I used some thick Mr Surfacer, brushed on and left overnight to dry. Then wiped off the excess with a rag damped with Gunze thinner. I think this has become my favourite method of dealing with these jobs. Quick and doesn’t destroy details like the old putty and sand method.

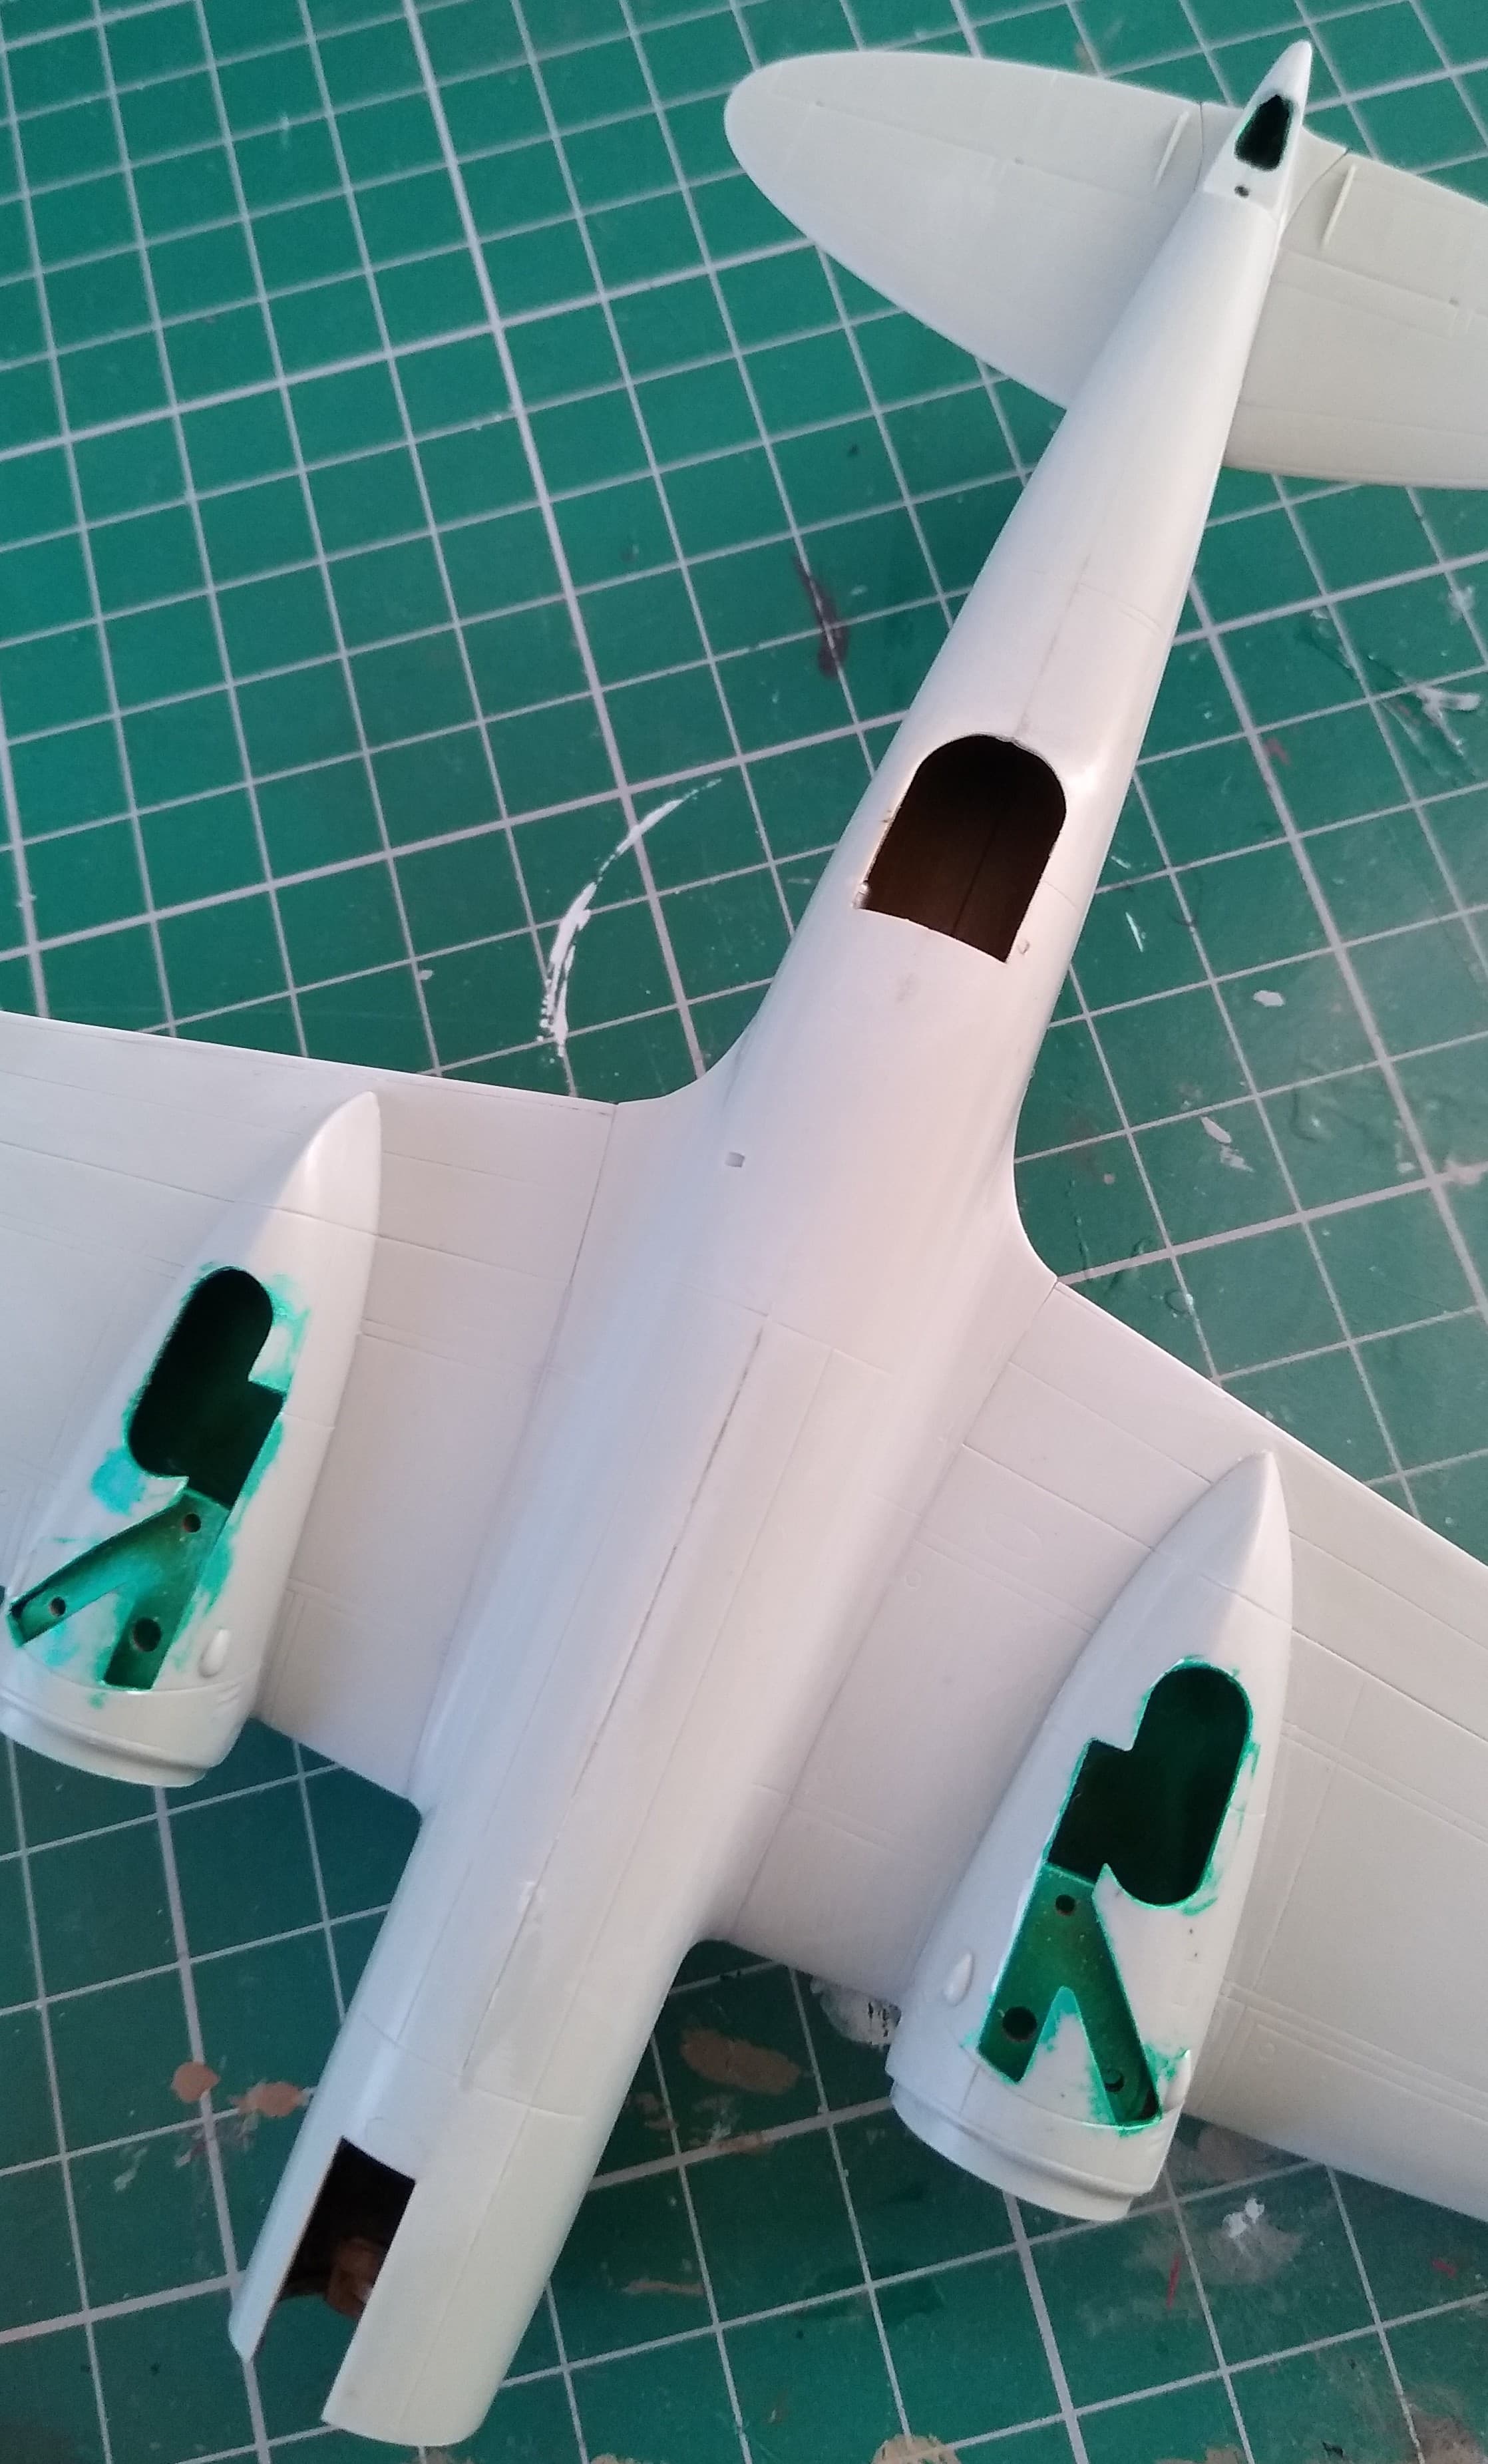
I’ve decided to display the ventral gun position open. It’s one of the distinctive features of this bomber and the fit of the hatch in the closed position was pretty bad. Saves more time.
5 Likes
What thinner of Gunze do you use? The one for Aequous Colors or the other?
Sounds like a really good method.
Peter ![]()
1 Like
I picked it up from a build I saw on YouTube. It works well for the more minor surface filling like here. Takes a bit of practice as it is too easy to wipe away too much.
I’ll check which bottle of thinner it is when I get home later and post a photo of it. All I can think of at the moment is that it’s the smelly stuff!
2 Likes
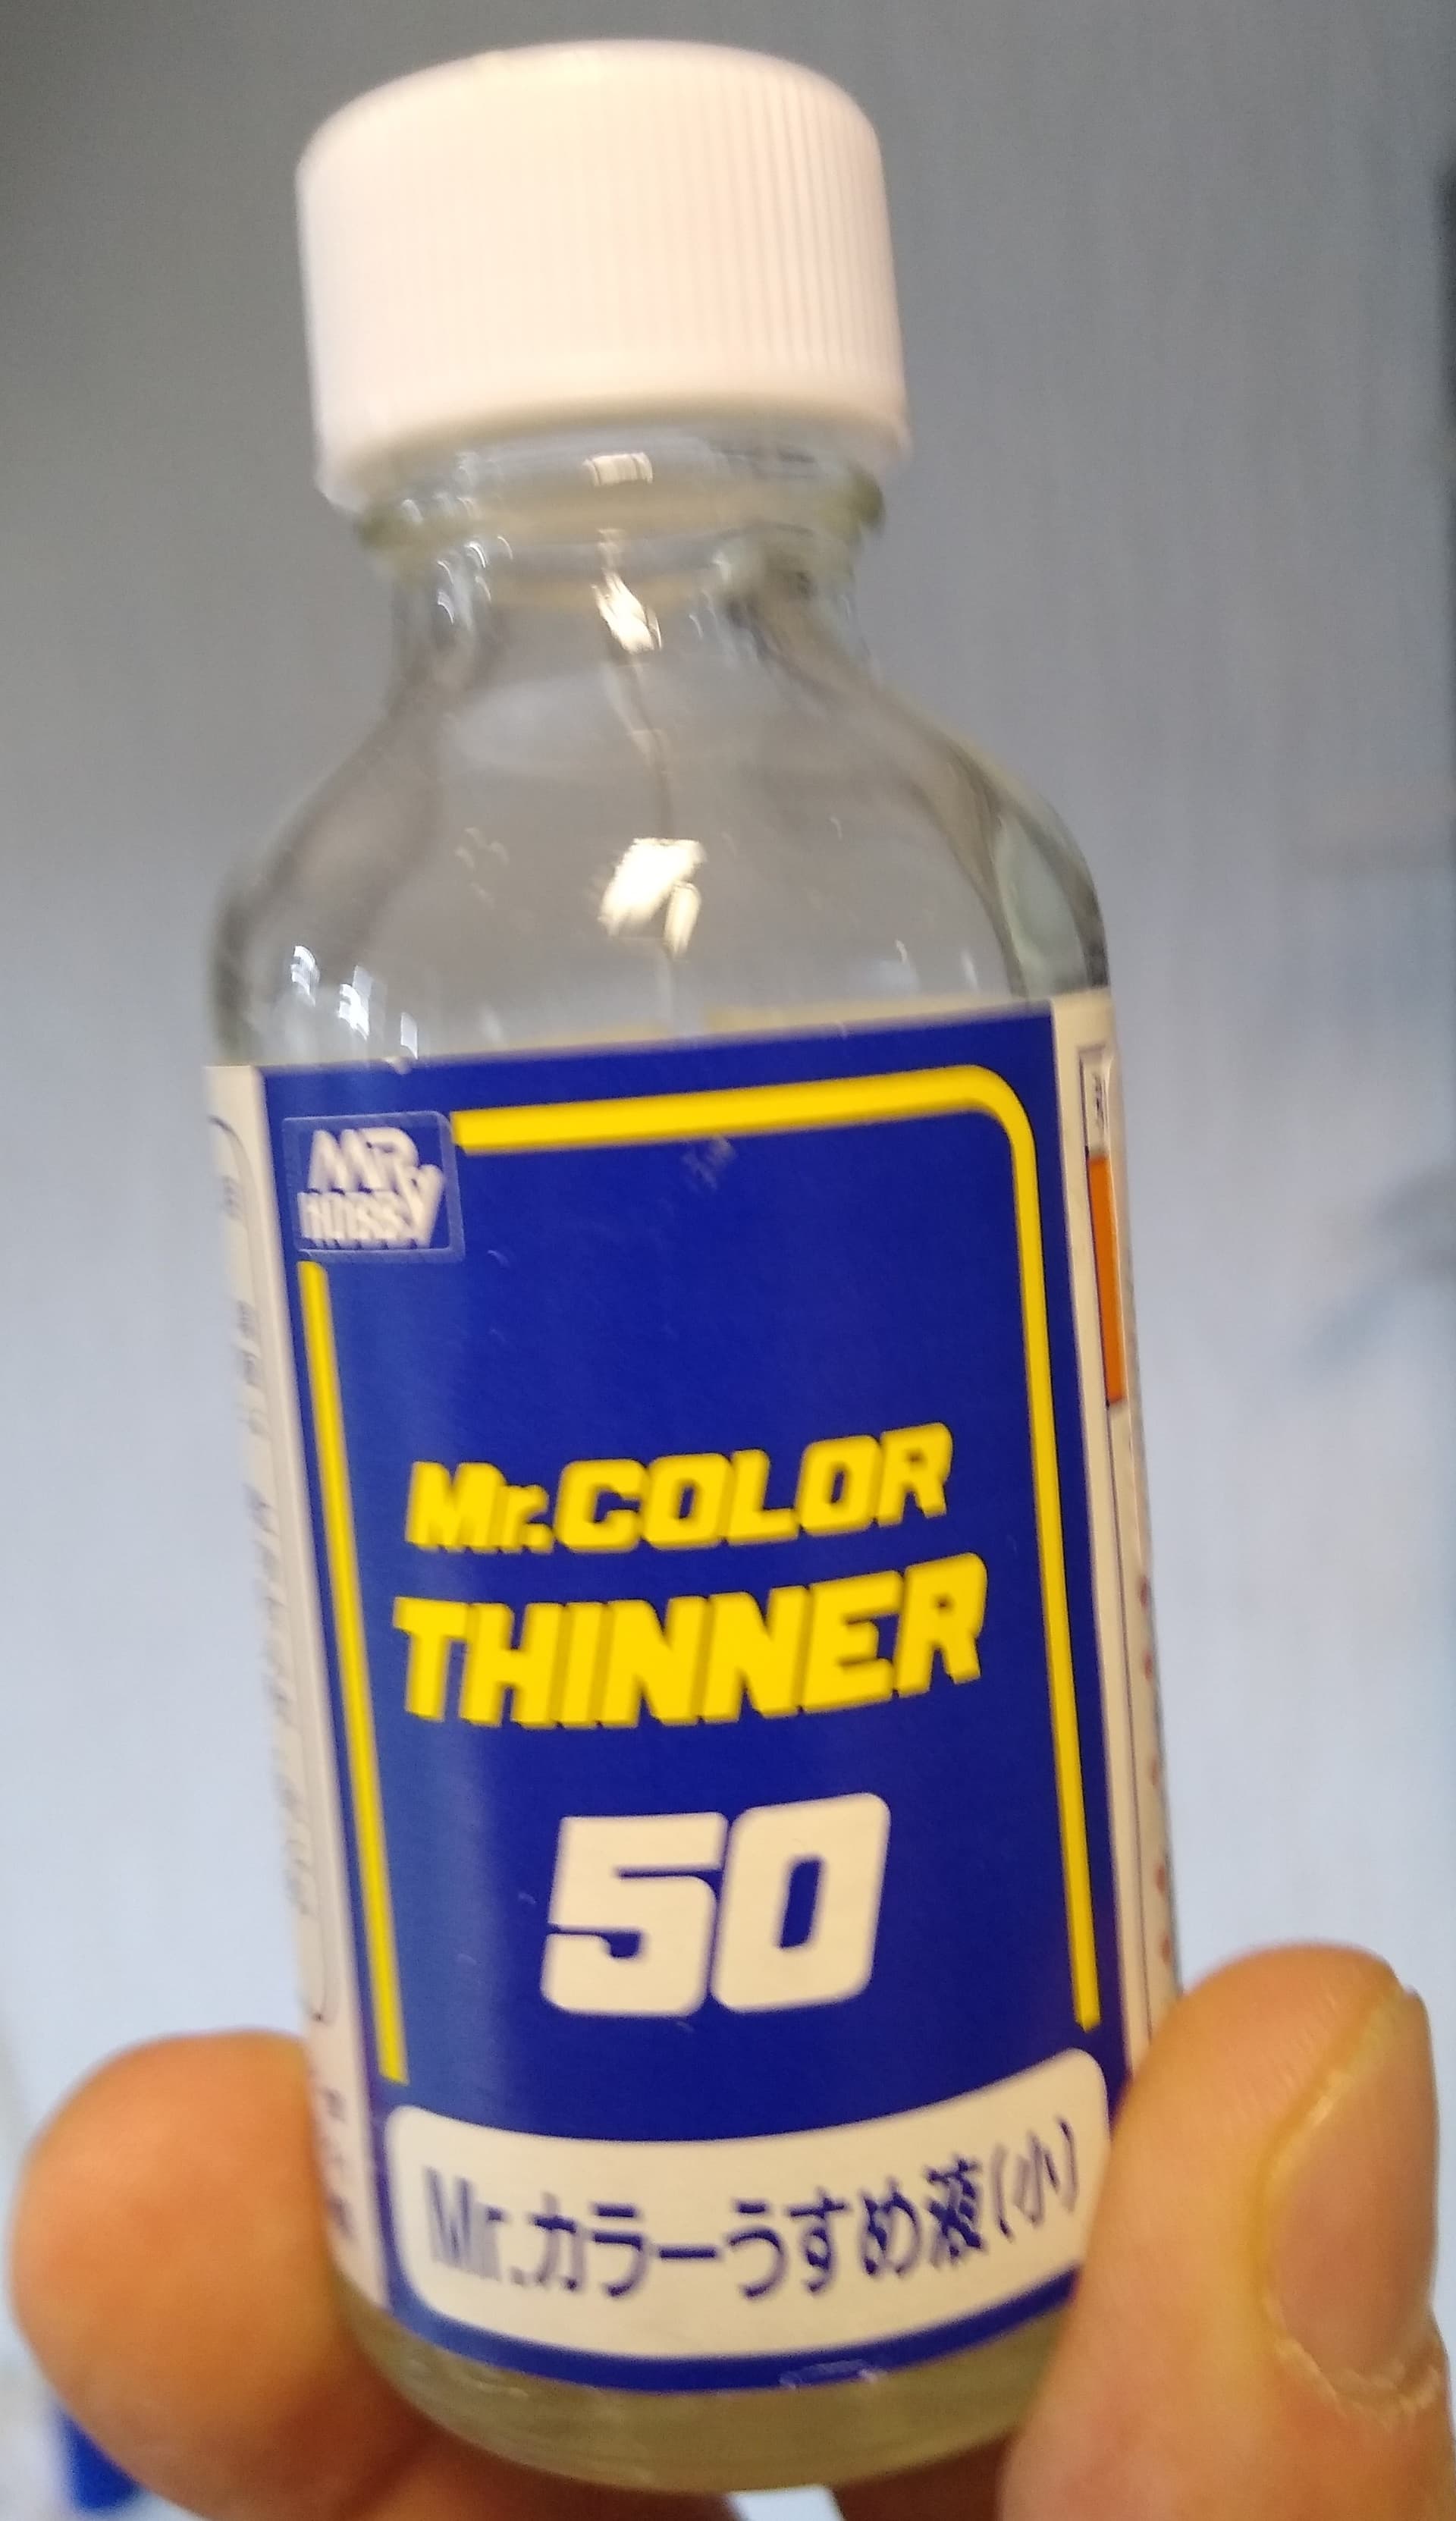
Peter, this is the thinner I use to wipe away the Surfacer. Think I need to buy a new bottle.
Have been working on the engines the last couple of days. Quite nice they are too.
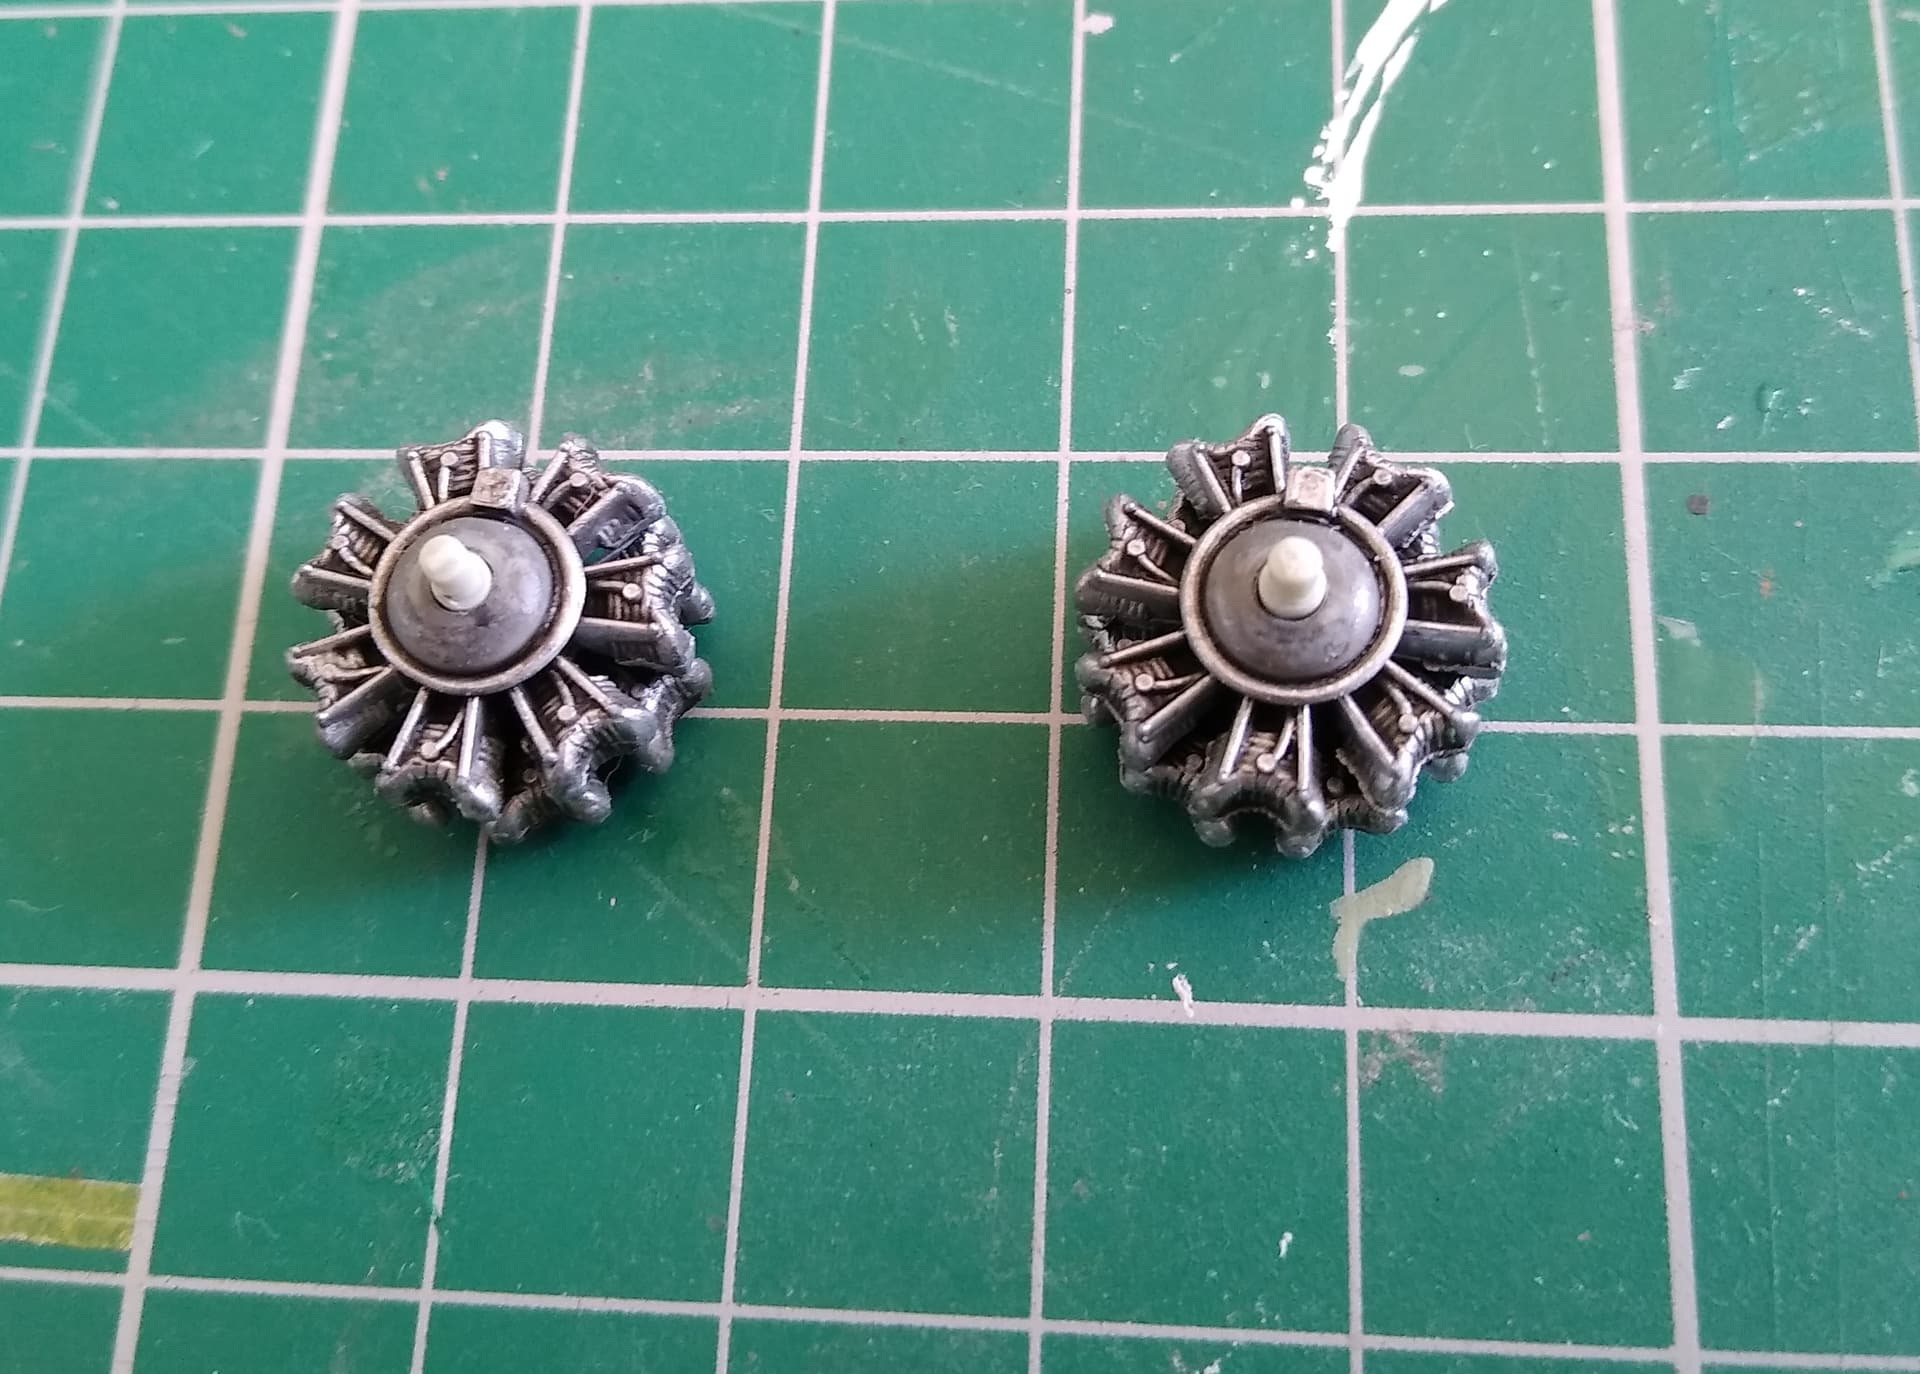
The instructions are a little vague on how to fit them into the cowlings and they’re far too loose for this to work.
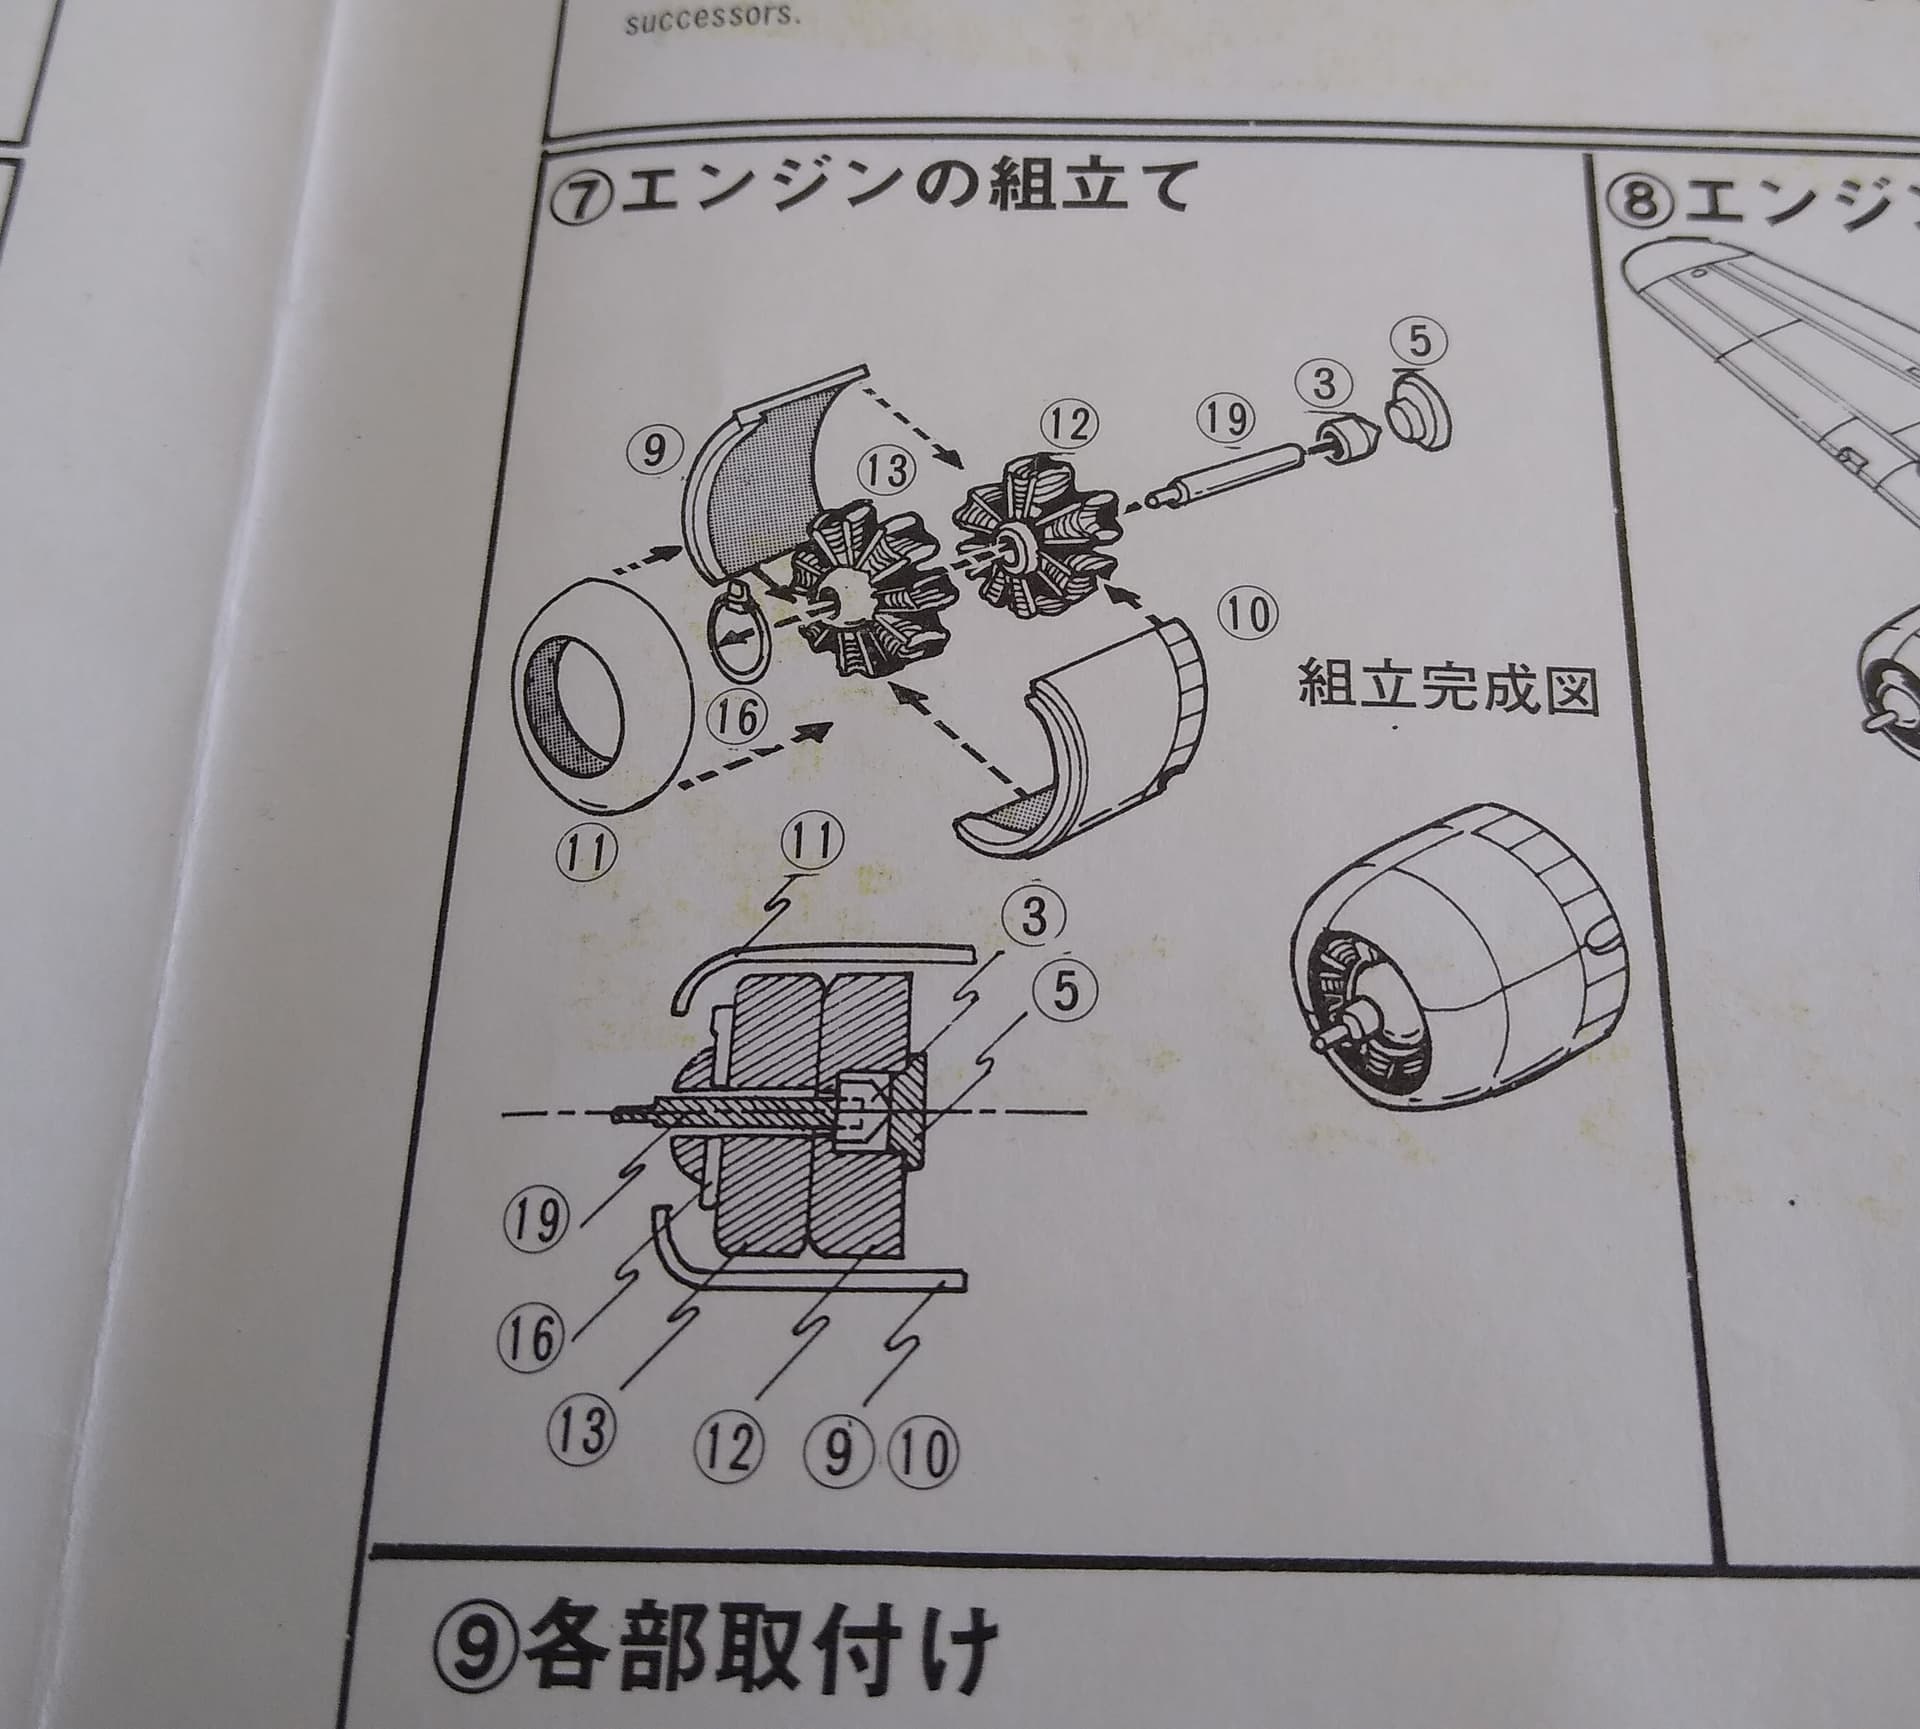
When Hasegawa reboxed this, they provided a set of inserts to fit the engines to. So, I went about making my own mounts from some scrap plastic.
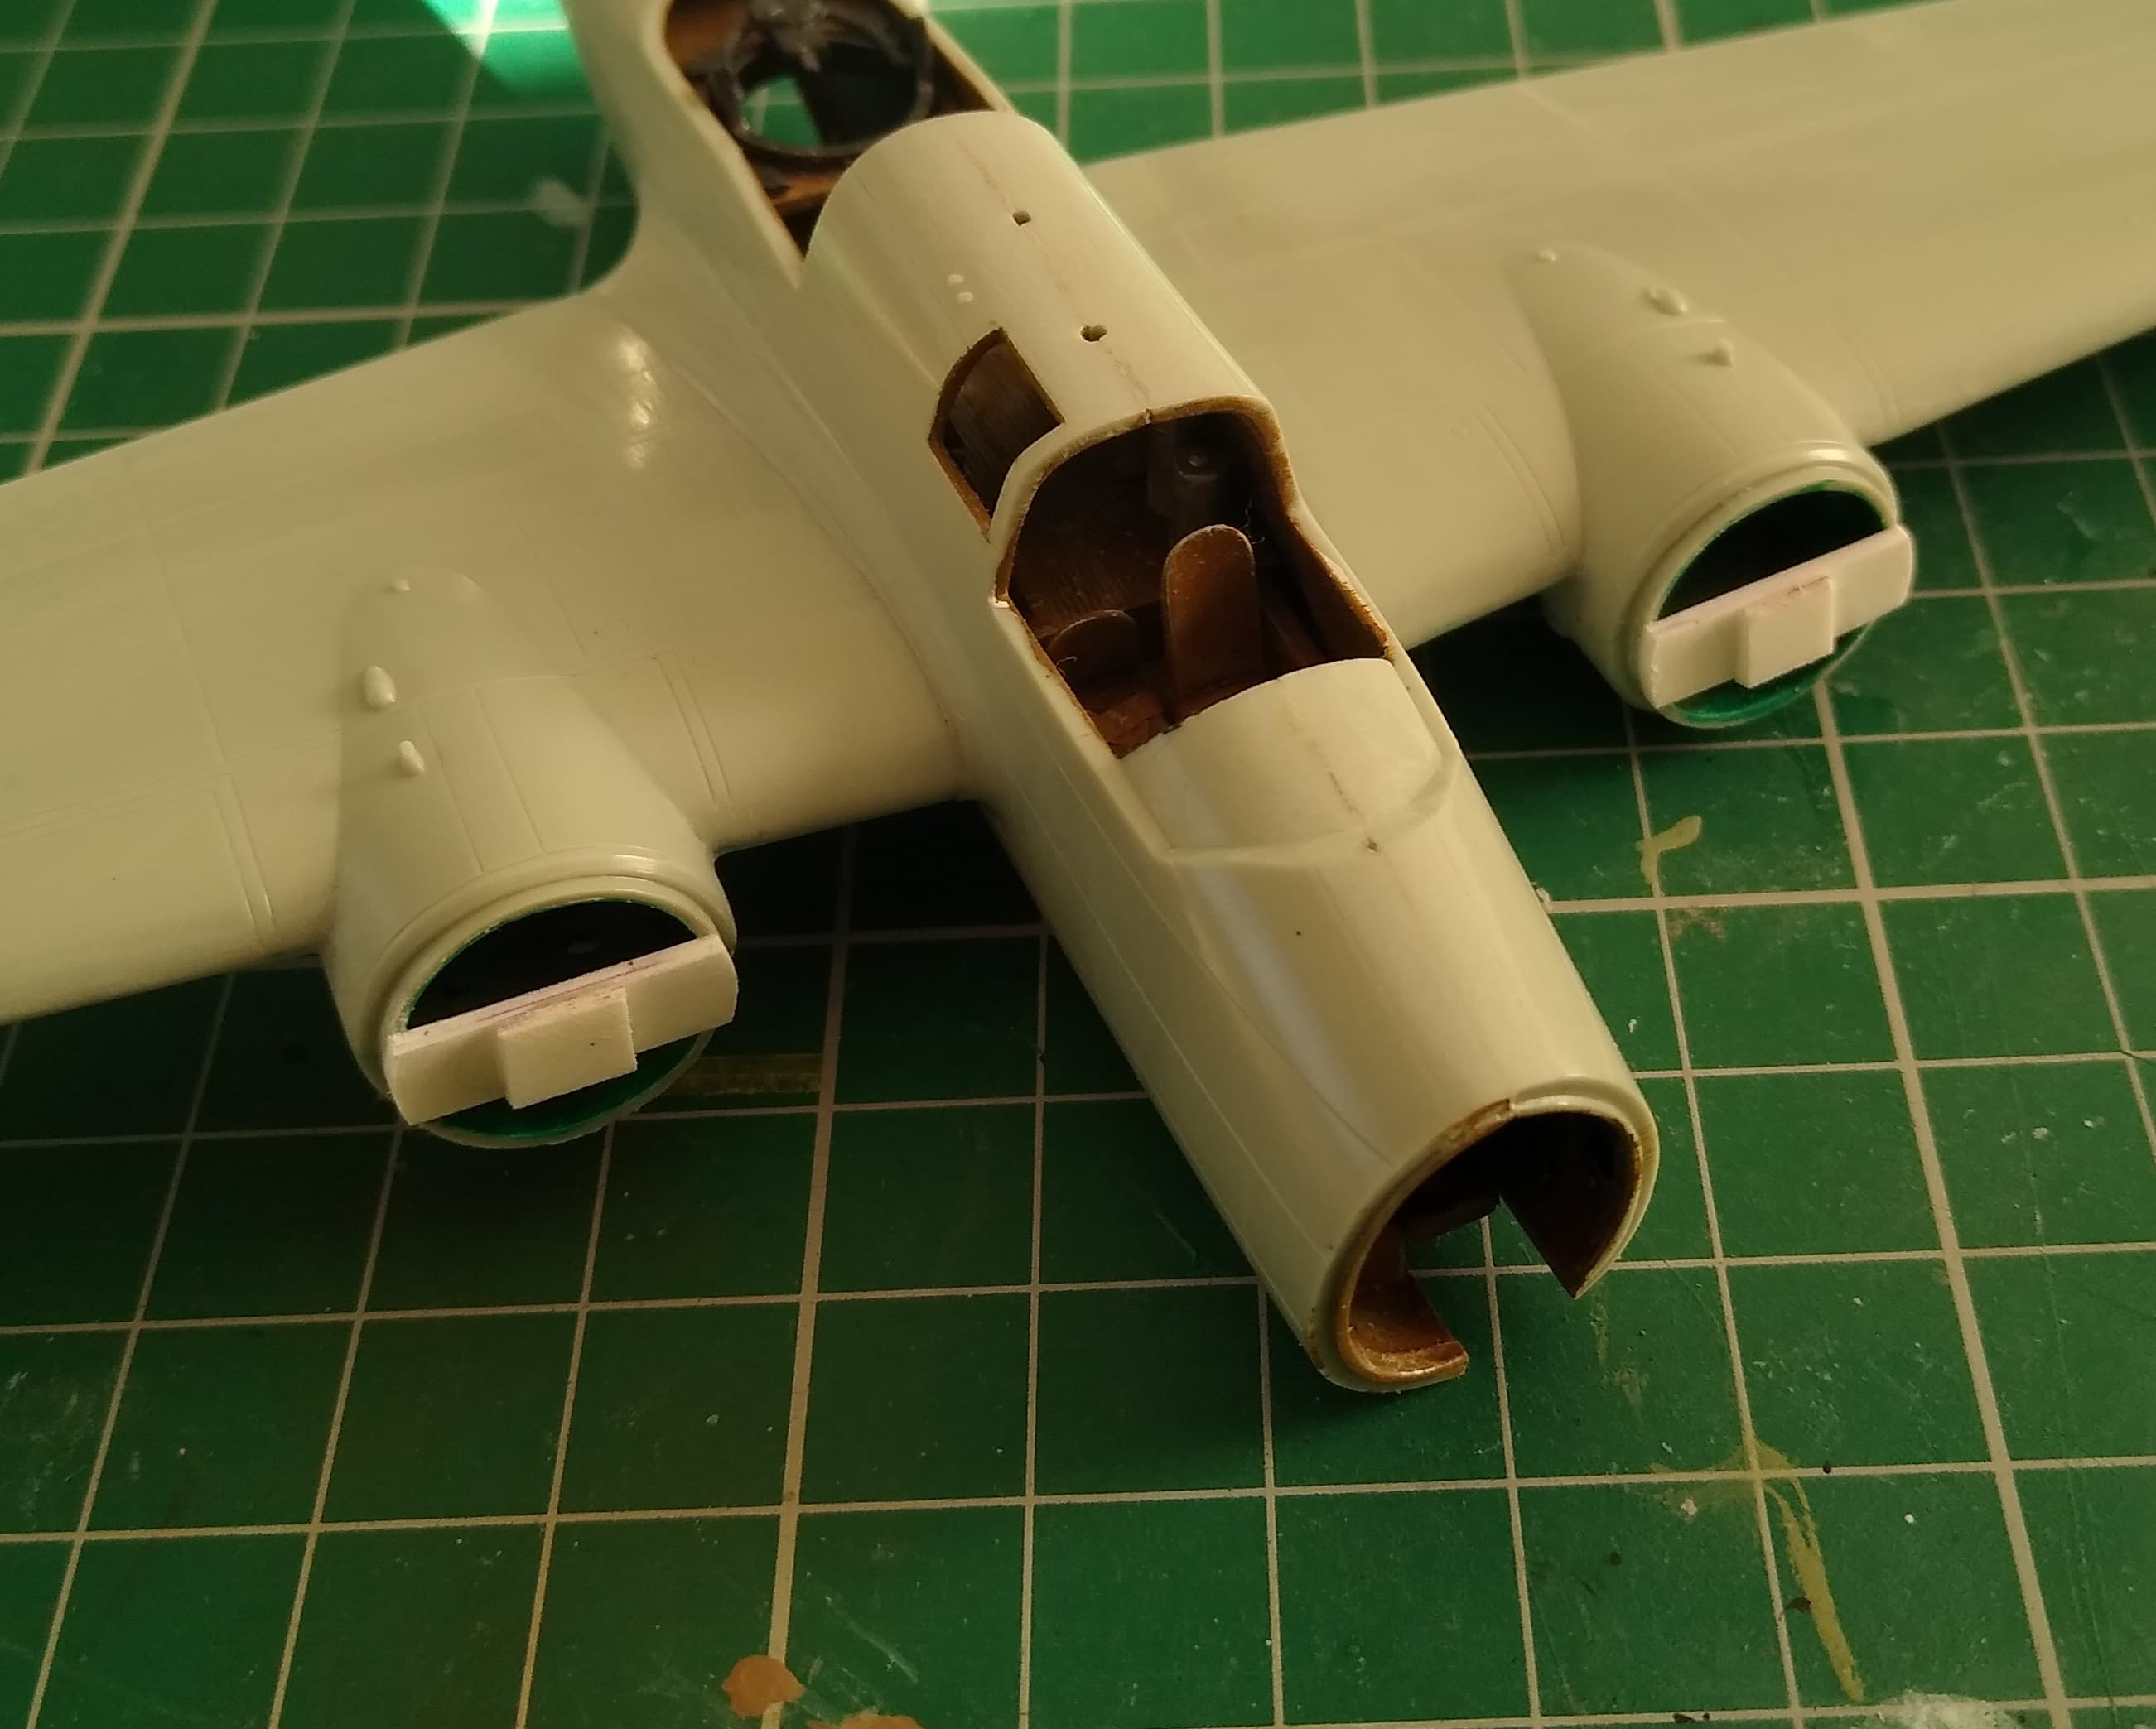
They now fit nicely with plenty of clearance for the props.
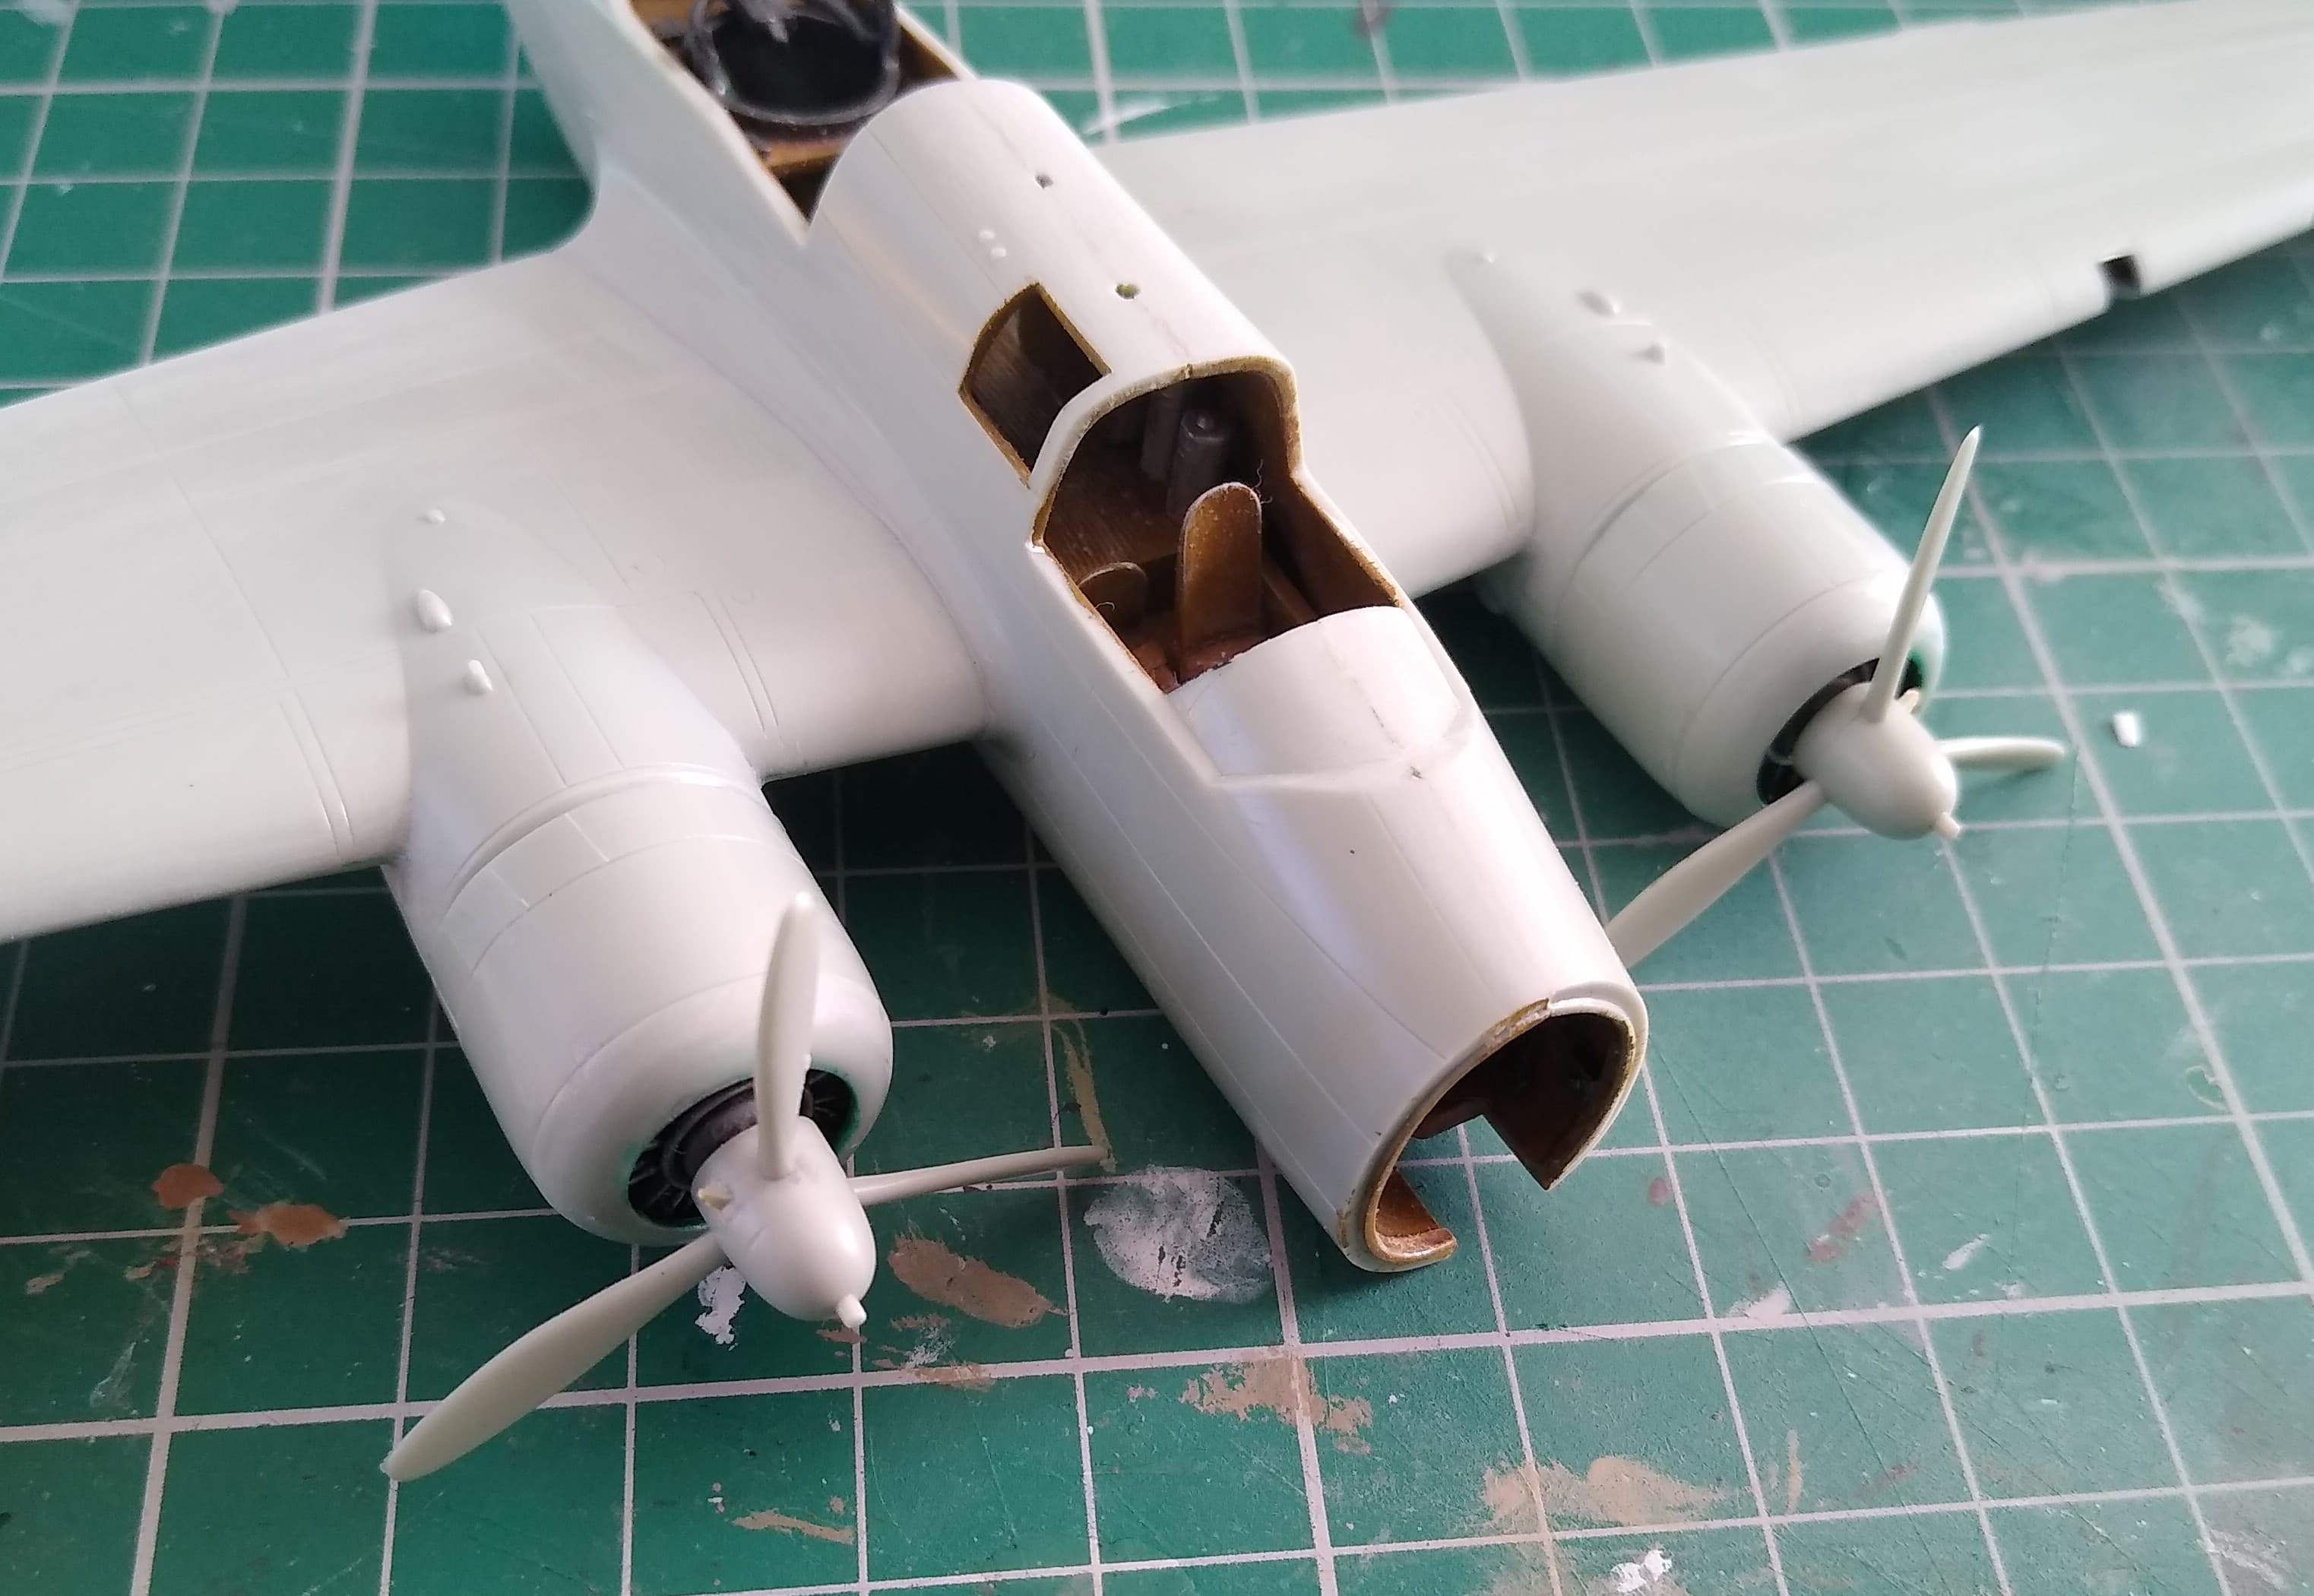
5 Likes
Problem solved, excellent, Stephen! And thanks for the info about the thinner!
The engines with the props look great.
![]()
![]()
2 Likes
Hi mates,
here are some better pictures of my finished build:
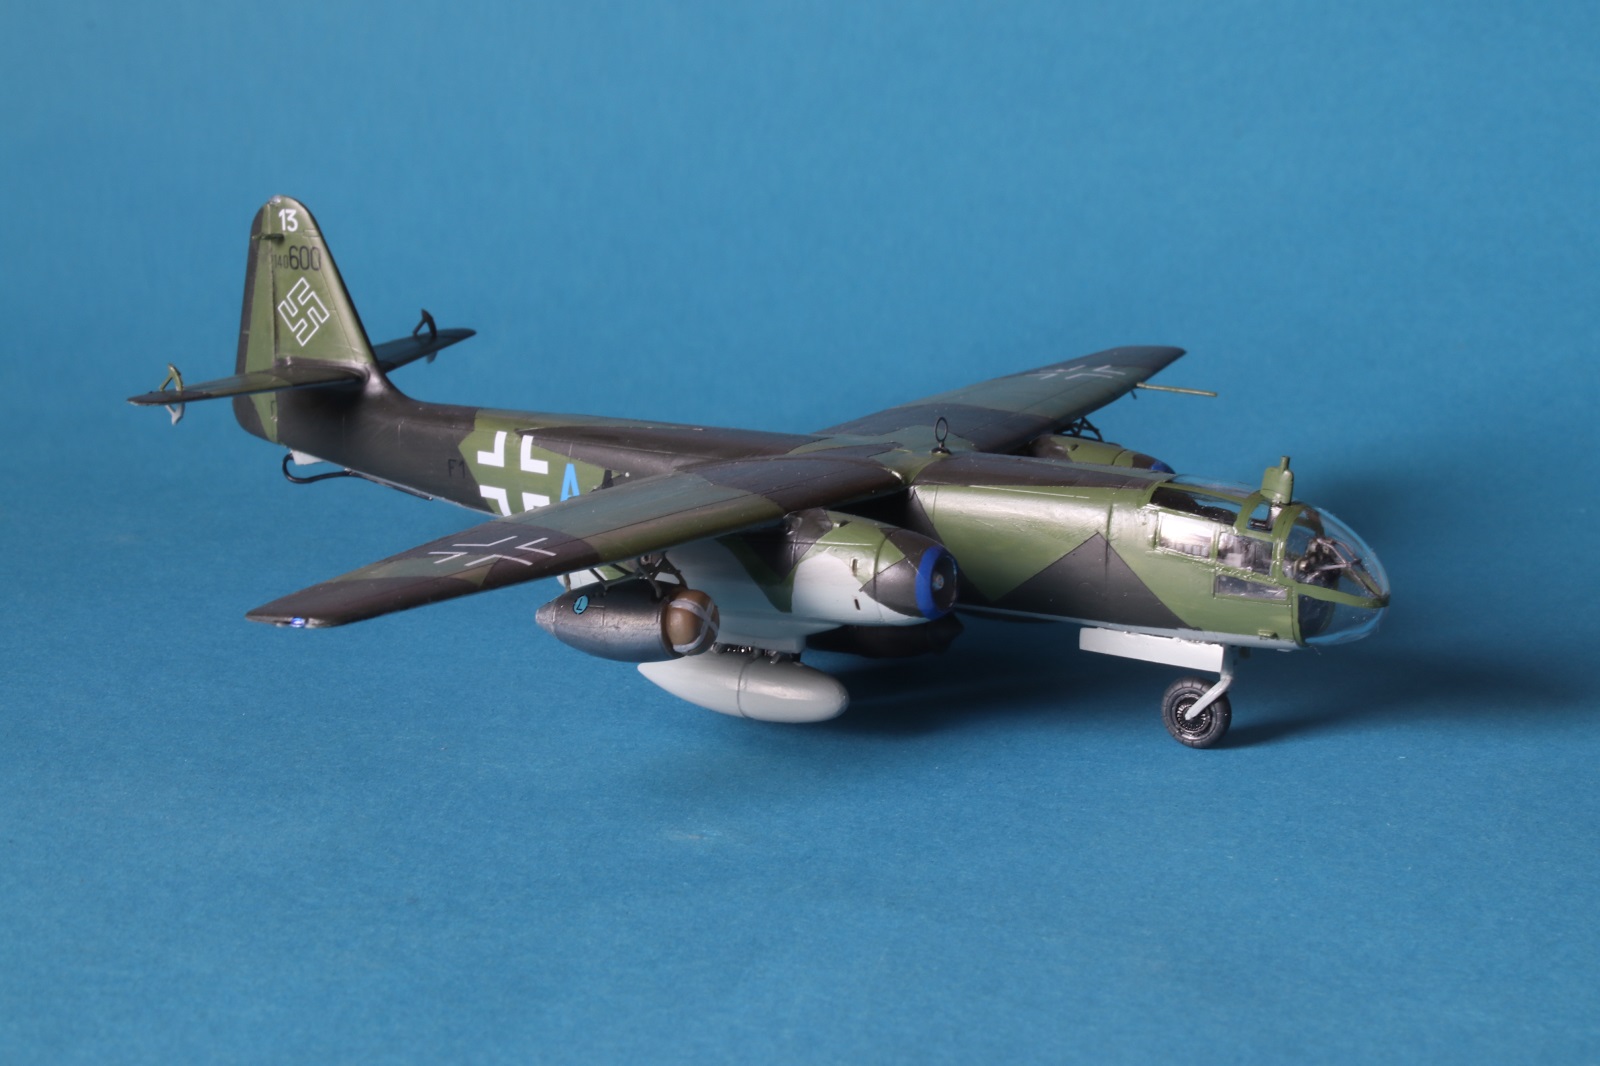

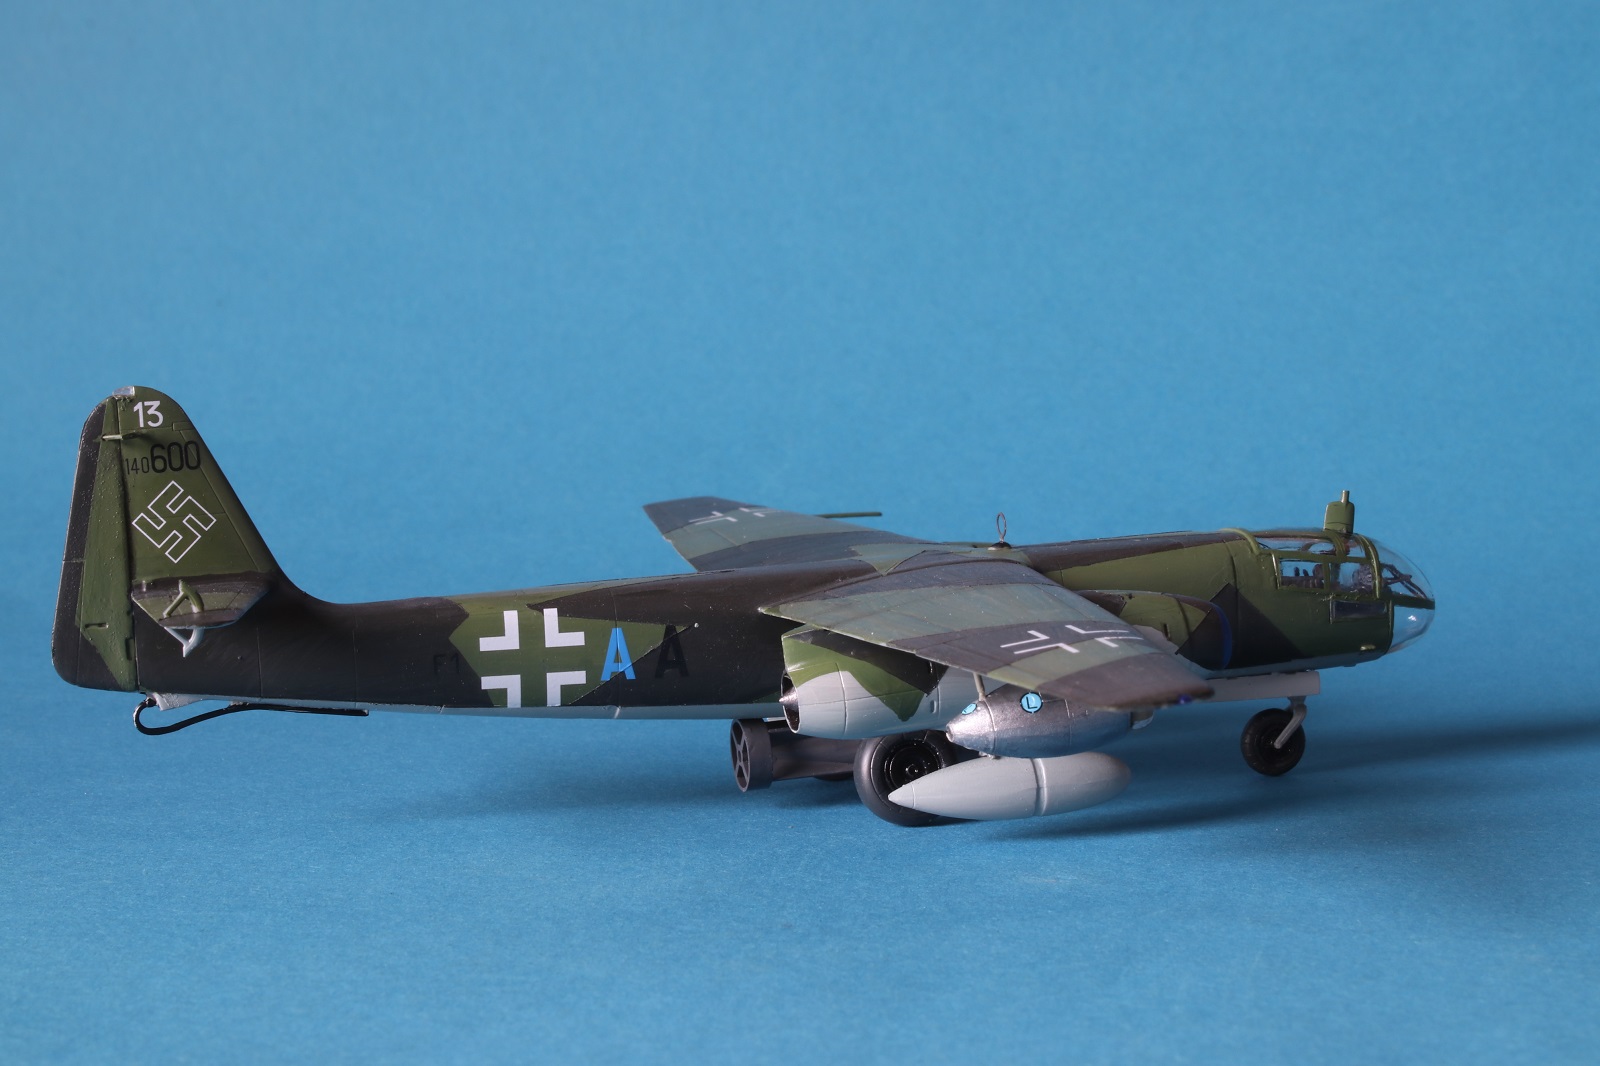
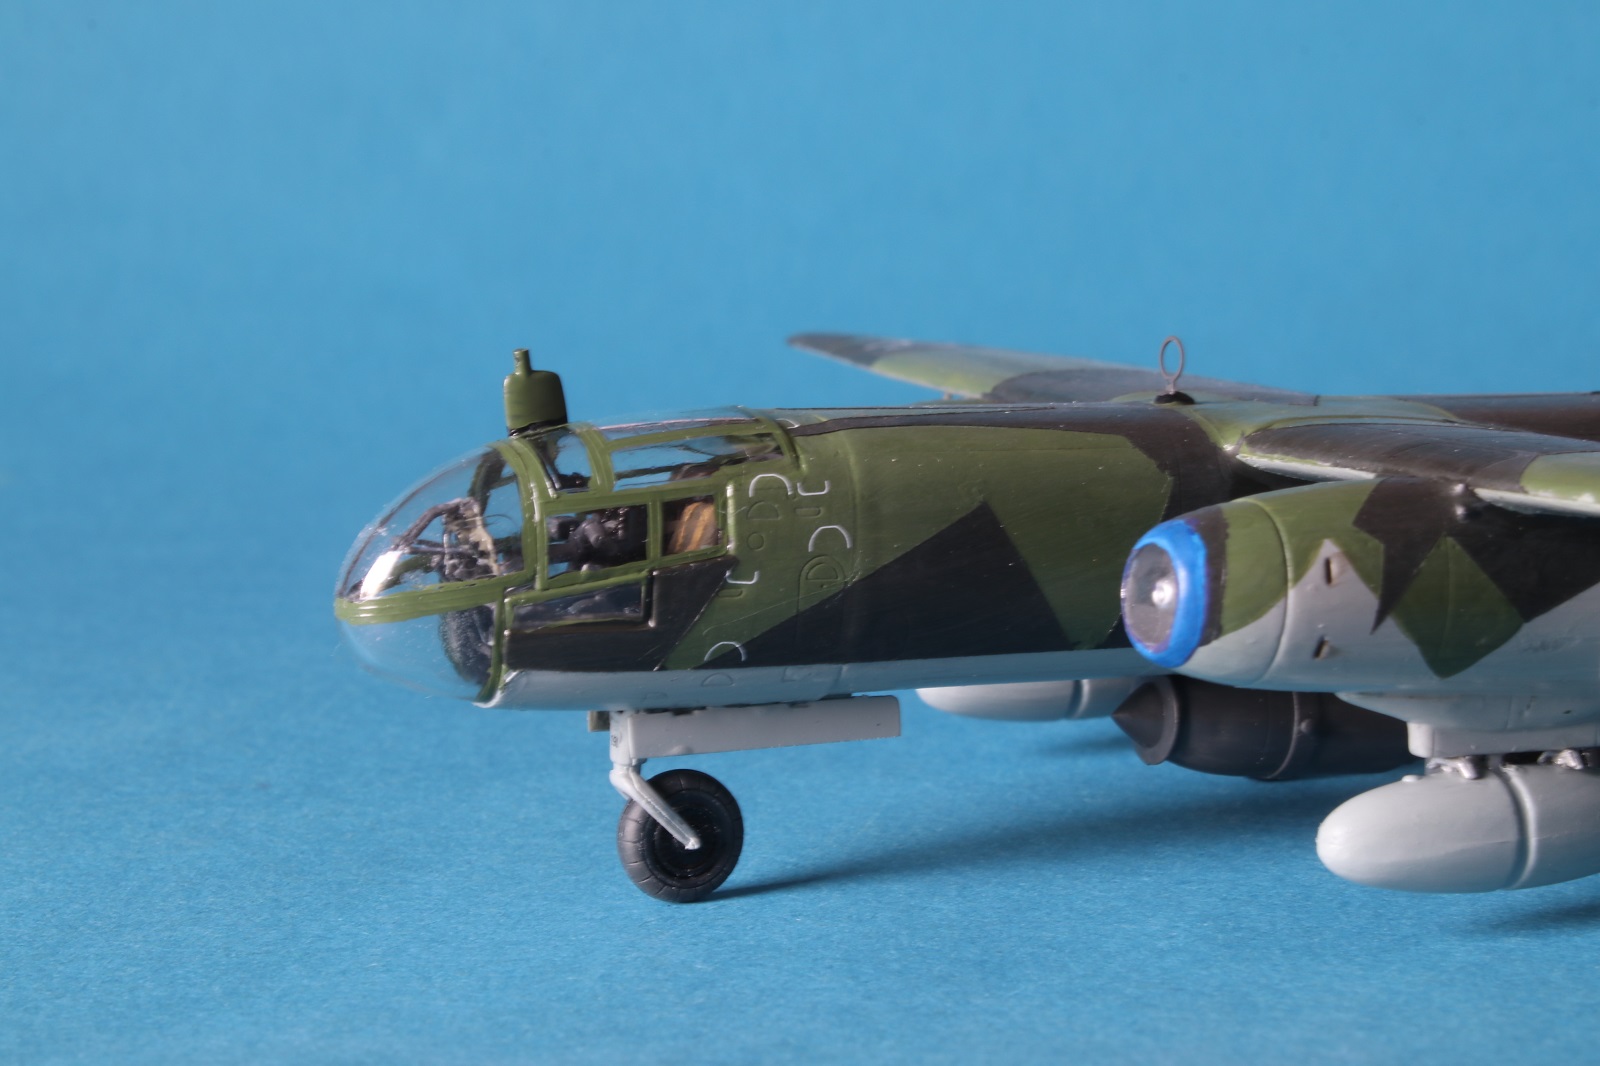
The kit is really recommendable!
Good luck for the last weeks!
Peter
8 Likes
Thanks Peter.
It wouldn’t be a vintage build without the odd little problem. Fortunately this was the only problem and an easy fix. The rest of it has been a dream to work with. I’ve had far worse from Airfix and Revell. Just demonstrates how far ahead of western model companies Japan was back then.
Tomorrow’s job I think will be to sort out the undercarriage and polish up the transparencies. I think because of the age of the plastic, the clear parts have gone a little cloudy. Hopefully a good rub down and polish with toothpaste should bring them back to life.
Peter great job on the Arado. That has turned out really nice.
1 Like
@ phantom_phanatic. That is a really good tip! ![]()
![]()
![]()
![]()
![]() Thank’s!
Thank’s!
I don’t have Gunz Thinner on hand but I was able to substitute Tamiya Lacquer Thinner instead — still seemed to work really well!
—mike
1 Like
Happy to pass the tip on. Tamiya thinner might be the same stuff.
I managed to polish out the clear parts today. Not perfect but better than they were. I think the age of the plastic is against me.
Will have to put her on hold till next weekend as we’re away for a few days now. Should still make the finish line though.