I’m probably gonna get it as close to bare plastic as I can and then reprime. I’m worried about sanding though, as there is some fine detail, though a bit of sanding is likely required
Just tried ipa, took it back to primer really nice. Just need the decals off.
Am I ever glad I didn’t bin this one. Got the wings back to primer in about five minutes, just need to sand off the decal residue and I’m good it paint. Should have her back to normal in a couple hours. Then I can spray the large markings at a later date!
3 Likes
TO strip paint from plastic, submerse in DOT-3 brake fluid.
Good to know for future builds. Is it safe for clear parts?
Perfectly safe. Use warm water and liquid dish soap to clean off the DOT-3.
1 Like
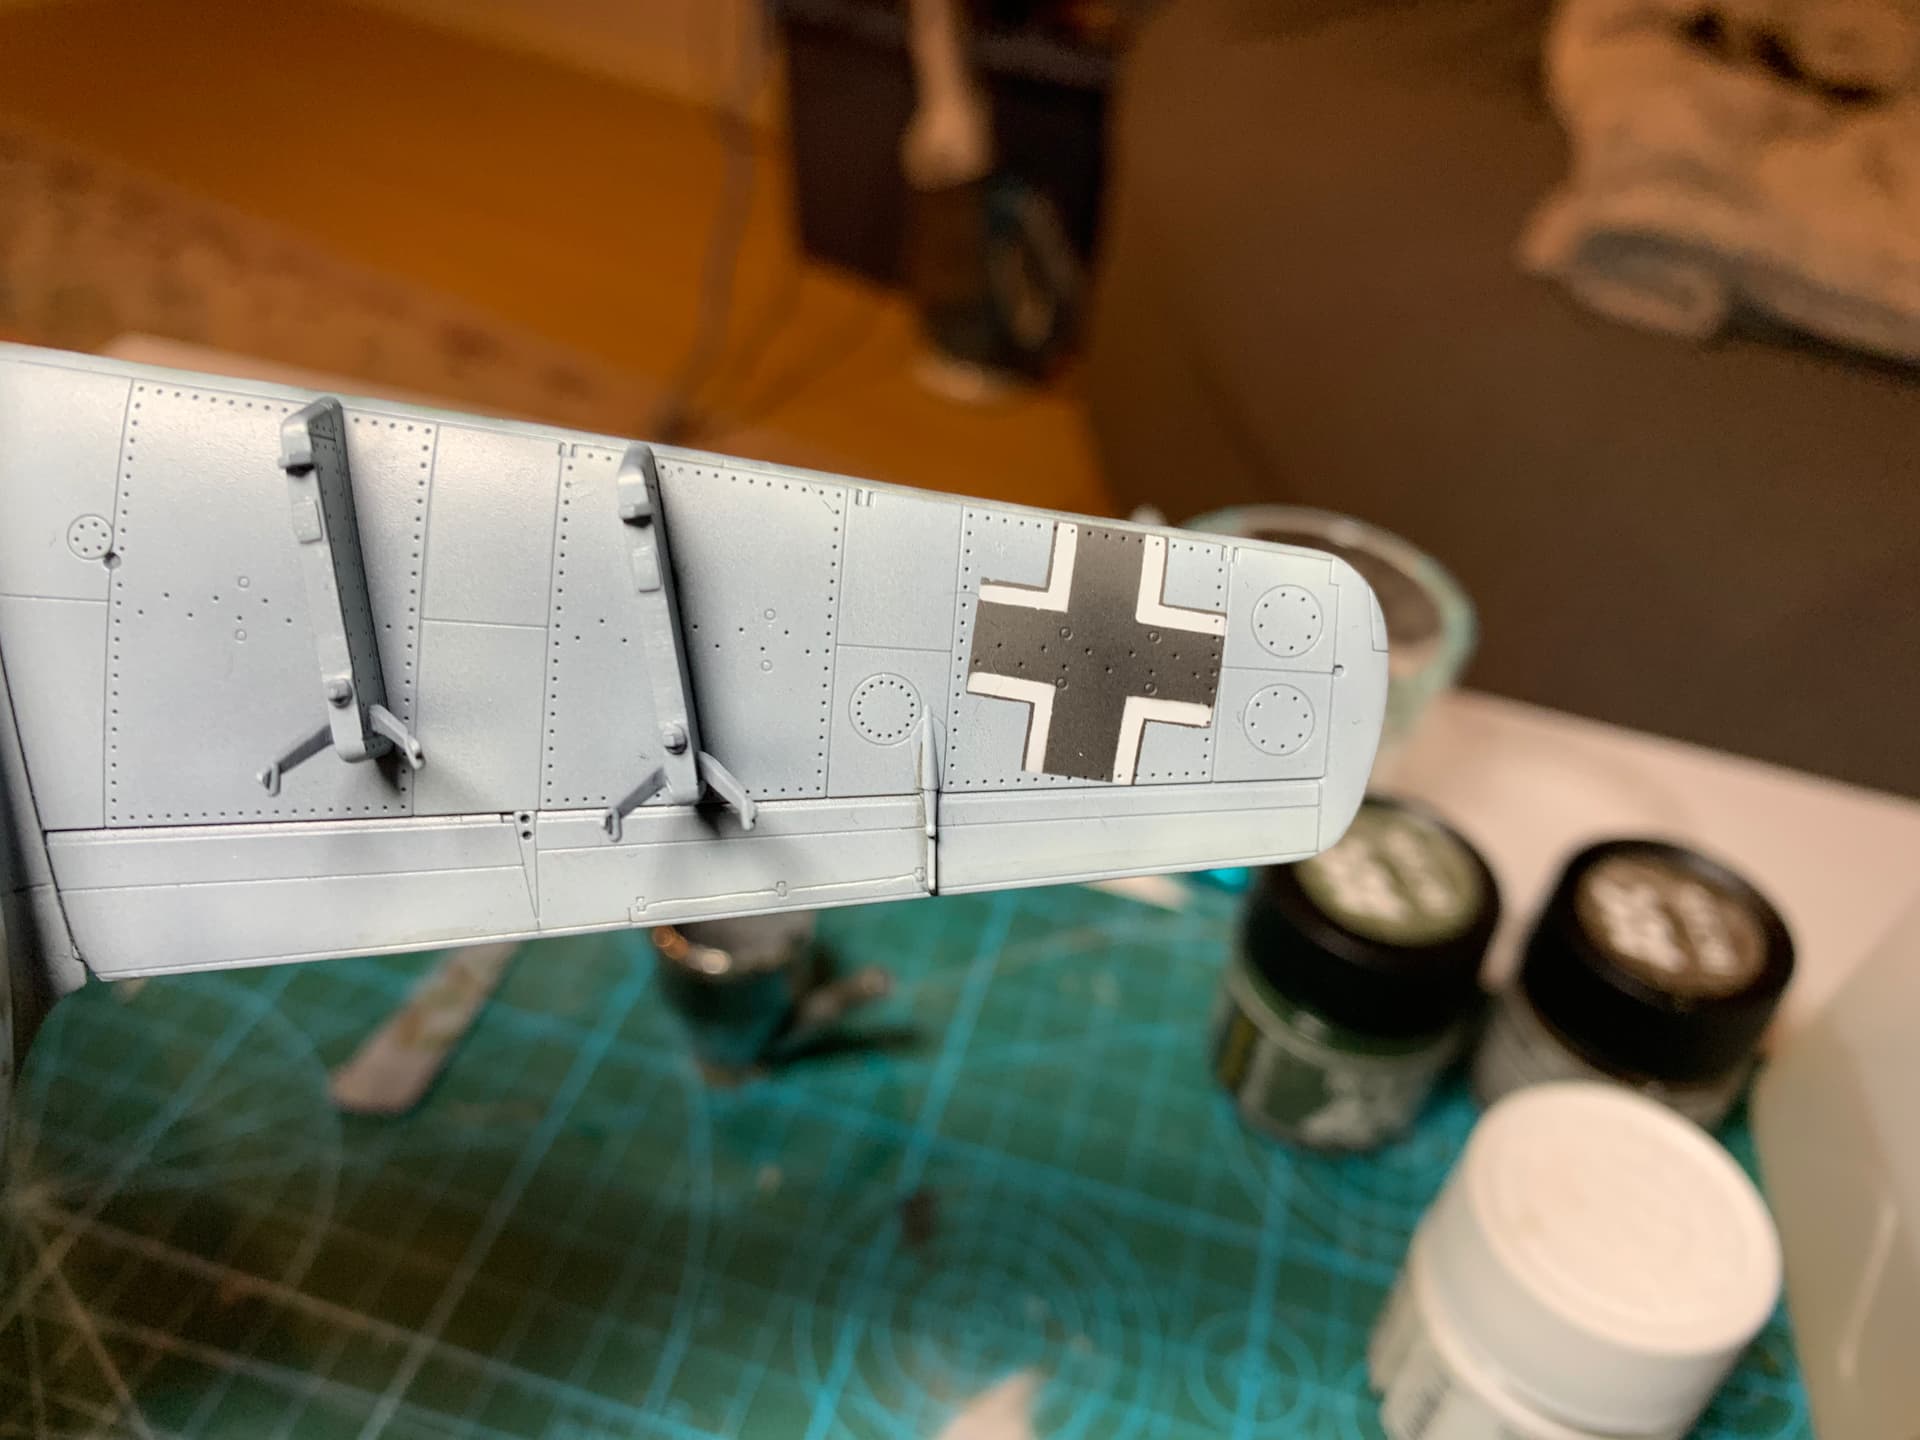
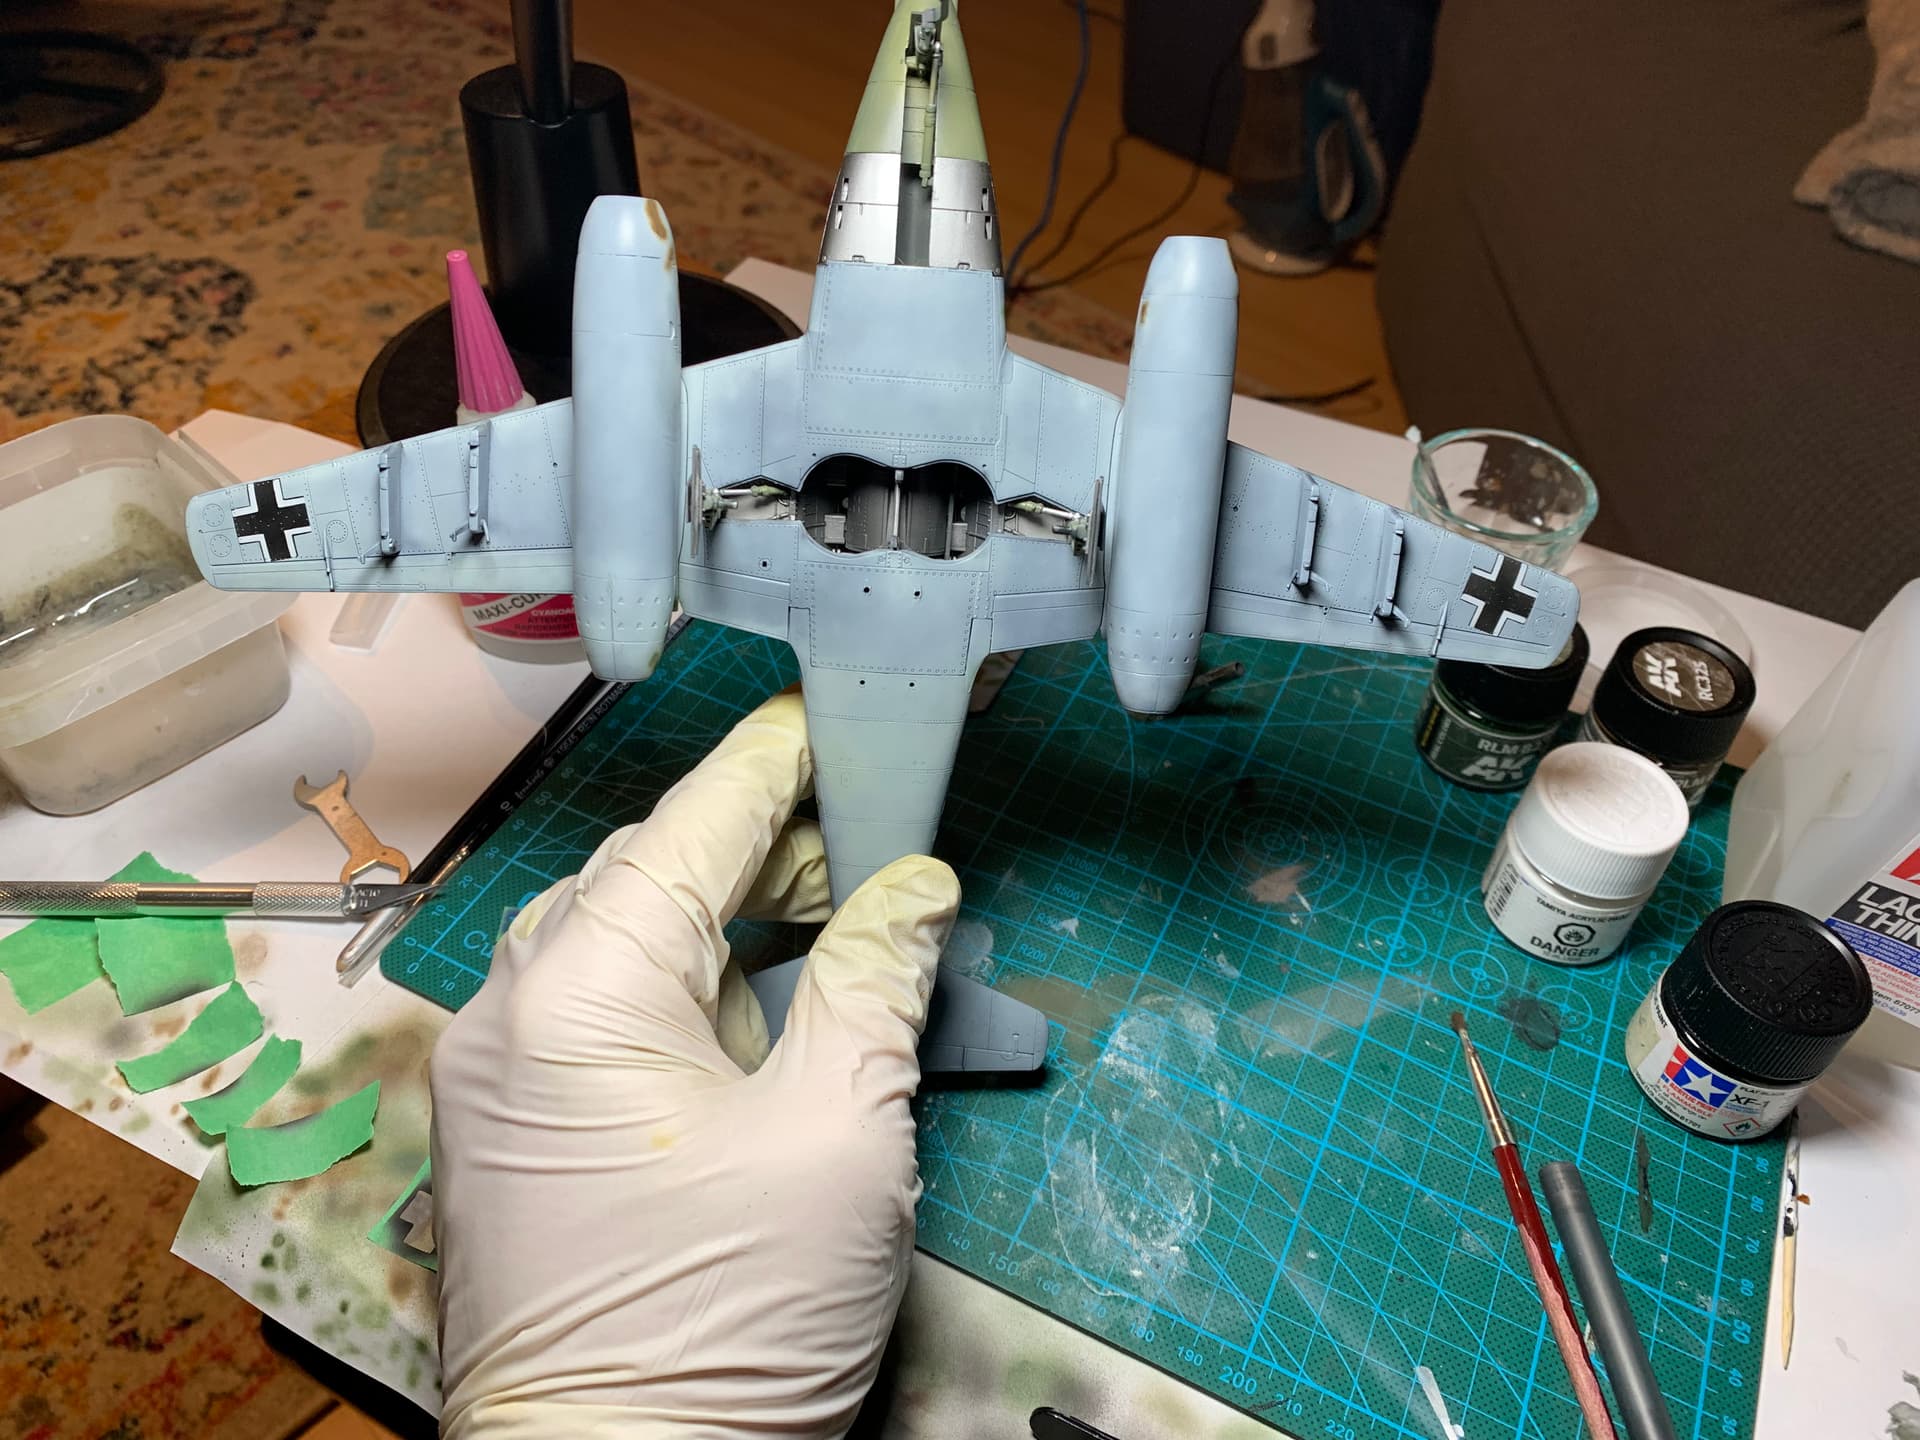
Alright. She is salvaged. Got the fuselage and wing balkencruez down, and the tail swastikas. Cut masks with my cricut and sprayed the markings. I’ll probably cut masks for the lower wing crosses too but the masks will be more complex so I need to think it out
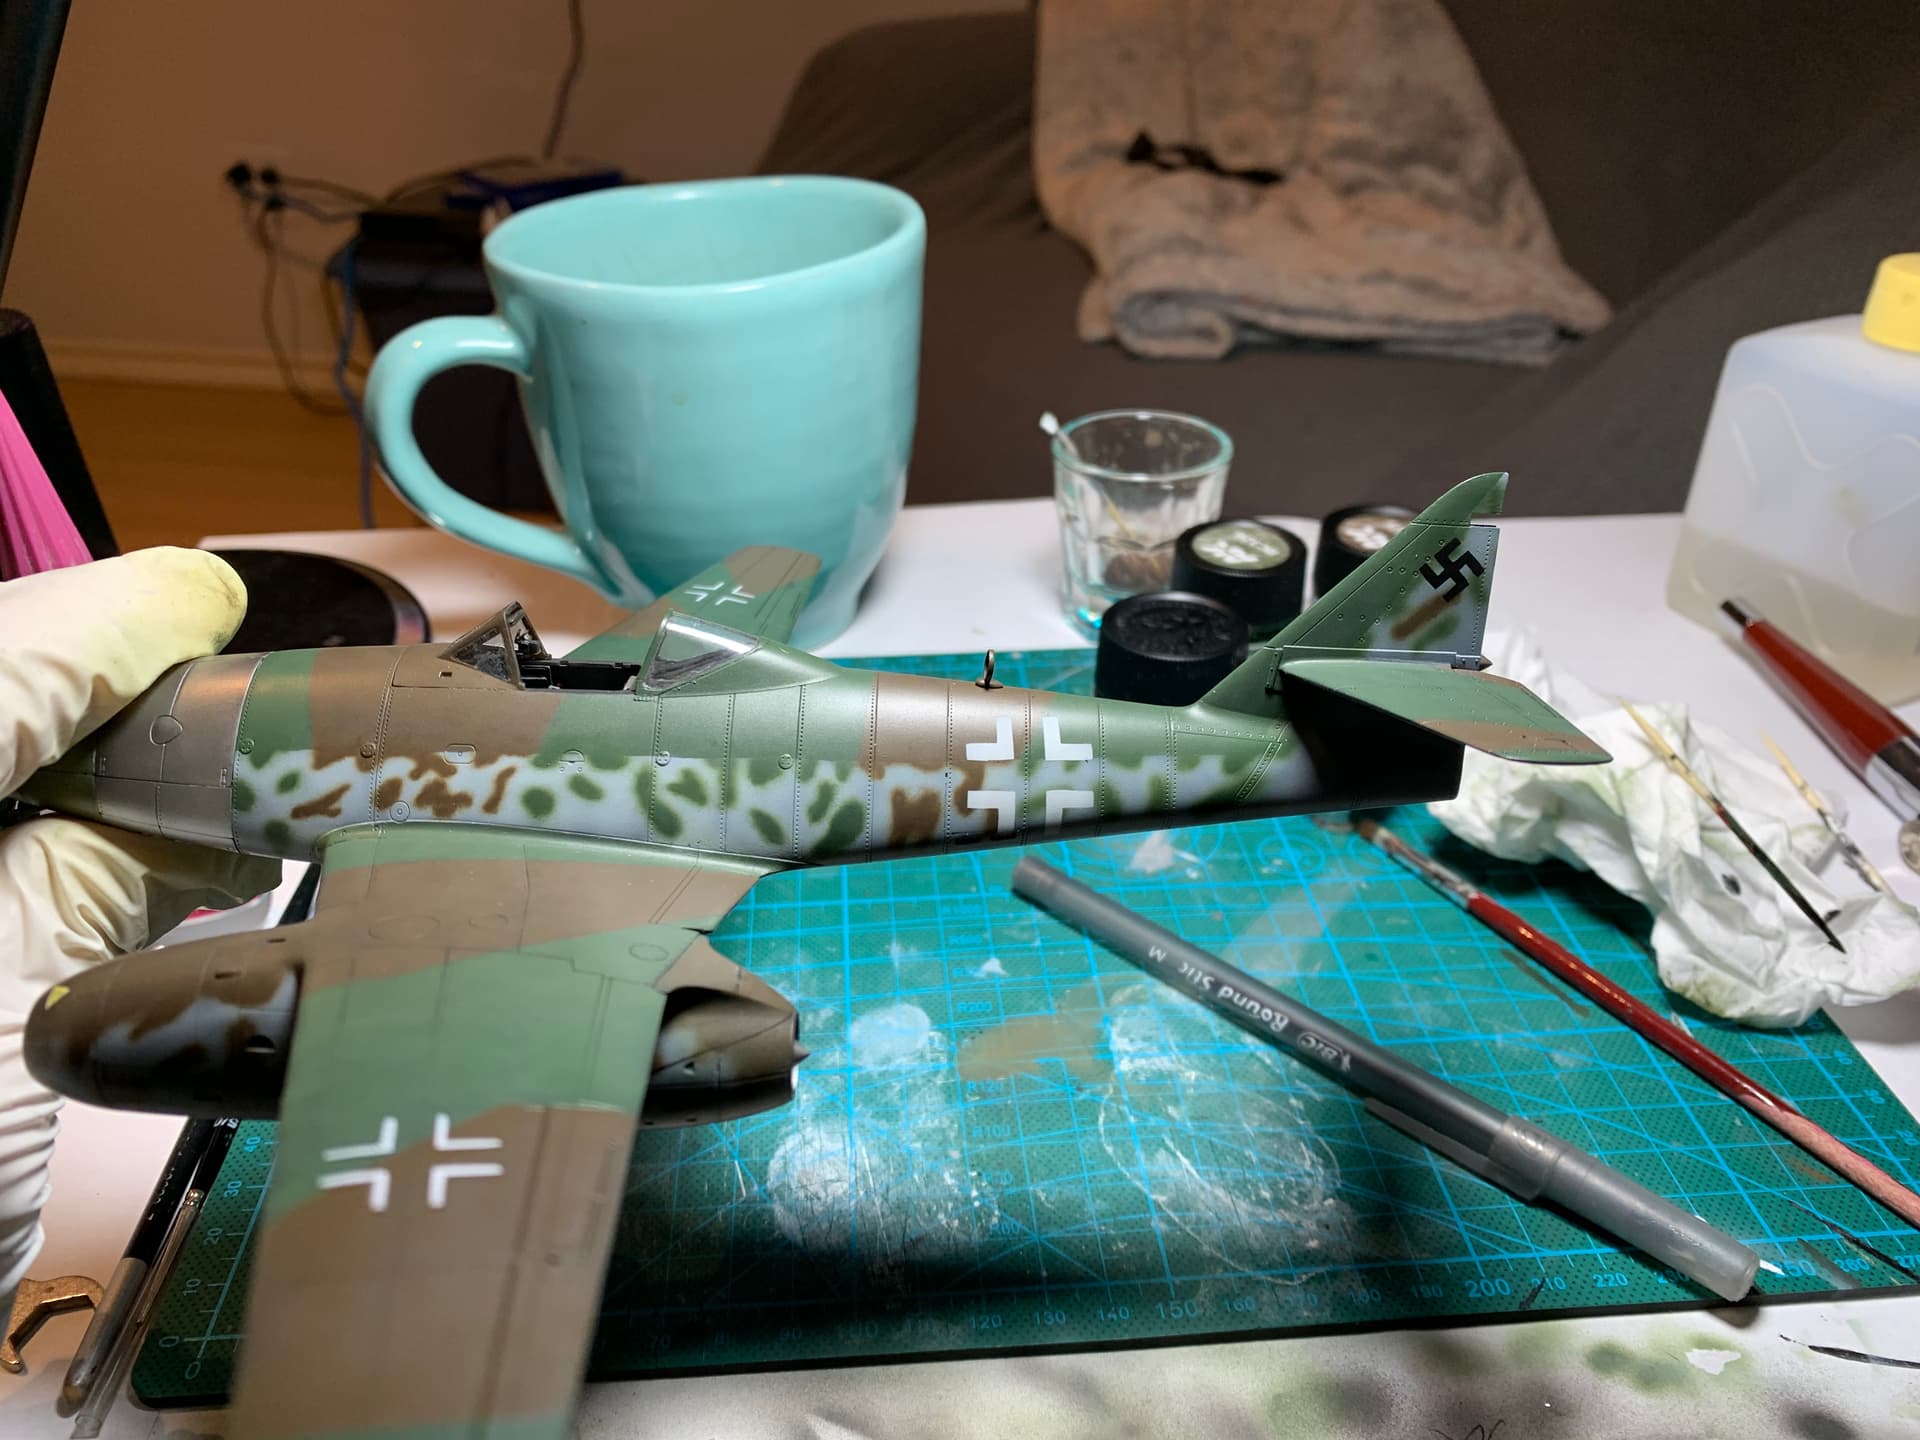
7 Likes
Nice! Really glad you pushed through this one buddy. This pain will be worth it in the end.
2 Likes
Looks great, Mead! Really nice save.
Once you try different suppliers of paint etc. you can decide on one line to work with. It is often good to stay with one type: Acrylic, turpentine, alcohol based etc. Or at least secure colors with a solid varnish coat before moving on to the next type of paint/medium.
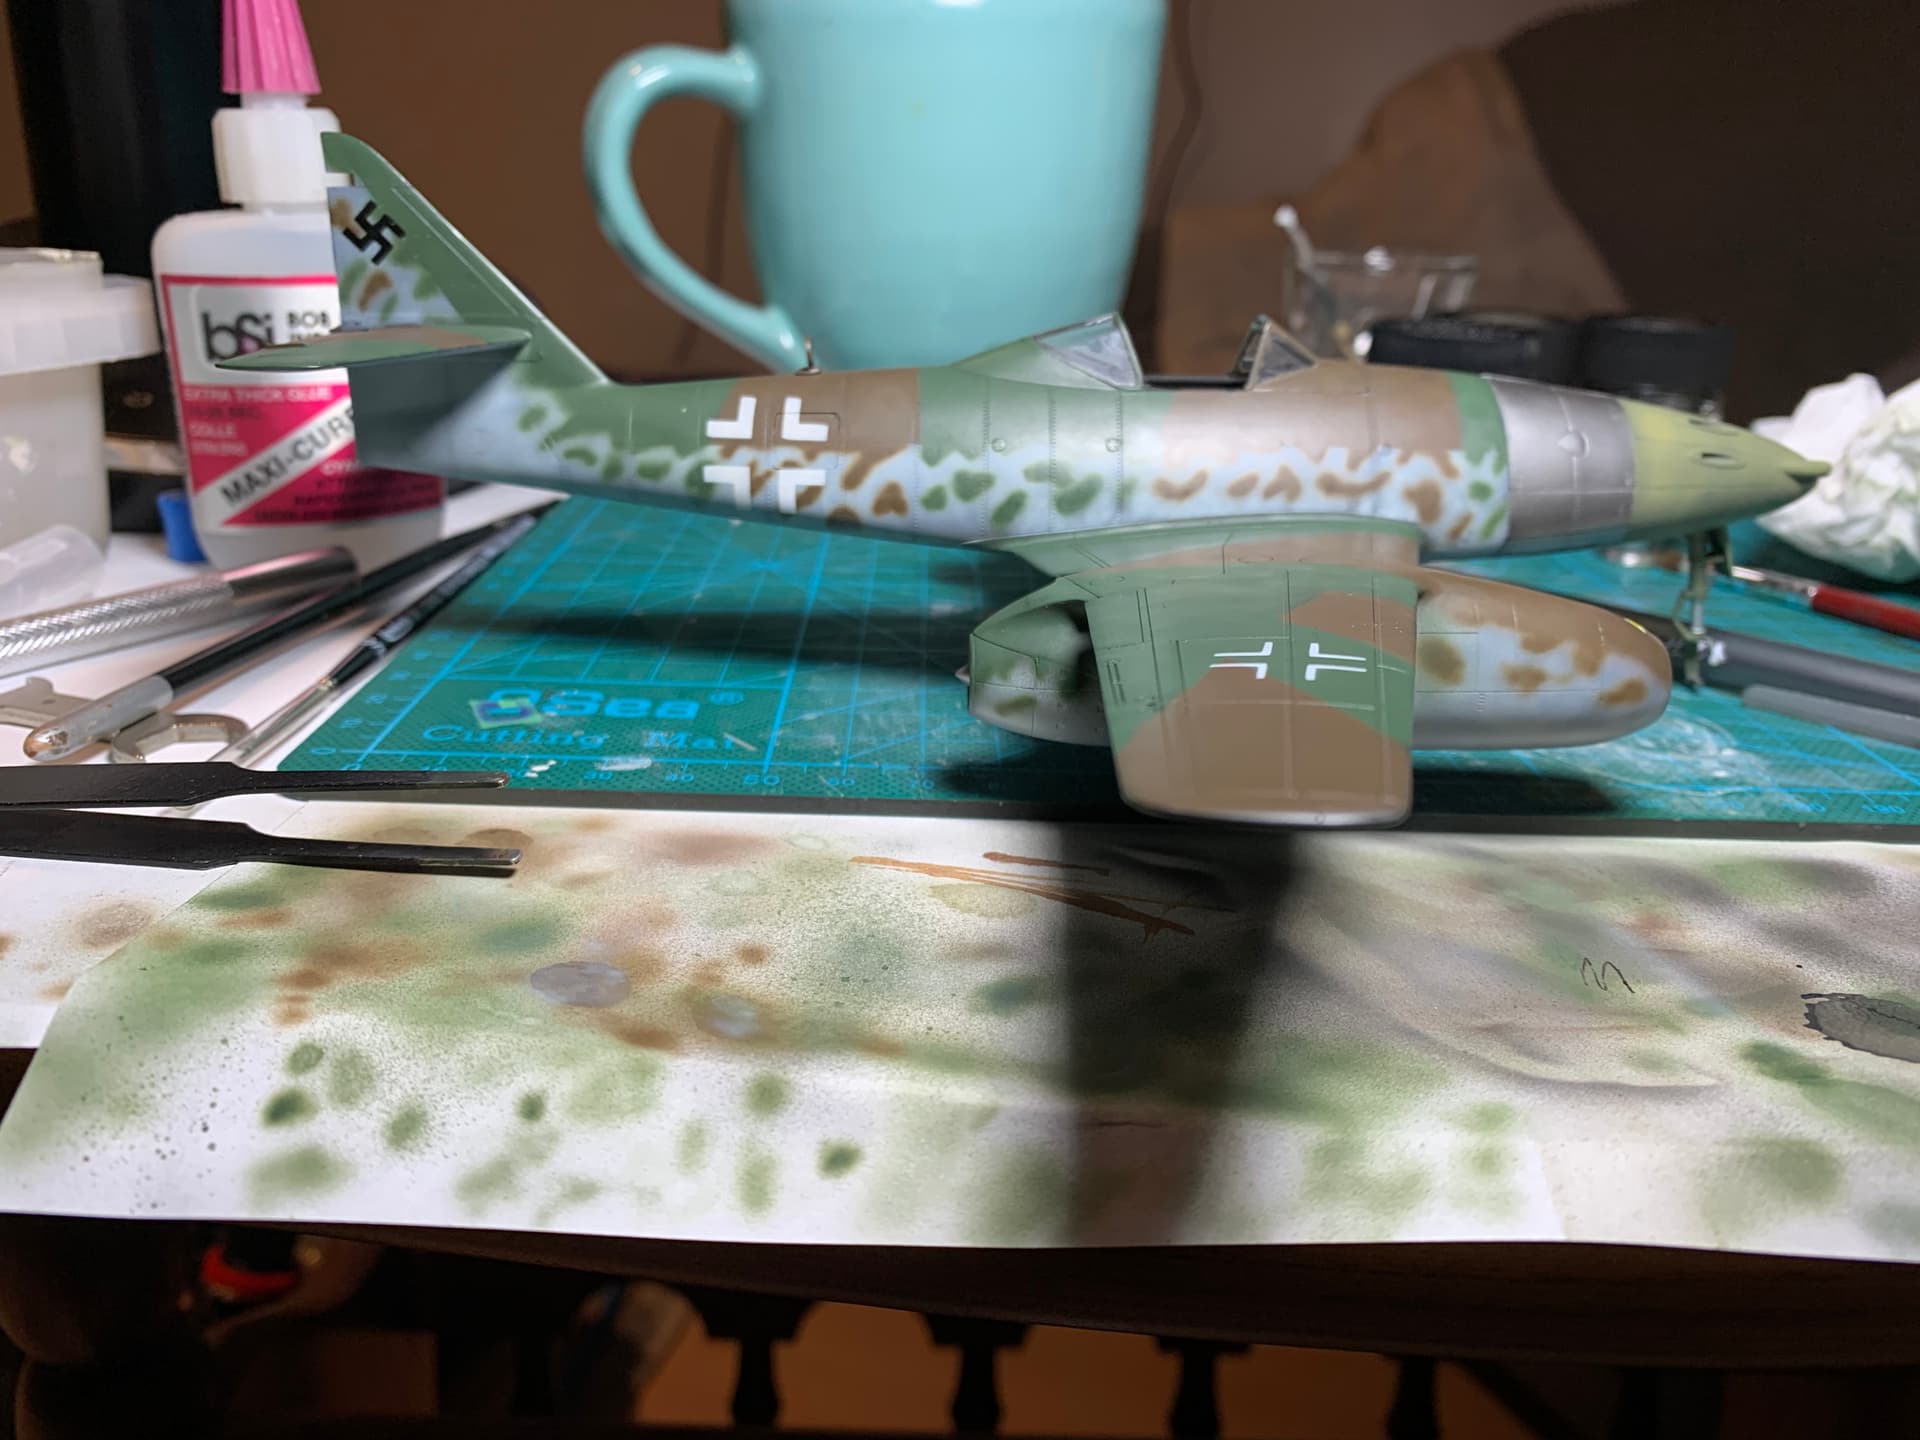
Your Me262 is turning out stunningly good 

Looking great Mead. Well worth saving and trying again. Going to have a lot of satisfaction when she’s finished.
Yes very impressive build Mead. Finishing problematic builds can be the sweetest 
Thanks @SGTJKJ @phantom_phanatic and @litespeed!
She definitely isn’t a contest winner but it’s important for me to get my first aircraft done to gain some confidence with them. To be honest I’m pretty happy with this one. I defintley need to learn how to scribe better. I’m trash at that step but aside from that I managed to avoid seam lines with this one which was a major bugaboo.
I’ve also fallen in love with spraying markings. It’s a lot of work to make the masks, but the markings can’t be beat
3 Likes
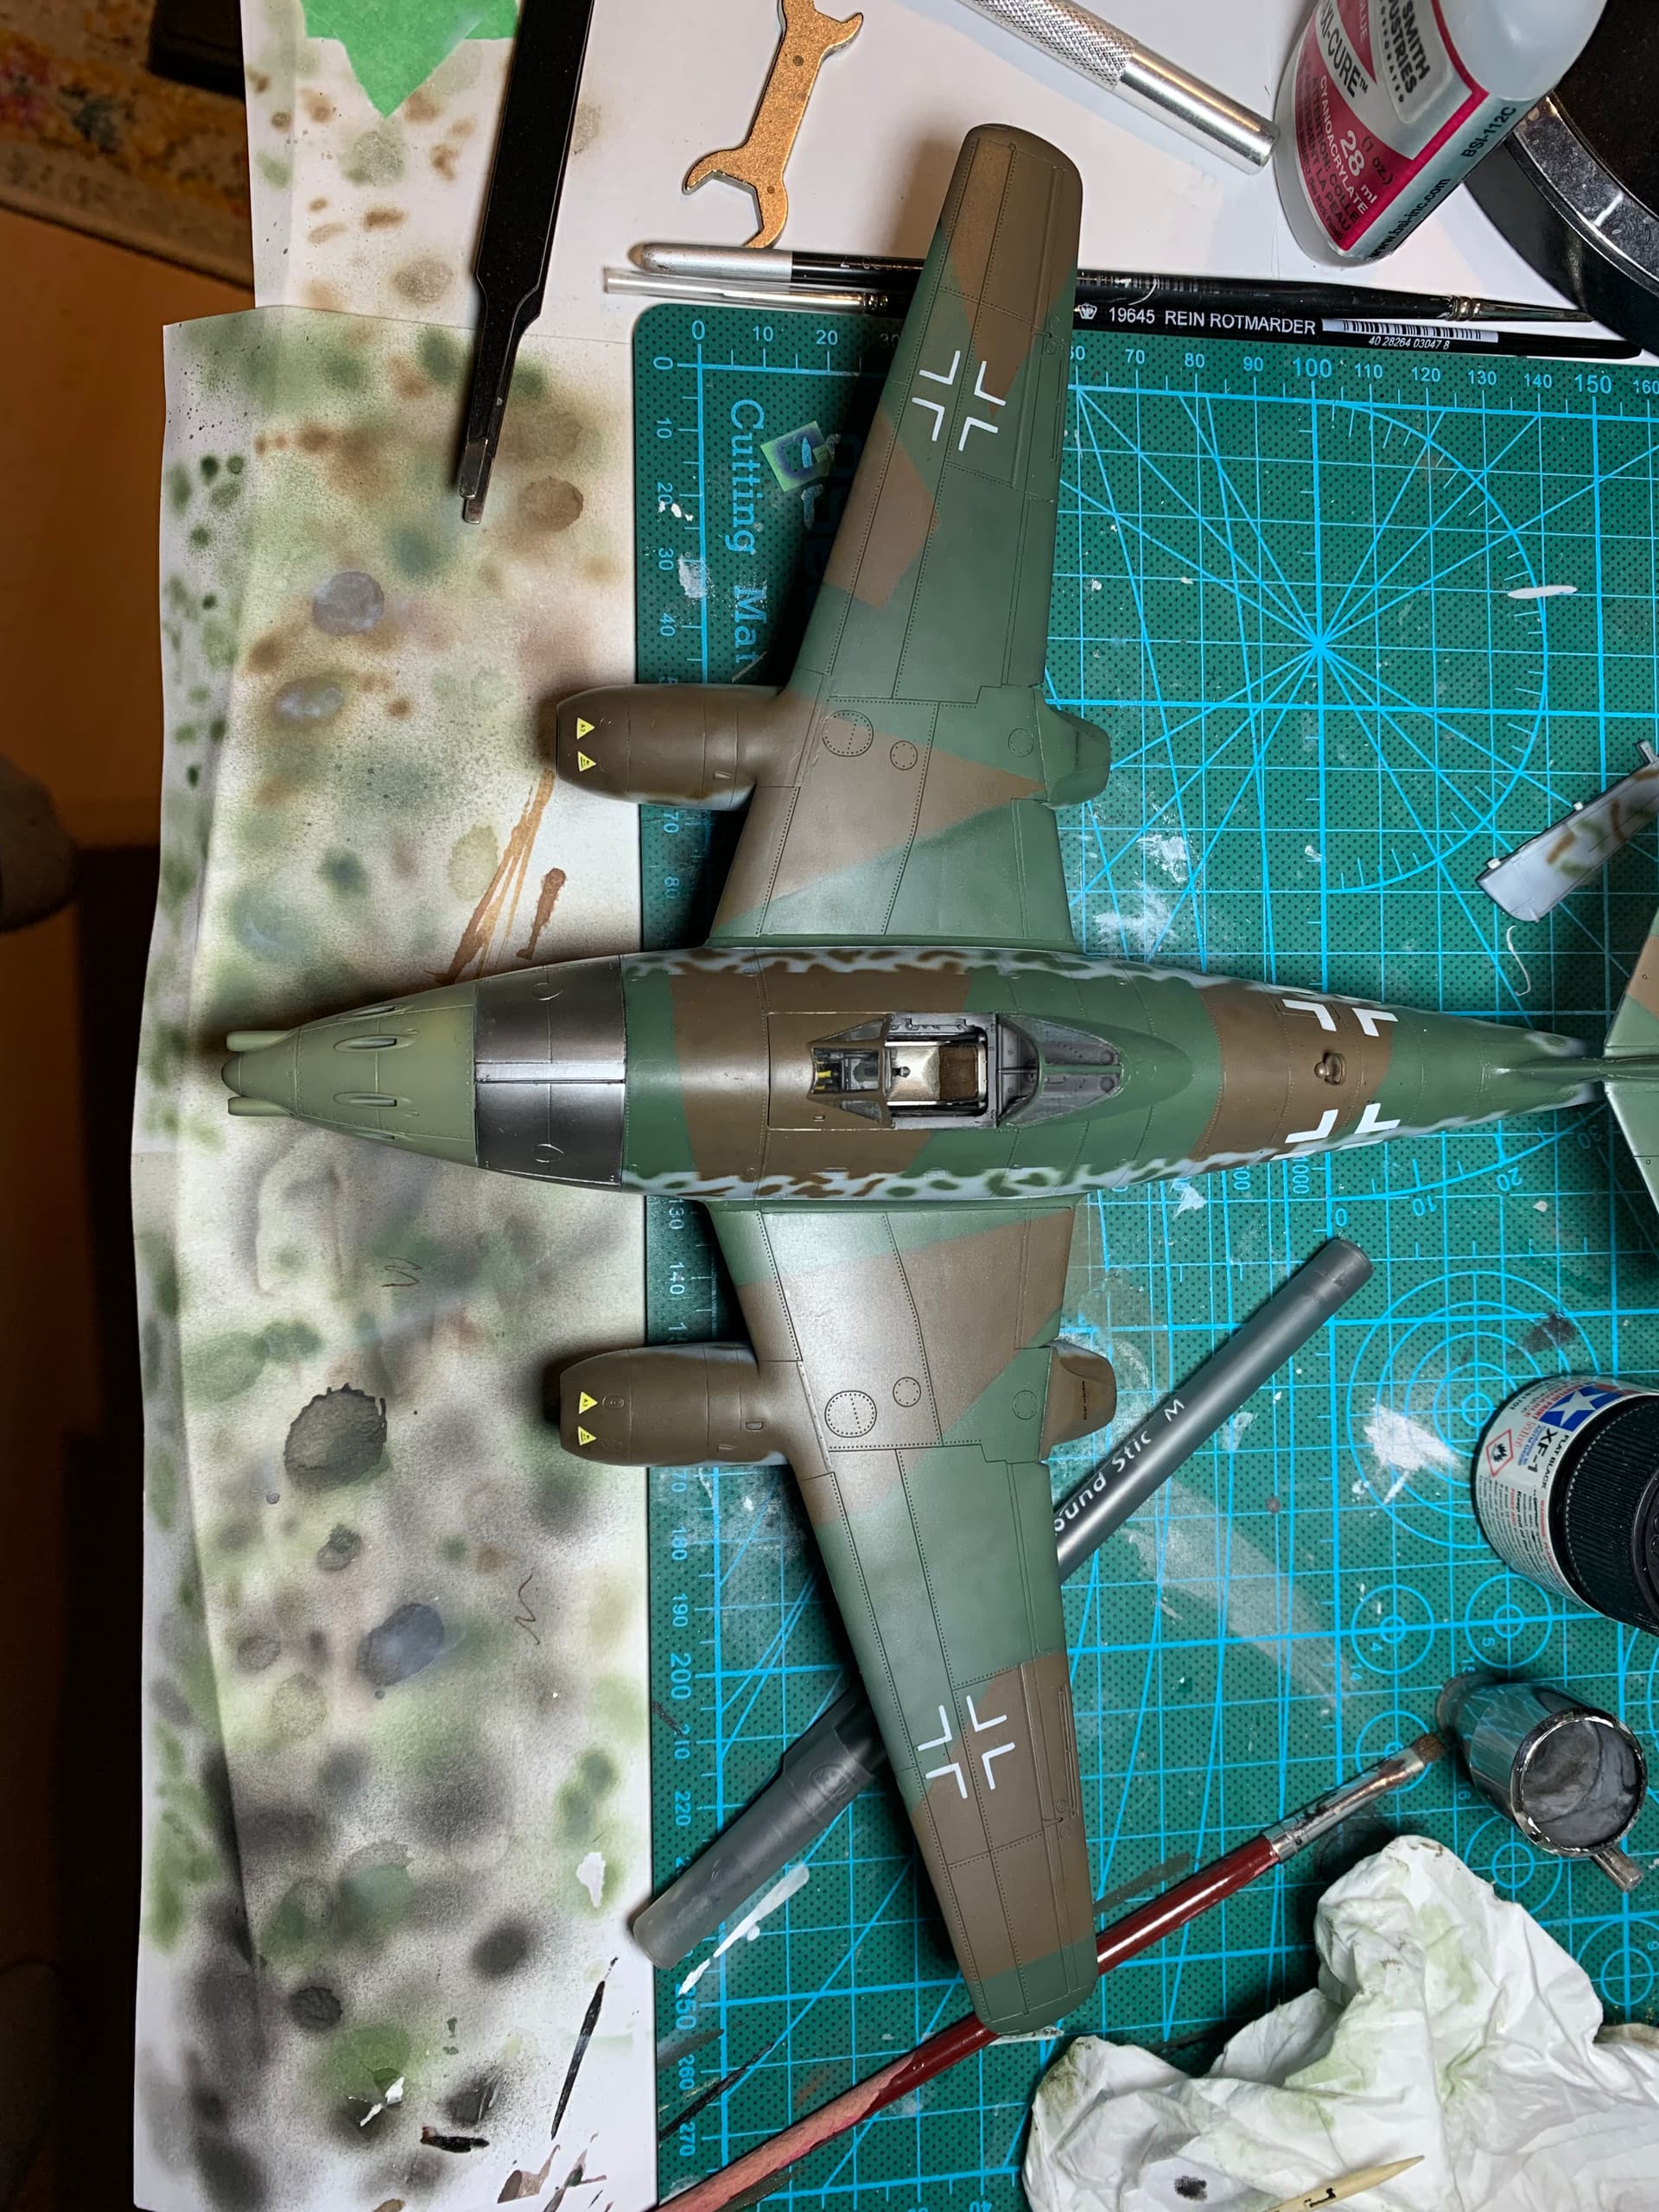
Underside balkencruez done. These were a bit trickier to mask, as the mask needed 3 parts but I’m pretty happy with them. Port wing one is ever so slightly crooked, but I’ll live with it.
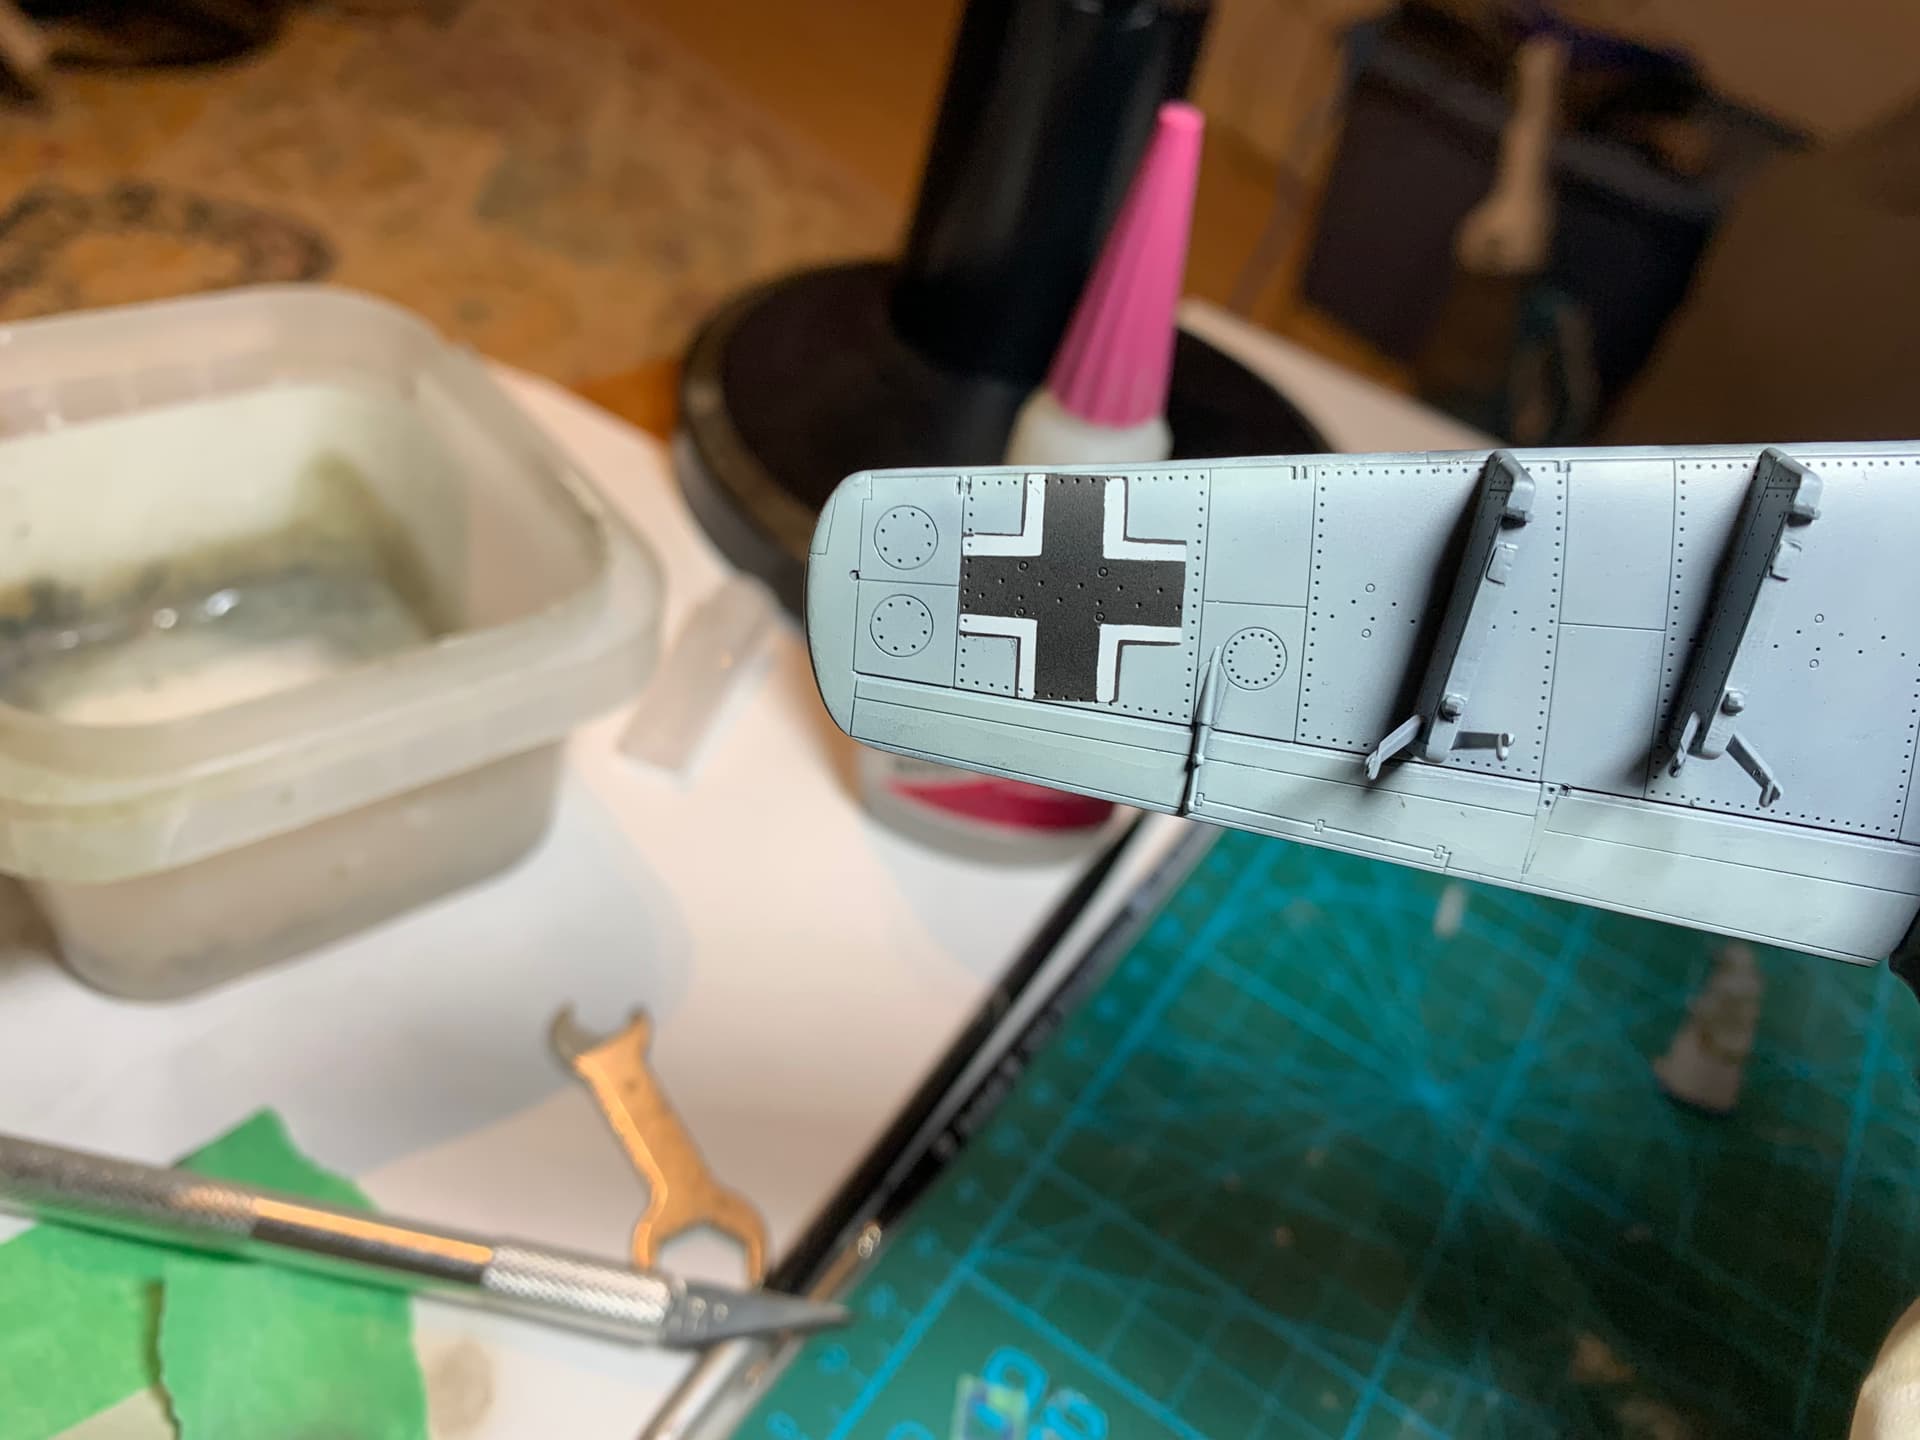
All that’s left now is the stencil markings which I’ll decal, and weathering.
6 Likes
Looking great Mead! Here’s my entry, hopefully it is a nice fall together kit as most Tamiya kits are, I need something simple after my last few builds…

4 Likes
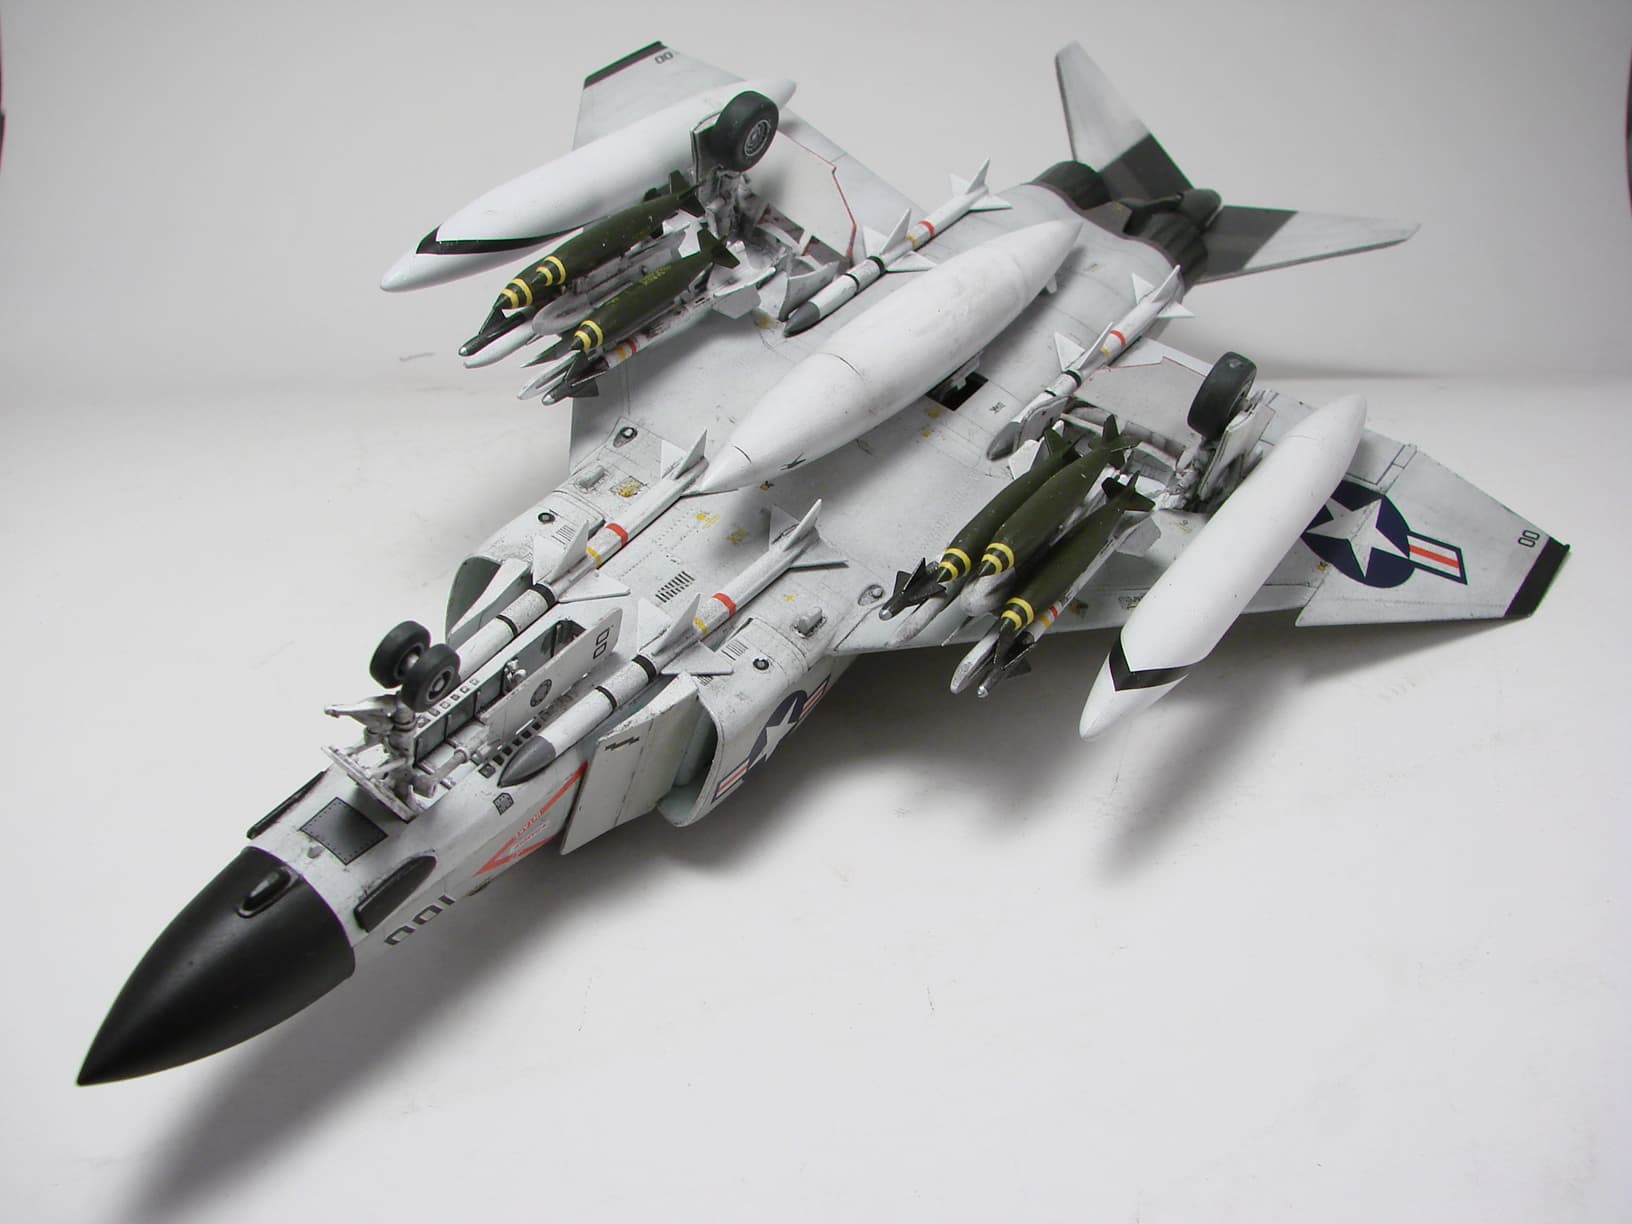
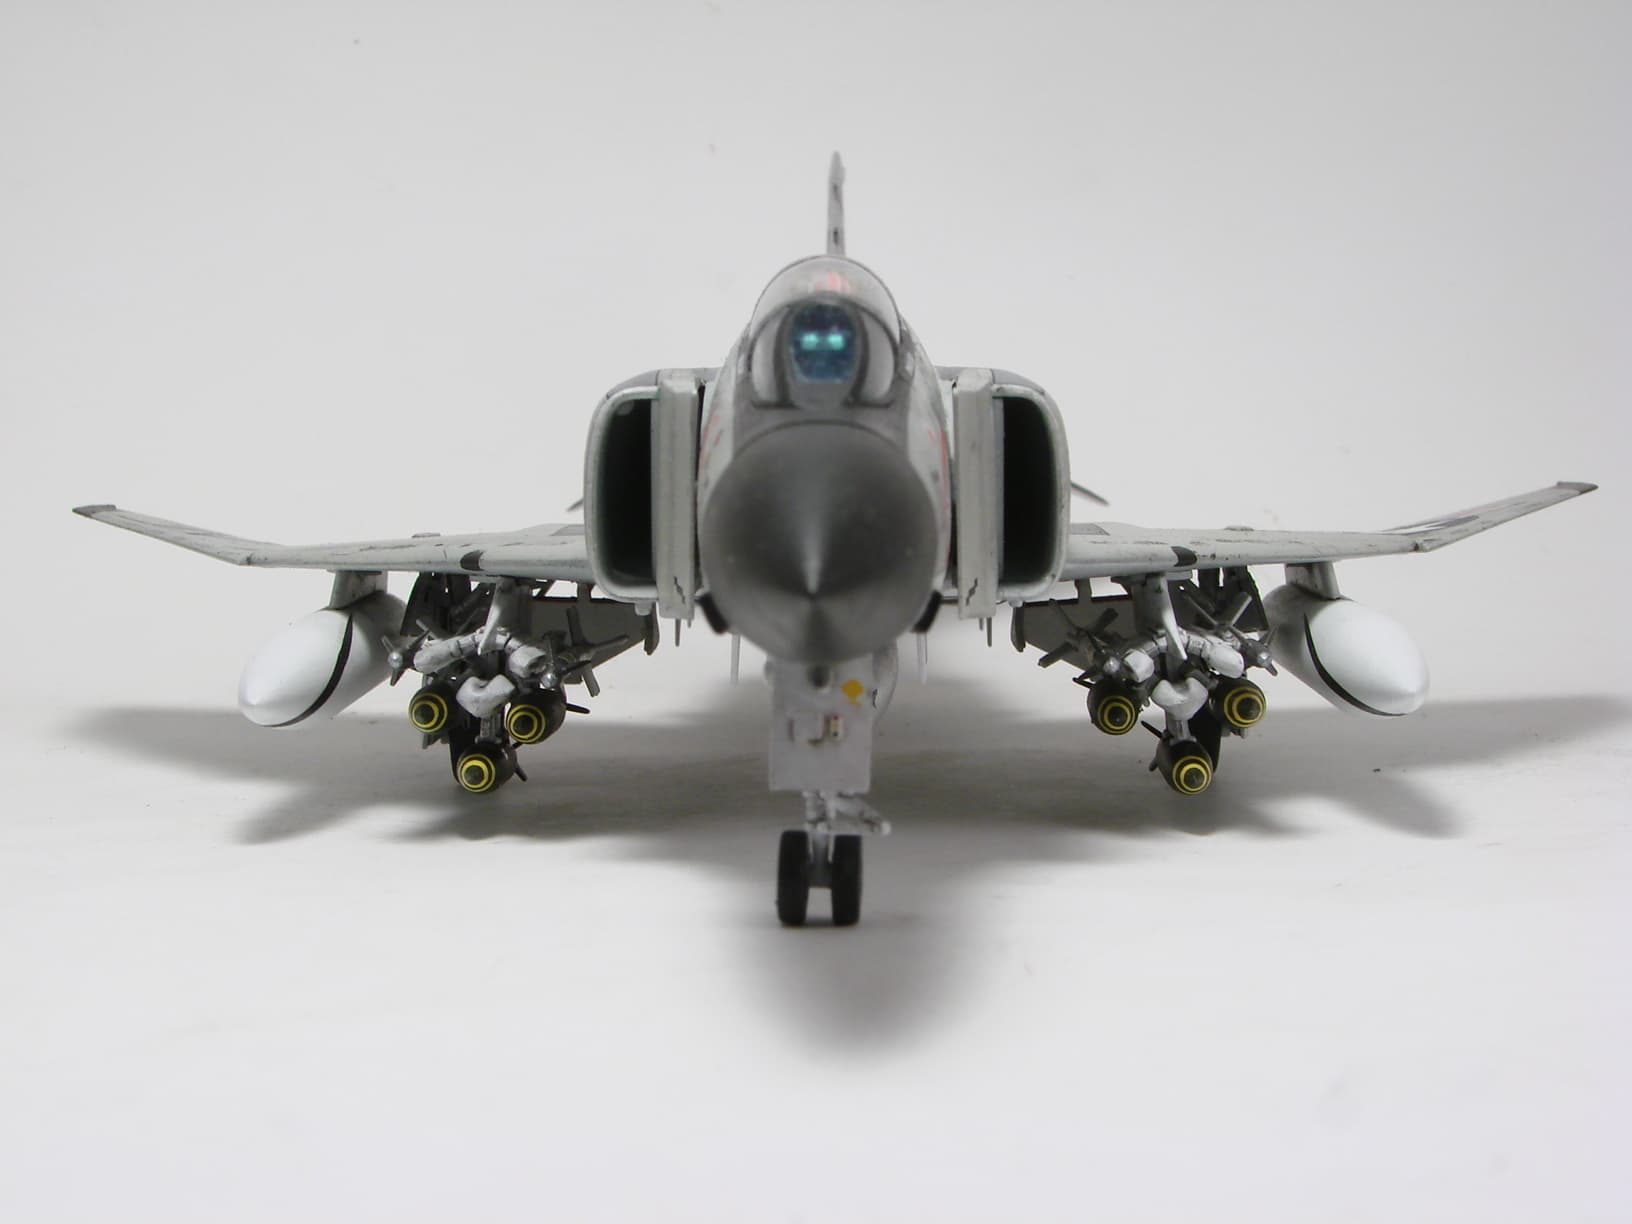
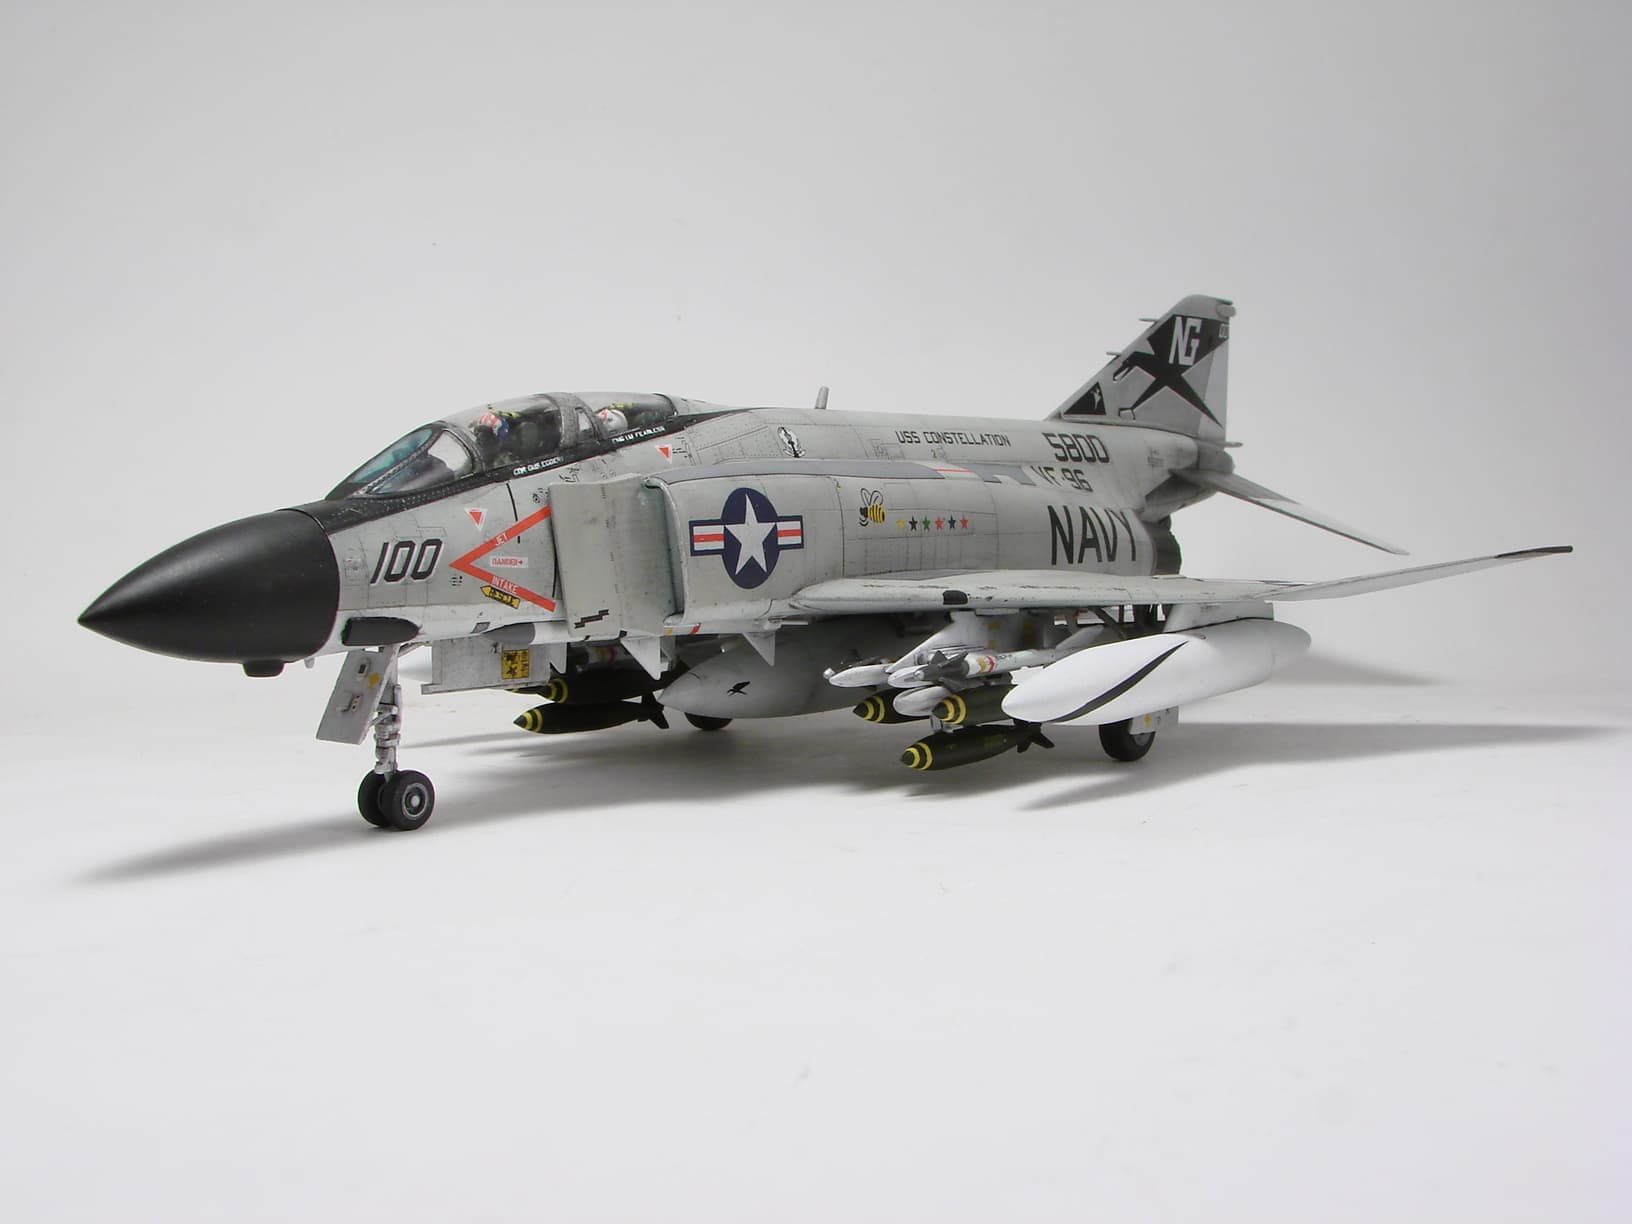
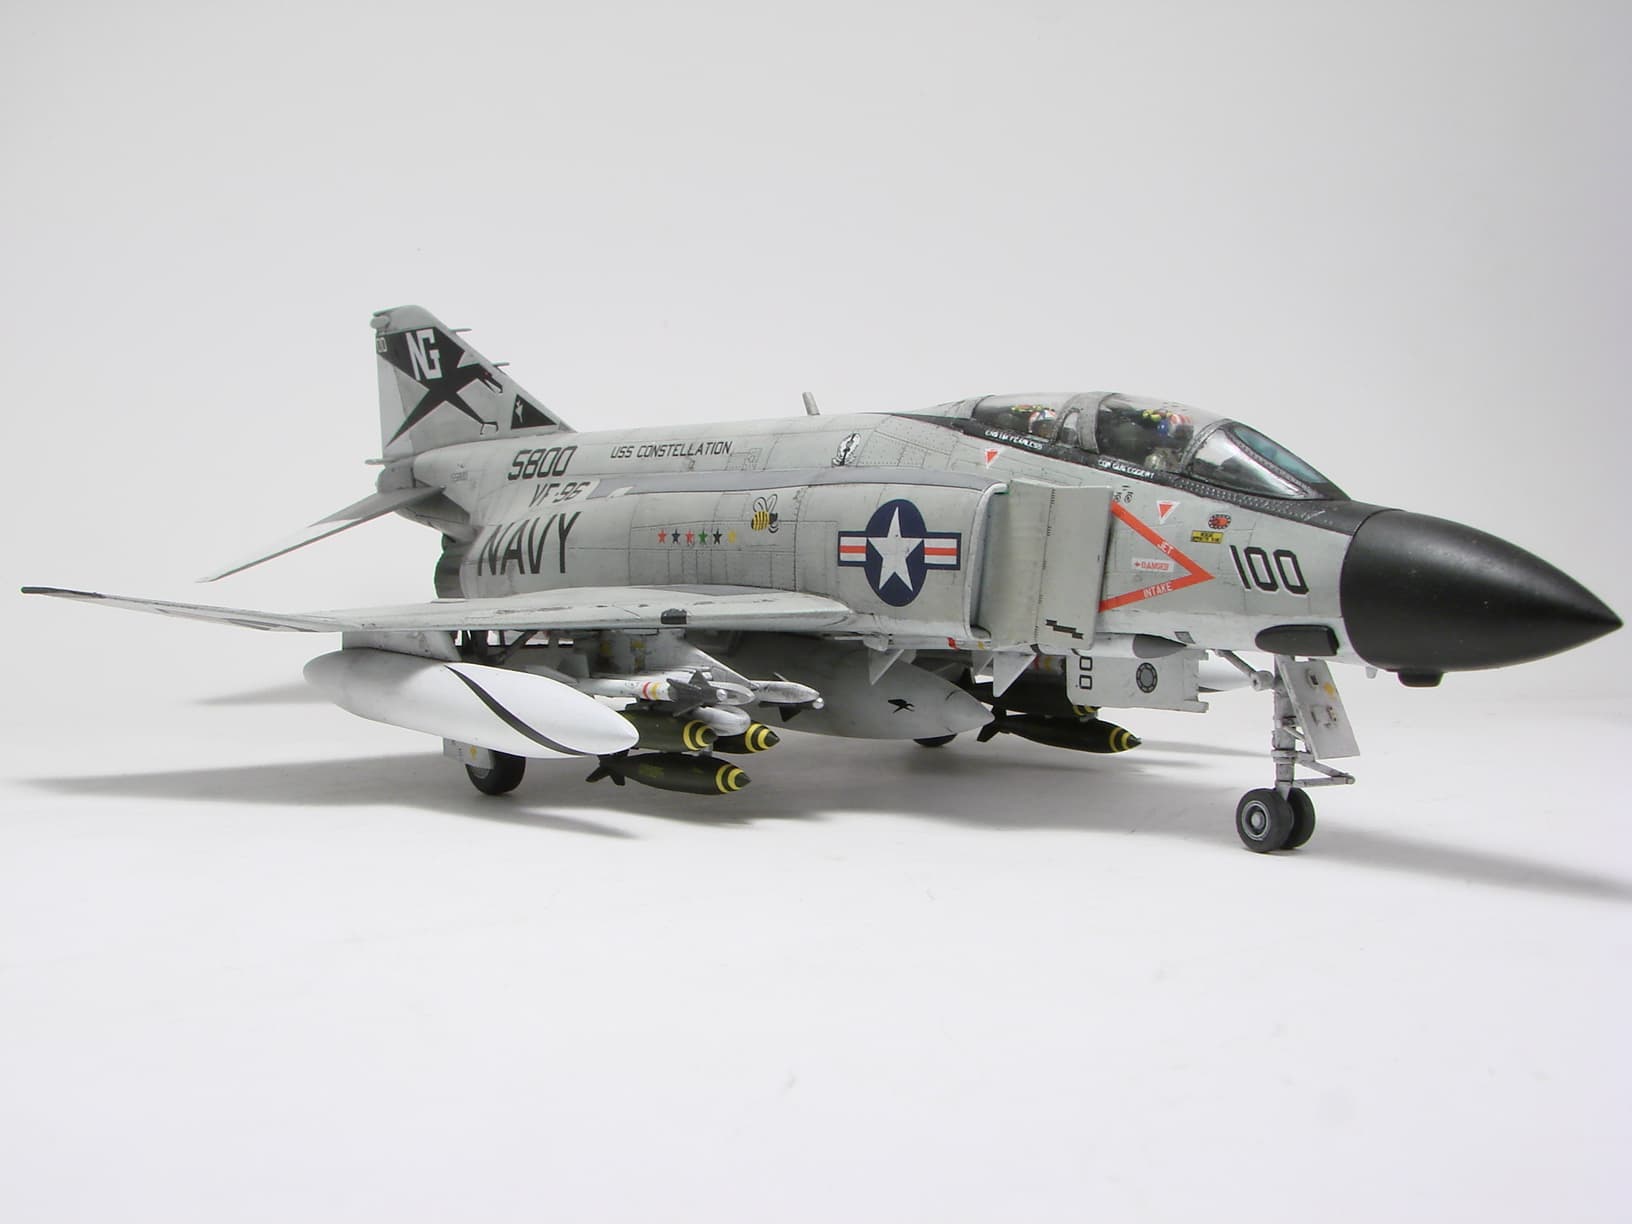
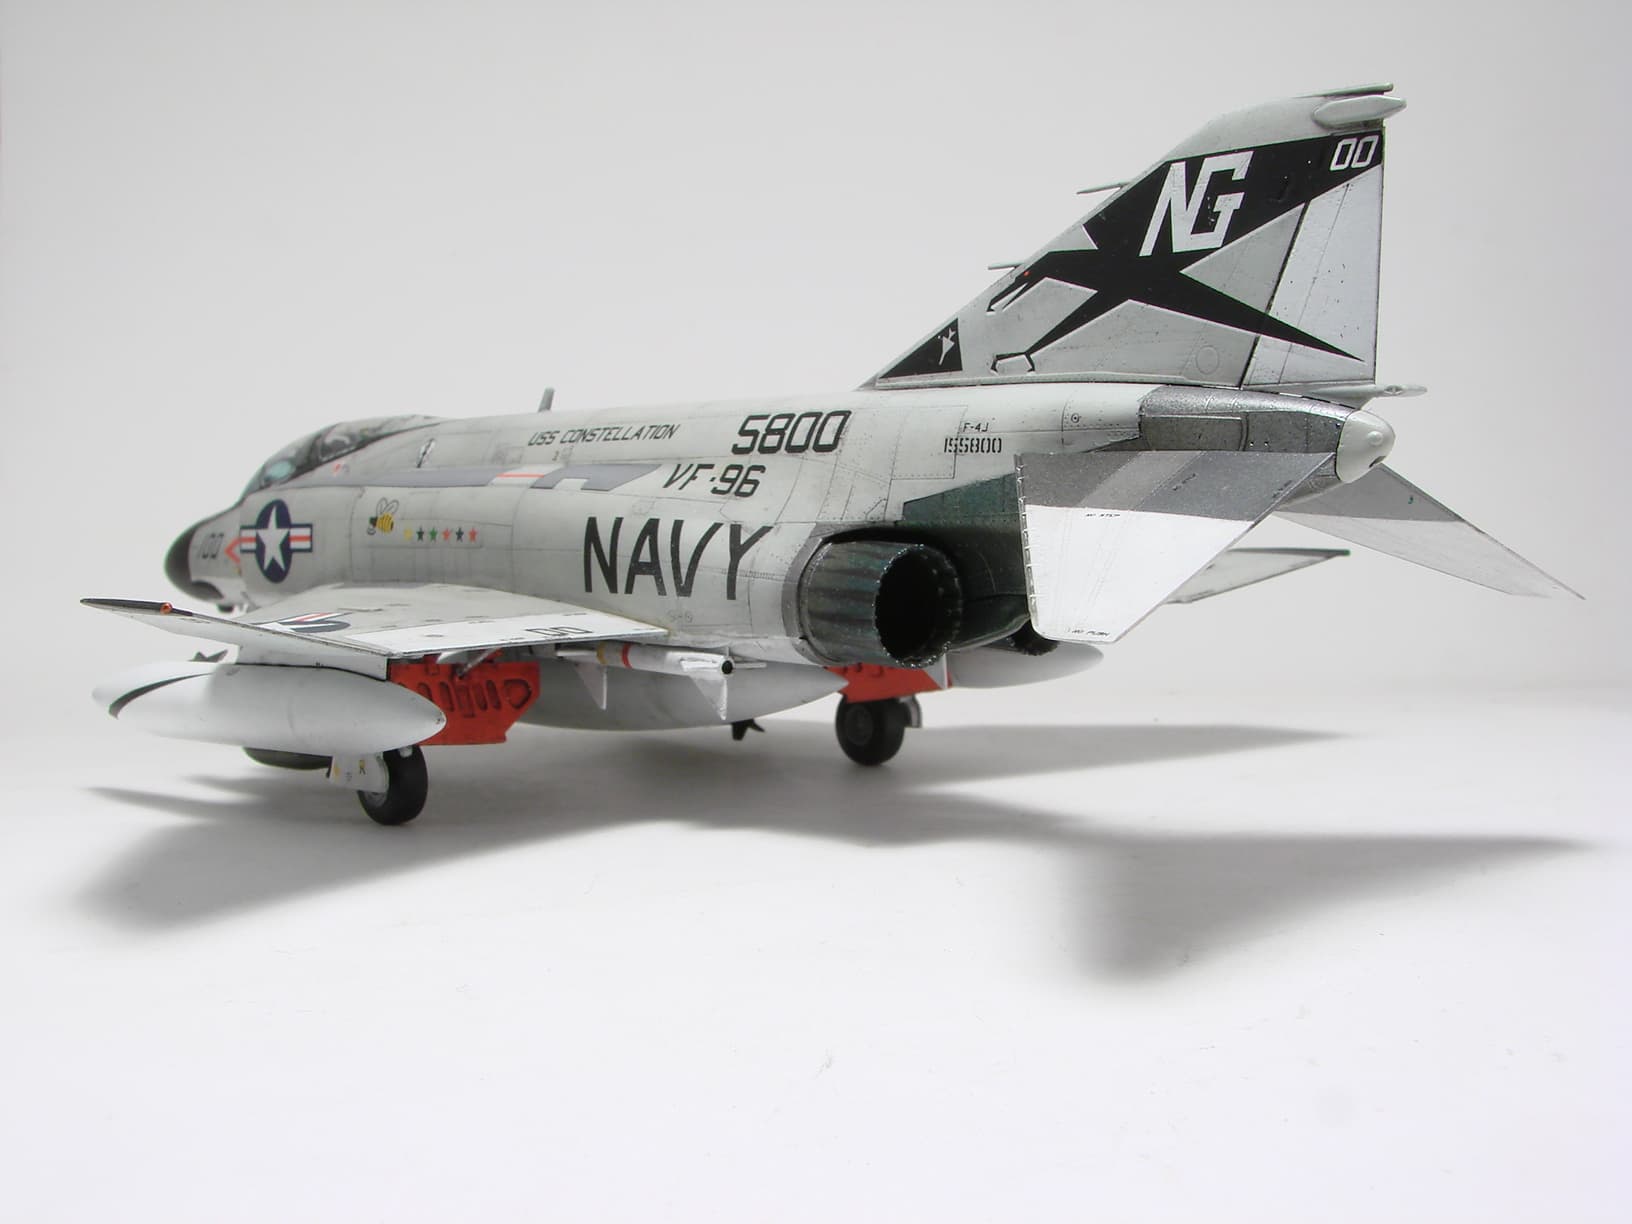
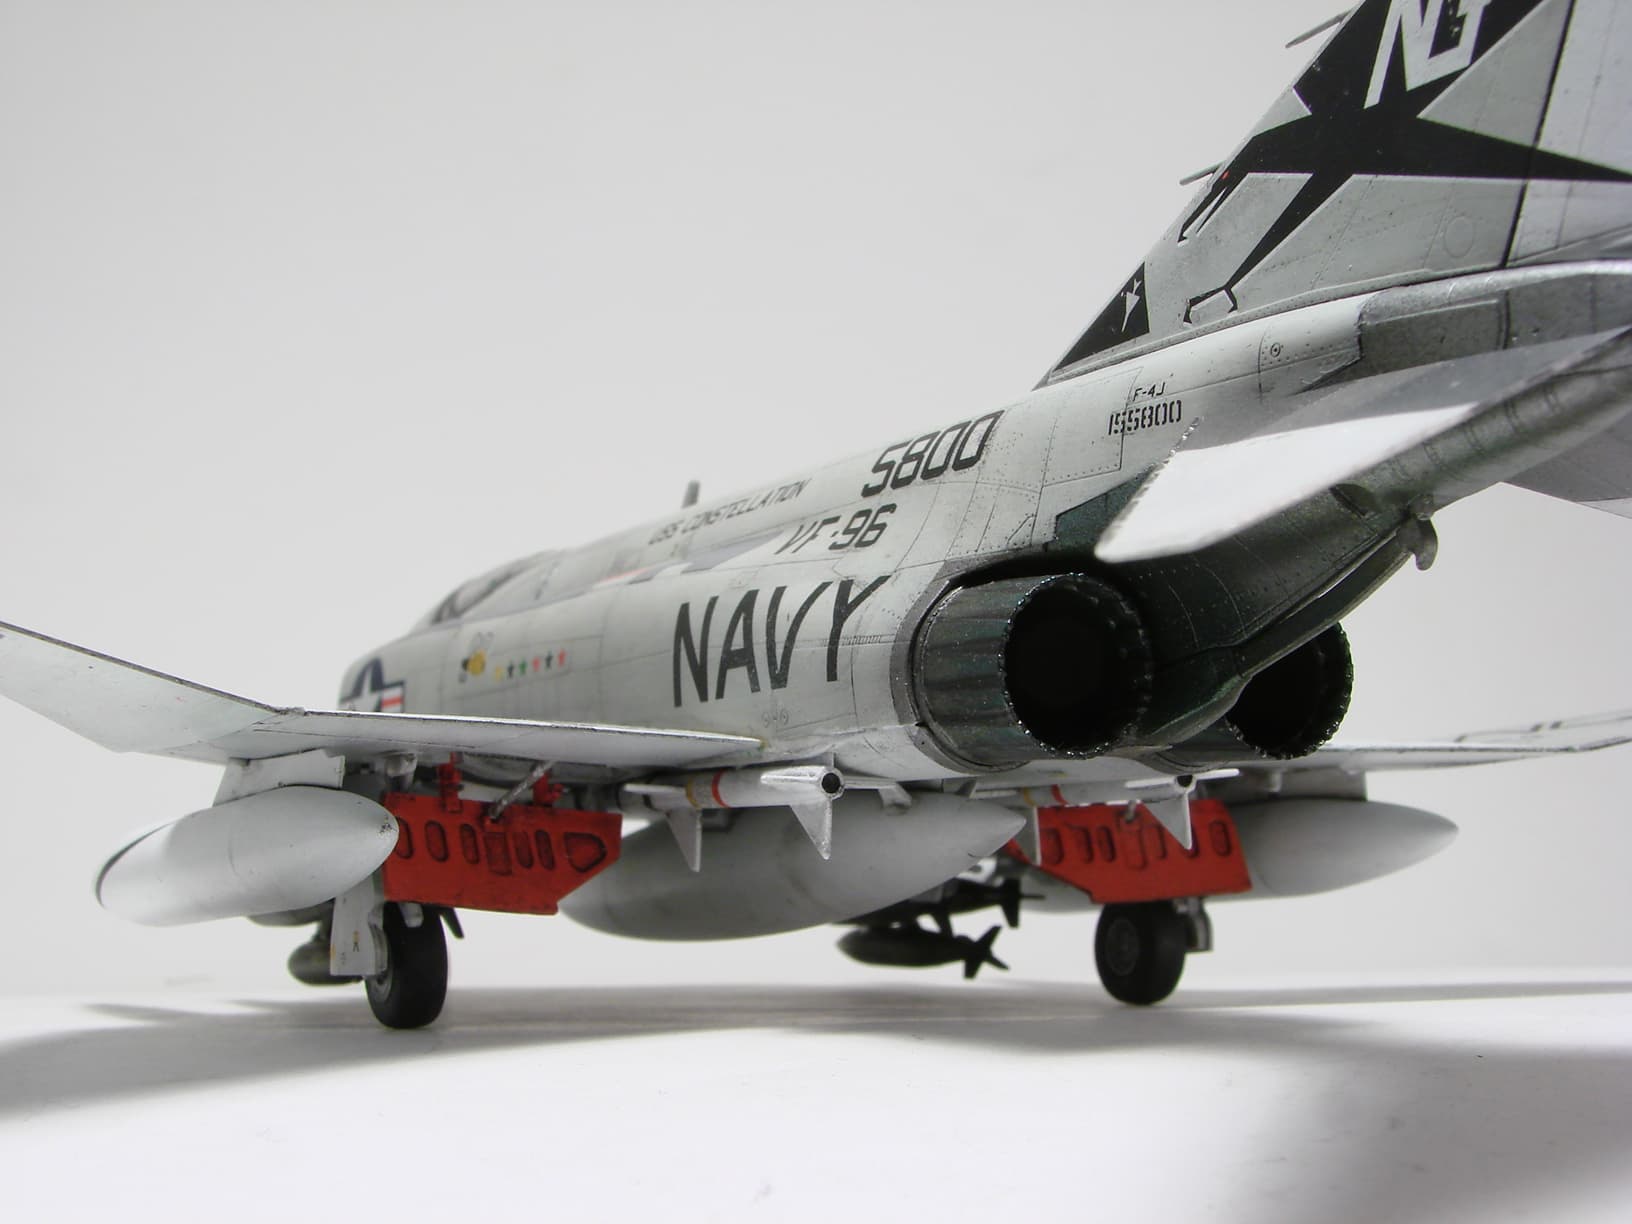
I call my 1/72 F-4J Phantom from Academy finished. Not totally satisfied with the look due to wash vs. decal mess but lesson learned.
7 Likes
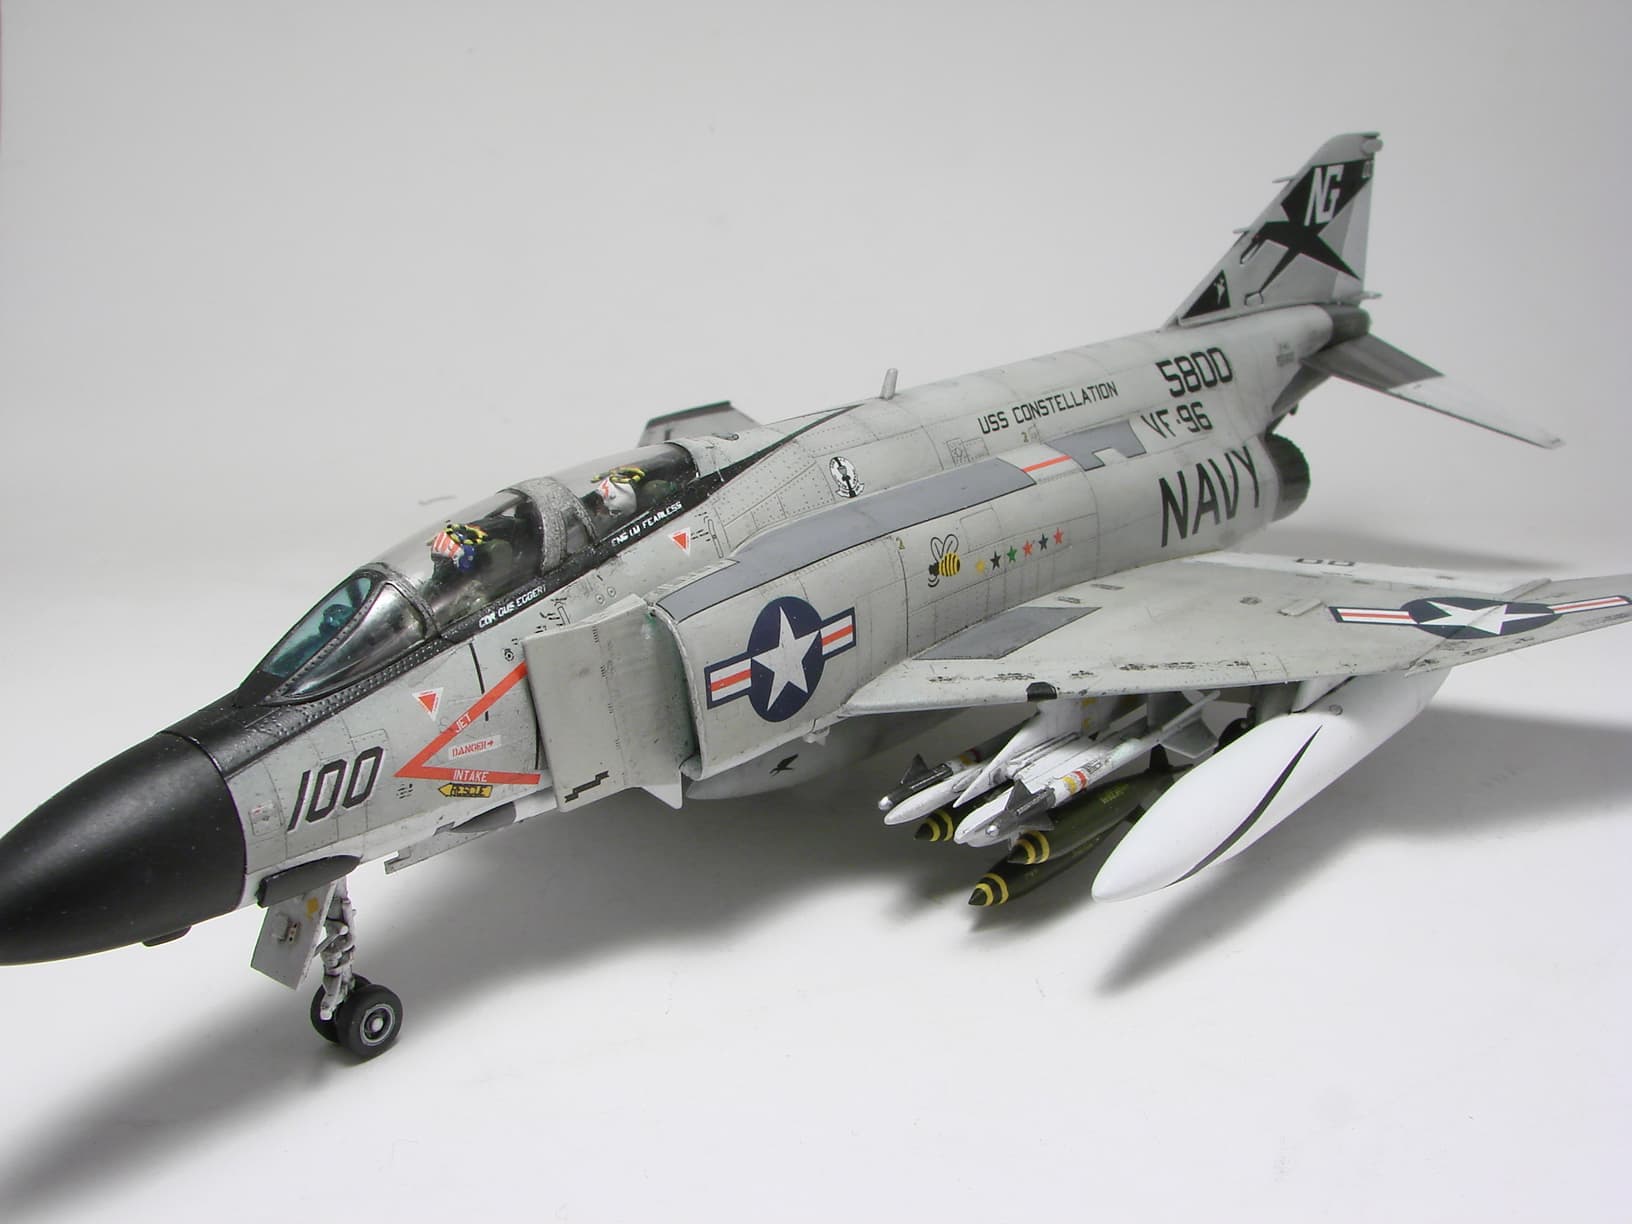
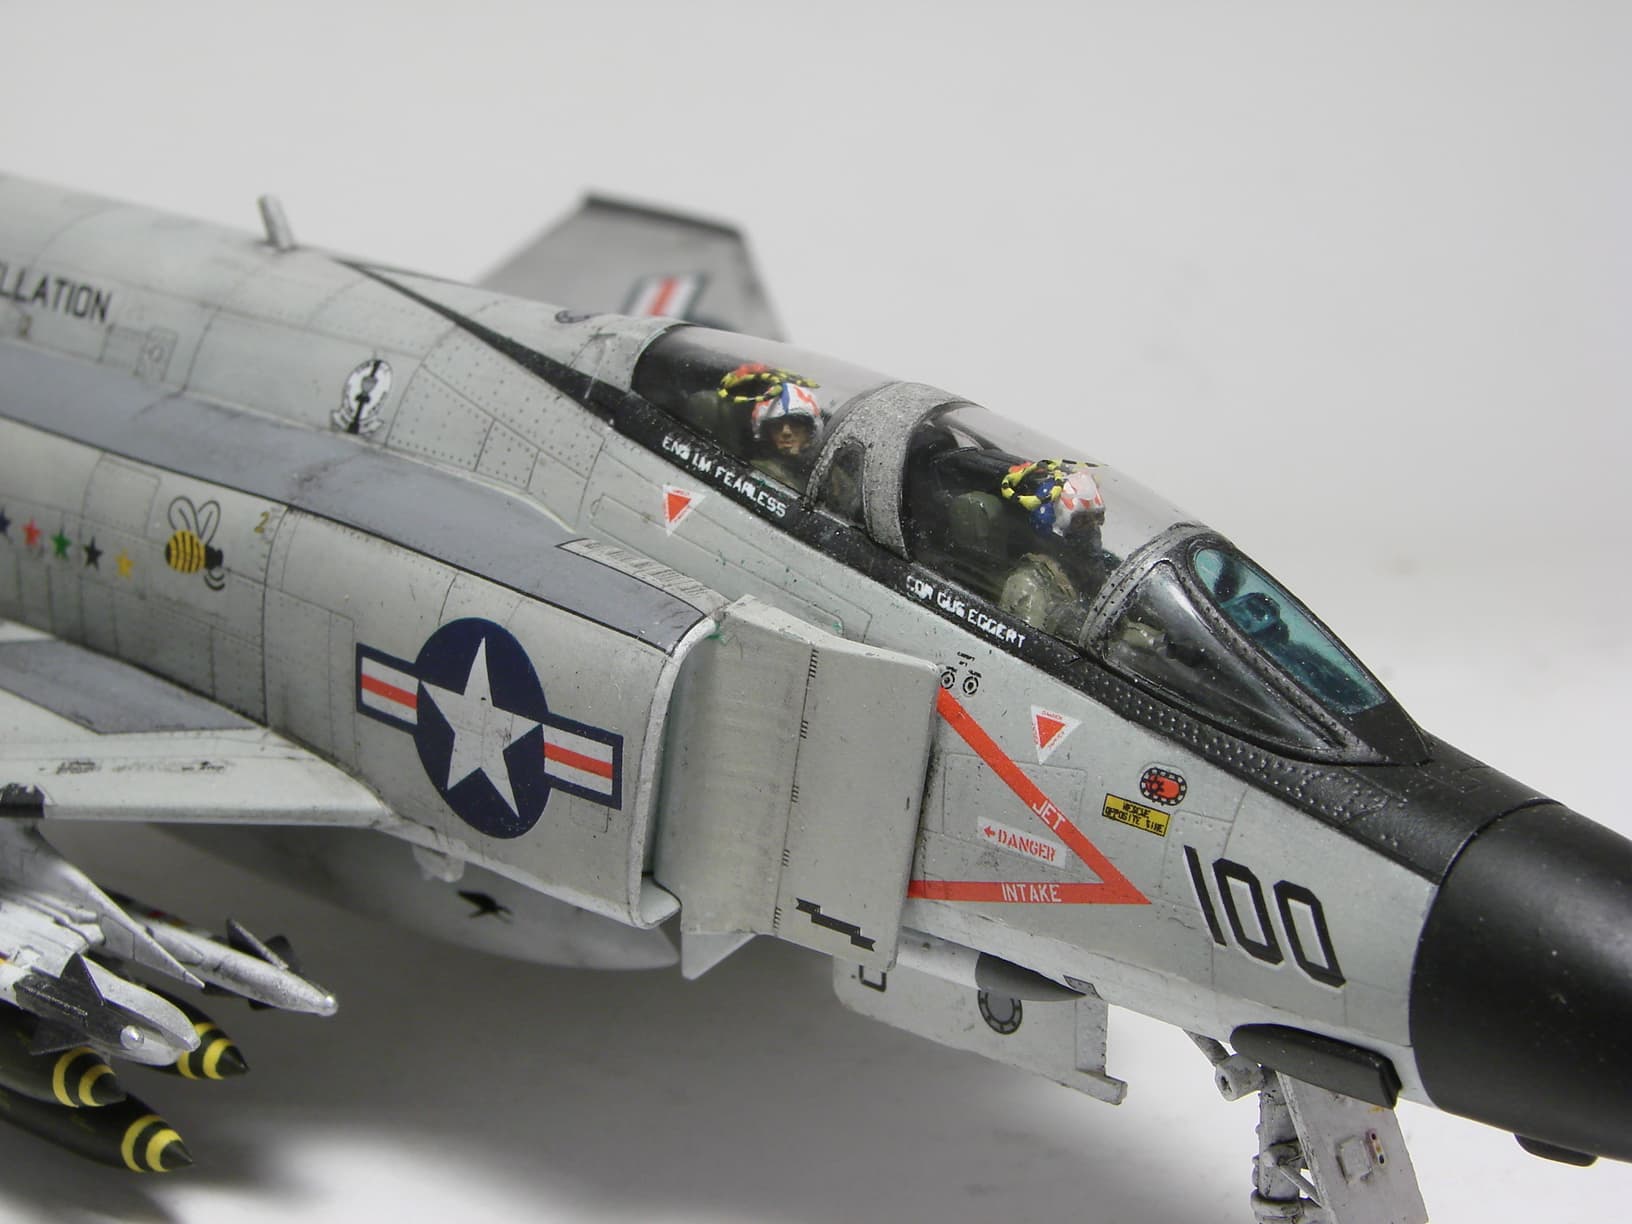
Looks fantastic Marcin. Excellent work on Showtime 100!
It looks great. Love the bombs!
Looks great. Beautiful job on an iconic plane in iconic markings 
Hi All,
Lots of neat stuff being built here! When I first saw this campaign, I knew that I’d be joining and wanted to do something unusual. As of late I’ve been a modeling fool given my semi-retirement (at least from the lab), though do we ever really retire? Anyway, my first thought was to give Modelcrafts F-82 a whirl.
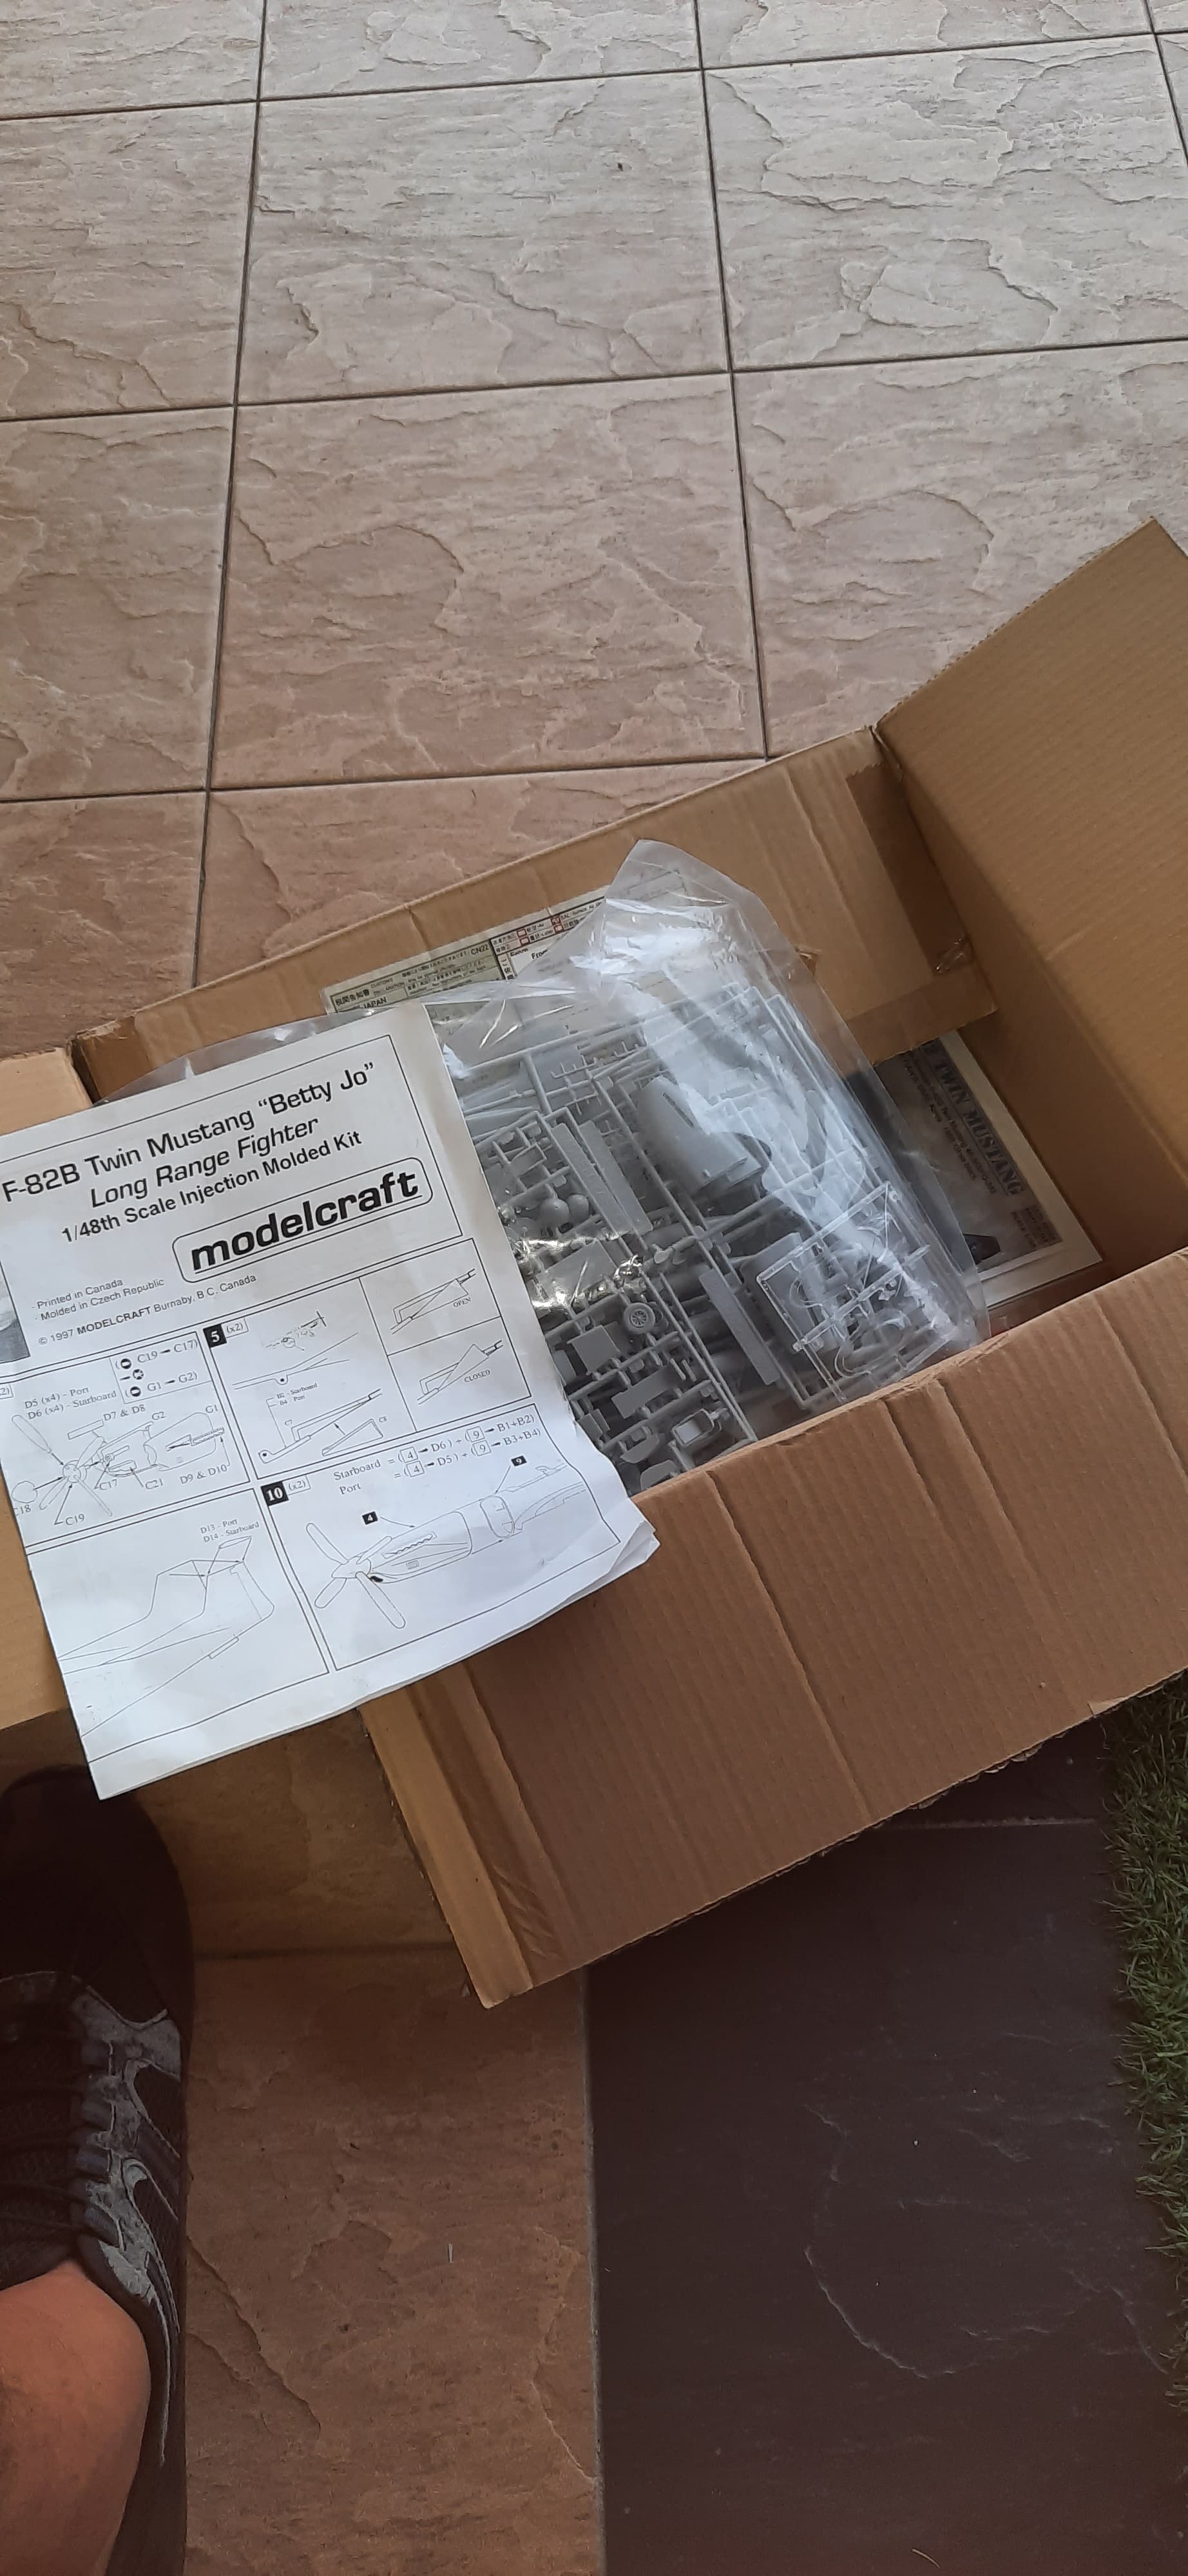
I started by test fitting it, and well let’s just say that it’s gonna be a project build that I’ll do a bit later.
I did order some vac canopy’s for it, and with that it’s back in its box!
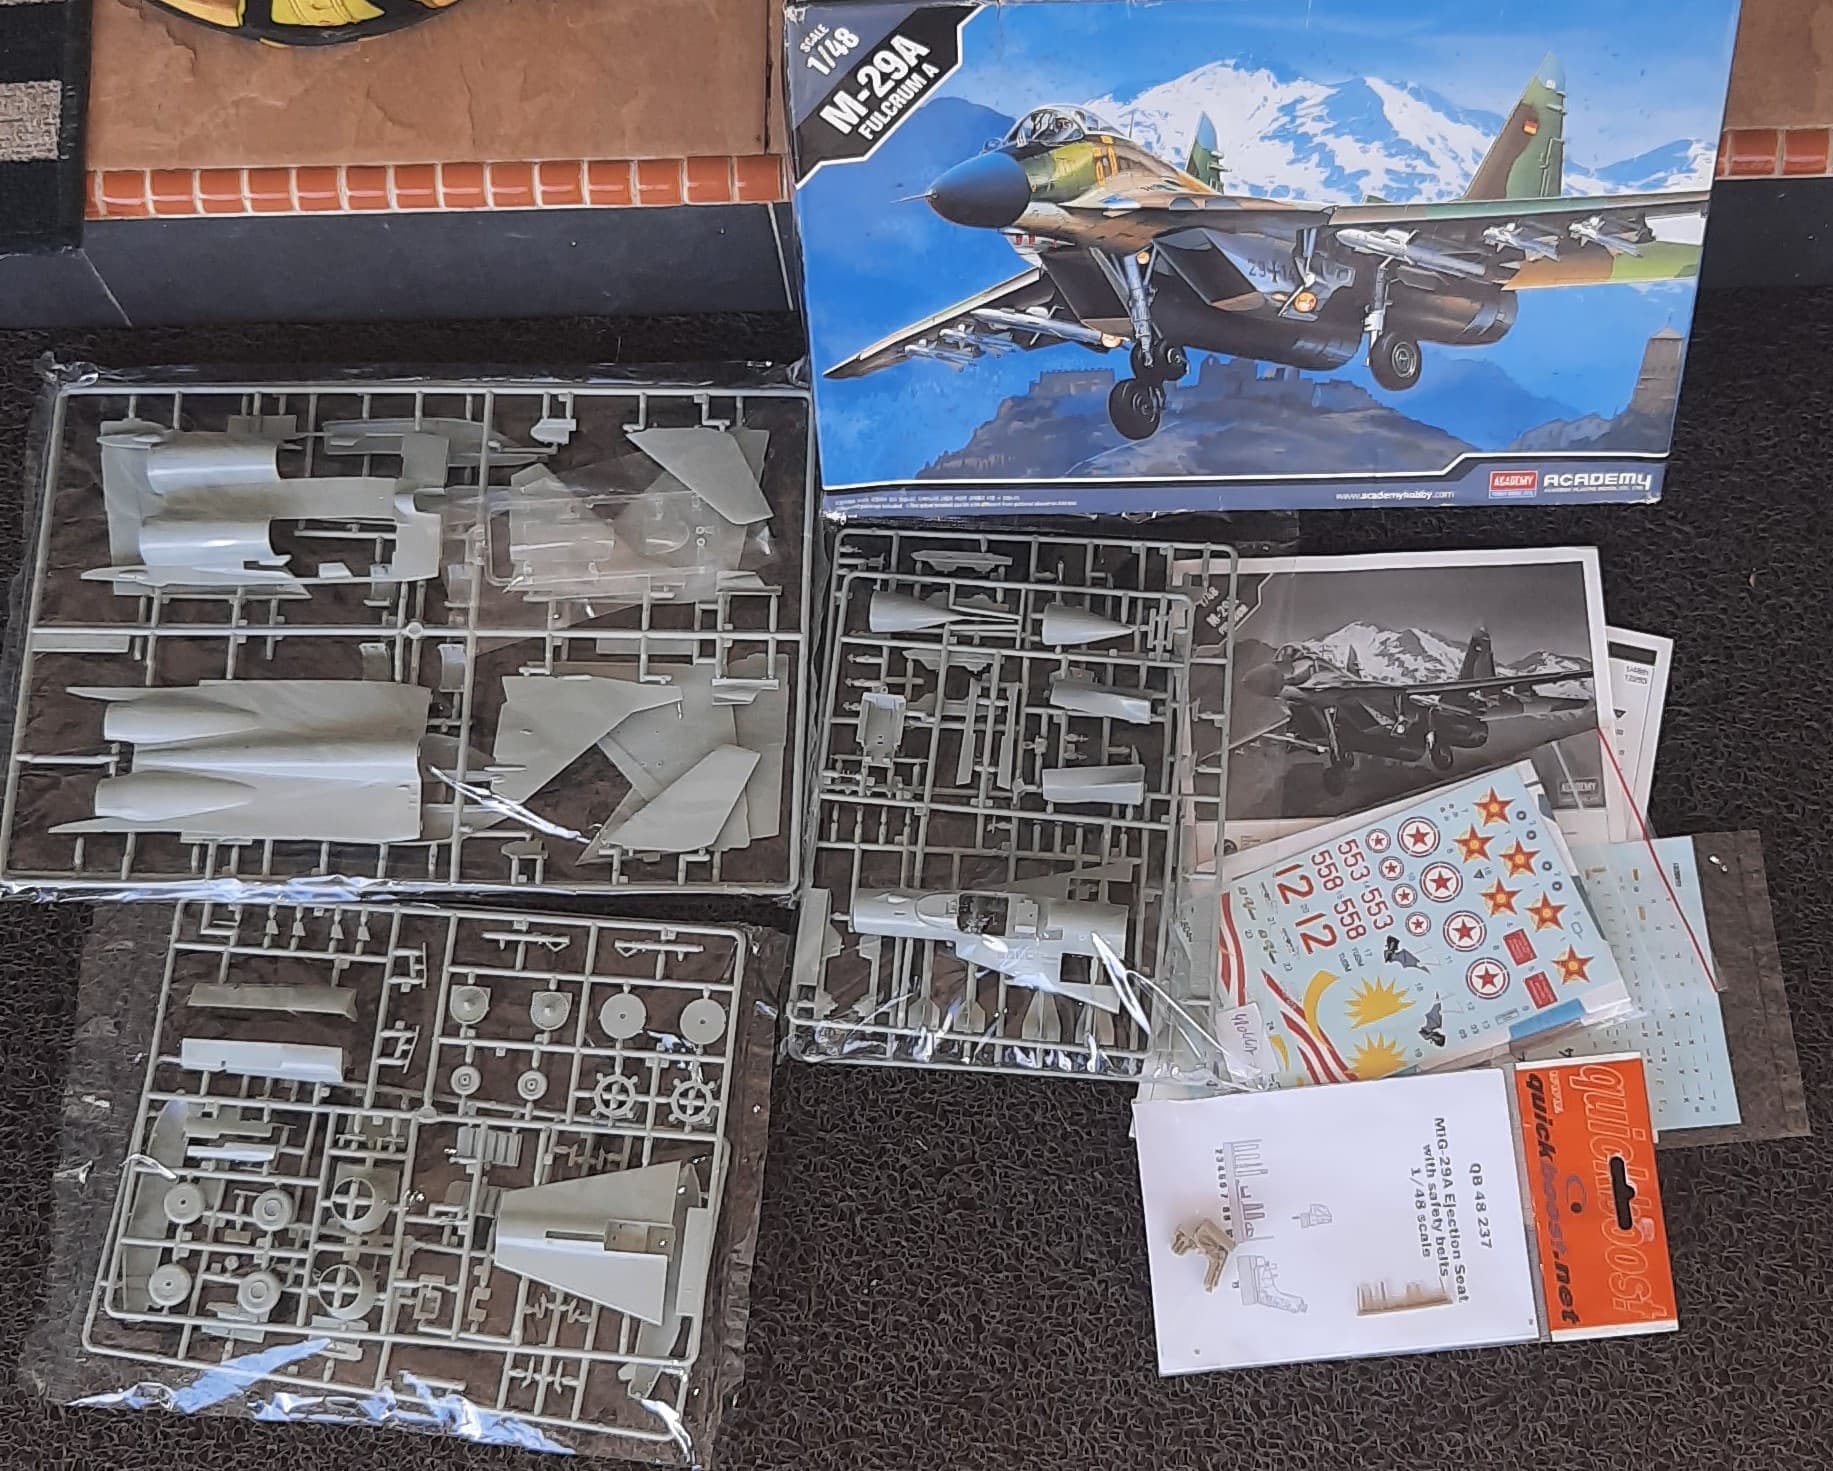
My niece suggested doing Academy’s MiG 29 with Malaysian markings. Test fitting found it to be an alright kit, but for me I craved something a bit more exotic.
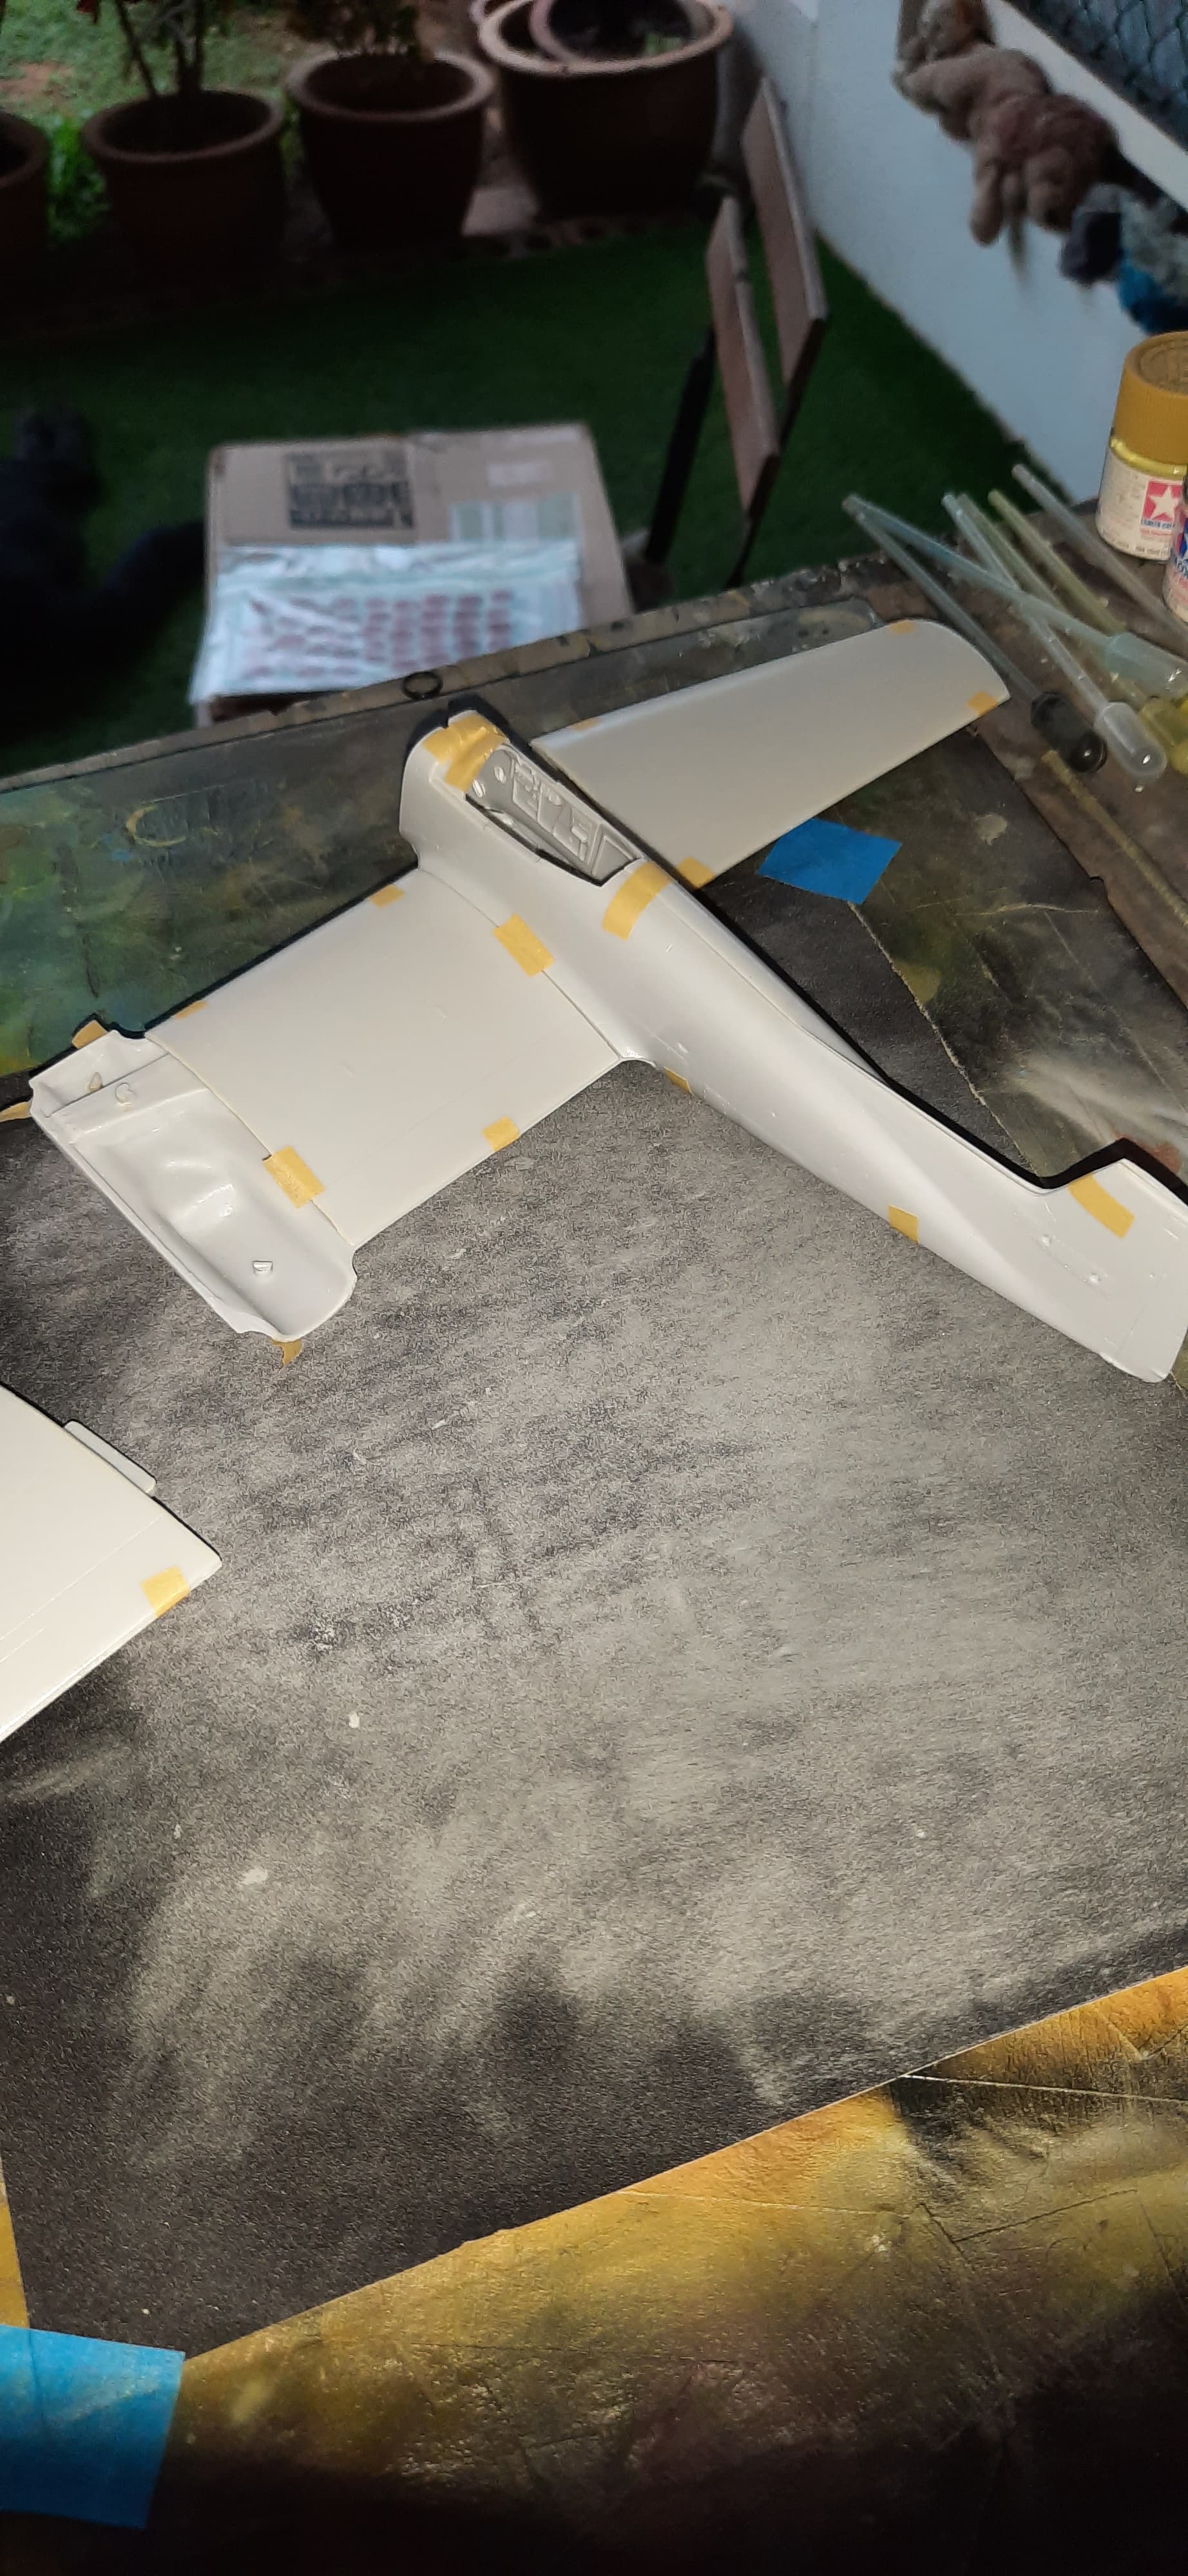
My other niece pulled out AMT’s F7F-3, and the decision was made!!
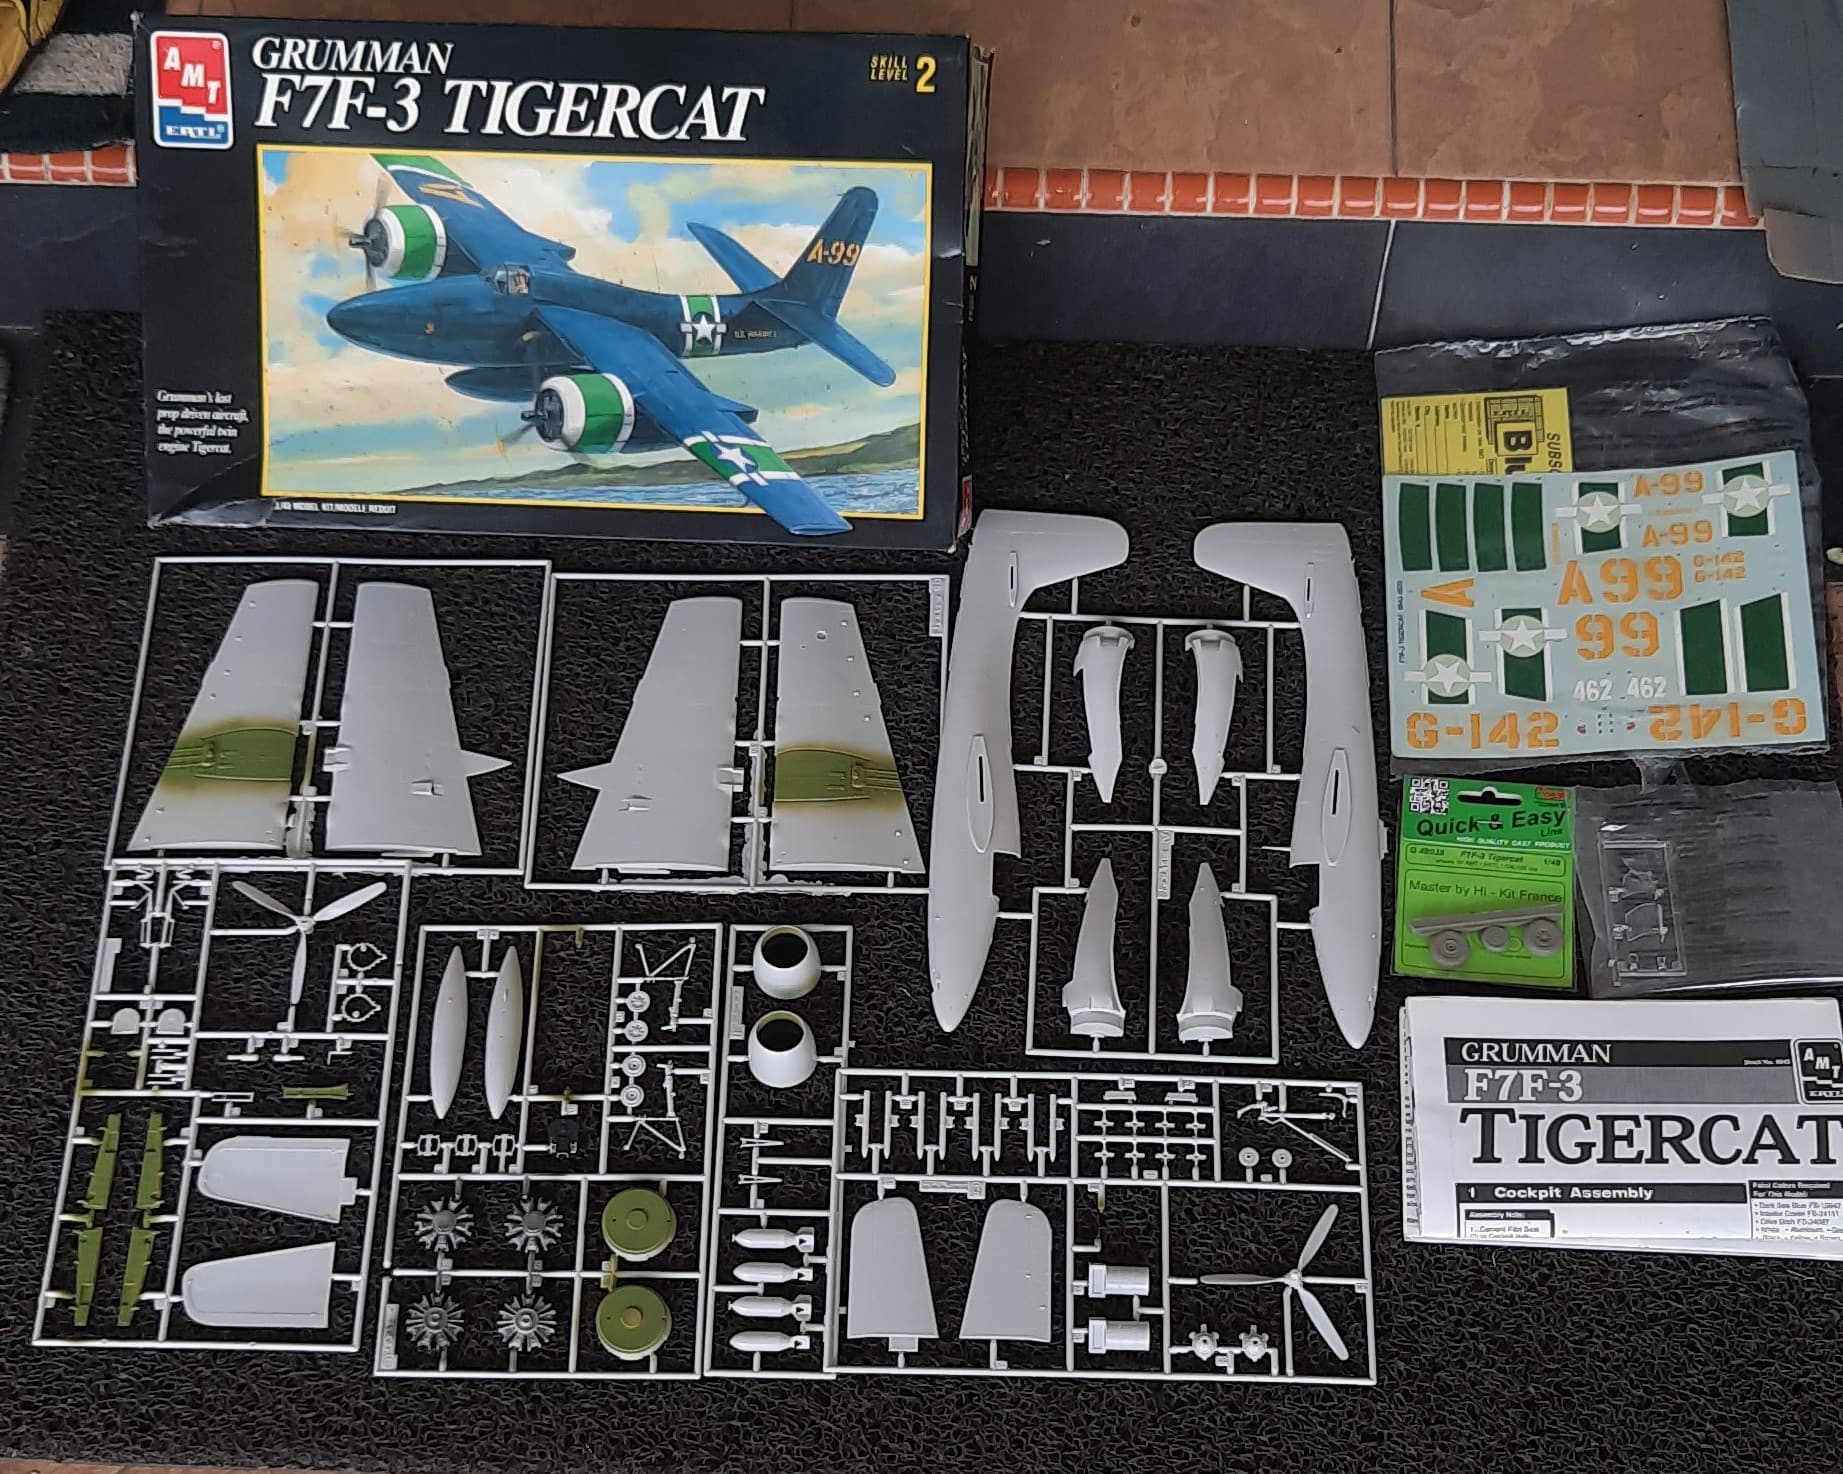
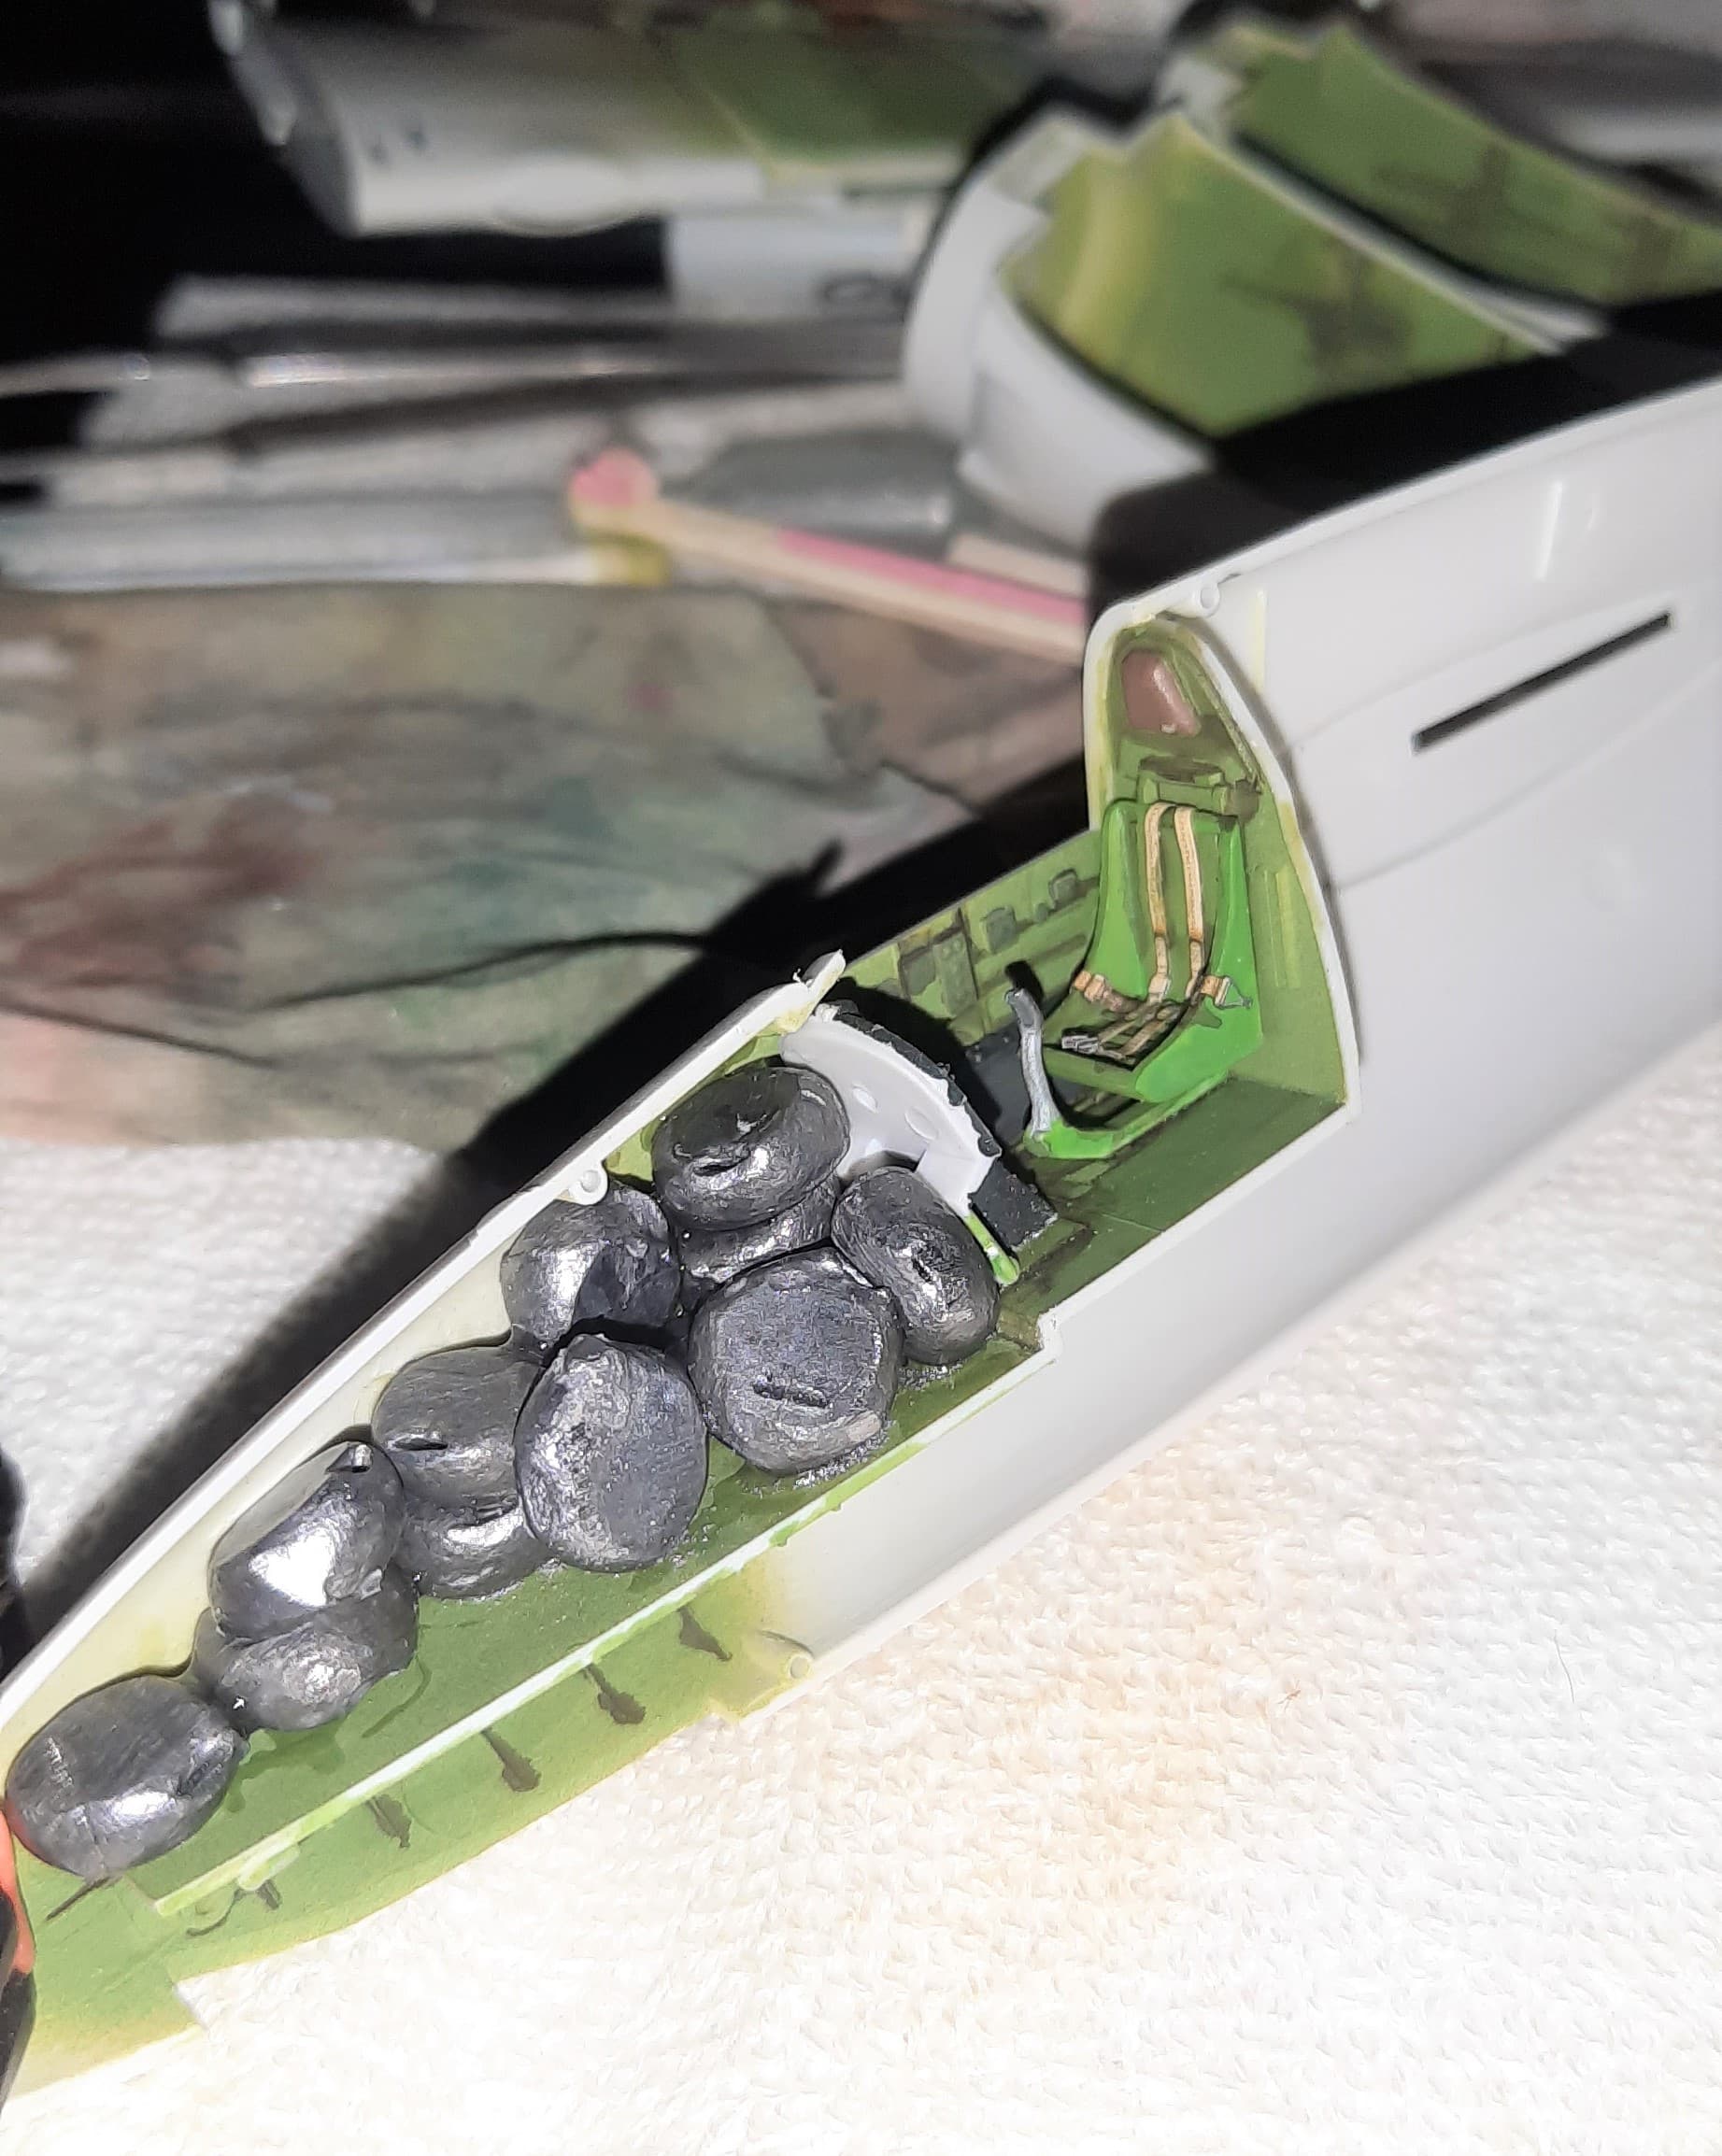
So it was off to the races! I gave the interior a coat of interior green, and also hit the engines with some gunmetal color. And it was time to do the cockpit. No issues, and I added a set of seat belts. I placed this into the fuselage, and it was time to add some weight. I put in a total of 24 grams, figuring that it would want to sit about the same as a P-38 I’d recently done. We’ll see, and if not enough, there’s always the engine nacelles.

Things were closed up, and the build went very fast! I completed all the subassemblies in three days.
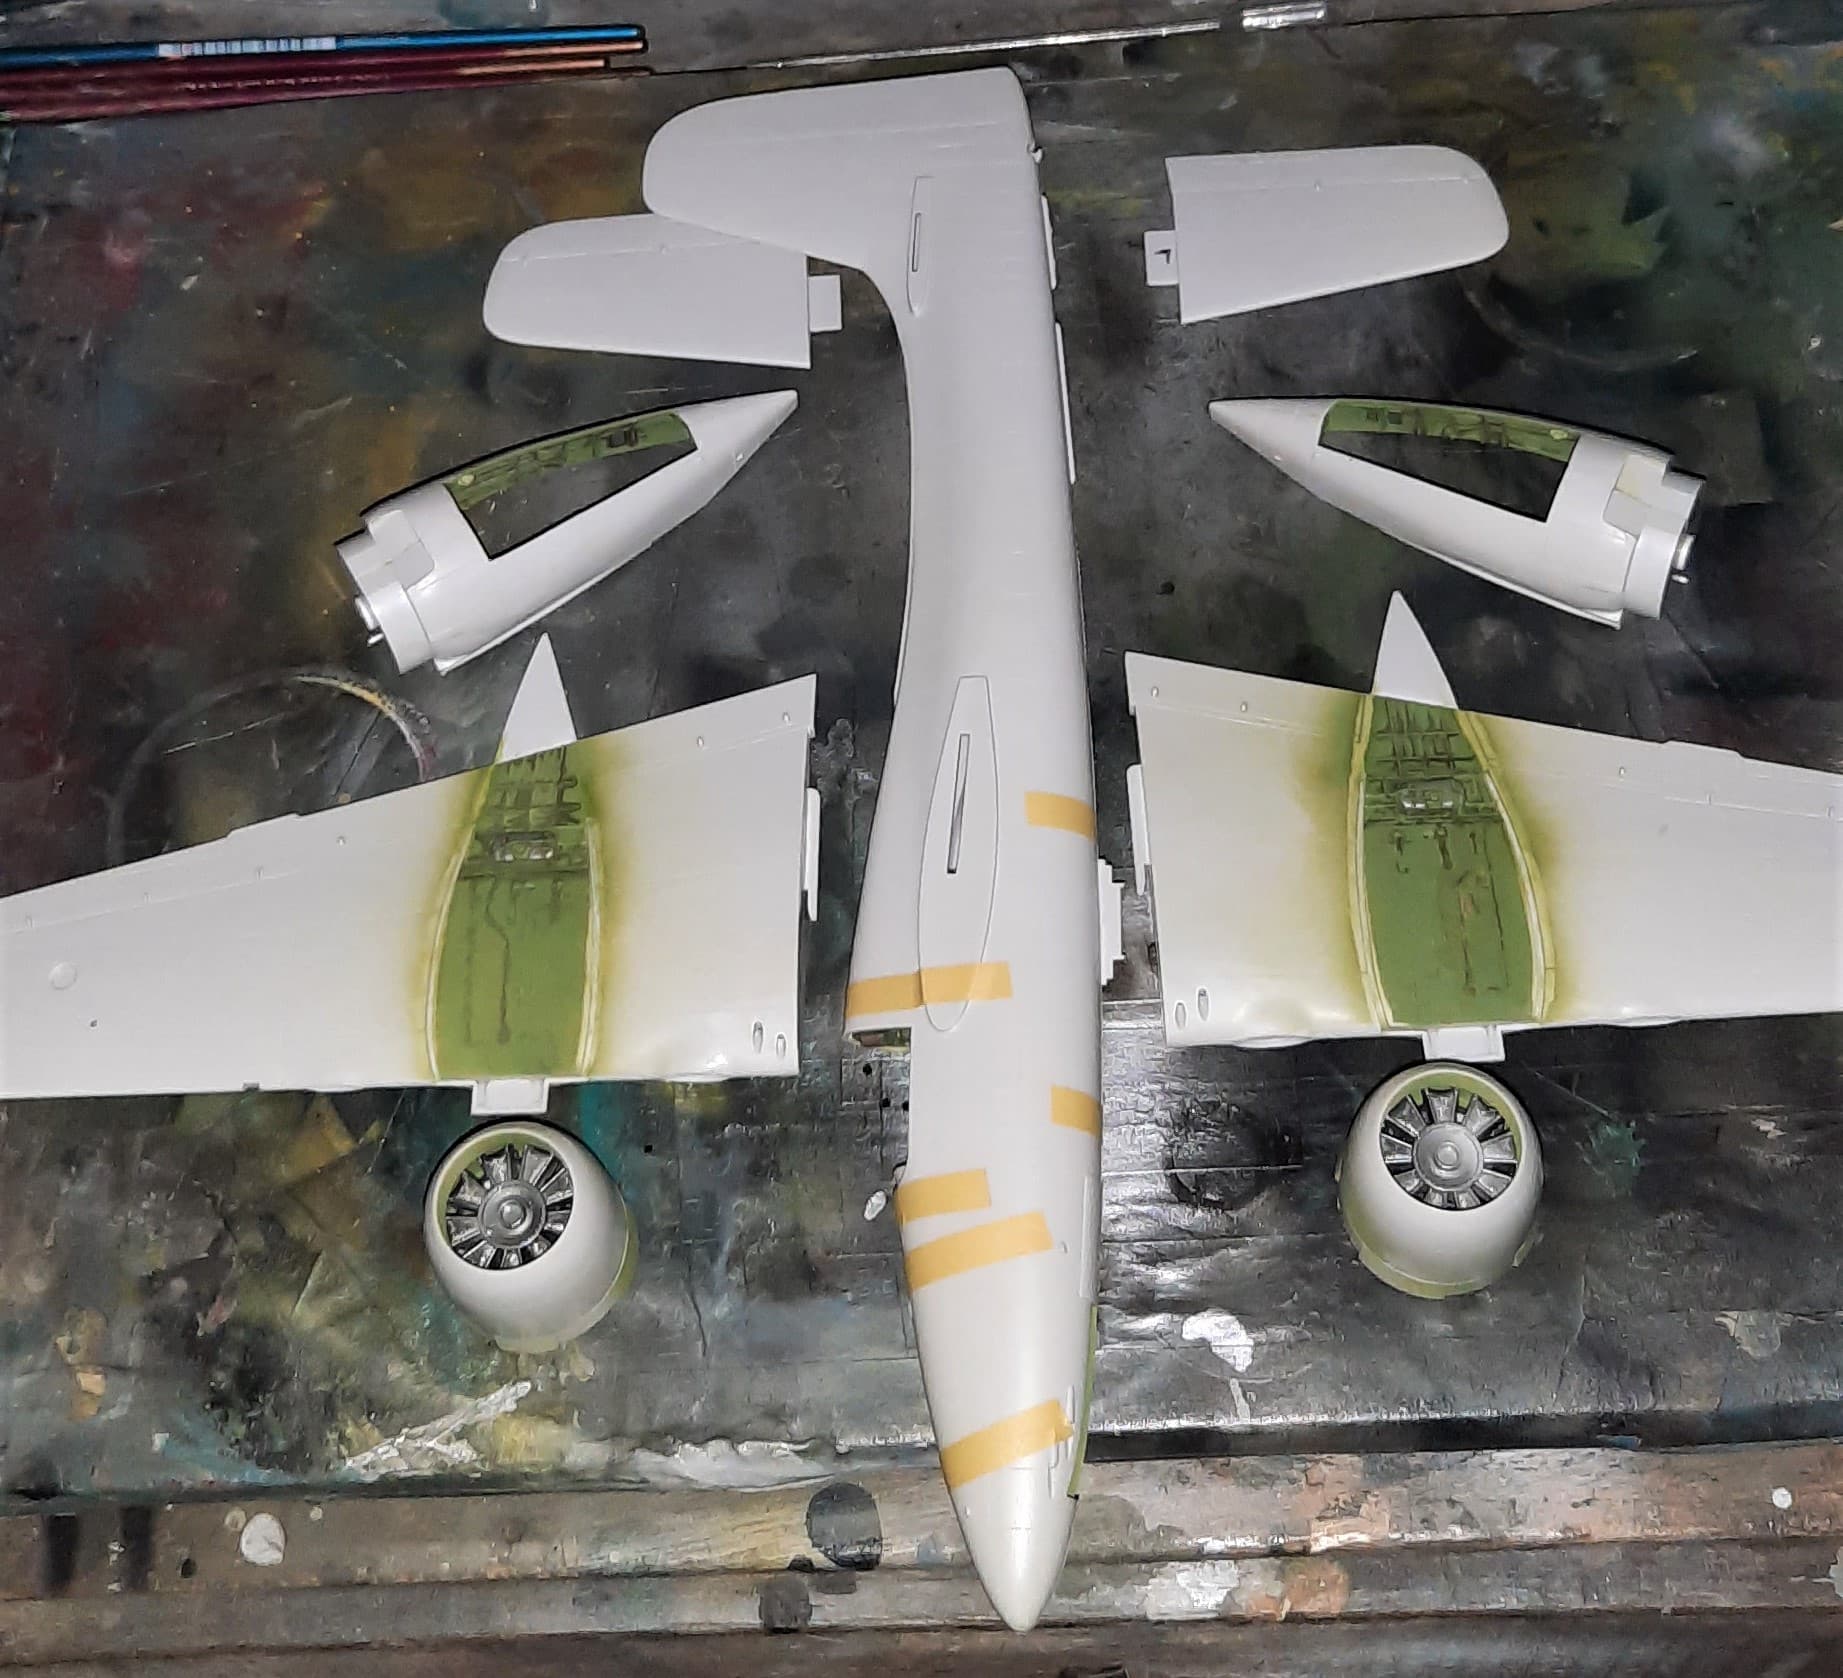
Did some minor seam clean up, and then assembled the airframe.
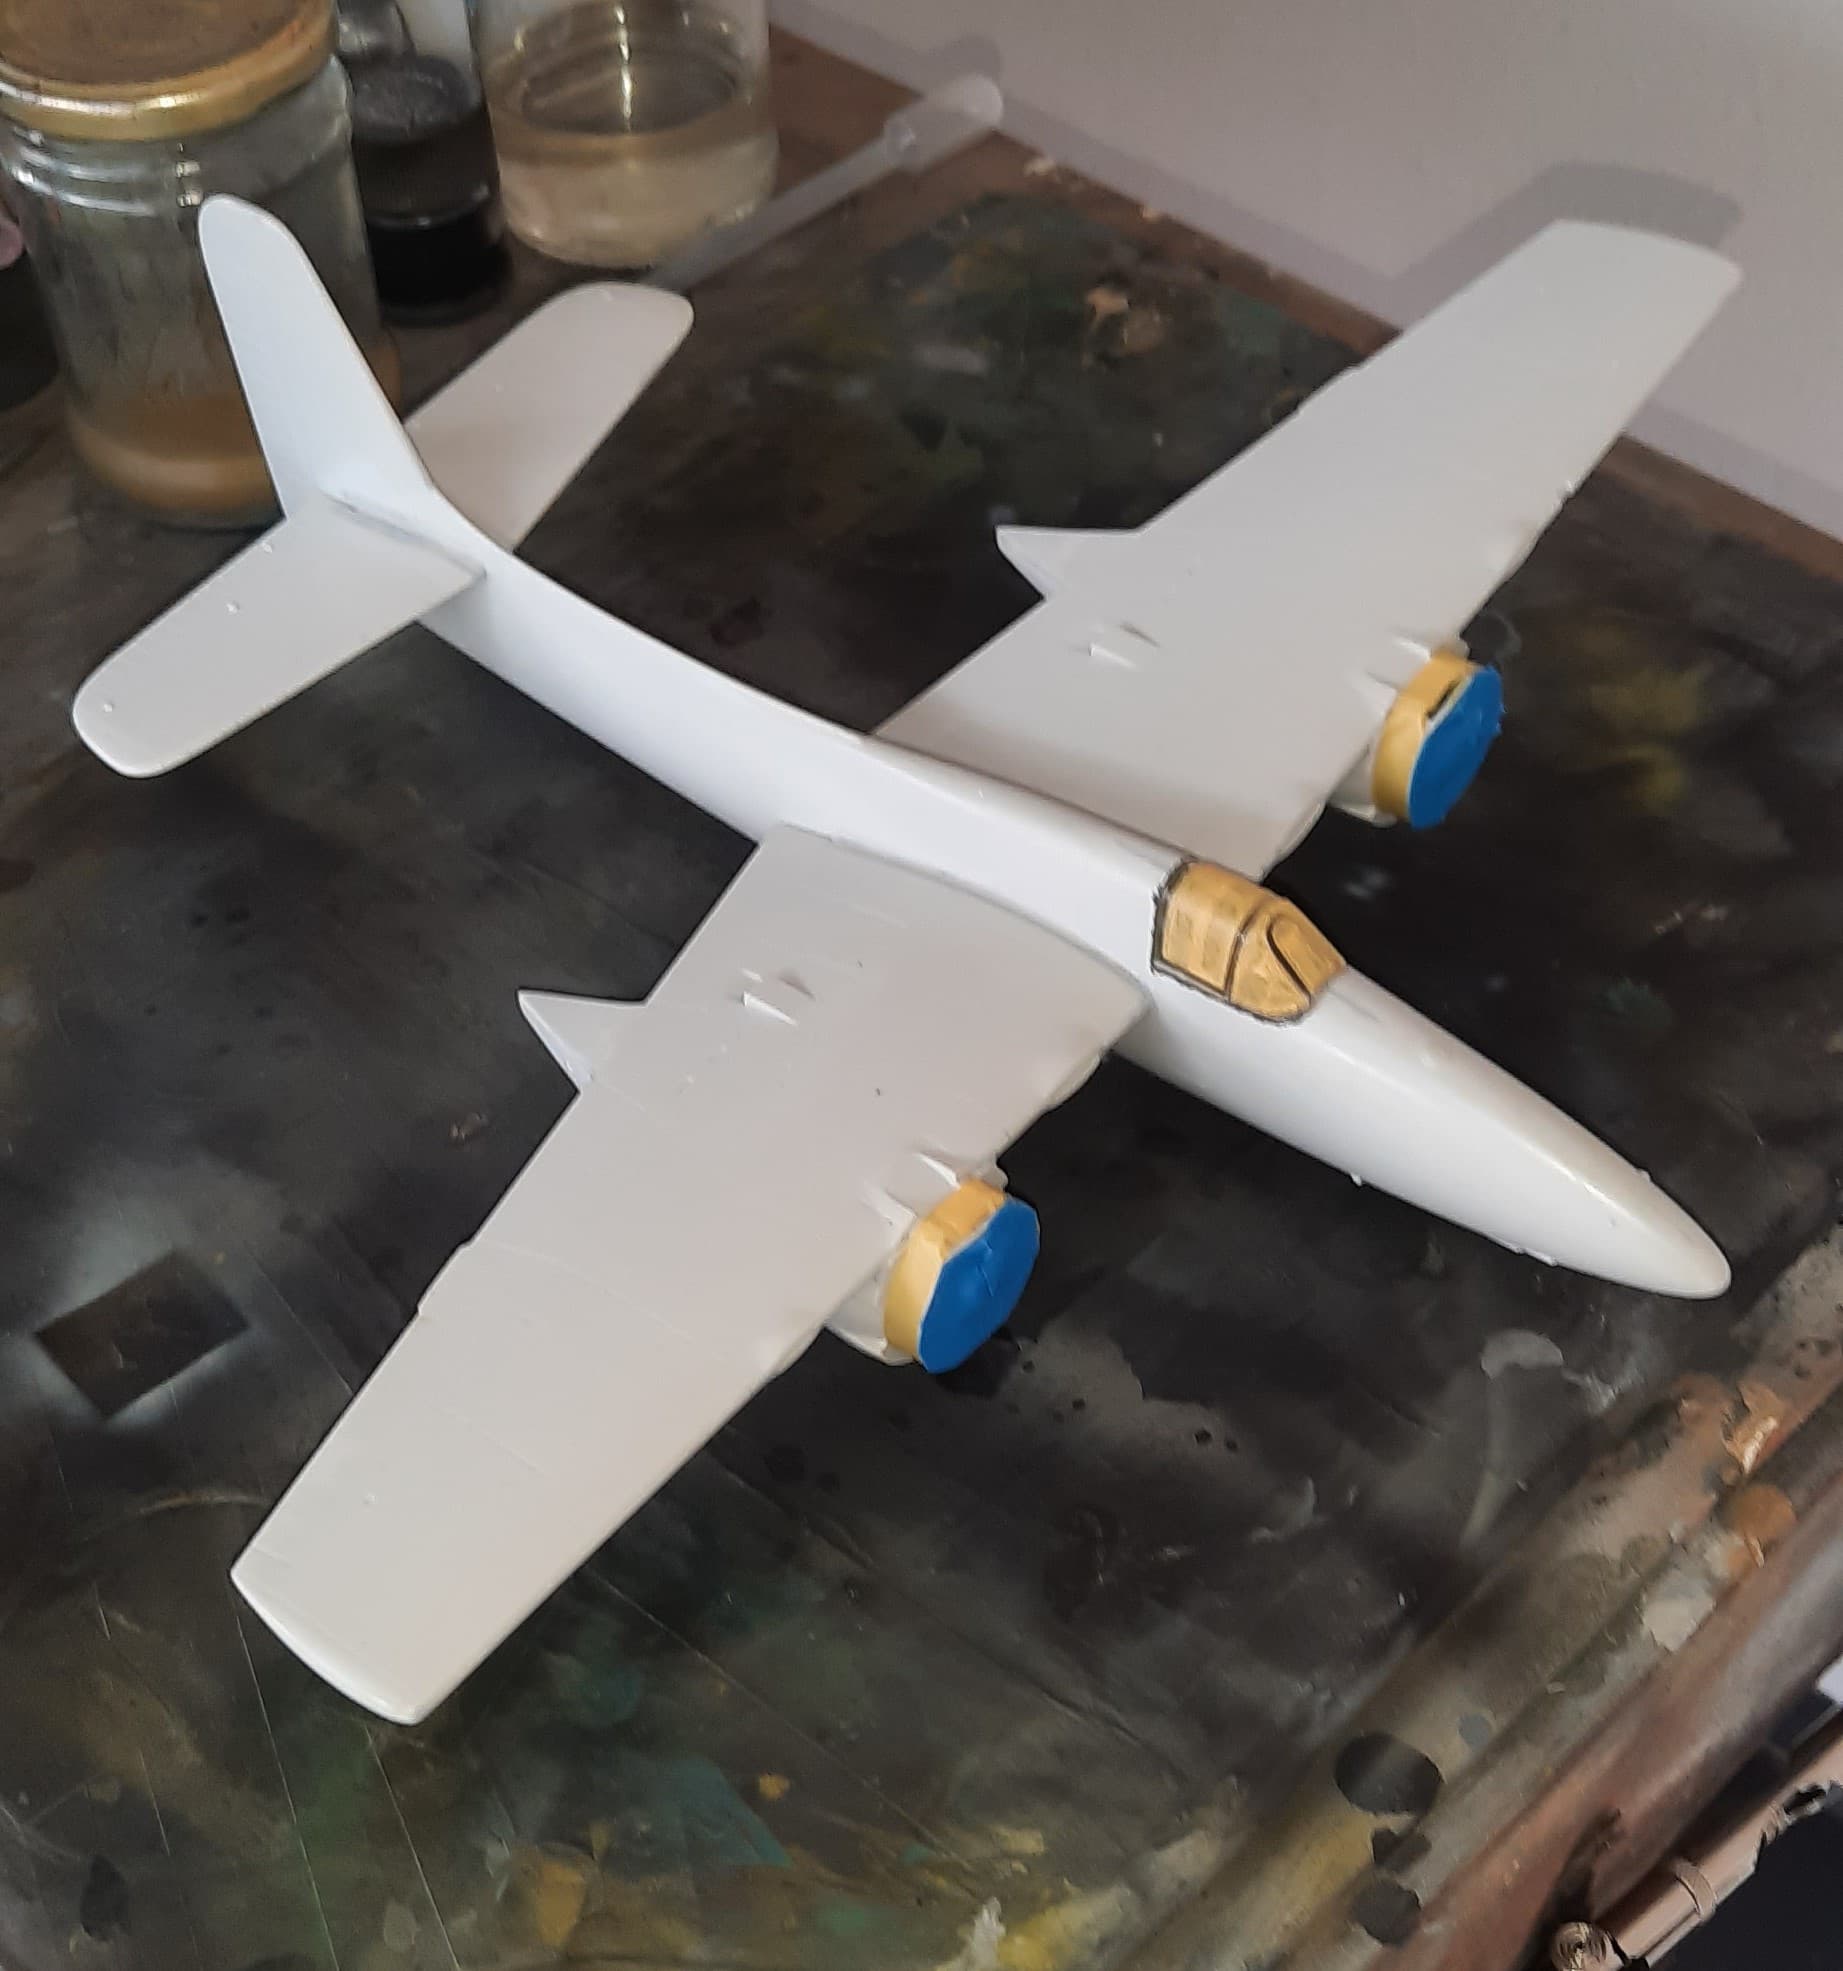
This was followed by some more minor seam filling and then an overall polishing to get it ready for a glossy sea blue finish. I decided that I’d be going with the box cover design which was a Marine bird from 1946, used for instrument training. Sporting white strips with some bright green in between. Of all the ones I looked at, this one was the most colorful. Next up would be to try my hand at doing a black base technique using blues!
Till next time, have fun!
6 Likes
Neat subject. There are a lot of planes from that era I realize I know nothing about. Glad to have you in.