Thanks for the comment, Peter. 
Is there a place I need to upload the pictures?
I have tried for some days now to get into the old photo galleries, but all I get is “server busy”.
Thanks for the comment, Peter.
Is there a place I need to upload the pictures?
I have tried for some days now to get into the old photo galleries, but all I get is “server busy”.
@SGTJKJ Jesper, the Gallery has been a pain in the butt for some time. I can’t upload anything there either.
Never fear though, when I allocate the awards I’ll troll back through the thread and pick up anyone who has finished a build but been unable to add to the gallery.
Cheers Peter
Thanks, Peter. Much appreciated
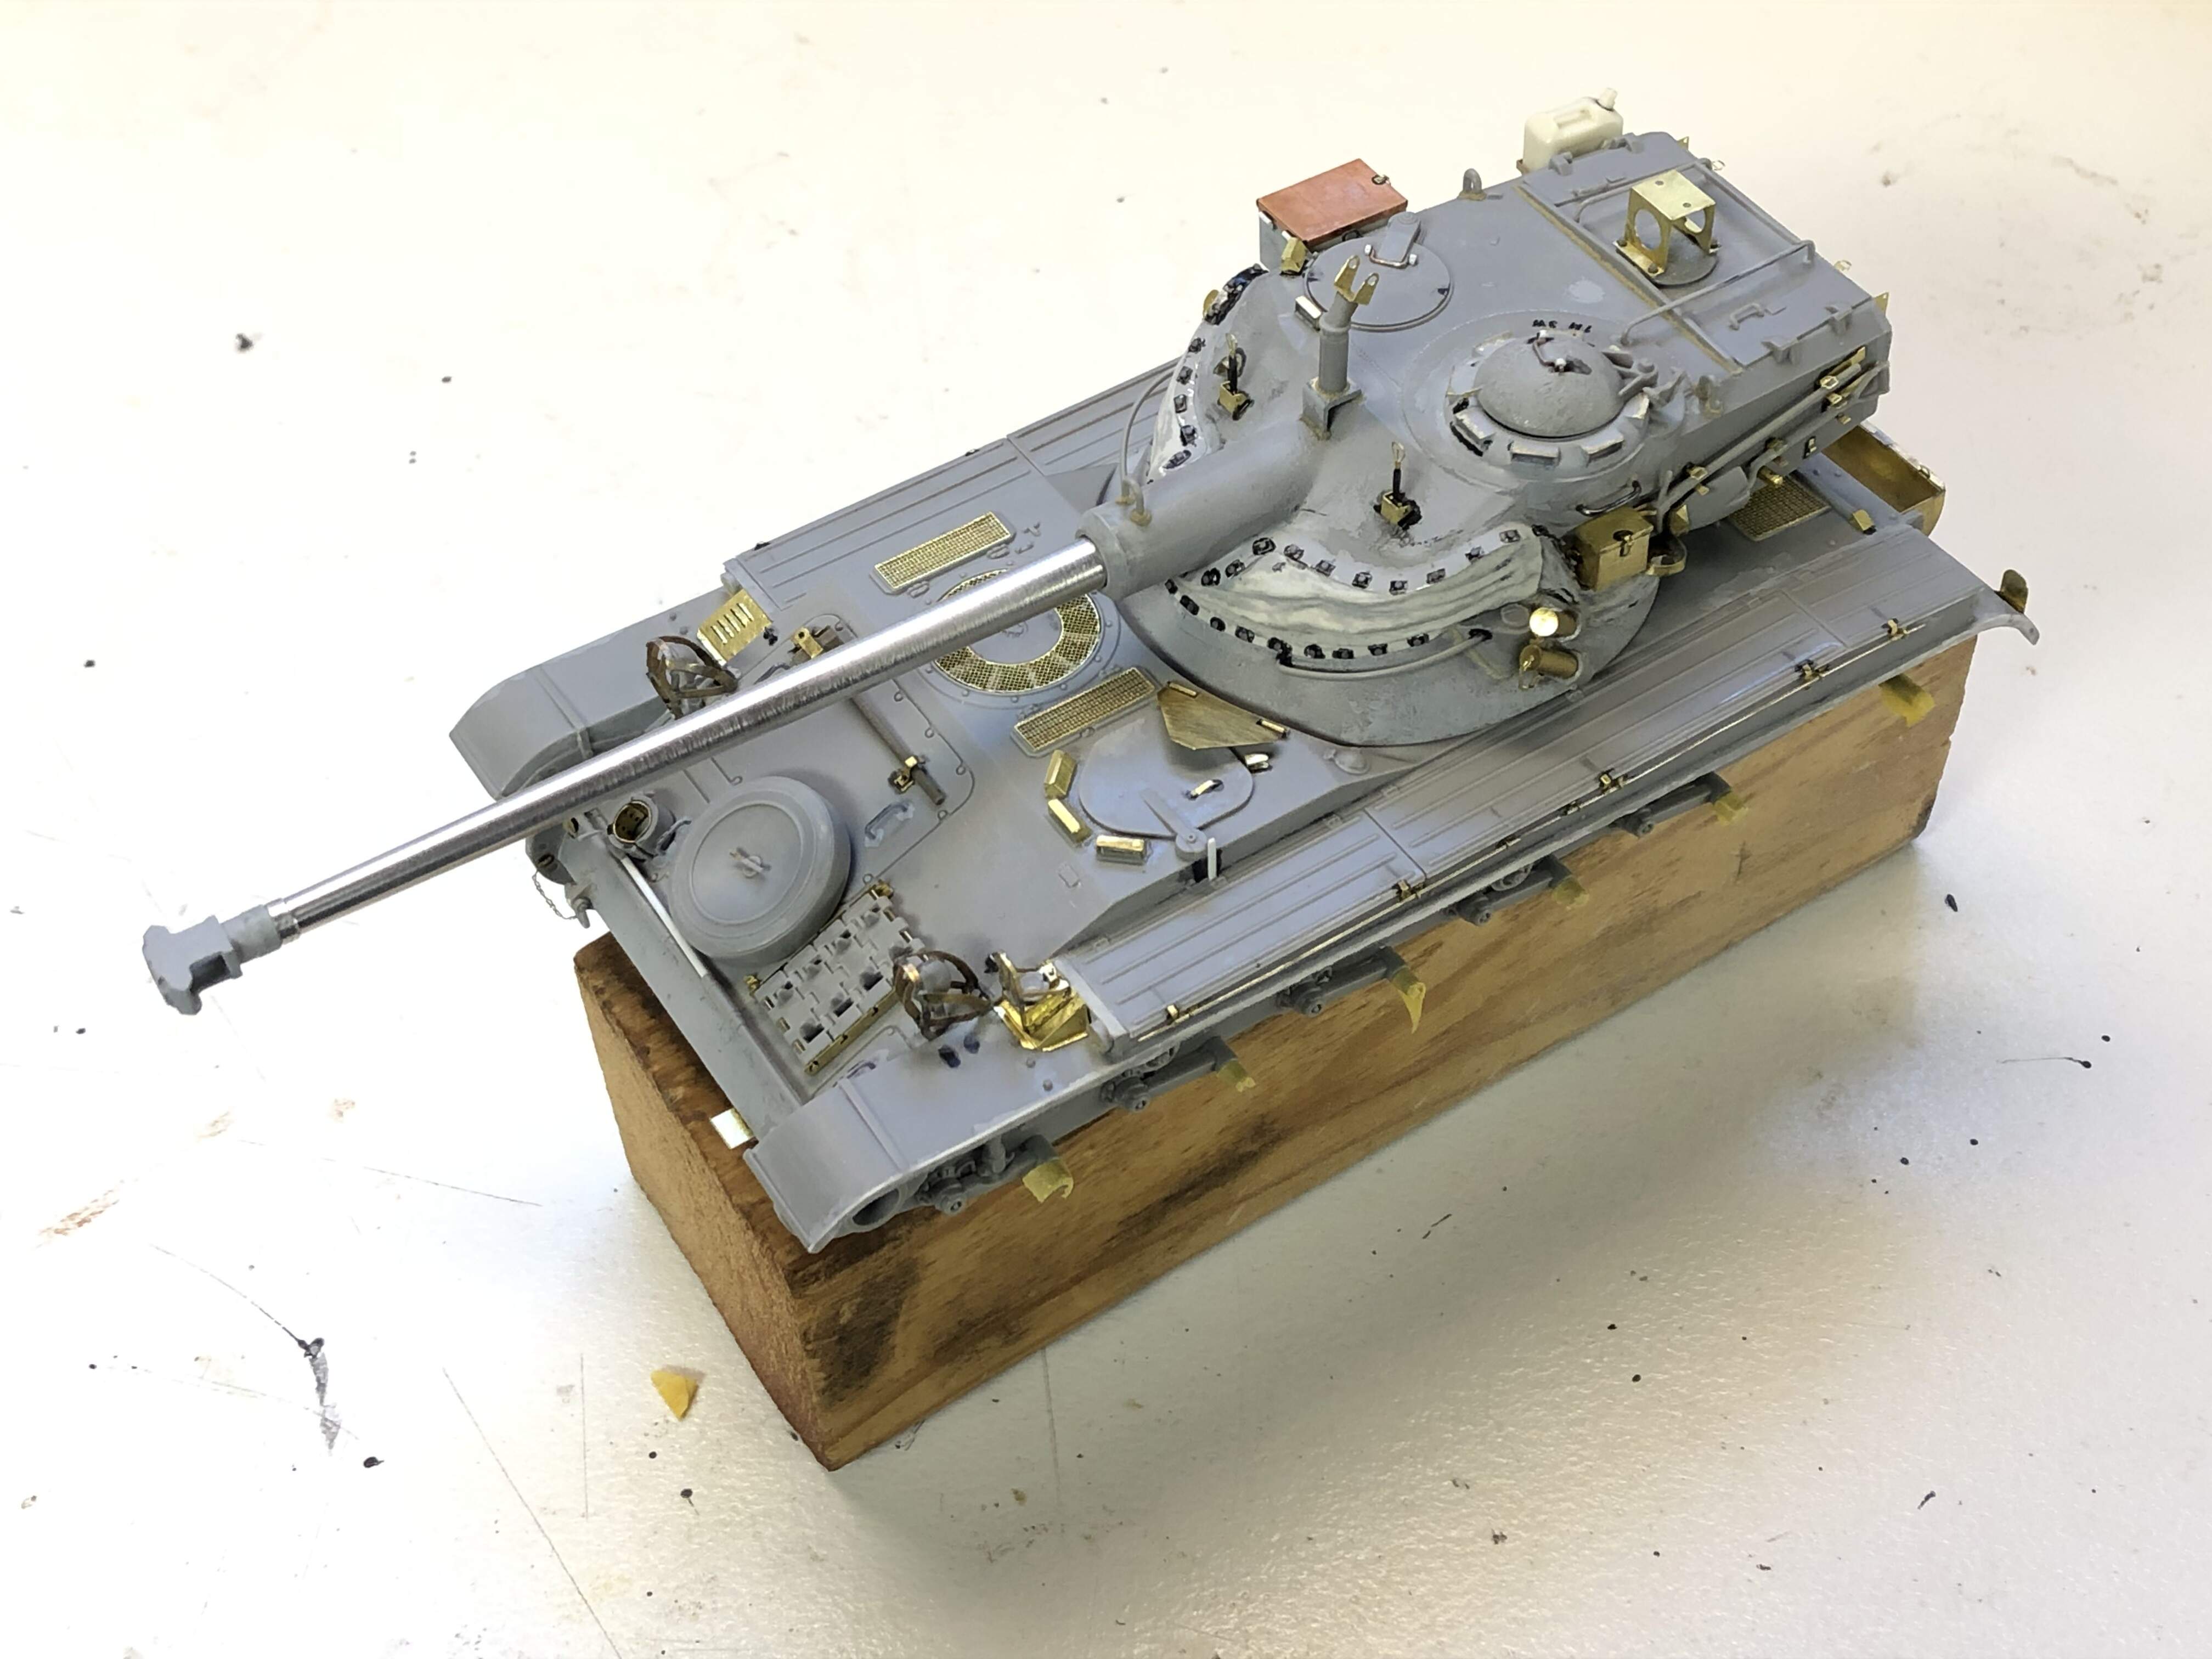
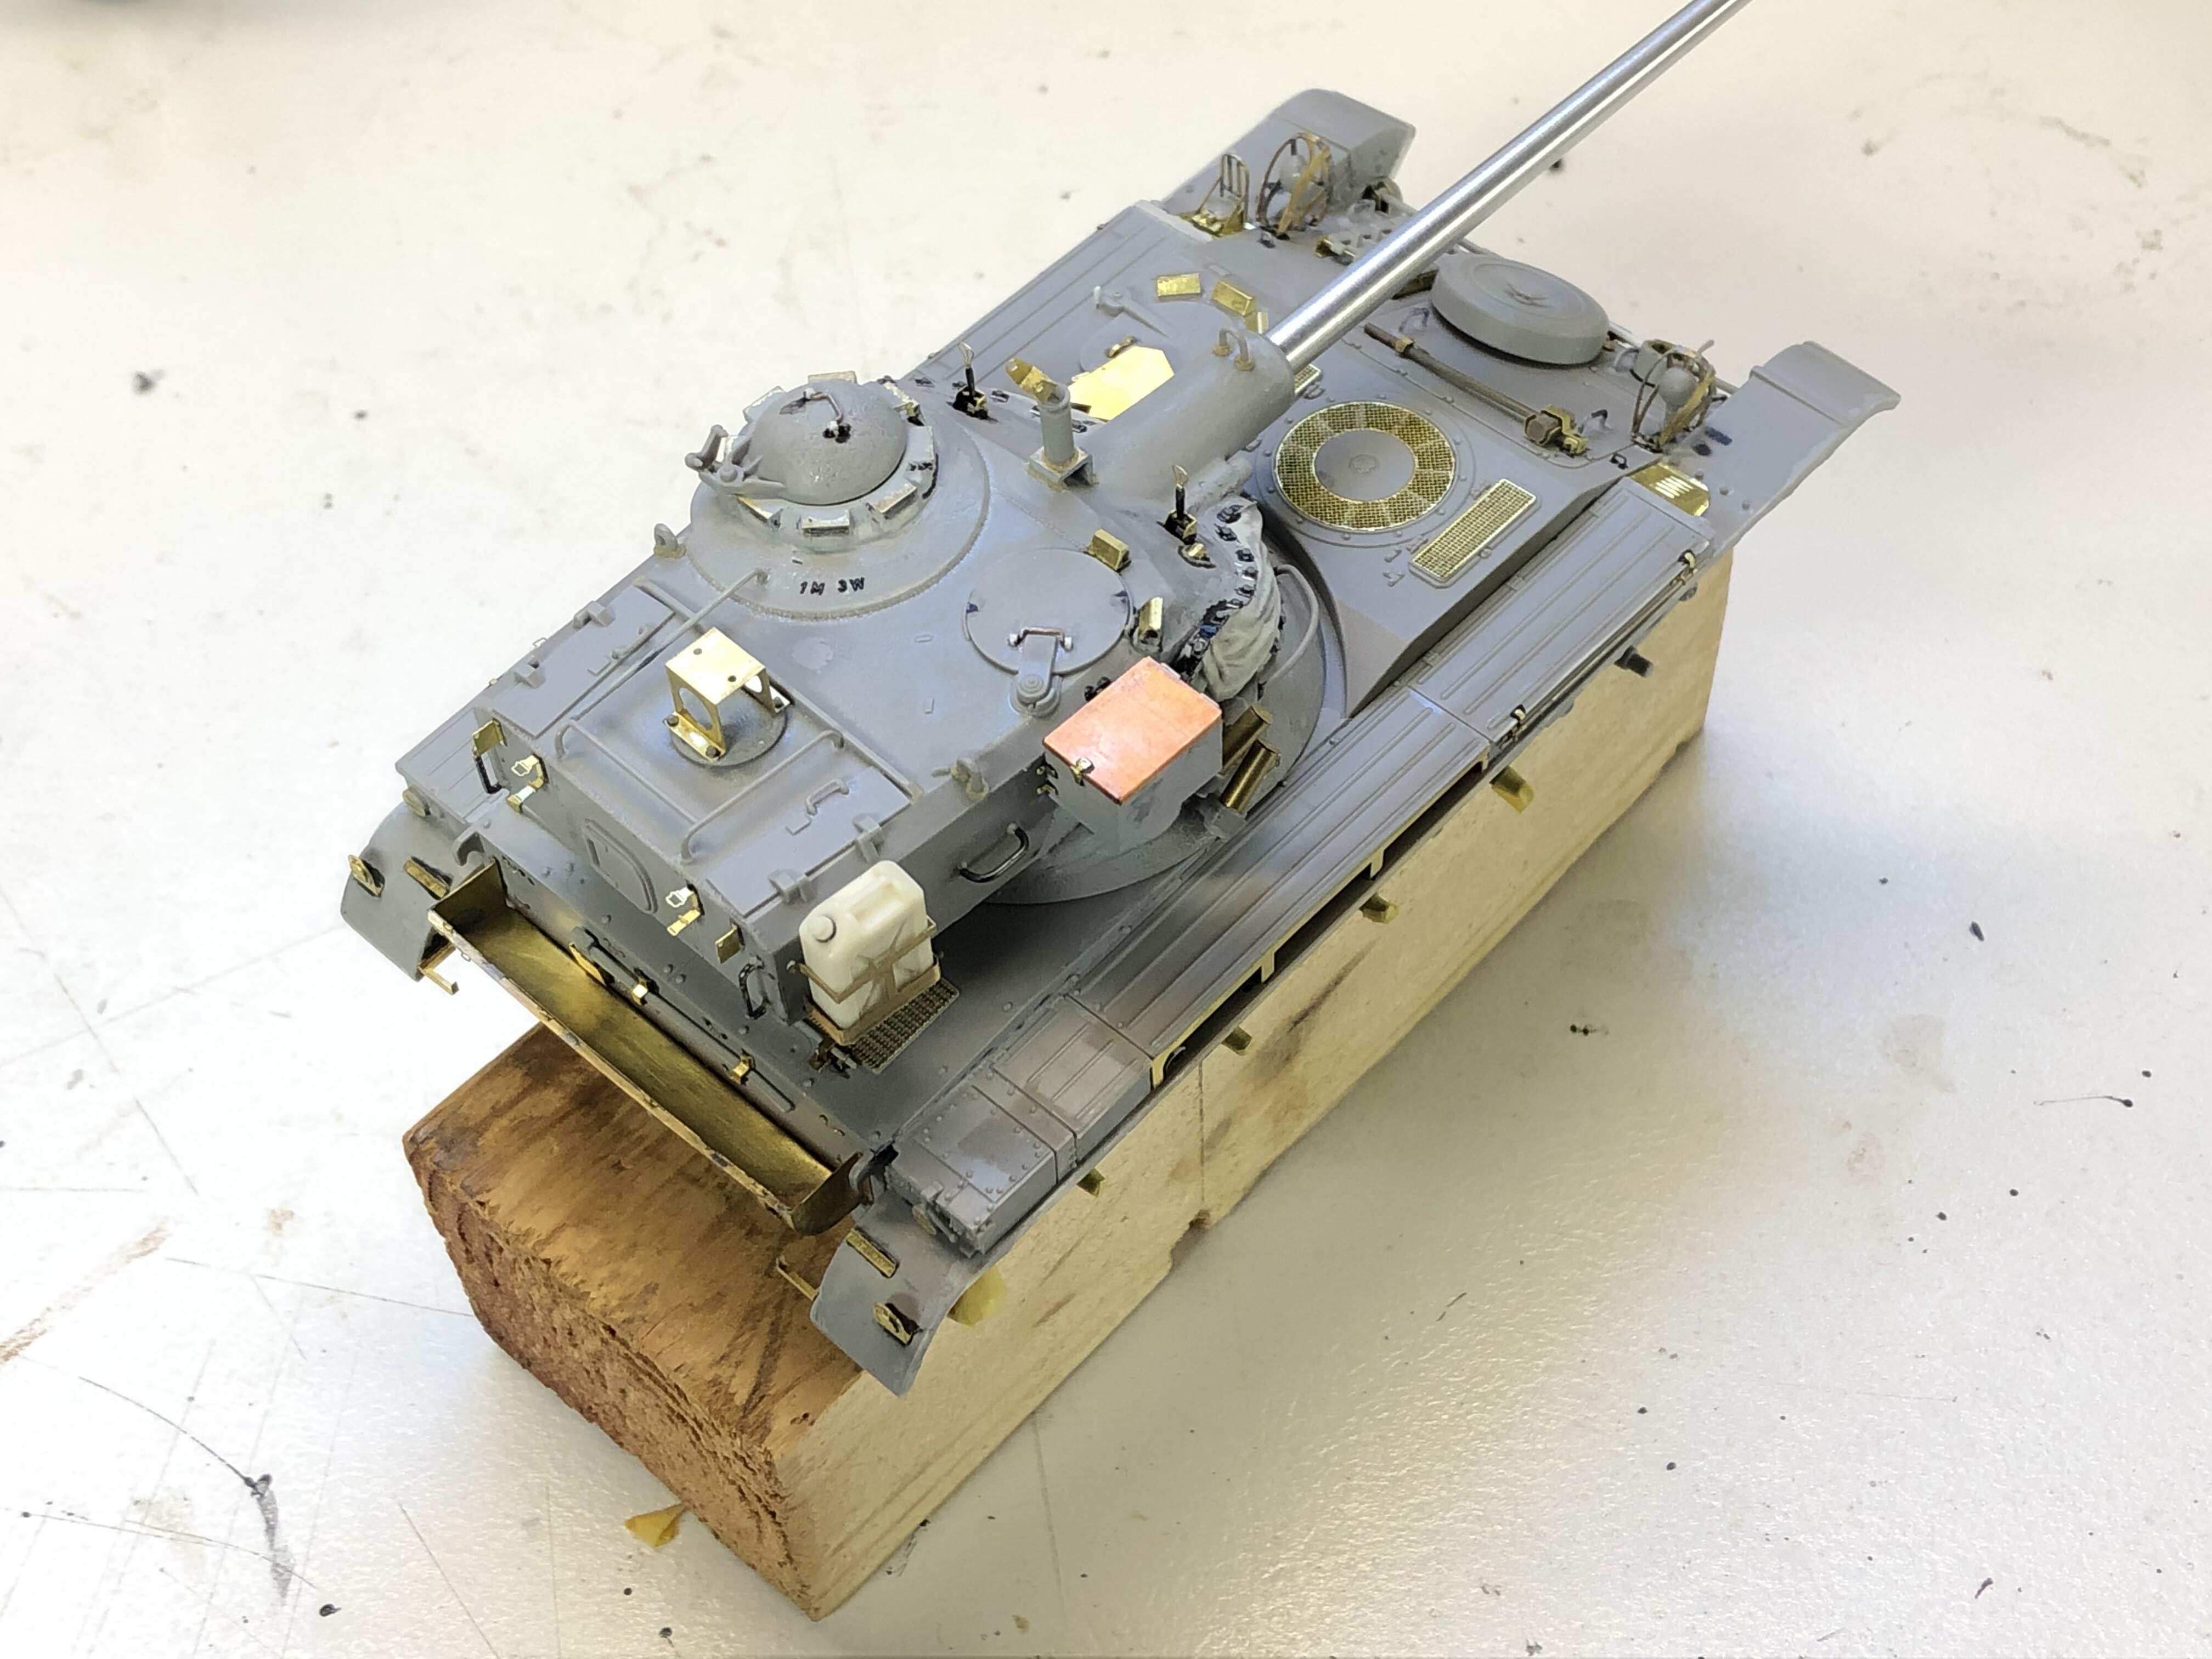
Well after a long slog in PE and scratch building to get this AMX-13 more IDF and less French I am finally updating my progress here. Next stop primer and then painting.
Fantastic work Chris. A lot of very intricate work aded to it. Love it.
Thank you sir! My first modern armor piece but won’t be my last, really enjoyed researching this one and have some others in the hopper from the same era.
Great build, Chris.
Looking forward to see more soon
Glad to see that the photo issues seem easier here. Posted a pic to the Antique Antics campaign…trouble free.
Found my way to the new forum! I was a newbie there so I guess I’ll be a newbie here. 
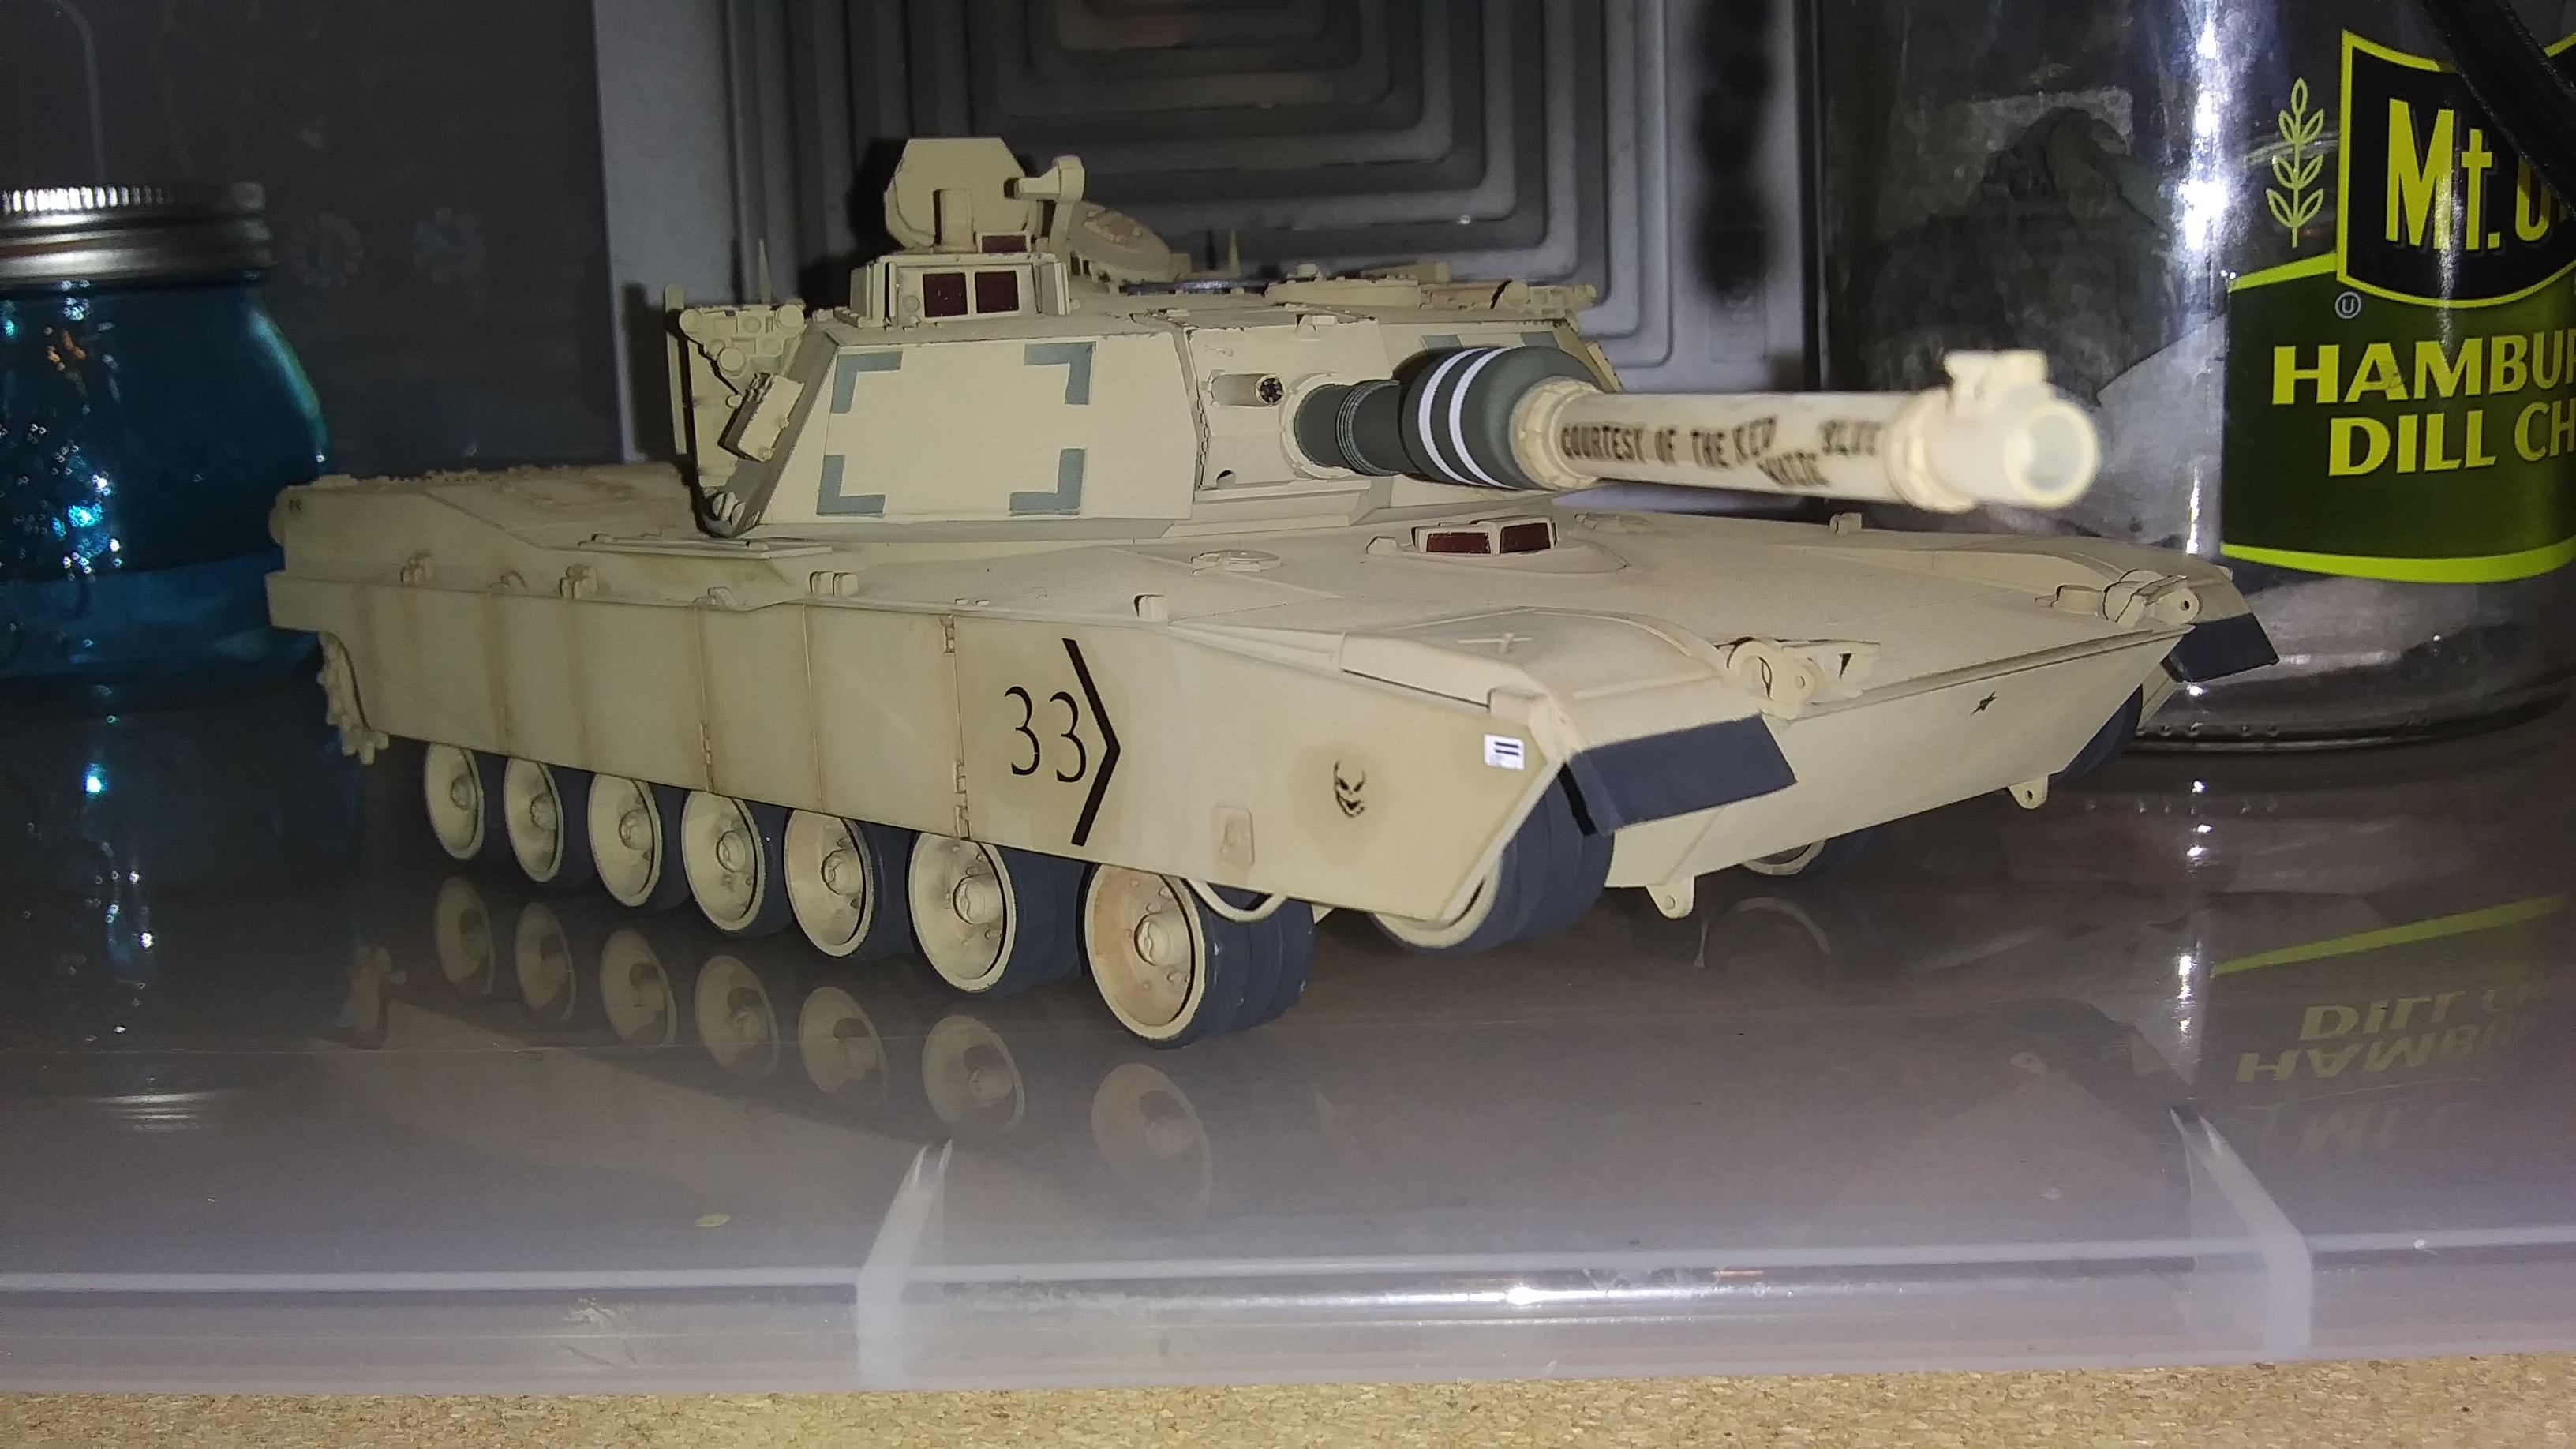
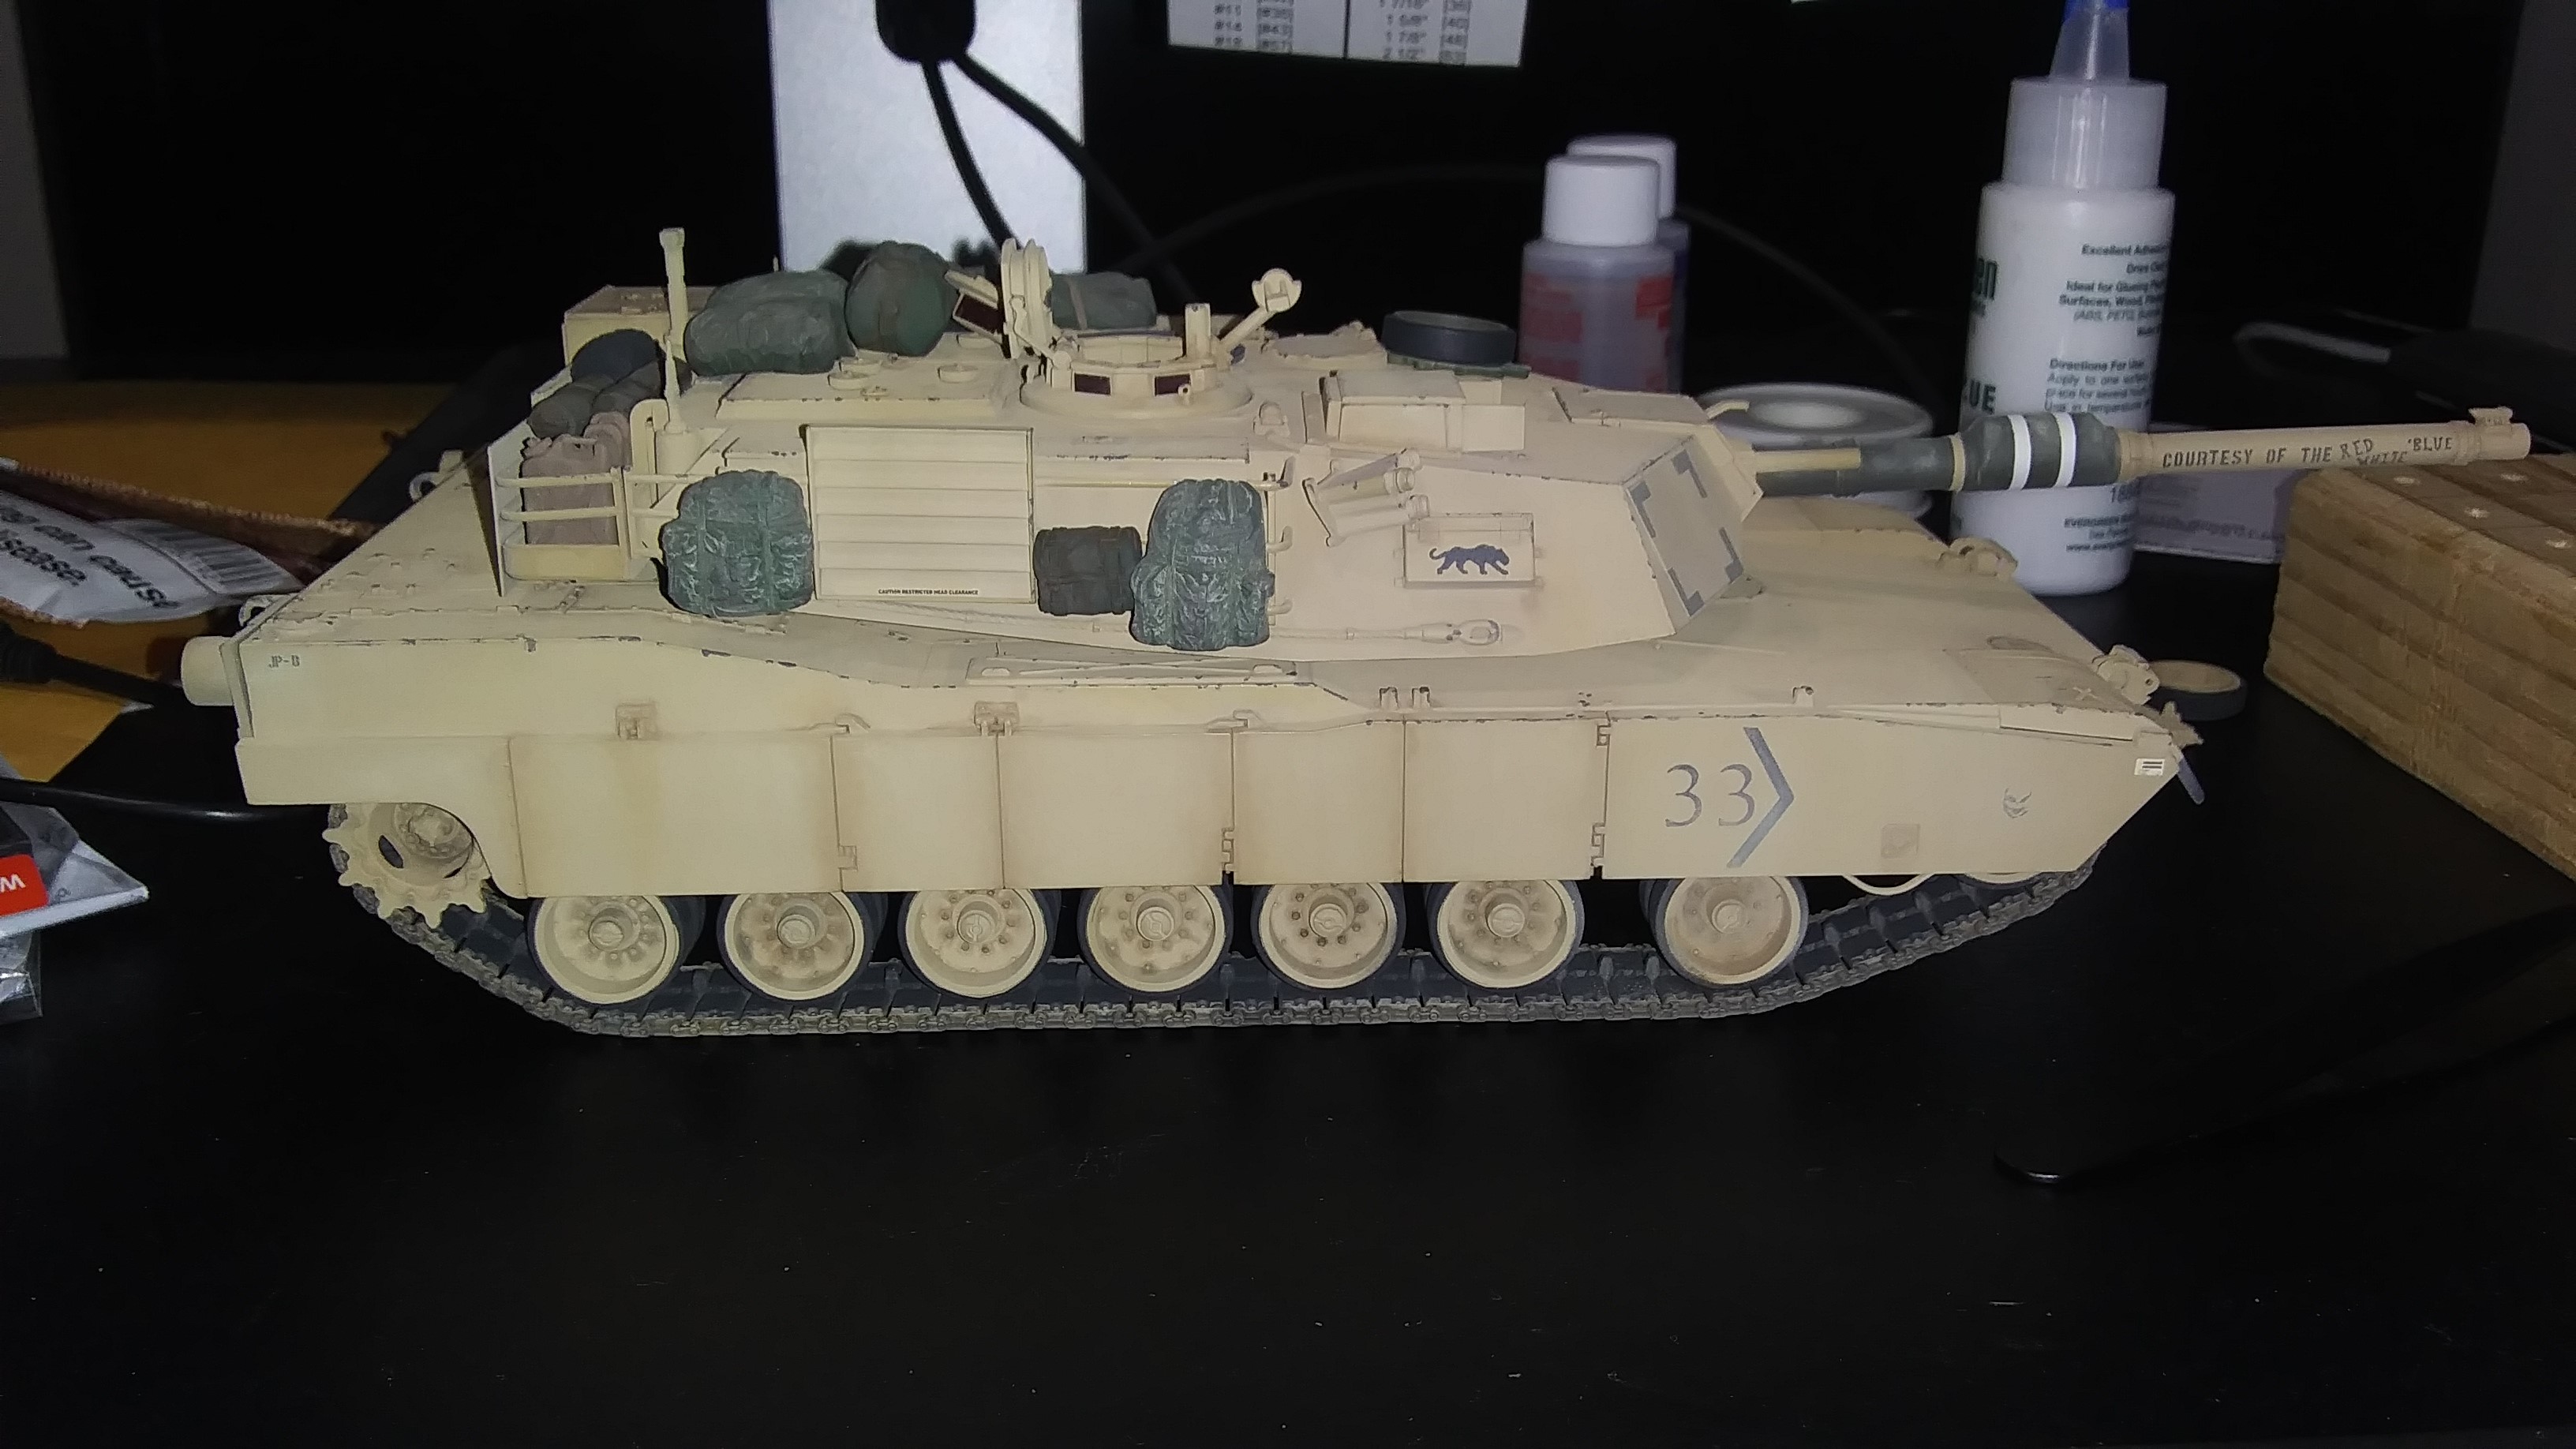
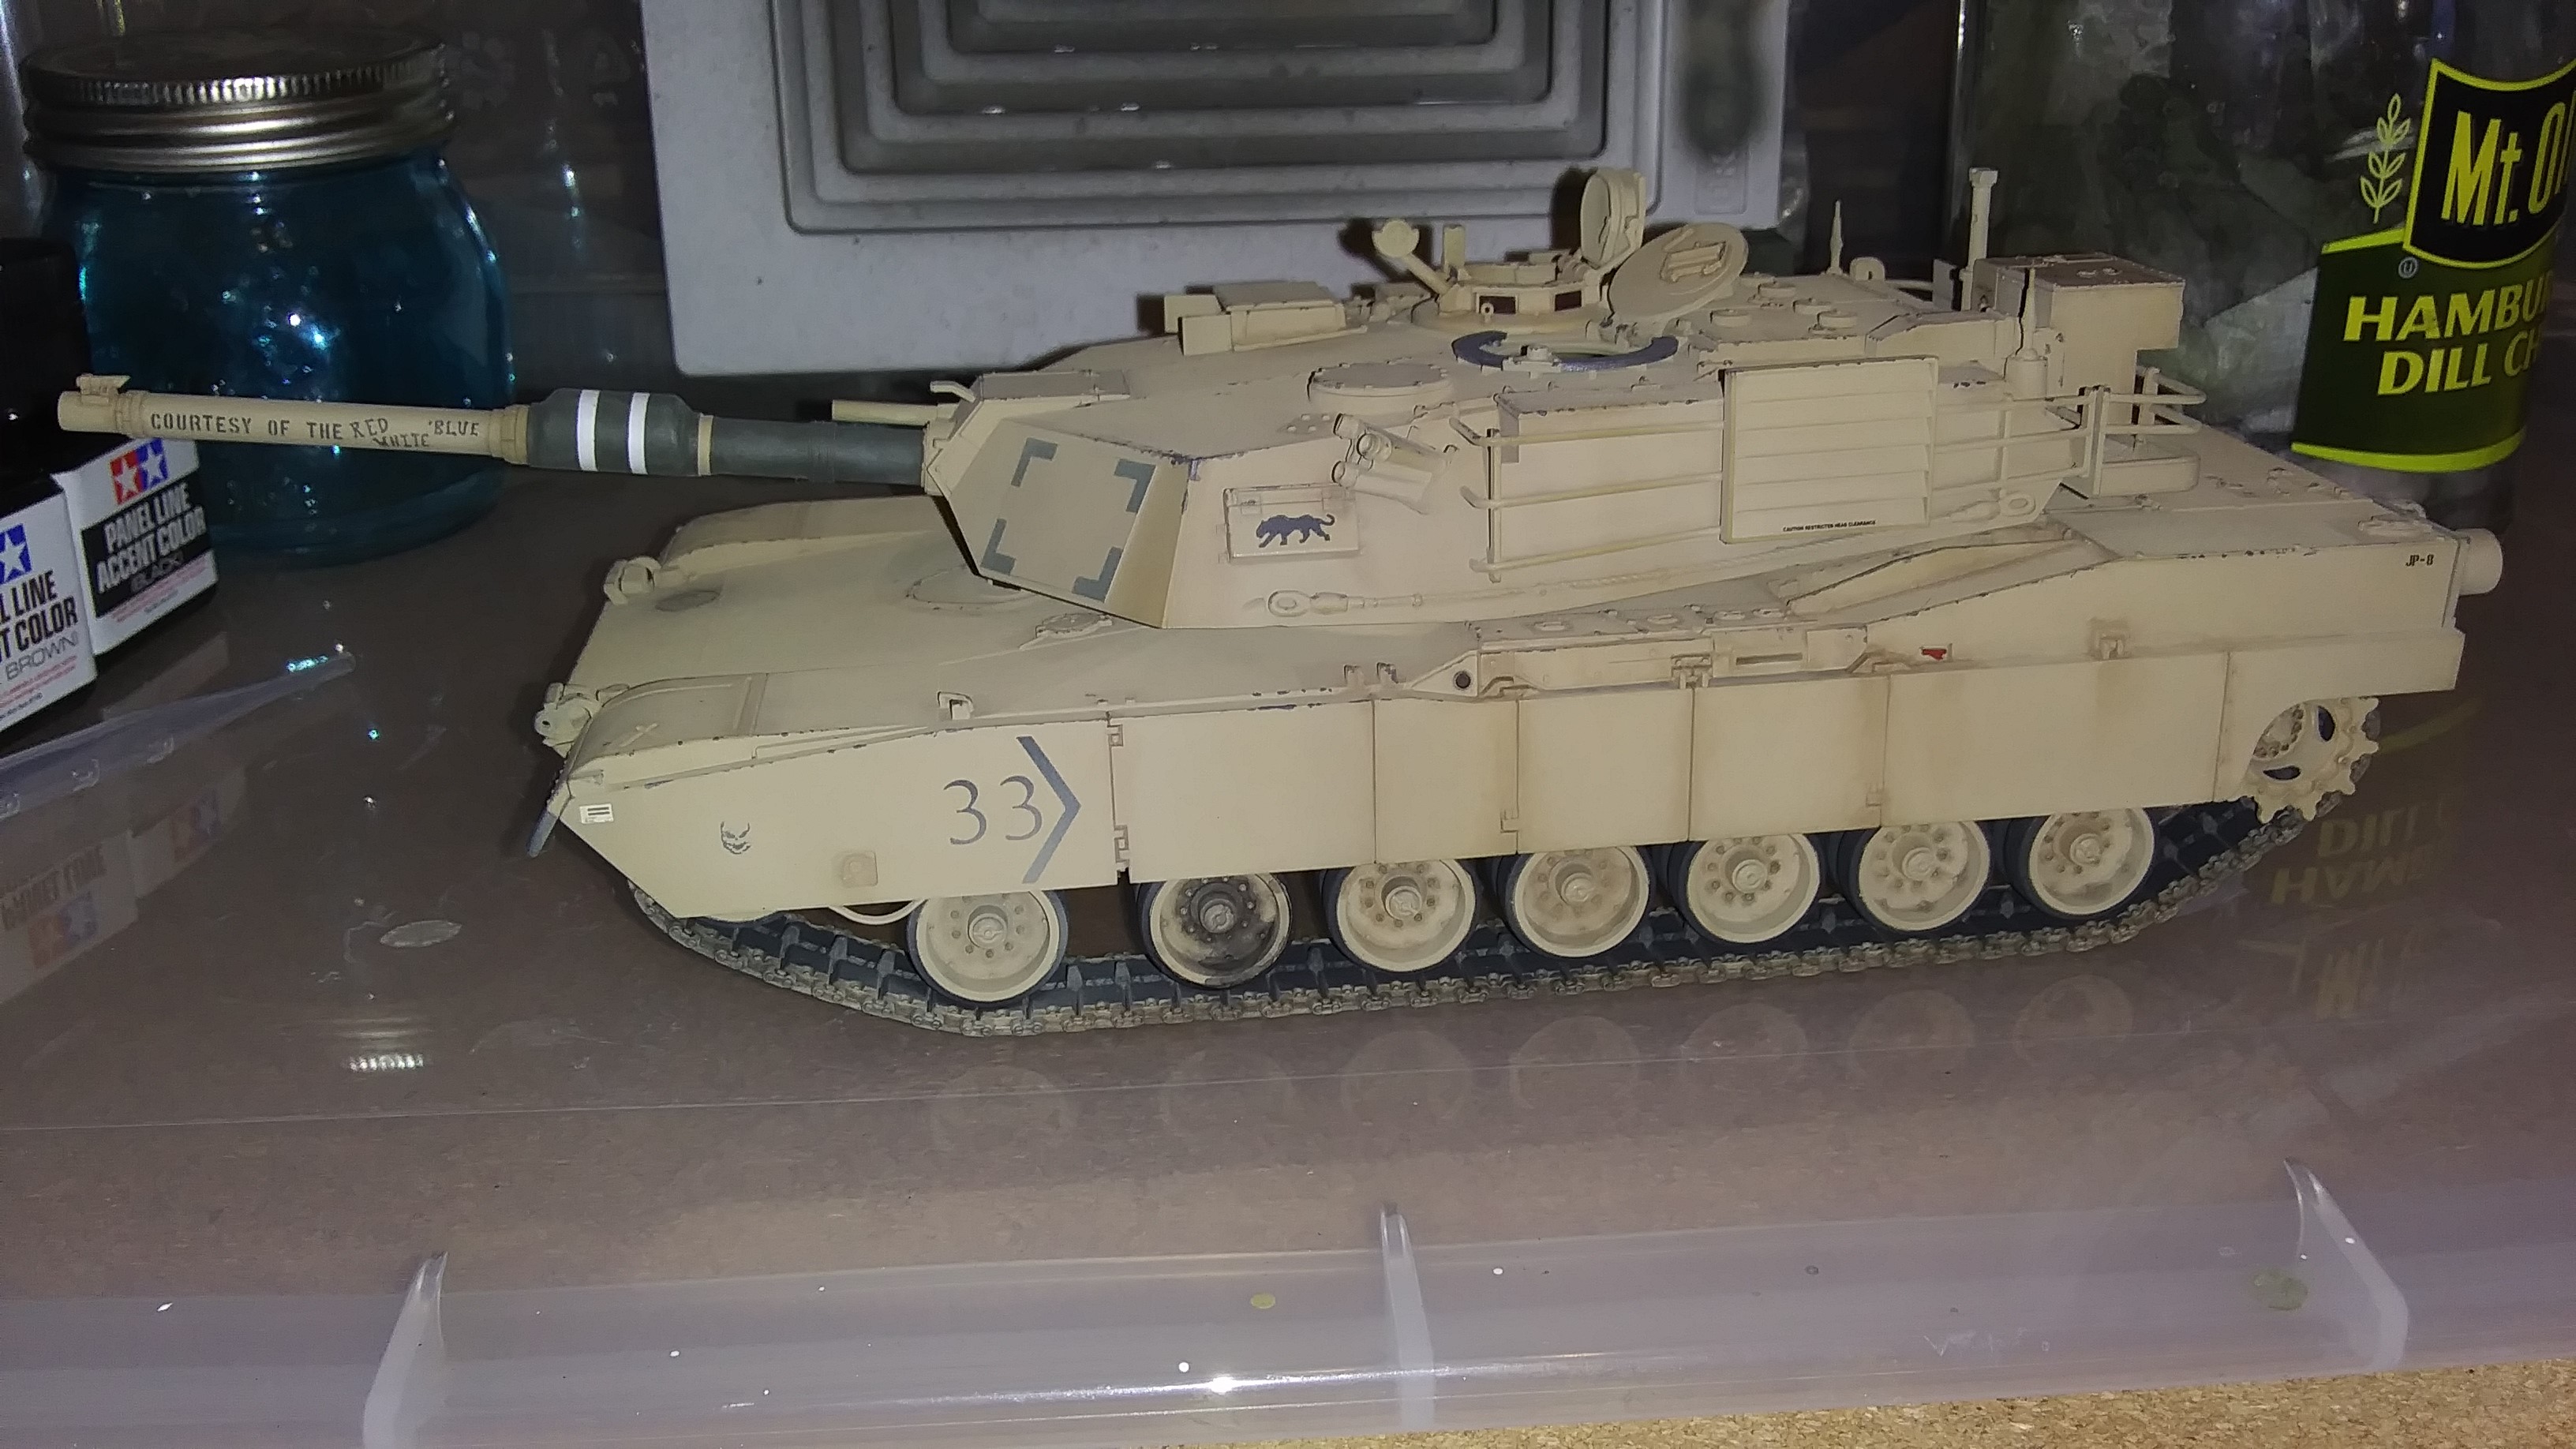
To recap, Here’s where my Tamiya M1A1 was in August. She’s been sitting in that state for over 10 years.
OOB build for parts. Echelon (3-69 Armor, C Co) M1A1HA Abrams in OIF decals. Adding the lightening holes in the drive sprocket wheels with a pin vice, then filing to shape, was task done with a lot of sweat on my brow. Was worried I was going to screw it up. Will be adding a few simple scratch build parts to finish her out (smoke grenades and antenna).
A couple of in progress pictures.
Getting really close to a completed model.
Looks fantastic Brian, really coming together very nicely
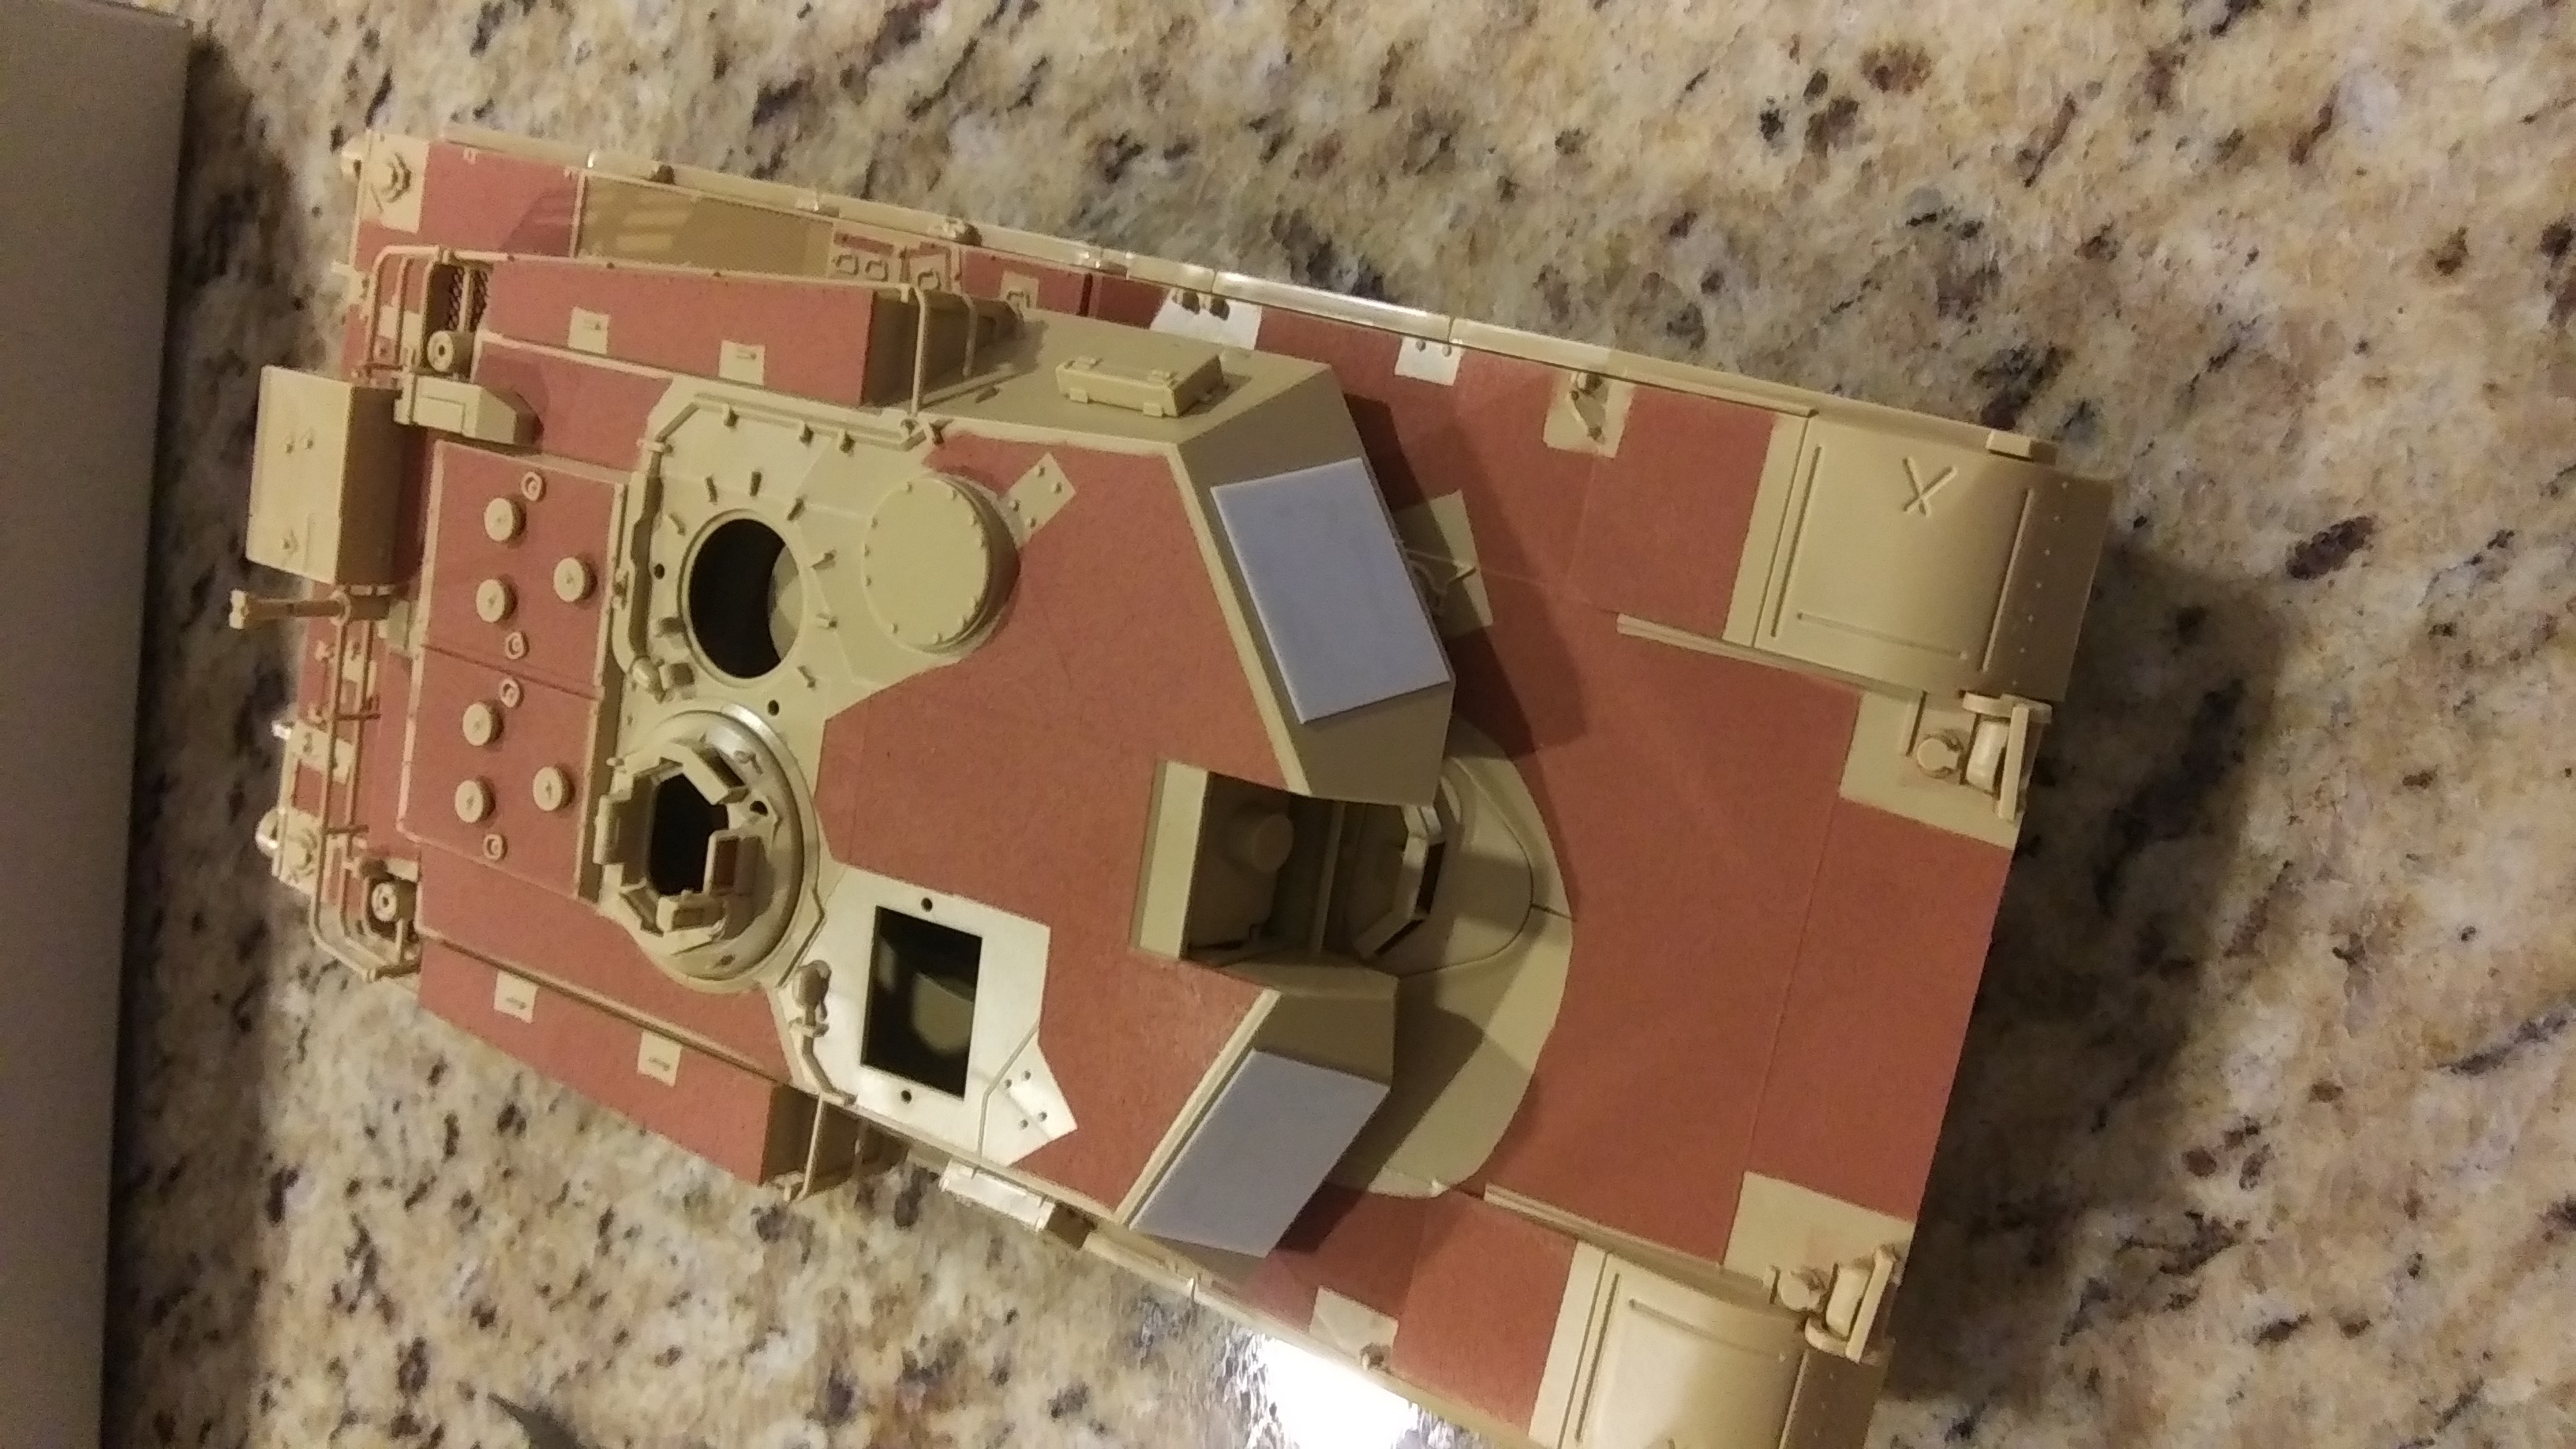
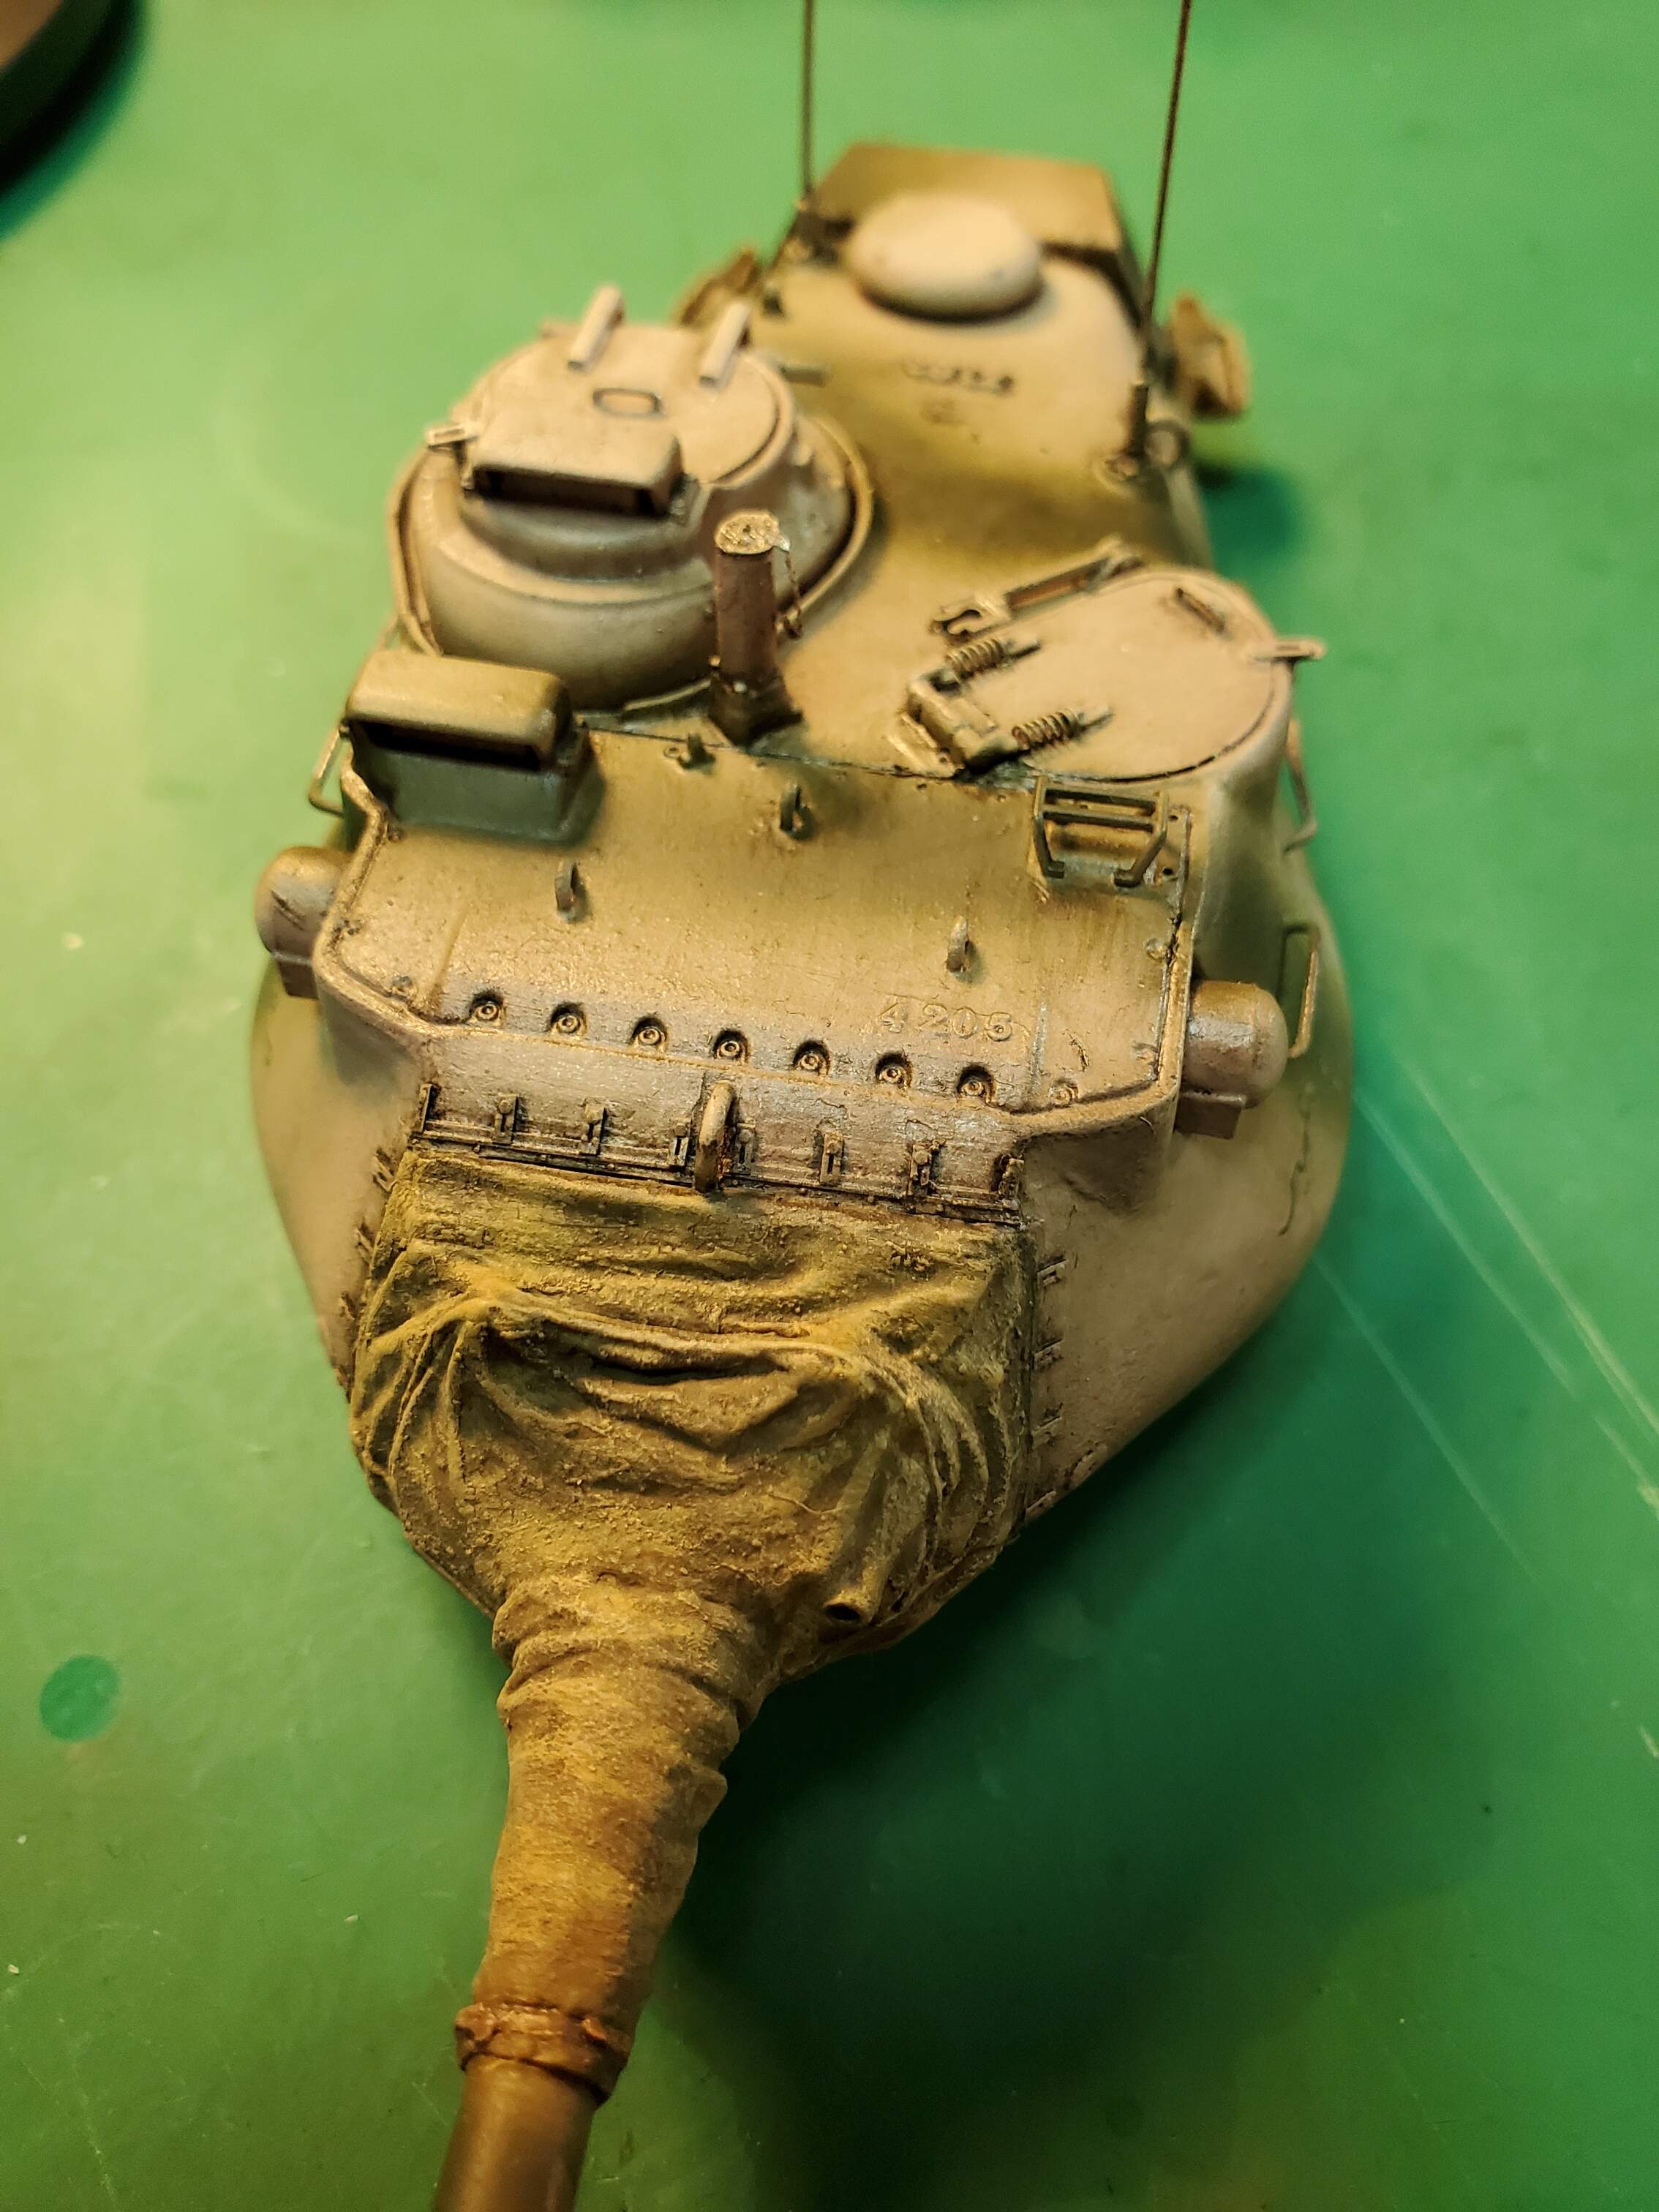
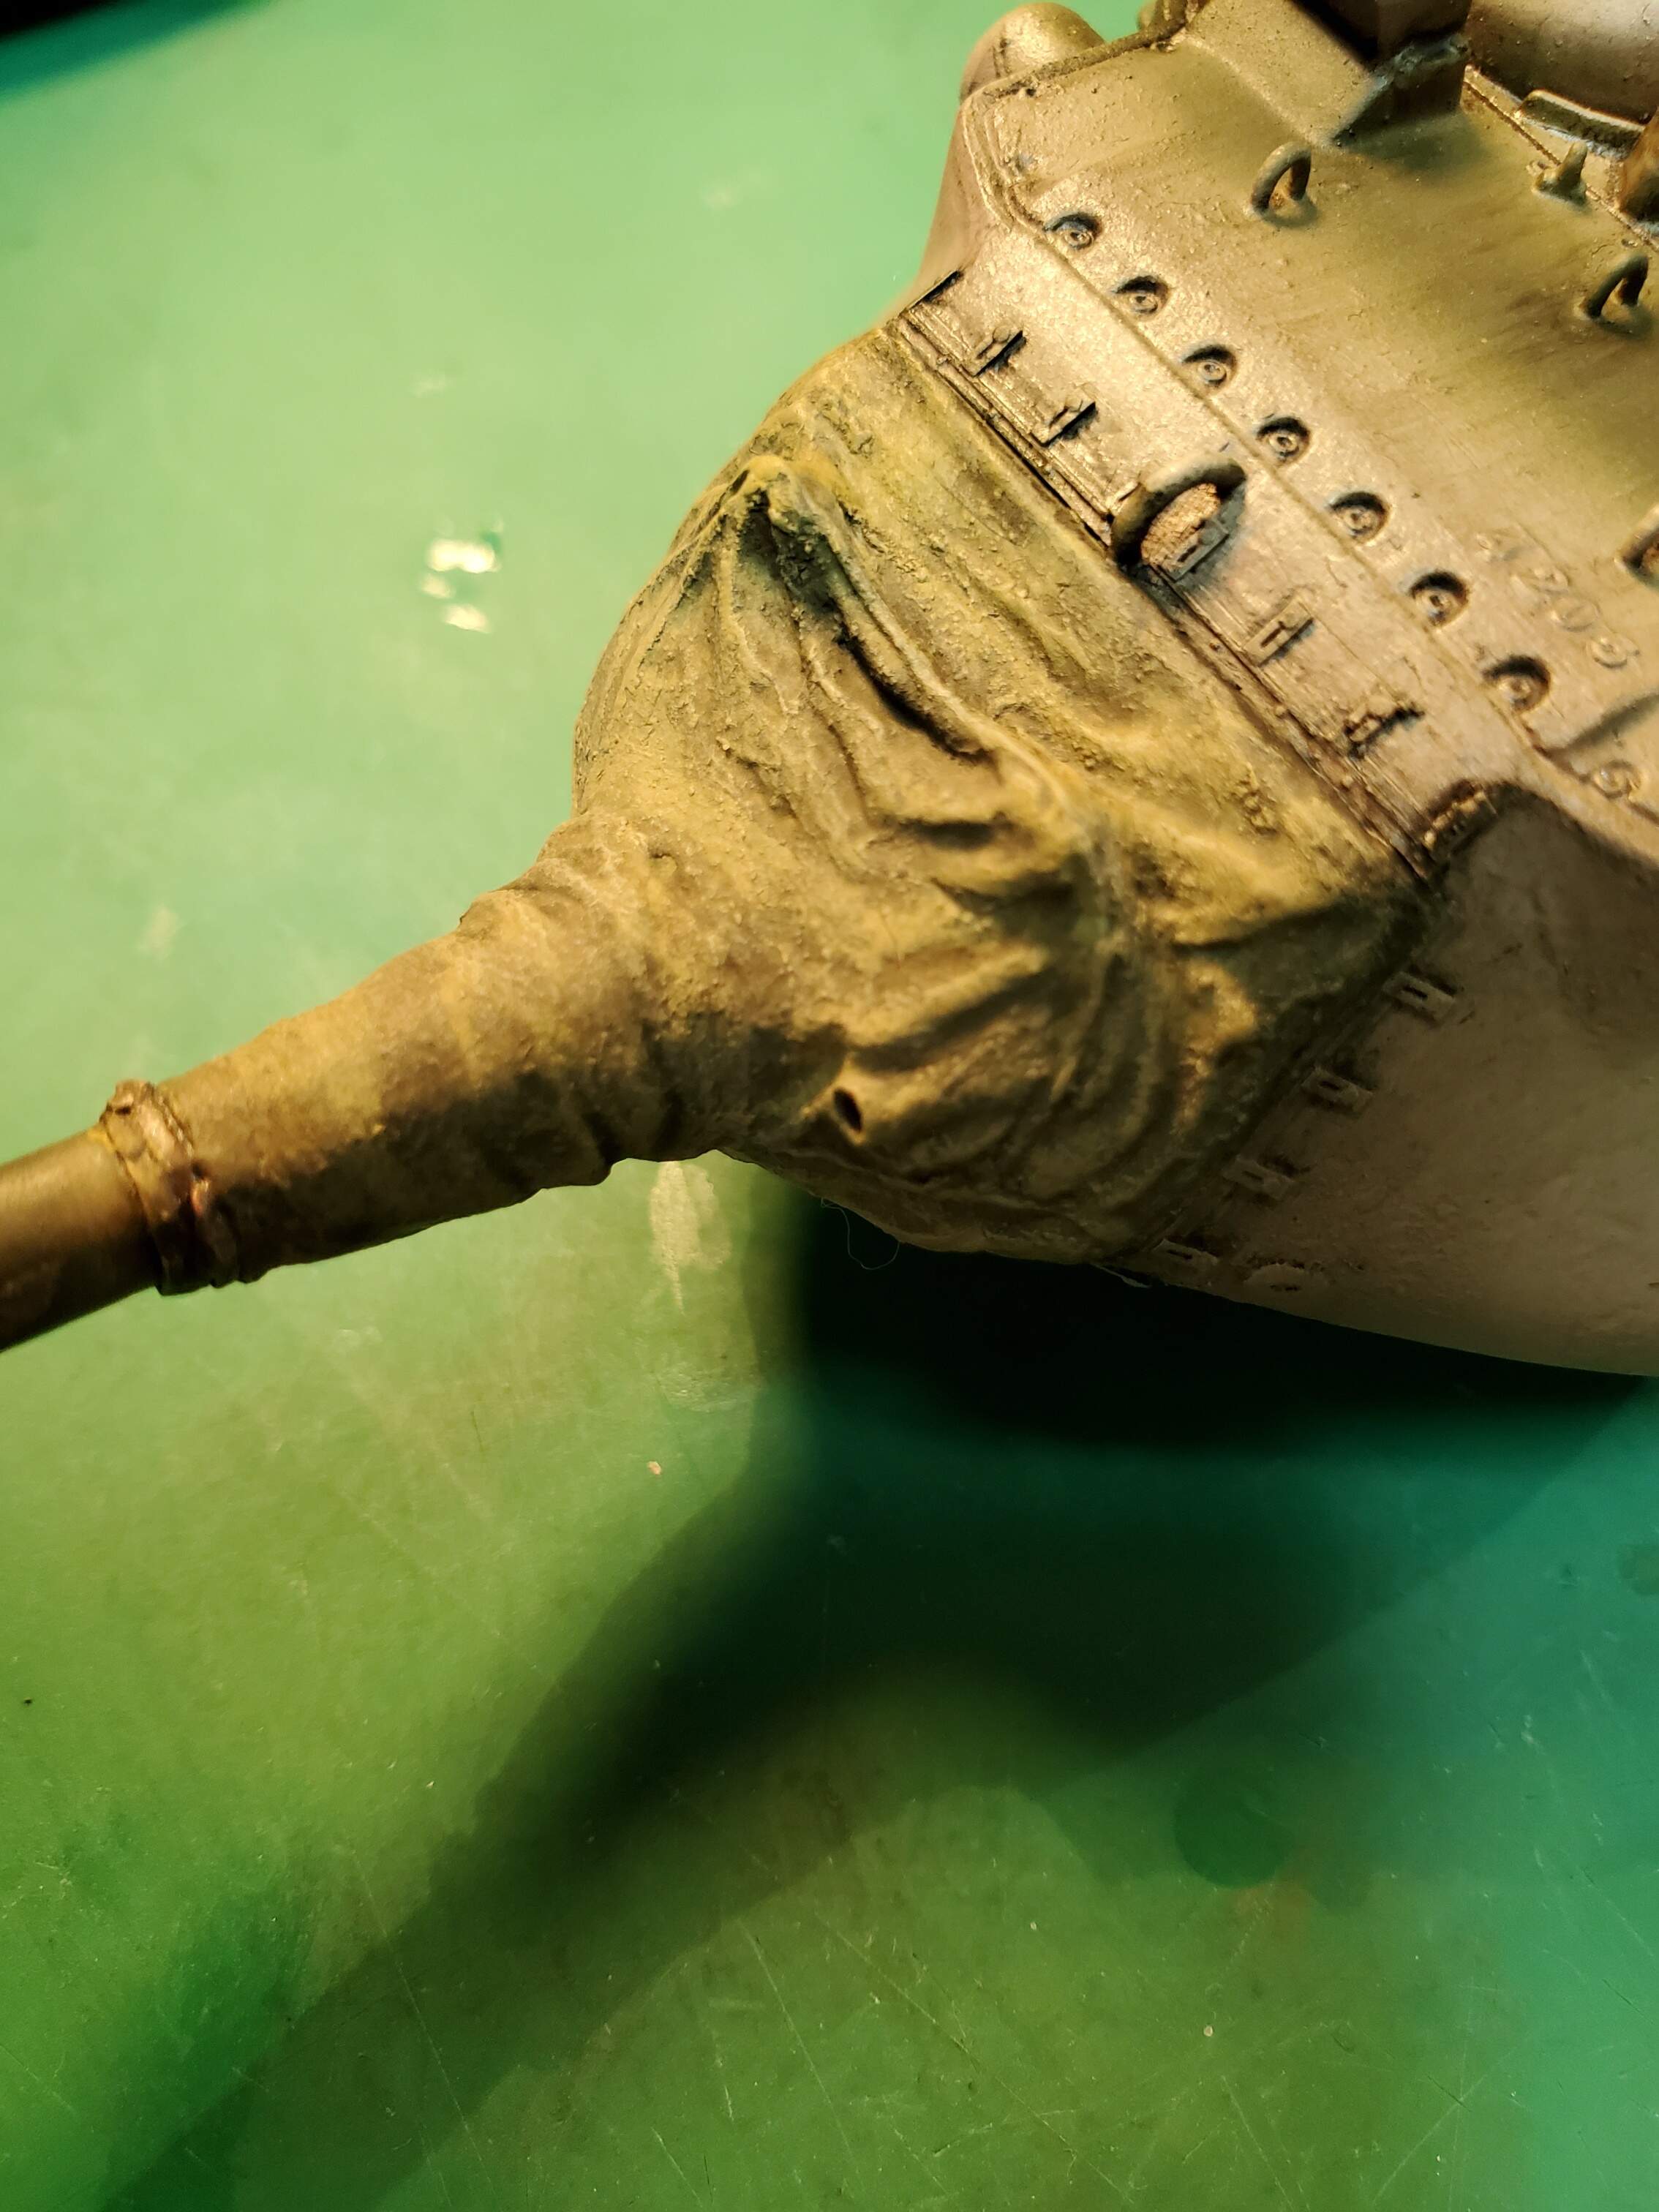
The end of the month is fast approaching…along with retirement…a full plate indeed! Knowing the campaign ends the end of the month, the pressure to finish is there, but I also understand patience is key. So, some update photos of progress thus far on my Jordanian M47.
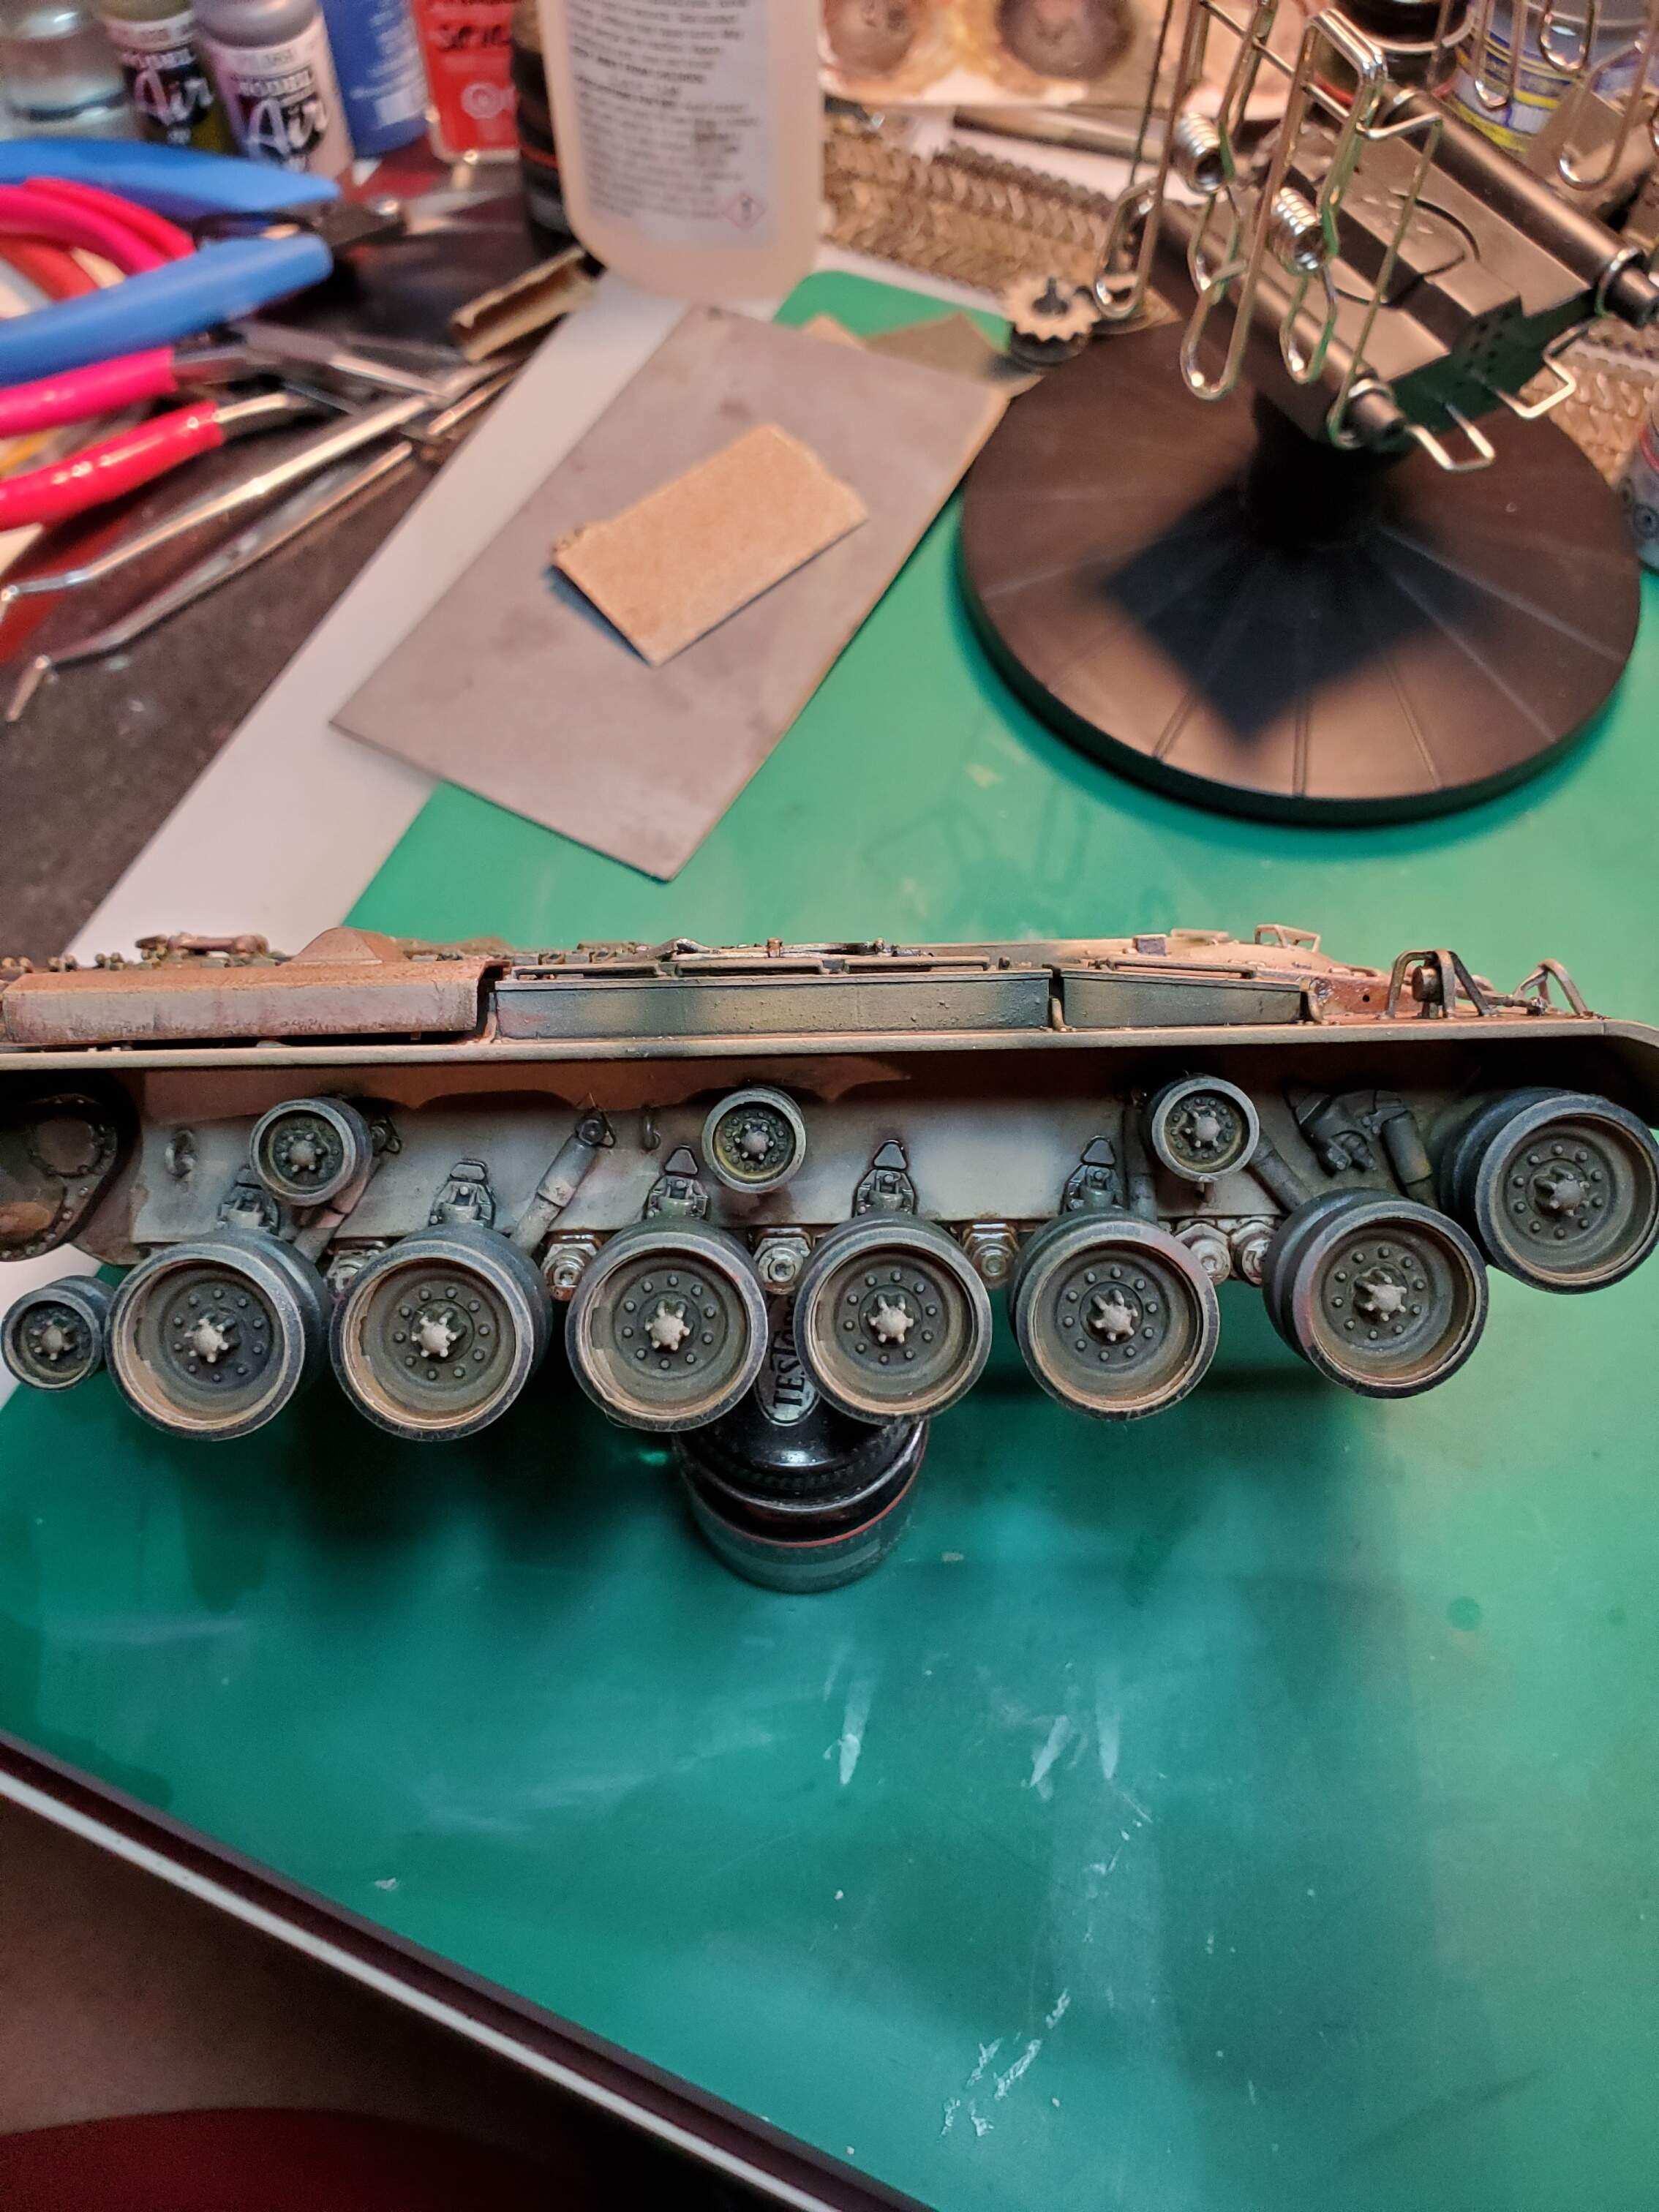
First and second photo: featured is the mantlet cover and general black/brown wash…pin wash as well on the turret (note foundry marking on top of the turret at back of photo). The mantlet cover was treated with Mr. Surfacer to replicate fabric and the roughness, wear/tear, and fading, associated with the exposure of the worn canvas fabric to the elements. Then painted and washed in at least 5 combinations of greens and light browns to show that wear. I felt like had to distinguish the cloth feature of the cover vs. the metallic structure of the vehicle. The third photo: black and brown general and pin washes to the chassis structure and bogies. All progress photos are not 100% to my satisfaction, but I’m getting there!
John, the M47 is looking fantastic. Can’t wait to see it completely assembled. The pressure is definitely on!! Slow and steady wins the race!!
Great look you have on the mantlet cover John looks very realistic.
Looking great John. Still a couple of weeks yet. I still haven’t picked a queen to finish, but it will have to be one that is just waiting for paint…
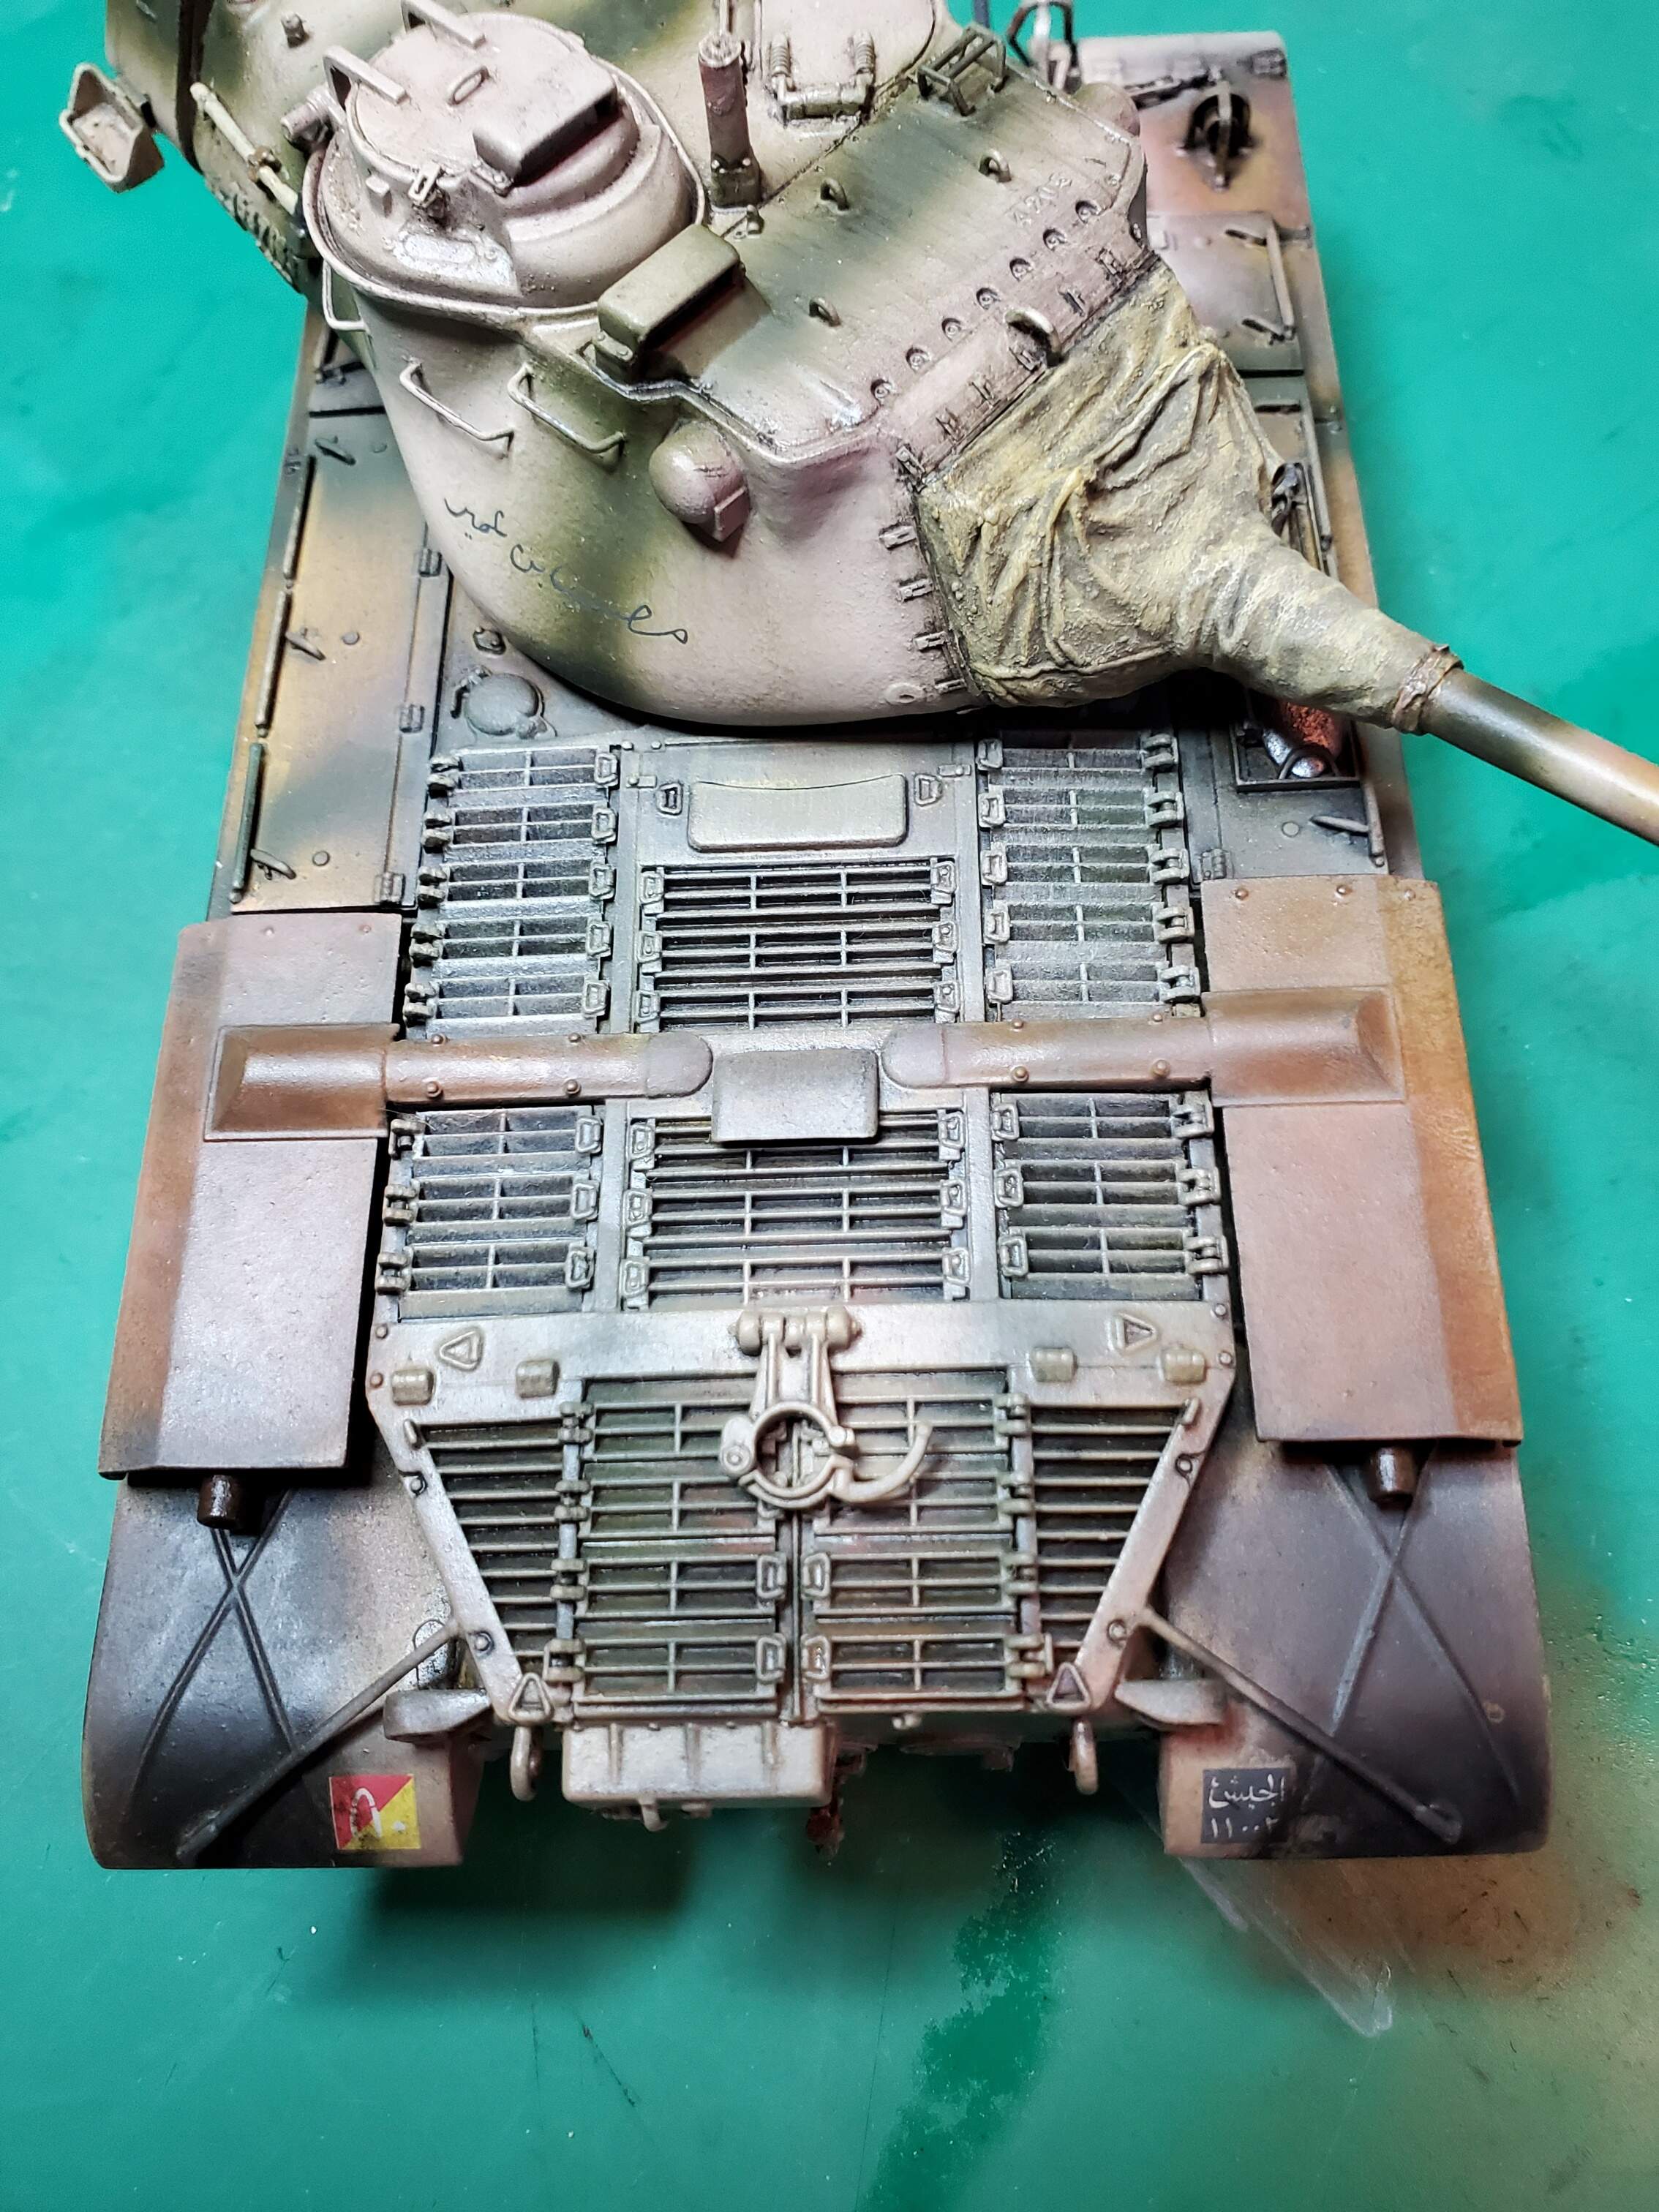
More progress work. Working with the back end of the vehicle only, and working with oils along with washes, I darkened the engine vents then dry brushed with the base color on the upper surface of those vents. Then, with a multitude of oil shades, I attempted to simulate a rusting condition of the exhaust covers. To simulate exhaust soot that has been blown across the rear fenders, I used black oils. I’ll probably add black pigments at the end of the build…a bit more realistic I suppose.
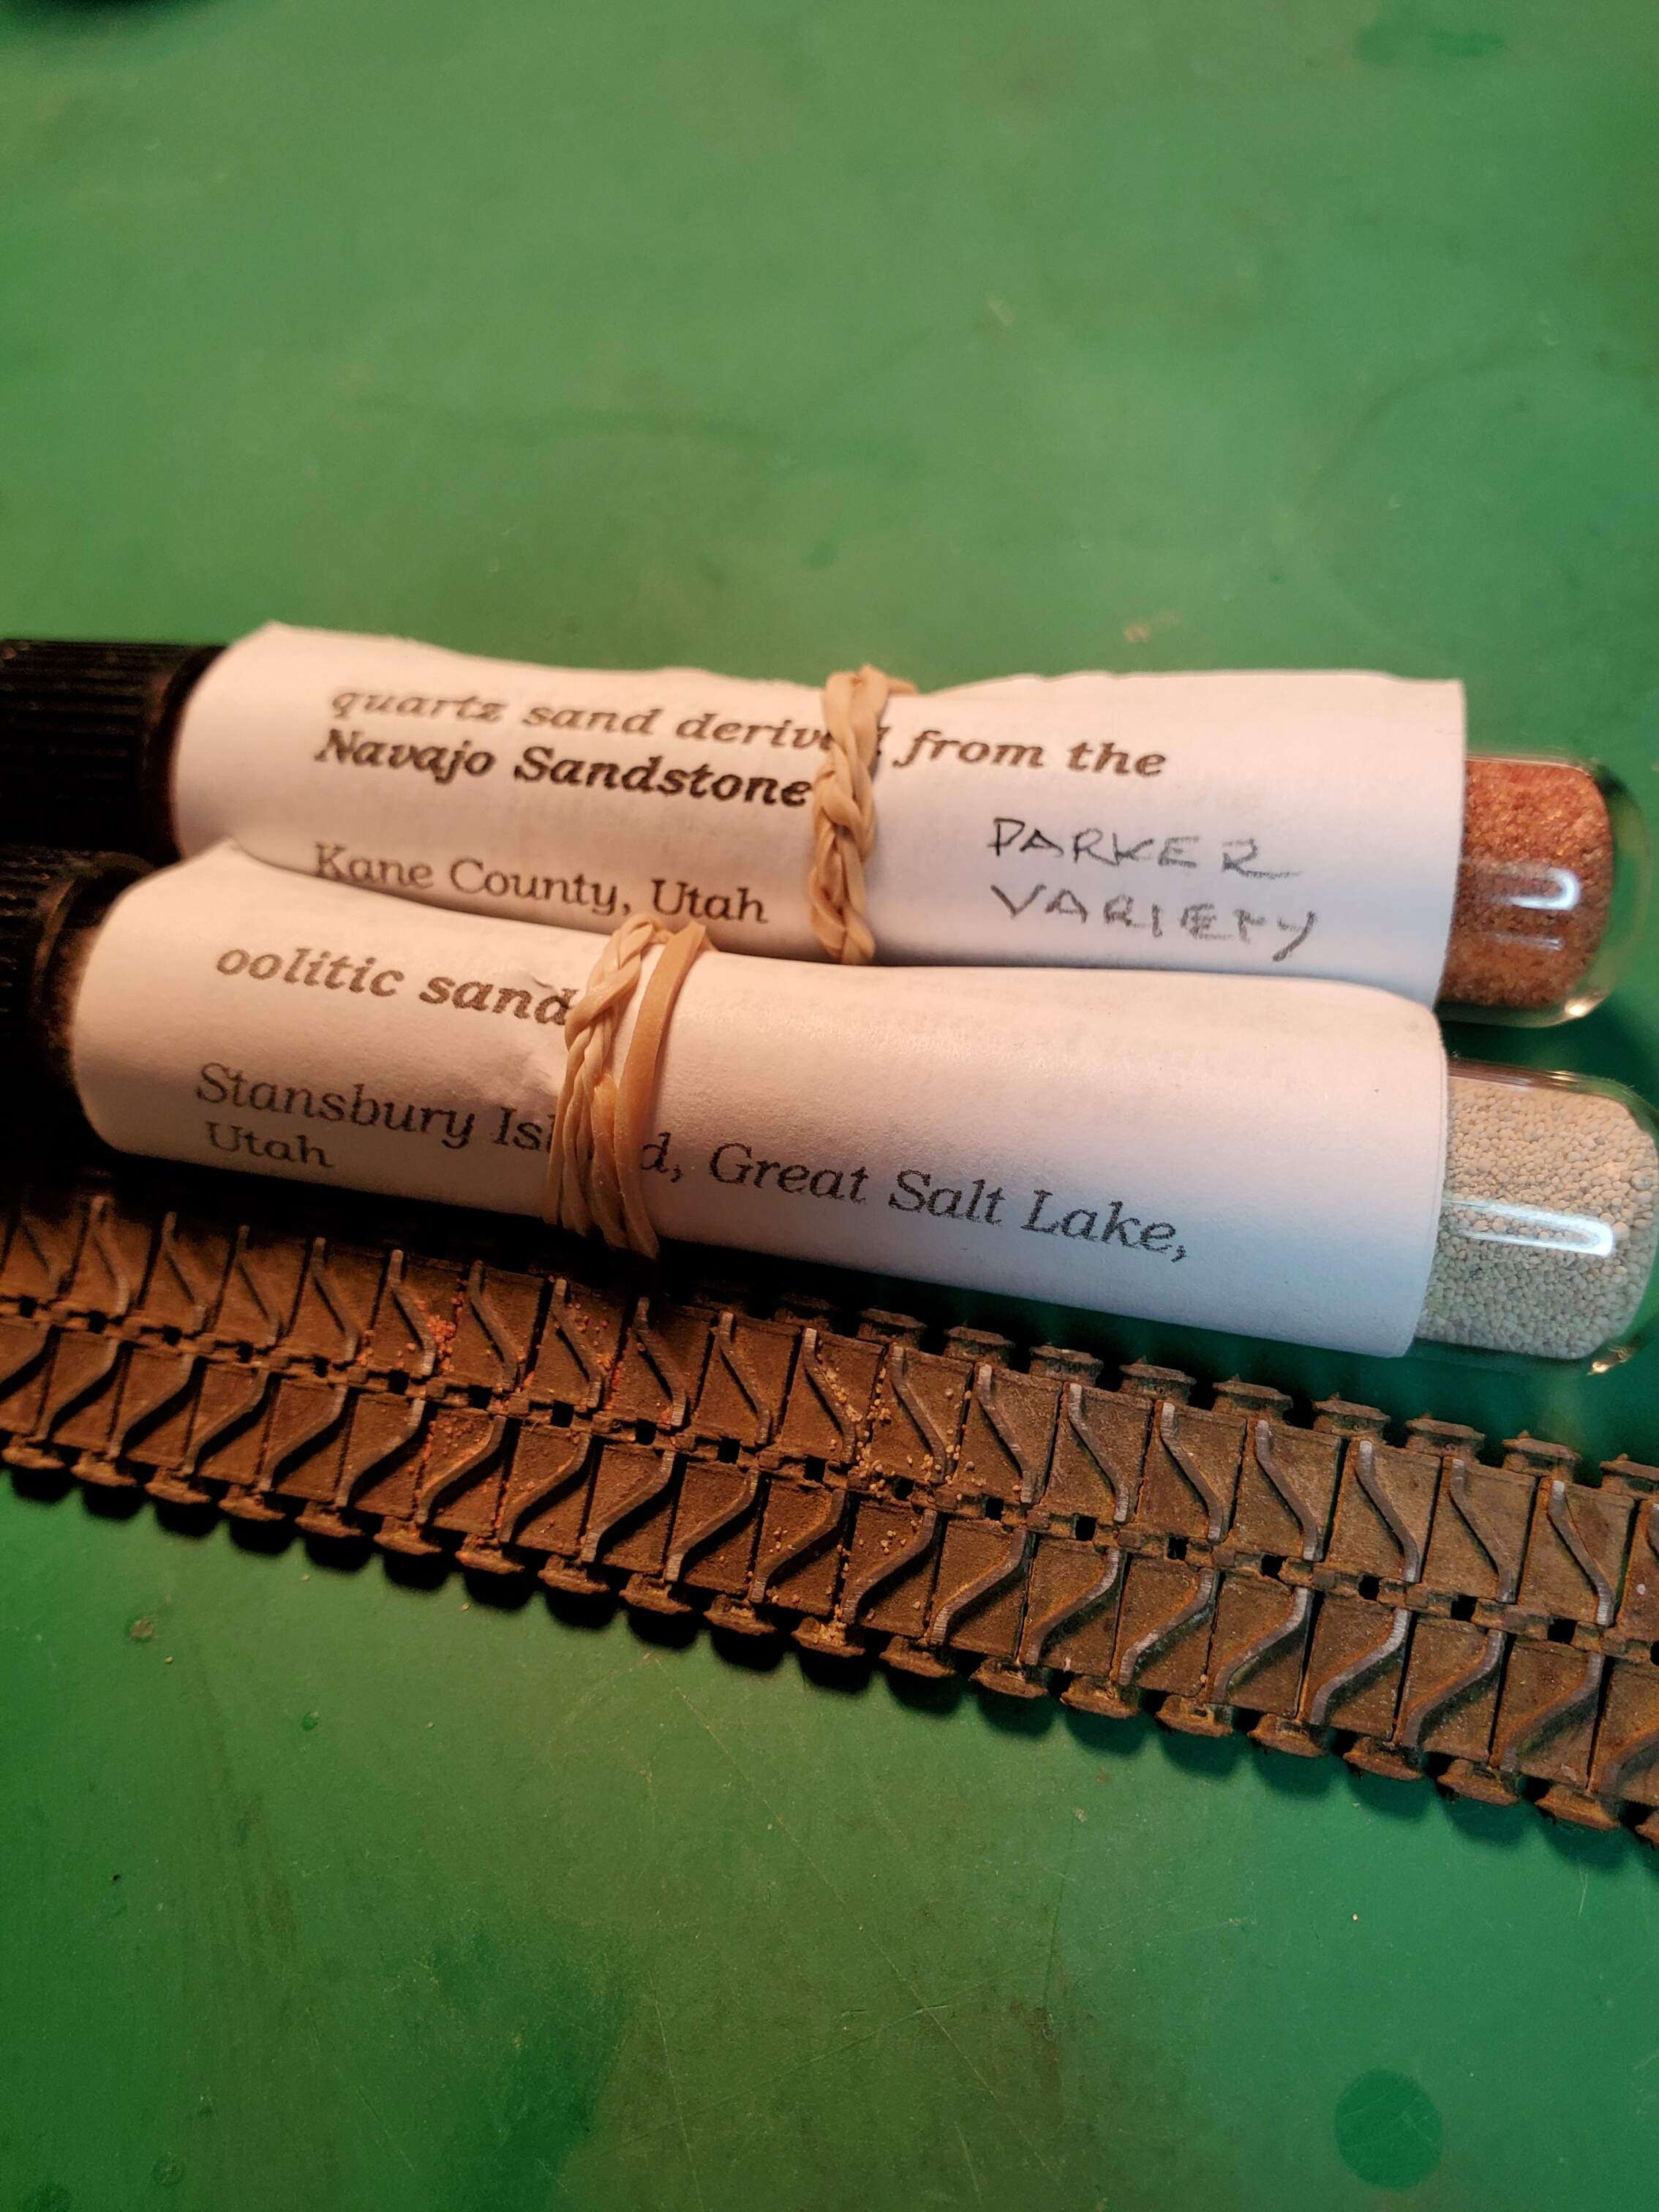
In dealing with the tracks I’m capturing different grains of real sand, from different parts of the country/world. In this case 2 different colors of sand from Utah, Look closely into the track and you will see a light brown type of sand to replicate typical dusty Middle east roads/environment, while the darker sand is to represent a red soil or clay dusting…both in the West Bank. The West Bank is the area my Jordanian M47 will have operated in 1967. There is nothing done to treat the sand…simply applied permanently with Tamiya’s extra thin cement.
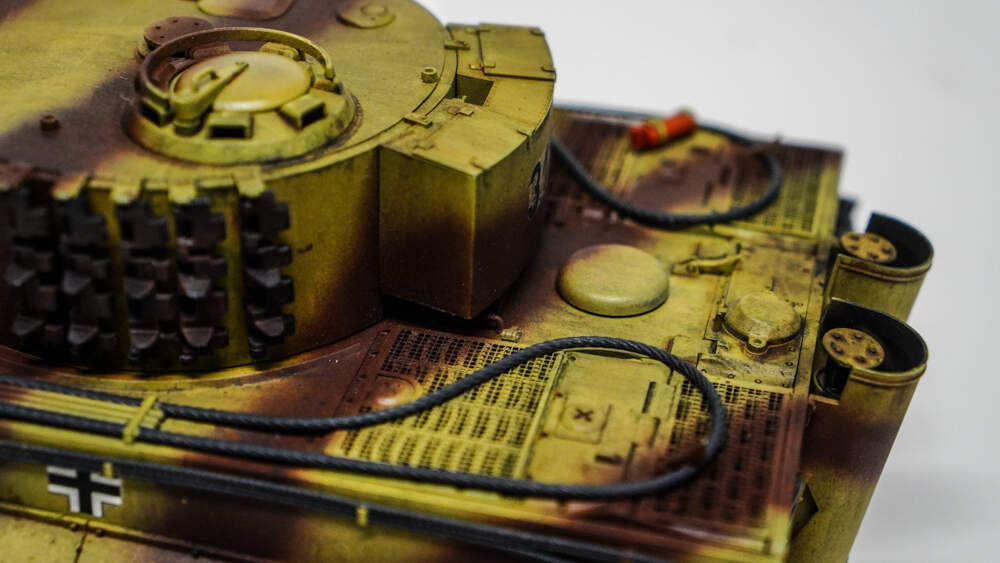
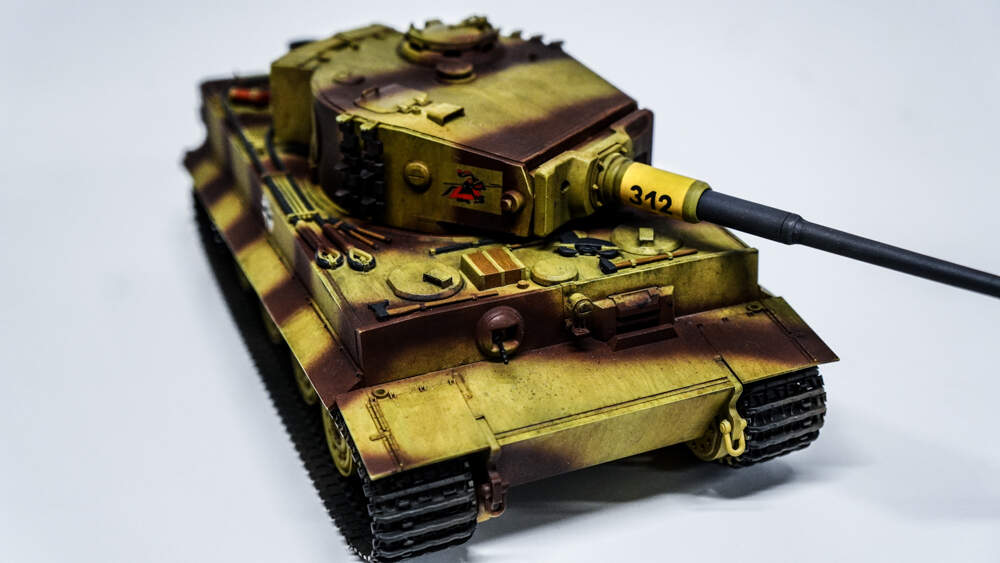
and here are a couple of the middle one finished. I pulled the Dragon tracks of another tiger I have not started just to see what the big deal is with these tracks being so hated. I sprayed them with model Master primer and then vallejo air. So far I am having no issues after about a month. I didnt want to glue them down as I want to see how they will fit the Dragon Tiger later.
Should have my tri color done soon also.
Love it Kelly
Now, I’m loving the 2 tone, so the 3 tone will be even better. I have one question though about the zimmeritt… I know only the early Tigers and a few hybrids towards the end didn’t have any… But I noticed the absence of it on yours.
I have 2 Tigers waiting, a DML 3 in 1 and the Academy with interior. The reason I keep pushing them back is I am terrible at self made Zimm…
I know it wouldn’t be totally accurate, but is it a massive crime against armour if people don’t apply Zimm all the time ??
I actually prefer Tiger 1s and King Tigers without it …so yours easily gets a big  from me.
This is my eighth Tiger in two years. And I have five more planned for the next year. I was close to getting the Academy with interior but opted for a King Tiger Takom with interior. But I am dreading the ammo racks. They are partially molded with ammo and its going to be a REAL pain painting.
The Tri color I have going on has the Zim on it from Tamiya. I liked it so much that I bought some for the Sturm Tiger I also have to do.
This one might have chipping applied to it later. Still deciding if I’ll go chipping or highlights on the edges.