Okay. Thank you! My brother also suggested darkening the lines. I will give that all a try tonight and hope for the best.
1 Like
Darkening them would not really be necessary, since they will get darker with weathering. There was no consistency in colour either, due to mix-proportions and carrierfluid used.
2 Likes
I agree with what RonW said and would extend on to the upper surfaces as well. Looks like your on the right path. Good work!
3 Likes
Echoing what Ron said … Looks good and extend the lines to the upper surfaces… Once the brown goes on and blends itself in, it will look totally different… Nice work ![]()
2 Likes
Camo was also meant to break up the outline to hide the vehicle from aircraft too so yes, as the guys have said do the roof and engine deck too. Don’t do below the fenders. I have only ever seen that on a ‘Late’ version.
I agree that the colour is dark enough. However try and put some more ‘wriggle’ in the worms.
A version of squiggly lines
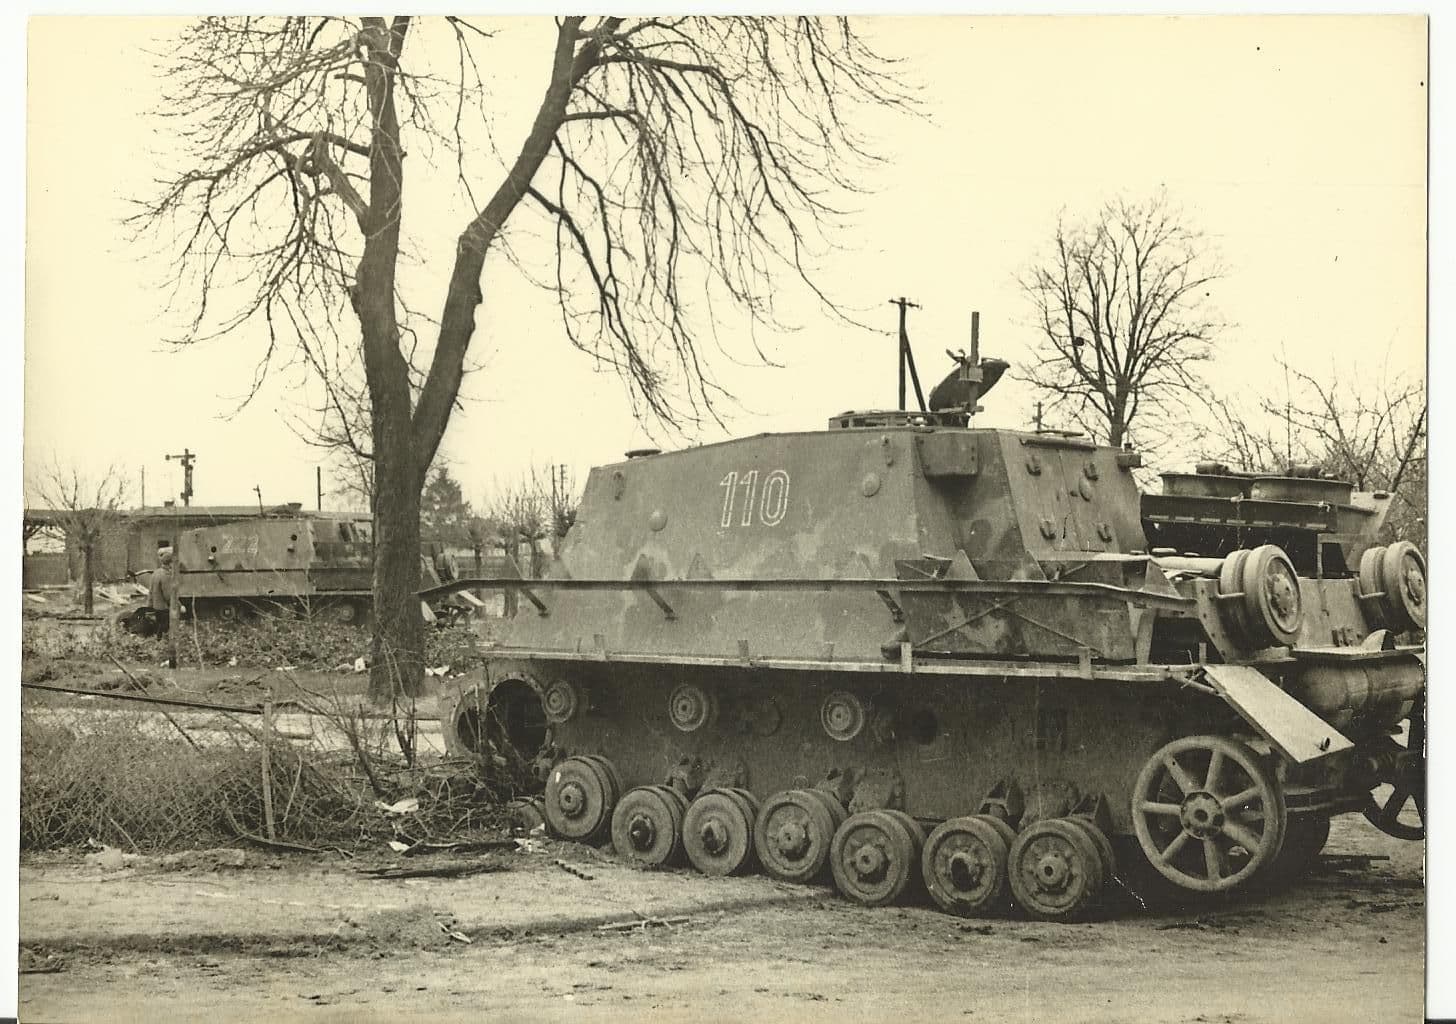
Upper hull pics are few and far between
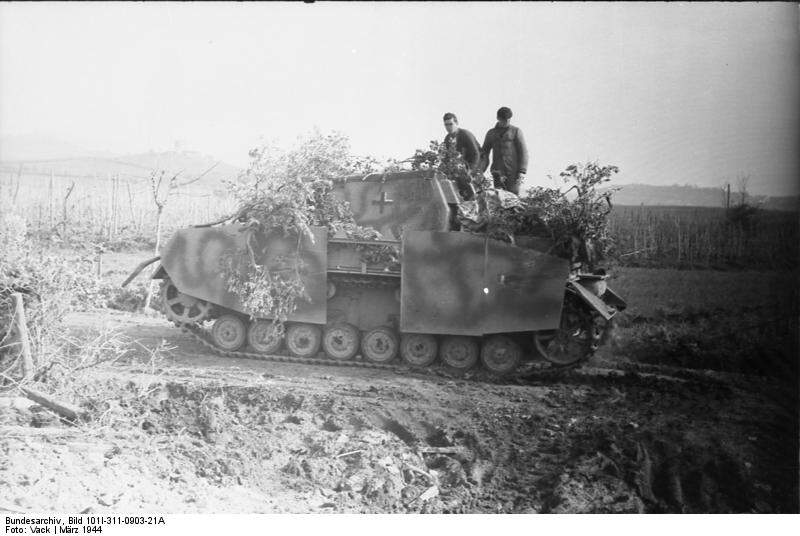
For interest - A ‘Late’ version where the dot camo was used - very clear on the fender:
Schools out on whether this was ‘dots’ of a kind or just a cloud pattern.
3 Likes
Your green lines look excellent as is. Just extend them to the upper surfaces. Don’t worry about below the fenders - the Germans rarely applied anything but dunkelgelb below the fender line. Your technique looks good and your lines are nice and tight - great work!
1 Like
Thank you for all the replies and pictures. The advice is sincerely appreciated.
Humidity was very low yesterday and this morning so I decided to paint the underside and leave fine line work for another time when air brush conditions are more favorable. For the third time in about a week, a big wad of paint garbage accumulated inside the air brush. Paper towel residue from cleaning may be responsible as that caused at least two major clogs. On the positive side, rubbing alcohol demolishes Badger primer and Vallejo paint.
1 Like
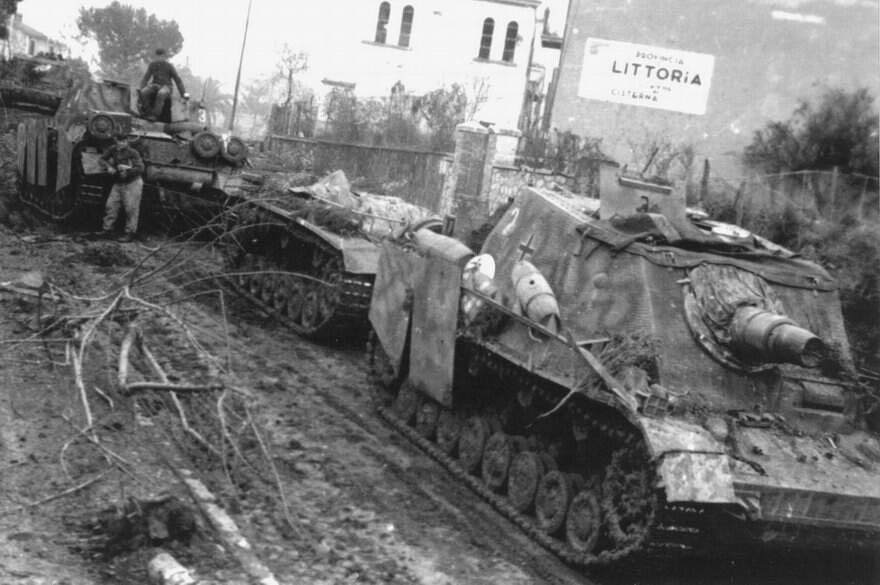
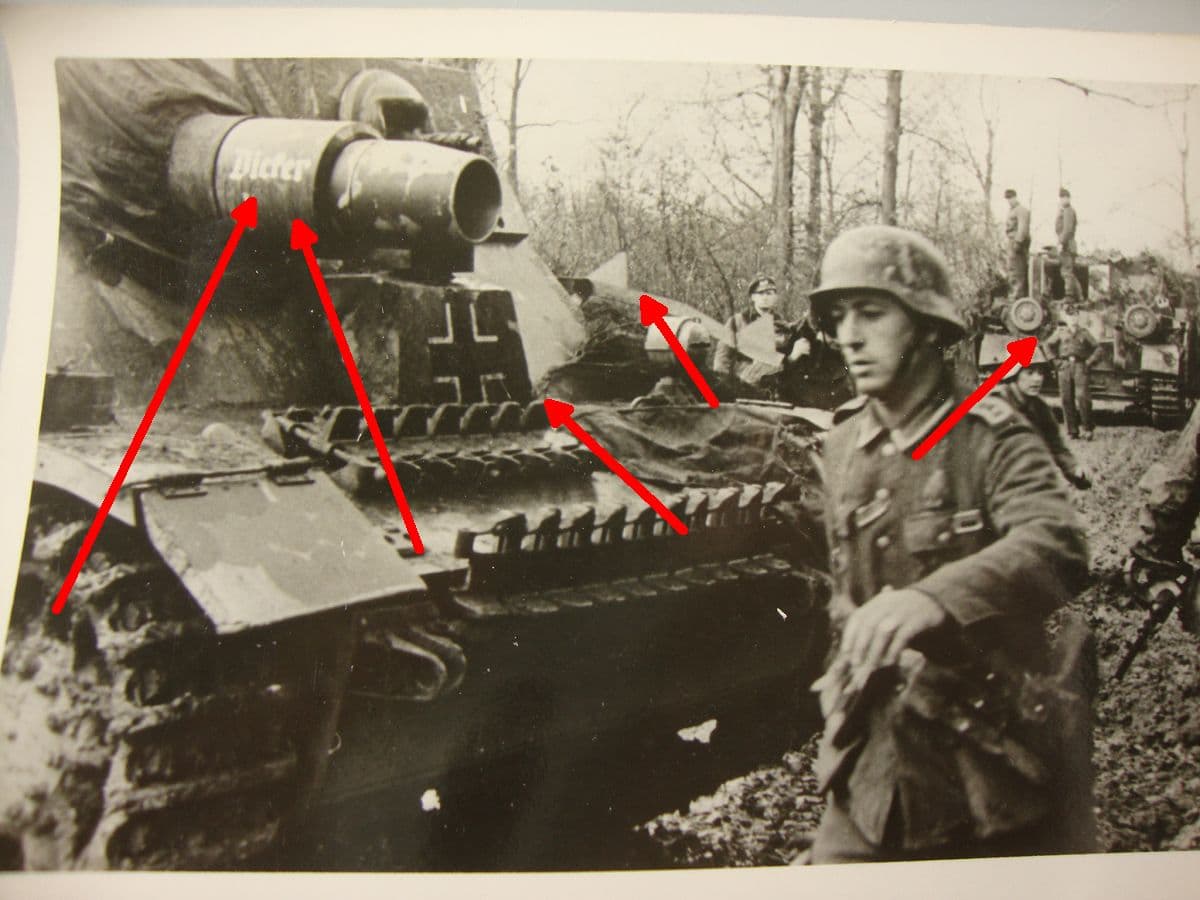
Thank you very much for those images. This one is fantastic:
I recently learned that all M3 and M4 tanks carried a 12x12 foot tarp as standard equipment. The picture above proves early Brummbars came with two custom tarps, one for the gun and another for the fighting compartment roof. Also, that picture clearly shows that apron plates do not always line up nicely, at least on a Brummbar.
4 Likes
Look at the Panzer IV in the rear… that was more of a rule then an exception.
4 Likes
The one in the background is also a brummbar, but your point is correct. The plates seem to have been beaten up and partly lost almost immediately.
2 Likes
Get yourself some proper cleaning brushes to clear clogs. They are inexpensive but work well:

Another suggestion is when you have done the basic clean do not pull the needle out of the housing via the rear. Take of the nozzle and push the needle out the front. This stops any paint residue on the needle from being pulled into the AB housing.
A sonic cleaner is a good investment.
3 Likes
Nerd Alert!!!
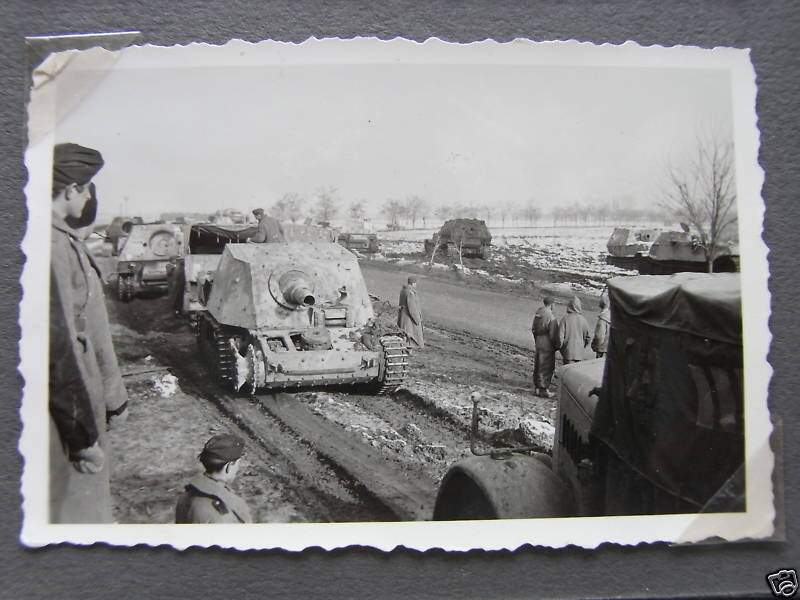
Technically none are. Both the rear vehicles (3 & 4) and the front (1) are Sturmpanzer IV (also called Sturmpanzer 43). The nickname the Germans used for it was “Stupa” short for STUrmPAnzer. The name ‘Brummbar’ was never used by the Germans, it was a term the Allies used.
![]()
![]()
(I’ll get back in my box now…)
6 Likes
Yes, I can see the soldier in the superstructure. Did only look at the rear and sparewheels. But yes, the point stands.
2 Likes
Thank you. The air brush came with those brushes but I almost never use them because my work space lacks a cleaning tub and air brush stand. My current work area is extremely primitive. After one really bad clog, about 10 days ago, I finally resorted to the bristle brushes and pulled lots of paint crud out of the air brush. That cleaning is what finally enabled my air brush to once again spray fine lines. As for the needle, from day one, I always push it out the front for the reason you describe.
As for Brummbar versus Sturmpanzer, I welcome such corrections. A lot went missing from the data banks over the last 15 years. Once upon a time I knew Sturmpanzer was the correct name. My little library probably includes at least two books that cover the vehicle, Unfortunately, there is a book shelf sitting directly in front of the book shelf with those books so checking is somewhat difficult. Cleaning and organizing the old office goes slowly. It reminds me of exploring a lost tomb in Egypt.
2 Likes
Ha ha, I love it, Peter. A bit of topic, but still: which vehicle would you classify as the Hetzer? I remember a lot of discussion on that as well. ![]()
2 Likes
There is no hetzer. Only an Sd.Kfz. 138/2 Leichter Panzerjäger 38.
Jagdpanzer 38(t) might be acceptable though.
3 Likes
Exactly, Ron ![]()
2 Likes
Hey, I can be nerdy too… ![]()
3 Likes


Excellent build and finish Ron… Well done on rescuing it and giving such a great look. Very nice indeed ![]()
2 Likes