Field grey, huh… I can see that.
Would the black fade as much too?
Yes, but Tamiya NATO black is a good match.
3 Likes
Johnny, in NATO tri-color, how well does the brown hold up? Does it fade any over time?
Is Tamiya’s NATO Brown a good match?
2 Likes
To be honest with you Wade, I don’t really know… problem is we don’t use brown…just green and black on our kit or just green…
The Tamiya NATO brown has the same sort of brightness level that their green and black have… And it looks a bit faded once dry …
I would say the real brown would fade or tone down a bit over time in real life…
2 Likes
Thank you Johnny ![]()
1 Like
It maybe worth asking Olivier @Bison126 for his opinion on the French NATO brown as he has probably seen more Tri cam vehicles than I …and his site has some great ref walk arounds …
3 Likes
The problem with NATO 3 tone camo is that each NATO country seems to have its own interpretation and does not use the same FS or RAL colors.
Concerning the French you wouldn’t be surprised to read they don’t use neither FS nor RAL colors but their own standard. ![]()
The French brown is often referred to as chocolate brown. To be honest this is useless as a reference at least to me. ![]()
Olivier
2 Likes
I now remember you mentioning that in the past … (sorry Wade)
2 Likes
Alright, back to where I should have been if the decal on the roof had not been uncooperative. Repainted the turret, more on that in a moment. Cleared and dullcoated the turret, hull and roadwheels. I am closing on the finish line. When mixing the Tamiya colors to repaint the turret, I used a pipet to get the correct volumes of paint. Not wanting to contaminate multiple pipets, I used the same one over. Being acrylic paint I ran water through it multiple times until it was clean. I squeezed the pipet multiple times until the water was out. I did this each color change until I was done. I like the way Tamiya sprays when you use Tamiya lacquer thinner so I added some and then stirred the paint until well mixed and shot it. There were a couple of tiny water drops that got on the paint. I use a CO2 cylinder instead of a compressor so where did the water come from? I think by adding the lacquer thinner before stirring, It prevented the tiny water drops from the pipet from mixing with the acrylic paint. Live and learn.

6 Likes
What is the humidity like there? CO2 is cold enough that it can cause condensation in the air line.
1 Like
Was thinking the same there.
1 Like
I live near Tacoma Washington. Humidity is 60% ish. A CO2 cylinder has no moisture in the gas that I am aware of. So there should be no moisture to form condensation in the line. I have never had any water spots before using the CO2 cylinder. That was why I suspected some droplets from the pipet.
3 Likes
I may actually pull this rabbit out of the hat.

The AFV Club Nashorn Suspension is designed to be workable and very difficult to mount. Completed bogie trucks are fragile, even when frozen with cement. AFV Club axles are too skinny to fit Dragon road wheels so all balancing was done with AFV Club road wheels. Getting all road wheels to sit on the ground in a straight line while also keeping all mounting bosses square with the hull was horrible.
I will give this a couple days to dry, then pull off the road wheels and hope nothing breaks. Fitting the already built up tracks will comprise the next major hurdle.
5 Likes
If you ever have the problem of undersized axles again, you can glue thin strips of Evergreen lengthways down the shaft to widen the fit. 3 equally spaced strips gives you a good fit and at the same time ensures the wheel stays centrally located
3 Likes
Doug, you’re a better man than I. You’re going way beyond what I would do; you’re really putting a lot of love into this model. I understand what you’re doing, but I would have bought a new kit and started over. Your efforts to rescue this model from disaster are extensive and are to be highly commended. Your reconstructive surgery is excellent and I look forward to seeing this model back in pristine complete condition.
4 Likes
Thank you for the suggestion!
There ended up being a second issue when fitting the tracks. AFV Club and Dragon road wheels both have a sleeve on the back face, but the sleeve on the Dragon road wheels is longer and much more robust. When Dragon road wheels are placed on AFV Club axles, the sleeve forces the road wheels out just enough to put them out of alignment with Dragon drive sprockets and idlers.
It turns out that the combination of Dragon tracks, sprockets, idlers, and return rollers work with AFV Club bogie trucks and road wheels. So, the AFV Club road wheels will stay with the Sturmpanzer and the Dragon road wheels will go to the imaginary tank project I am considering. That may be for the best. Dragon road wheels are very robust. They may end up sitting better on the end of a long swing arm…
2 Likes
Thank you for the kind words! It’s kinda funny. Immediately after the accident, I was very disappointed because the Sturmpanzer IV was coming along so well. Since embracing the idea of salvaging and repairing it, most work has gone surprisingly well. It will not end up good as new but will make for a great story at some future model club meeting.
On the other hand, Academy’s M3 Lee and Tamiya’s M41 are making me crazy.
The moral of this story is, do NOT undertake three fixer uppers at the same time. Good grief. What was I thinking? And with deadlines!
1 Like
Clearly the work of a board certified Plastic Surgeon! The repairs are without doubt a labor of love and very well accomplished.
![]() well done!
well done!
2 Likes
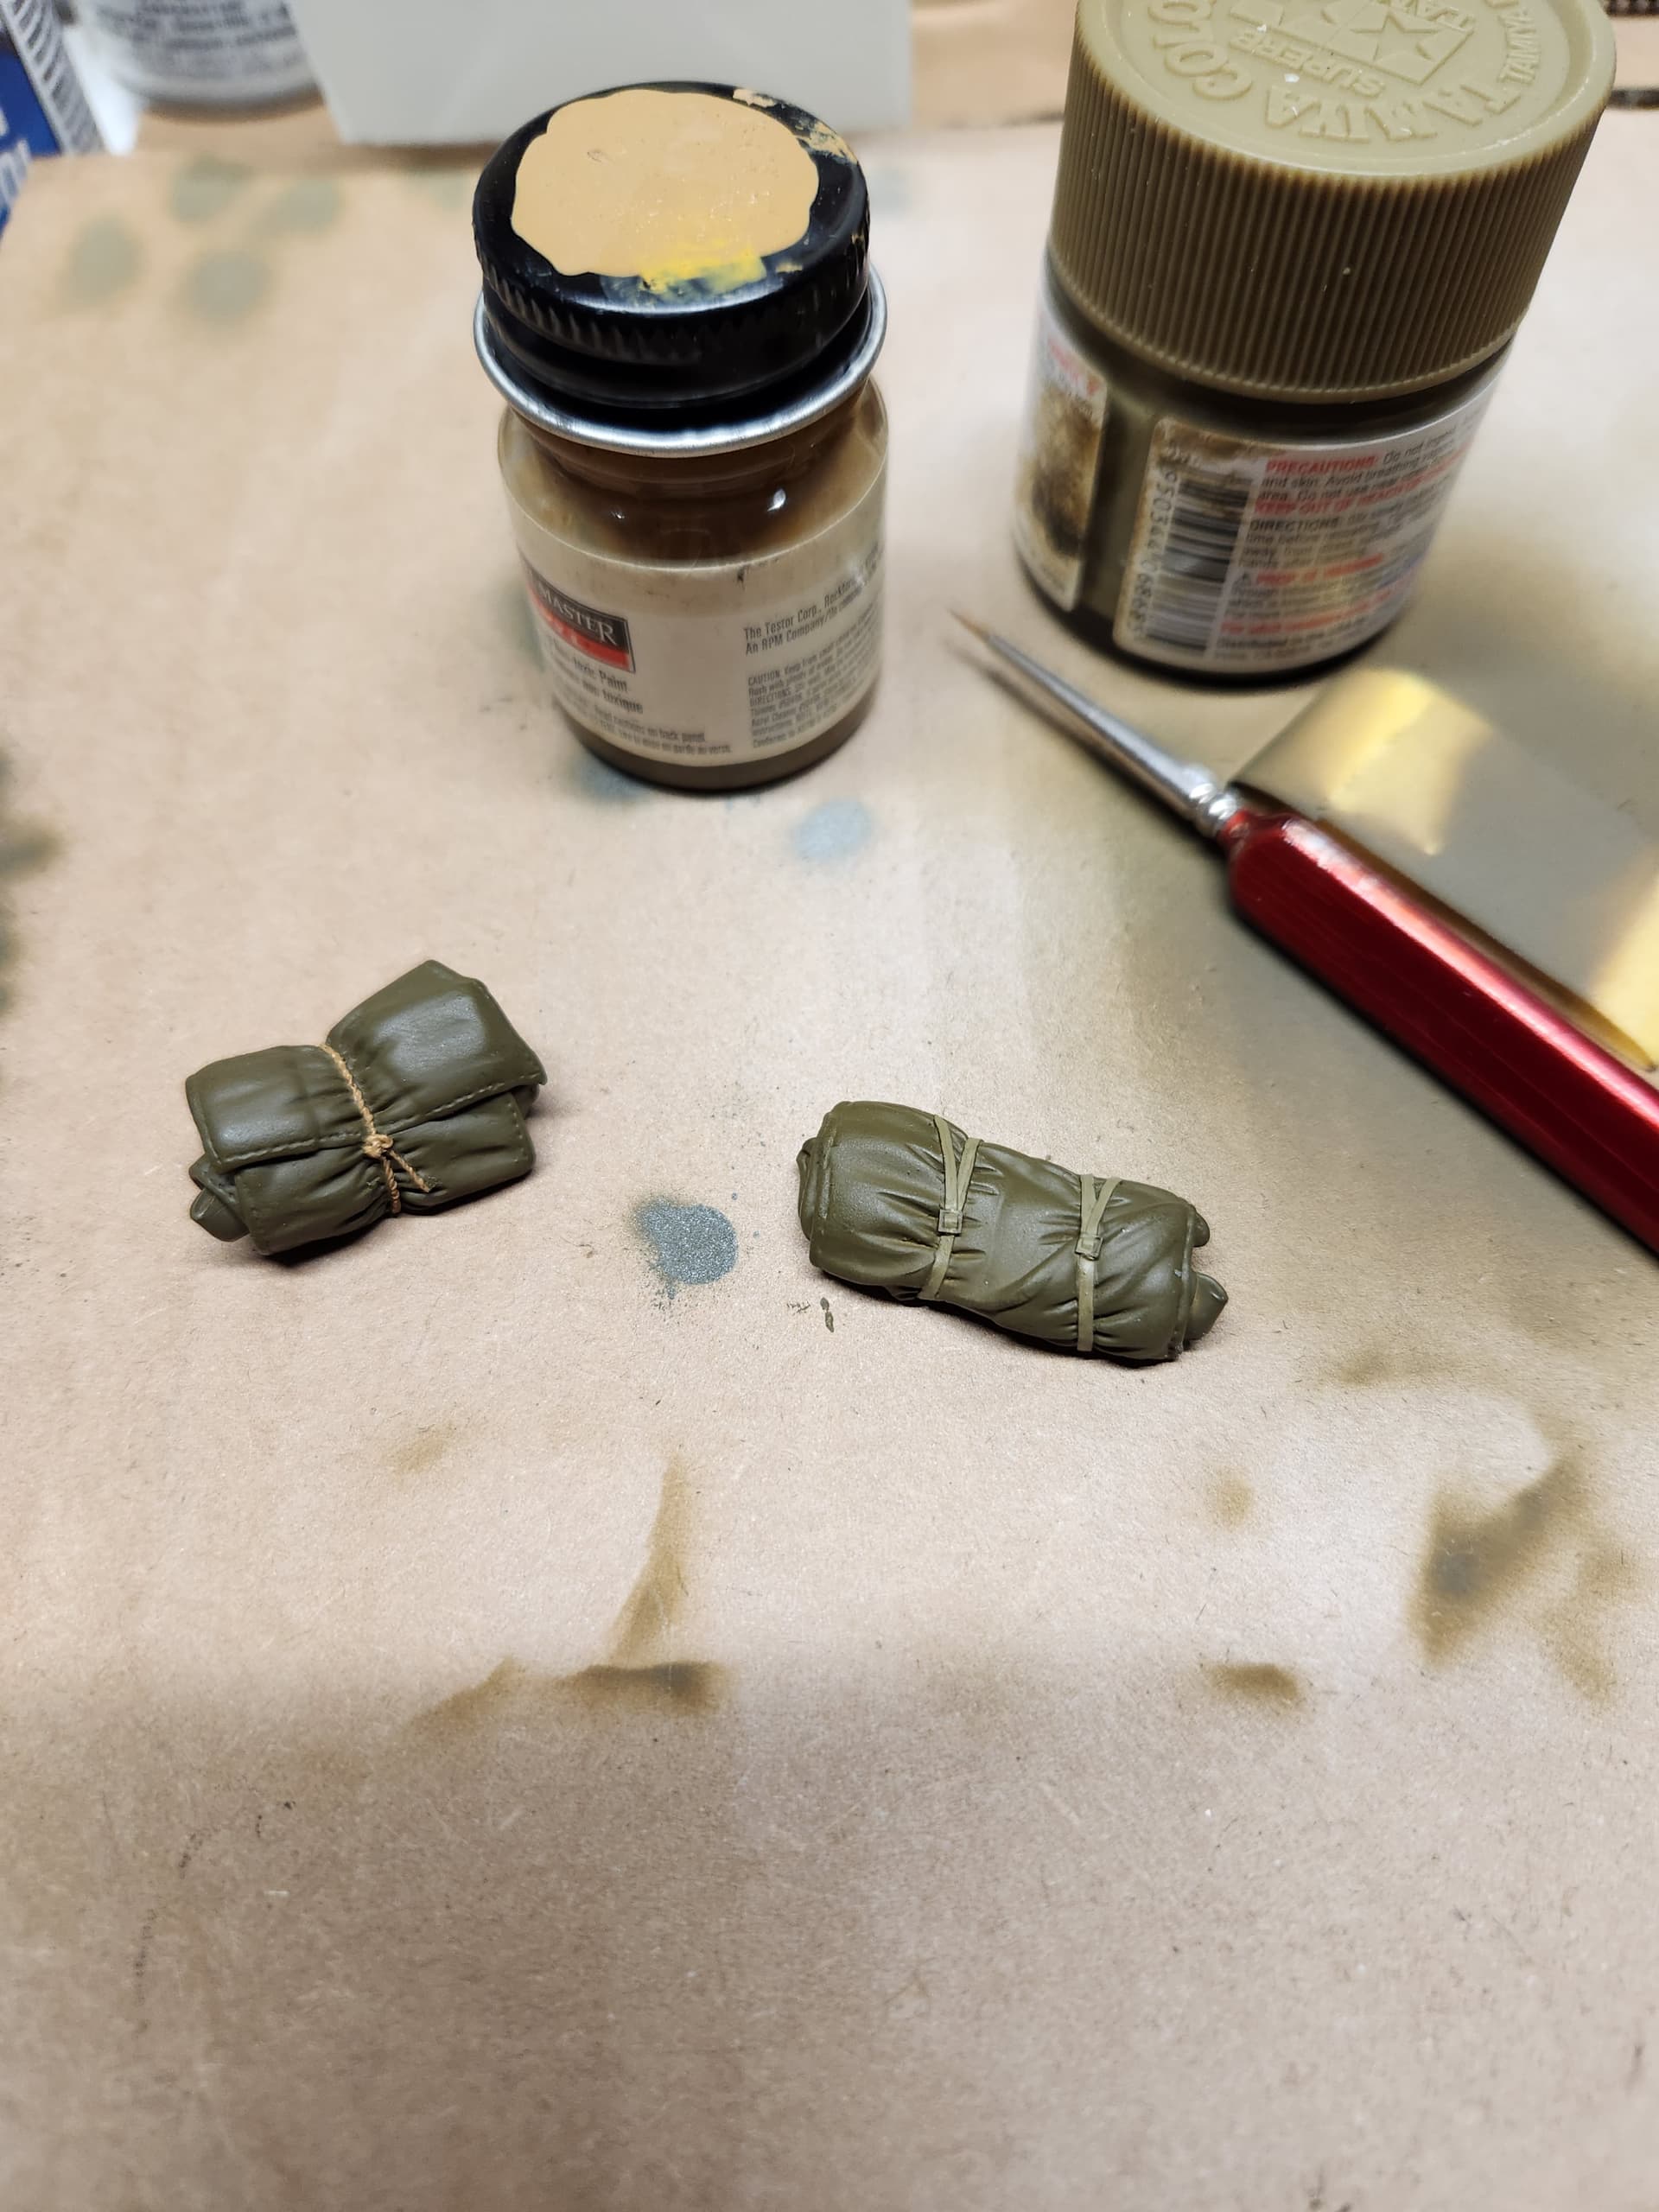
Finished a little more. I decided to add the hedgerow device to the front, why not, it came with the kit.
I also painted some tarpage.
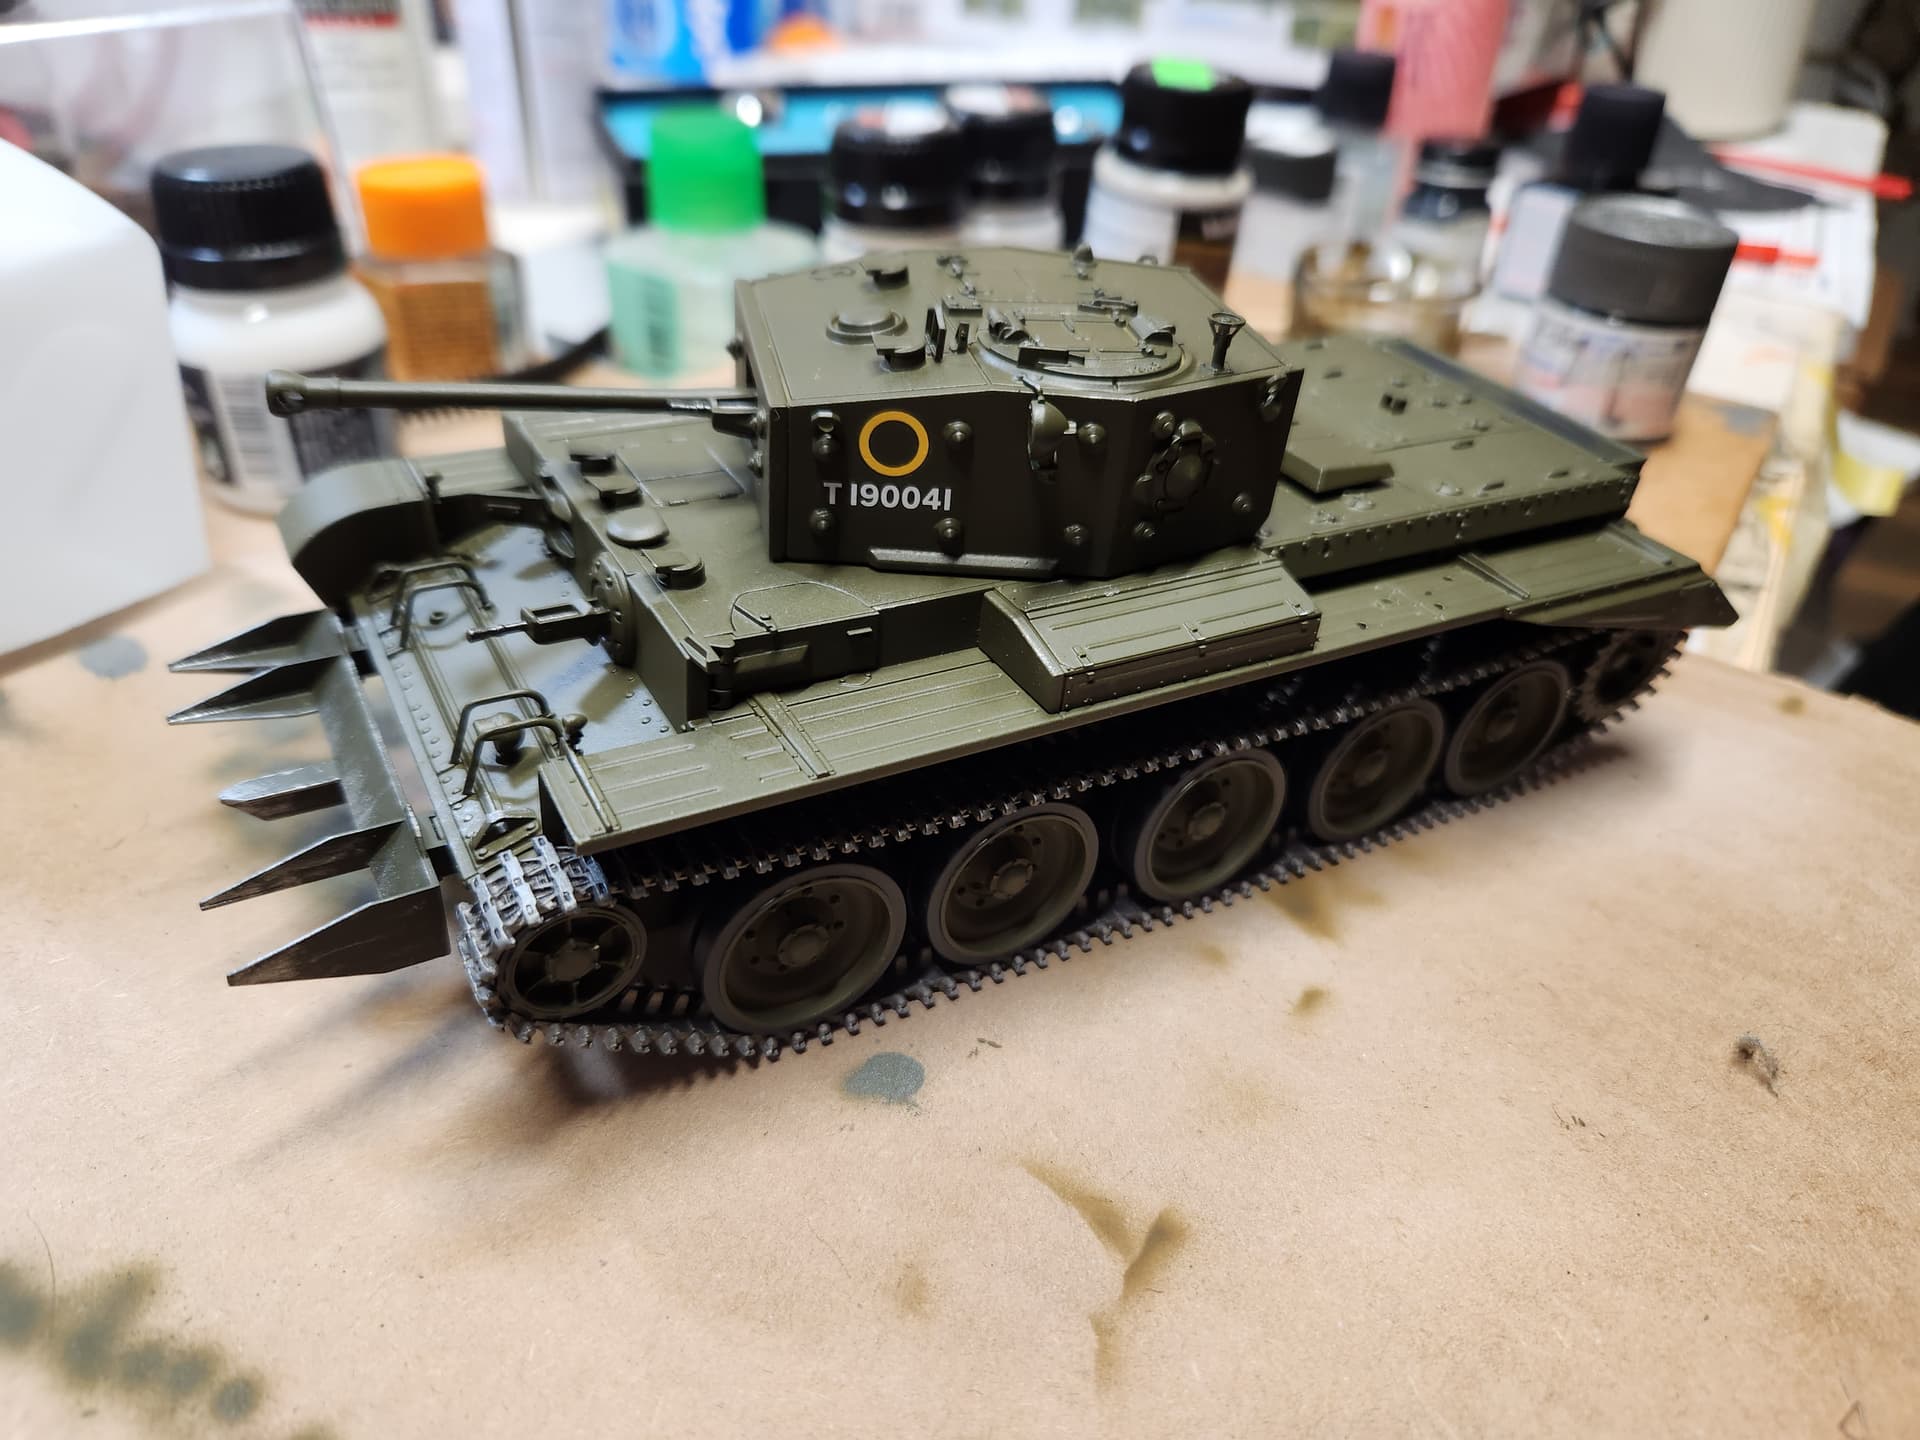
I keep thinking about weathering. It should have some dirt on the hedgerow device.
I am unsure of the dirt color to use. I am thinking Lt. gray. Any thoughts’ for those that have been there?
5 Likes
Like most places, the soil is not alike every where you go, and water content will darken it anyway. From what I remember it was a pinky tan colour in some places and a brownish tan in others. In other areas it looked more of a medium brown and would go a darker brown colour when wet or freshly turned.
I do not recall ever seeing greyish tones, but after my first couple of days I was not really looking anymore.
Maybe Google ‘Normandy Hedgerows’ and see if you can find some contemporary colour photos to give you ideas.
3 Likes