That looks like the perfect setting for it … very nice ![]()
Thanks!
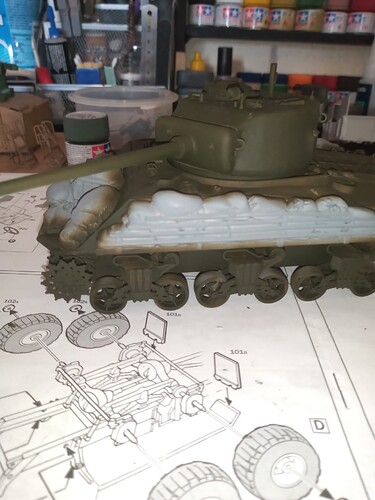
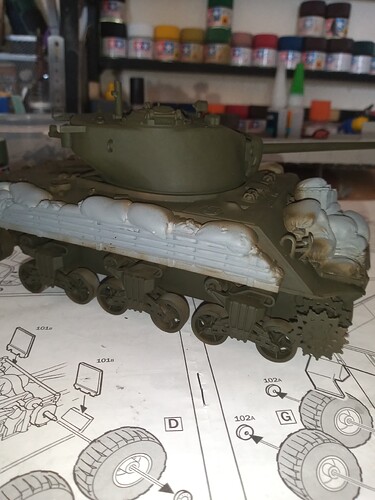
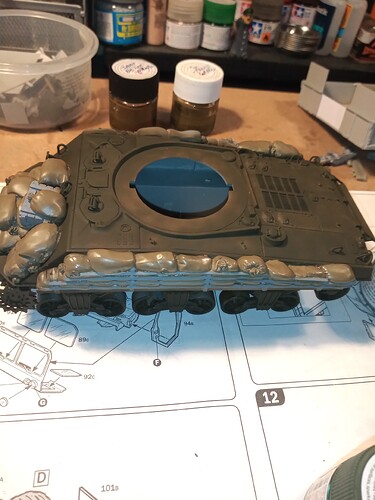
Got a base coat of Tamiya Olive drab down.
A couple of little out of sight places need some paint filling in, but pretty happy with it ![]()
Looks great with a bit of colour down John.
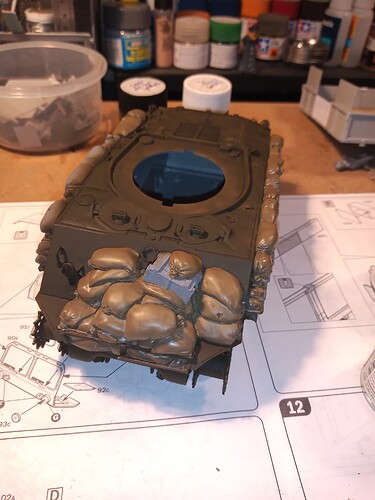
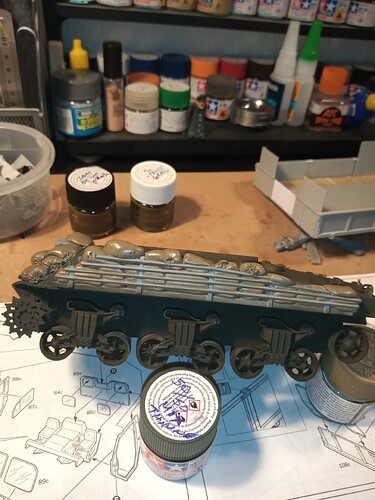
Thanks Peter. Got a start on the sandbag armour… Plan is to paint the sandbags first, in Tamiya Khaki and flat earth, then the metal bars can be detailed after
Apologies for the sheen, but the paint is still damp. Will also apply a few different washes over the sandbags as well to vary the tones.
Looking good John! But seriously, you manage to brush-paint Tamiya acrylics? I’m stunned…
It can be done, just have to change up how you brush.
Also
TLDW - add Tamiya paint retarder at not more 10% for brush painting.
HTH
Lol… I never knew it was a thing … I’ve done it for years. … Although now it’s only detail painting and smaller individual parts. … ![]()
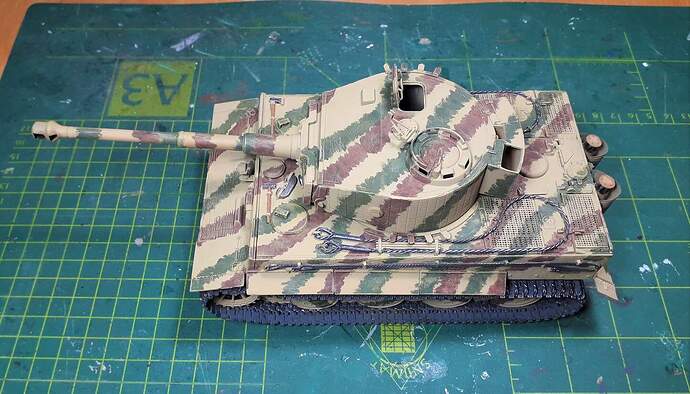
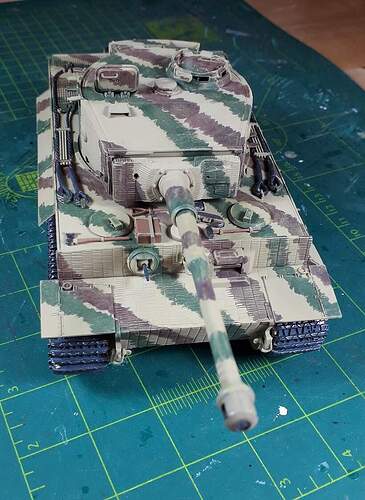
While I wait for paint for the Bradley to arrive, I have been tinkering with the Tiger from hell.
This kit is… horrible! Glue does not seem to work on it, parts keep falling off and those tracks…
But I finally managed to get it to hold together… sort of.
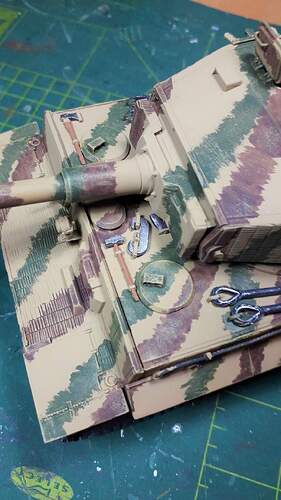
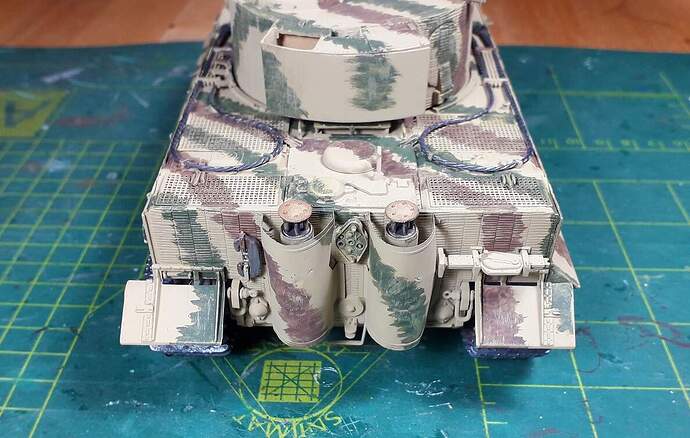
And for painting I experimented with something new. I always see these fantastic camo patterns sprayed in the most atristic and colourfull manner, but what if the crew were given a brush and some buckets instead? So I tried to create a handpainted pattern.
That turned out to hard, so I toned it down by a first drybrushing in the original colour to give it a more worn look.
What kit is it that is giving you so much grief? It sure looks great in the pictures!
I like the idea of a brush painted camo. I read somewhere on the internet (you know it has to be true) that the crews were handed the paint in a large hard pellet that needed to be melted in some sort of solvent and mixed by hand and then applied to the vehicle. If this is true, a brush or even a broom might well have been used.
Paul
@RonW I am assuming this is a Tamiya build. How I handle all my builds is using a spray primer. model masters works better than the Tamiya type which I have been using lately because of trying to find model masters. Reason, your paint will want to absorb into the primer and it works better that way with airbrush or hand paiting.
Now with the tracks. You really need to prime them for sure. Its hard but possible to tell you what to do here. It depends on if you are using rubber bands style, piece together one by one style, or metal. And you can do so many different ways with each.
Can I ask in the second to last pic how the track mounts made there way to the base of the turret? Which instructions were you using?
The paint came in cans containing a paste, that had to be mixed with either water or fuel. Since much of the camo was applied in the field I take it that the crews used whatever means they had to apply the mix, be that spraypainting, brushes or even mops and brooms. And I have a hard time believeing that each unit had a compressor and paintguns. I think the reason why most modelers choose an airbrush is that it a) looks good and b) it is hard to depict a handpainted camouflage pattern convincingly. Looks less sexy too.
No, it is an old Academy kit. And the plastic does not react to the usual glue. I can still pop off most of the parts without leaving a trace! And that was the real issue.
The paint is not a problem really. Just wanted to experiment and try something else. Hence the worn handpainted pattern. Not nearly done though.
I will do a second drybrushing, then touching up and then the weathering.
All finishing and painting techniques have their various places. For WW2 German AFV’s, the following picture and ones like it are my inspiration for 1/35 scale models. Panzer Lehr - Panzer-iv-color-photo
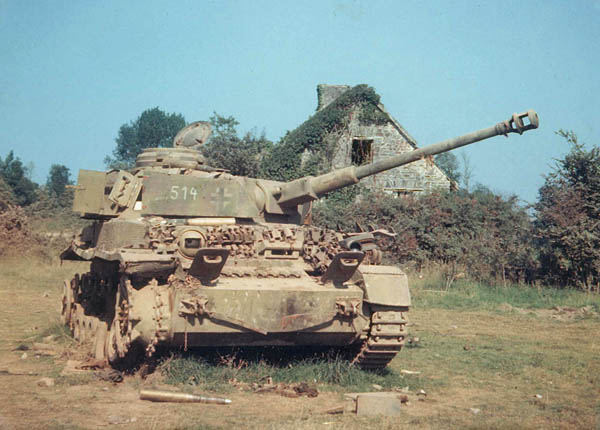
The picture suggests to me painting the model by airbrushing to simulate the blending as all that dust and dirt “feathers” the appearance. To get the model to “look accordingly” from one foot (scale distance of 35 feet) painting by airbrush would be my choice. I like brush painted numbers etc in many cases.
Others may see it differently and different views and methods are what keeps the hobby moving forward in finishing effects.
Happy modeling!
I love that image! It even has a live round in the foreground to show how they looked.
Paul
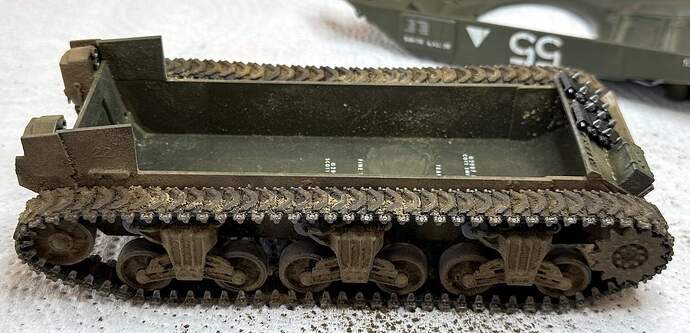
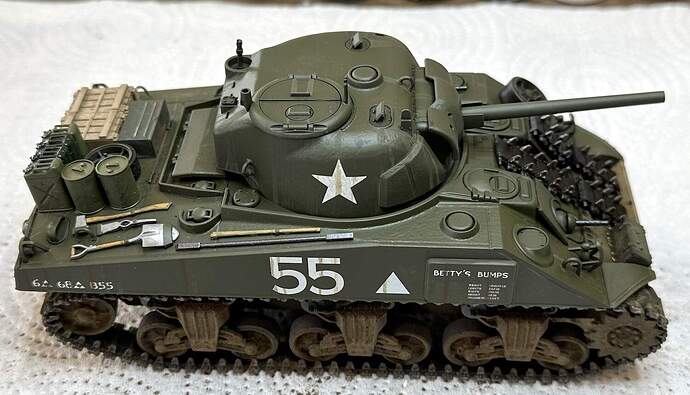
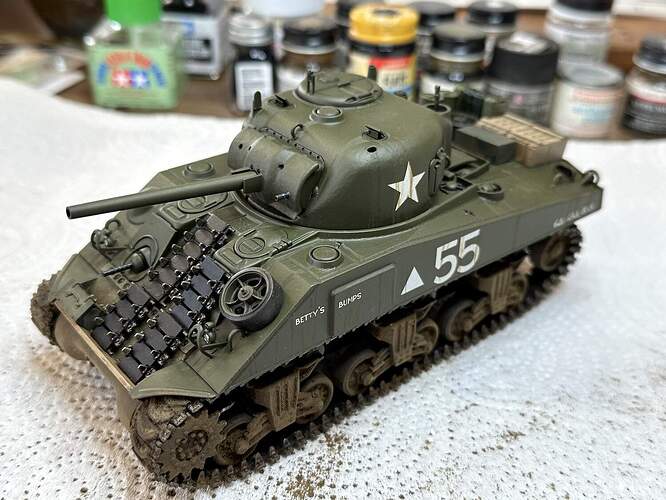
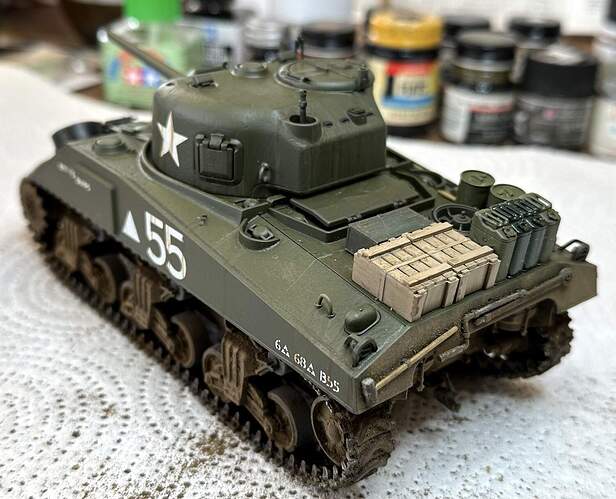
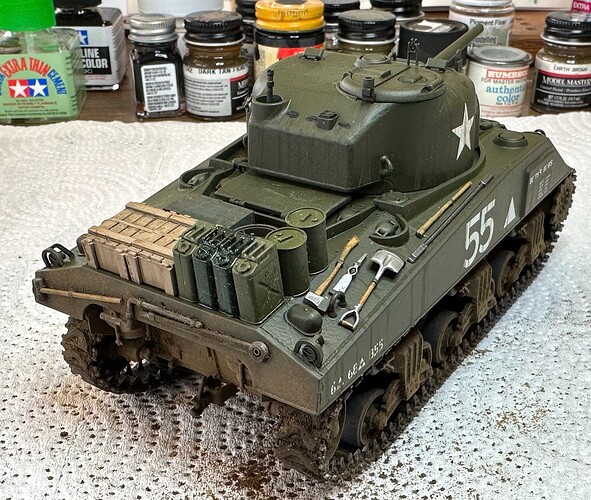
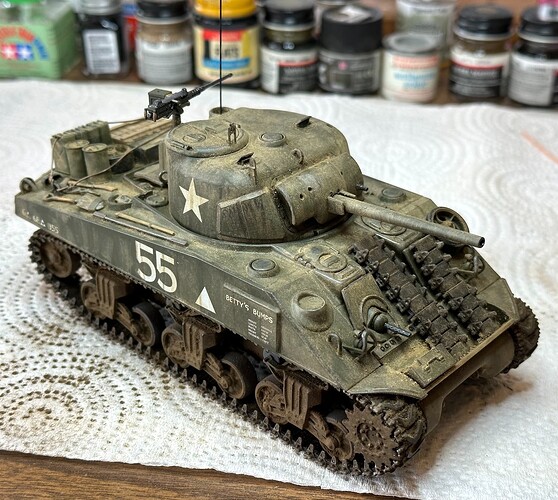
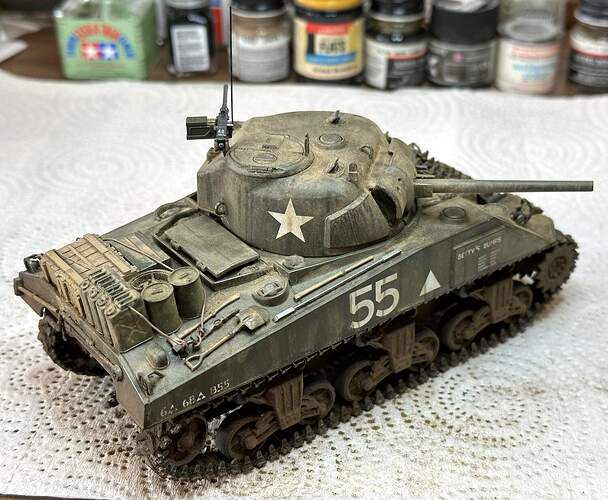
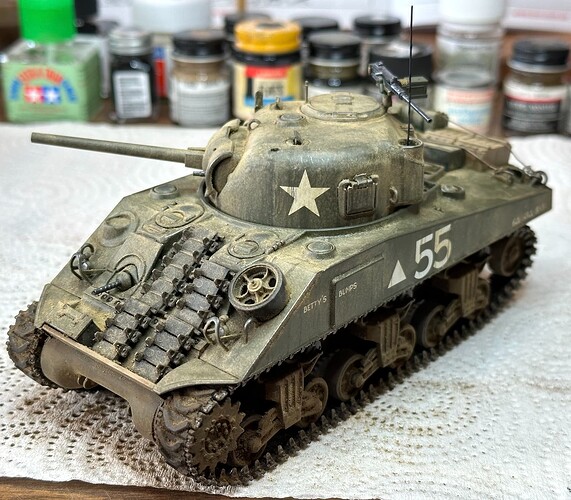
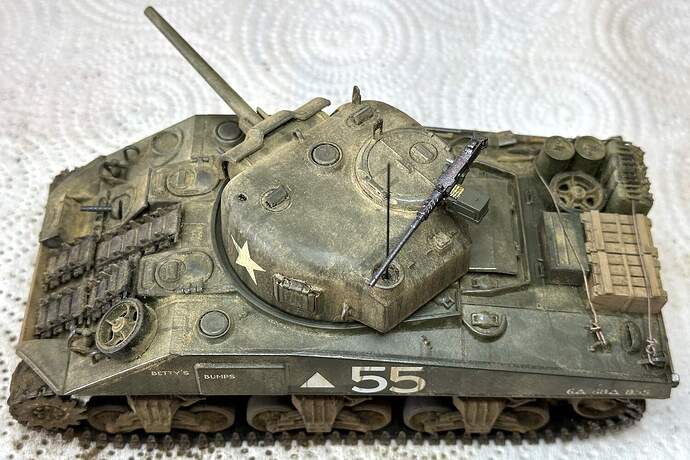
I have been beavering away on the Tamiya Sherman over the last couple of weeks. One thing that turned out to be a waste of time was to try to put some wear into the tracks. This was done with a triangular file in a random manner to simulate what the tracks might have looked like if they were run over paved roads and cobblestones. This was fun but was defeated by another goal, to try to make the tank really dirty like it had run through mud after being very dusty.
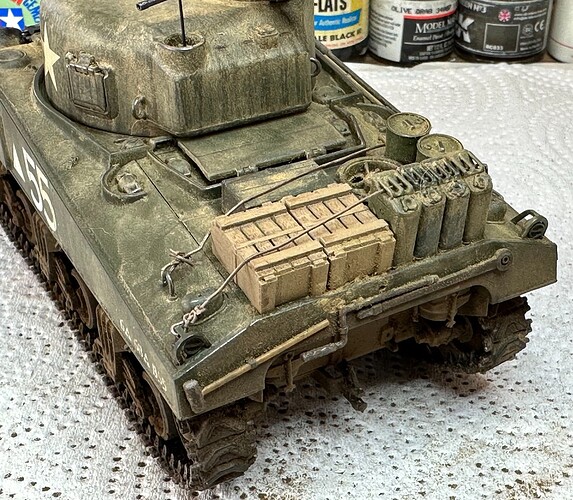
This kit was purchased as a two for one bargain but turned out to have some bits missing. The bags around the turret being one example. Some of the stowage was present, some was not so I raided the spare parts box and came away with a couple of neat tool boxes. With everything laid out on the work table it was assembled on the tank for a look-see and when everything looked OK it was all glued down.
Paul
Next came the fun part, trying the new to me pigment fixer to see what kind of mess I could make. It was messy but came out pretty neat. Much of Tamiya’s lovely detail on the chassis was covered but thats OK, its supposed to be.
I had in mind making some rope to tie the stowage down. .020 lead wire was used to simulate the rope and when it was tugged tight one of the lifting loops that was being used to tie everything to pulled loose. Drat! It was reglued but that meant that it could not be pulled taunt. The next part was trying to tie knots. I have forgotten my Boy Scout knots over the years and the lead wire was too fragile anyway. It broke when pulled too tight.
The last thing was to go around with a No. 2 pencil and hit high spots were the crew would have walked on the vehicle.
With that, this long delayed project is now complete and on display.
Paul
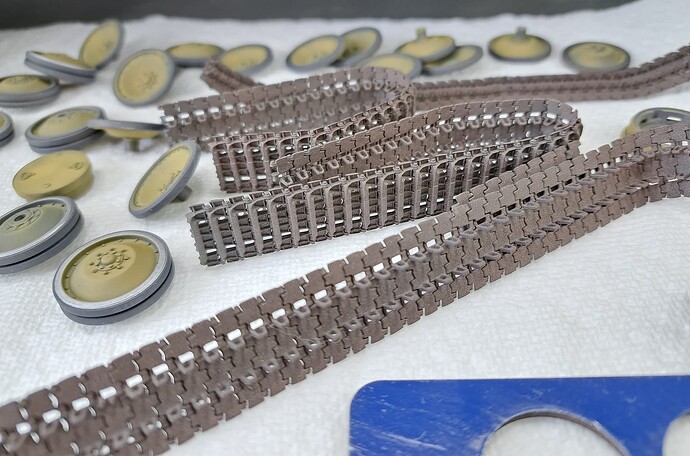
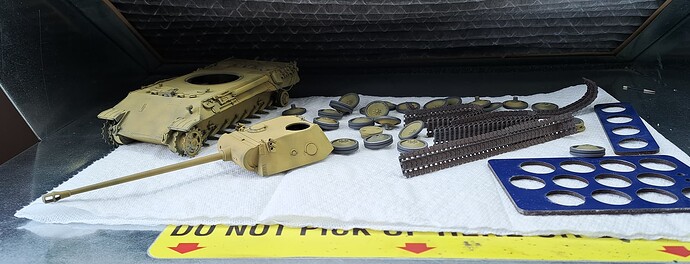
Those tracks look terrific! They will really add to an already impressive Panther.
Paul
@hudson29 Paul, thank you for the kind comment.
I like to break out the old Floquil Railroad Antique Bronze occasionally.
I like your Sherman looks very sharp!
One of these day’s I need to build the one in the stash.
