Is it better than mud from the garden mixed with talcum powder? That Monogram M3 halftrack smelled so pleasant…
Michigan Toy Soldier. Whoa. There is a blast from the past. That mud stuff looks really convincing in scale. I wonder if it is made of…never mind.
1 Like
Michigan Toy Soldier underprices VMS on their own stuff. The Smart Mud is $10.99 at MTS and $13.99 at VMS plus at MTS you’re not doing overseas shipping. I don’t know (don’t care) what Smart Mud is made of, but the stuff is just astounding, looks better than real mud, and doesn’t dry out, flake off, or cake up.
1 Like
Yesterday, after reading your previous post, I immediately pulled up the VMS website to look at the mud product. There is a page describing the composition and working characteristics with many photographs and some videos. Sincerely, it looks very realistic in scale.
Next, I went to the Michigan Toy Soldier website, which I have not visited for 15 years, and put a jar in my cart. At that point my frugal streak kicked in and I began searching Michigan Toy Soldier for stuff on my want list and good deals. You know how it goes.
Then I began checking other online stores I frequent to see if they carry the stuff. I had some Vallejo mud products in one cart from a previous visit–I have been researching mud and special purpose products for about 6 months now–and ended up comparing them to the VMS mud. After a couple hours of comparison shopping, I put that down to have lunch. I will get back to it.
My comments about the Monogram M3 Halftrack were intended as a joke. The mud was full of tiny creepy crawlers and the talcum powder left fingerprints everywhere. As a kid my instincts were good but I needed superior materials.
1 Like
Please pardon me for completely missing your post. Welcome aboard!
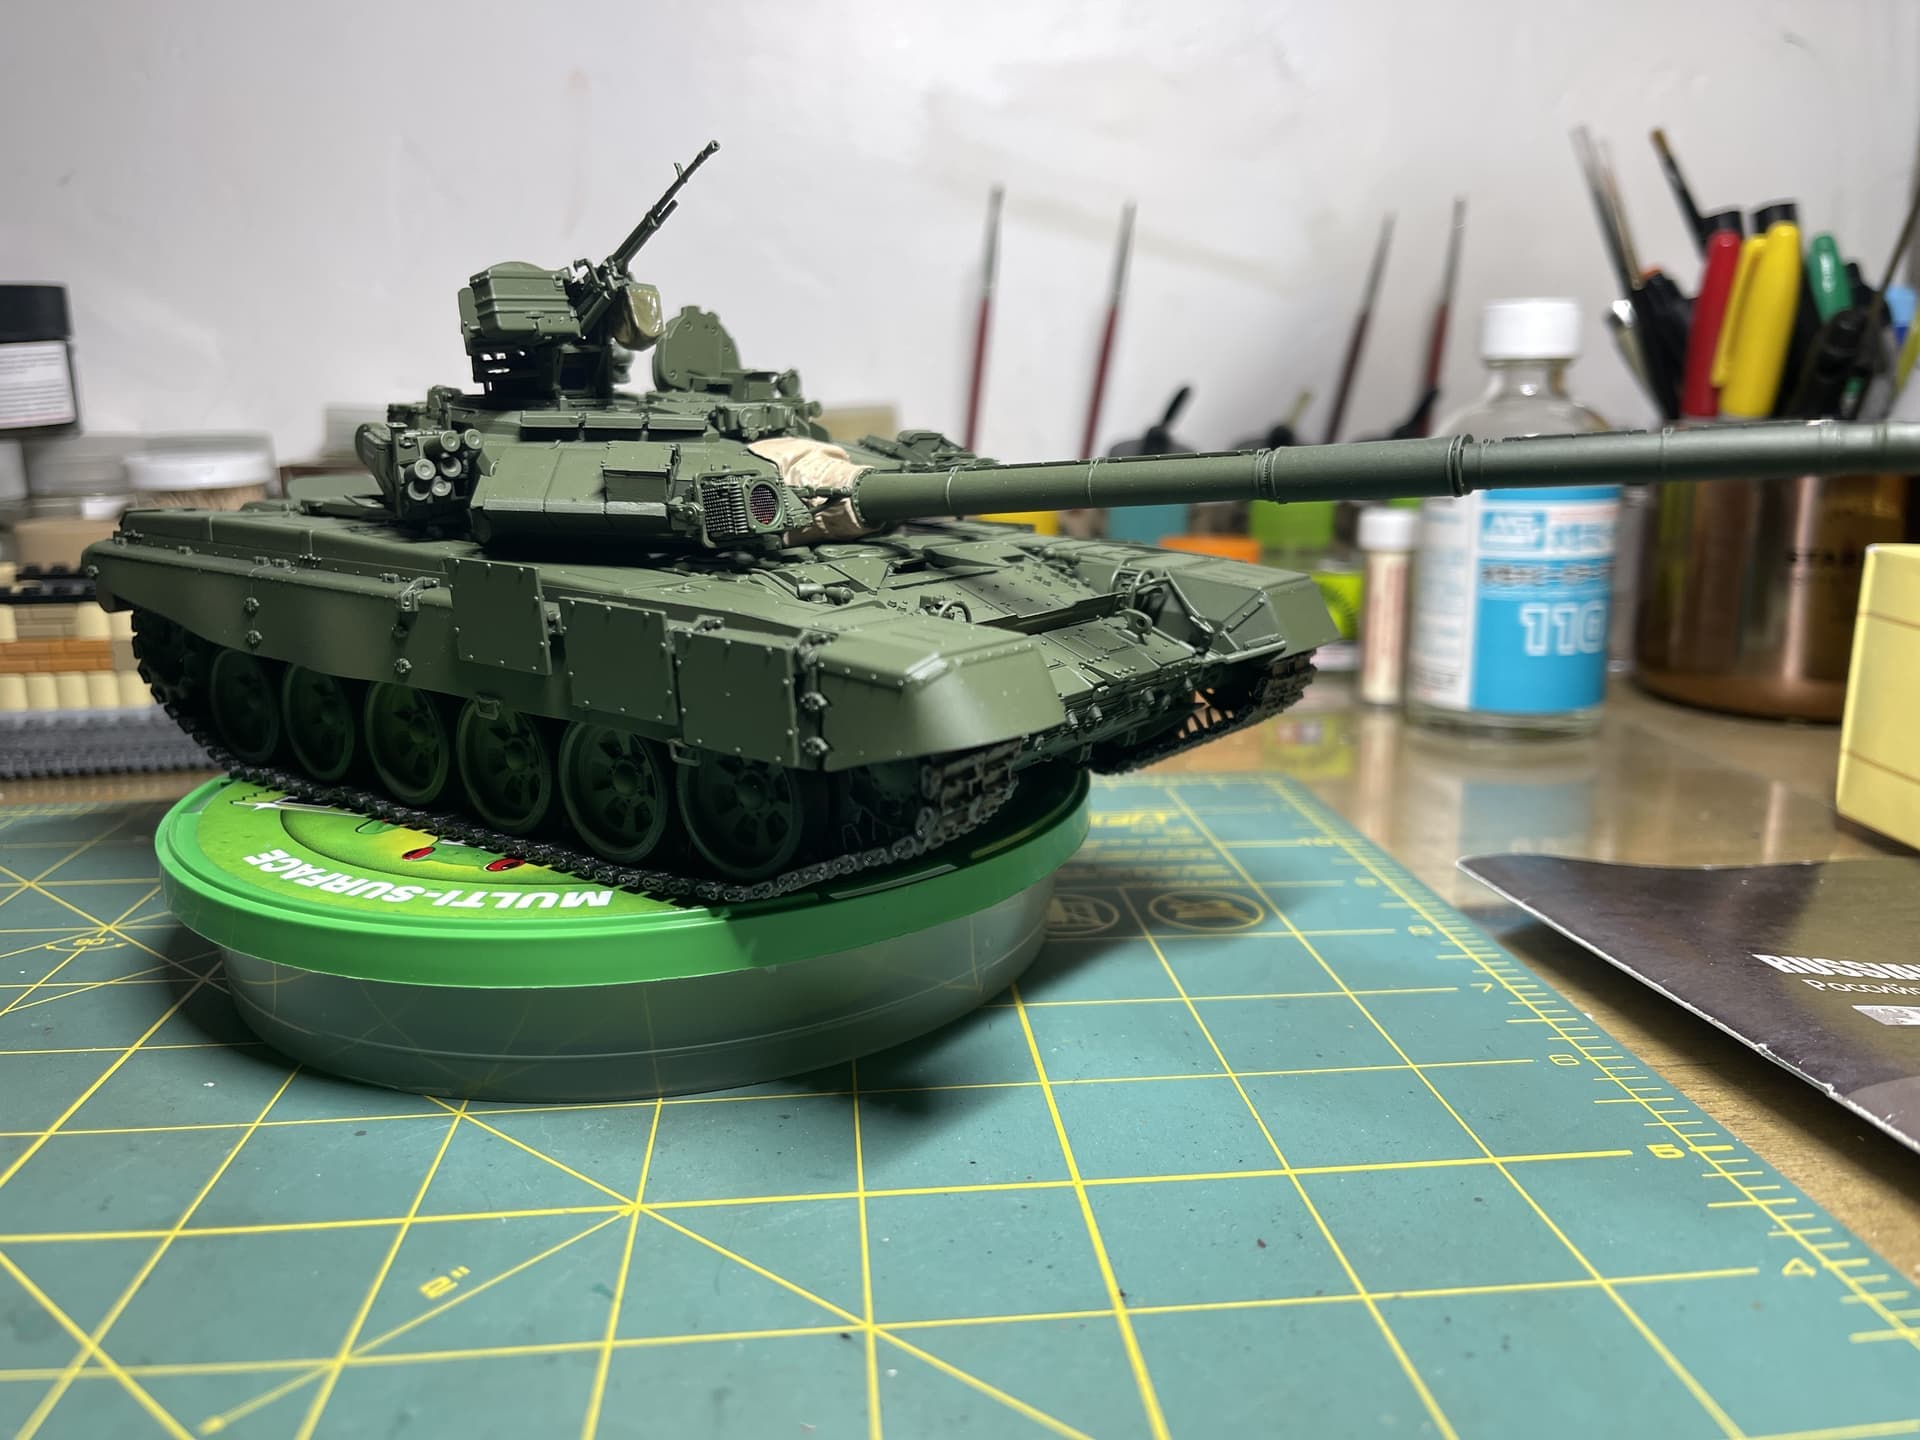
I have little knowledge of Russian/Soviet tanks or the T-72. It looks really interesting and intricate. I look forward to seeing what you do with it.
2 Likes
All good. i finished that build… Now deciding where i want to go with it markings-wise. Z Army? Ukrainian Capture? War Trophy?
8 Likes
That is obviously a nicely detailed model. (I just purchased my first model from Rye Field–the box is huge.) Your build and base coat are very clean. I did not realize the turret of the T72 was so squat. It looks like the gun will barely fit!
Are there a lot of decal options for that model? It seems like most modern tanks served in many places but very few decal options exist.
…
I better finish the campaign badge! (The current version is mocked up in Inkscape but needs more refinement.)
1 Like
The kit only comes with Russian markings and numerals to put on the front ERA sections.

SO if i do decide to go “Z” Army; I would just use some fine flat paint markers to apply the “Z” logo on the front rubber skits and side skirts and that would be it.
In the case of a Ukraine captured model, it would be the “+” symbol and maybe some yellow and blue to represent the UKR flag, but everything would have to be hand painted.
2 Likes
Star Decals makes some generic Ukranian tank and vehicle markings: 35-C1403 35-C1404
Hand painting or using leftover decals from something else is probably easier.
2 Likes
Cyber Hobby Sturmpanzer IV: A primer check revealed some problems remain.
With my hobby time divided between 6 model projects, work on the Sturmpanzer progresses very slowly.
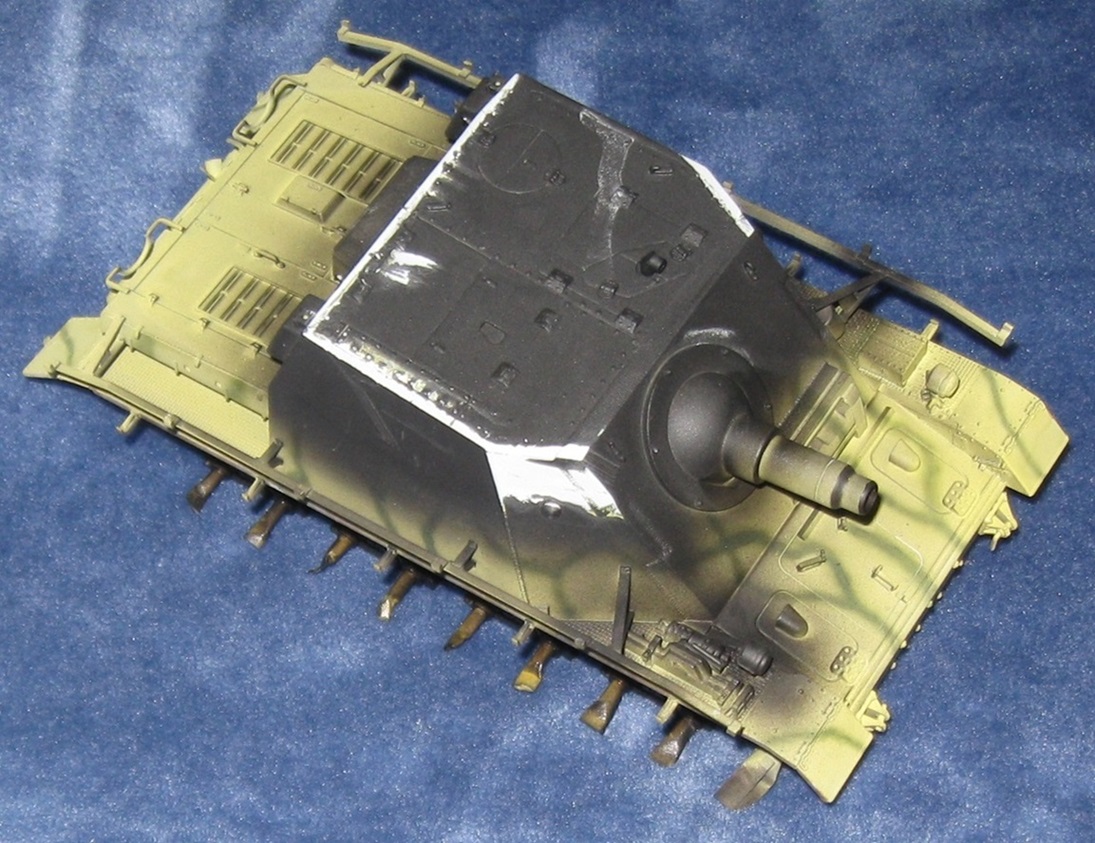
After fabricating a replacement periscope and adding back missing rivet detail, all repaired areas received a coat of primer. While most repairs disappeared under this paint, a gash on the right front shoulder needed more sanding. The roof of the fighting compartment looks surprisingly good but since another round of priming is now required, it also received some additional sanding.
One unfortunate consequence of sanding between coats is the creation of find grit fields on the model. In the picture above, a grit field formed on top of the fighting compartment. Repeated washing never completely removes this grit, even when scrubbed with a soft tooth brush. There must be a way to remove this grit.
3 Likes
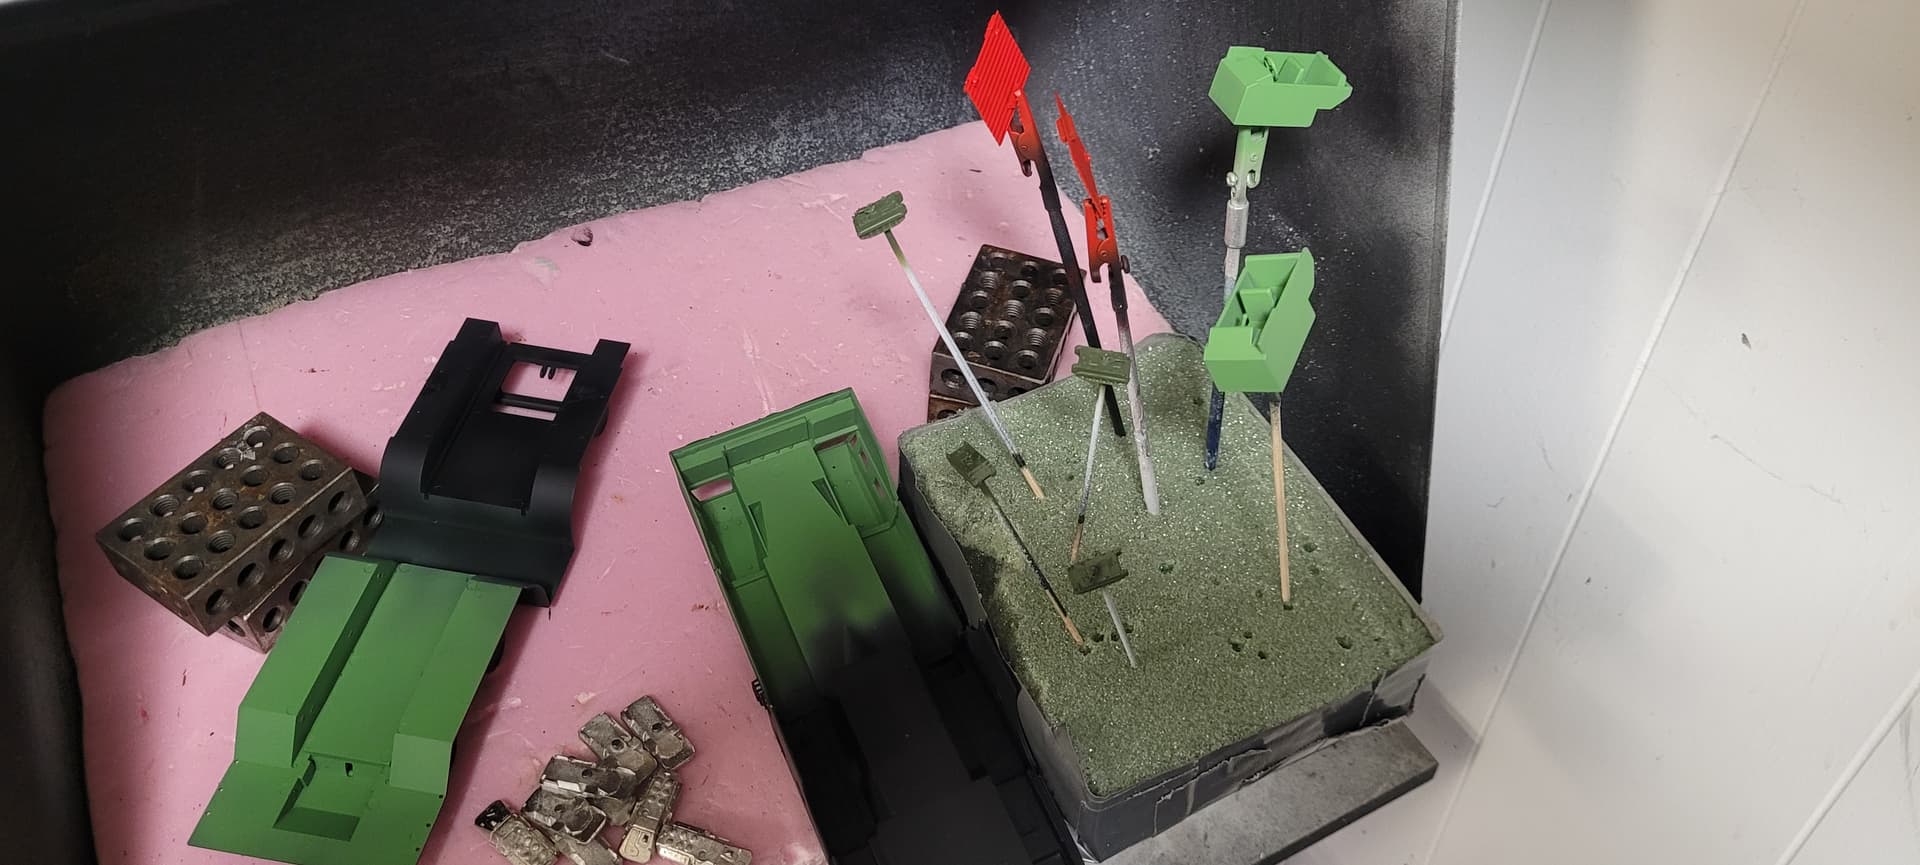
Got some paint on my Al Abbas ss-1c launcher. Have to tone the greeness i think. Ultimately it’s a gaming piece so quicker build.
4 Likes
haha yet another chance to fail t finishing a shelf queen 

3 Likes
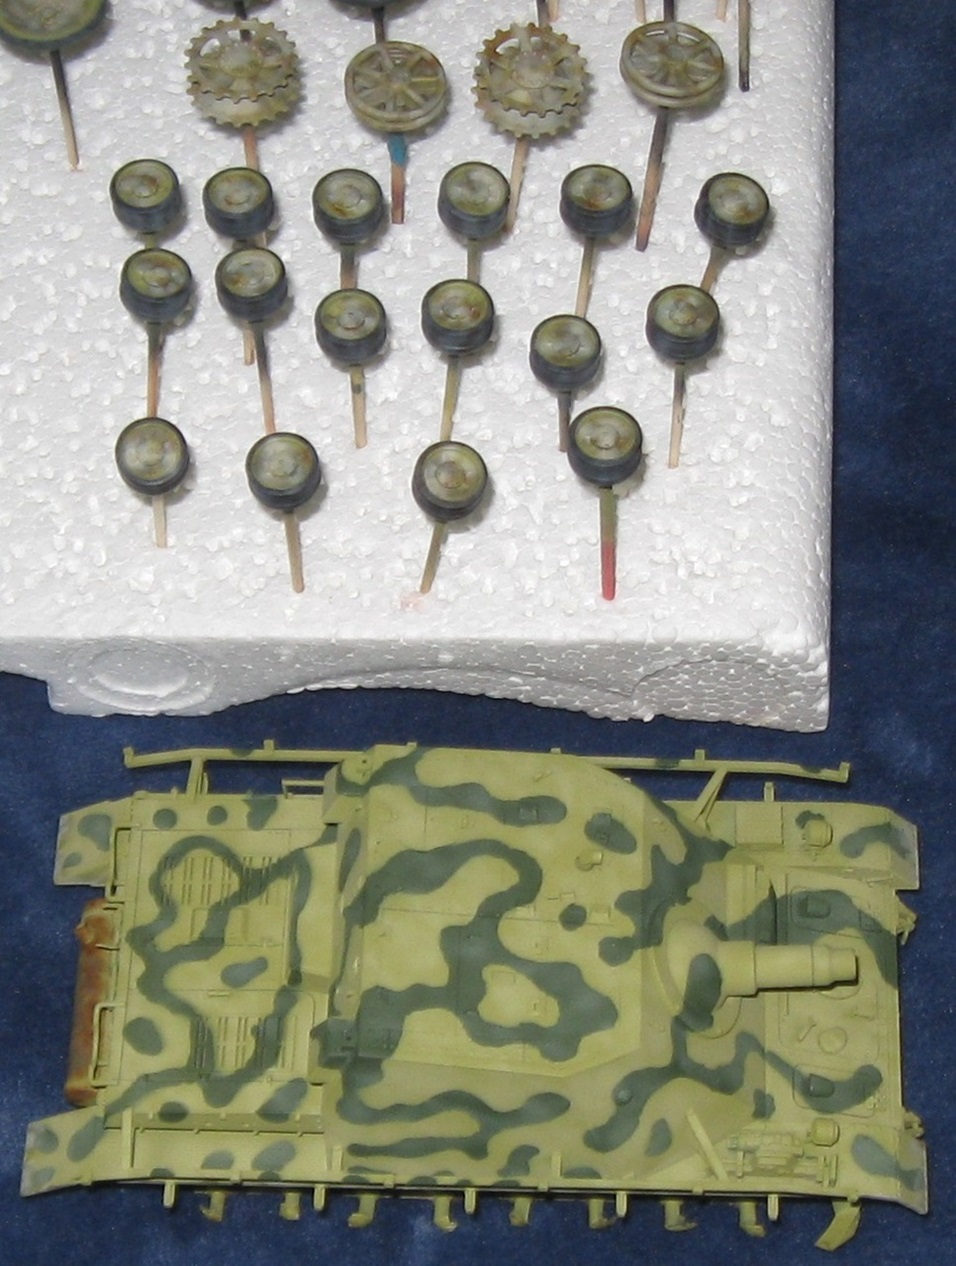
@Striker It looks like you are making good progress. I need a piece of foam like you have.
@deerstalker36 You still have 10 months and if that is not enough time, Unfinished Business 2025 will be a thing. 
…
Cyber Hobby Sturmpanzer IV: More primer, new paint, and Blue Tac…
4 Likes
@Damraska It’s just some of that green floral foam with duct tape around the edges and bottom. When it gets too chewed up I toss it. Nice for sticking a part then just stabbing it in.
2 Likes
It seems that the Unfinished Business 20__ is my go to campaign. I wonder why that is… 
3 Likes
I seem to have taken part in UB 20xx / 19xx since time immemorial lol
2 Likes
@Striker The strofoam I use produces a lot of break away pieces. In my experience, floral foam does not do that. For now, I made some new styrofoam panels with tape on the edges.
@TopSmith Yeah. I tend to finish one out of two projects so Unfinished Business campaigns are very good for me.
@deerstalker36 Ten years from now, I will be making the same claim.
…
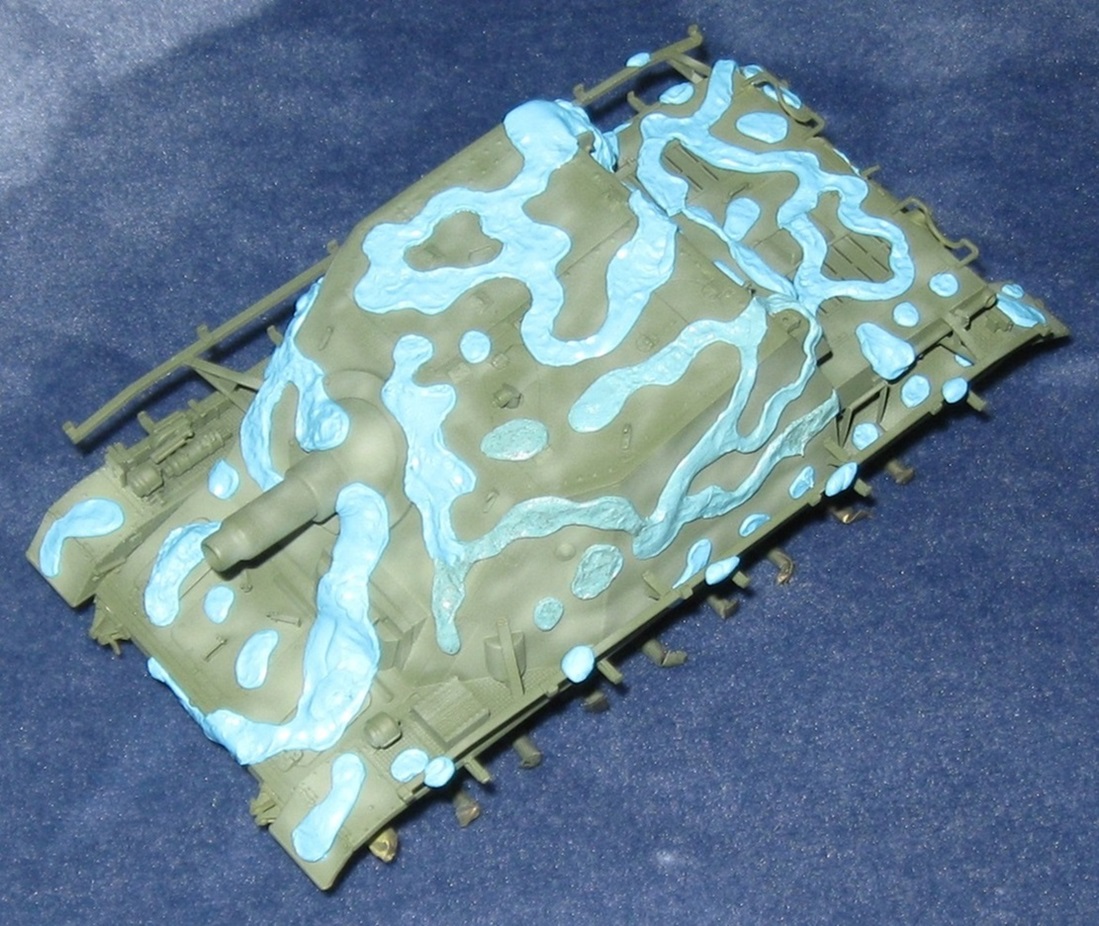
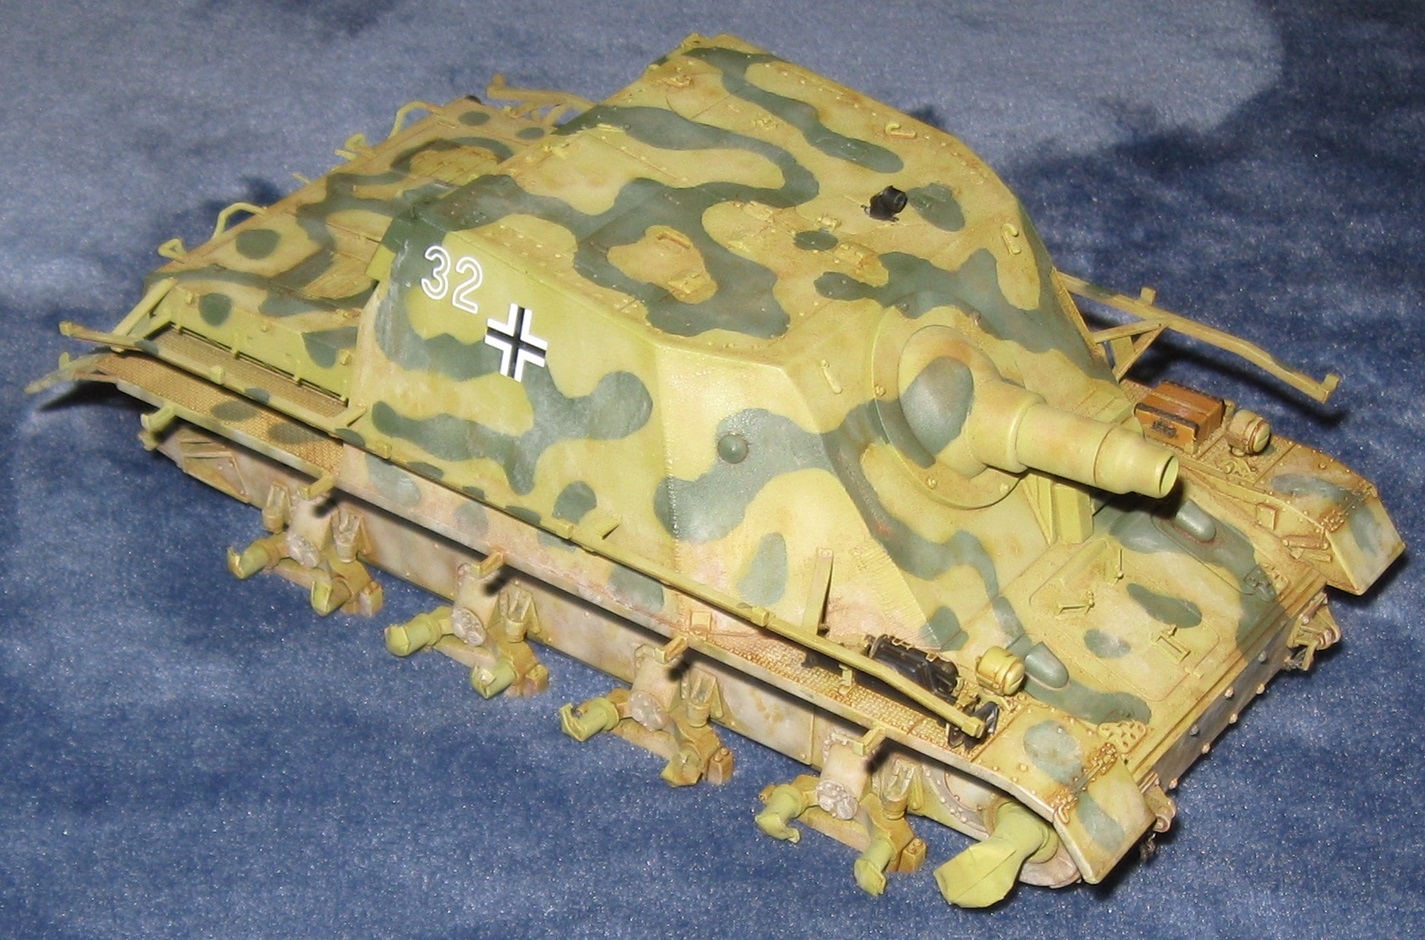
Cyber Hobby Sturmpanzer IV: Blue Tac was a success!
This is soooooooooo much better than the previous attempt at camouflage. All airbrush work with paint is done. Decals and detail painting come next.
8 Likes
Cyber Hobby Sturmpanzer IV: I blew it again.
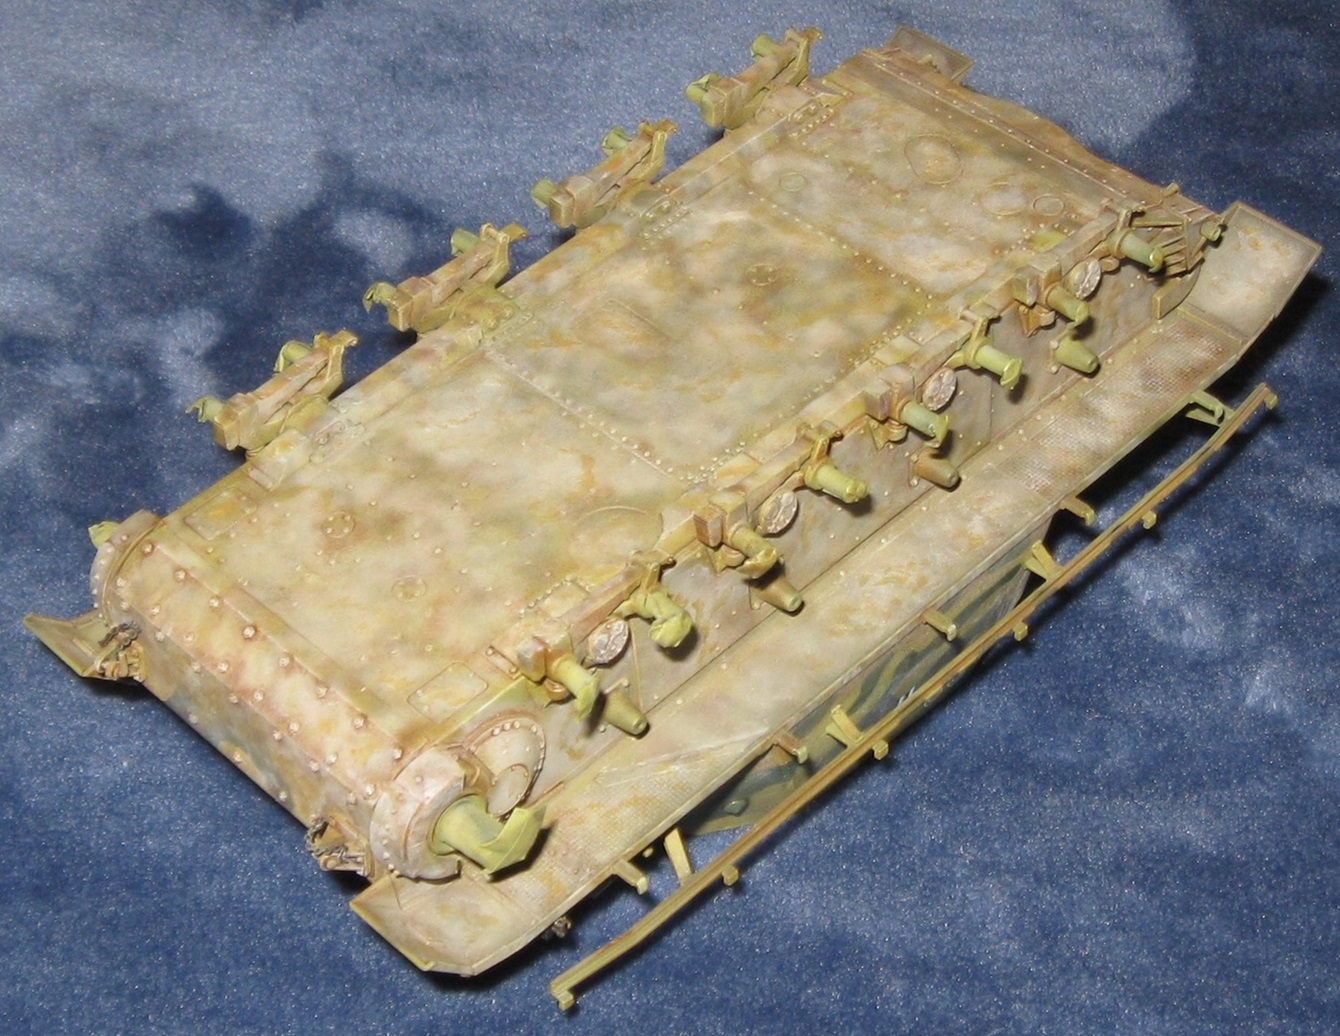
Applying oil paints to my Sturmpanzer did not go well. Fumes from the odorless thinner gave me a headache so I sped up, then put away the model before sufficiently blending everything. One of the paints, a reddish brown color, dominated everything else and fanned out while drying, creating ugly tide marks everywhere.
Various acrylic paints were used on the underside of the model in an attempt to fix the damage. The first picture shows the result of this experiment.
The second picture was taken after using the same technique along the base of the casement. I probably need to strip and start over for a third time.
3 Likes
Don’t strip it! You’ve come way too far (again) to go back to bare styrene and I don’t see anything that can’t be saved. Get some Turpenoid (blue label) and some burnt umber oil. Use a round stiff brush wetted with Turpenoid to scrub away the tide marks. Failing this, use the base color paint and drybrush over the tidemarks.
Now make a wash with the Turpenoid and burnt umber. Turpenoid leaves no tide marks. Make sure your wash is light enough that you don’t see pigment particles in it when you apply it. I do light washes and build them up - usually 7 or 8 until I get the depth I want.
Wear a mask if the Turpenoid gets to you. You should be good to go from there.
2 Likes
BTW, you can get great stiff scrubbing brushes in the stenciling aisle at Michael’s or Hobby Lobby. Just look for a pack of stenciling brushes.
These are also ideal for scrubbing with the hairspray technique or chipping fluid.
2 Likes
Doug, I agree  percent with Matt!
I’ll add that any tide mark that won’t lift can also be fixed with a very light dry brushing of the color underneath it. Key is to make sure there’s very very little paint in the brush.
Would a highlight on the very edges of the armor plates be an effect of interest? Asking because to my eye models with casements often benefit from popping the outside edges.
2 Likes