Love that Panther camo. Very nice.
1 Like
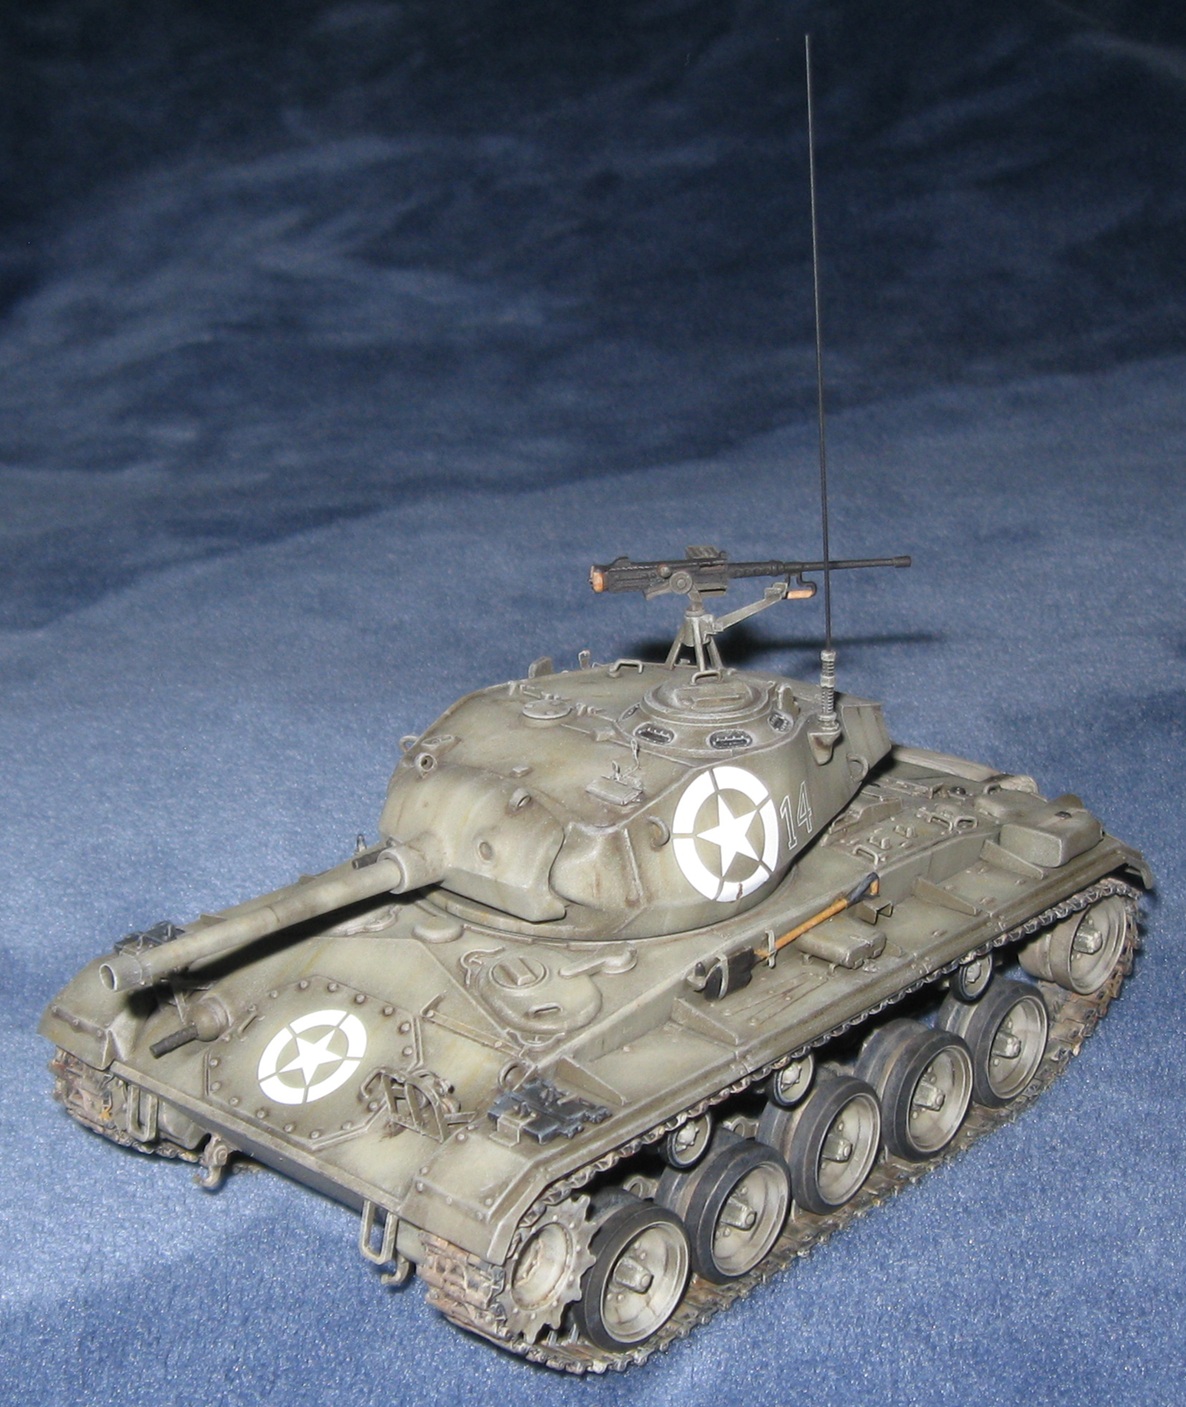
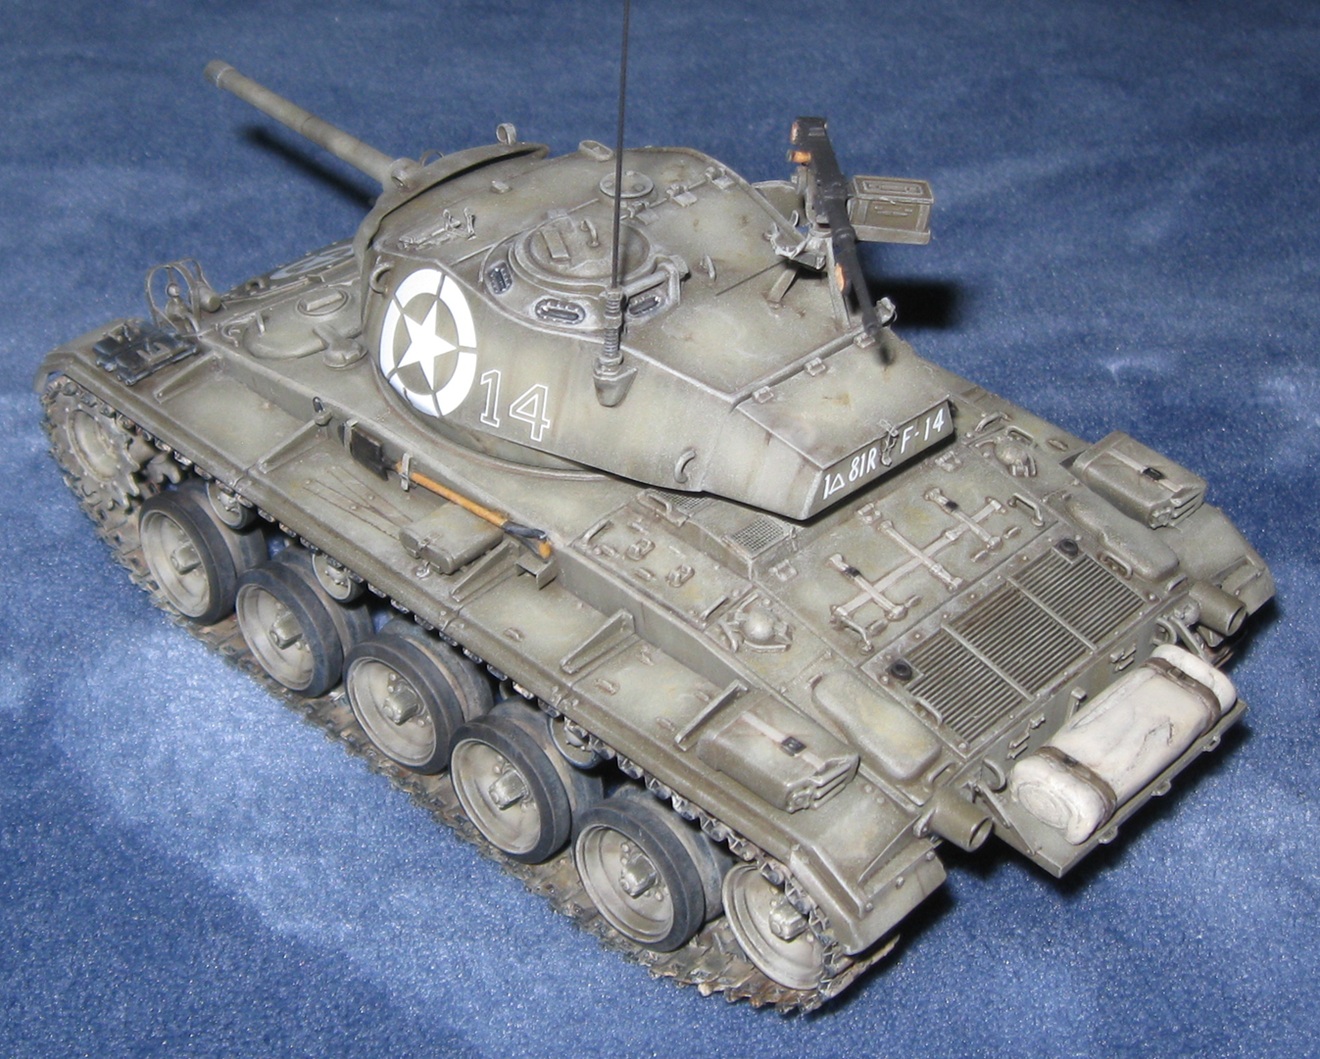
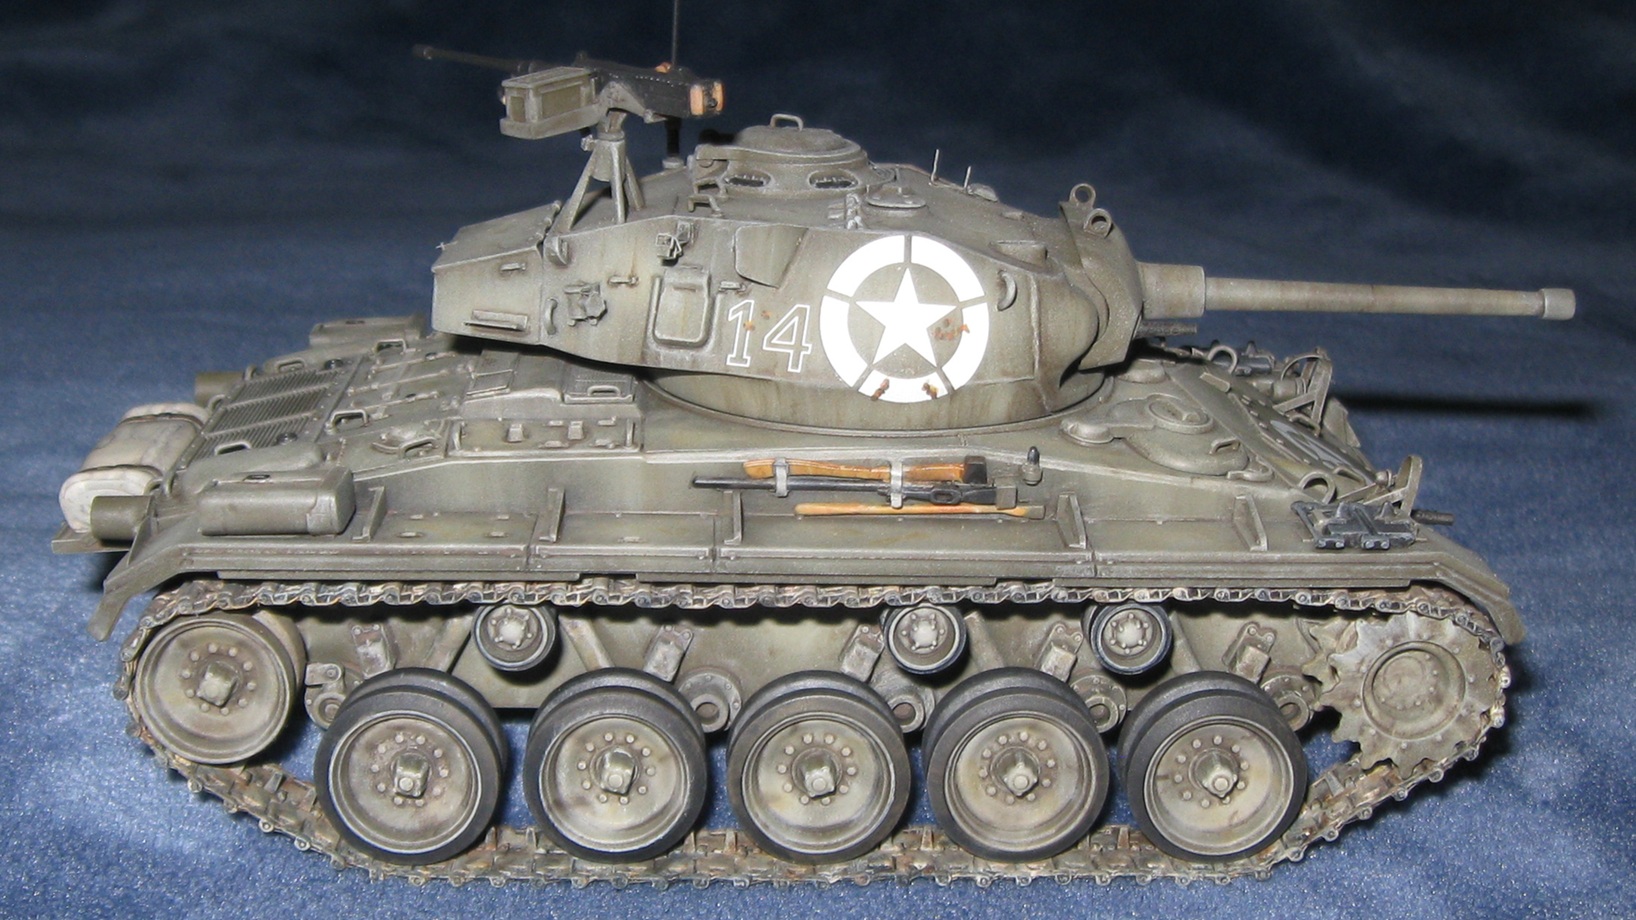
Italeri M24
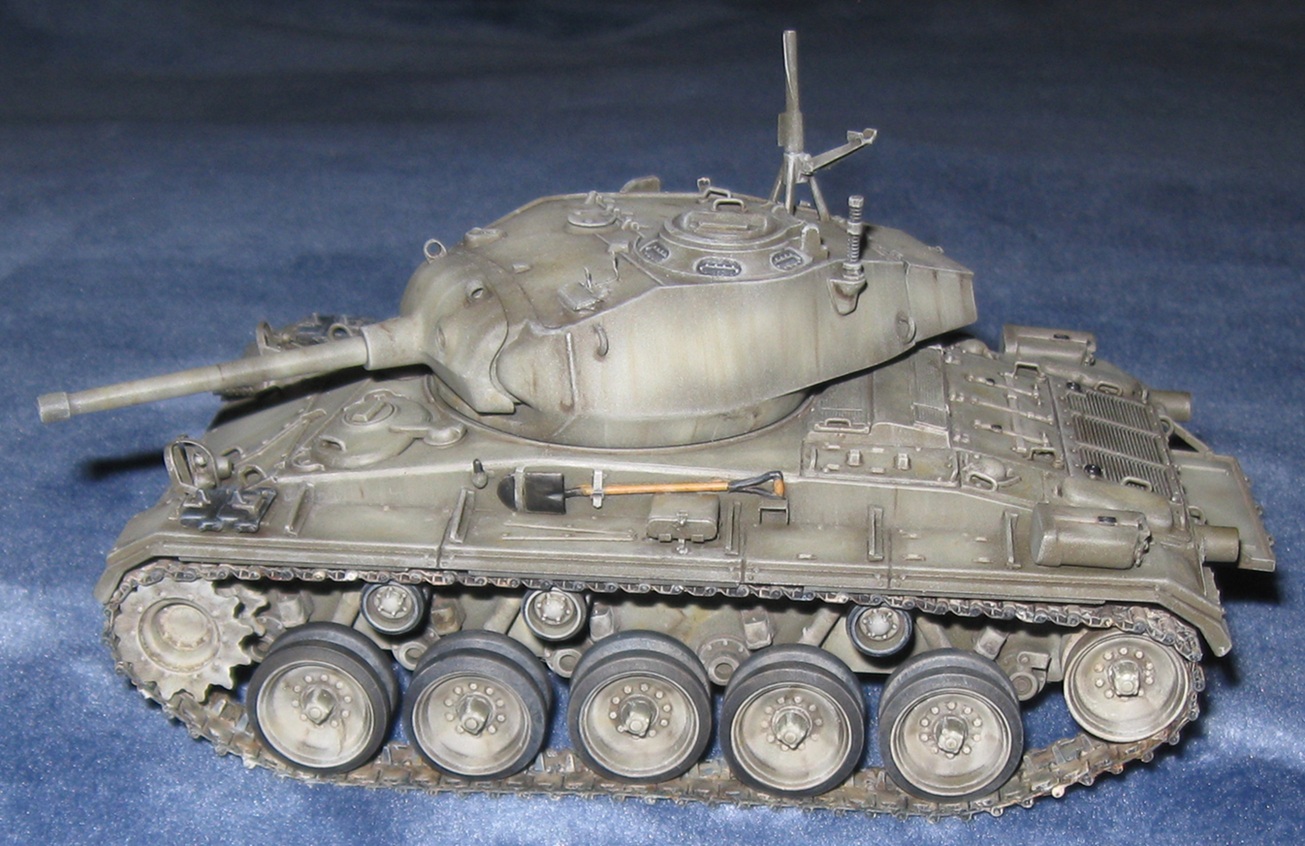
I am very happy to report track installation was painless. No shrinkage. No breakage. I know the shovel looks bad under zoom but painting stuff like that is beyond the limits of my vision.
…
Dragon Panther G Steel Wheel
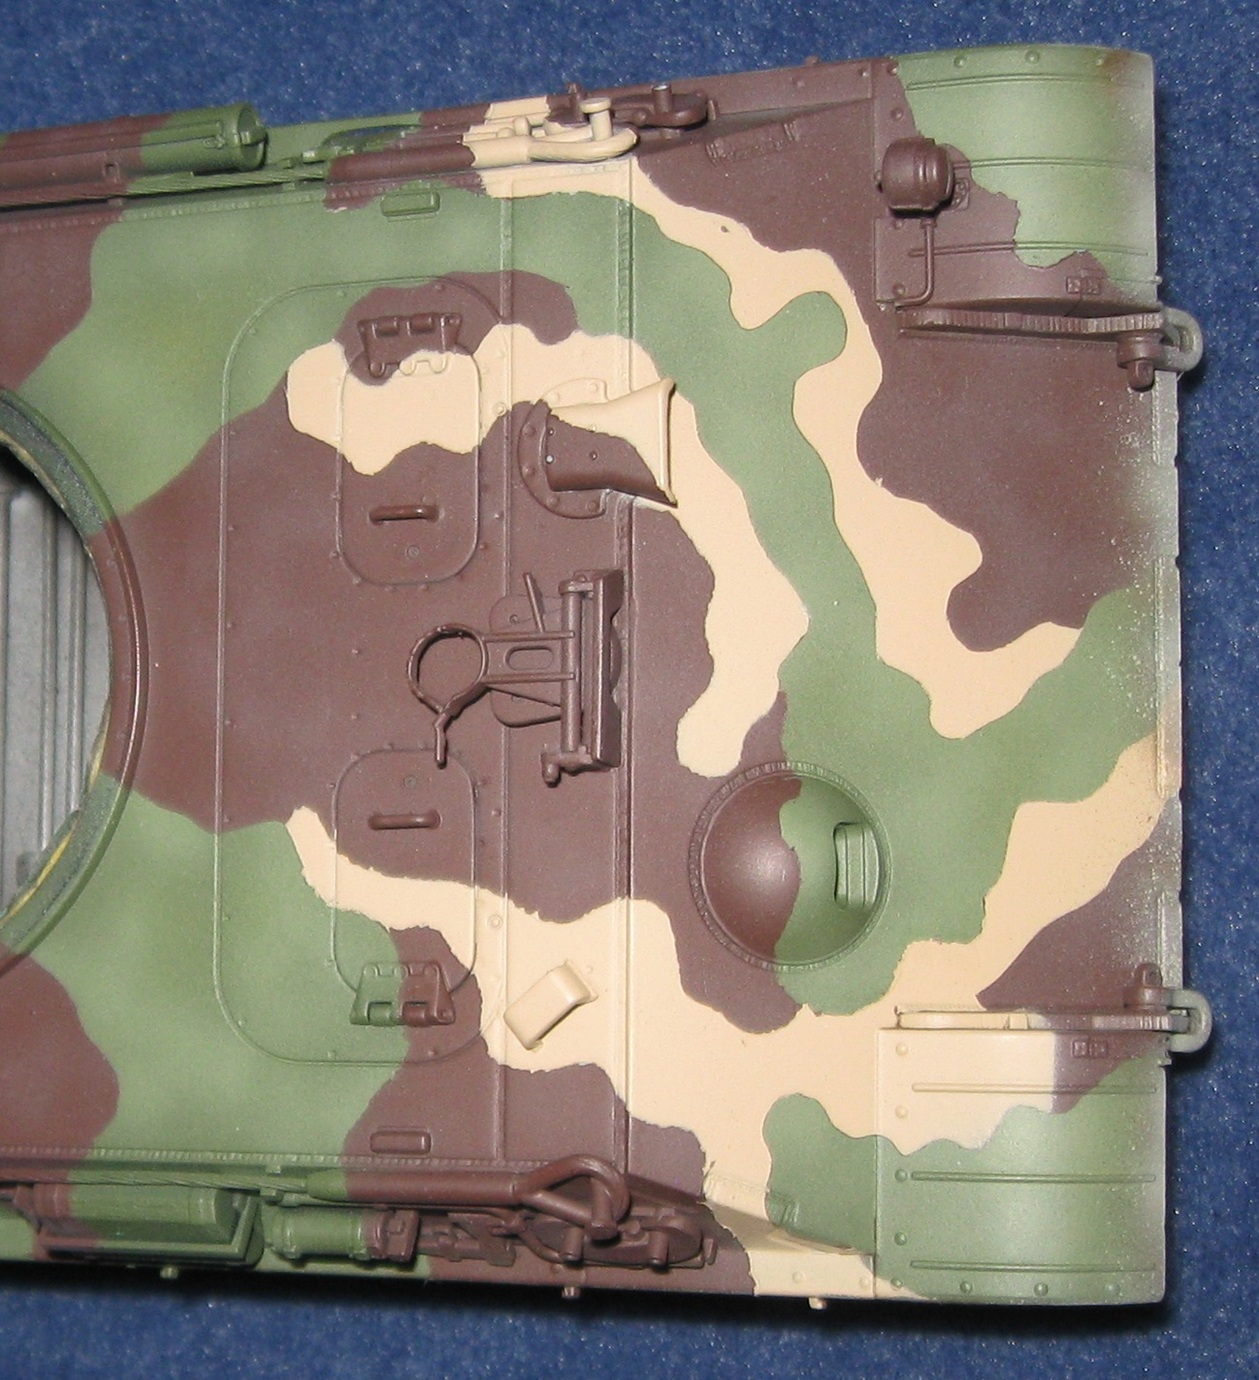
This is a fairly high resolution picture of the hull front showing what went wrong. Everything masked with Tamiya Tape looks pretty good! Everything masked with Blu-Tac looks ragged. The only remaining challenge with this model is to clean up all those ragged edges.
5 Likes
I know they’re too late for this campaign, but I hope you don’t mind me sharing these Shelf Queens. I’ve completed two unfinished projects in the past couple of years and am working on a third. The first two were complete except for the figures and had languished for quite awhile before I decided it was time to finish them . I’m currently working on the third after having starting it some 30+ years ago.
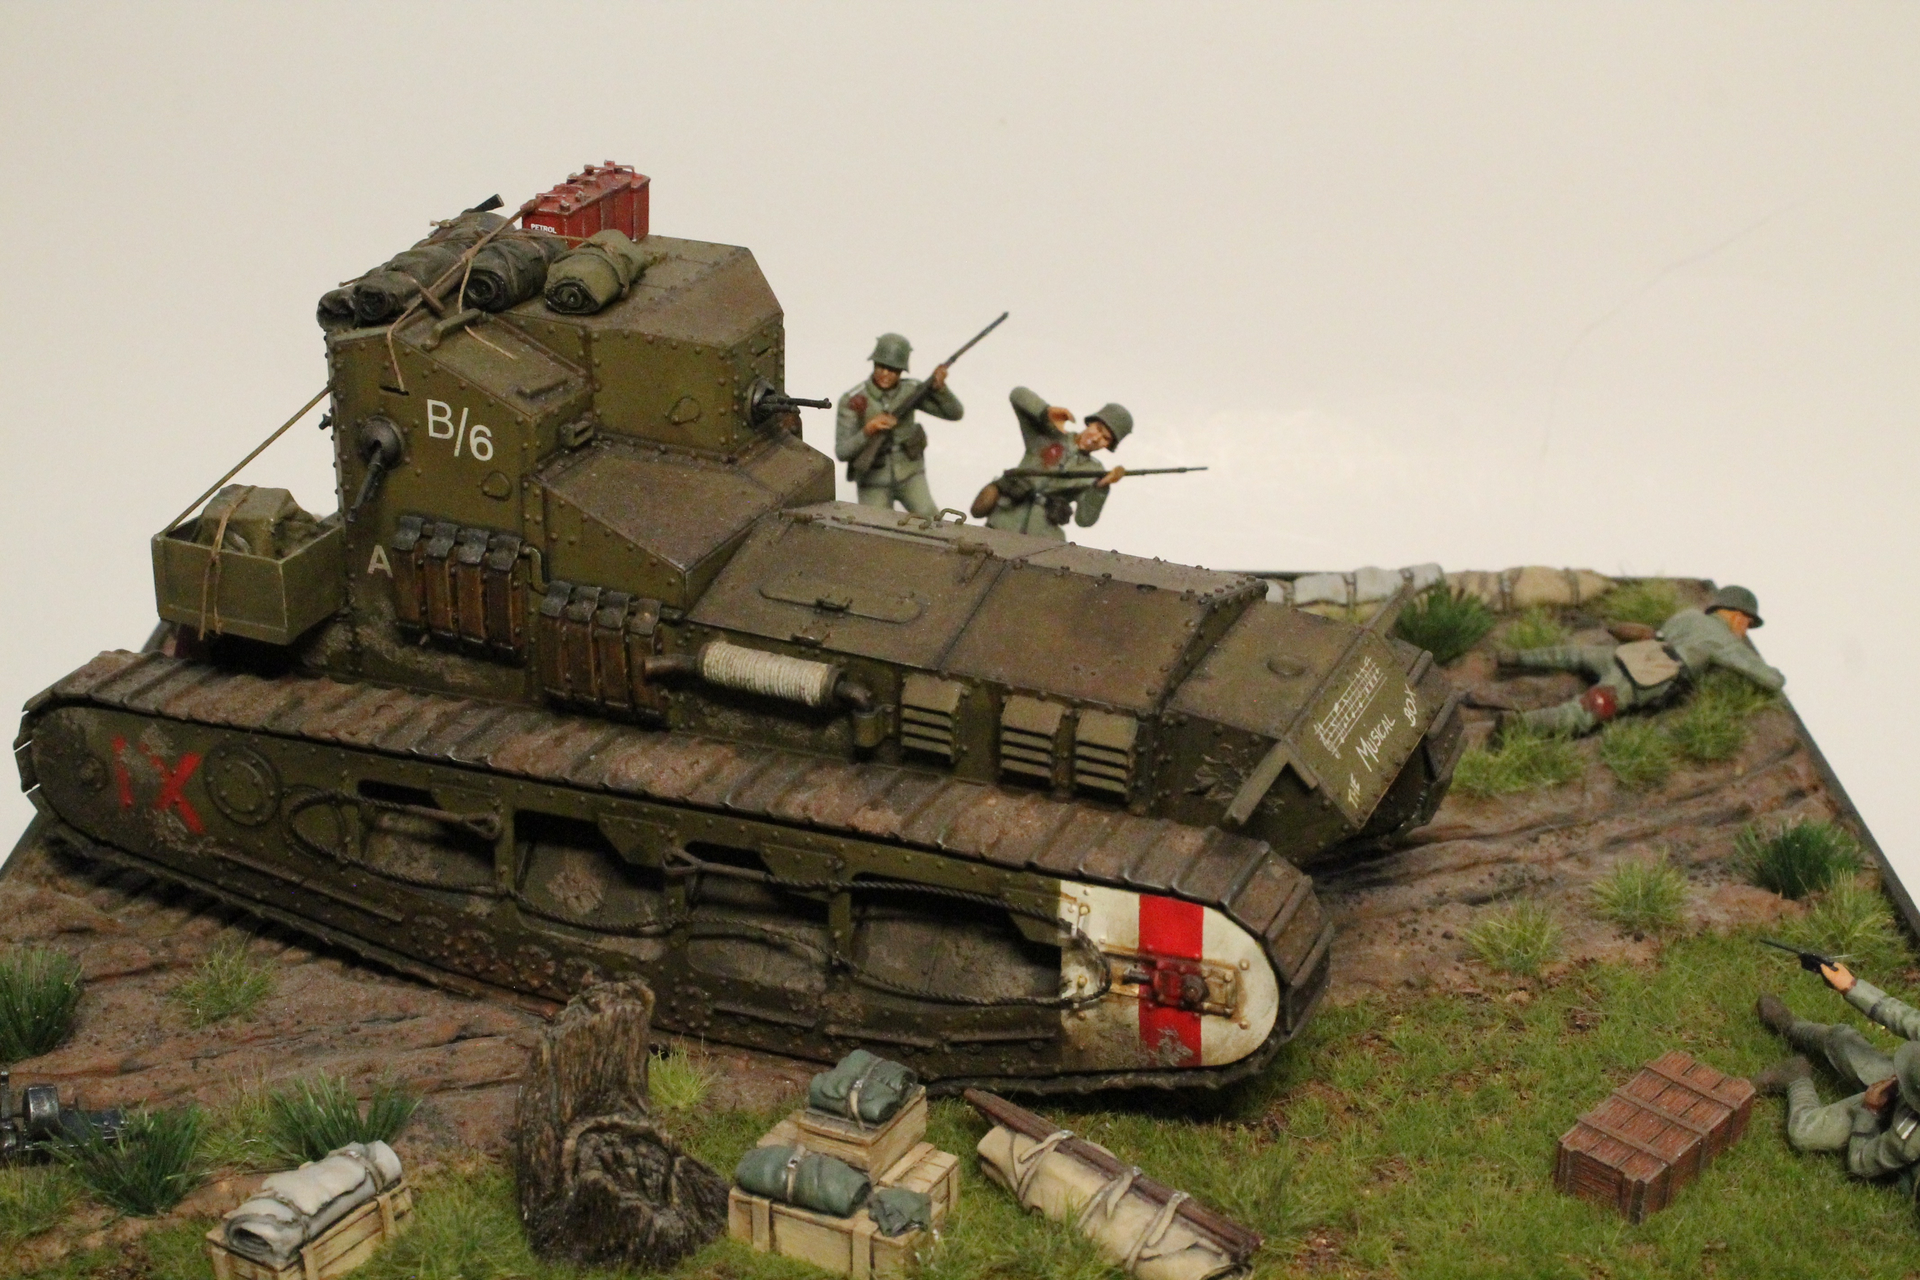
First up is a Meng Whippet done as “The Musical Box” during its nine hour, one tank rampage during the battle of Amiens.
Next is ICM’s Ford Model T Ambulance


And lastly, Tamiya’s venerable PBR , finally finished, except for the water base that I’m still working on.
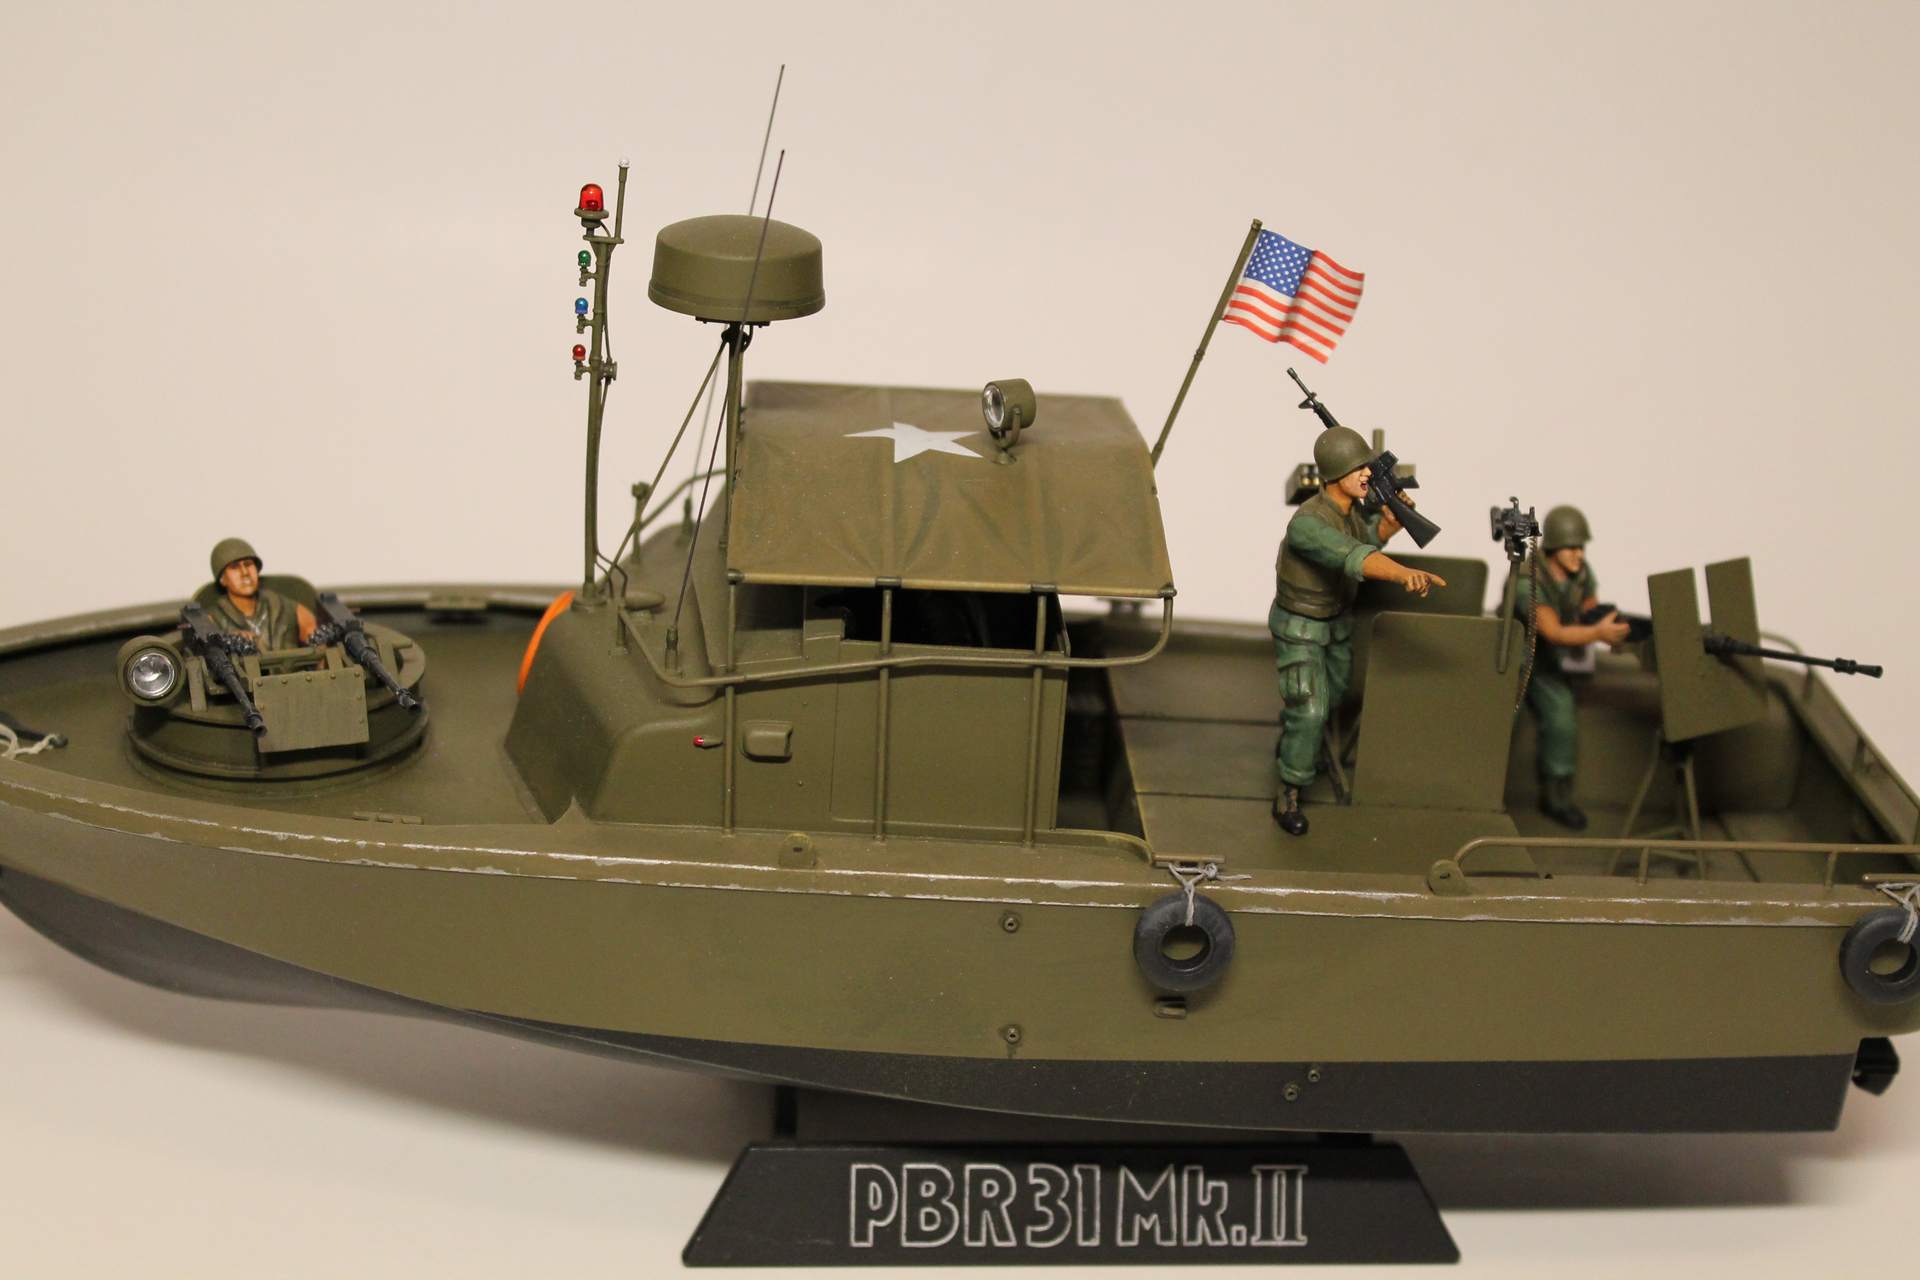
Thanks for looking, and may these provide some impetus to rescue one of your kits from the Shelf of Doom.
5 Likes
Dragon Panther G with Steel Wheels
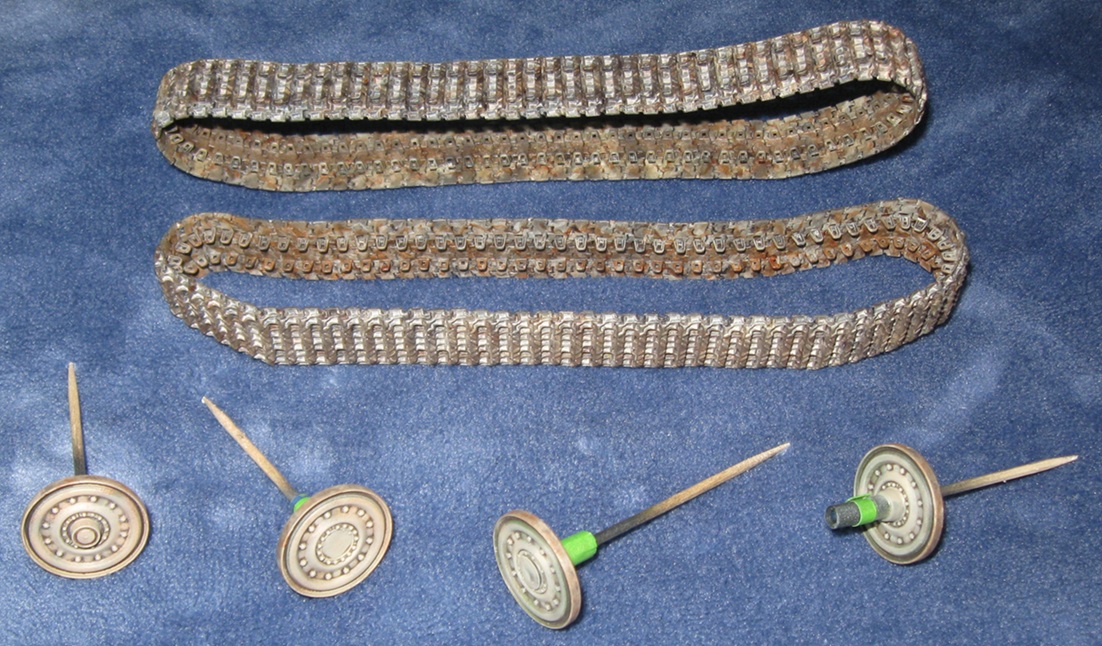
Up until a year ago, I painted tracks in a very complicated and precise sequence. These days, I try something new every time. This is earth tone oil paints directly applied to black primer. I just kept adding oil paint until they looked interesting.
I tried to make the rims of the steel wheels look significantly worn using a minimum effort technique with oils. Did it work? I think it kinda did!
…
@Taffy3 Thank you for sharing all your recent Unfinished Business completions! I remember all of those projects from recent months. Hopefully, they will inspire more members to get old projects across the finish line.
…
There are currently 5 months left for Unfinished Business 2026!
Do not wait until the last minute!
Family commitments often make November and December very bad months for model building. If a model campaign ends on December 31, try to get your project done by October 31.
Of course, any project in this campaign can roll over into Unfinished Business 2027 so there is no danger of missing out. However, two campaign medals are better than one. 
3 Likes
@Damraska Beautiful M24, Doug. I love that faded worn look. Great effect!
@Taffy3 Really nice dioramas. I have the Tamiya Pibber in my stash as well. Once I get better at water bases I will get started at that one as well.
2 Likes
Thank you, I found a video using Toilet Paper to make a ‘Water’ base. That’s what I’m currently working on, and I’ll post some pix when it’s finished.
3 Likes
7 Likes
I wish my practice projects came out so well…
Nicely done!
1 Like
Nice, I like the faded look
Rabbits
1 Like
Fantastic job Doug. It has come out just perfect.
1 Like
On to the base for the Panhard. I started with a piece of 1" foam, a cheap wooden picture frame, a a section of DML railroad track, and some Mahogany veneer to trim the foam. I cut out some of the foam from where the cross ties would sit to help them settle into the base. I used some AK earth paste to add the ground work around the edges, some cat litter (new, not recycled  ) was sprinkled on to help add to the gravel texture.
 Untitled by Ernie Schafer, on Flickr
The cross ties were primed with white, more litter of various sizes was added for the ballast around the ties, and some static grass added. The rails and tie plates they sit on were sprayed with AK track primer as a base layer of color.
 Untitled by Ernie Schafer, on Flickr
I used three colors of inexpensive acrylic craft paint too base coat the cross ties.
 Untitled by Ernie Schafer, on Flickr
Next, several rounds of acrylic washes of straight black and several shades of brown were applied to make the ties looked aged.
 Untitled by Ernie Schafer, on Flickr
 Untitled by Ernie Schafer, on Flickr
Several light to medium greys and sand colors were used to randomly color some of the individual stones in the ballast. to make it look less uniform and monochromatic. Several very. very dilute black wash was added to add some depth to the ground work and ballast. These washes were very thin so as to not really change the tones of the ground work, but to just slowly build up shadow and depth in between the stones in the ballast and gravel.
 Untitled by Ernie Schafer, on Flickr
The static grass was airbrushed with a couple of shades of greens and greenish yellow for highlights. Some darker brown was sprayed around the the base of the grass to add some shadows. The motive power on the railroads at this time was still predominately steam engines which dropped grease, steam, and condensed water from it’s running gear along the rails. This is easily visible when looking at contemporaneous photos of railroad tracks. I used a mixture of Tamiya Red Brown and black sprayed along the edges of the rails to simulate these deposits. The rails were also treated with several oil paint washes of rust colors wet blended together to help weather and age them.
 Untitled by Ernie Schafer, on Flickr
 Untitled by Ernie Schafer, on Flickr
This basically completes the base. I have never made a railroad base before so this was drfinately a learning process for me and I am am pretty happy with how it turned out.in the end.
5 Likes
Turned out great! Remember the top of thetracks will be a sort of polished metal if the railway is used often.
1 Like
Yes sir, got that covered in the next installment 
2 Likes