While I’m not much interested in this our award winning journalists at Wade’s World, Joey-Cat & Kali-Katt felt there was a story worthy of a Special Report…
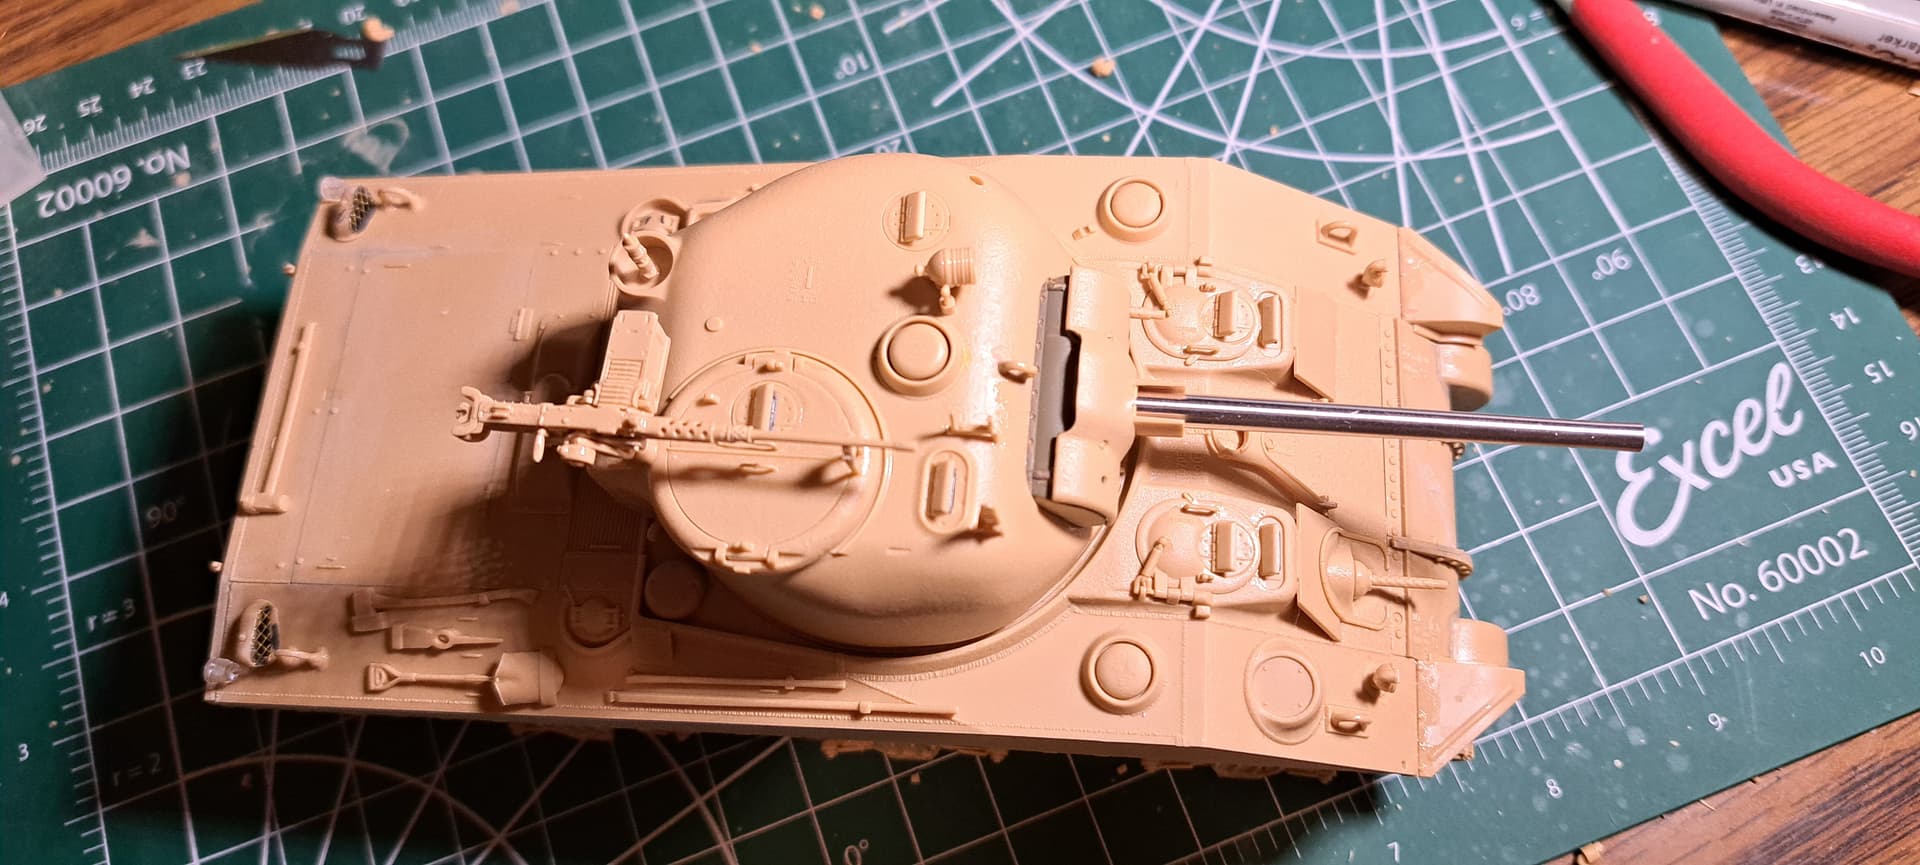
The Tasca kit also has slide molded MG’s and we applaud this effort.
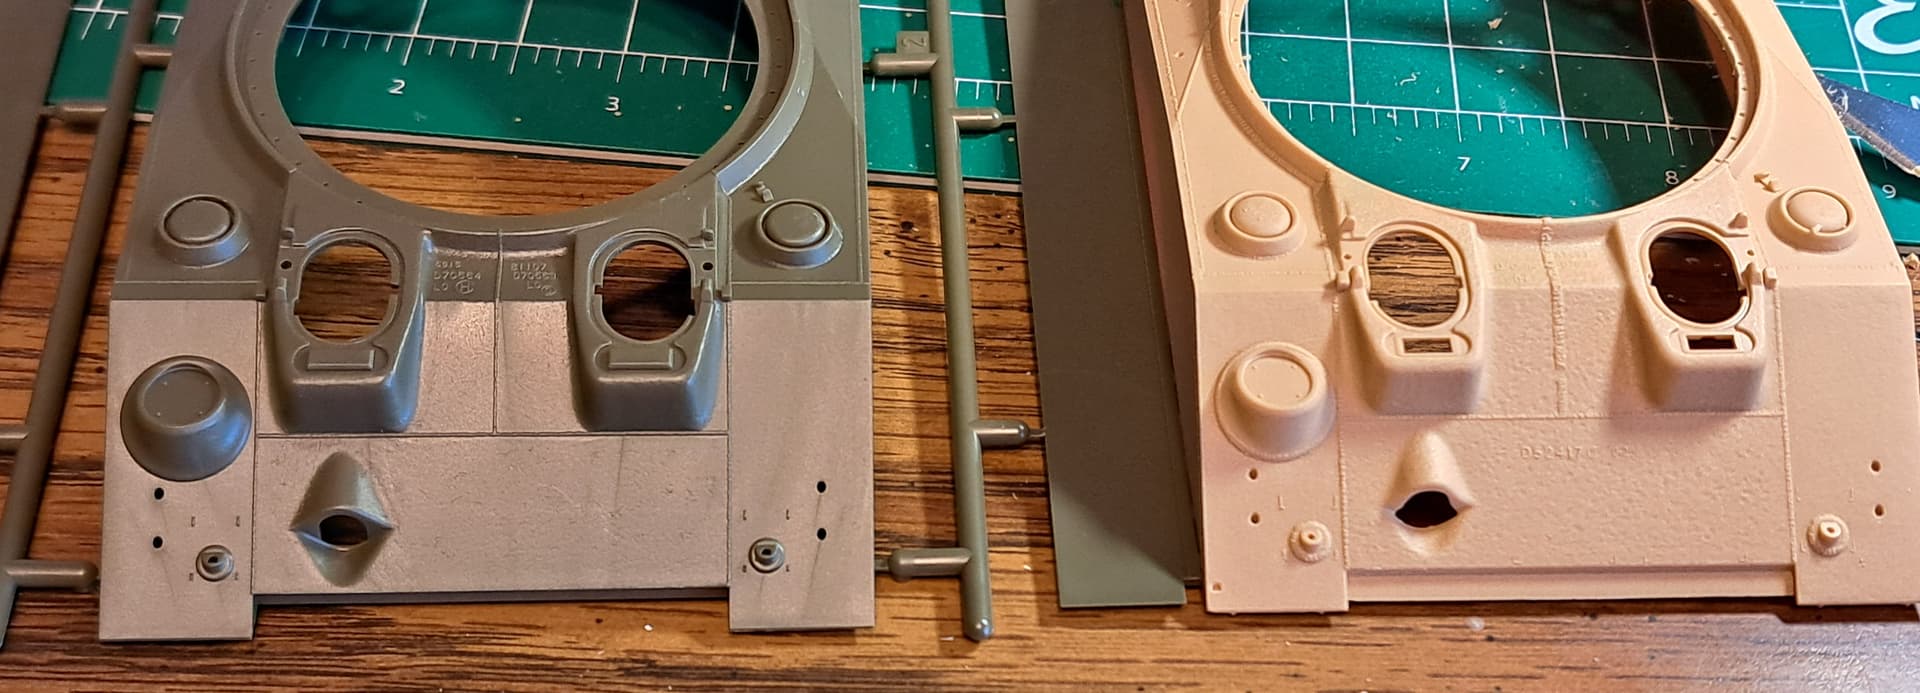
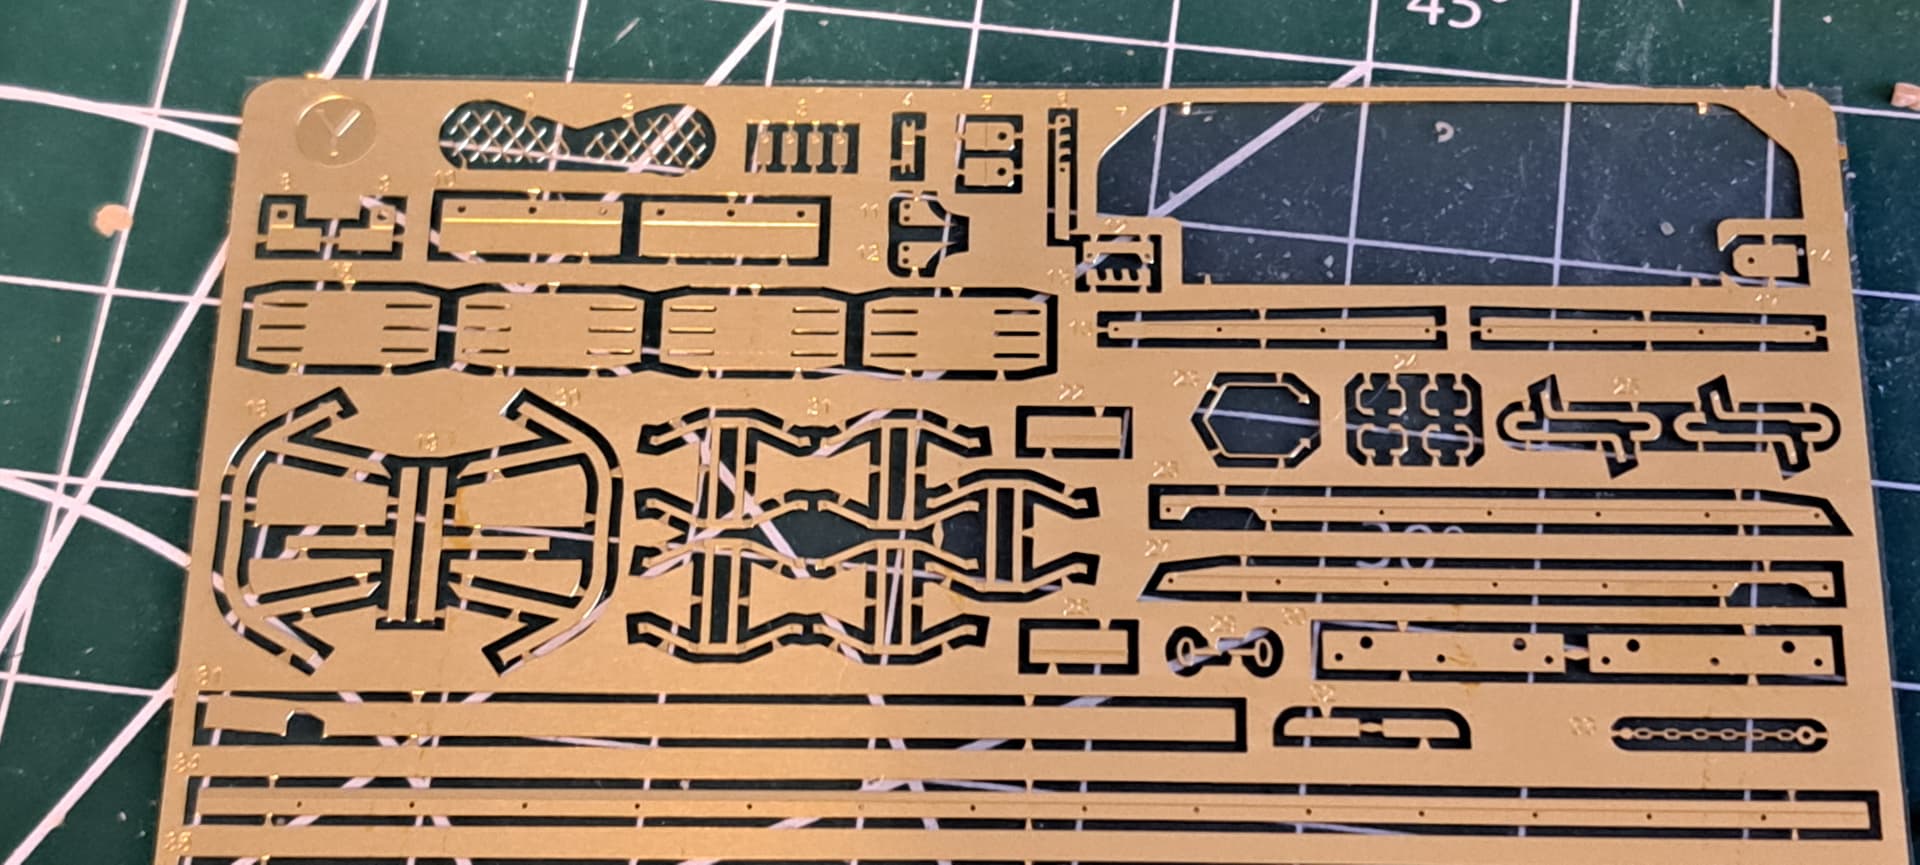
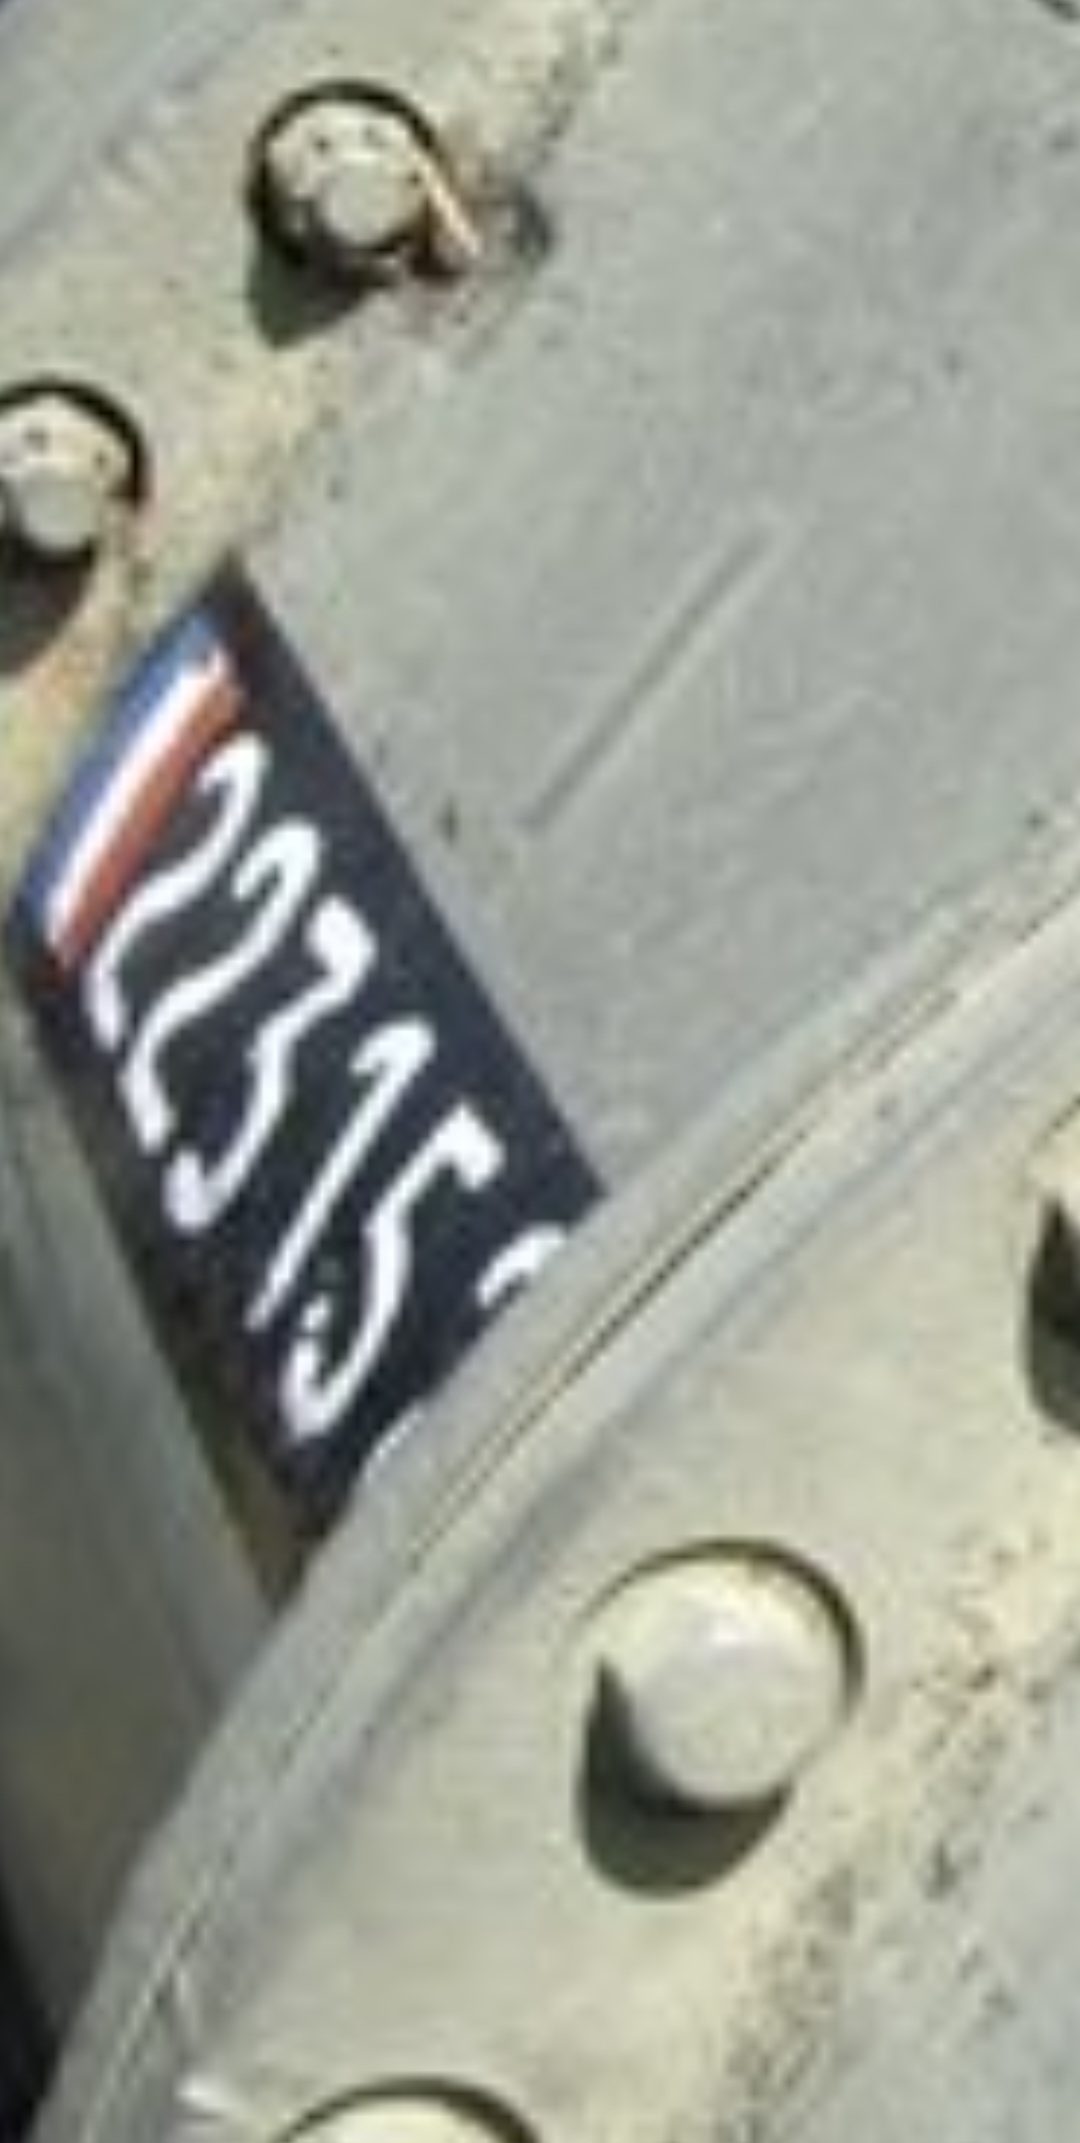
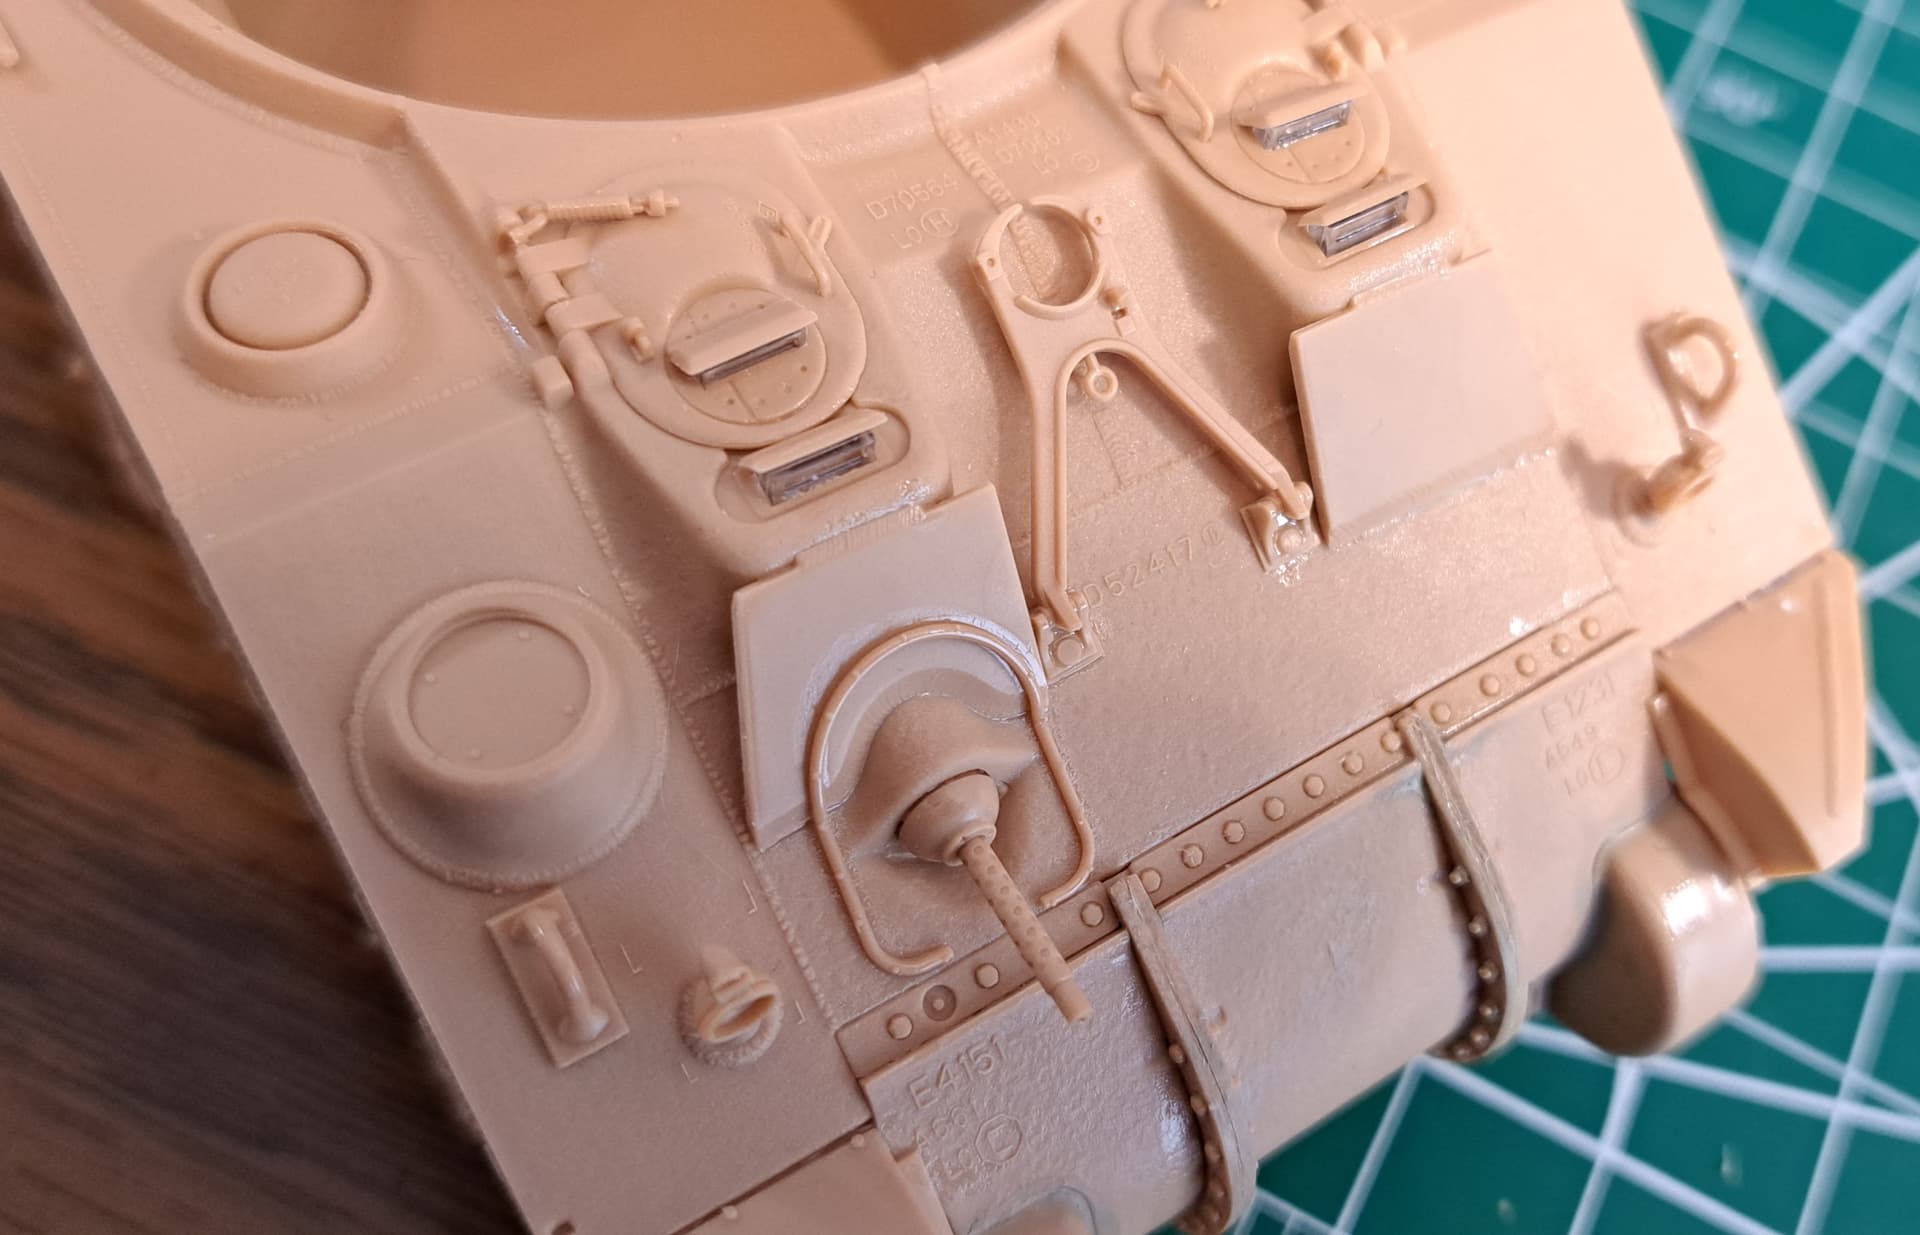
We didn’t find periscope guards in the Tasca kit and RFM provided them as FLAT photo etc. Wade’s World hesitates to go down detail rat hole of details and god forbid accuracy but…
They’re models of the same vehicle type, there’s bound to be similarities. Sure, the parts breakdown is similar, but again: if you’re going to supply a separate engine deck (which many modellers like), you’re going to have a similar parts breakdown to the other kit.
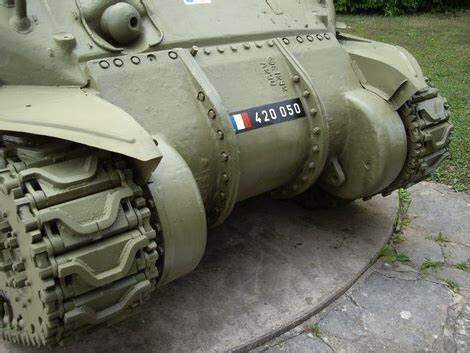
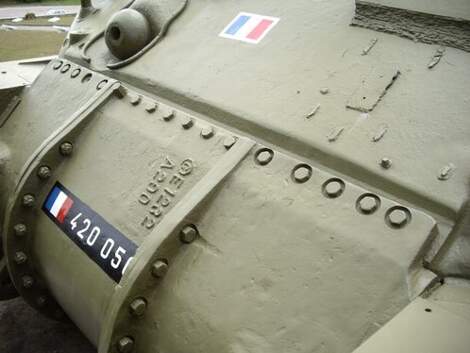
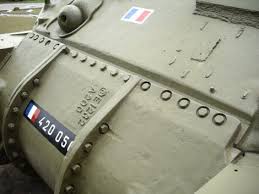
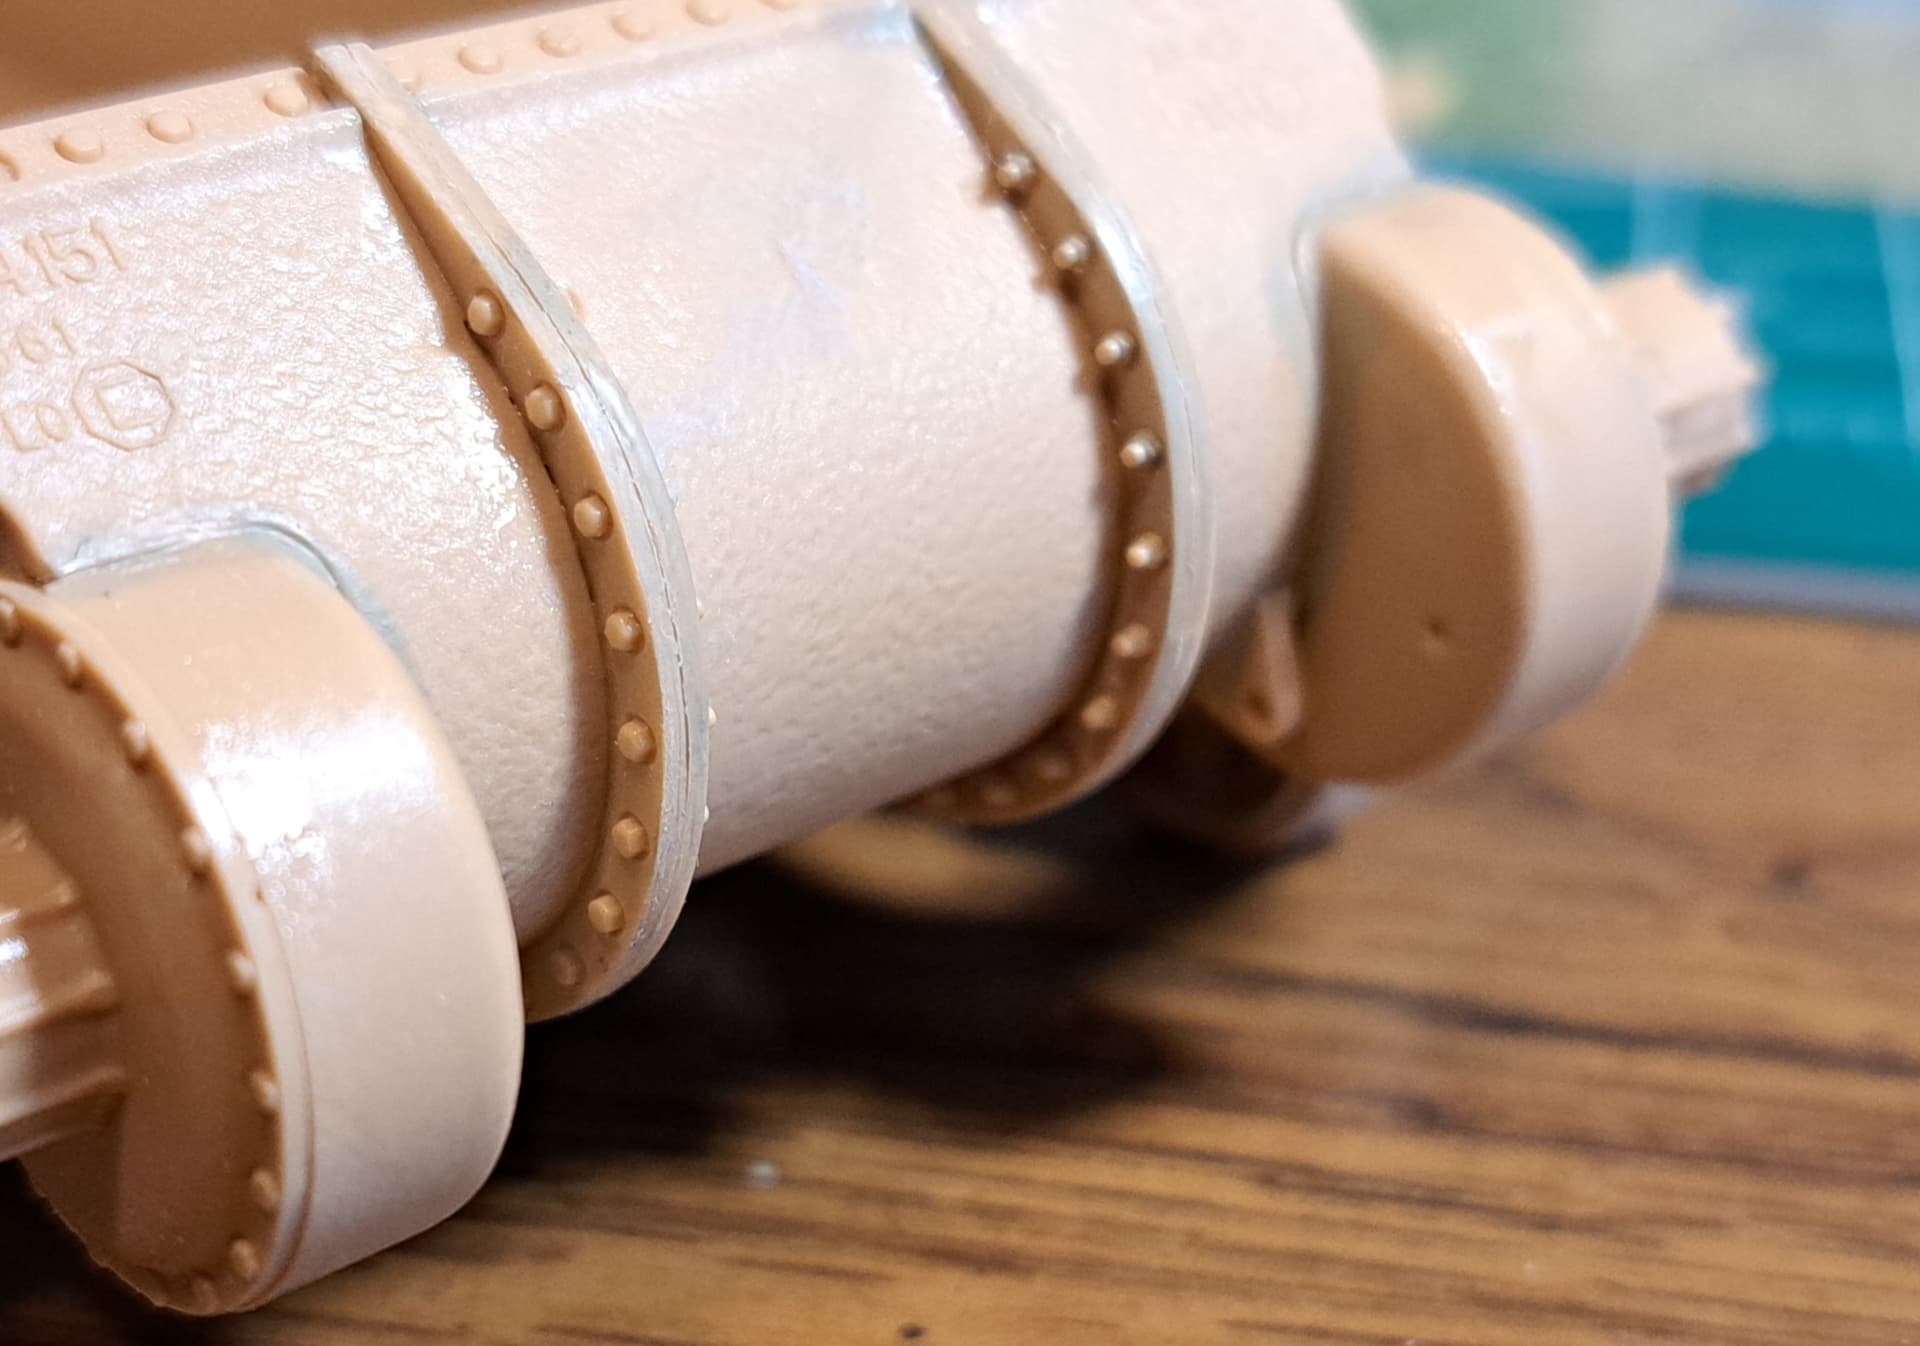
Side note there: don’t remove the seam from the flanges, as you appear to have done. They were often quite prominent on the real tank.
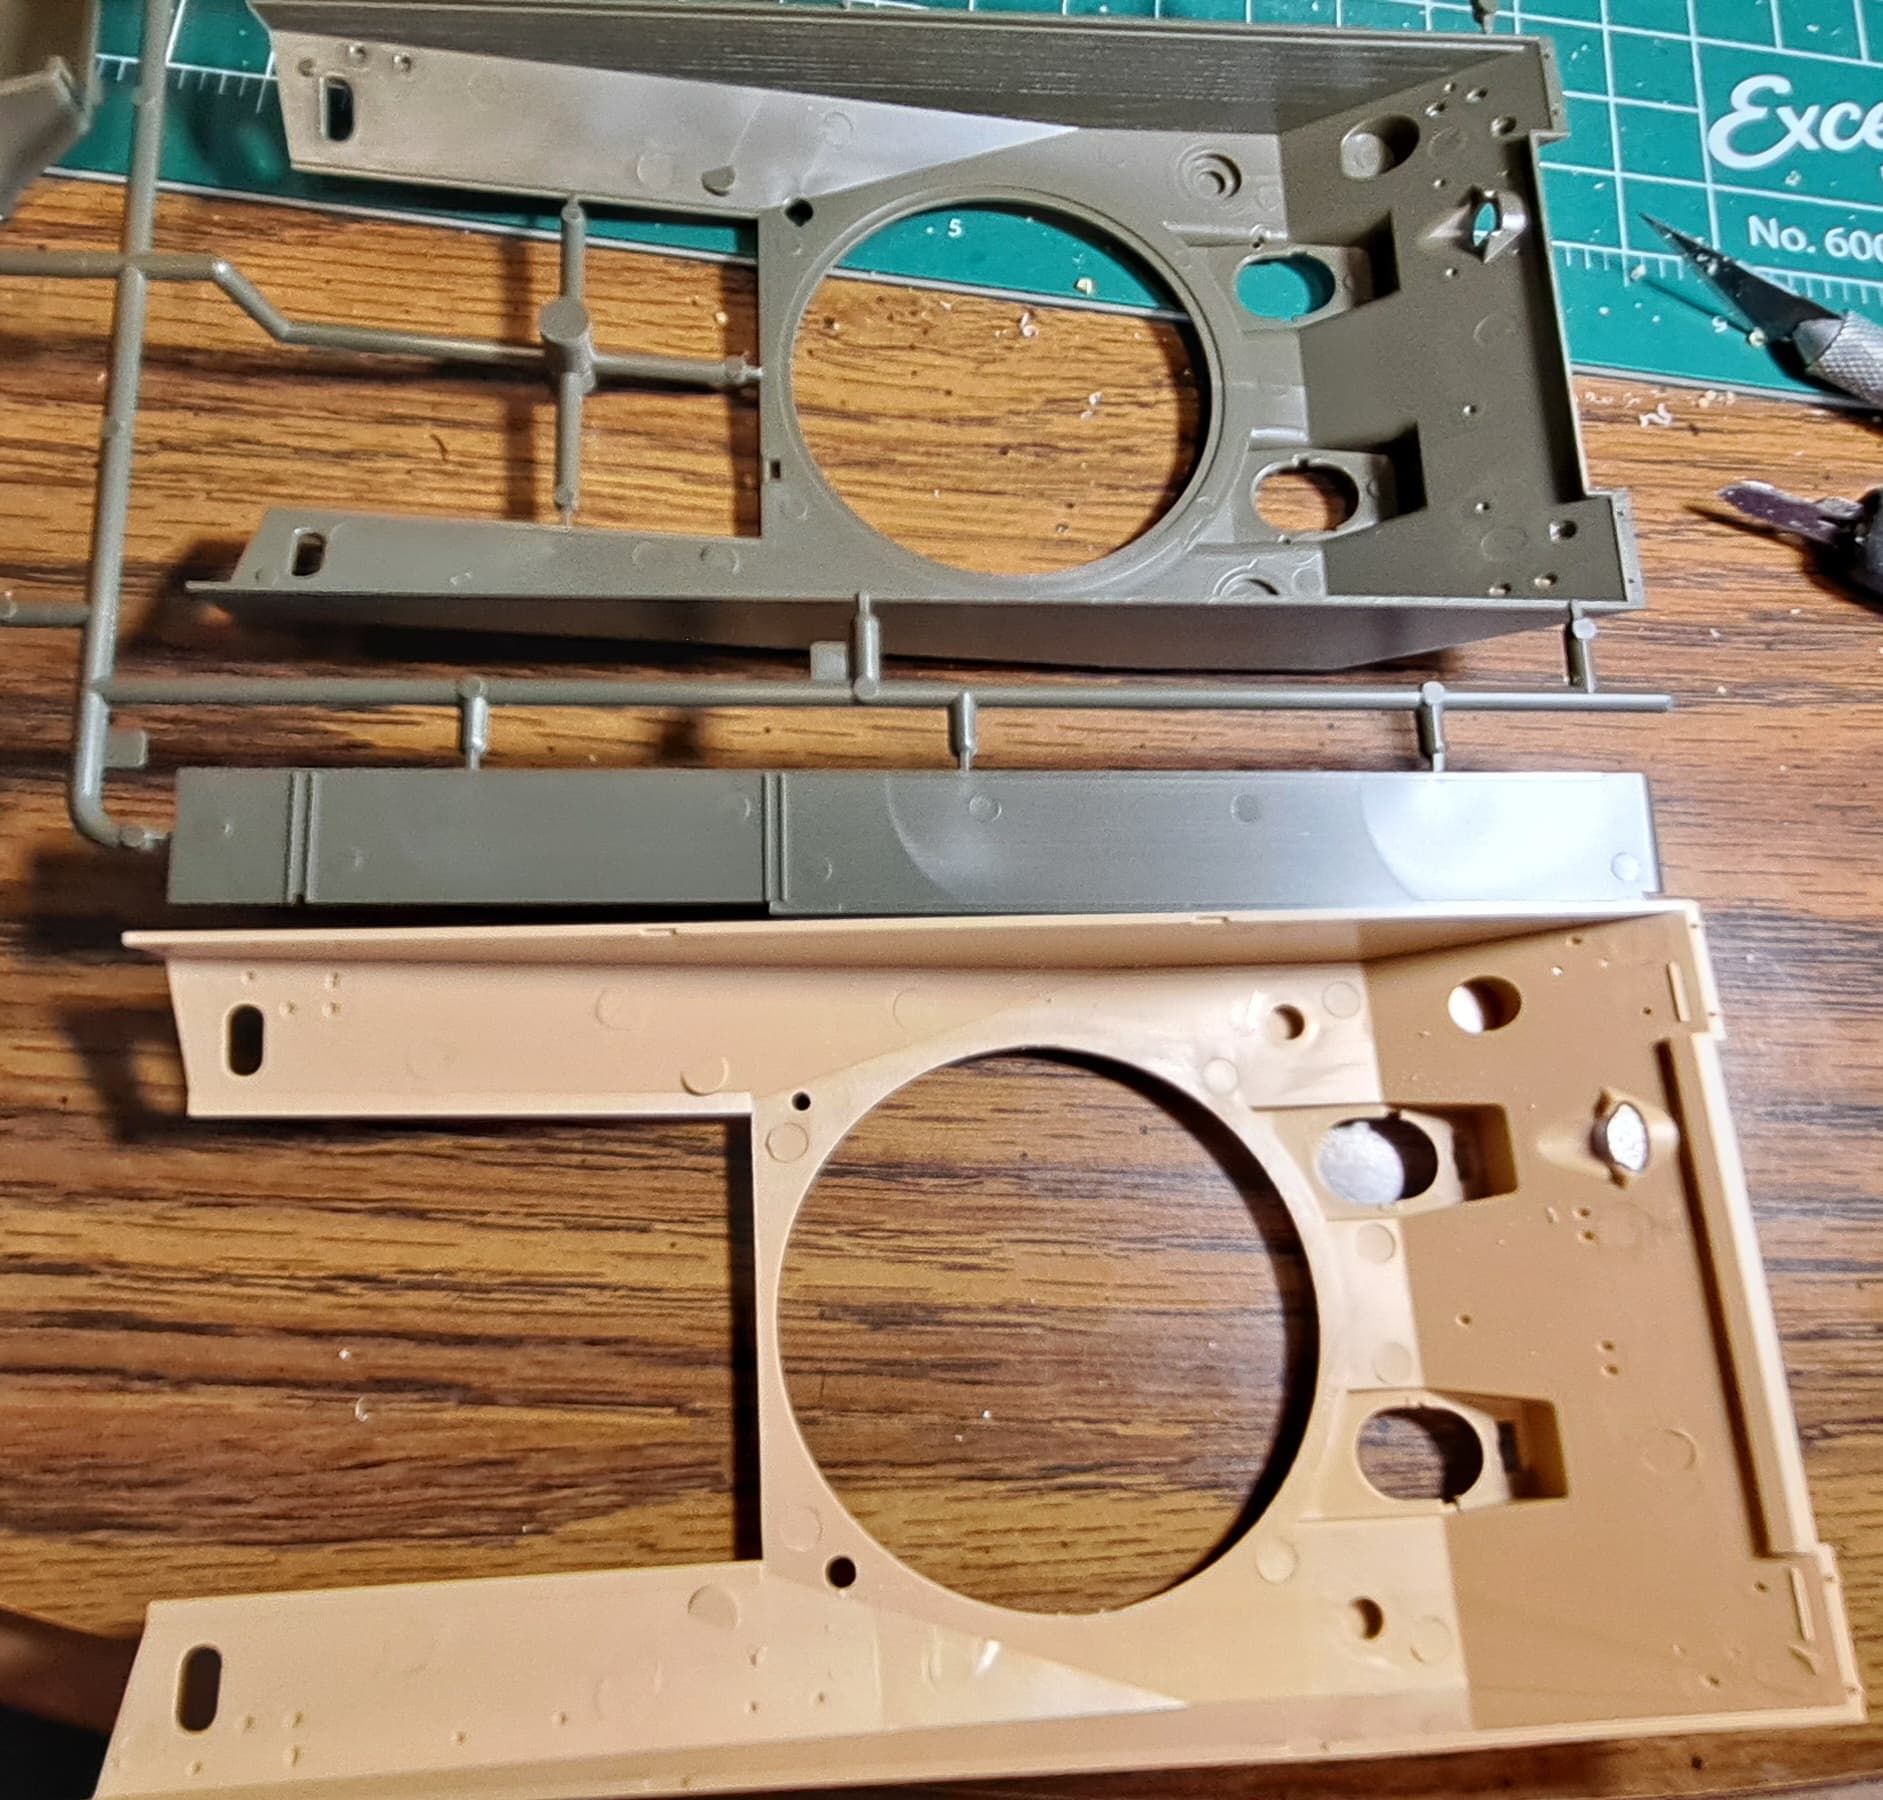
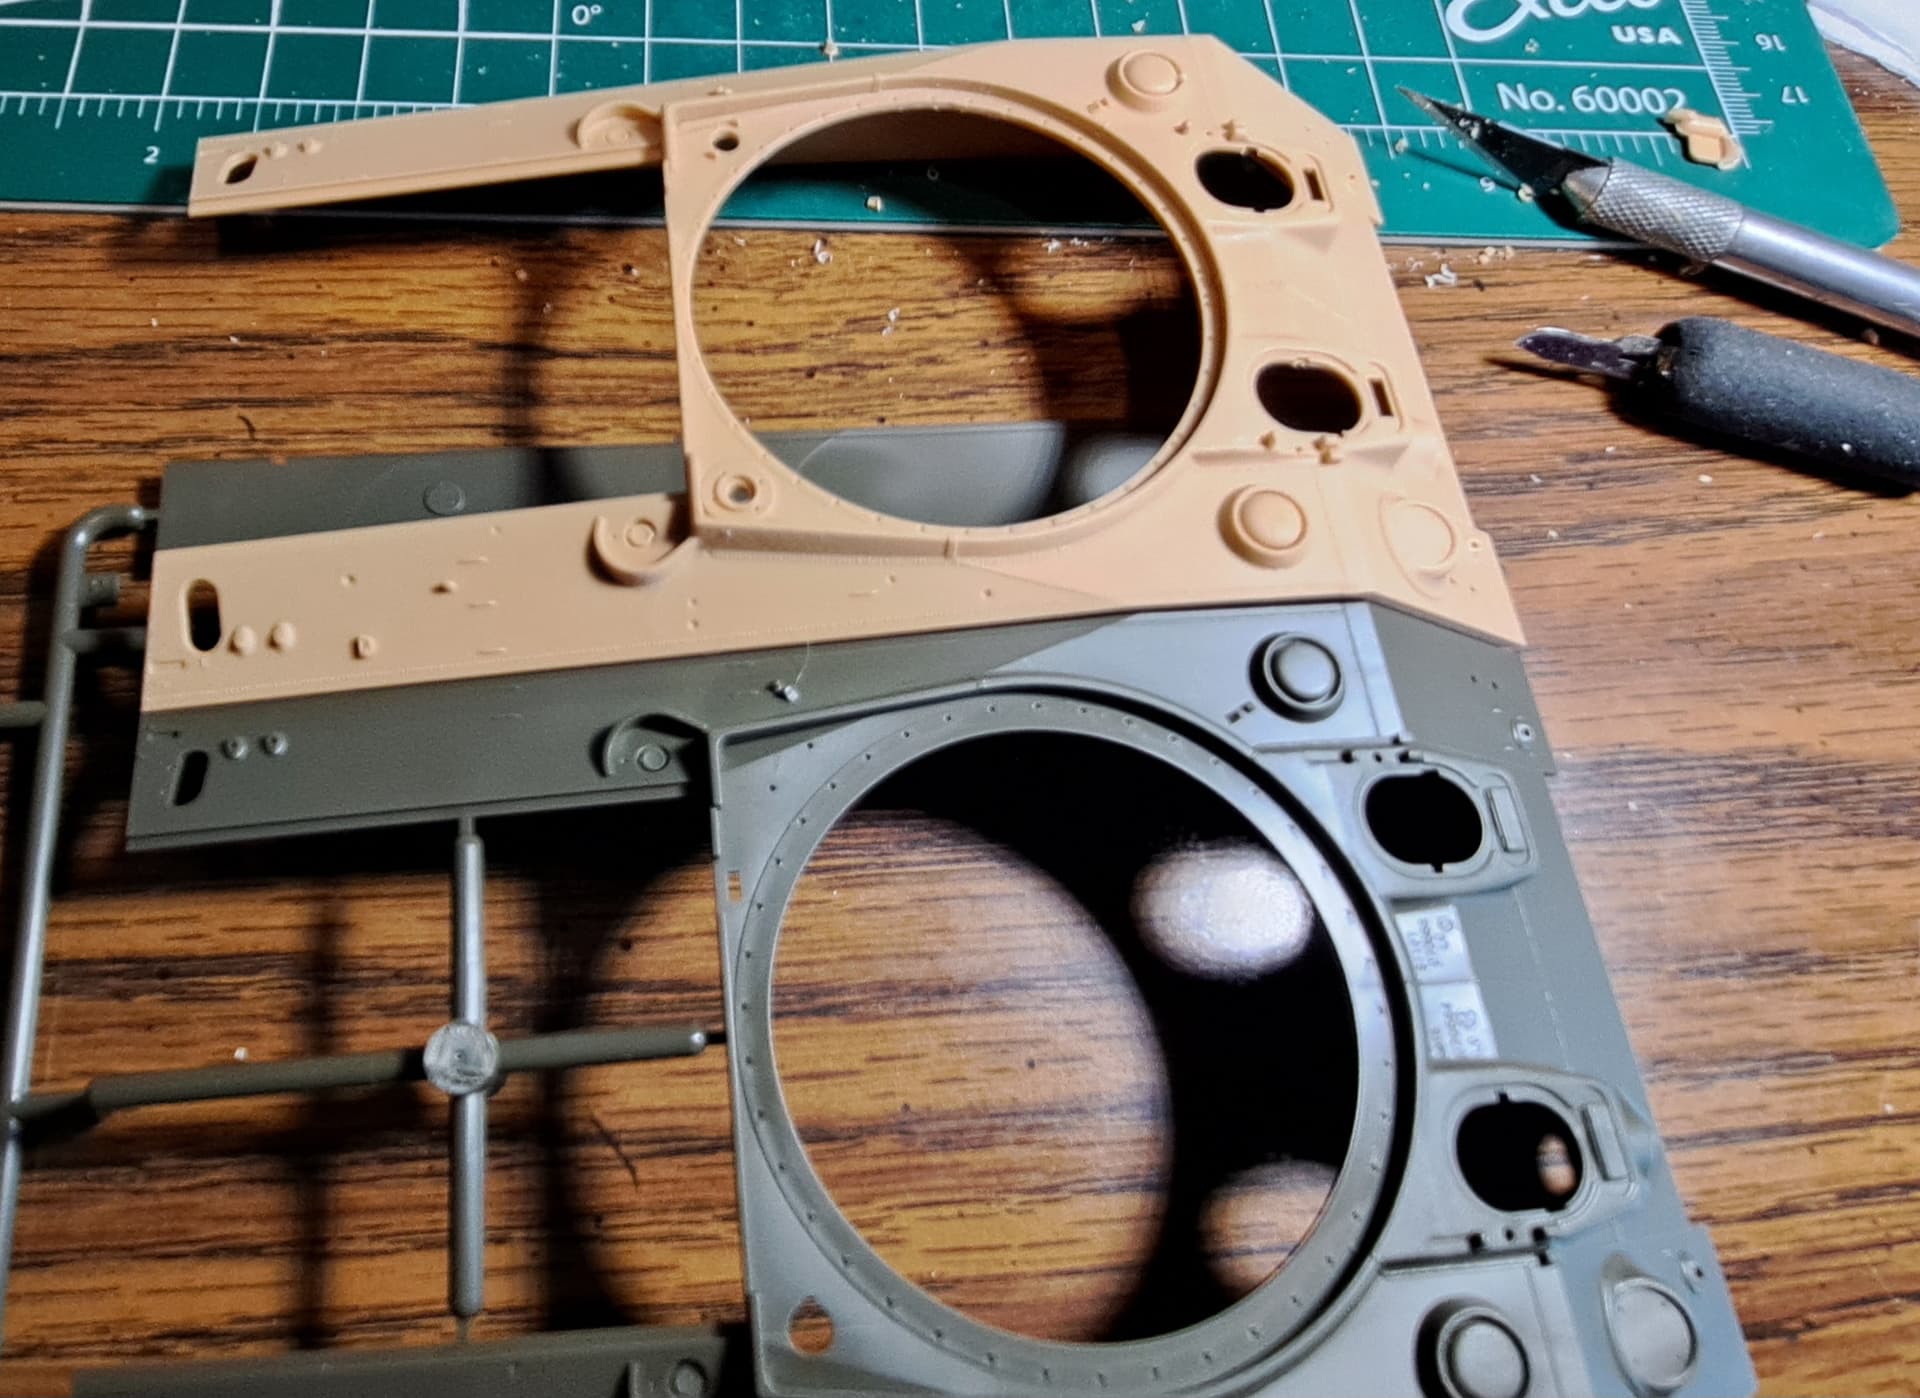
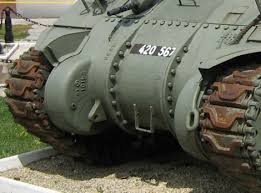
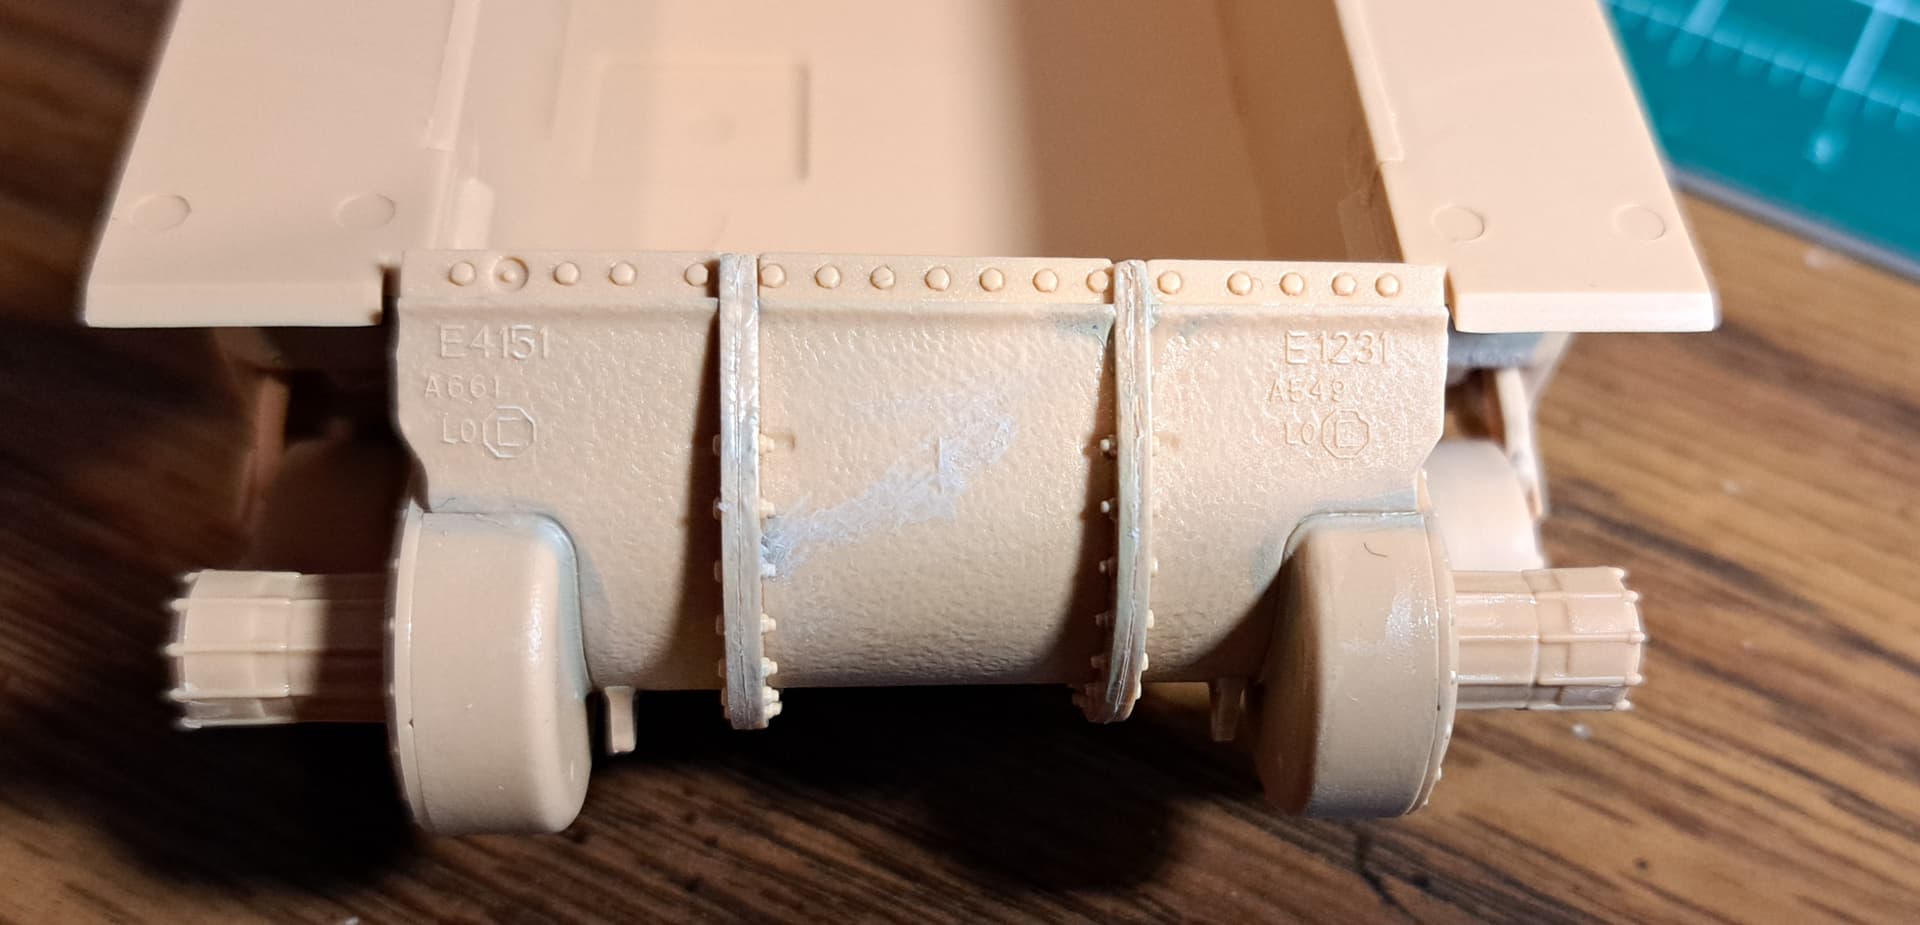
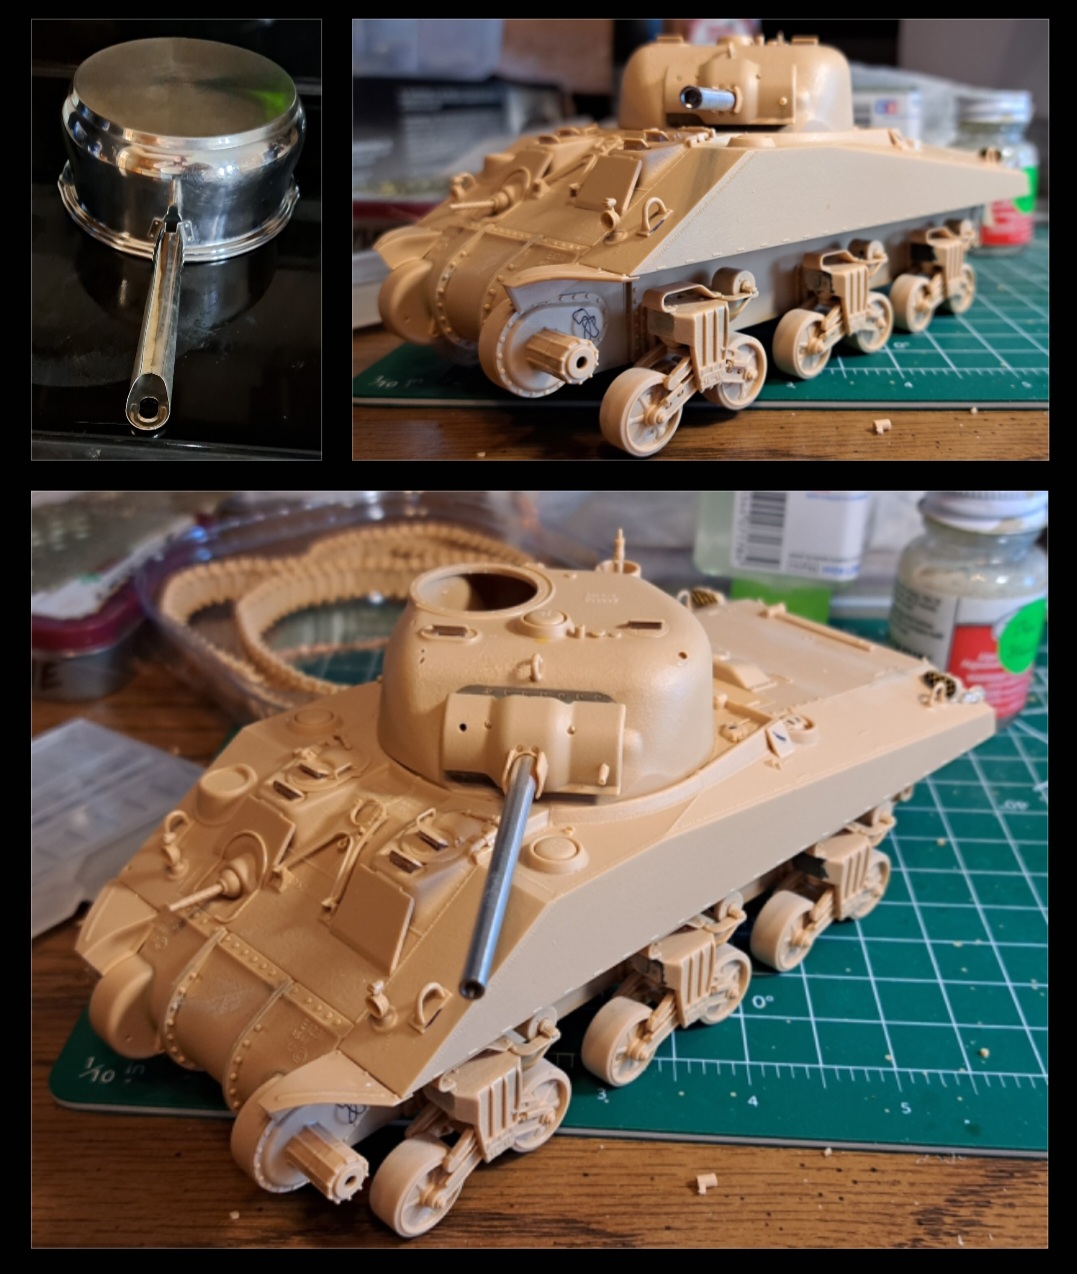
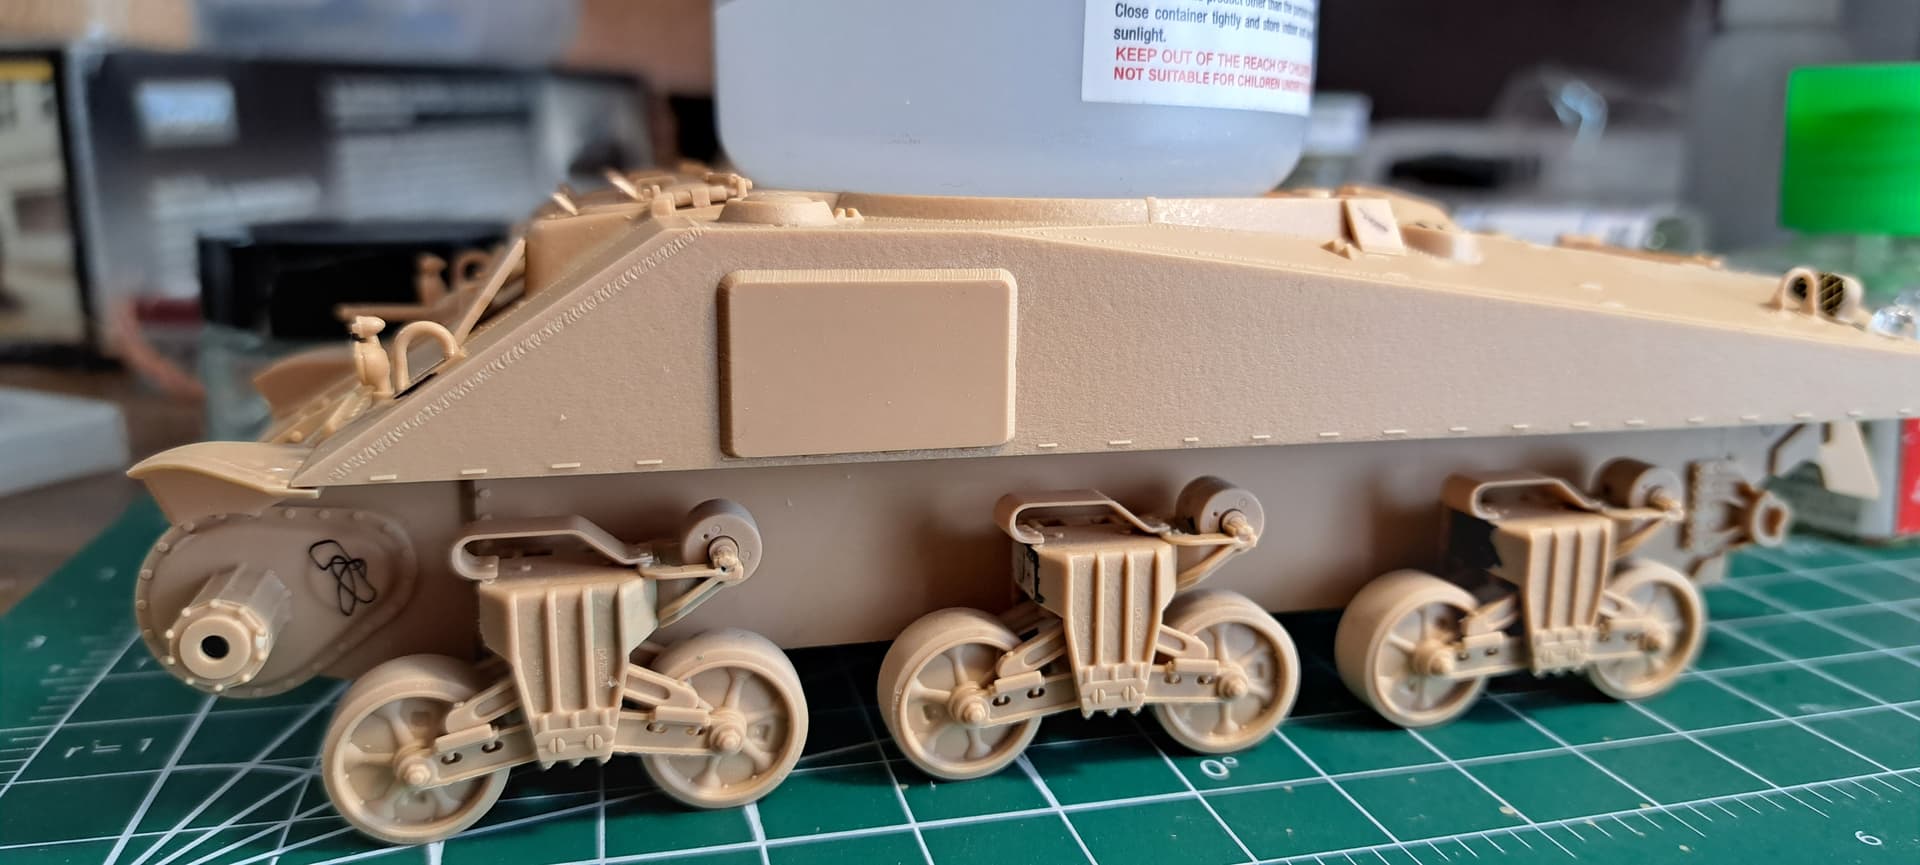
Ah, yes the transmission cover. I did make it worse by obliterating the detail that looked like a mold seam to me when reducing it would have been a better choice. It screamed mold seam instead of detail and was liquated.
May try stretched sprue, scribe the line or use thin wire or something else to address the “bald” look.
This is the best option, since the seam is the joint between the left, middle and right sections of the housing. Asuka Shermans kits have the flanges moulded as two pieces each for this reason — I always just glue them together and don’t work on the seam at all.
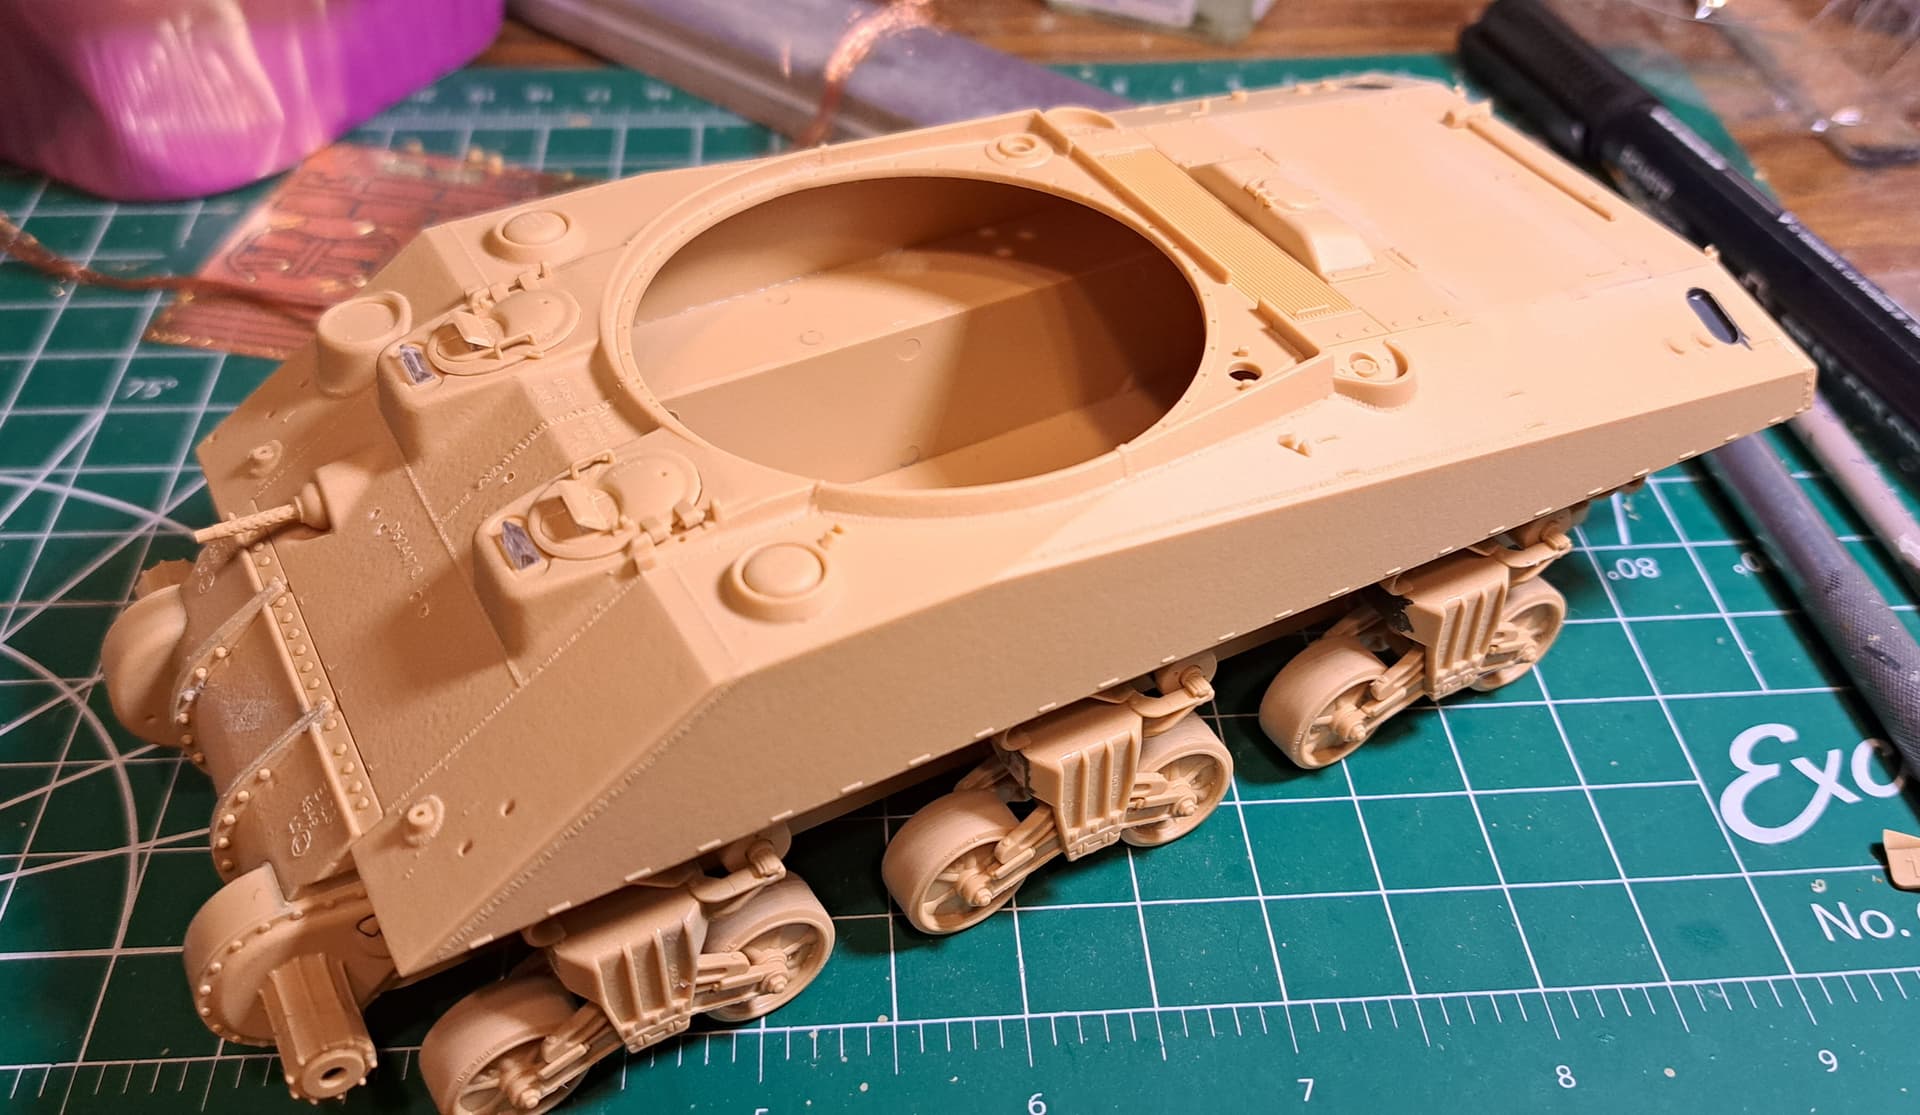
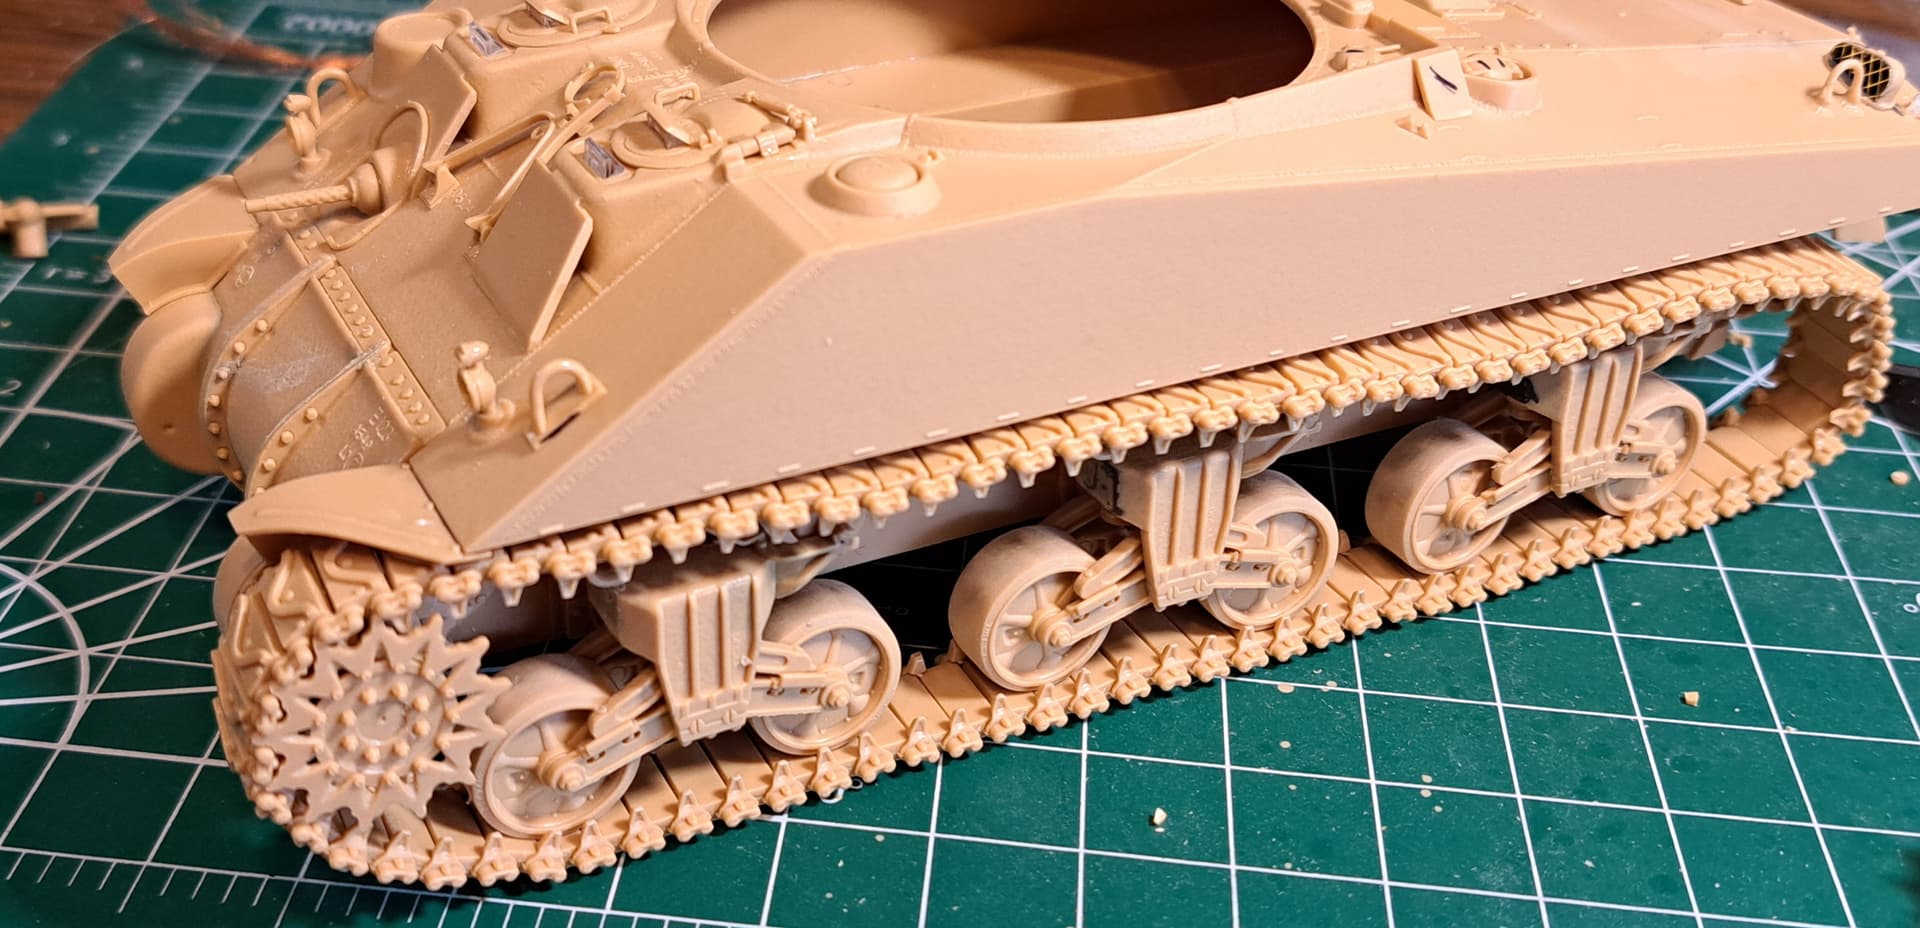
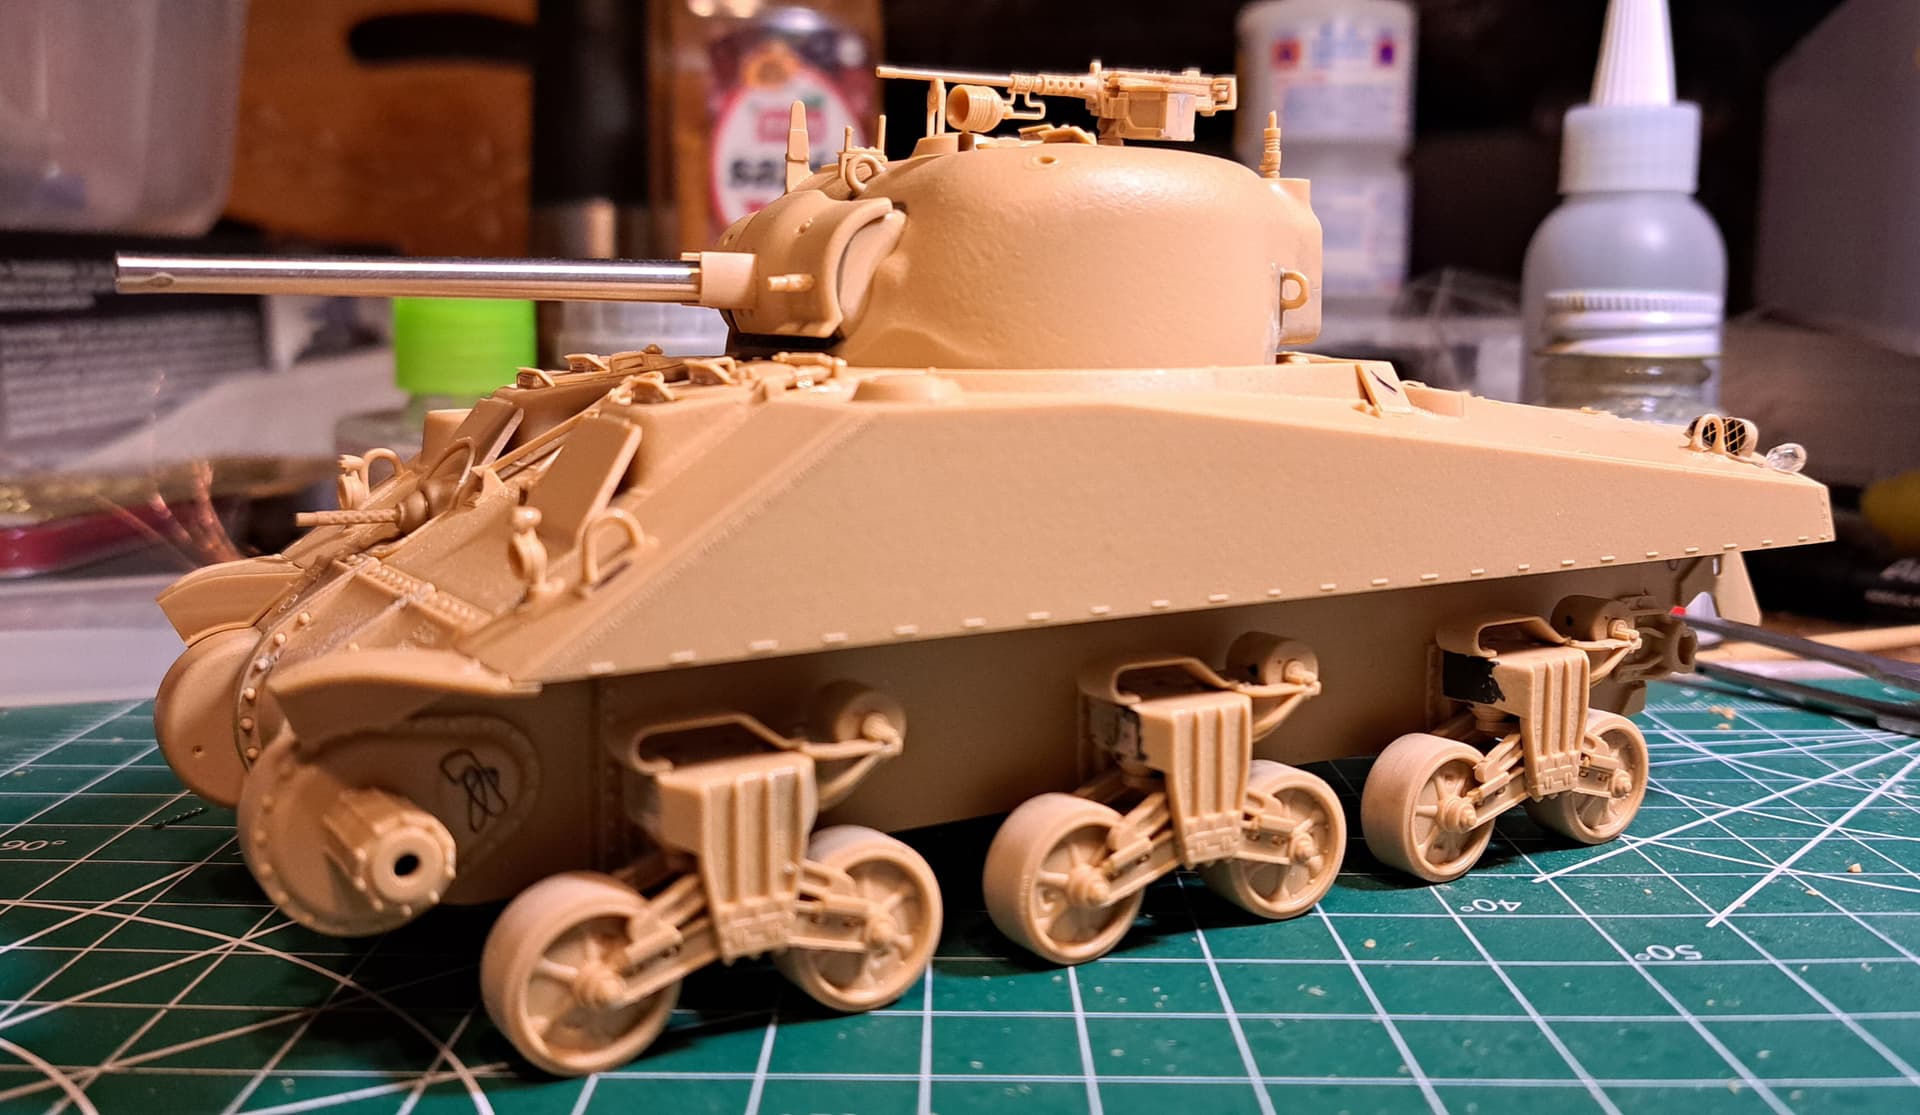
The hull went together painlessly. Very happy with Ryefield’s overal design for joining the uppwr & lower hull. Not a fan of the kit instructions as they have the upper hull built with fragile fiddly bits before joining. Decided to join ASAP and add fiddly bits afterwards.
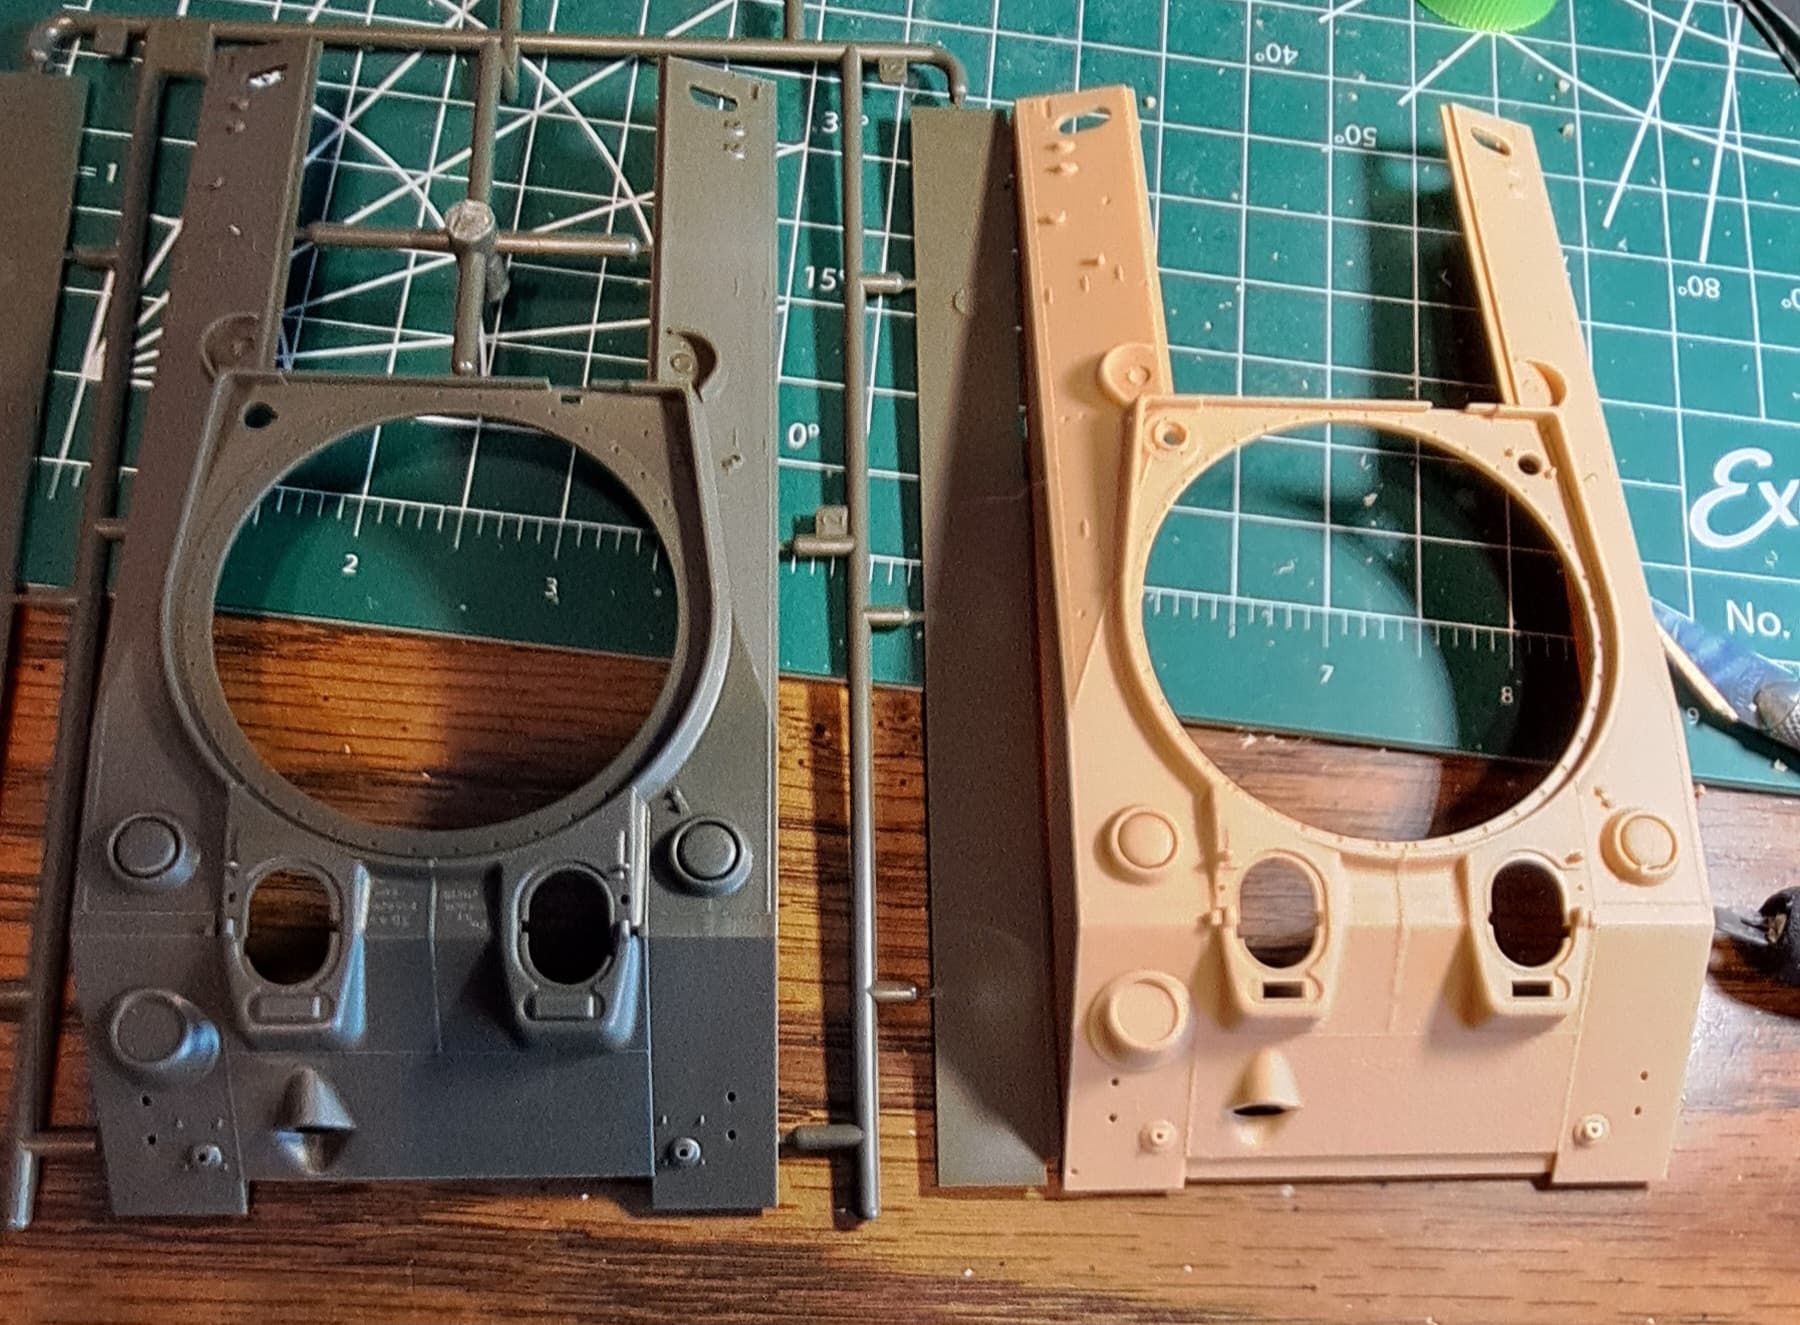
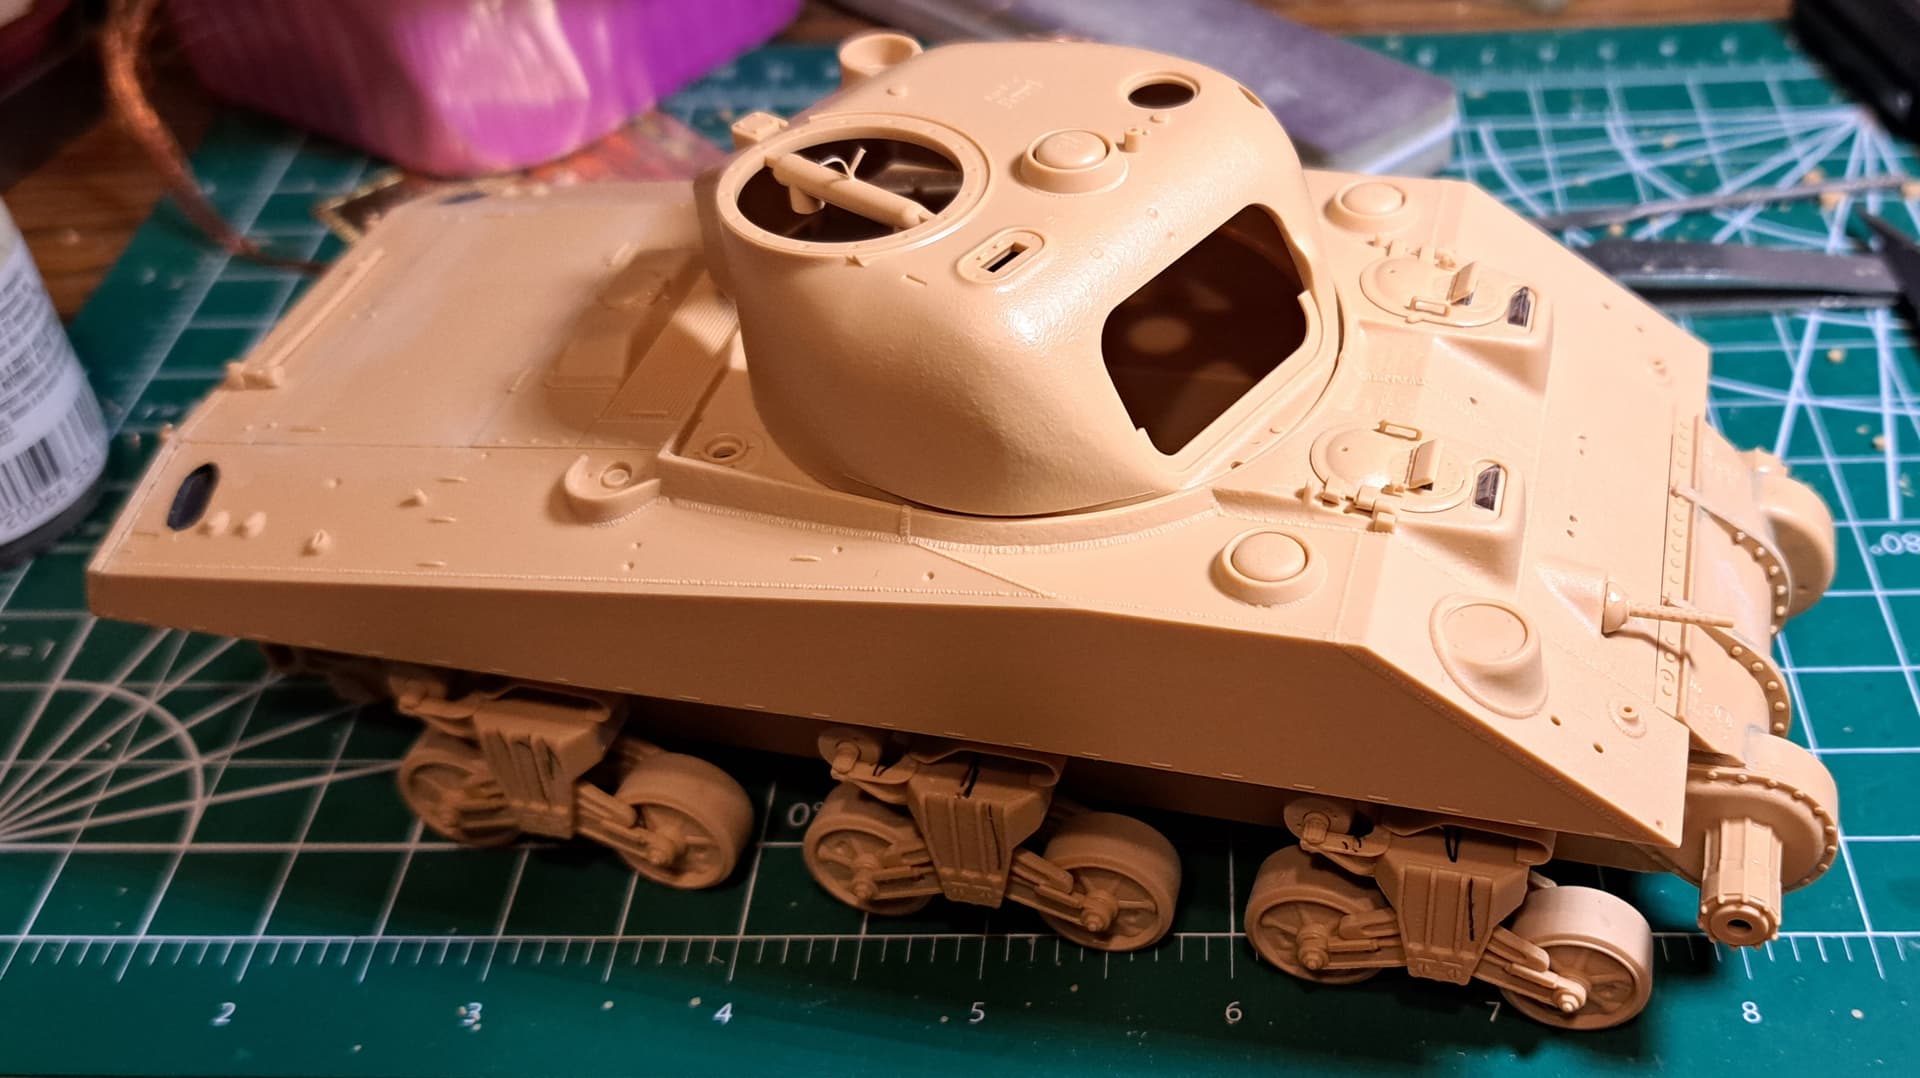
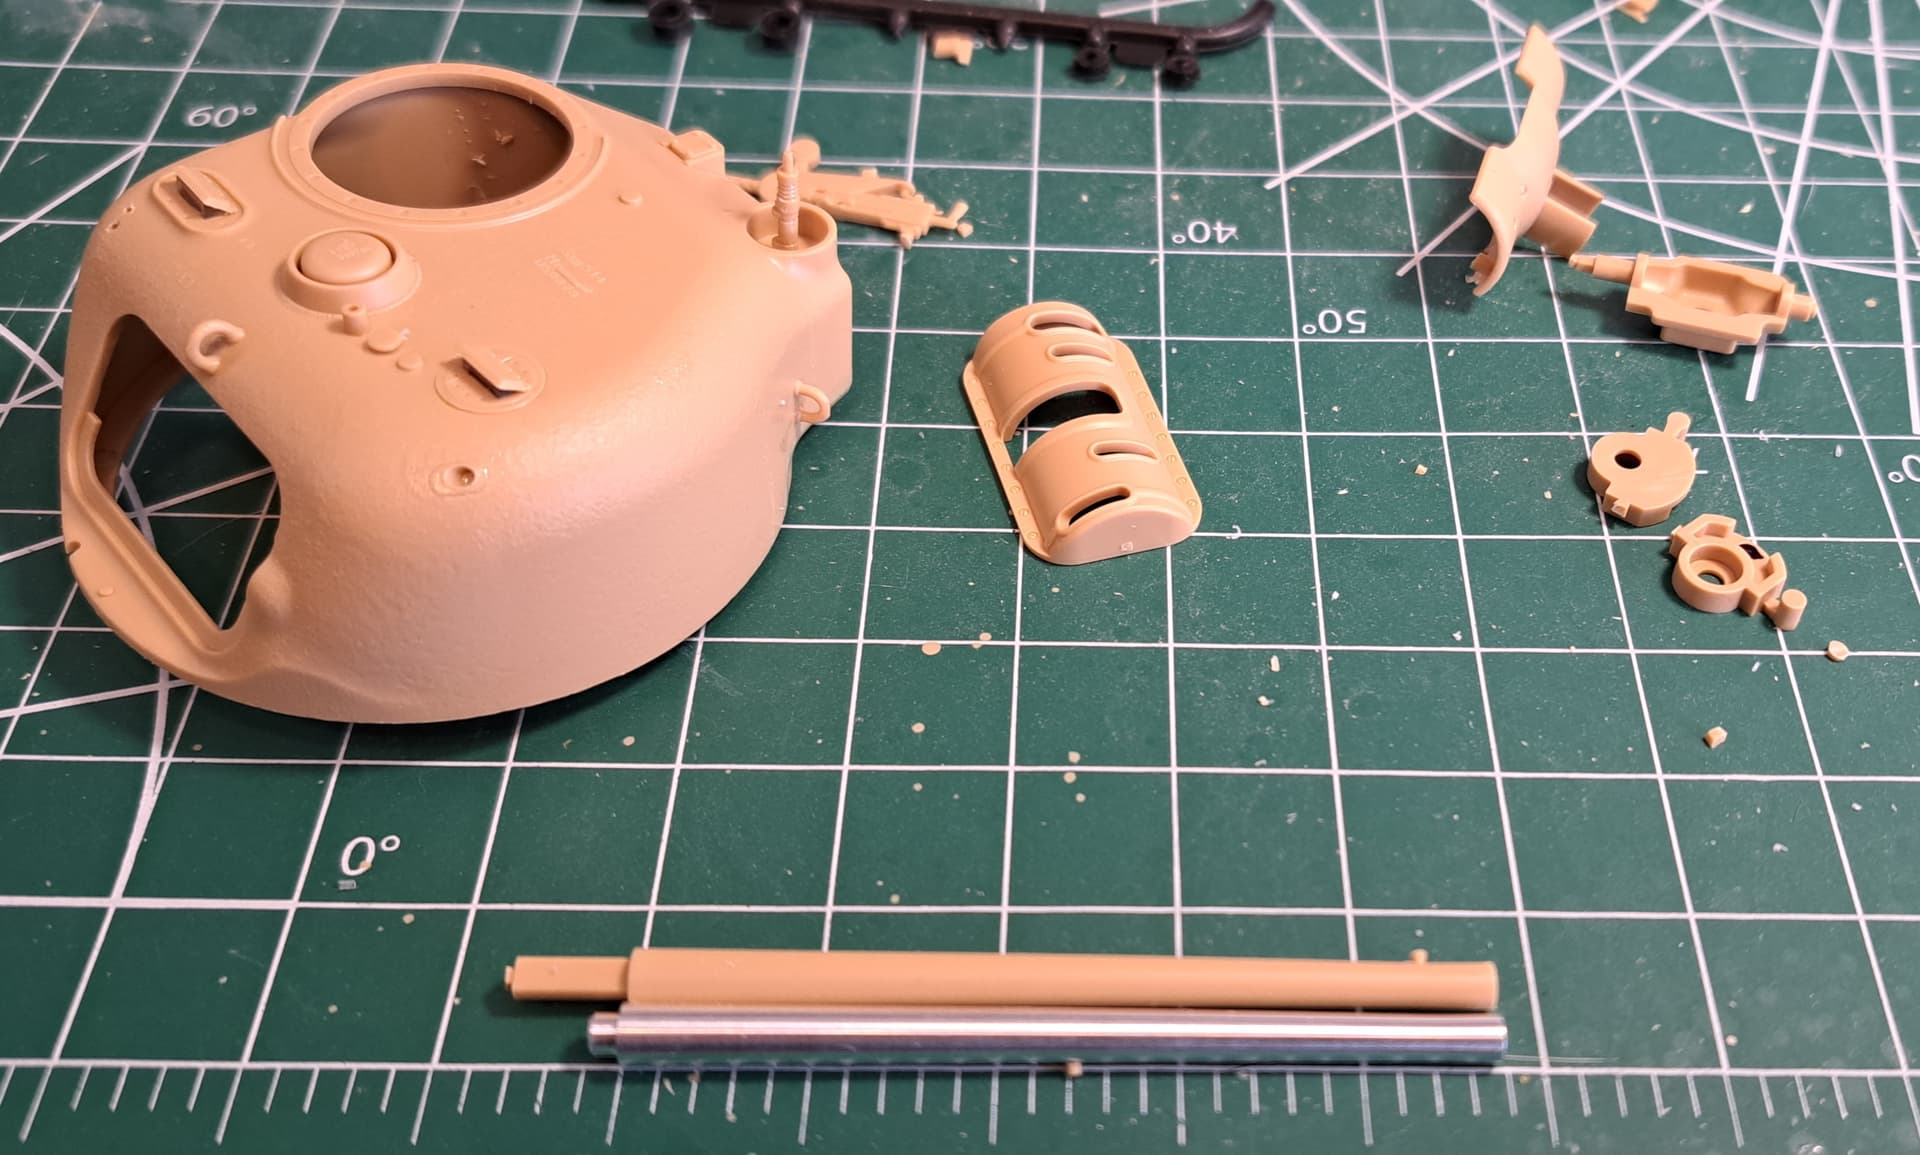
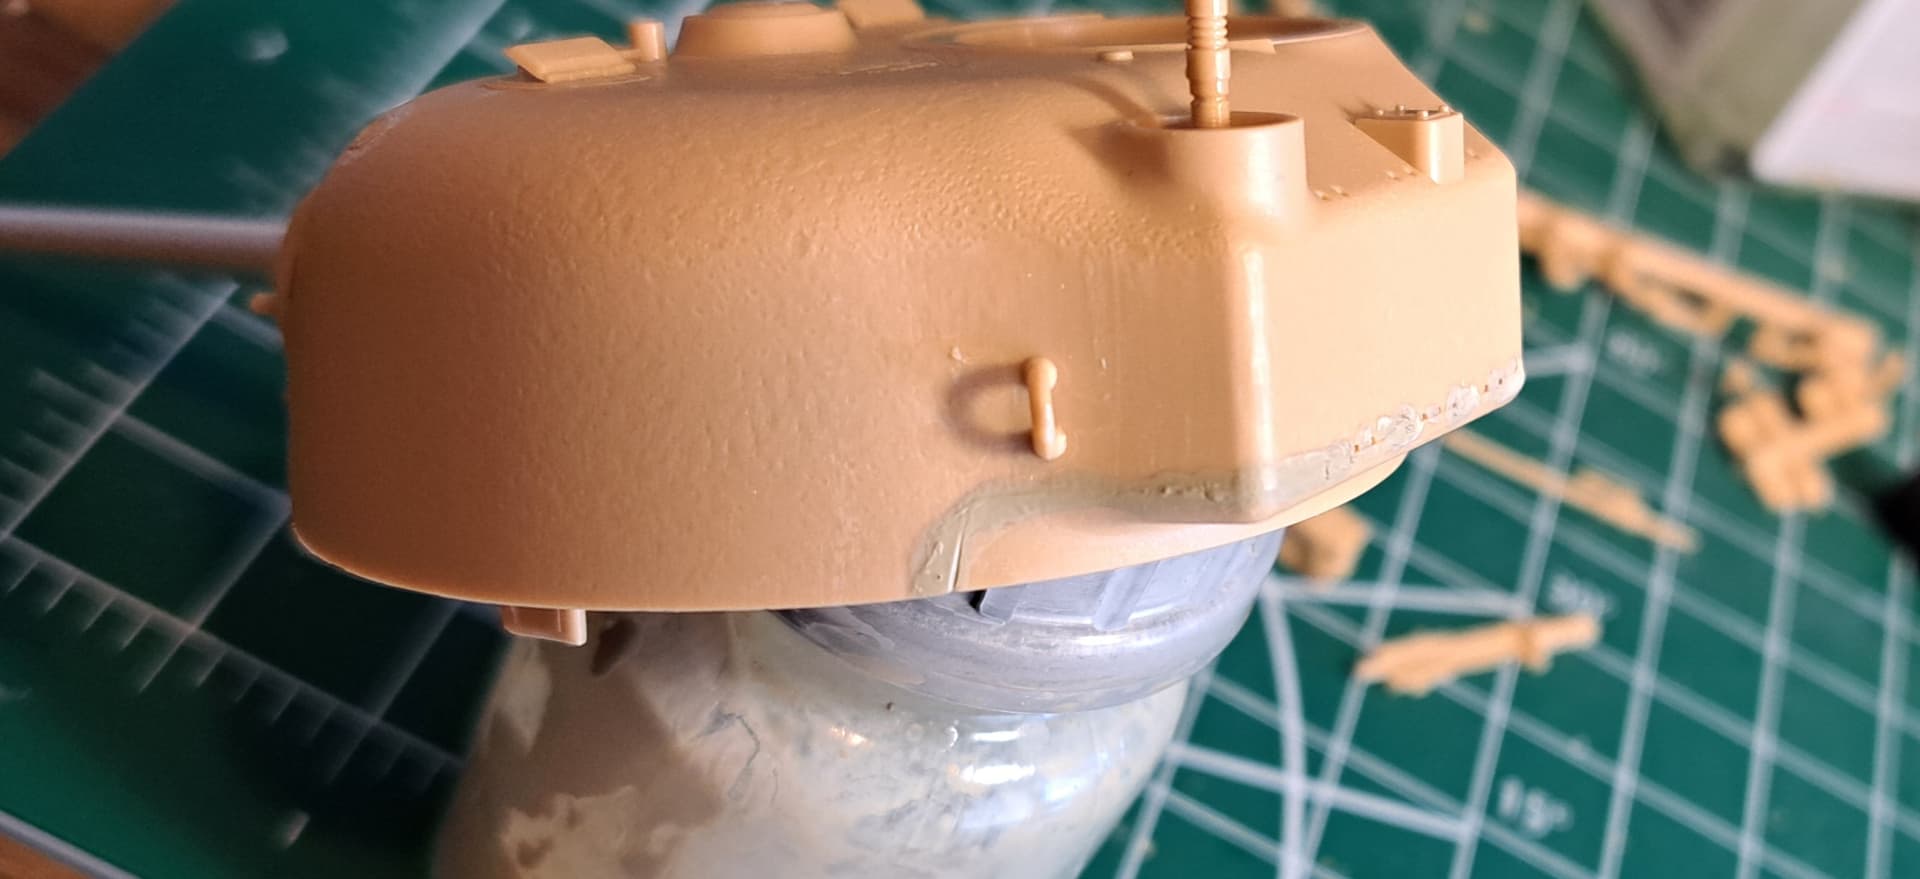
Not the filled-in loader’s hatch and opening in the back, but on both left and right sides, the whole of the lower edge needs to be filled to get it to the same diameter as the rest of the turret shell. (I also filled the other bits because I backdated the VC to a V — the Asuka V kit being impossible to find back when I built this, so I used the RFM VC instead.)
She promptly ran a Grok Al simulation and determined the proper adjustments required a combination of Mr.Color Leveling Thinner & Testor’s Liquid Cement.
I can’t quite say I agree. The suspension especially was trickier to build than Asuka’s, mainly because of poorer fit, and some other parts suffered from that too.