Mind you that I’ve only built one RFM Sherman, and something like ten Asuka ones, so I feel I’m not in a great position to truly compare them. But as I said before: the RFM one has some of the small details than Asuka has omitted, but doesn’t fit as well. I’d choose either, because it’s not like it has bad fit — just not as tight as Asuka kits do.
2 Likes
Well? I have a Meng Jumbo, a RFM Firefly and an Asuka M4A2, along with an Academy M4A2.
I’ll have a hard time choosing with one i want to build for the Shermania 2025 build off.
2 Likes
missinglynx: firefly-vc-asuka-vs-rfm
^^^ FWIW
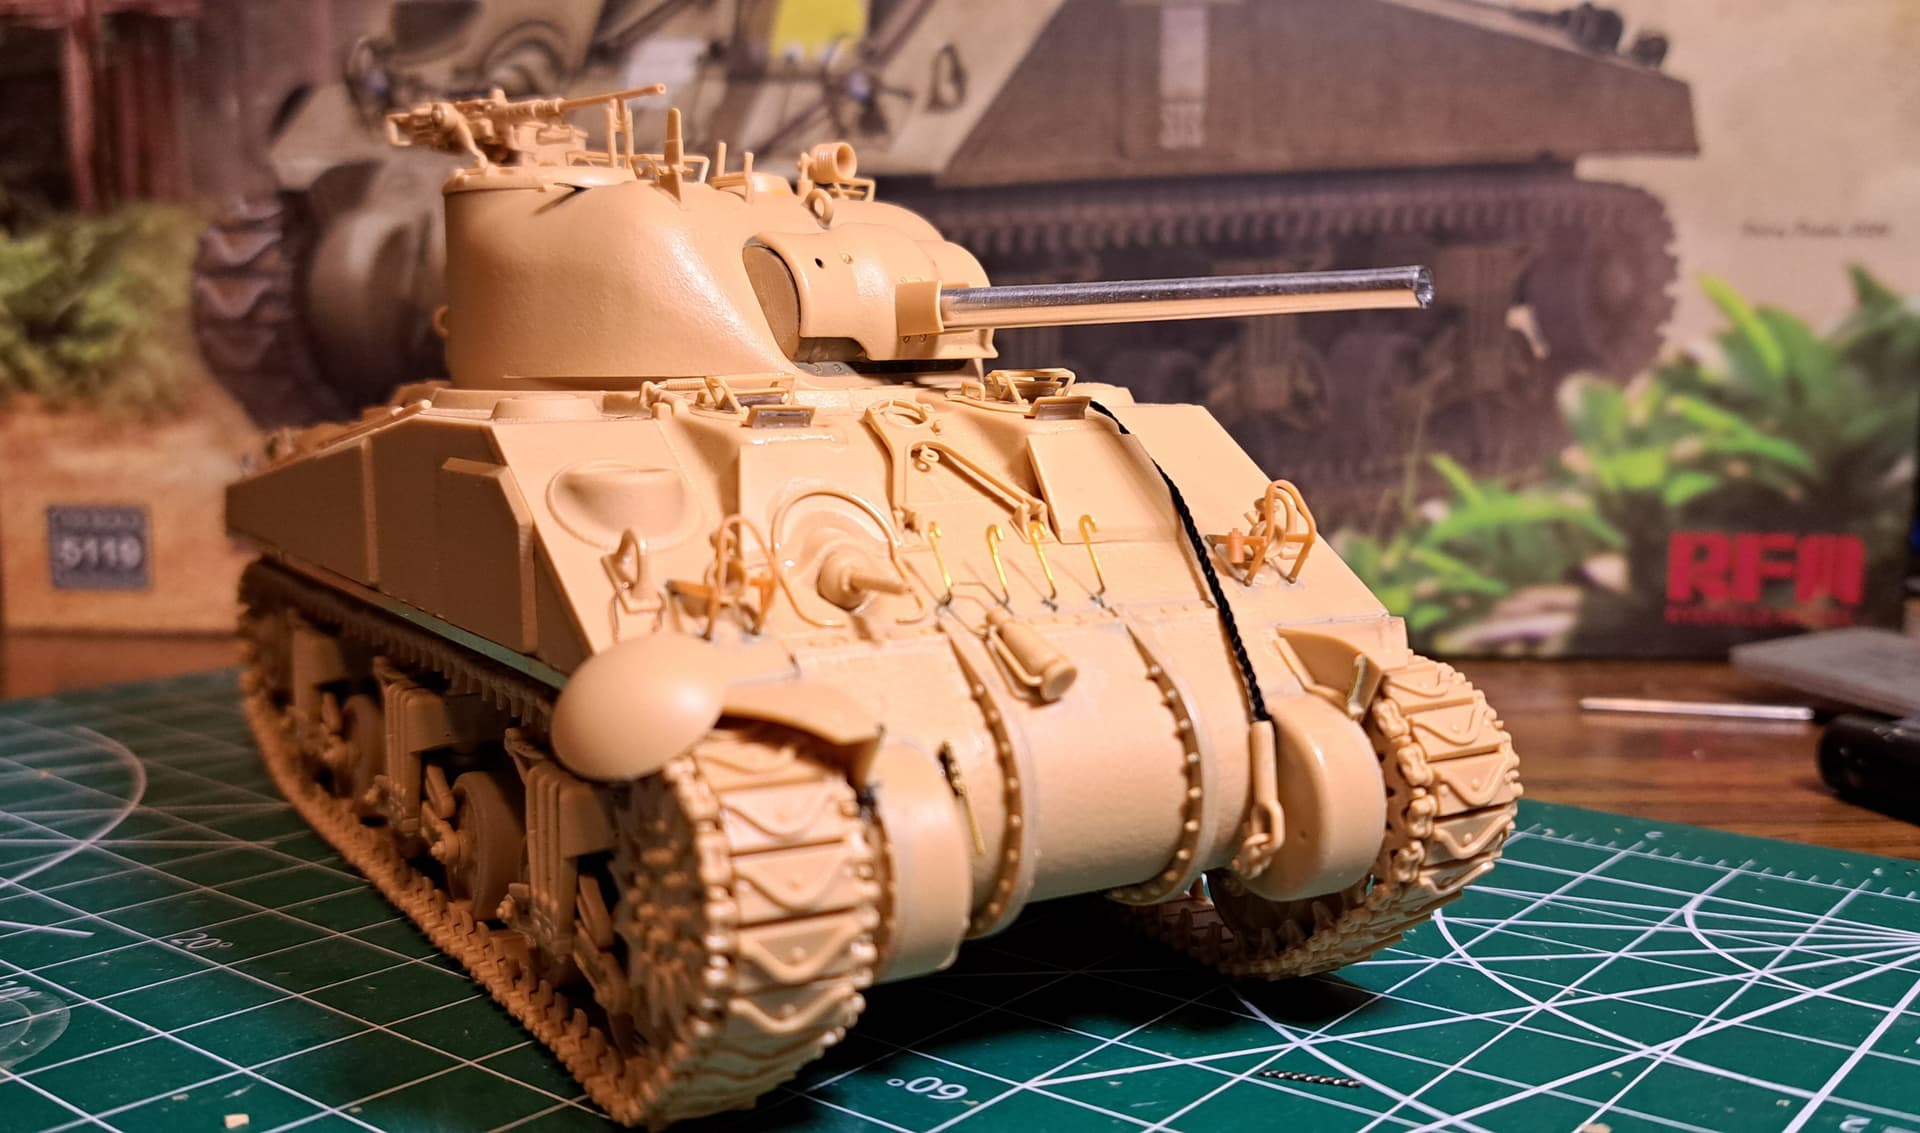
Wade’s World Review - Ryefield Model’s M4A4 Sherman #5119
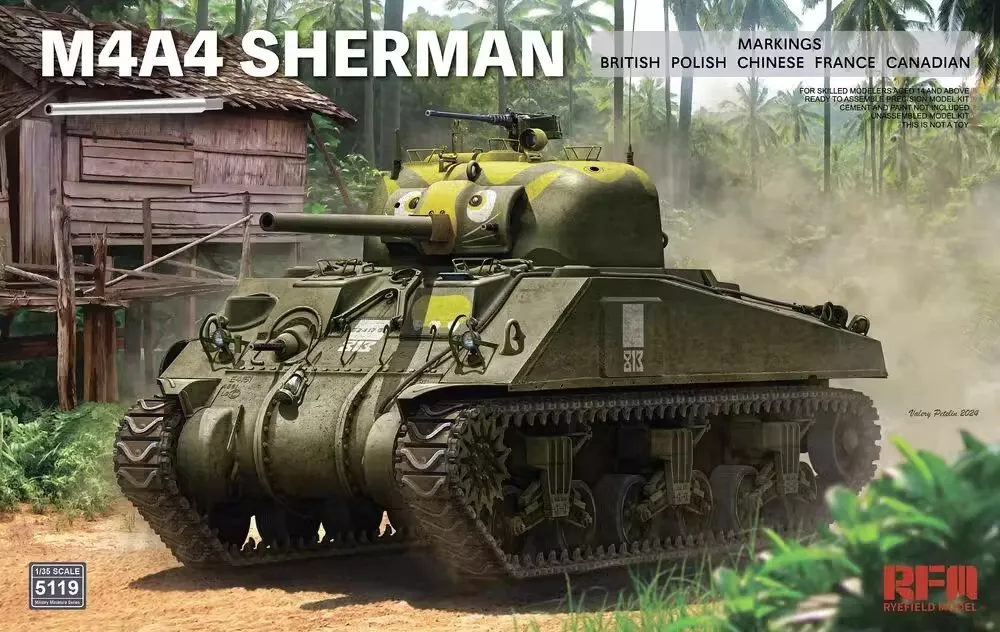
5 Price MSRP $70, Online Vendor $56, Ebay China Direct ~$51 plus 3 to 6 week wait for arrival, I paid $56 received in 3 days from Spruebrothers.com
Factoring what’s possible with what’s included, this kit is a fantastic value!
Metal barrel with rifling, spare plastic one piece barrel with rifling, clear periscopes, photo-etch fret & working individual link tracks & six decal options that cover five nations.
4 Instructions Overall very good, build sequence could be improved.
5 Molding Quality Outstandingly good for 1,000+ parts. No short shots, no sink marks, minor depressions in a few parts to sand flush, a little plastic fuzz on parts occasionally. Sharp crisp detail. Very faint mold seams, exquisite!
5 Plastic Quality Nearly perfect! Easy to clean parts, soft but holds up to Tamiya Extra Thin Quick well. Perfect for Testor’s Liquid Cement too
5 Parts Clean Up I got tired of cleaning ~1,000+ parts but the parts are well designed for easy clean up. Tracks assemble without visible punch marks. Very faint mold seams to remove. Light treatment of Liquid cement can remove faint mold seams in difficult spots.
3 Ease of Build Good, there’s a few tips like making the suspension fixed that will help or carefully planning your approach to assembly. However, 1,000+ parts is a formidable assembly. Building in a timely manner requires some focus and grinding forward with the suspension & tracks.
I didn’t mind the 660+ parts of the tracks but I didn’t like the suspension bogie assembly ![]() . Fixed assembly, non-workable will help but the the suspension is full of (imo) gimmick BS that adds little to the model.
. Fixed assembly, non-workable will help but the the suspension is full of (imo) gimmick BS that adds little to the model.
If one doesn’t lock the bogies down and pulls the track tightly the rear and front wheels may cant slightly due to the moveable slop in the bogies.
While I haven’t build a Tasca/Asuka Sherman, I think based on instructions they have a more hassle free & gimmick free design.
Approximate construction time for this RFM kit was 45 to 50 hours, about double what I expect my Asuka Firefly to take.
5 Accuracy Shermans (all) = Not my monkey and not my circus.
Looks enough like a Sherman, those guys wearing the black Hugo boss designed uniforms would shoot first and probably not ask questions.
Information provided by those well versed in the nuance of Sherman:
-
Sits too high on working suspension with springs, probably by ~1.5 to 2 mm my estimate. Use spacer as Jacko suggested to address. Easy fix.
-
Main gun ~6 mm too long. (I refuse to shorten a short gun on a M4A4 Sherman per religious values as written in the Book of Armaments)
-
Wheels? per Face-palm er face book
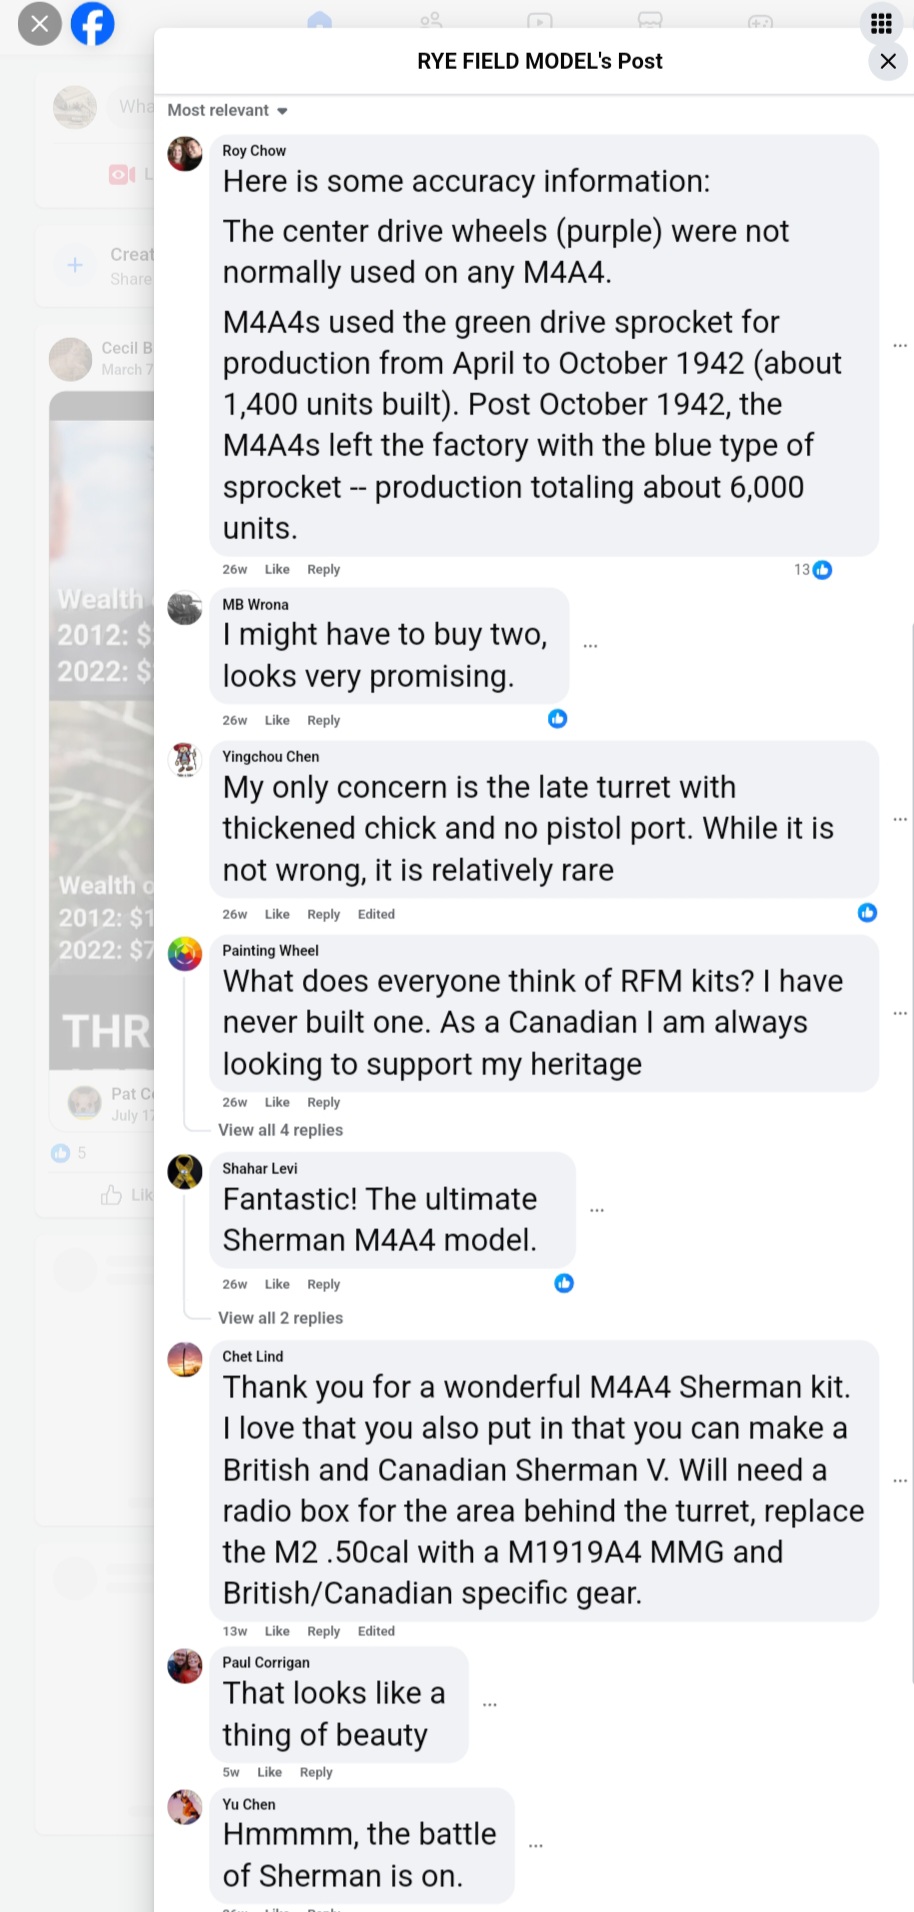
Real Aficionados can find something etc.
#1 is visible and worth addressing in my (limited Sherman) experience. It can be addressed with parts in the box so Ryefield still earned a FIVE etc.
4 Fit Very good, almost perfect, but it needed a more Molak Stucco Putty, Q-tips w/Mr Color Leveling Thinner than any prior Ryefield Model’s kit I’ve built.
Happy enough with the fit but pay close attention or issues may occur. Get sloppy with on parts clean up…it will likely ![]() blow up in one’s face.
blow up in one’s face.
I didn’t like the absence of a interal brace for the lower hull. My kit was more fiddly to fit together than expected because of a slight bow in the lower side plates. Model sits flat so it obviously wasn’t a deal breaker. Assembled without tape or clamps but can easily see it might be necessary in some cases.
5 Doesn’t Require Aftermarket - I used 3D parts for front & rear light guards and one periscope guard. The kit has PE, while the Sherman may have used flat periscope guards at some point, I have no idea, I think the flat PE periscope guards look…stupid. They could be made round(ish) with lots of TLC & and thinned Molak Stucco Putty but definitely not worth the hassle with a quick fix 3D part available & 4 plastic guards (round) in the kit.
Discovered four plastic periscope guards in kit. They aren’t mentioned in instructions.
I had an aftermarket .50 cal M2 on the workbench but was happy with the kit MG. I’m almost NEVER happy with kit MG’s. The MG cooling jackets holes can be reamed or drilled for improvement. That was my choice over the aftermarket .50 cal.
5 Details Built Out of the Box - Outstandingly good in my opinion but I’m NOT an aficionado for Shermans going wirh first impression. With drilling out MG jacket etc and basic care this should be a good out of the box contest build for IPMS shows…for a ~1,000+ part kit.
46 out of 50
46/50 = 92%
Highly Recommended for the modeler that’s completed several AFV kits. This wouldn’t be a good first or second AFV build kit in my opinion.
I would buy and build this kit again so it scores well for repeatability.
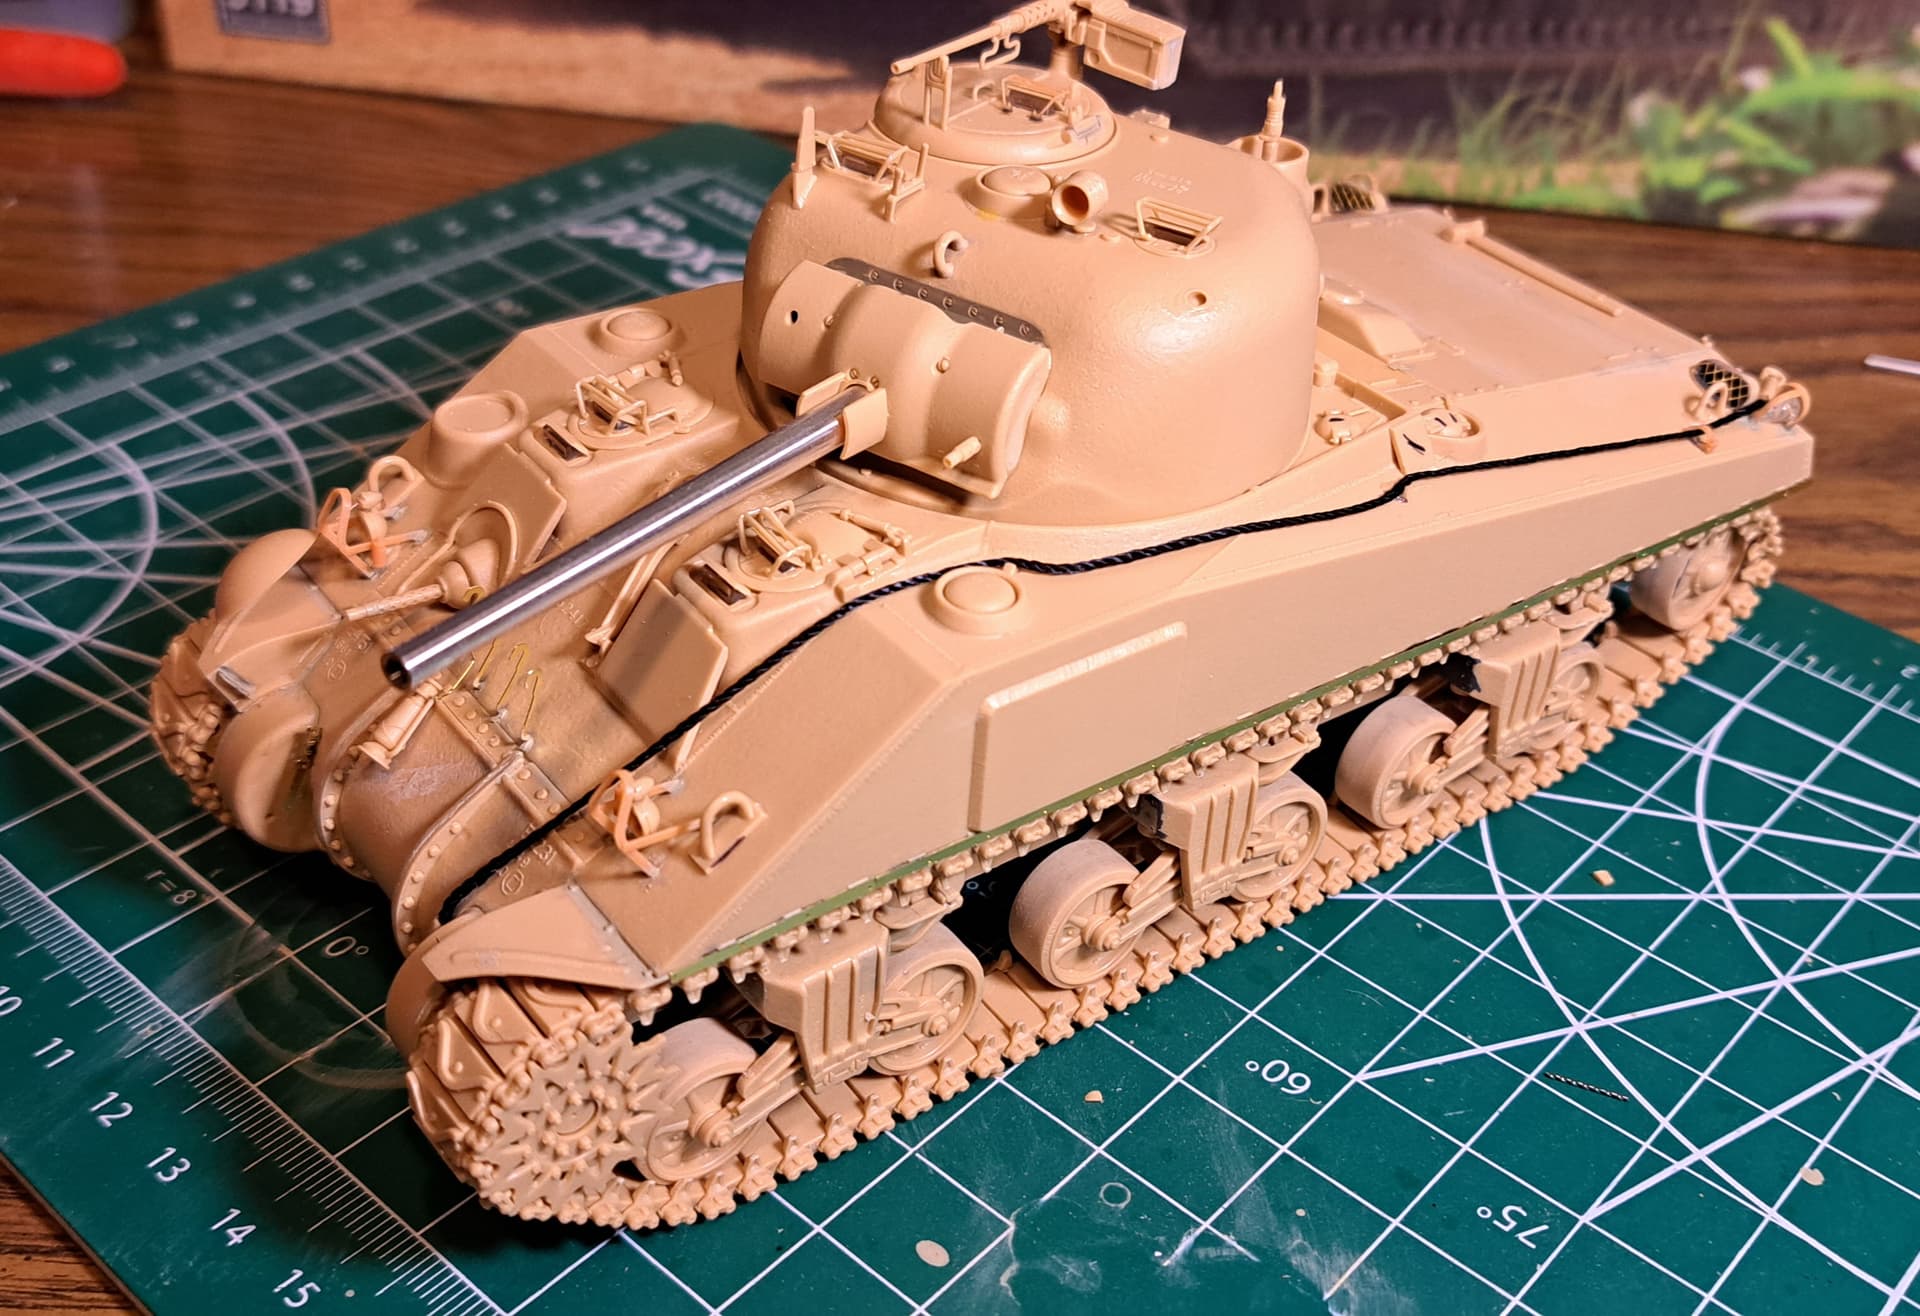
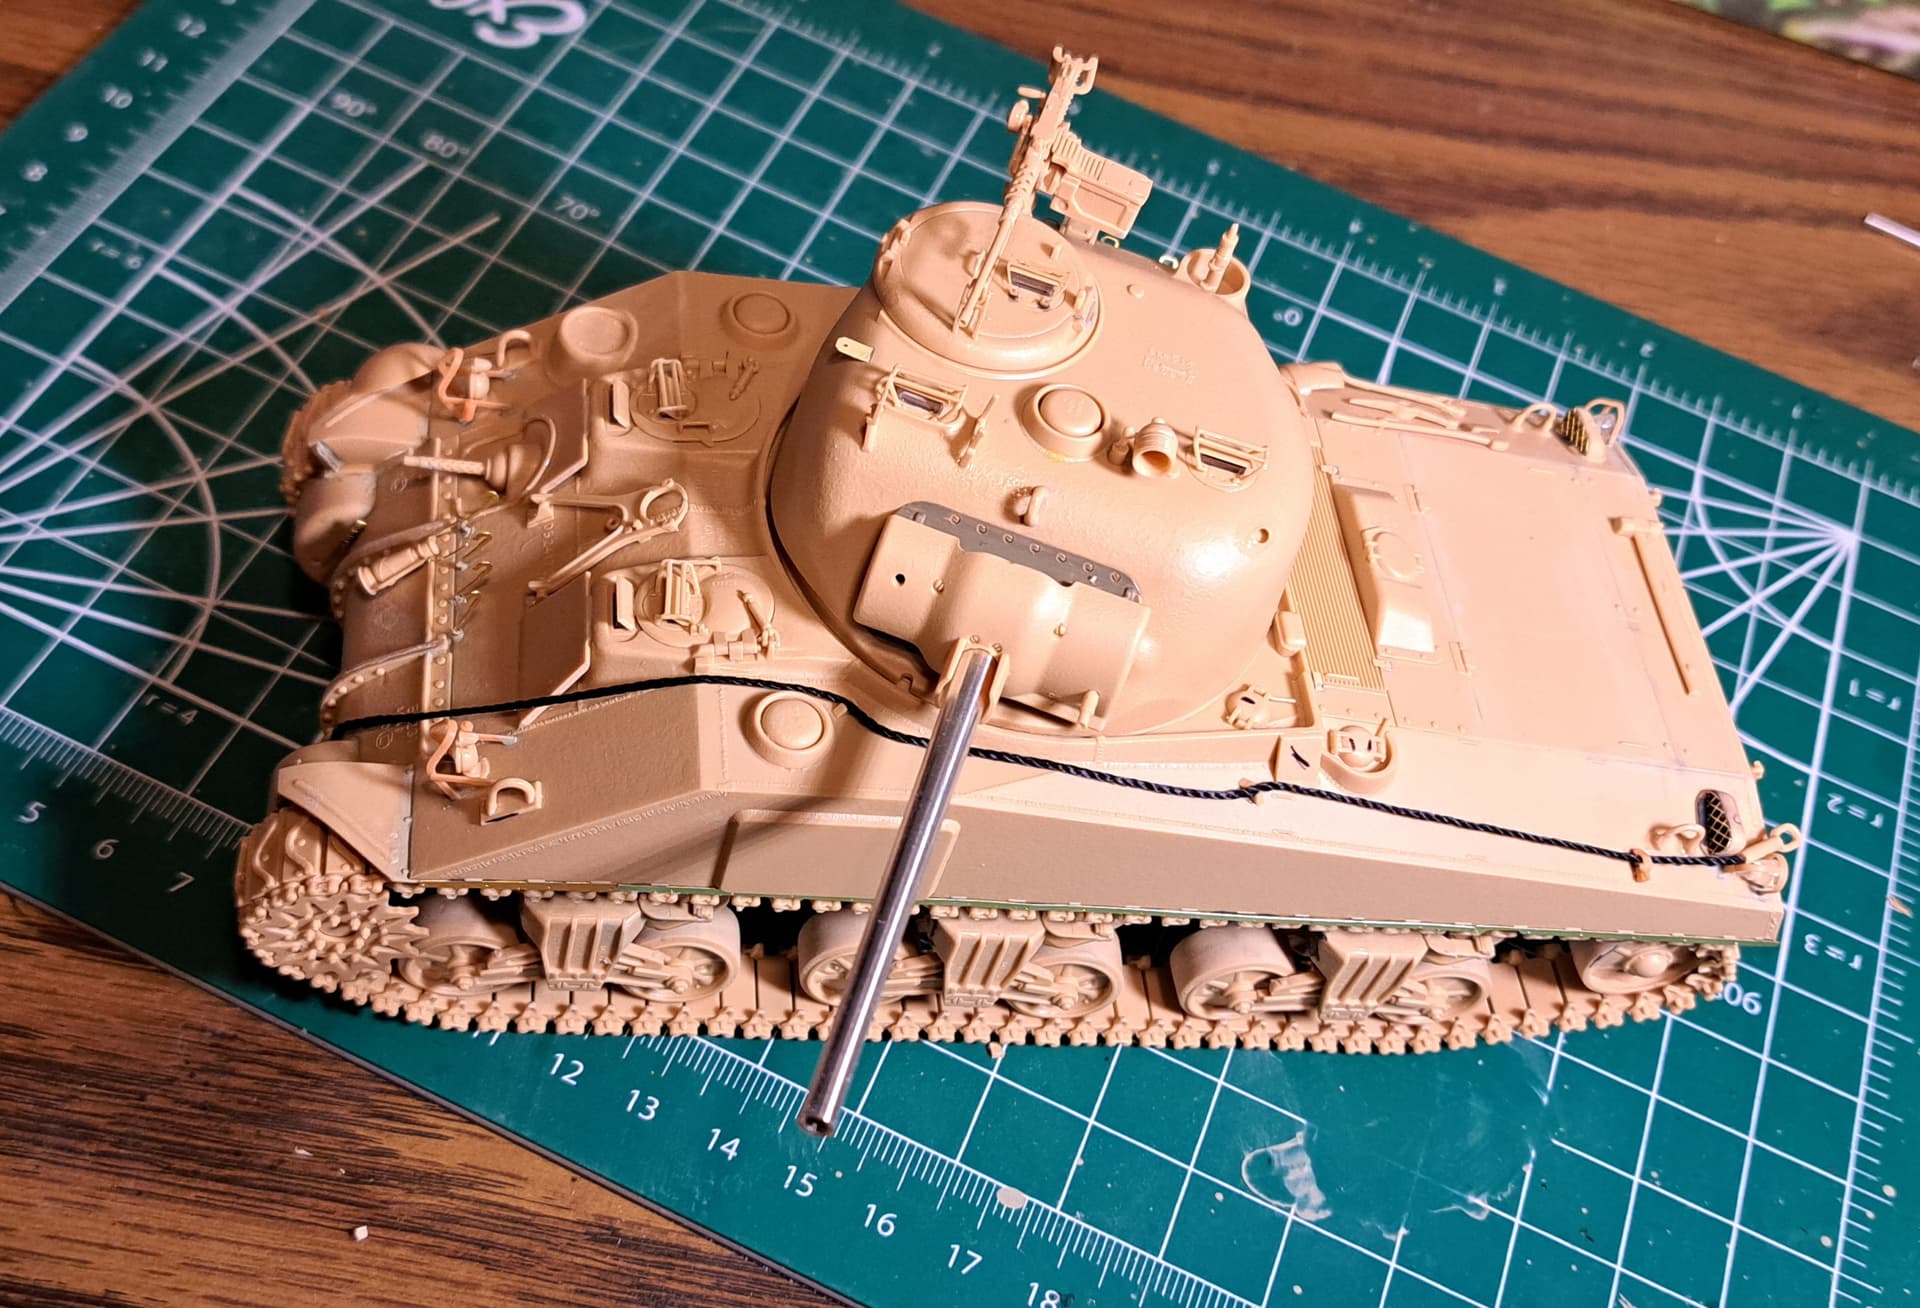
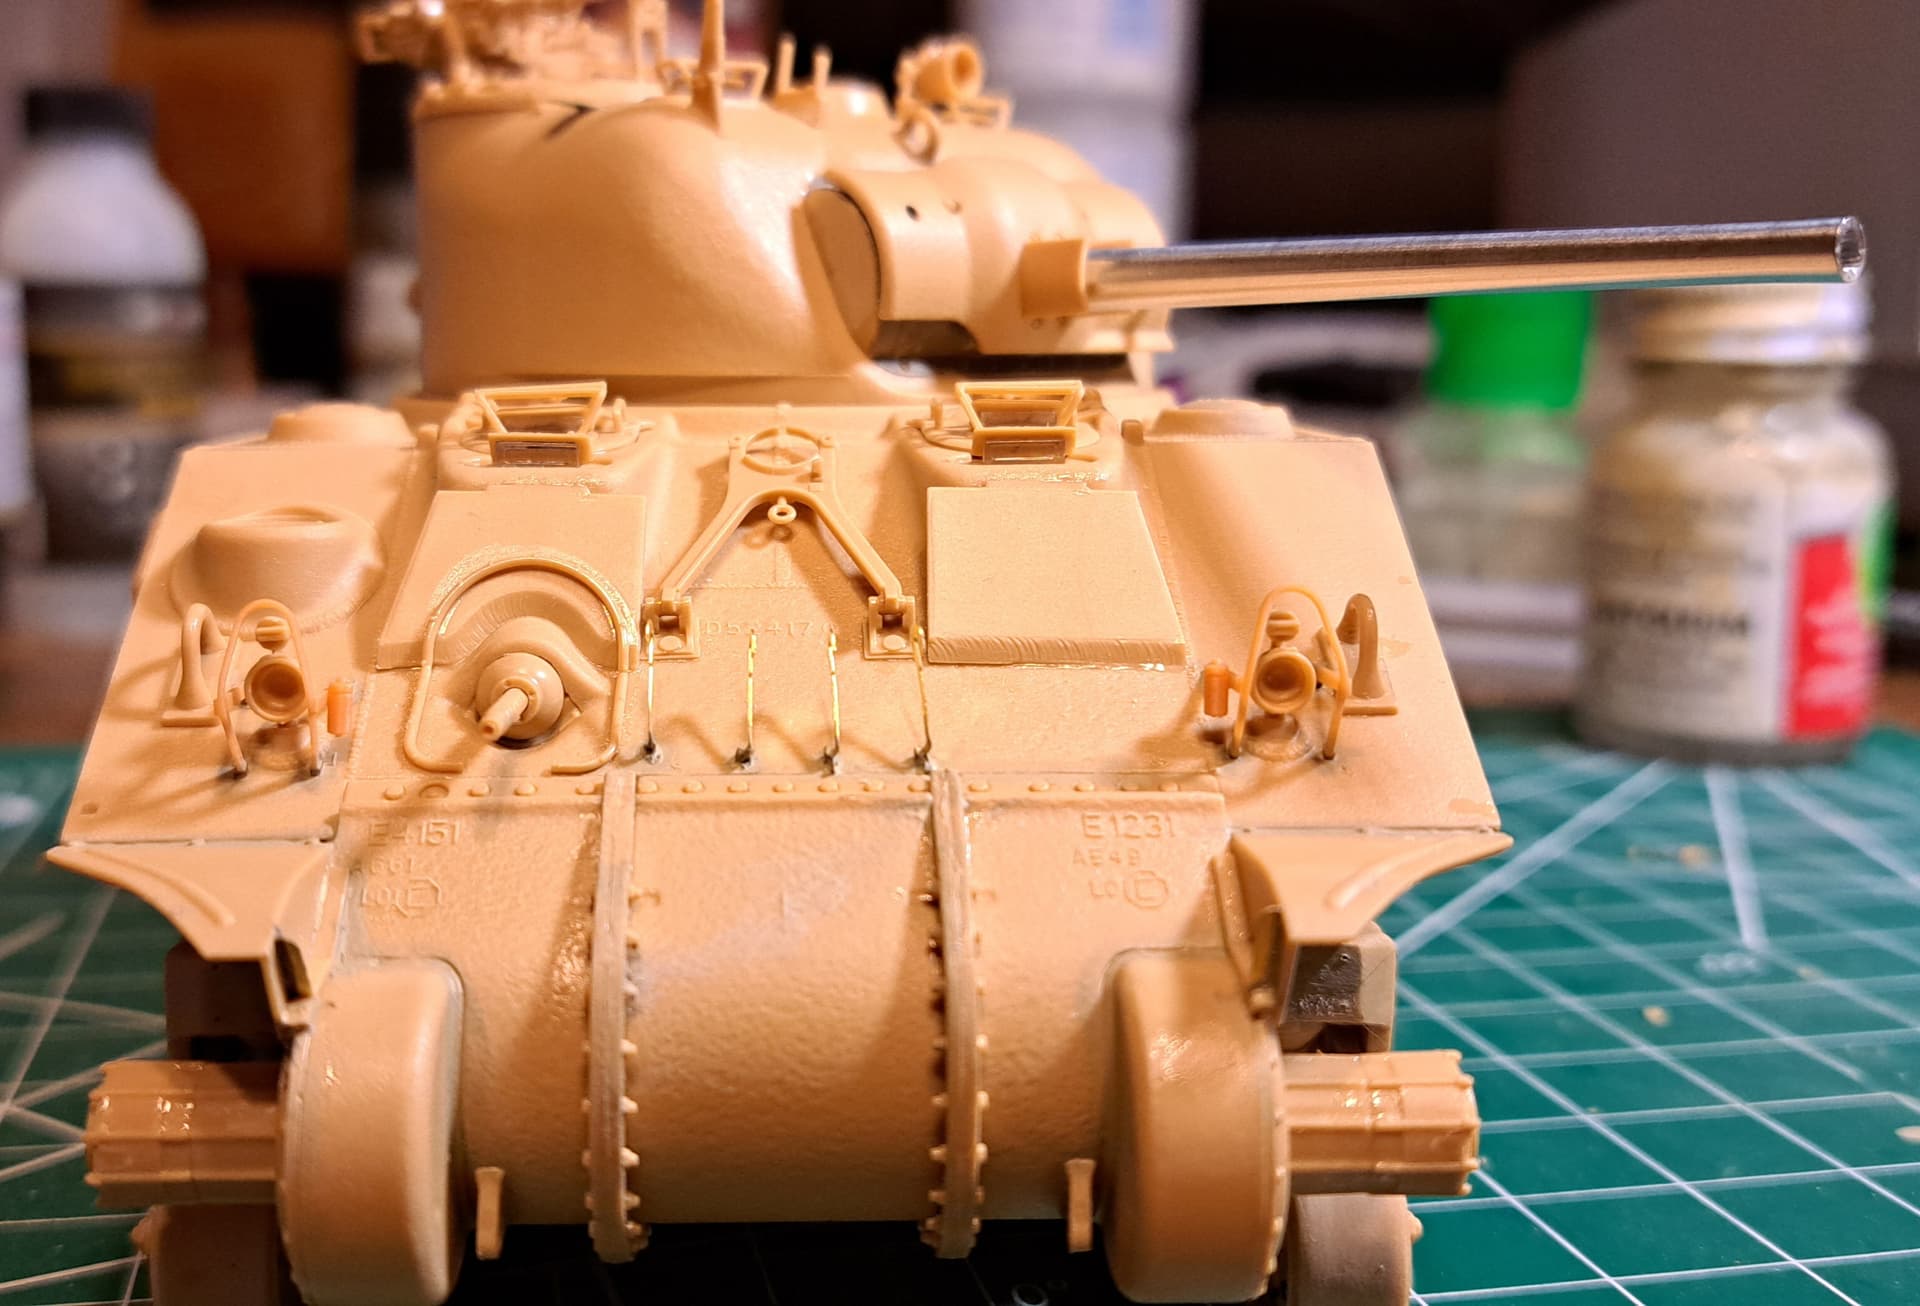
Test fitted together.

7 Likes

Road ![]() Block, had to order a larger PE bender for the fender strips.
Block, had to order a larger PE bender for the fender strips.

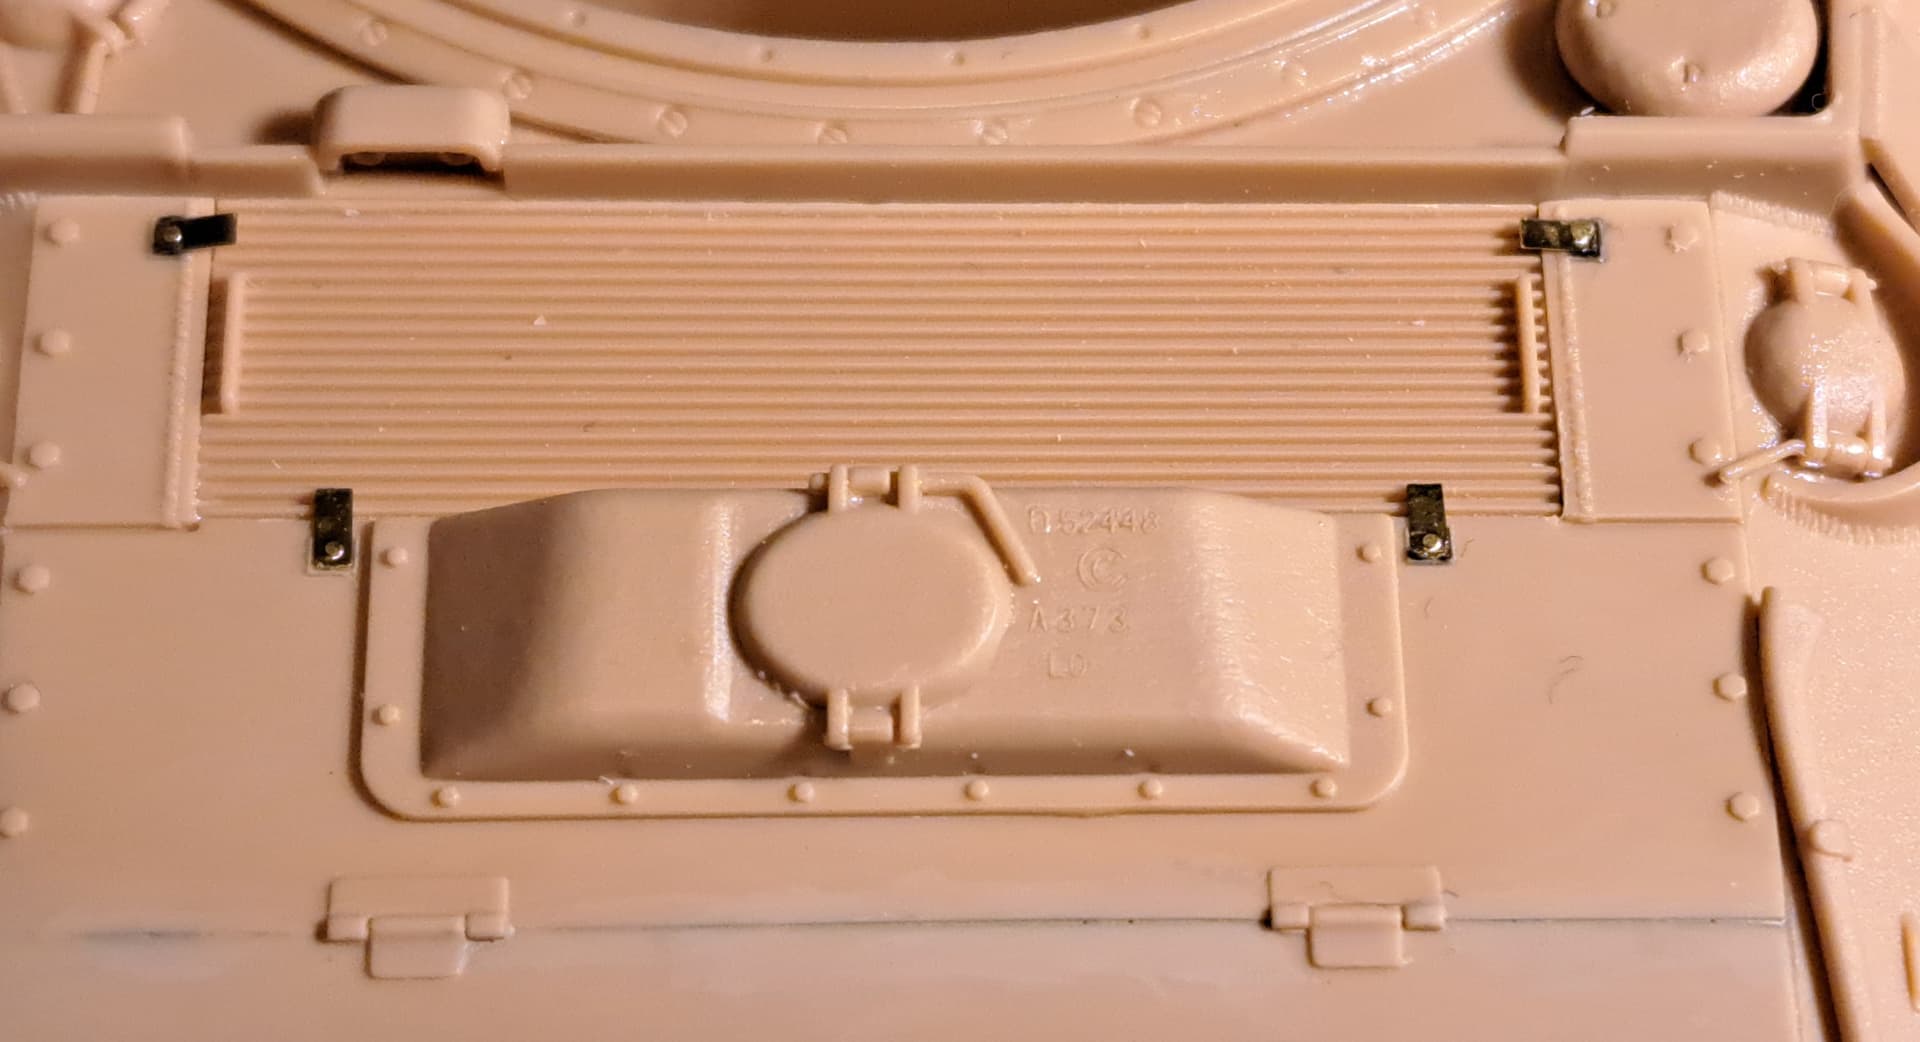
Anyway, 95% of the kit fiddle bits have been added.
Junk rack & Heavy Hobby 3D light guards. Amazingly they didn’t break being removed. I believe Heavy Hobby uses a good flexible material as I bent one slightly and it mostly bent back into shape!
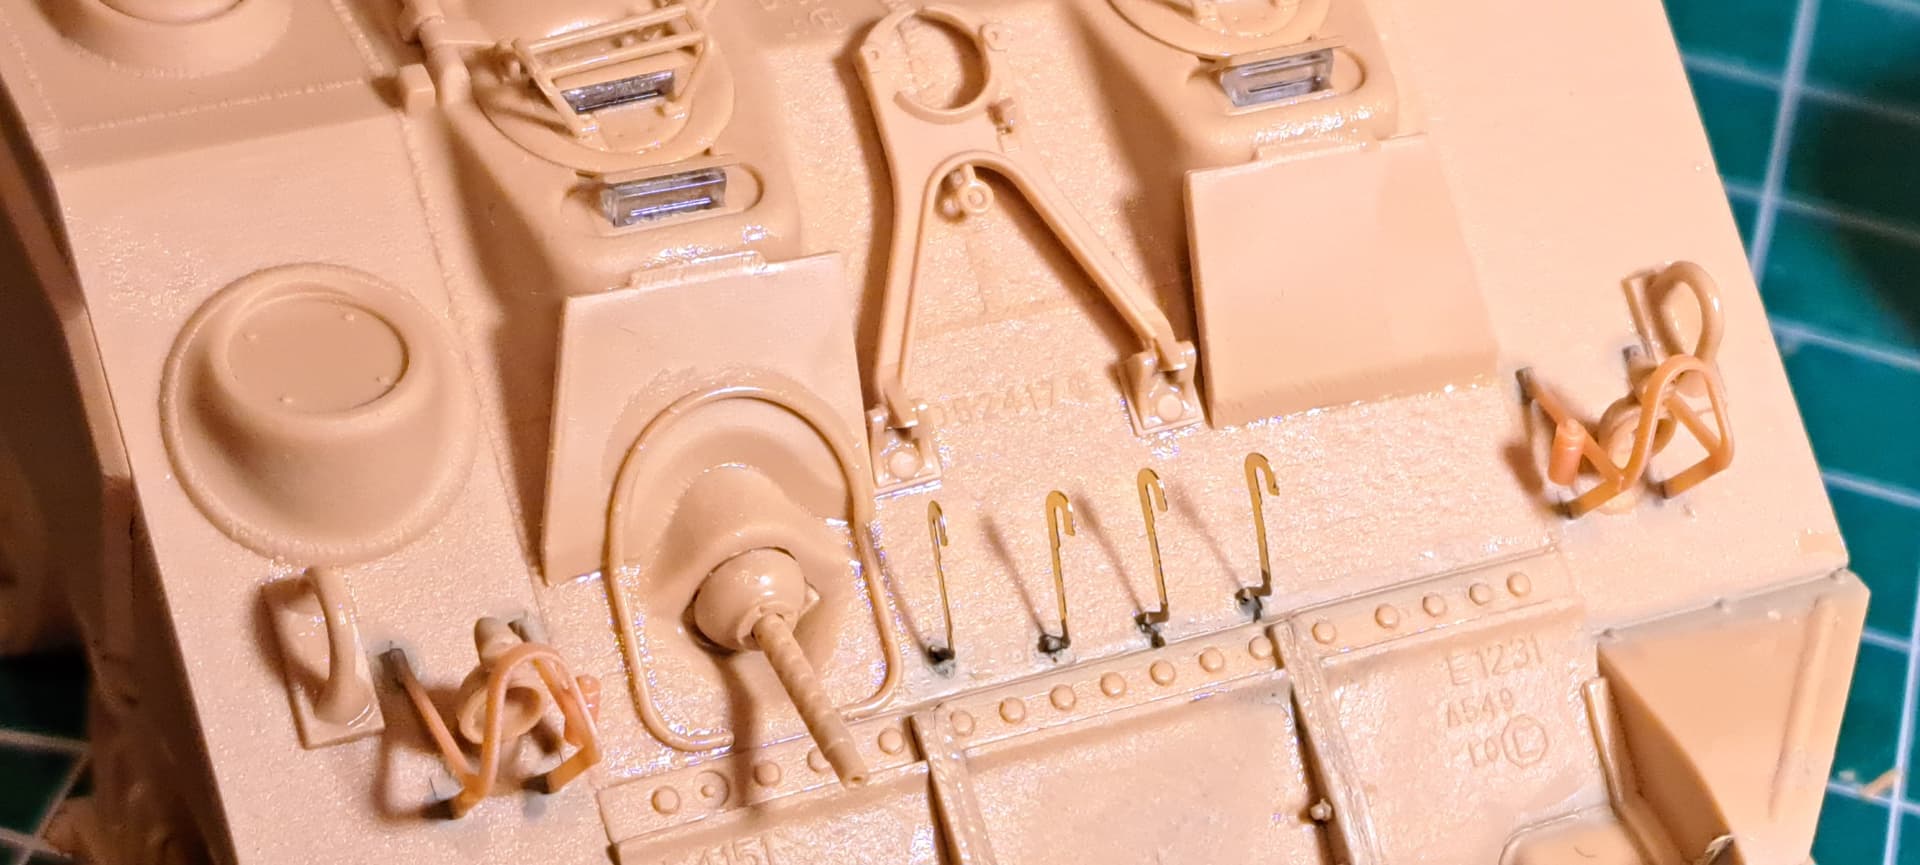
I thought the kit .50 cal M2 was pretty sweet ![]()

Something about the PE latches make that panel look like a cold air return with a furnace filter under it to me.
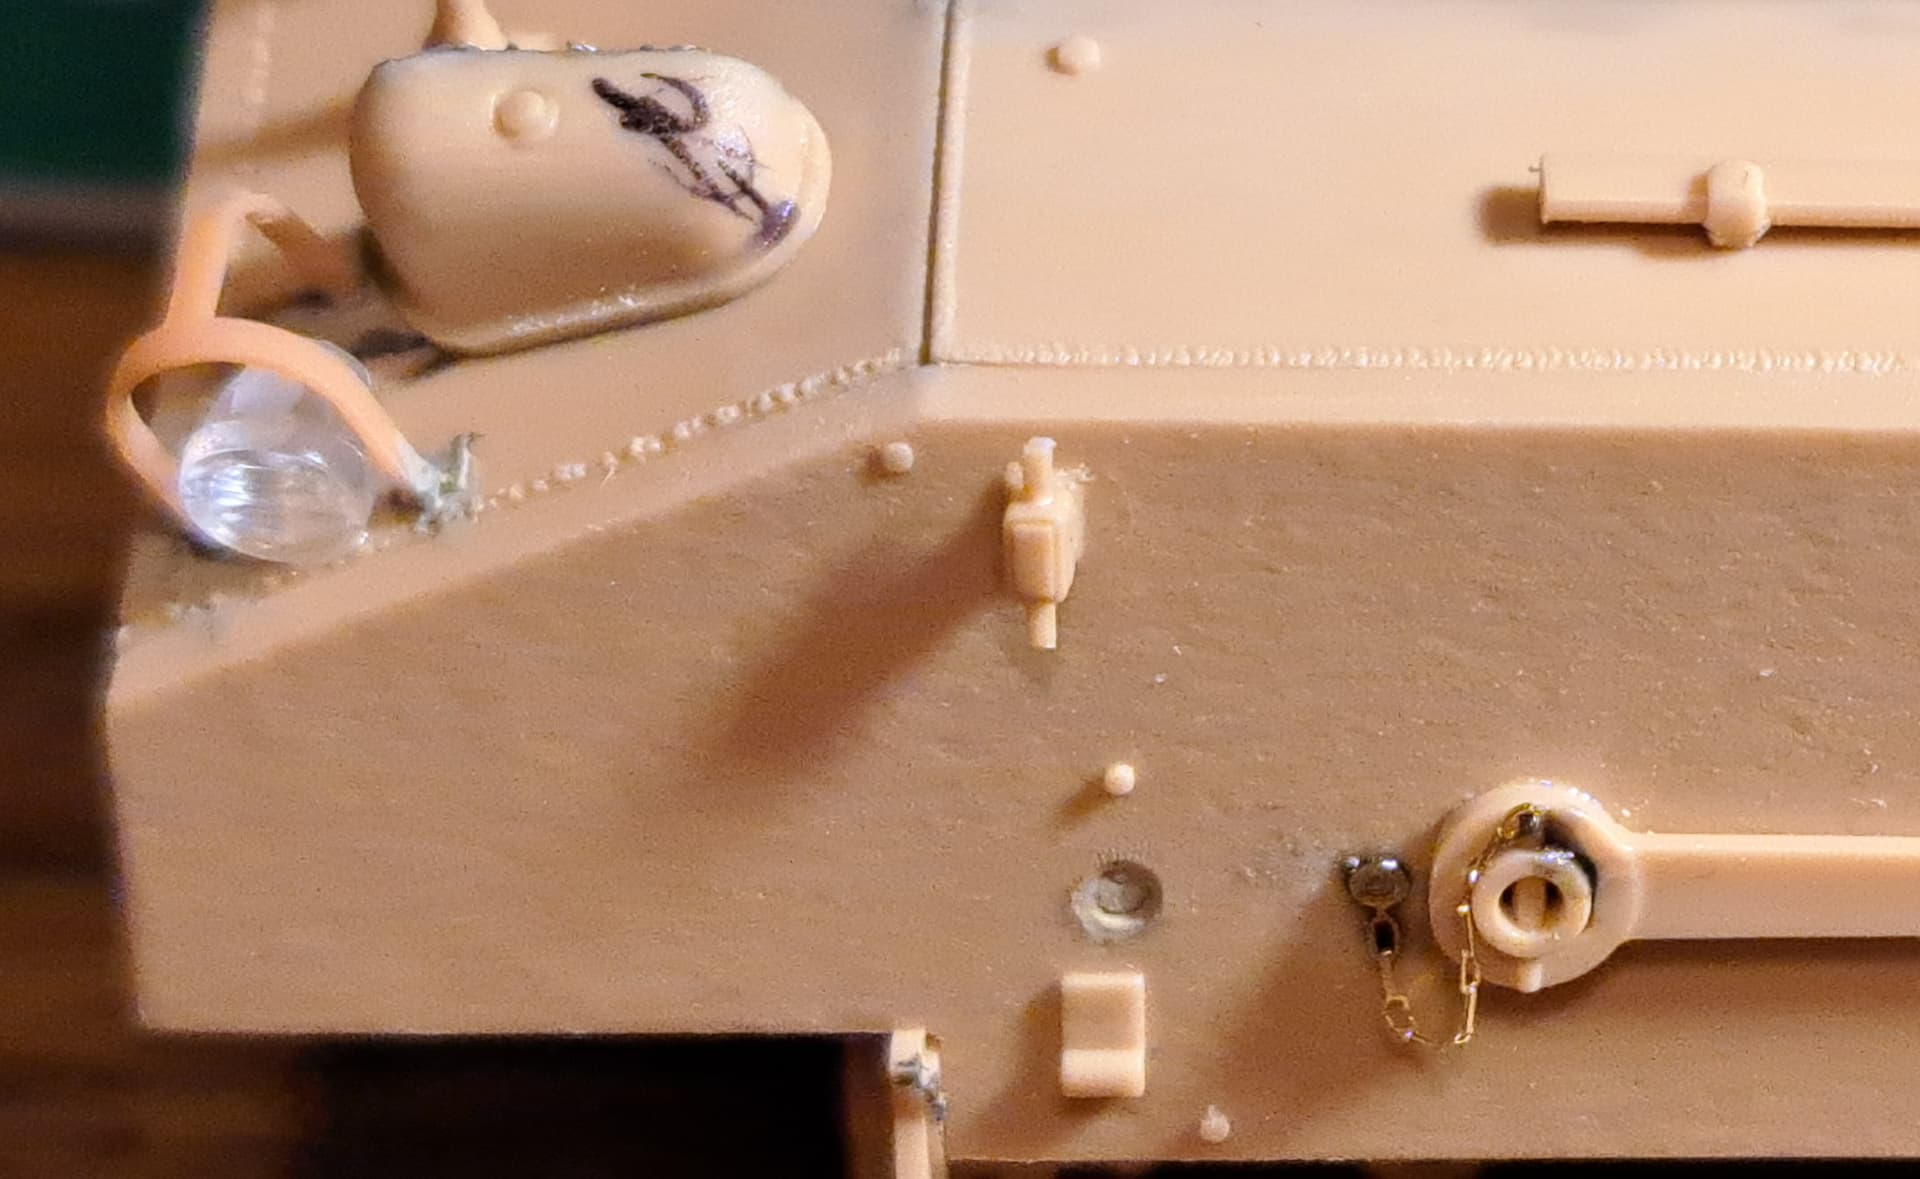
Another Heavy Hobby 3D light guard. PE chain rocked.

Anyway status…


Stuck waiting on the bender for a week seems like perfect excuse to see if…
…can be build before the tool arrives…
7 Likes
See my reply in the other thread you posted that in ![]()
The rear light guard sits rather high, though. If you can remove it and reduce it in height so it sits close to the light itself, it would be much more accurate.
2 Likes
I assembled the RFM M4A3E8 with no putty needed on the entire model. The fit is that perfect.
2 Likes
Appreciate the clarification & understand after looking at the box art. Strip’s bottom edge is below hull bottom of hull sponson, not flush with it.

Will try do better height on the next set of tail light guards. Have doubt they’ll survive debonding, trimming & reinstalling.
@SableLiger Reynier, Matt’s M4A3E8 went together without out putty & I only needed to tweak the rear turret filet on both sides on the M4A4 slightly with Molak Stucco Putty. Small parts often got a thin as paint coat to ensure they are integrated. Matt’s parts cleaning is very likely far more precise too.
Wade’s World is very aggressive slapping putty thin as paint on parts, PE and seams to ensure they are suitable.
HTH
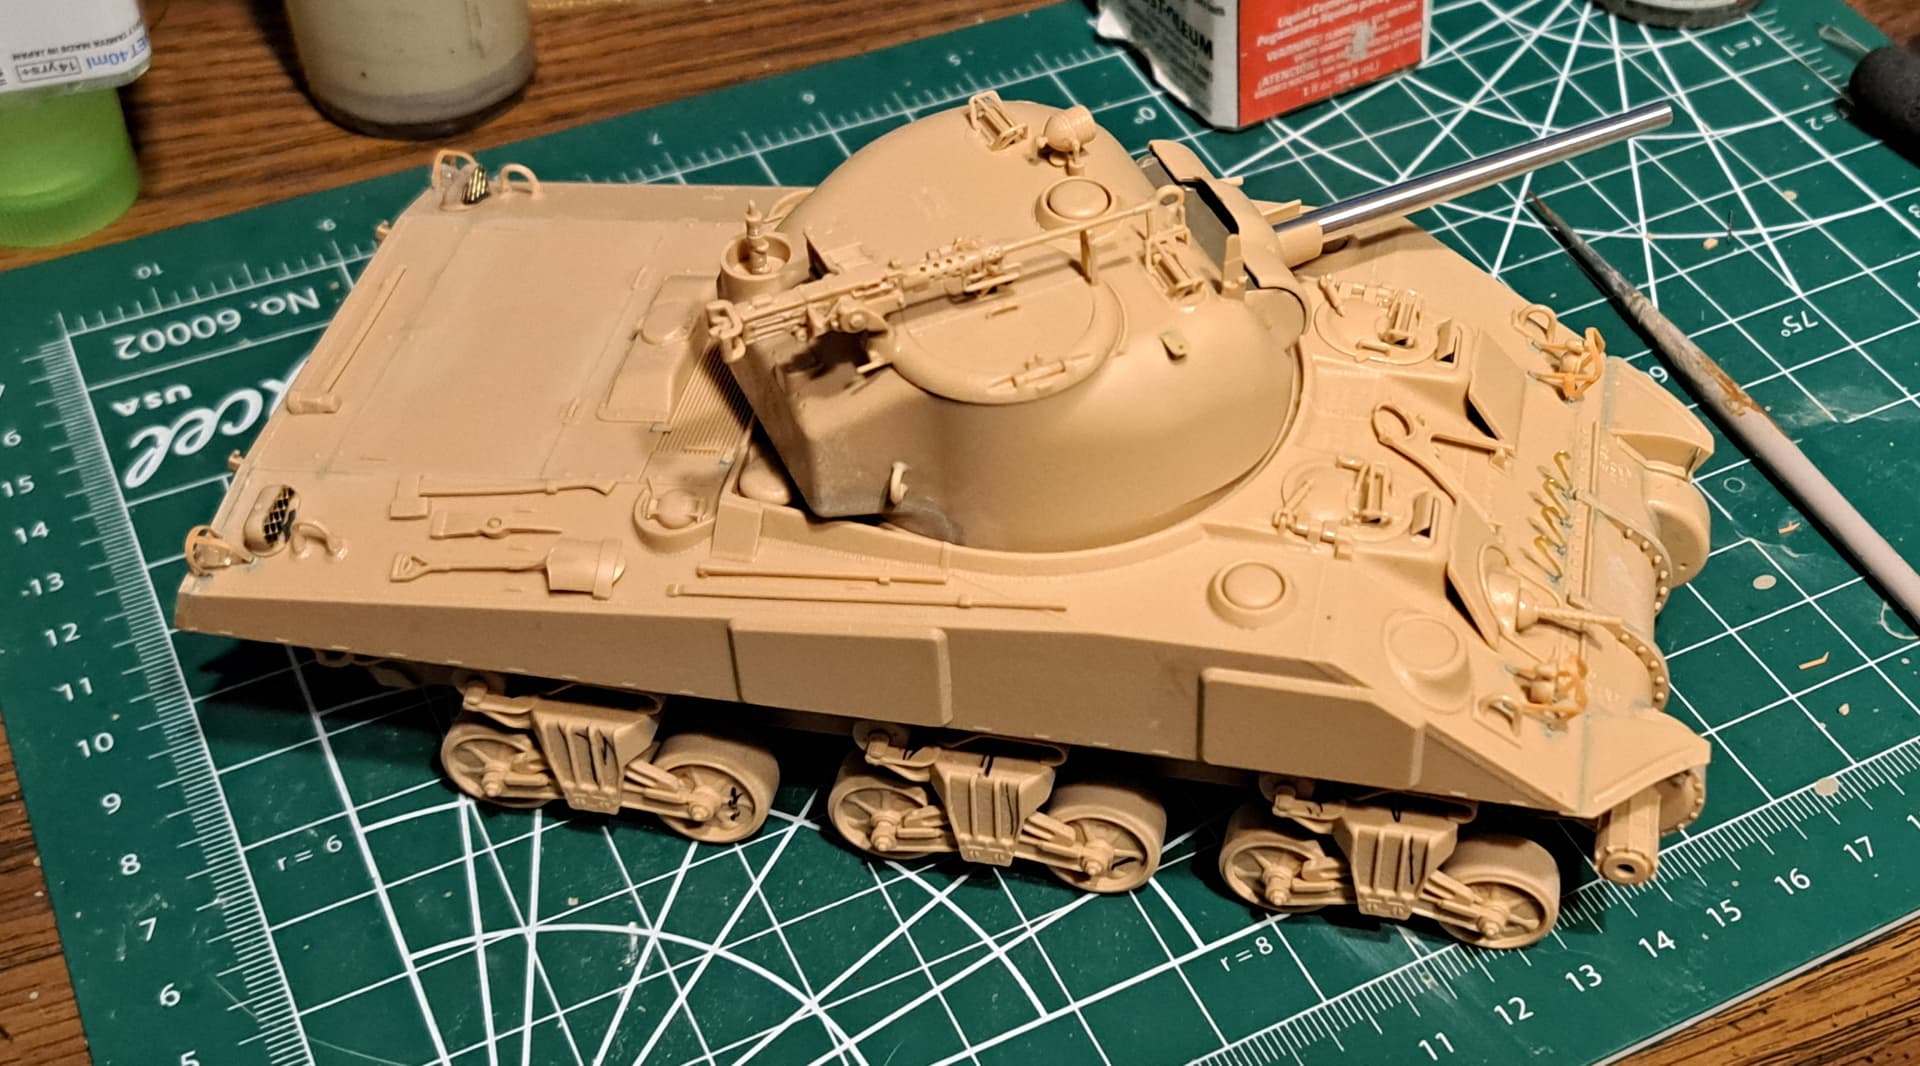
So any way the RFM M4A4 test fitted together…
Construction wrapped, test fit…every tank needs a lantern & wok…![]()

7 Likes
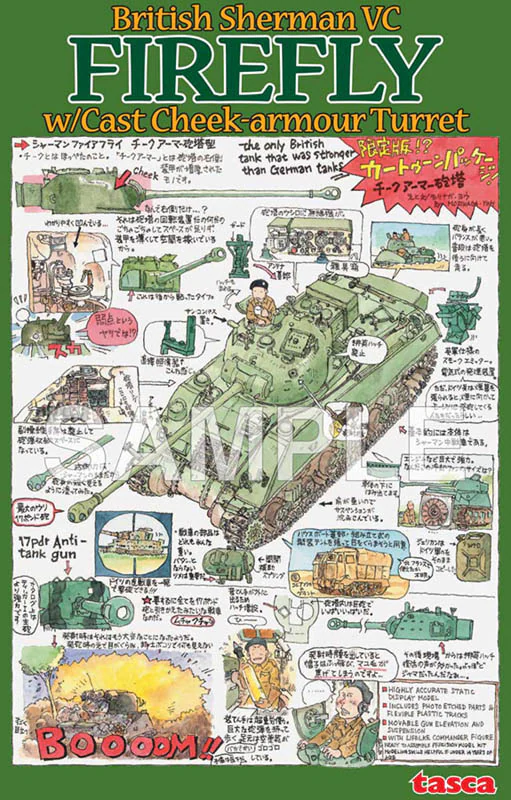
Up next Tasca #35011 Sherman Firefly
Very unimpressed by kit when purchased in 2008 or 2009 for $62 + tax as a new release after opening the box.
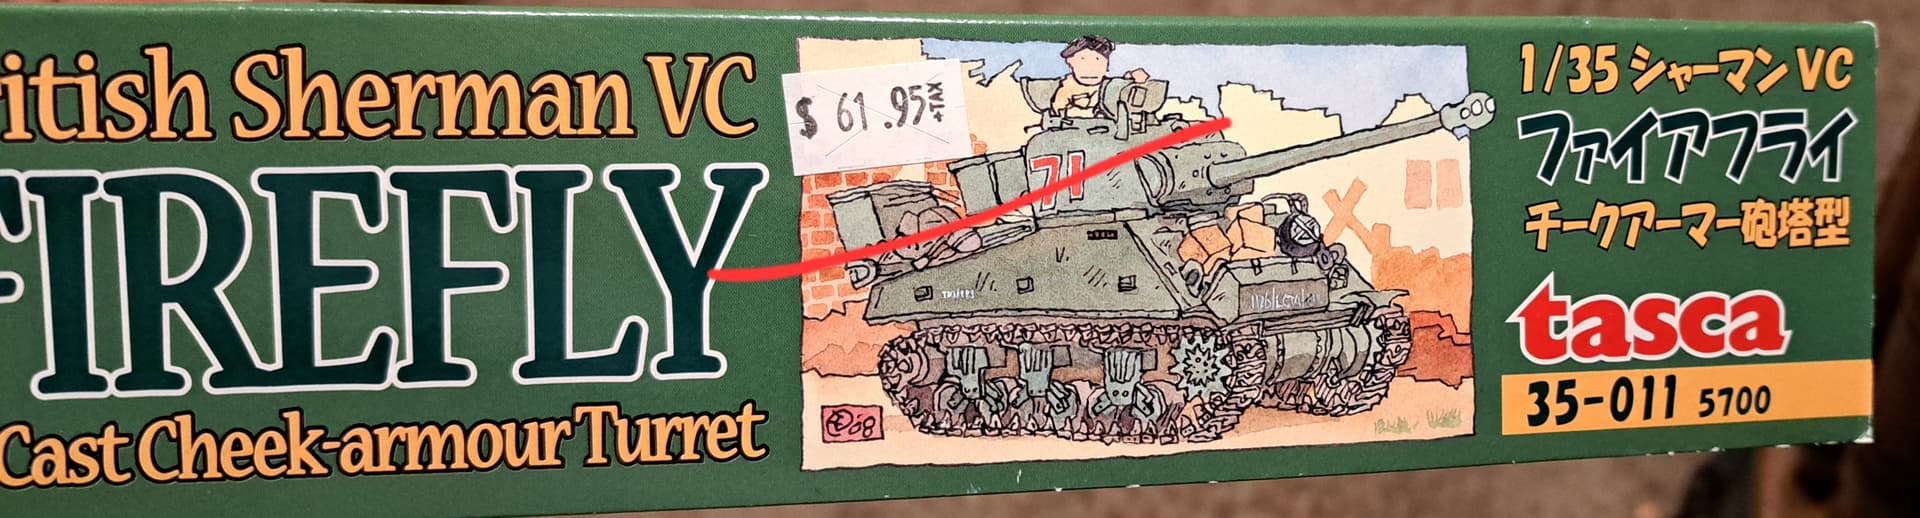
Two piece vinyl tracks, very stupid looking unappealing box art (my opinion), chaotic jumbled mess for instructions, thick hard dark plastic, two piece plastic barrel. A real turkey compared to what Dragon offered in a kit for $62 on first look.
Remember $62 in 2008/9 is $94 today.
Same kit sells for $45 at Spruebrothers.com today. In 2008 dollars that’s $31.
So much for inflation ![]()
![]()
![]()
So, yes Tasca made terrible first impression on me with this kit when it was a new release. The instructions make Dragon look like the king of good communication because your jumping back and forth between two instruction sheets at various points. Depending on which of the four Firefly’s you picked there’s unique exceptions in the convoluted sequence.
In 2008, we had PC’s so actually doing an instruction sheet specifically for the kit is a reasonable expectation when it cost $62 (2008) aka $94 (2025).
Disgruntled & Disgusted, vomiting ![]()
![]()
![]()

I know Tasca was heralded as the Sherman maker and many folks were absolutely delighted and that’s cool. It doesn’t change the fact they made an impression with me on par with the second coming of Lindberg.

Several friends were shocked and disappointed when I said that Firefly was my first & last purchase of a Tasca kit. They asked are you going to build it?
Throwing it on the vending table hoping to get rid of it…
So last week dug from the very bottom of the stash, my one Tasca kit and looked at for the first time in ~16 years.
The box art is still FUGLY…but since I failed to sell it and get $50 out of it…time to build…and give it a fair shot…because we all know how it builds is what matters not first impressions in the box ![]()
![]()
![]()
But if it builds bad it will burn ![]() in the back yard. Got a jerry can topped off just in case…
in the back yard. Got a jerry can topped off just in case…

Looking at that, I have flash backs to building a Lindberg T-55…it’s Fugly in the box too!

…couple Xanax & two big swigs of Maalox…and to the work bench (j/k)…
Started on step 6, the lower hull. Instructions are state of the art for 2008 with part assembly sequence numbers.
Outstandingly, good Tasca ![]()
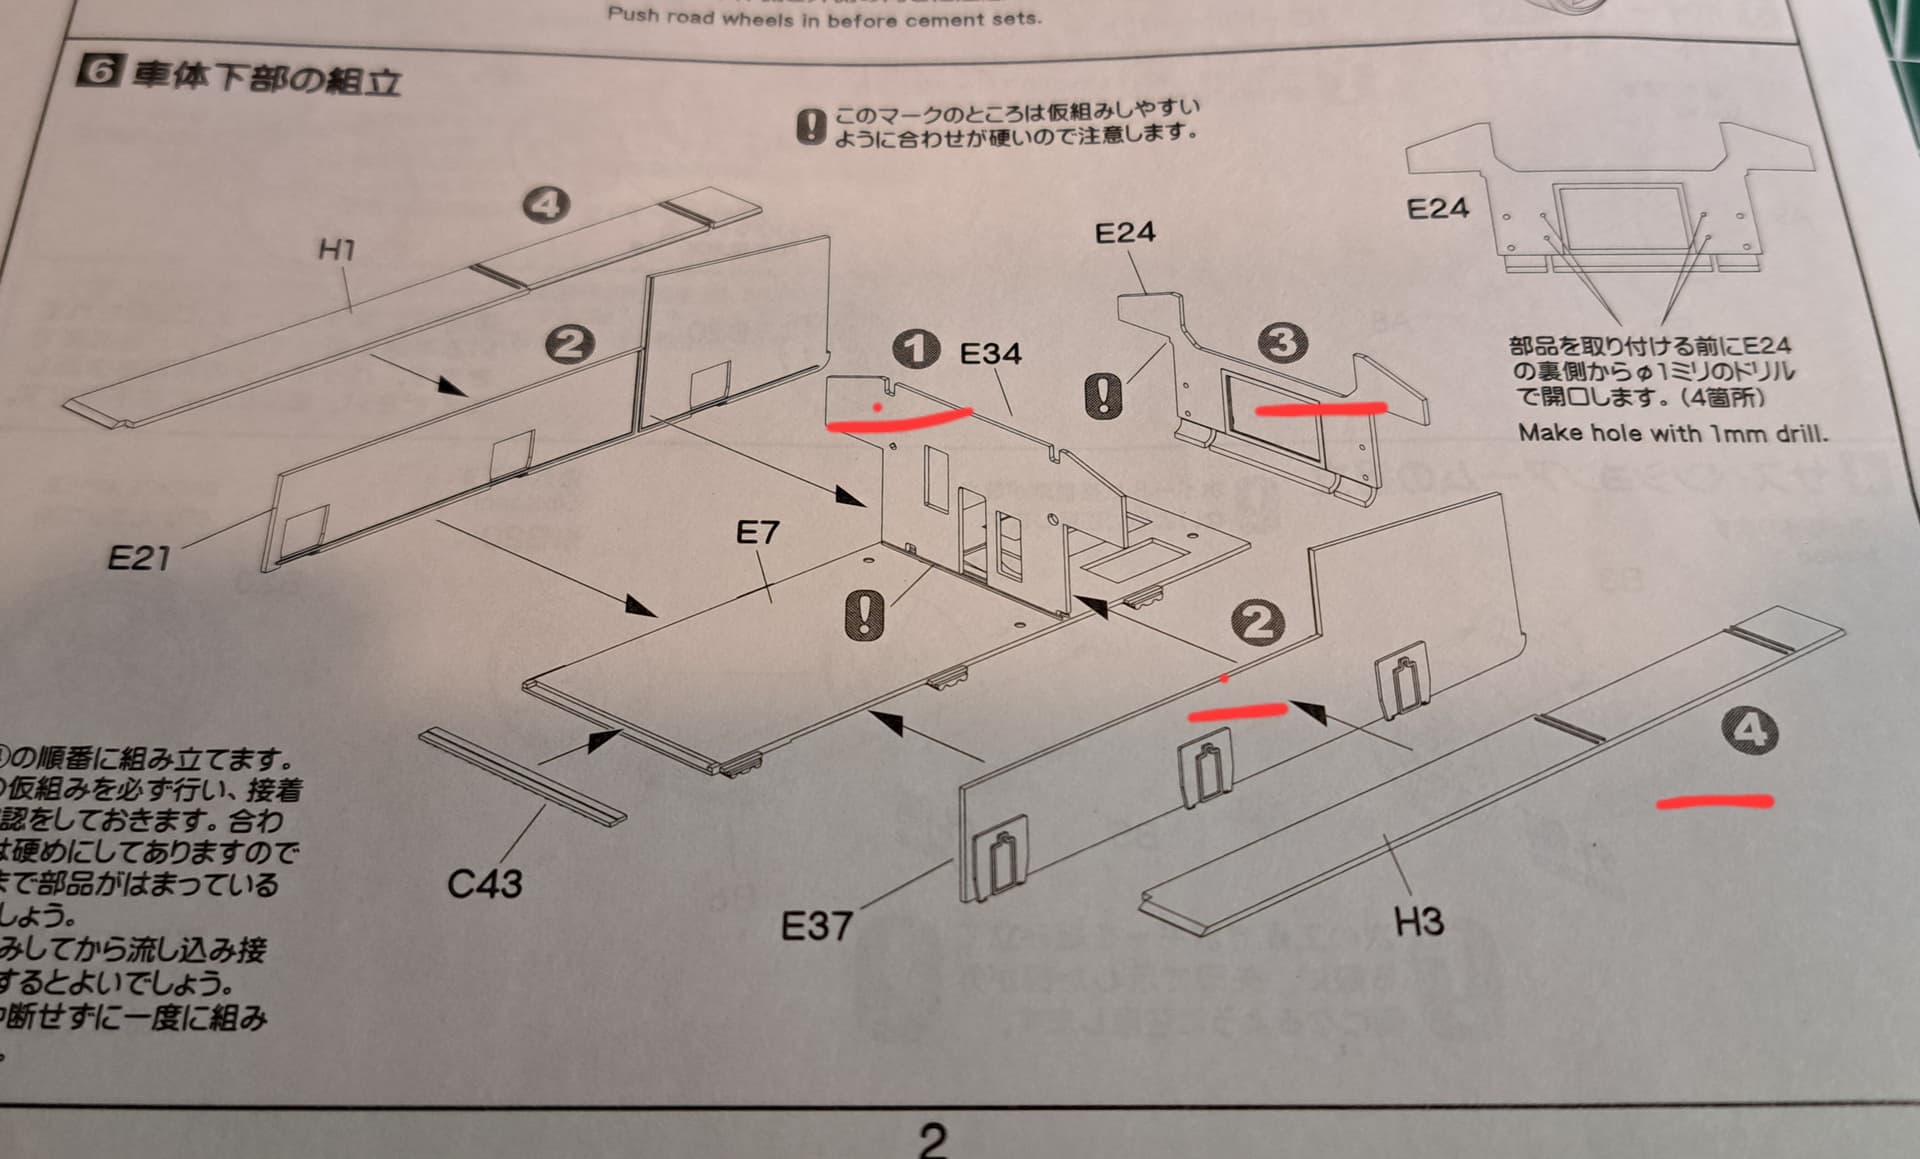
Parts layout & engineering design is exquisite as the mating surfaces DO NOT have any attachment points to remove. While plastic is thick or seems so, all of the lower hull parts were warp free! Take that TriStar & Ryefield!
Fit is Precise and Perfect


Very happy ![]() with the build experience at this point.
with the build experience at this point.
5 Likes
The marketing dept tried something new/newish for the time. Just doesn’t match the molding, which is a good thing cause the molding is first rate. Asuka marketing went a different direction. ![]()
2 Likes
Yeah I wouldn’t wipe my a$$ with the box art, but the kit inside is phenomenal. Happy building Wade!
2 Likes
It’s looking great.
2 Likes
Tasca’s lower hull was a superior build experience compared to Ryefield’s. I wasn’t keen on Ryefield’s 3 piece transmission cover, so that seem logical as next step.
C tree wasn’t labeled as C tree ![]()
Excellent instructions for step #9 with numbered sequence. C45 is designed so that it only fits when placed in the correct orientation. The flanges (C46/C561) & (C47/C54) are an ingenious solution to create the recessed seam. Ryefield should have taken inspiration from Tasca.

Attention to engineering design for a great build experience is very impressive ![]() The extra space makes parts clean up easier in my opinion for D8.
The extra space makes parts clean up easier in my opinion for D8.

Likewise, punch mark is on the alignment pin not the exposed surface for C45.

Build wise, the Tasca cover is superior to Ryefield’s. Appearance wise it’s better too.

The thinned Molak Stucco Putty & MCLT Q-tips don’t lie when checking precision fit. It’s almost like MagnaFlux or machinist dye to check a metal part.
2 subassemblies =>
0 Ryefield
2 Tasca
For anyone keeping score.
6 Likes
Question for the Bastions of Knowledge, the Sherman Sheriff’s
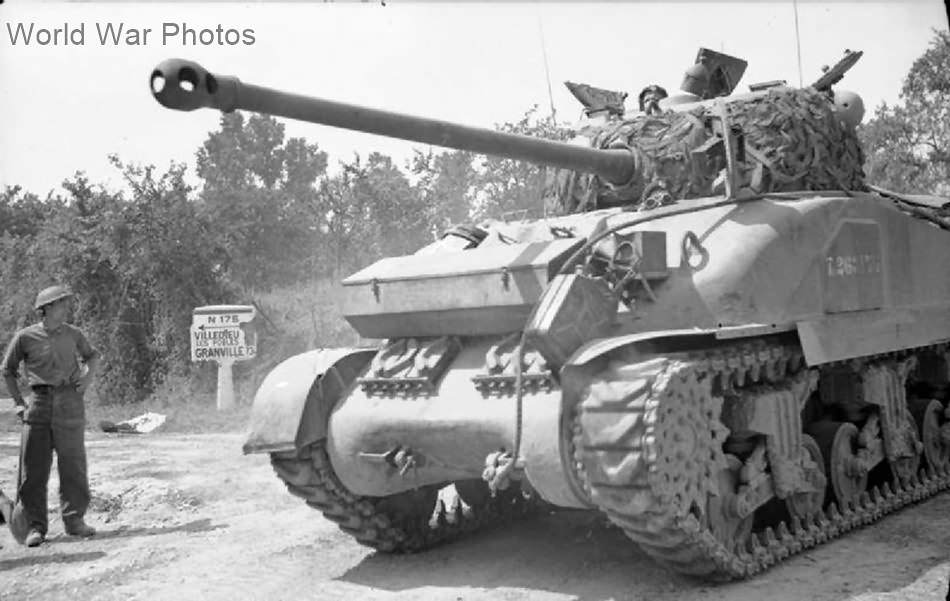
Were B20 wheels used on British Sherman Vc Firefly w/ cast cheek armour turret’s?

Zero enthusiasm for adding 12 rivets to each B7 wheel. However, most Firefly’s pictures seem to have B7 wheels.
3 Likes
The stamped spoke wheel (part B7) is the normal one for the M4A4/Sherman V and the M4 Hybrid/Sherman I Composite (the one with the cast hull front only) — all of those tanks were built by Chrysler Defense Arsenal, and that’s where that type of wheel was developed in the first place so they fit them to all their Shermans with VVSS. They were interchangeable with the welded spoke wheels (B20), but it would be rare for all wheels on a tank to be swapped. One or two, sure — if a wheel wore out or got damaged, it would be replaced by whatever was available.
As for the rivets: I never bother with them. I very much CBA to shave off 144 tiny rivets from a sprue and glue them, properly spaced, inside the wheels. Nobody is going to notice unless they specifically pay attention to them.
3 Likes
Does look nice built up.A direct vision would be very welcome.
Richard
2 Likes
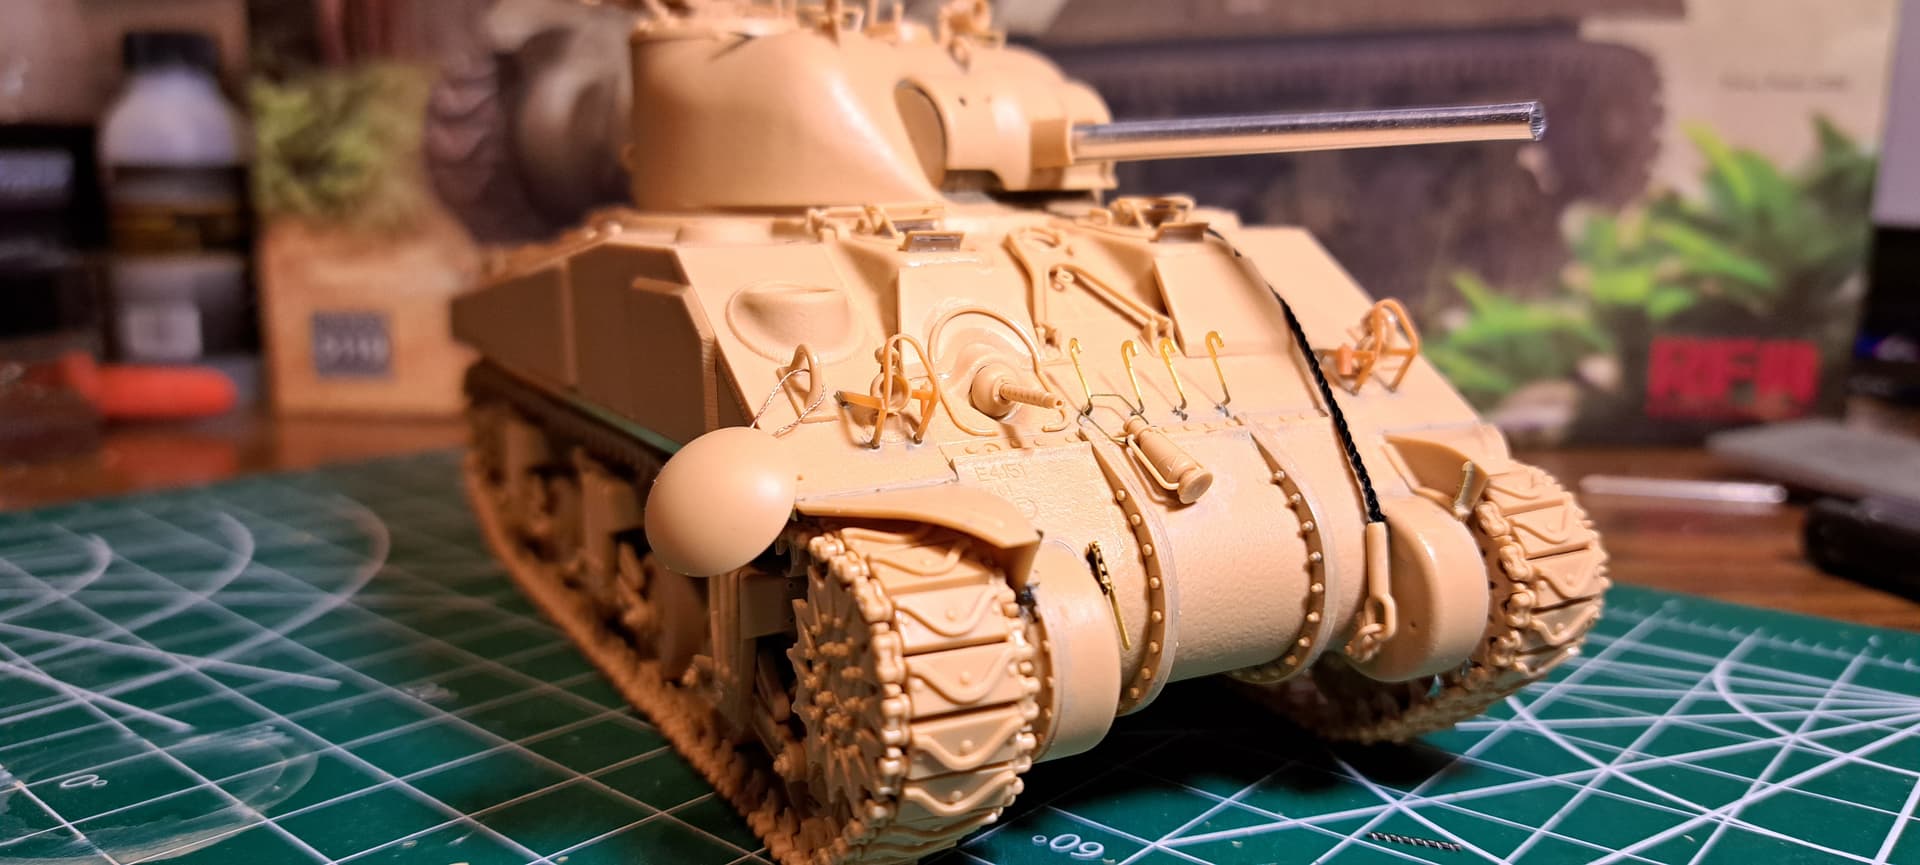
@Richard50 Richard, thank you. Here’s one of the better images, found on Britmodeller: Sherman-vc-firefly showing the real rivet detail.

Rivets as shown on the model’s wheels.

Agreed with @Jakko, I’m not motivated to add 144 small rivets in a precise pattern given they are barely noticeable. I may attempt one spare wheel with the 12 rivets to strike the balance since it is an interesting detal.
Jakko, thanks for the input!
I dislike like the RFM VVSS suspension bogie but Tasca VVSS suspension bogie is even more unlovable in my opinion.

Not a fan of cutting the black foam sheet into strips to stuff in the bogie as a pad. Found the pads far more annoying than gluing RFM’s gimmick working springs in place. Measured and used stacked sheet styrene strip as spacers instead of the pad.

Persuasion had to be applied to get a good fit and seam. Yes, the “K” legs are flipped the wrong way in that one and it had to be split apart, repaired & reassembled so the wheels would fit.

Never the less, I dislike the top of the bogie assembly compared to RFM as additional work was required.

While the RFM idler is a hodgepodge of various parts that required some putty to sort out the sink mark depression riddled Tasca idler is nearly as bad. The Tasca wheels assembly better than RFM’s. The sprockets are on a hair easier on the Tasca.

In any case, the Tasca suspension, & wheels built up nicely in the end.

Wade World view
Bogies
1 Ryefield
0 Tasca
Wheels, sprockets & idler
0 Ryefield
1 Tasca
Ryefield is on the boards with 1 point trailing Tasca with 3 points.
5 Likes
You kit doesn’t include two little sprues with plastic spacers, then?

These are 0.5, 1 and 1.5 mm thick, the idea being to put one into each bogie in the same way you used plastic card, to get the model to the correct height (IIRC, the 1 mm spacer is the normal ride height).
They only appear to have introduced these later on in production, though. I have a Sherman III kit (bought two years ago) that only explains about them on the side of the box, for example, but I also built some other Sherman kits where the instructions mention the spacers as an alternative to the sponge rubber.
4 Likes
This kit from the initial release time period doesn’t have any spacers like those shown. The Tasca instructions don’t have a parts tree diagram to check against either. Checked all of the trees etc. Were spacers added later by Asuka etc?
The spacers would have been be a nice option. Being that they were .5mm, 1mm & 1.5 mm.
I may have set the ride too high. My spacer was ~2.5 mm thick vs the ~3 mm triple layer rubber pad. The bogie “spring” sat the same between the two, so I thought it would be in the ball park… ![]()
![]()
![]()
Ordered a new set of Ta-suka VVSS suspension trees just in case…

It will be interesting to see if it includes spacers.
4 Likes
Grinding forward, upper & lower hull went together today…
The transmission cover fits perfect with lower hull & upper hull - most impressive ![]()

Outstandingly good…

The rear hull tail plate fit perfectly too. However, there were two spots with a fit issues, under the sponsons at the rear.


Clamping helps but gaps remain.

The issue isn’t particularly visible and it is easy enough to fix. I do not think this fit issue was related to parts clean up, warp or alignment.
After Q-tip w/MCLT


^ Q-tip fuzz ![]()
This was far worse than anything encountered with the Ryefield Model’s kit build despite being a simple fix. It shouldn’t dissuade anyone interested in a Tasca/Asuka kit as it’s easily corrected.
The nod for Superior Fit in my book goes decisively:
0 Tasca
1 Ryefield
Ryefield with 2 points trailing Tasca with 3 points.
5 Likes
What I normally do after putting the lower hull parts together, and before the glue has set, is to put the upper hull on without glue so I can make sure everything fits as it should. (Not just with Asuka Shermans but with pretty much any tank kit I build.)
3 Likes