Also, the Figures that came with the kit almost look like the bags of plastic green army men from childhood days tommy gun and m 1 rifles and a flame thrower. So those won’t be going with the build the TC may be used but I haven’t made up my mind yet.
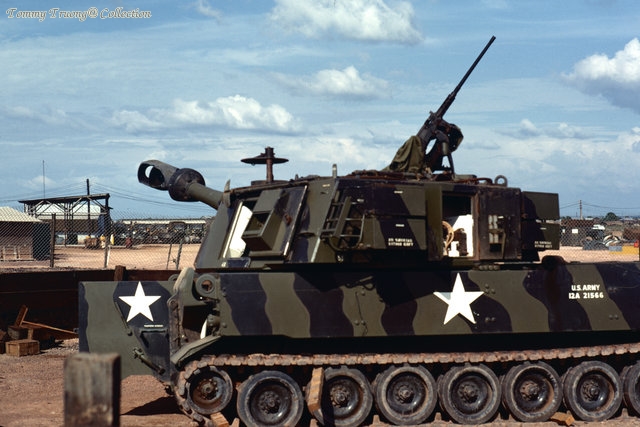
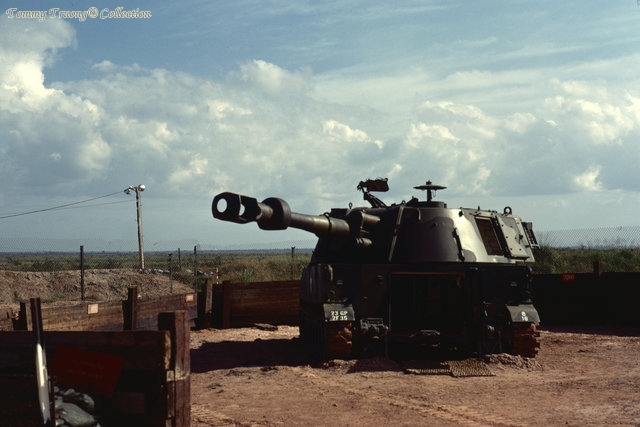
Camo schemes were rare during Vietnam war but there were some, typicall of U.S. Army during 50s & 60s;
I don’t think camo was typical for artys since very few were painted this way
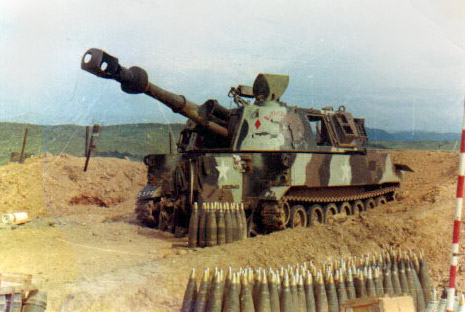
But I had found some unique M109s with camo several years ago which are super interesting
Just notice the darkest color is NOT black, it’s Olive Drab
OD of the 60s was dark enough, so applying black was not needed
On another note, I haven’t really worked with awards since the new site came on line, but I gather that they’re becoming common now. If anyone here wants to take a crack at one for this campaign, let us know and we’ll see if we can cobble one together.
While preparing some stowage for my M151, I decided the vignette needs a m-60 gunner. Since I don´t have such a figure I made one from a Dragon Vietnam figure. After an hour or so this is what I came up with.
May I suggest some alterations on the pose, since it looks wakward?
Lower the butt of the gun under the right hand and turn that one 90 degrees, so it rests on the gun. Then add a gunstrap, so that the gun hangs and the hand rests on it.
This way you can also bring the gun closer to the body or onto any pouches should you add those.
And I was not completly happy with my machinegunner, so he went into surgery… still some sanding to do and attach a sling and a bipod to the M-60. He is not perfect, but I guess he will do with some paint on.
So technically I have finished the campaign today
The M151 is finished. As the last touch I added a few M-16s, two M-72 LAWs and a bit of stowage. I´m fairly happy with the end result.
Figures are definatly my weakest point and I´m not very skilled in re-modeling, but I´m kind of happy how it turned out. As usual he looks like crap at this stage, but I got my own Animal Mother… I will add a sling to the M60 at a later stage.
I would be pleased with this if it were mine! Nicely done!
The only thing that doesn’t make sense to me about it, might … but how do the rounds from the big machine gun get ejected? I’m thinking standing to the right of it when it’s being fired might not be the best?
I love the red mud effects on green and on the tires. The weathering is nice.
Very nice presentation Erik, If you were to dust it with some chalk or pigment powder of the right color it would knock down on the glossy sheen a bit better, otherwise it looks A OK!, imagine it jumping over a small rise like the Jeeps did in the TV show " Rat Patrol"!
Looking good, Erik. The uniforms and equipment as well as the burlap sandbags look shiny in the photos, though. You might want to hit them with some Matte Varnish. AK Interactive’s Ultra Matte works quite well.