I read through this thread today (when working obviously) and love this quote. 
The pain of these builds is the length of time they take, and as you say, the risk of something going wrong that spoils all the work. You have to be able to accept some things I think, but in the end it’s more satisfying. This one looks great, you just need to make sure you actually get it finished and don’t put it away for another 20 years!
1 Like
Wow Wade, looking amazing as always! Your putting my Calliope which I thought I did alot of scratch building and detailing on to shame! As always though your a big inspiration! 
1 Like
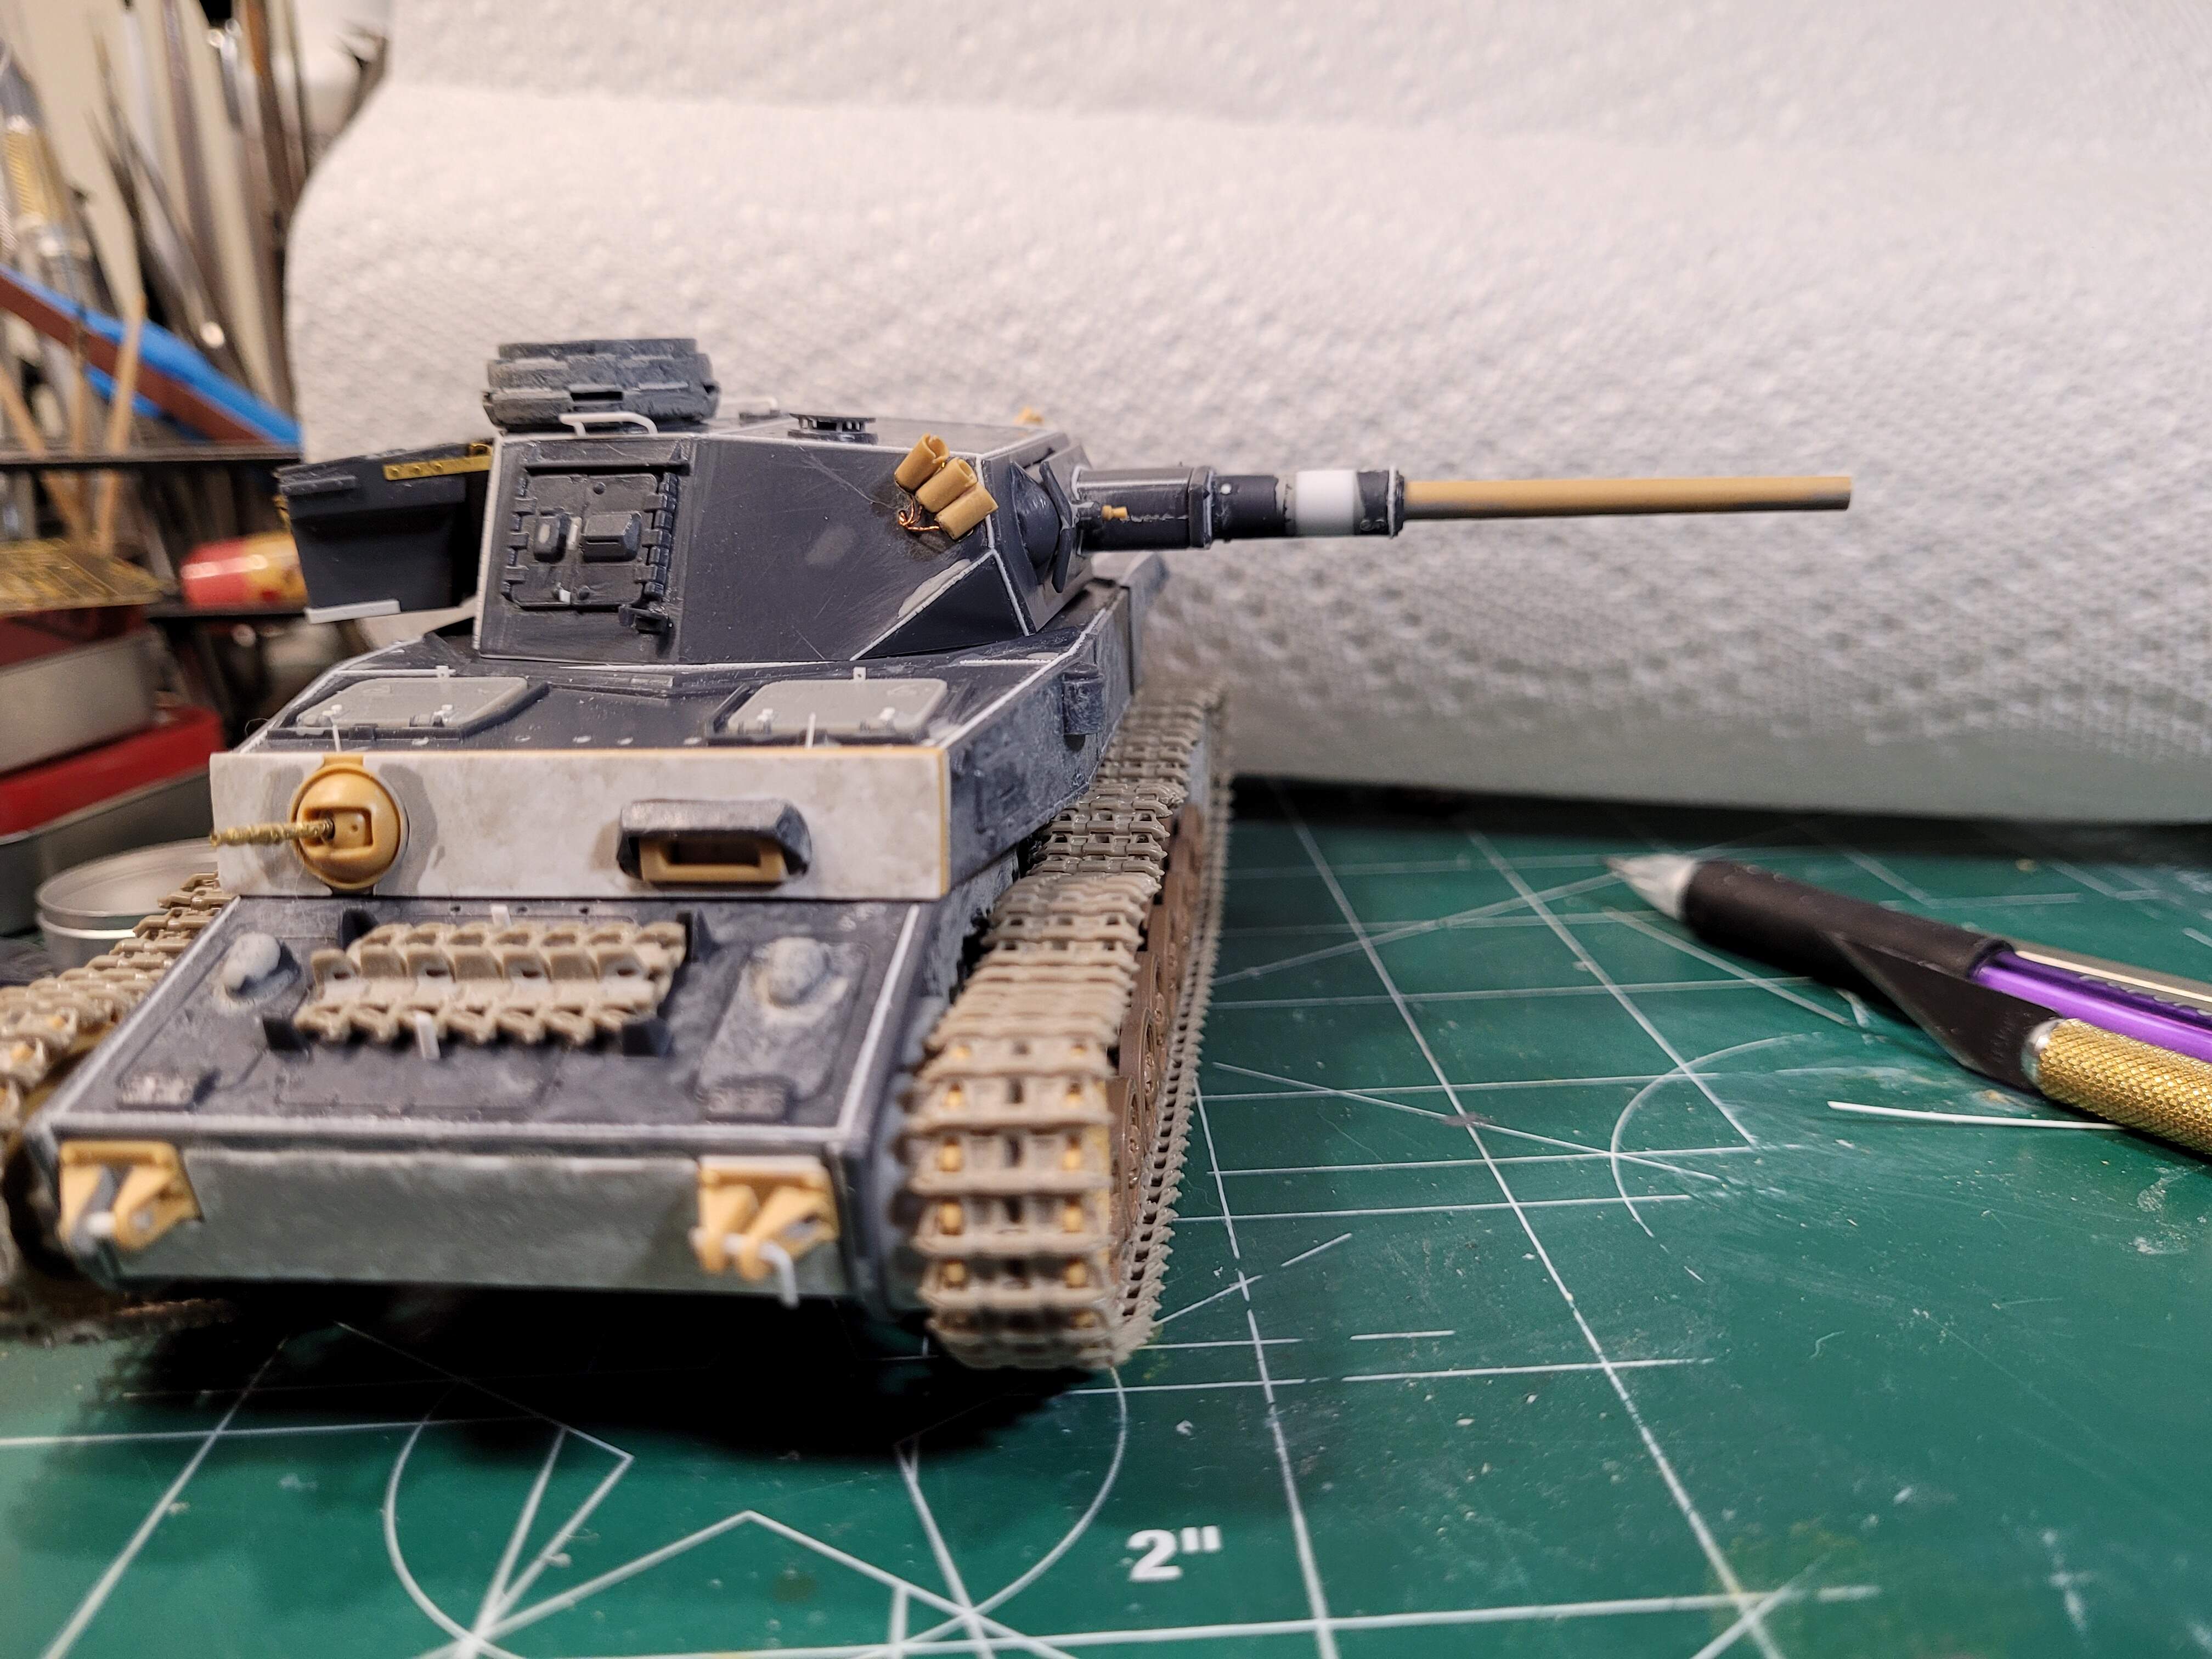
With John’s keen eye and help, I think the main gun barrel is sorted. I’m grateful the issue was noticed so it could be addressed.
No more picking the turret up by the barrel on this one.
2 Likes
One way of preserving your hard work so others can see it is to go over to the Armorama “content” site and create a build article about it! Jim just put a set of how-to vids in the General discussion forum that explain the process now that the new set-up has different systems for the forums and the content sites.
1 Like
@barkingdigger, Tom, thank you for sharing, I didn’t know about that. I’ll check it out.
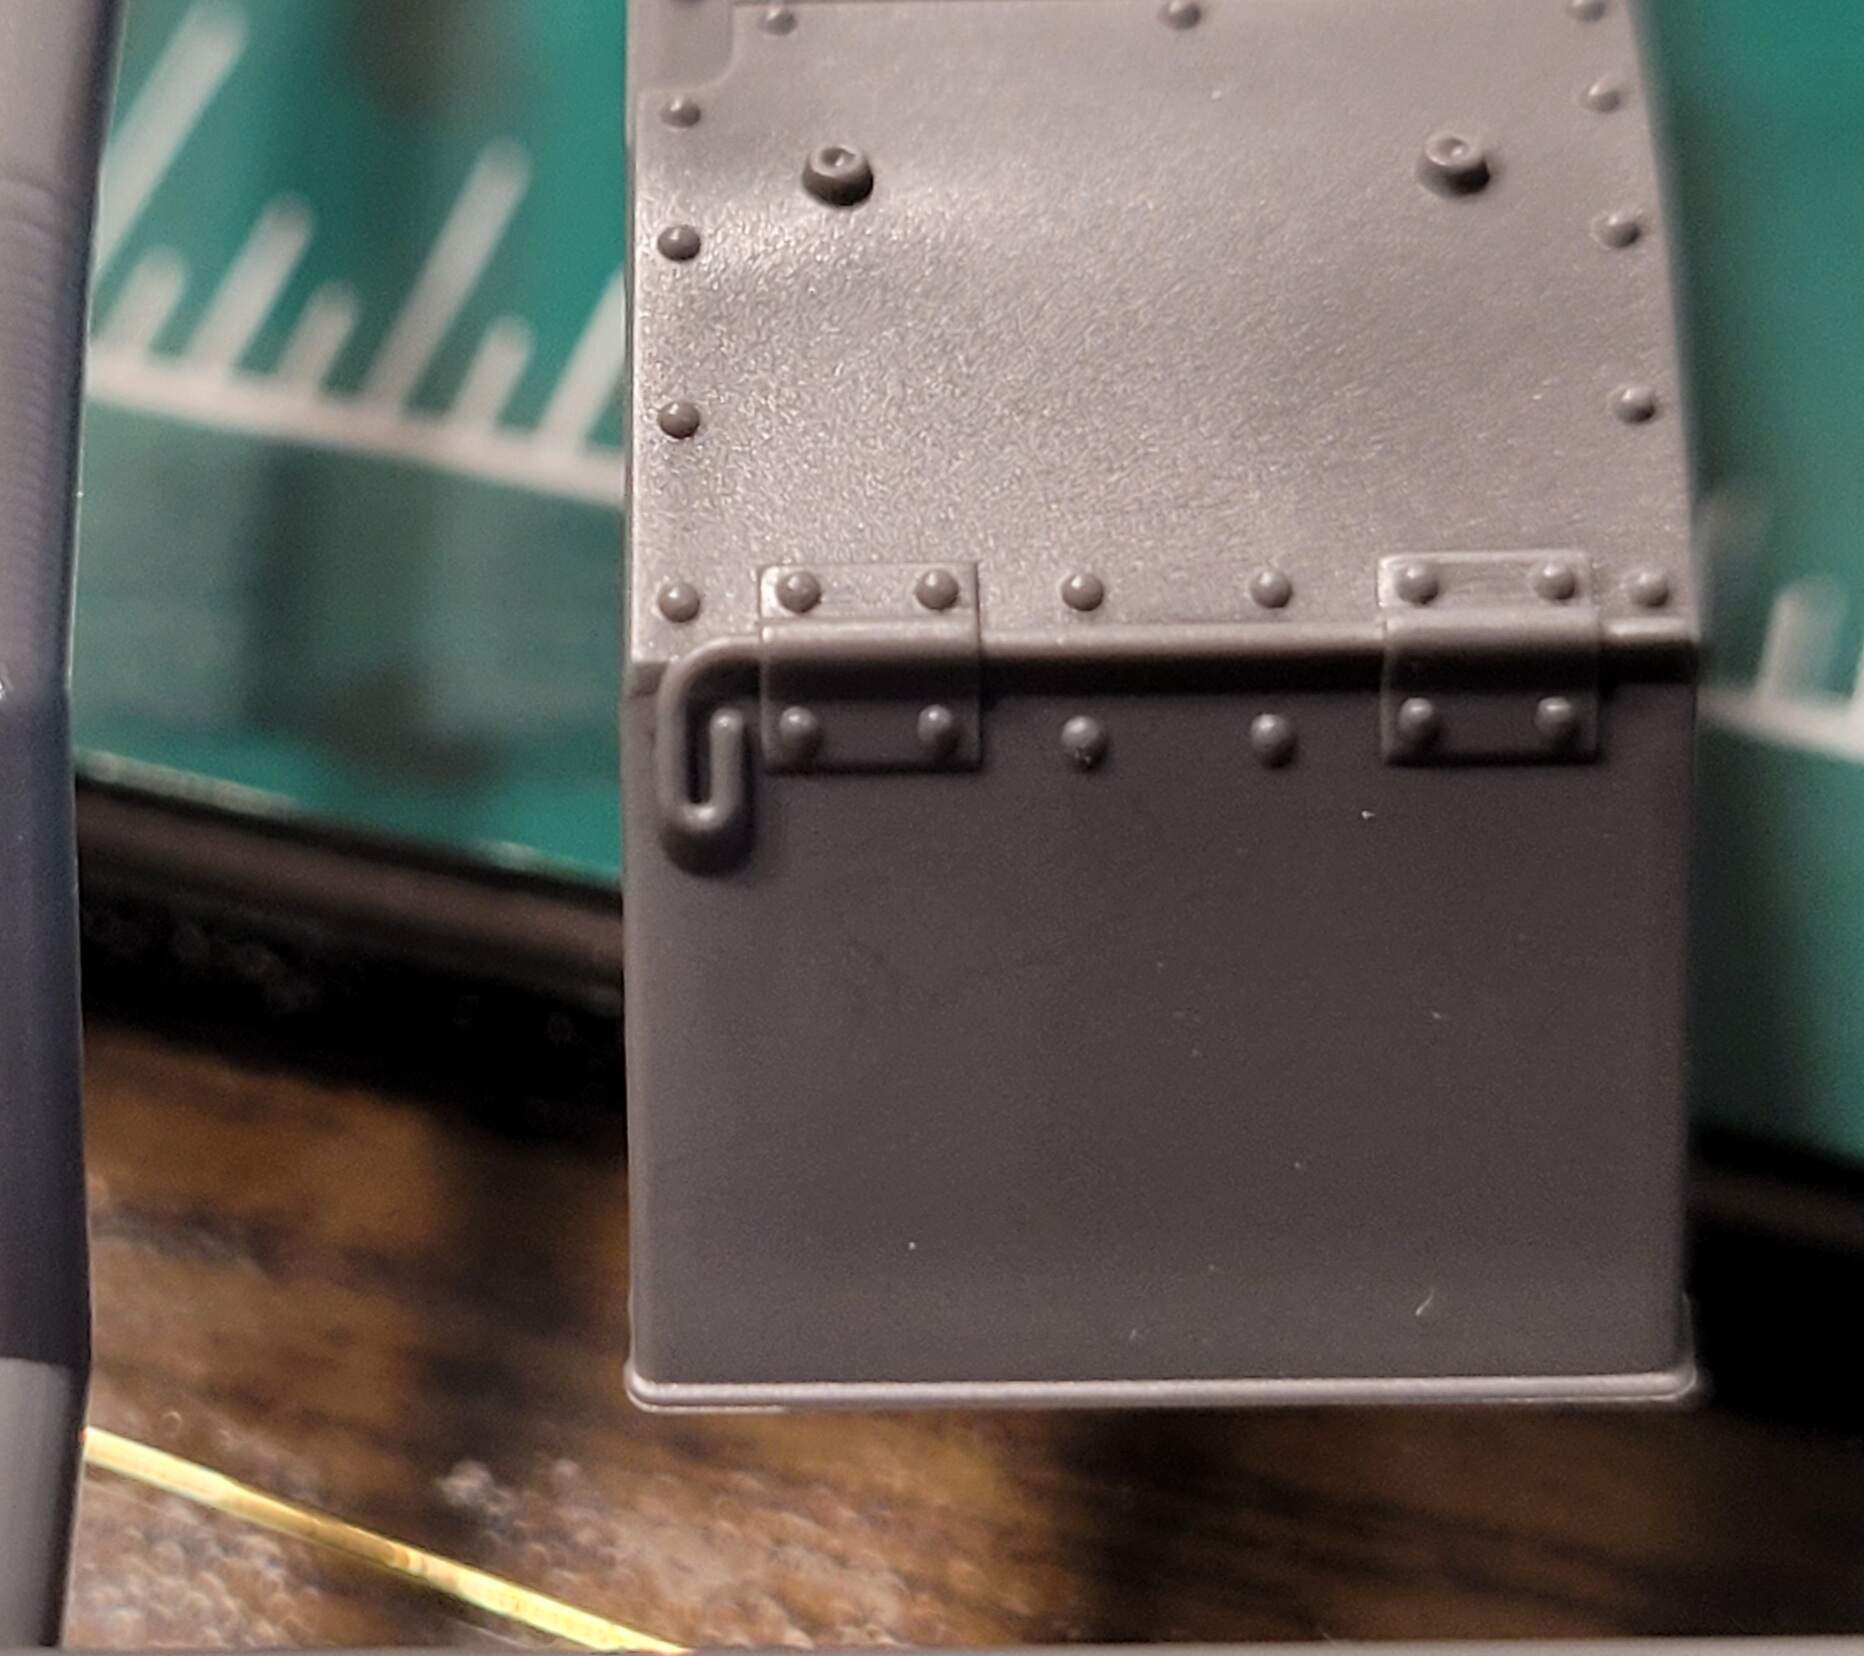
Today’s session…Unhinged!
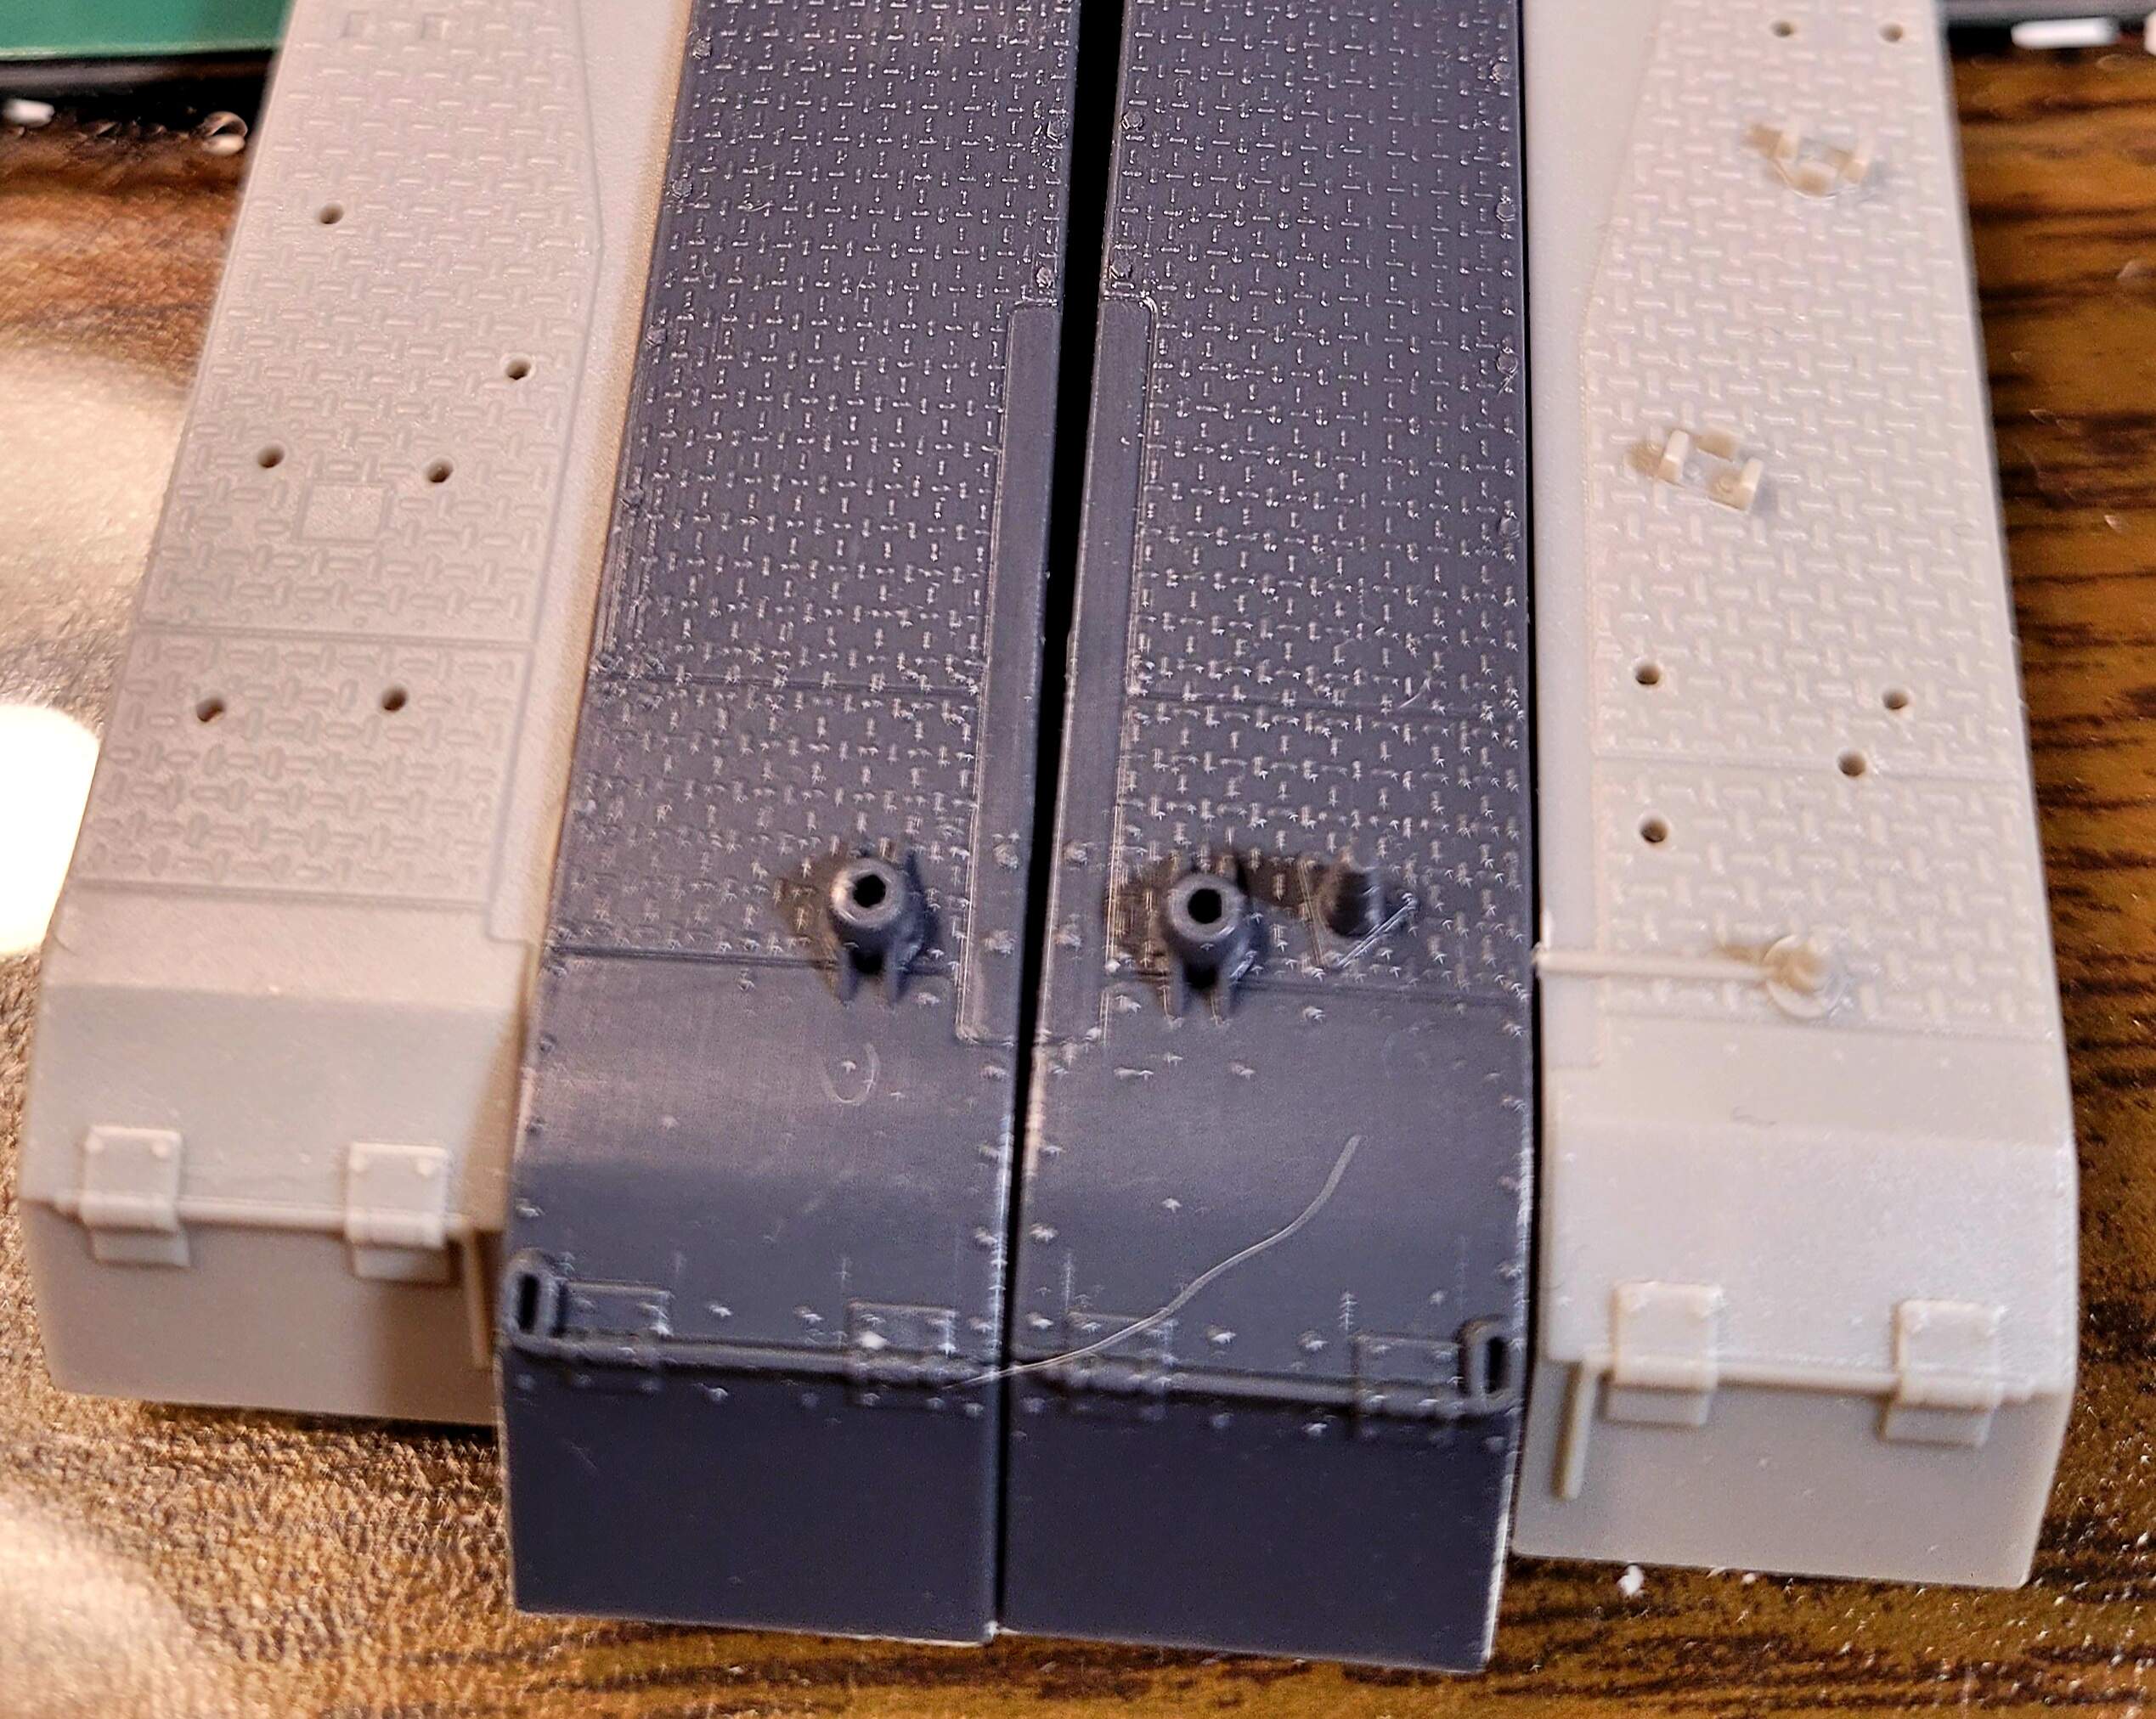
I didn’t like either set of fenders. The front hinges are OK on the dark gray but the rest is terrible. The light gray are pretty good except for the terrible hinges. With the the light gray, Imperial DML’s and removed the hinge detail.
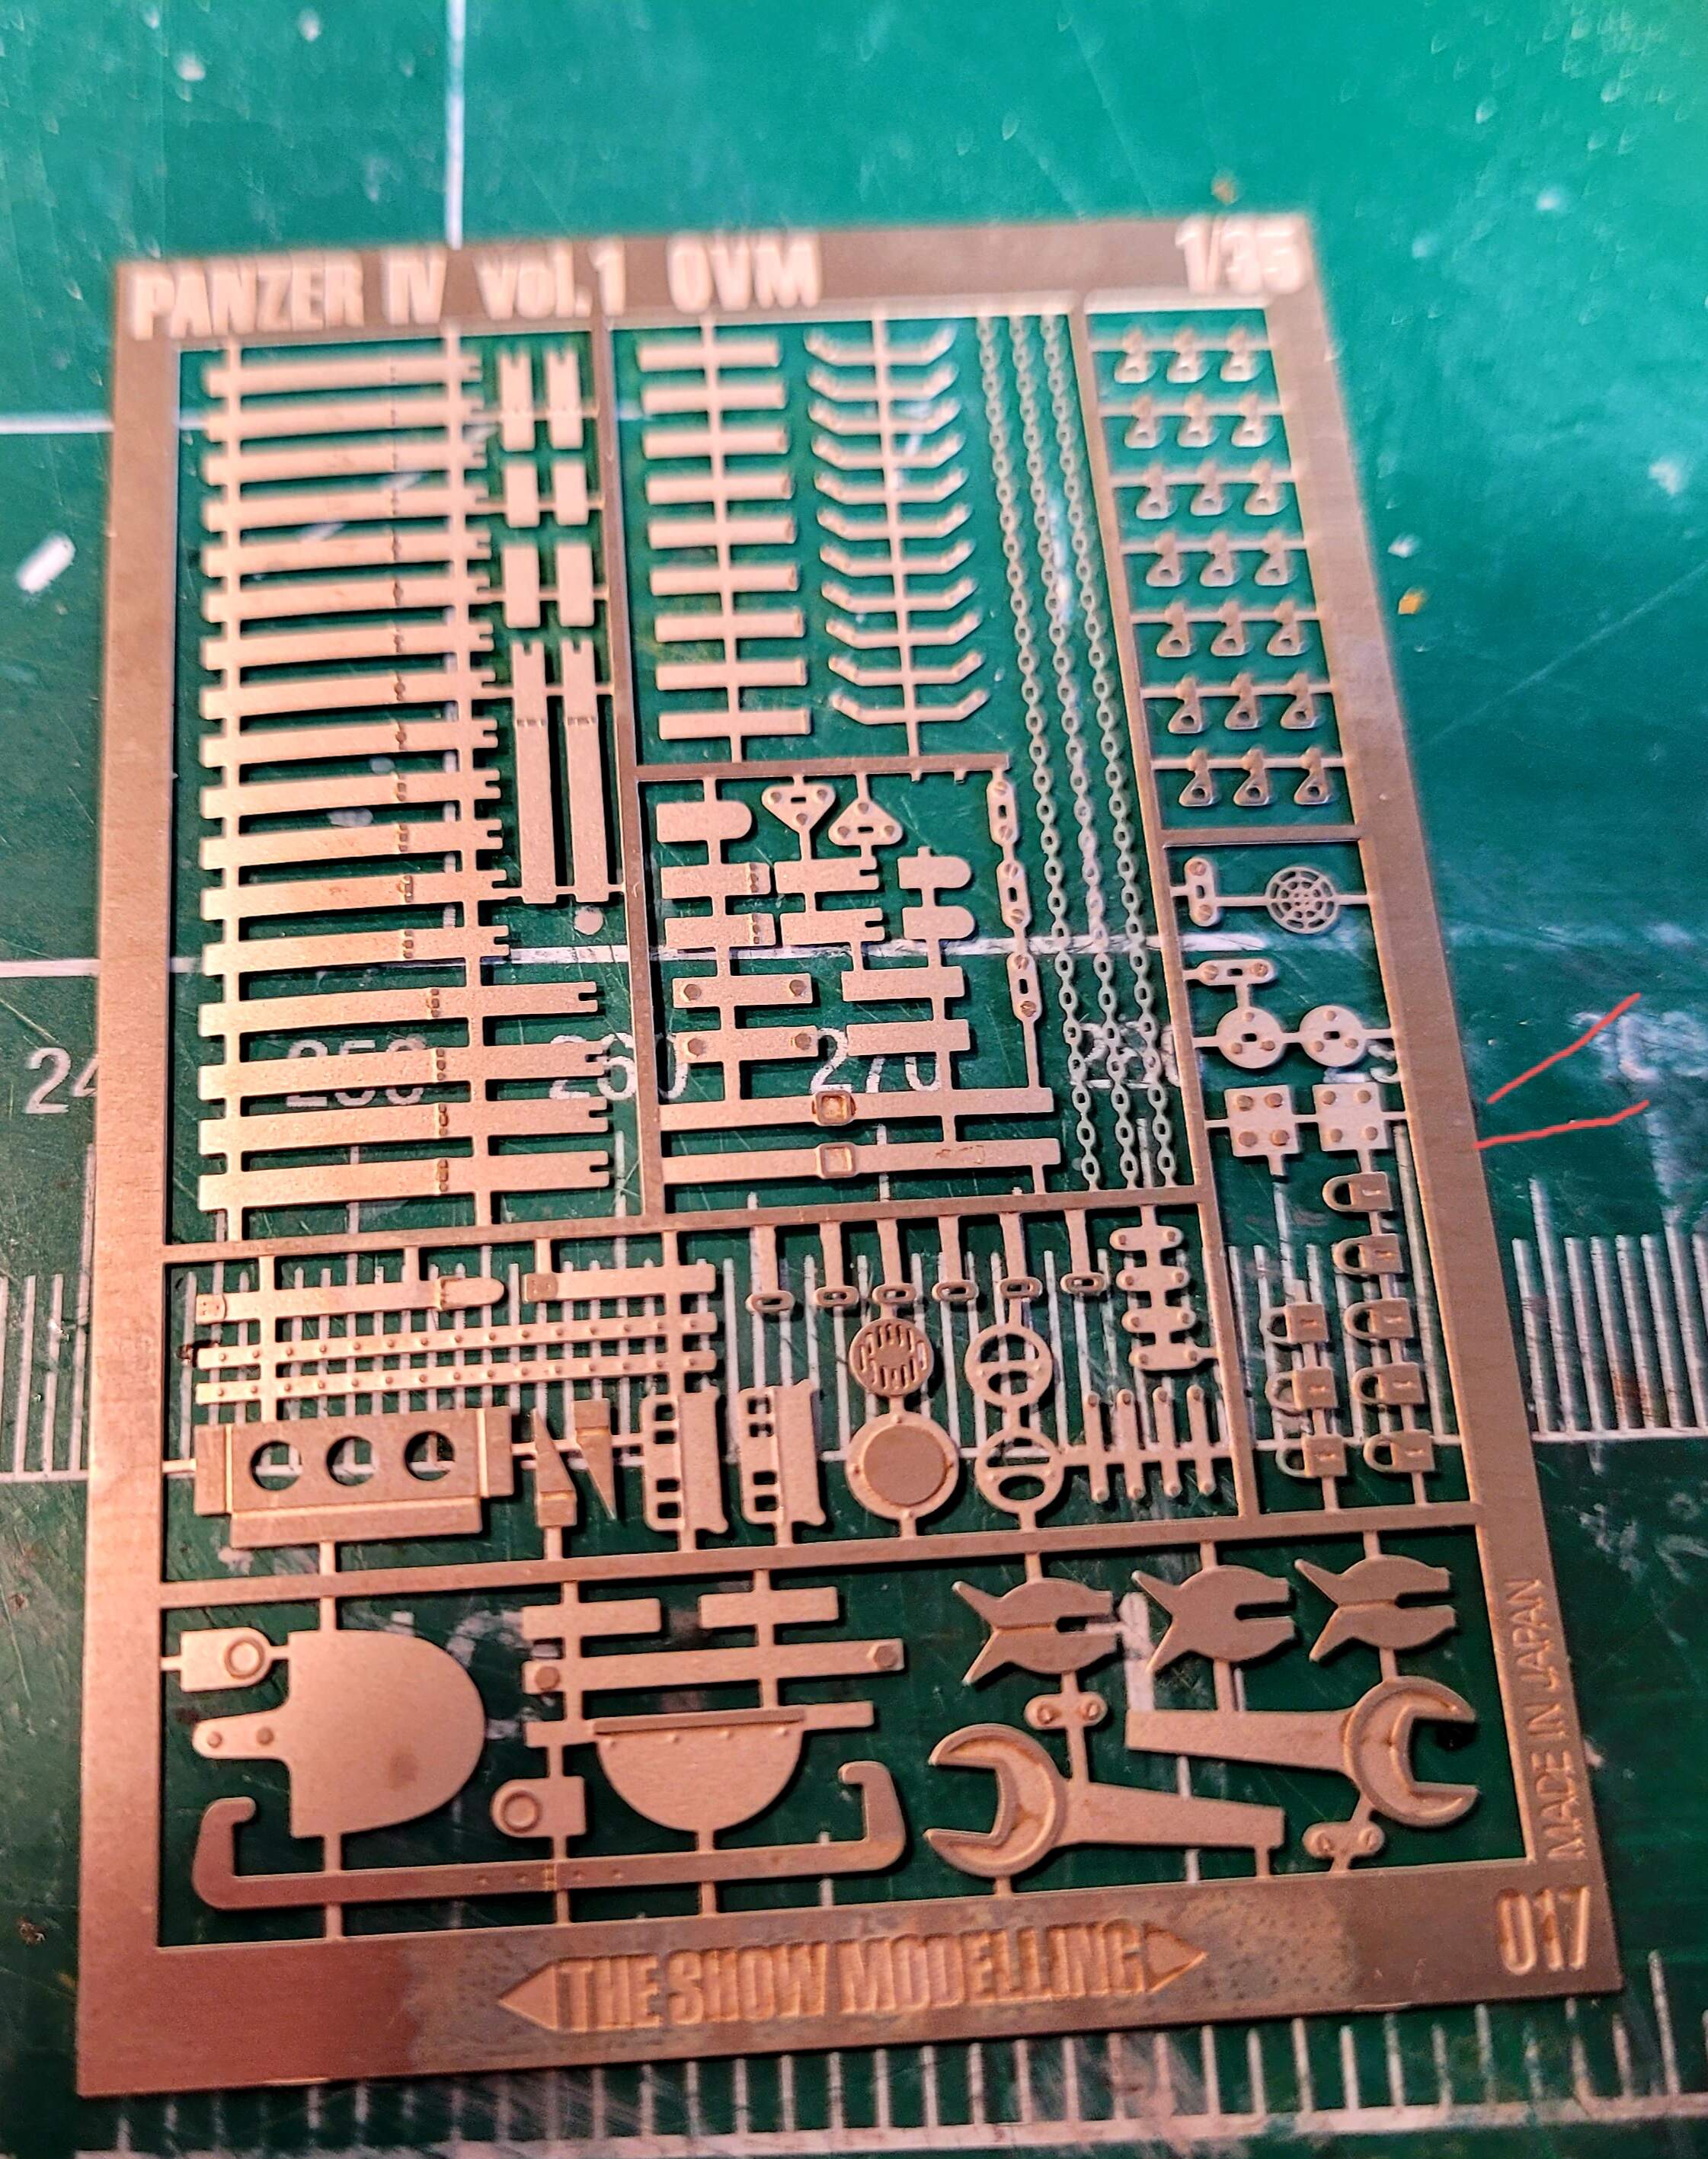
No worries, The Show Modelling has a kick ass hinge, that easy to build.
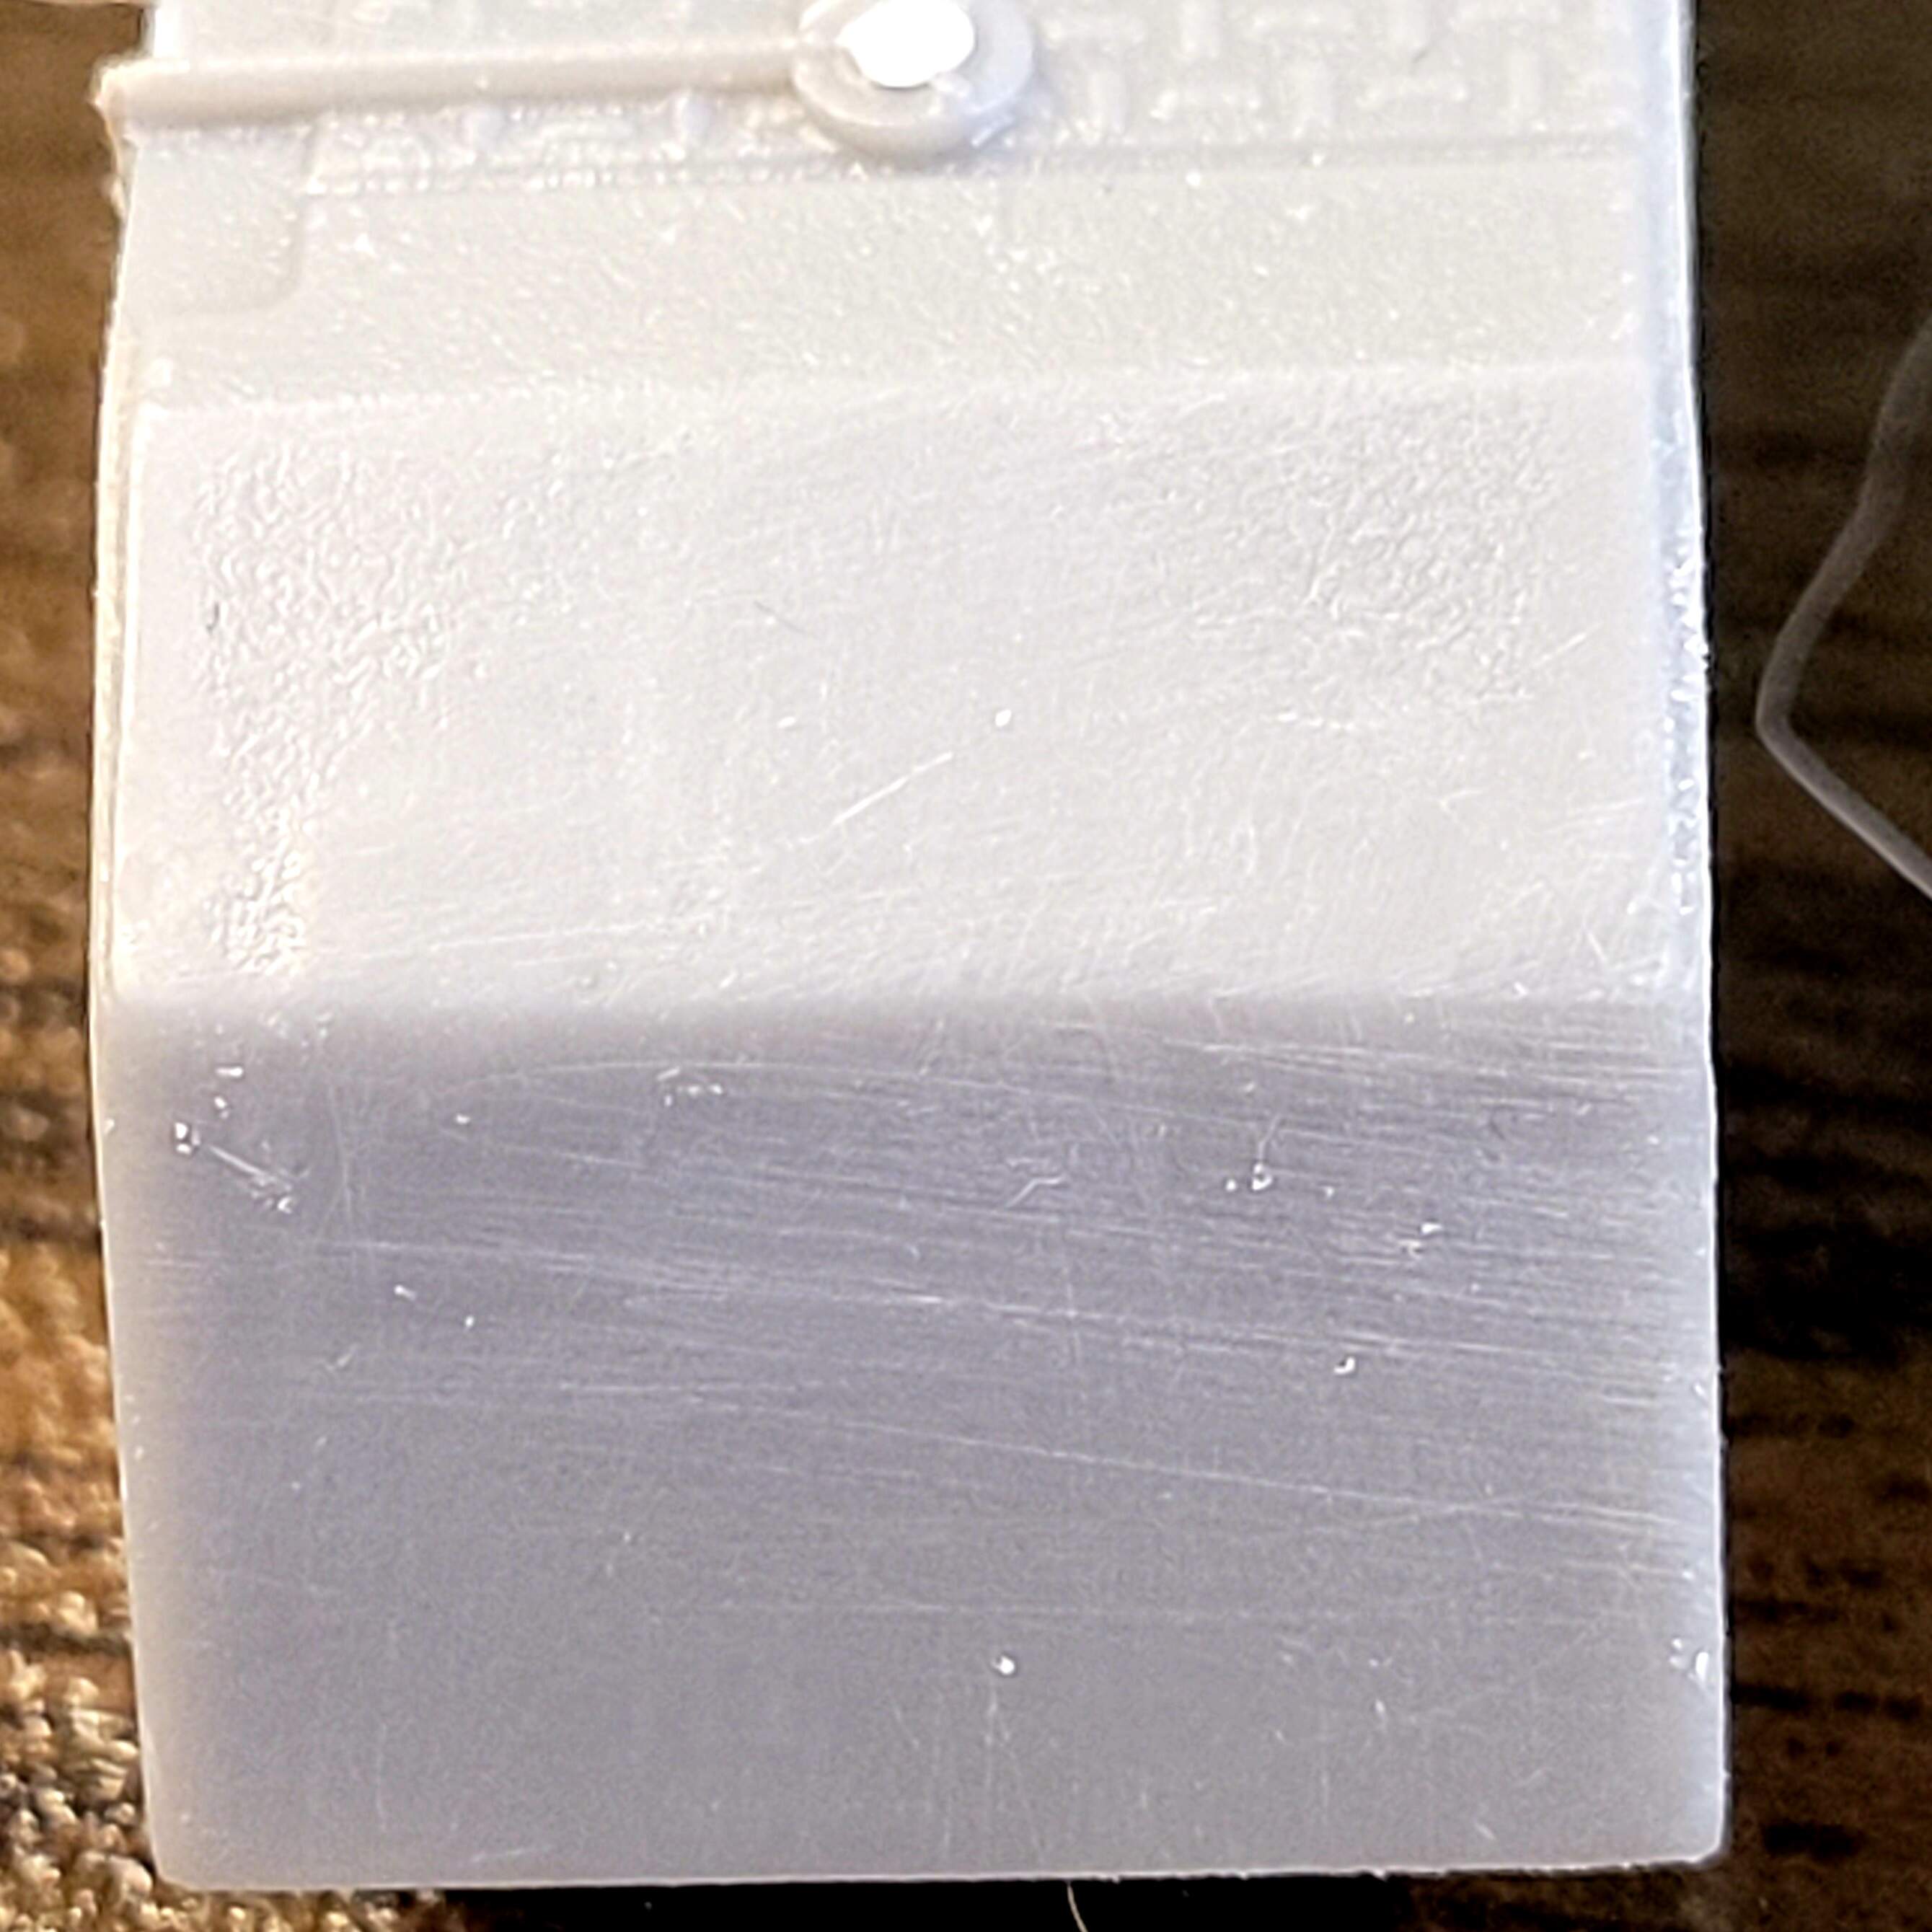
Then after both fenders are cleared of hinge detail…
That’s right…the The Show fret only has parts for one fender.

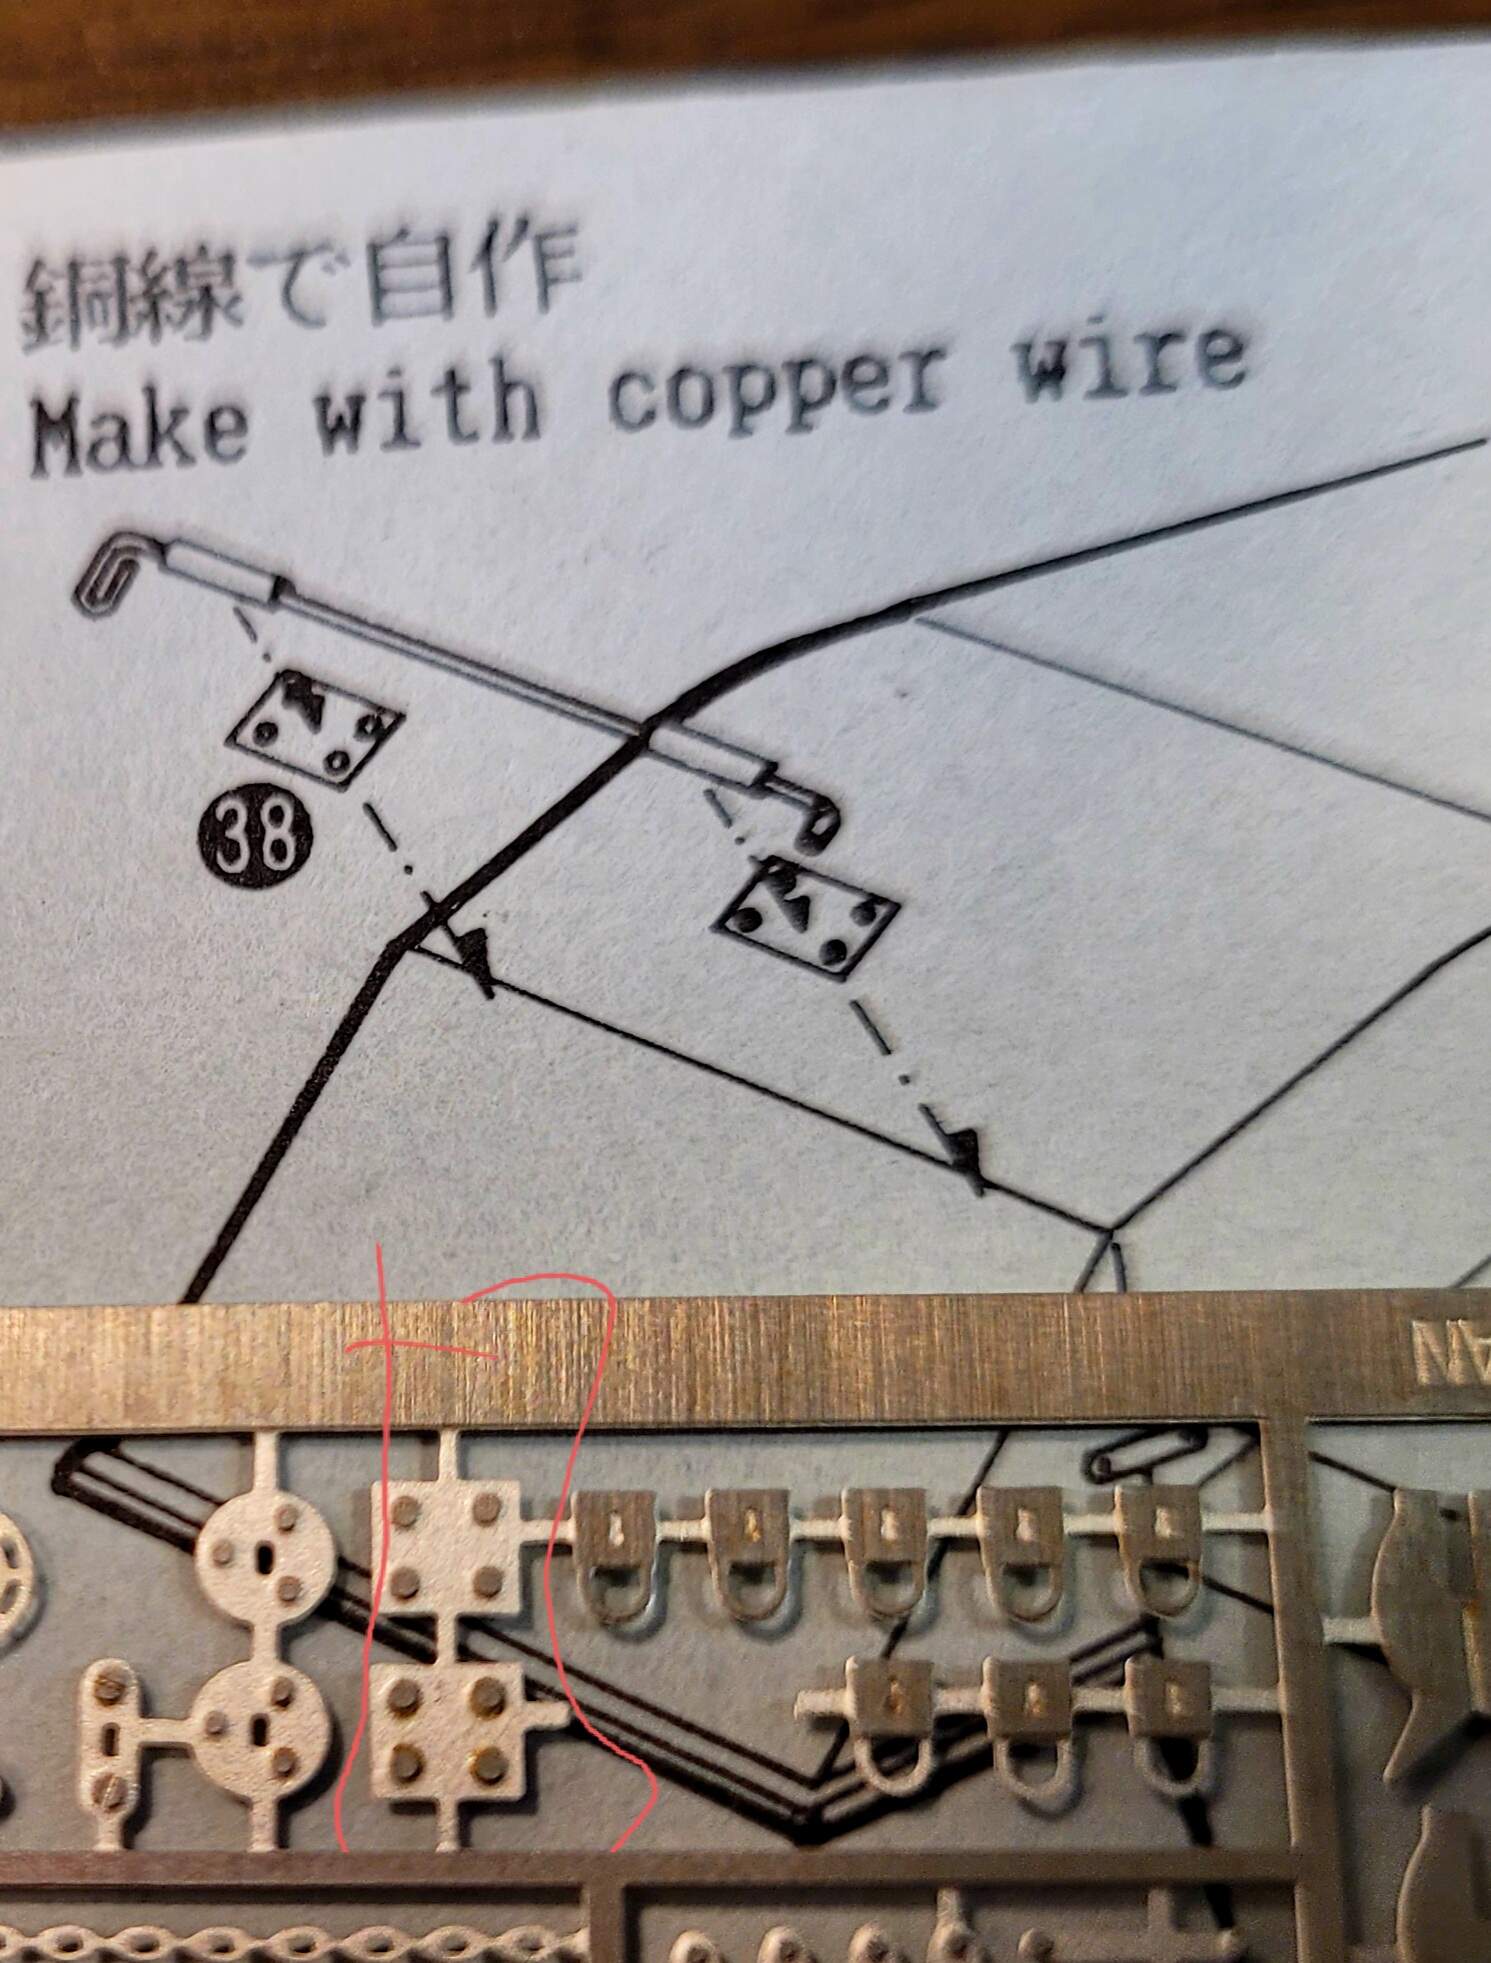
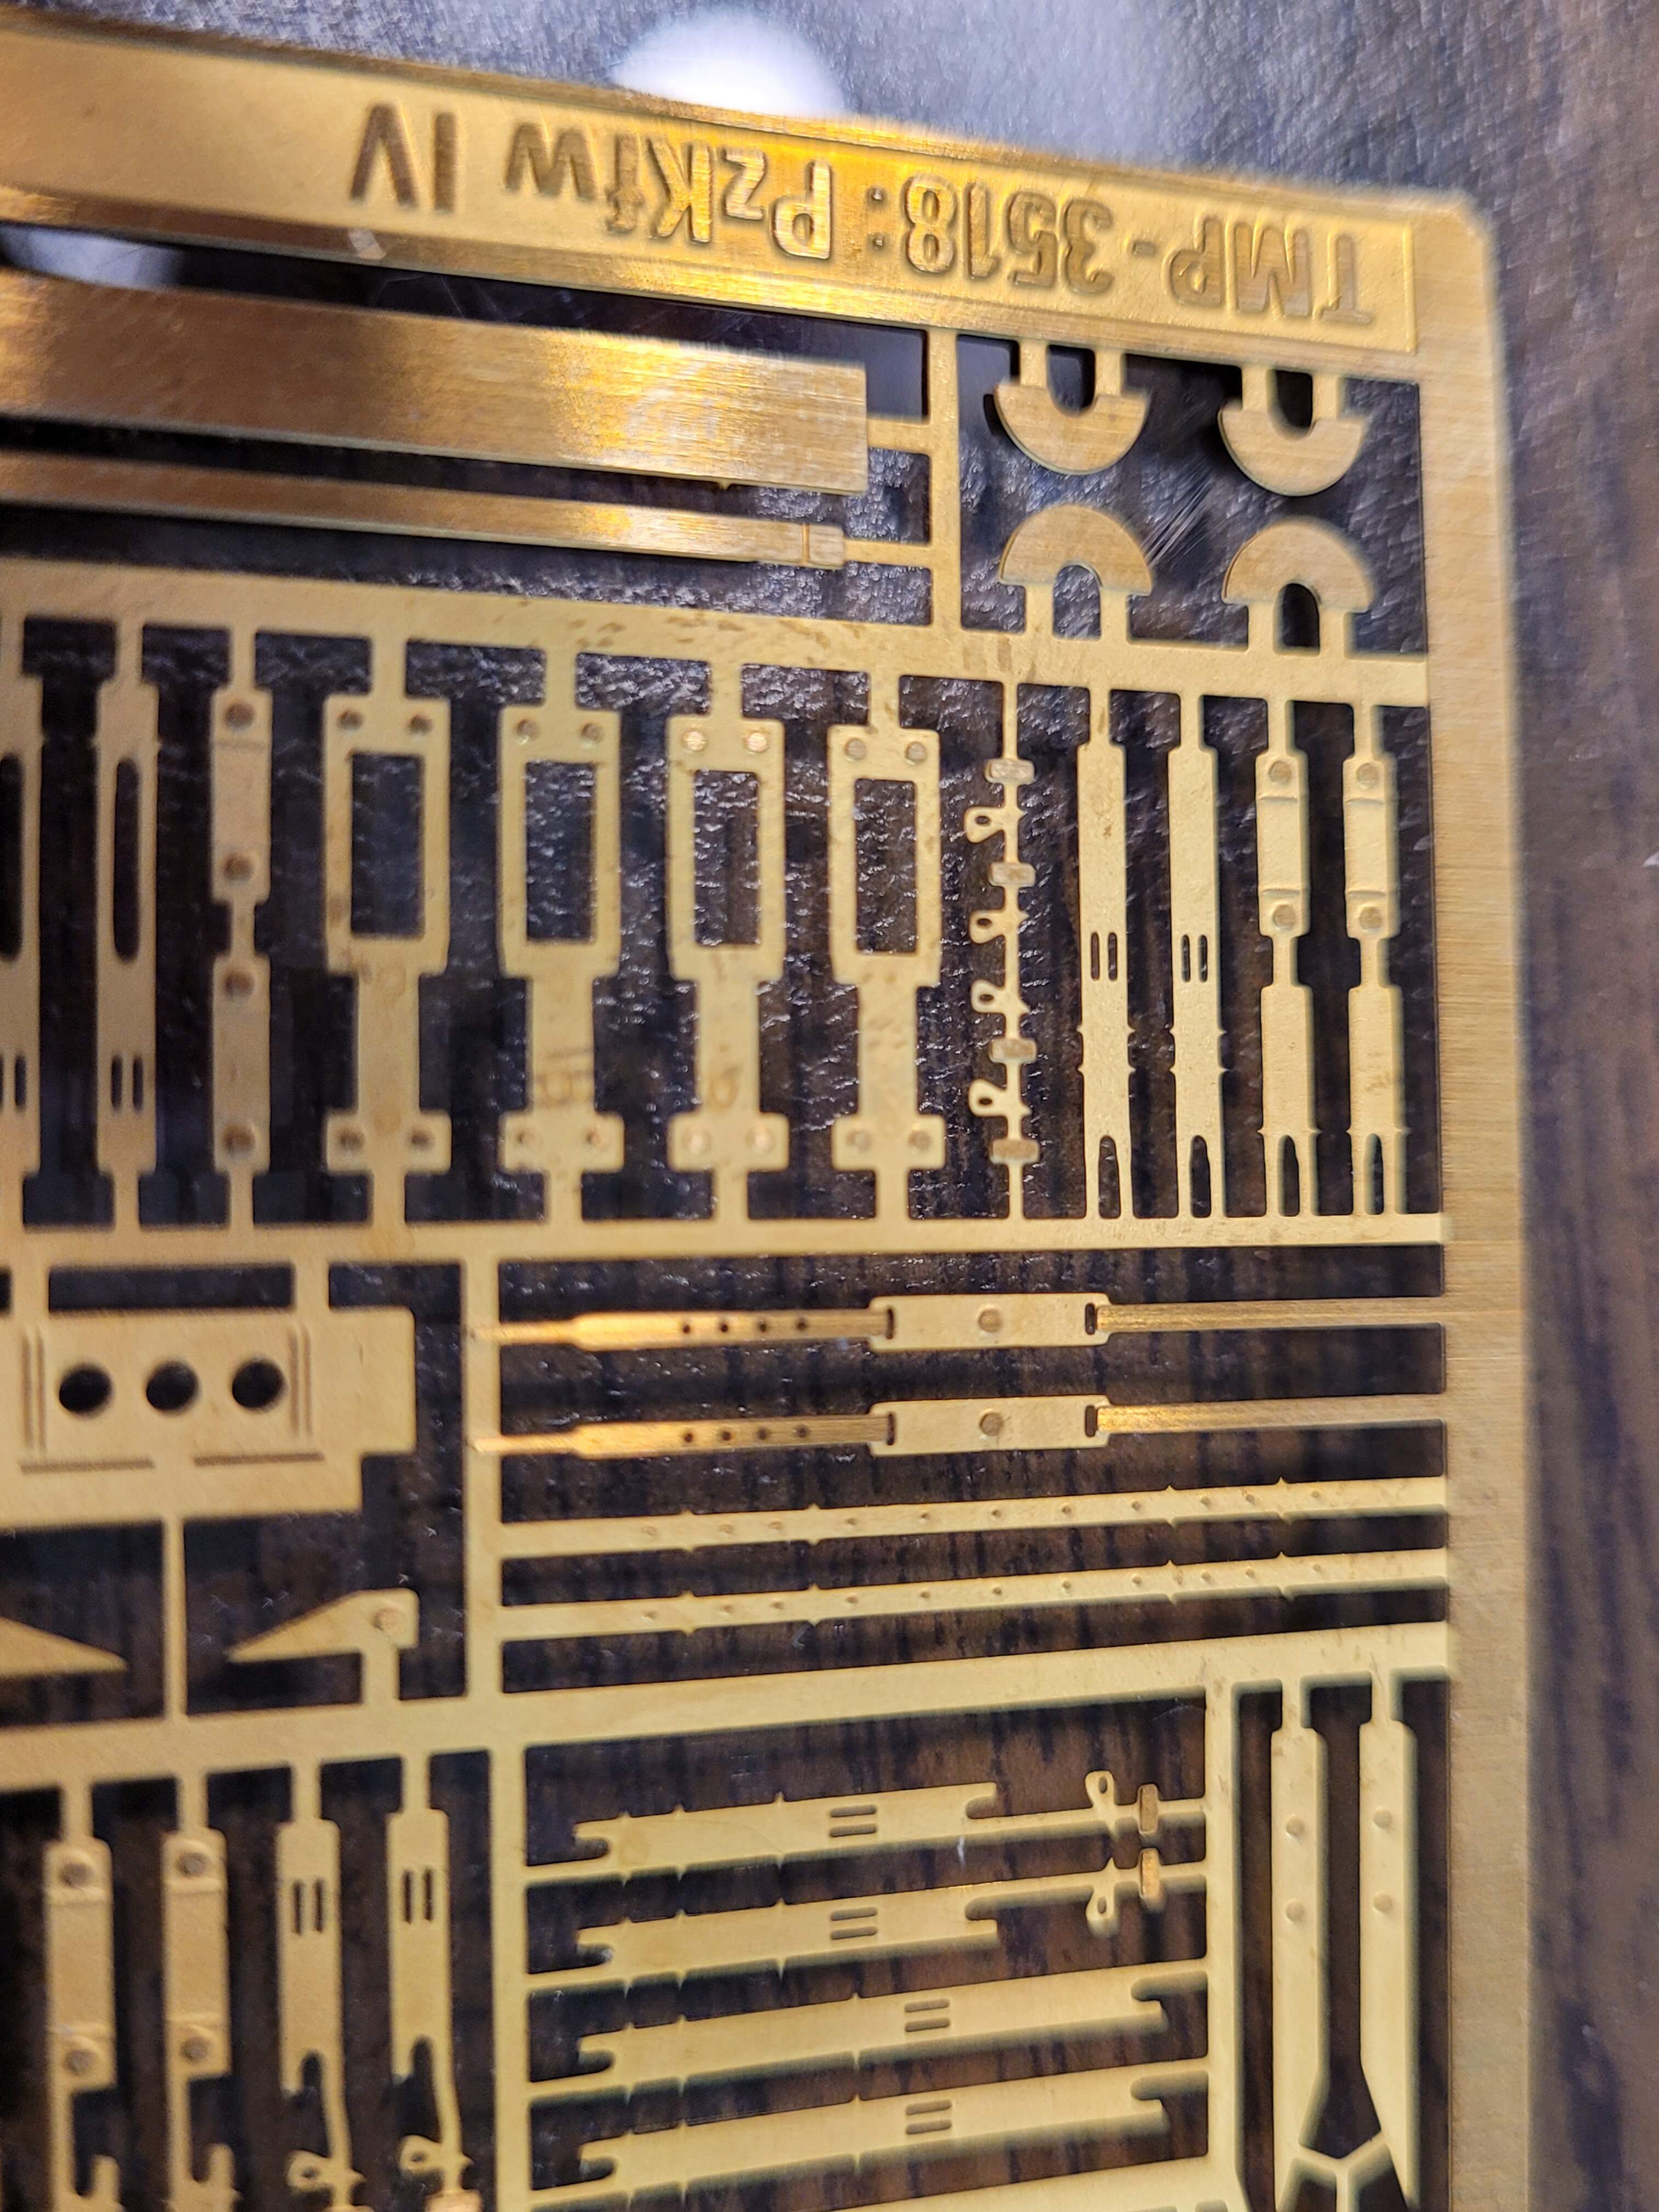
Sooo…its back to the On The Mark hinges…
This is one of the four OTM hinges.
Looks like fun times ahead…
2 Likes
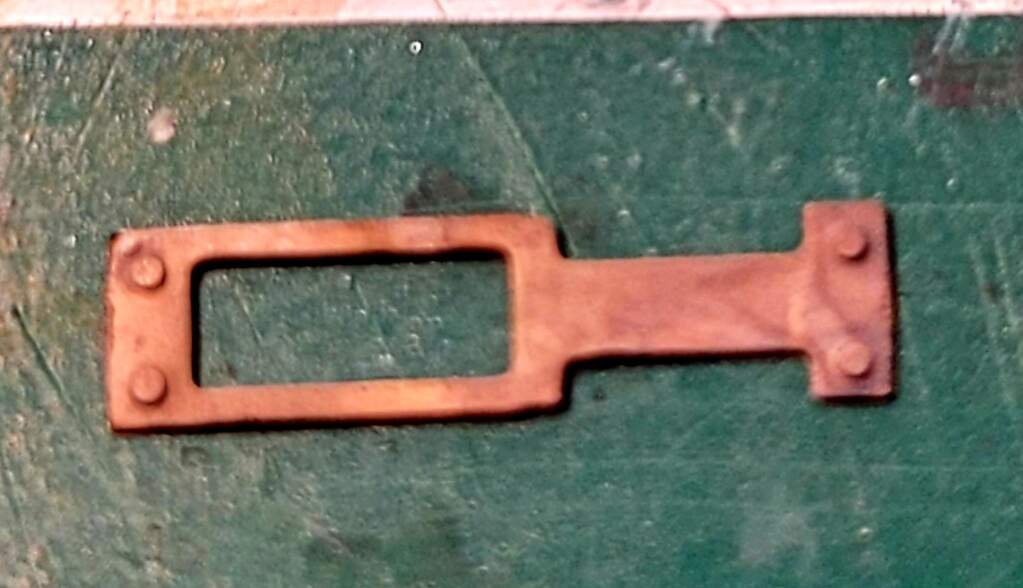
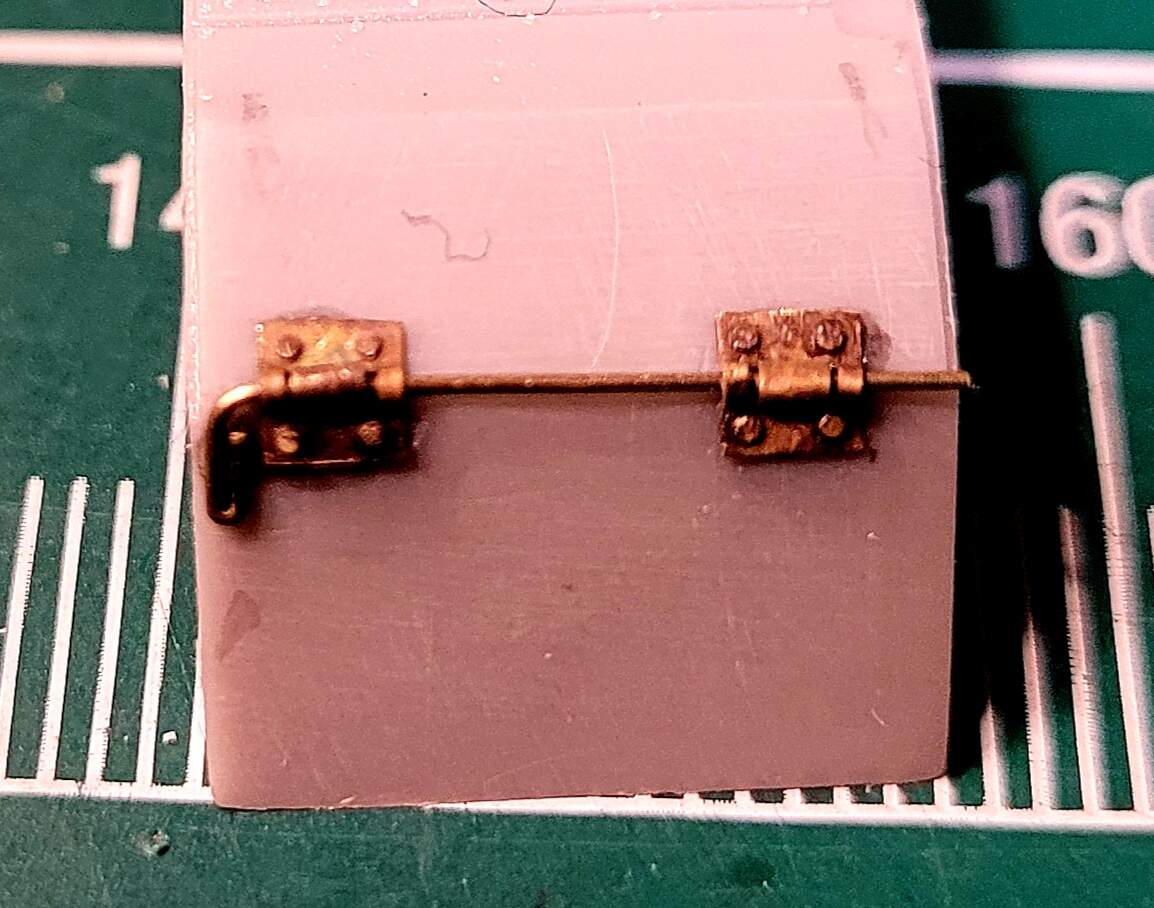
I may be in over my head with these stupid OTM hinges…
The hinges were formed around a .020 drill bit. Used .015 rod for the pin as .020 just looked way to fat. The .015 seems ok for the inside pin head. The .020 wasn’t
That .05 of leeway caused some issues.
Ripped it off and redoing due to misalignment etc.
I want it to look similar to the new Tamiya Pz IV F fender hinges.
Have to walk away from this for a while, am frustrated.
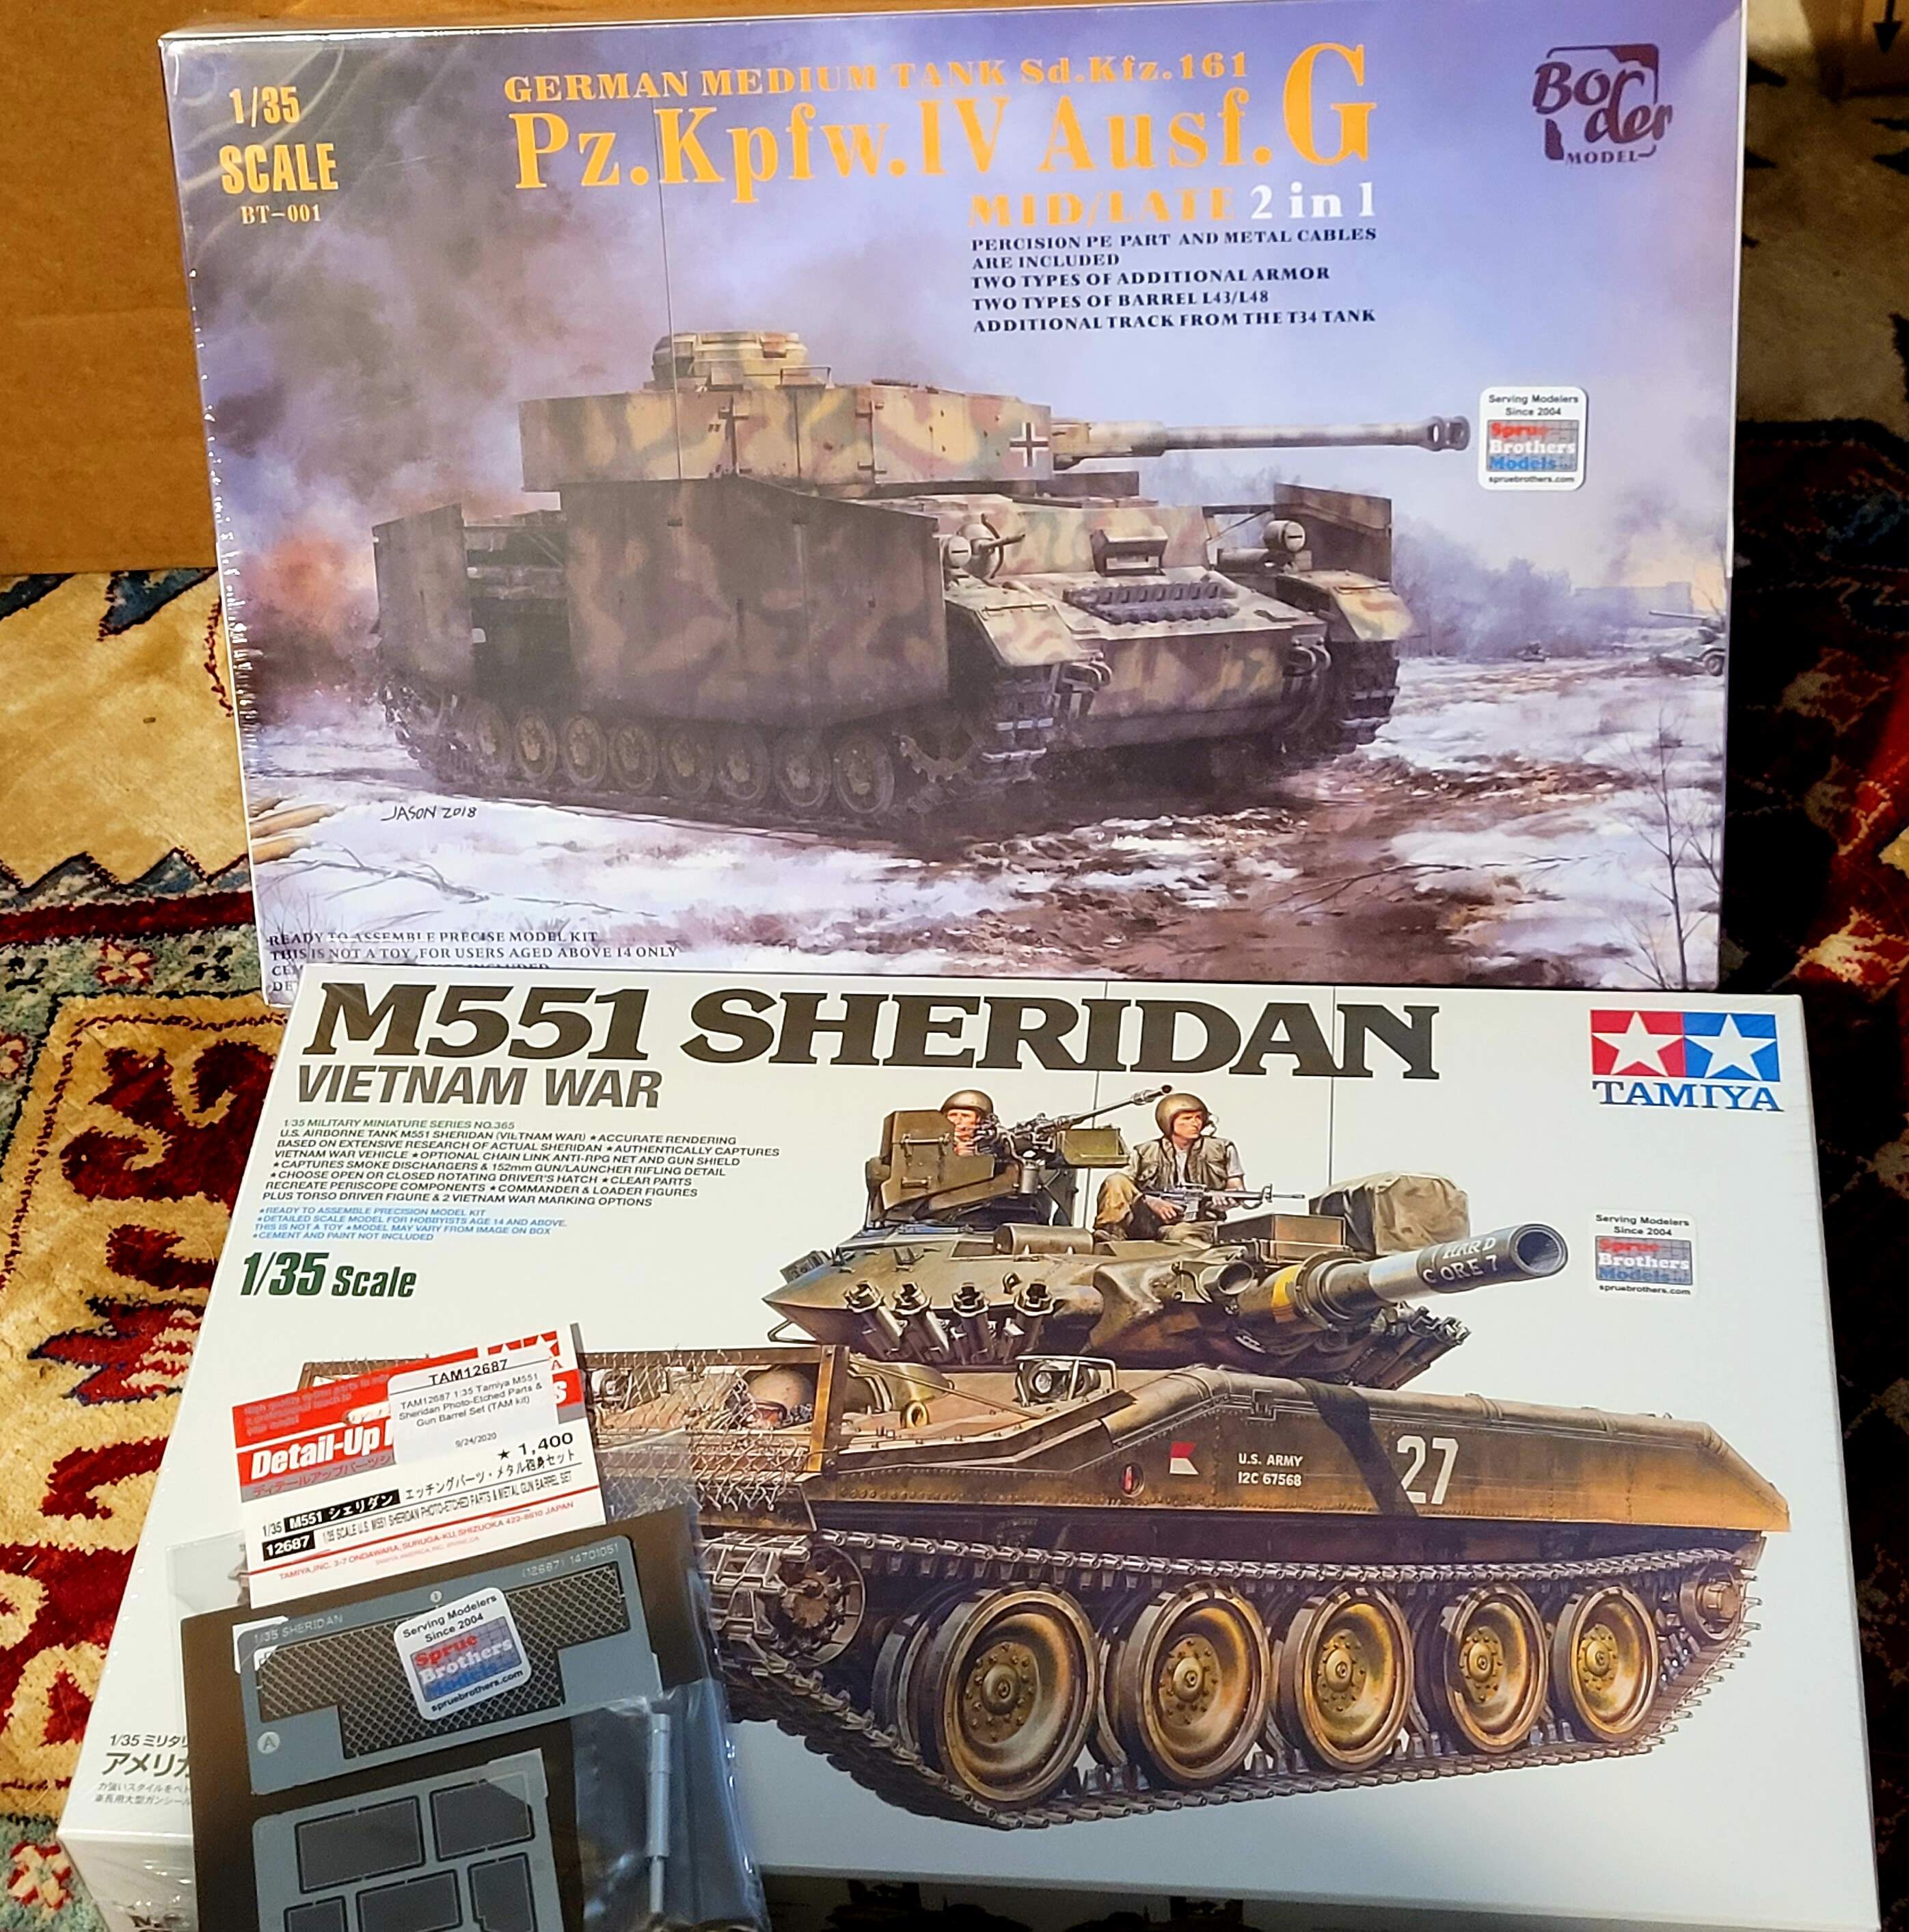
Edit - What a difference ten minutes can make in one’s attitude… a few minutes later new goodies from Sprue Brothers arrived.
The M551 Sheridan, has a special place in my heart. Way back in like 1975, my dad bought the original Tamiya Sheridan for me when I was a kid. It was the model tank I played with until it literally fell apart, was glued back together and fell apart until it was hopelessly fragile. I’ve always wanted to do a new Sheridan due to the fond memories of that first model tank & my dad.
…and the other Border Models Pz IV mid/late G. Ausf G is my specific favorite of all Pz IV’s.
2 Likes
Amazing job on your kit so far !
Like the new models too! I have the Tamiya kit can’t wait to build it.
1 Like
Yeah, the M551 is a crackin’ kit! A better and more accurate build than the Academy one, with all the easy fit Tamiya is famous for.
1 Like
Failure #5
It looks crappy & pin is in backwards.
Calling it a day.
1 Like
Thats a shame Wade, but Im sure you will figure it out!
Sometimes Darth it’s just not your day. You’ve got to just hang it up and go weave a potholder.
1 Like
Indeed, its a excellent time to catch up on the last season of Vikings.
Plan
A) I’ll try the PE once more,
B) scratch build hinges.
C) resin cast copy of the hinge details.
Last Resort
D) drop out of the Antique build and slap a spare set of new Dragon fenders on to finish the model
2 Likes
You left out E) slap on the new Dragon fenders and don’t tell anyone… 
2 Likes
@barkingdigger, Tom opinion E definitely puts a smile on my face.
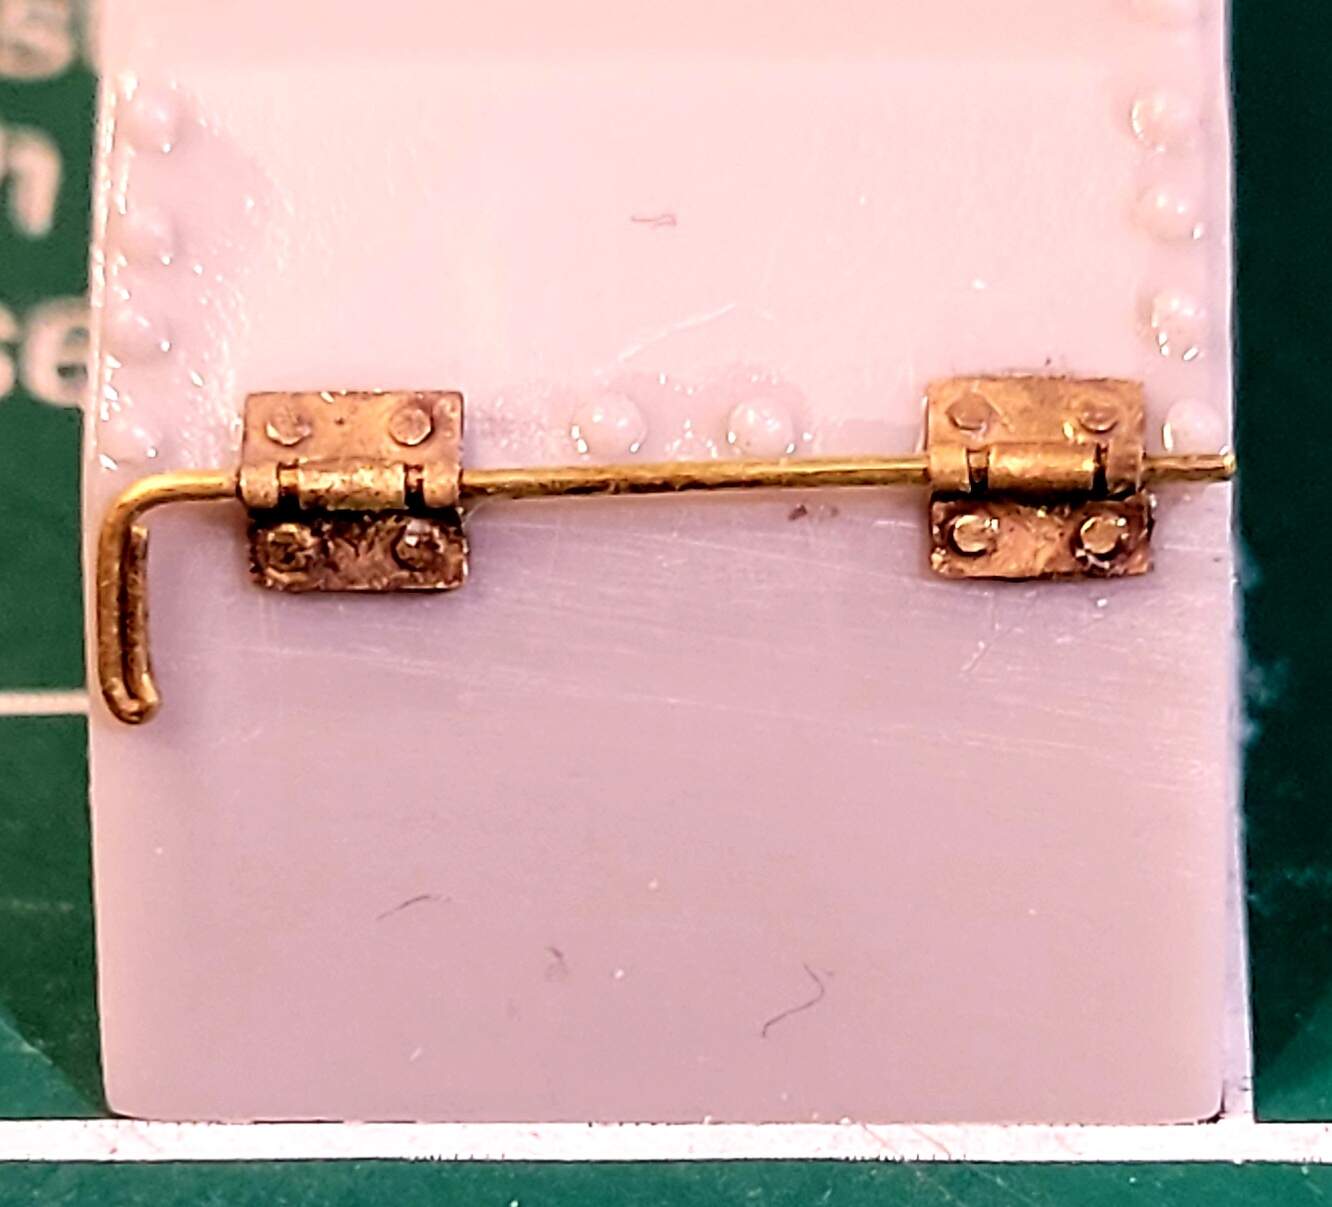
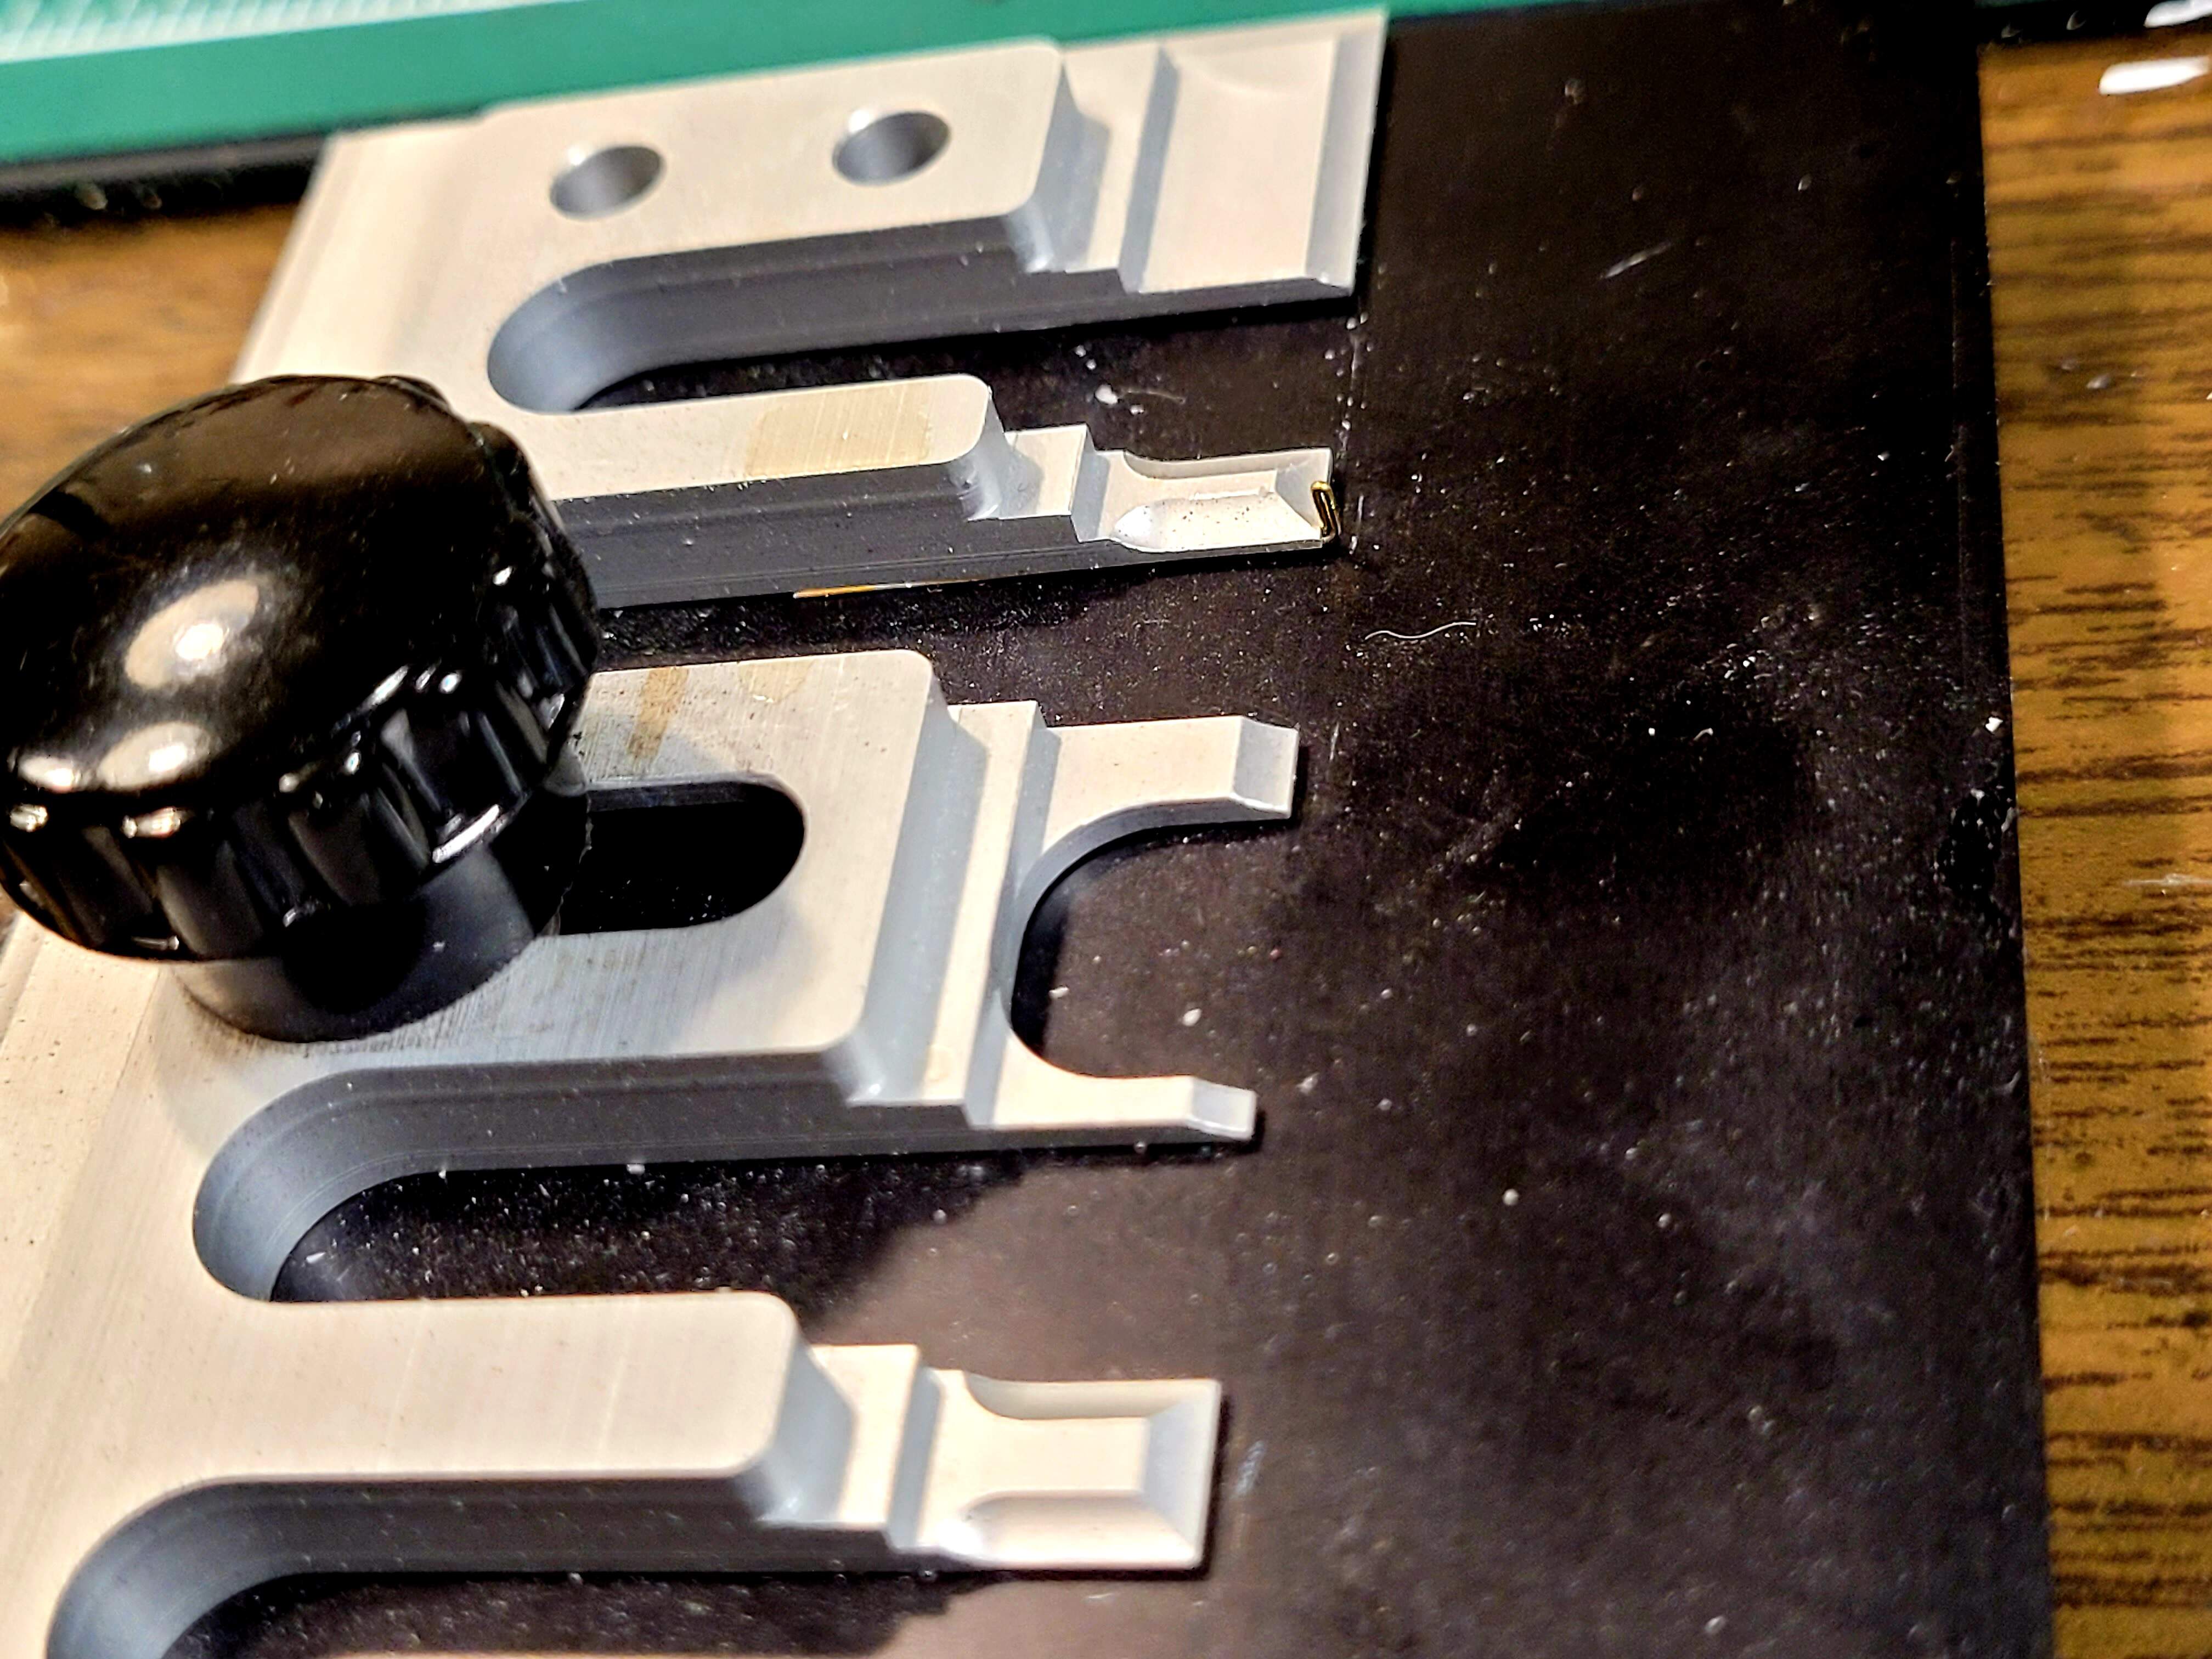
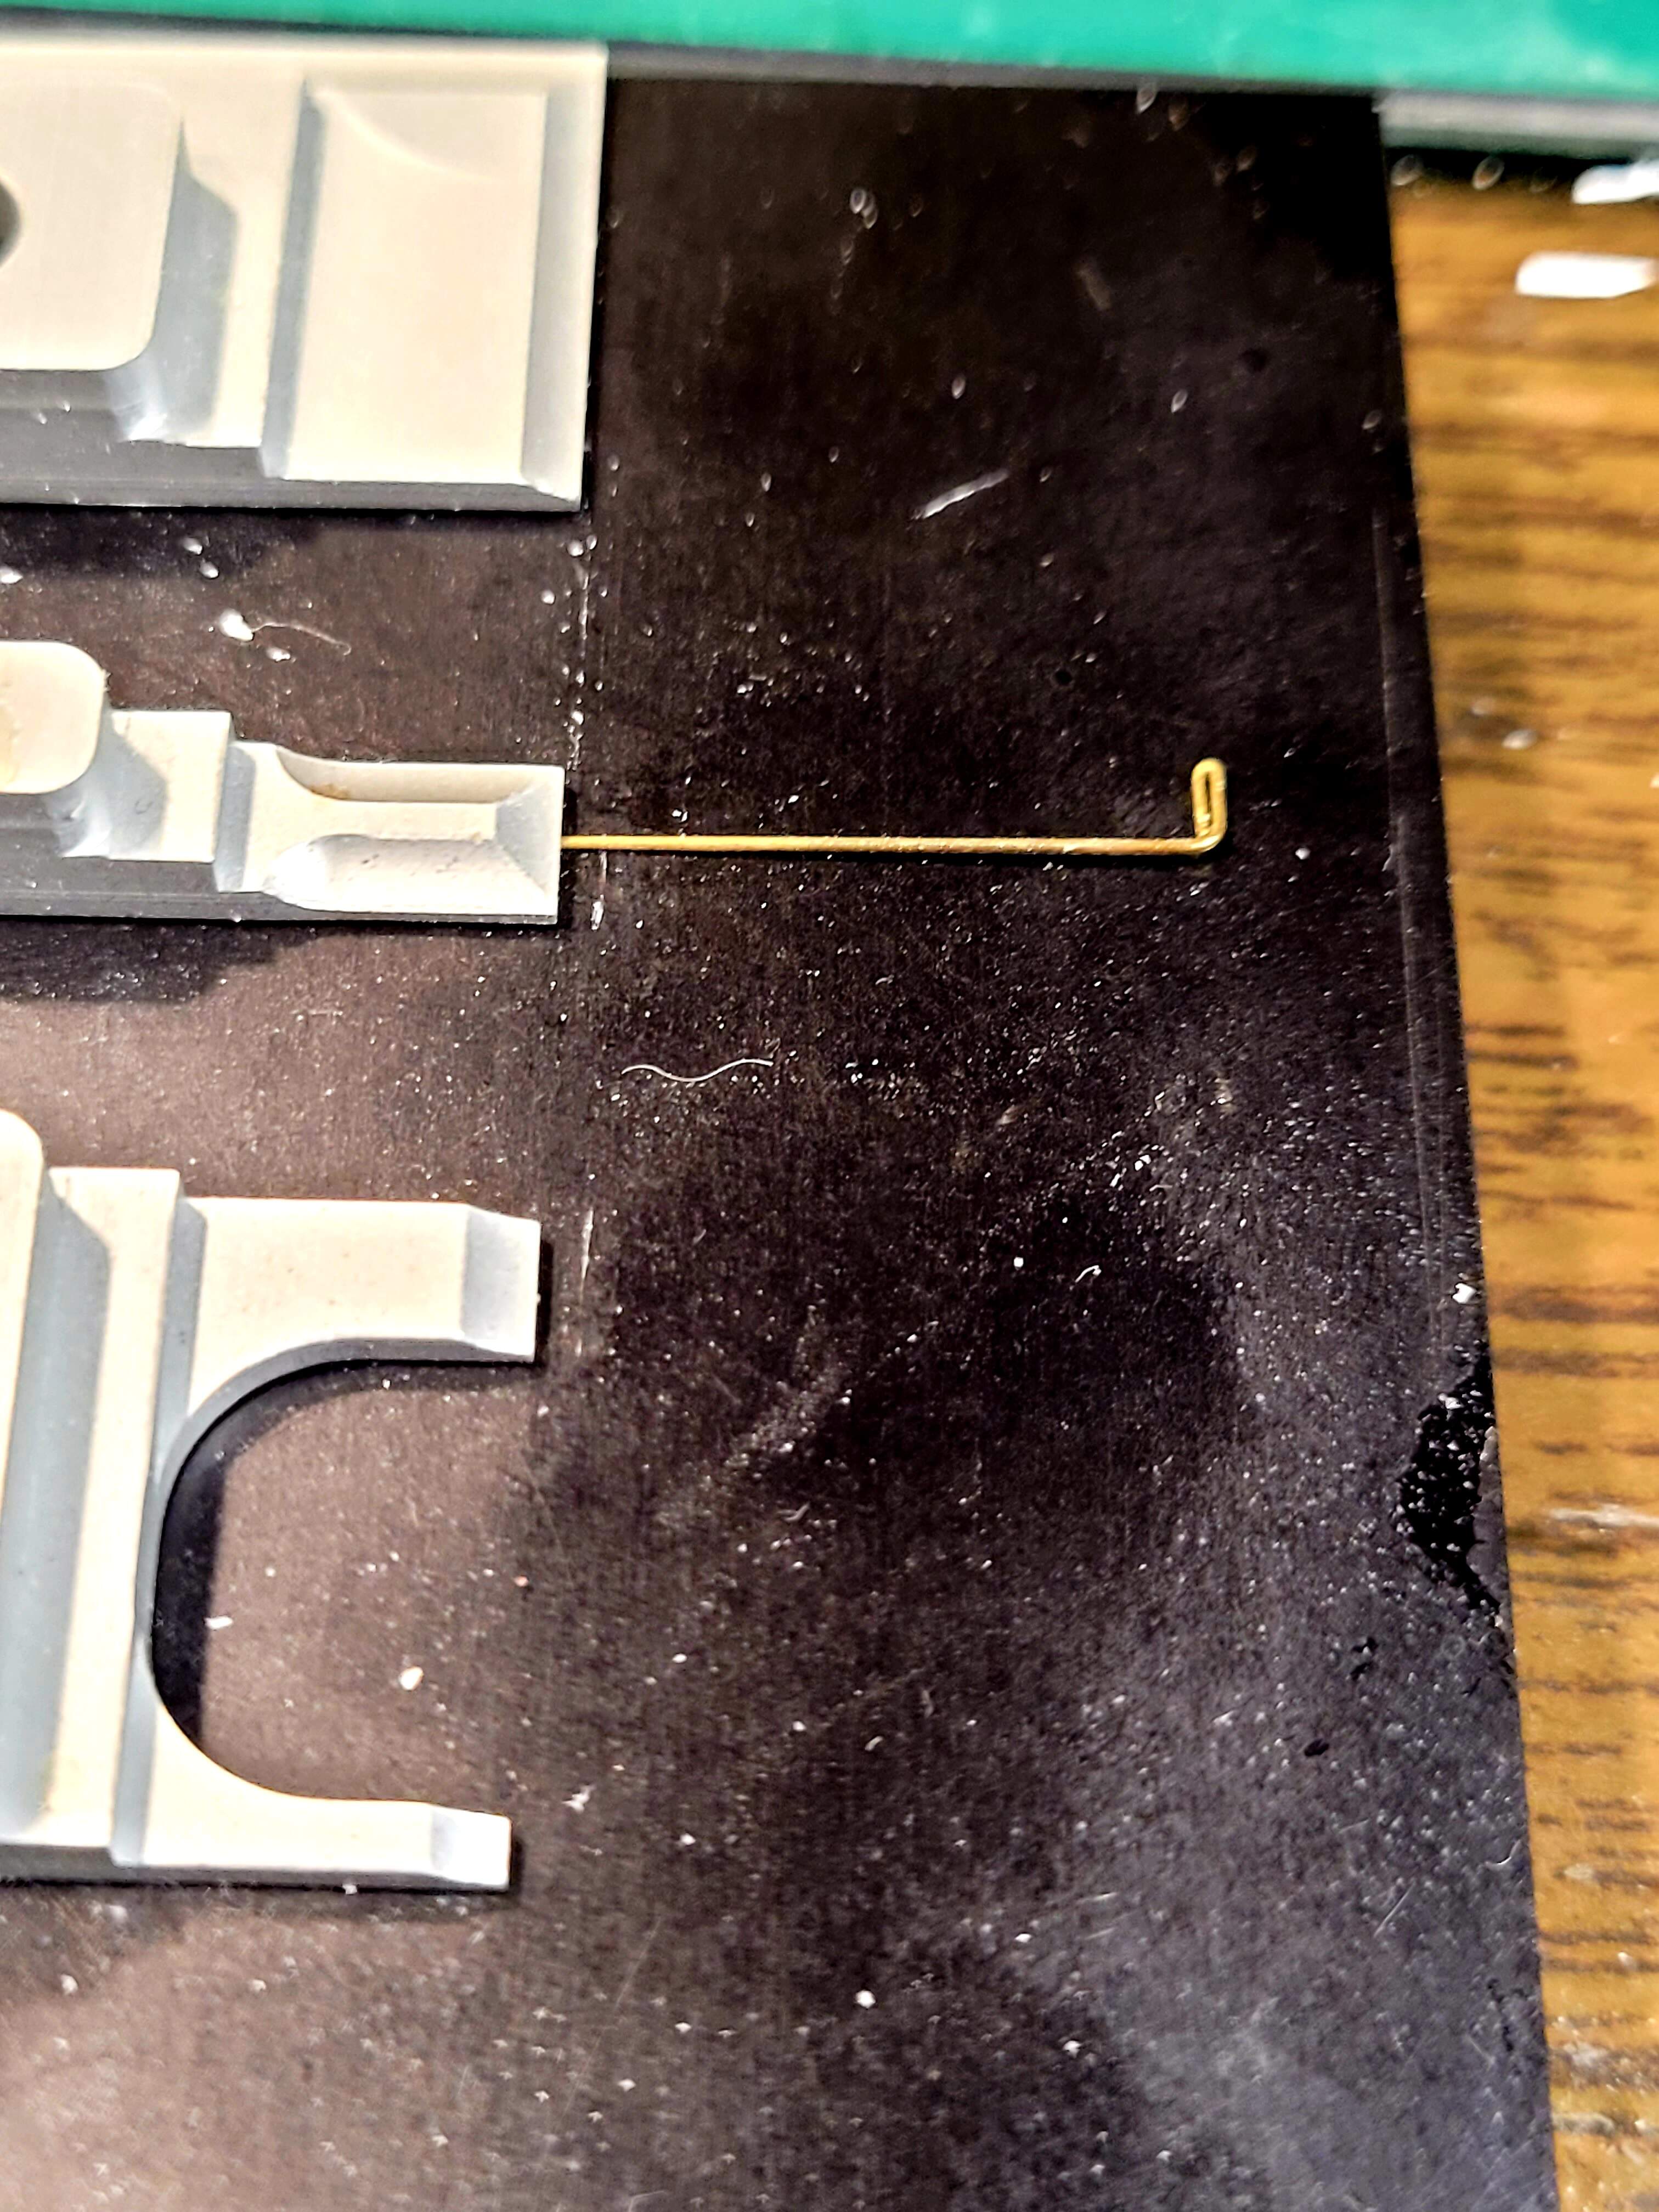
Reworking the PE currently, unfolded it and pressed flat. The hinge parts previously had a .020 radius and .015 rod/wire tightening the parts to .016 radius for the .015 wire.
Also changed procedure, previously bent the PE around a fixed drill bit. This locking the PE down in the EtchMate then bending pe around drill bit.
First two parts seemed to have less slop and line up better…
Fiddly PE isn’t something I like modeling. So my PE skilz are pretty lame.
3 Likes
Redo #10 with added rivets.
3 Likes
Just went through this build and have to say WOW! You have done an amazing job of reconstructing a hairy old kit Wade, you have far more patience than I will ever have I think. I agree it will be shame to paint this right away and cover up all your hard work and exquisite detailing.
3 Likes
Looks pretty good to me Wade 
1 Like
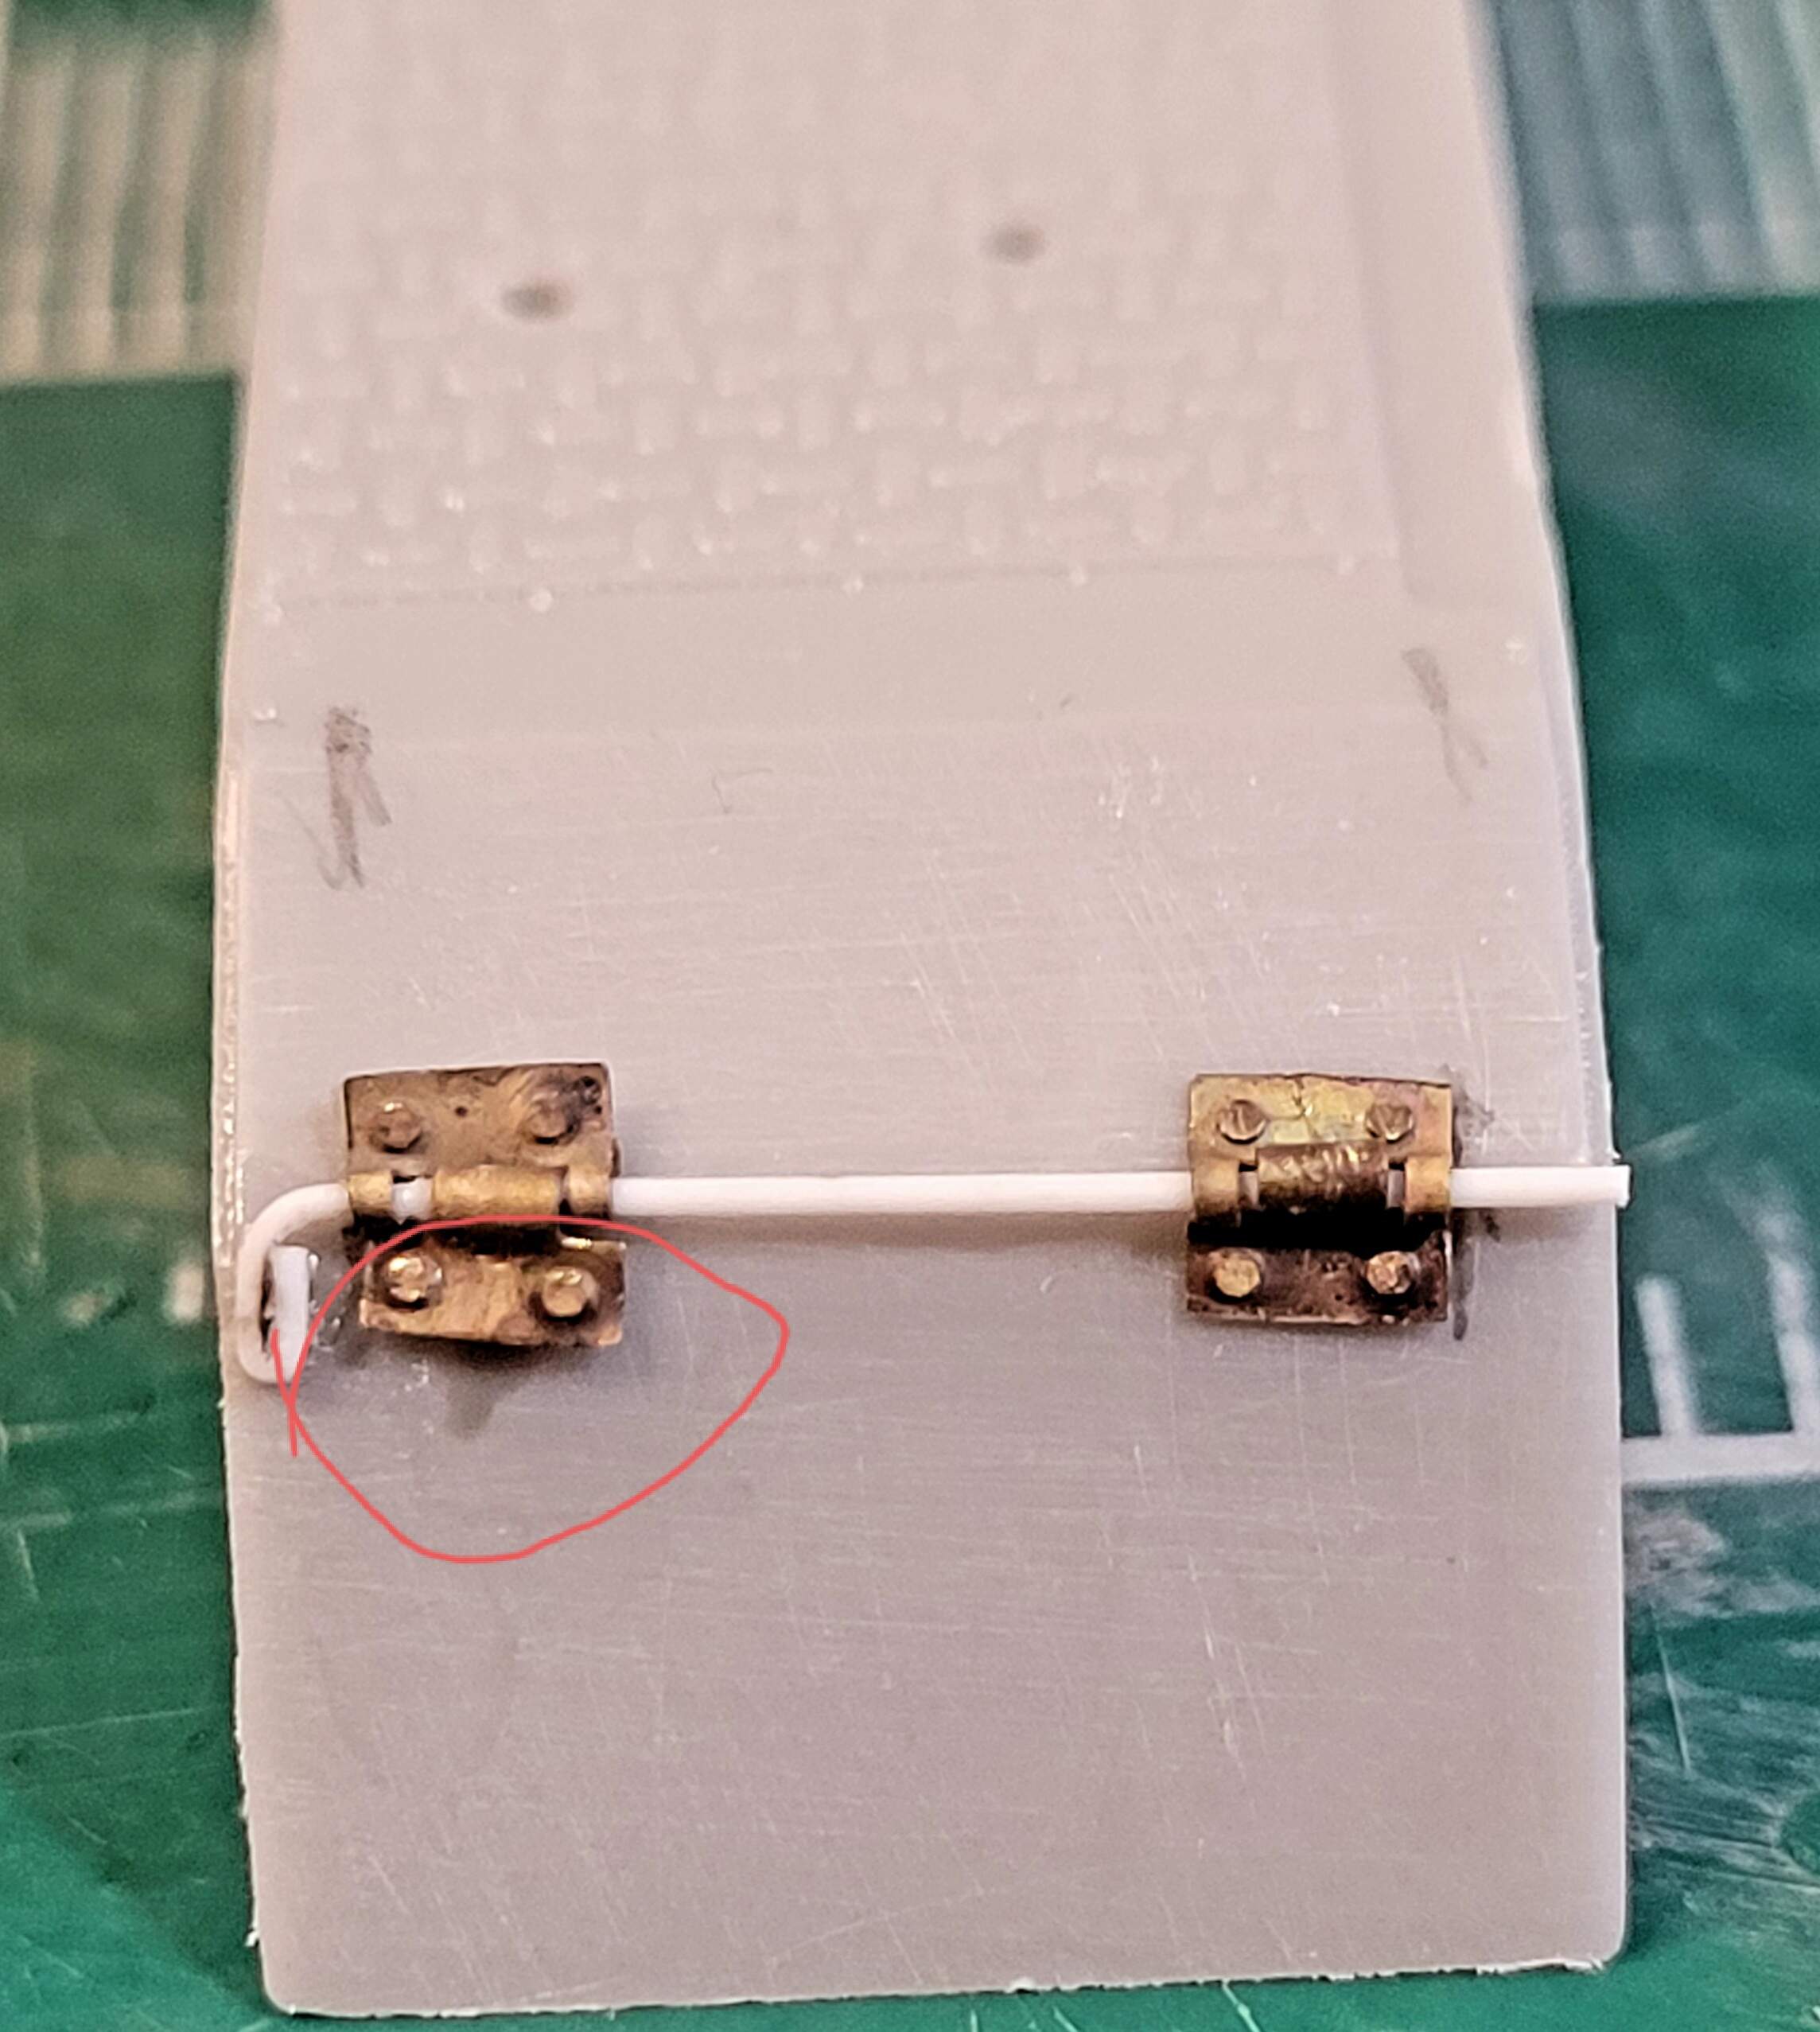
John, thank you. The hinges have been pretty frustrating! I think they are sorted well enough to move to next step.
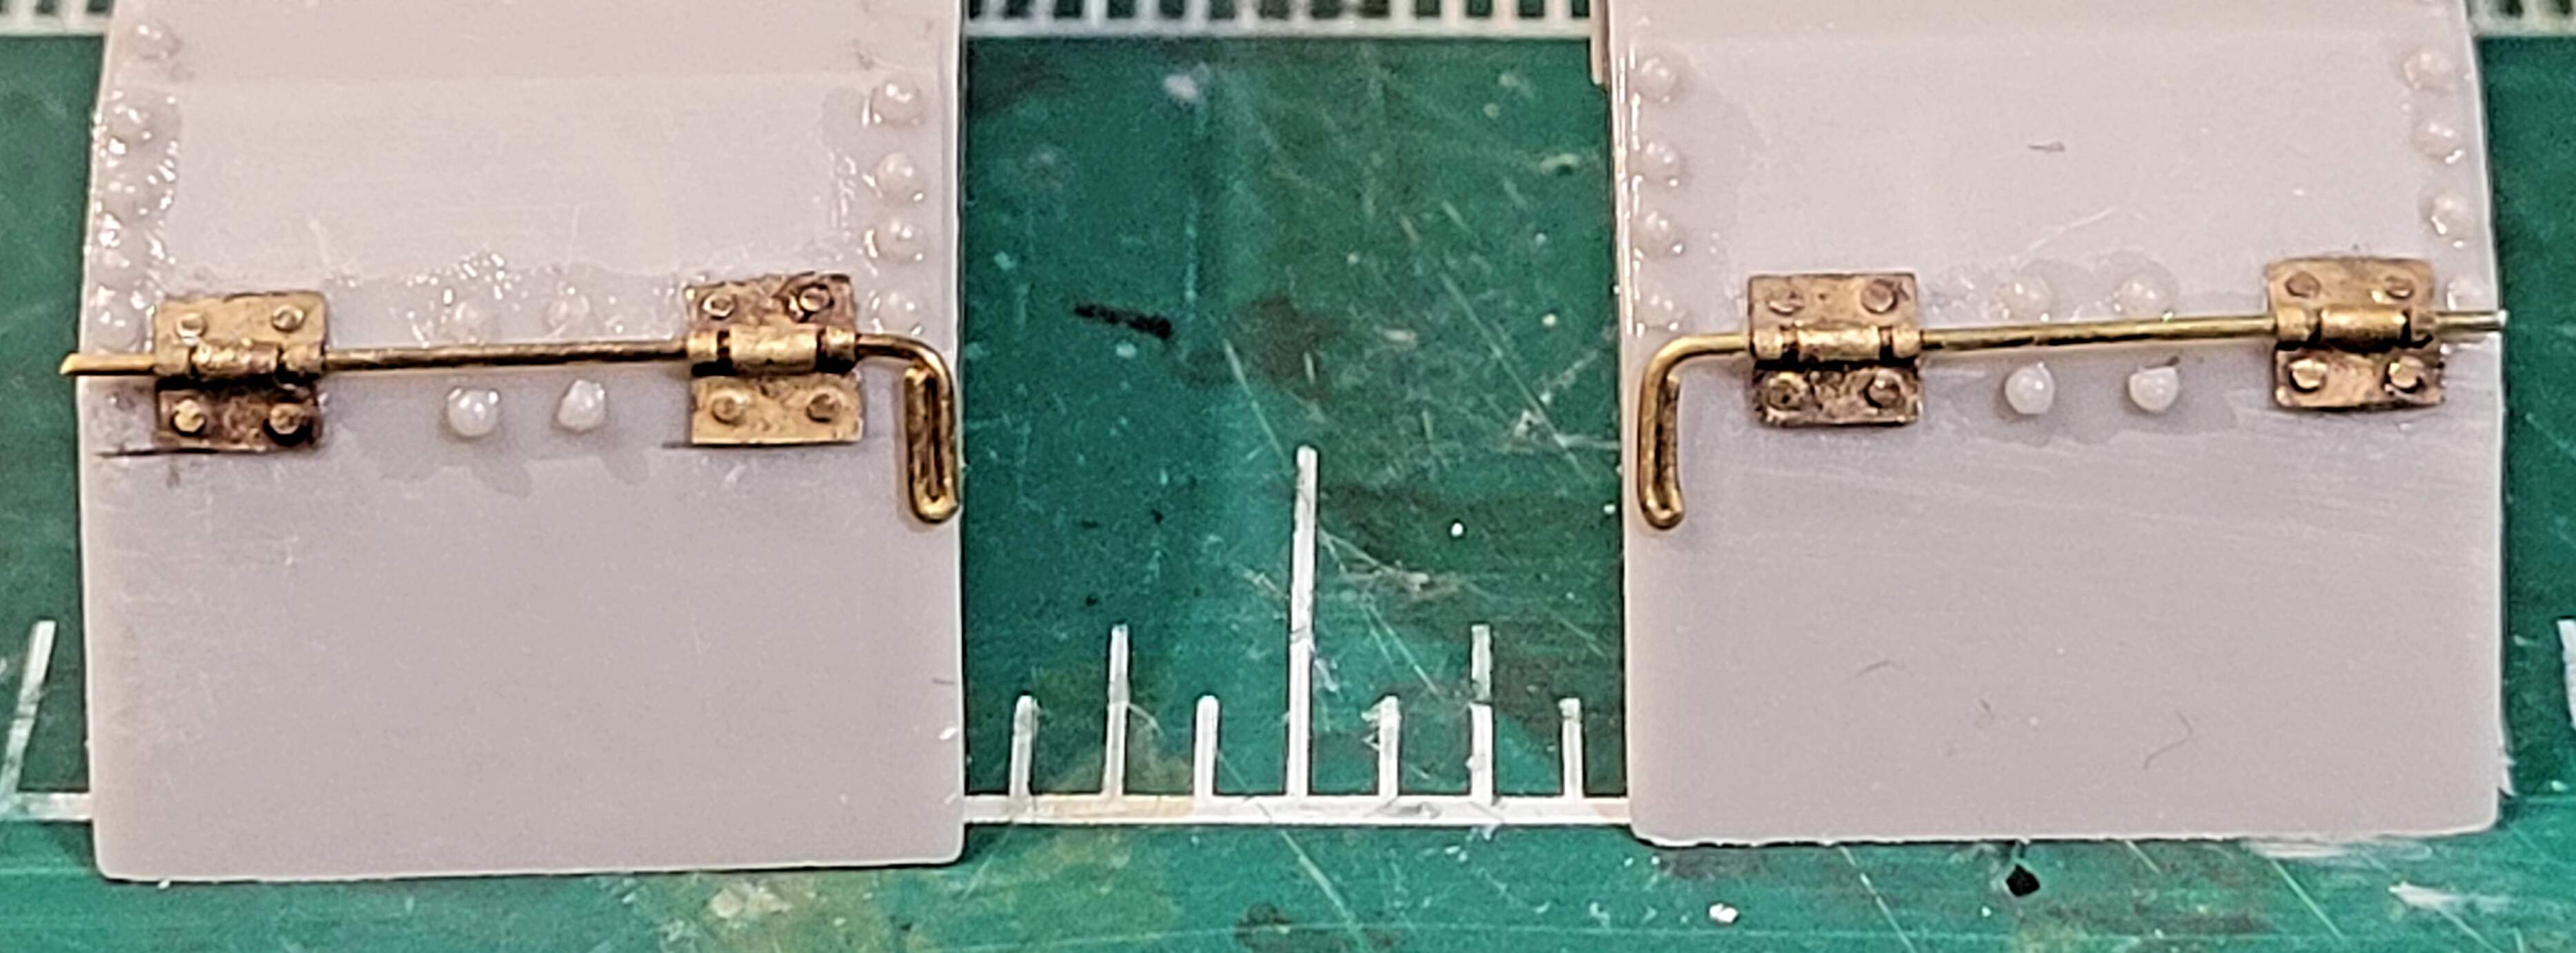
Started with the light gray fenders.
They ended up like this.
Added rivets too.
The Fold n Fold aka Etch Mate, proved invaluable sorting the hinges out & clamping the wire to bended into shape like PE. The wire is spare Fruil track pin wire annealed and pulled to get it straight.
4 Likes
Looks good to me. Maybe worth a go around the edges and bolts with emery paper just to get them all straight and neat.
1 Like