@FirstCircle, thank you!
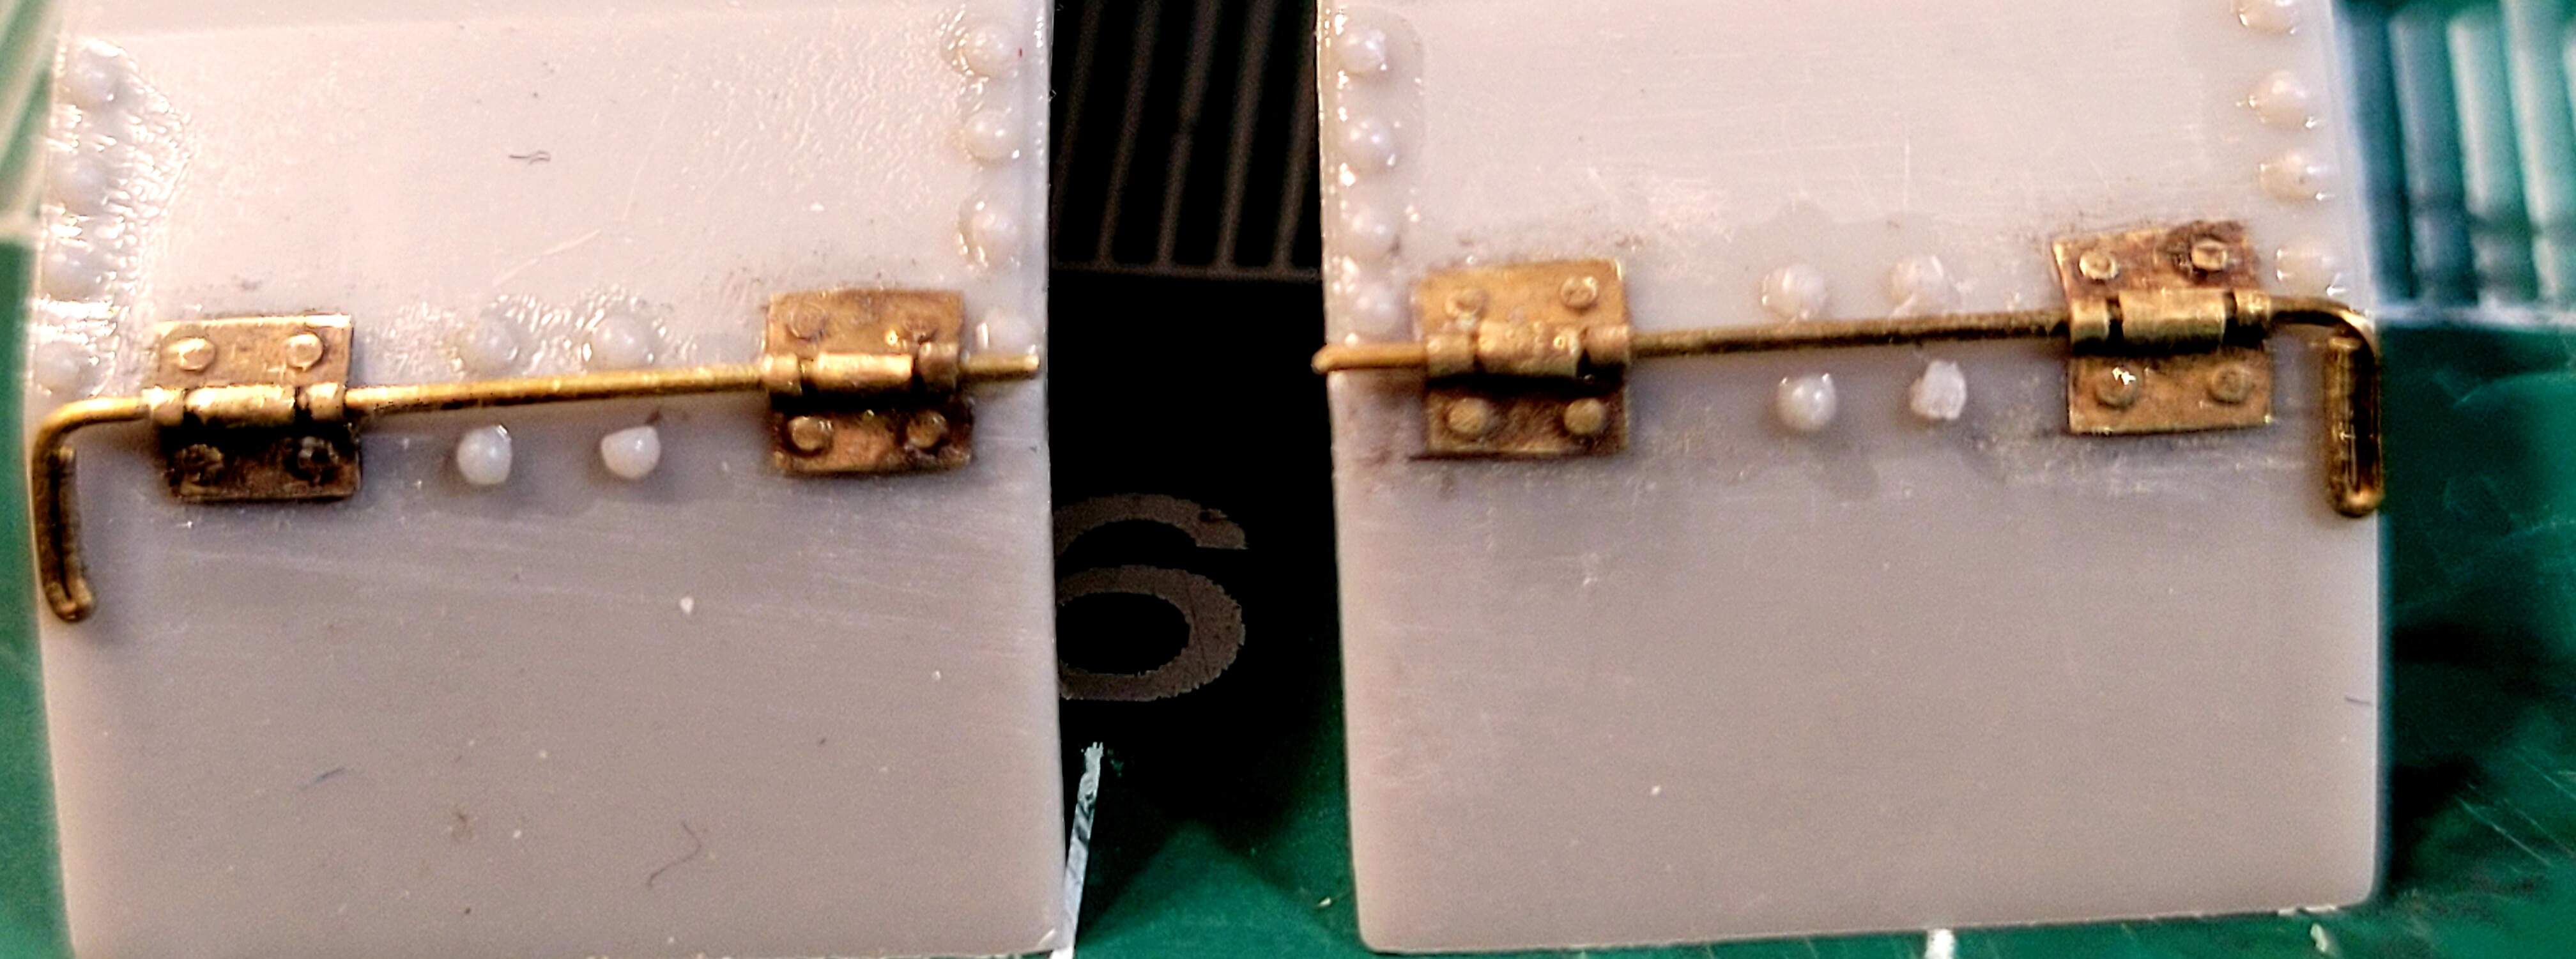
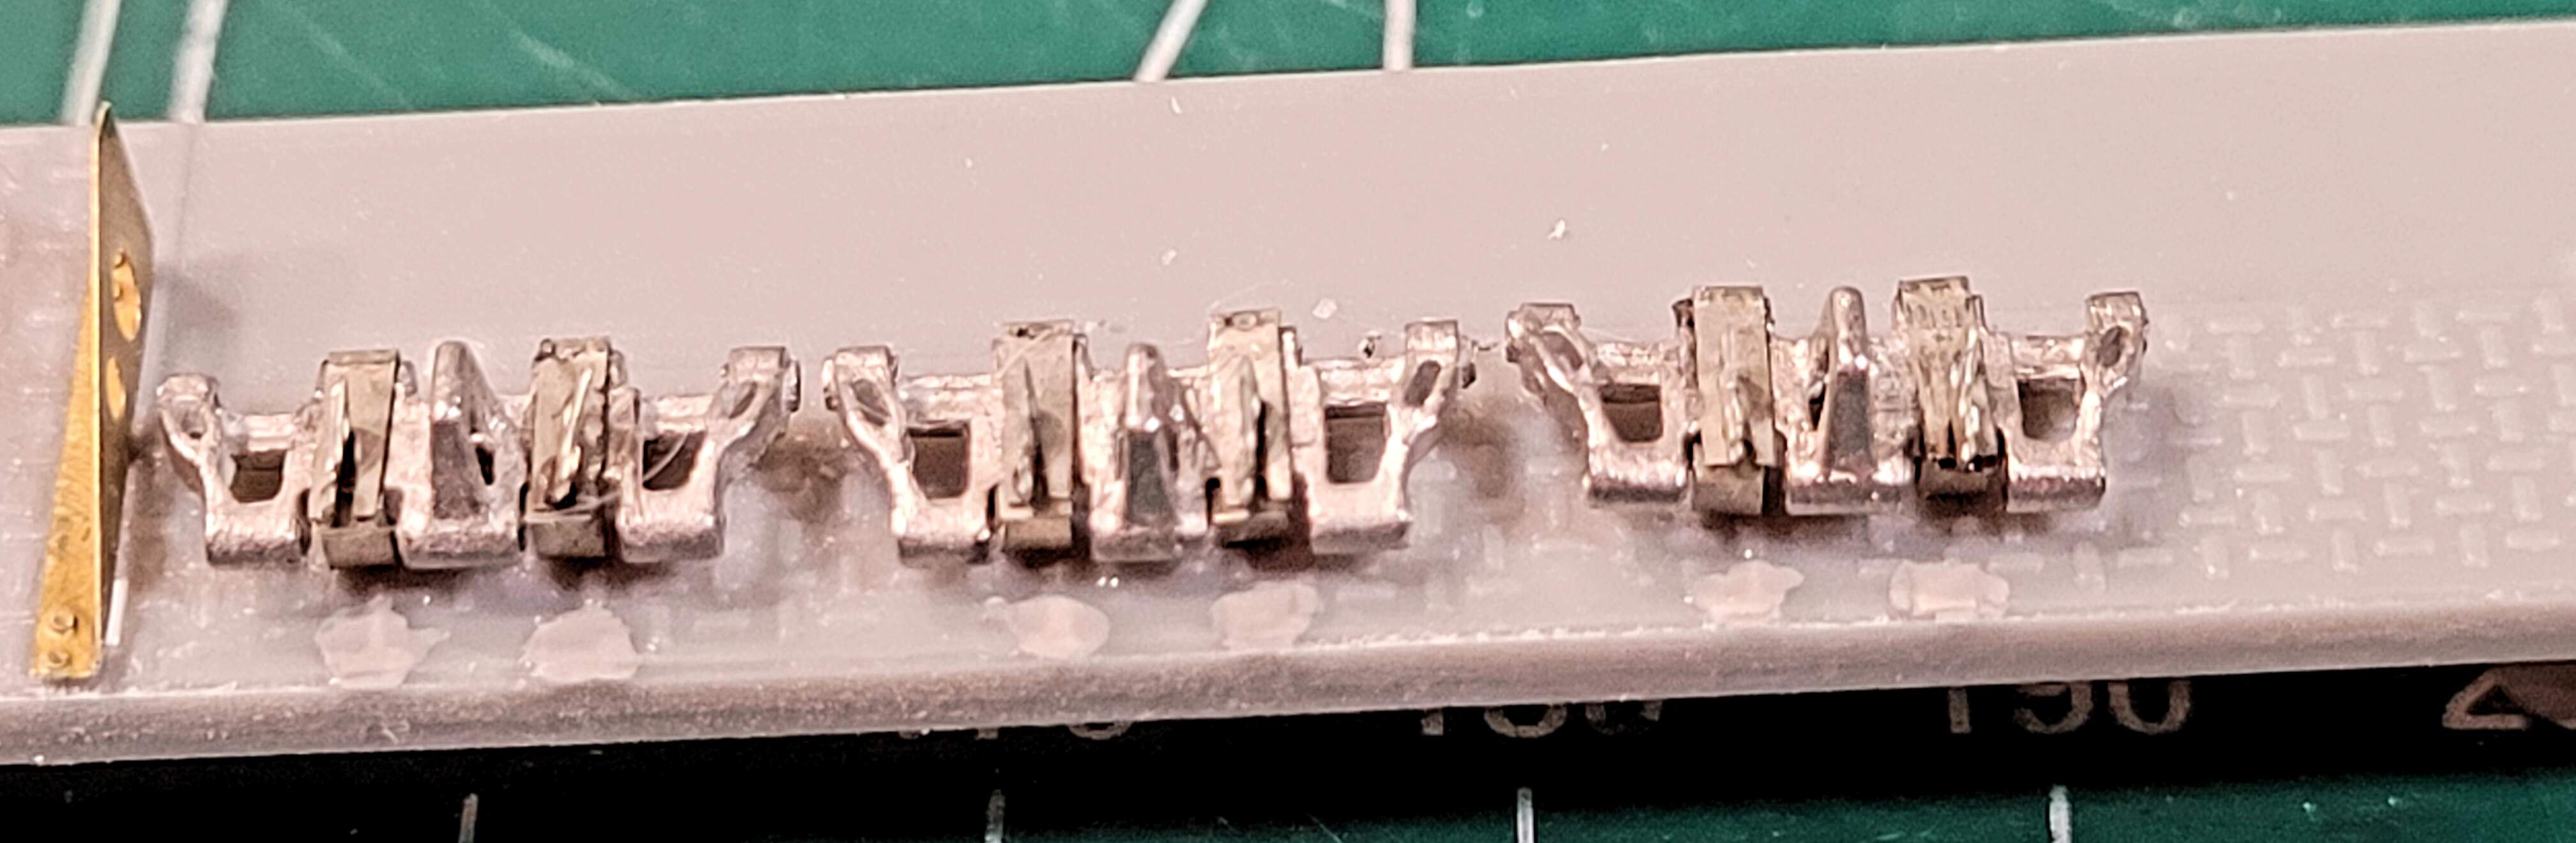
While the picture may not show it well - knocking down that harsh PE edge on the top & bottom of the hinges as suggested made a nice improvement.
I’ve learned a new tip on hitting all of the top edge of PE parts. I’m good with filling the attachment burrs but didn’t realize that harsh edge needs a touch of file too.
This will definitely help going forward with PE grills too. Grills are usually my PE limit.
3 Likes
Looks great as always Wade!
1 Like
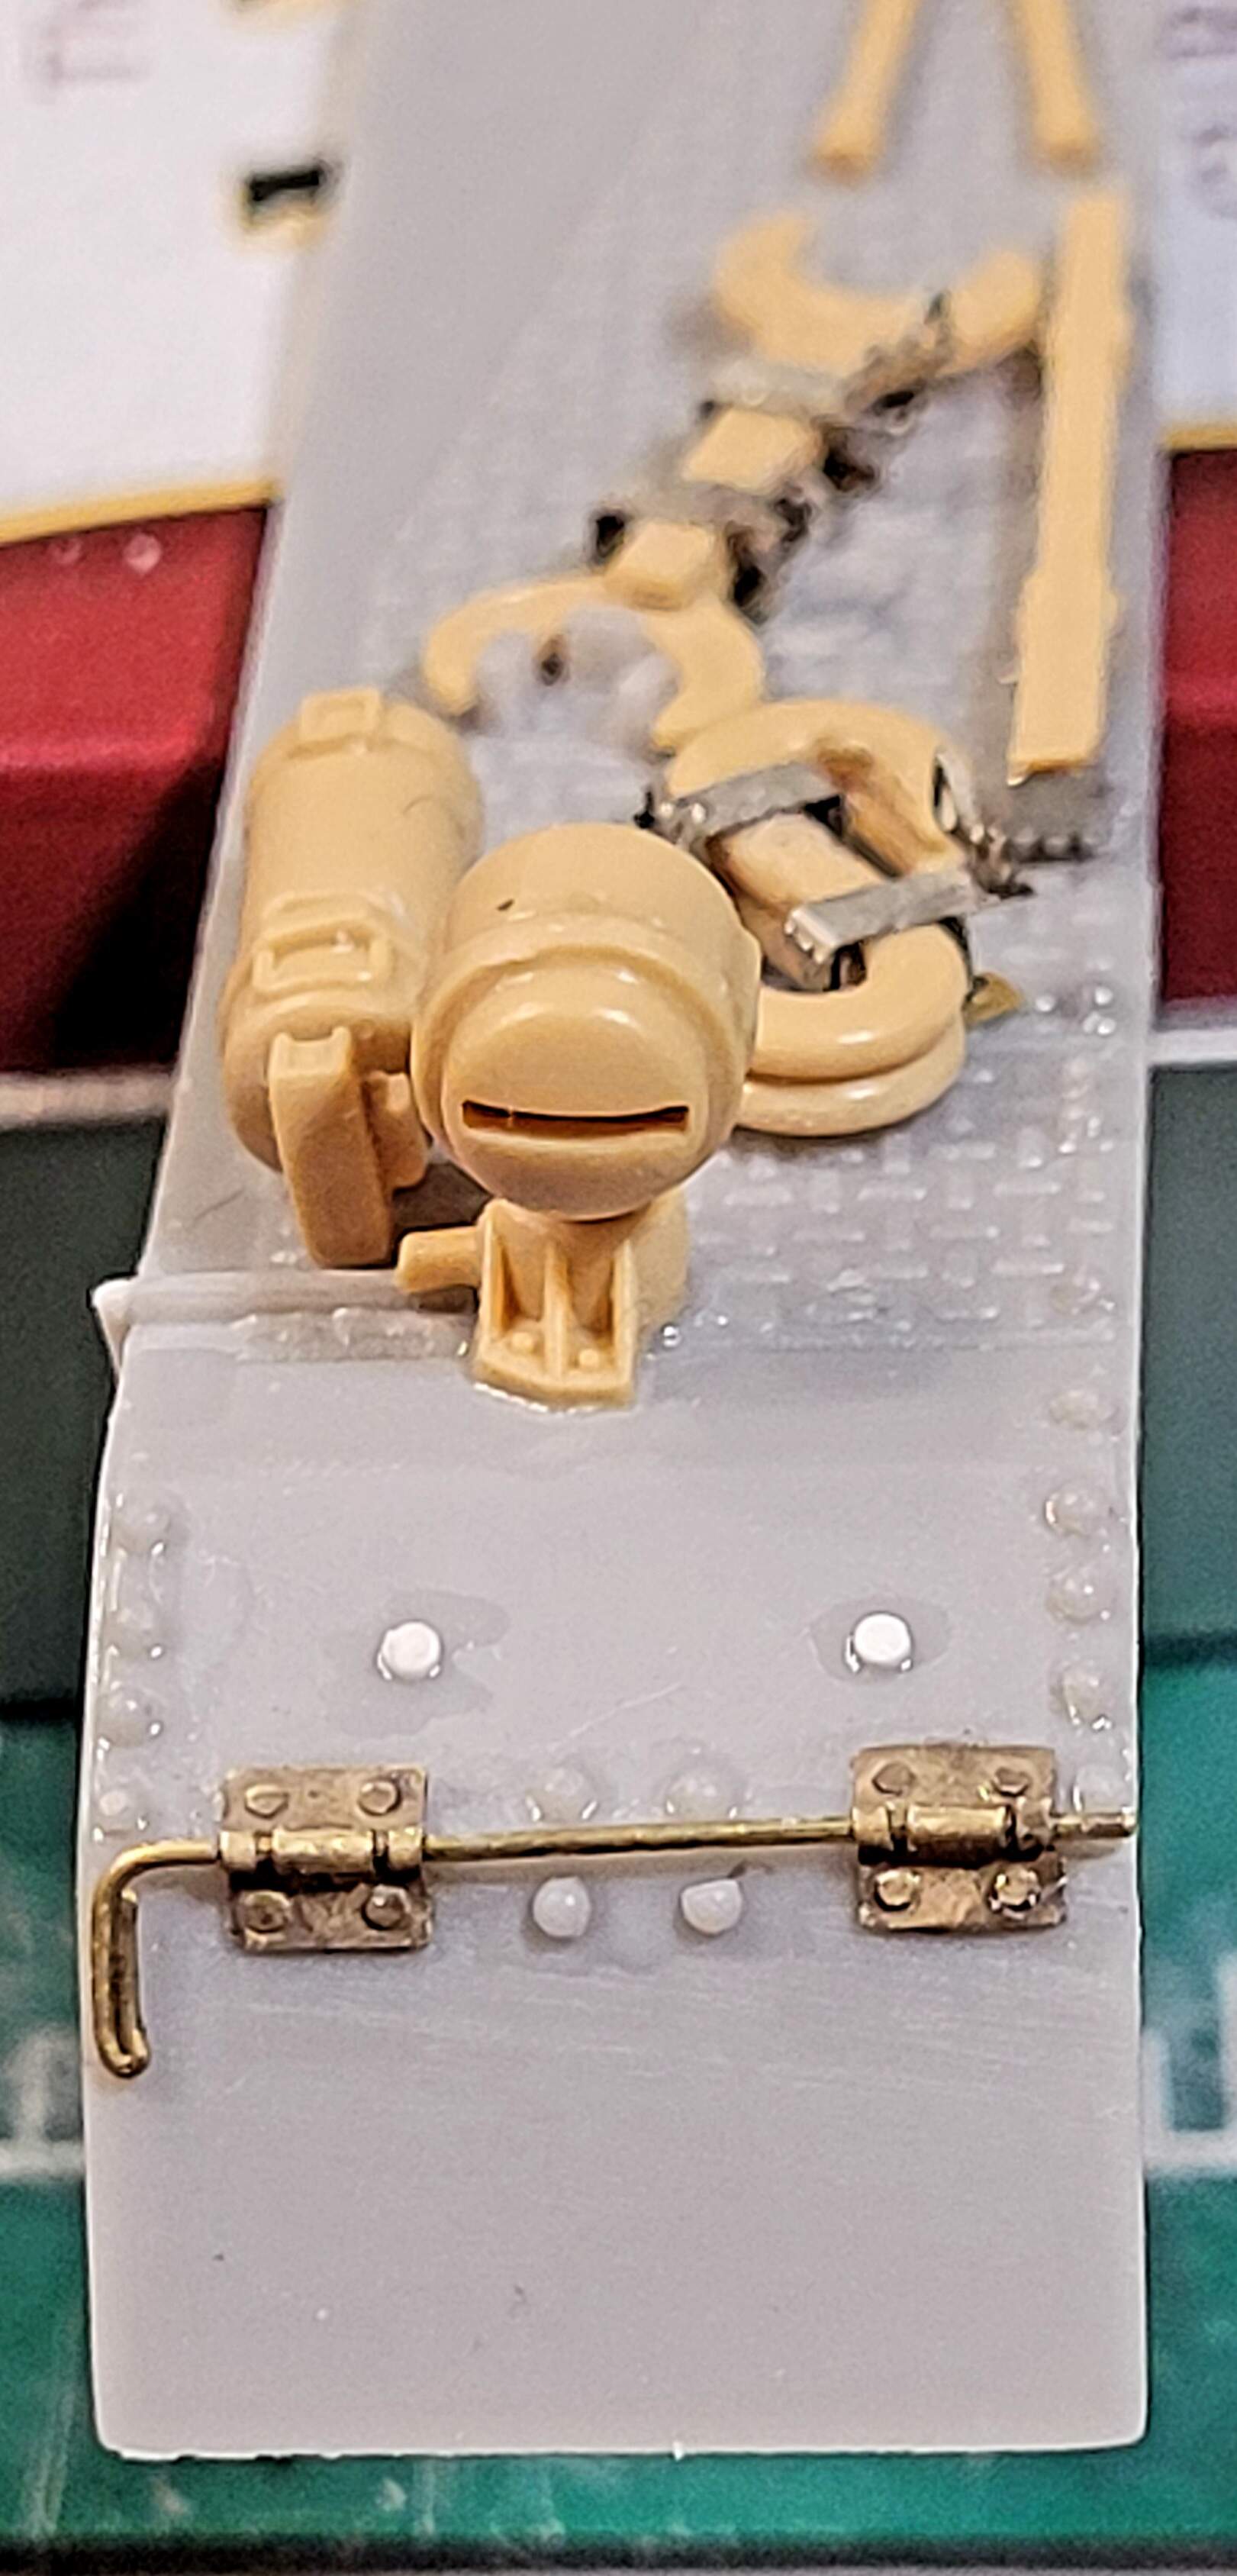
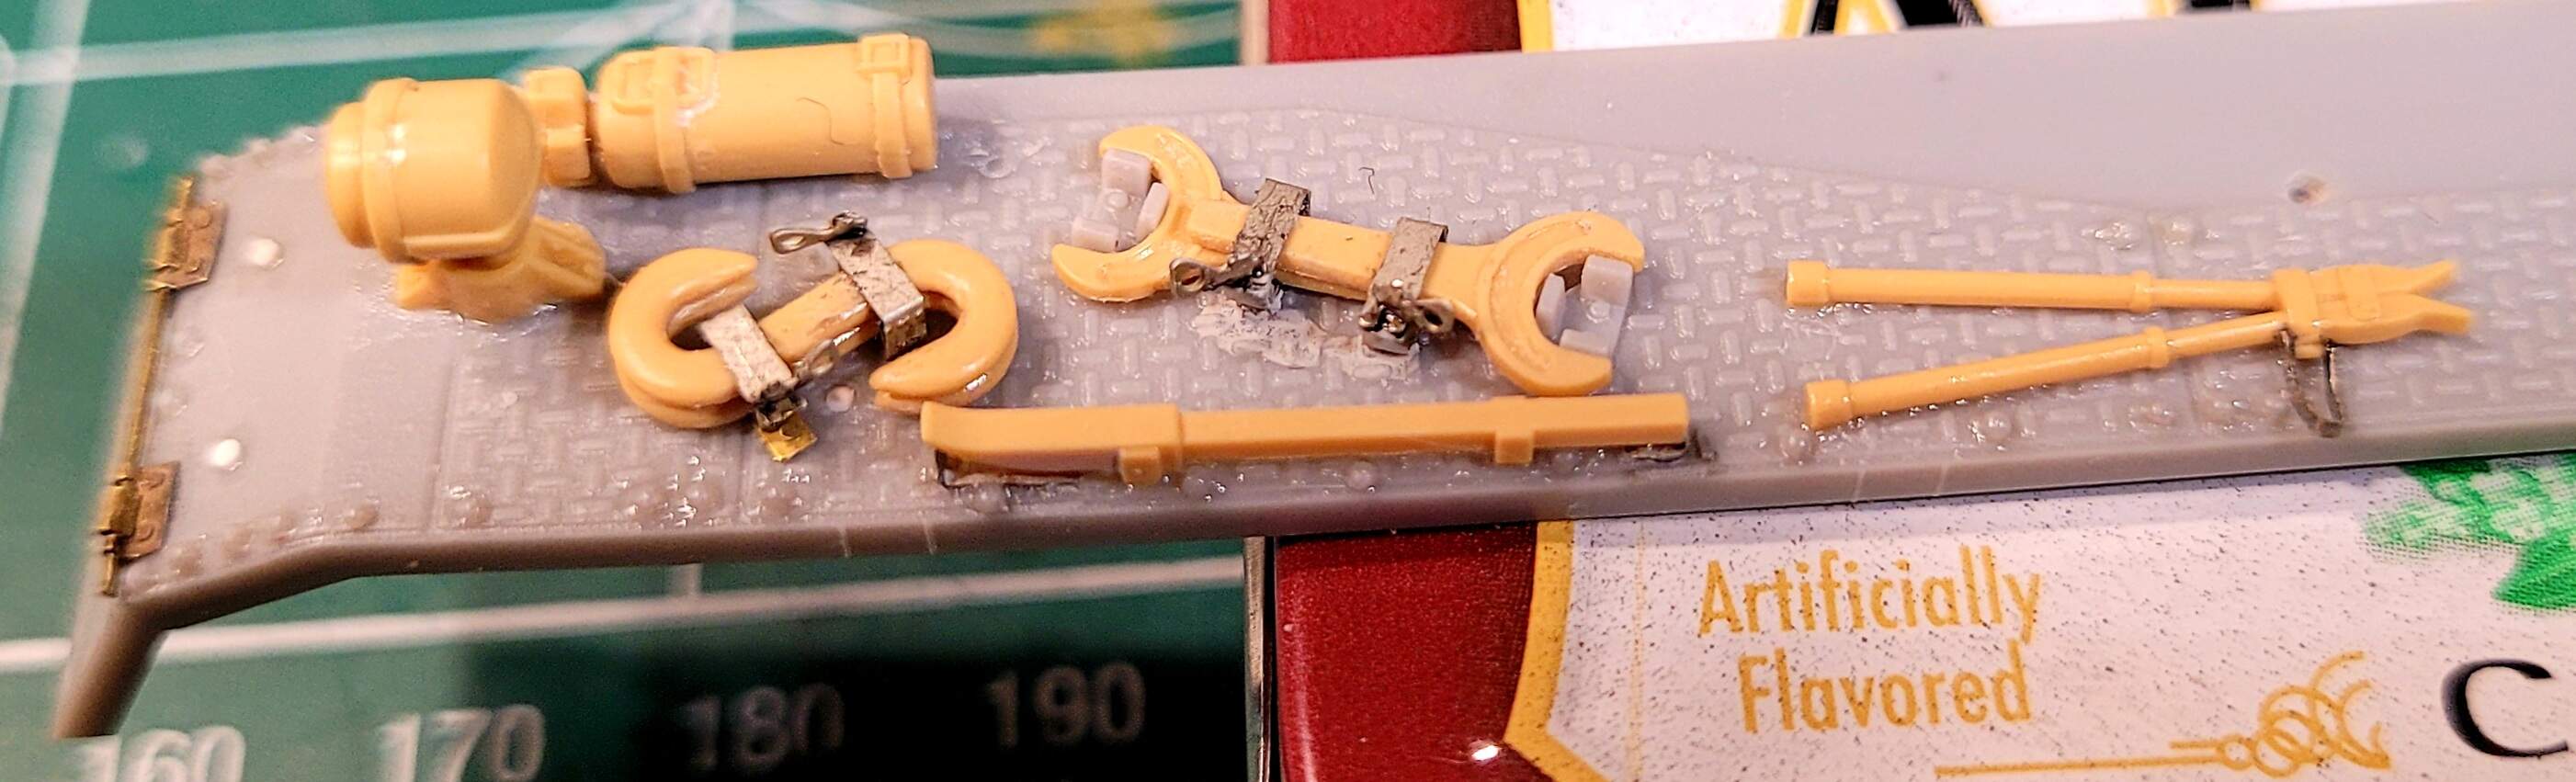
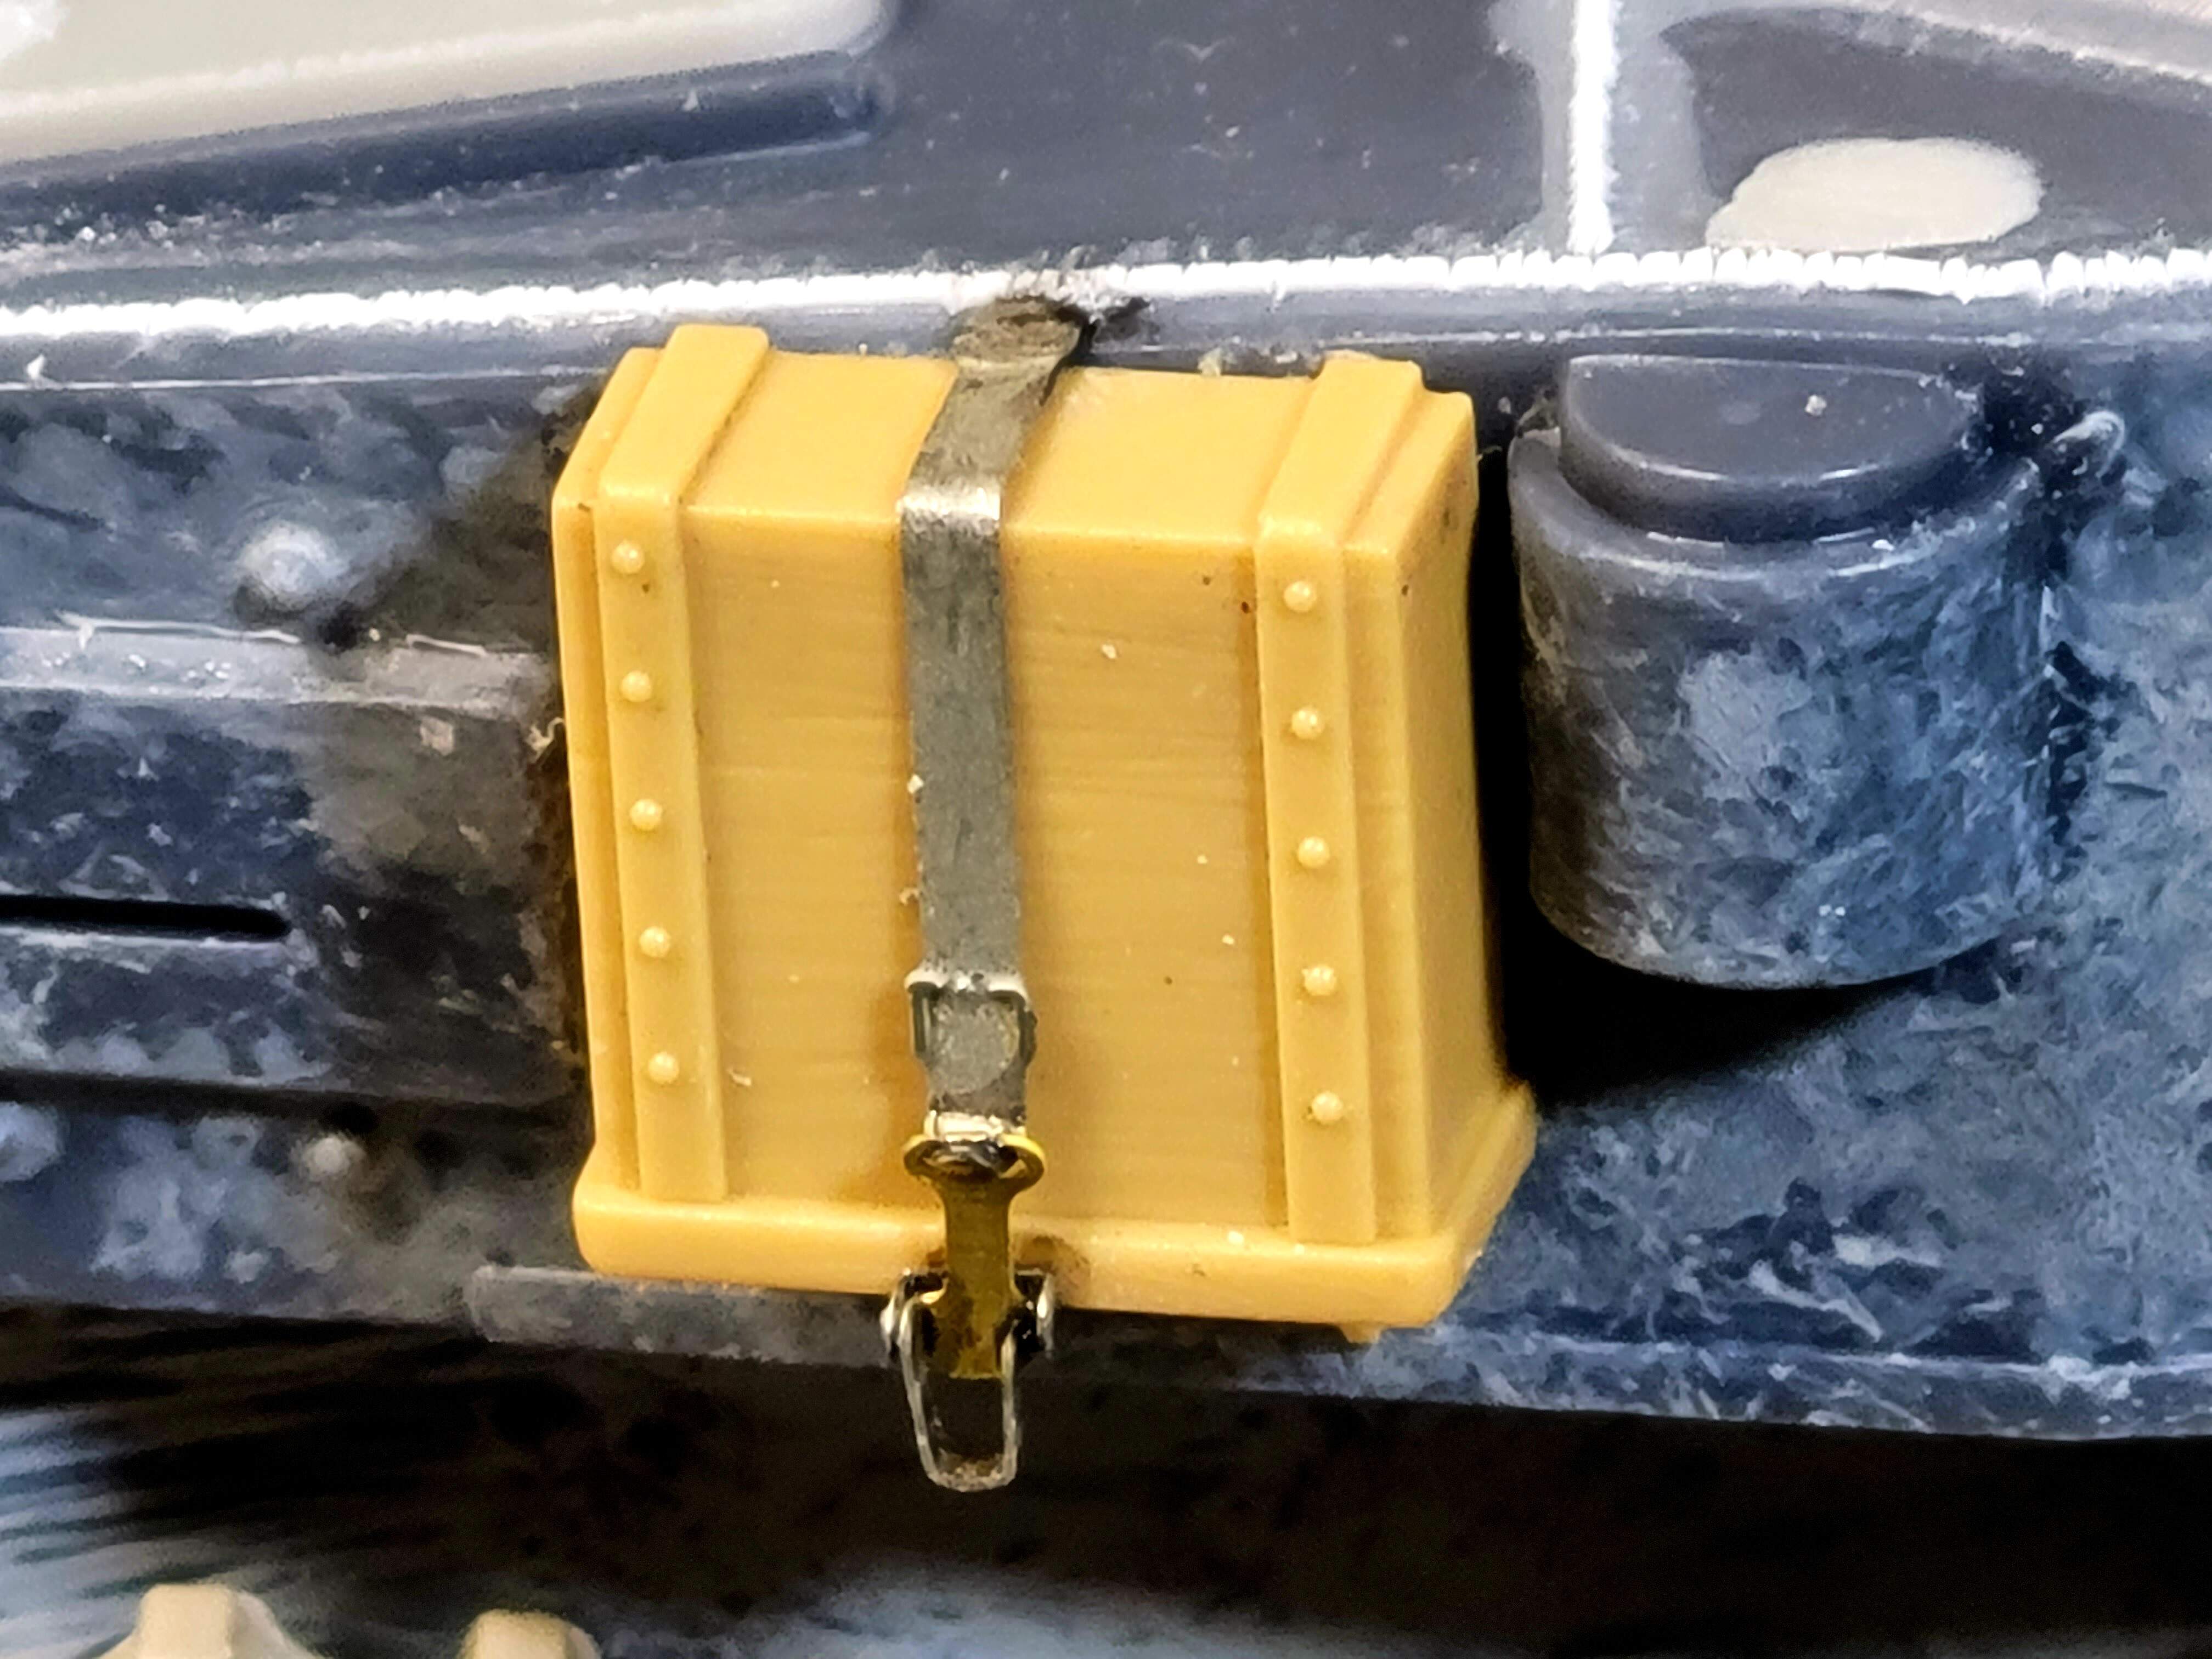
Driver side fender received a Bosch headlight, headlight mount, S hooks, large spanner  ’s & fire extinguisher courtesy of the 1995 Tamiya Pz IV On Vehicle Equipment Set.
Thinned the spanners by sanding so they’d fit better. Sadly The Show Modeling spanners are way too narrow to fit the molded bracket on the fender even with filing. Also added fiddle  bits like brackets & half wing nuts for The Show Modeling.
Discovered in “Panzer IV G” #3 Update by Crag Ellis 8 Wheels Good, that Krupp kept issuing S hooks for a good while after the other manufacturers switched to C hooks. Given the model has the 30mm applicate armor on the front based a Krupp Pz IV, went with the S hooks. The model is really a composite of items used by various manufacturers, I’ve not split hairs to ensure its 100% one manufacturer. The solid guide teeth track links are an issue for a Krupp Pz IV as Krupp tanks typically hollow guide teeth.
Everything above still needs clean up. Plan to clean up the whole fender after all the items are attached.
Seven weeks into the build, I’m getting a little restless and wanting to move on to something else. Time wise the Pz IV is pushing ~120 hours. At the 75 hour mark the restlessness starts and I’m done/bored at 100 hours.
Looks strange with fenders I’m so used to seeing it without.
5 Likes
Looking impressive - very impressive - Darth and the PE clamps are mind numbingly beautiful. Those must have been a PITA to finish. The fender hinges came out outstanding on attempt #10 - good on you for staying with it and not wimping out to cheap copies. Hang in there and keep on keeping on - this is a labor of love and has been perfection so far, so - you must not compromise your standards now. The finishing of this kit must be of the same high caliber as the construction or else you have compromised your own supreme work ethic and superior attention to detail. If you run out of steam on this kit, put it aside for two weeks, max, and build a shake 'n bake Tamiya kit OOB to cleanse the palette, then return to it with a fresh eye. Some of my “all out” builds have 600 hours into them, so don’t feel too worn out. Stay the course, and may the Force be with you.
Sincerely,
Obi-Wan
2 Likes
Looking great as always Wade. How will you be painting it; Panzer grey, dunkelgelb, With a white wash over one of those colors?
Obi-wan, thank you. Those PE parts have been mind numbing to use. I’d really forgot how a lot of the old PE didn’t have much in the way of guidelines. Your right I need to stay consistent and not start taking sport cuts. I appreciate you pointing that out.
WOW 600 hours one model! That’s incredible! It’s inspiring too. I may detour to the new Tamiya KV1, after the driver fender is wrapped. Those are excellent suggestions.
Ezra, with this shaping up as a mostly Krupp manufacture Feb/March 1943 tank, I think all of those are excellent candidates. There’s probably room for a tropical Afrika Korp scheme as well.
Reluctant to go winter white wash, scrubbing the white wash off or chipping it, I’d probably destroy half the fiddle bits.
My current thinking is Panzer gray base for lower hull, upper hull & turret a mottle of Panzer gray & dark yellow over spray. Some of the real fun will be picking out a division.
2 Likes
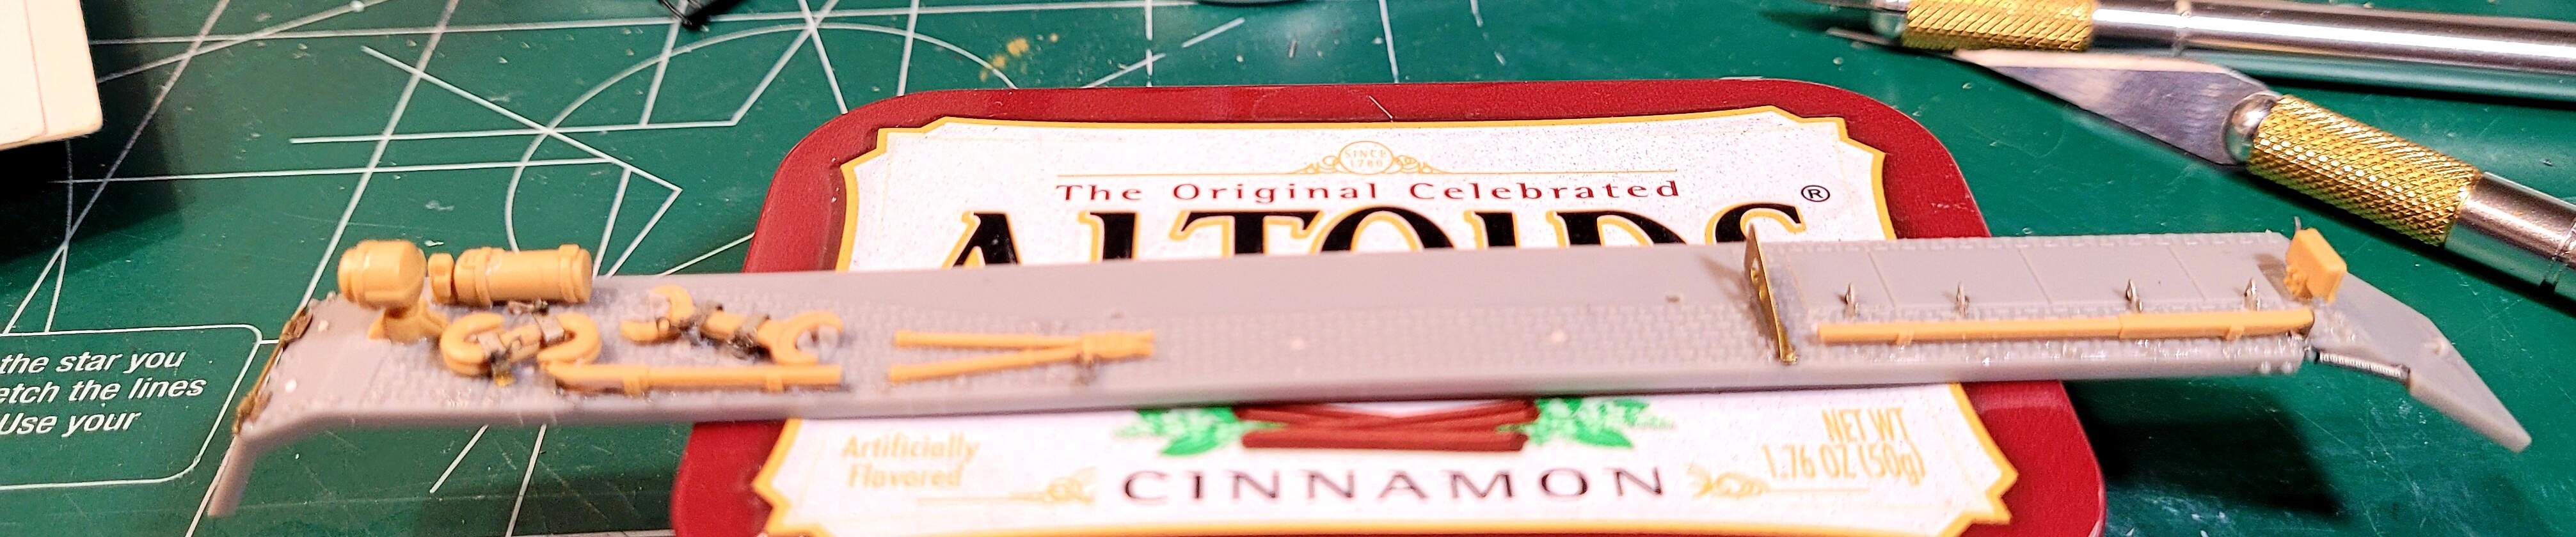
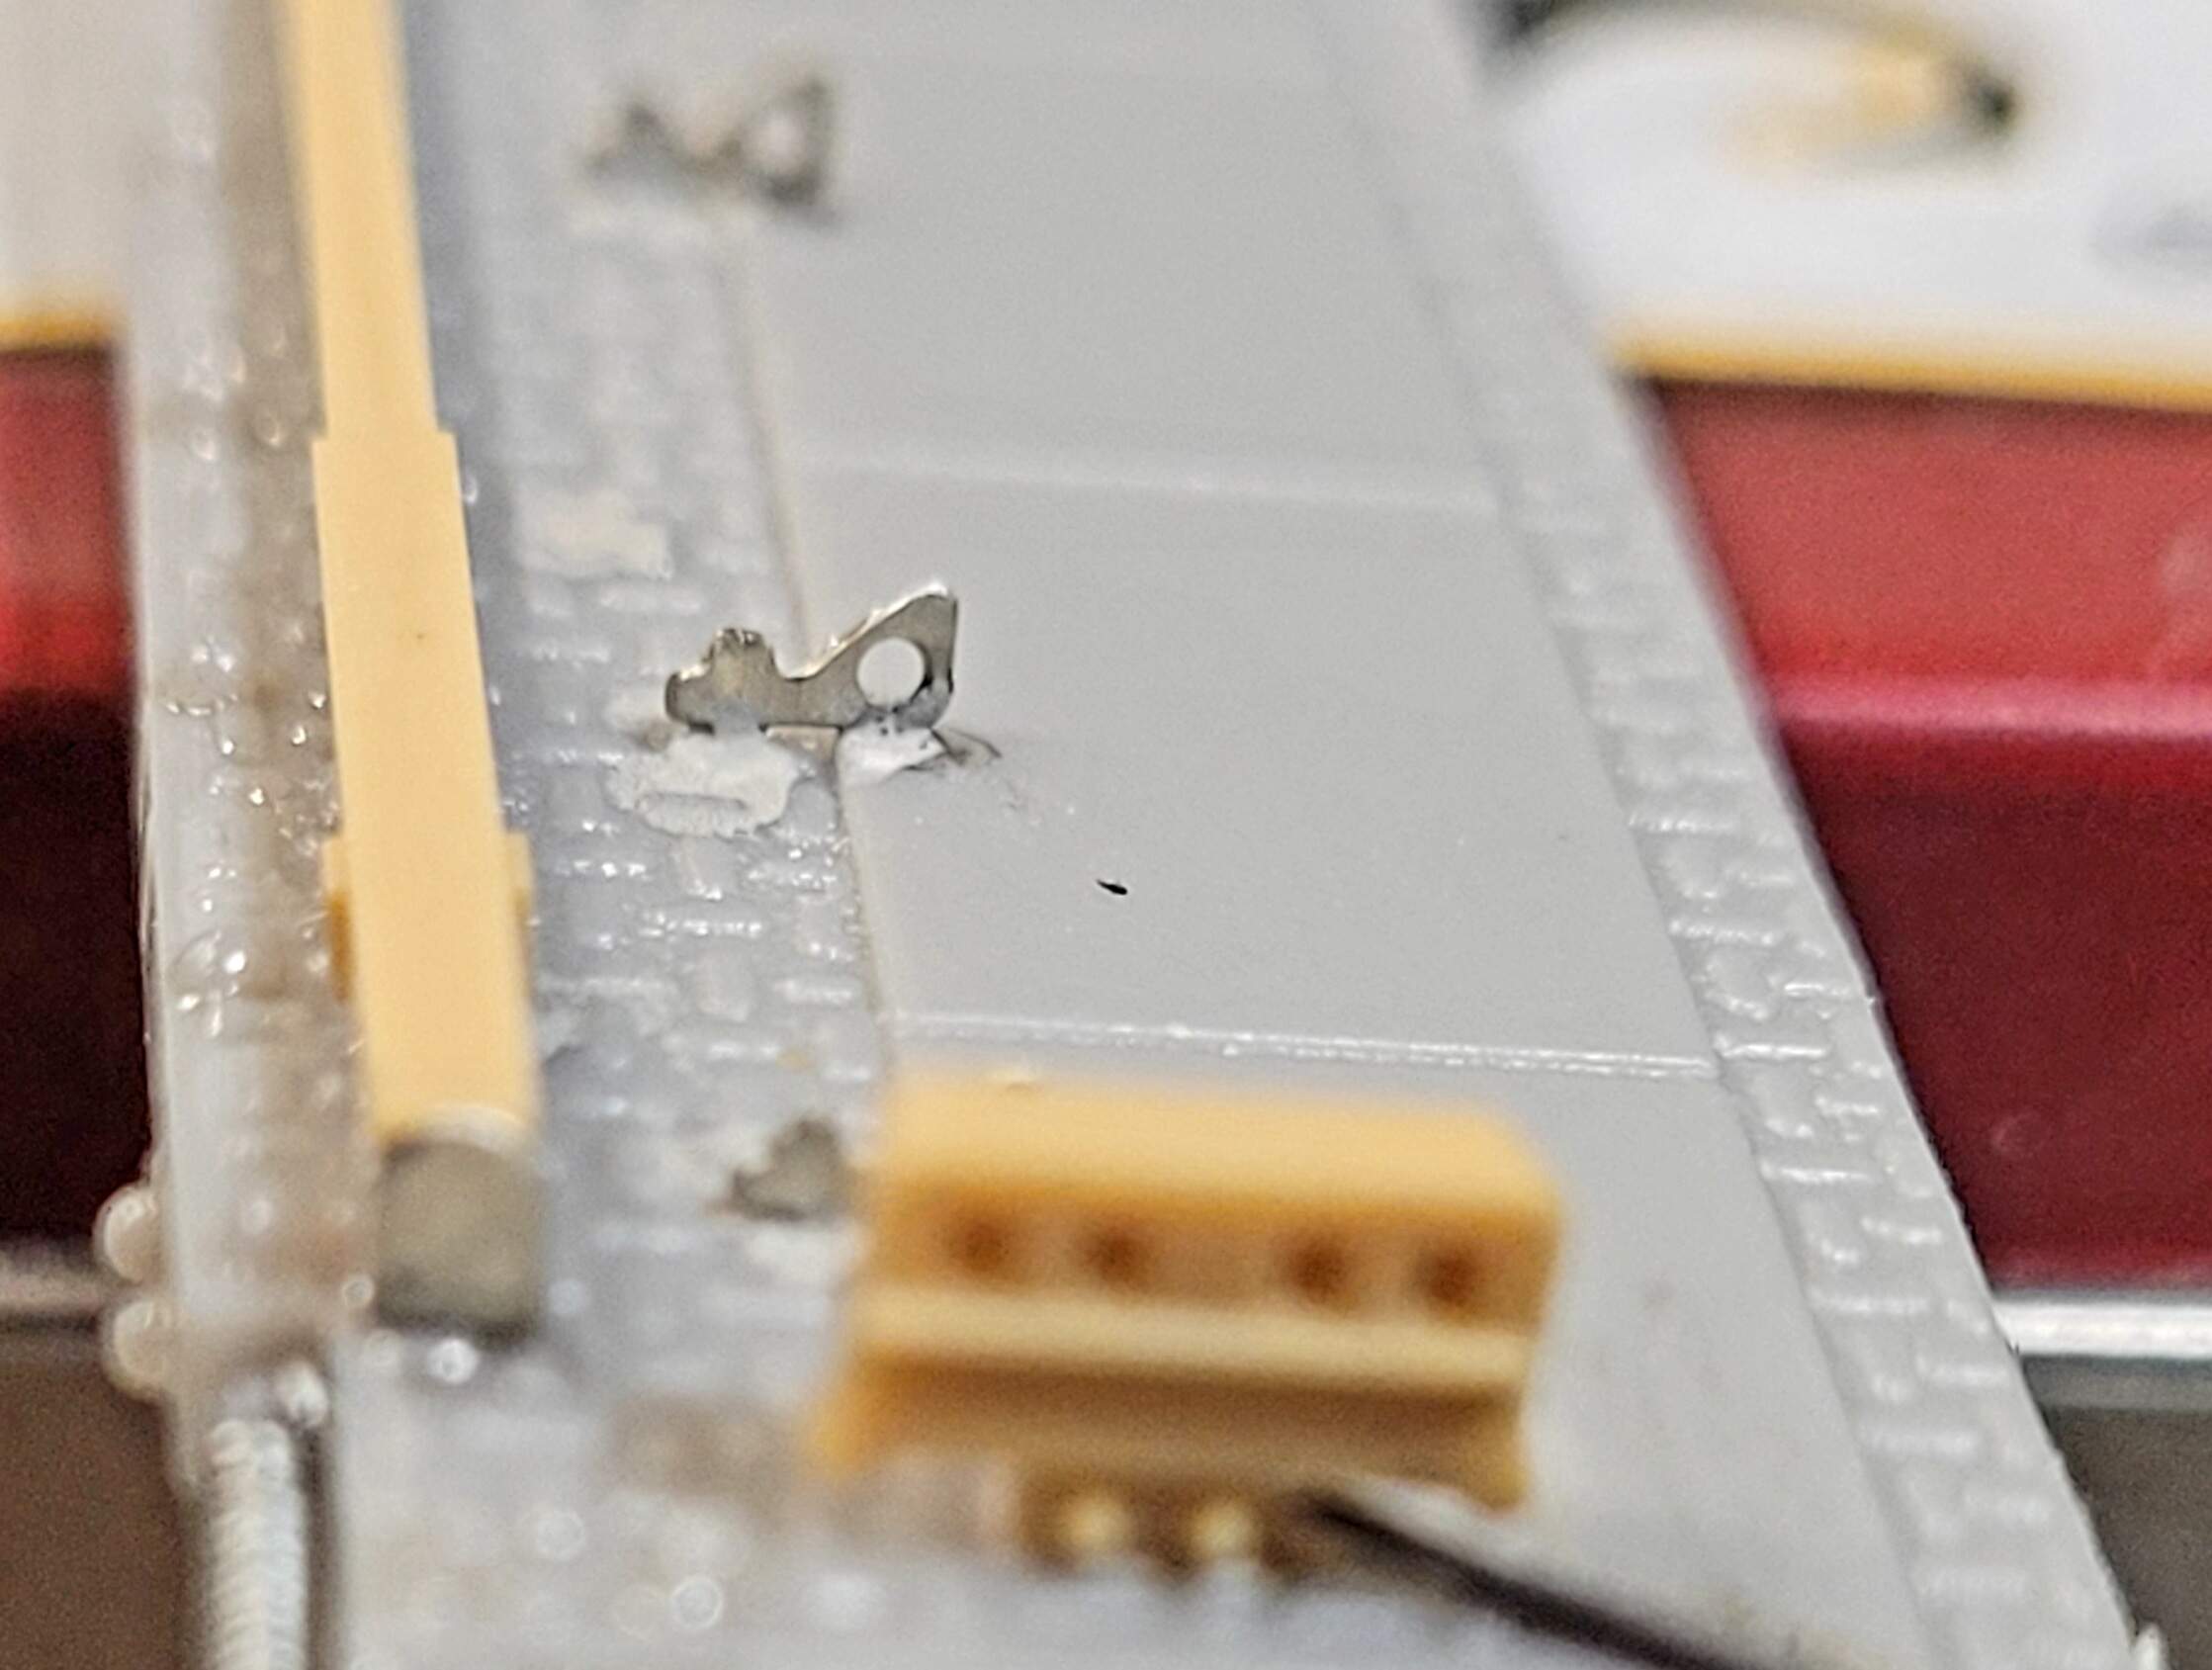
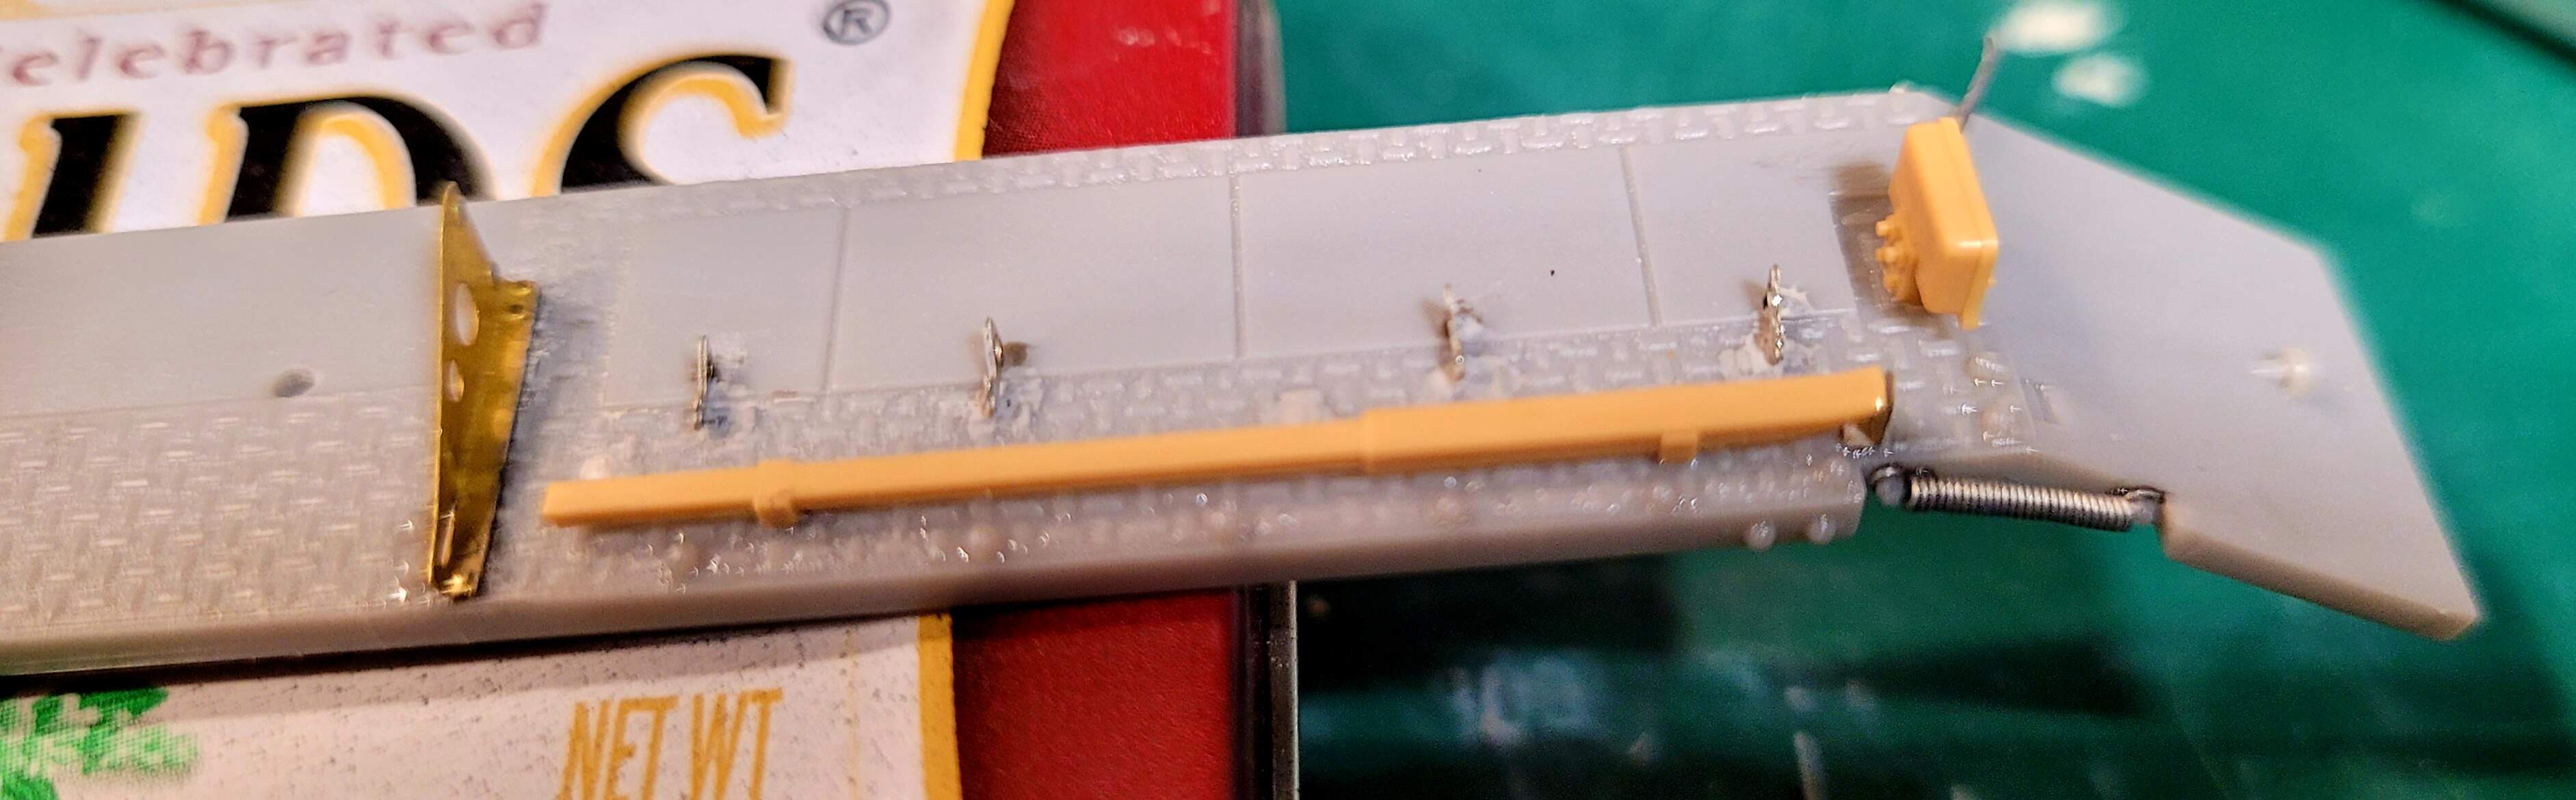
Finished the driver fender other than touch ups. Added more rivets, PE for tools, half wing nuts, triangle fender support & convoy light with wire.
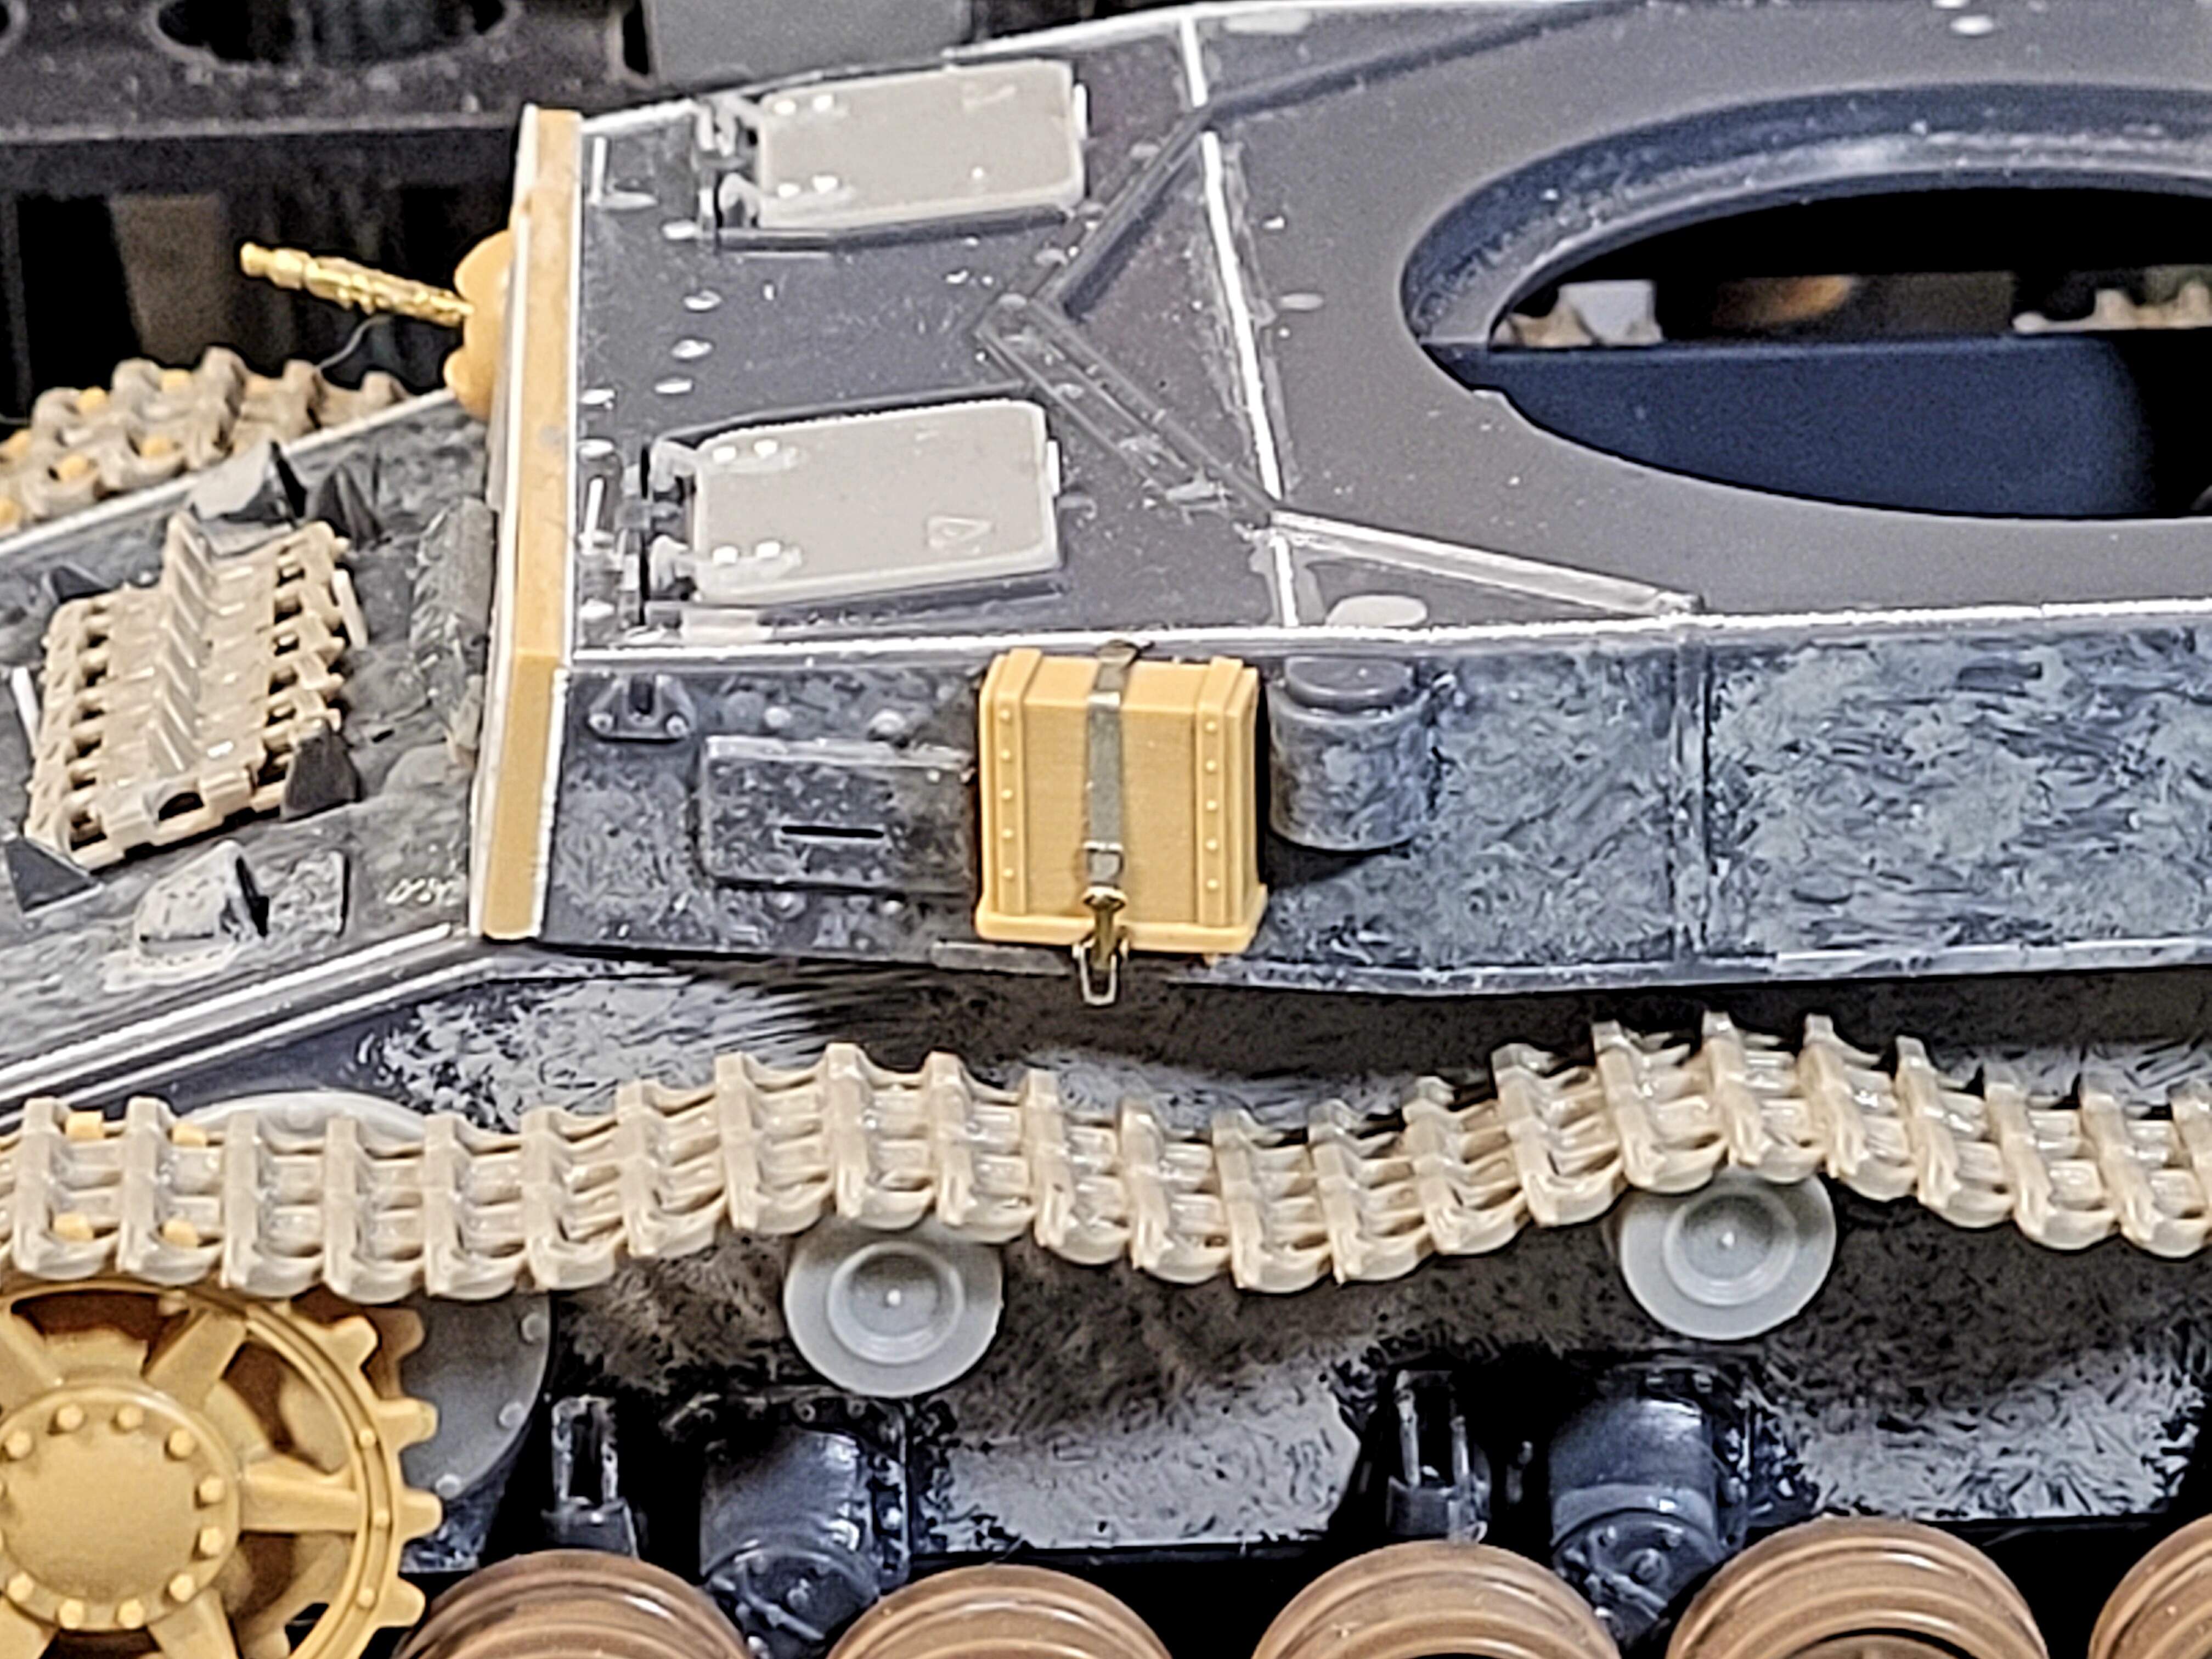
The driver fender has about 12 hours in it. Kept the basic molded clamp bodies on the fire extinguisher etc crow bars. Neither TSM or OTM PE often a real improvement over the Tamiya tool set molded quality.
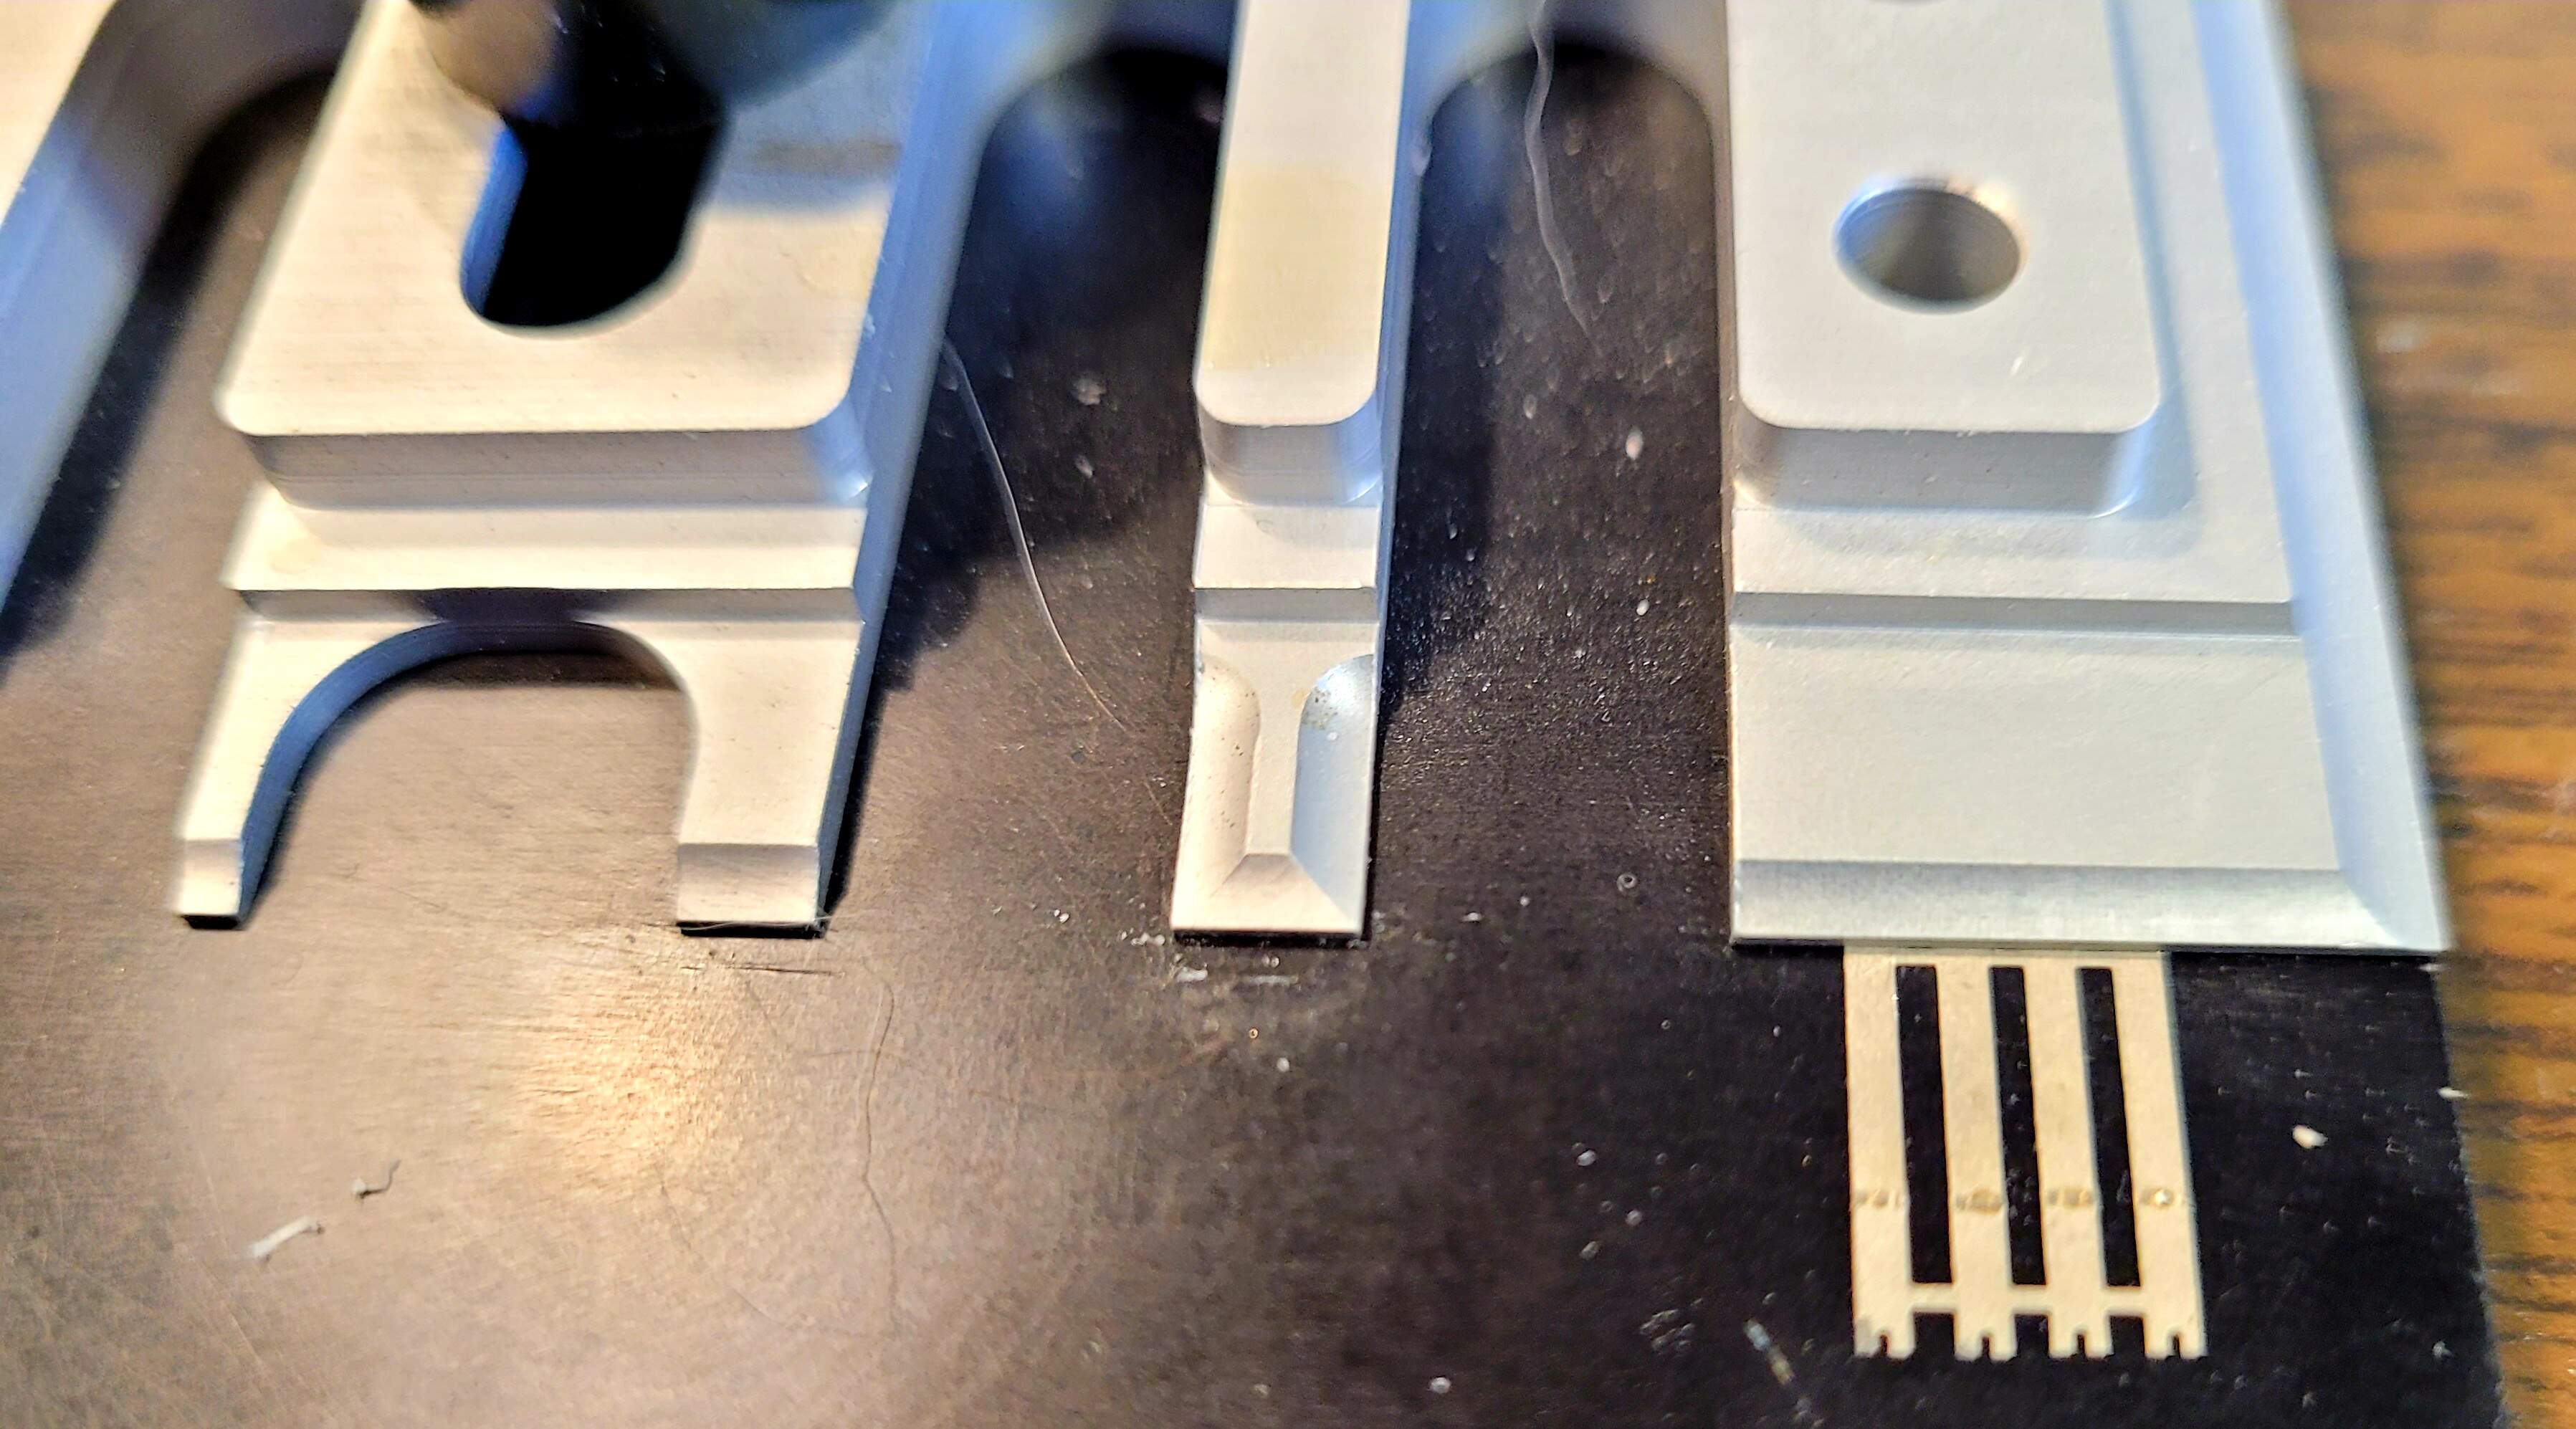
The kit part for storing the spare wheels is pretty horrible. Plan to attempt scratch building that after the radio operator fender is complete.
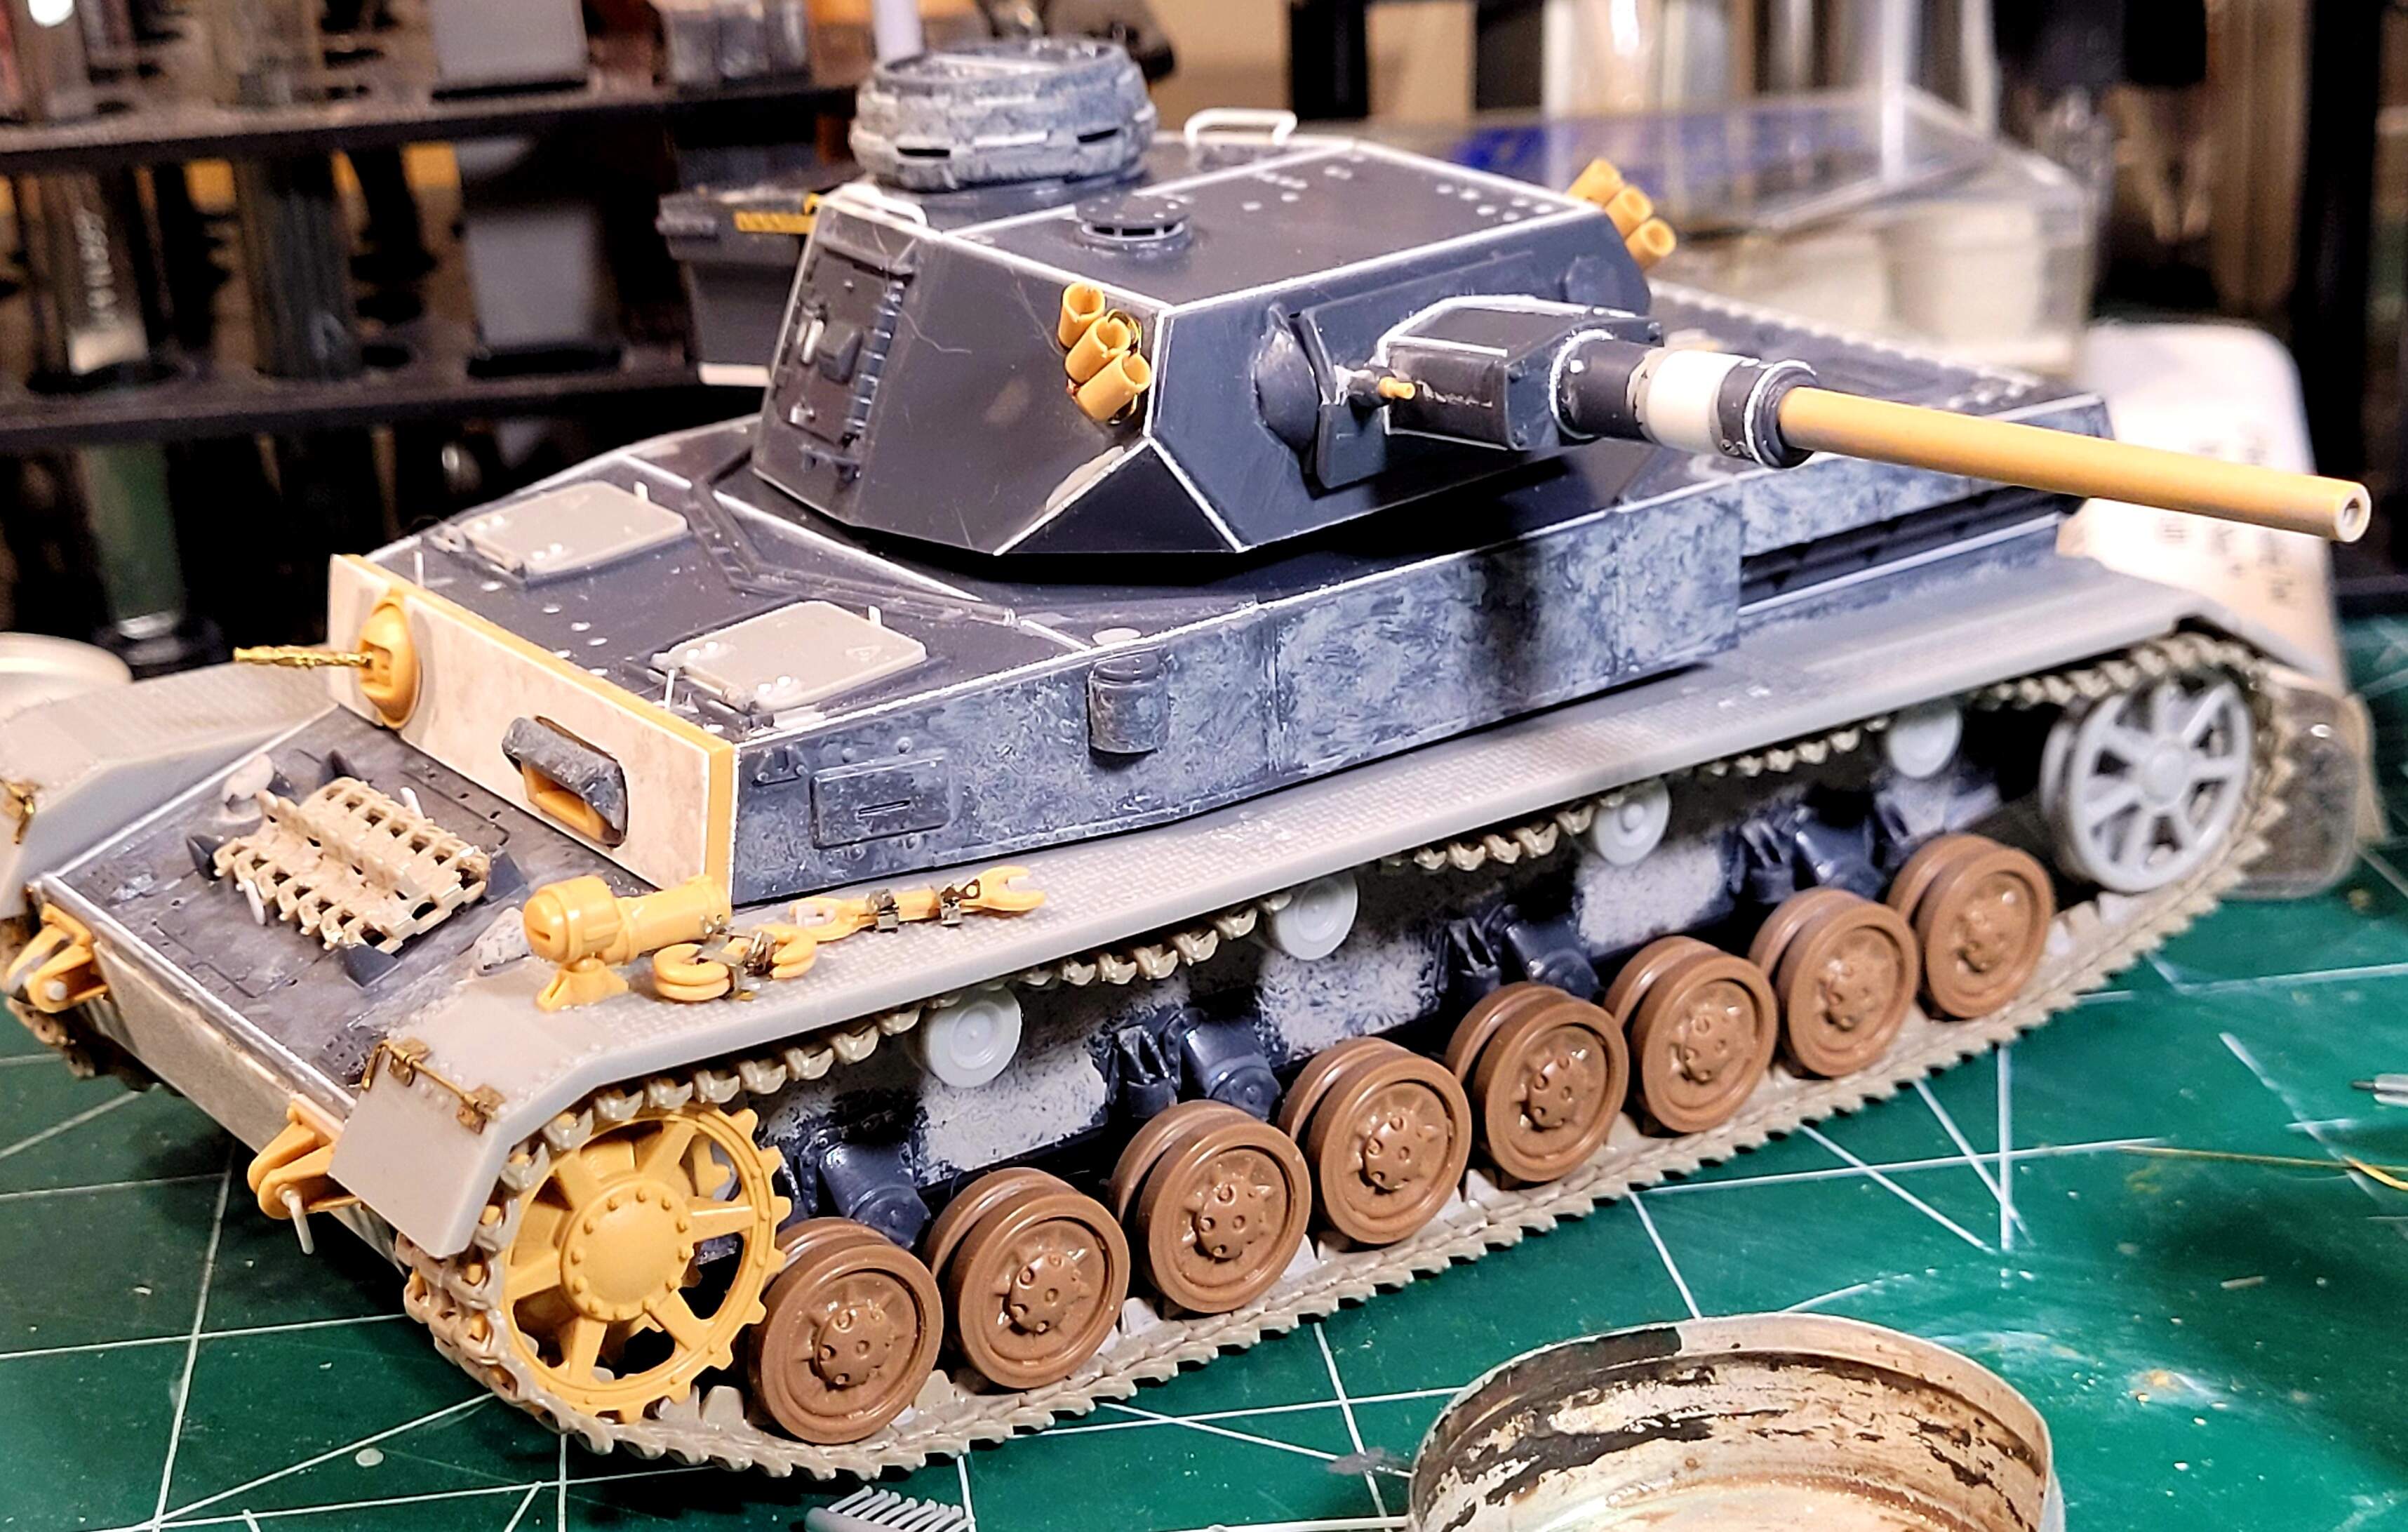
Added the jack block to the upper hull just to take a break from looking at fenders.
7 Likes
Detailing really starting to bring life to the build.
1 Like
Minor update, about 1/3 of the way on the other fender.
3 Likes
Minor update #2,
Decided to break detail this fender into four parts: back, middle, front & adding rivets.
Getting a little more of a feel for working with fiddly PE parts. The Show Modeling groups brackets together and are held equally spaced by the attachment tabs. Decided to group bending of brackets would help ensure they turned out the same.
Used three spare Fruil track links since they are mounted on the fender in plain sight. The Fruils look better than the old Model Kastens used on the lower hull.
Each side of the link received a PE bracket and half wing nut. The track links were slight to wide so the brackets had to be cut apart have an extender added under the link. Eight PE parts per link. I likexto find ways to make it hard on myself when it comes to PE.
Lol
After the fenders are complete there are a few things to mount to the hull side like the radio antenna and antenna holder etc. I can see the finish line for the construction is in sight.
3 Likes
Very nice as always Wade! Your build has encouraged me to start that Pz iii you sent me, I hope to achieve at least half of what you’ve done.
1 Like
Some lovely additions for details being added Wade. Doing a superb job and it’s great seeing it progress 
1 Like
Awesome micro details Wade keep up the outstanding effort!
1 Like
Fantastic work so far Wade, I look forward to seeing it painted. Thank you for sharing it with us. Best regards…Dale
1 Like
@Dale_Hines, thank you Dale. I ready to spray some paint as well! Appreciate your time and looking.
@Johnnych01 and @SSGToms, John & Matt, thank you for the very kind words. Honestly, both of you have played key roles in this one staying on track.
@Panzer_modeler Ezra, Thank you 
Pz III build Cool! I can’t wait to see it. Hopefully the Pz III will be a nice fun build. If you want a set of Dragon Magic tracks for the model let me know and I’ll send them. Have a spare set from a Dragon Pv IV F1 that need a good home.
You’ll eclipse my level of modeling with your talent and dedication very soon. At your age, leaving finger prints was part of my weathering:)
2 Likes
Thanks wade, but your about a couple hours to late I already glued on and sagged the rubber band tracks. Very nice offer though! Cant wait till the next update.
Cool beans! That technique works well too. Looking forward to pics
1 Like
Ezra, wow! That’s an amazing rate of progress.
1 Like