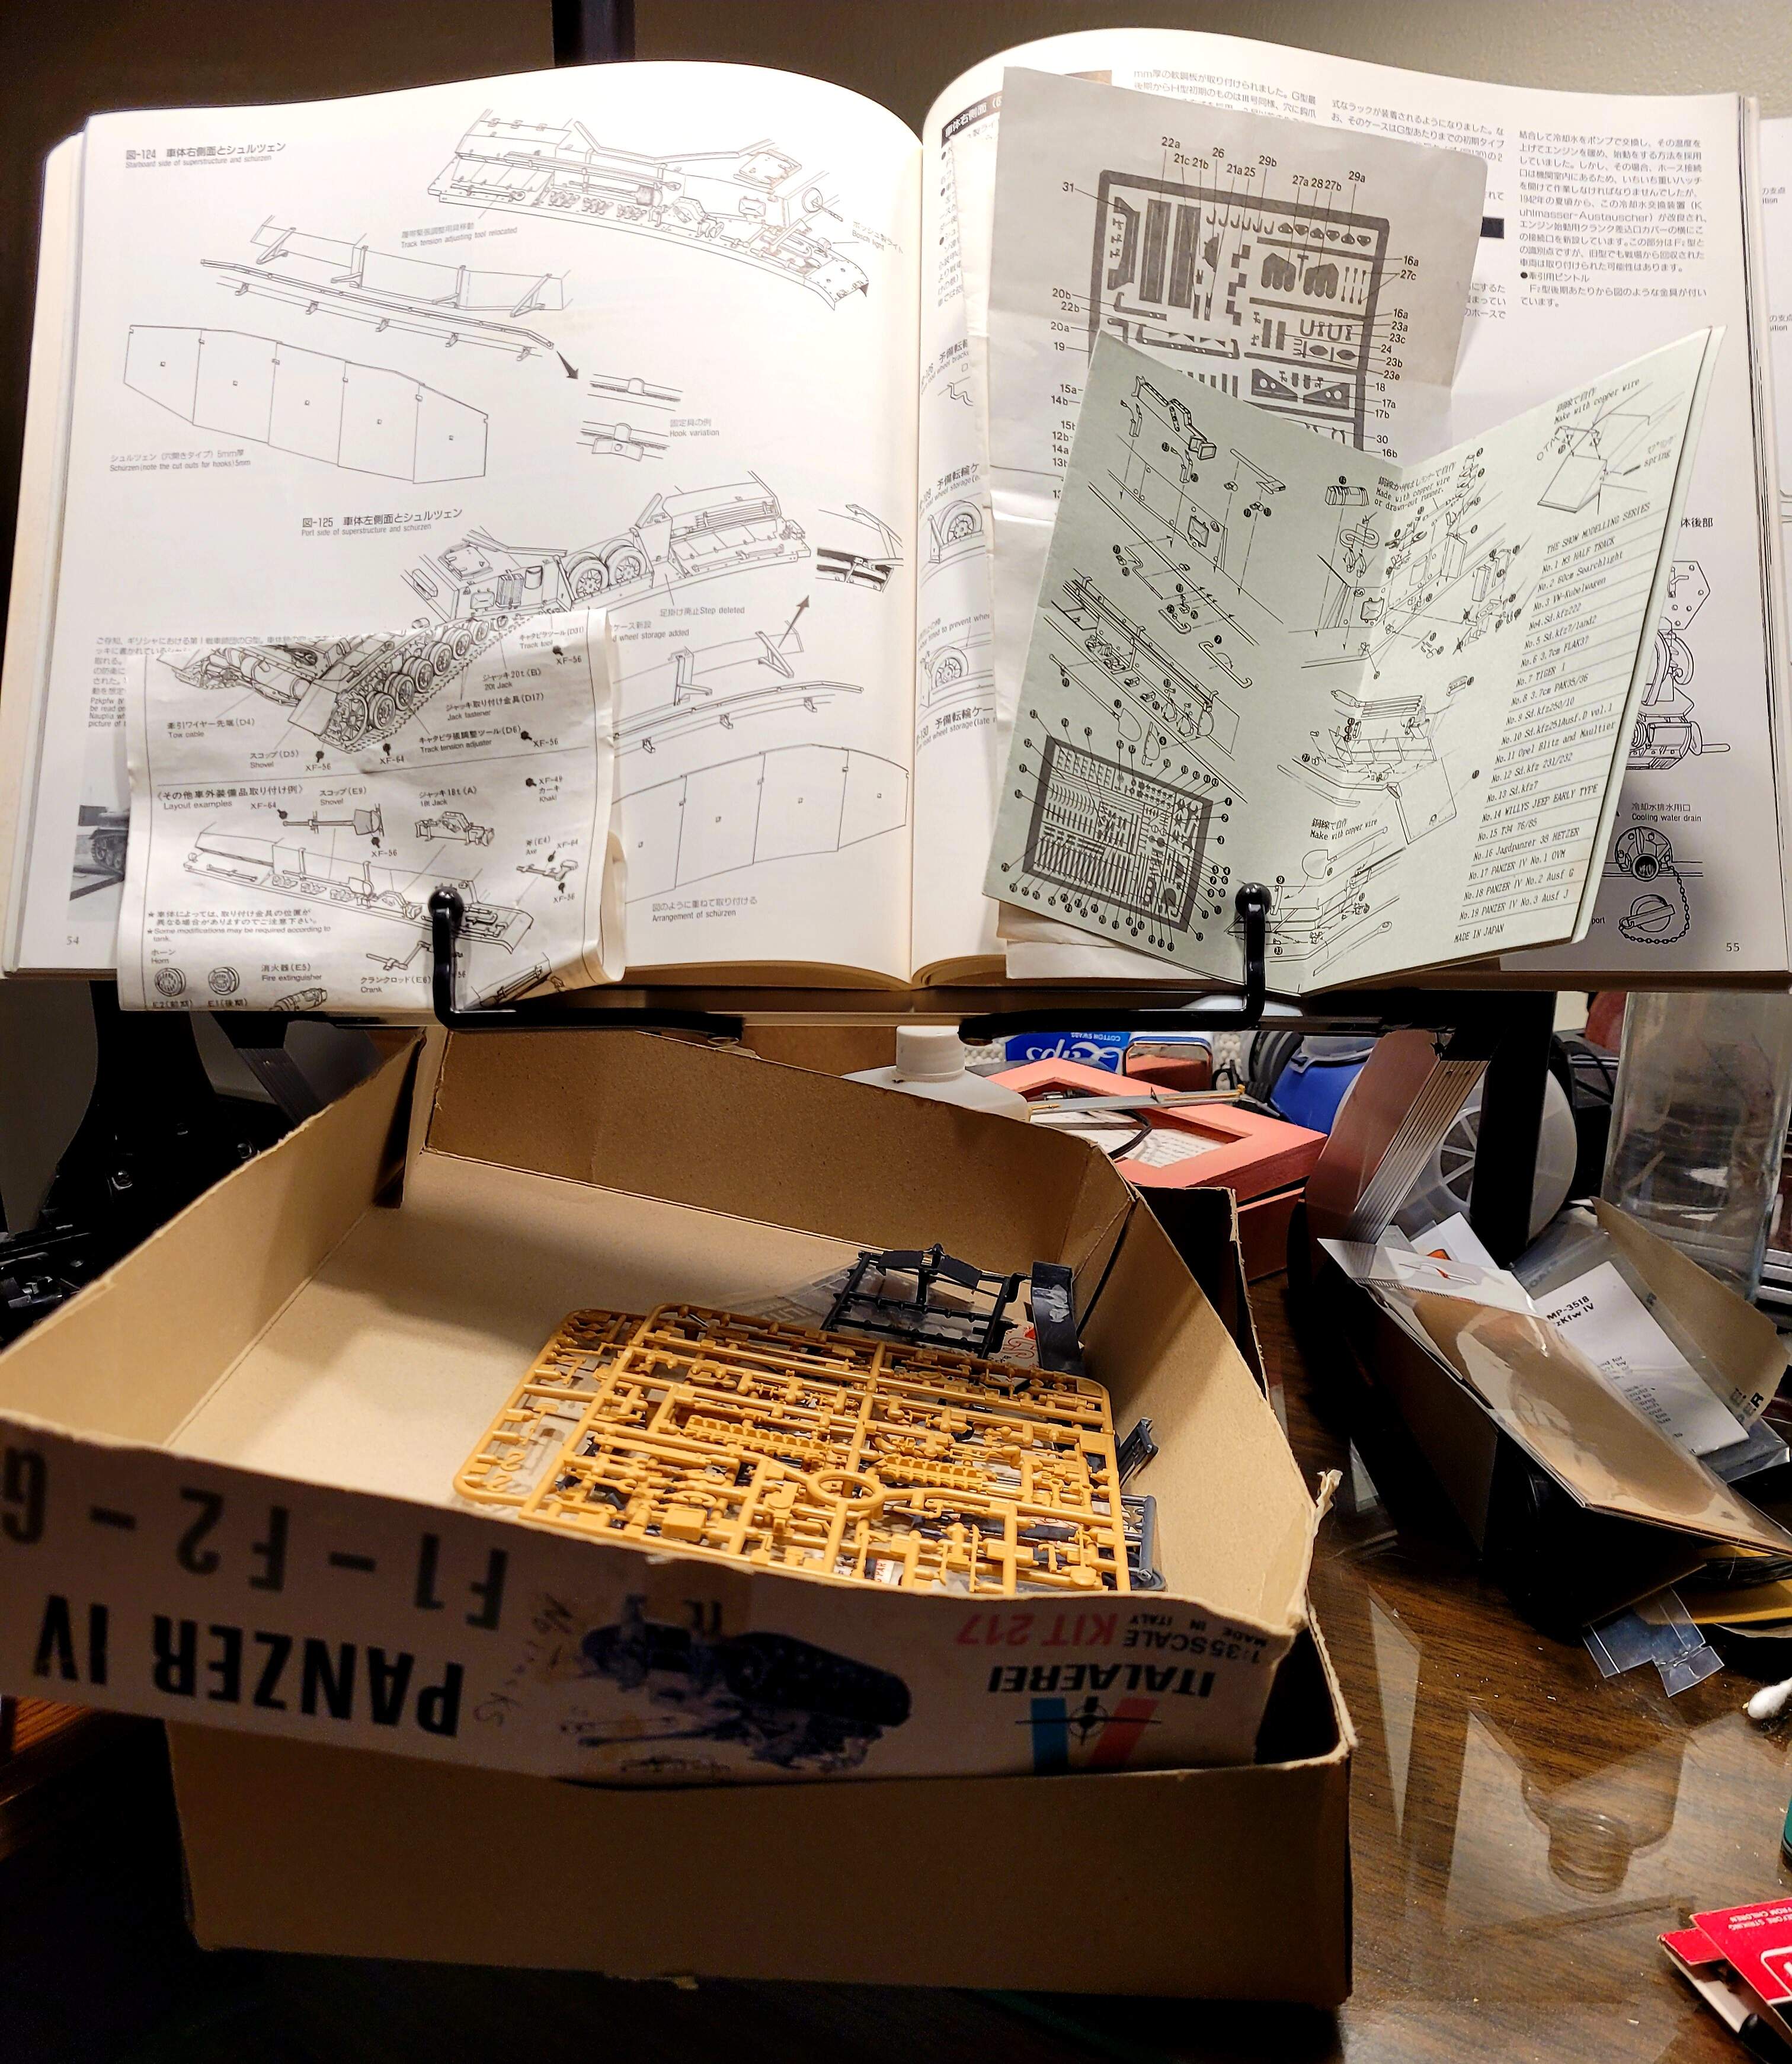
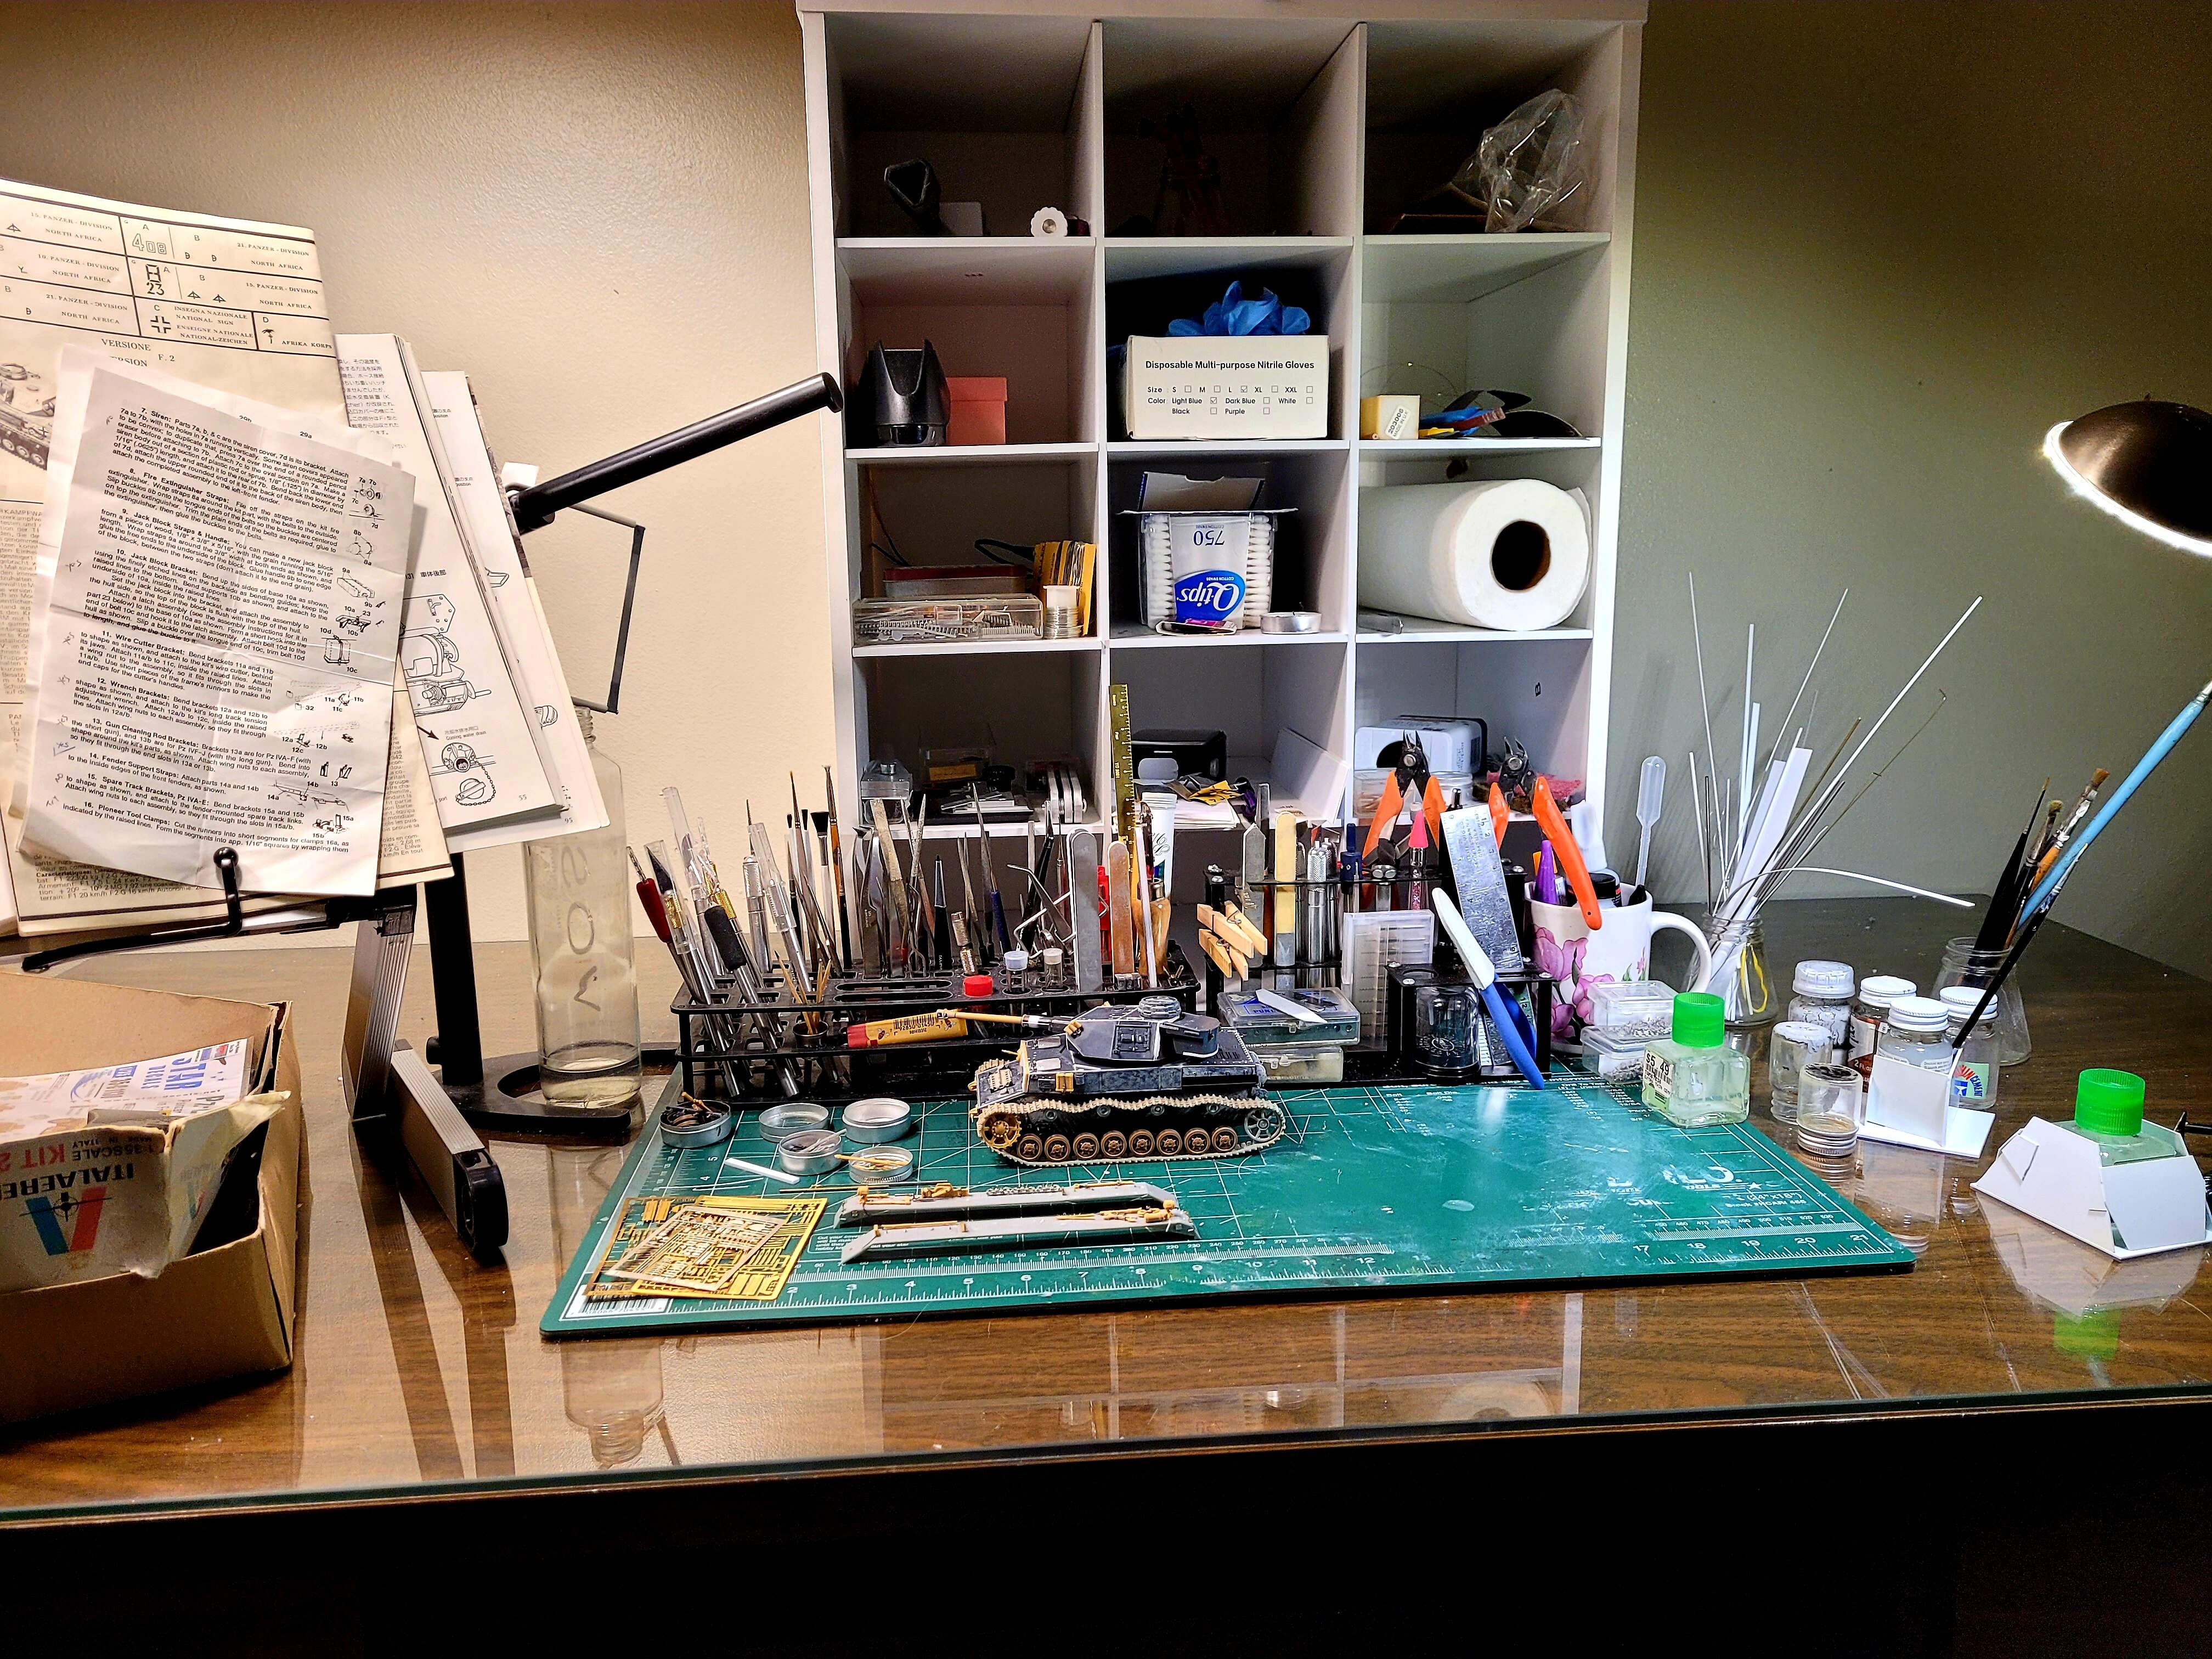
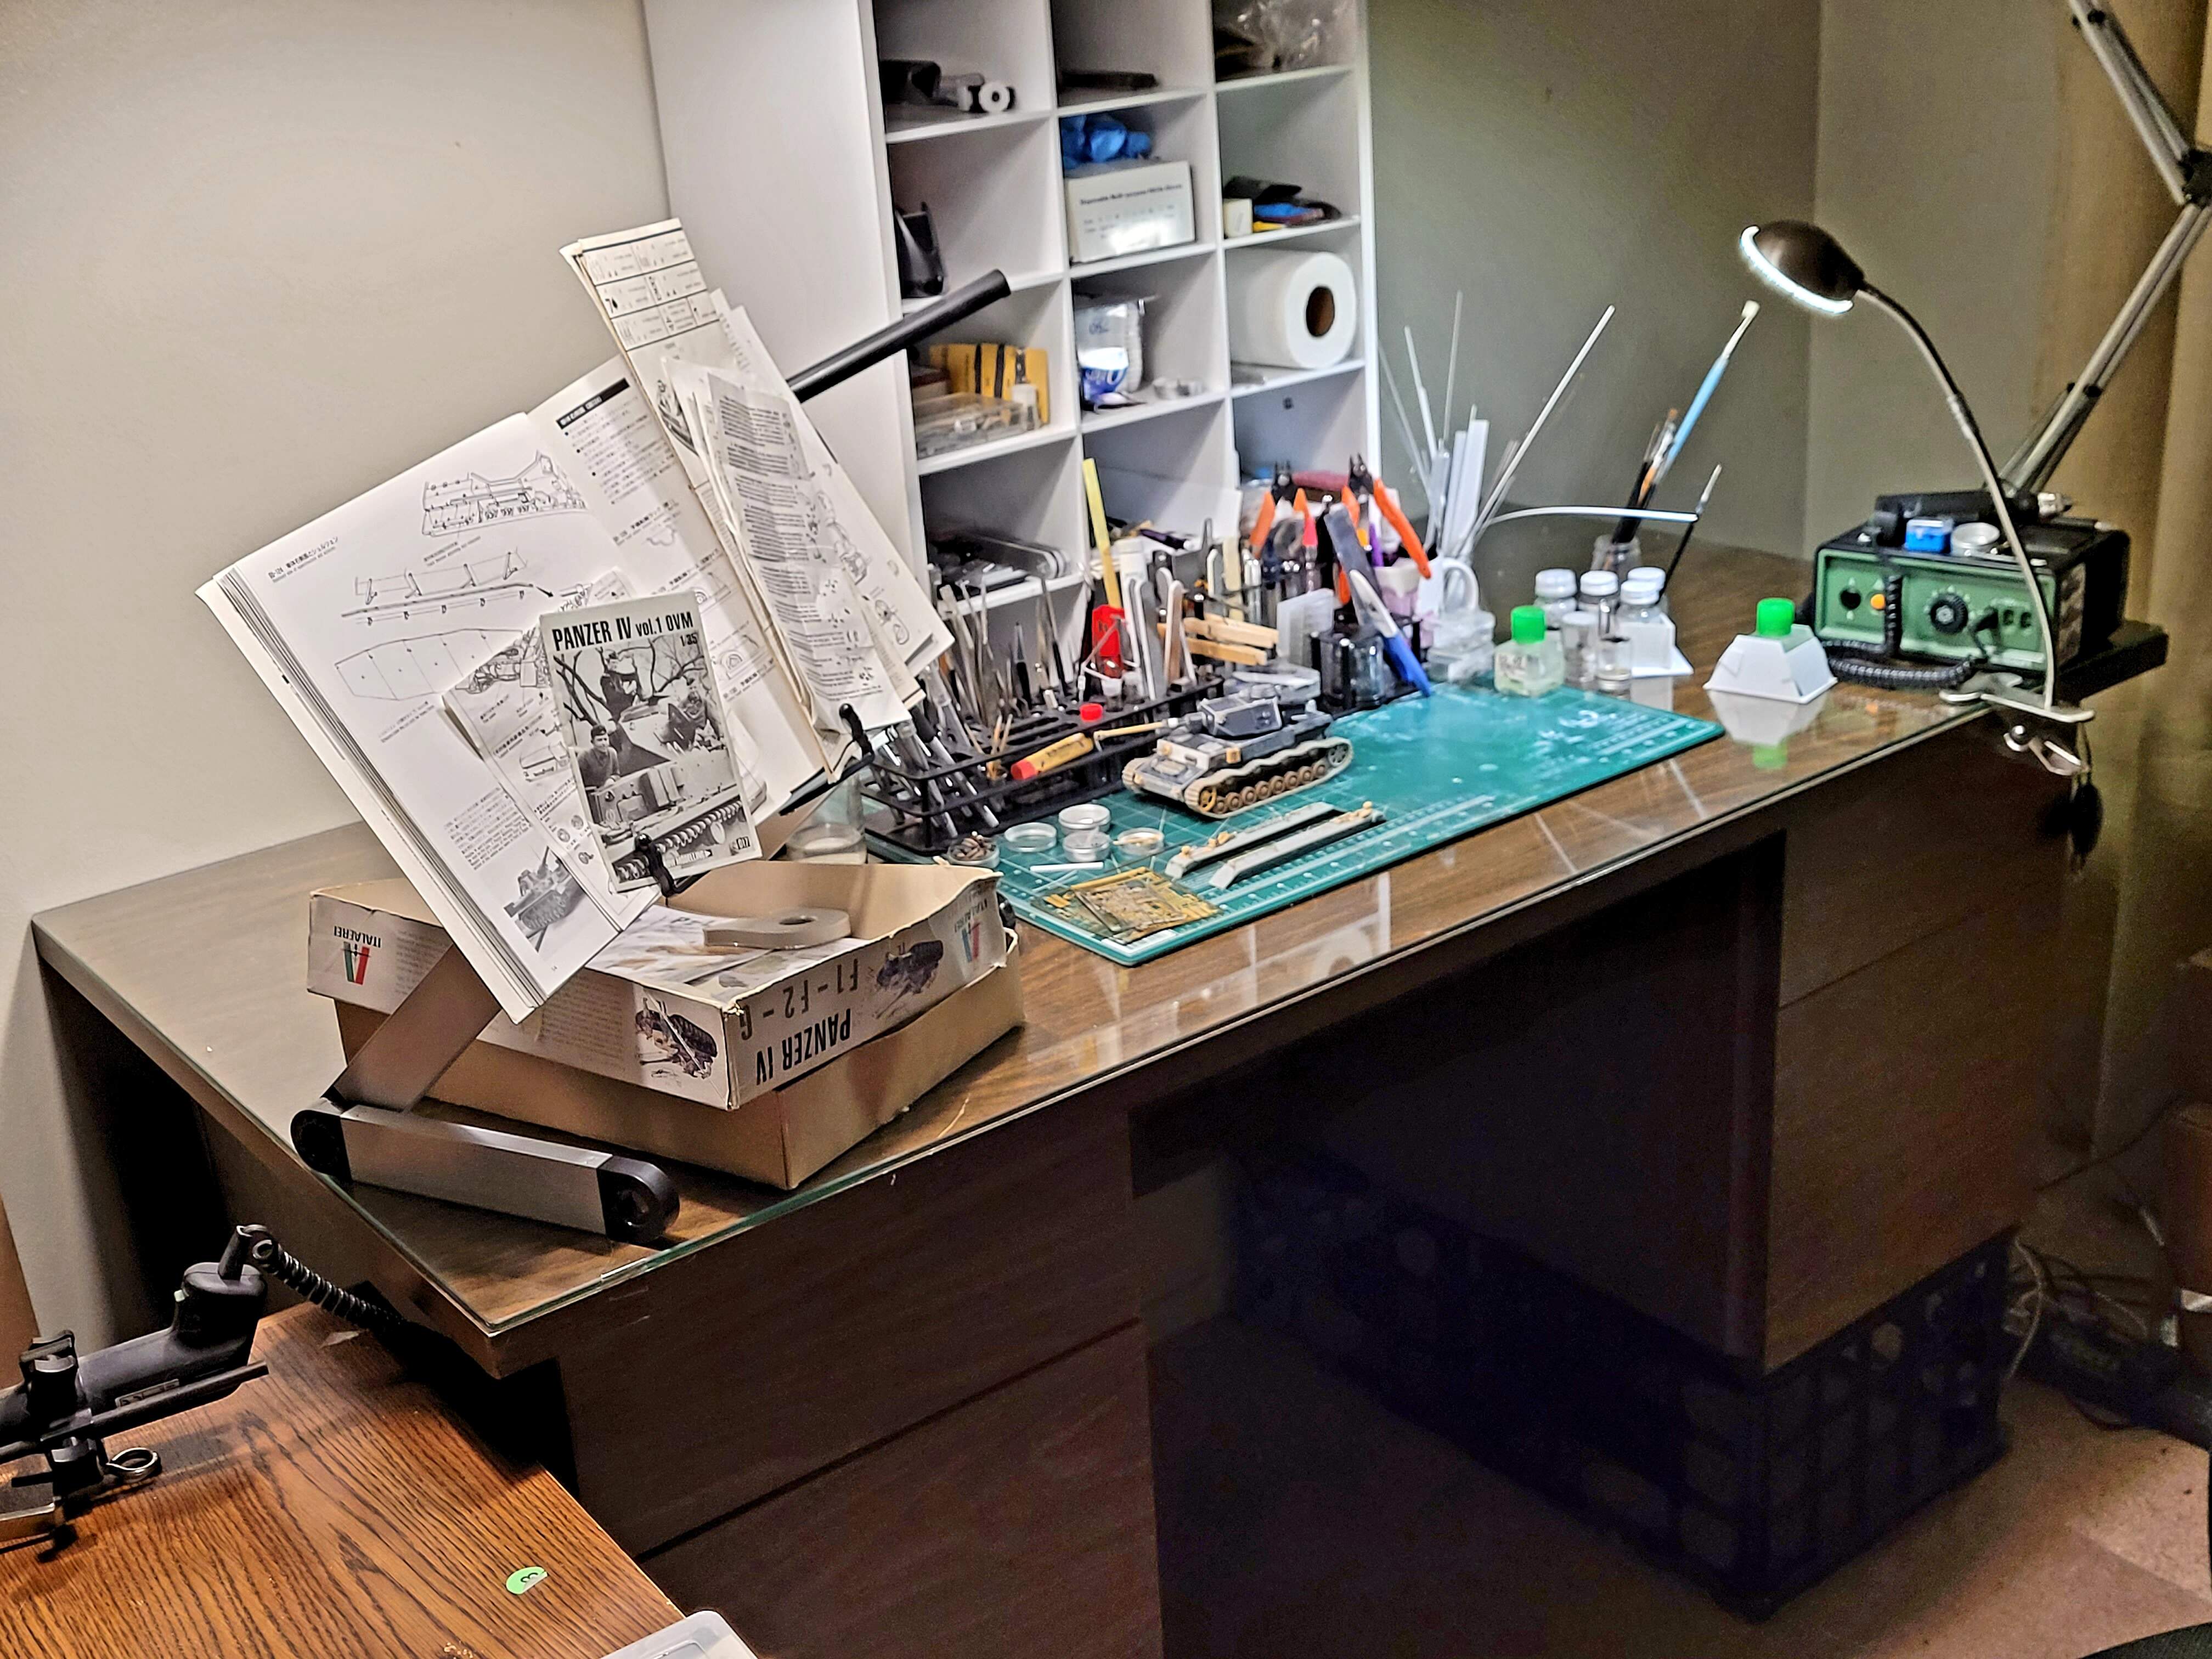
Noticed I’ve wasted a lot of time, finding, flipping and misplacing the five sets of instructions and reference on this build. Kit instructions, Achtung Panzer, Tamiya Pz IV Tool instructions, The Show Modeling Pz IV PE instructions & On The Mark Pz IV PE instructions.
Picked up a book holder and pull all of that stuff into for easy viewing  .
.
Hopefully this will help a bit.
1 Like
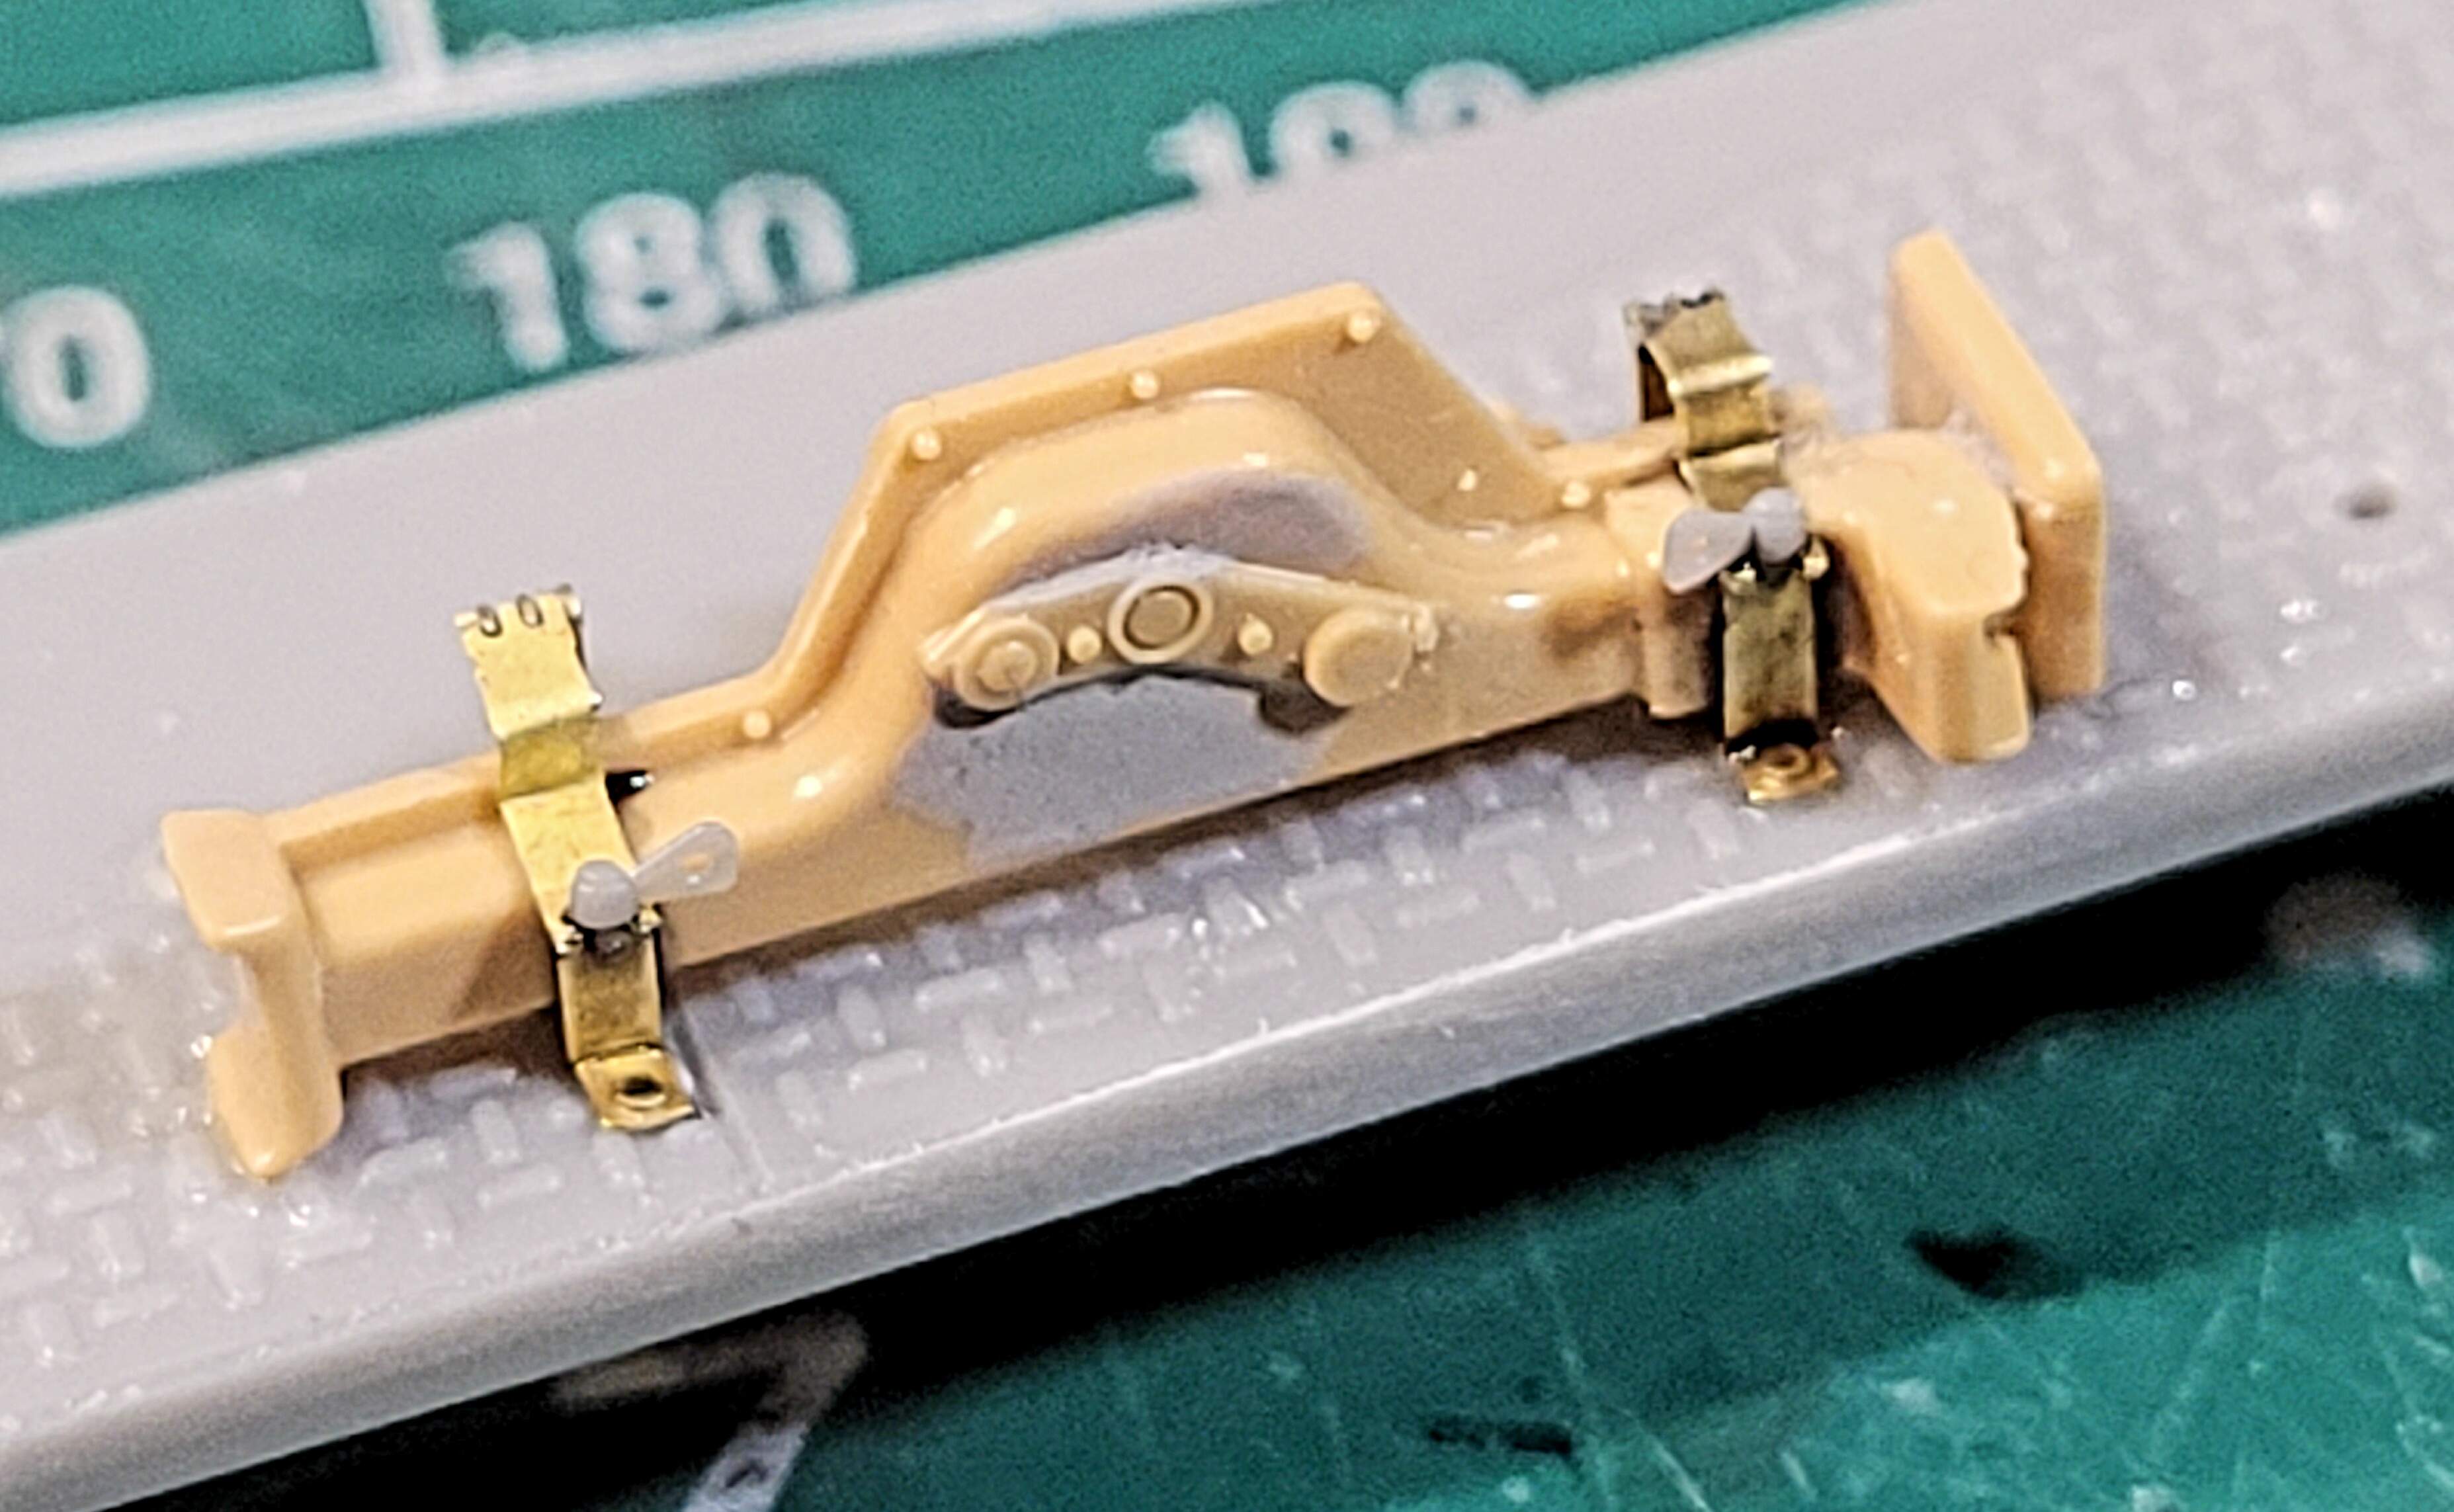
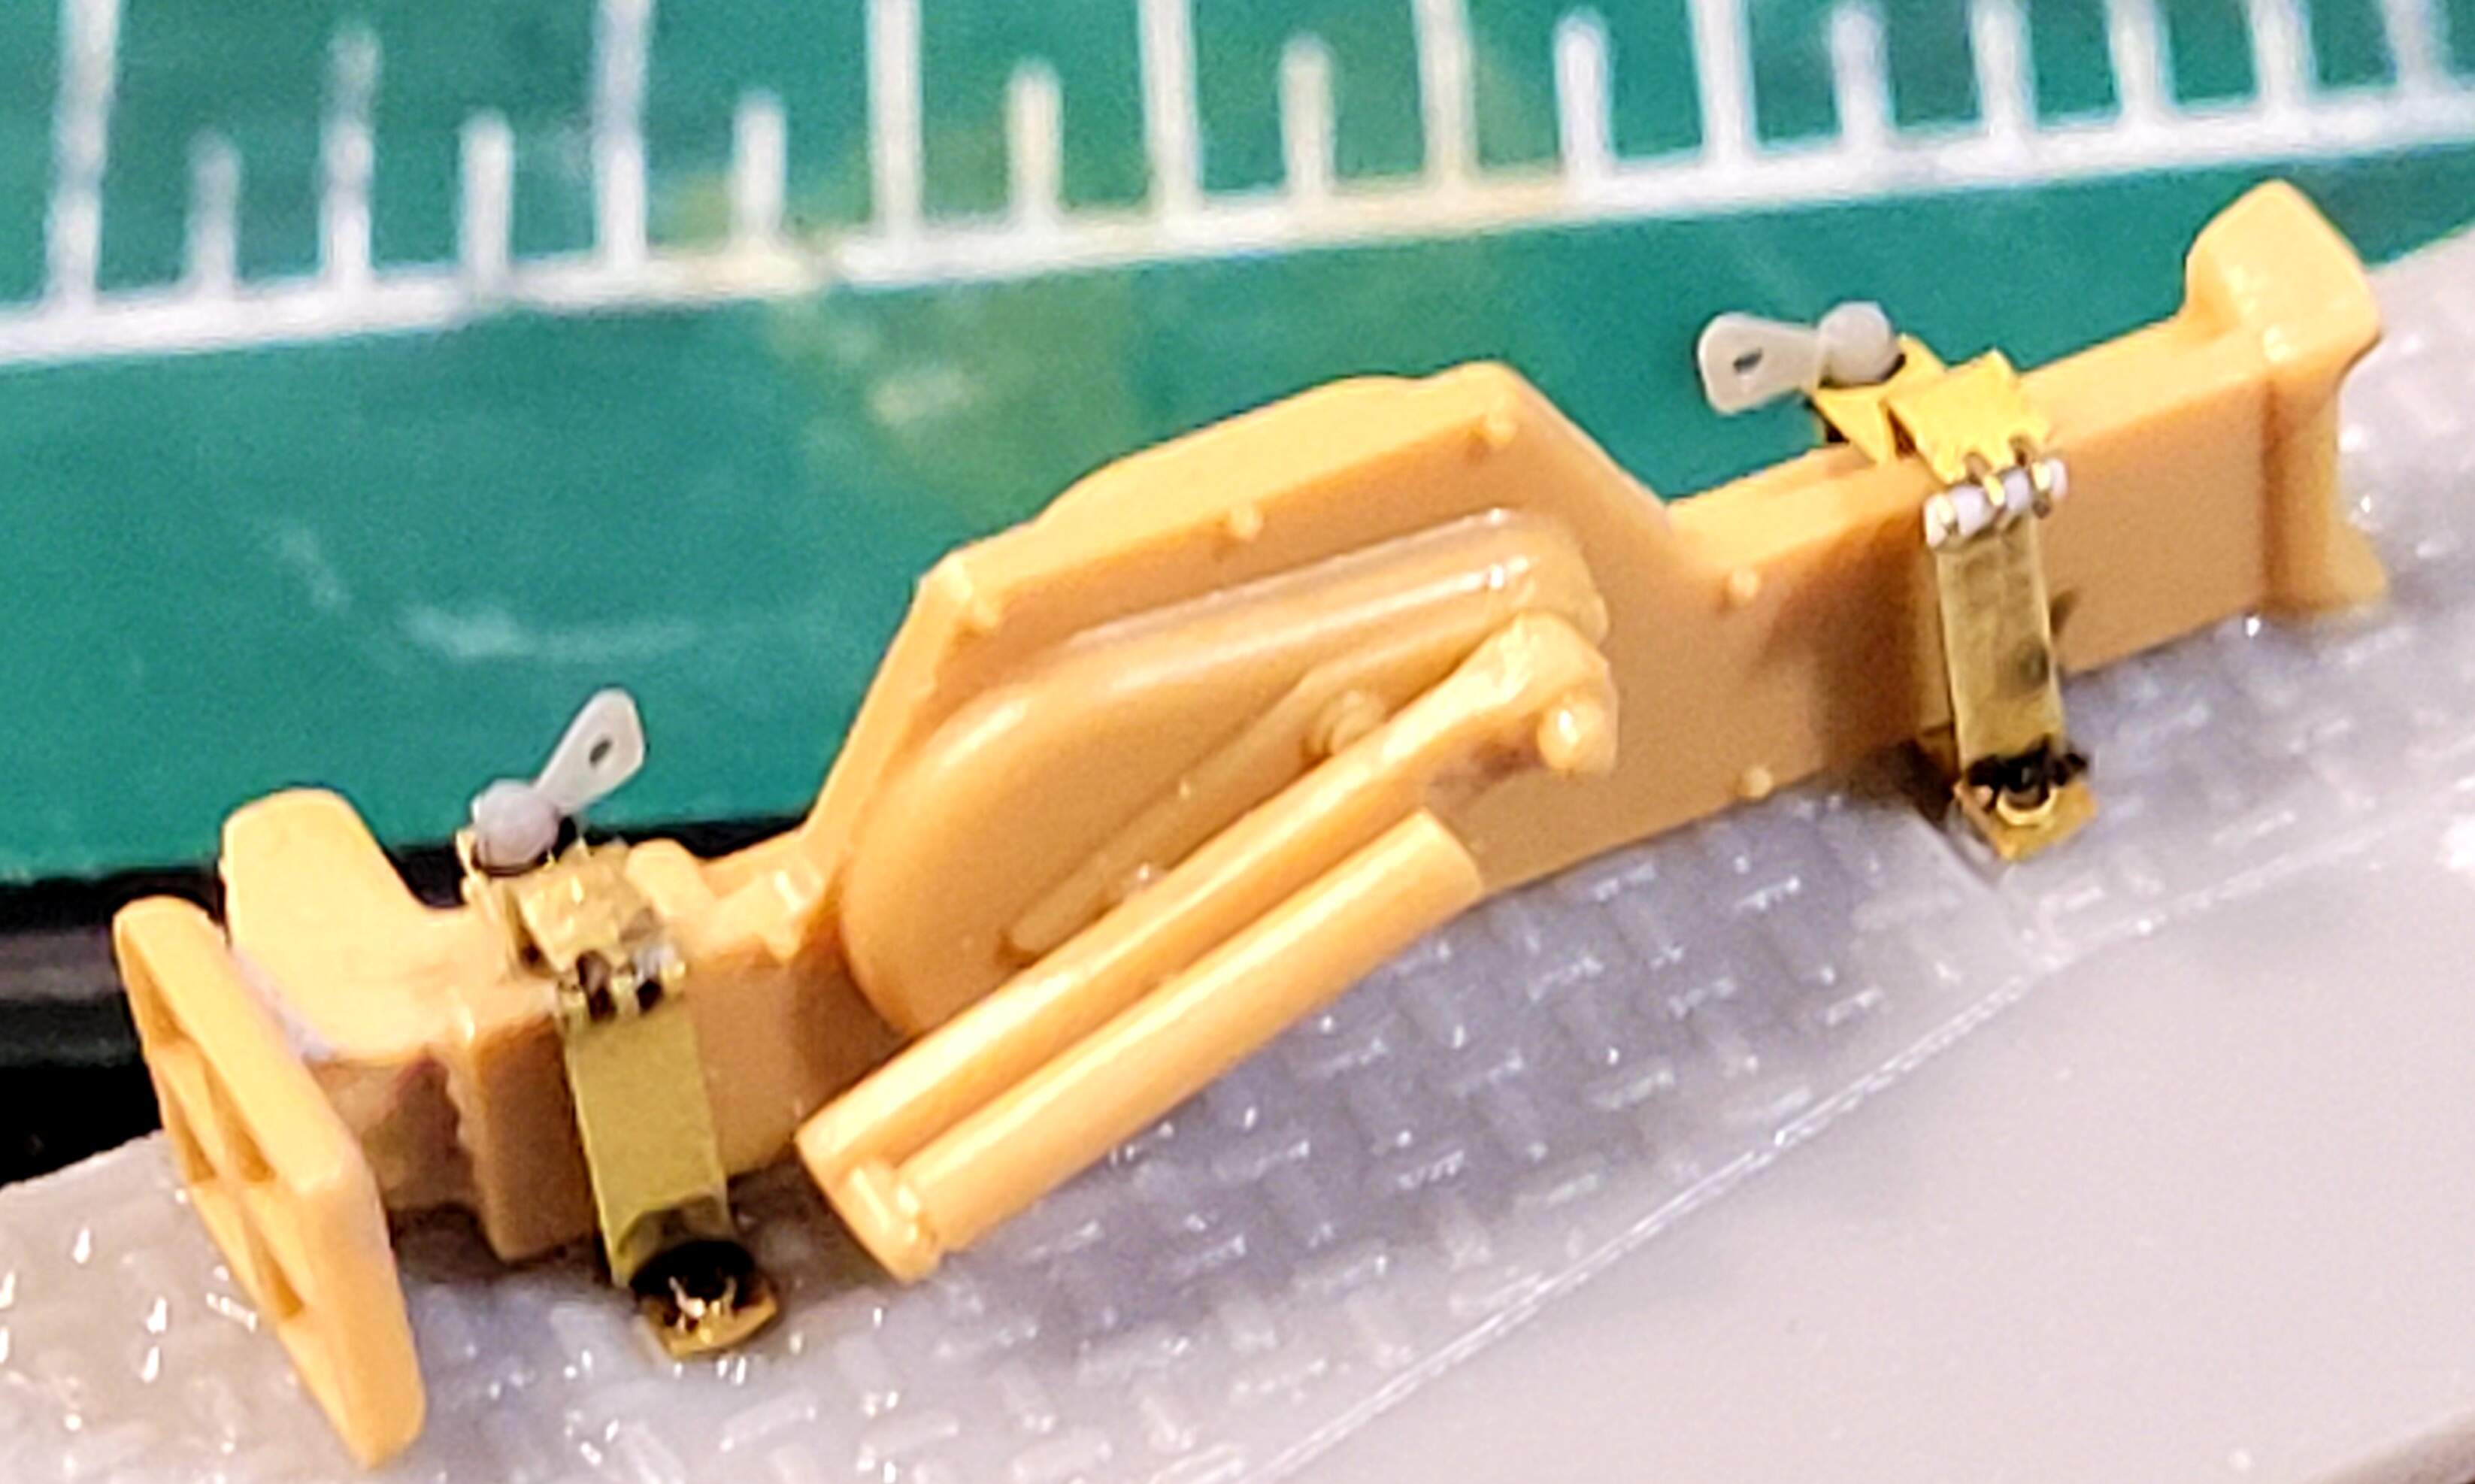
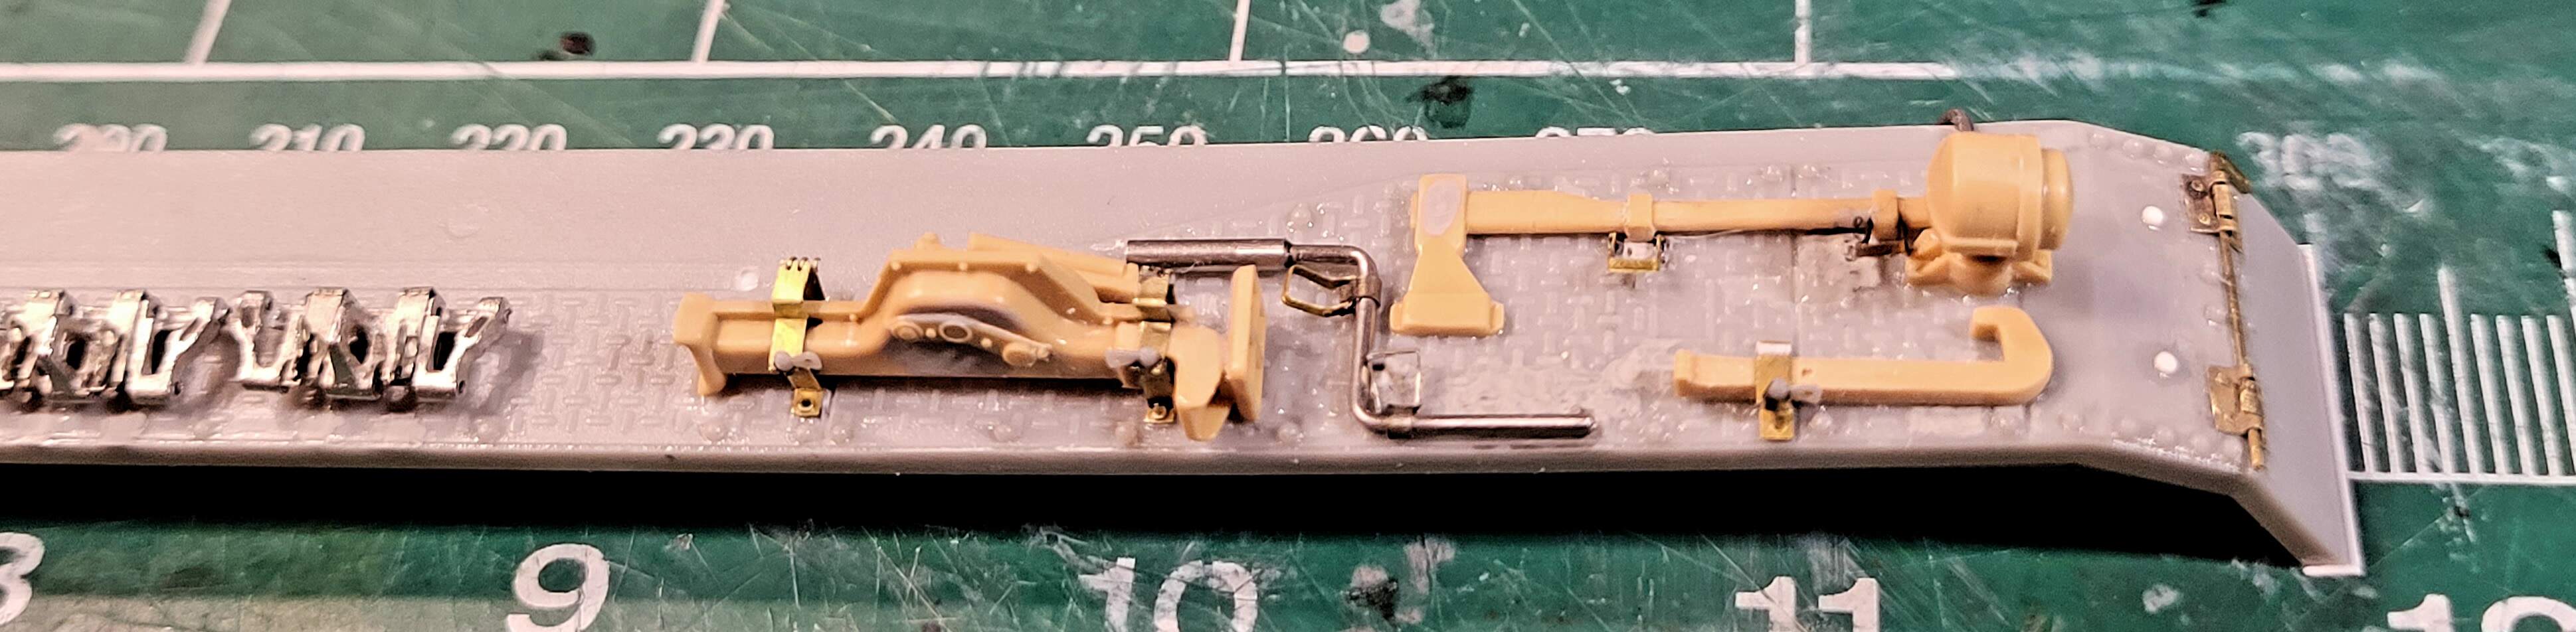
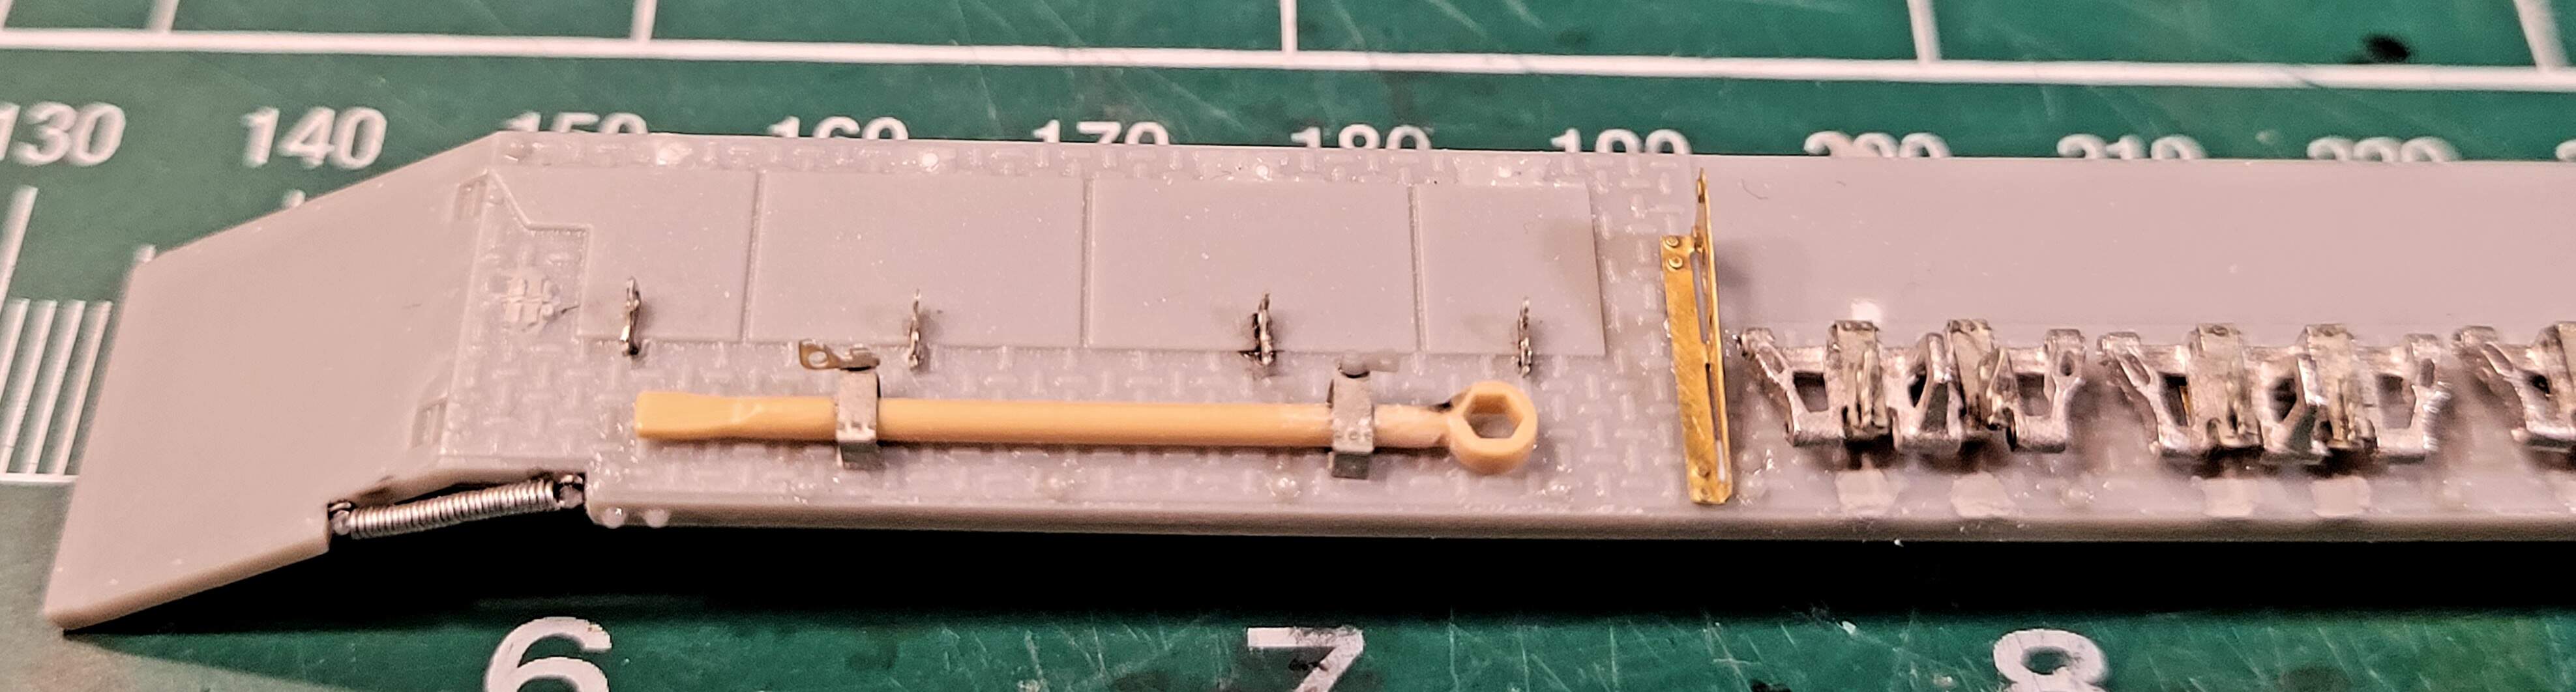
Wrapped the jack today. Started with The Show Modeling brackets but soon discovered the hinge details were in the wrong place for the jack selected. Switched to the On The Mark brackets which started four parts each instead of one. They ended up cut apart into five parts to get a roughly OK fit. Used .015 rod combined with the PE for the hinges.
Three tools to go on the fender plus rivets 


4 Likes
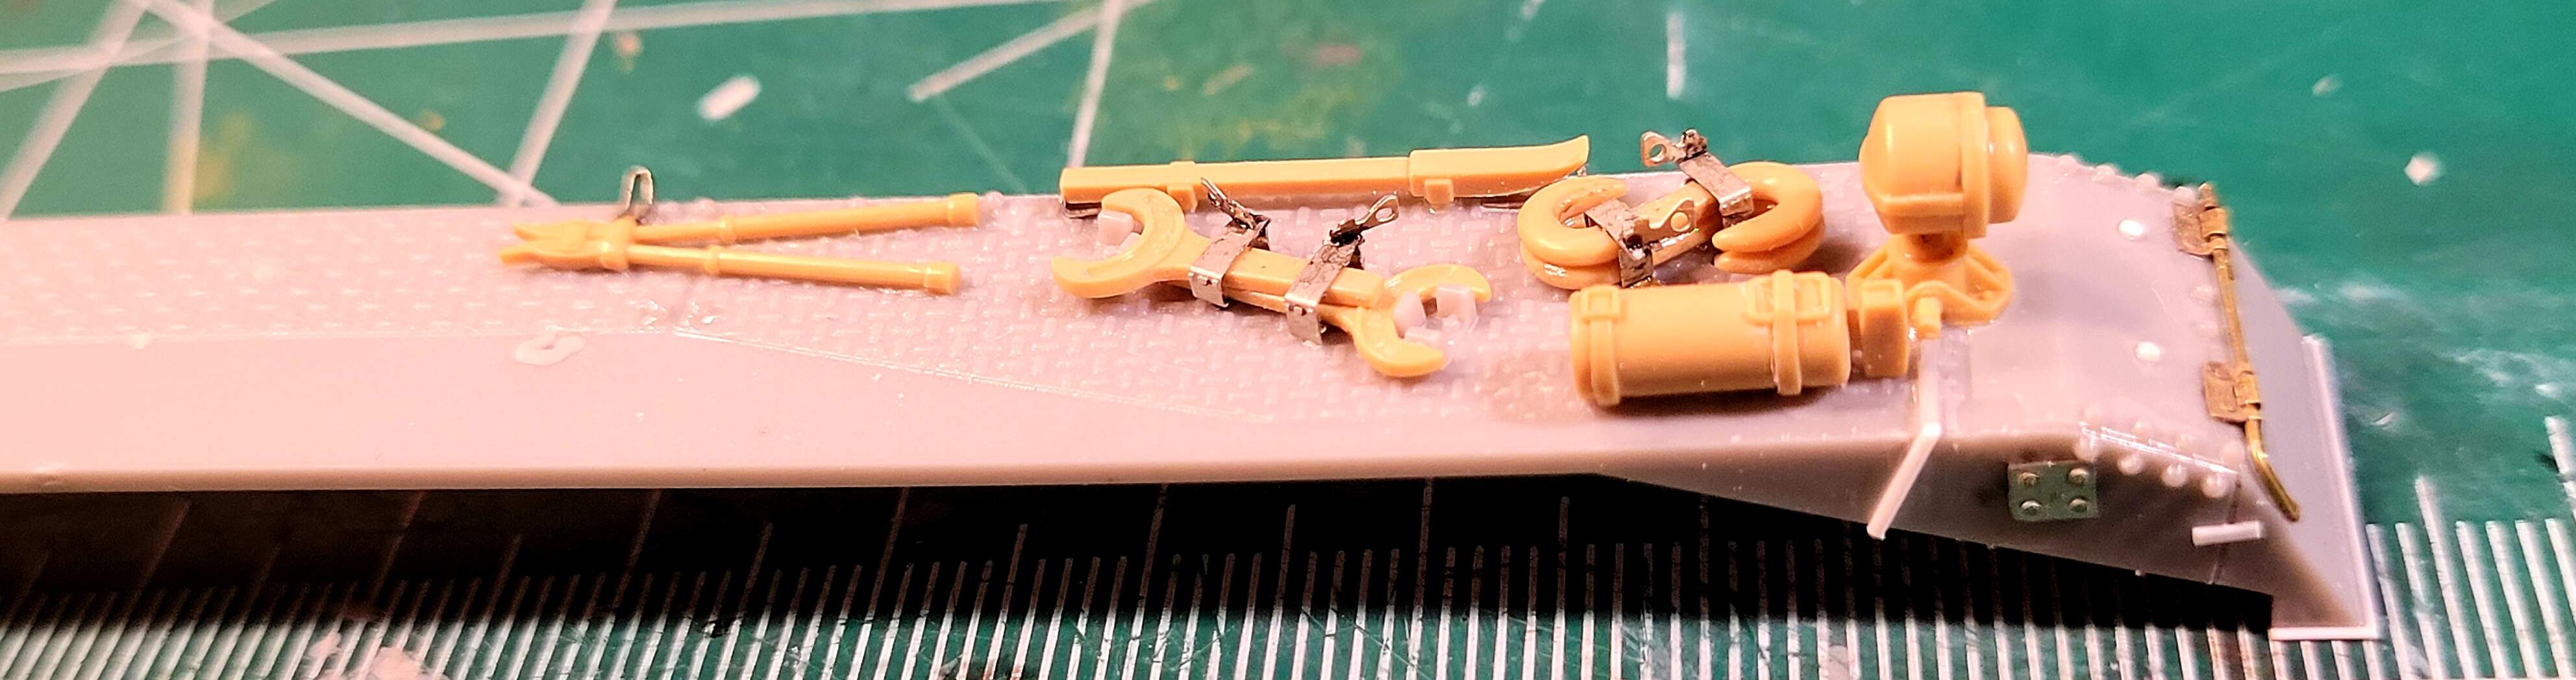
Planning to do twin Bosch headlights, which means adding one to the radio operator’s fender. Noticed when test fitting the tools with,the headlight the Tamiya hand crank would have to be repositioned, flipped over, tweaked and have the brackets redone.
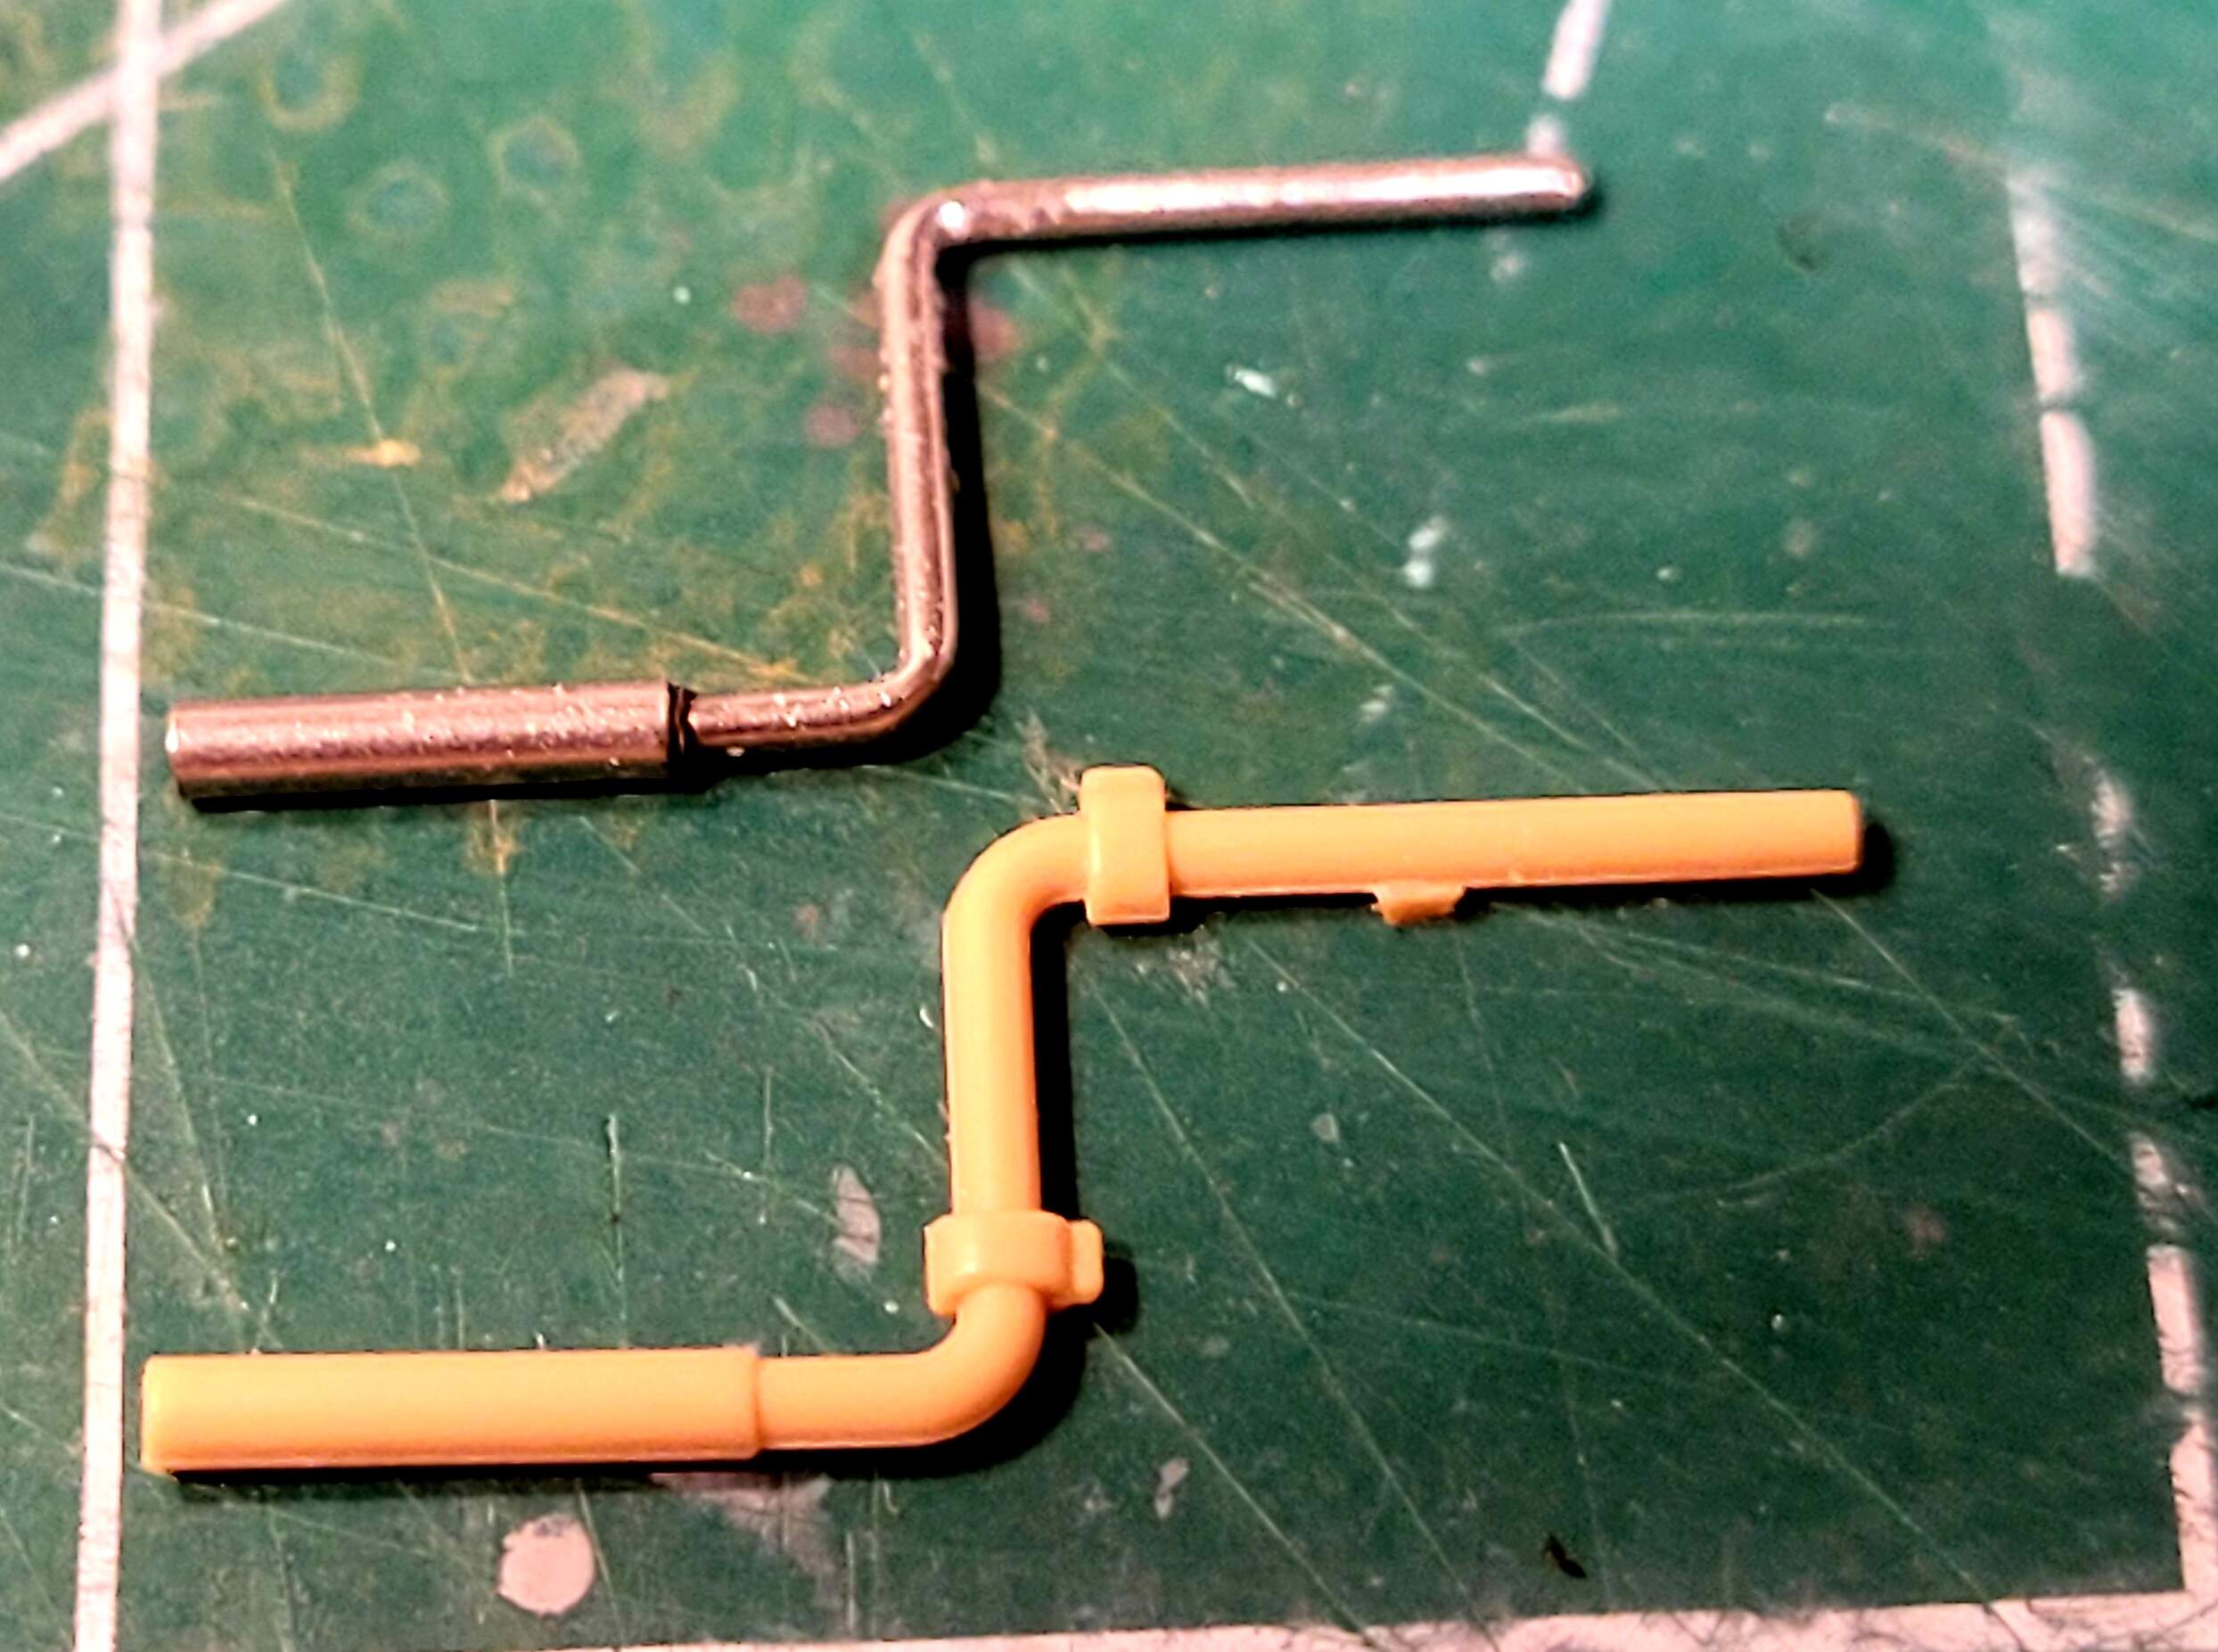
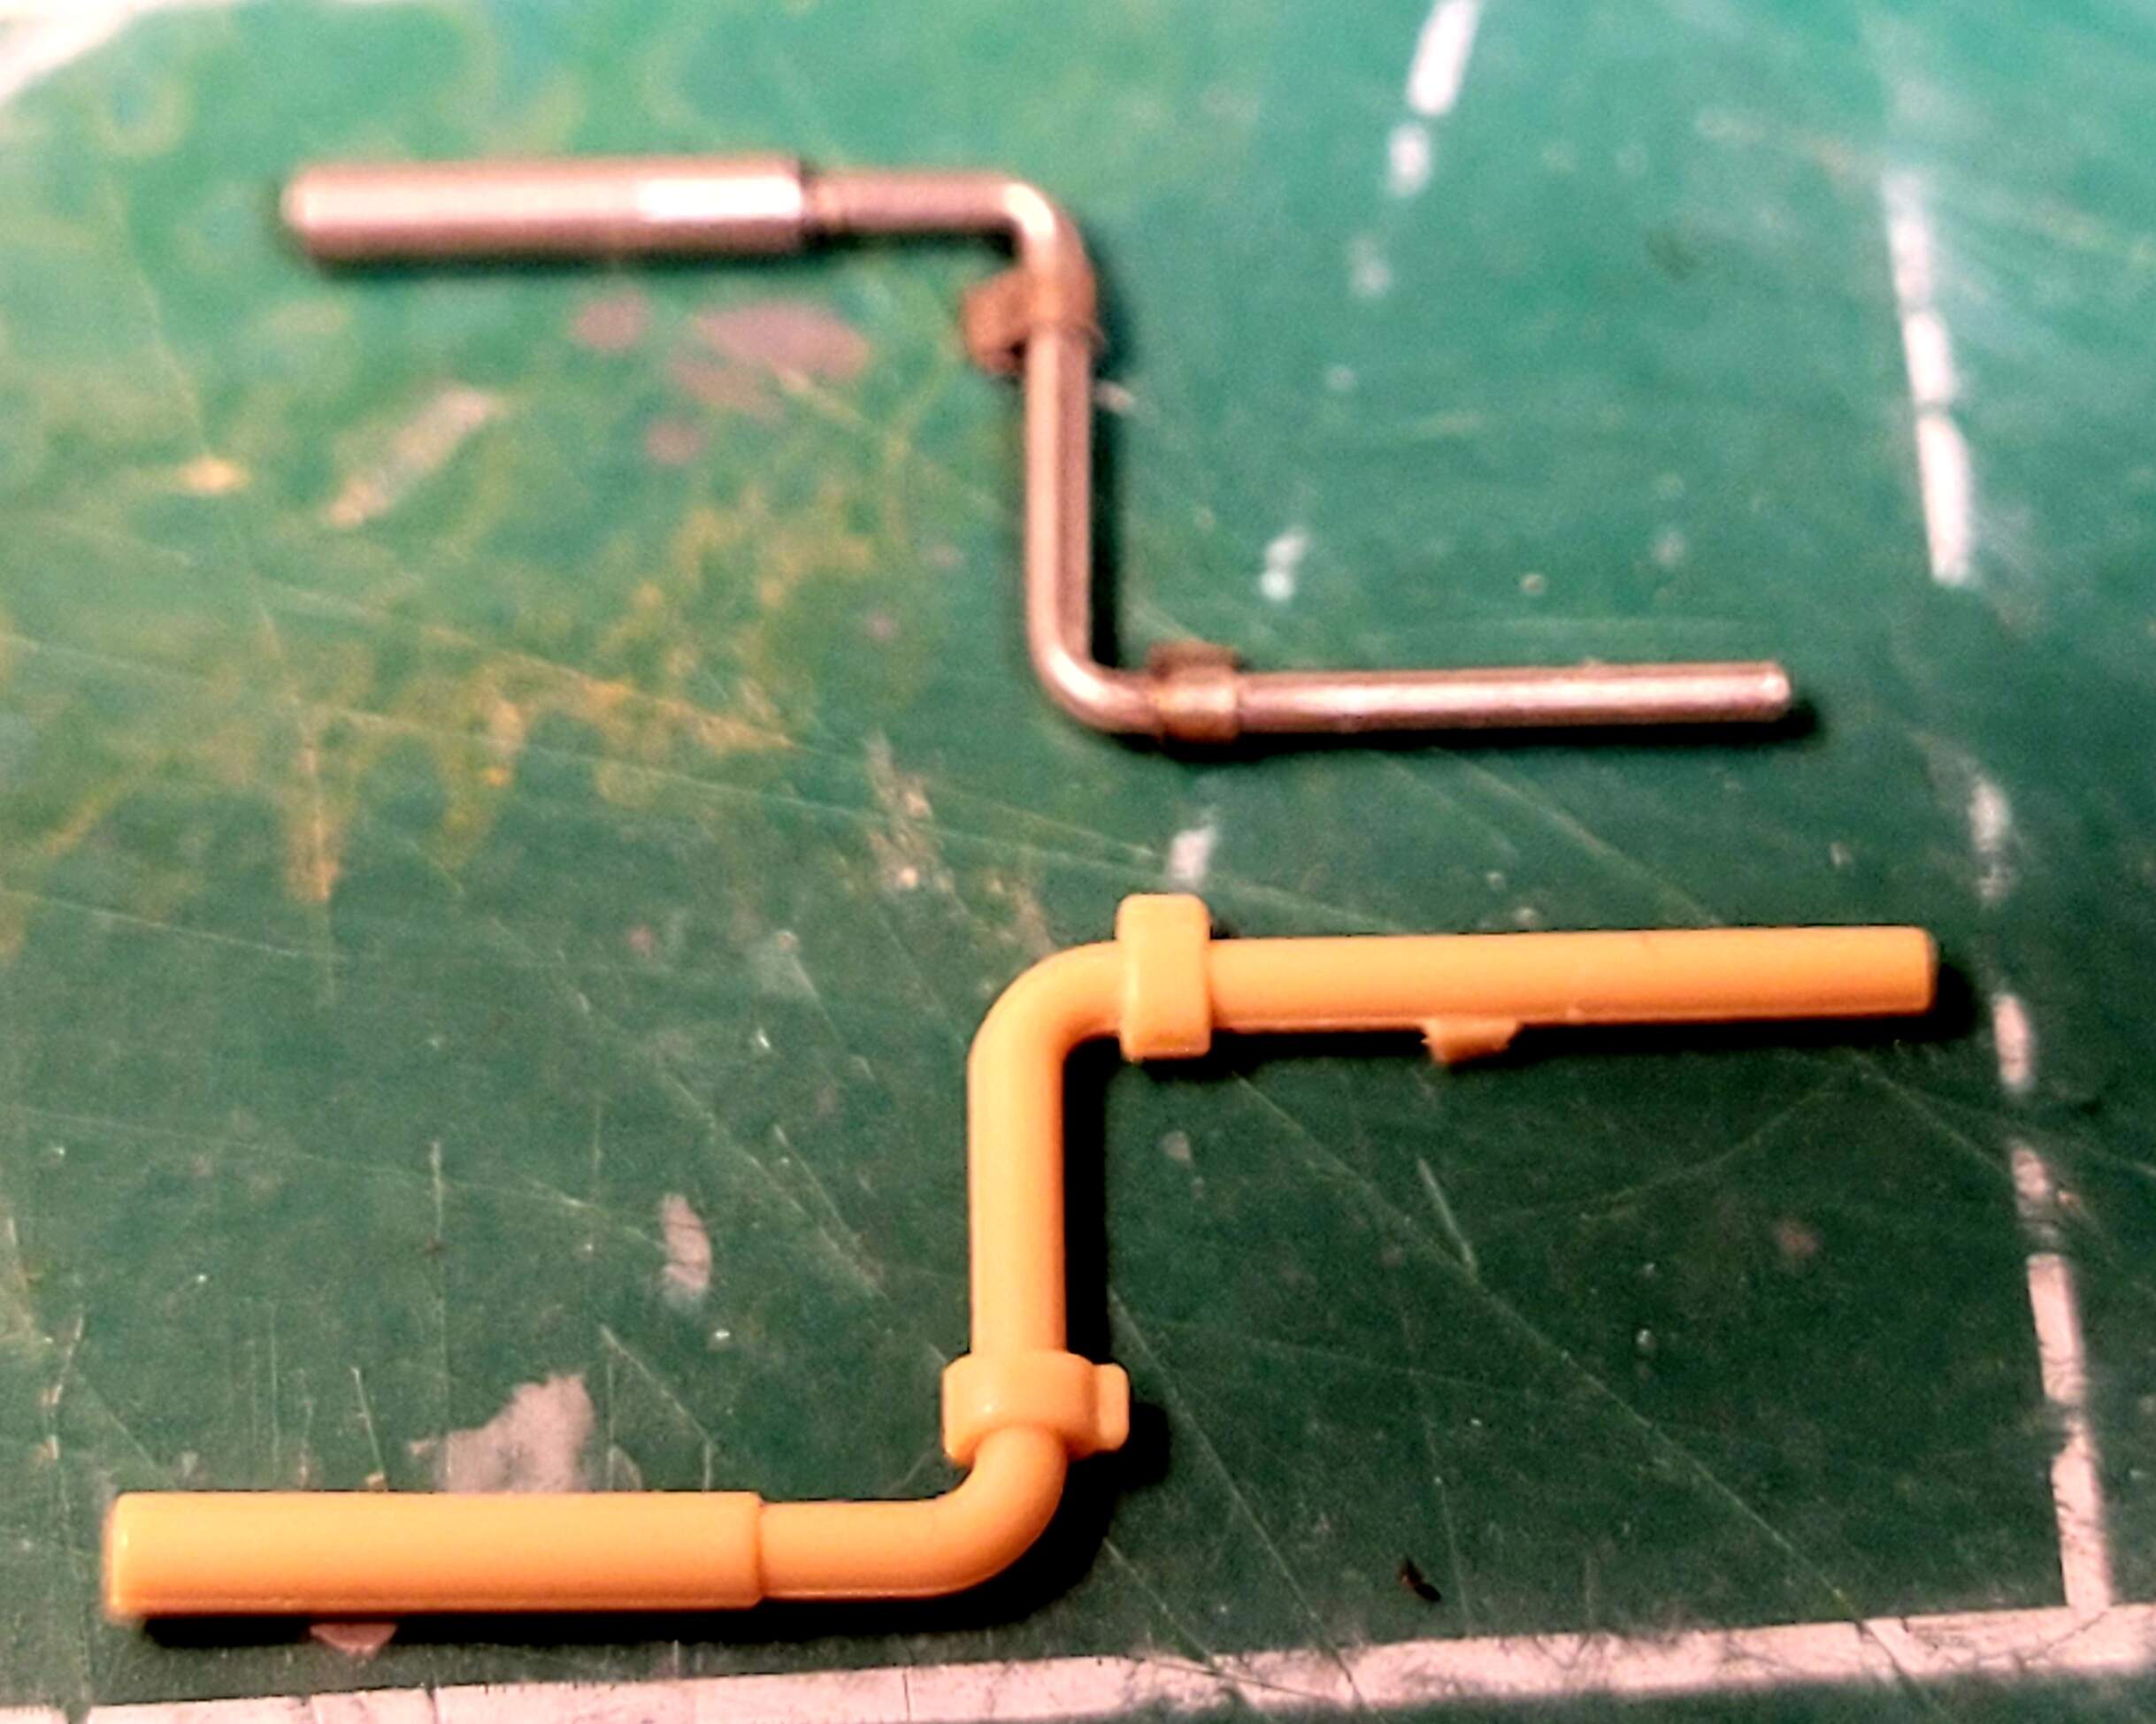
The Tamiya hand crank is pretty nice. It’s a well molded part. I have used one many times the past. Yet I’m never keen on using the molded hand cranks. I was less than excited at the prospect of cutting molded in brackets off of the part and keeping it round.
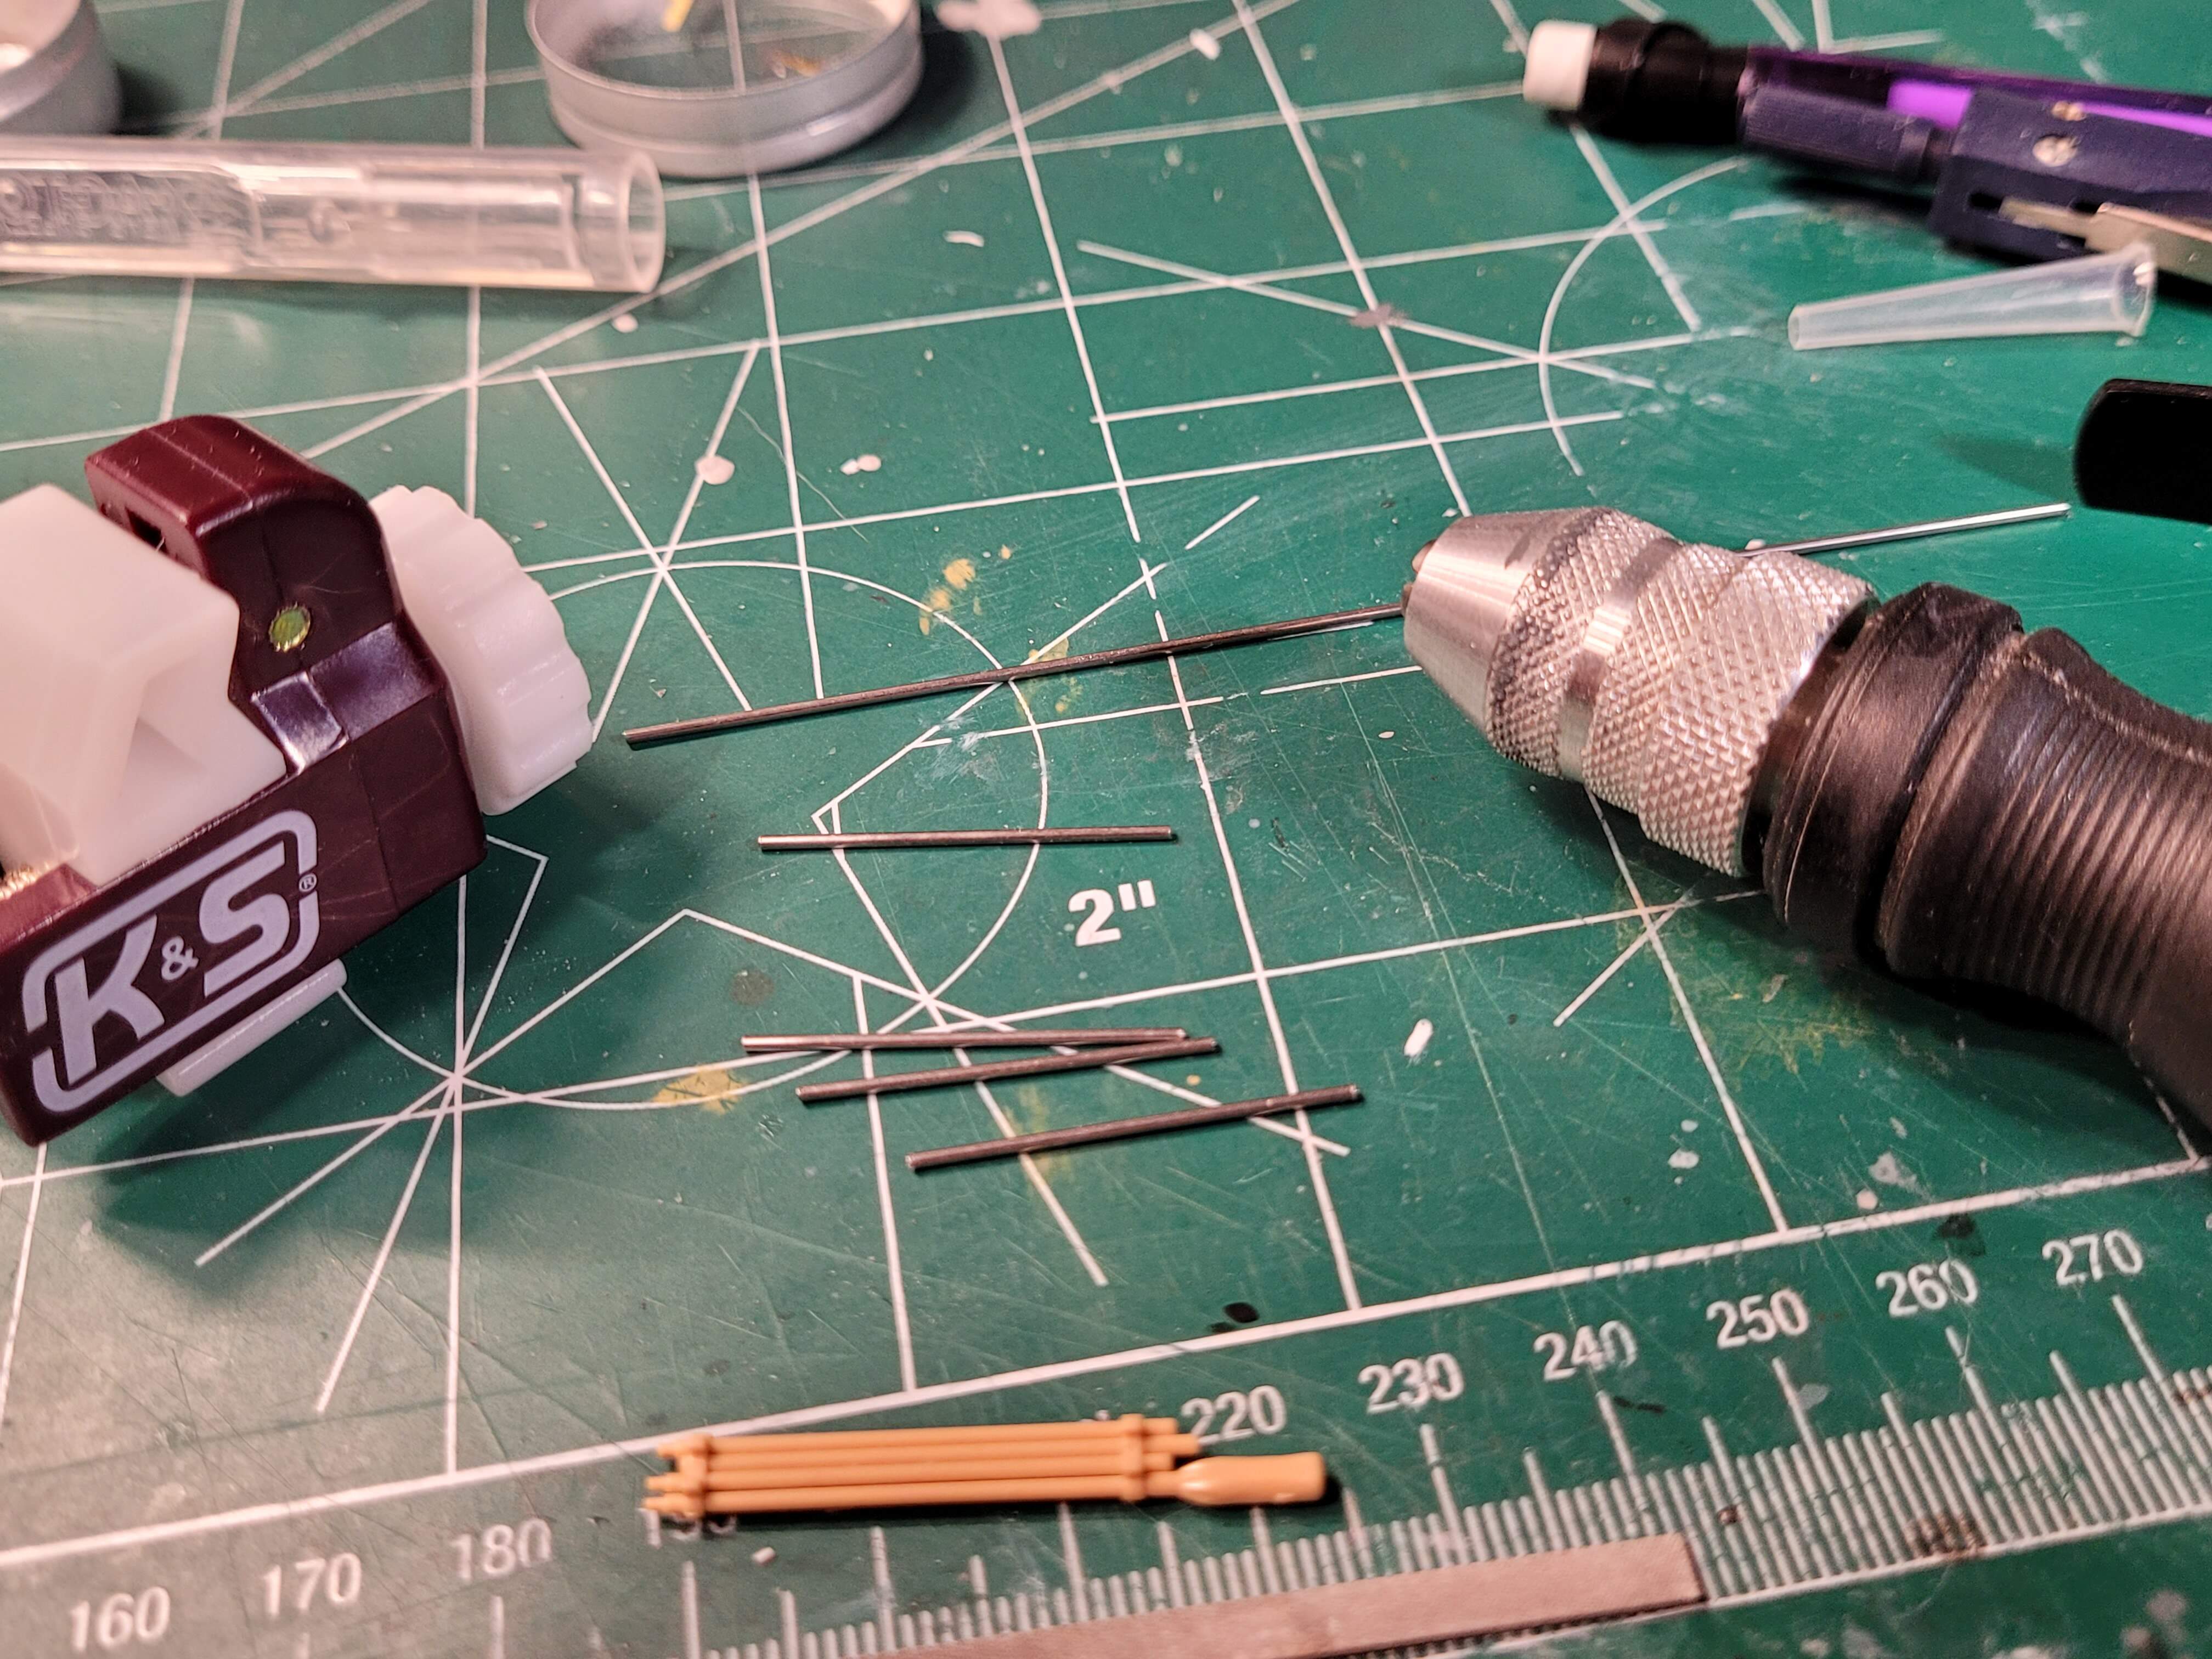
Rounded up various thin stainless steel tubing from the junk box and a tubing cutter to try to make a new hand crank. After a couple of tries ended up with this result.
Added the base of the clamp still need to do the handle.
Hopefully this fender gets wrapped tomorrow.
3 Likes
Very nicely done Wade. That looks 100% better and alot more realistic… 
1 Like
Thank you John 
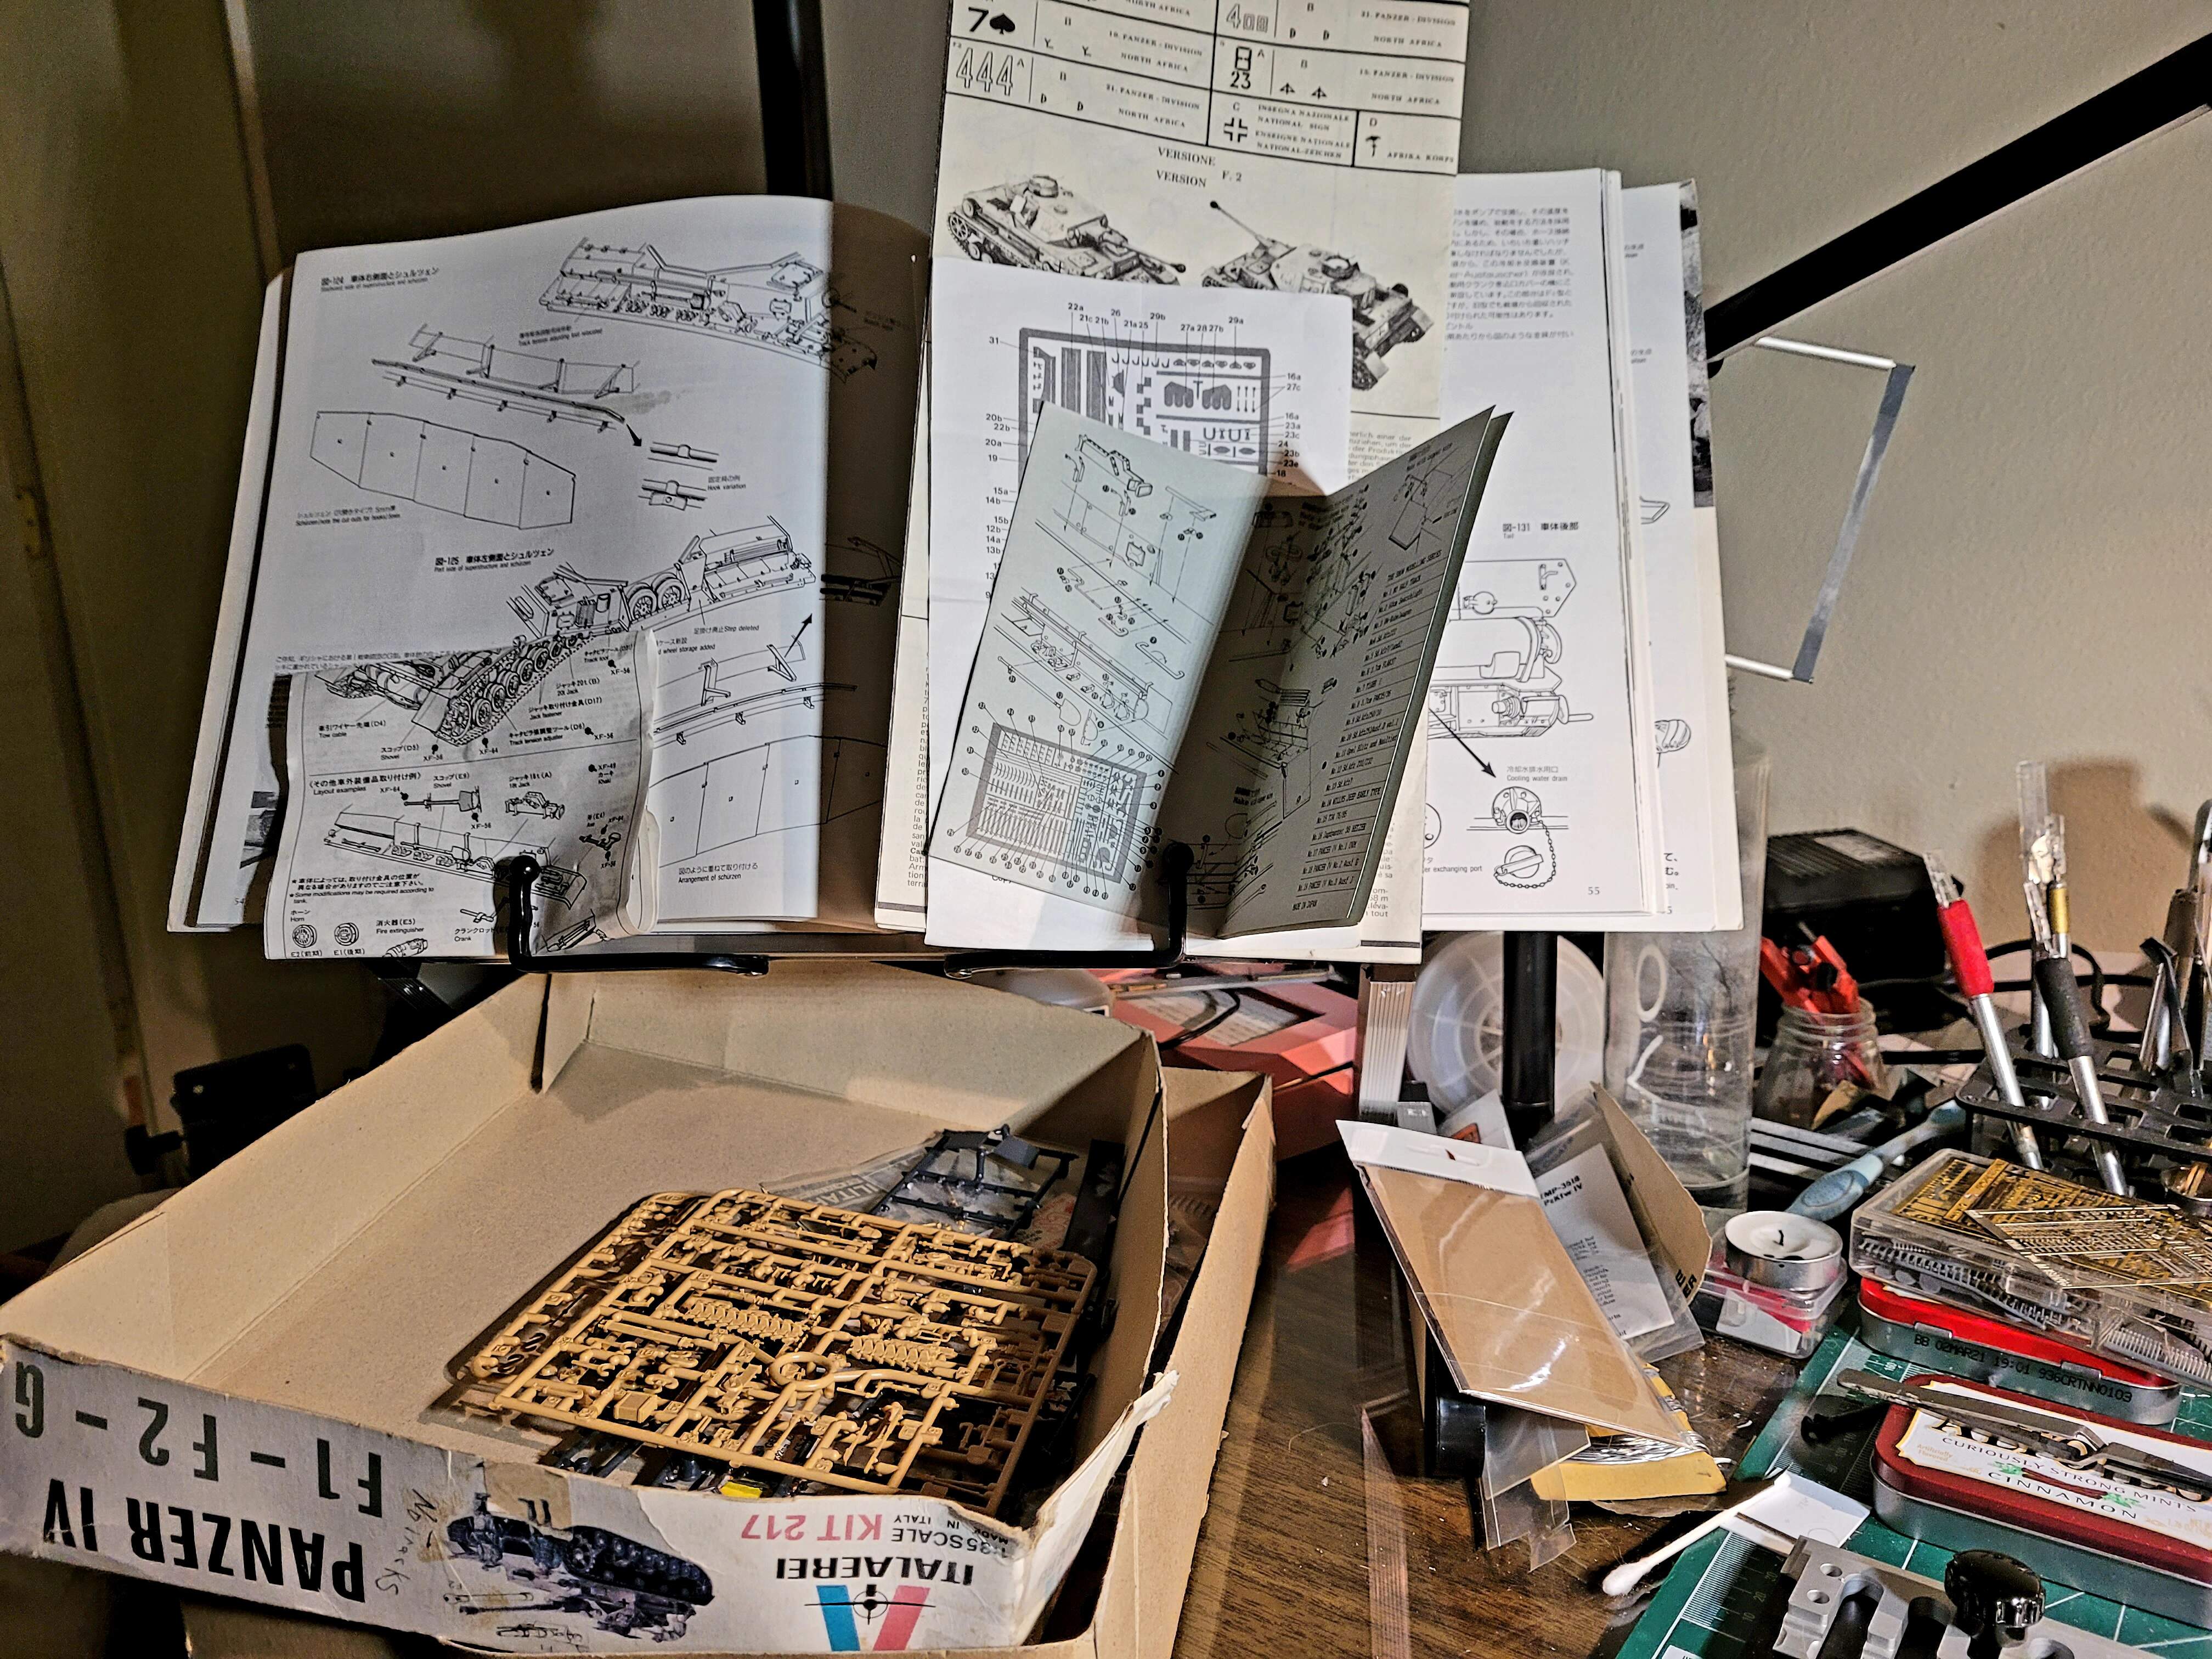
The clutter factor with this build had to be addressed today. Re-purposed a shoe rack for storing tools & supplies. With the book holder for instructions & references the model desk got two tweaks this week. Will test this tonight and probably tweak set up again
Have only rivets left for the fenders…WOOT!
2 Likes
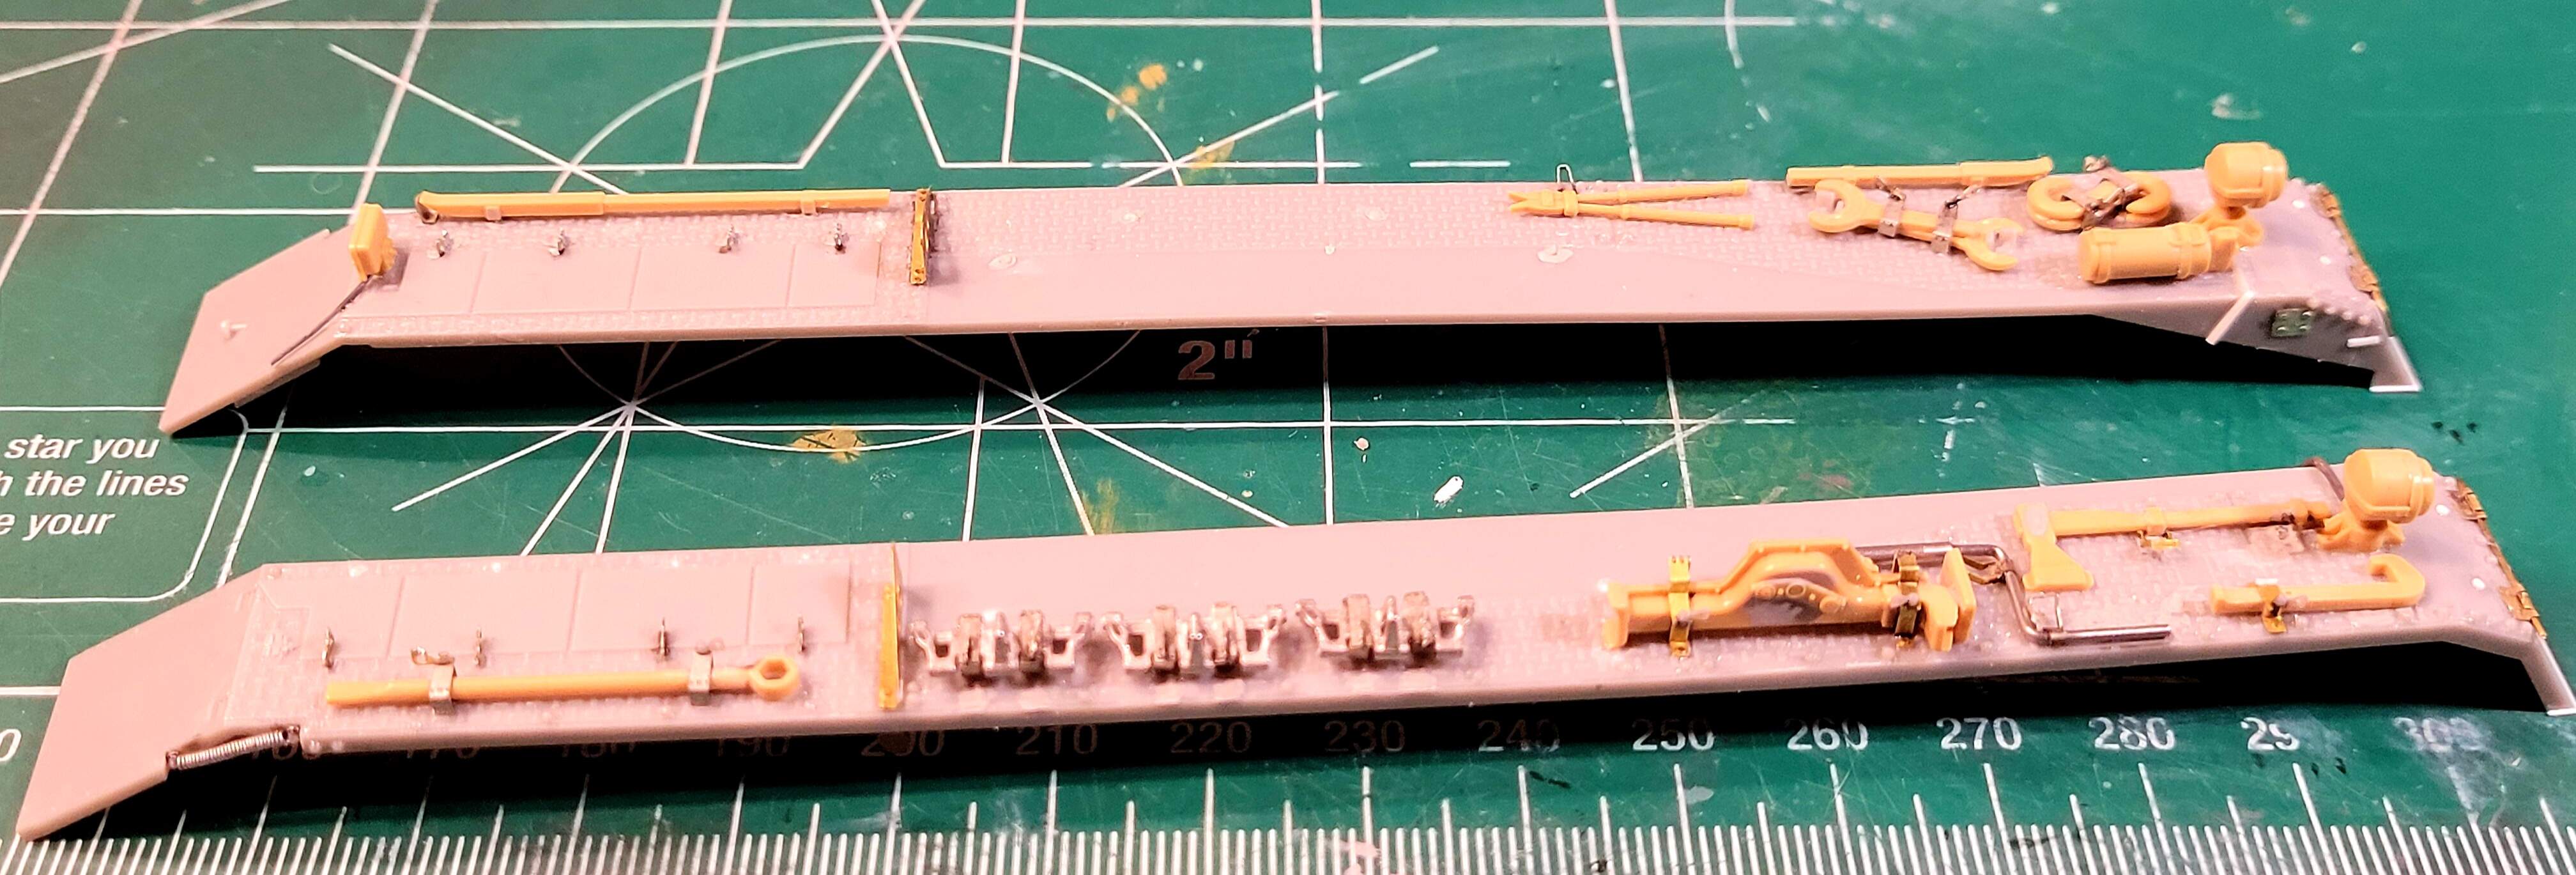
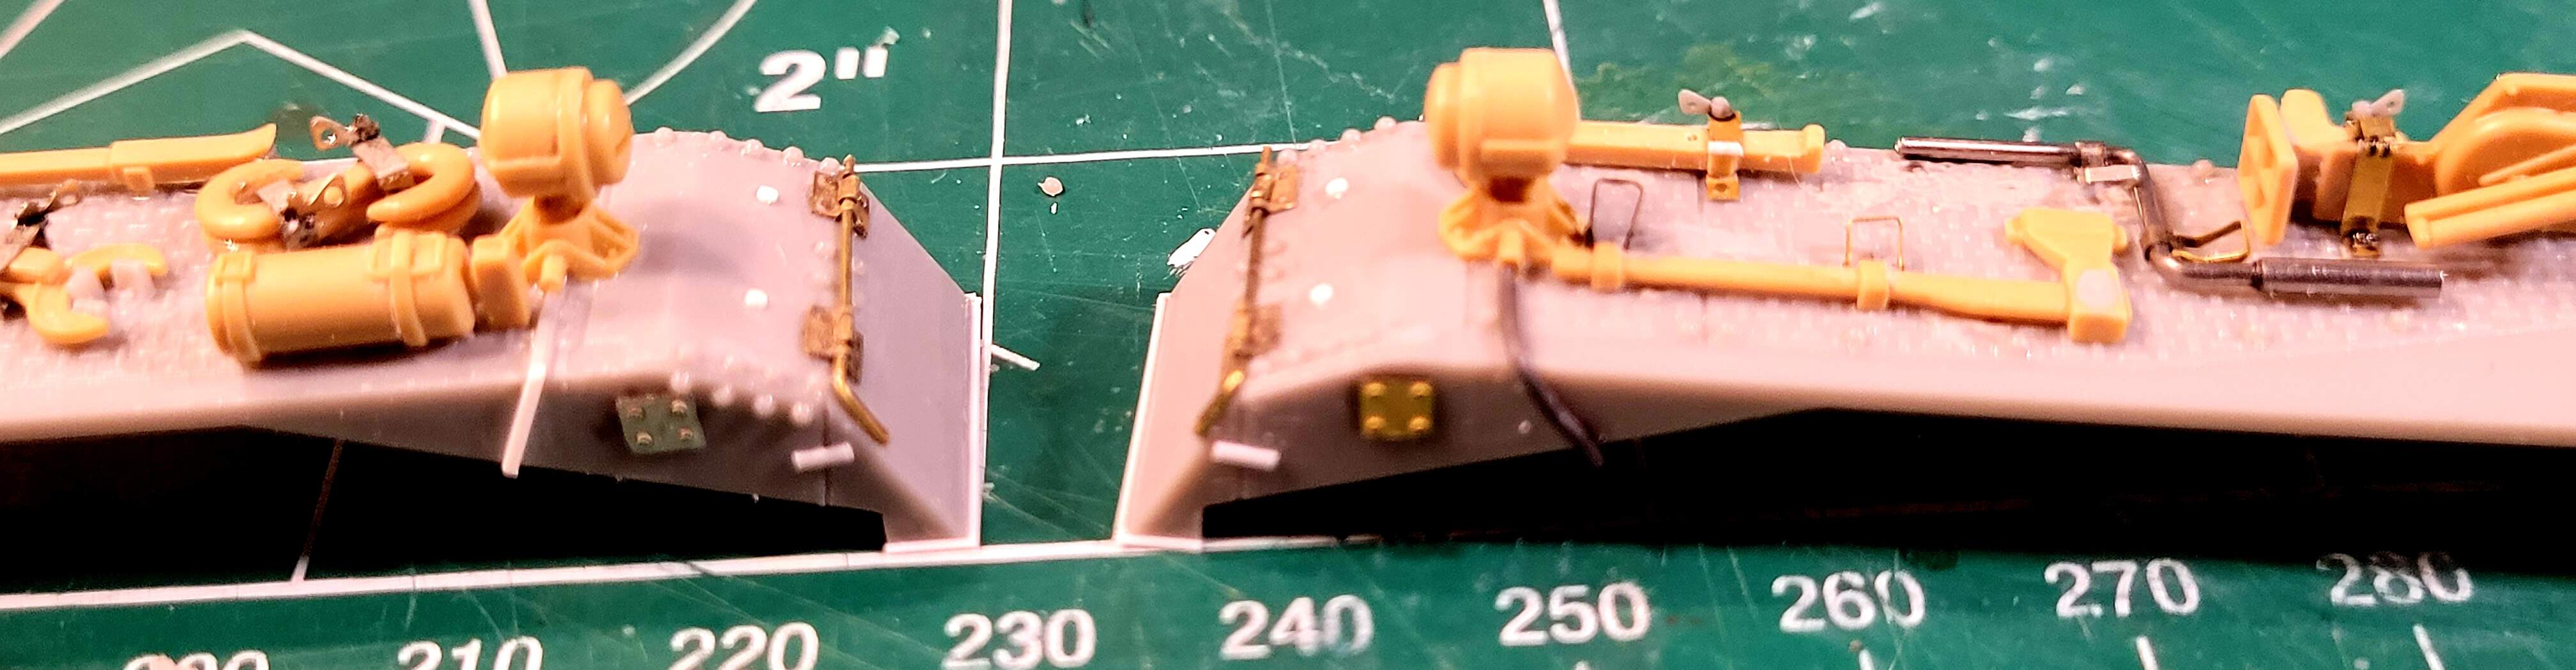
The fenders are finally built  Over 220 parts between them.
The from the front. Added a few more rivets and reinforcing strip to front fender flaps.
Radio operator fender.
Driver side fender.
Several details remain to add to the turret & upper hull.
Turret - muzzle brake, lifting eye, vane sight, two pistol ports, antenna guard and replace lock on top of turret hatch with a bit of PE I didn’t know was on The Show Modeling sheet.
Upper Hull - lifting hooks, chains, cleaning kit, shovel, radio antenna, antenna tray. Try scratch building spare road wheel box.
There may be a few other items.
9 Likes
Ahhhhh those fenders are a beautiful work of art Wade. It will be a shame to cover them with paint. But such is the destiny of our hobby. Congratulations on another aspect of this build conquered and my admiration for your incredible attention to detail and perfect execution of same.
1 Like
Outstanding attention to detail as Matt said a shame to have to cover it in paint. But as the saying goes you know you did the work. I’m sure you are quite satisfied with your effort.
1 Like
Or as an out the park idea… Mask one half completely from muzzle to engine deck and do a half and half … Naked on one side, and the desired paint finish on the other . … Not ideal for the purists but interesting…
1 Like
Thank you friends.
Grinding along to the wheel storage box today.
Here’s the kit part.
Decided try scratch building one. Made the side pattern using the kit part. Cut out the sides from Evergreen sheet plus Evergreen strip.
Add a floor the box to make it sturdy. Copied the tread for the box from the OTM PE thread plate sheet with aluminum foil. First tried using the PE but that was major hassle. Found riveted PE strip in the spares box from a Tiger build from the 1990’s, used it on stowage box. Added rivets of course plus attachment straps.
Adding the floor made the box a bit shallow. Will cheat and sand the bottom of road wheels slightly flatten.
5 Likes
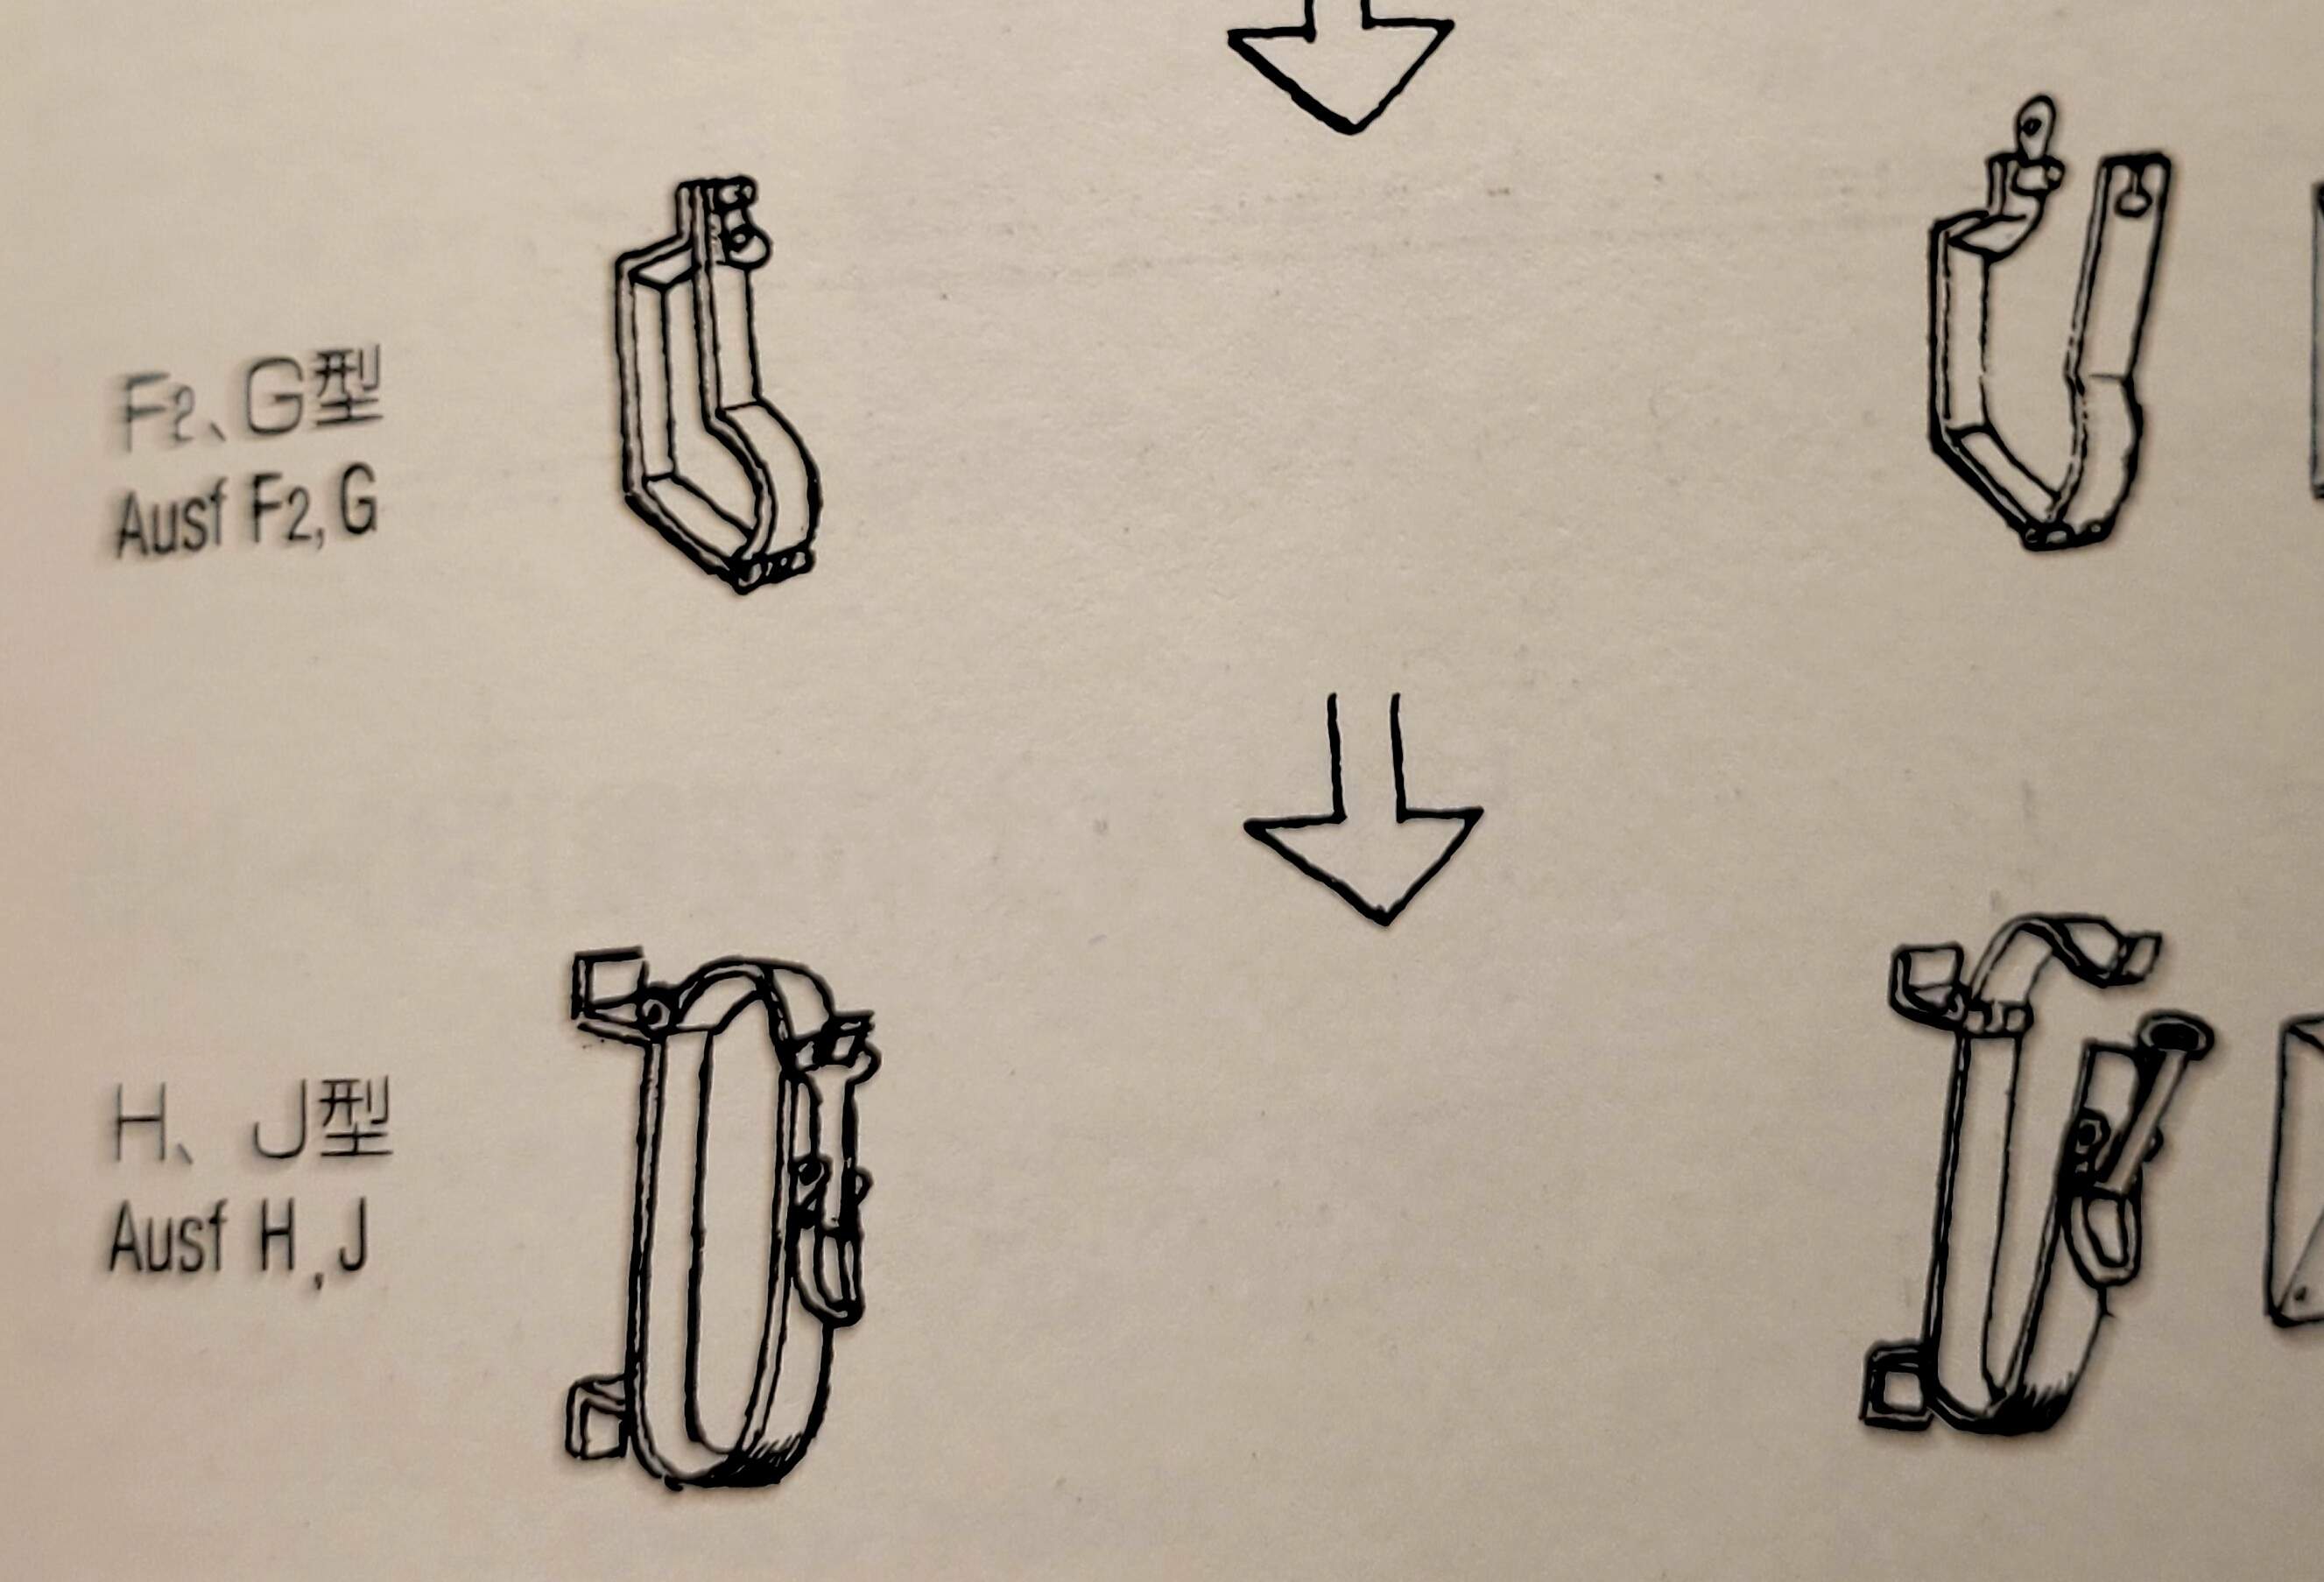
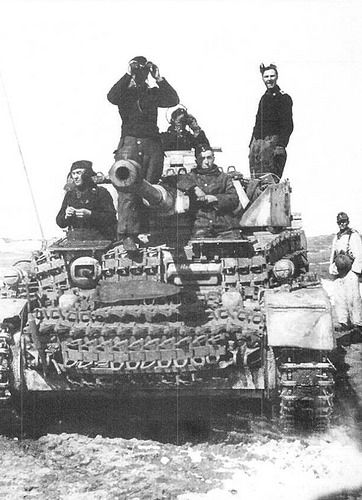
Worked on the cleaning kit today. After staring to clean the Tamiya main gun swab noticed it’s for a Pz IV H or J. Picture is from Achtung Pamzer 3 and posted only for discussion and illustration purposes. Verification found in wartime pics of Pz IV G’s.
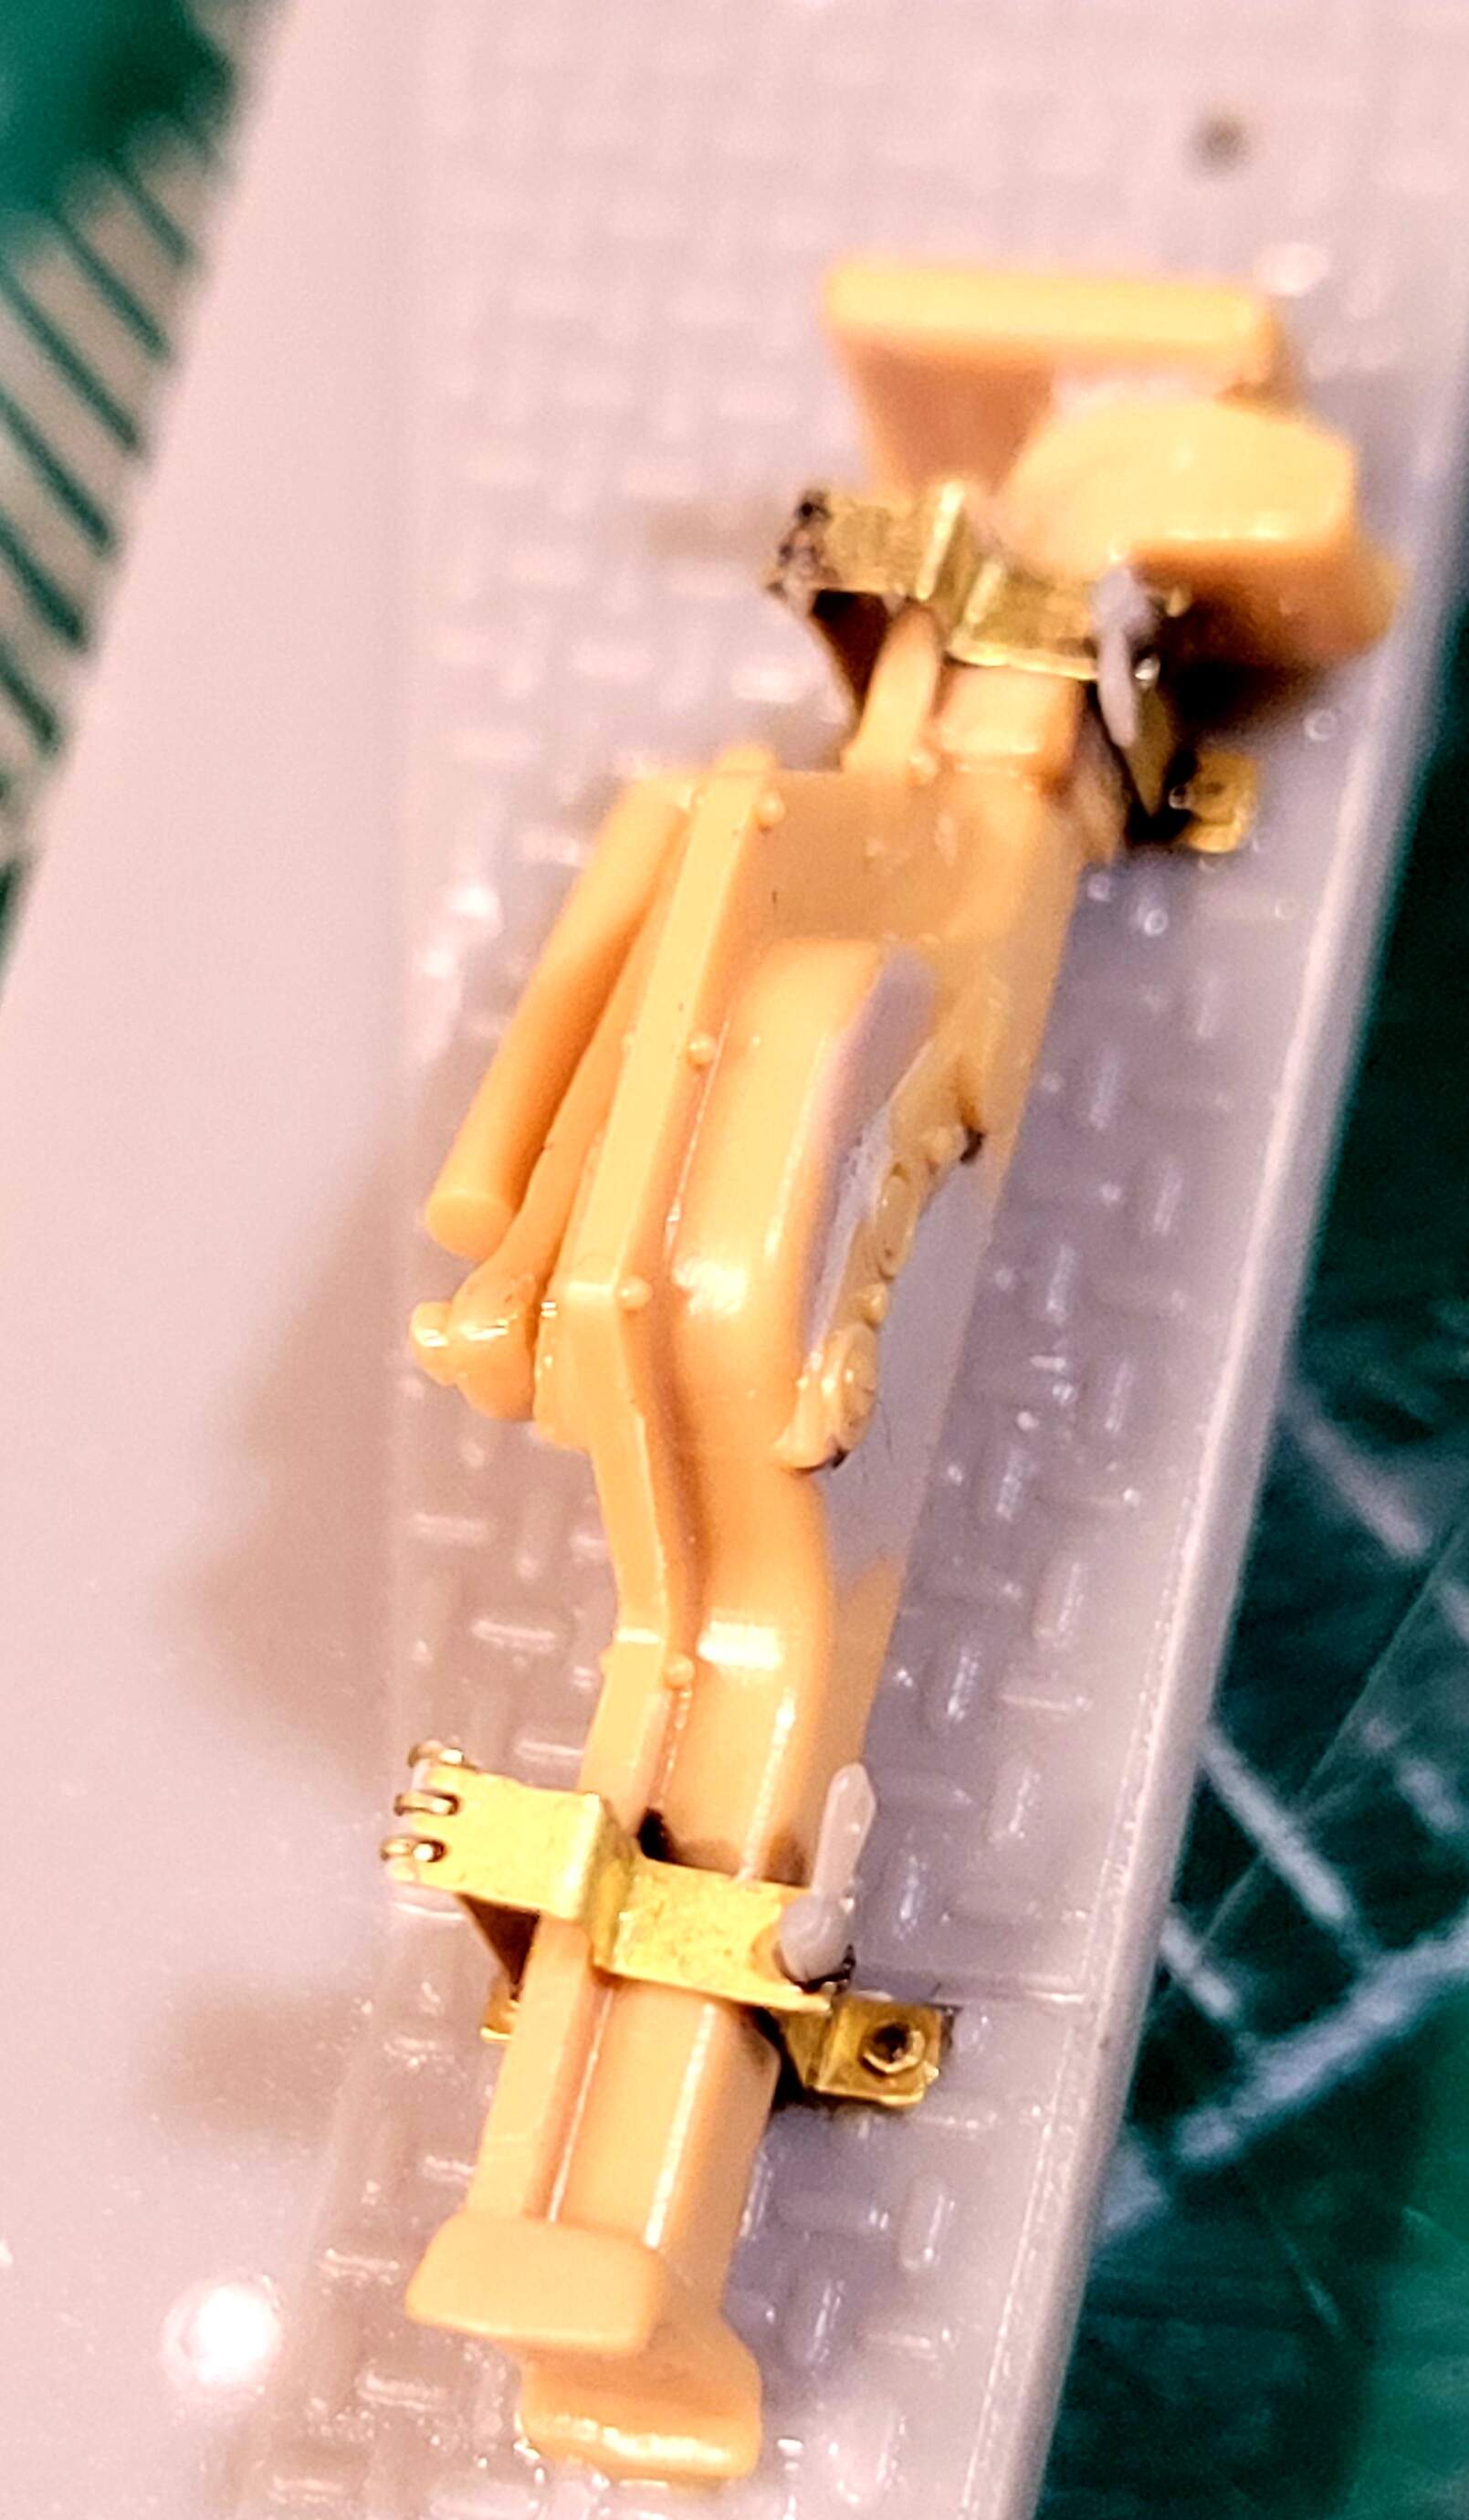
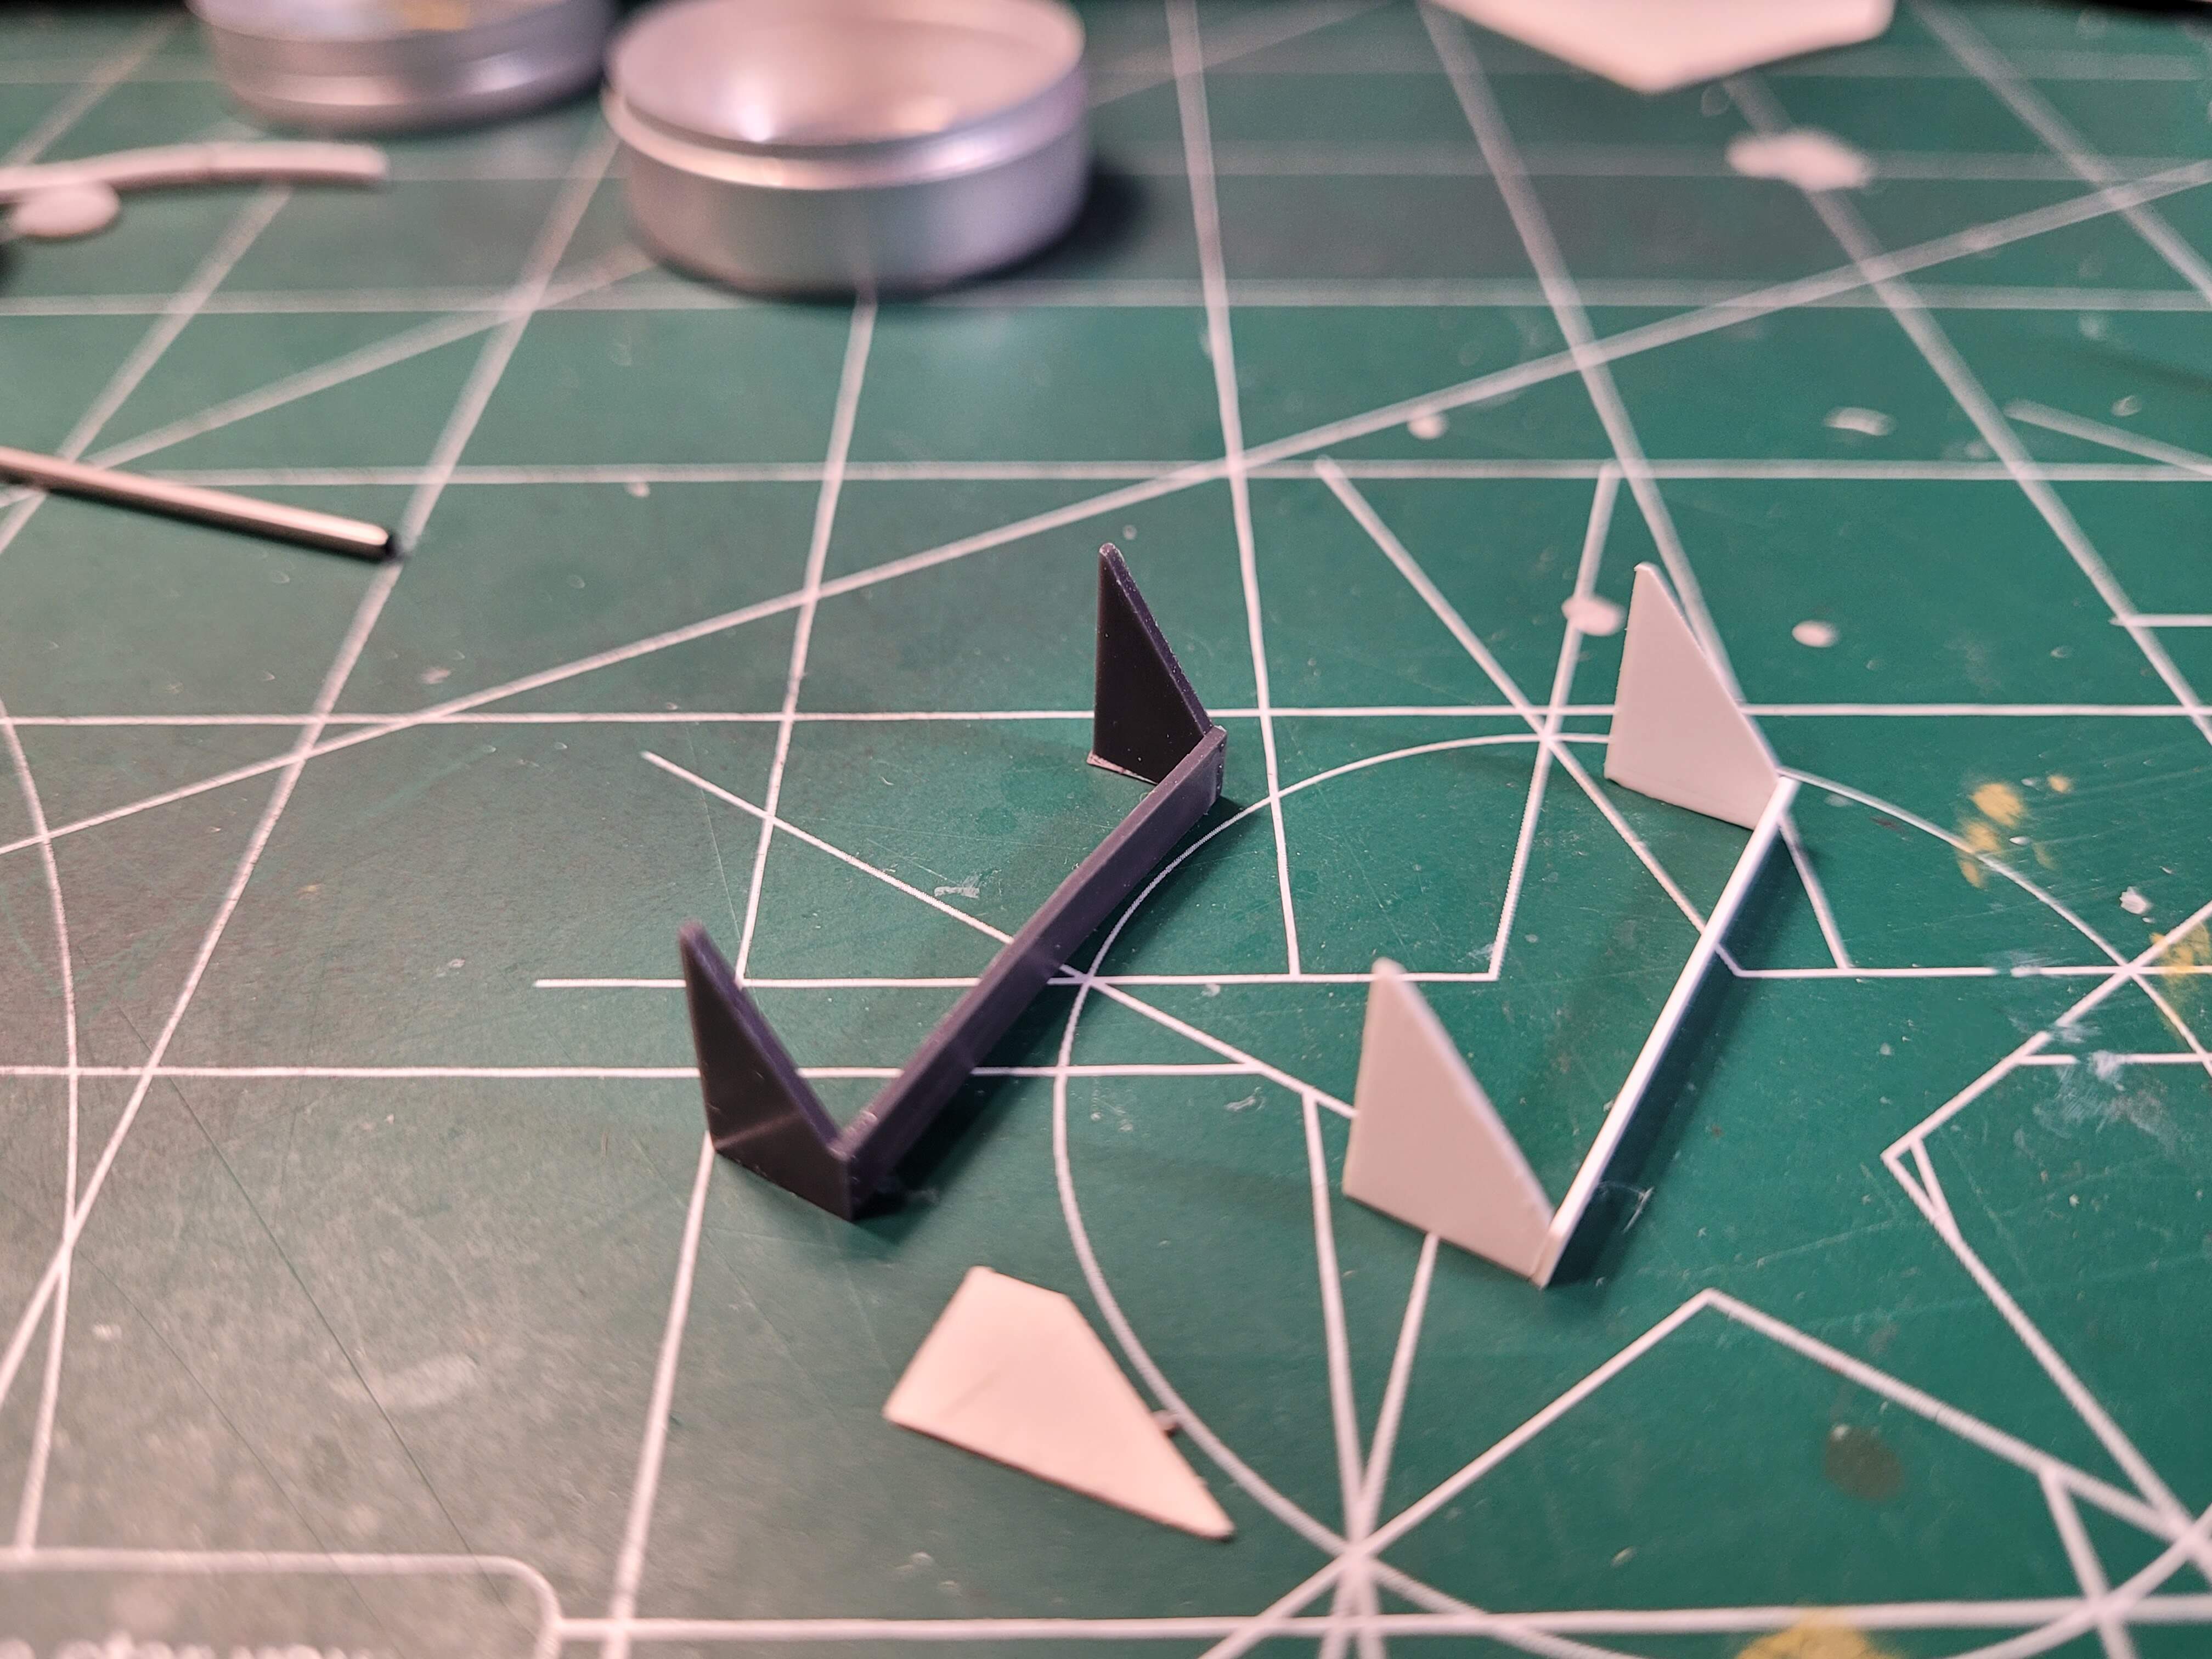
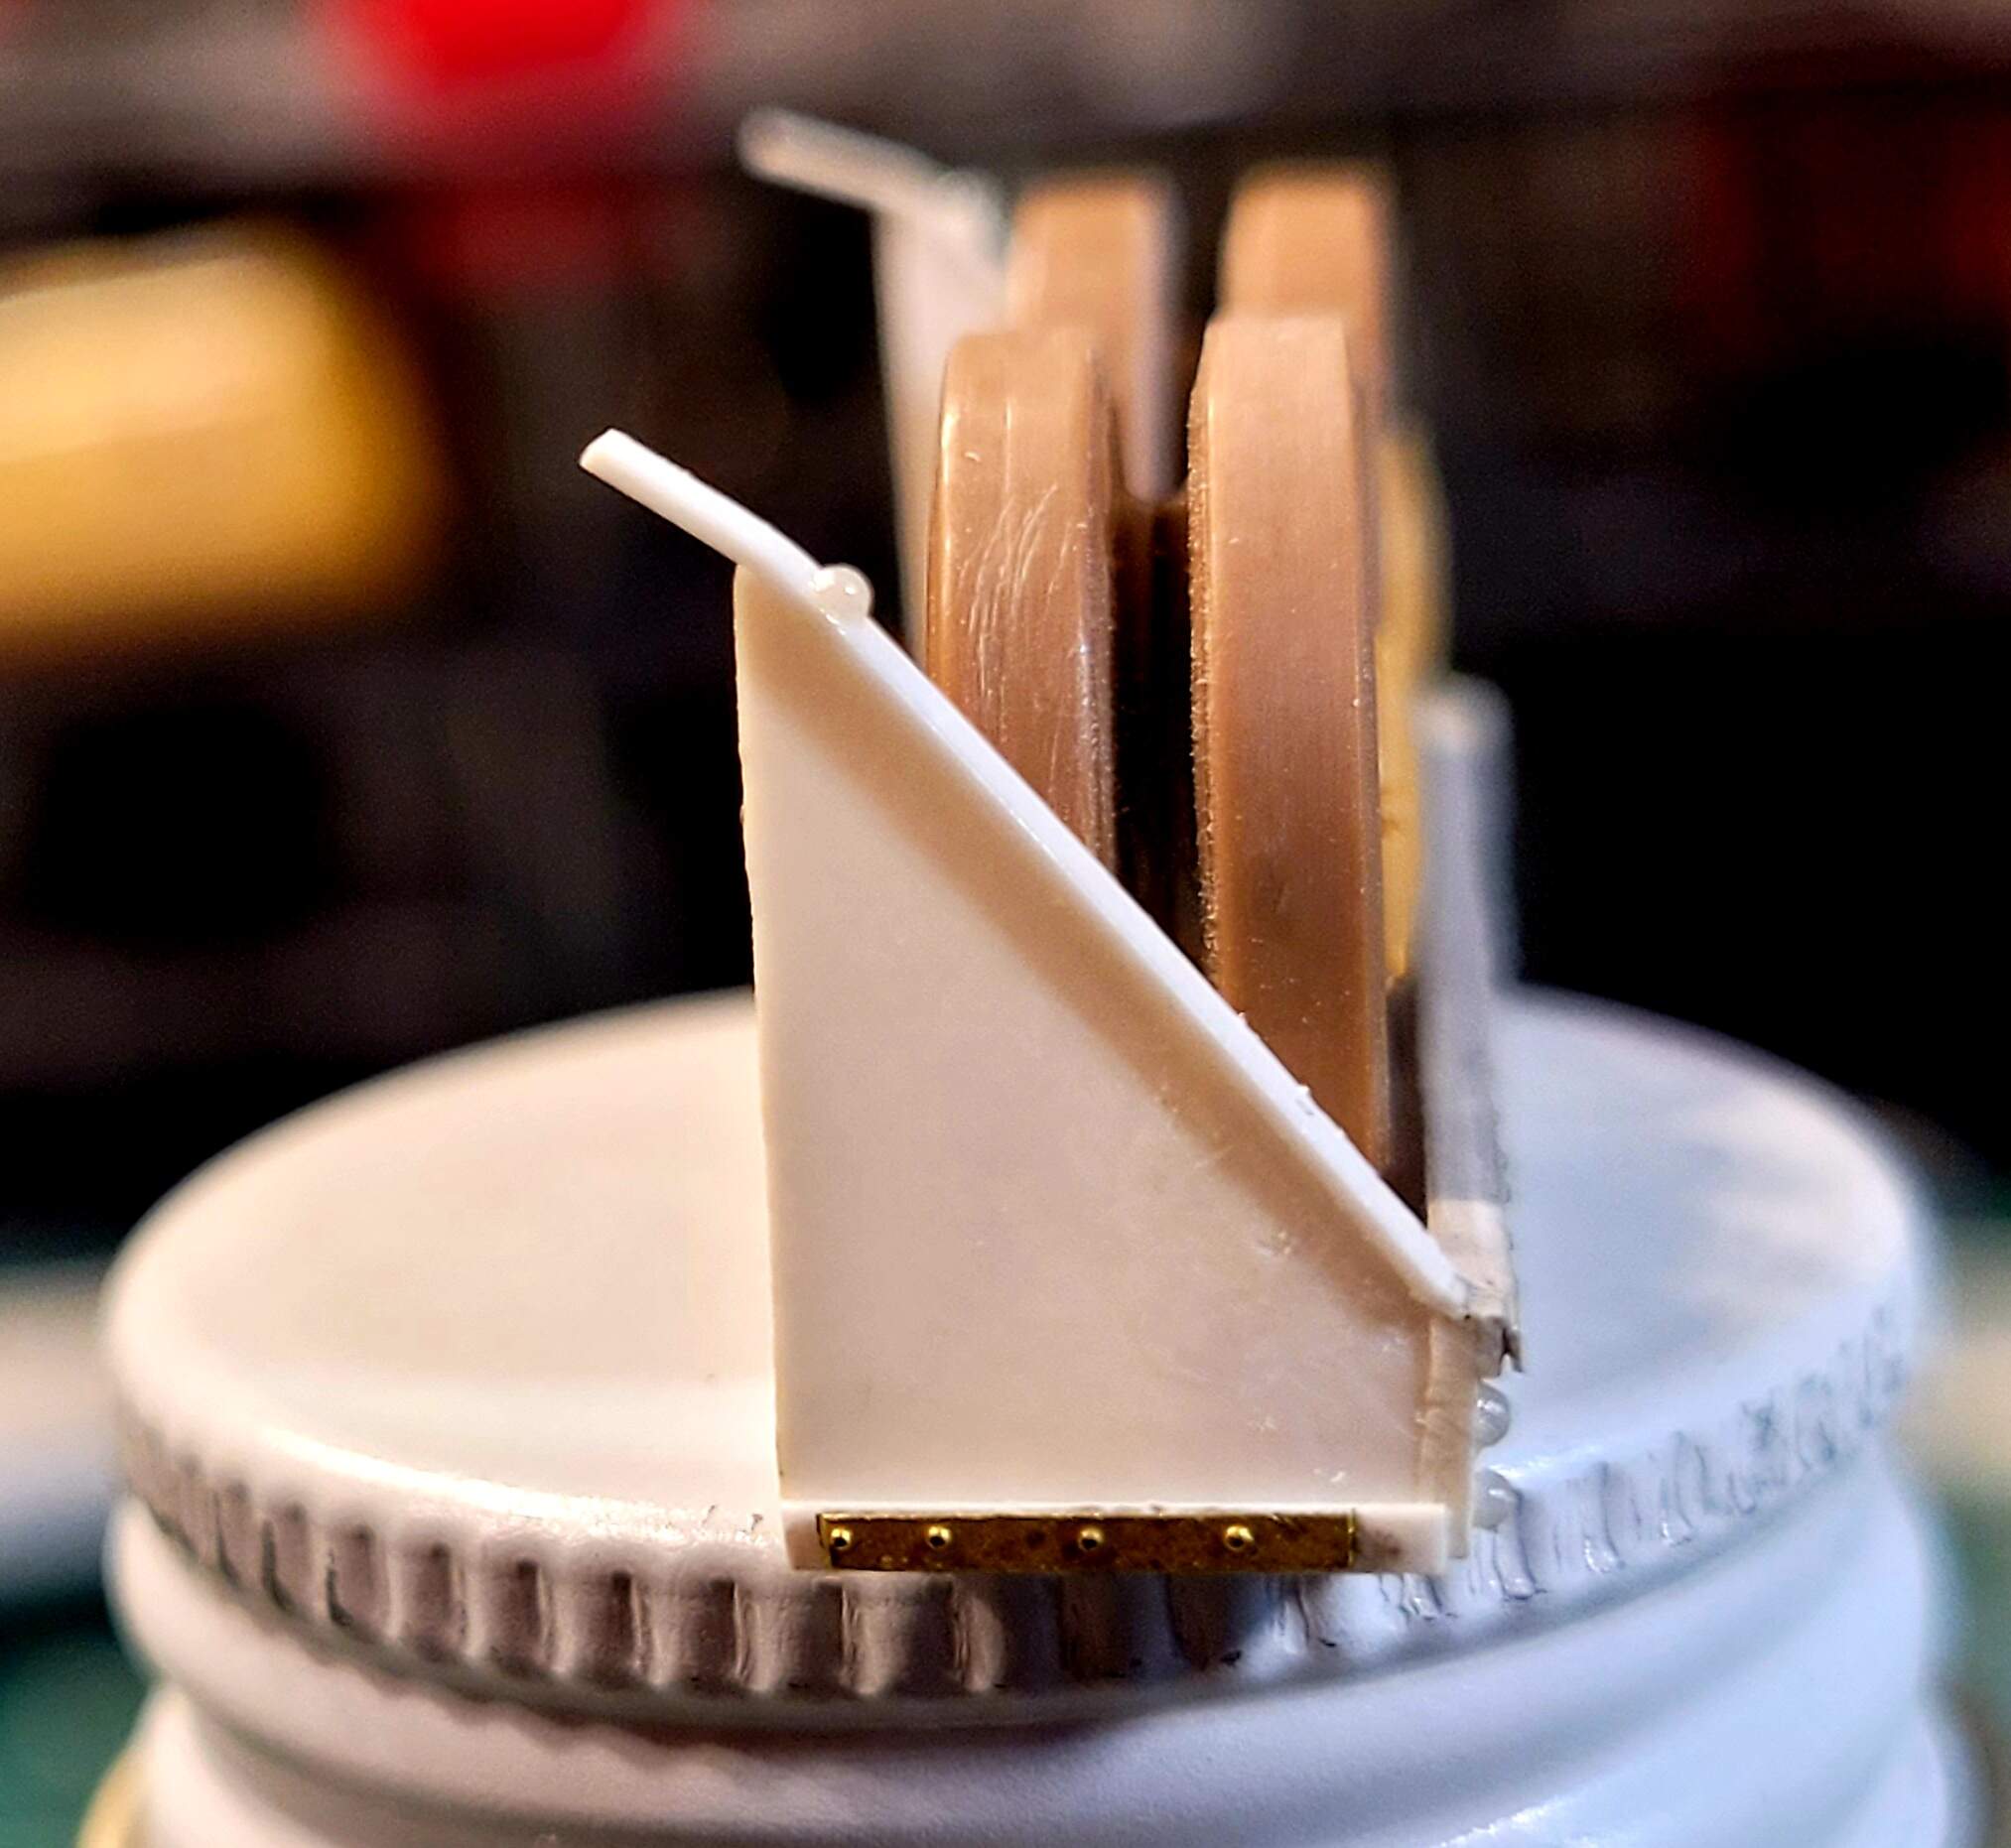
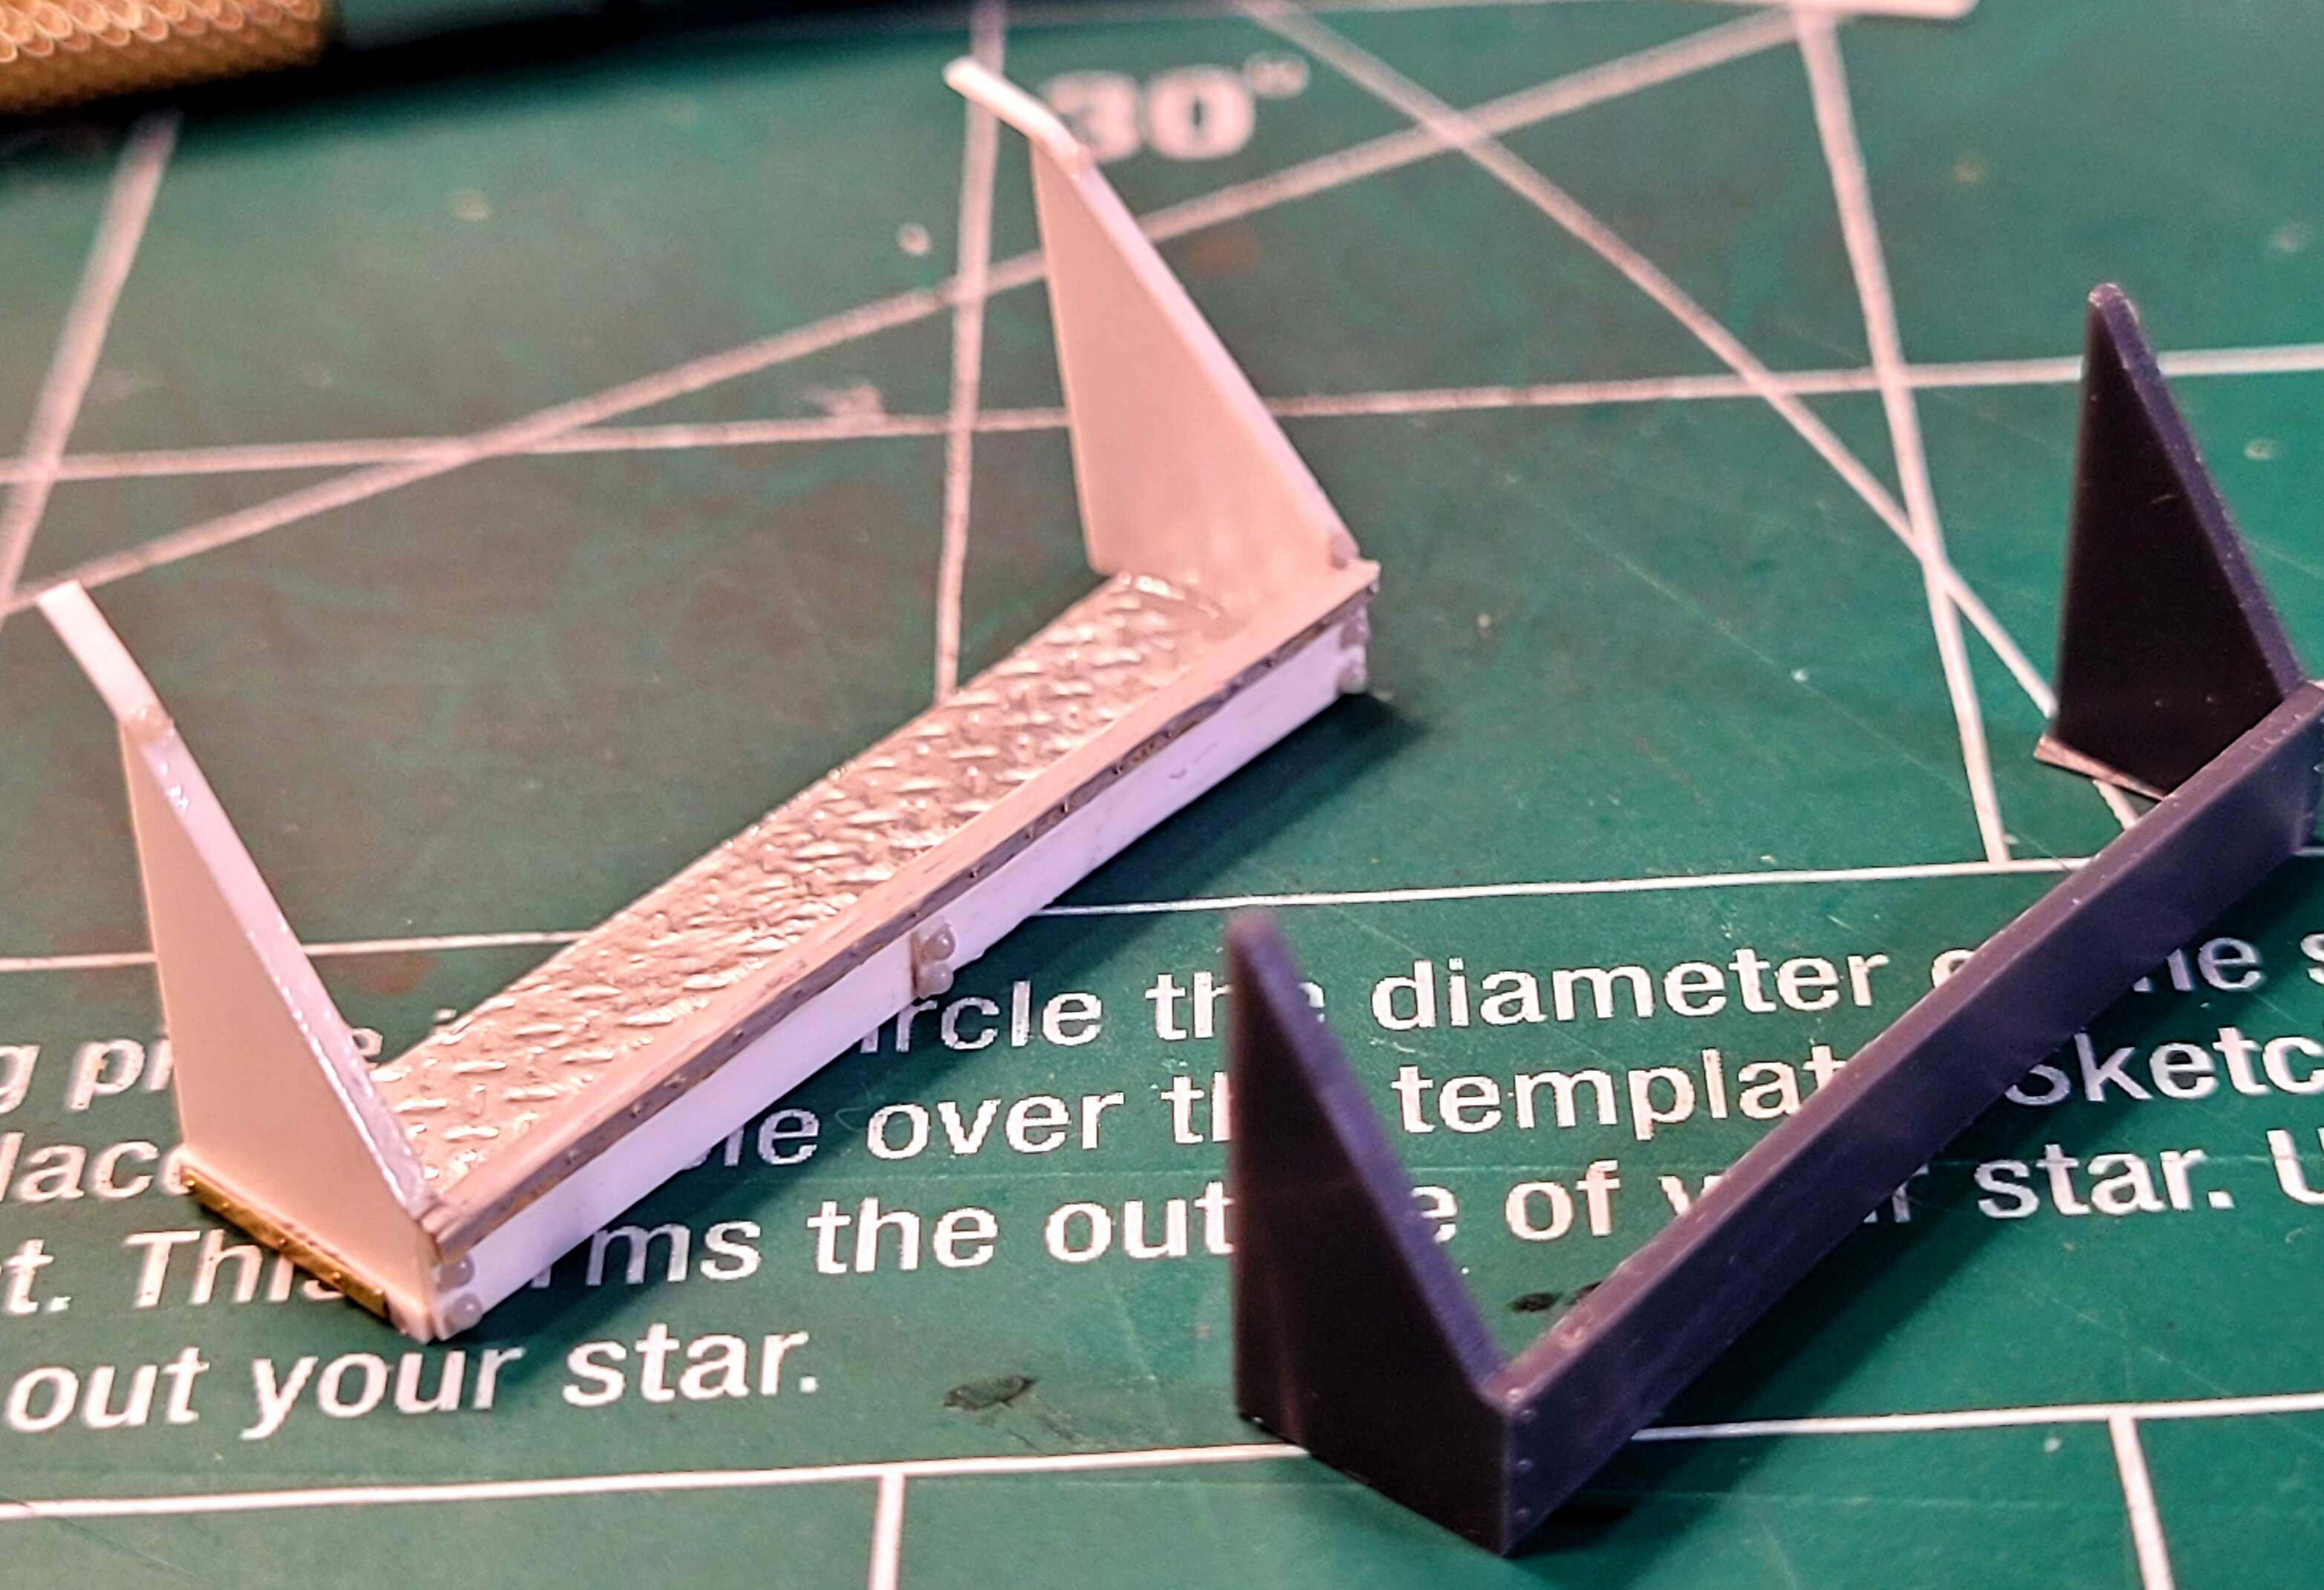
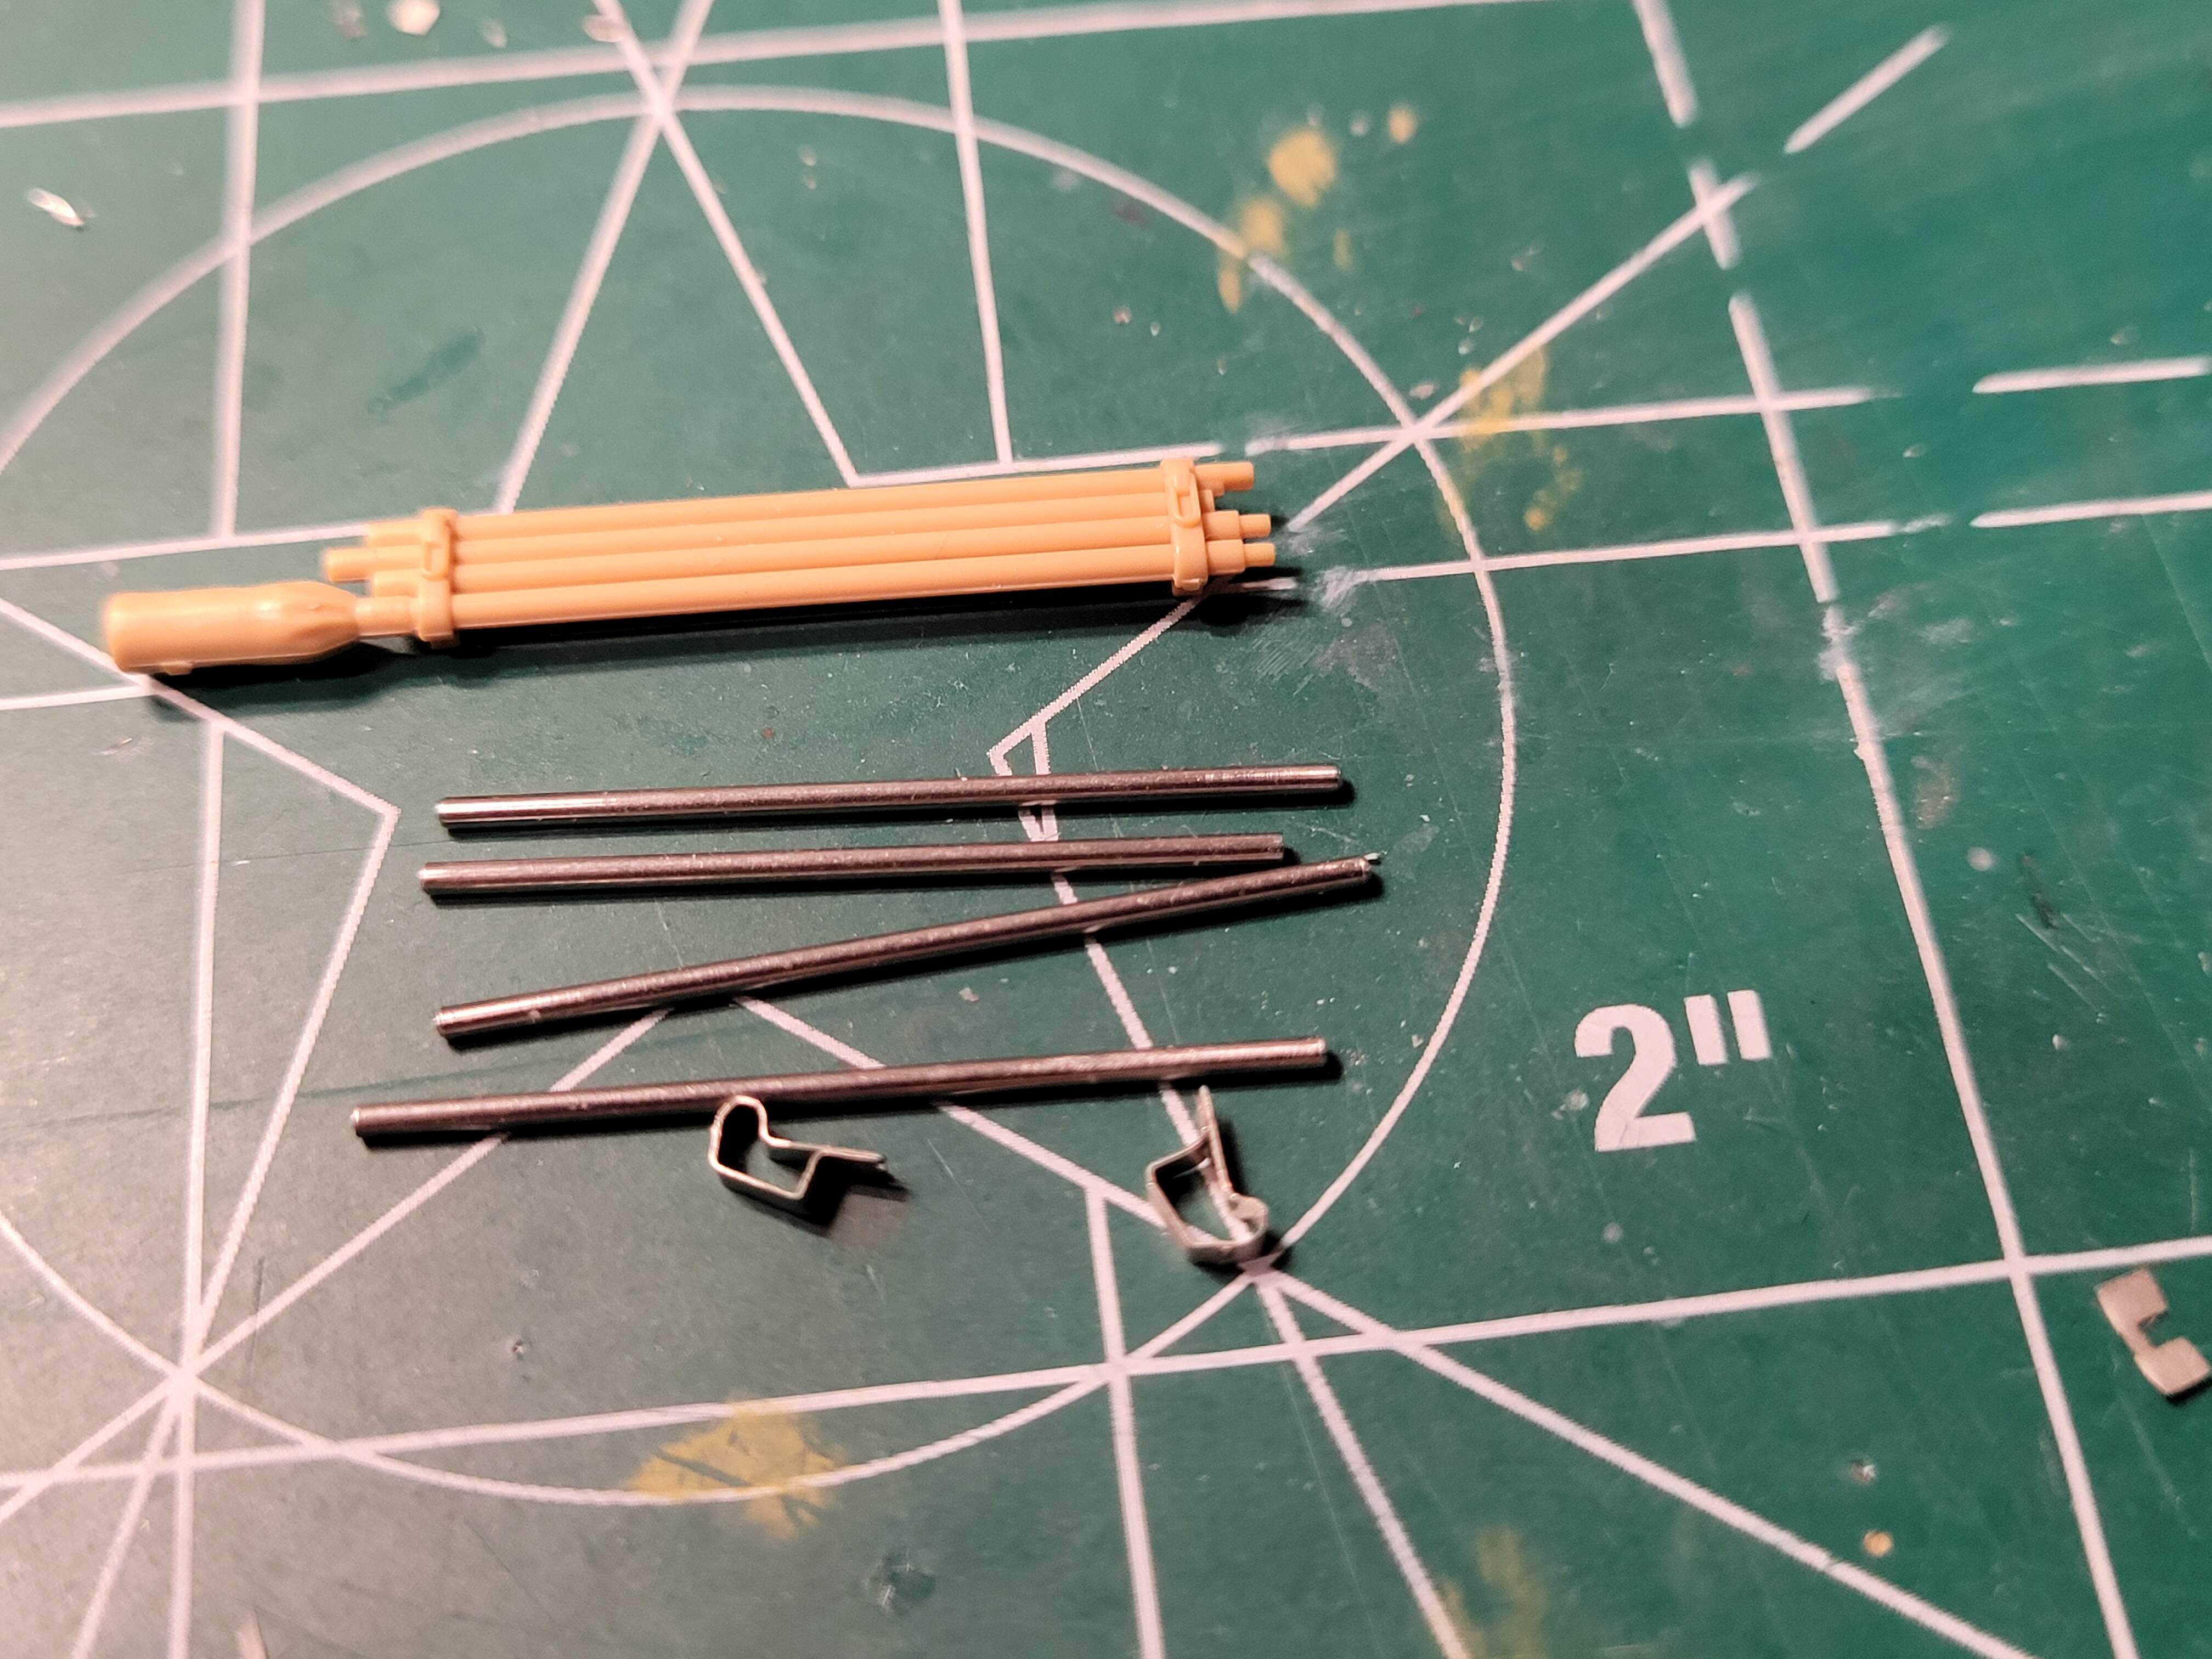
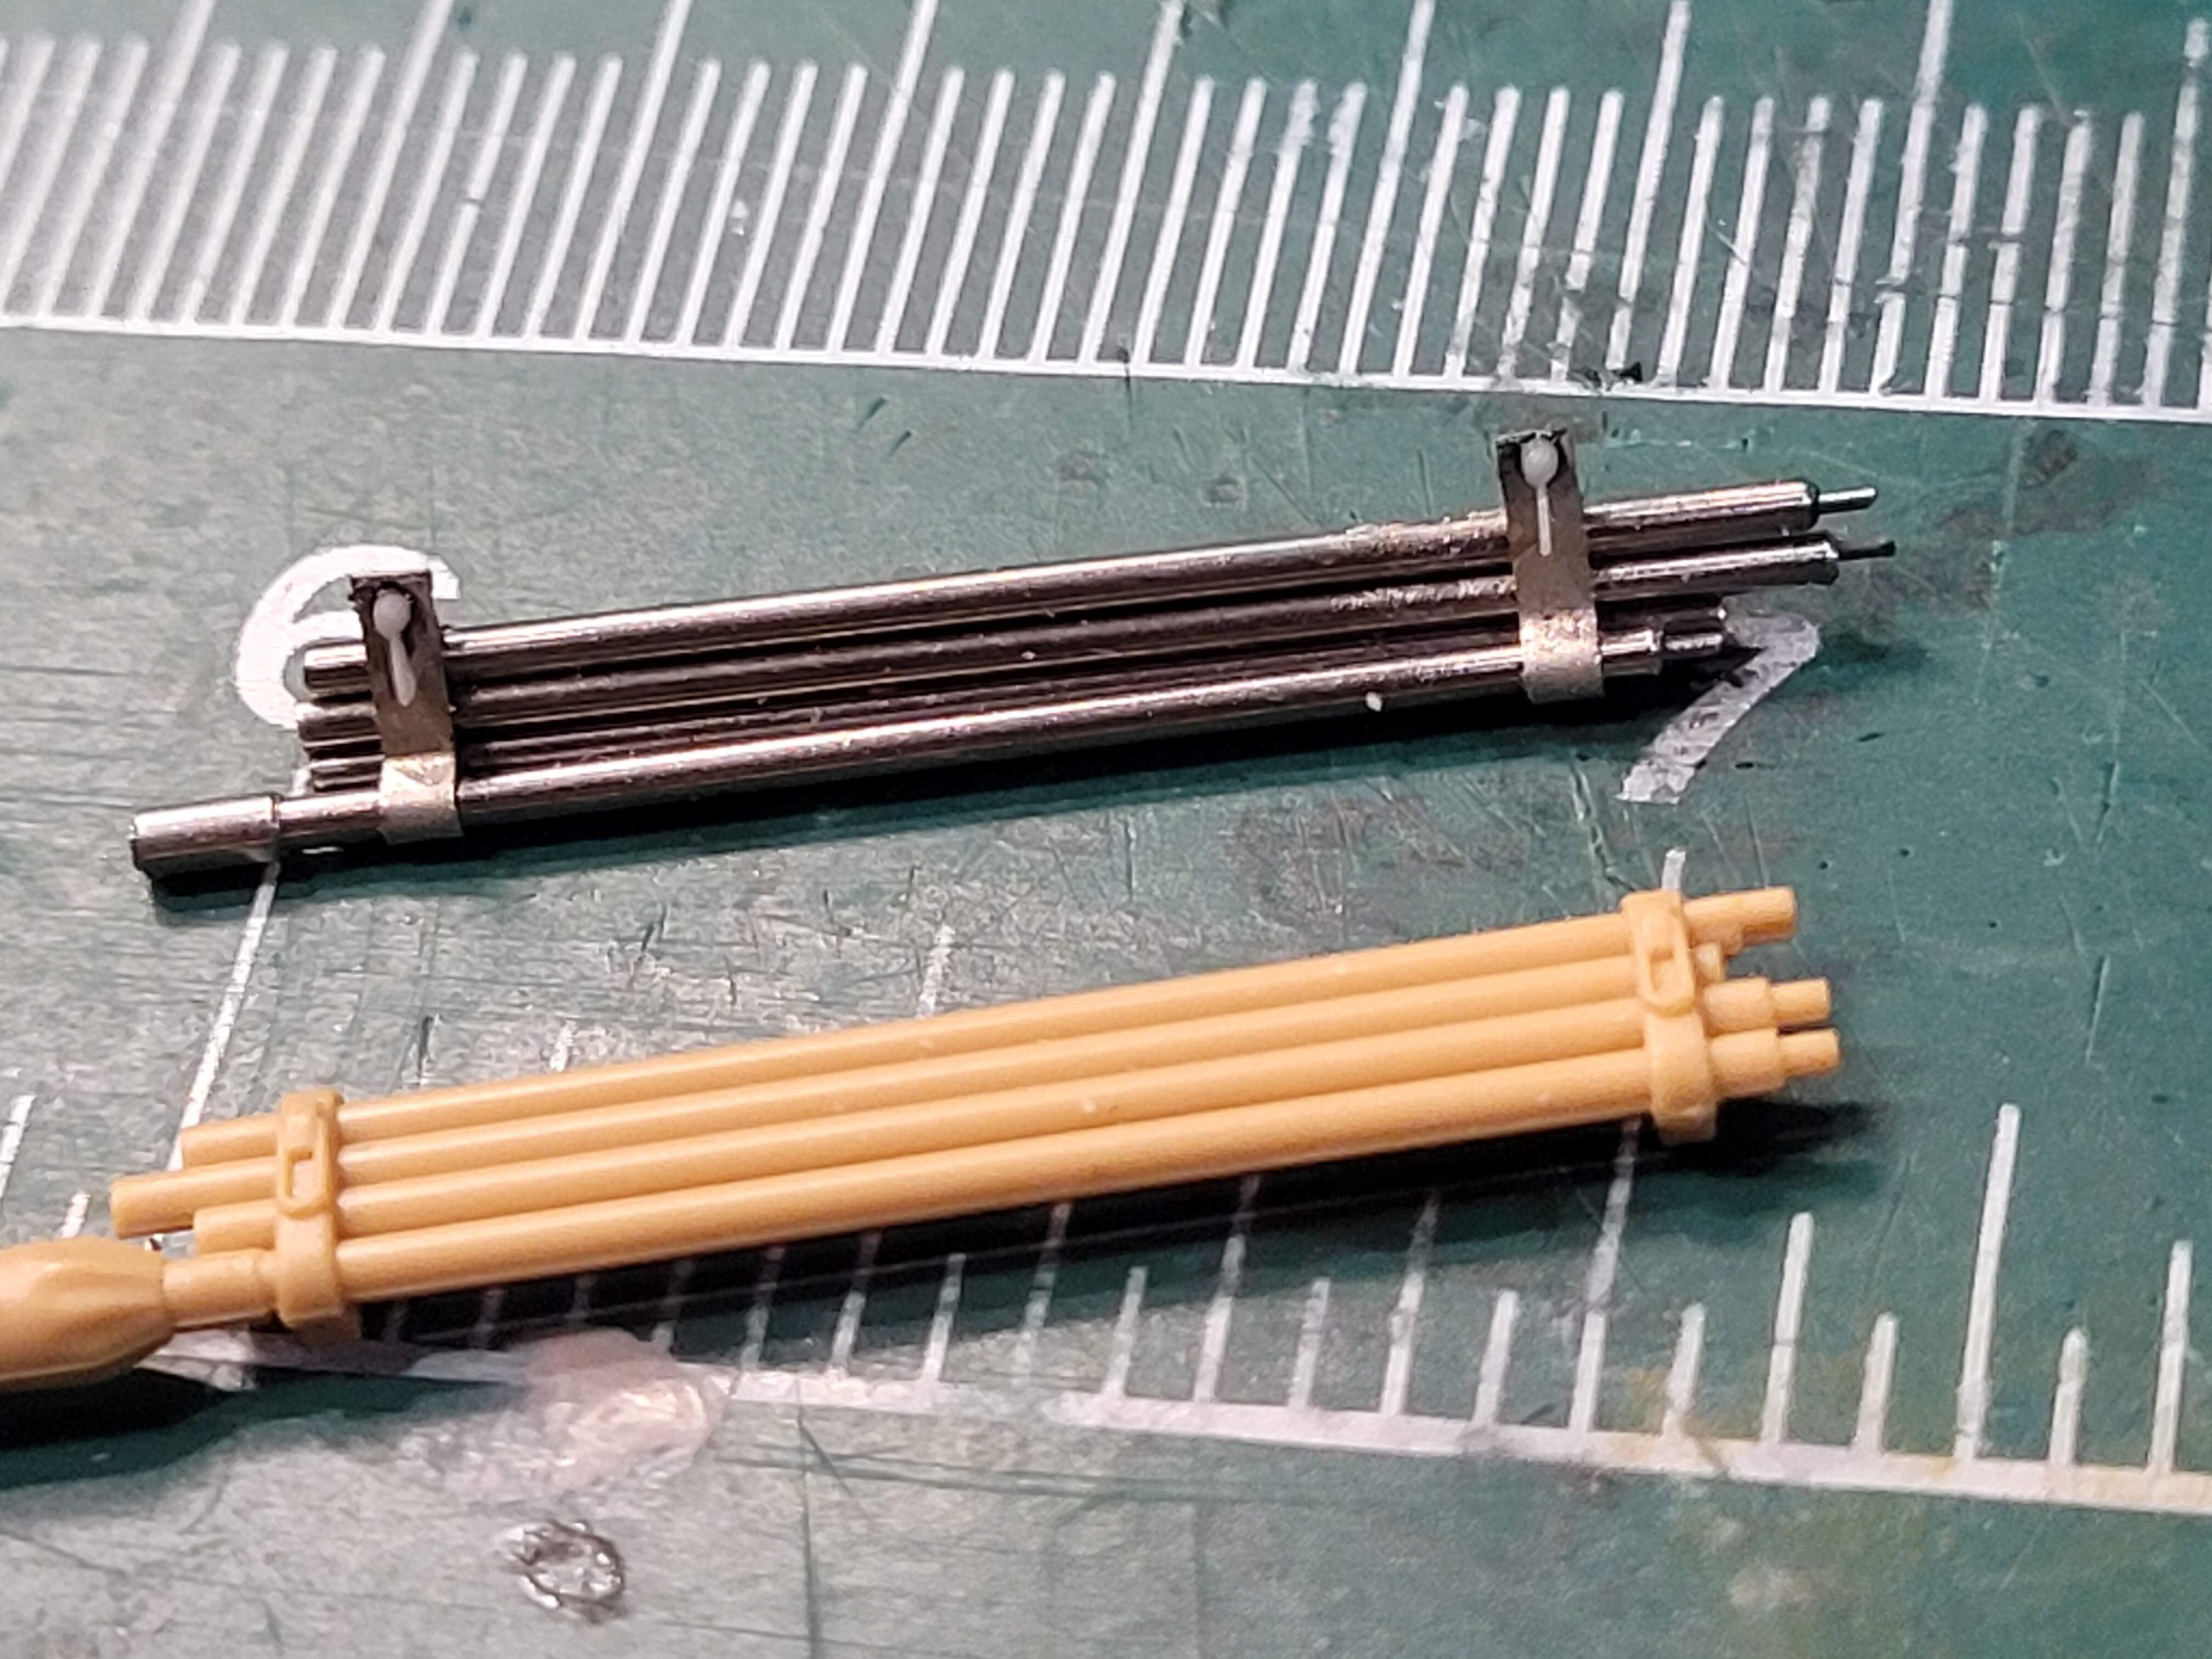
So decided to try,and make a cleaning kit. Used extra The Show Modeling brackets, guitar string & stainless steel tubes.
Cleaning rods & brackets.
Tamiya part for H or J and mine attempt for a G.
Still have to do the swab part.
May use Tamiya part for that but want to try making that too.
5 Likes
Damn Wade that came out awesome. Fantastic work.
1 Like
@SSGToms & @varanusk, thank you both for the kind comments.
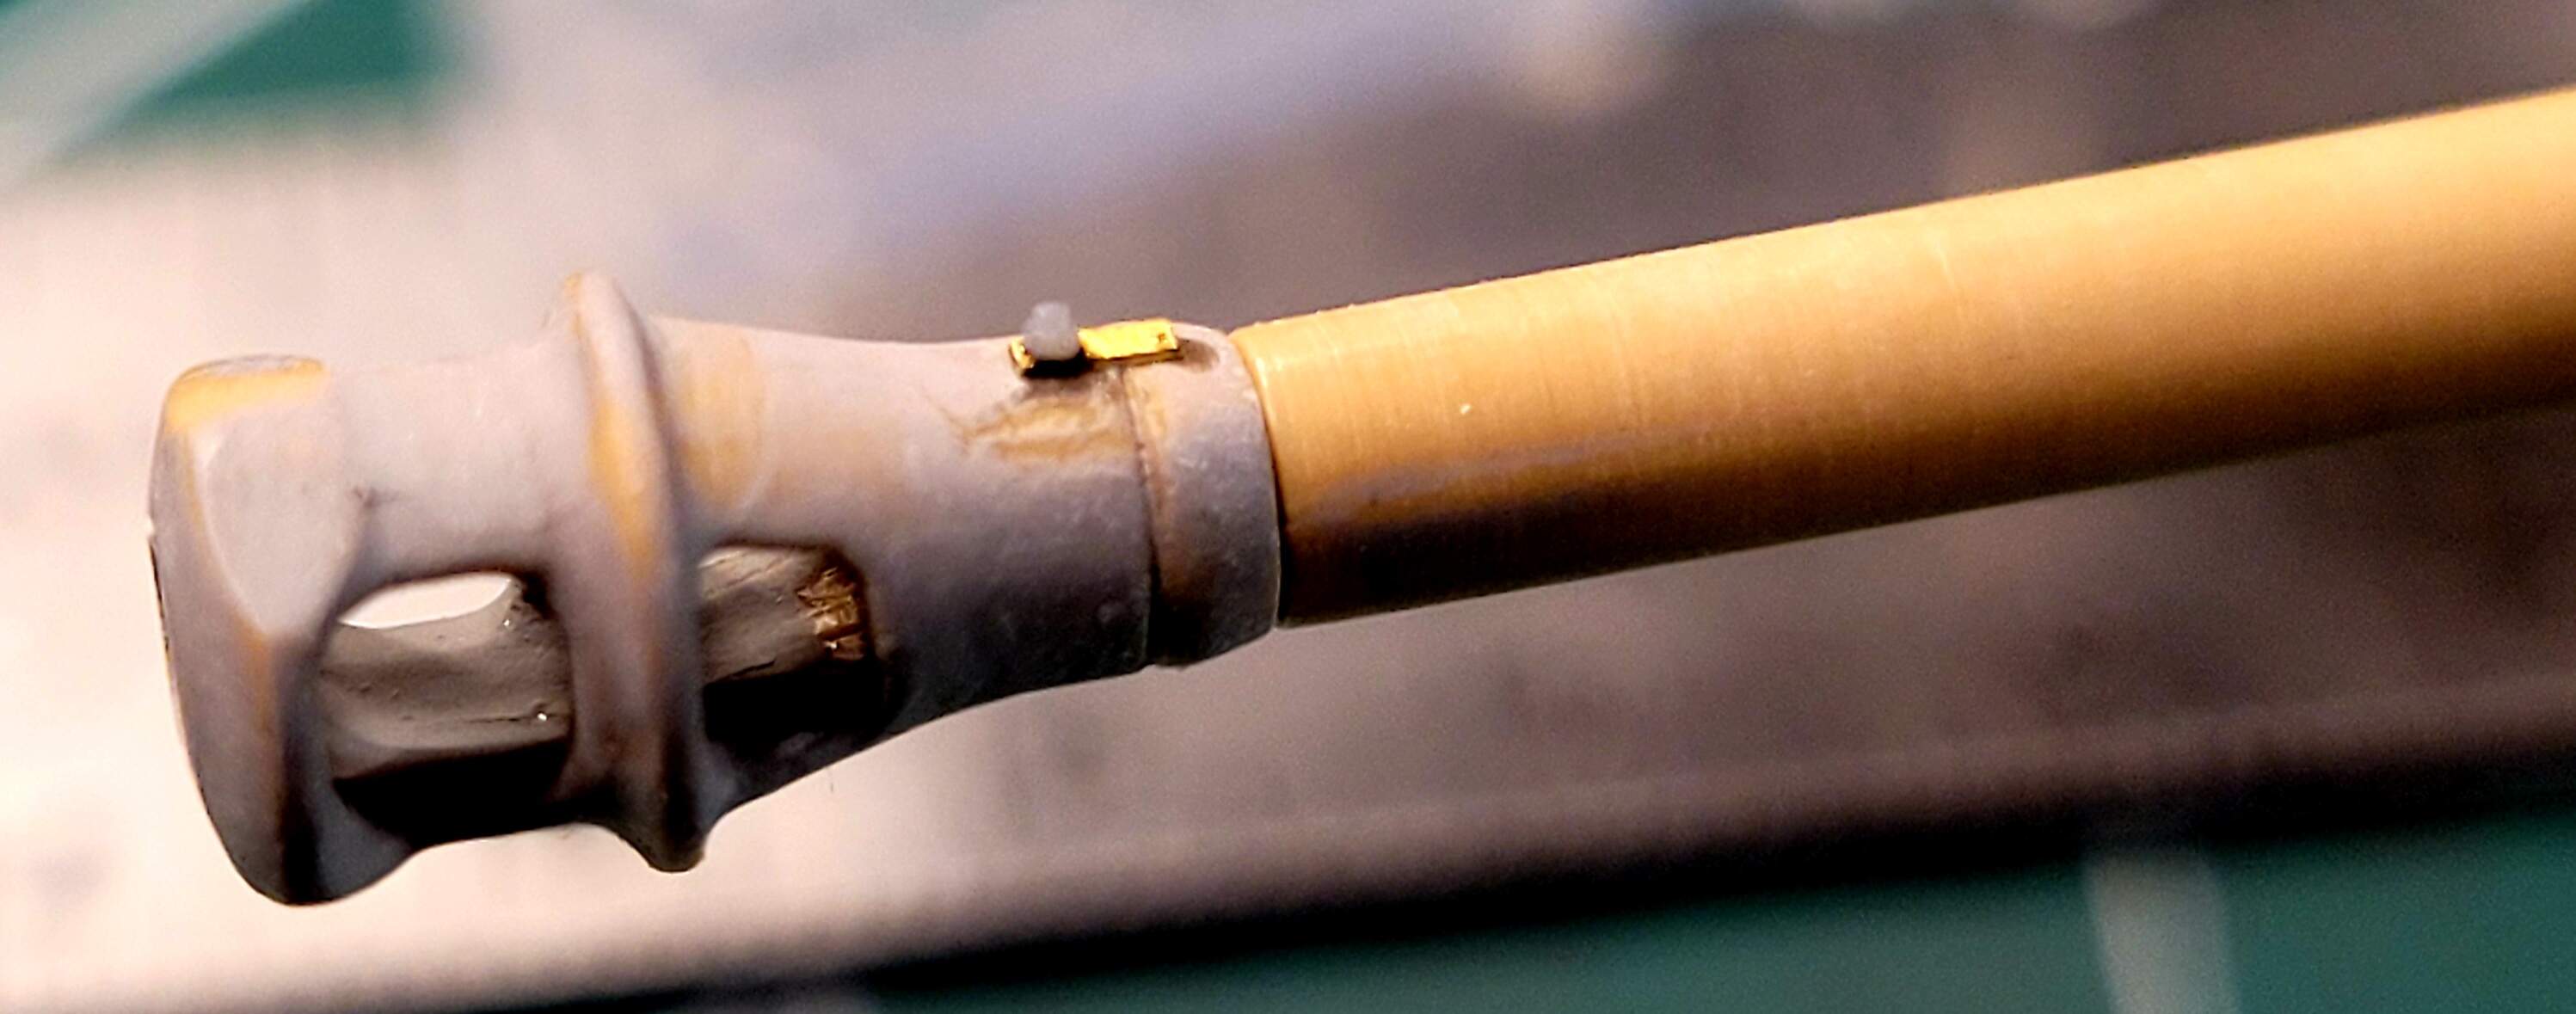
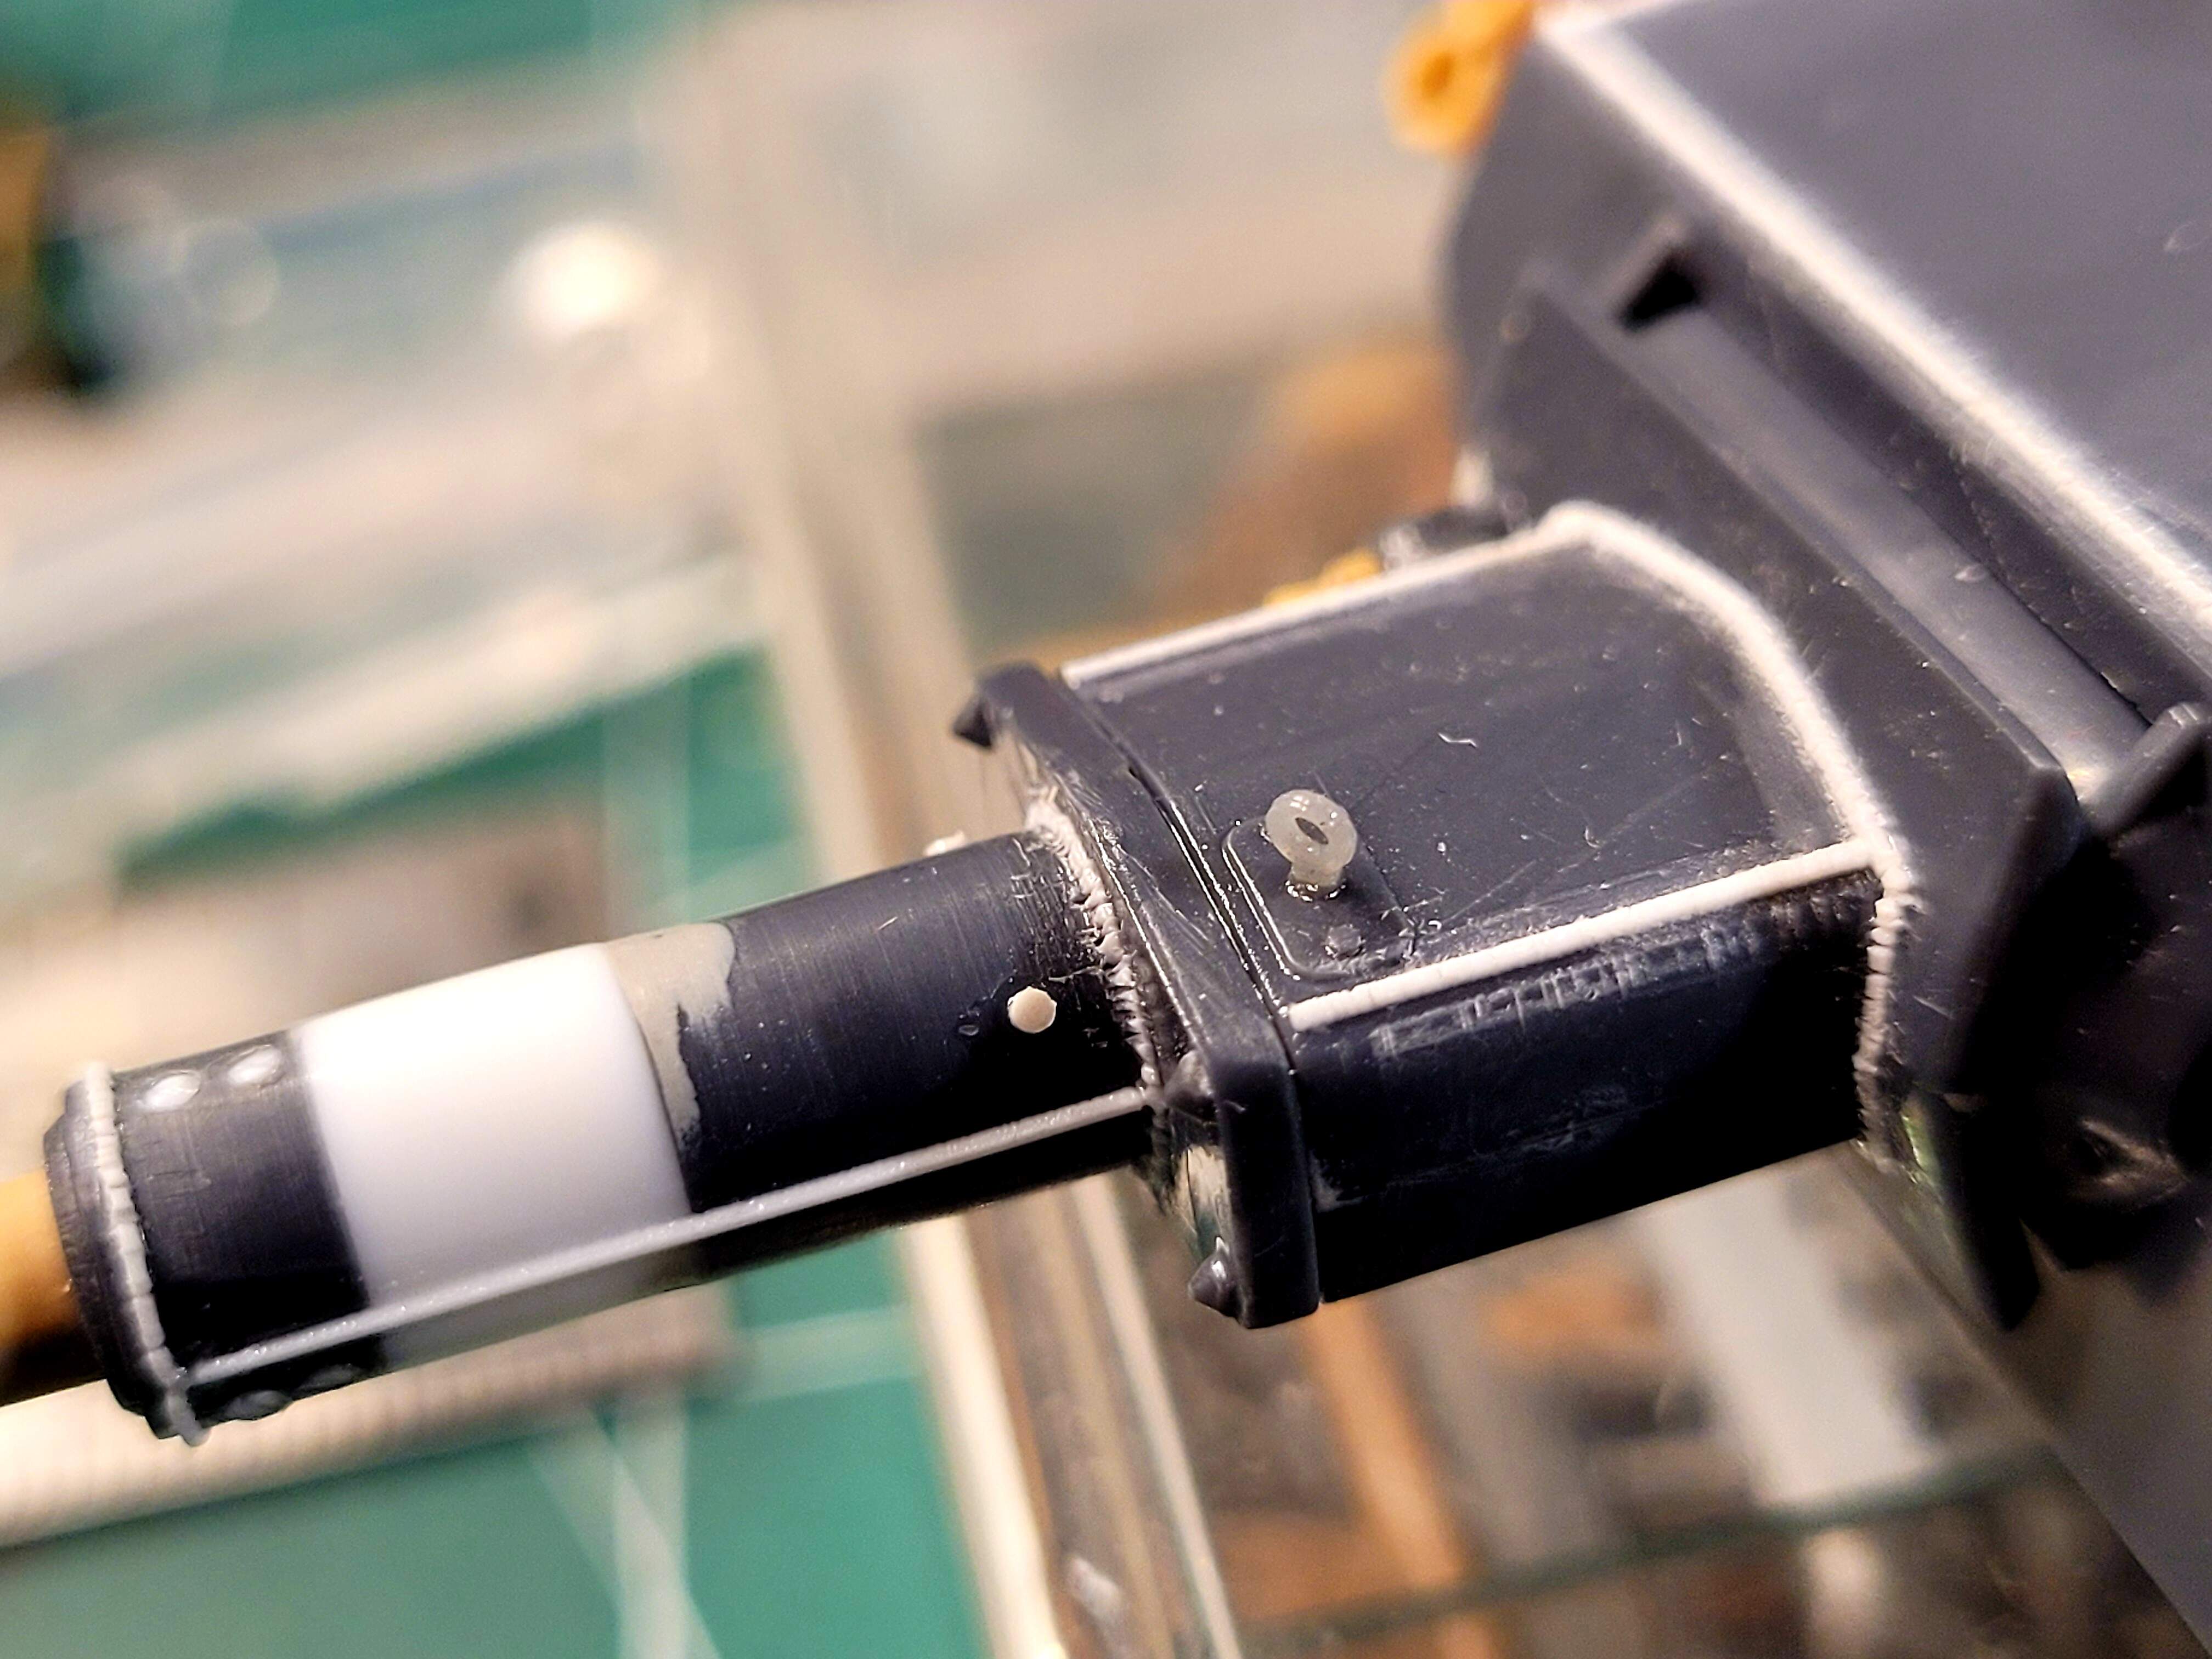
Tidying up a few odds and ends. Completed the cleaning kit with a bit of aluminum tube. I’m happy with how the cleaning kit worked out.
Read about The Small Shop’s SMS015 Photo Etch Cut Off Set - Standard tool here on the site and ordered. Tested it out and it works very well trapping small PE parts. Well worth the $13 or so it cost. Finished up the odds & ends of PE on turret using it.
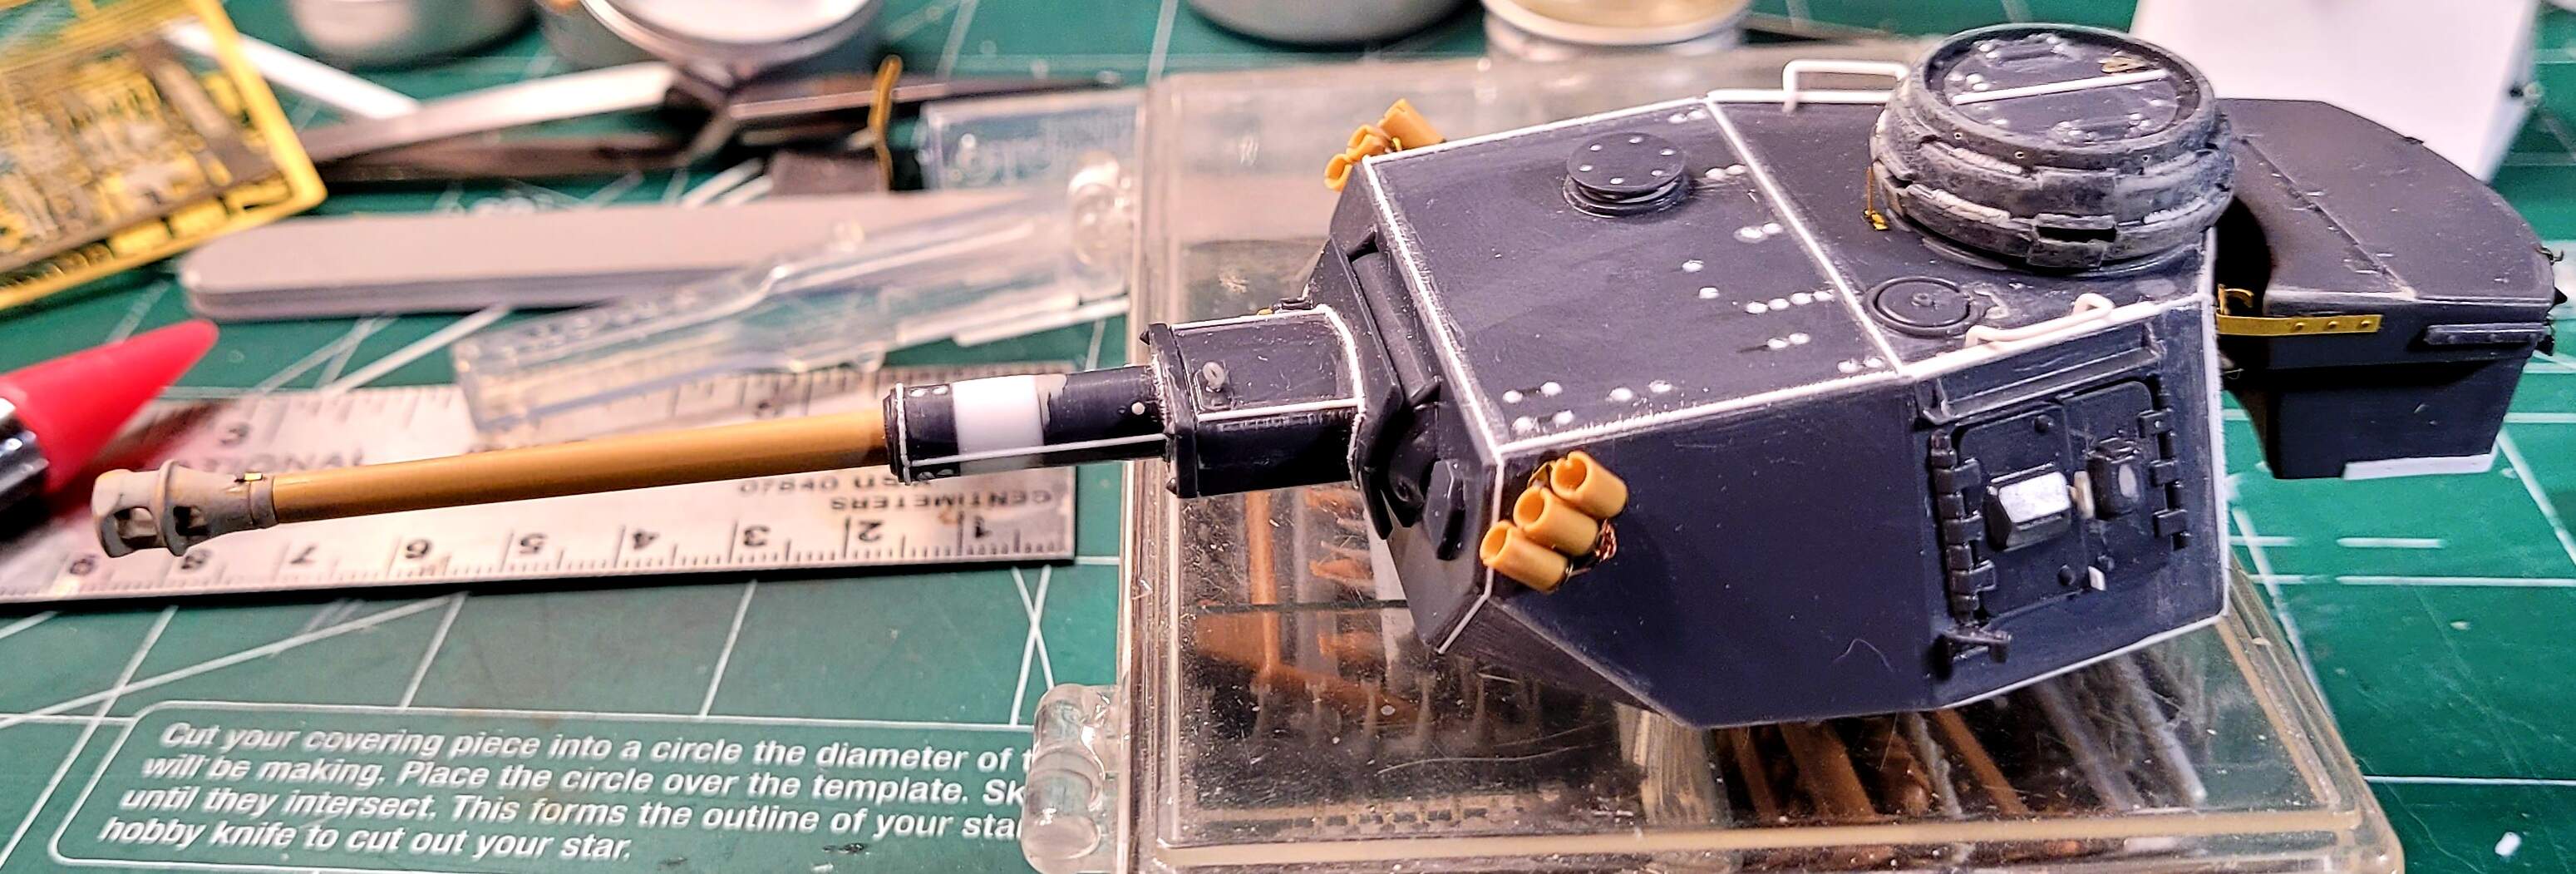
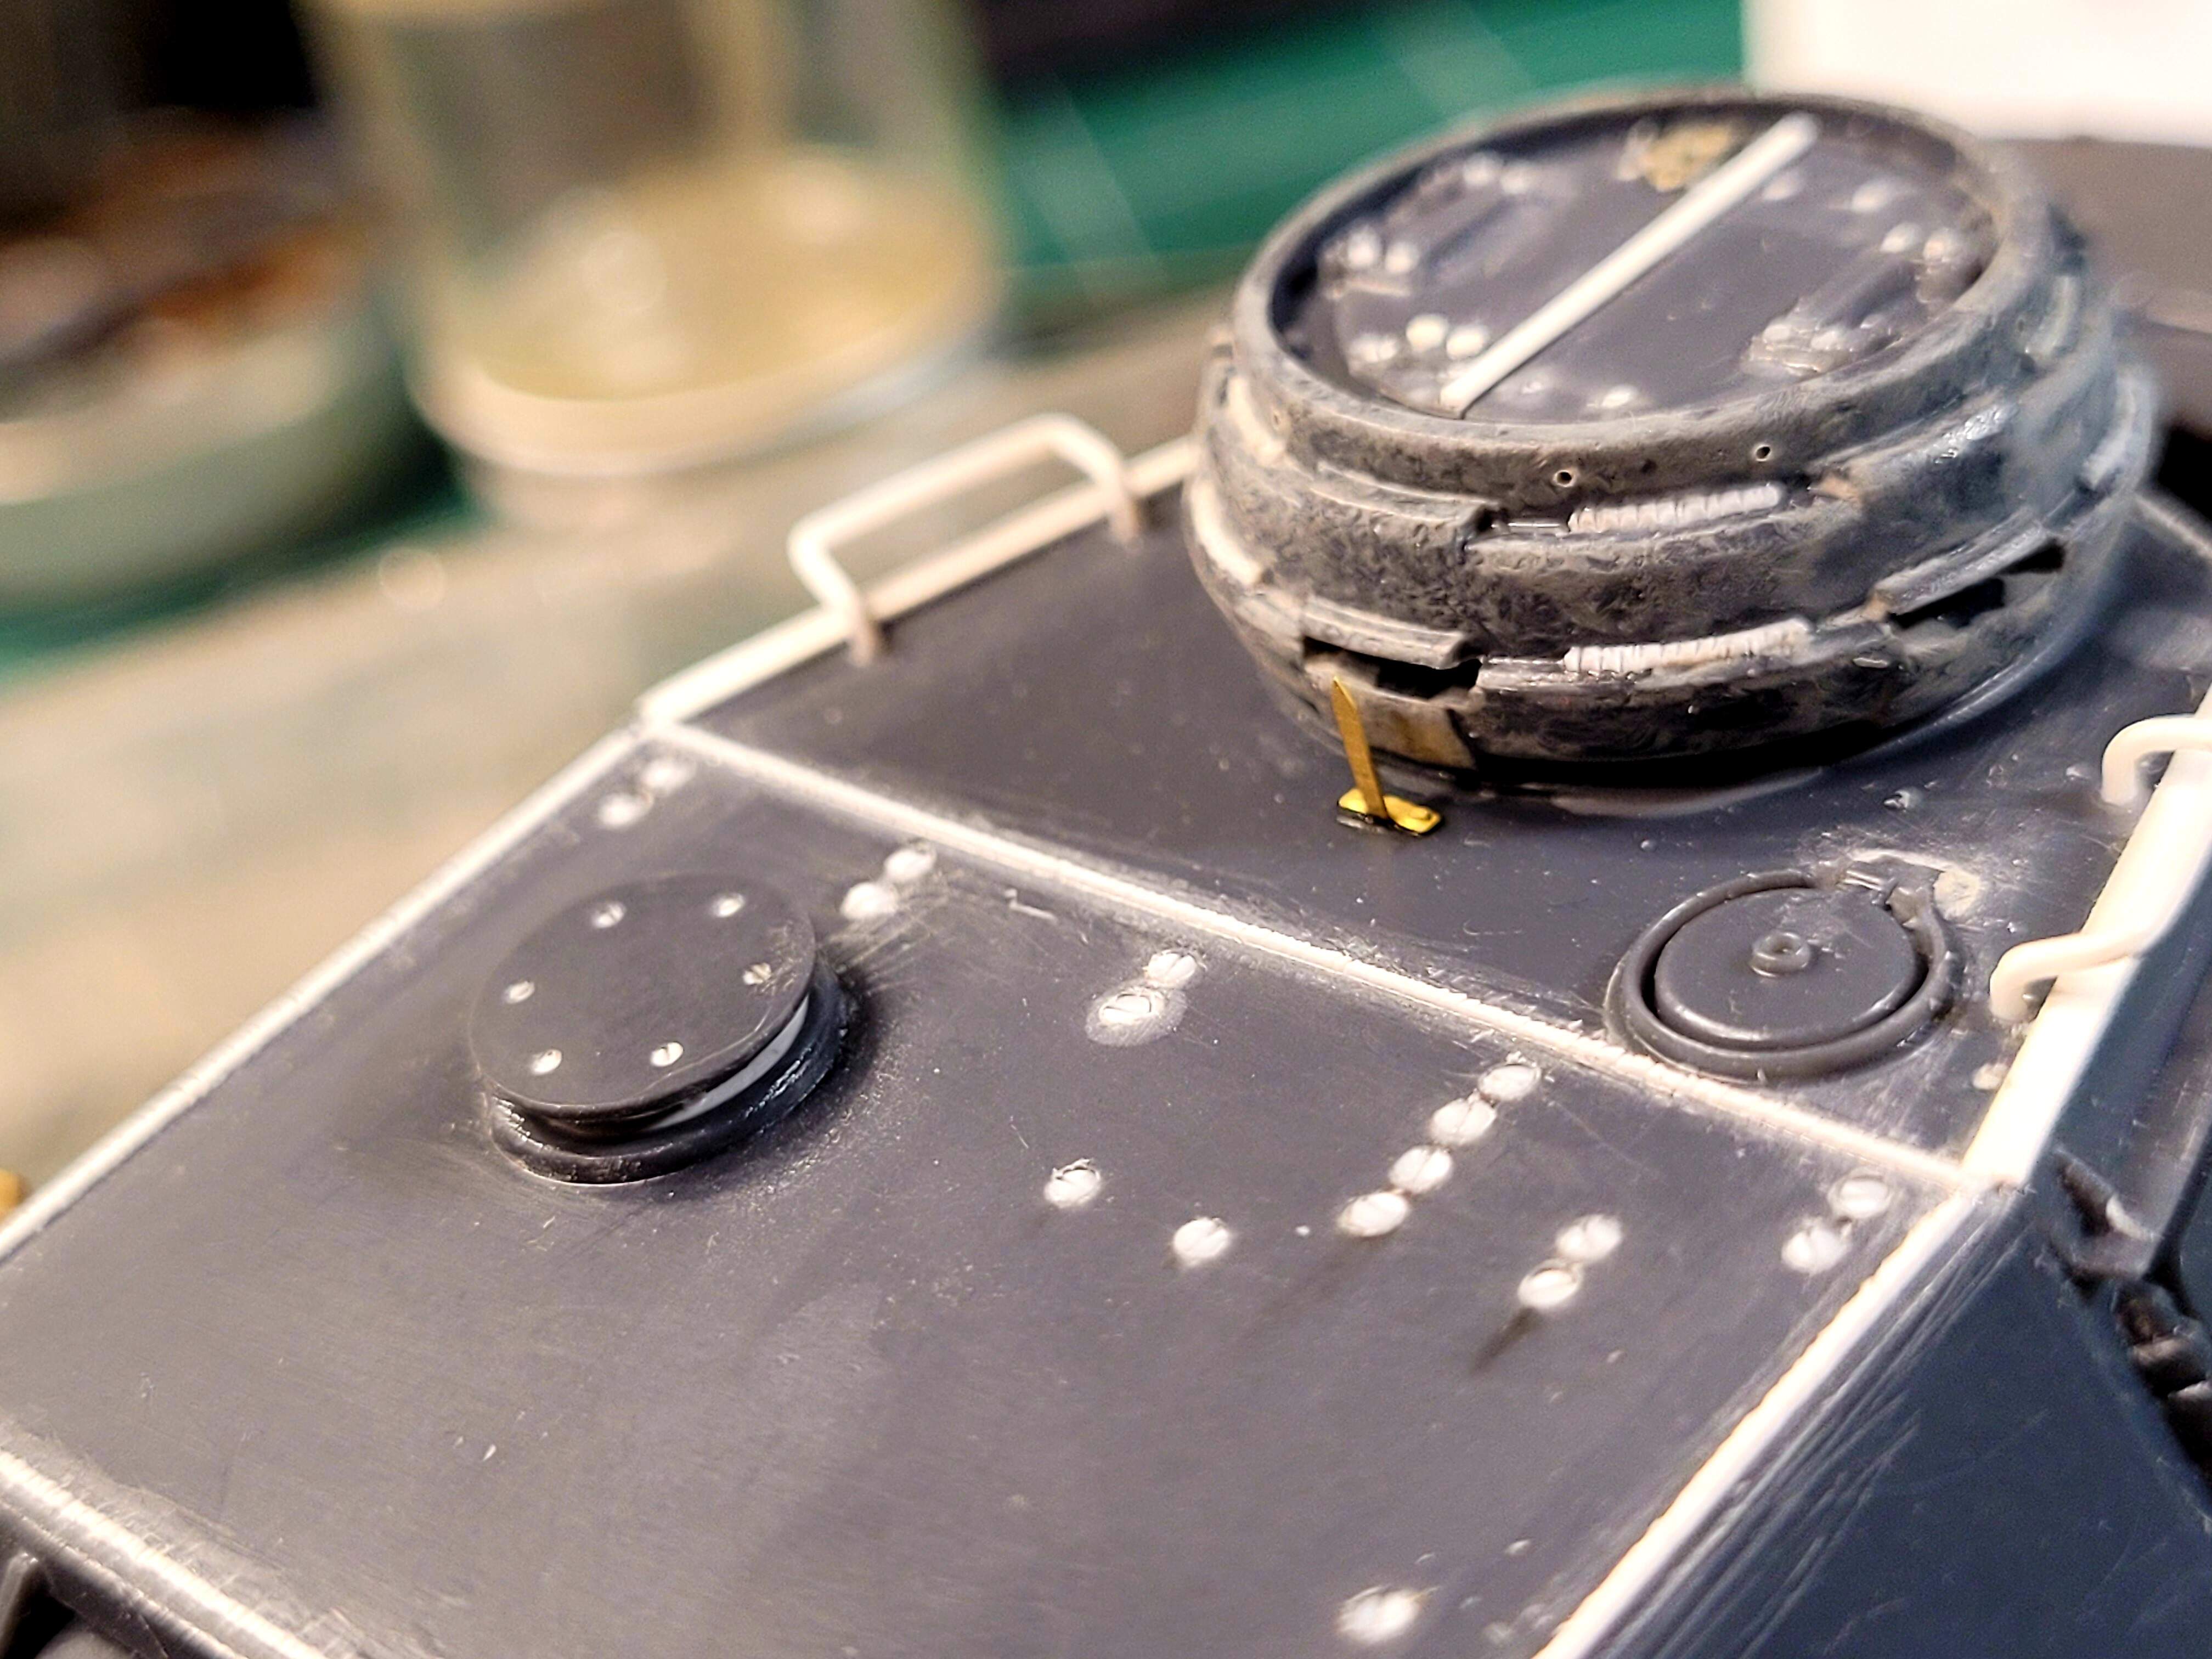
Happily the turret is nearly complete. Added retaining bolt to muzzle brake, eye bolt to the main gun housing, vane sight and a PE lock to the cupola hatch. Have yet to make an antenna deflector
3 Likes
Amazing details as always!
1 Like
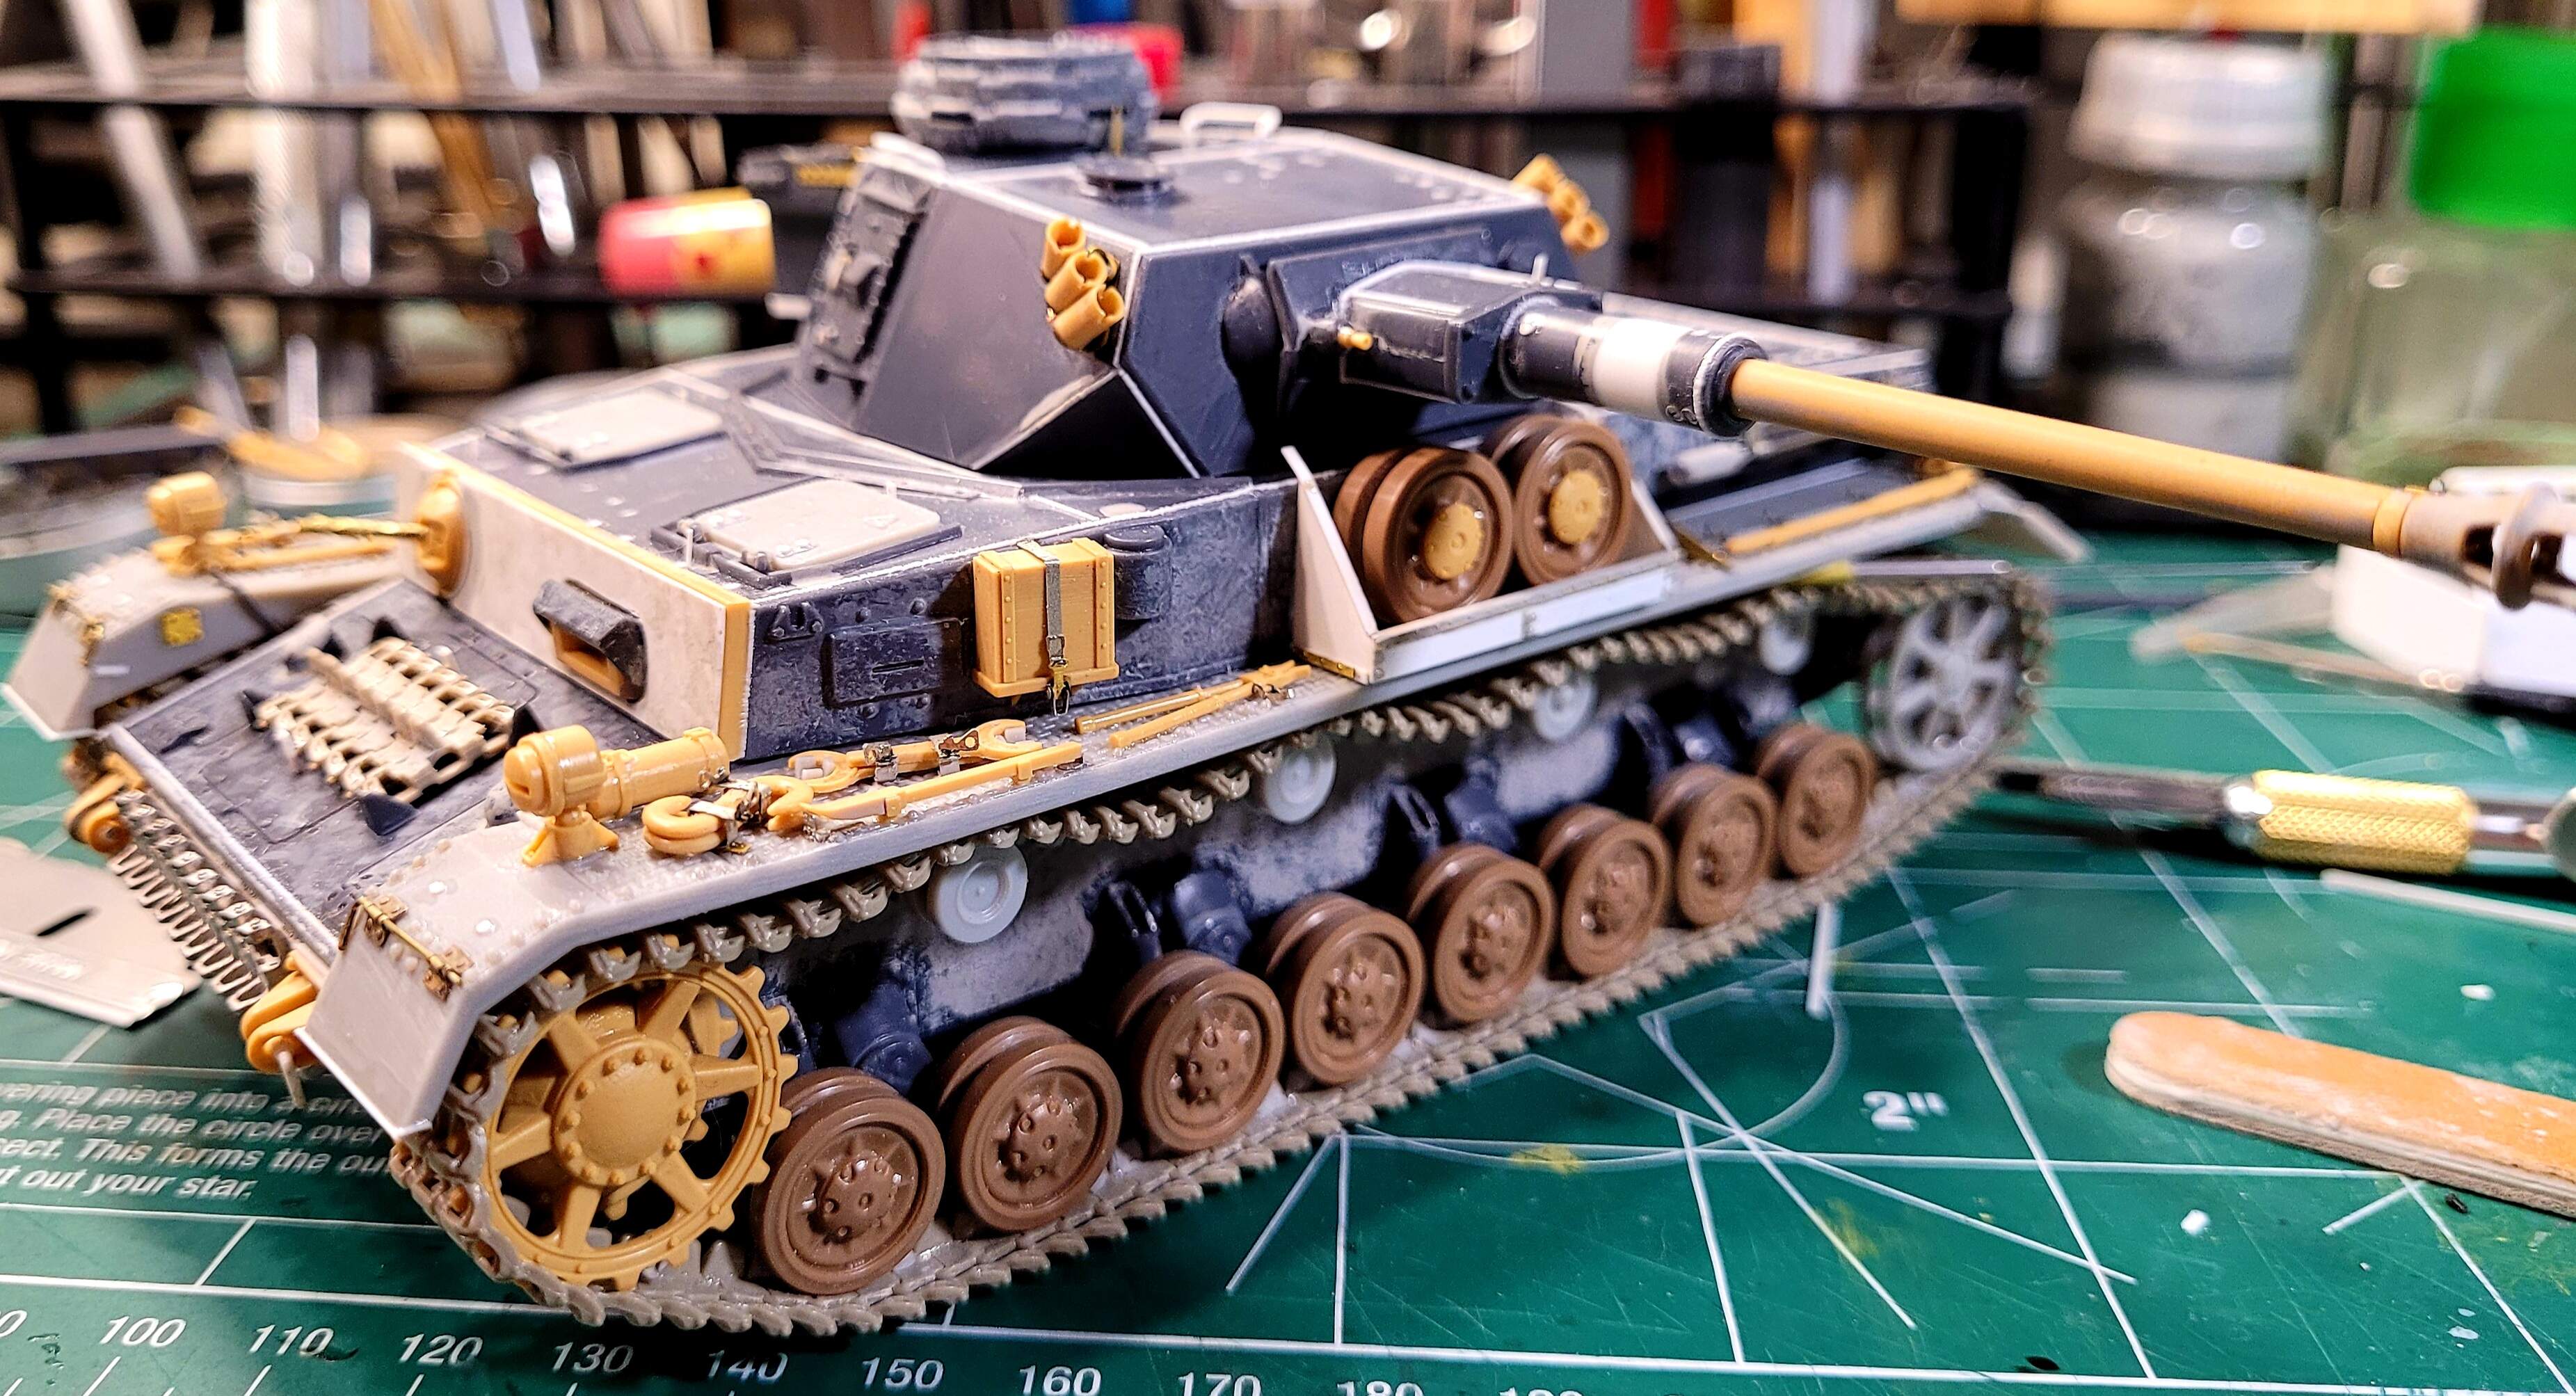
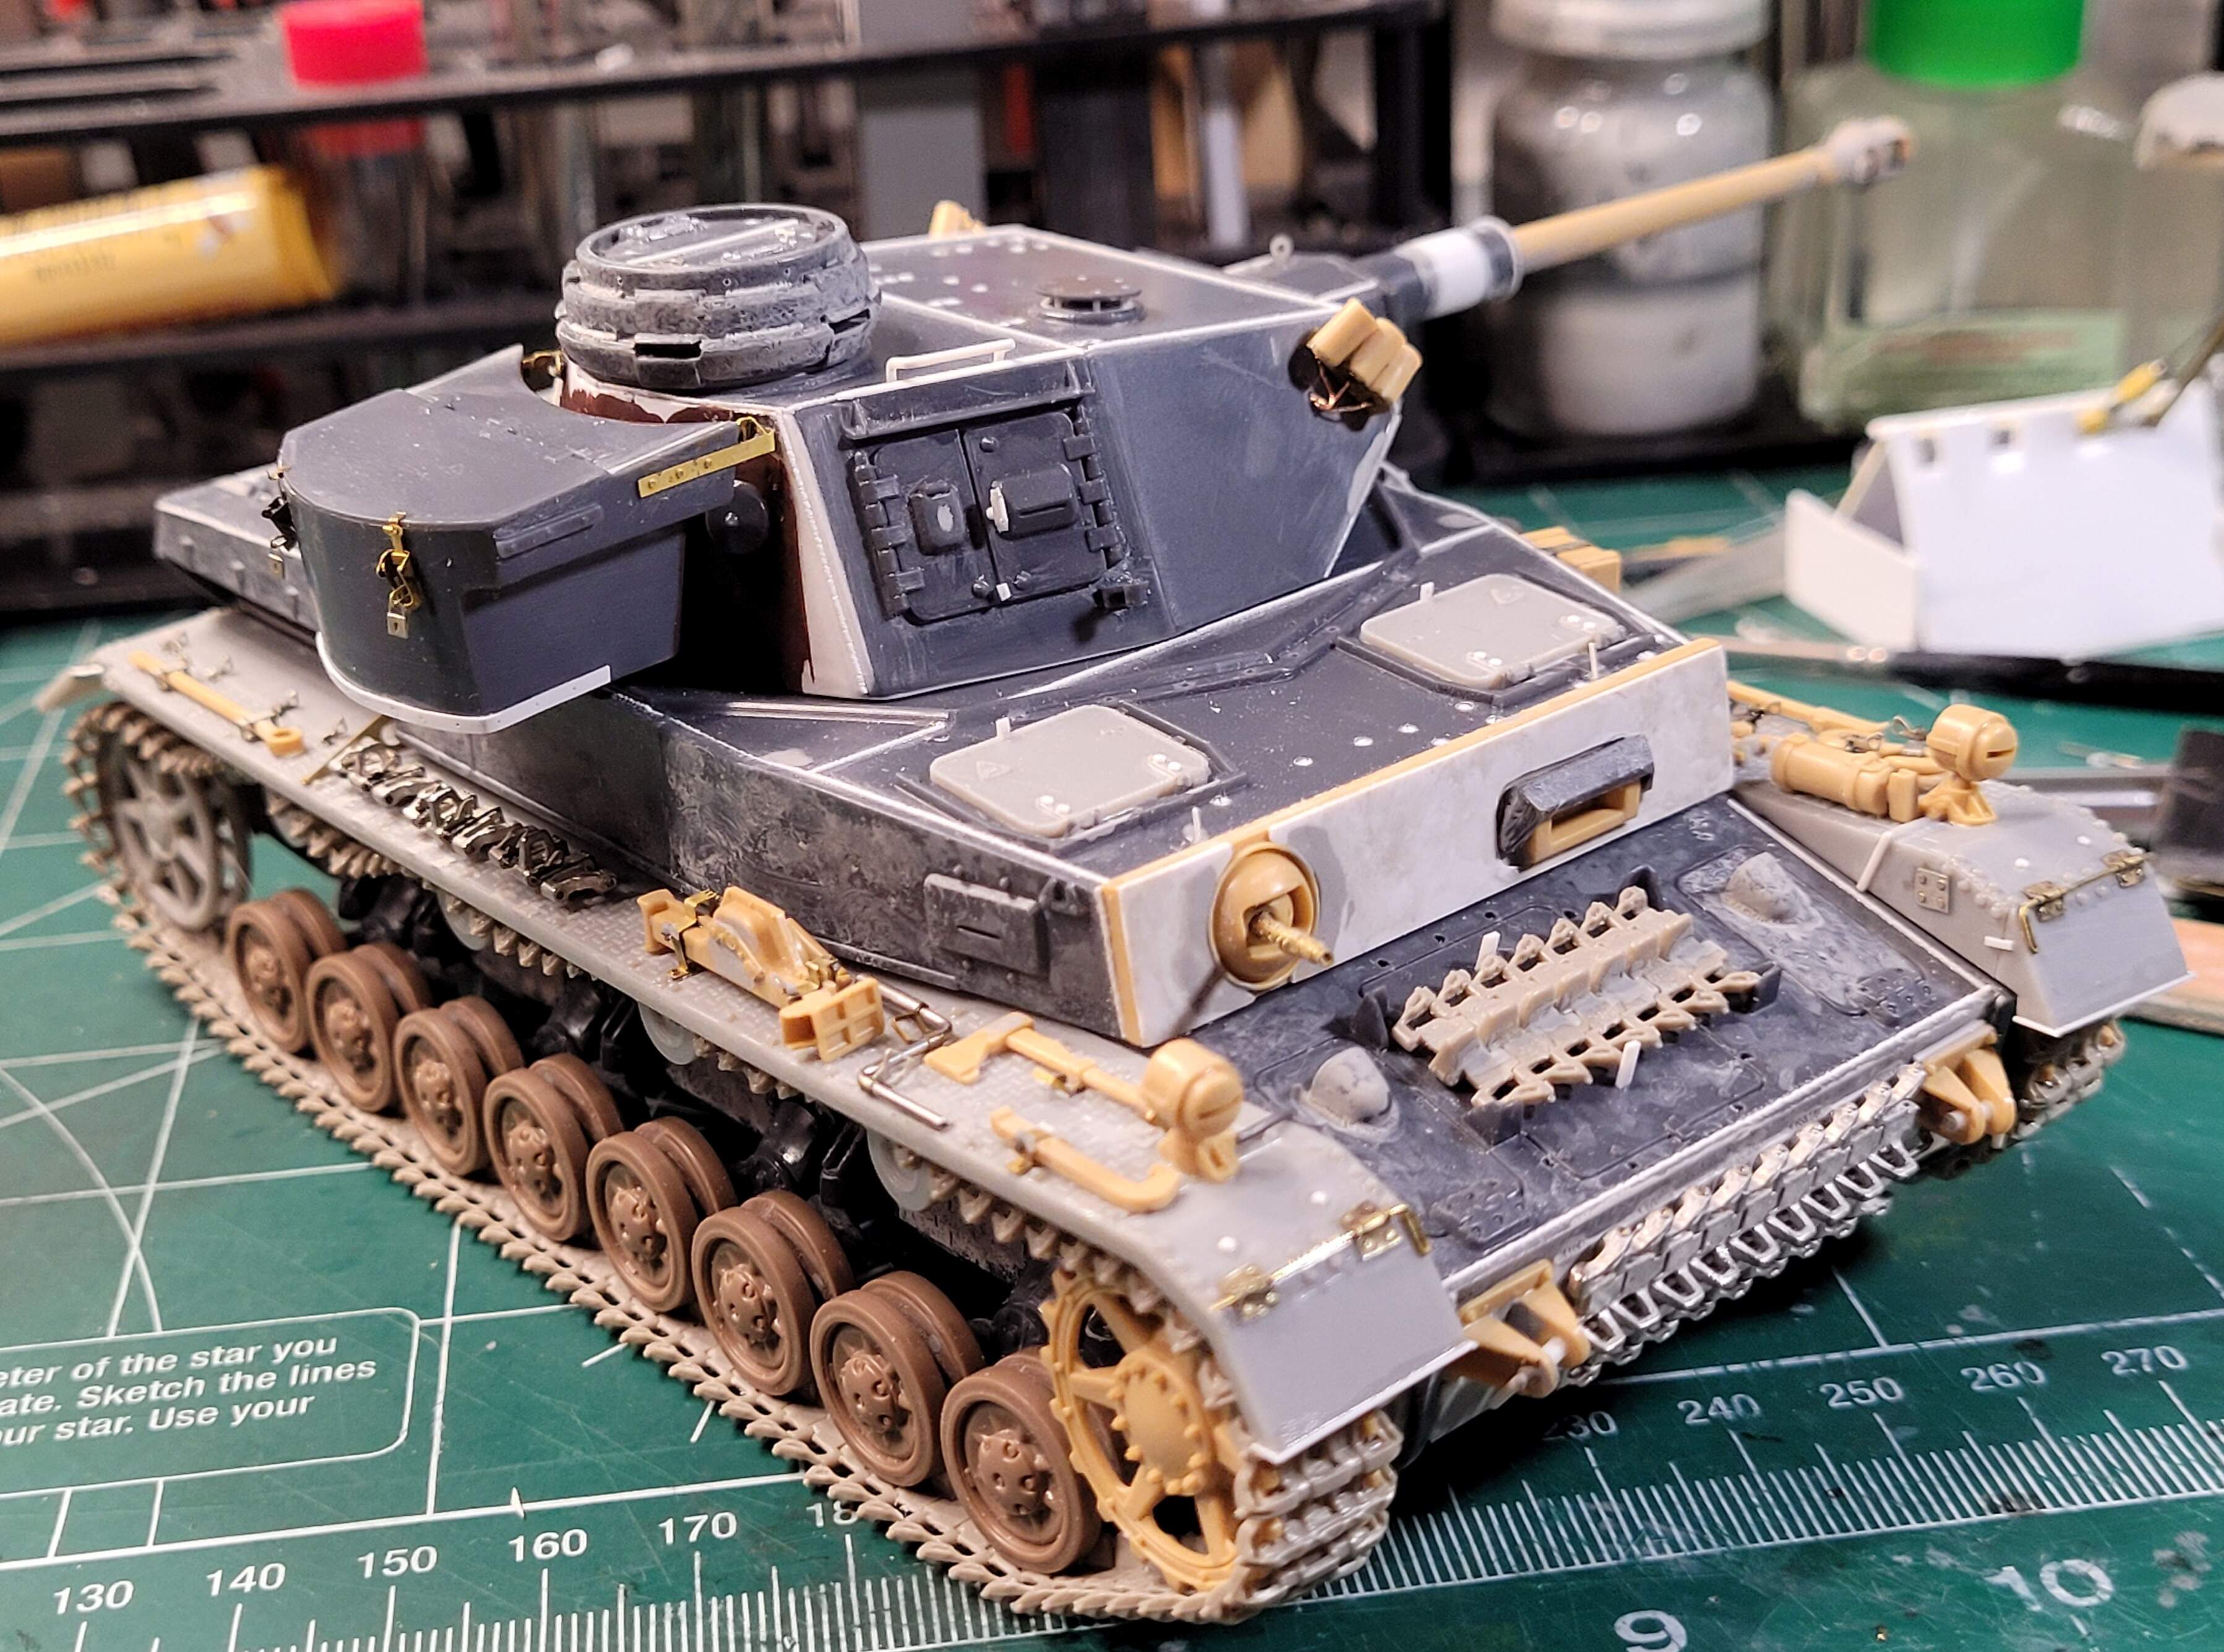
Had to test fit my hodgepodge of spare parts all together today. Other than the conduit too long for headlights causing issues up front it mostly fits together OK!
Need to sort out the shovel, antenna, deflector & antenna tray plus fix a few things and most of the construction will be wrapped.
I think when the suspension comes apart for paint, adding fender alignment guides will help ease the fender install. Probably about four 6mm long tans of .020 strip about .020 long.
Question do you think adding a row of track links to the glacis plate is overkill?
Example
5 Likes
Seeing it all together is a beautiful thing Wade. There’s a buttload of work there and all of it is just out-freaking-standing. Each area is a miniature kit in it’s own right and the detail is all incredible. Congratulations on a masterpiece build sir.
Personally, I wouldn’t cover the glacis with track links. Too distracting. You have so much detail going on already, I’d leave it clean.
Excellent work Wade. You should be very proud.
1 Like
Wow seeing it all together for the first time is pretty impressive. You can really appreciate all the upgrades you did.
1 Like