So here we are… A Vdub Beetle… Not my usual area of building but hey ho… that’s usually 1/35 Armour…Onwards and upwards.
The base kit is the Revell 1/24 VW Beetle Limousine 1968.
It will be OOB apart from decals I will need to make at the end.
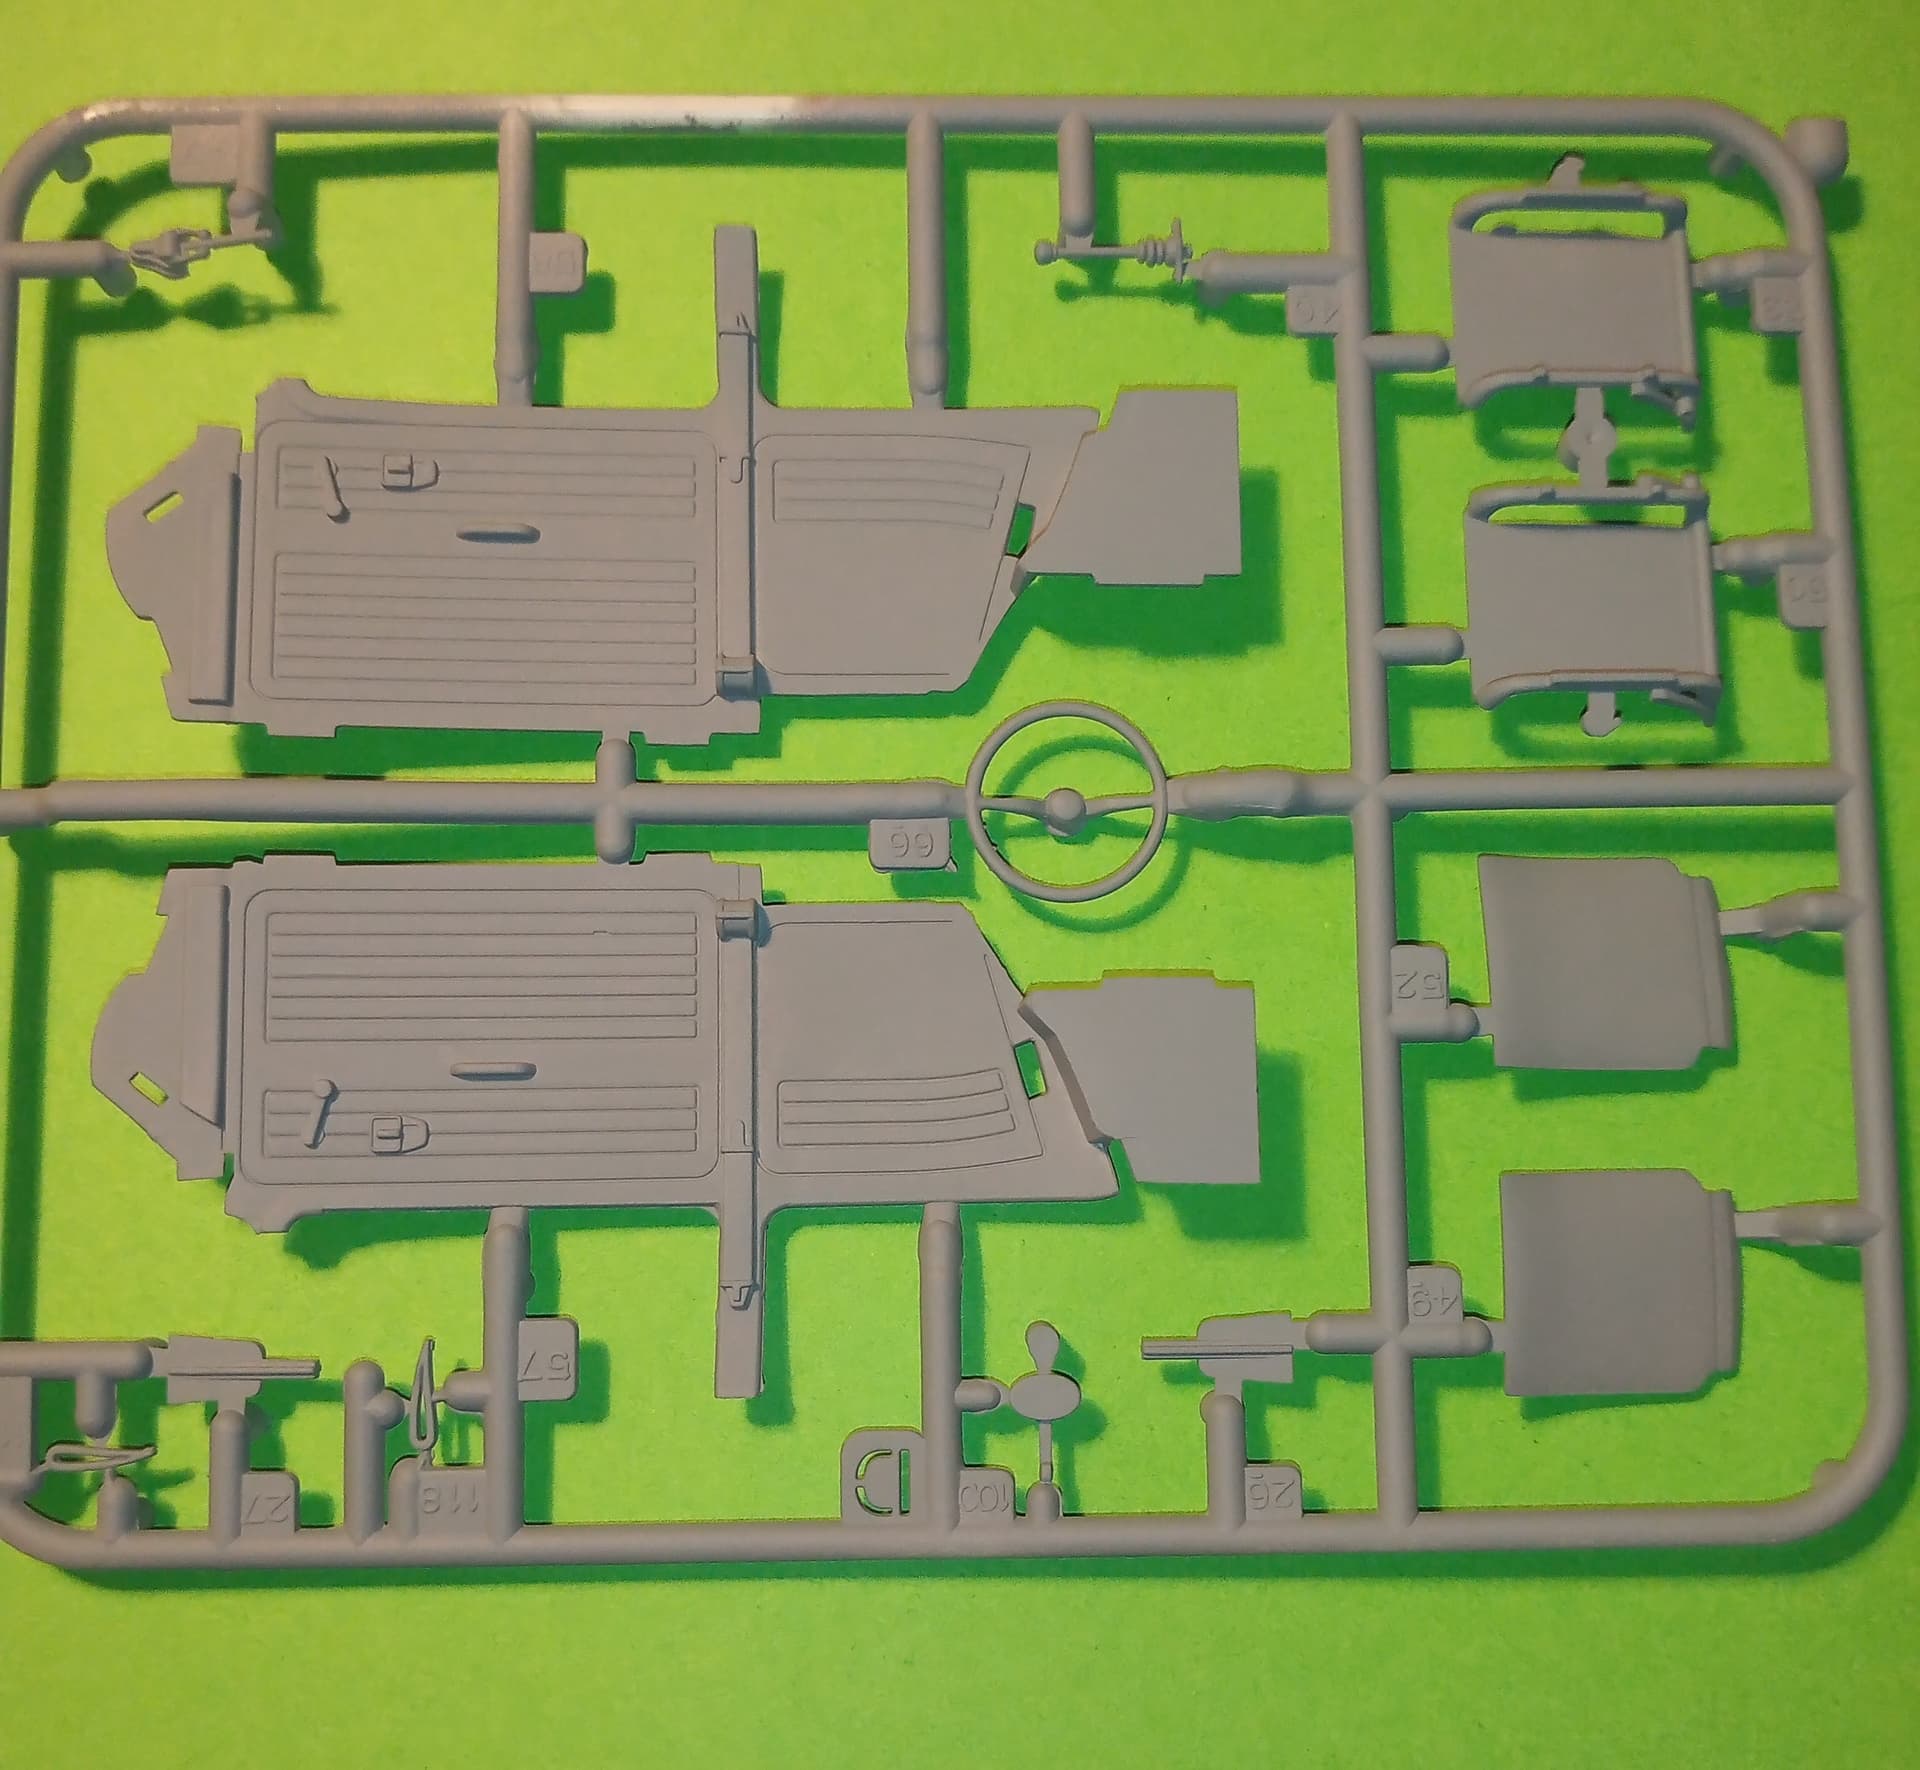
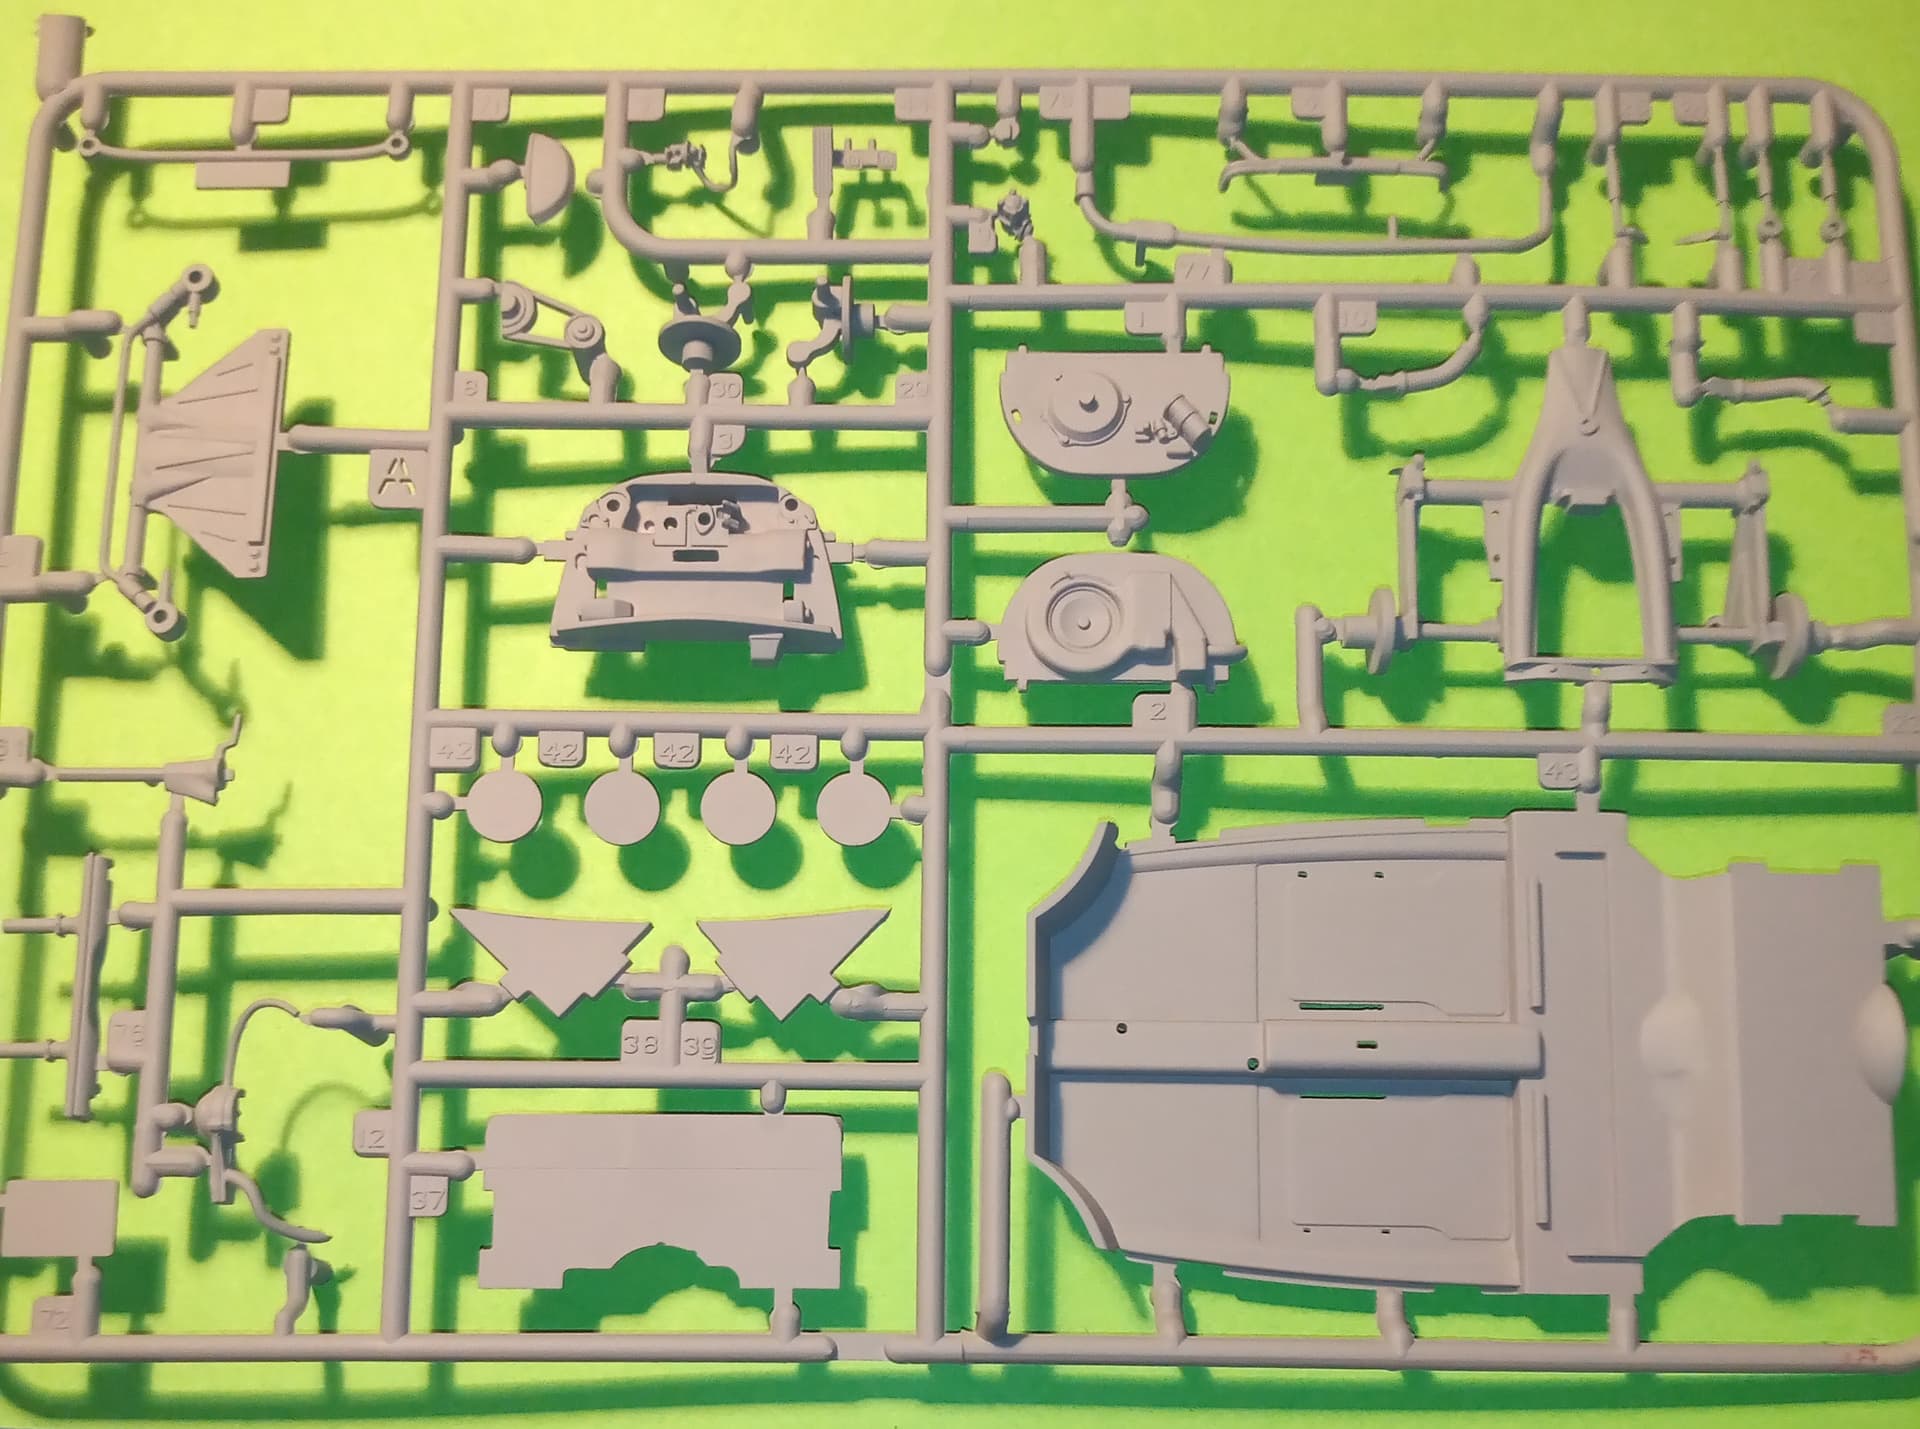
There are 6 normal plastic sprues. 2 chrome effect sprues, and 1 clear parts sprue plus 4 rubber wheels.
Initial look at those seems good. Pretty well detailed and it has a detailed engine which you can have the boot working up or down. Also has the option of 2 steering wheels and GB or European steering sides.
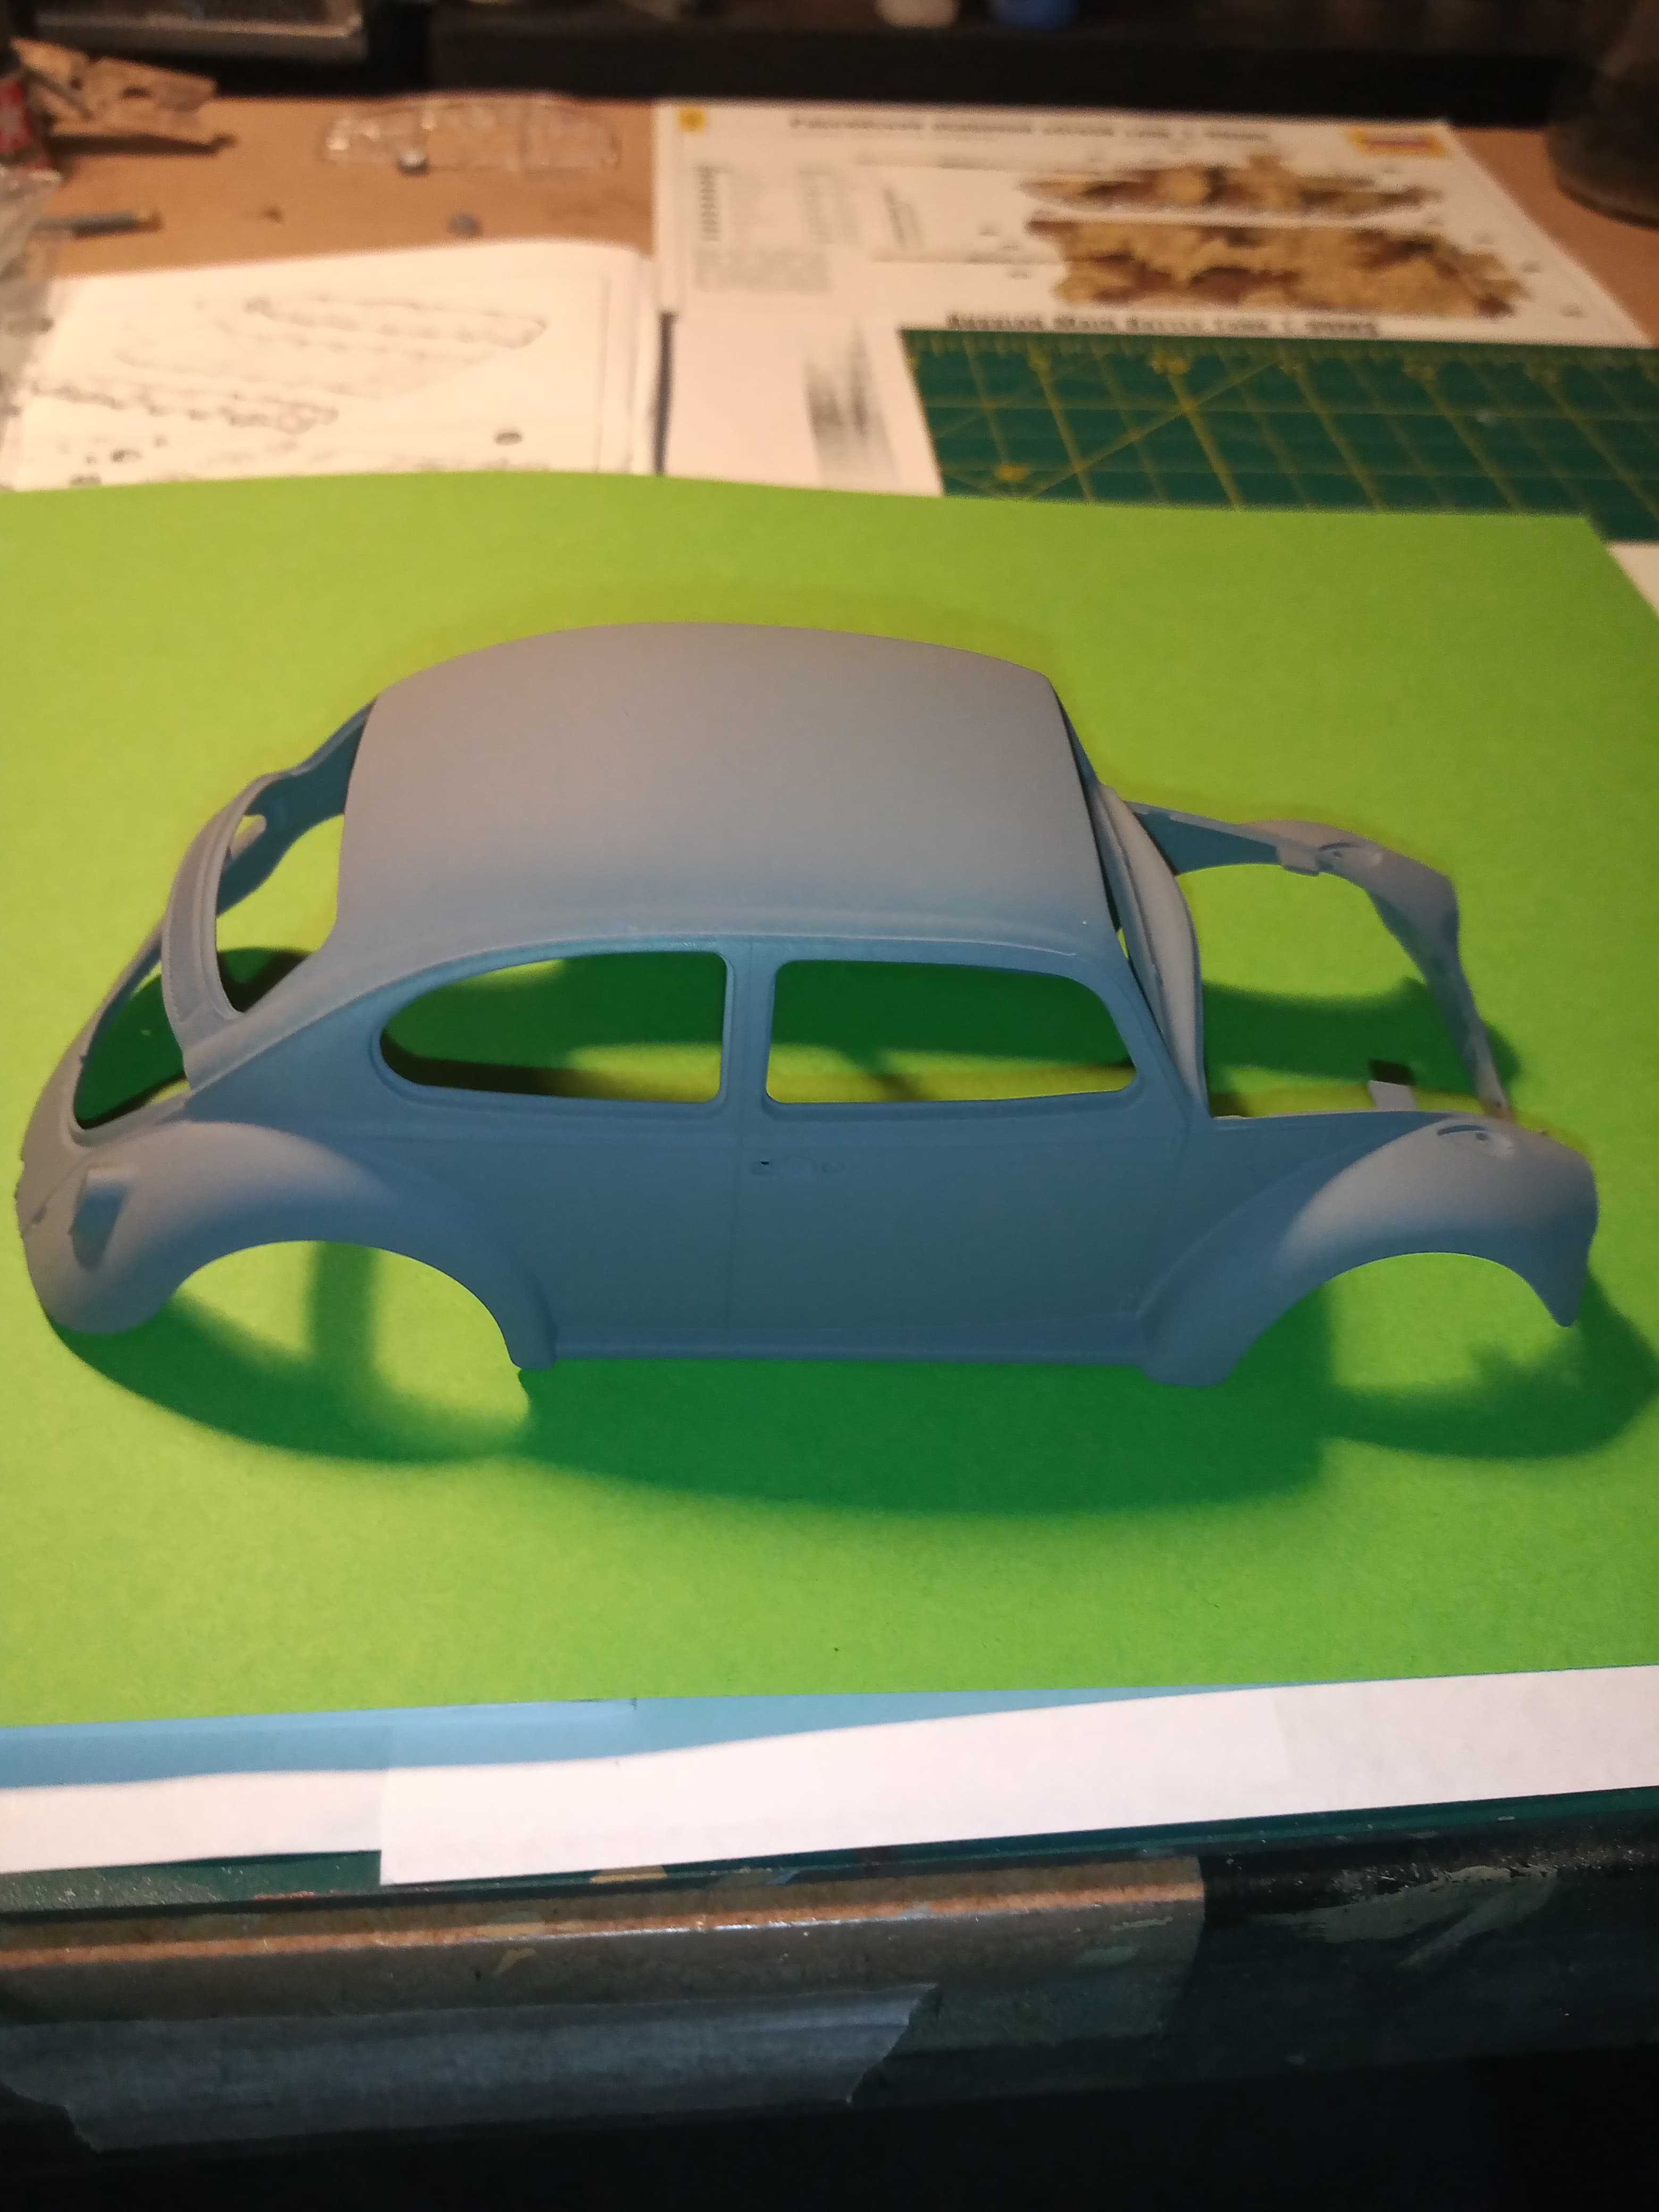
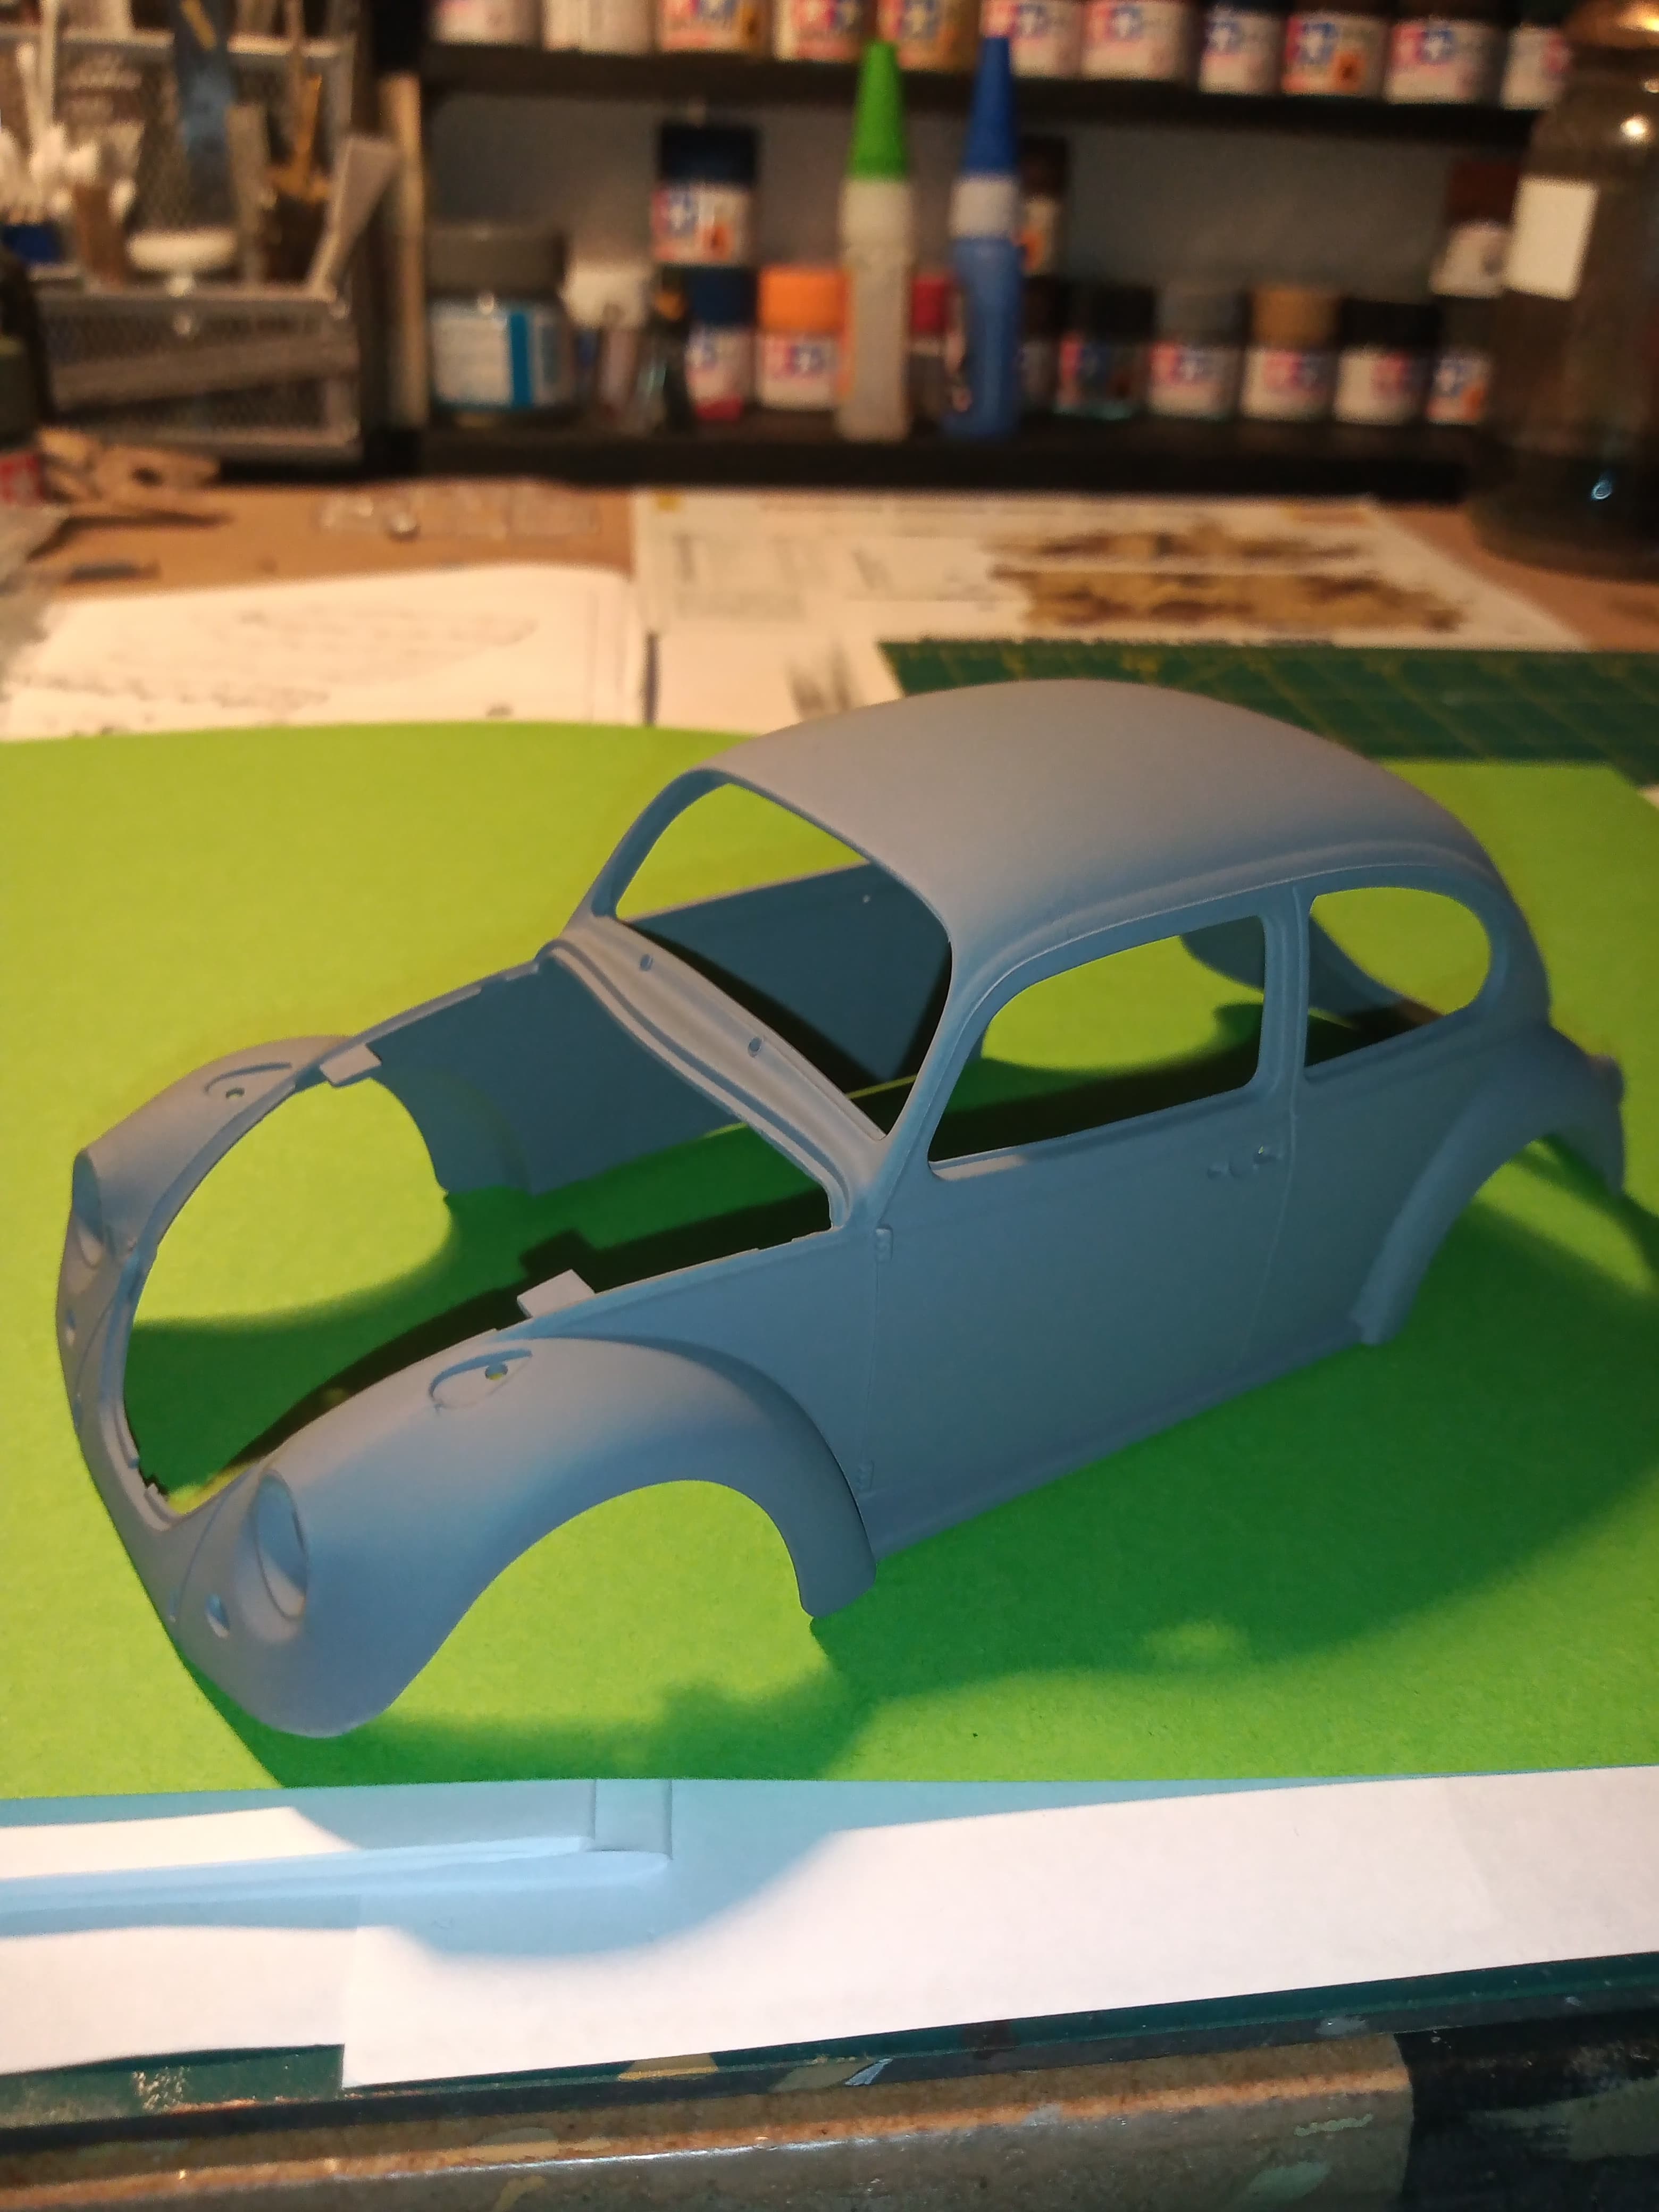
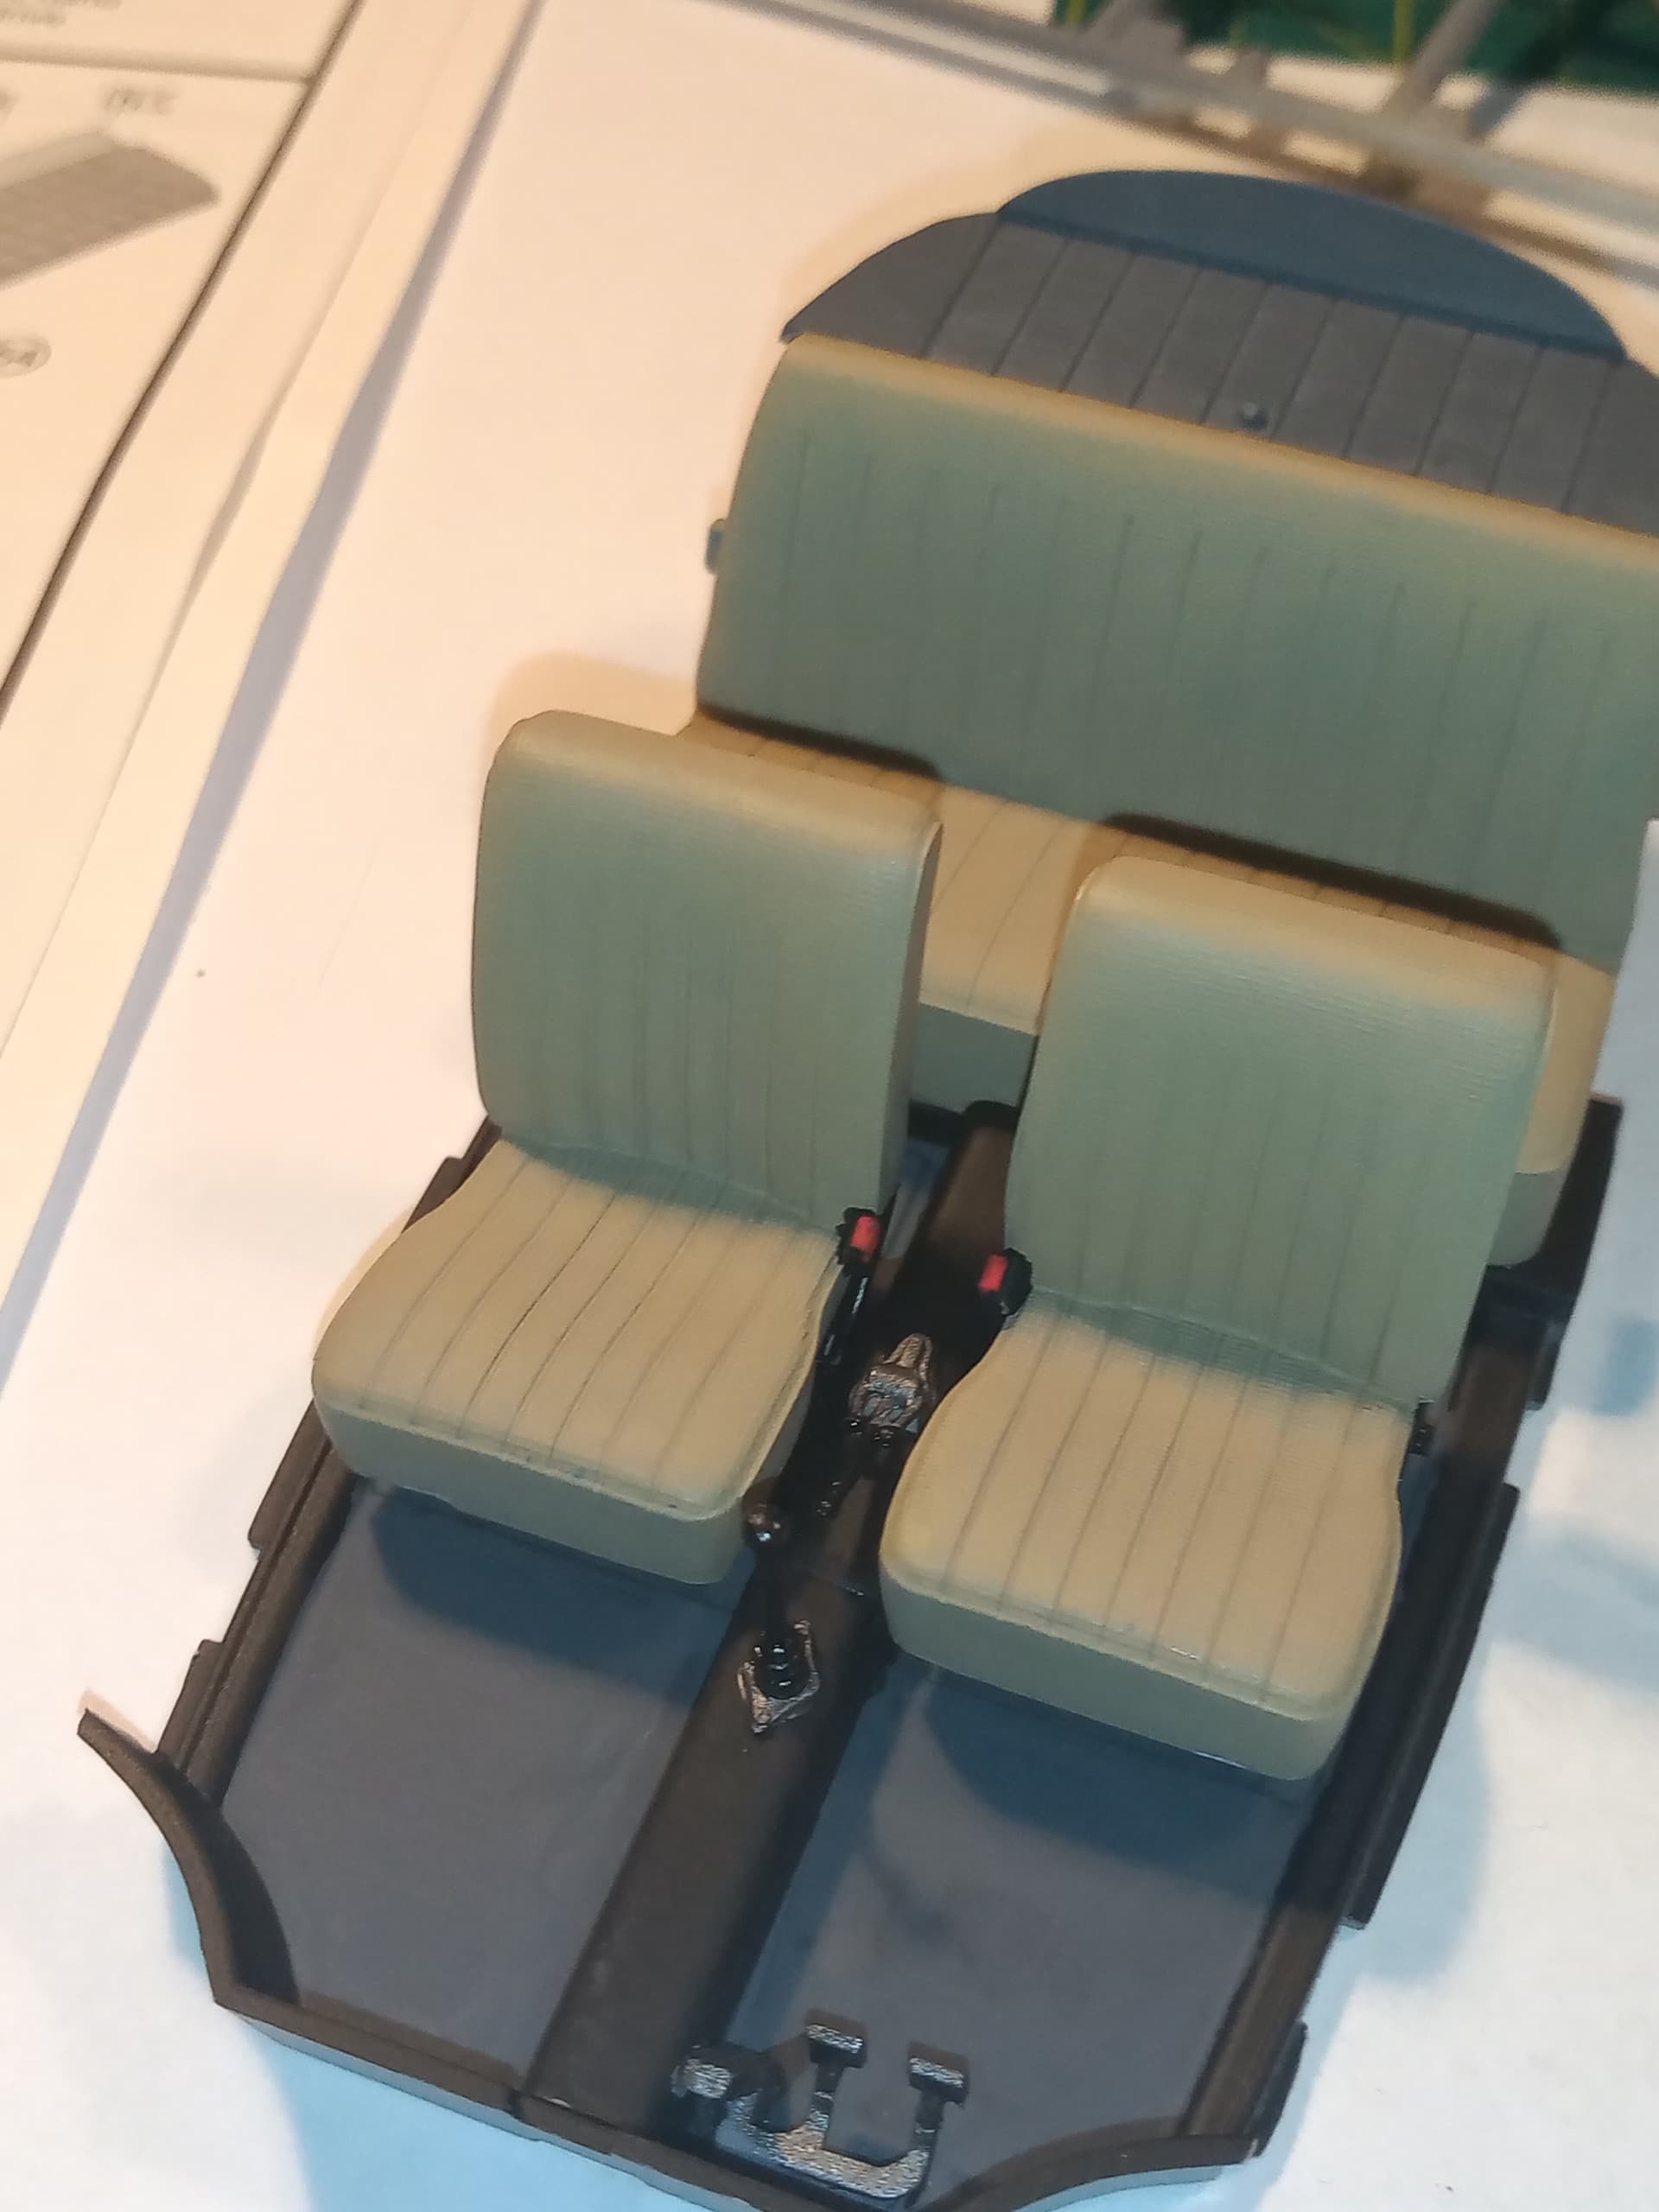
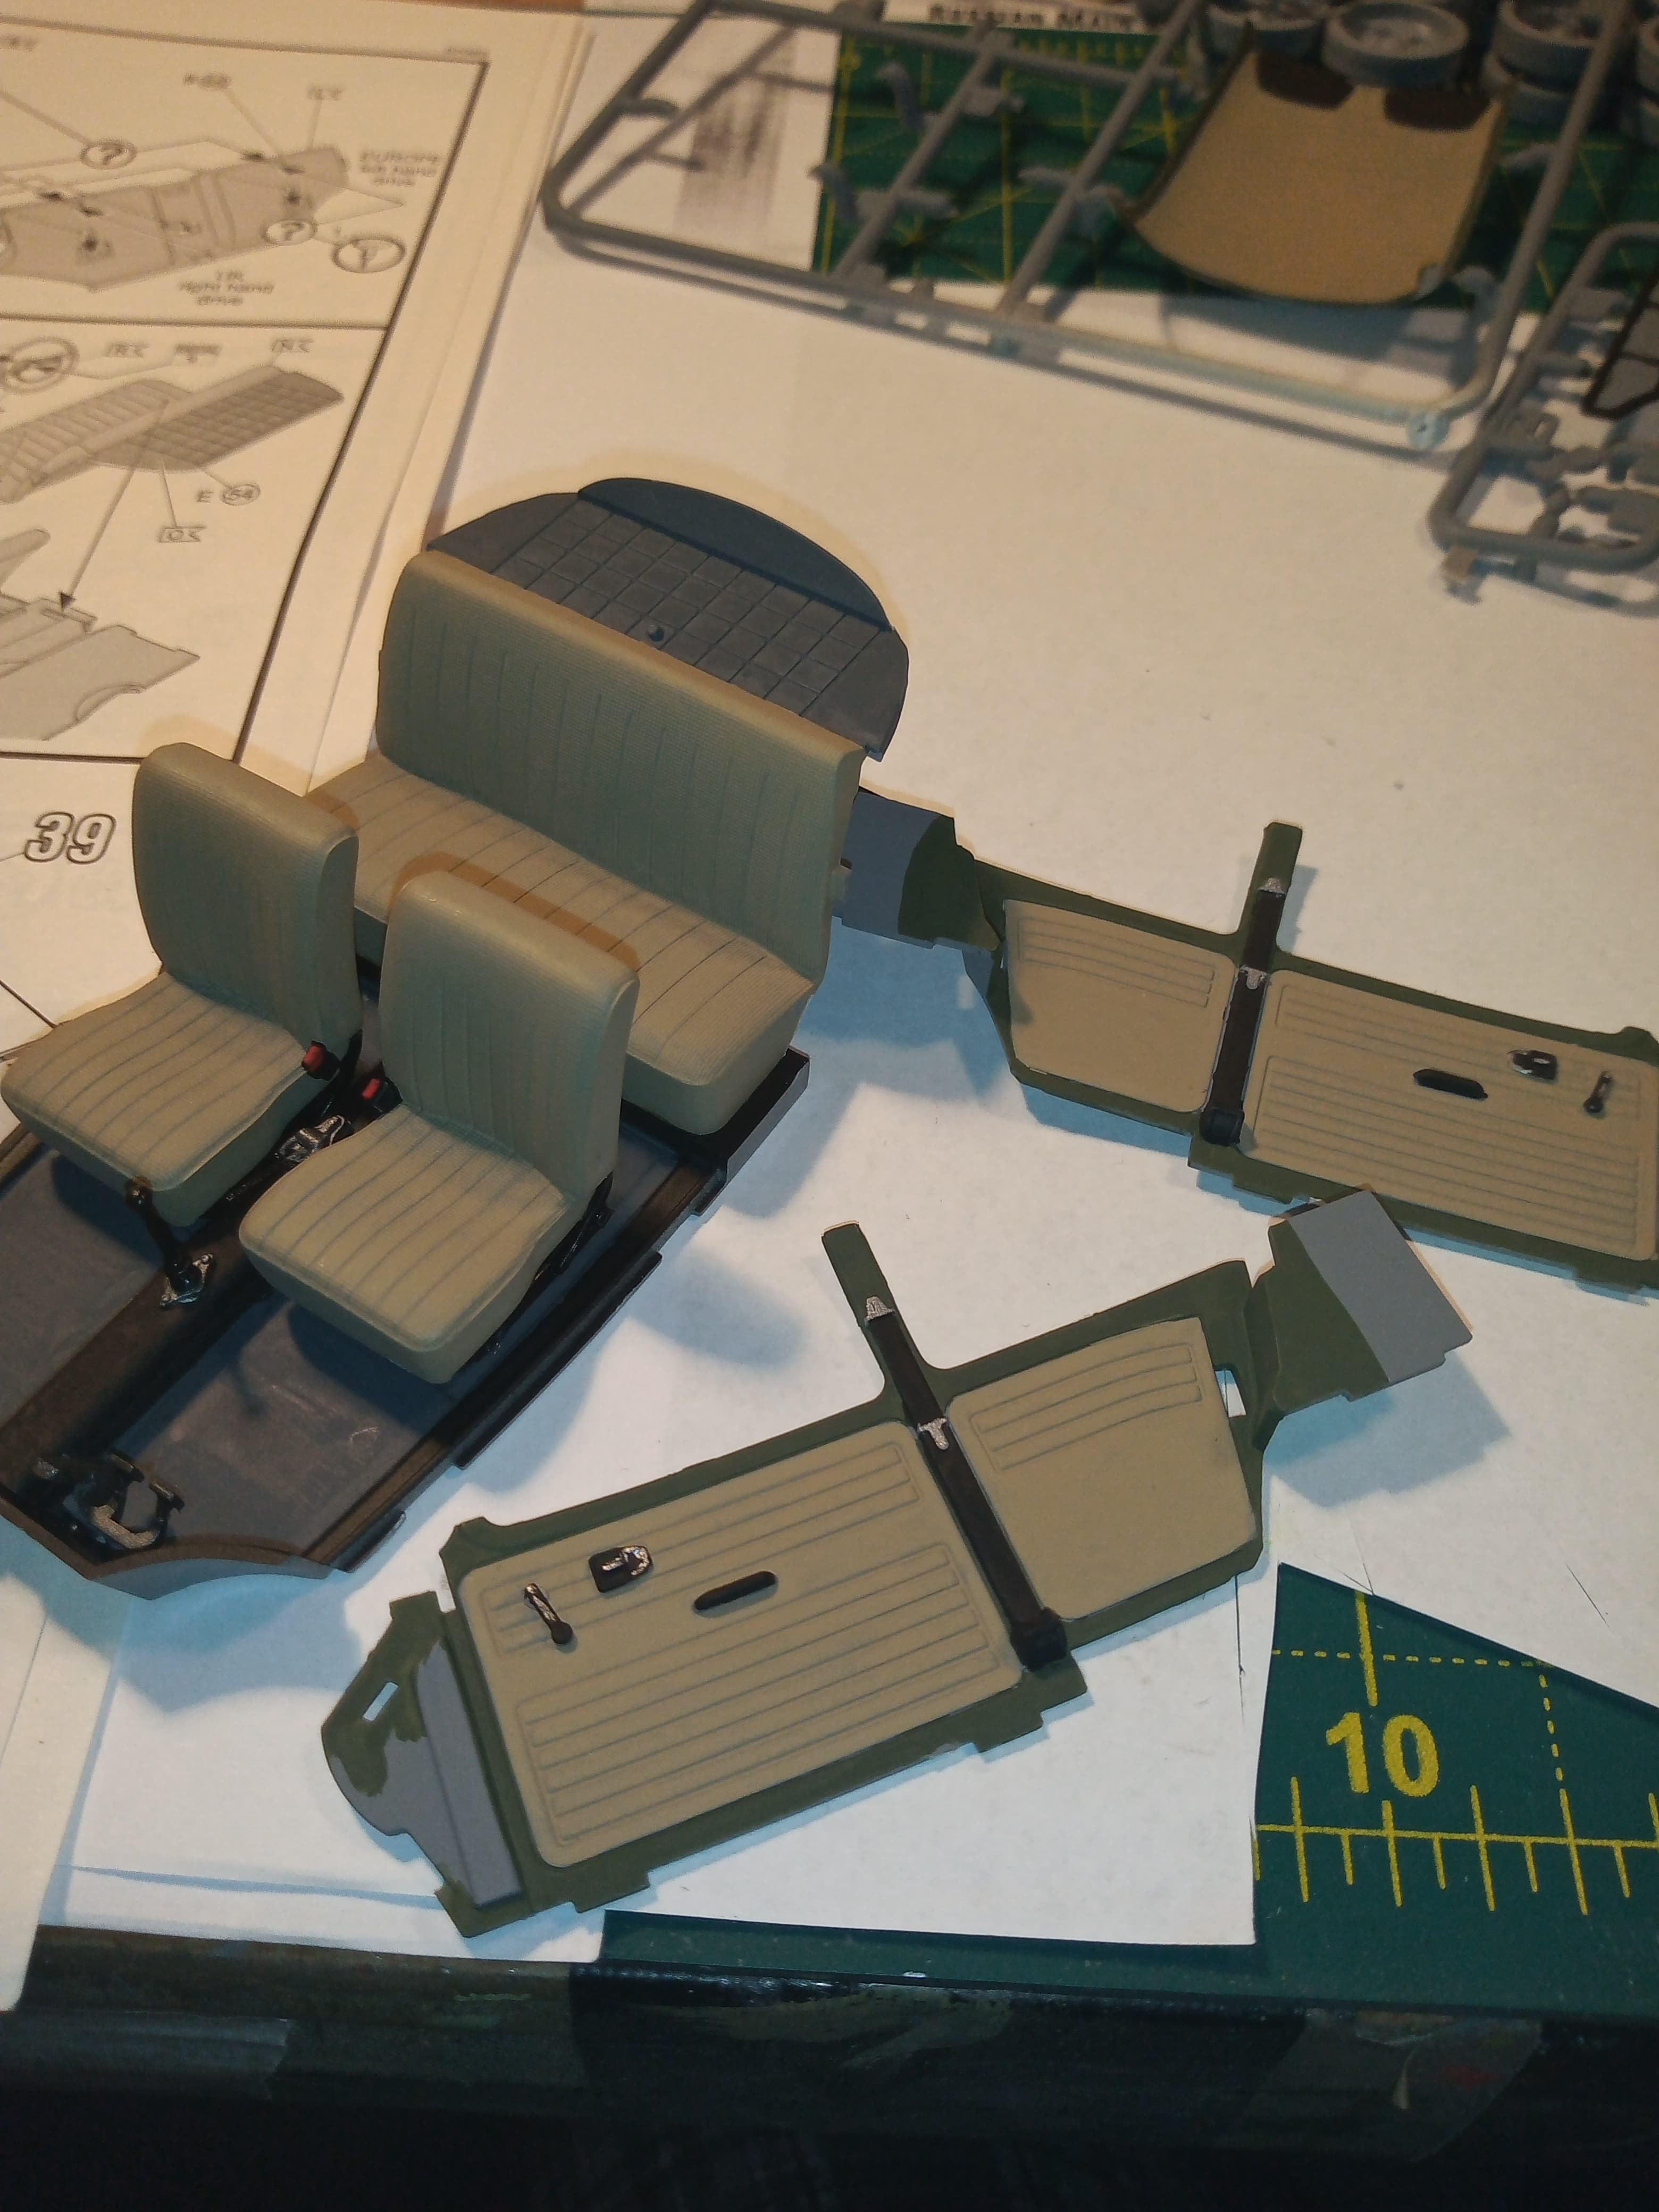
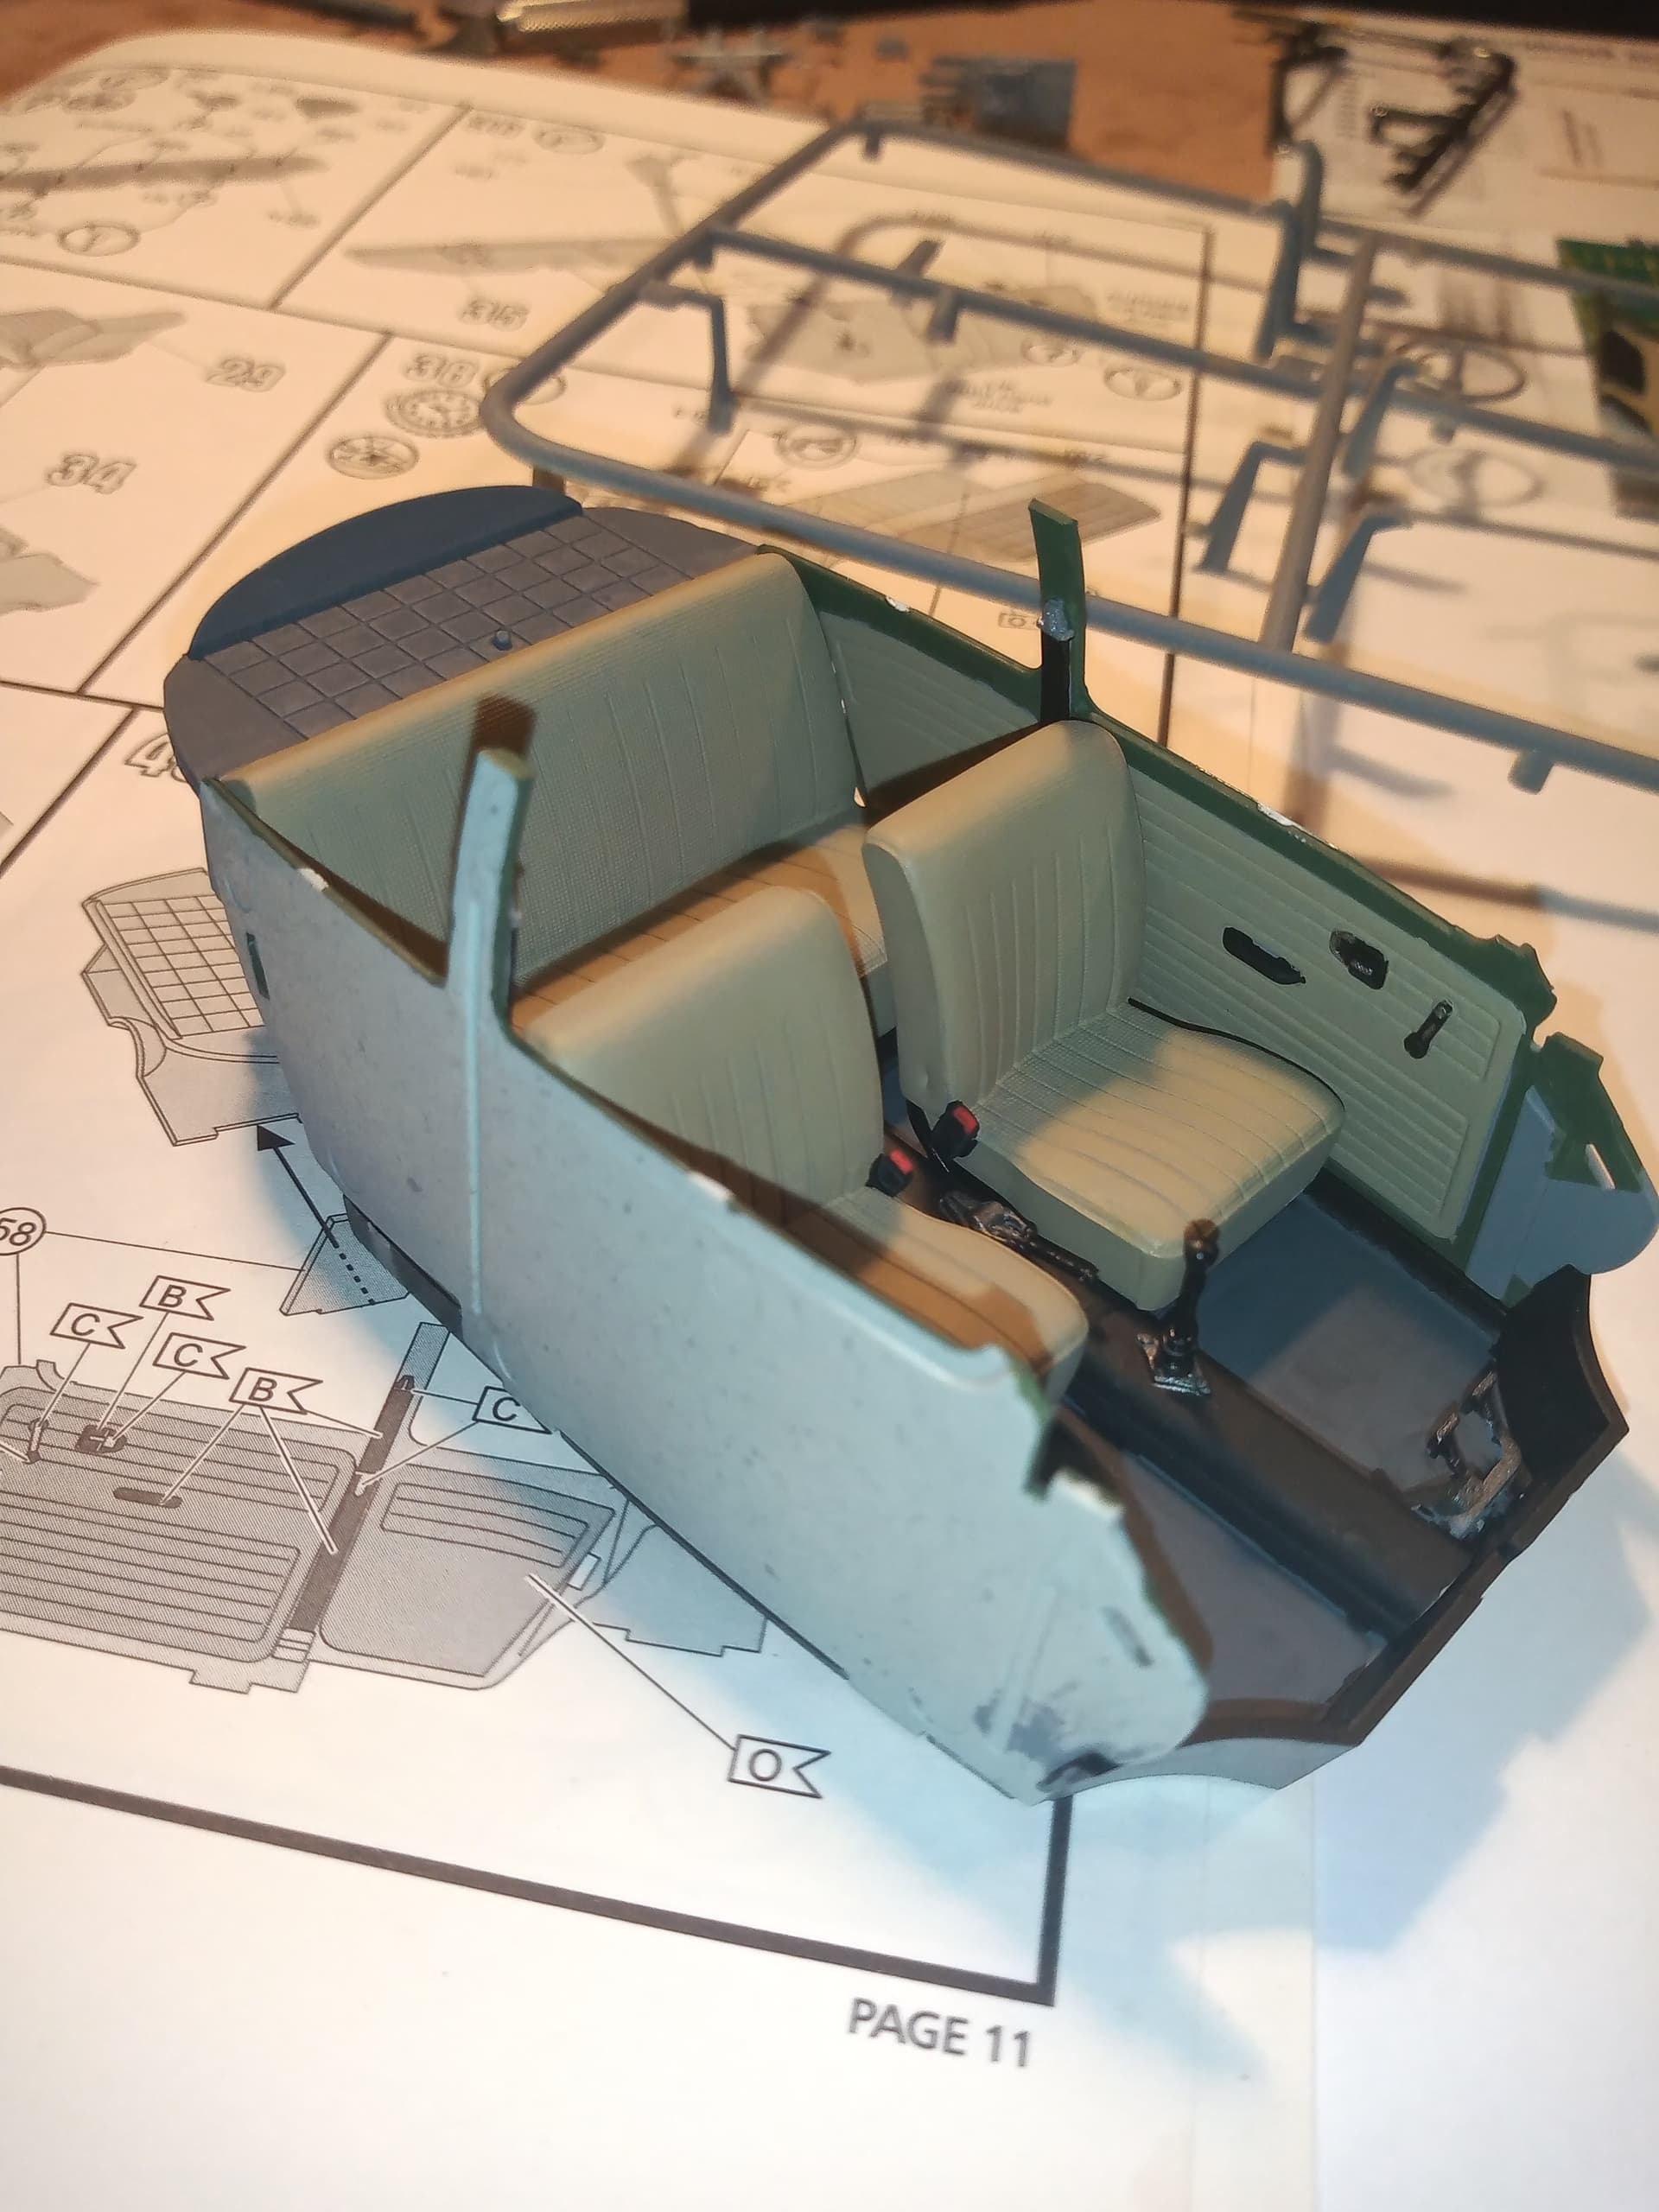
I have primed all the normal plastic parts on the sprue as I will be doing a lot of the interior painting as I go.
Now so you know, this going to be a fun build. It is from actual images which will be shown at the end and this year of Beetle may not be 100% correct as per the images, but the concept will become self explanatory at the end and what I’m trying to capture.
I will be posting updates here in the Auto section so you guys don’t get left out but the main build thread will be in Armorama and I will insert a link here.
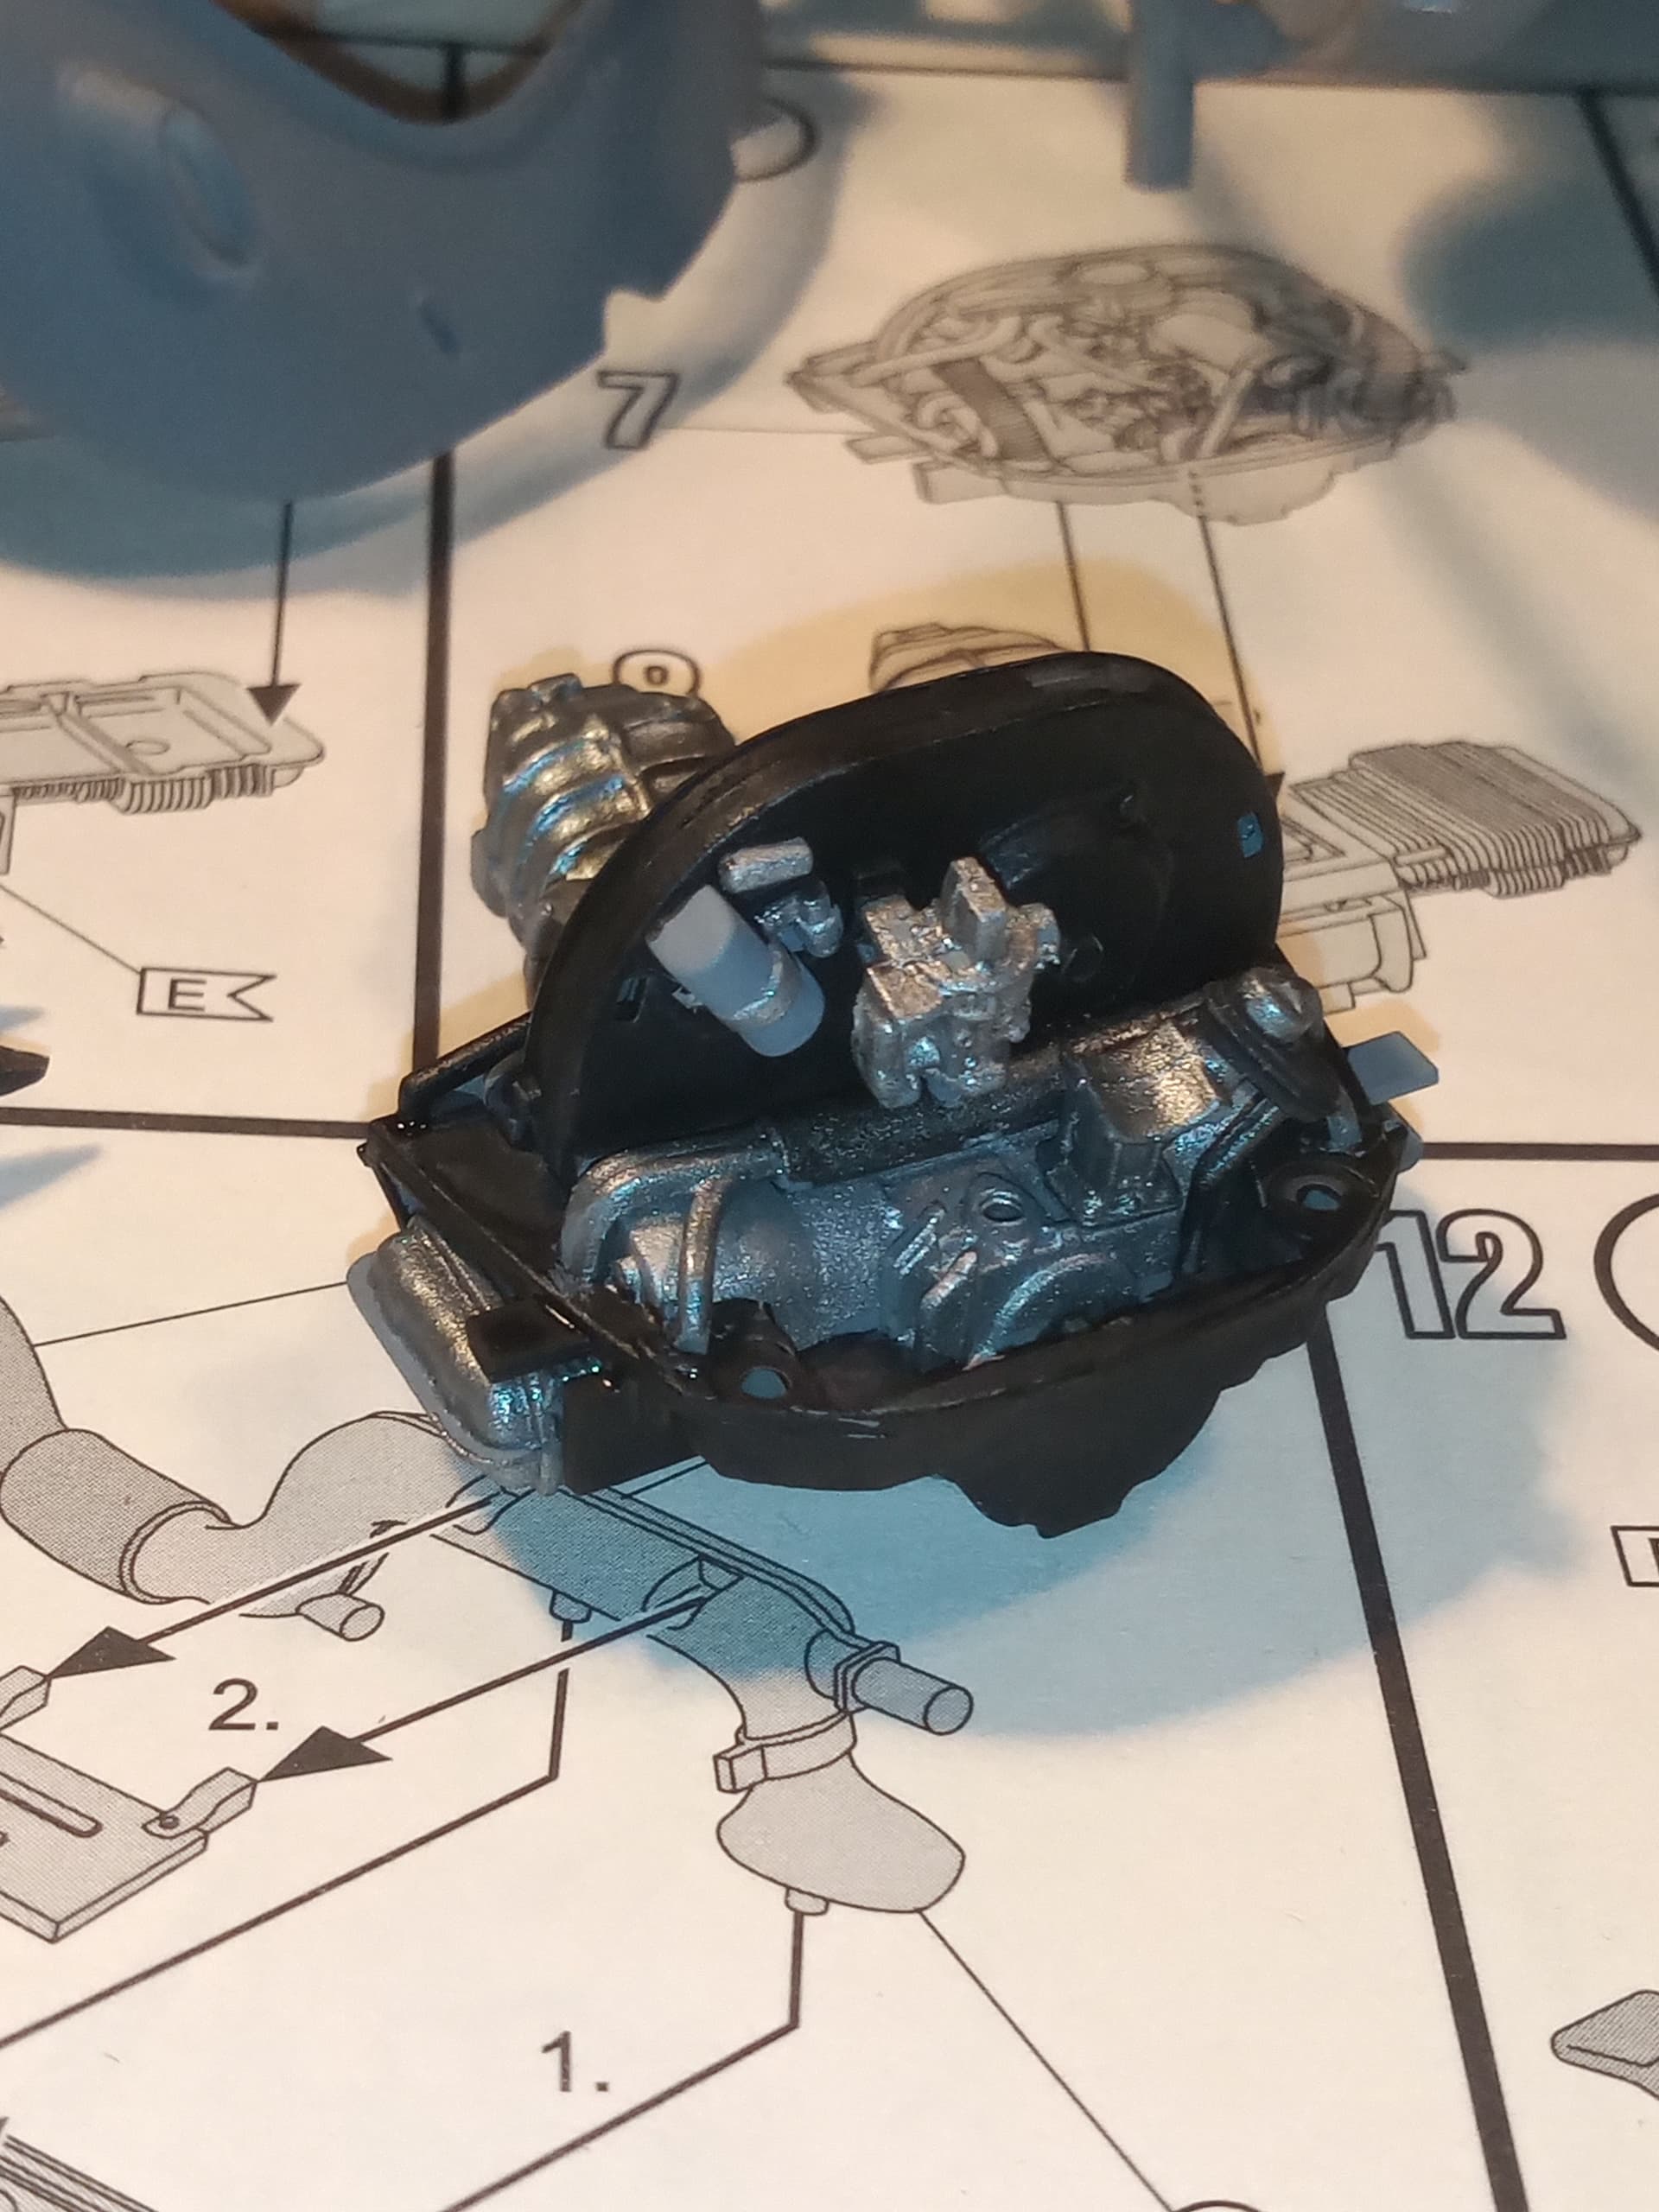
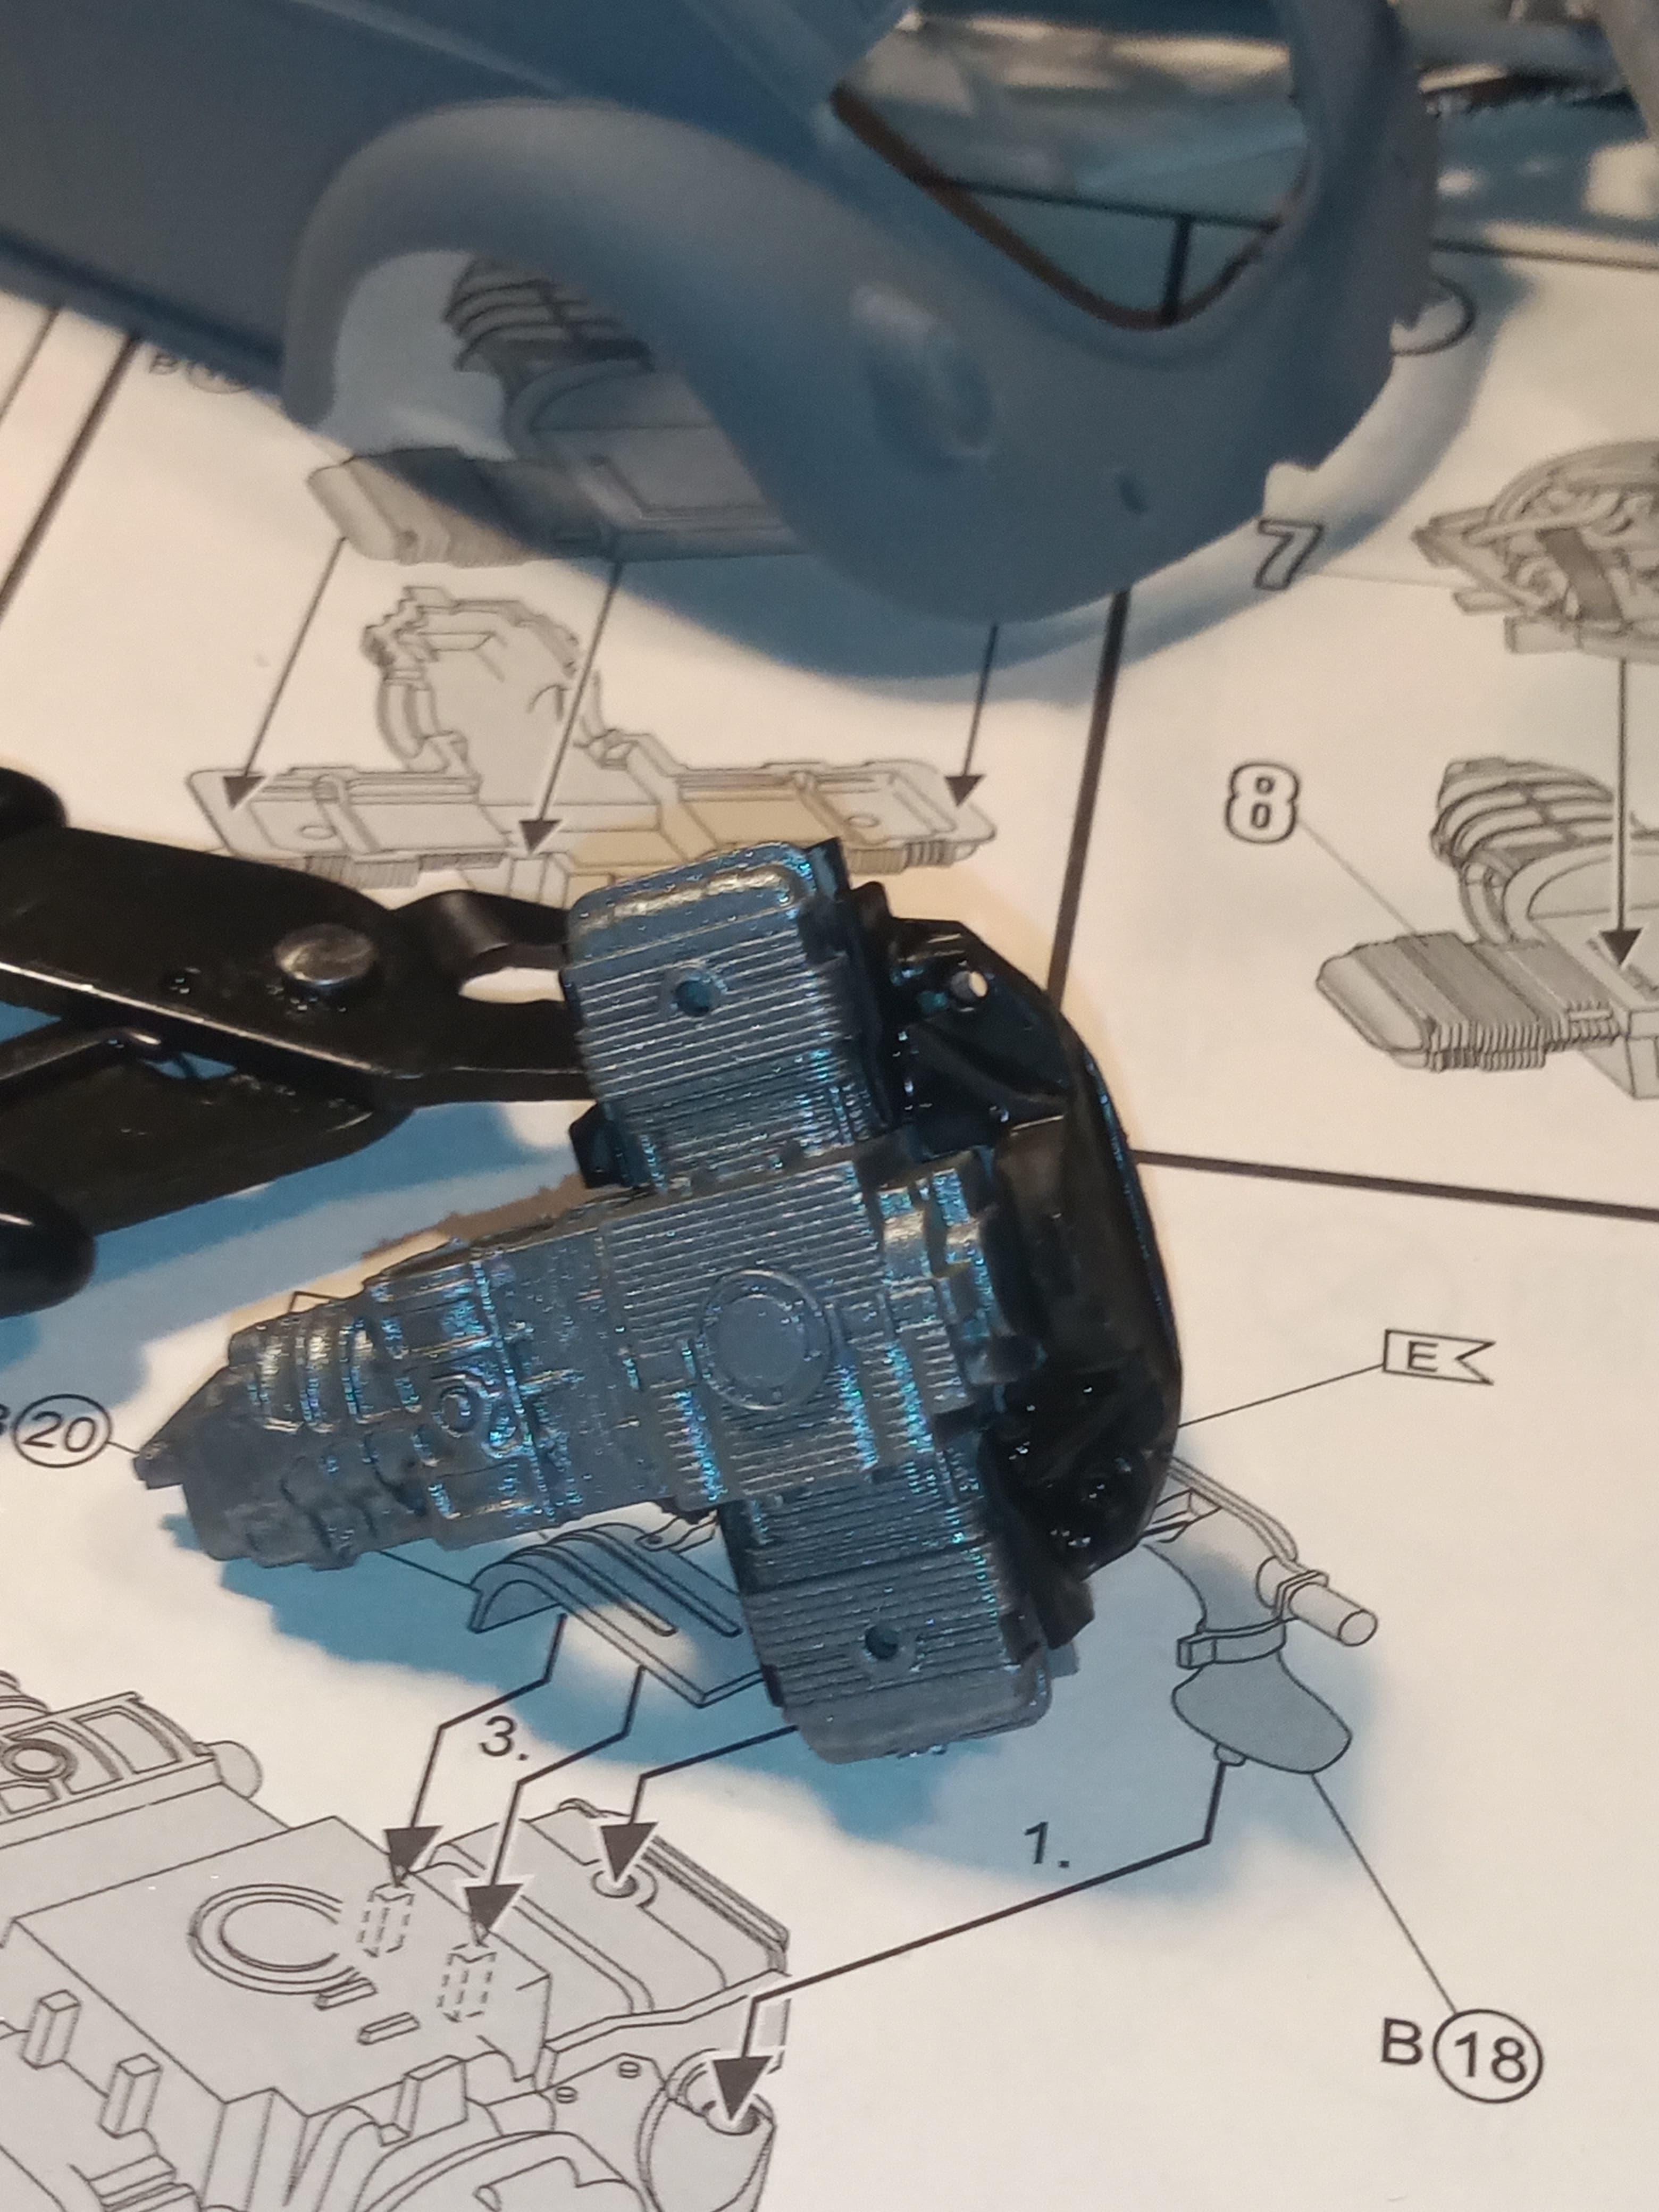
Like I said before, it’s a pretty nicely detailed kit and with a few wires here and there the engine would look really good.
There are a few little issues with it, for instance, on the left and right air trunking ( I think that’s what it is) it as connections at either end, but if you follow the instructions, when you try and fit them you can’t, there is no give or free play, so you have to end up cutting one of the connectors off and glueing that flat onto the surface, not a show stopper, just a pain …
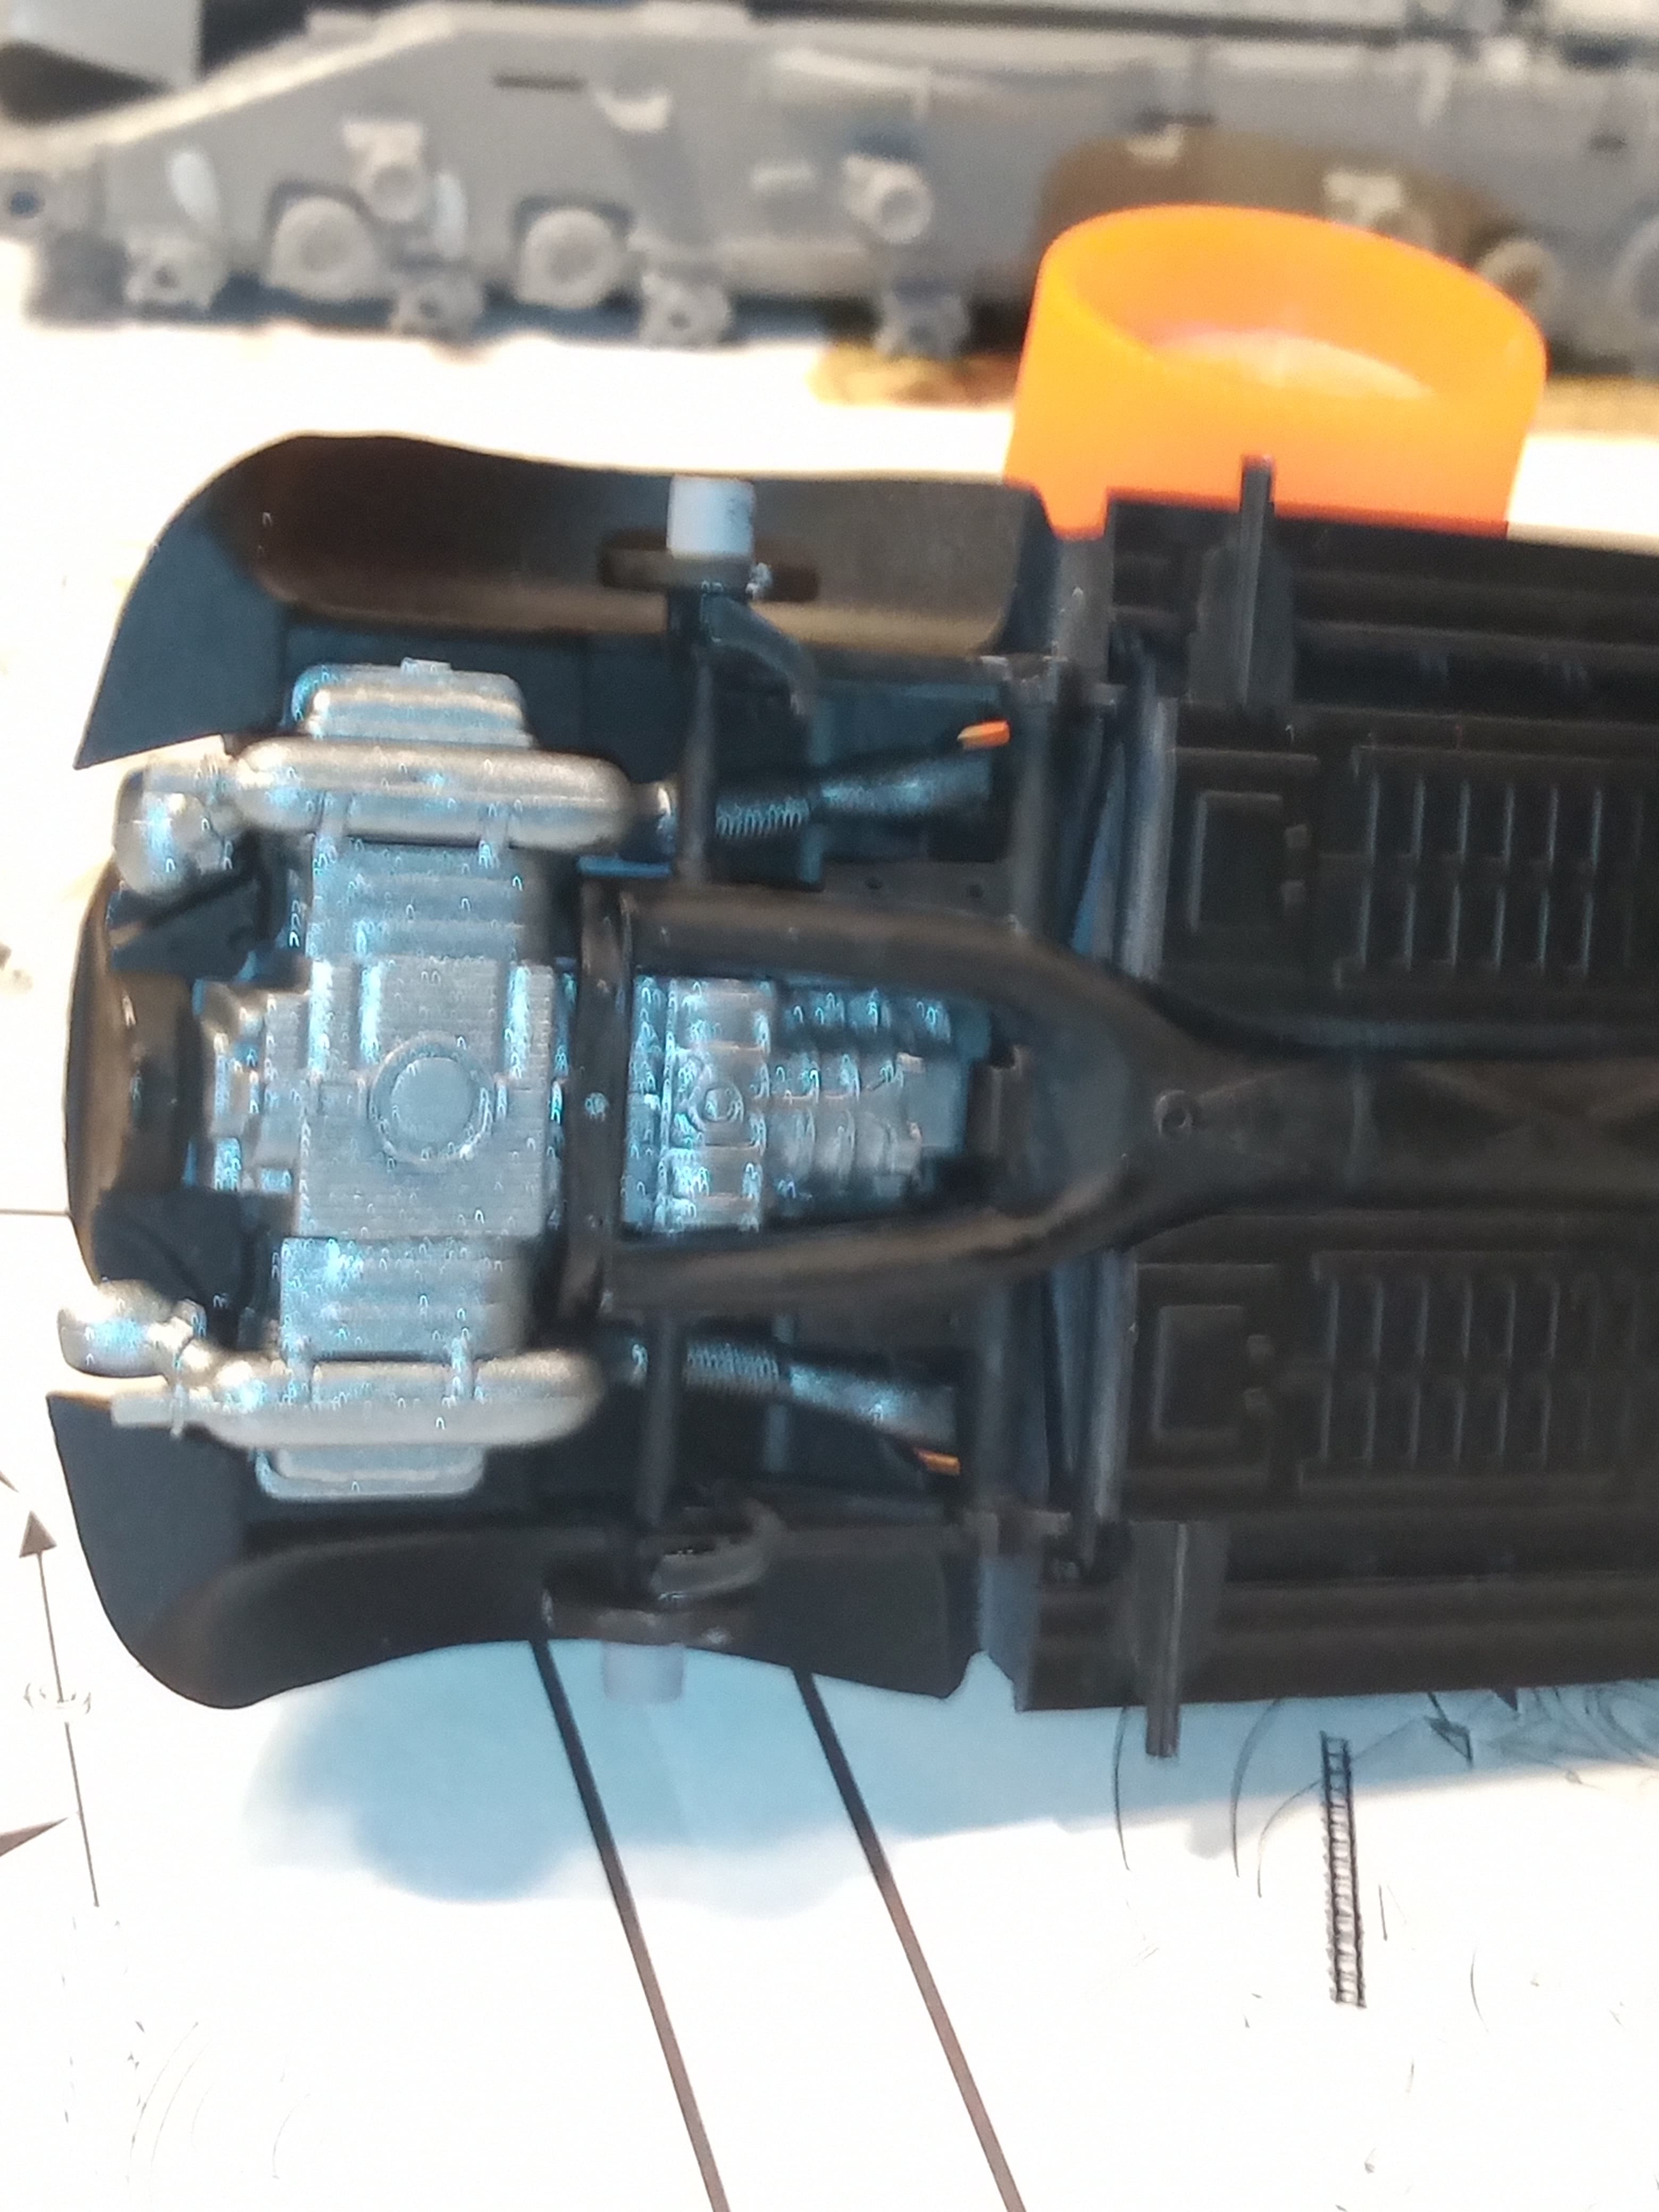
The rear suspension assembly went on fine and there were no issues with it.
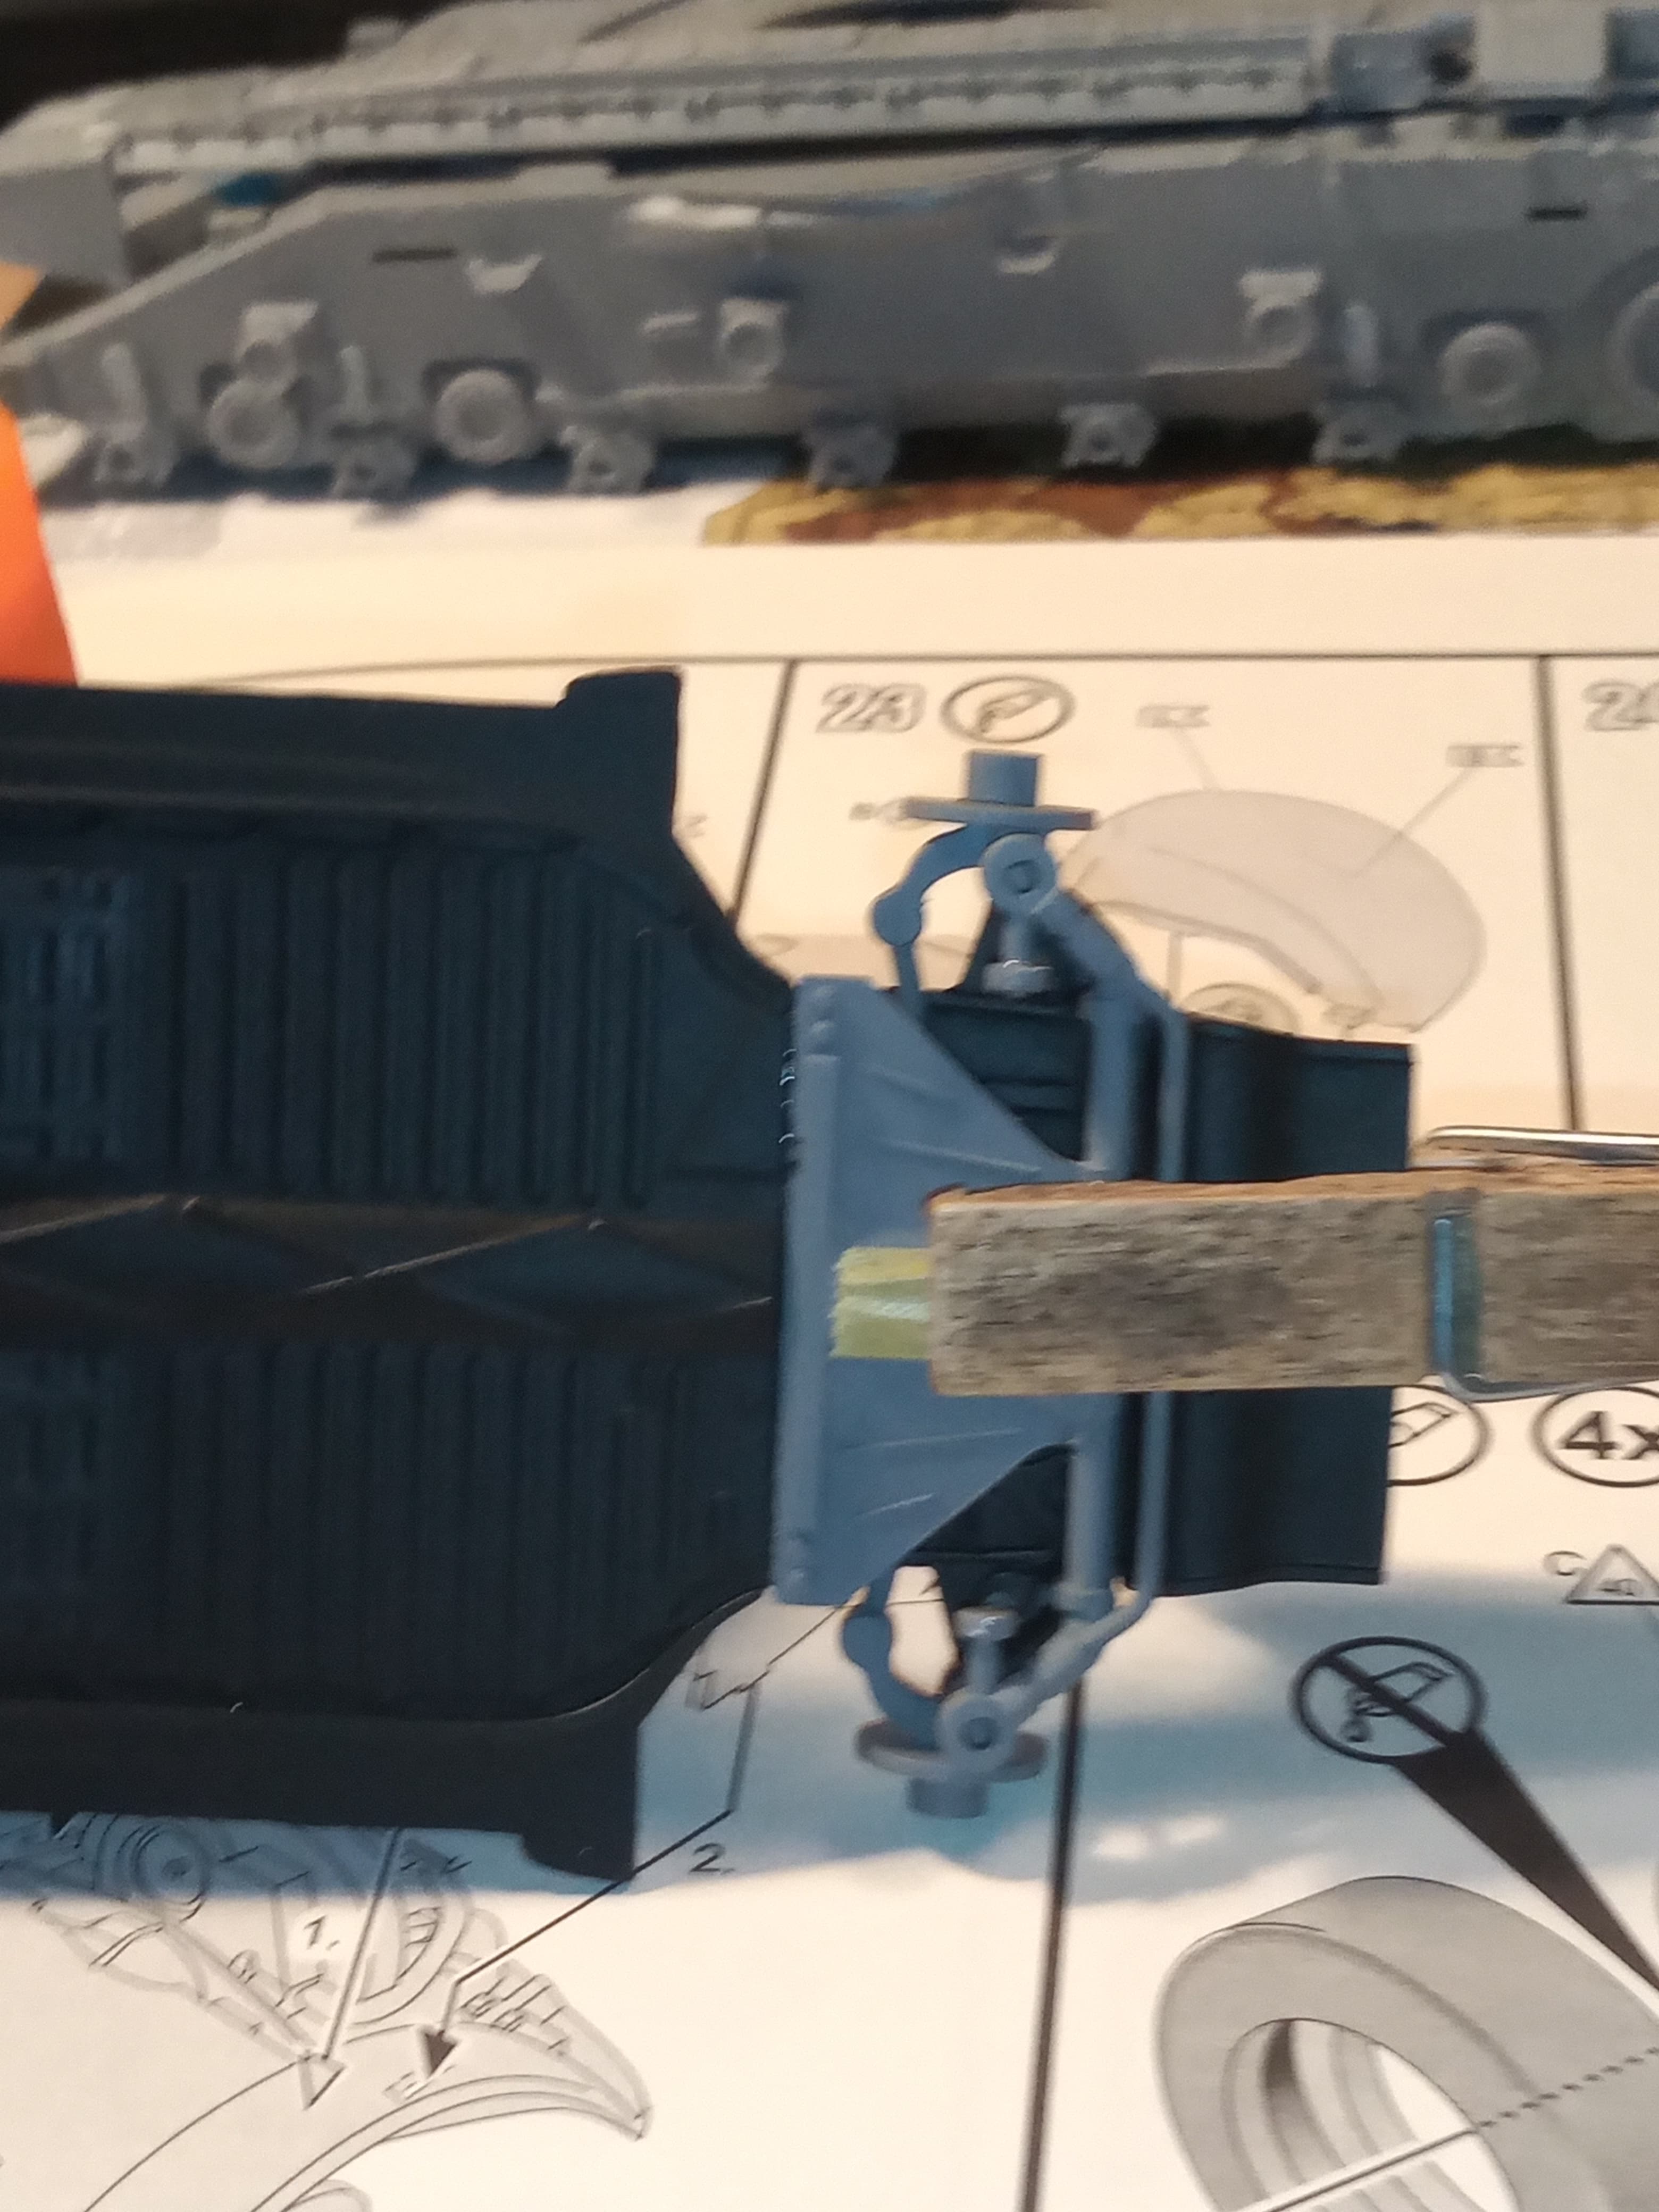
The front built up fine and I have done it so the steering is moveable… The clothes peg is just to keep the front joint in place while the glue sets as it kept raising up a bit.
I was going to leave it a while longer, but I think there may be one or 2 Sherlock Holmes out there who may have guessed where this Vdub is going…
So to stave off any inadvertent spoilers from anyone, I will now reveal all.
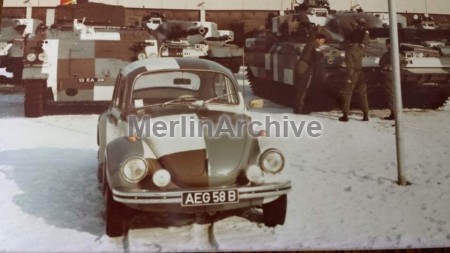
It’s going to be Berlin Brigade scheme.
Images are from online sources and for info, discussion and reference only.
This is the one I will be going for.
This one is circa 1982, and there are a few versions as to why it was painted, which I will elaborate on tomorrow.
The only other image I have seen or been given is this one, it’s from a demo and a different car, but I will be tapping into this one as a reference for the rear painting
Well I did not see that one coming John. I never would have dreamed you’d do a Berlin Brigade Camo… you are really stepping out of the comfort zone now mate. Two thumbs up.
There are pictures going round on the WWW of someone who build a beetle with tracks and a gun sticking out the front… but this is much nicer!! Great idea!
Thanks Carlos @Stikpusher , Bert @bwilt , Erwin @golikell and Peter @petbat … Glad I caught you off guard with this one Peter lol… And Carlos, thanks for not spilling the beans as you had a clue …
Erwin, I won’t be adding the turret to this one. They are 2 different cars and the turreted one was just made up for a display out there. You can see the roof is badly dented; maybe from trying to get the turret fitted ?
Anyway… The original one (tank park picture) I have it very good authority that there are 2 possible explanations for it…
The car belonged to a wife of one of the Troop Sgts and it was “borrowed” without her knowing and resprayed in the new Berlin scheme…which she was really not amused by … ???
The car was the privately owned one by the Commanding officer and he allowed it to be resprayed.
I’m not sure if by Commanding Officer they meant the Regimental Commander of the main Regiment based in BAOR W Germany, a Lt Col, or the Berlin Sqn detachment Commander, the Sqn Ldr (Maj)
The car is a privately owned one as it has full BFG plates on it and not military ones.
Also, I tend to think the 2nd reason is more plausible as Comd Officers, be they Lt Col’s or the Sqn Ldrs do tend to have some eccentric ideas … Even more so in the early 80s…
I will try and find copies of the Regimental journals and see if they shed any light.
Lol … I’m glad I was able to lift that weight from your shoulders Jim @iwatajim…
While you’re about, did you Matt varnish in between the white, grey and brown ?
Rob @18bravo, as soon as I put cold war I realised the possible error and a few astute people may pick up on it, then it was a case of being to late and if I removed it, that might bring more attention to it to those that noticed it in the first place… Then when you mentioned it, I thought it was time to come clean.
It’s not surprising you didn’t see it. It was probably only there during or around 82 and then when you factor in the Sqn rotations and even people being posted etc, so it really would of had a limited time there… The turreted one was for display and not sure what damage was done fitting the turret, so that one may never have even been road legal…
Ha, thanks John, I feel lighter already. I just masked and sprayed straight over the colours. I did prime both the Chieftain and the Chally, with alclad white and mr surfacer 1500 white respectively. The mig white was not great to use on the Chieftain, so I used the mr surfacer for the white on the Chally.
I think a future Berlin Brigade Urban Camo’ Campaign could be on the cards, everyone should try it at least once…
Yeah, looks like it will be an easy job, however those curves can be pesky to get straight lines on, will be interesting to see how straightforward it actually is… Ha!
I have been eying this up most recently after noticing the paint option on the side of the kit box;
John, do not use the AK paint as that was last days of Berlin colour, (IE, Navy gray, an aircraft brown ?) through QM’s system , the right ones are in the tankograd book on Berlin, they used local German paint,
I did a Tamiya Chieftain in the Berlin scheme back when I lived in Berlin. I used three different colors of spray primers I bought at a local paint shop. They were perfect.