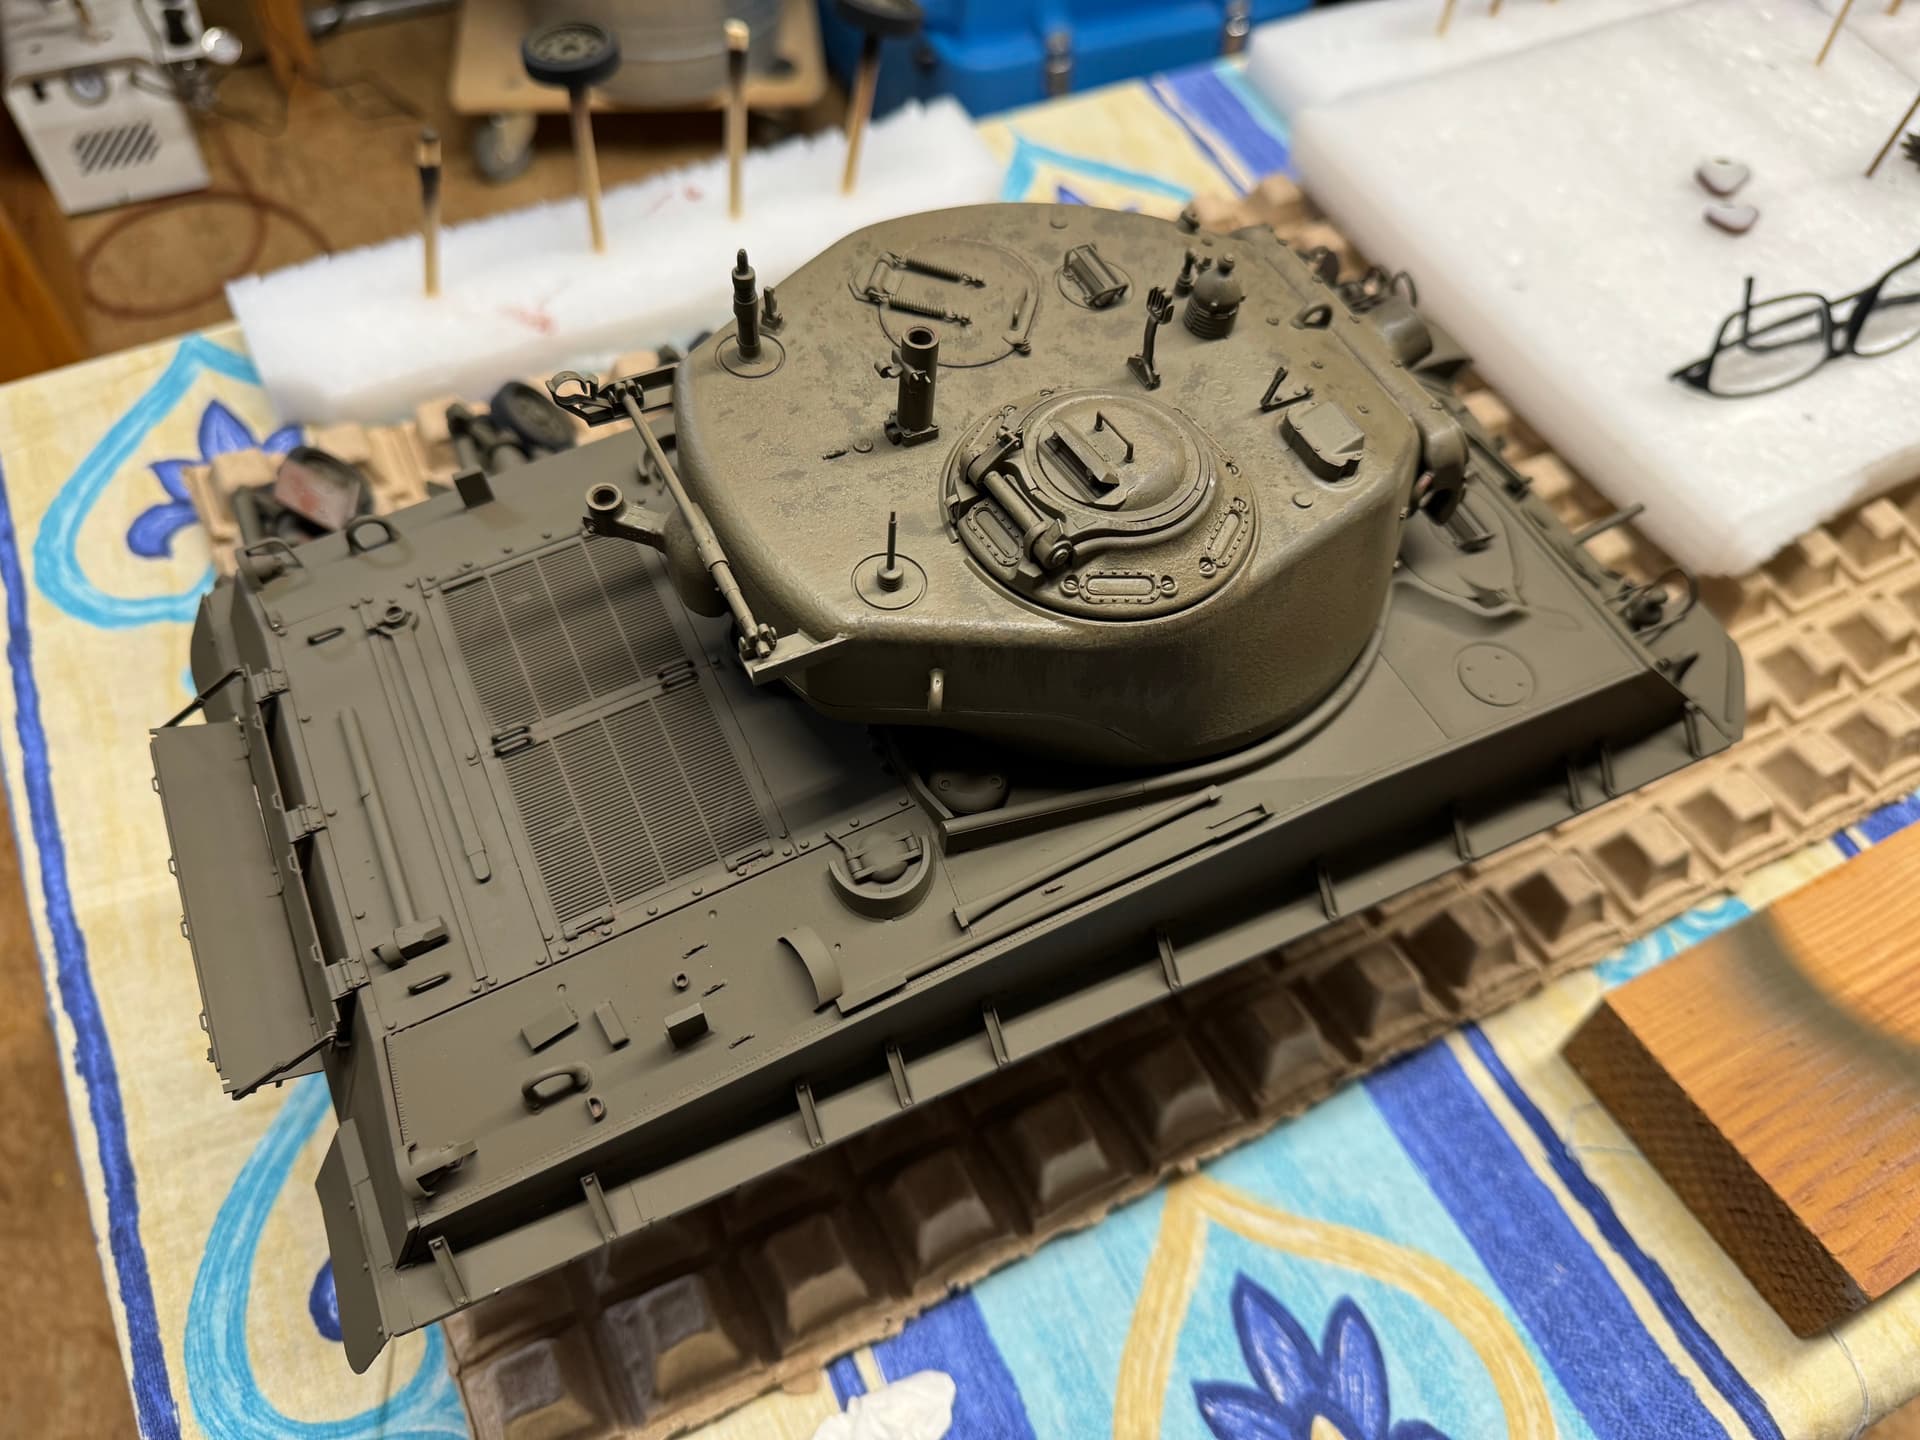
Hi,
after my 1/6 Scale Sherman from Dragon i built Andys E8 Sherman.
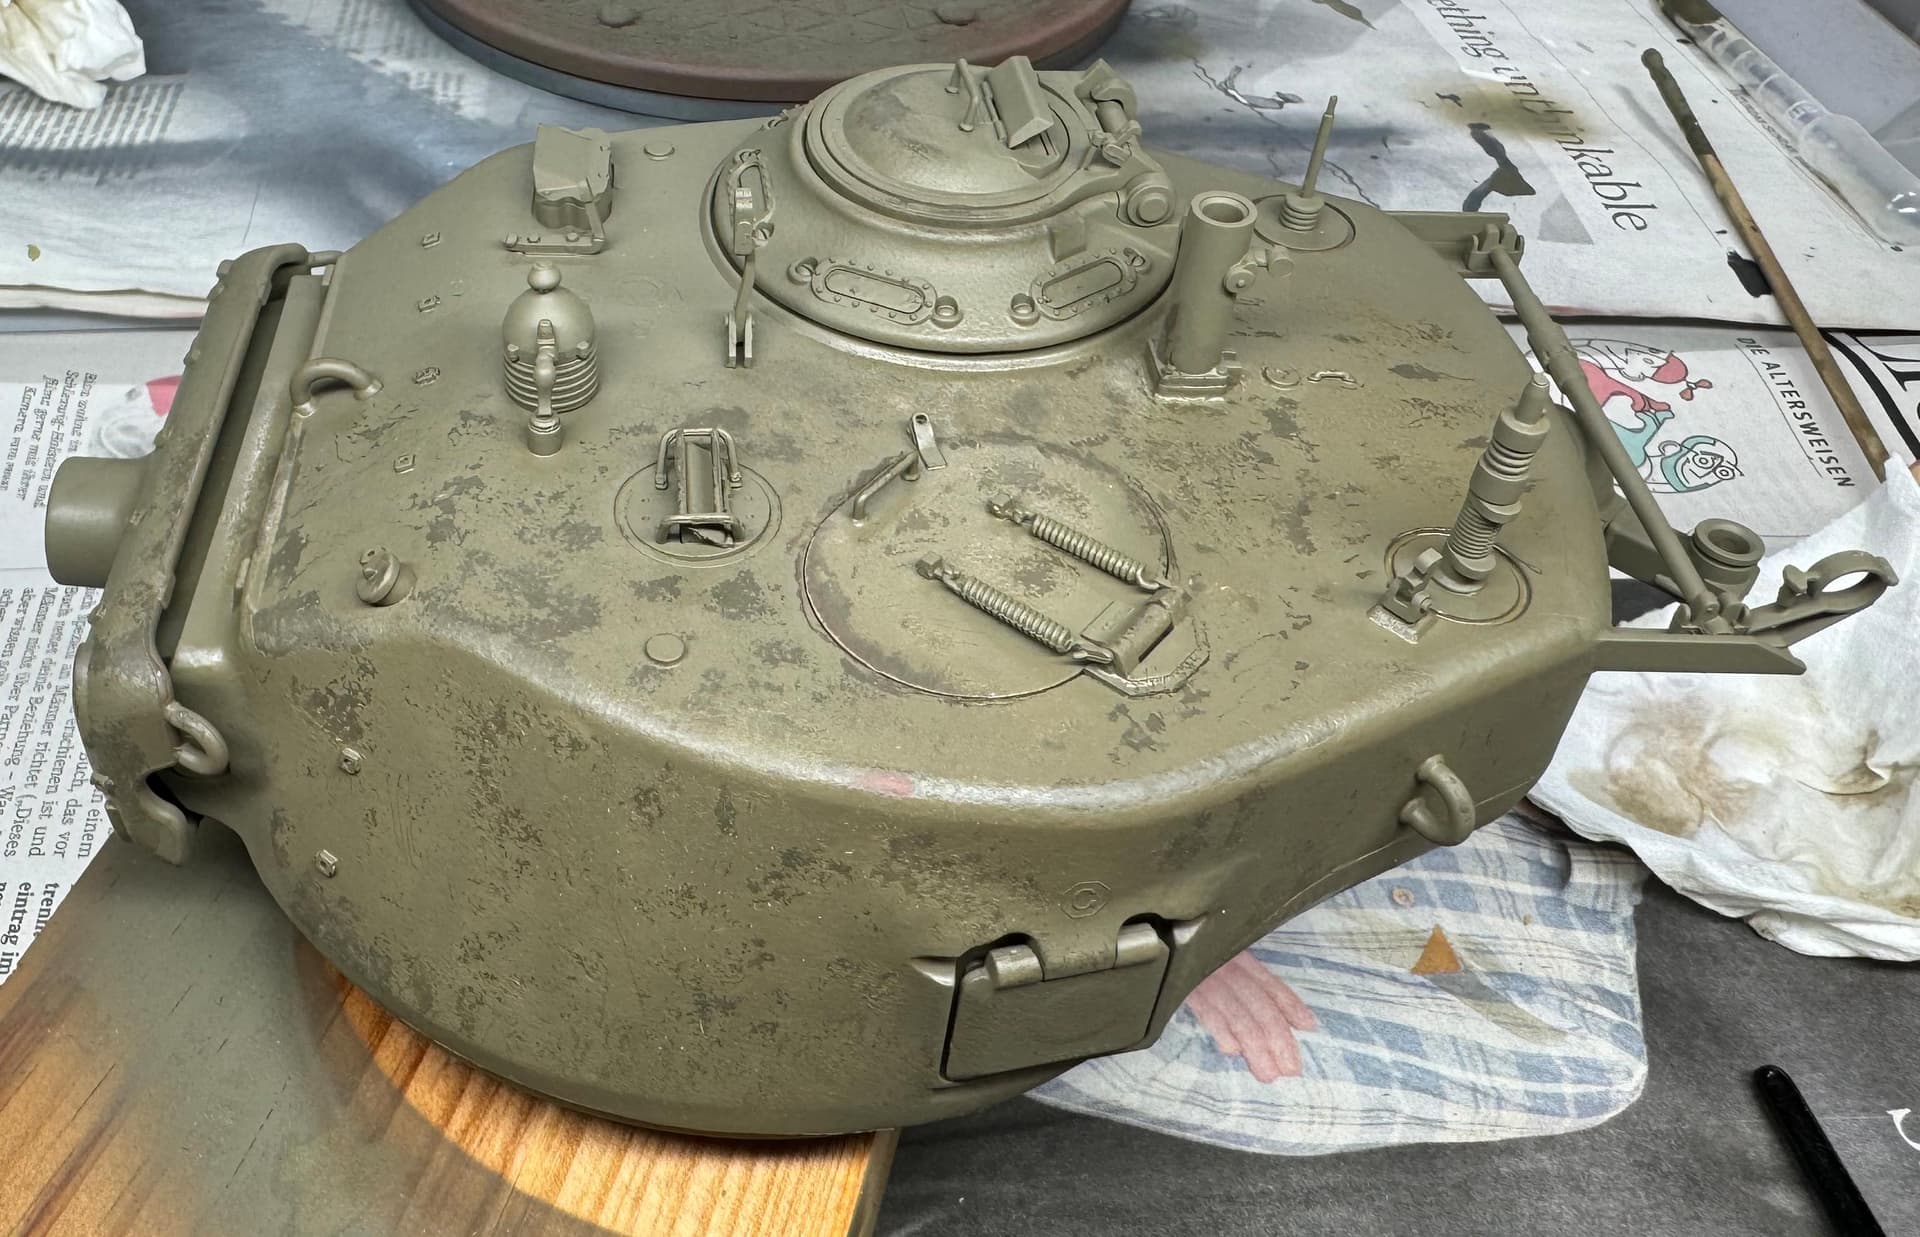
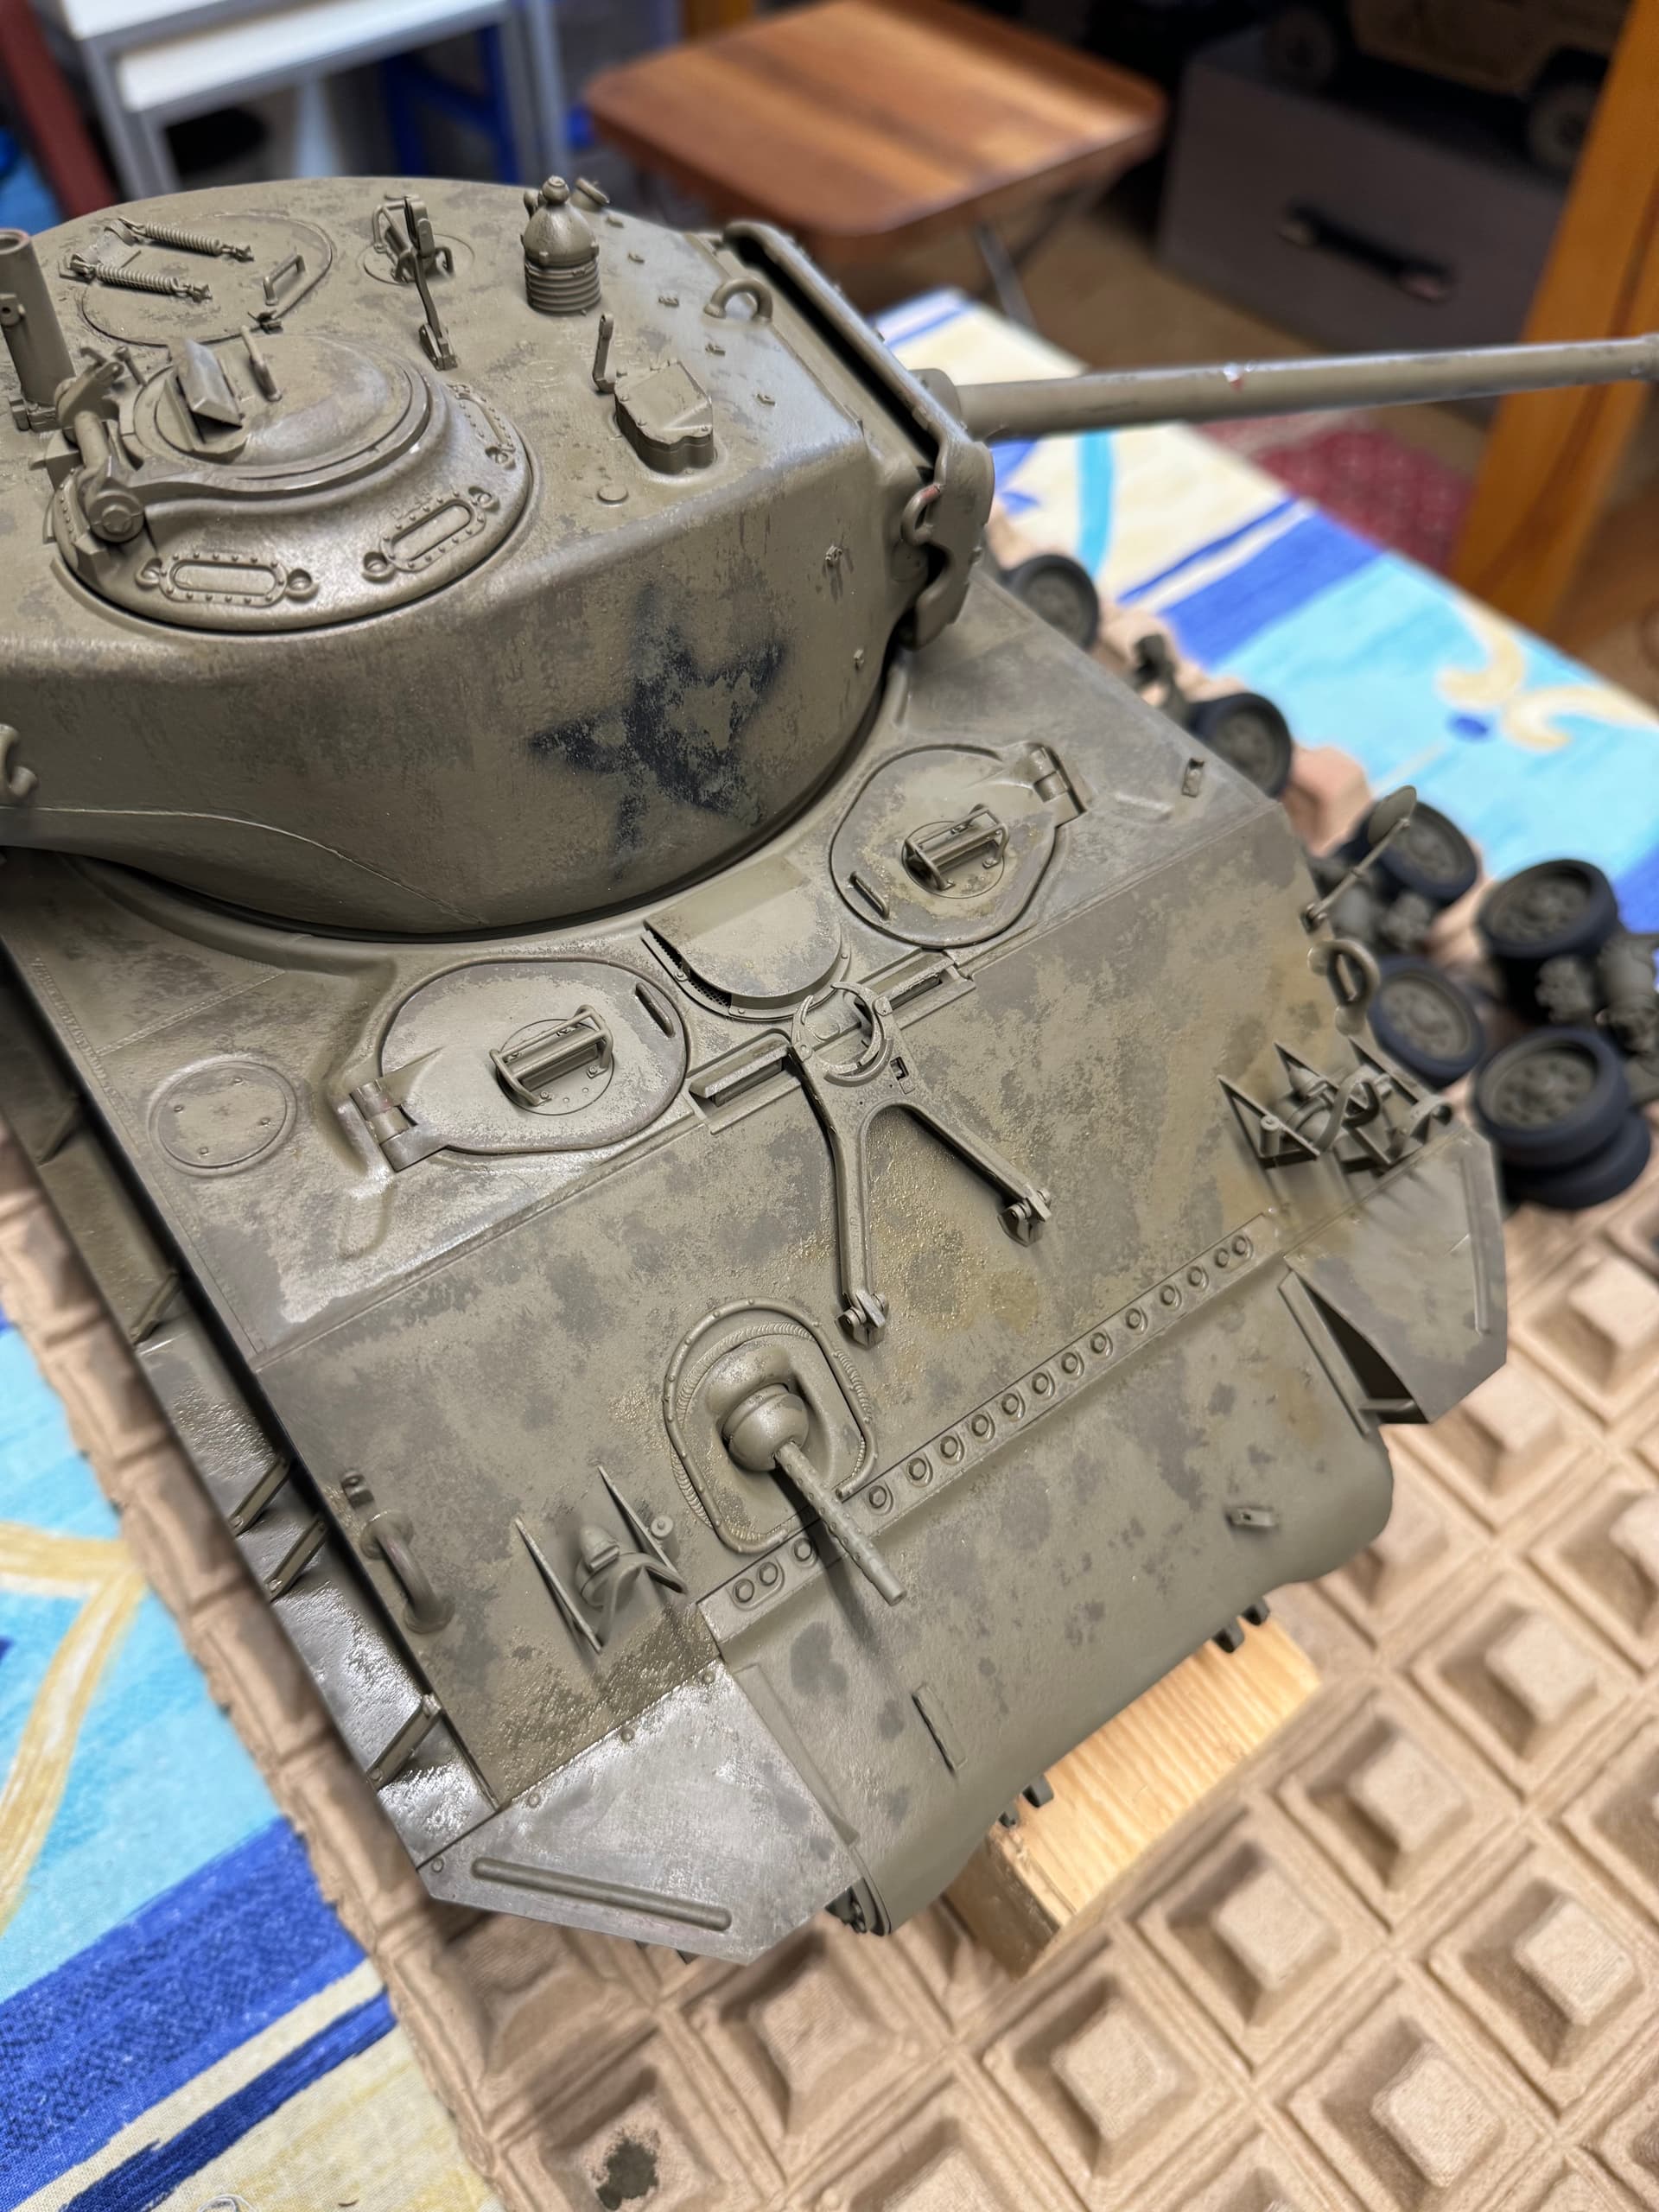
This time i tried haispray chipping for the first time so what do you think, i guess it is partly “overchiped”
Hi,
after my 1/6 Scale Sherman from Dragon i built Andys E8 Sherman.
This time i tried haispray chipping for the first time so what do you think, i guess it is partly “overchiped”
I think you have the technique down pretty good. That said depending on what your overall plan for the project is, it may be a little much for my taste. Don’t let that take away if that was the look you’re going for. Look forward to seeing the progress and where you take the build. ![]()
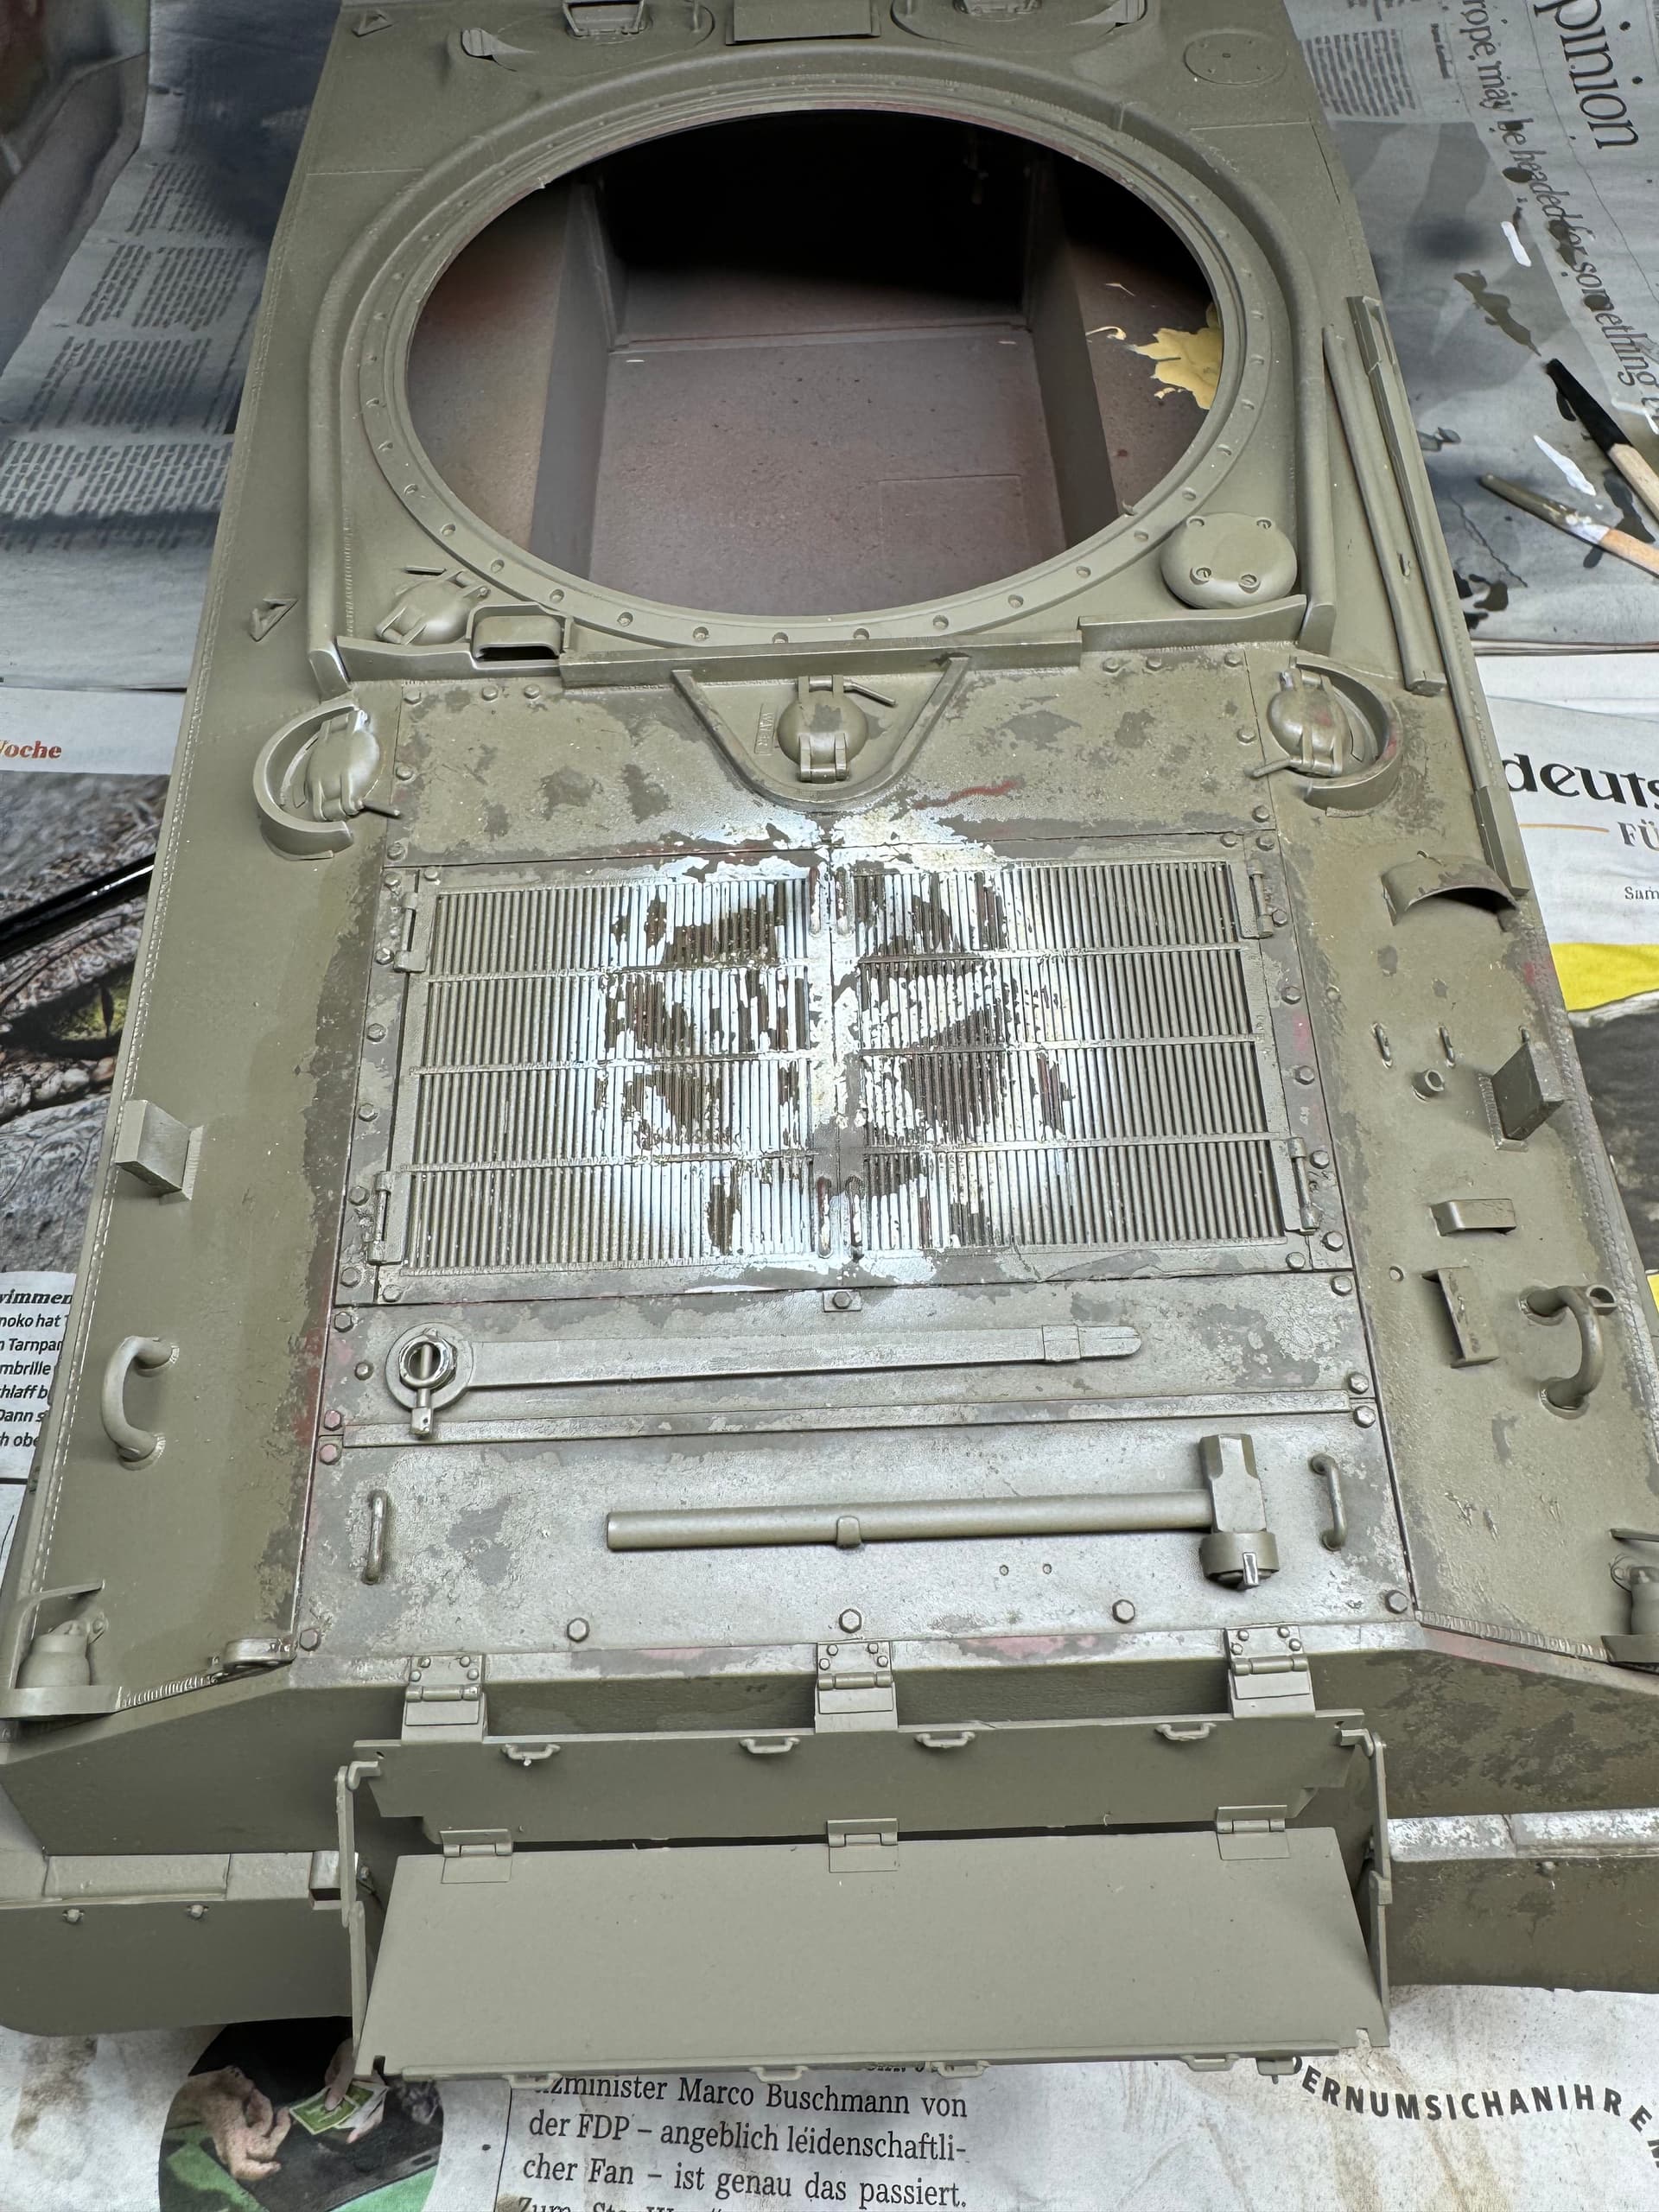
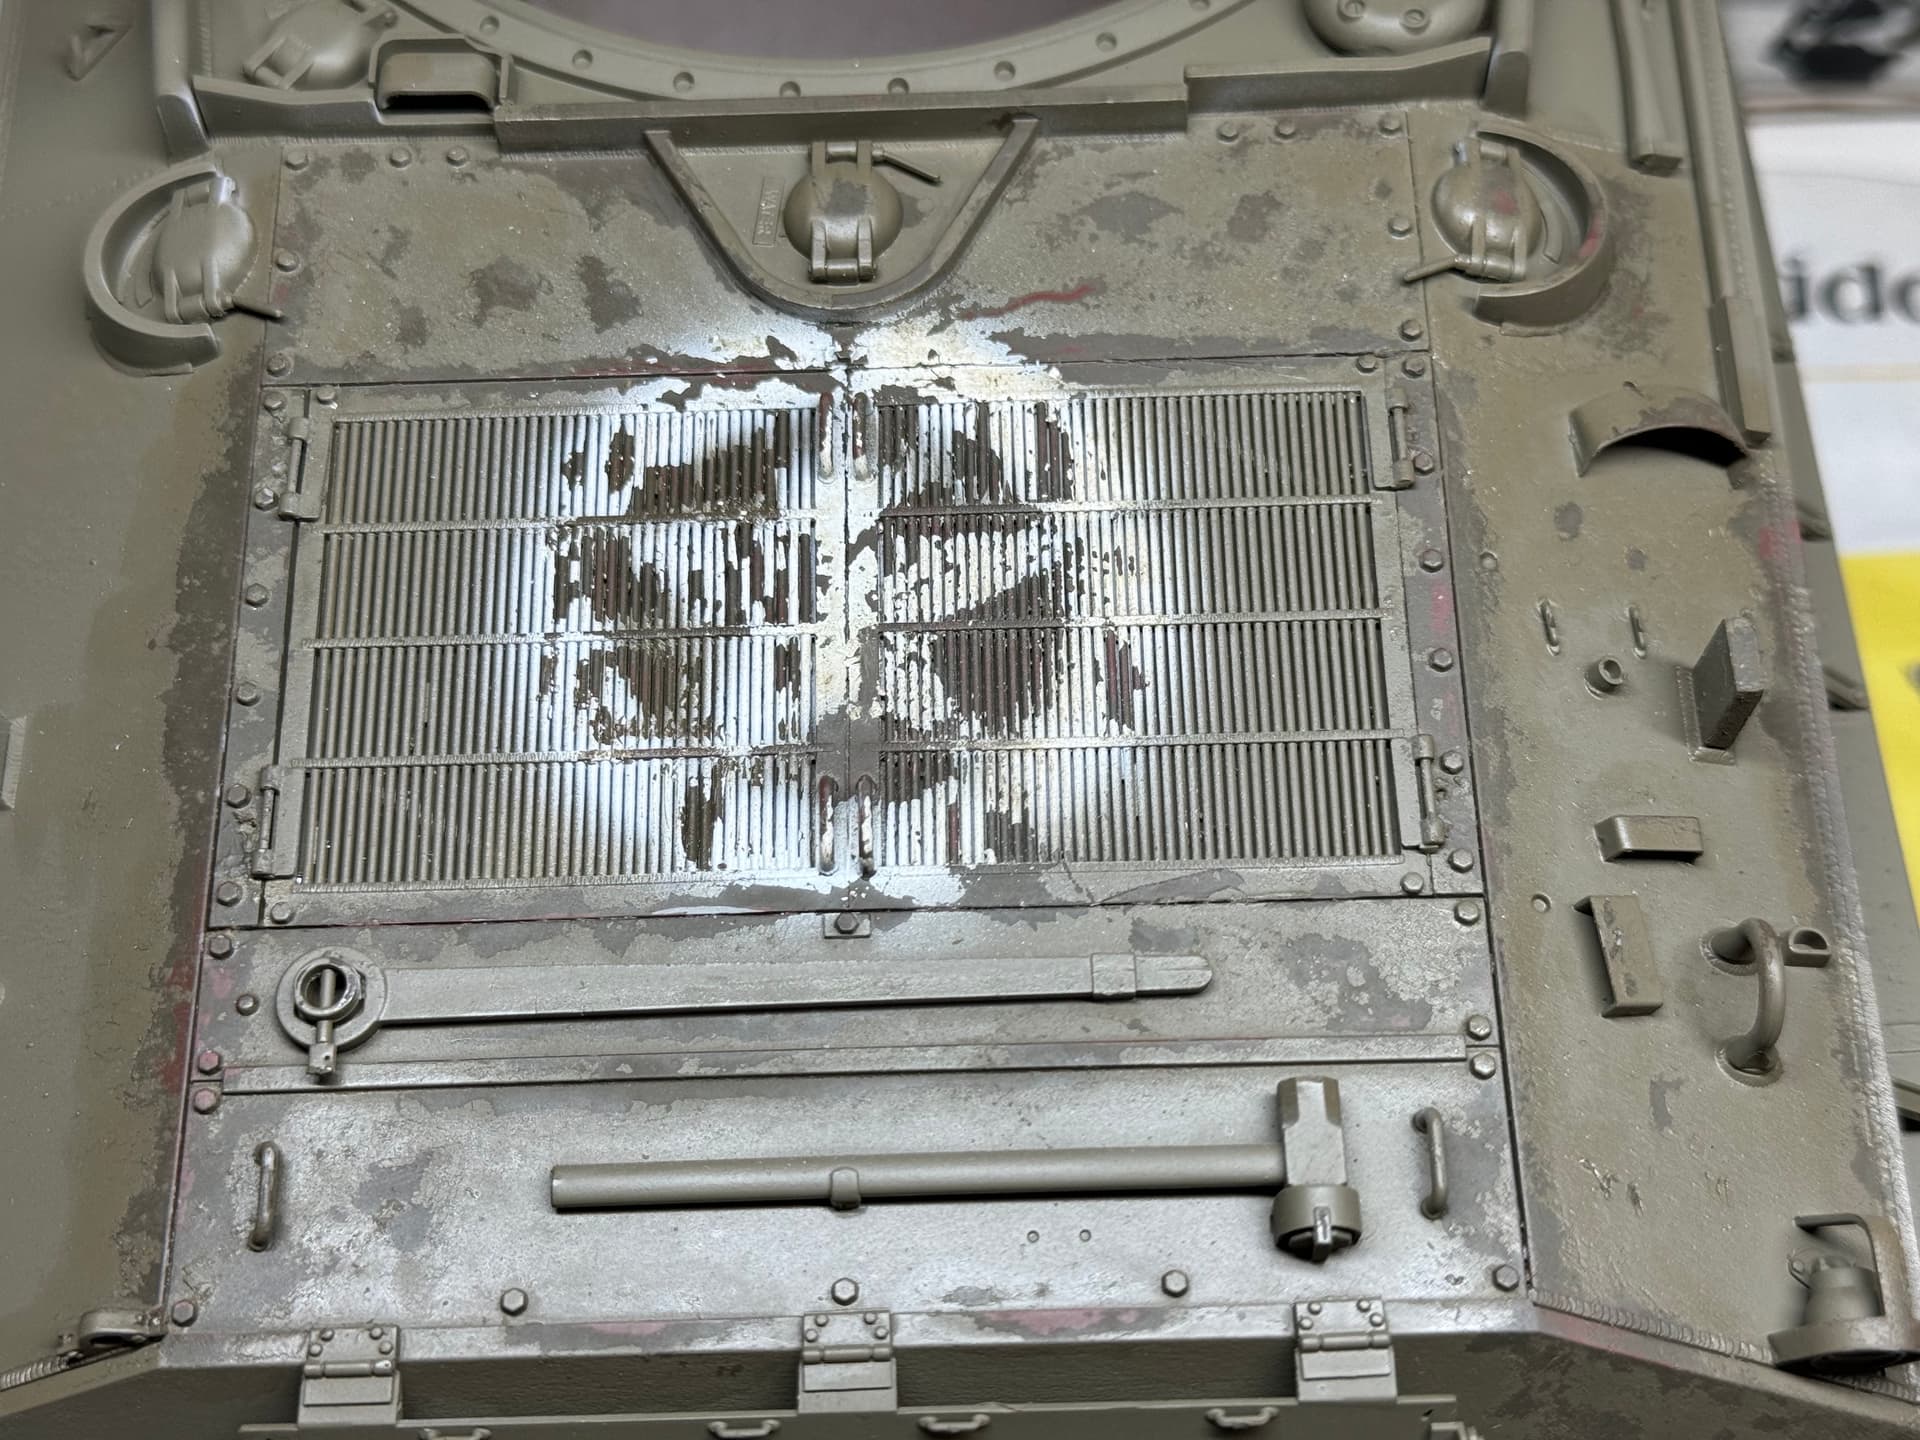
Looks good. Bear in mind chipping / worn effects always looks more stark than you want it to before you have weathered the model, added dust effects, mud, stowage etc. The worn areas around the edge of the turret look very convincing. My advice would be to try to think about where the paint is being worn away - areas where the crew and soldiers riding on the back climb up, etc.
Okay, i think i will leave the chipping of the turret as it is now, i think after all the following layers of wethering, dirt etc we will only see at the end how it gona look.
Looks very convincing as a well used vehicle, especially on the corners where you expect wear. It will be interesting to see how it looks after weathering as well.
What material (primer, previous paint, bare metal etc) is being exposed by the chipping done here?
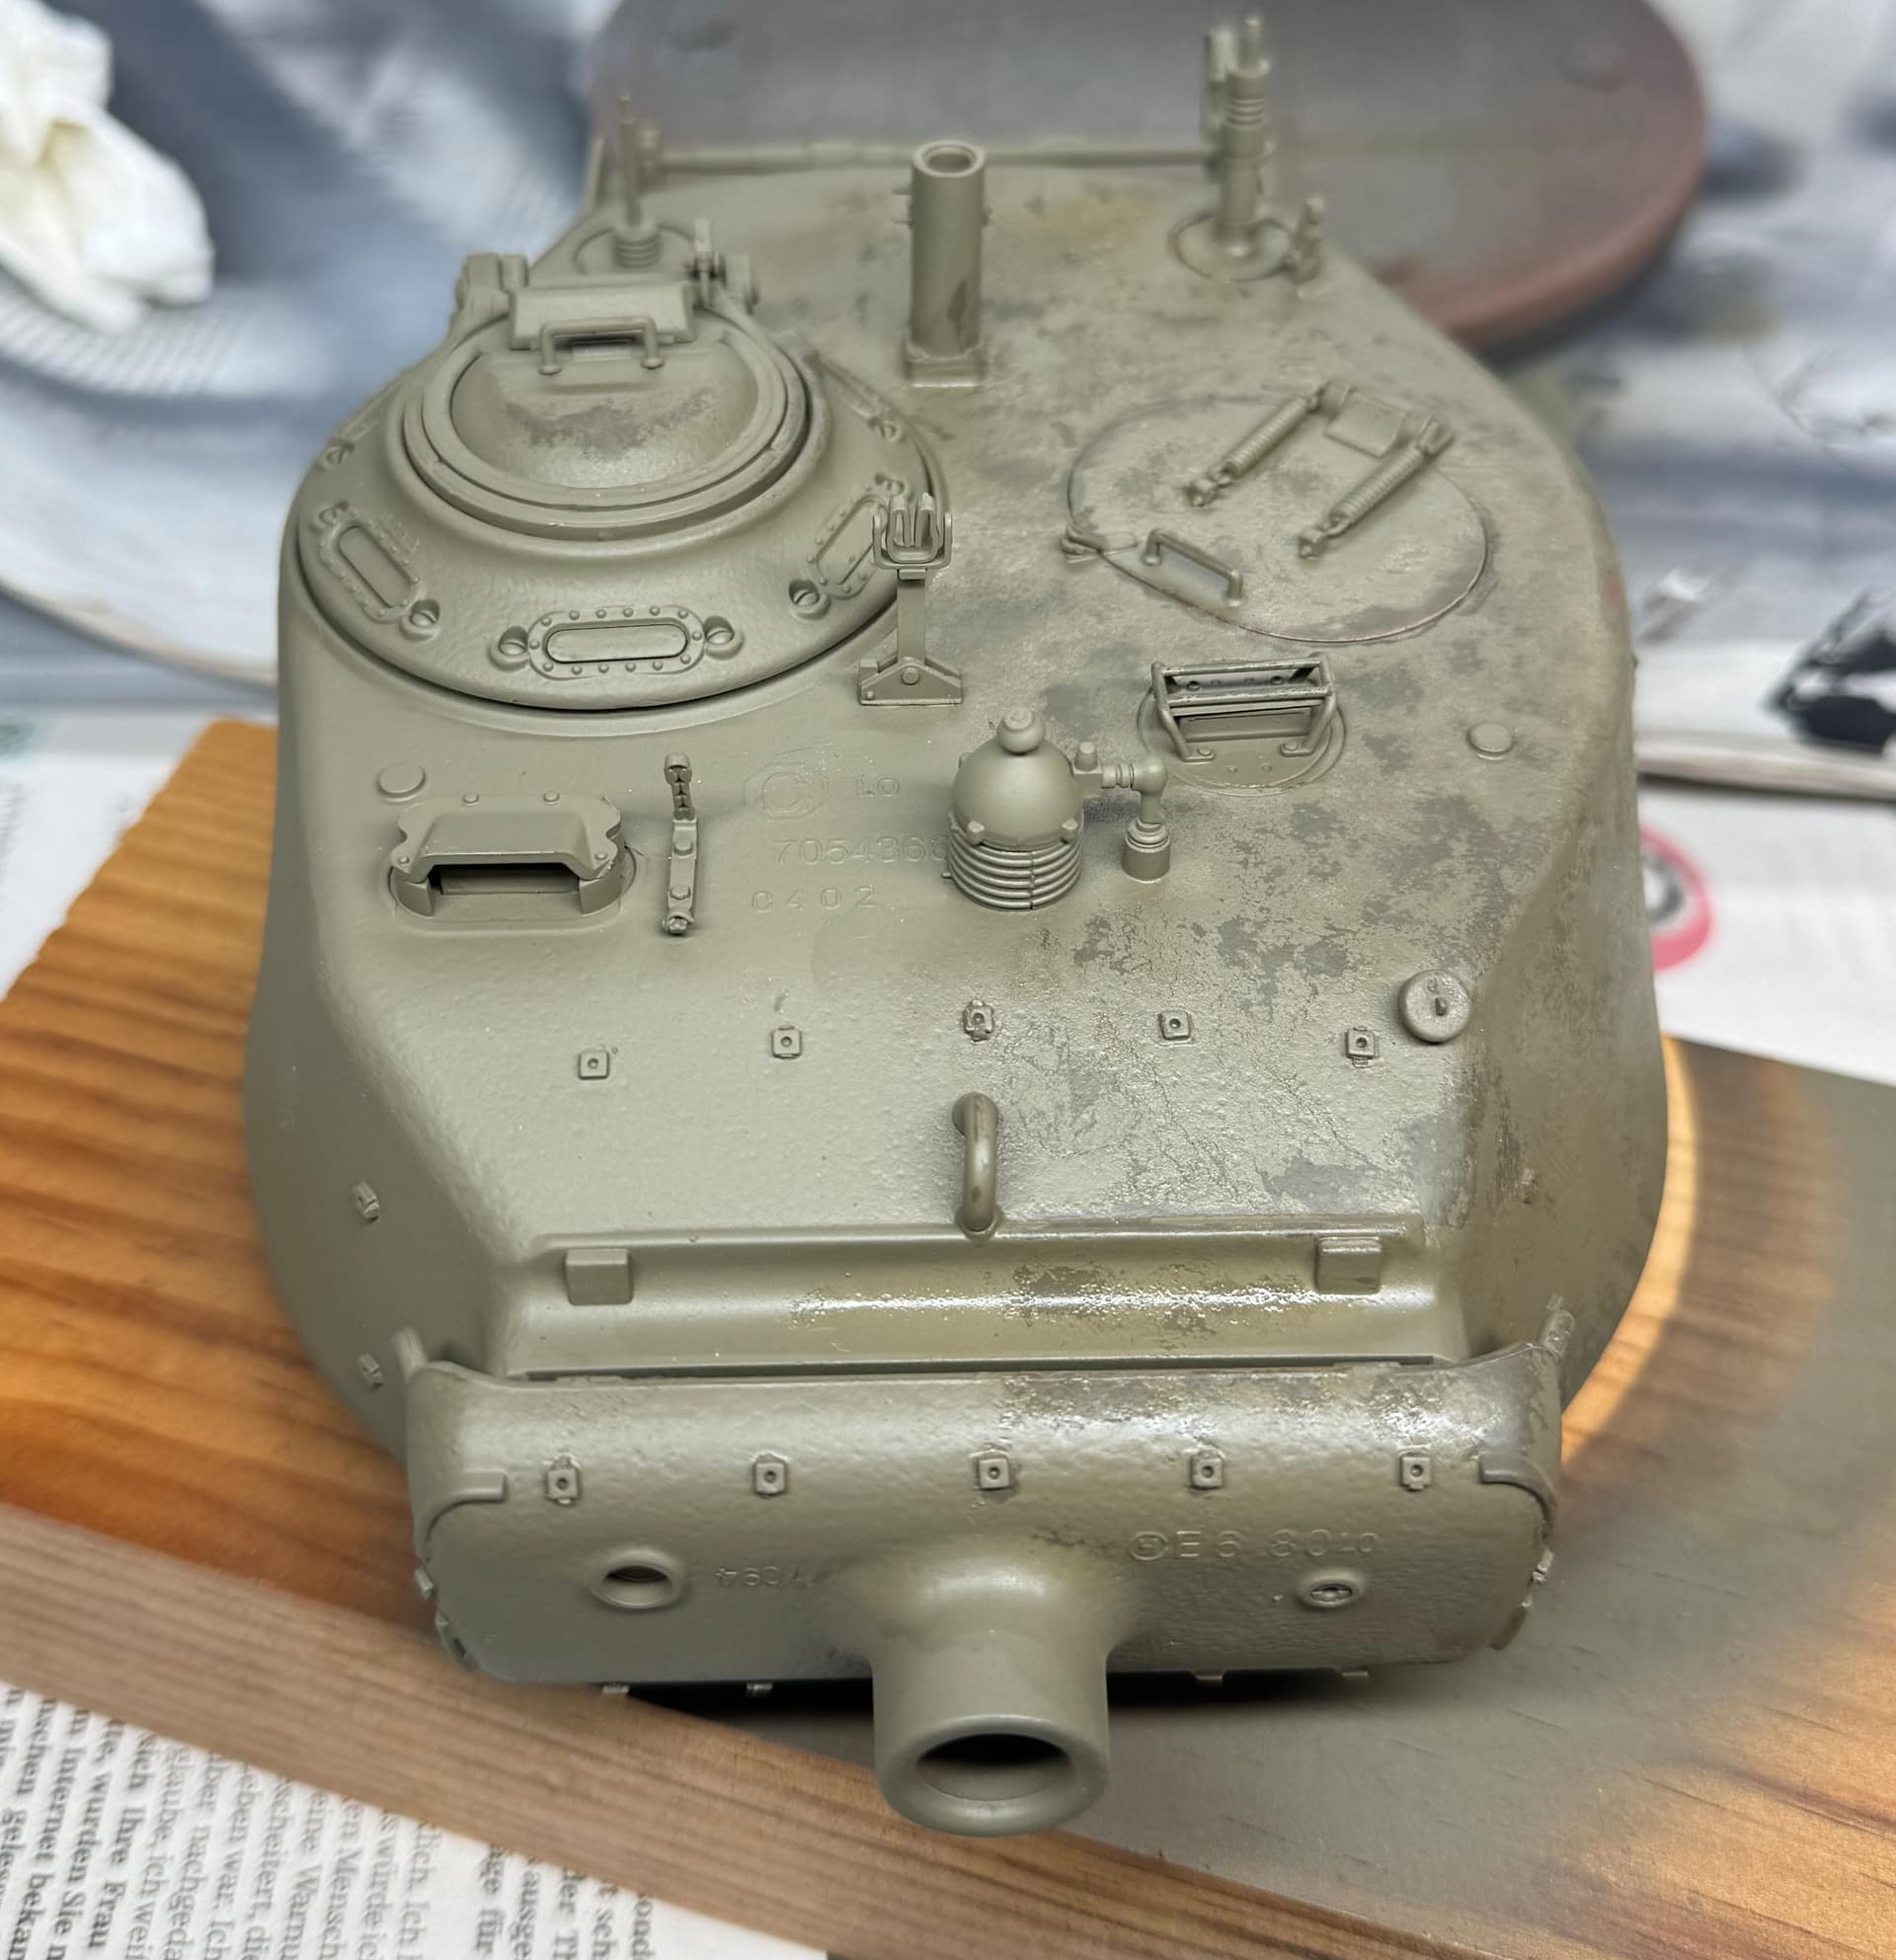
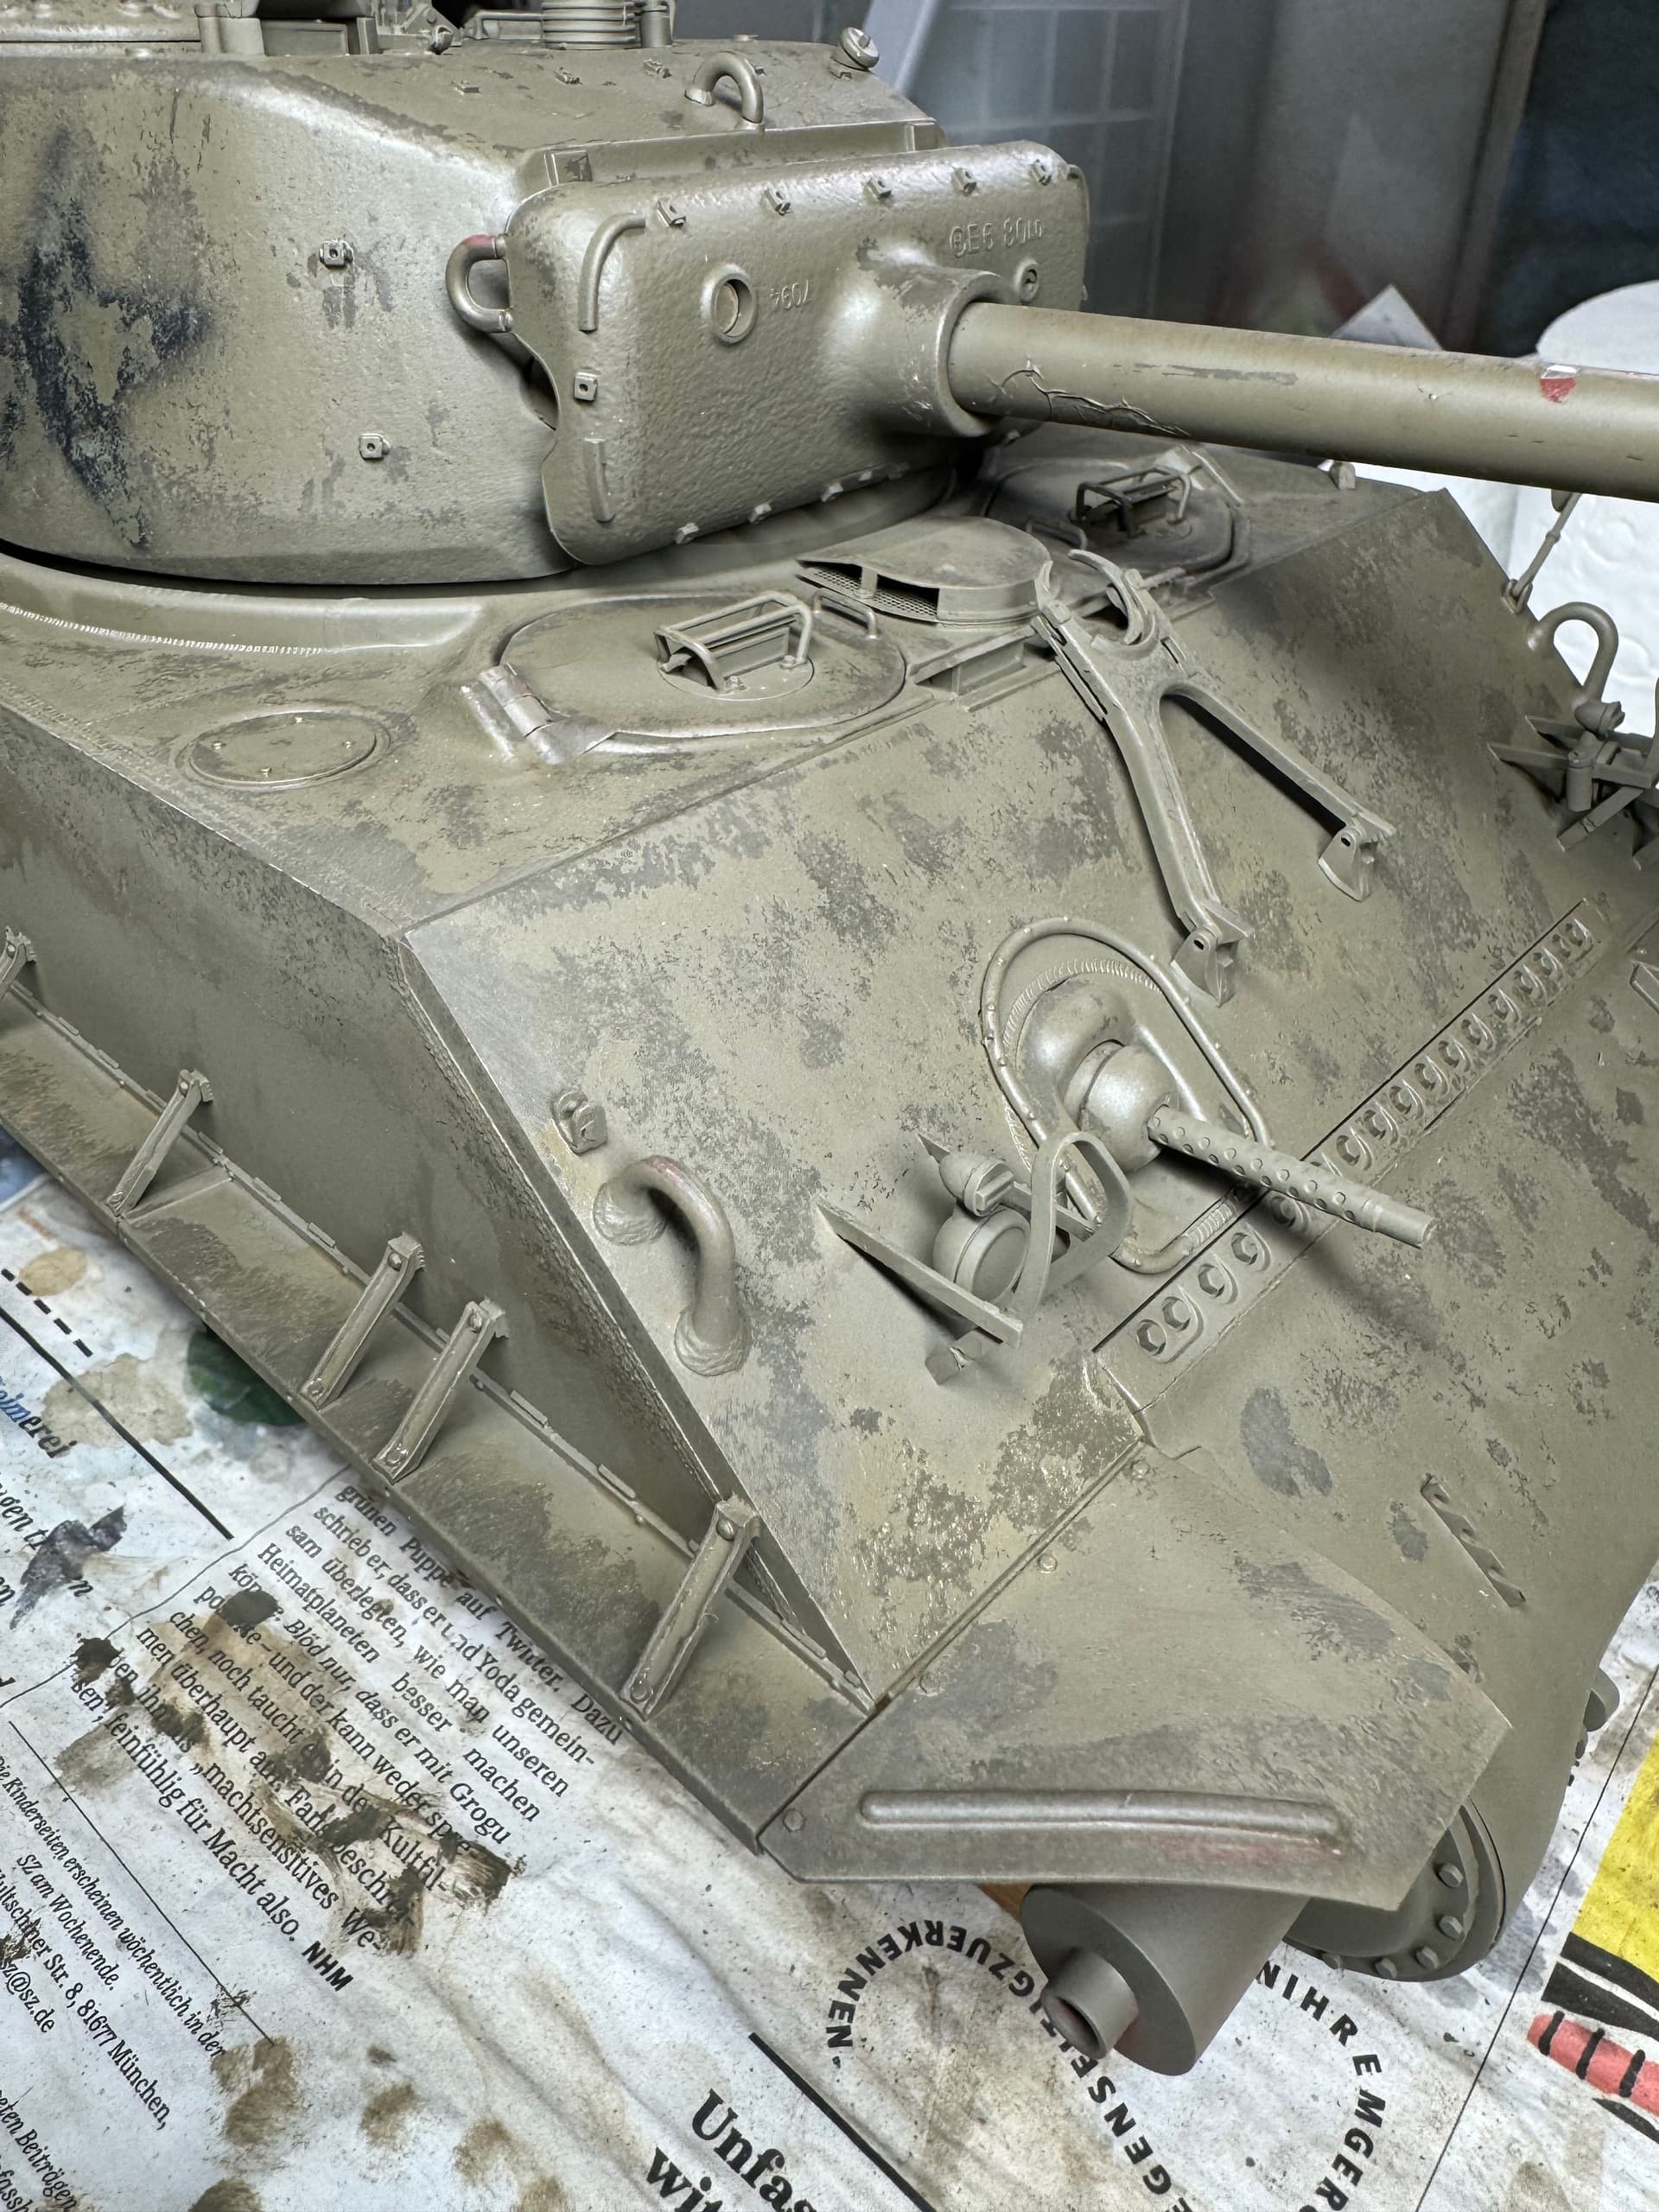
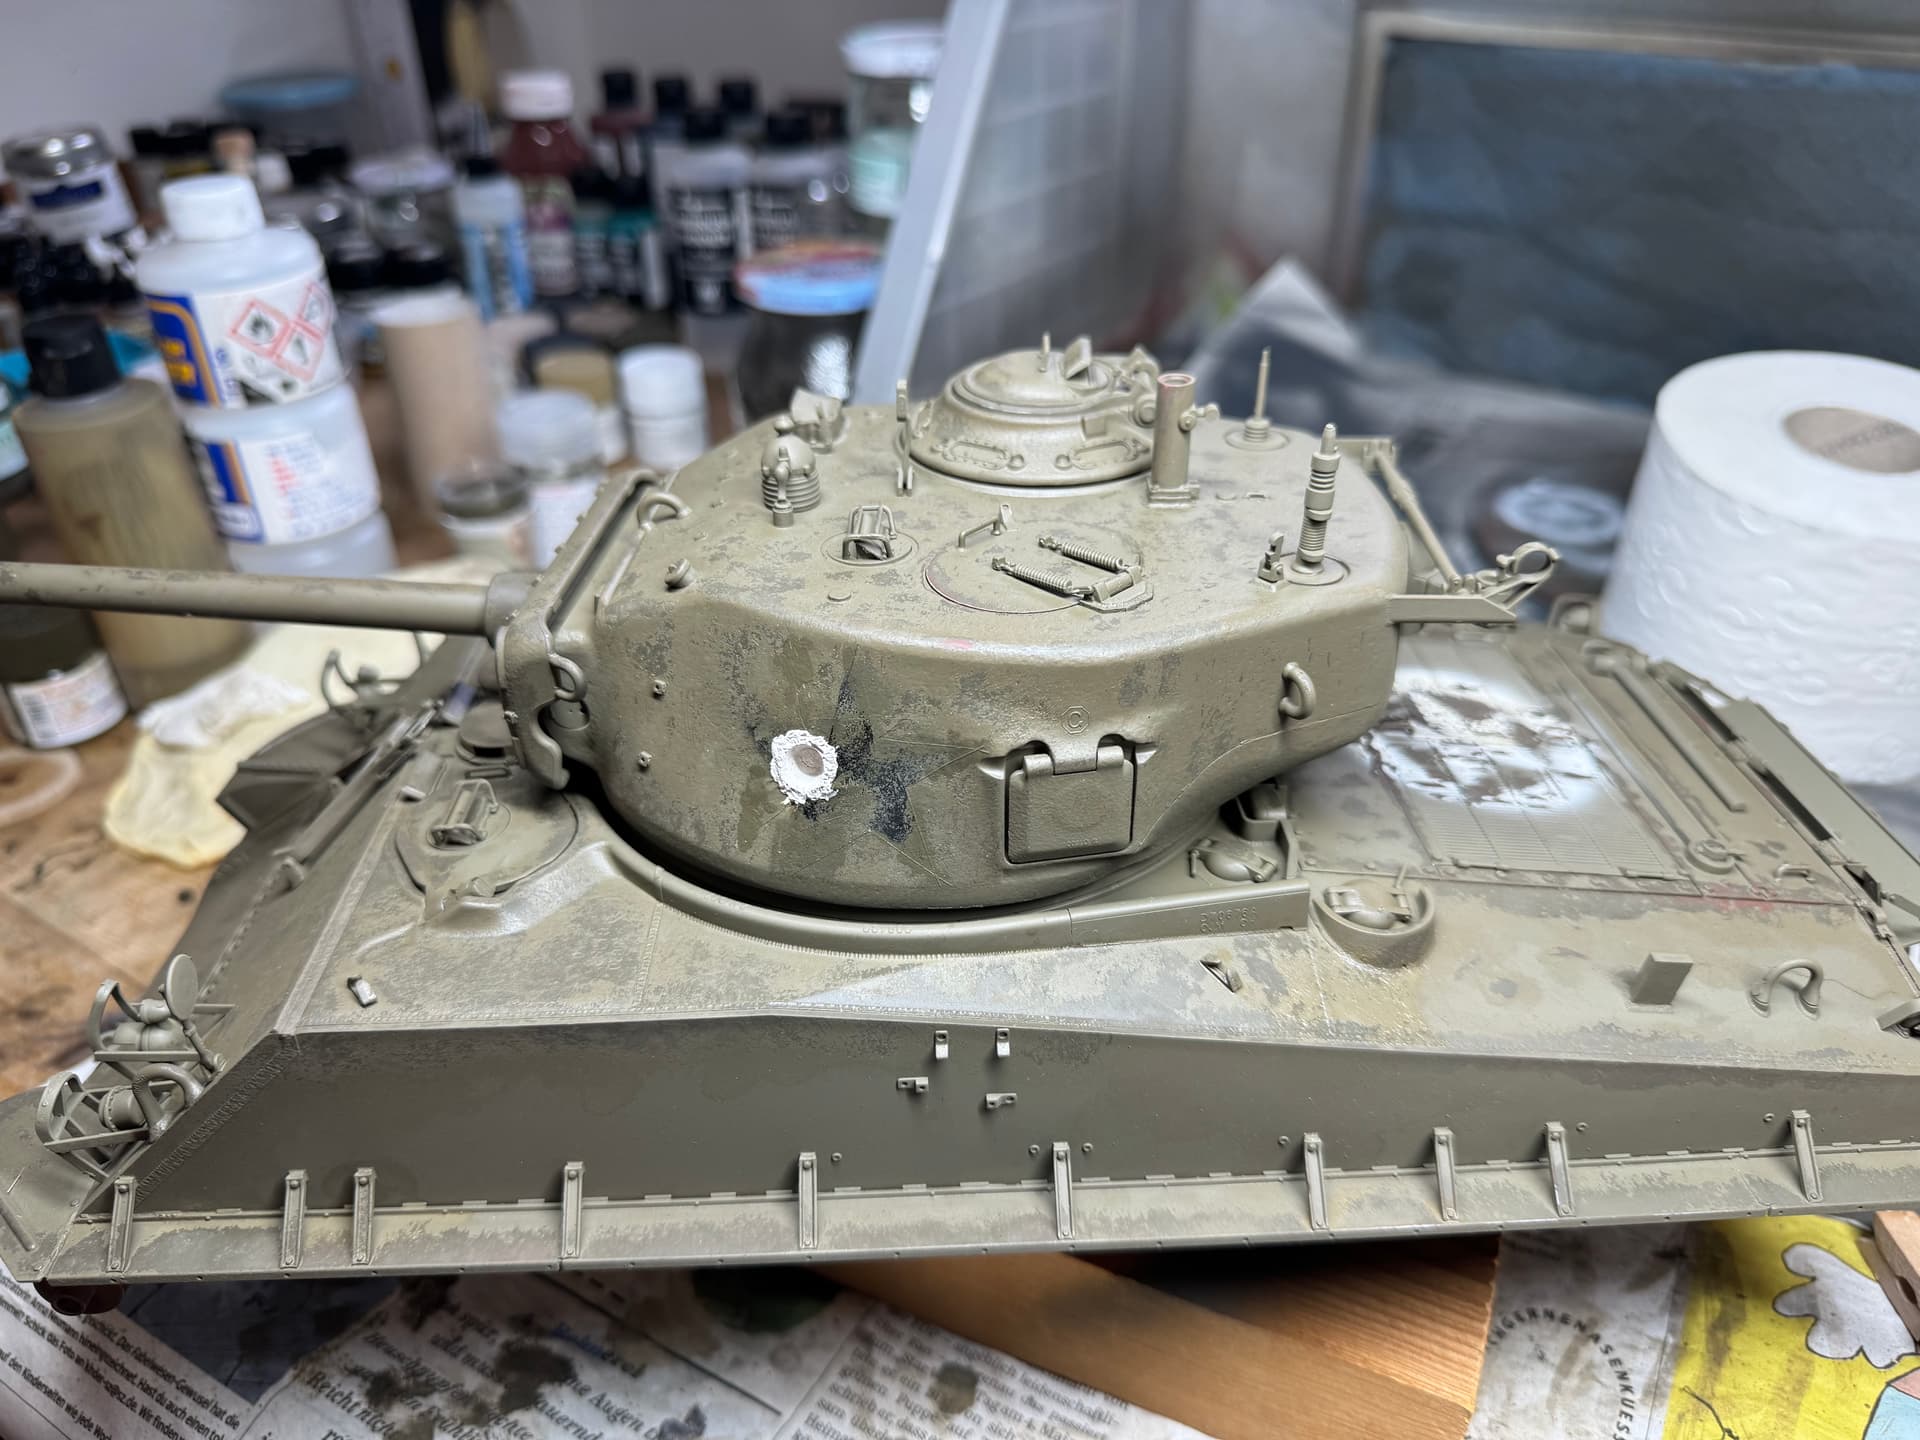
Okay here we go again, this time i sprayed the marking so i can chip it with the rest:
I used hairspray again but used the aribrush to bring it on, its am more controllable method i think.
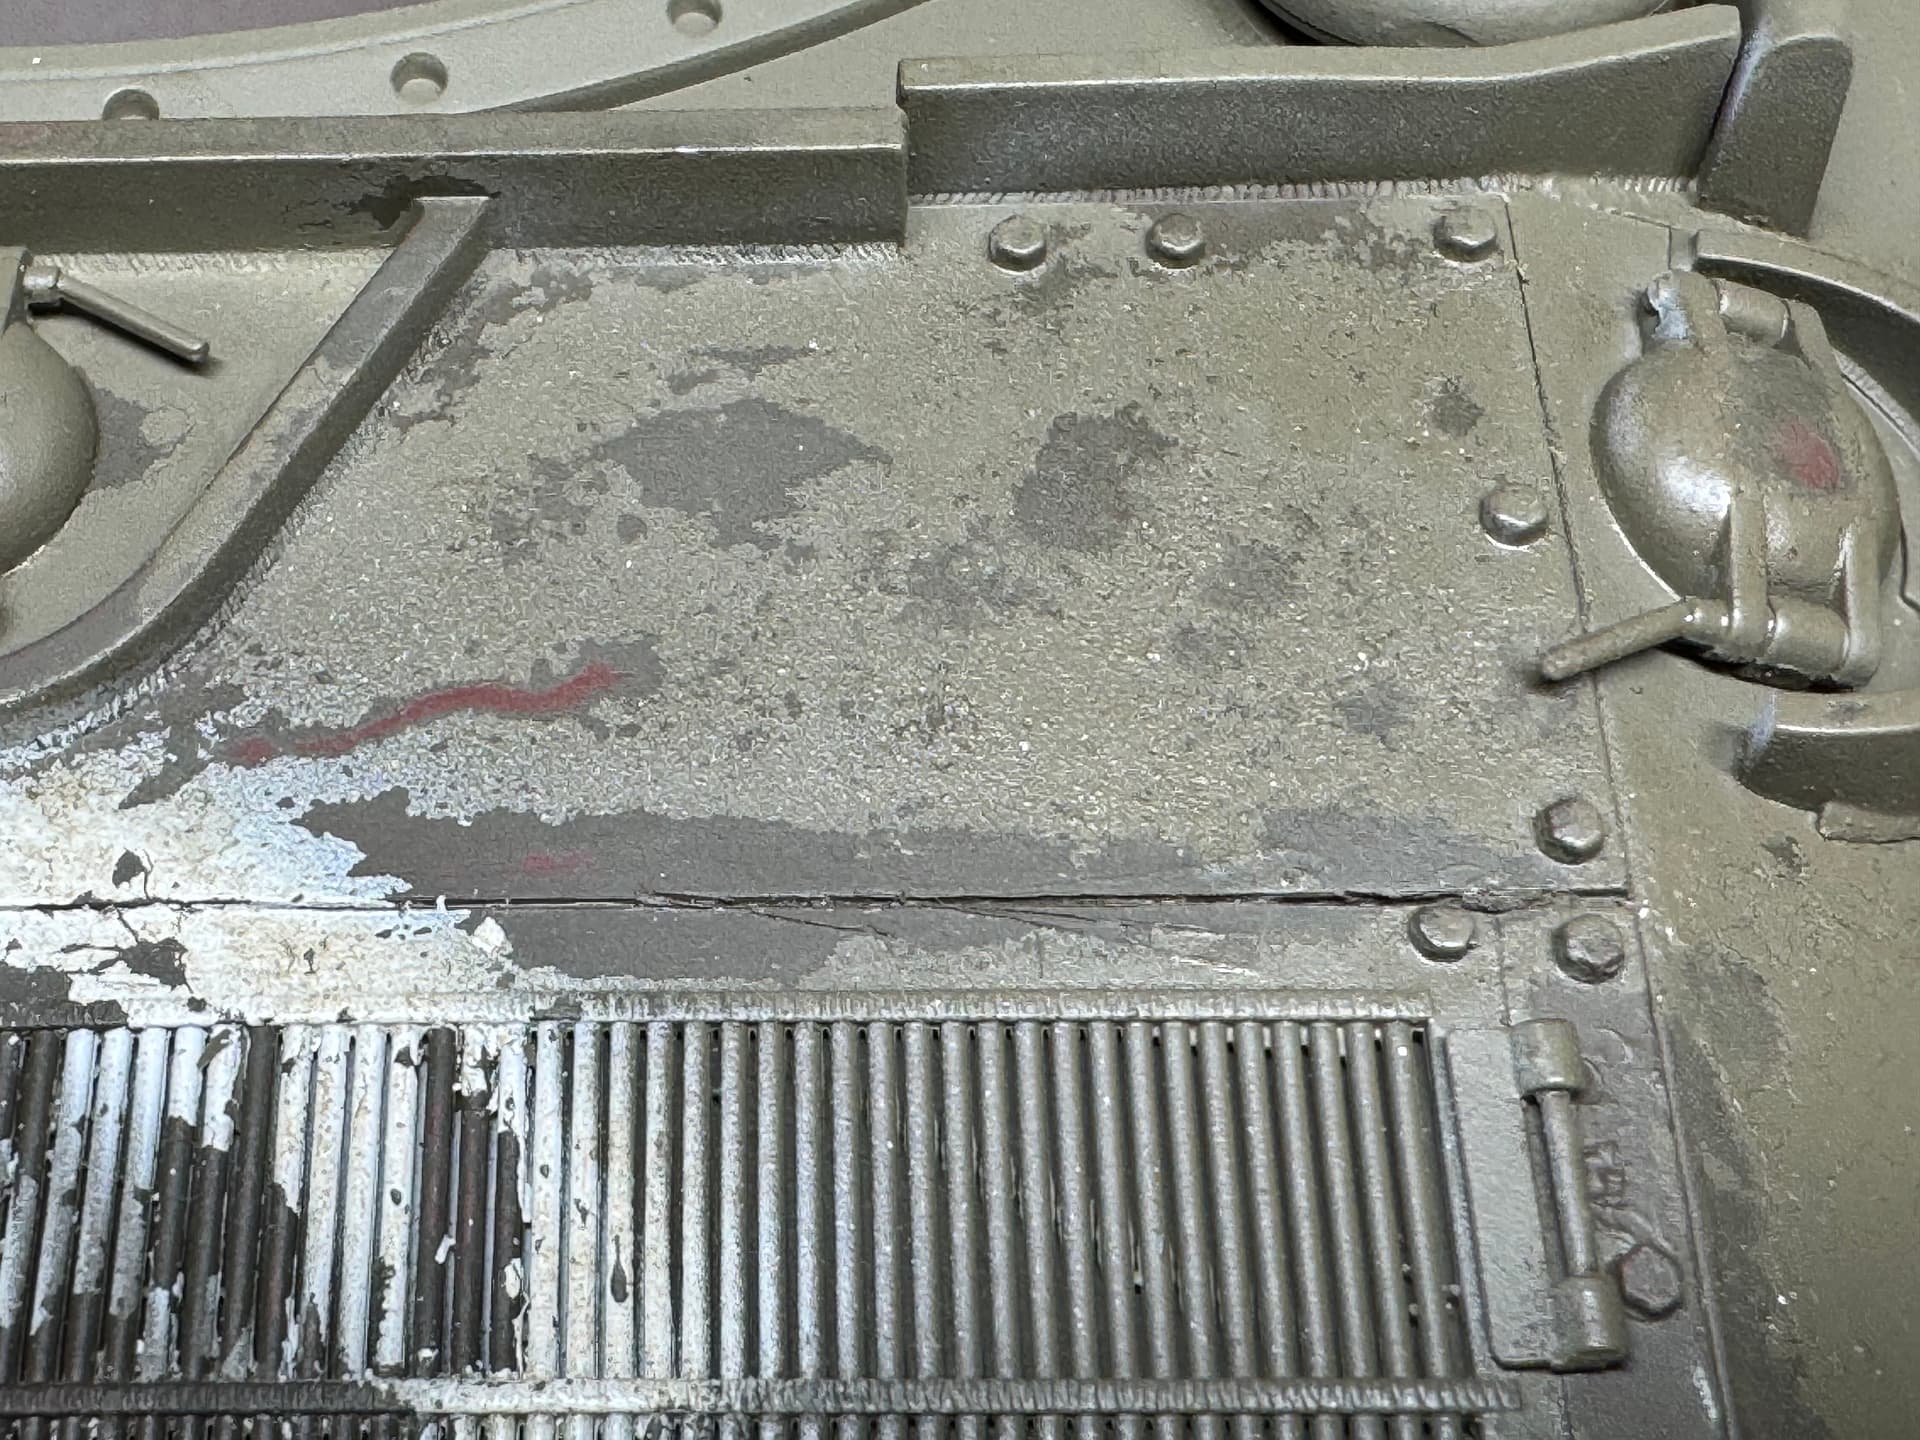
What i found out is that the Tamiya color does not really stick to the Vallejo Primer, so it chipeed down to the red primer on some places, not sure red primer was actually used on this vehicle.
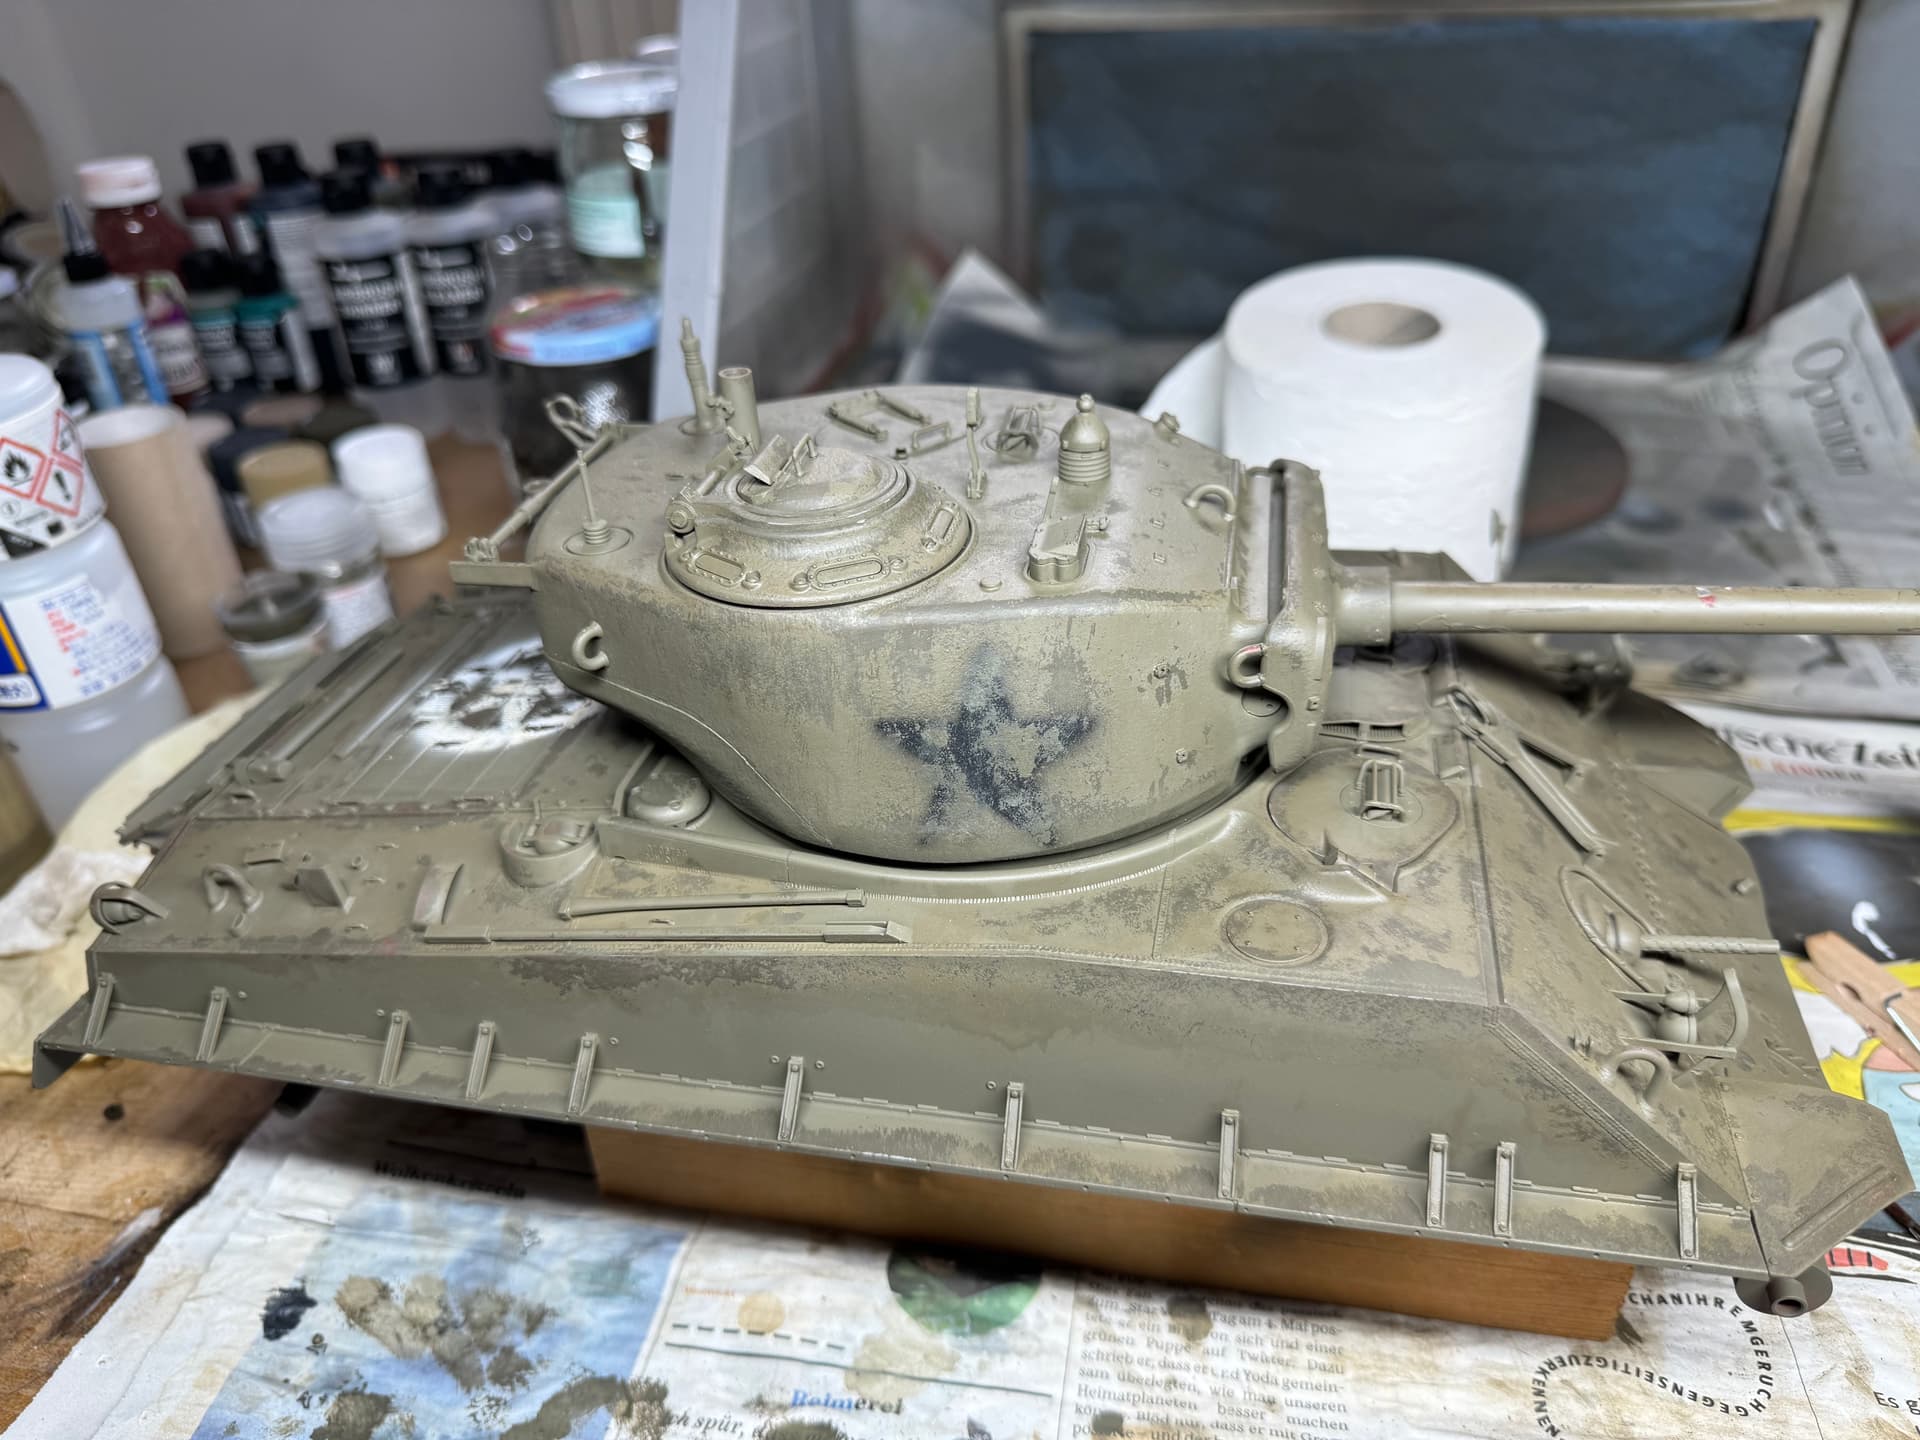
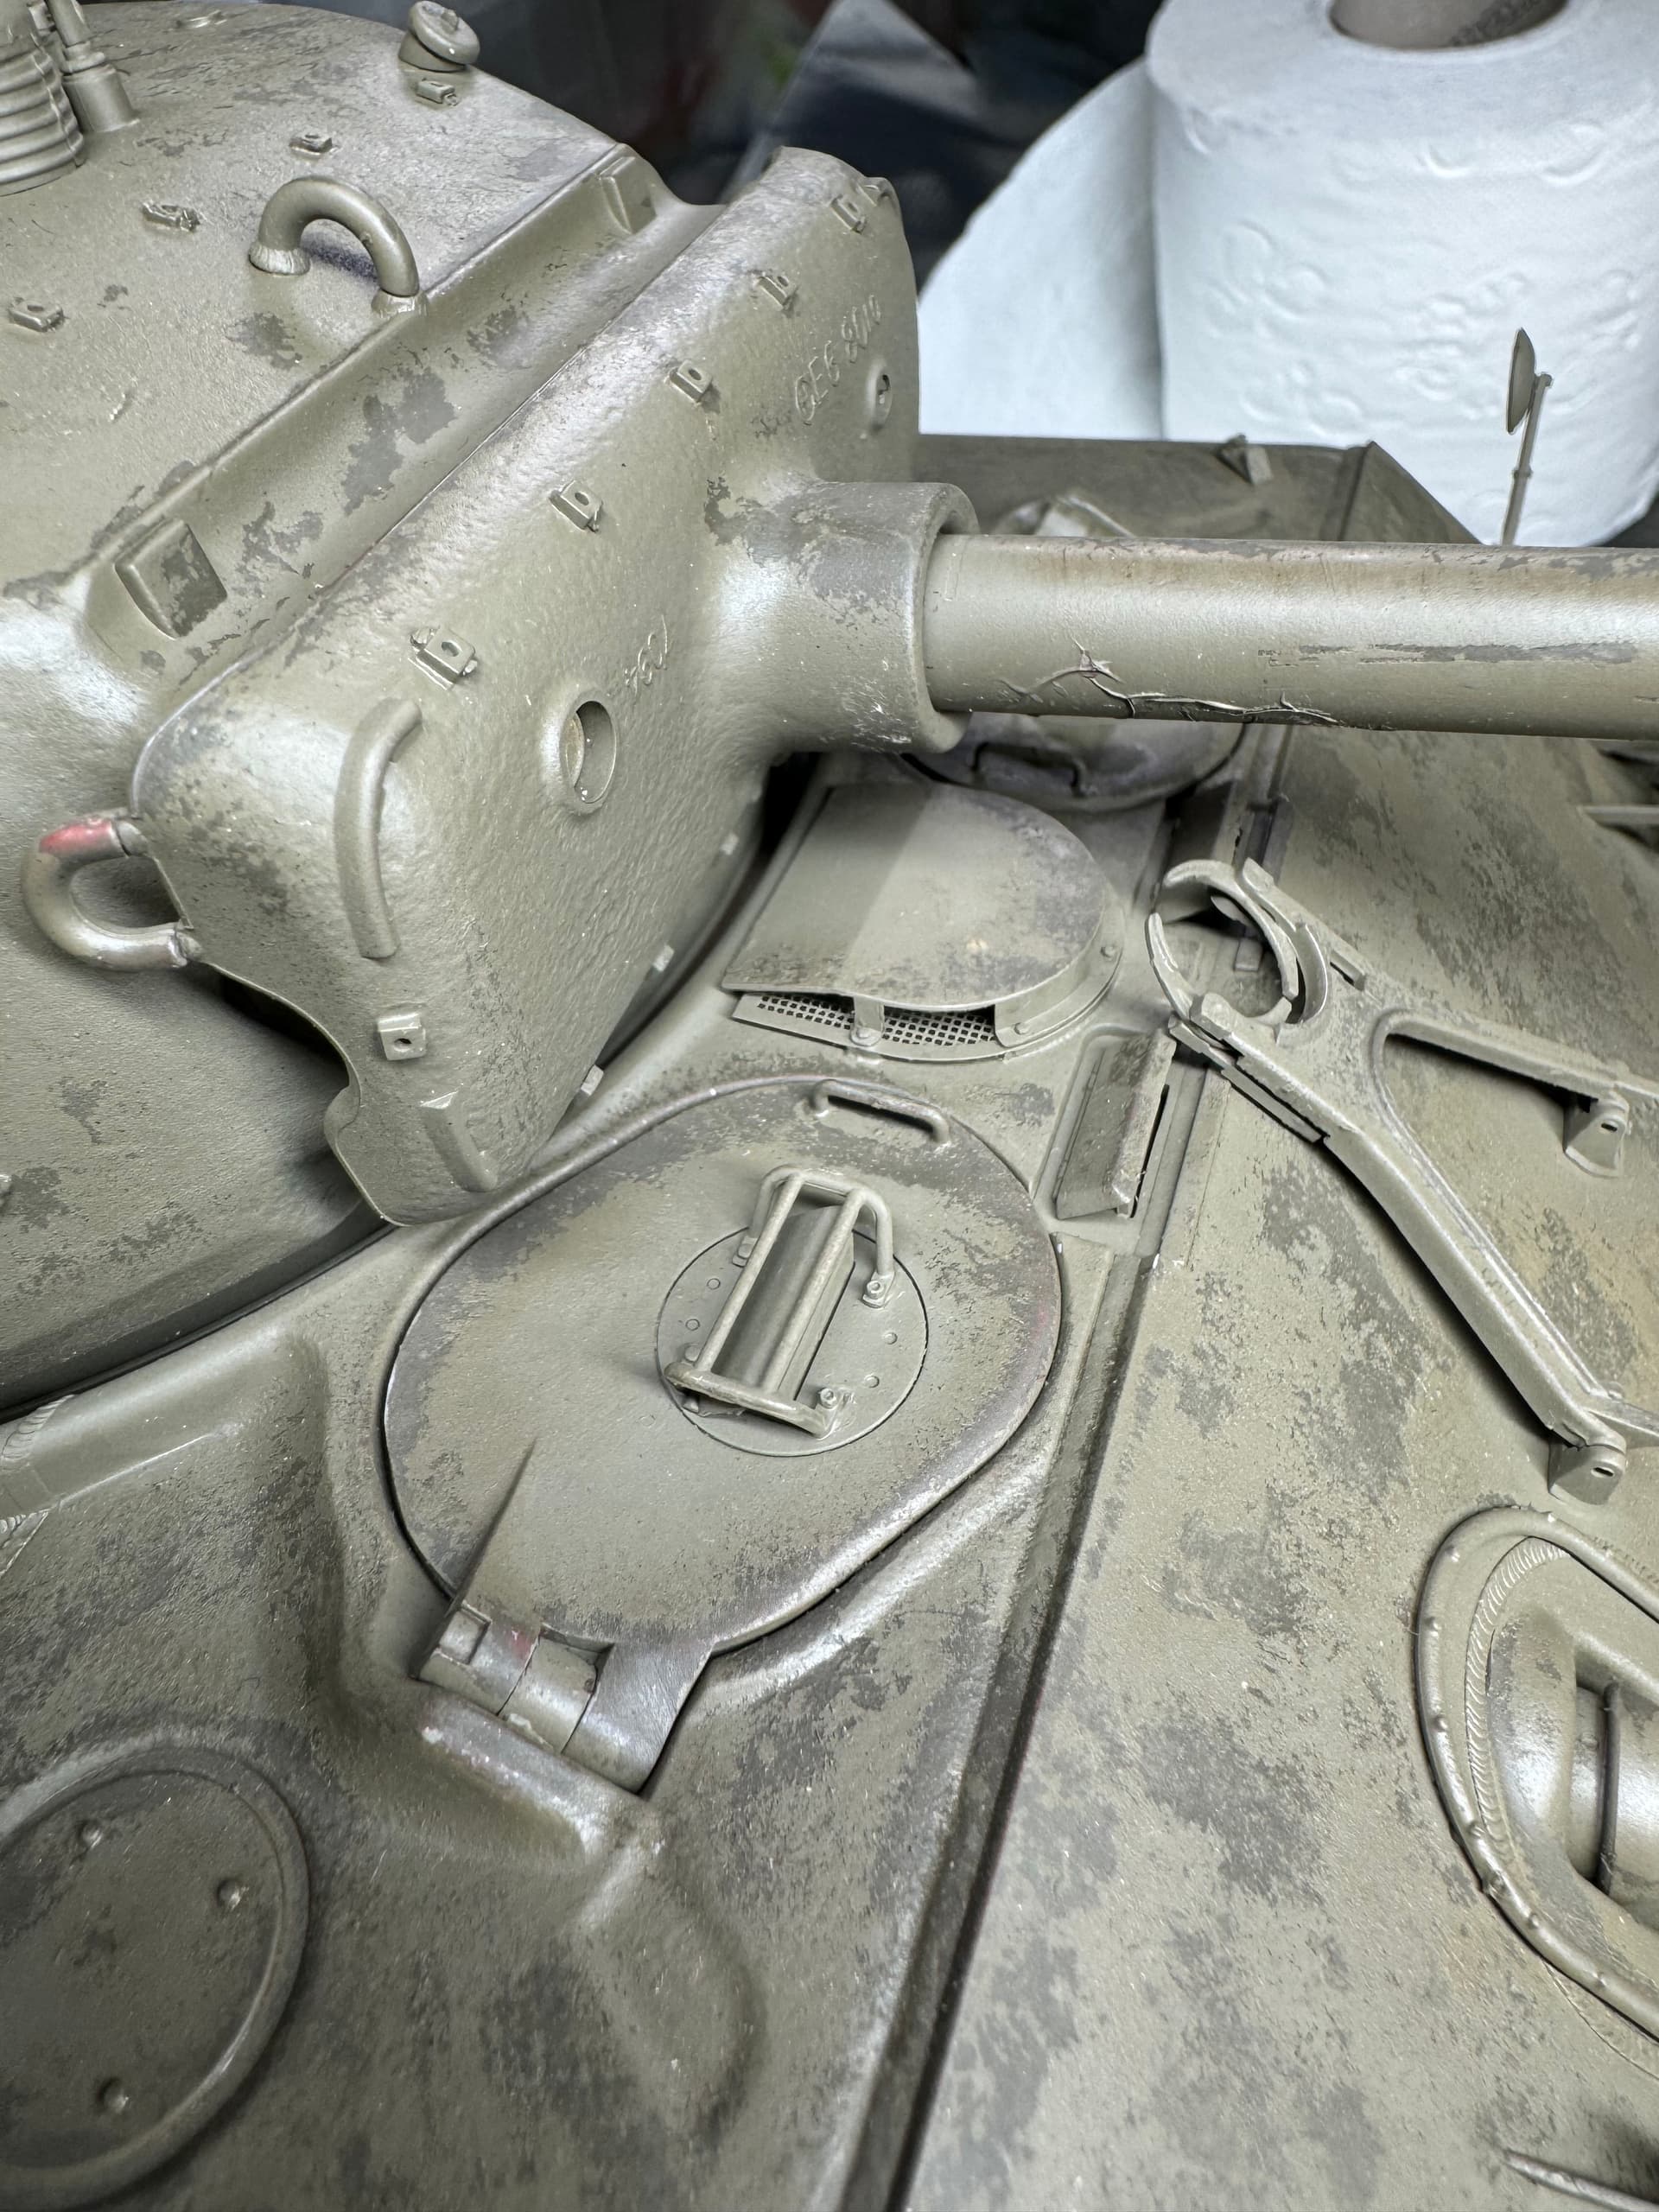
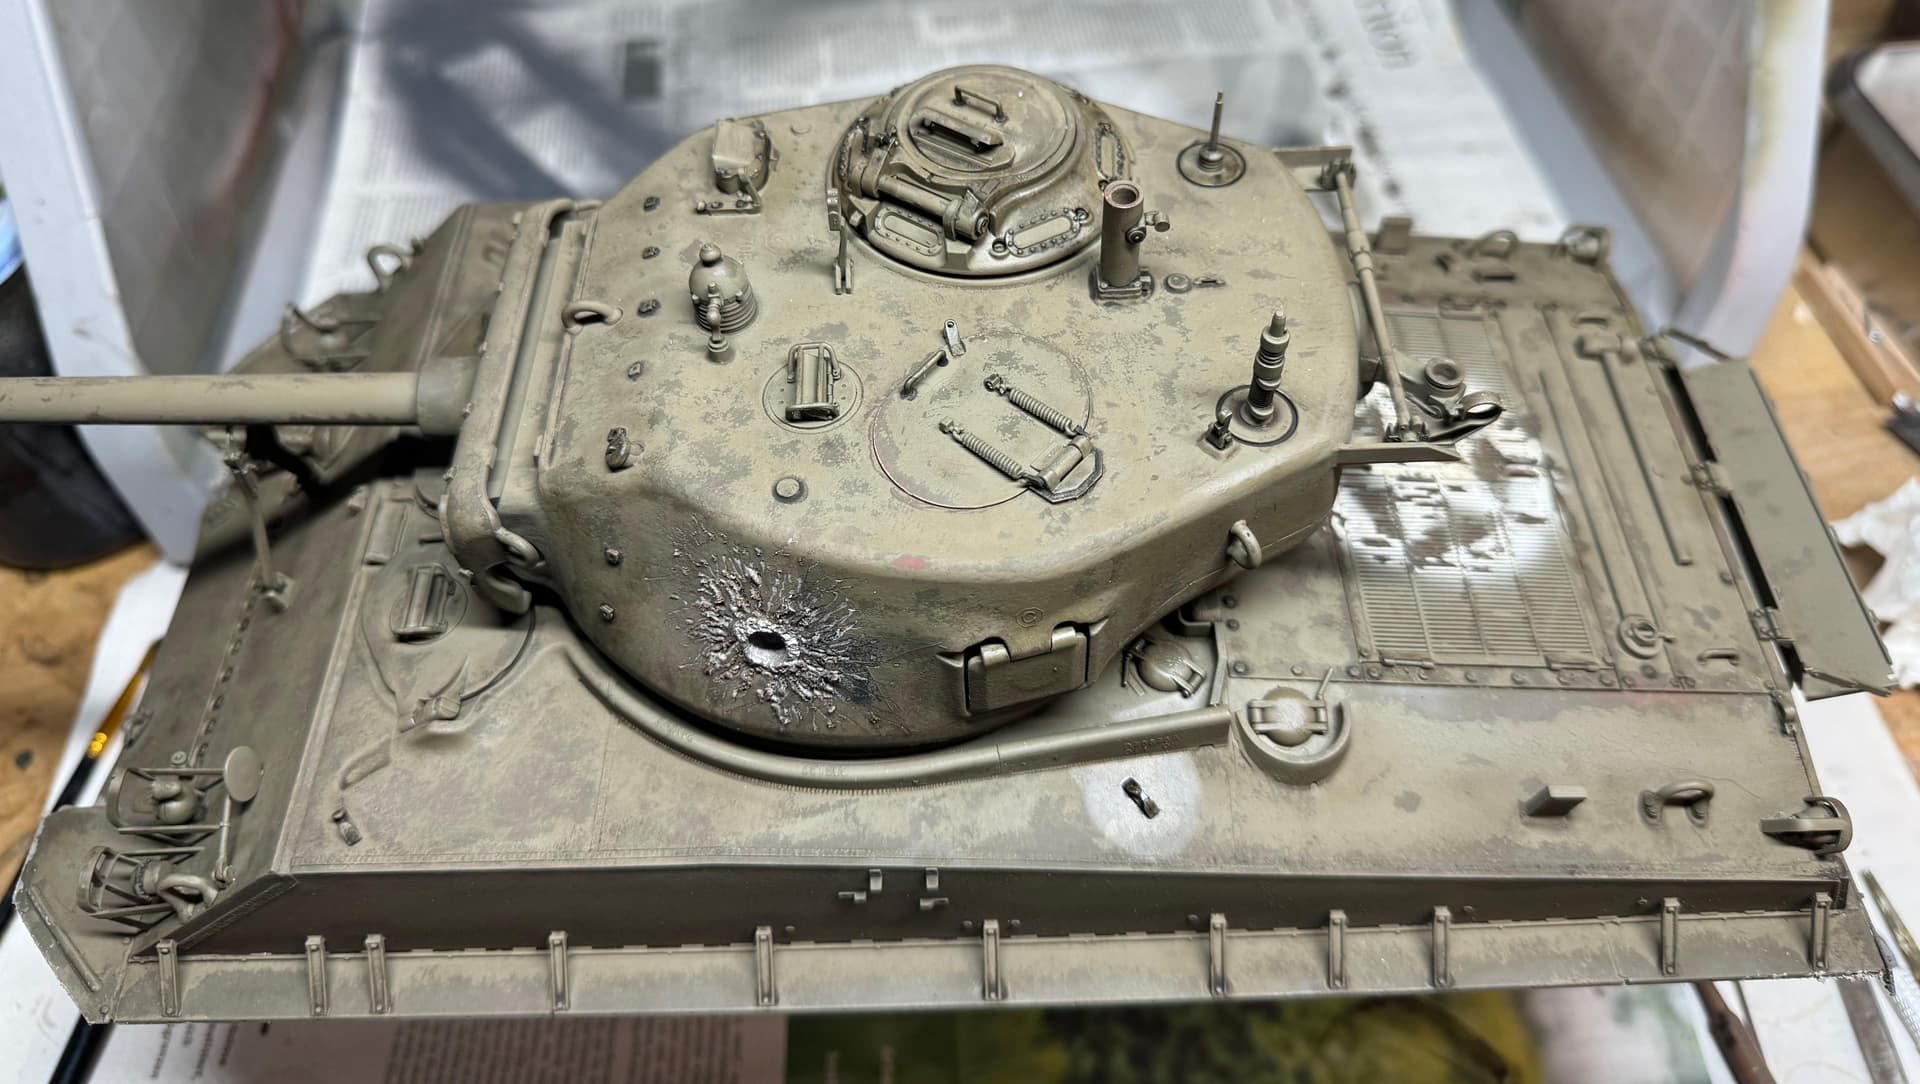
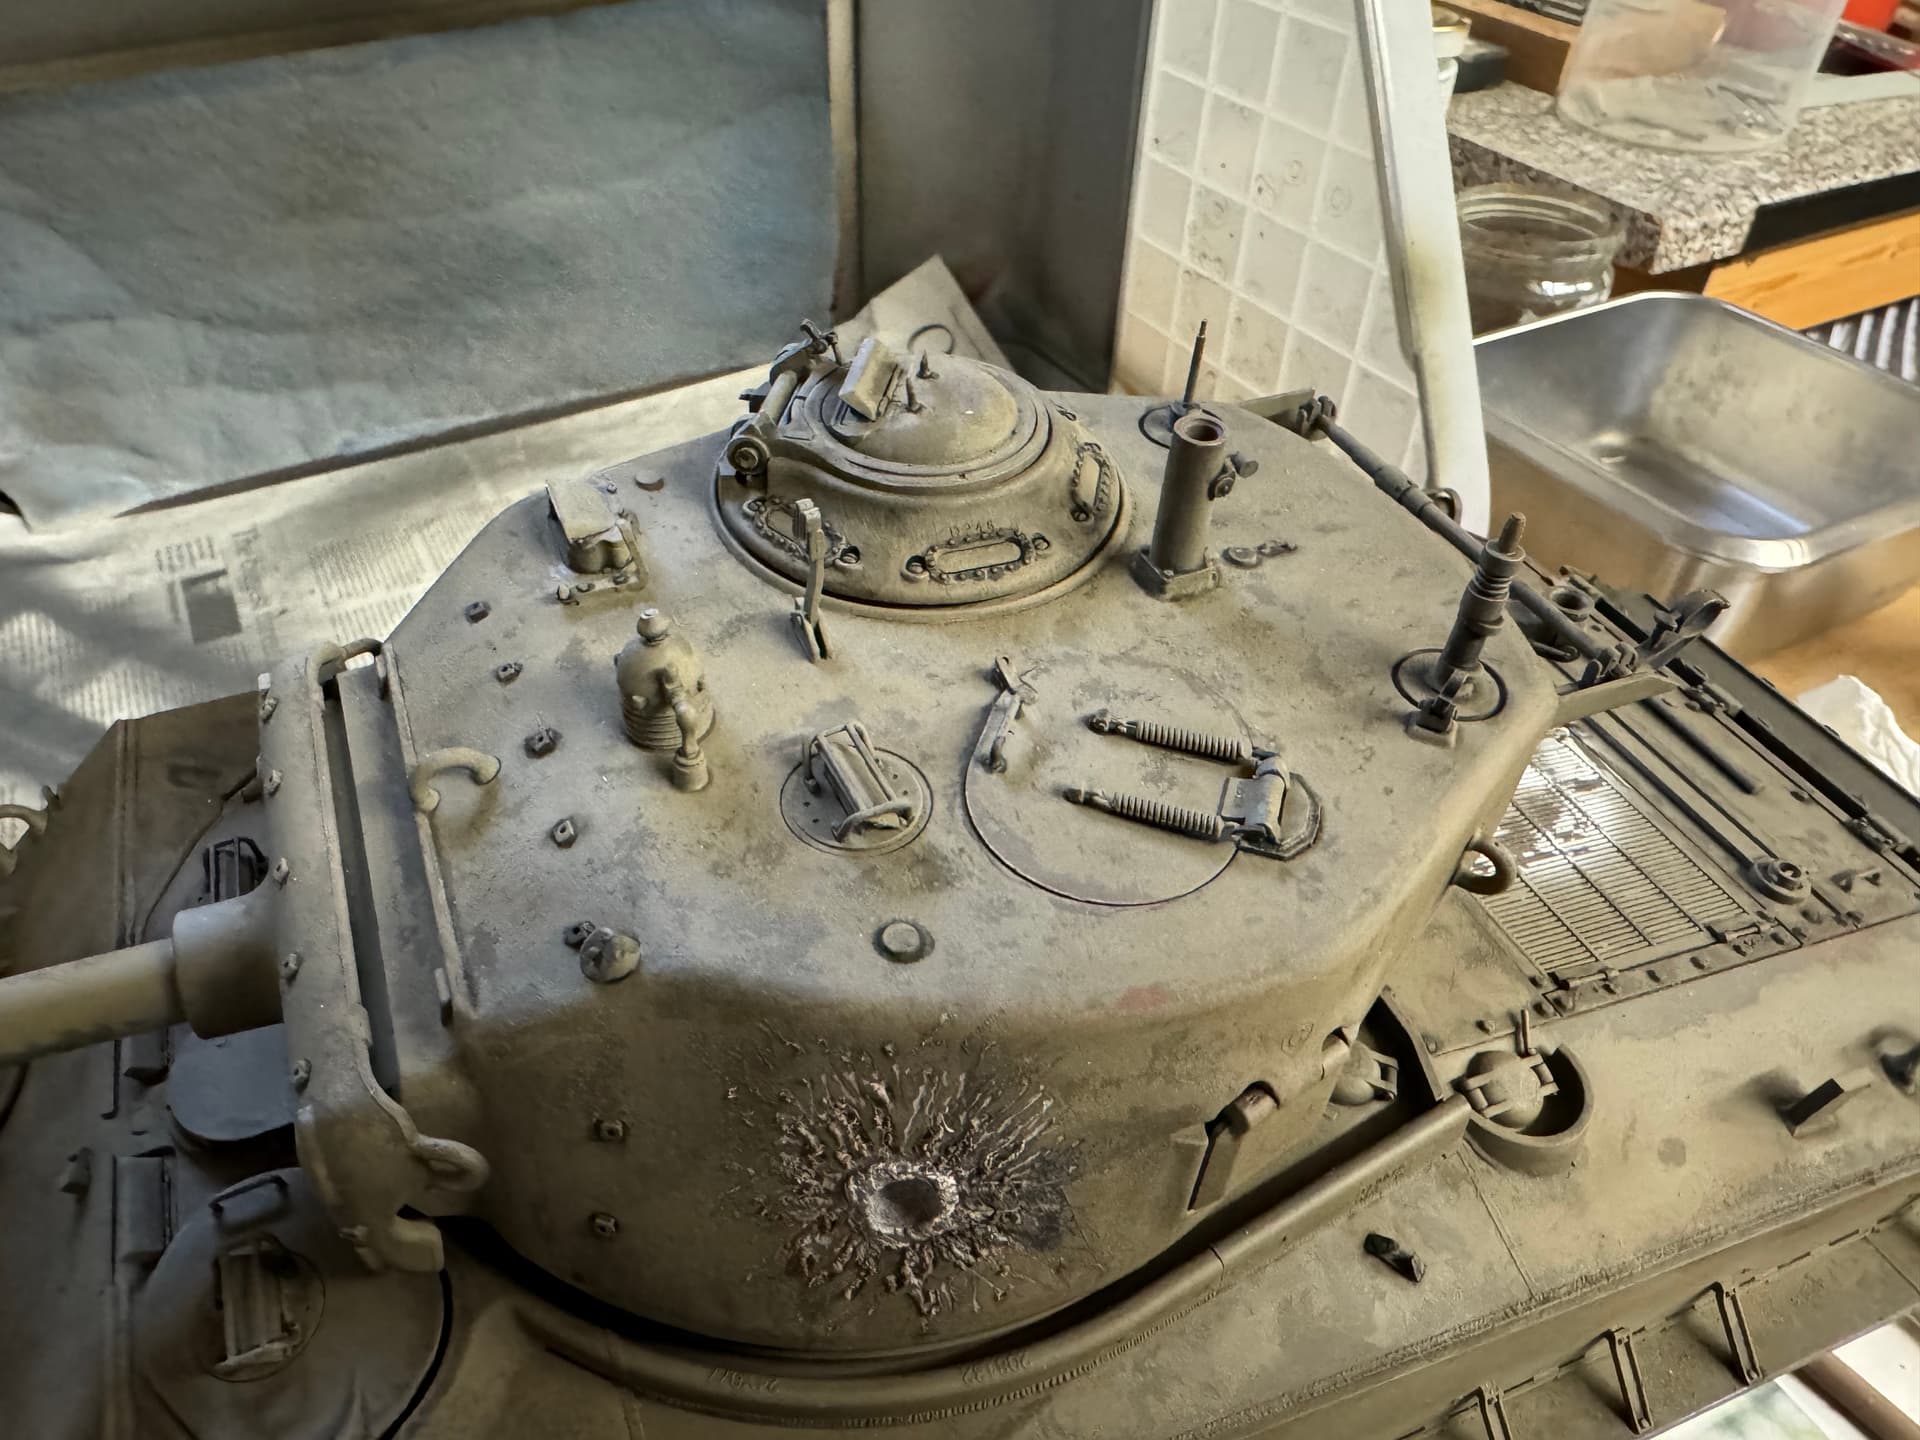
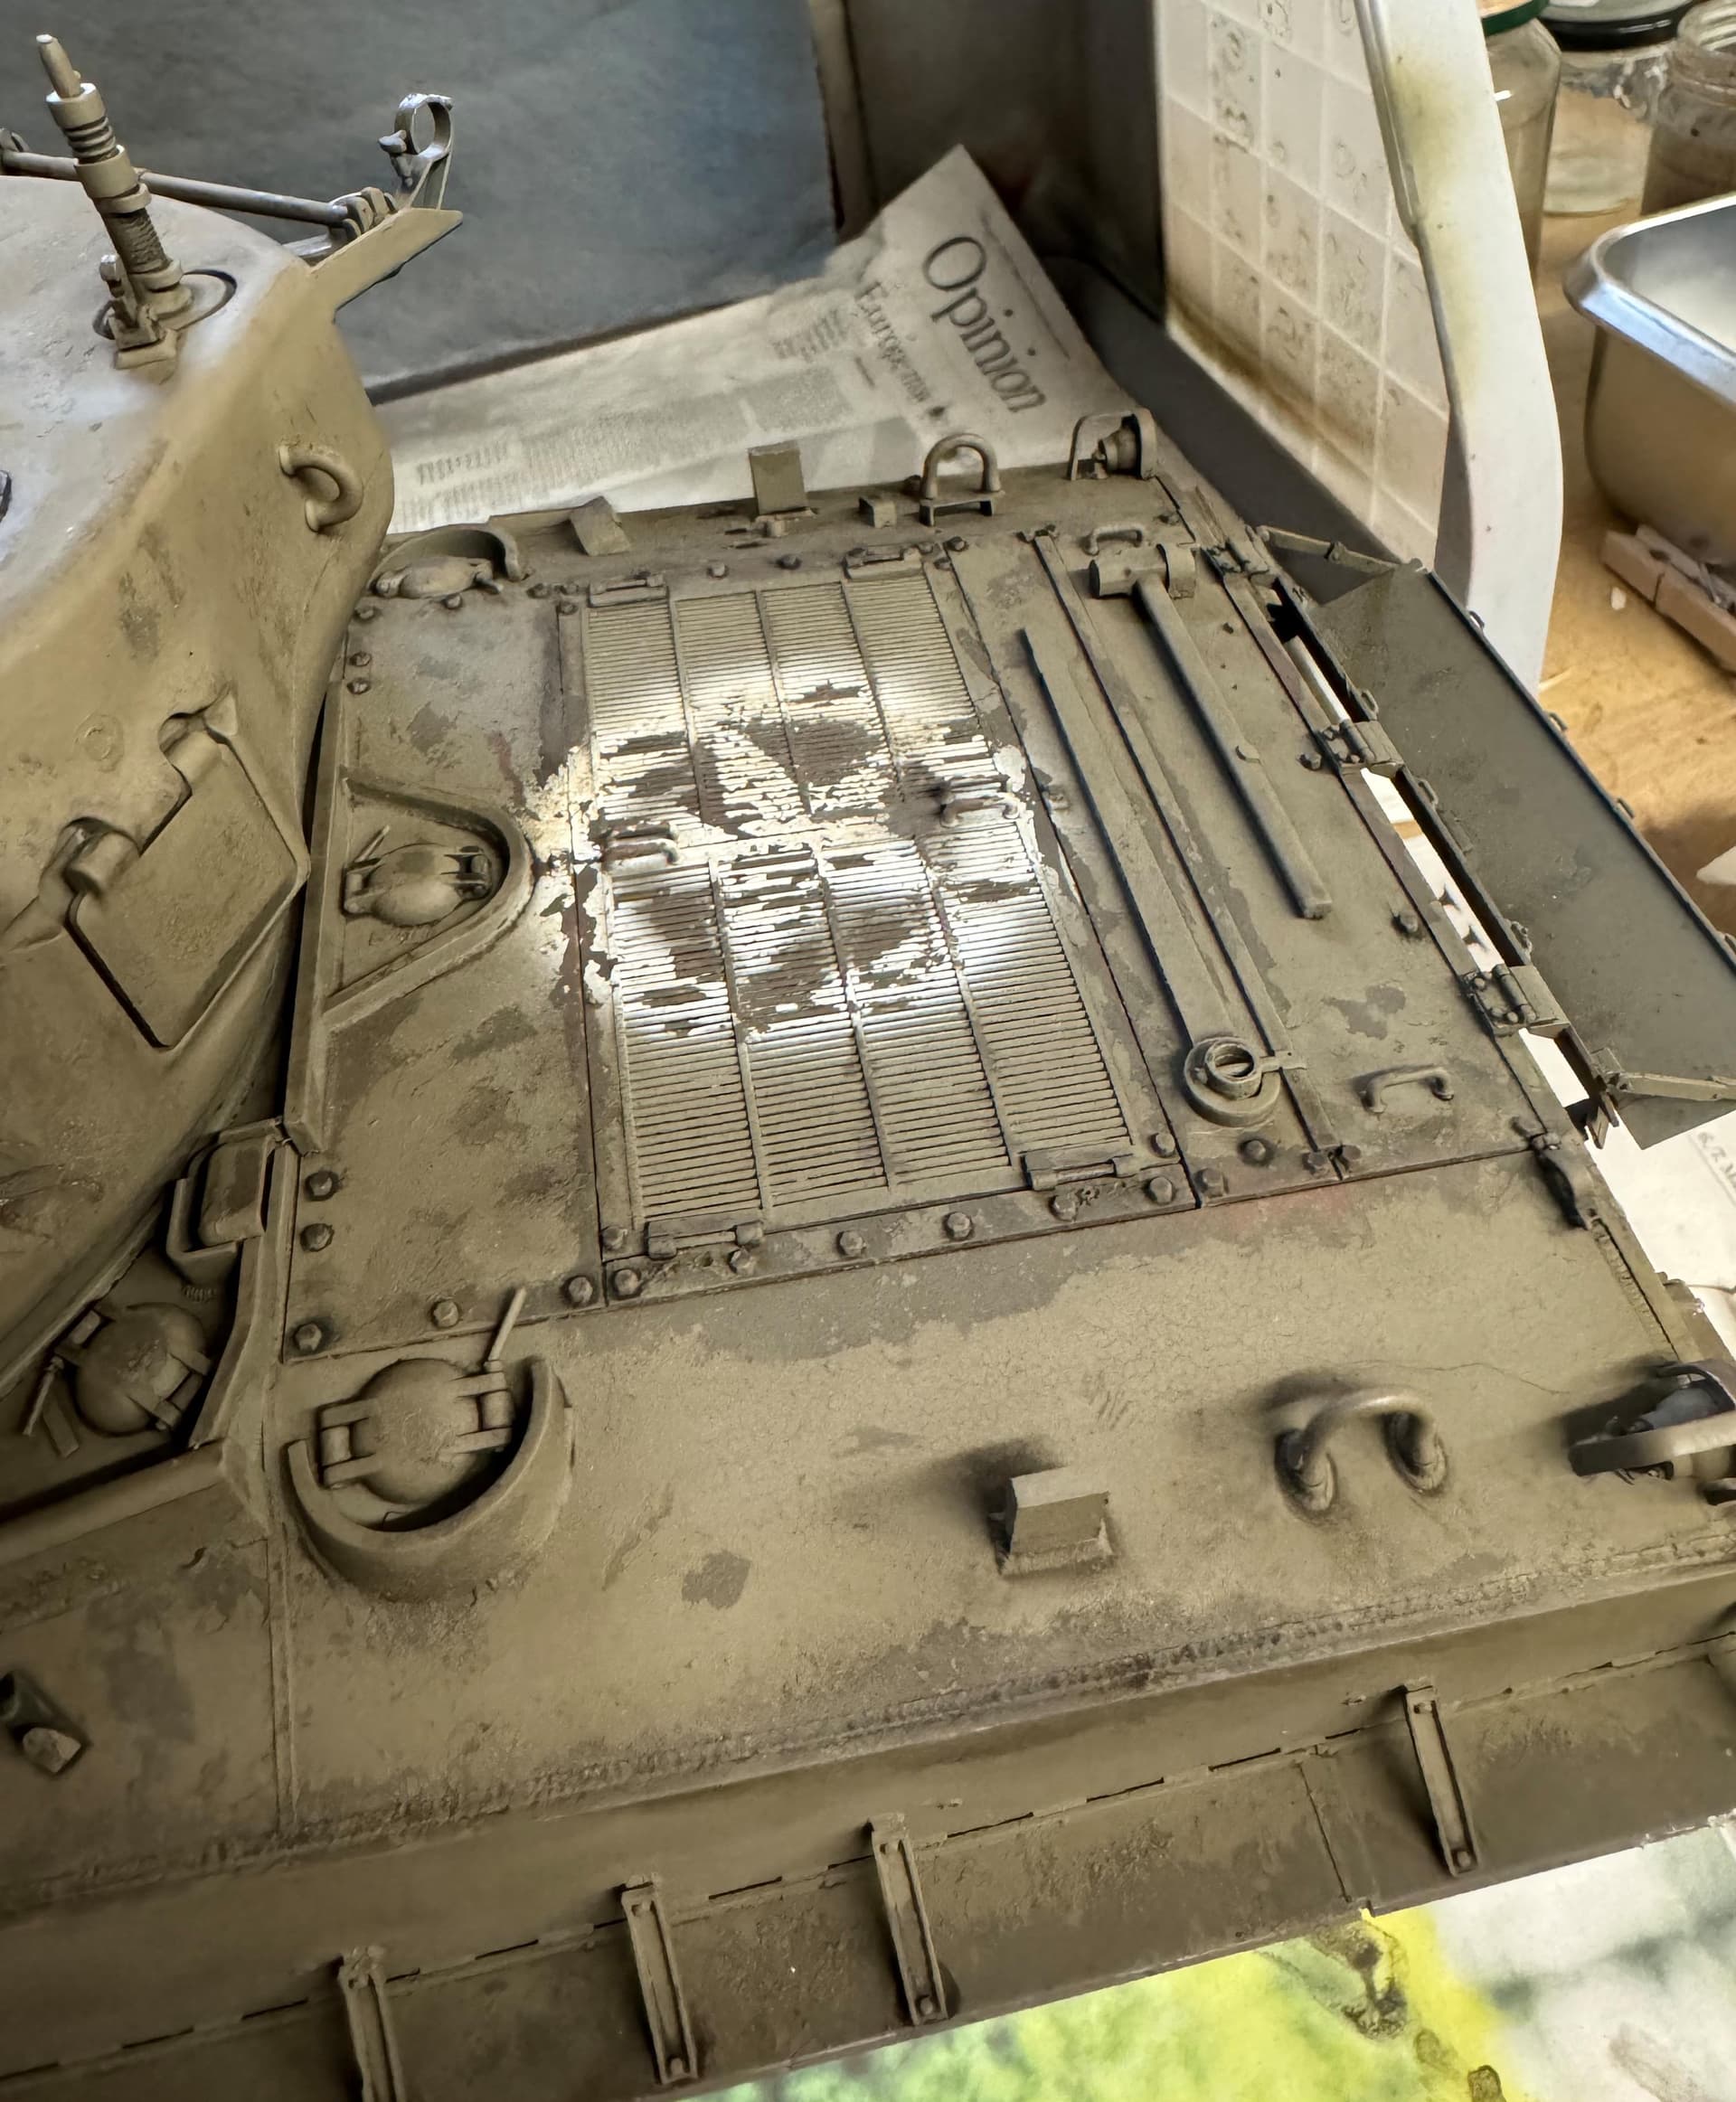
Here ist the complete work (some parts are not completly dry):
Not sure if somebody is interested in the next steps of the process of this project?
Yes, please continue. I am interested in where you take this project.
Definitely. I would love to see you continue. Is the chipping some sort of modulation? Or is it steel chipping? Either way it looks good.
Let first say that this my second tank model after the 1/6 Sherman so dont be to harsch, its far from perfekt as i wish but i see it as a project to improve my experience in painting and weathering.
To be honest, i am not the best builder, i find it rather boring to glue all the pieces together, you can see that in the flaws for example where the turret is glued together. I dont think most of it will be visible after all the weathering with dust, dirt and the other stuff which will be added. ![]()
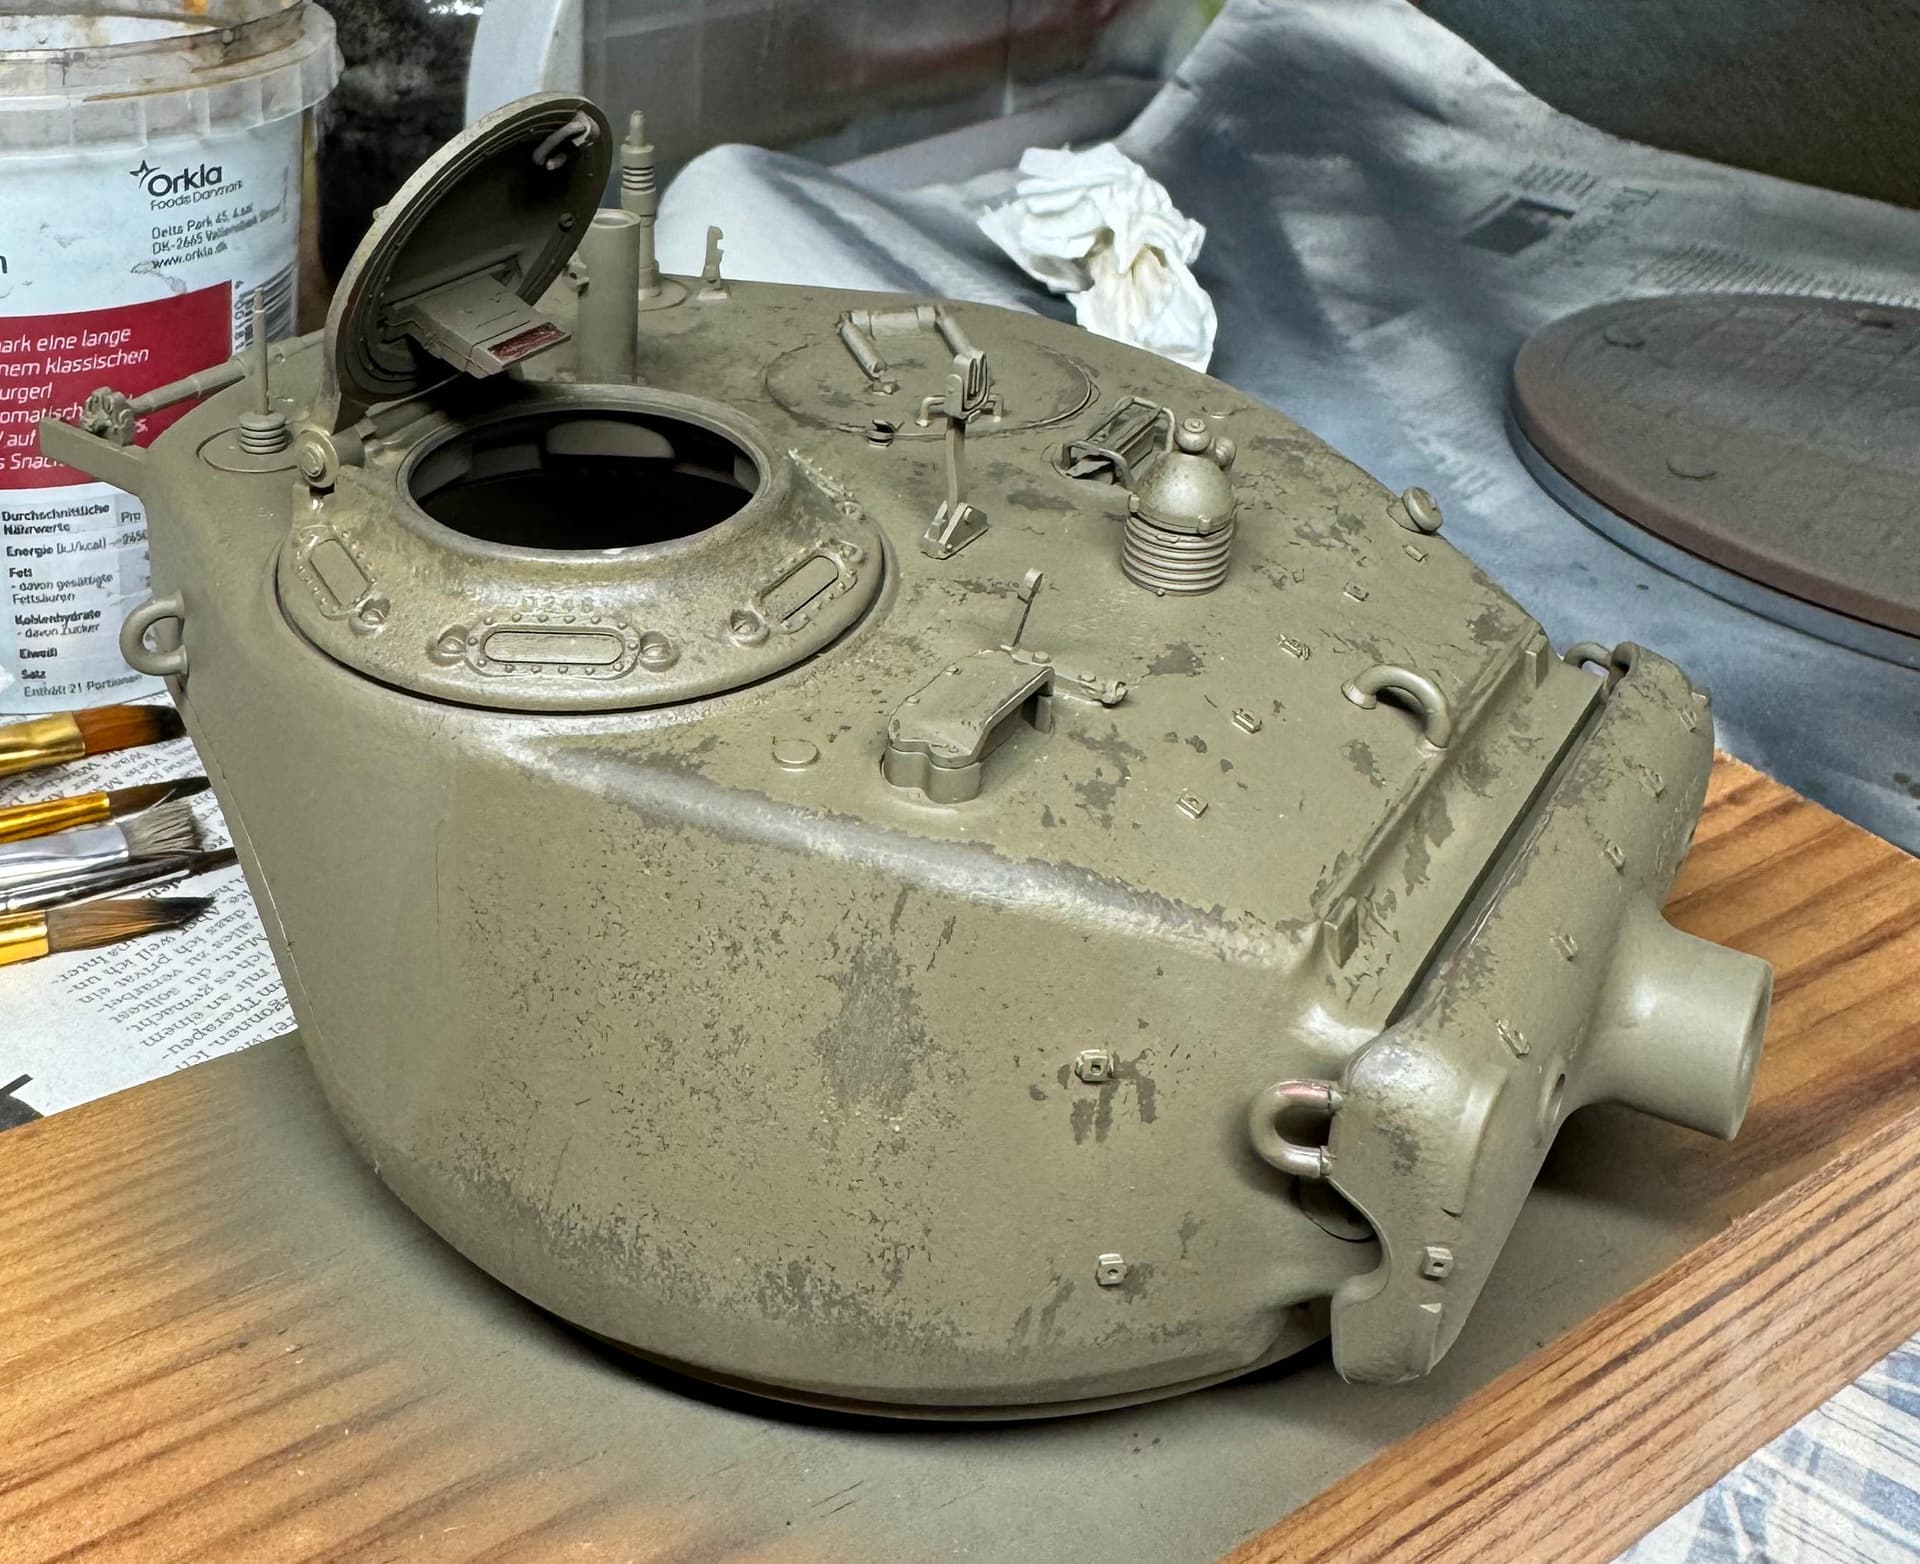
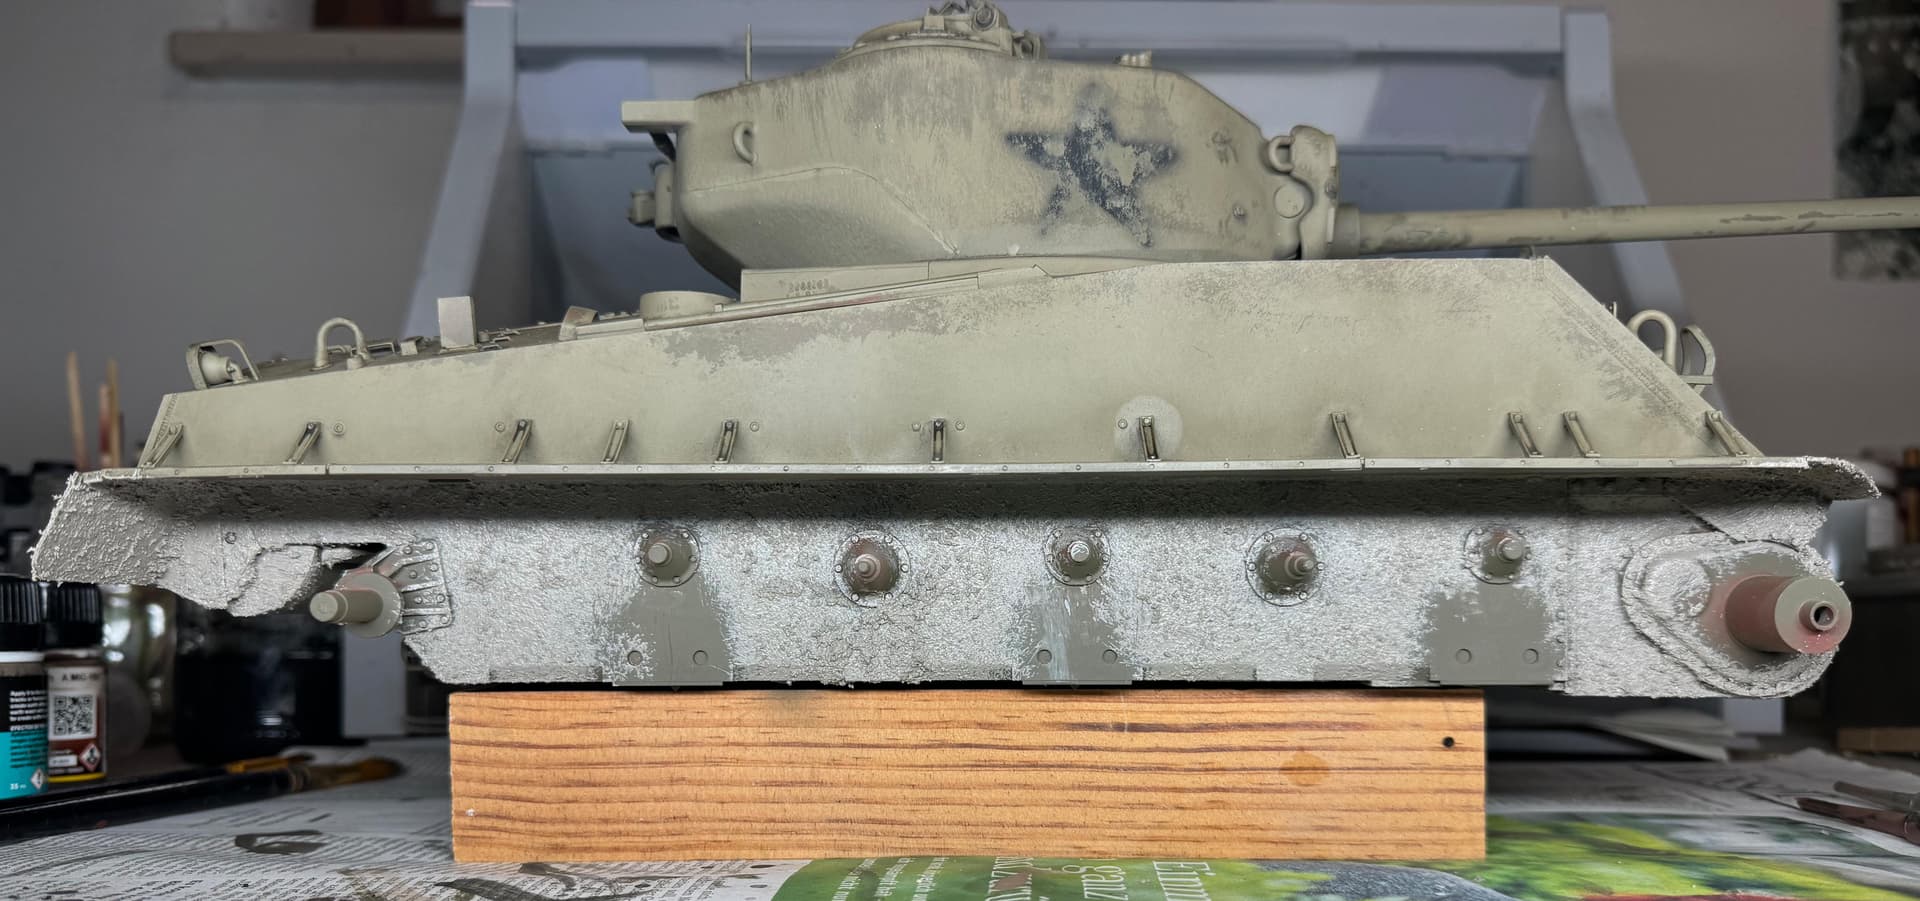
Okay then next step after a acrylich varnish to protect the base painting : Enamel dark wash
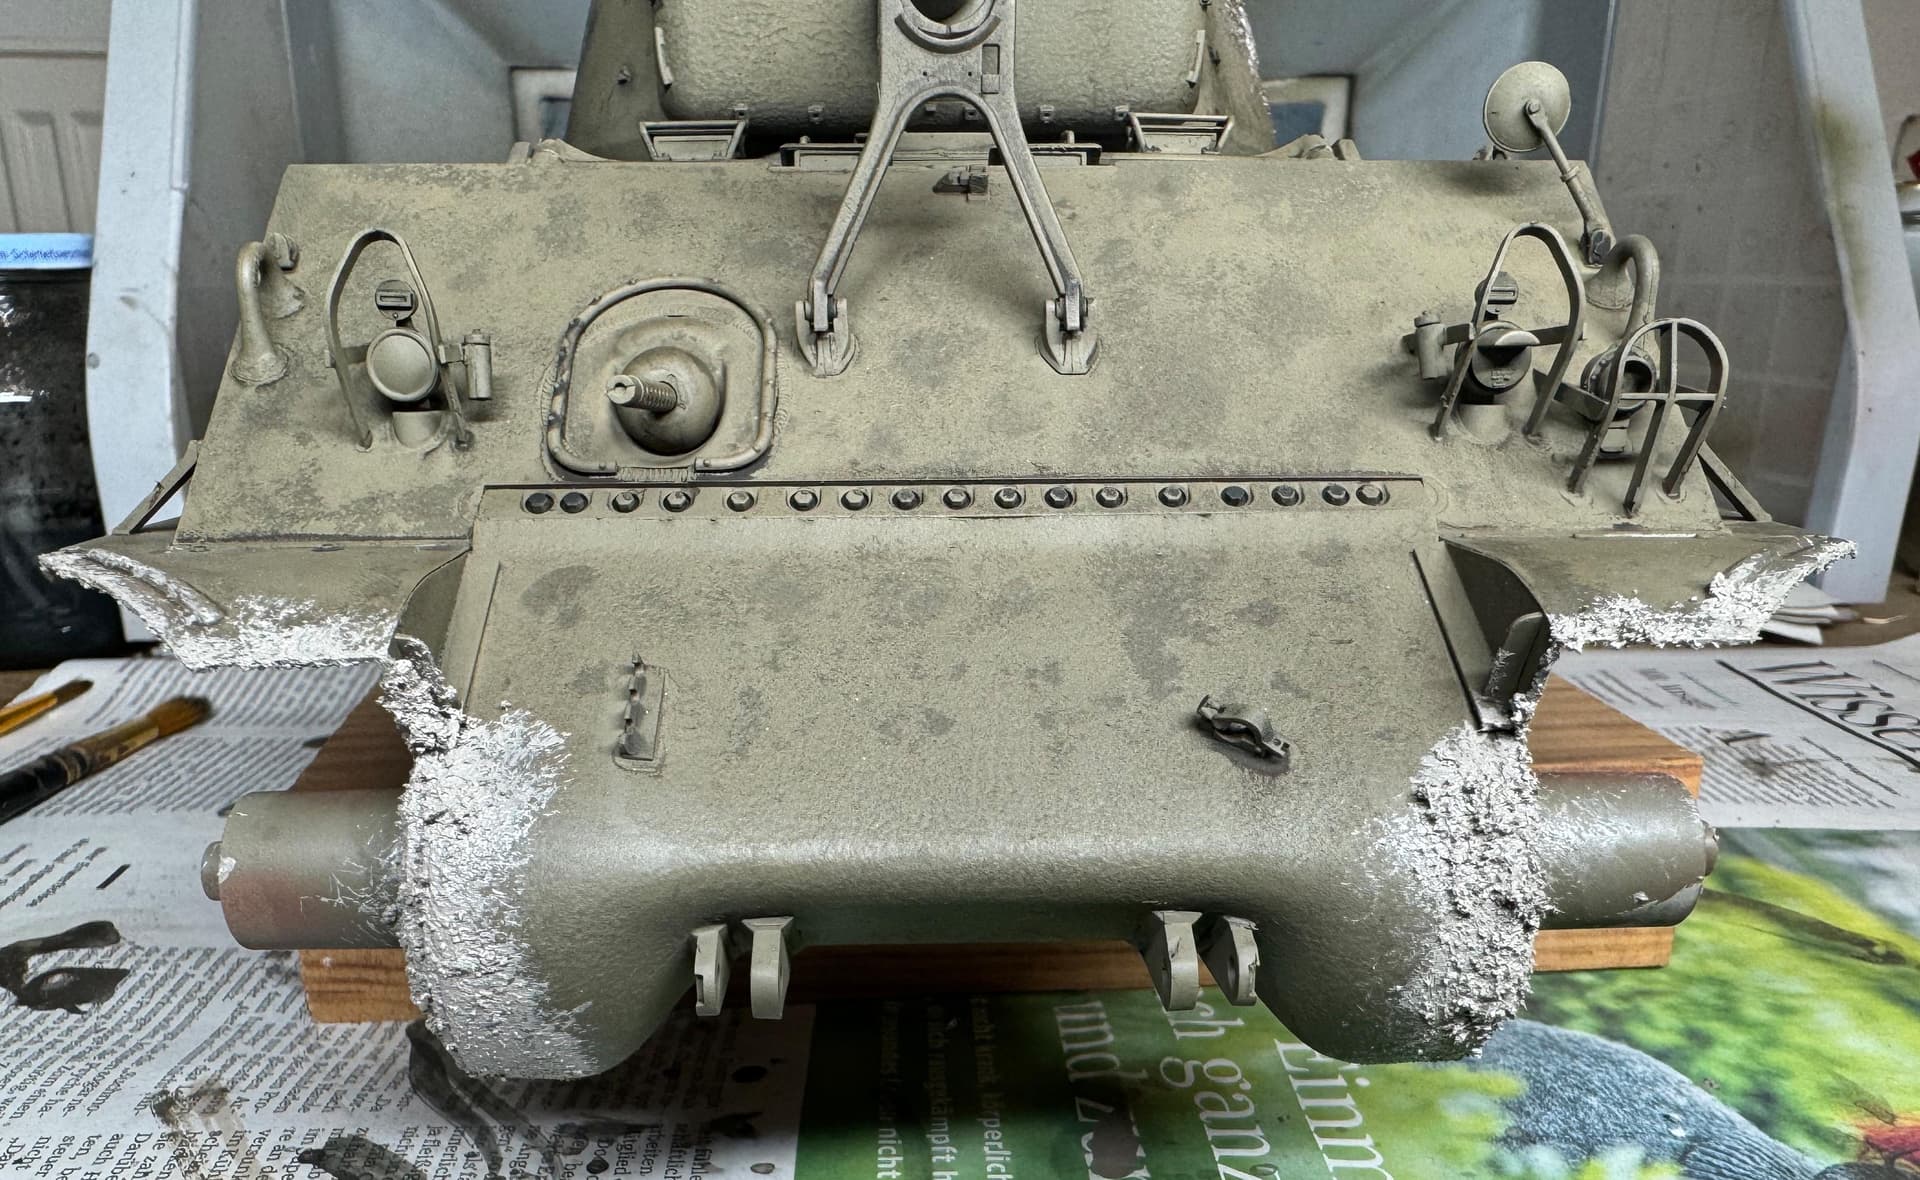
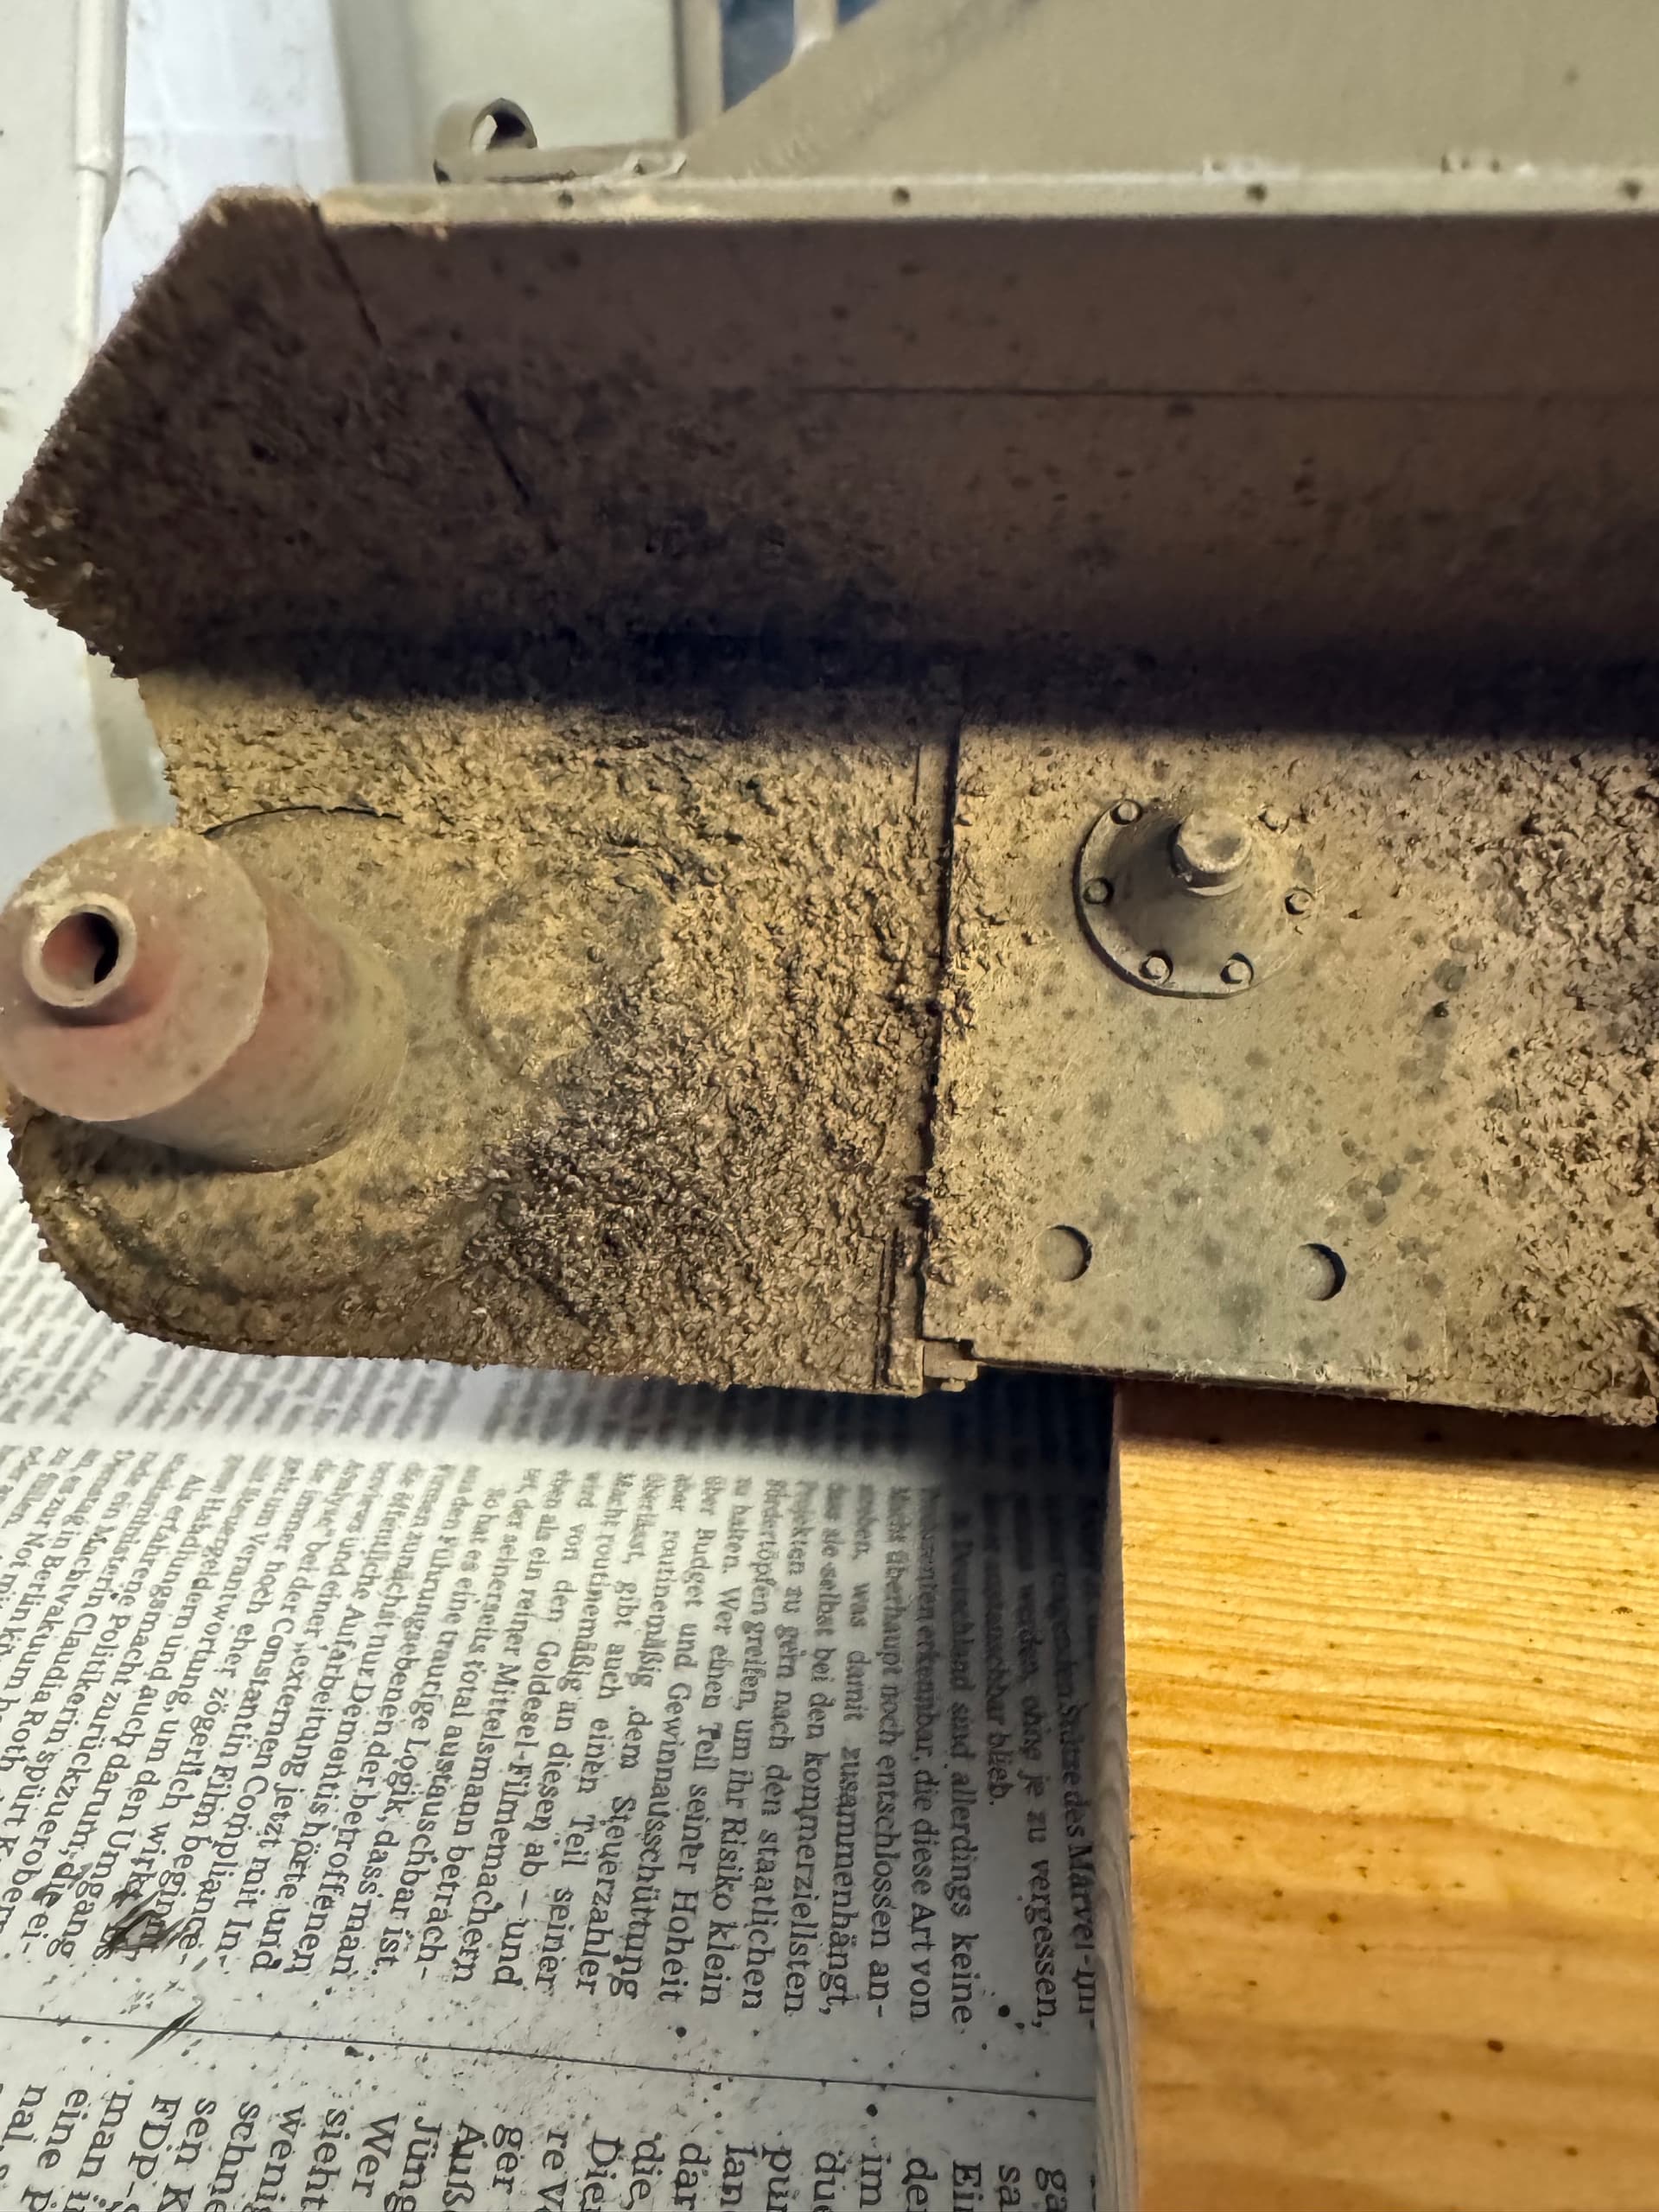
I startet with the lower part and added some acrylic dirt texture :
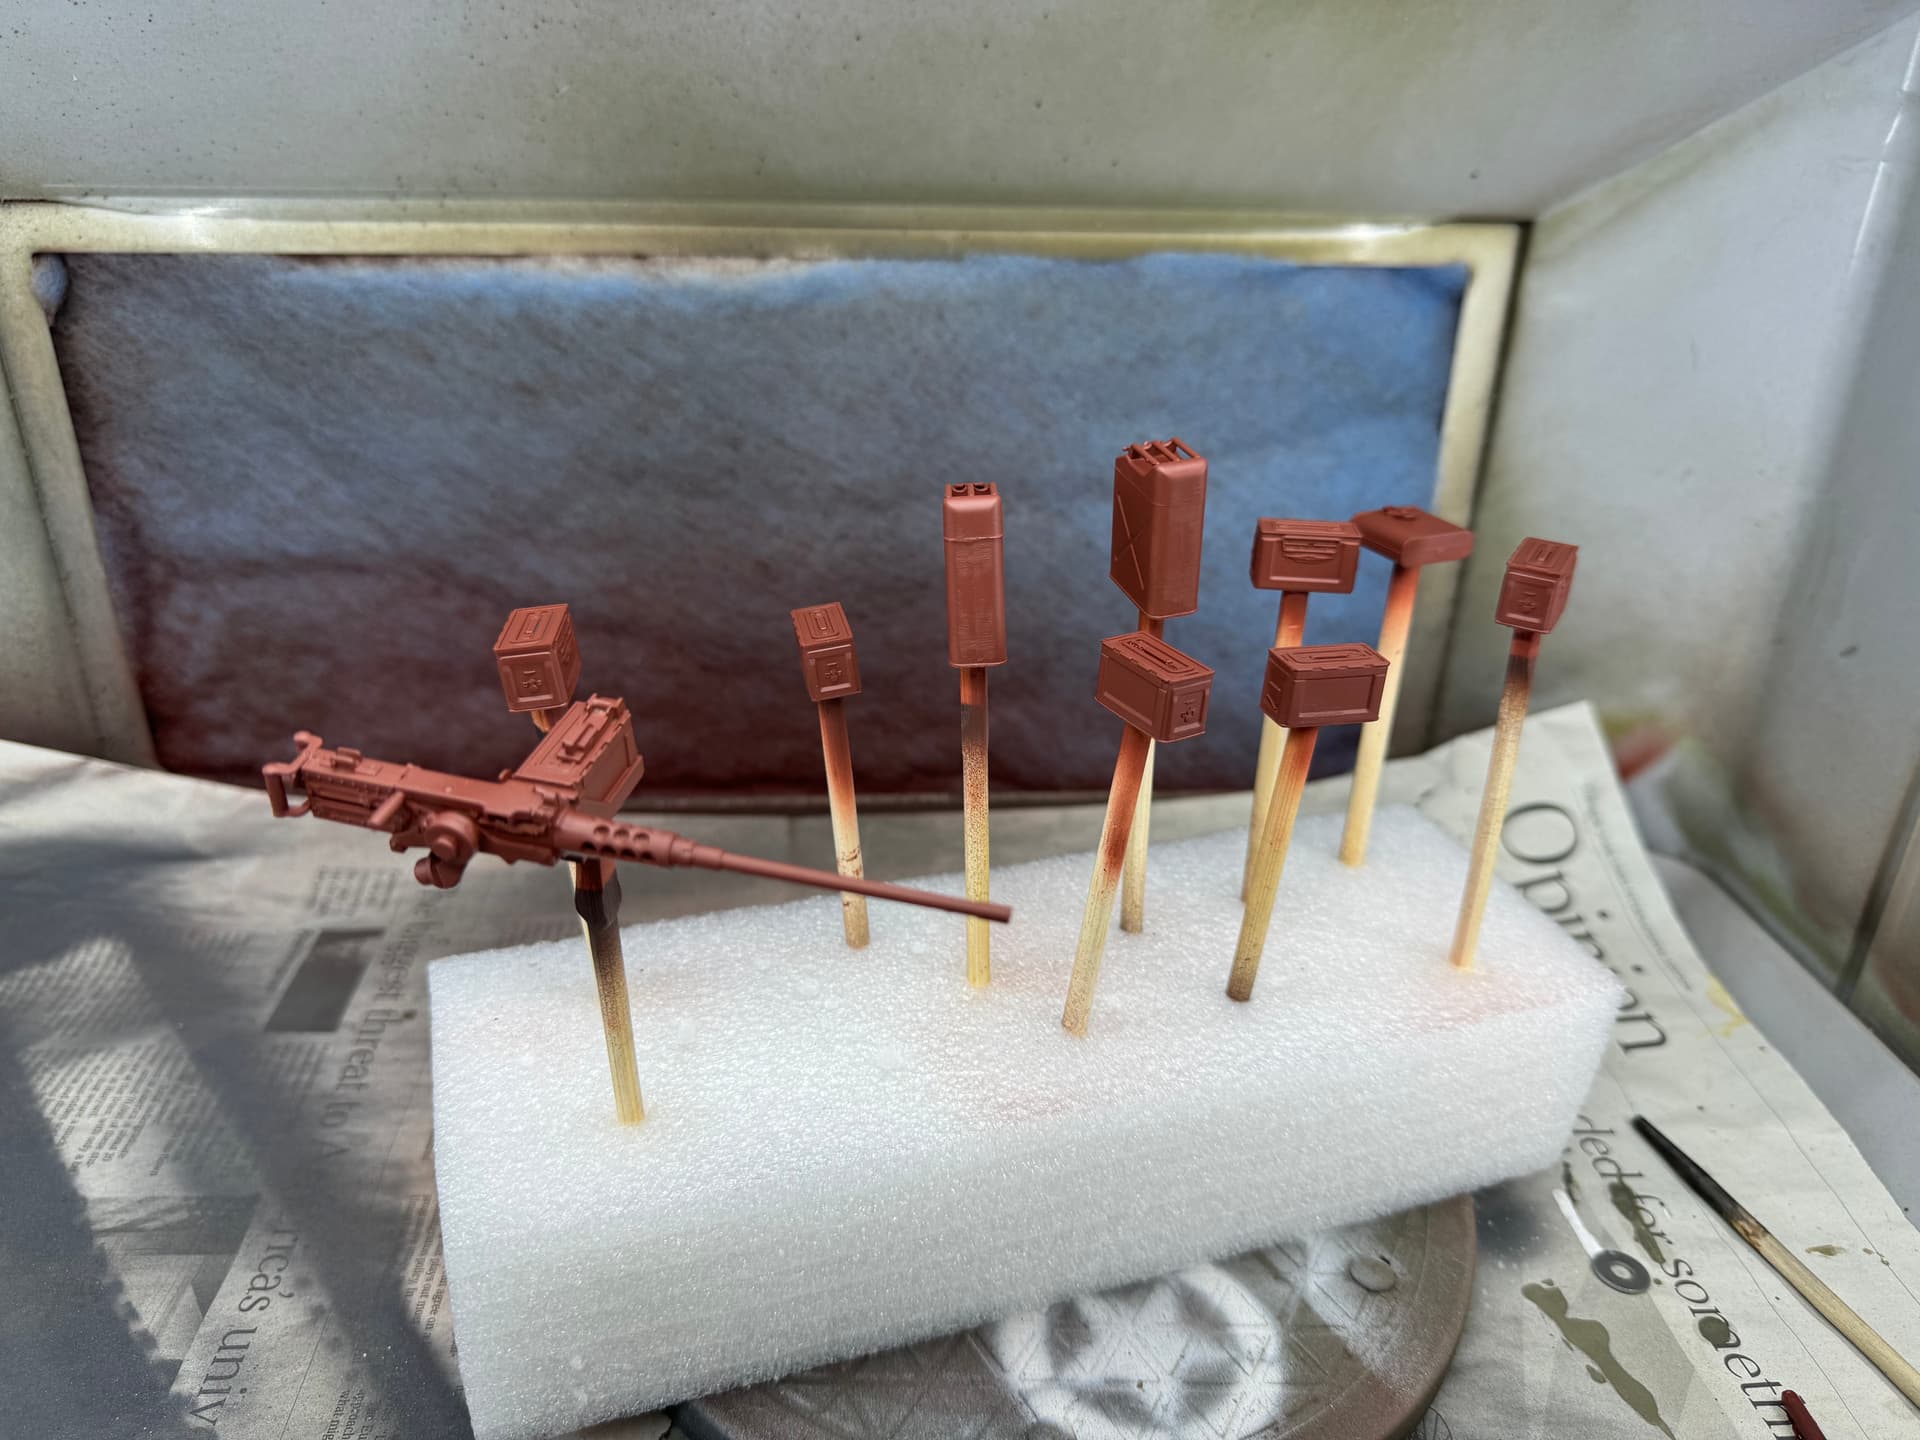
Prepainted all the other stuff already :
We are all here to learn and help others. Sometimes a project is just to learn a technique. I would be surprised if someone would say with 100% honesty that every project they build comes out perfect and the way they wanted.
It’s coming along nicely Jacomo. You have some very interesting effects on the model with your weathering.
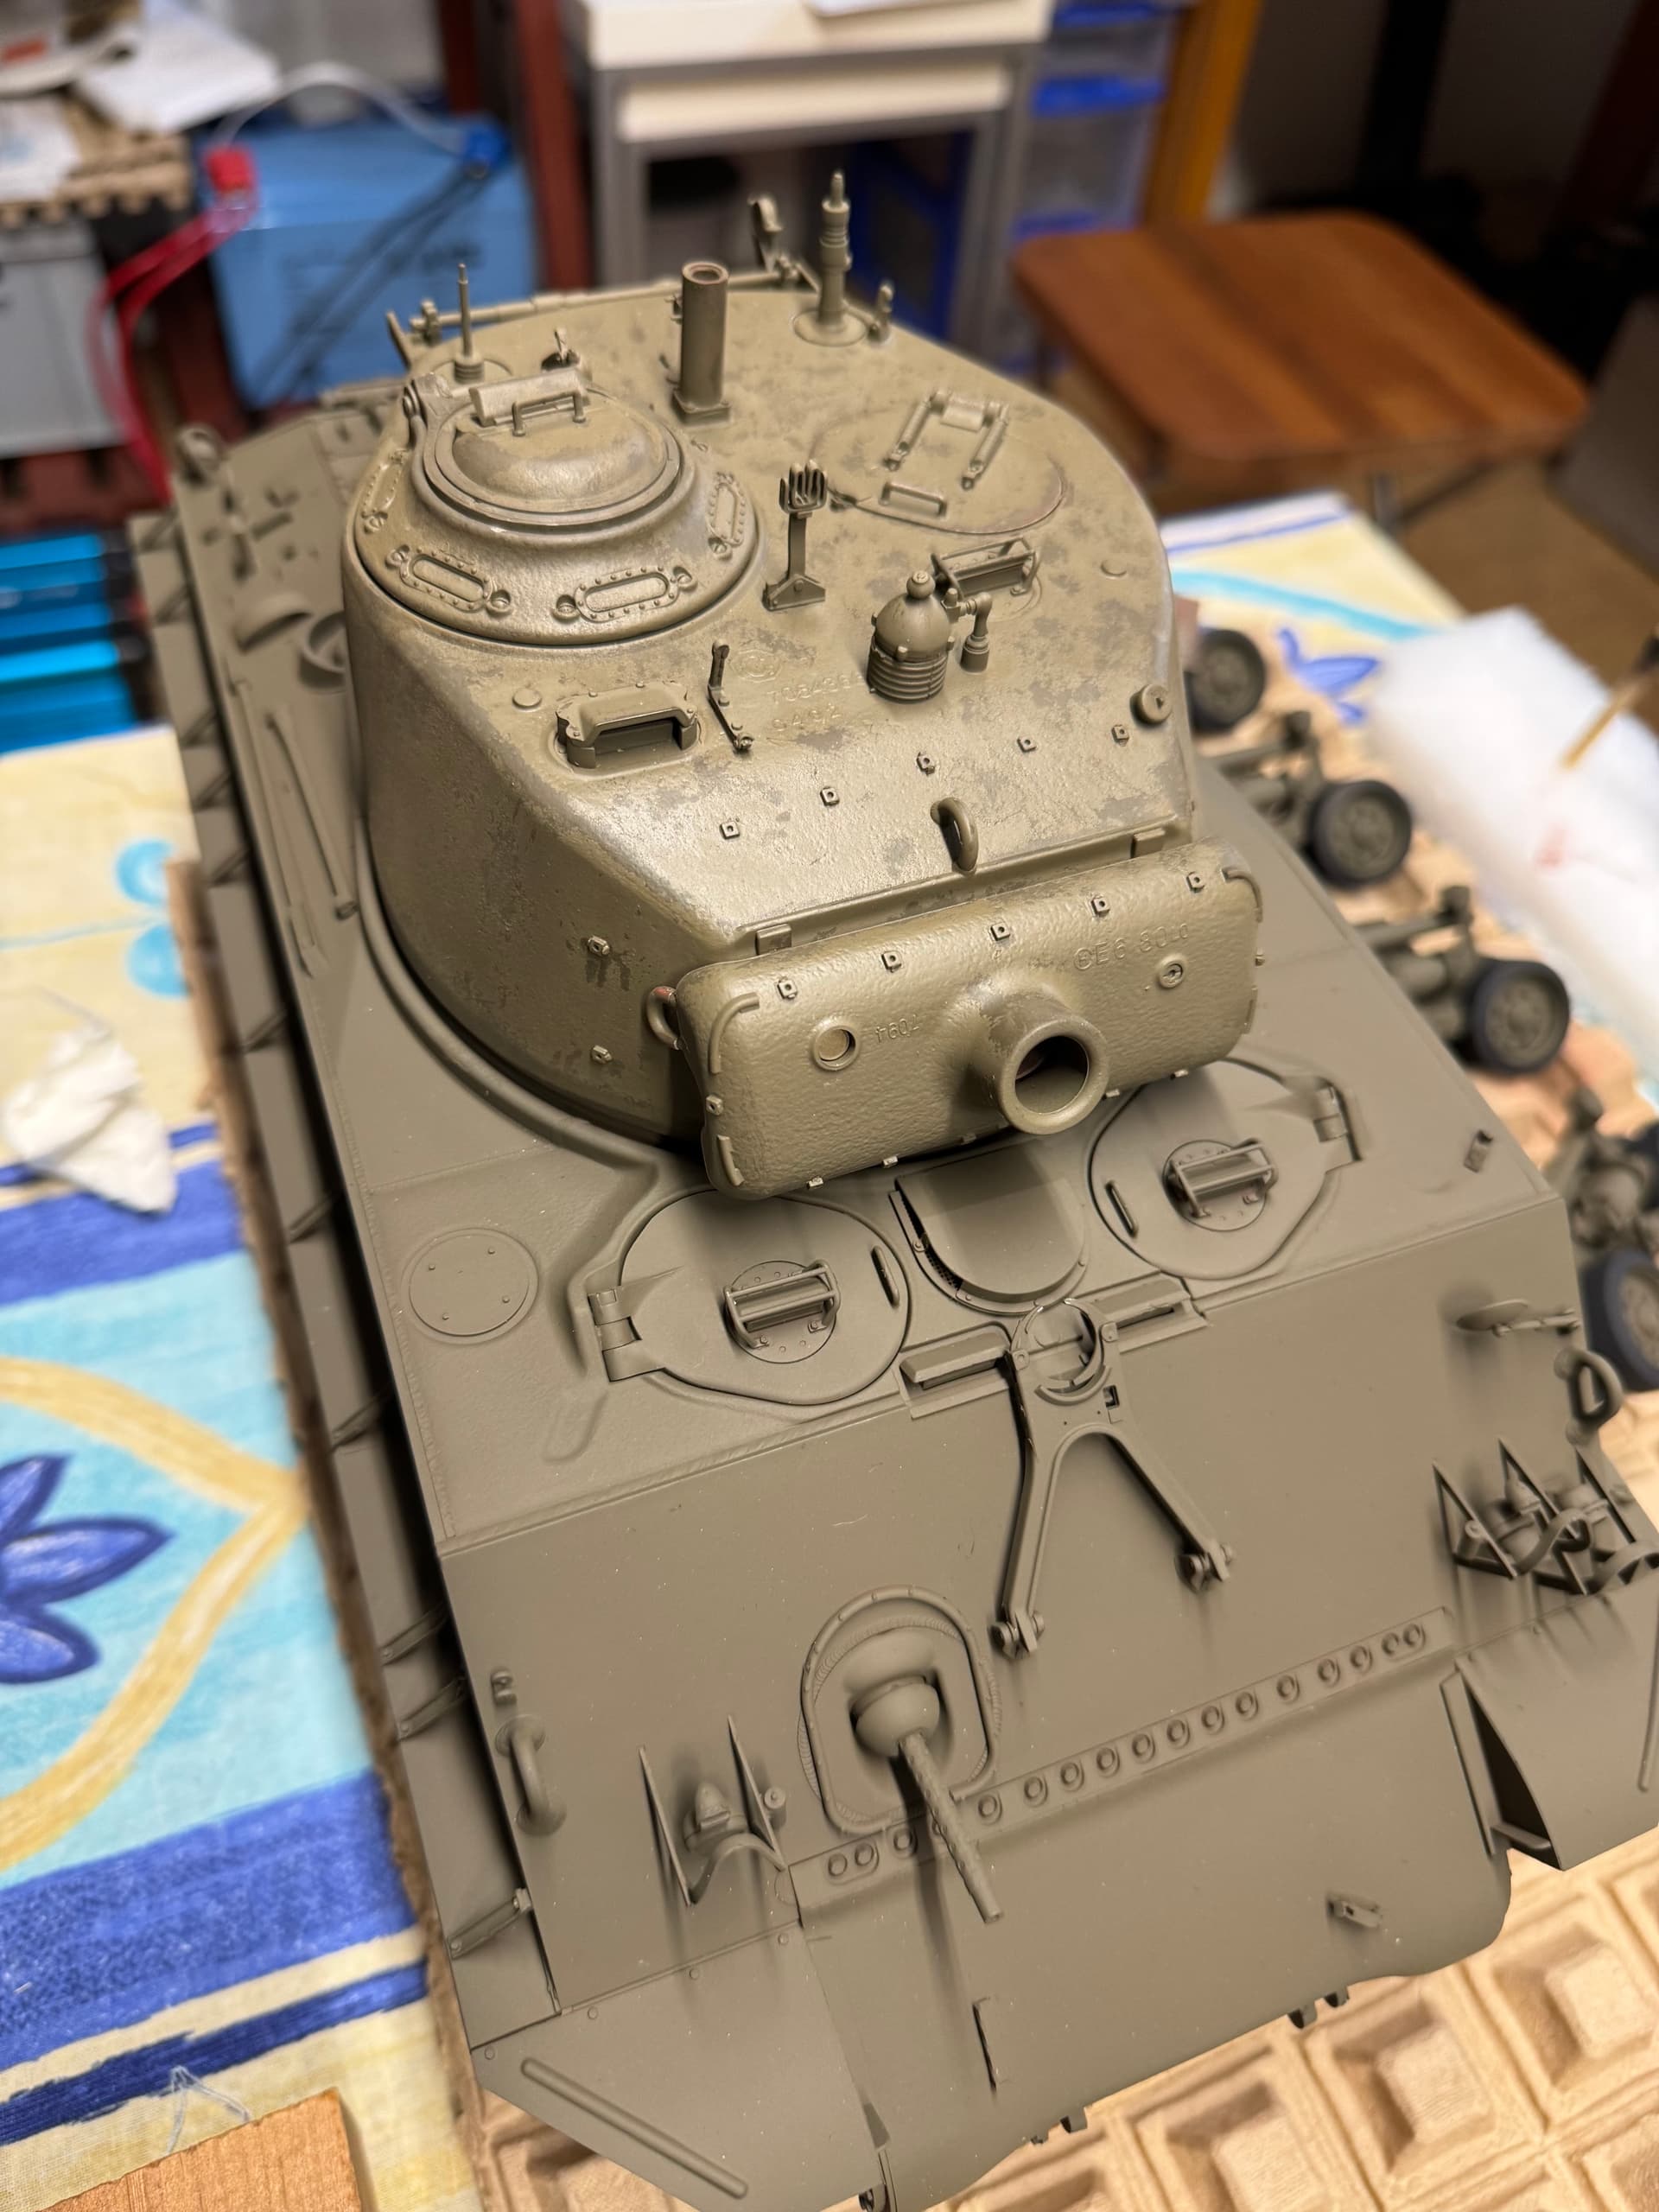
What did you use for that dirt? That looks awesome!
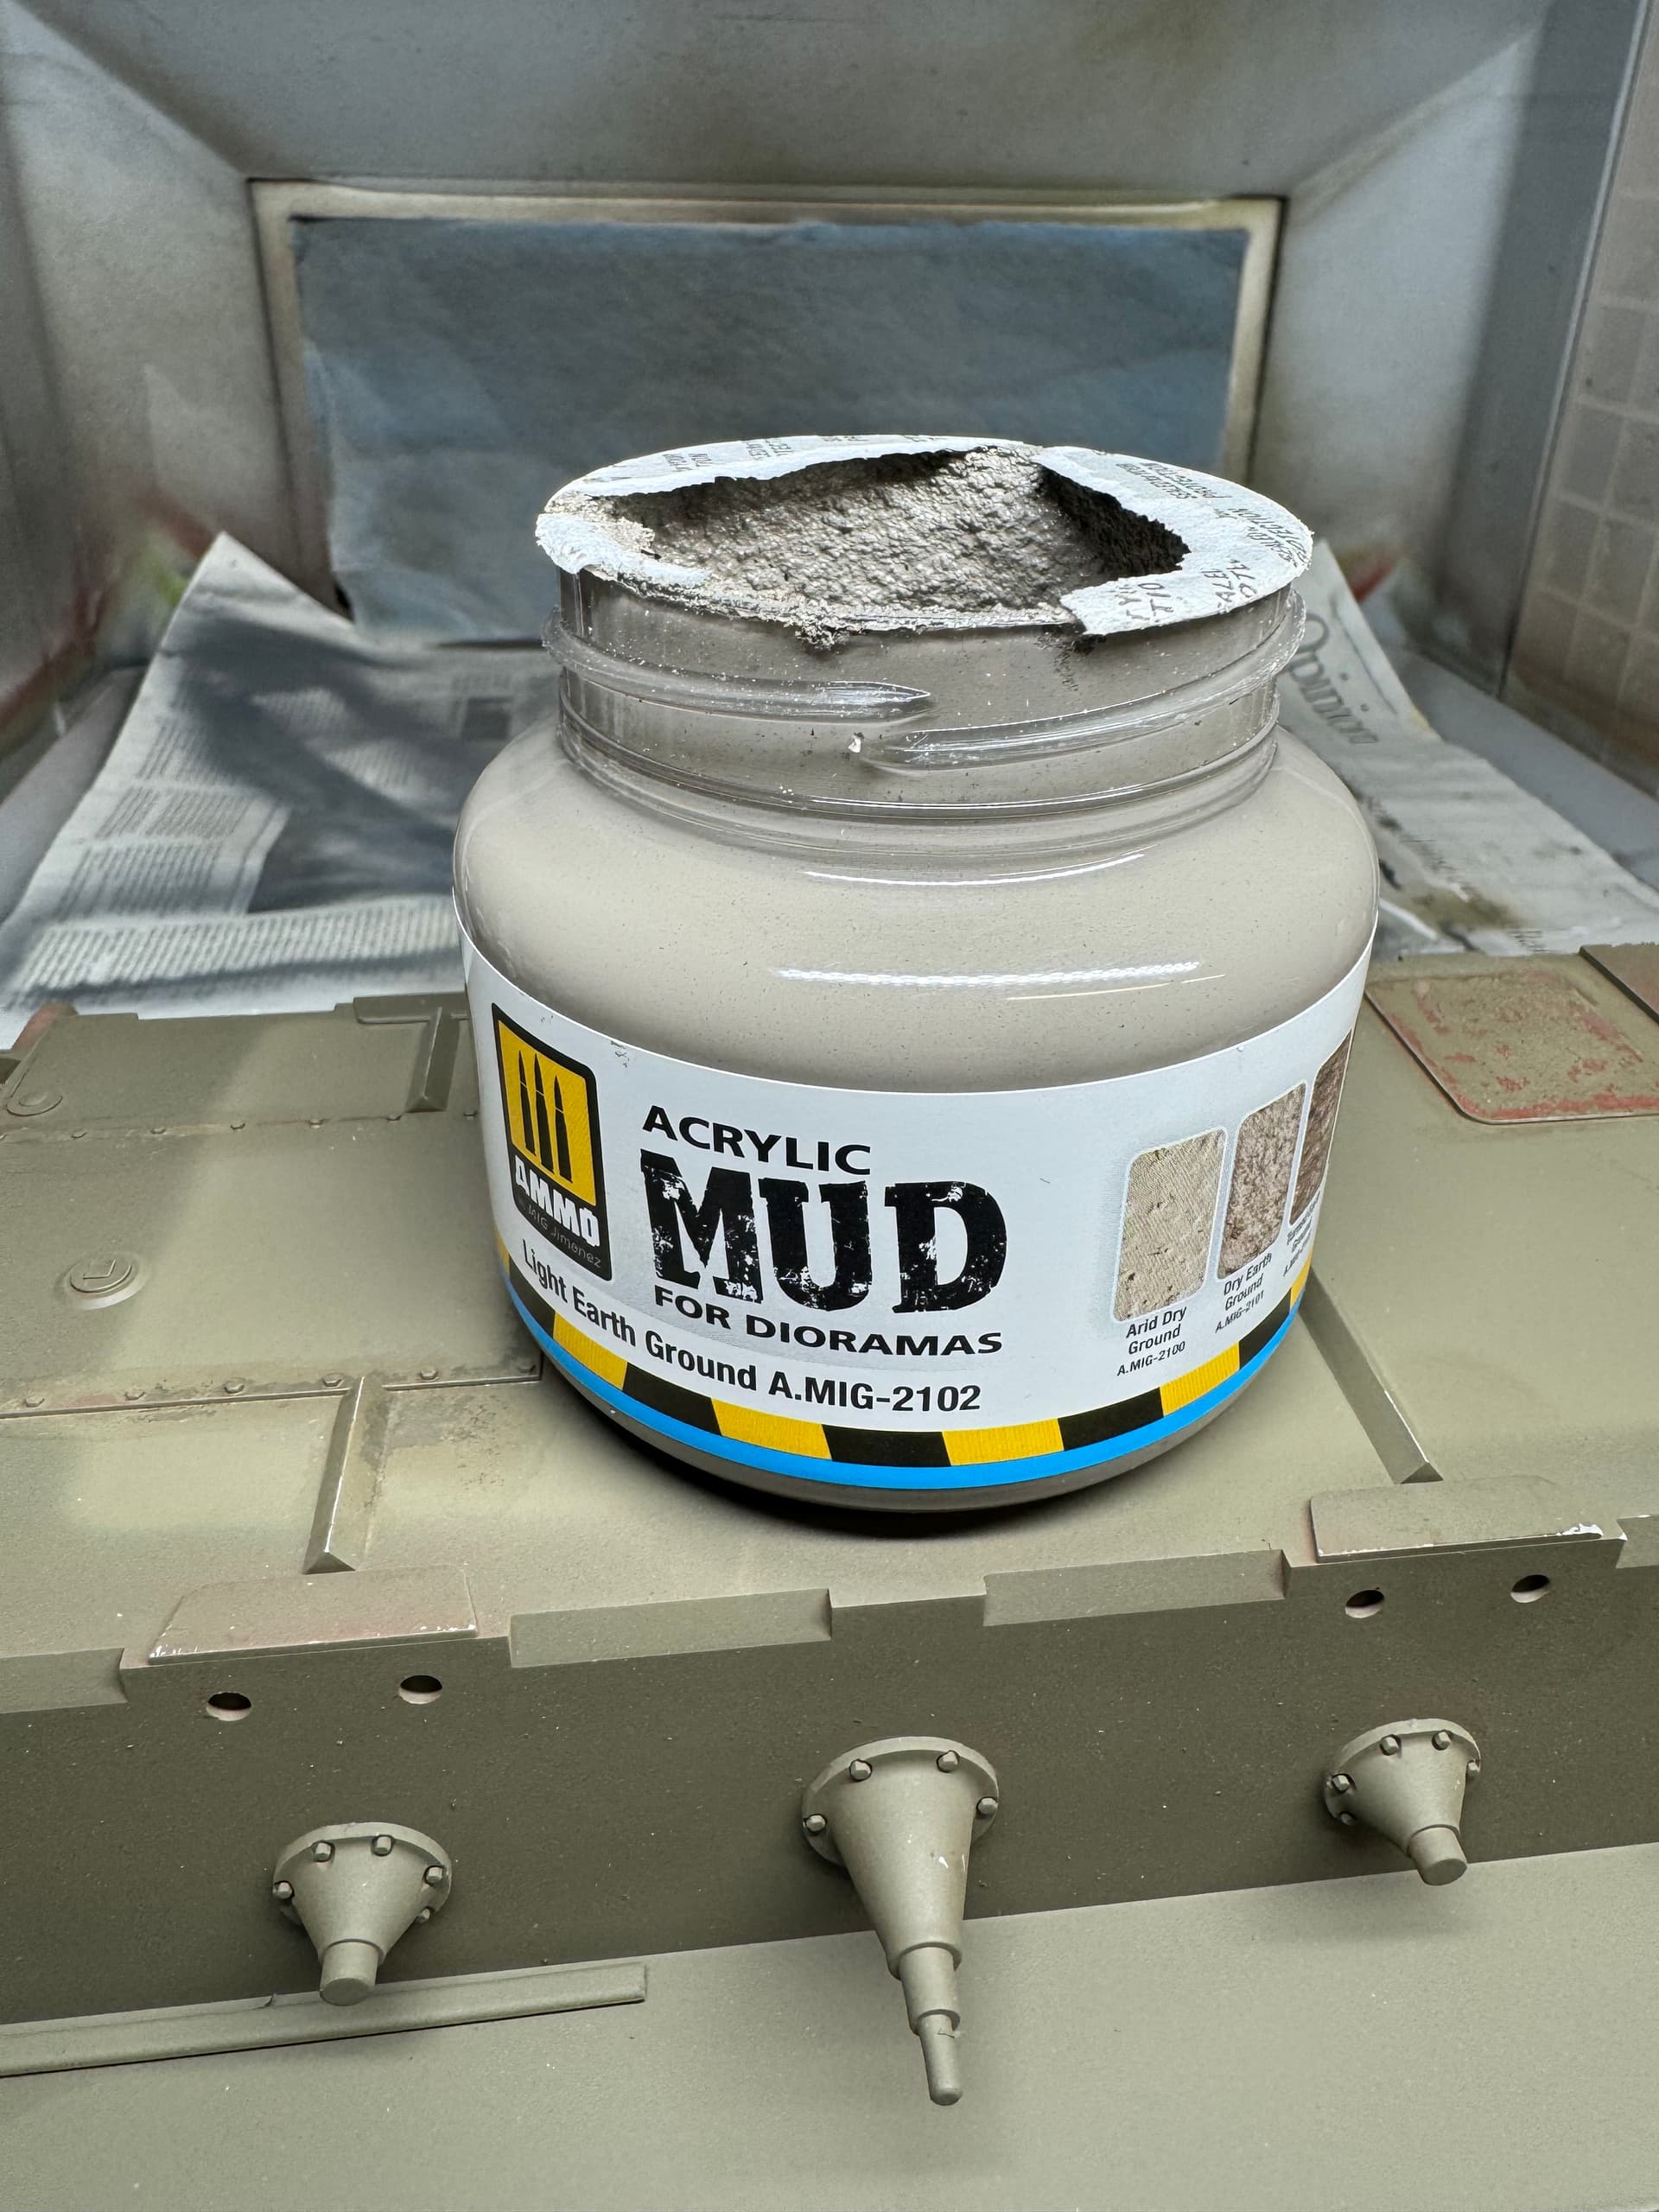
This is acrylic mud which was left from my Dragon Sherman then airbrushed an splattered
with dark wash:
I had a bunch of trouble with the VMS varnish and contacted VMS for help.
i got a answer 30 (!) minutes after sending a email describing the problem, cant believe
this kind of service. So i ordered some other products from their weathering range to test
them ![]()
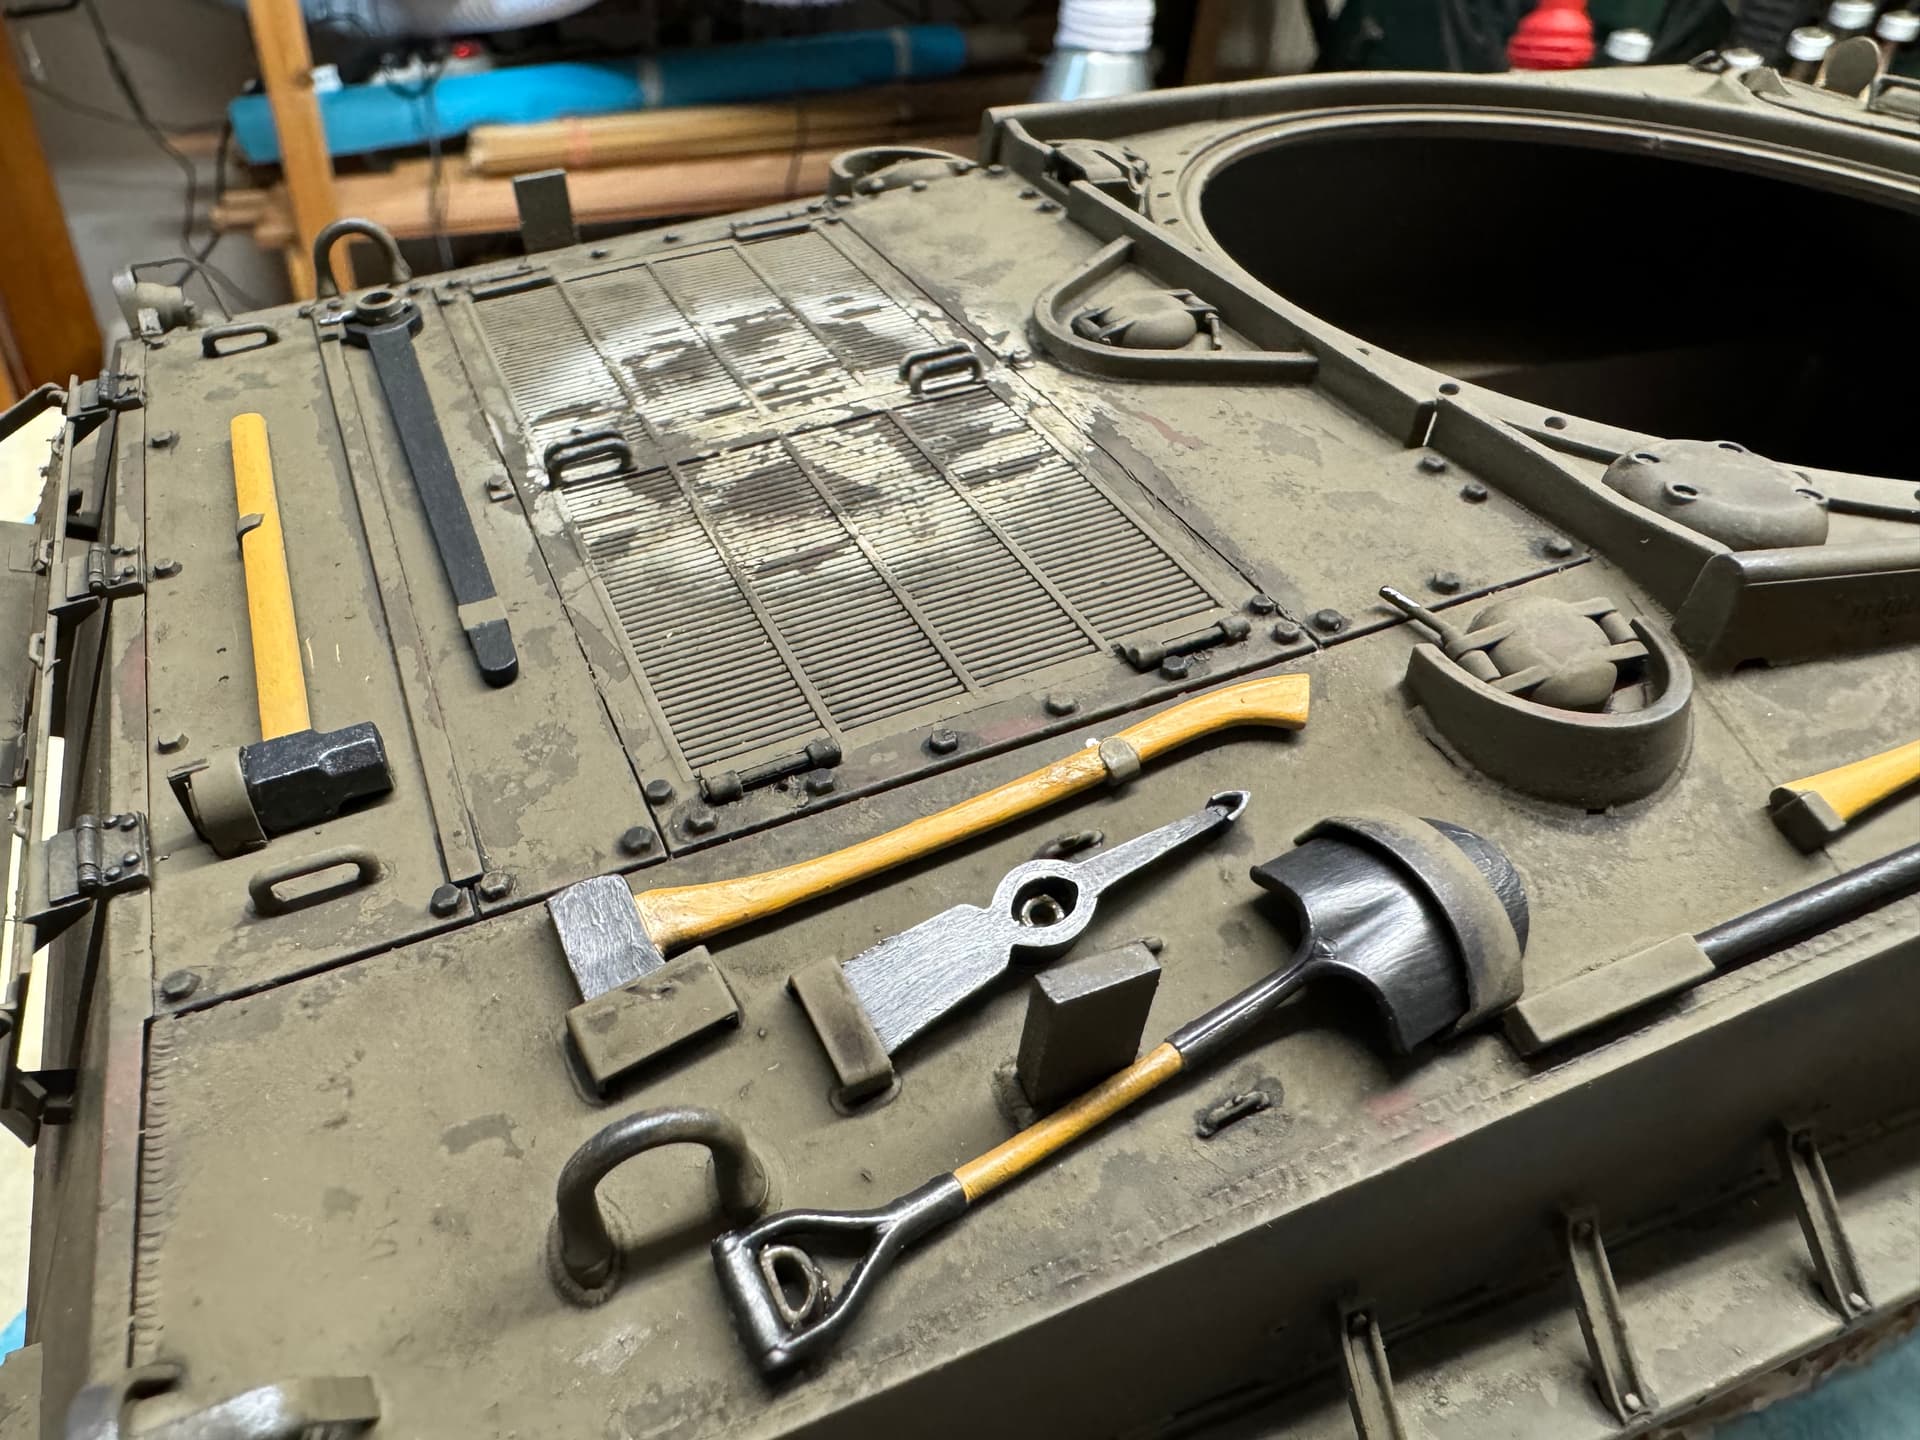
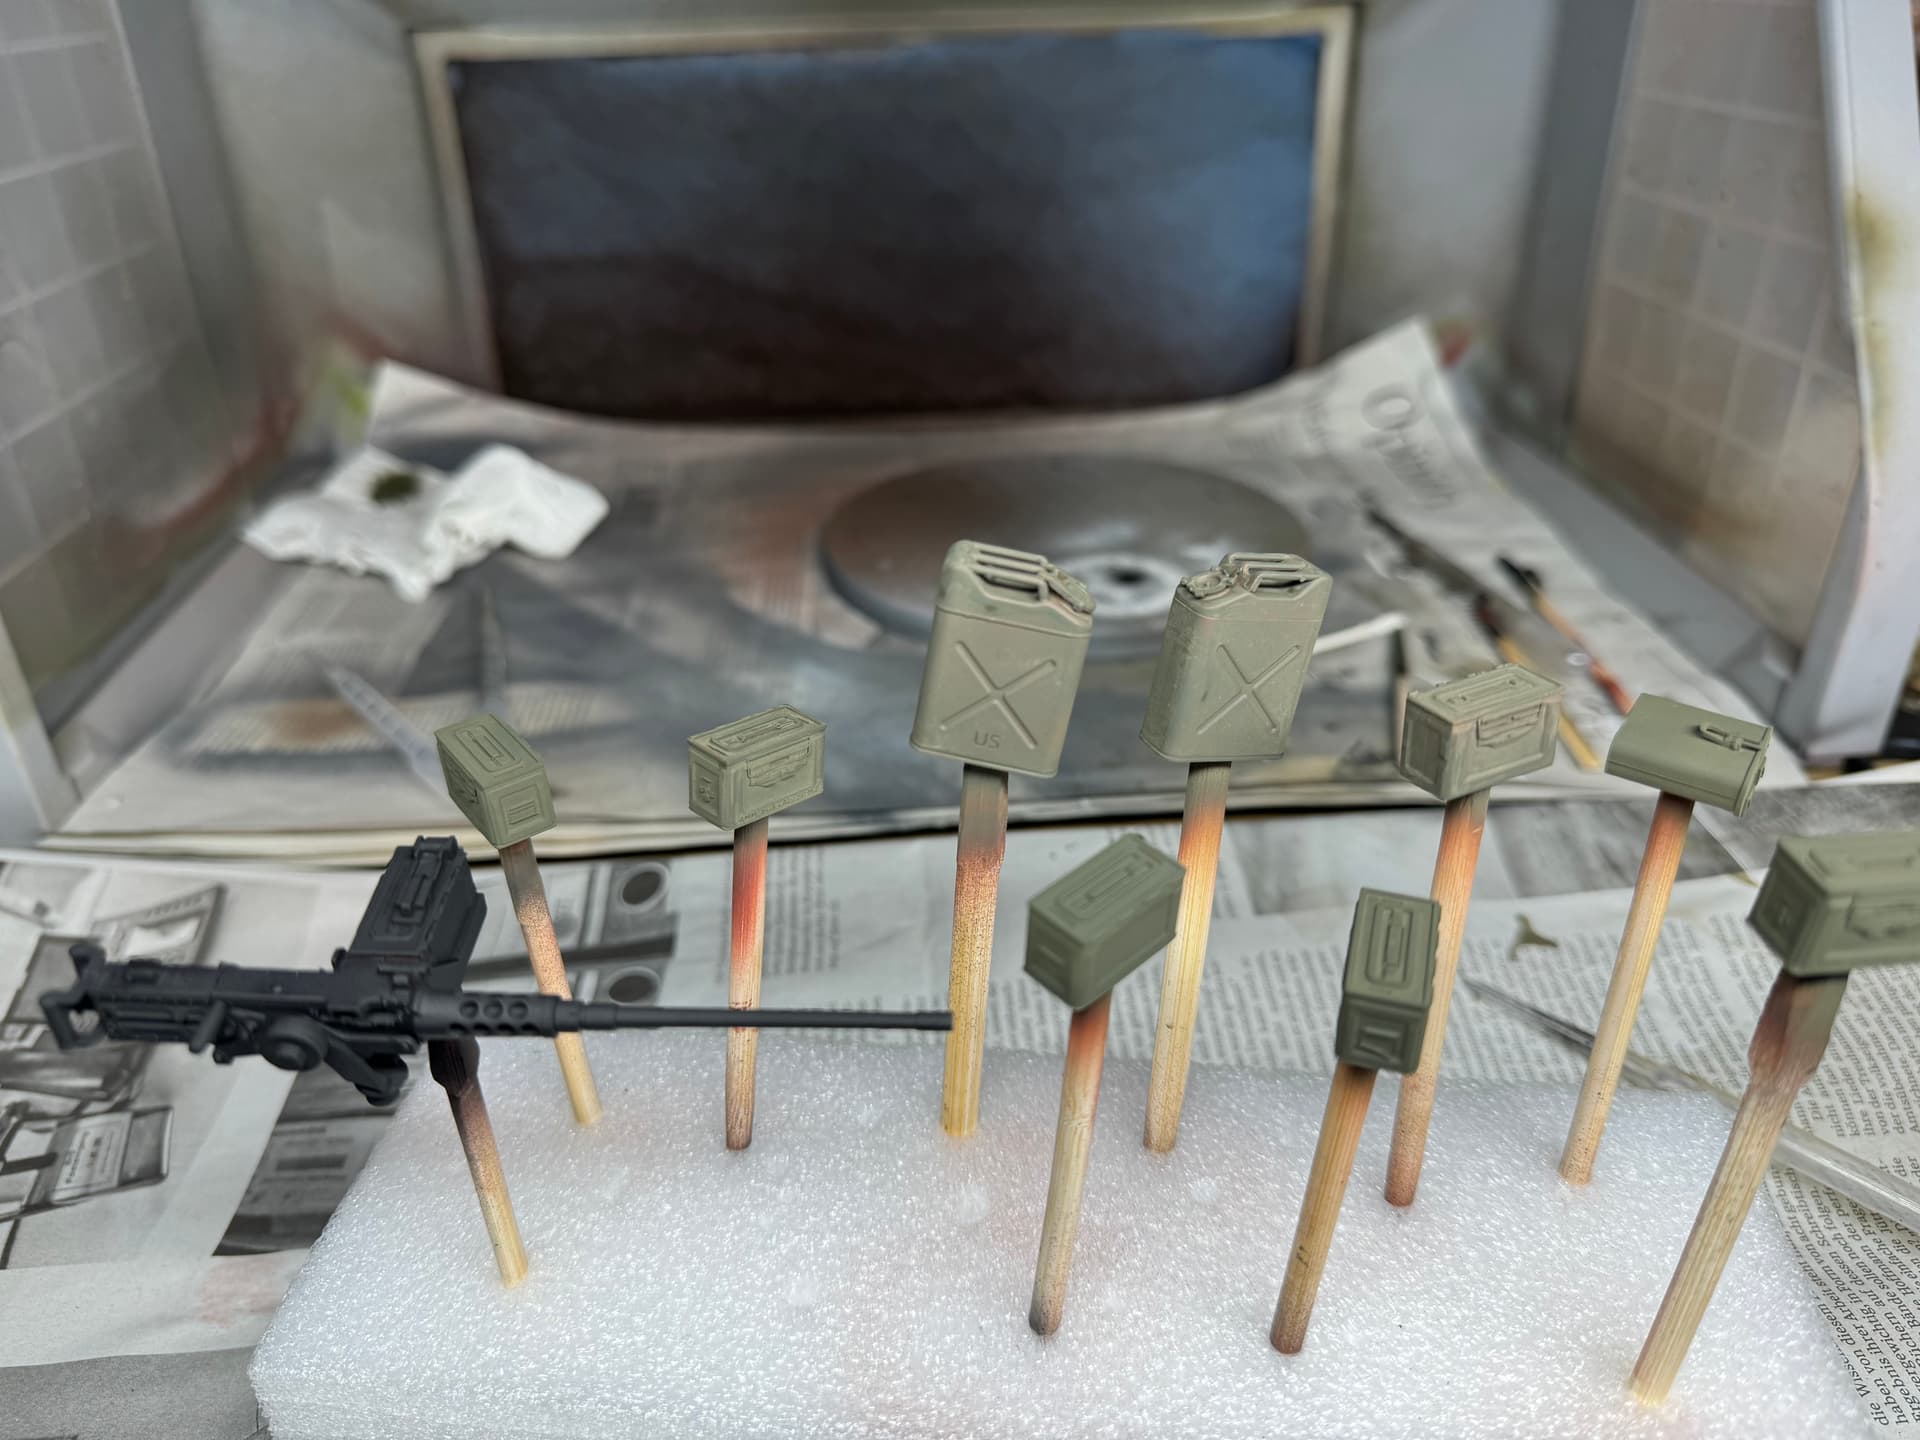
In the meantime i did some of the details which should be an the tank and get weatherd too when it comes down to dust and dirt i think:
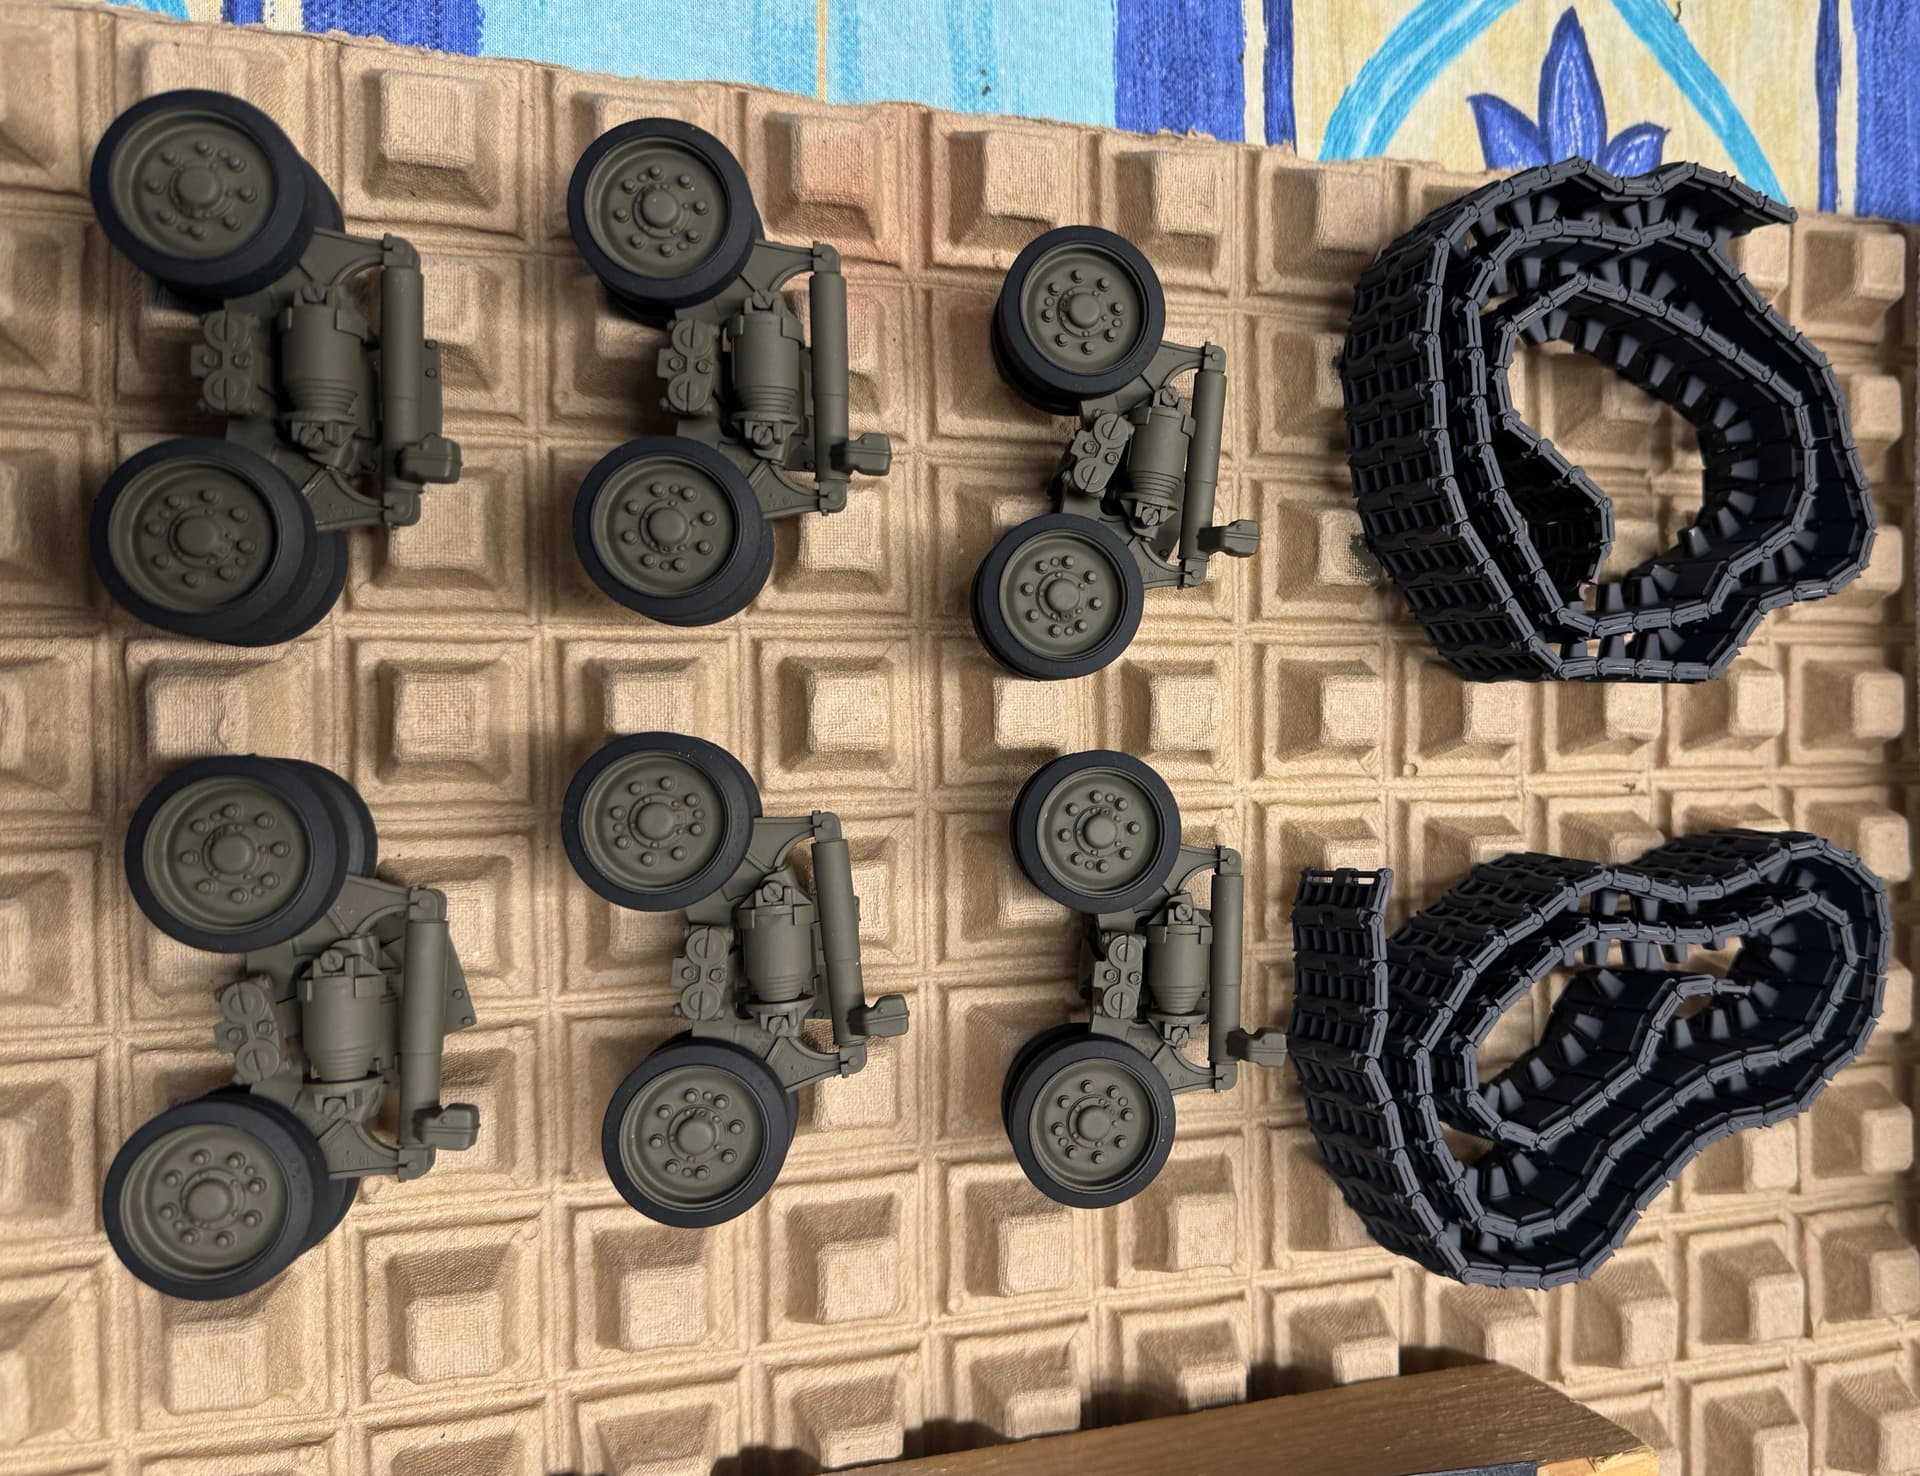
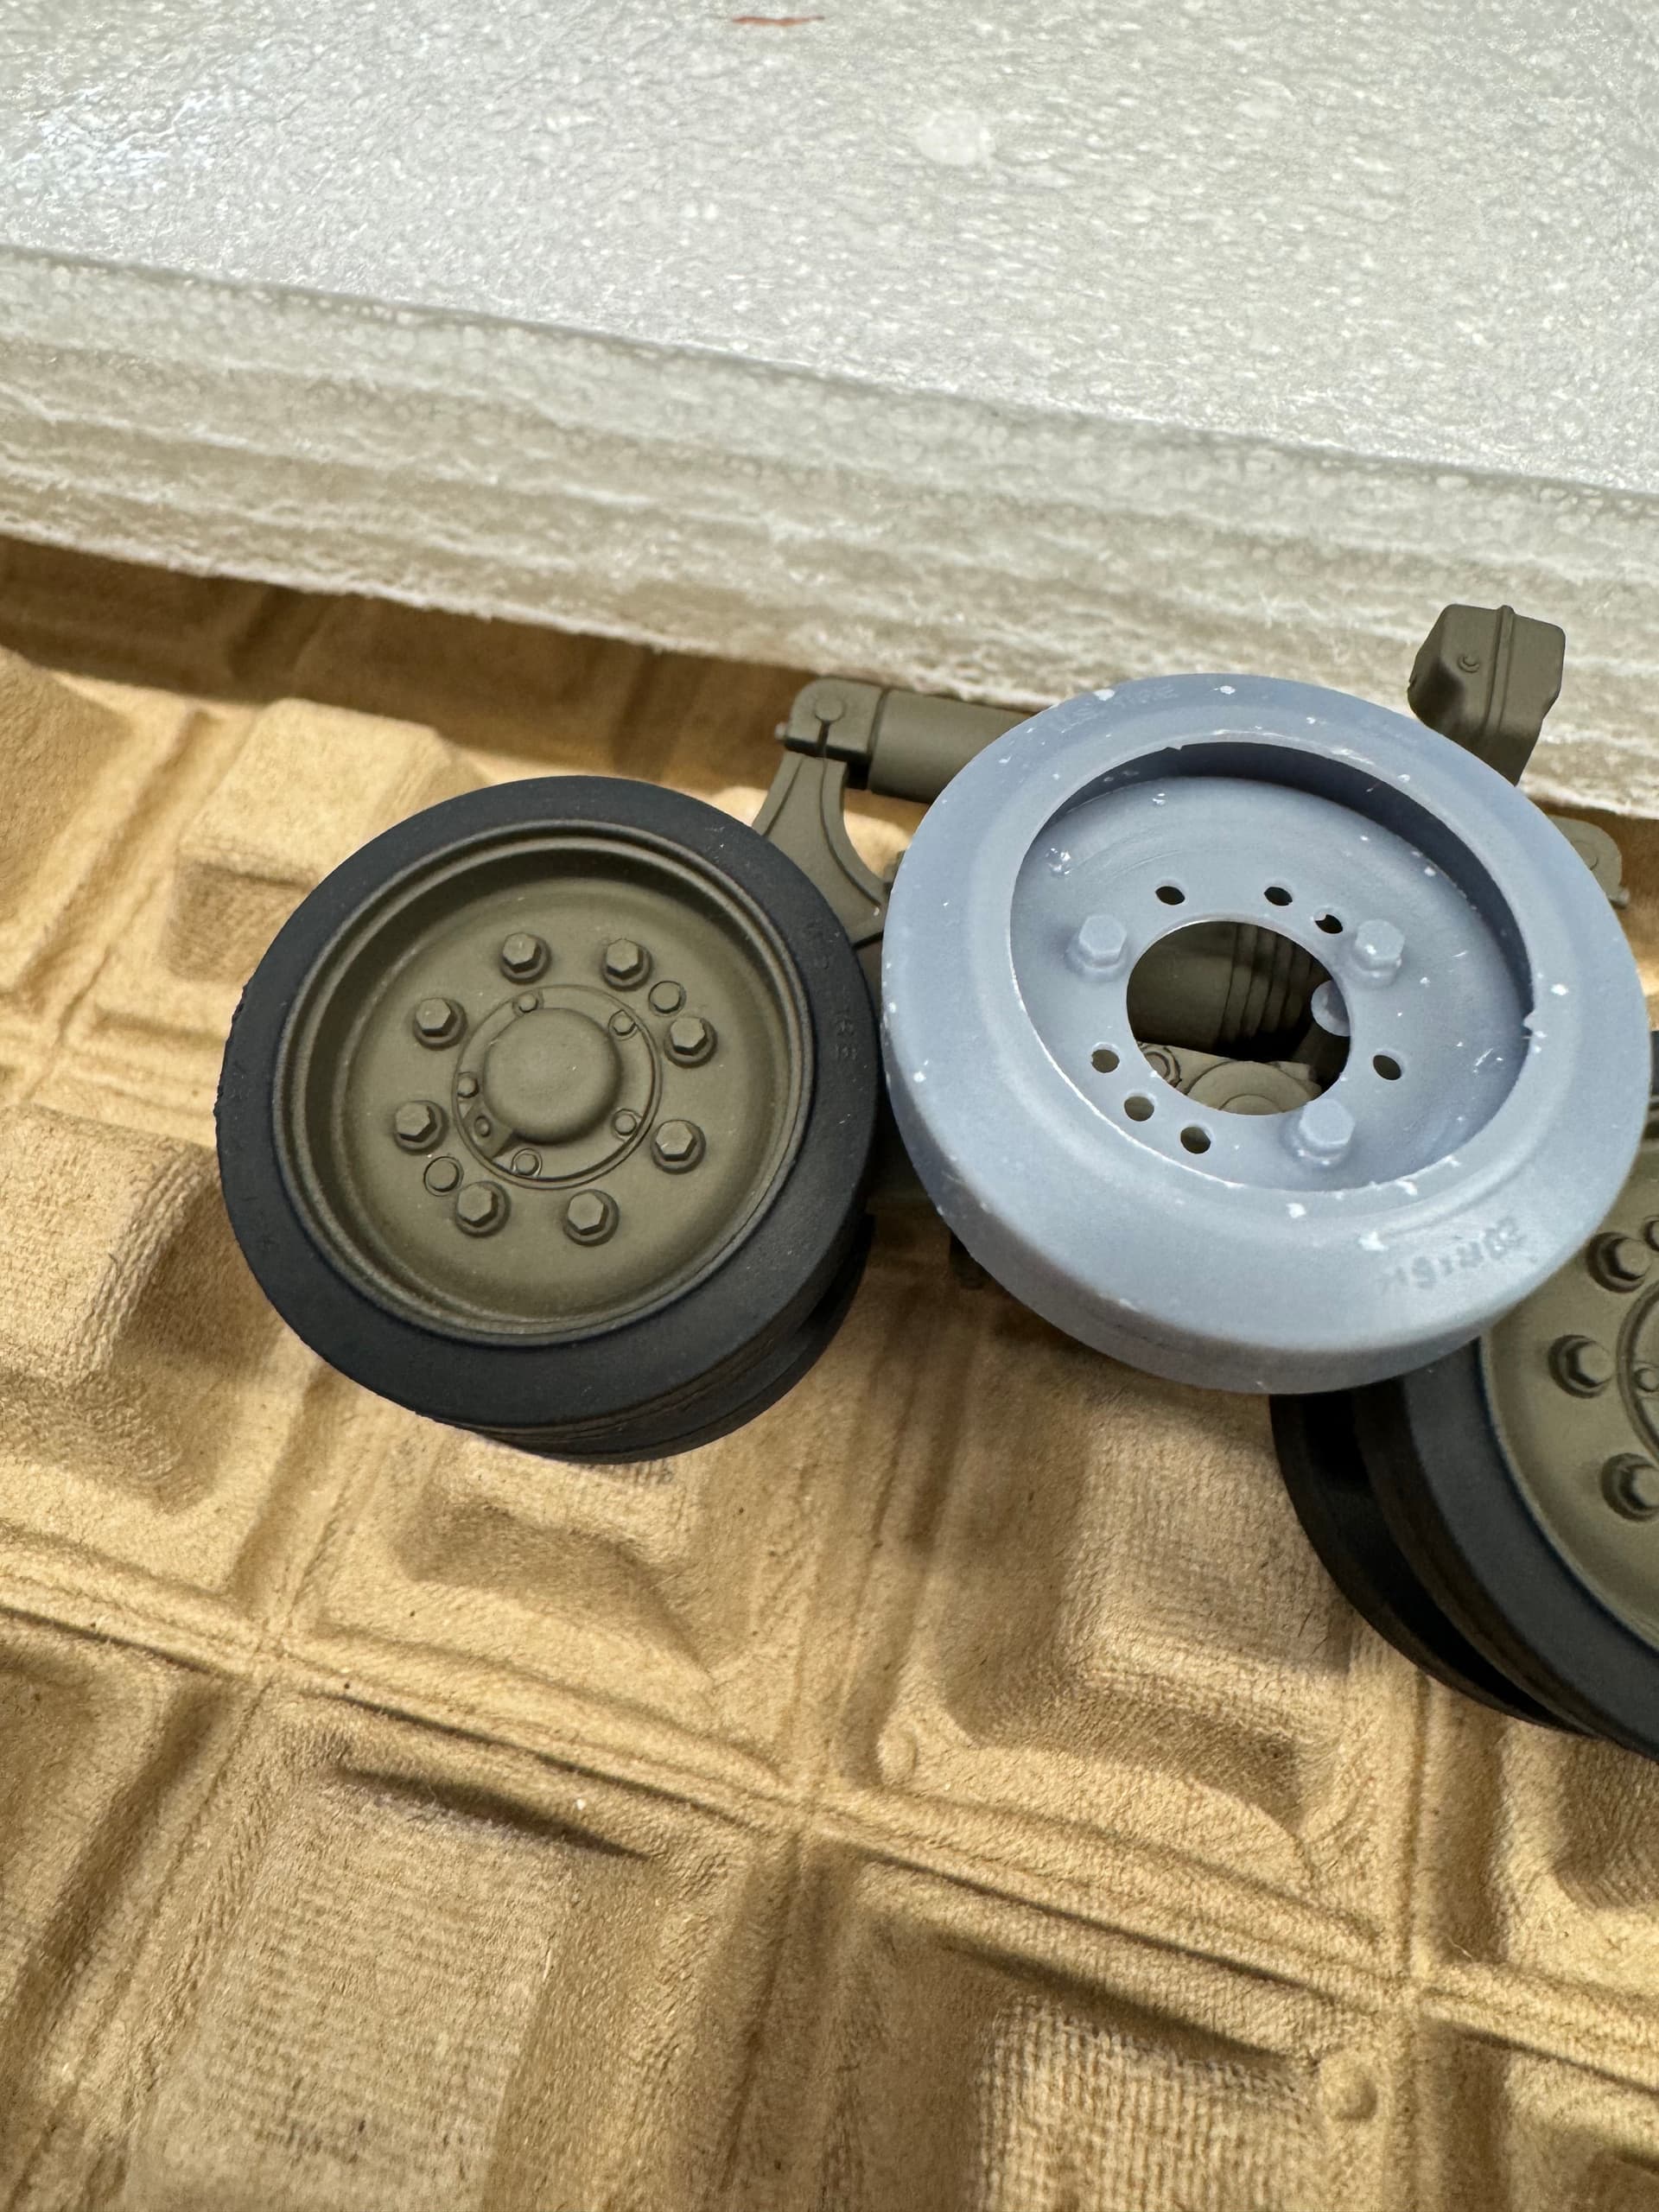
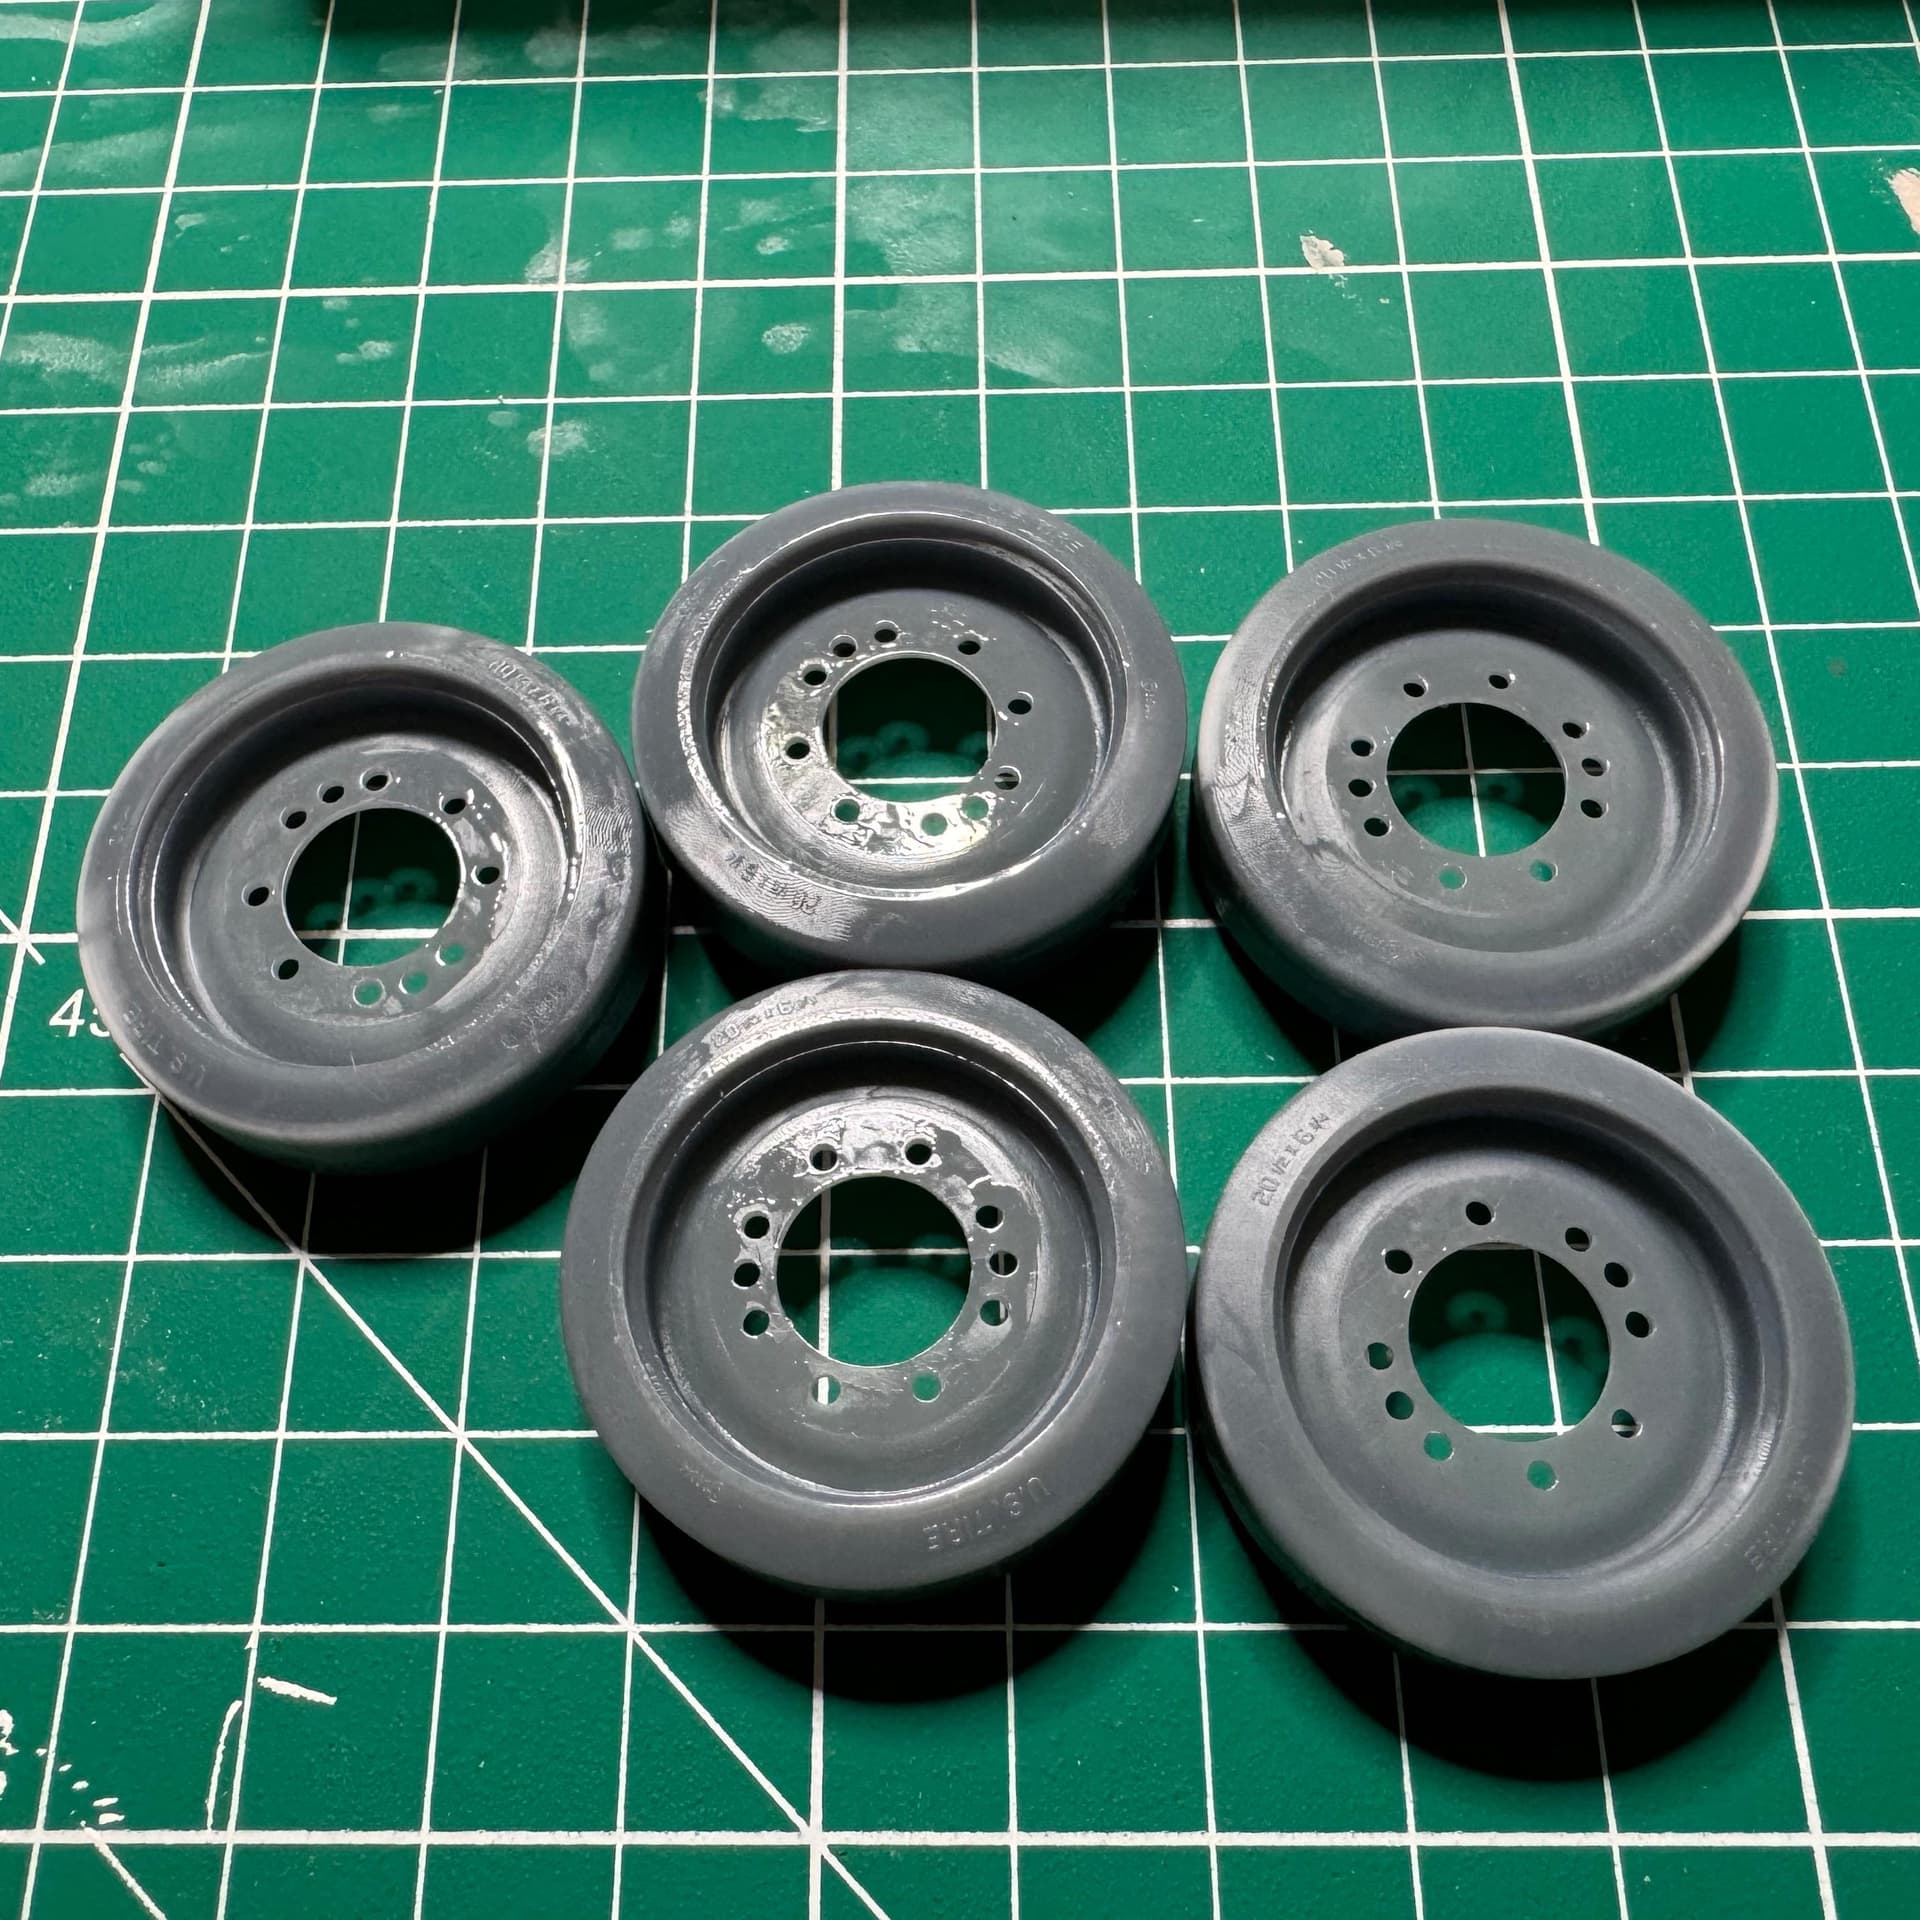
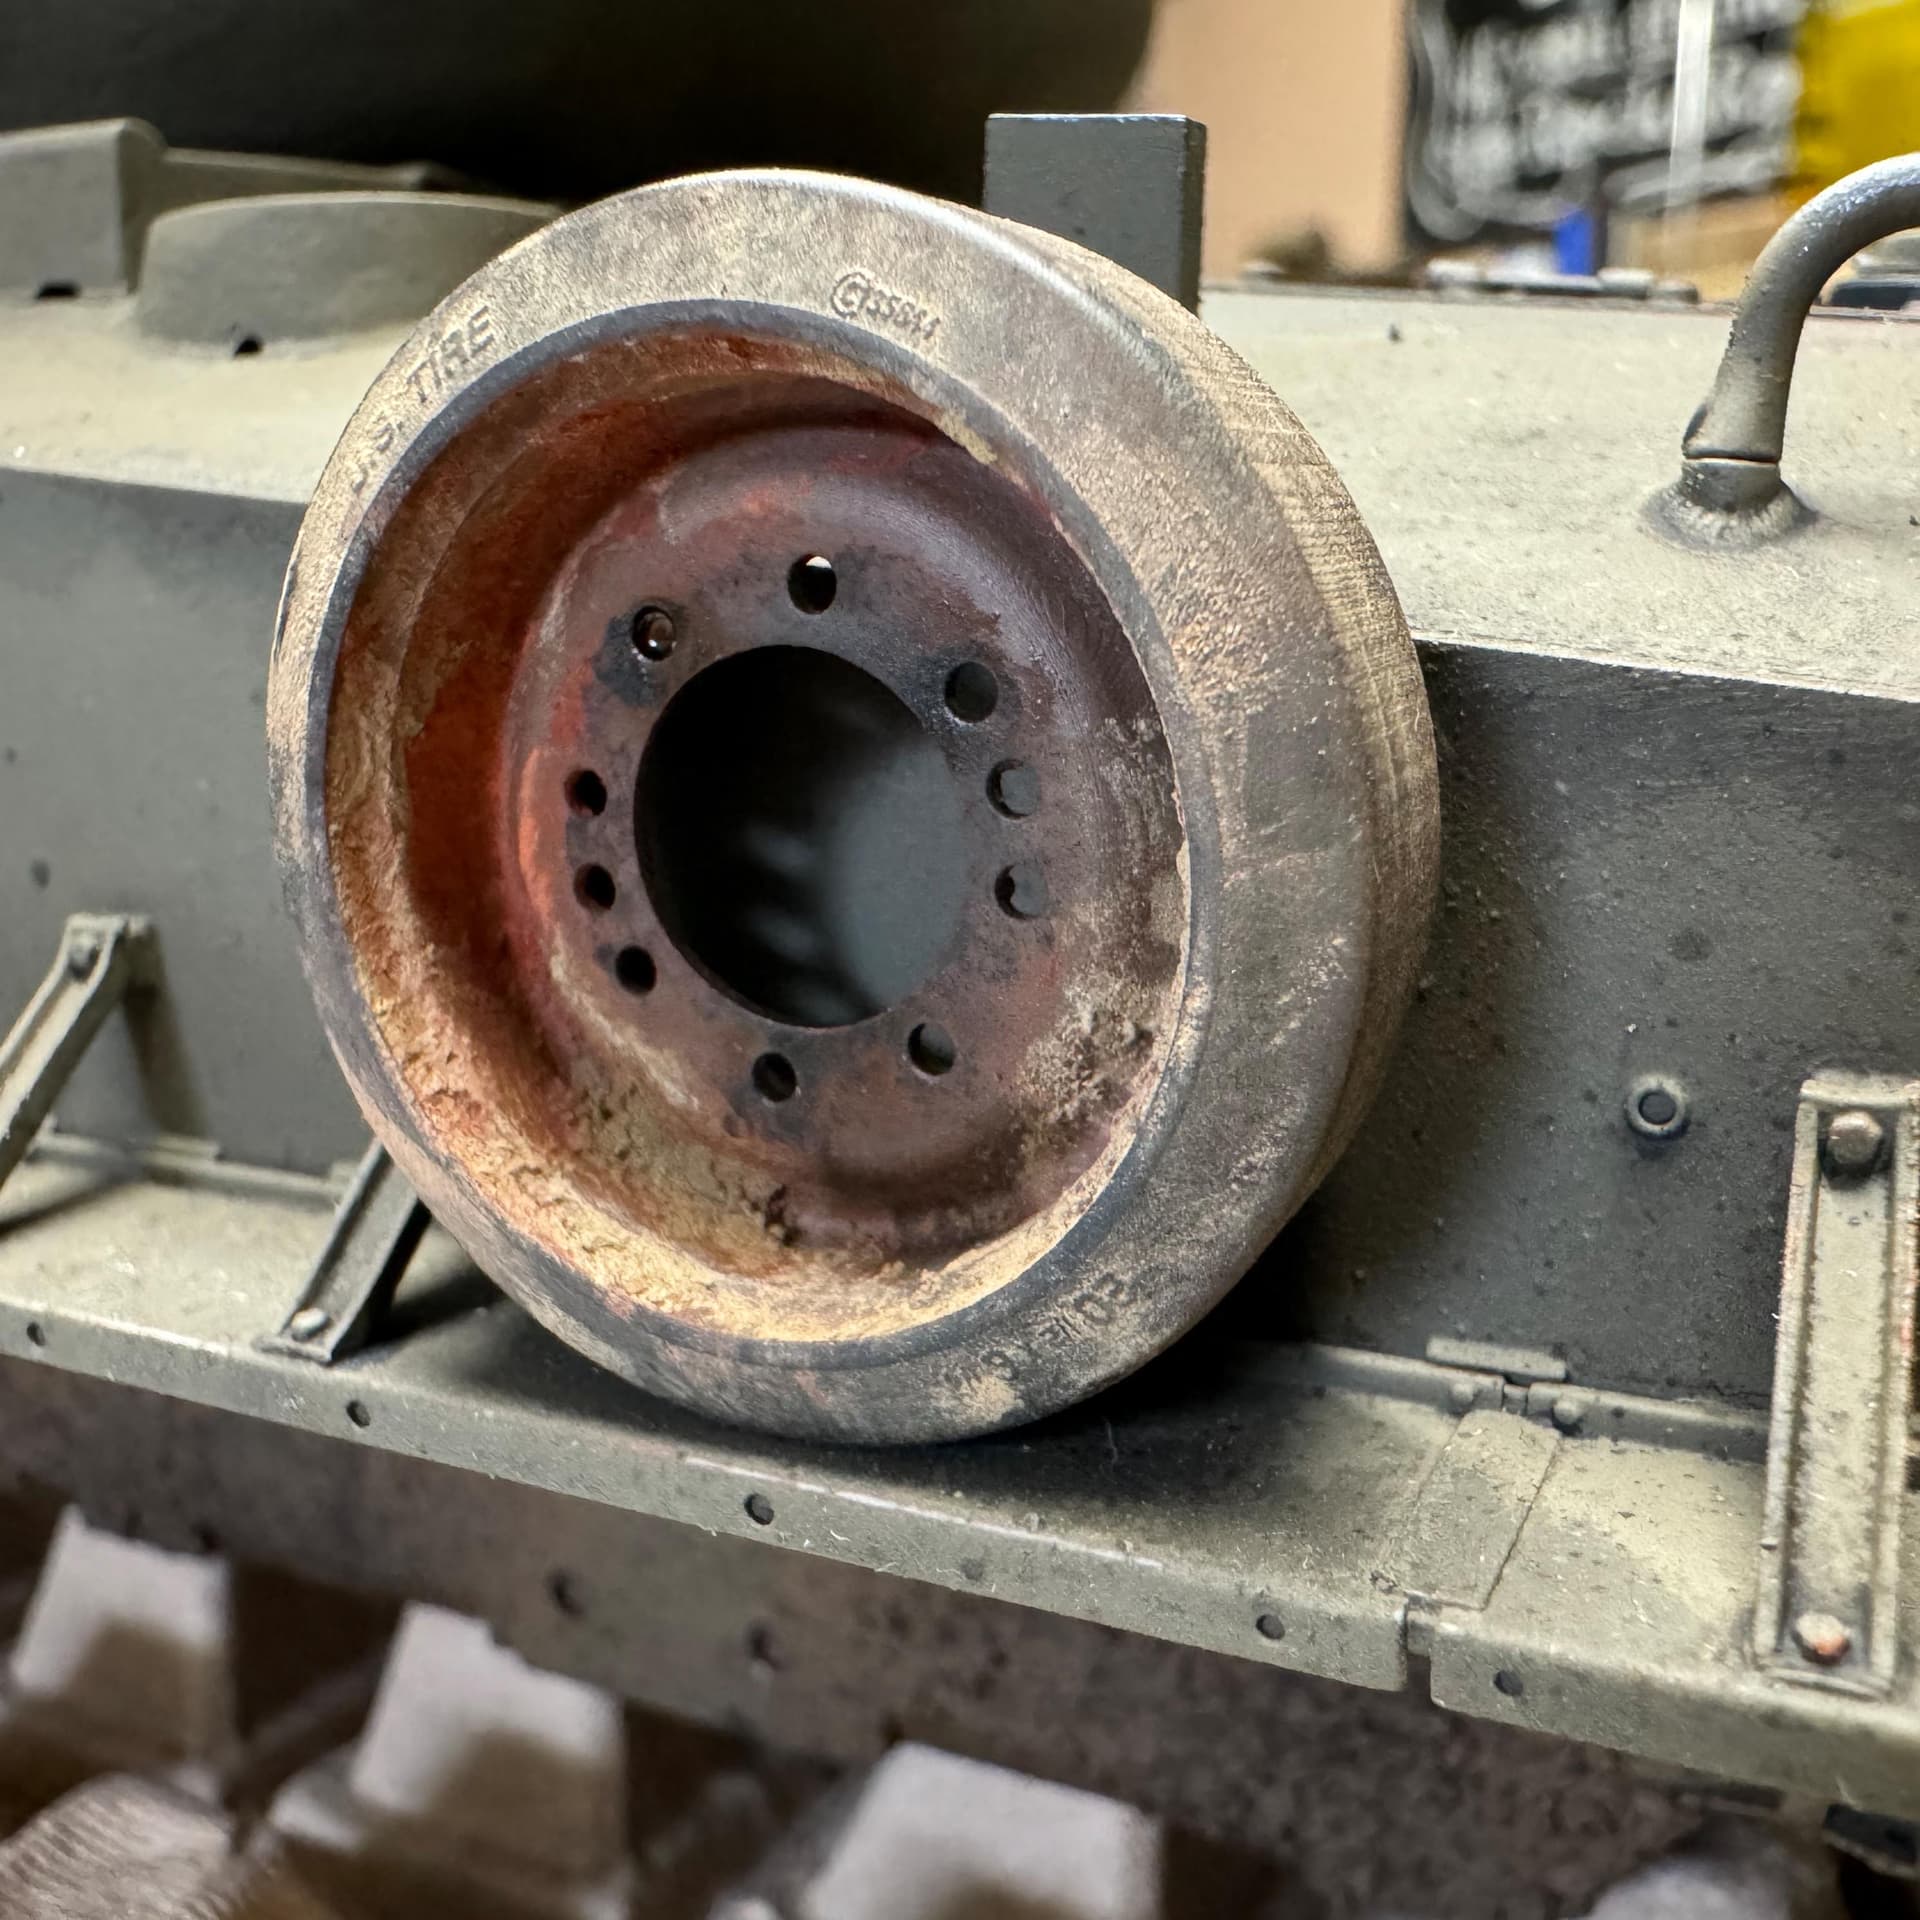
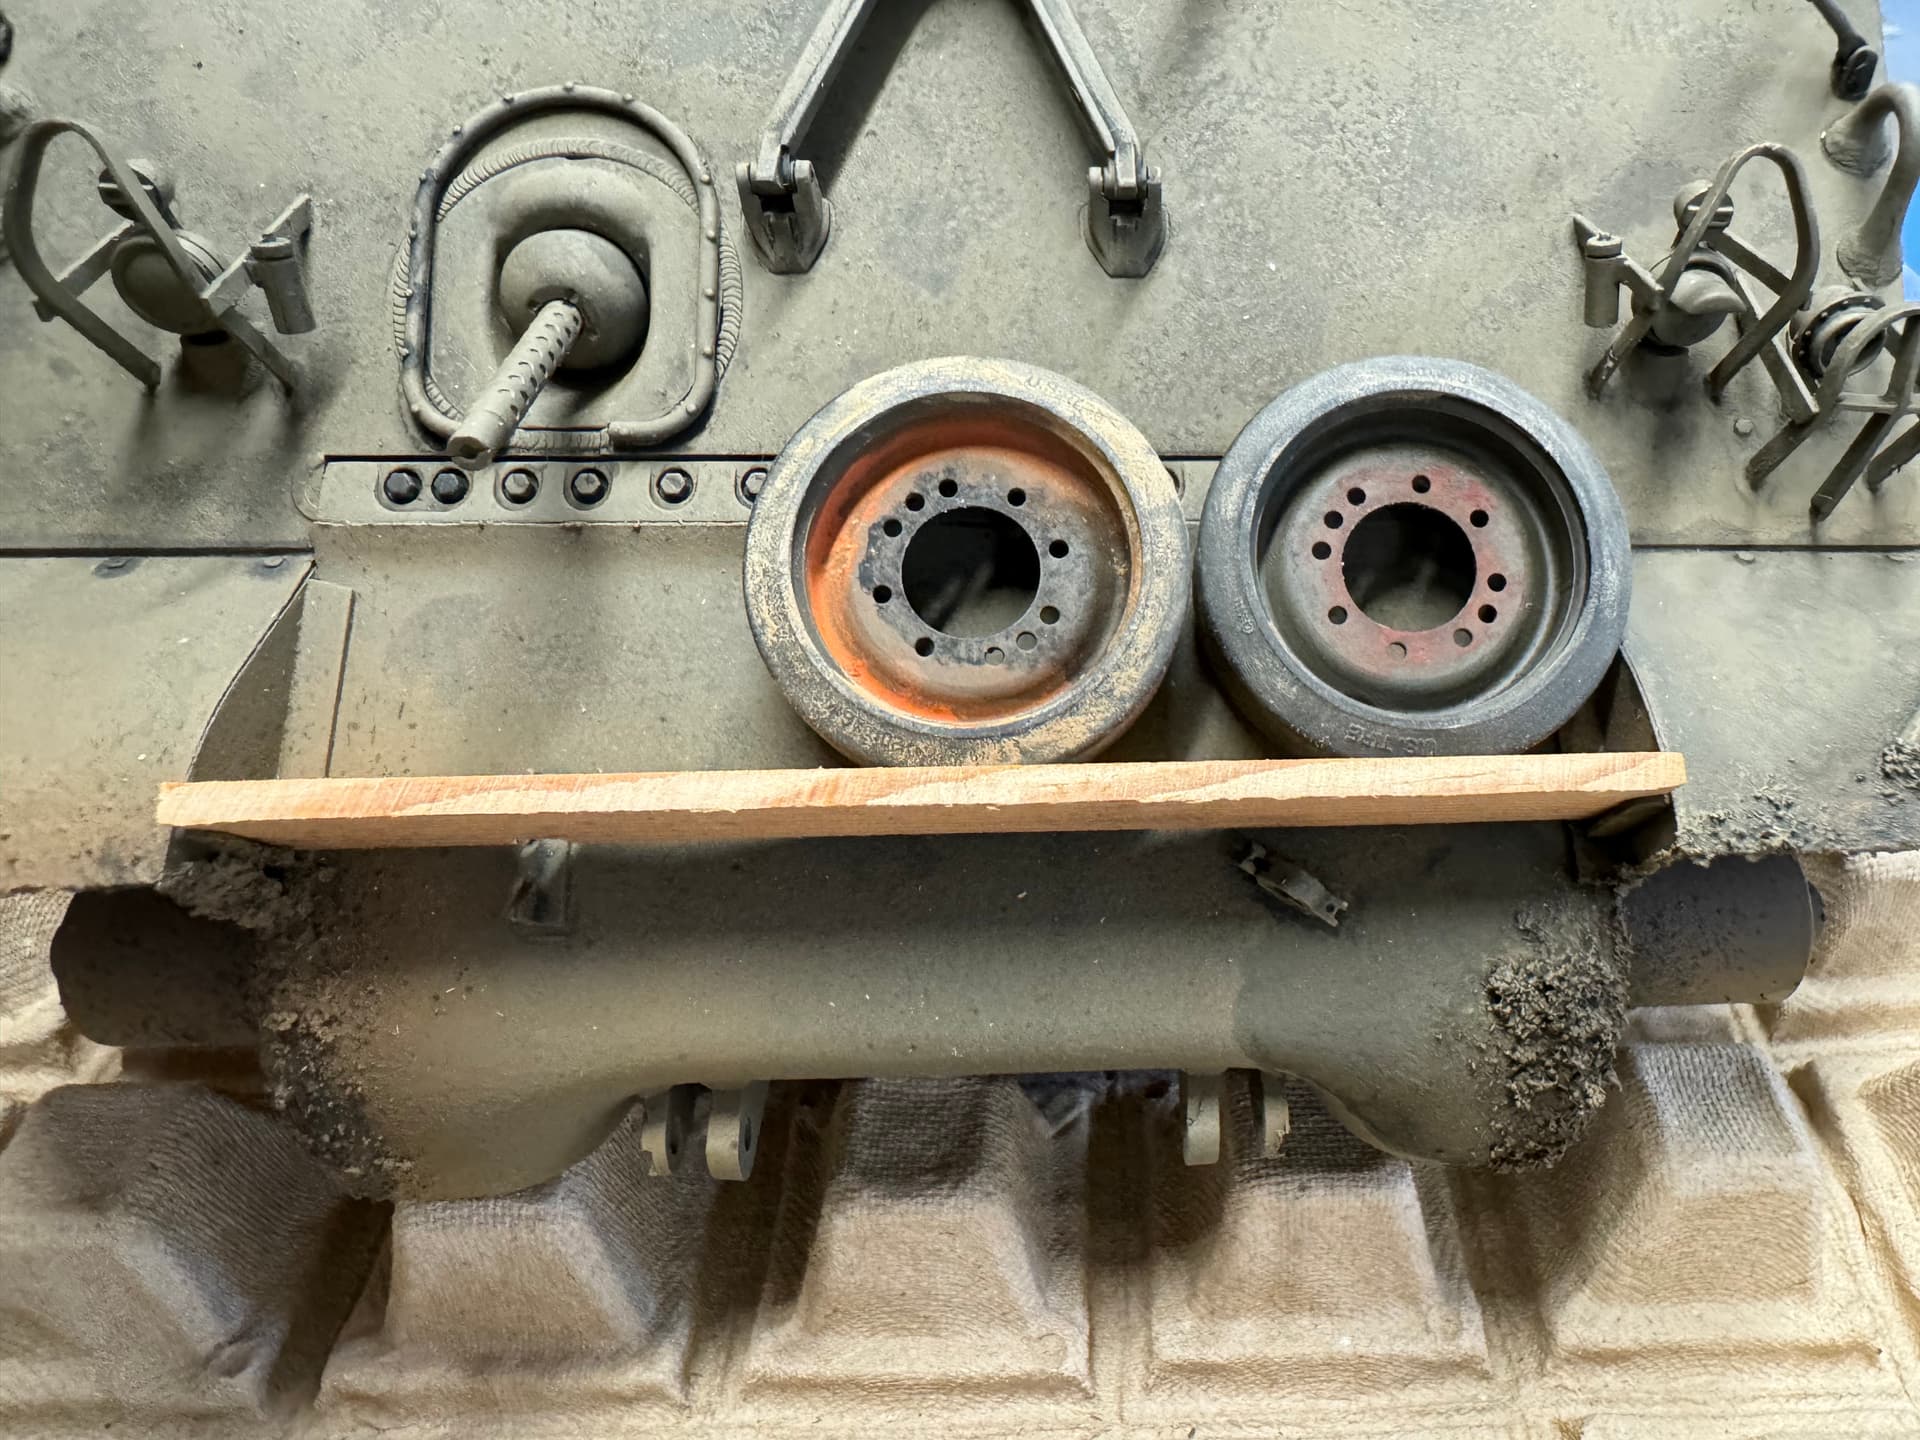
I also printed some spare wheels but i think the 3D data seem incorrect :
Very nice, looks great!
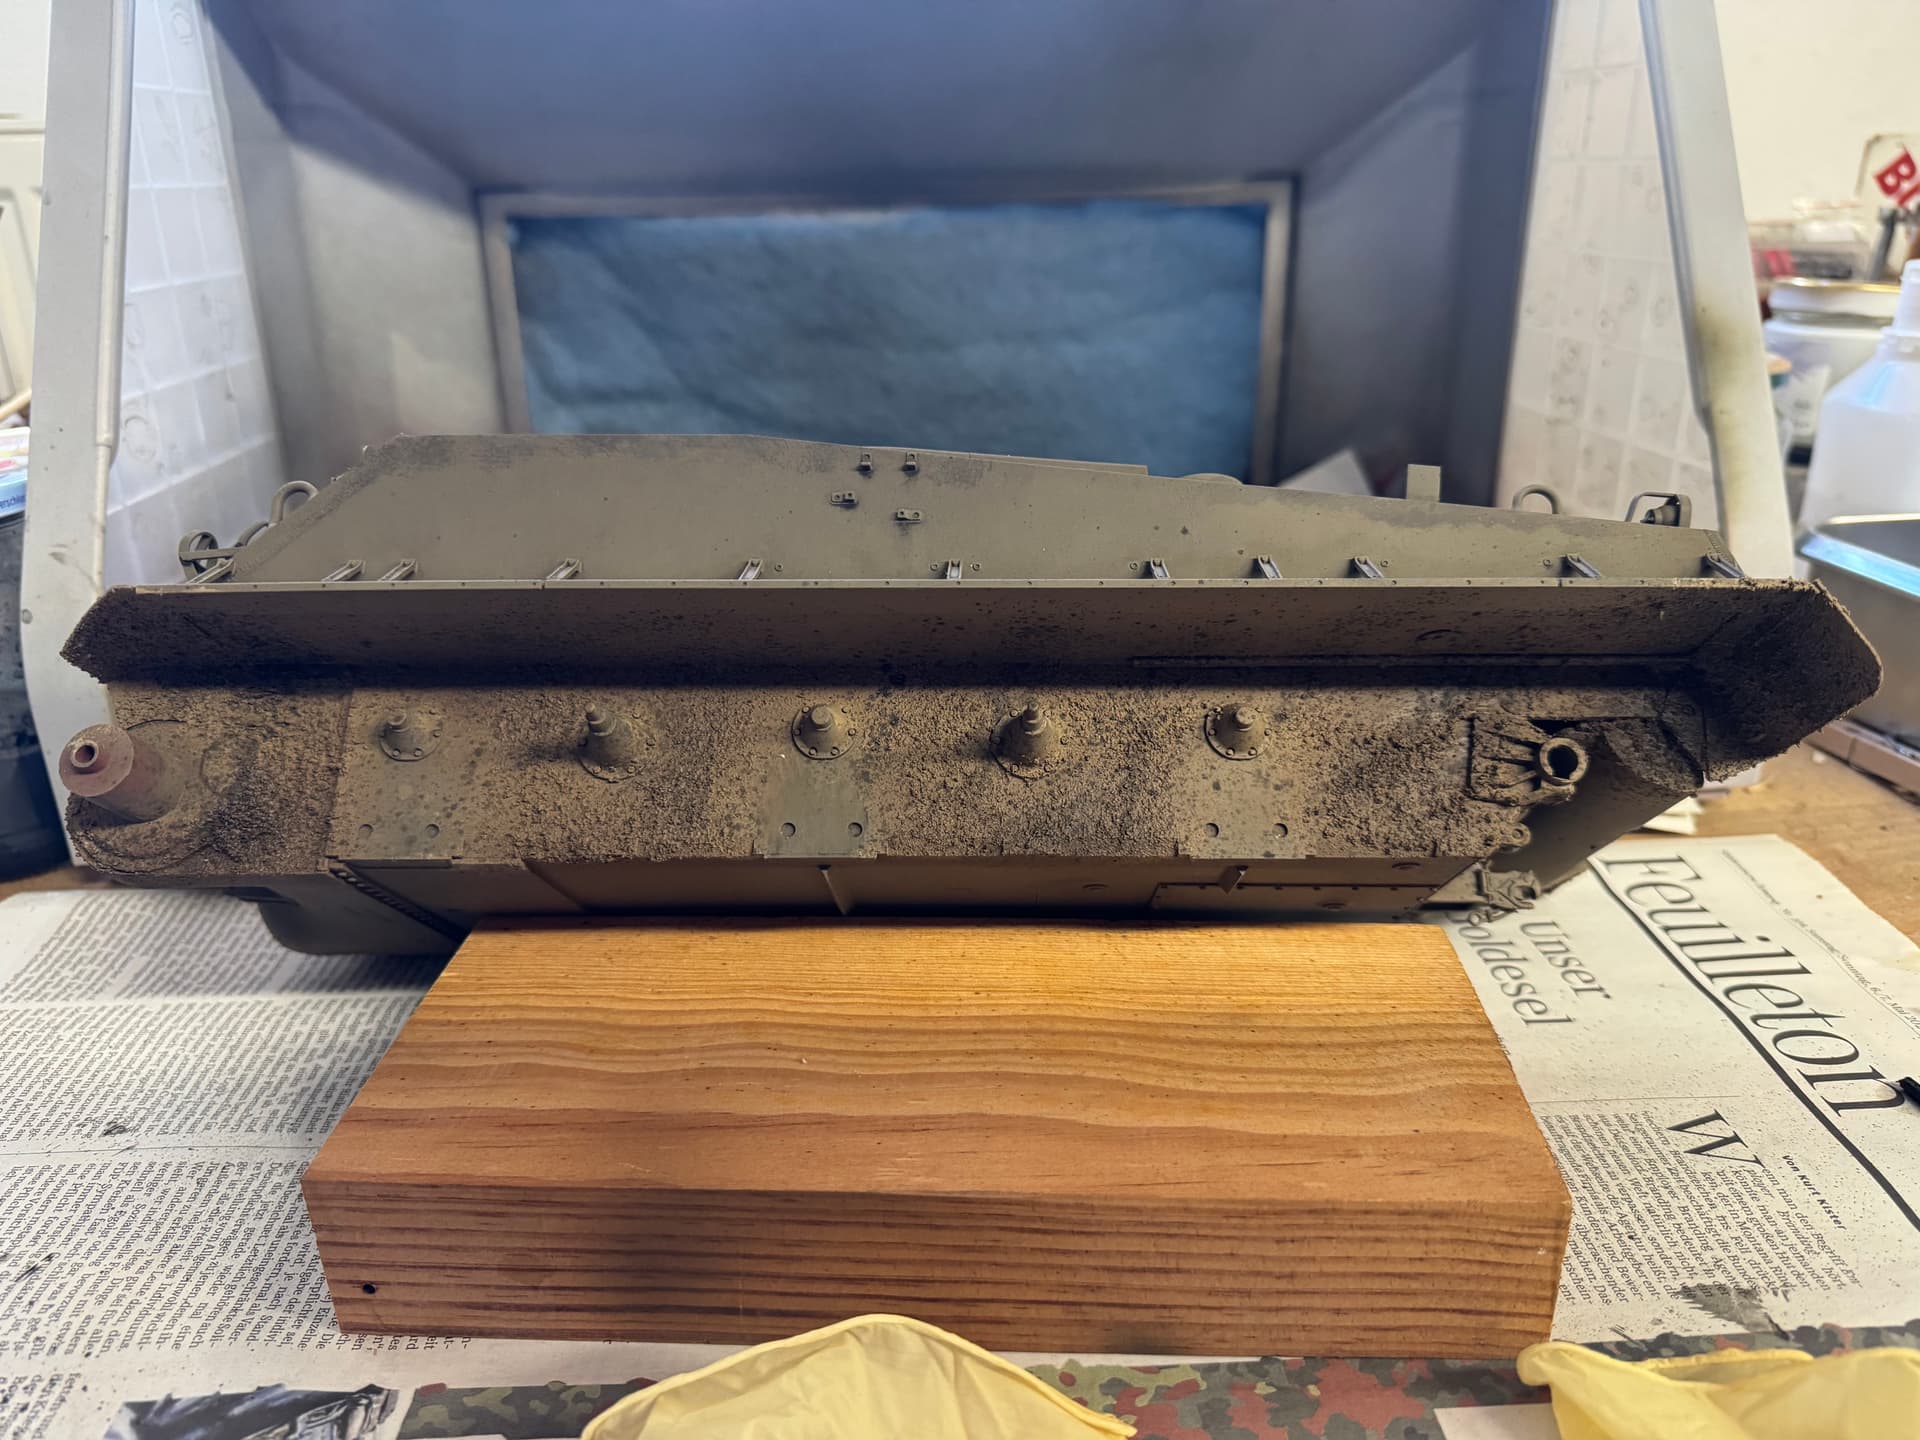
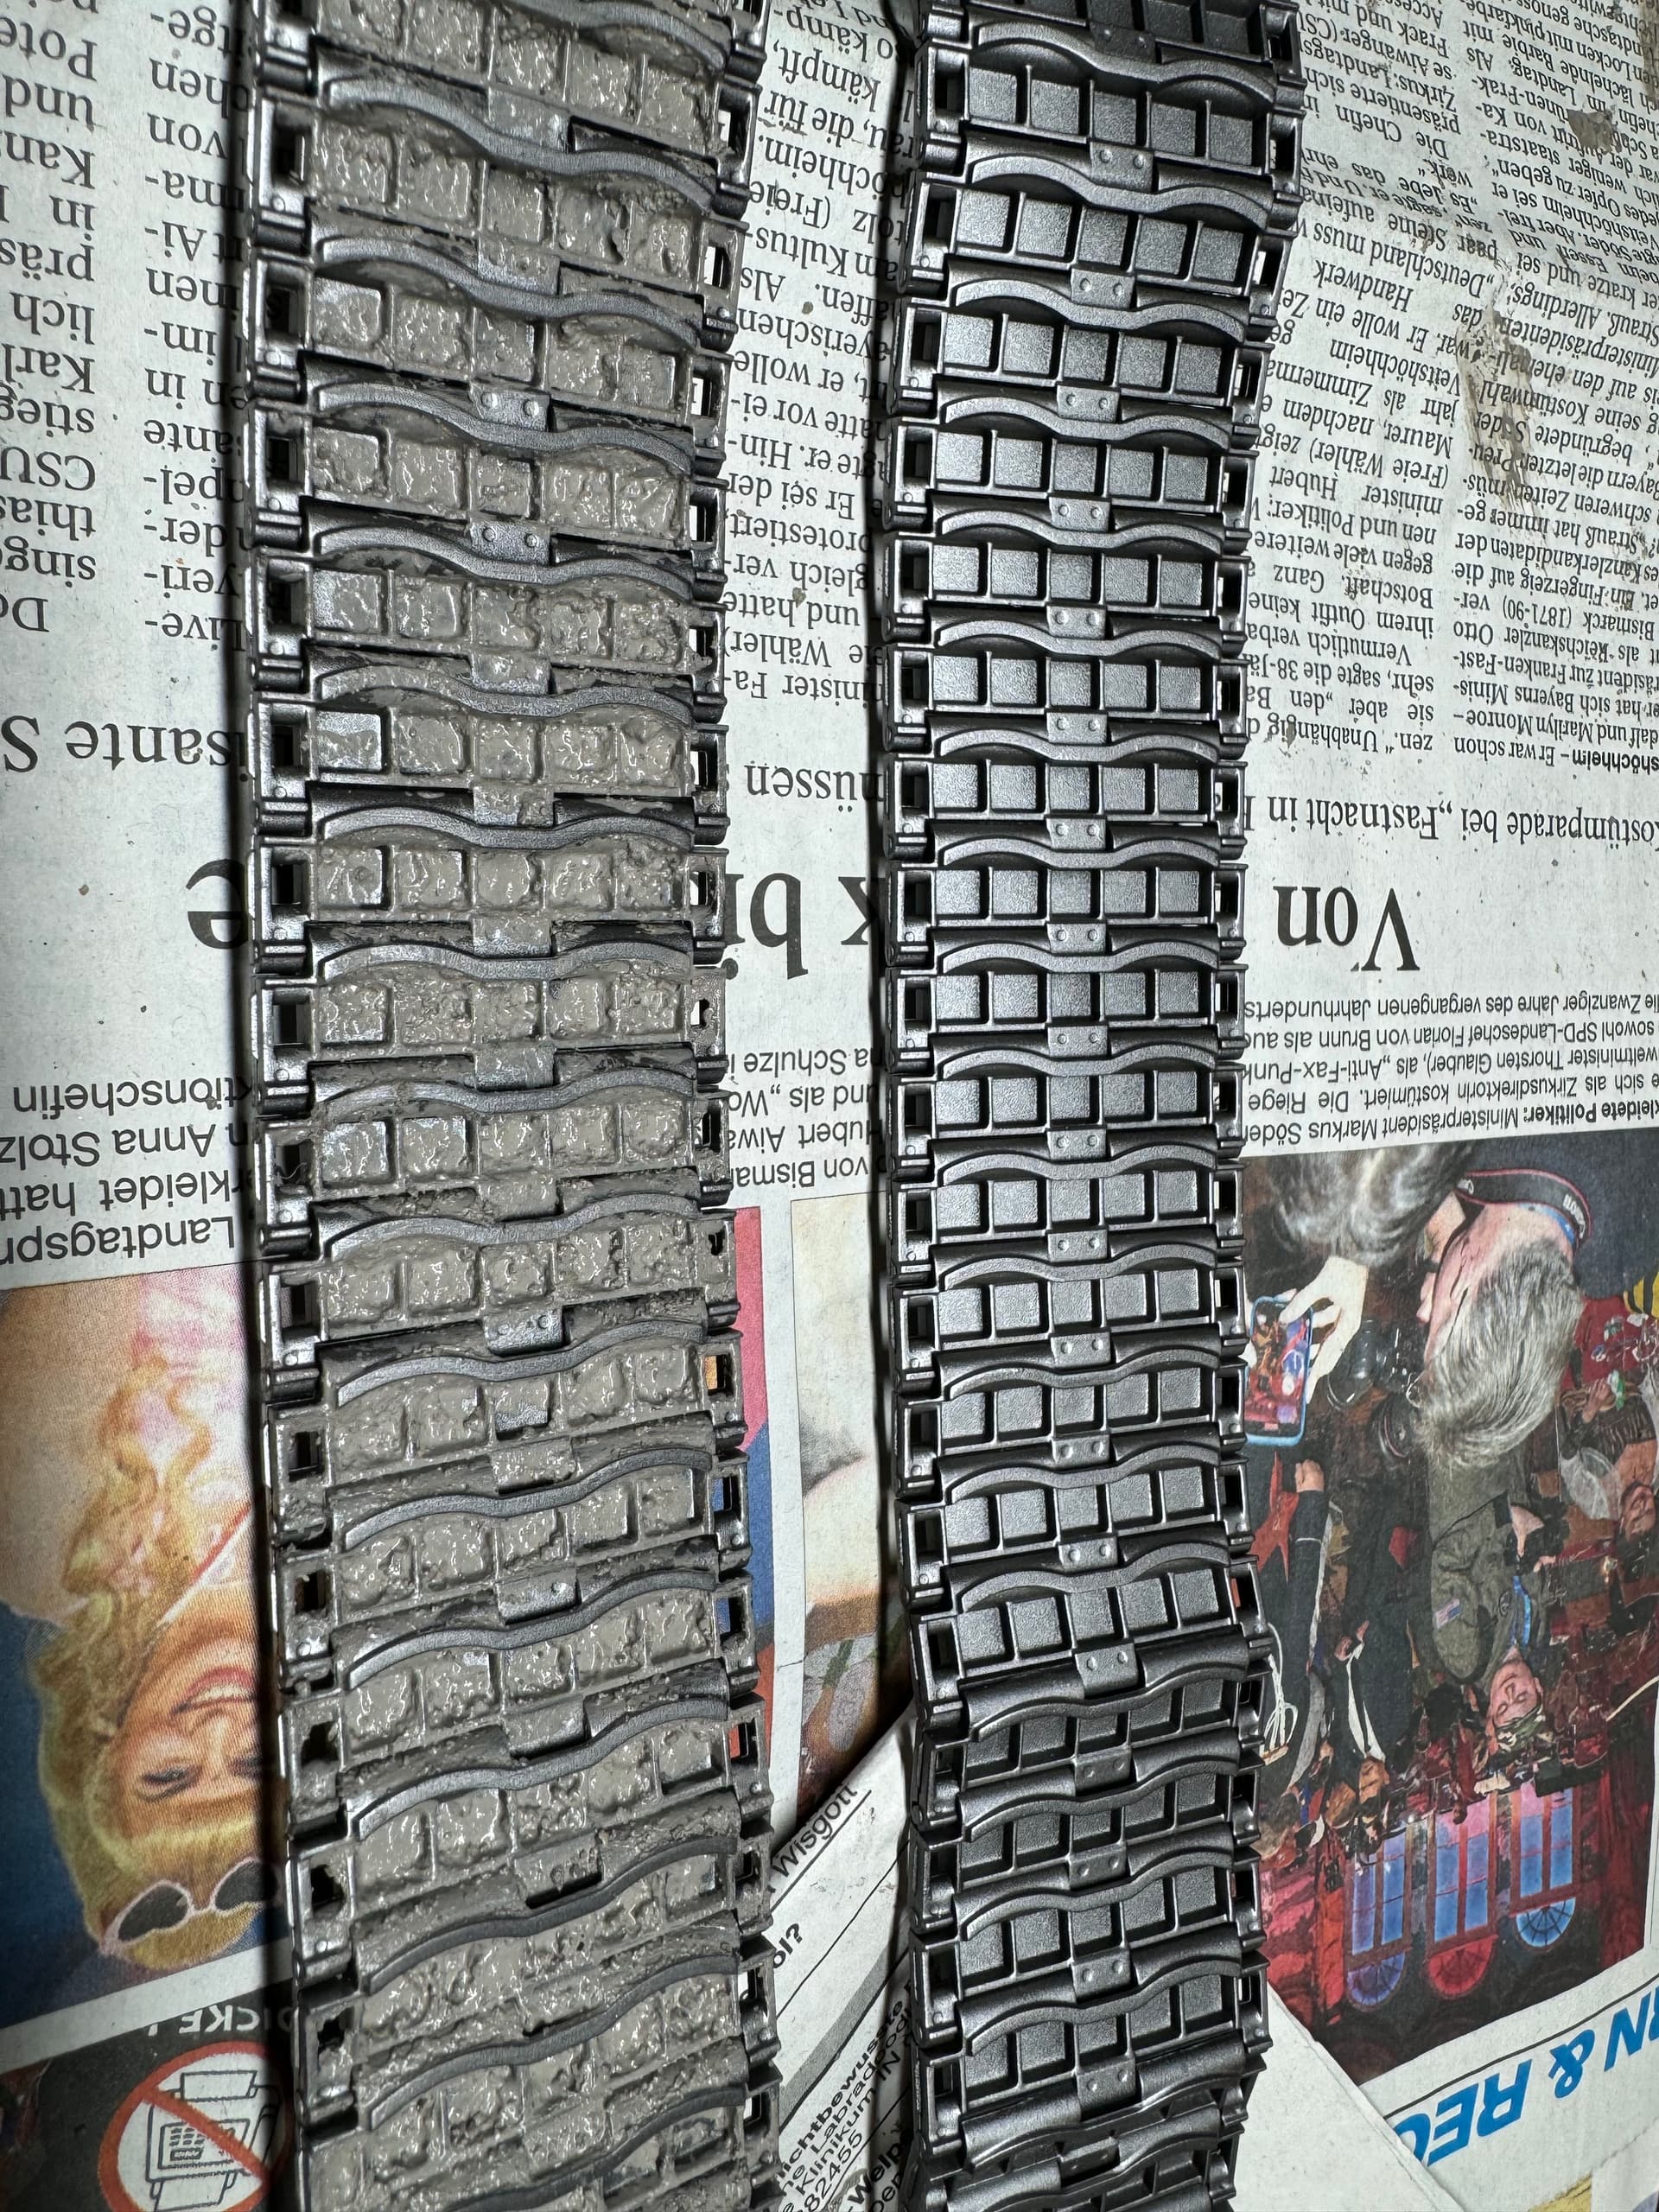
Okay lets do some track-work ![]()
I used Vallejo burnt iron as base layer as i want the blank metal visible on the contact parts, then added the acrylic mud, which is a bit complicated as it drys fast and then you cant remove it, so i kept the track moving until it was mostly dry,so it did not became stuck: