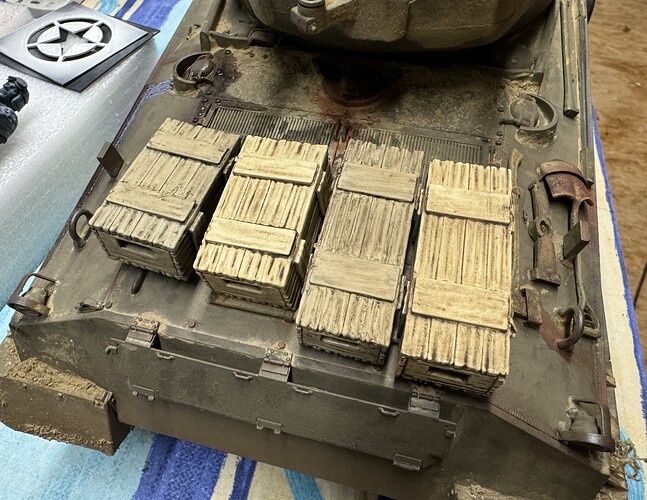
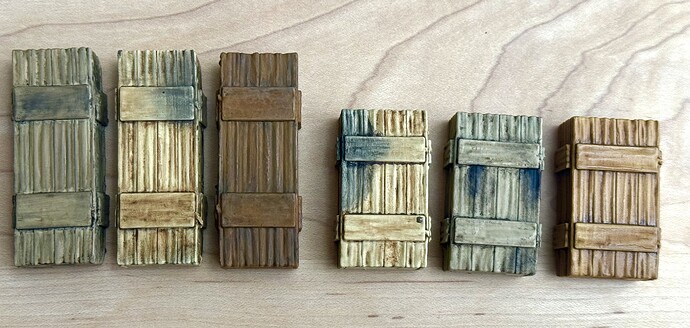
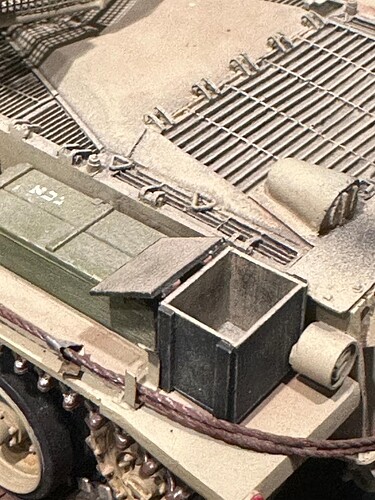
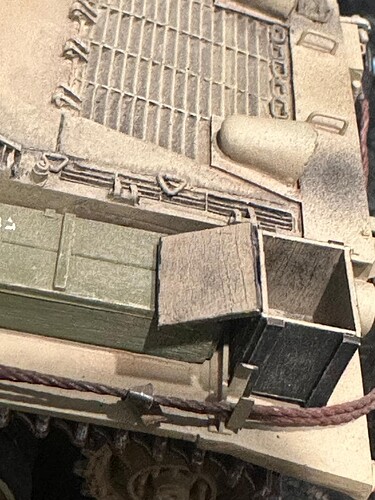
It’s the oil color, it’s not dry, seems it needs a lot of time to dry, but a little dust is maybe a good idea as well ![]()
I did some more and they look more realistic i think, this time its just the base color and a wash. I think These boxes never got old, the came new and then when the content was used they were thrown away
I agree they look great. Two questions.
- Did the US Army have any field crates that were not painted? I mean the kind of stuff that would be on a vehicle.
- If new, why do the edges of the top or lids look splintered and worn down?
Were all the wooden boxes really painted in OD, they look quite light in the black and white pictures. New means they are new wood, old wood becomes darker and more different colors like the boxes I did before ![]()
I did some research an it looks like the wooden crates were plain wood but seems they were reused a couple of times
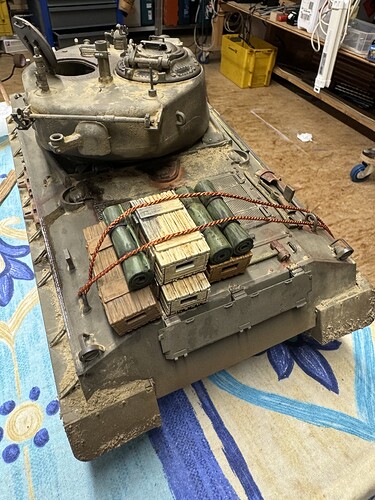
OK, a couple of quick thoughts. To me, your rope looks a little too thick. I would use something a bit thinner. I use ship building thread, the come in different sizes and colors, and they are waxed so no “fuzzies”. Also, be careful about covering those intake grills. If those are covered in real life, the engine overheats, and you end up with a blown engine. Not a good thing, especially in the middle of a battle!
Ken
Looking at these lined up raised another issue for me. The wood surfaces are not flat, but appear to be grooved on individual boards if I’m not mistaken. Wood gets this way being out in the elements for long enough that the soft wood deteriorates and the hardwood remains leaving the uneven surface. Even a winter in South Dakota does not do this to new wood, but a palate left out for several years has this happen. This and the nonuniform ends of the boards make these seem like very old wood, and while the color is fine, they just don’t look like what ammo crates being reused or even food boxes would look like. The boards themselves and the construction just seems off to me. If I knew how to append pictures to my comments, I might be able to make it clearer. I’m sorry.
I guess you are right, the boxes do not look as real ammo crates.
They were good for doing some paint experiments but I need some more accurate boxes.
The rope by the way was just something laying around, so I took it for a test,how it could look, but thx for the tip with the shipbuilding.
I really appreciate your comments all the time ![]()
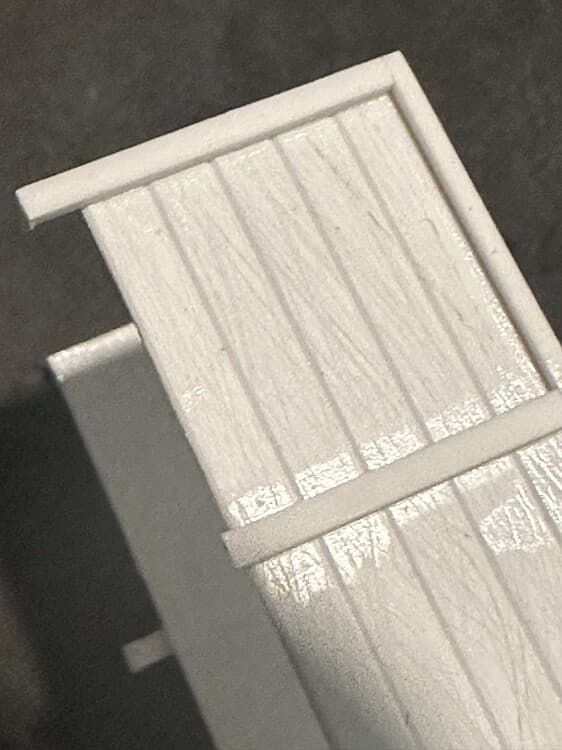
If it wasn’t for the hand-slots I’d suggest just making the boxes out of balsa – but cutting those would drive most guys crazy me included. However if you’re 3D printing them presumably it’ll be easy to get the necessary smoother finish (?), the ones shown are way too ridged.
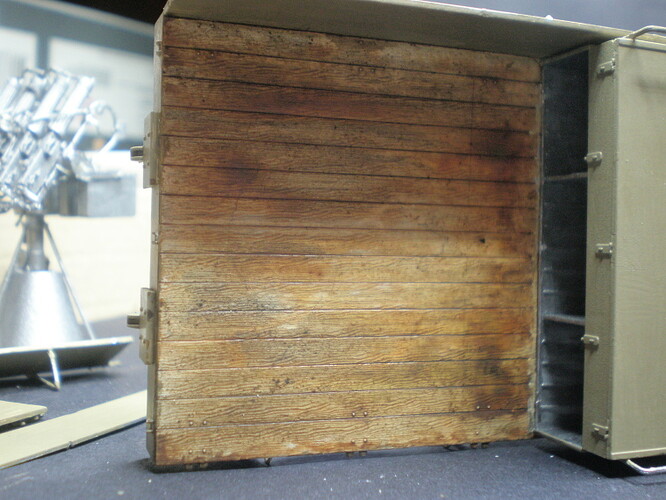
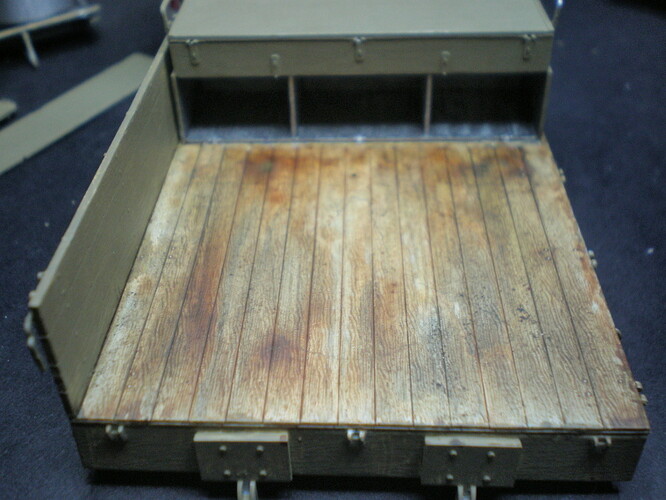
The questmasters link you posted yesterday has some good examples for colouring – if it’s any help I painted the bed on this MiniArt Gaz truck in a way you might want to consider…
I used cheap artists’ acrylics, letting each wash completely dry before applying the next. Started off totally white, then “painted” it with plain water and trailed semi-dilute blobs of the shades you can see through it with a soft brush. The colour naturally & randomly spreads across the wet surface. Because there’s so little pigment involved I don’t think I needed to give it a flat varnish.
The nice wood-texture of the planking was already there, although I did gently add to it with the point of a scalpel which might also be an option for you.
That is a really great result. It would be great to show us some step by step pix next time.
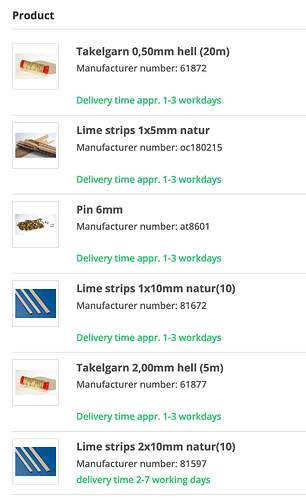
Okay i am going to build them from real wood, as i was looking for the ship building thread, the shop sells wood and small metal pins as well:
The only thing which is always a porblem: How can the labeling done, stencils would be nice but i have no idea how to make them in this small size
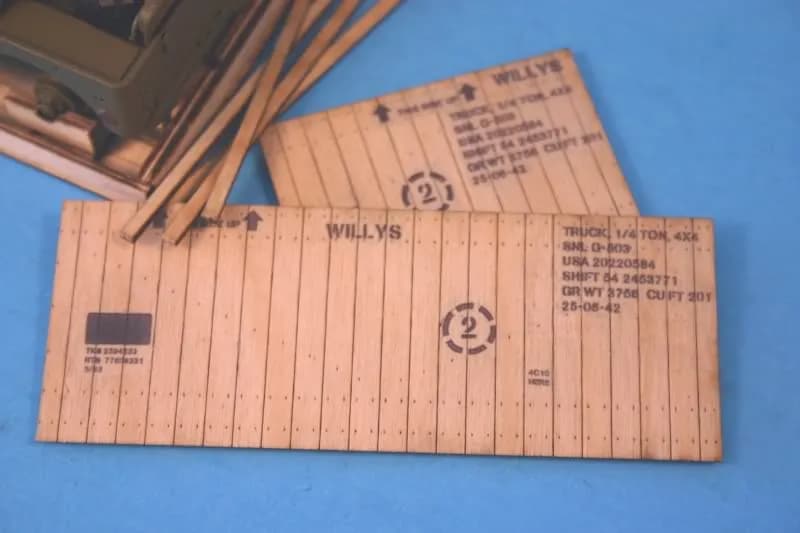
You can get rub on dry-transfer printer paper and make them yourself. Draw out the stencils in a program like PowerPoint, use a stencil font. Print them onto the rub-on transfer and then cut out and apply. They come out great.
I did all the stenciling on a laser-cut real wood jeep crate with the above method.
Rub-on transfer printer paper.
The rust on your tools is fantastic. If you paint and weather every single component to that level you’ll have a stunning build.
If you use real wood, I’d recommend not using balsa. It usually does not cut c\very crisply.
You can get basswood at many craft stores, which is a lot more forgiving.
Personally, I like to use plain old styrene,
I ordered linden wood which is used for building ship models, lets see how this is gona work, but maybe i give styrene a try as i have it already for the diorama. Did you cut all the boxes from styrene, i cant believe as good as they look ![]()
- How can styrene be painted, only with water based acryl, i dont wanna destroy it with agressive chemical in the colors?
- What kind of glue is needed for styrene?
Any paint can be used with styrene.
Almost any modeling glue, CA can be used with evergreen. Plastruct needs a different material to glue which escapes me.
A lot of Plastruct stuff is ABS. Solvent glues with lots of MEK will work on it, as will CA and epoxy. Plastruct makes their own solvent cement, which can glue it together and glue it to styrene.
Ken
True, but if, like me, you still have decades old Floquil paint which is xtylene based, it needs a barrier before you spray it on. Otherwise it may craze the paint. I still use several of their colors - it’s great paint and is virtually bomb proof when cured. Decaling is a snap. Their UP Armour Yellow is good for those bits on a D9R bulldozer that are left in Caterpillar yellow.
Isn’t the craze risk basically limited to hand brushing?
Agreed Floquil is a fantastic paint and works very well. I’ve never used any barrier coat with Floquil and been using it since 1988. If someone wants to use a barrier coat before airbrushing of course they can but it isn’t needed in my experience.
I’ve airbrushed ~220+ models with Floquil Railroad Road & Floquil Military Colors since 1988 and never used any barrier coat.
Have thinned Floquil with Dio-Sol, Floquil Military Color thinner, lacquer thinner, naptha, paint thinner, xylol and Mr Color Leveling Thinner zero issue airbrushing on any bare model kit styrene.
Zero issues & no crazied plastic.
My favorite base coat is still Floquil Railroad Road Weathered Black for everything.
Agreed once cured Floquil is very close to bomb proof.
I don’t hand brush it.
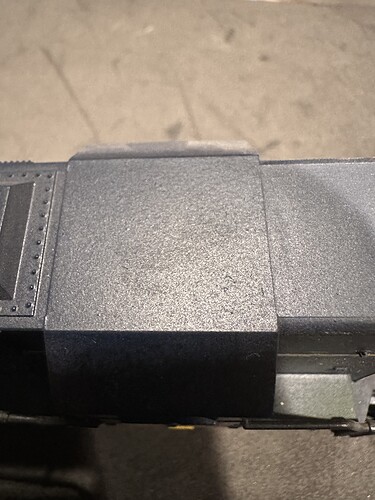
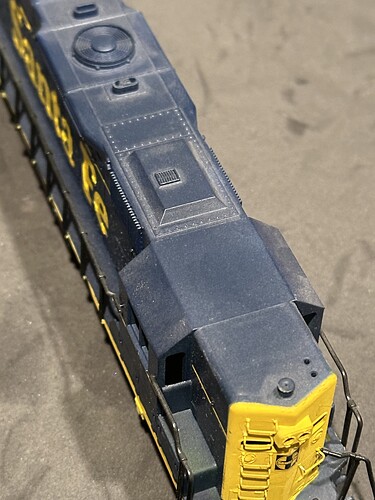
Here is what happened with no barrier: (that’s not dust or poor airbrush technique)
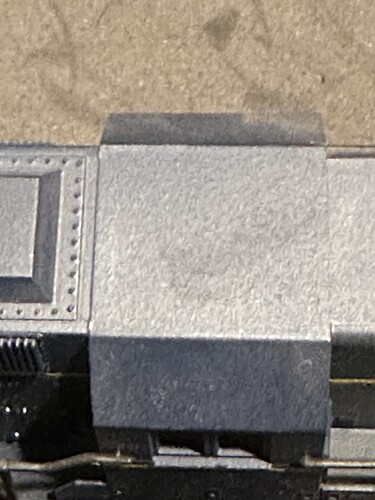
I immediately saw the problem, stopped, and used barrier on the rest. It was so bad no amount of gloss coat fixed it, but I wasn’t too worried - the tops of these EMD units tended to get rusty. I’ve always intended to go back and weather this one but never got around to it,
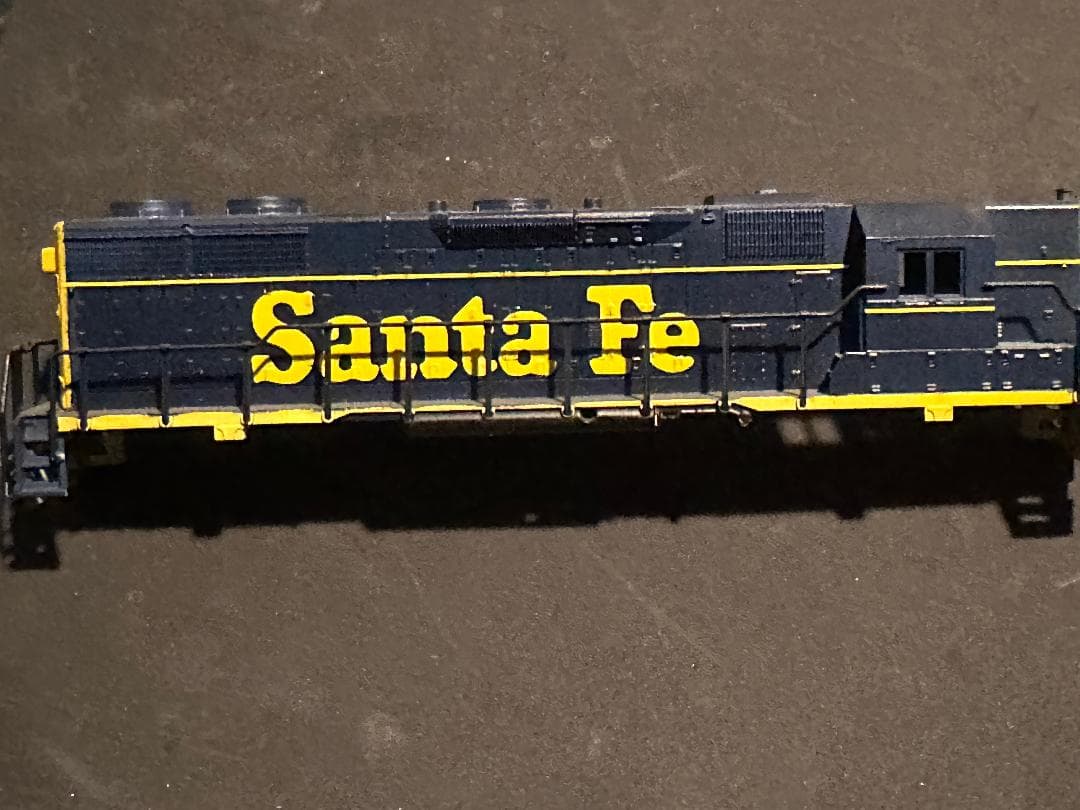
After barrier, the paint went on flawlessly for the rest:
