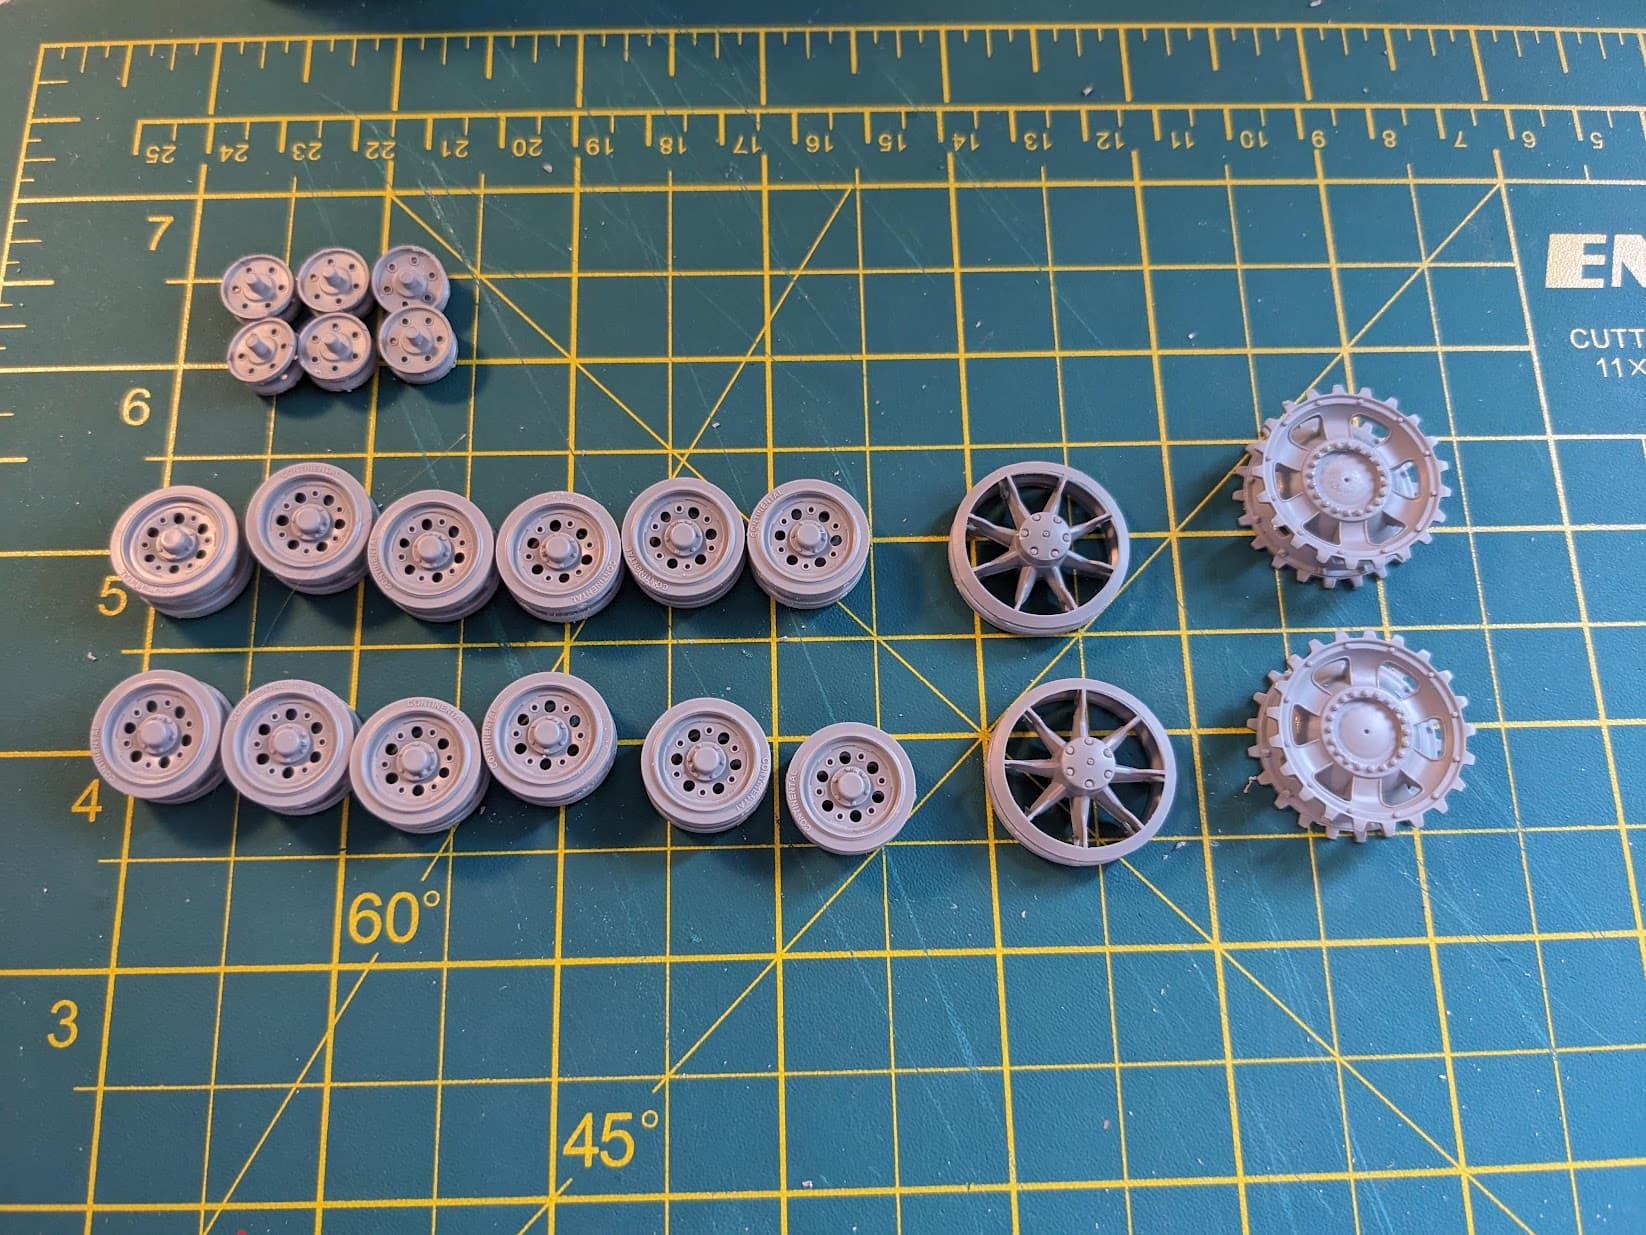
Wheels… Return rollers are a pain! Looks like I am following the AusArmor restoration for this step…
10 Likes
Window installation and primer…
• MENG Nuts and Bolts Set A (Small 1.0mm).
• Tamiya (87064) Fine Grey Surface Primer (rattle-can).
Cheers!![]()
—mike … ![]()
12 Likes
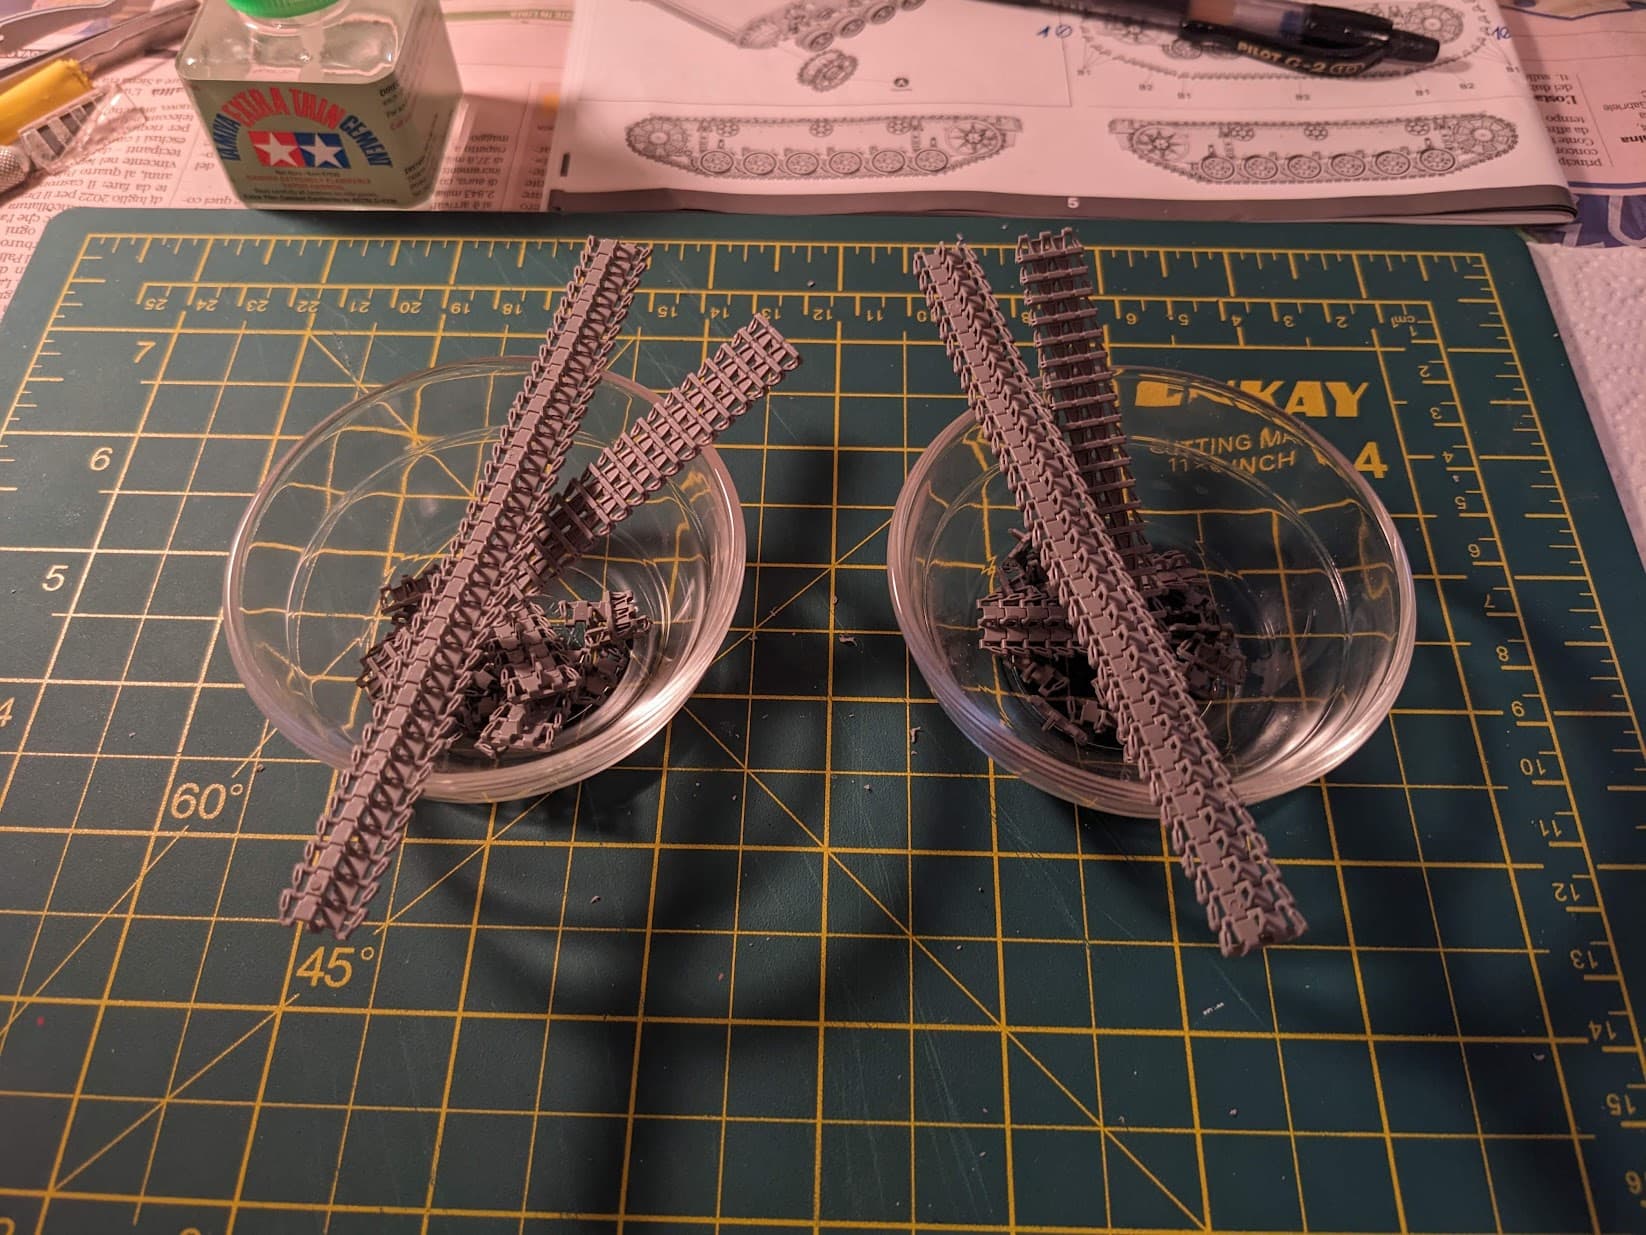
Cutting out the tracks wasn’t too bad (cleanup needed only on the multi-link pieces), so next will be putting them together. This is from Takom’s 1/35 StuH 42/StuG III G Blitz kit, so can anyone help me figure out a way to assemble the tracks while keeping them removable from the wheels?
4 Likes
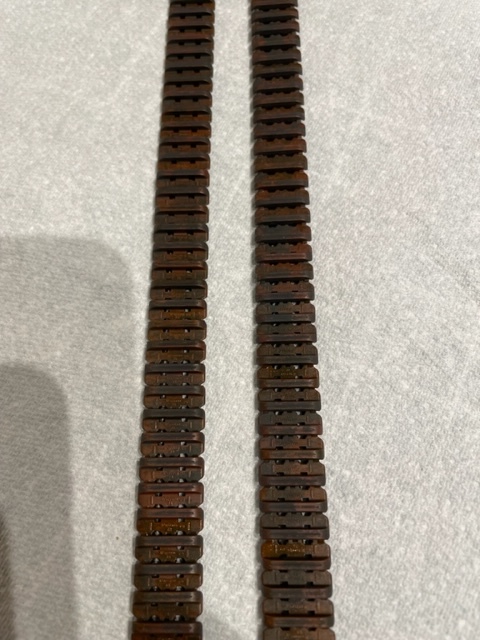
I tried to achieve a rust effect on my Churchill tracks… I’m quite pleased with the results…(Sorry for the phone quality picture, I took it on my phone)
5 Likes
Looks nice! (There’s no need to whip out a professional camera just to take an update photo)
3 Likes
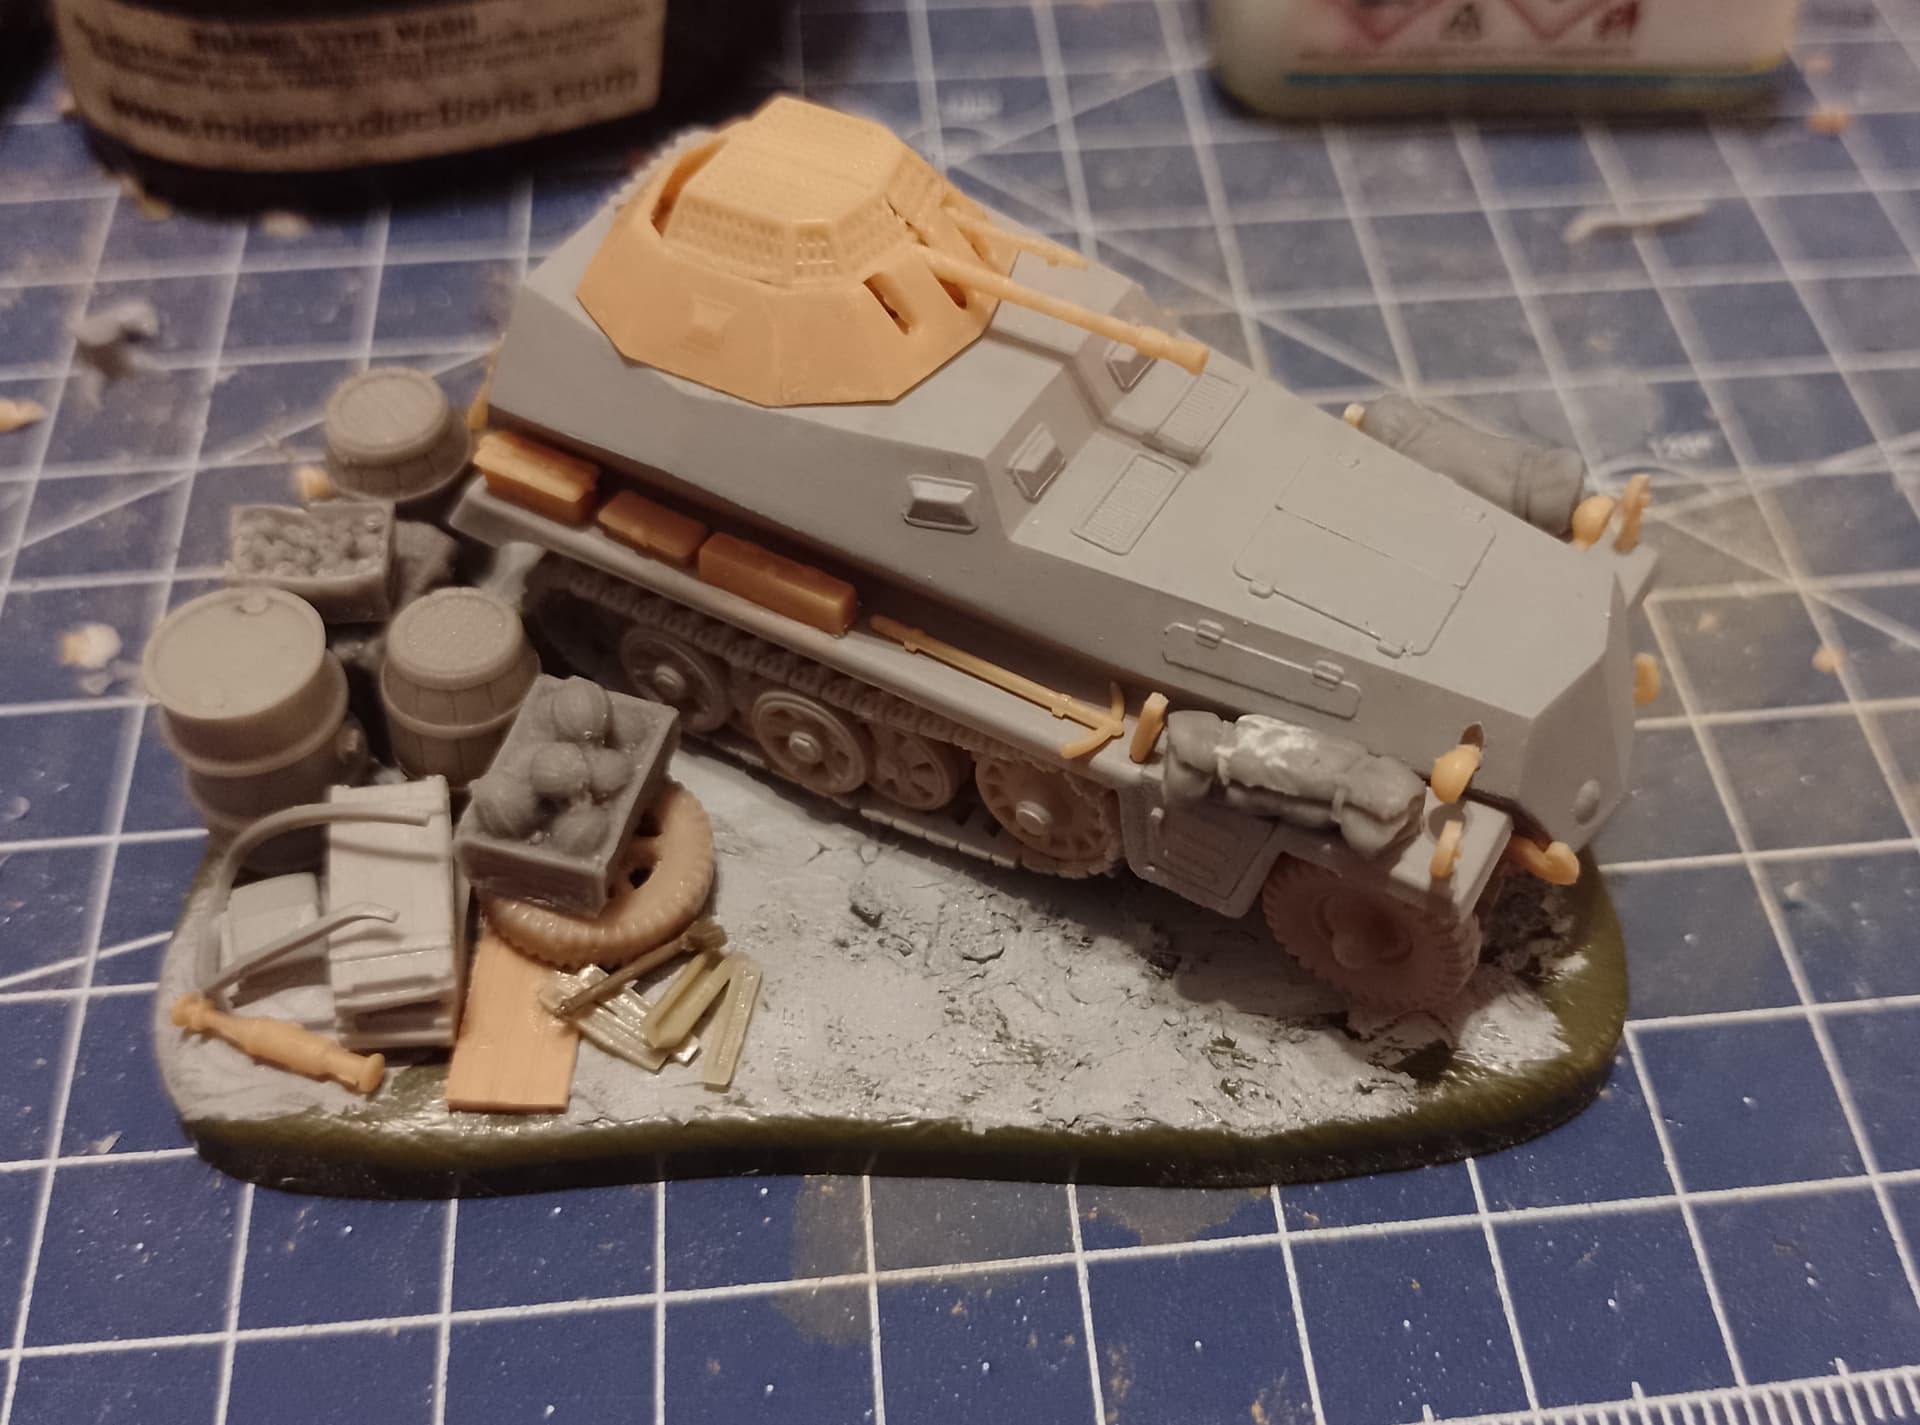
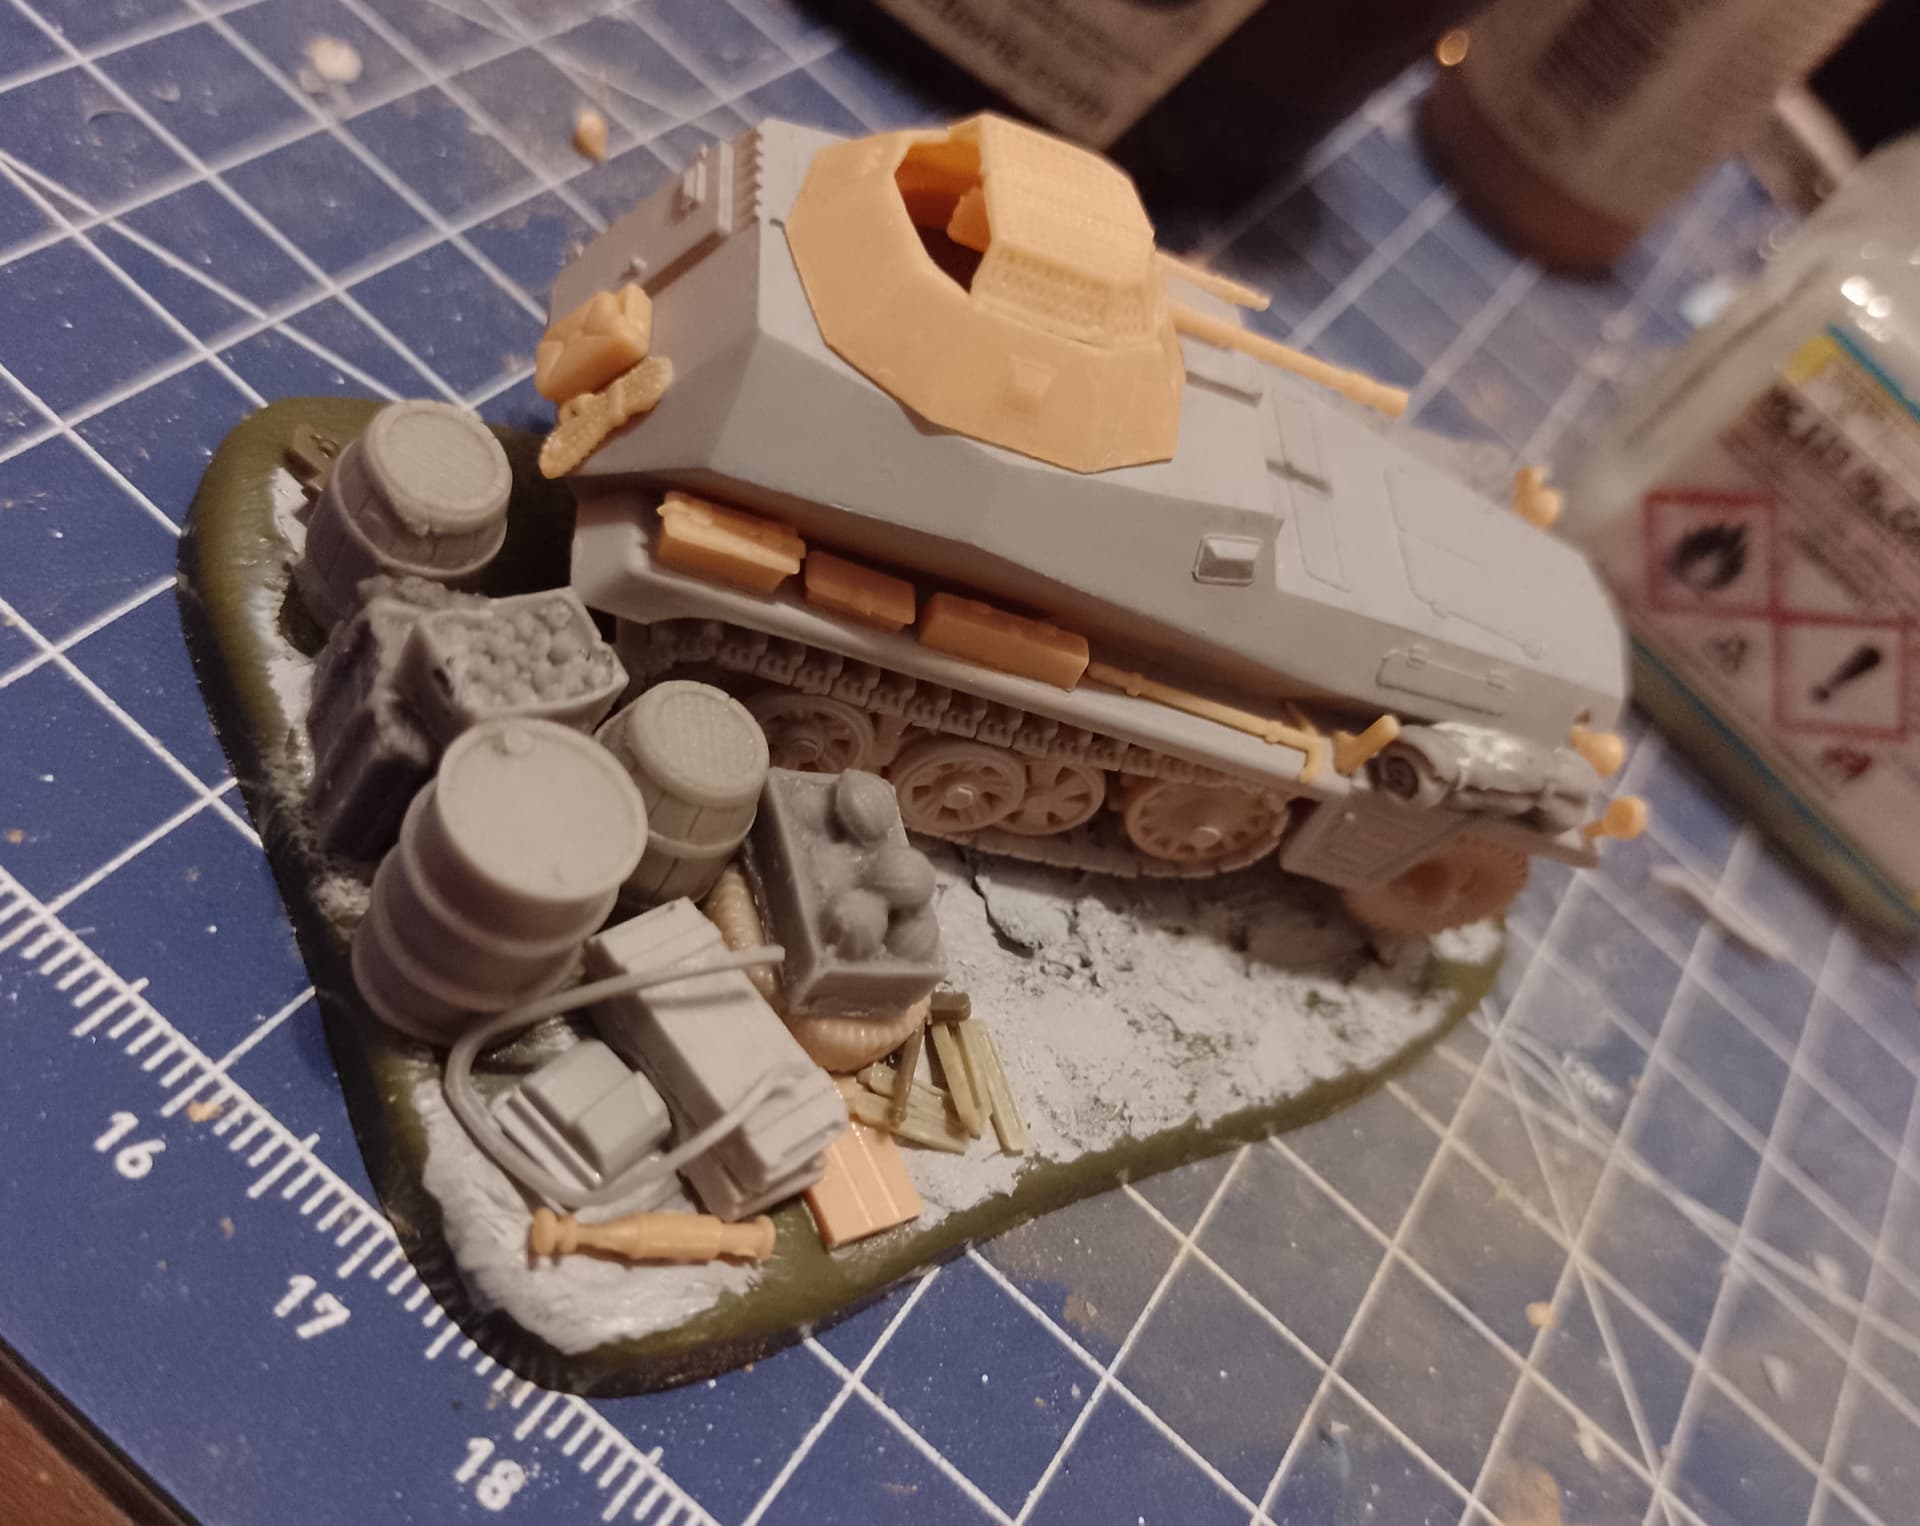
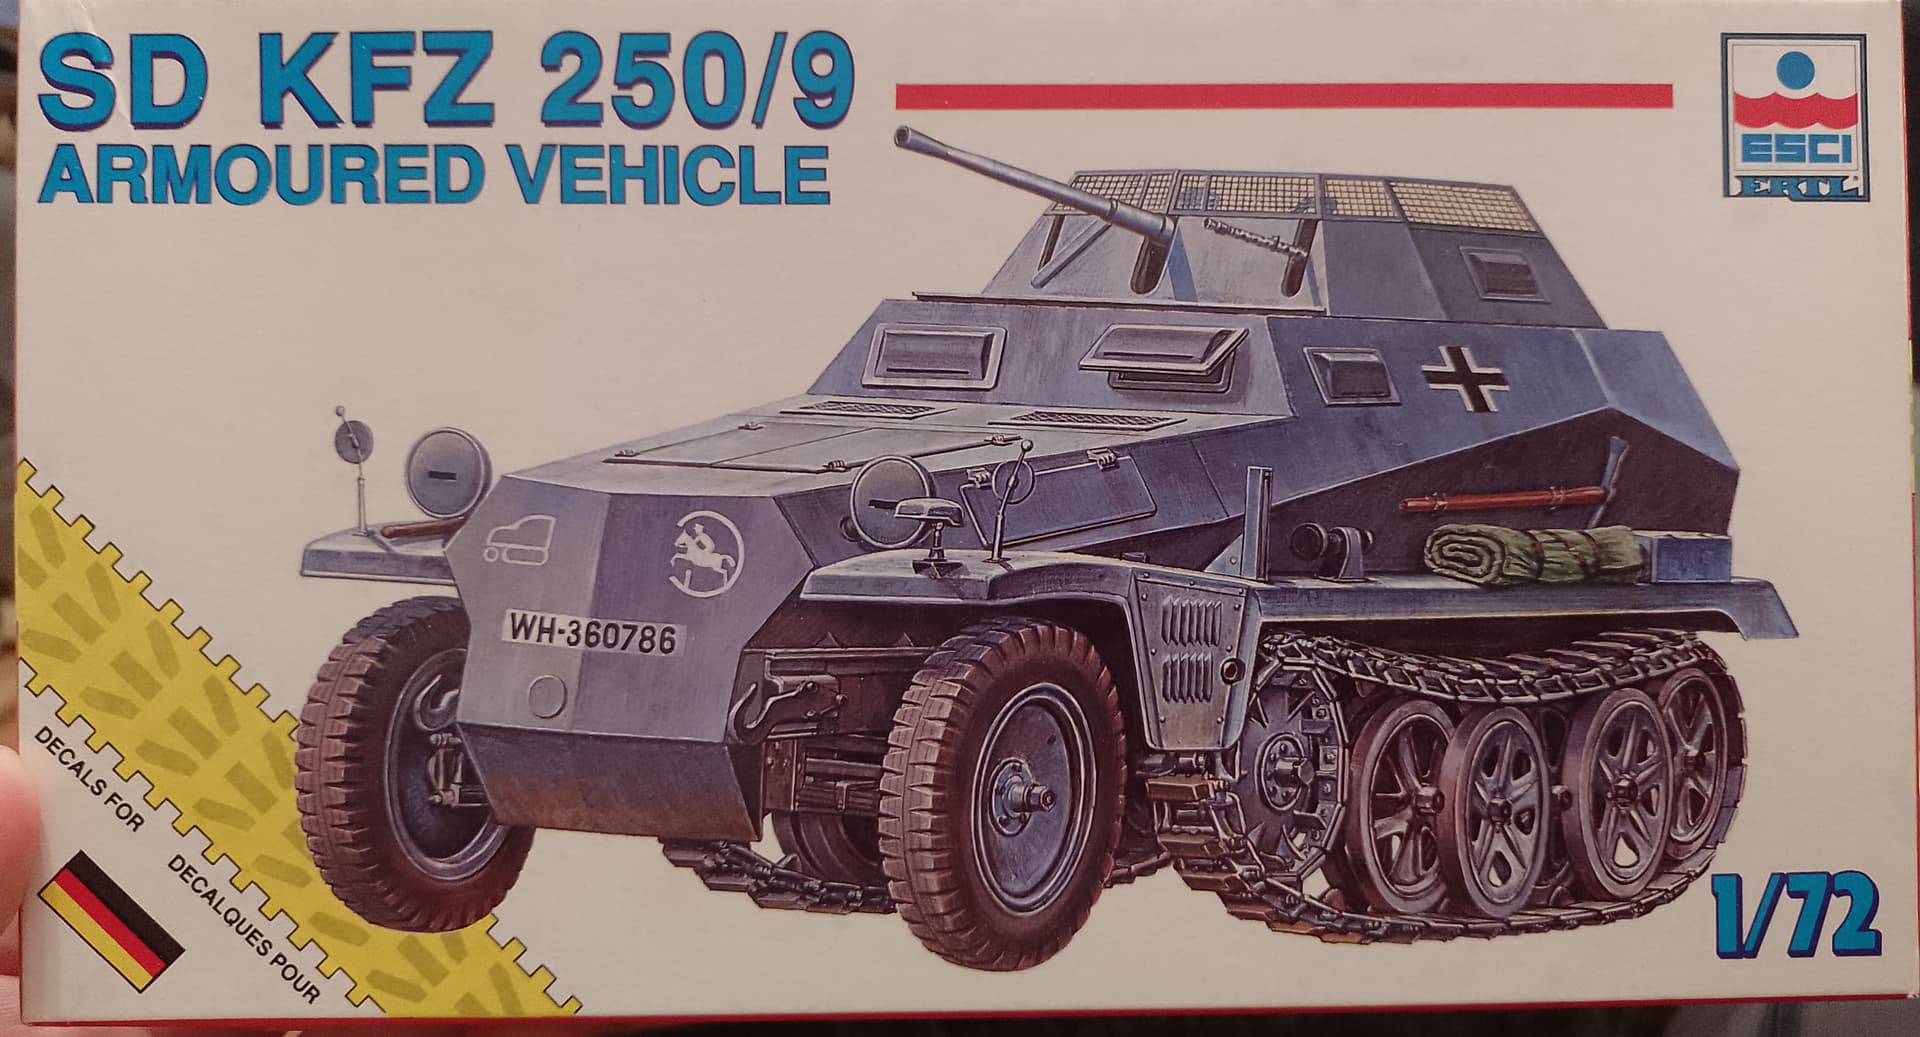
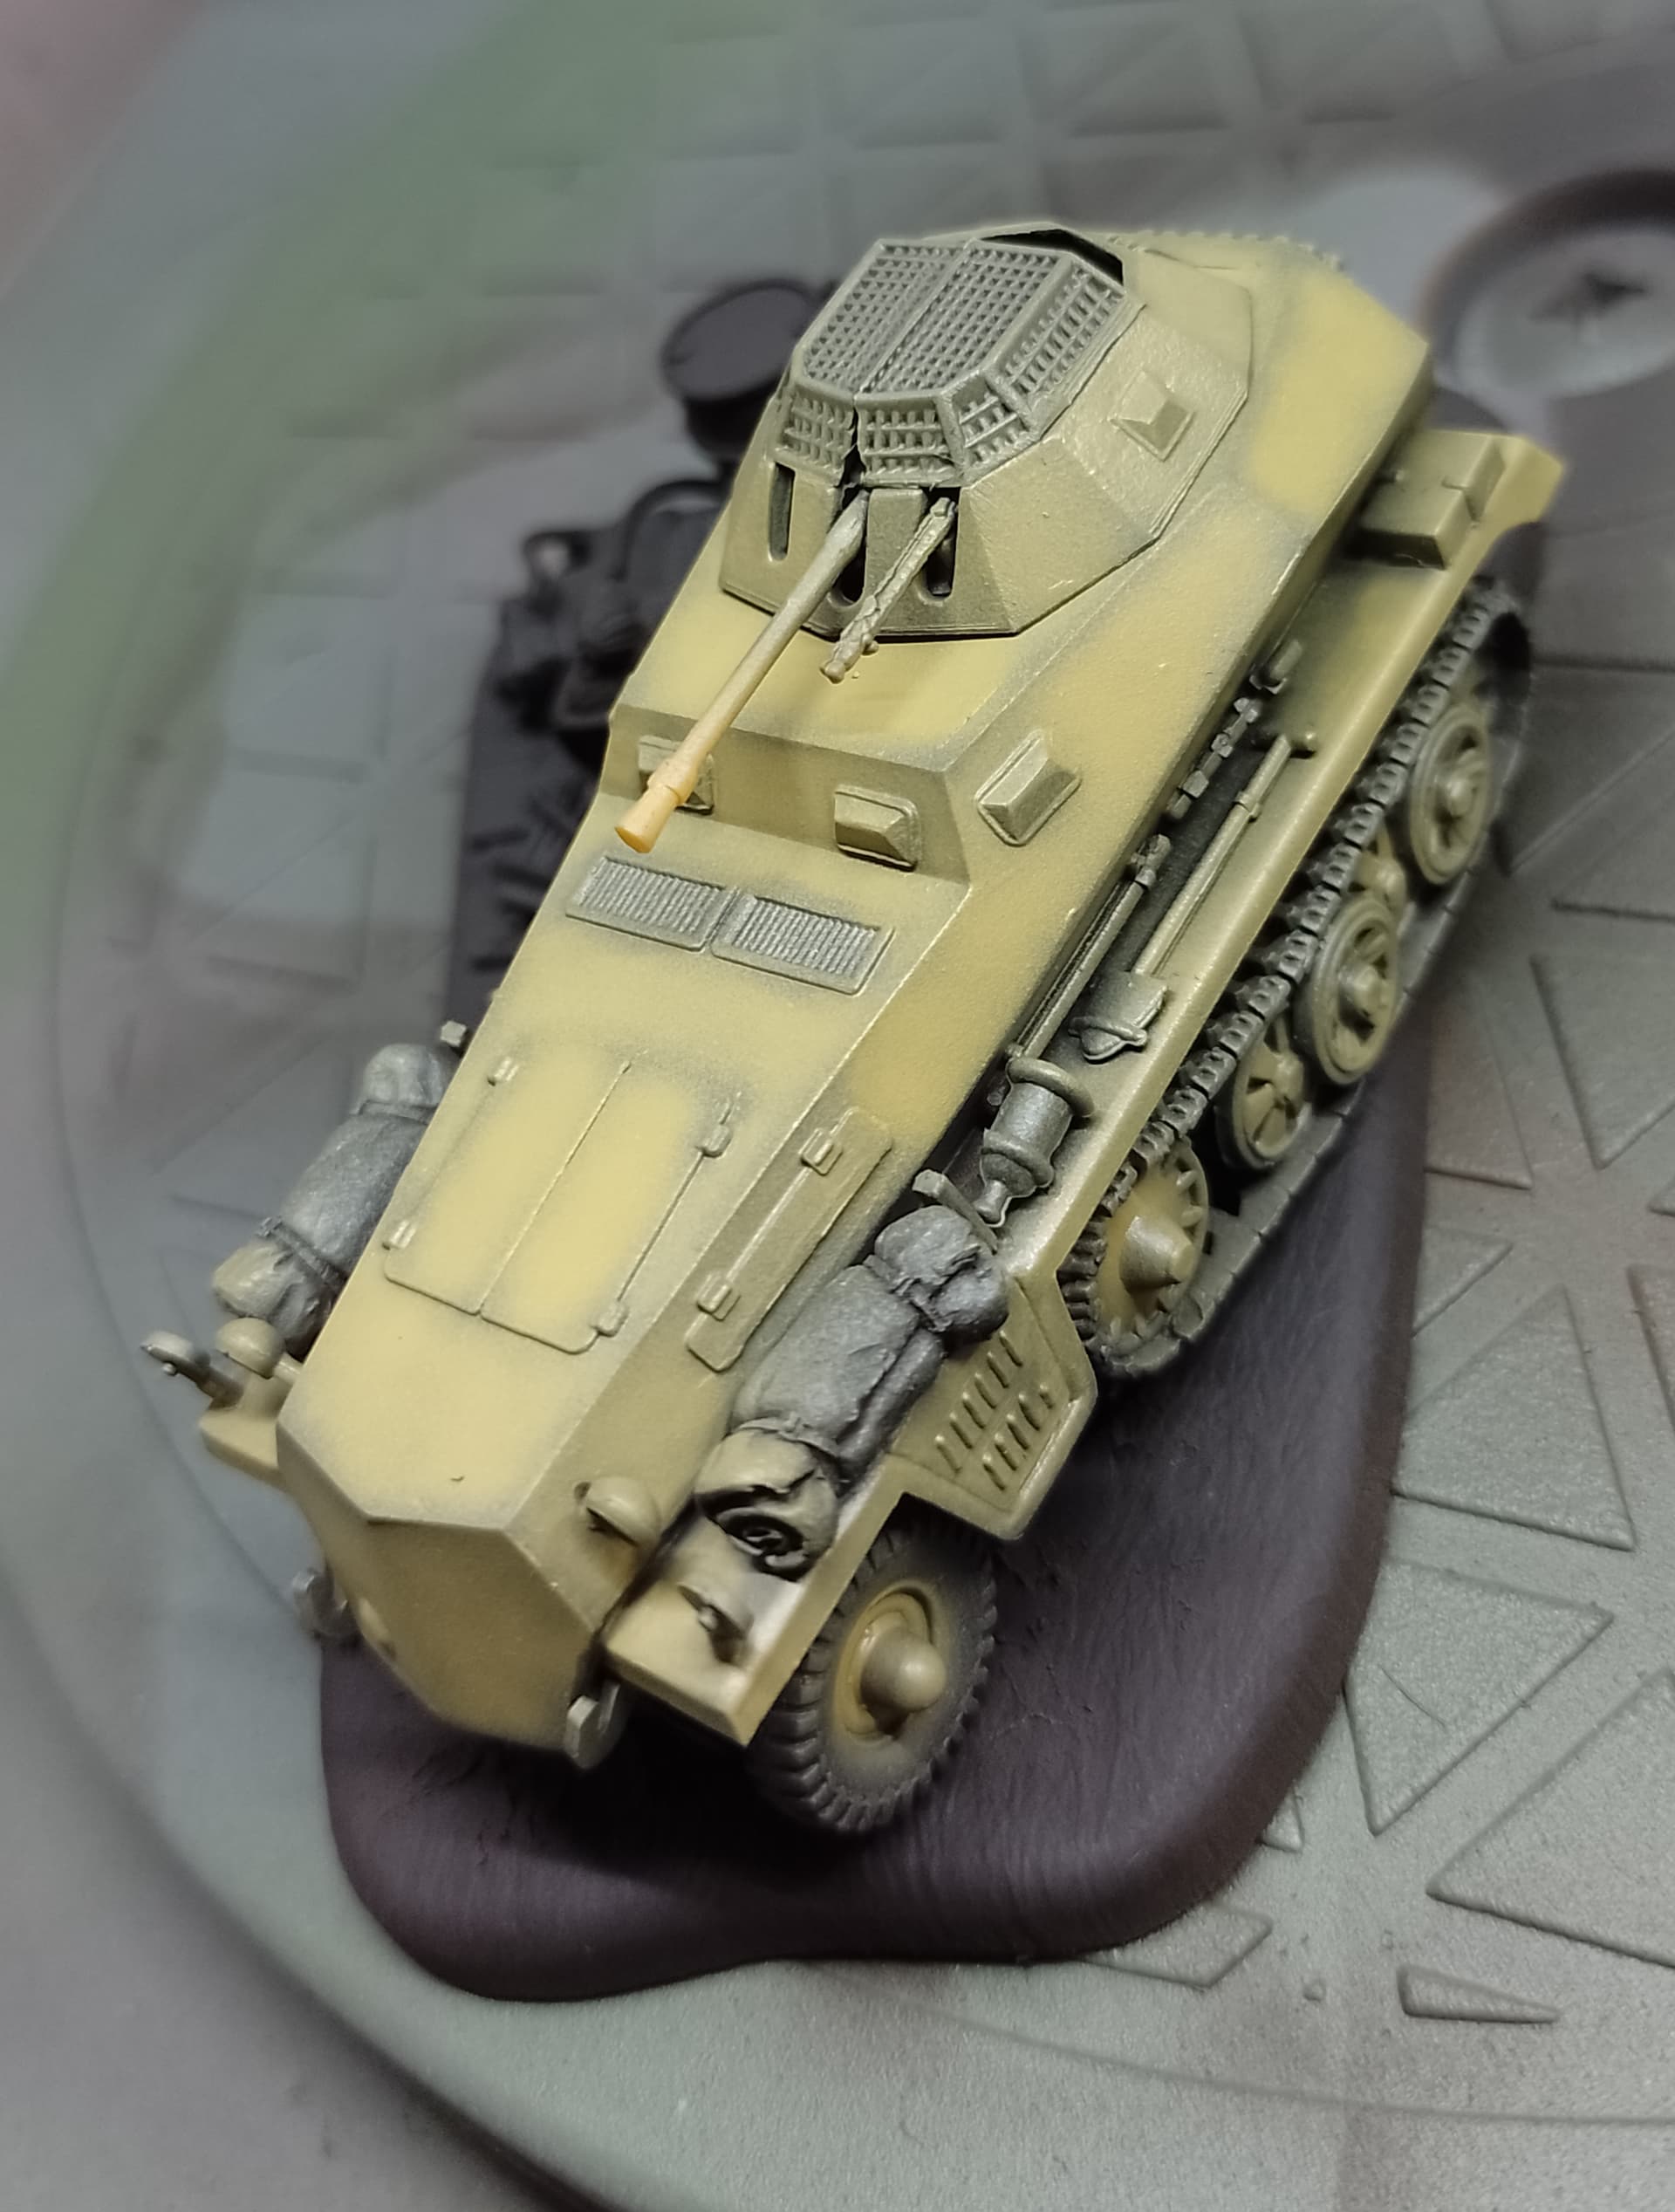
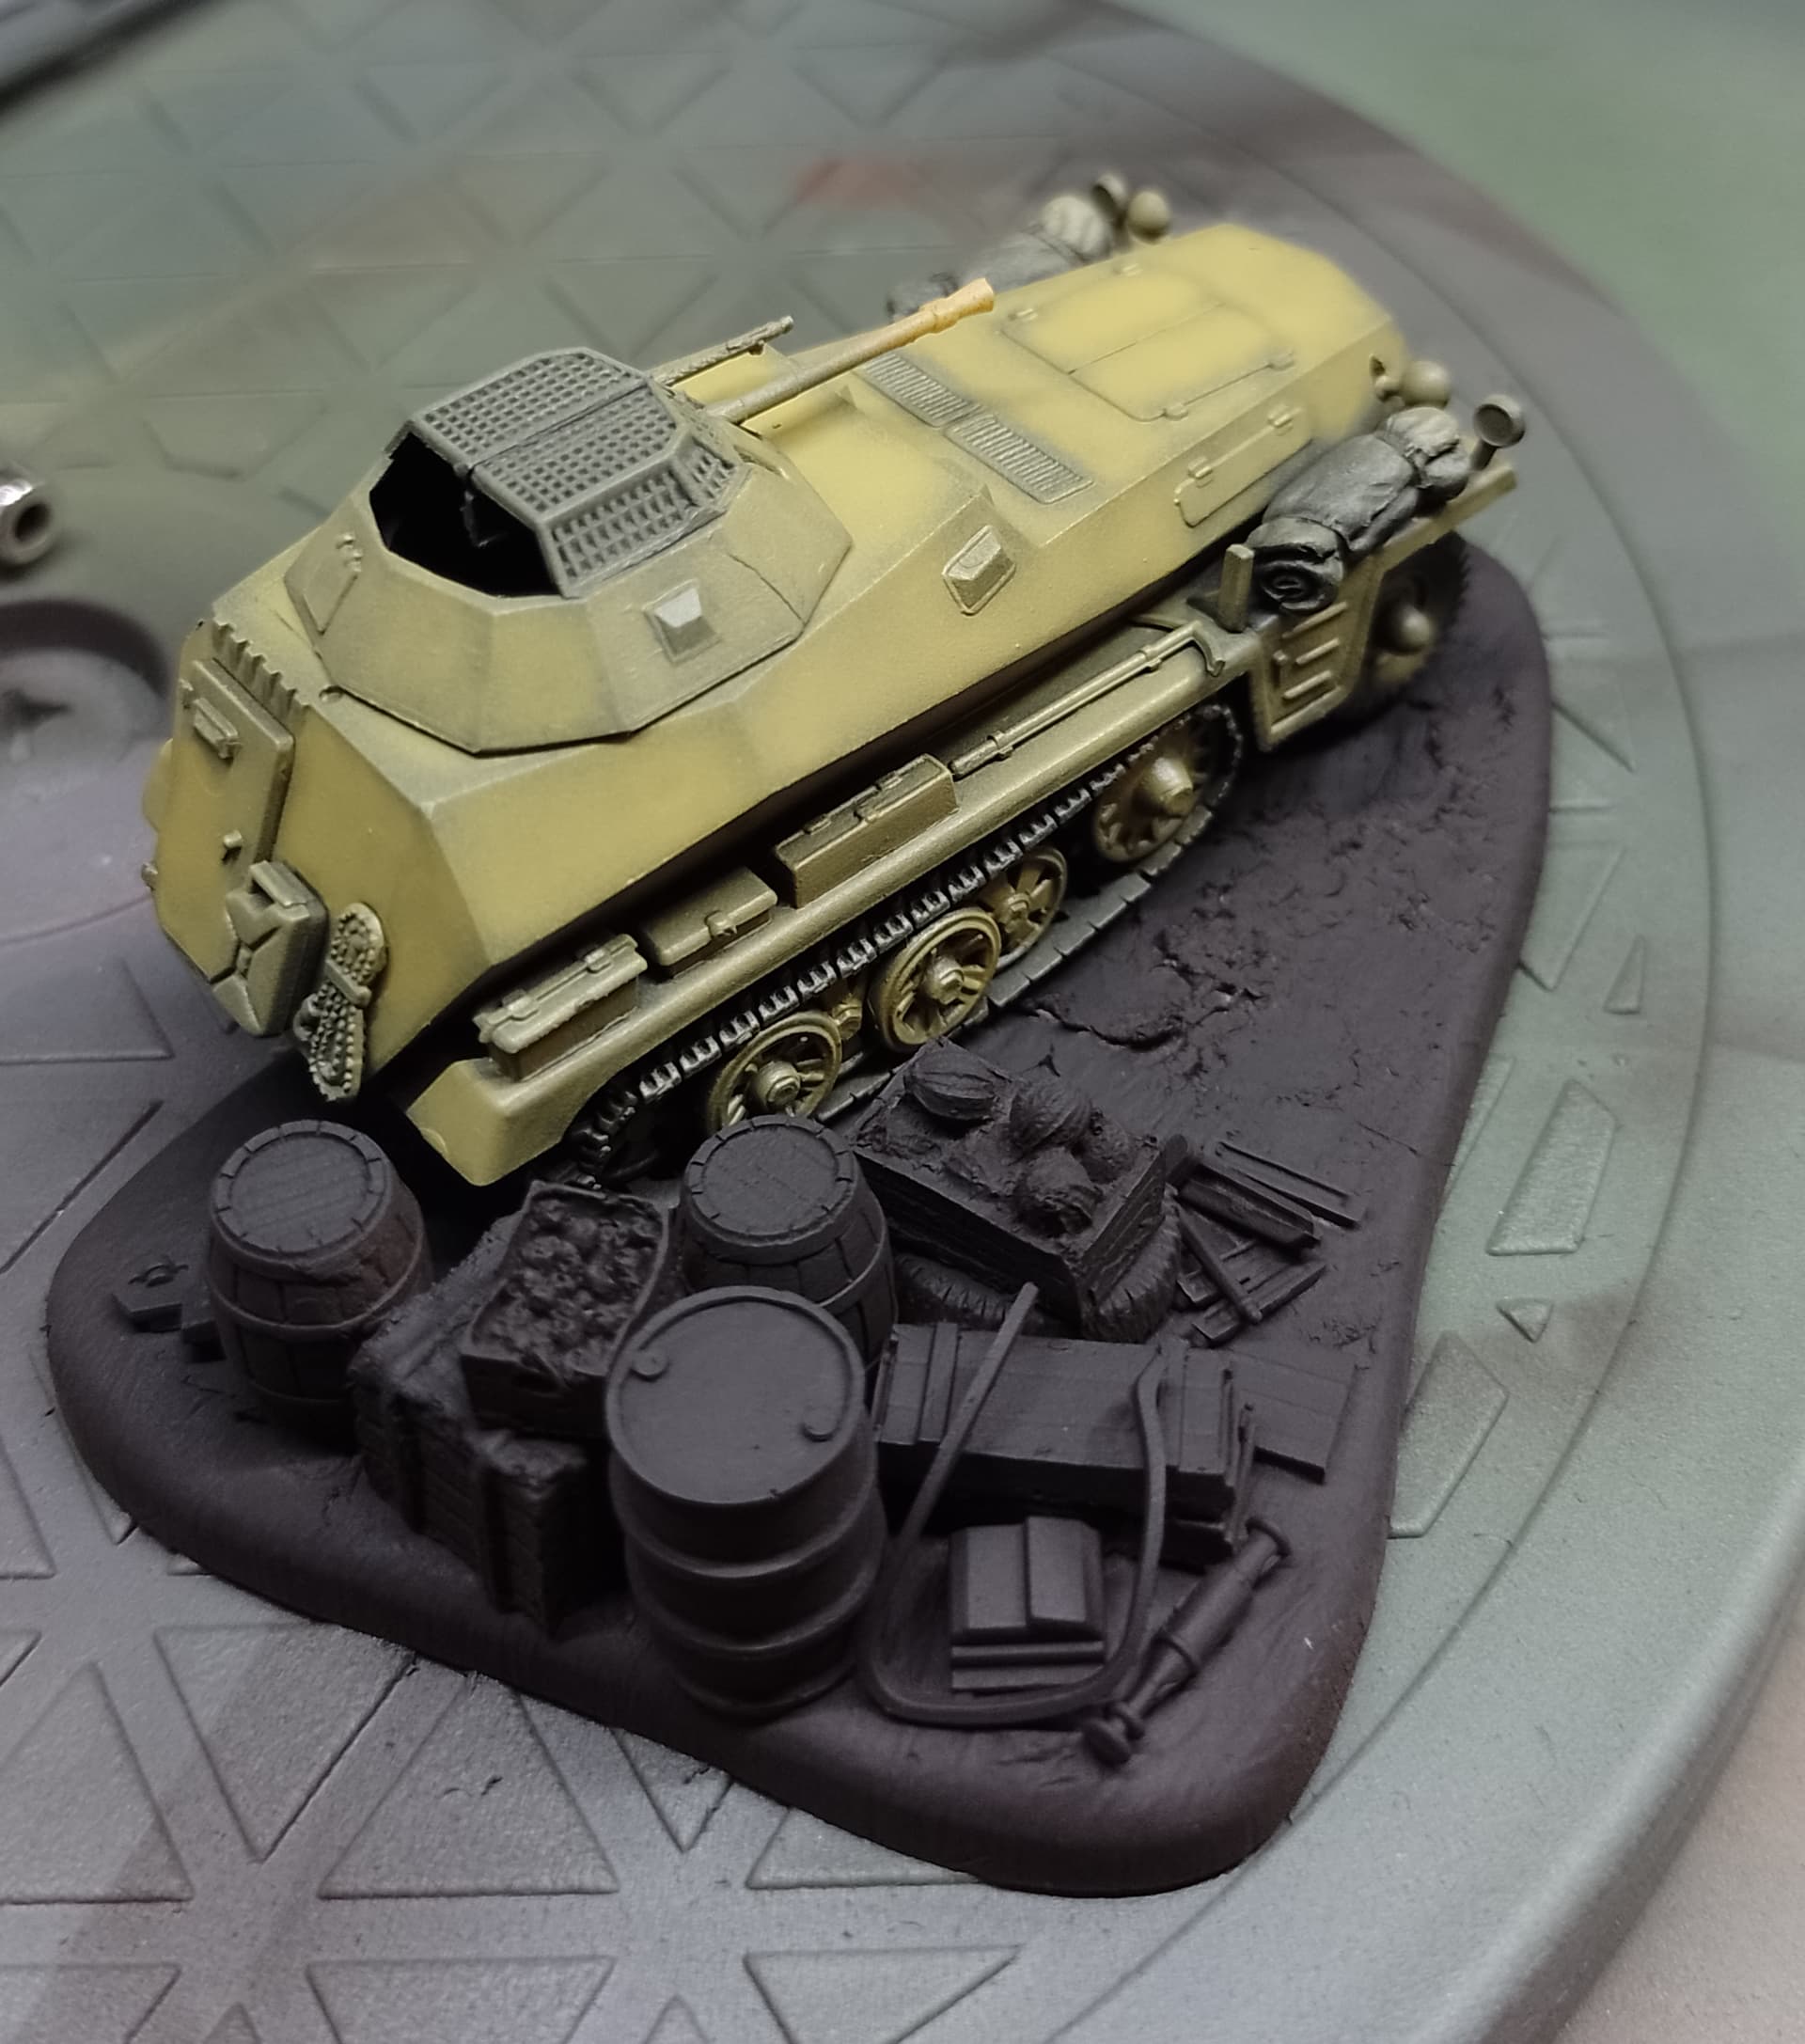
Finished the 50-ish years old 250 kit from ESCI. Horribly inacurate by todays standards and a great nostalgia kit. Put it on a small diorama with some spare junk. Hopefully it wont turn 100 before It gets some paint.
8 Likes
Modellbau Konig
3 Likes
As long as it looks cool and you like how it turned out!
2 Likes
Today…
The radio went in.
Installed the bottom of the ammo bins, front & rear firewall frames. I’d dreaded this since starting the kit after the radiator fiasco but everything fit well enough.
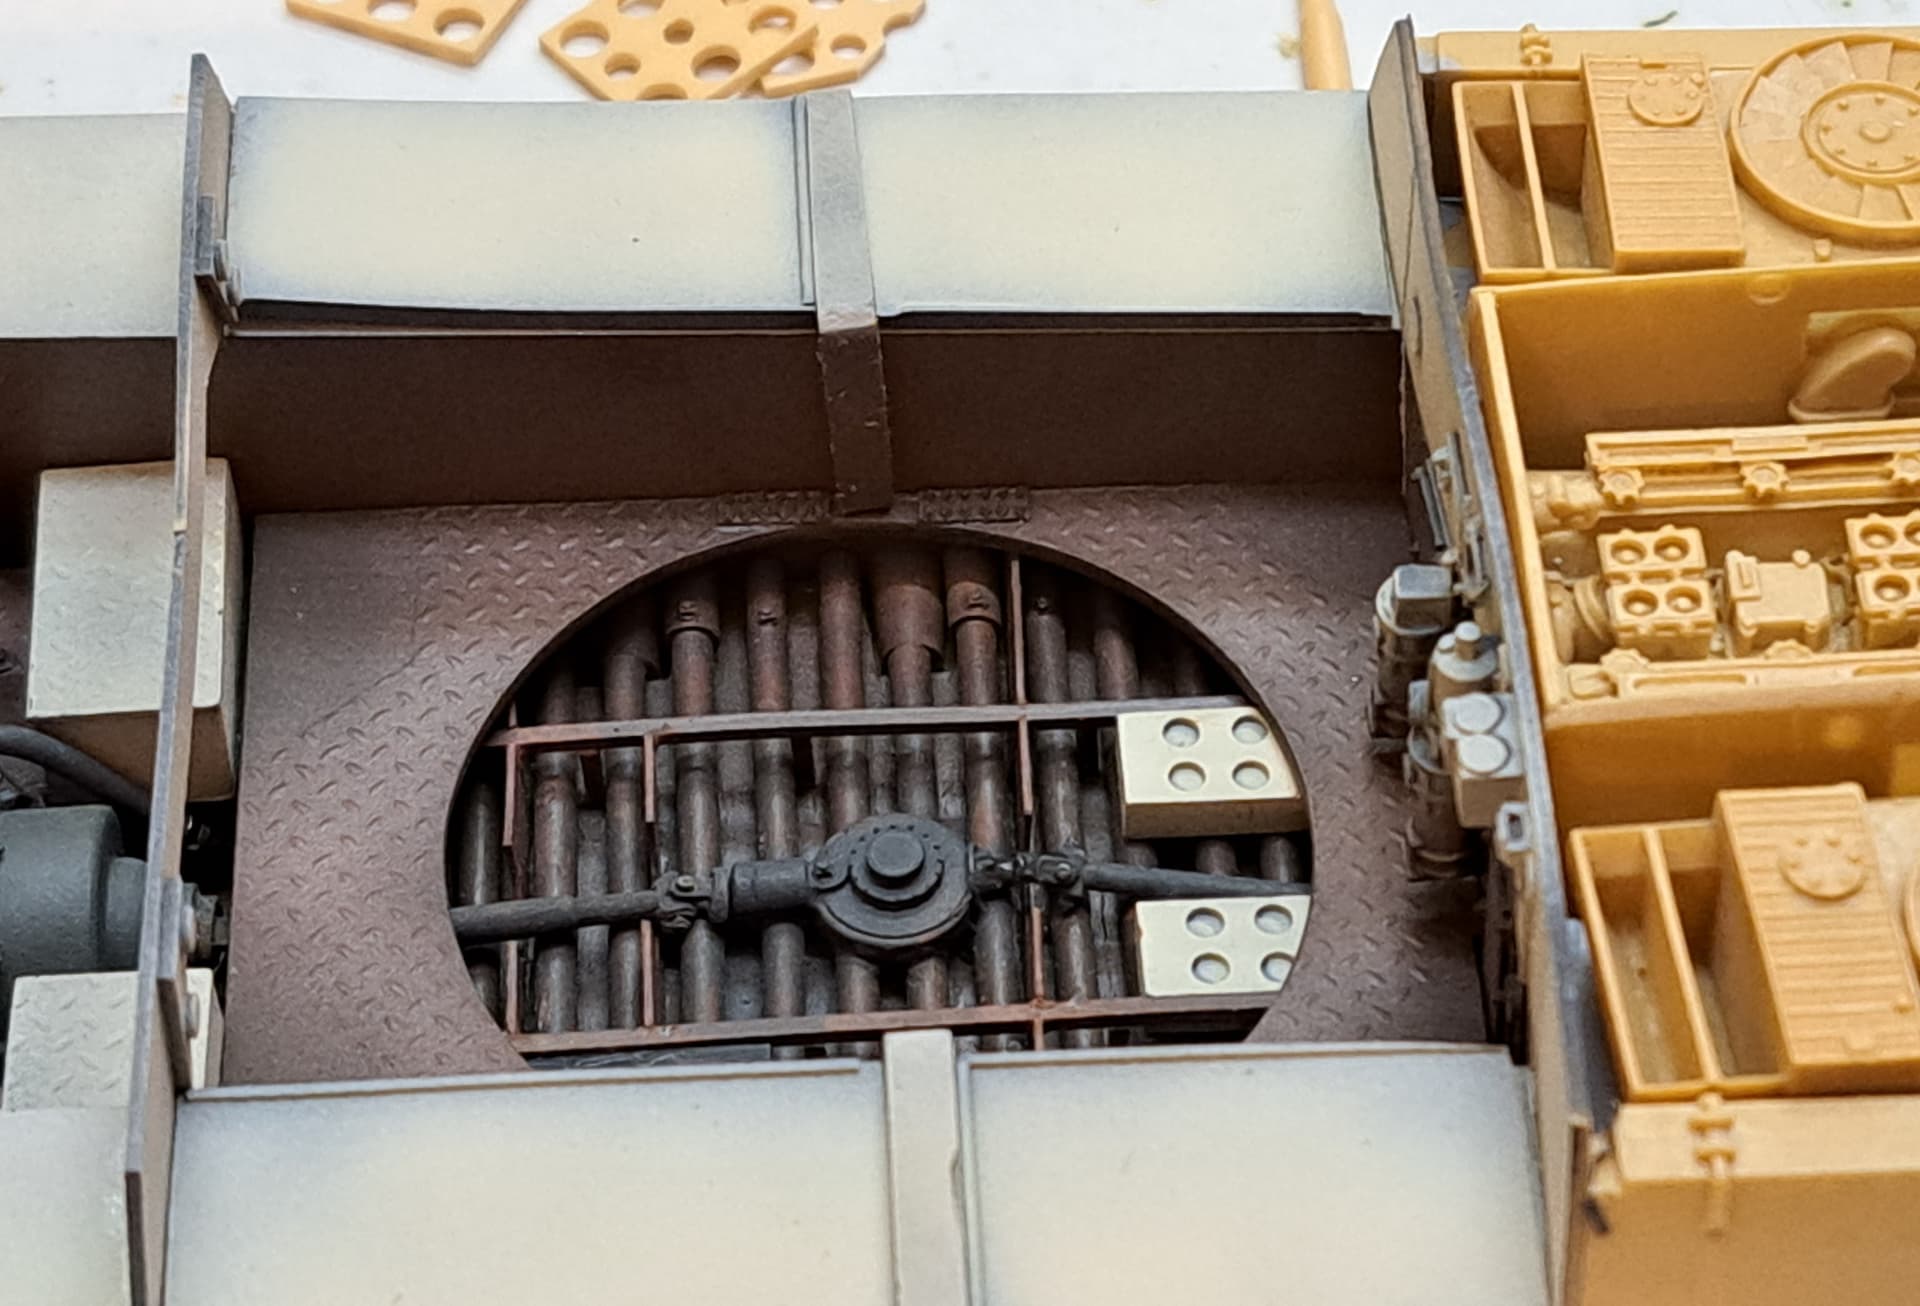
Most of the drivers console was installed. Can’t find one part ![]()
![]()
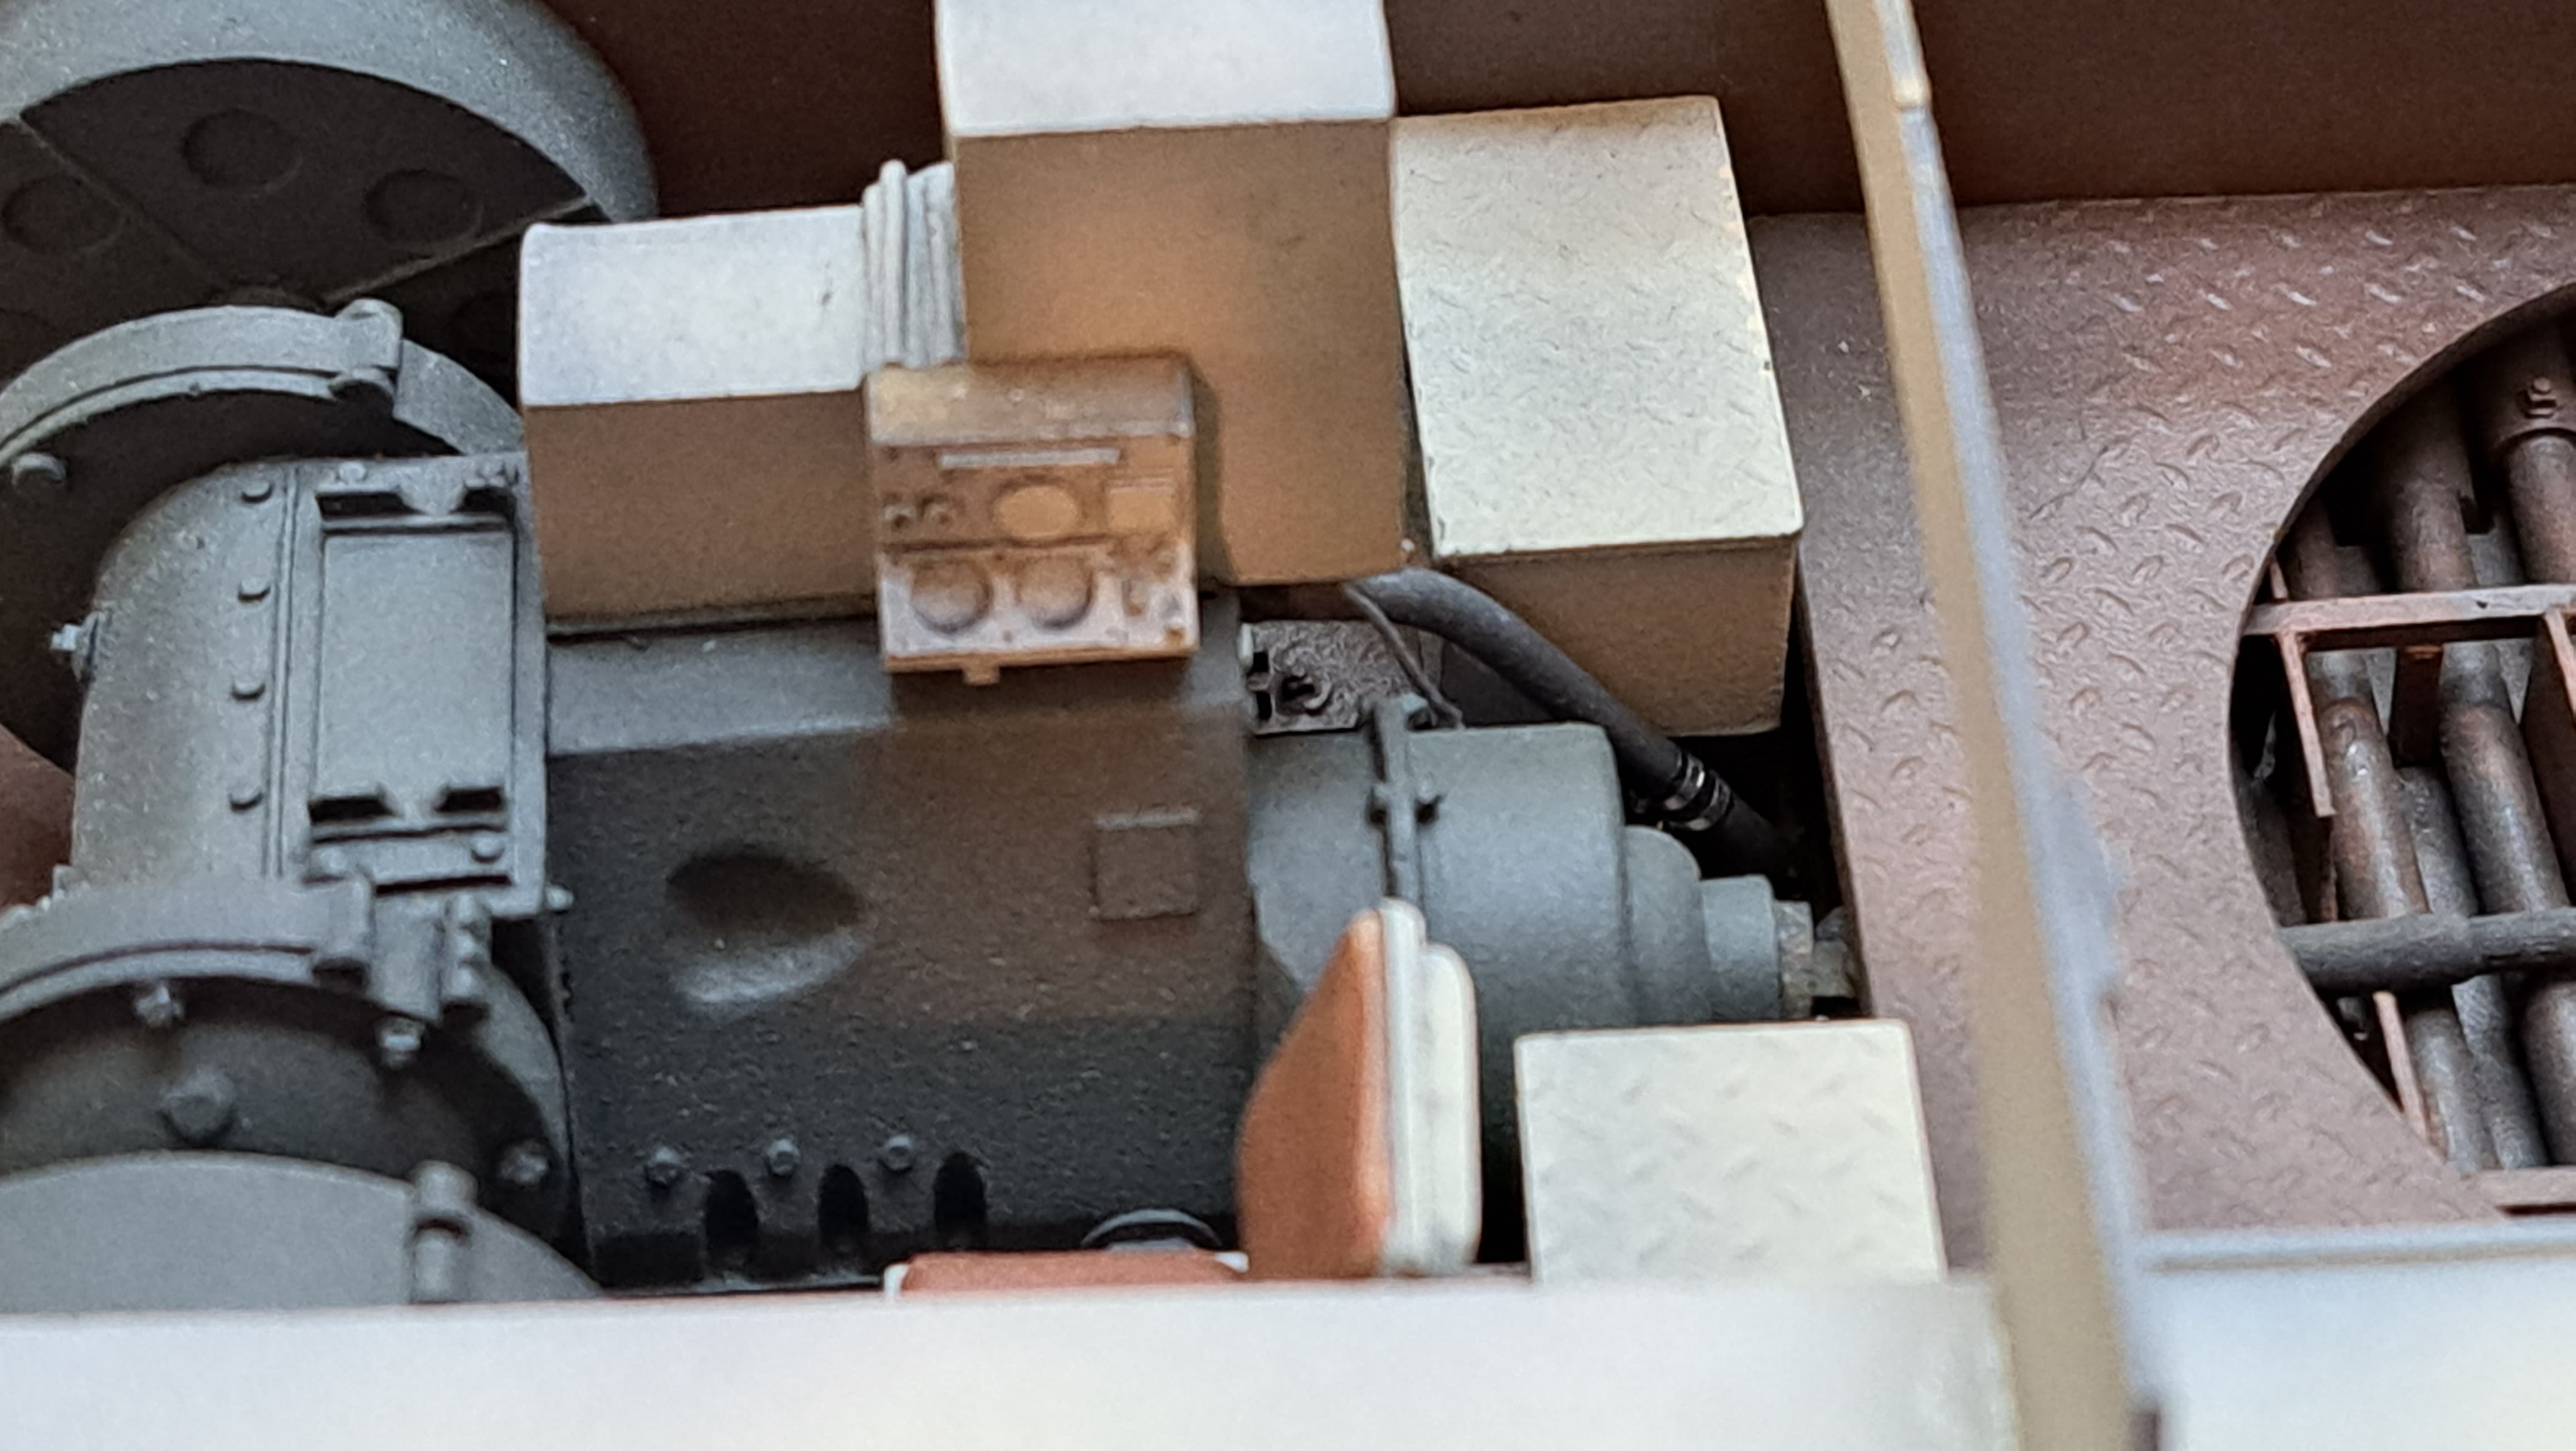
I butchered a standing ammo rack removing the resin plug long ago.

Resin scraps are sometimes useful and worth keeping on the bench.
![]()
![]()
![]() It actually fit!
It actually fit!
Molak Stucco Putty/Tamiya Basic Gray saves the day…again!
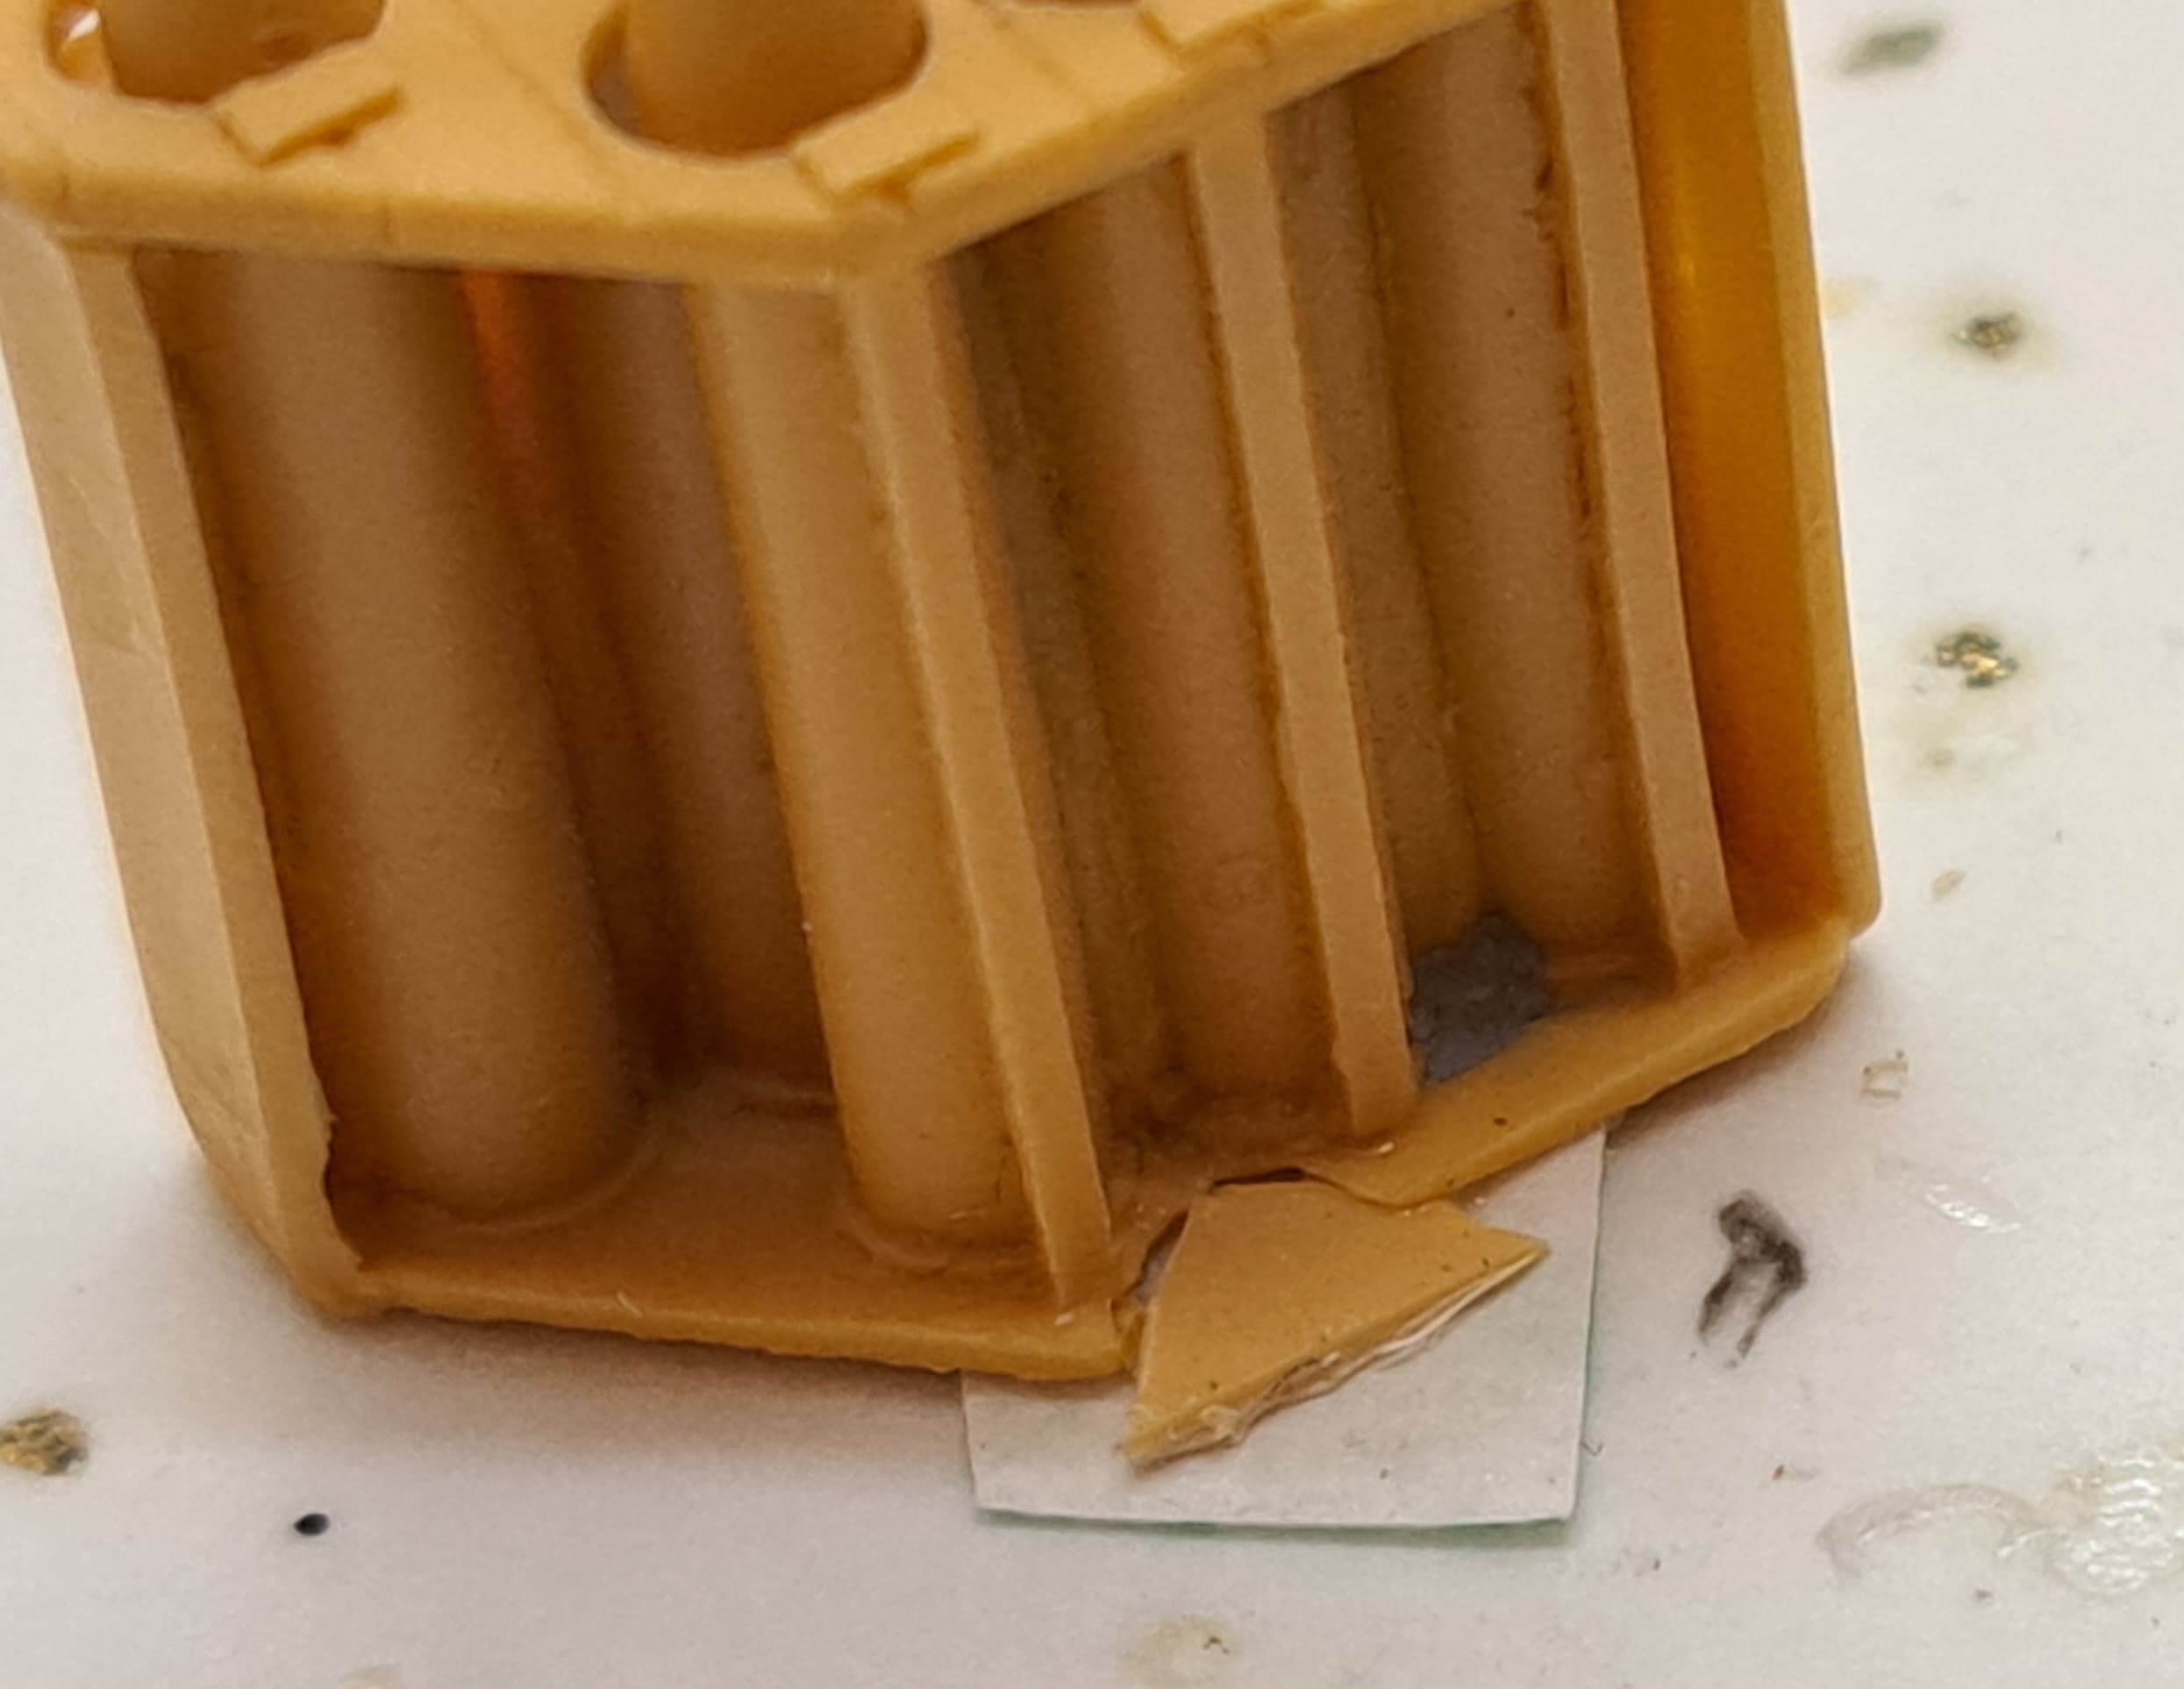
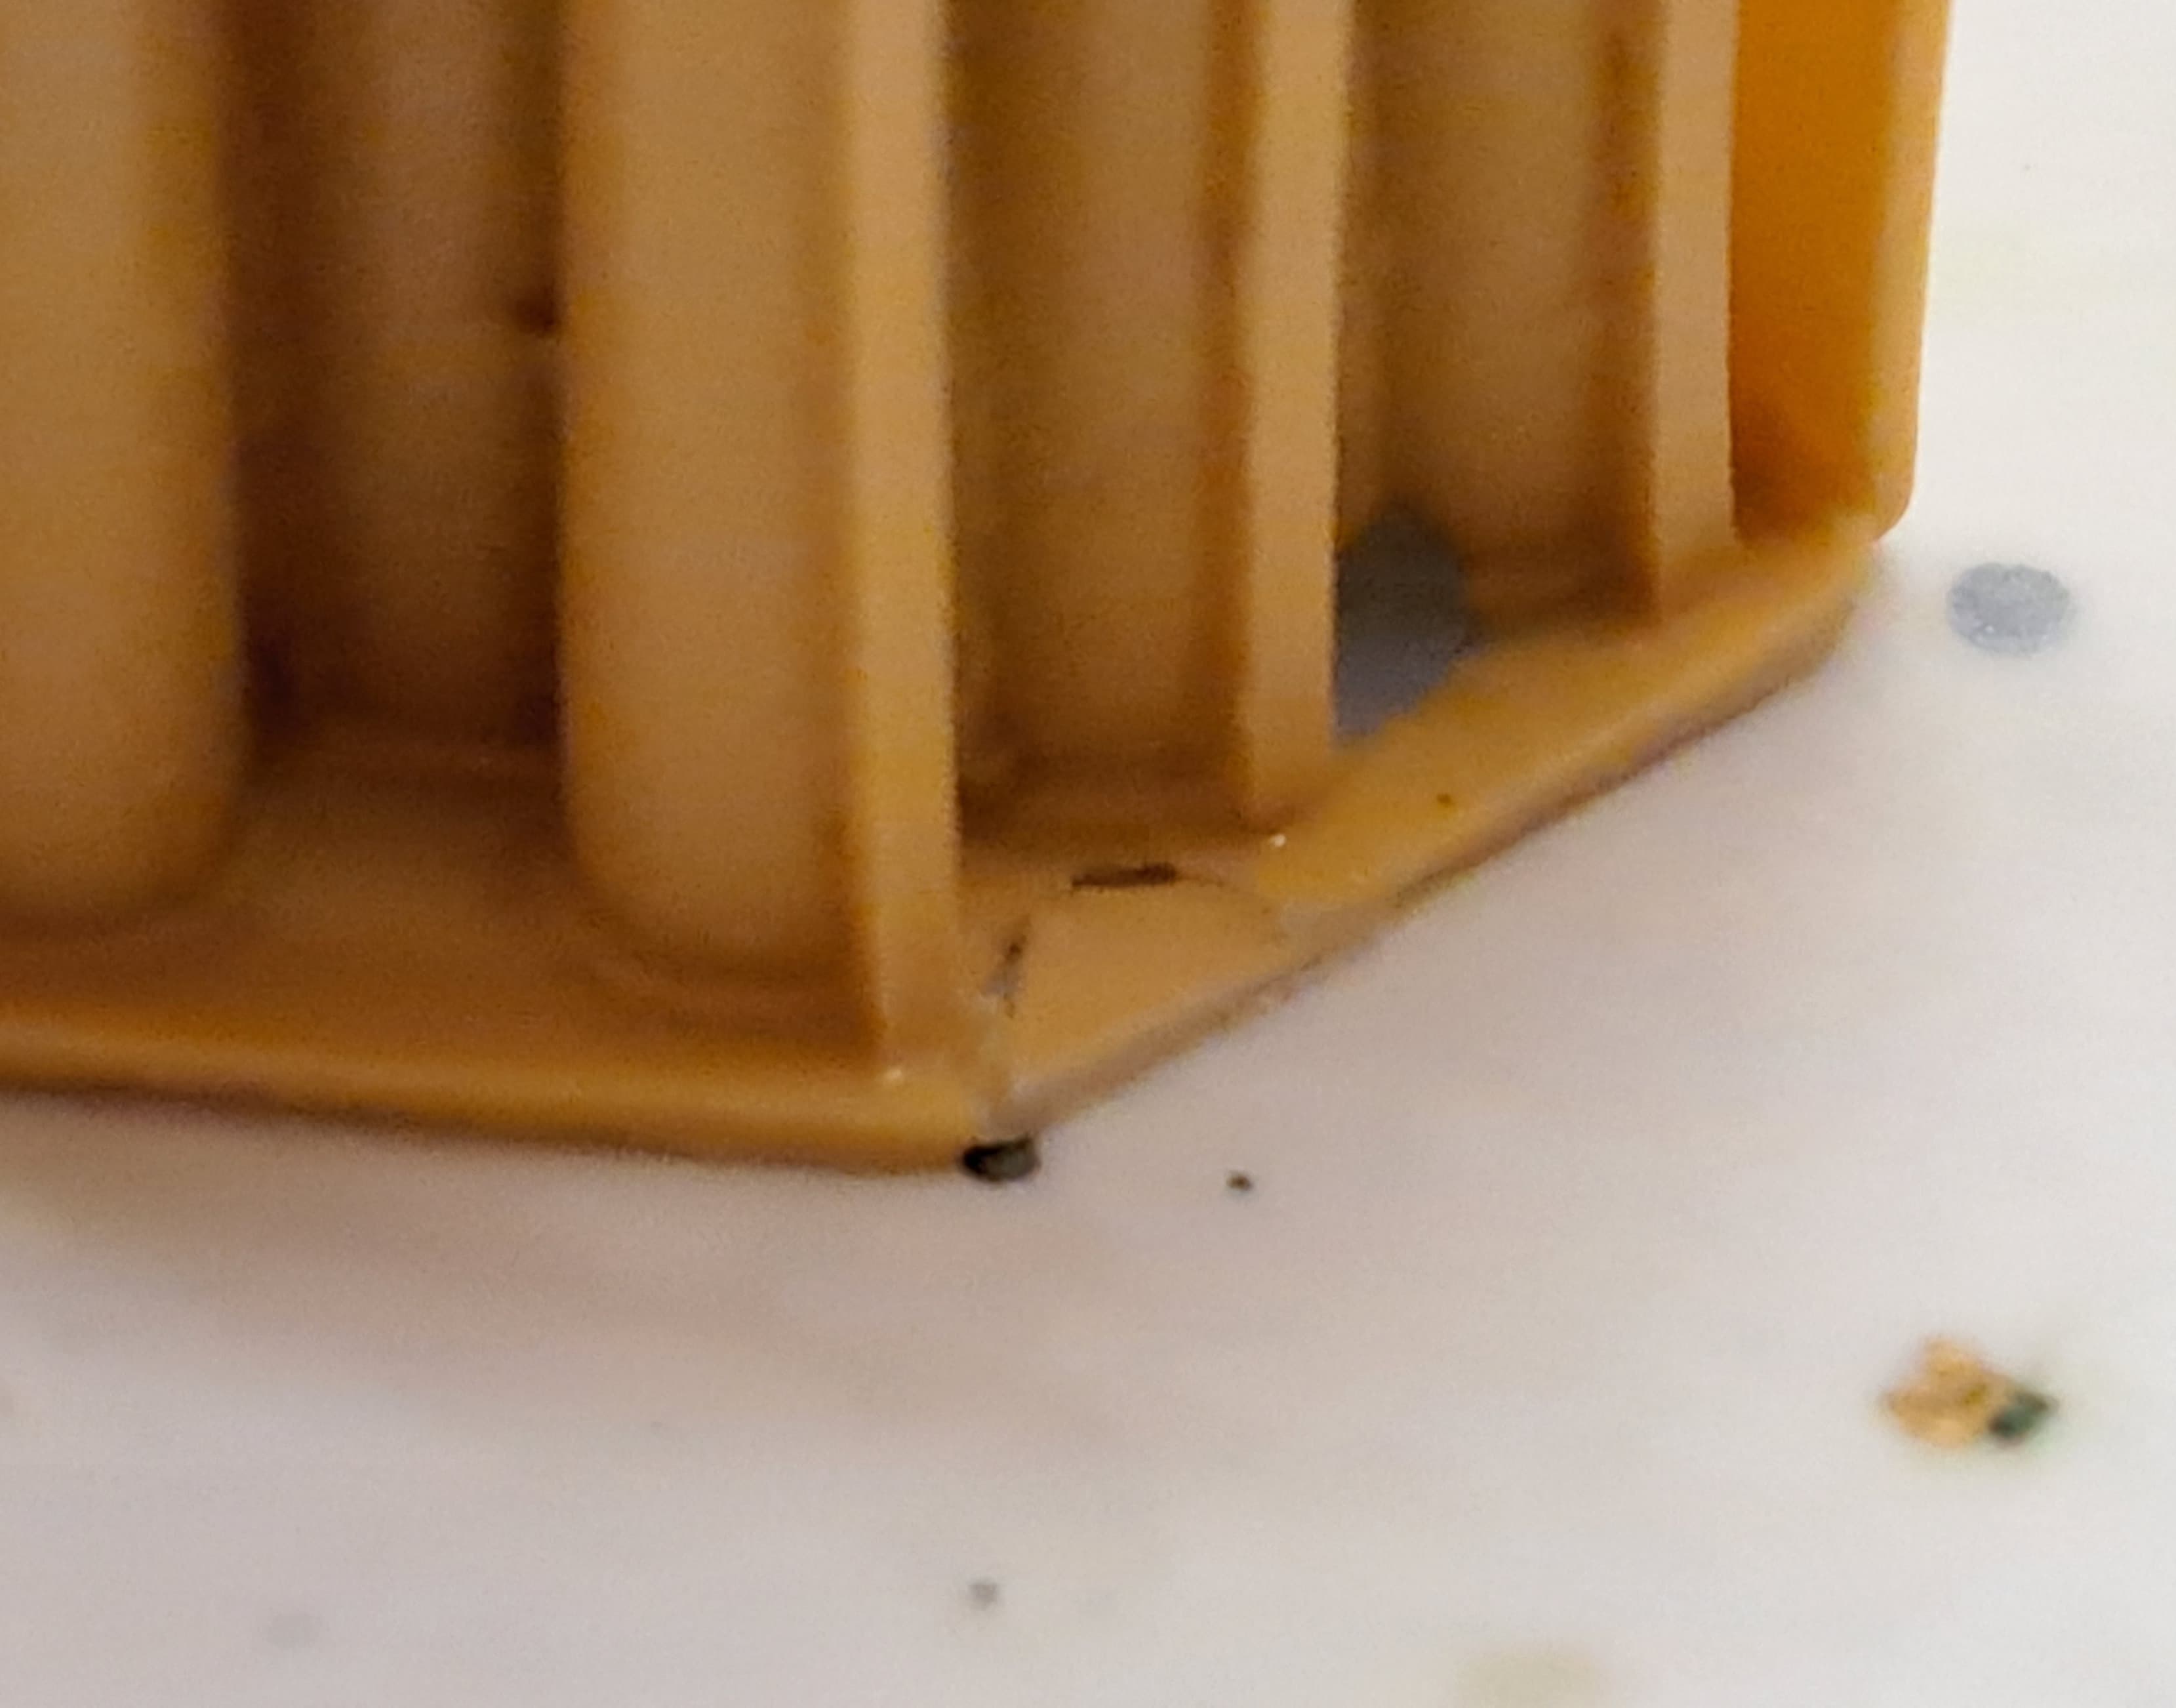
The resin ammo & ammo rack cutting guide. The sponson racks have to be cut to size to fit. Unfun step in my opinion.

The shells hold the racks together. Of course ~24 out of ~36 shells are damaged at the rear. I damaged them removing the resin plugs long ago.
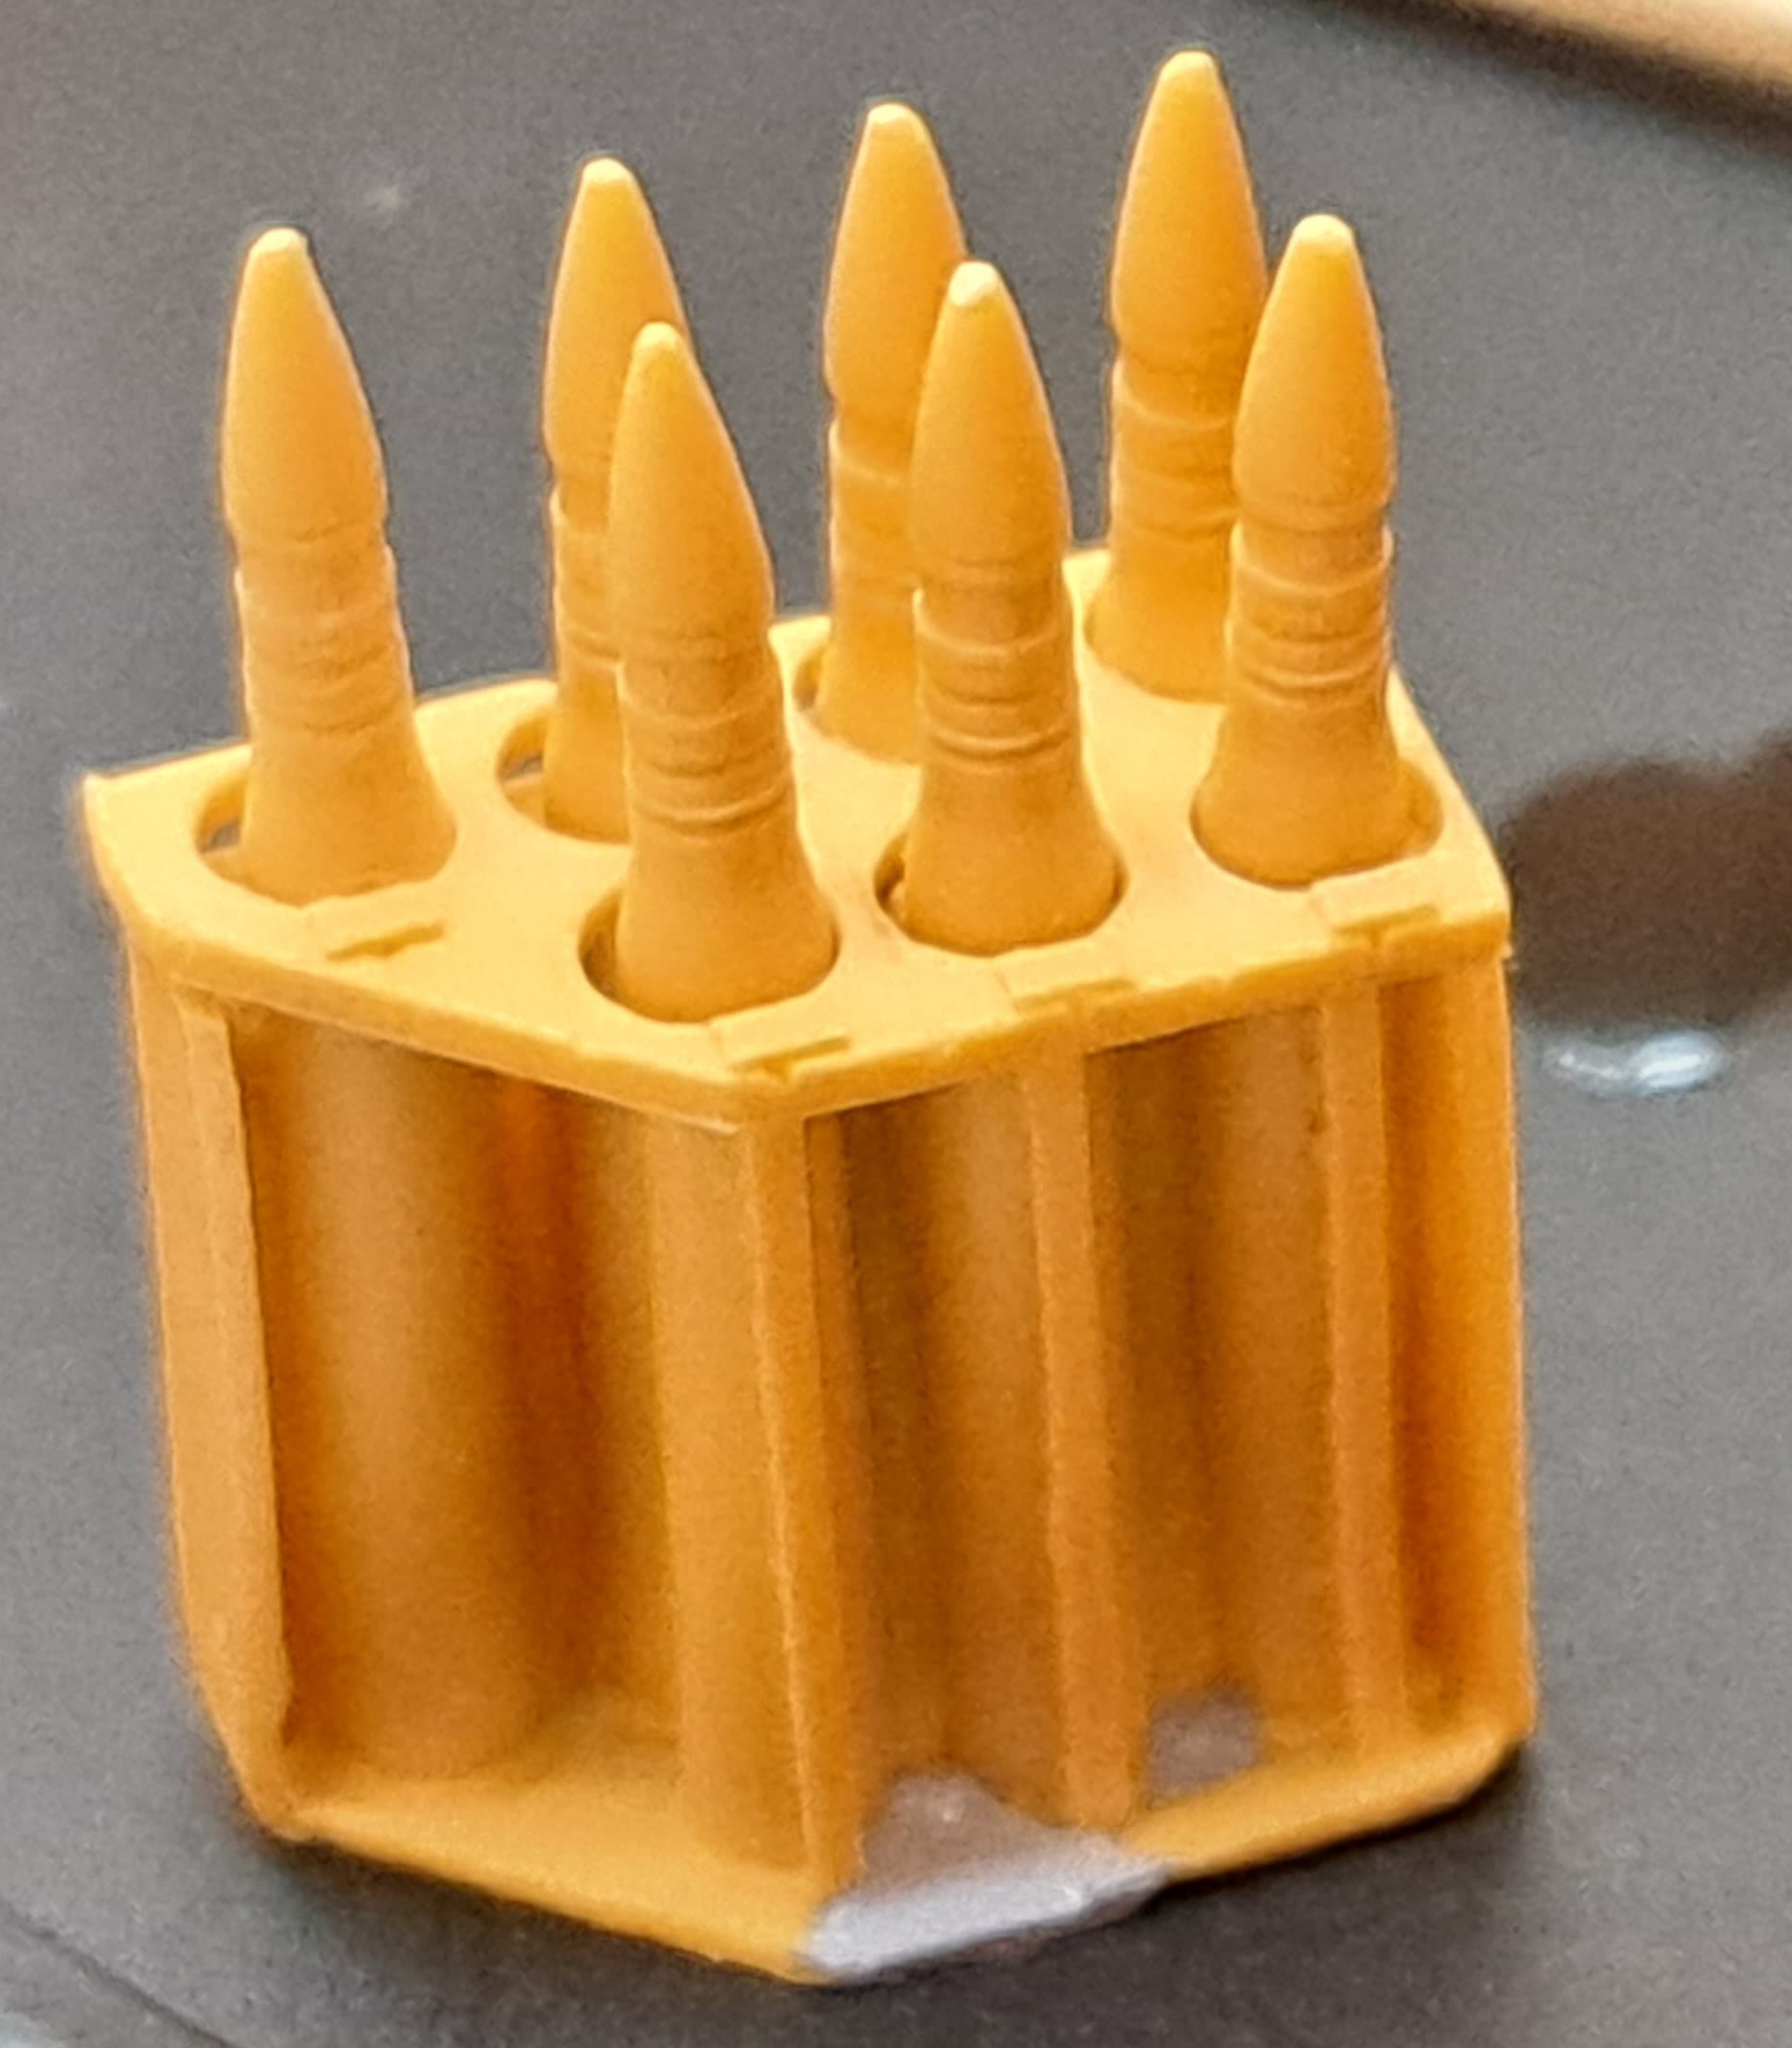
The original plan in 1998 was ONE set of Tamiya Brass 75mm Panther ammo to put 12 nice rounds, 3 in each rack up front for the viewer to see.
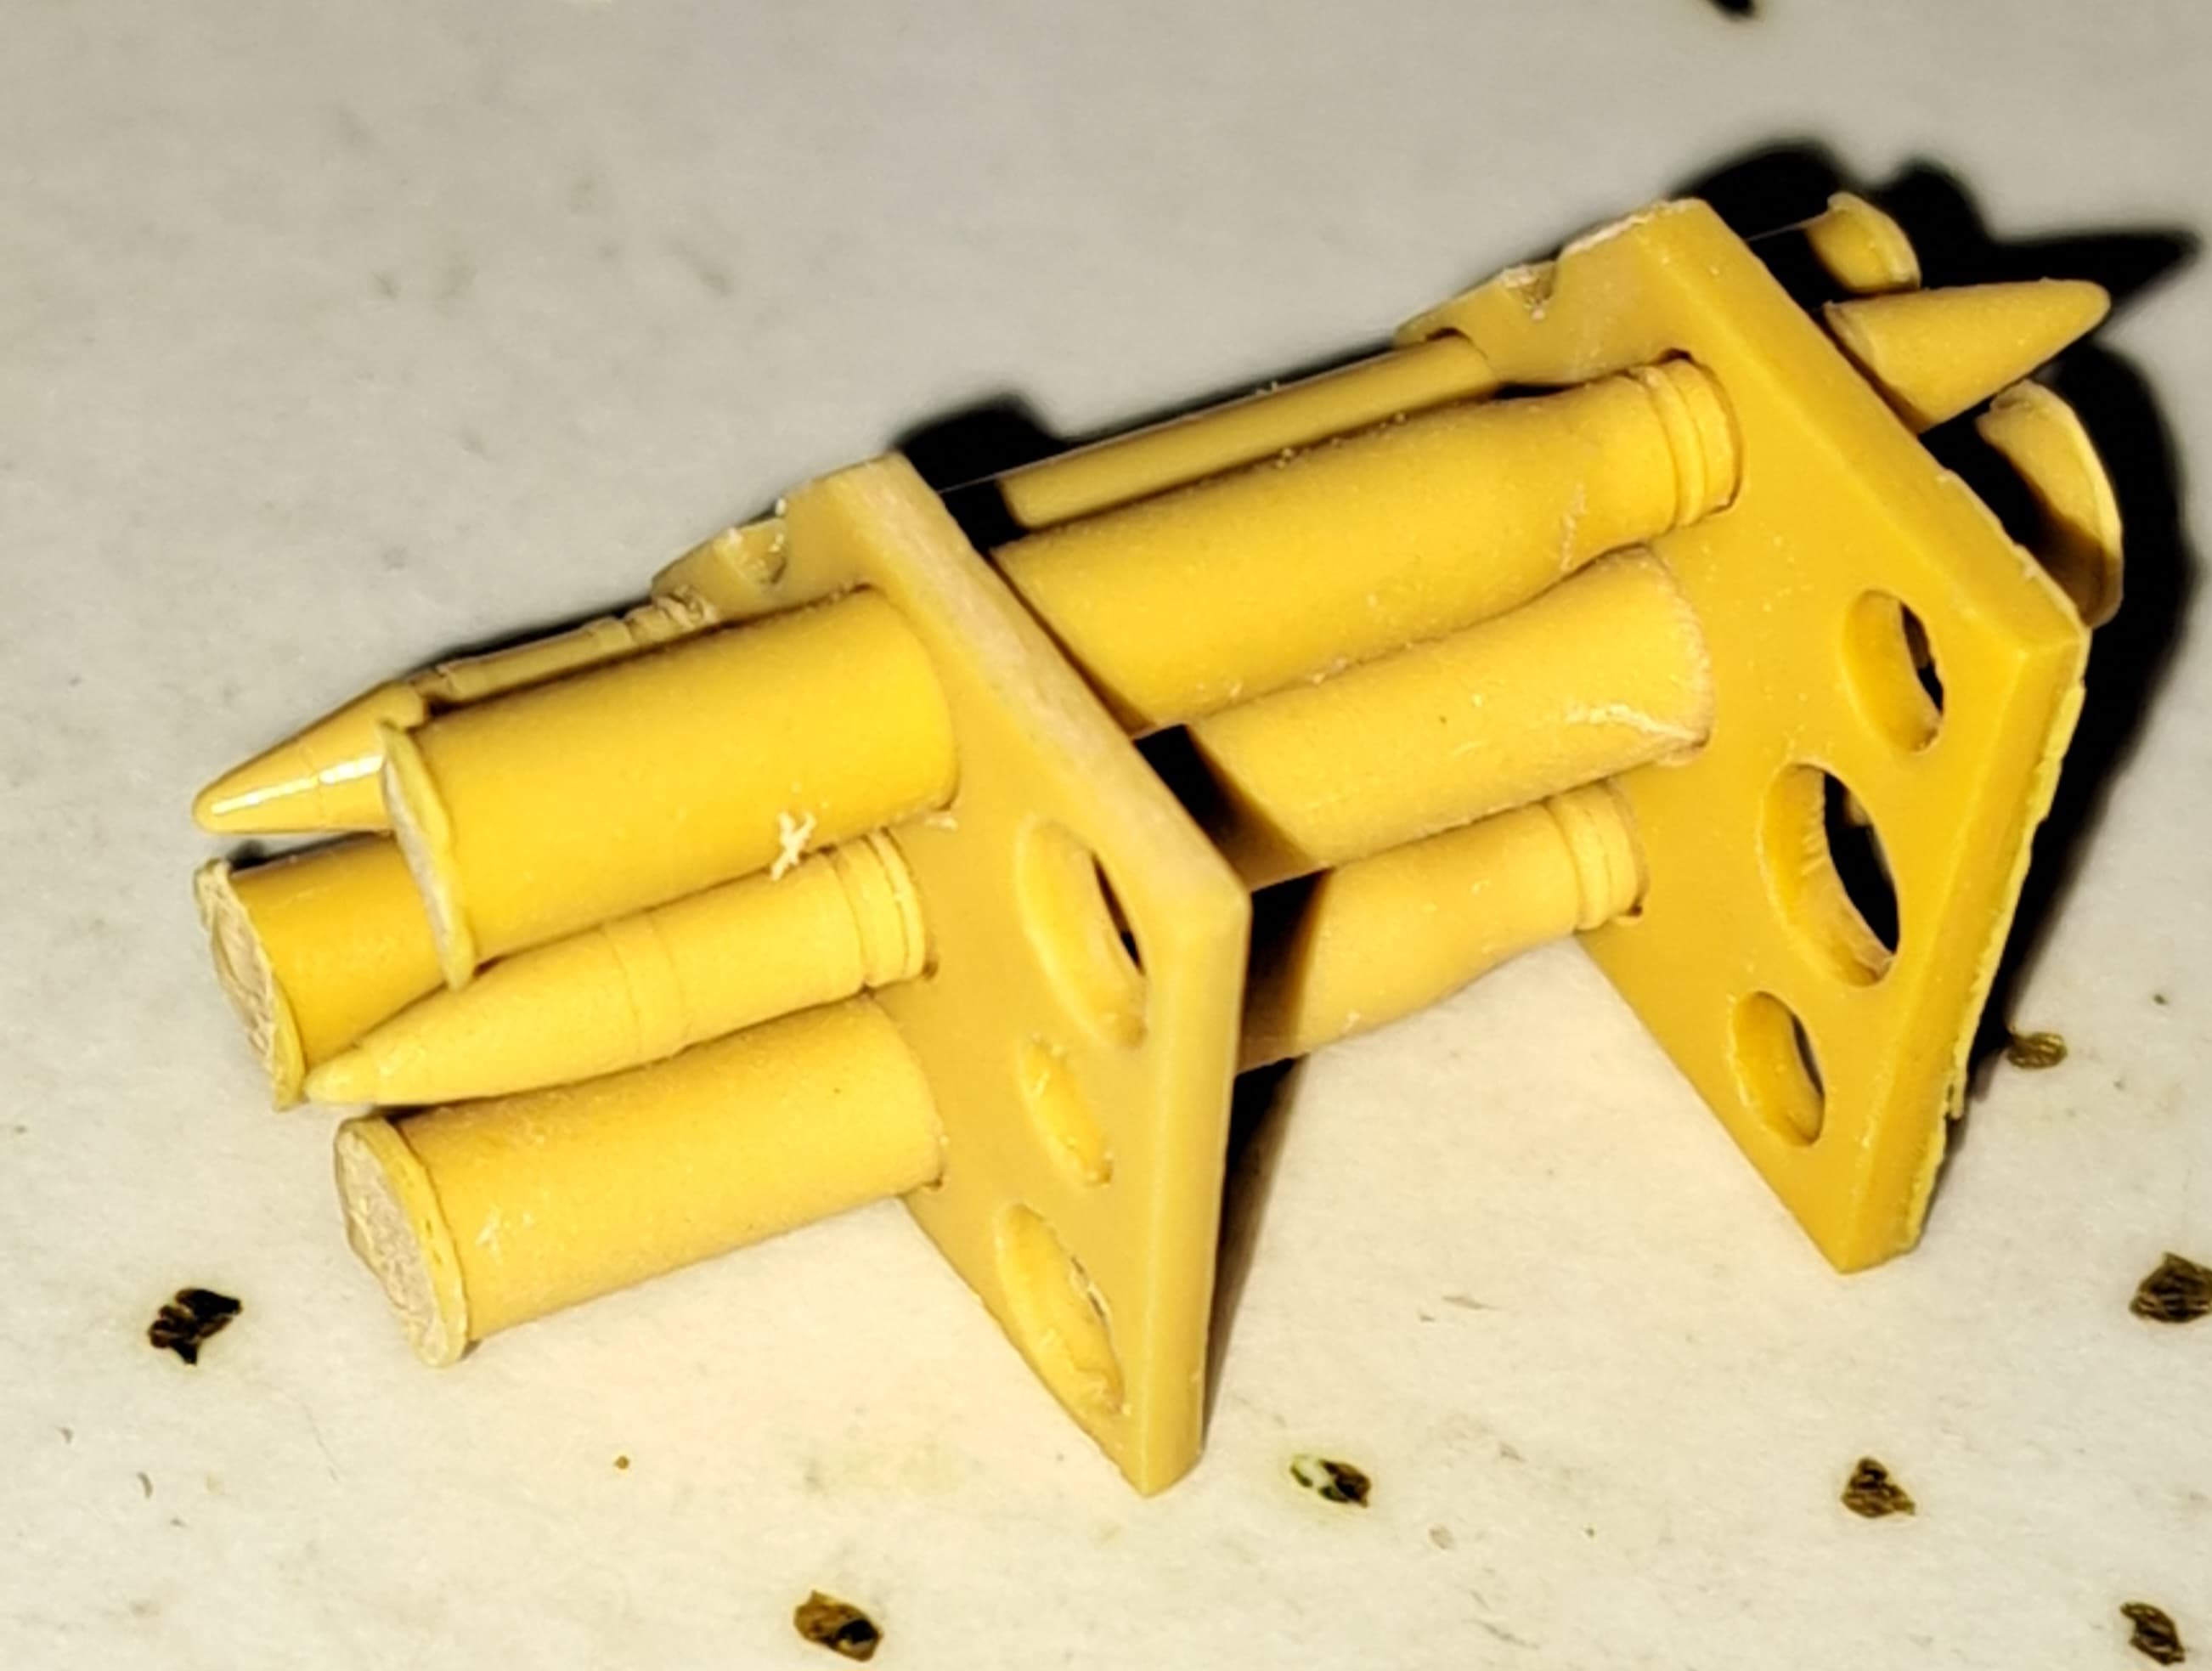
However that looks like lipstick on a pig ![]()
![]() given how bad the ratty resin ammo looks beside the Tamiya brass.
given how bad the ratty resin ammo looks beside the Tamiya brass.

So what to do? What any self respecting OCD Panther model build does…take the US Government’s approach…spend money! ![]()
![]()
![]()
9 Likes

Yes, Resin, Styrene, and trash scraps have their own special place in my PanzerWerks. ![]()
Talking about PTSD (Perpetual Trash Storage Disorder), not hoarding! ![]()
—mike
3 Likes
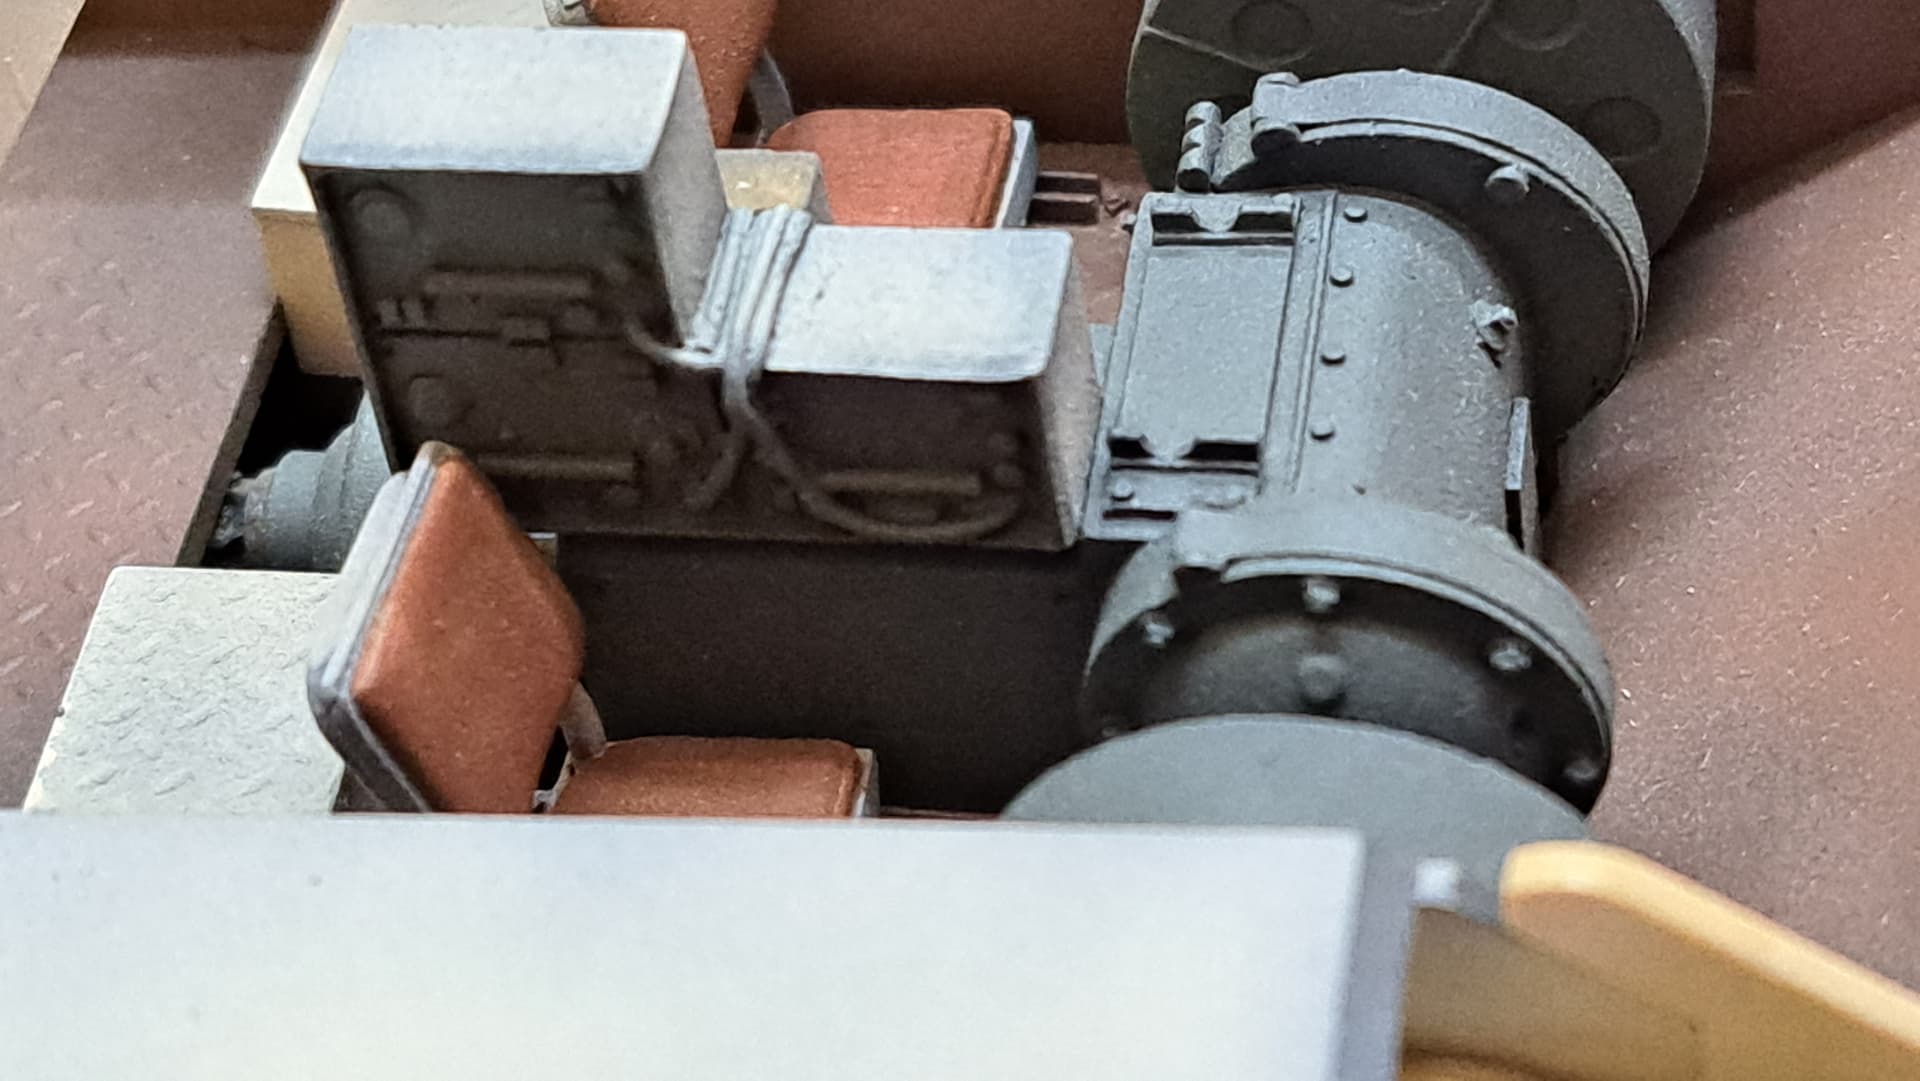
Today, called it quits on hull interior other than tweaks and paint work.
Very inaccurate but I think it will be OK viewed via open hatch. A few more resin parts to go for the Jaguar interior.
Working on the hull MG gave an opportunity to practice practical solutions today. There’s really nothing to attach the inside resin plate for the MG to in the ball mount.
Devon 5 Minute Epoxy to the Rescue.

Sealed a dozen or so pin holes and air bubble holes that were potential leaks first.
Needs touch ups.
7 Likes
The Dingo is on my list, how is the kit ?
2 Likes
11 Likes
Awsome!!!
2 Likes
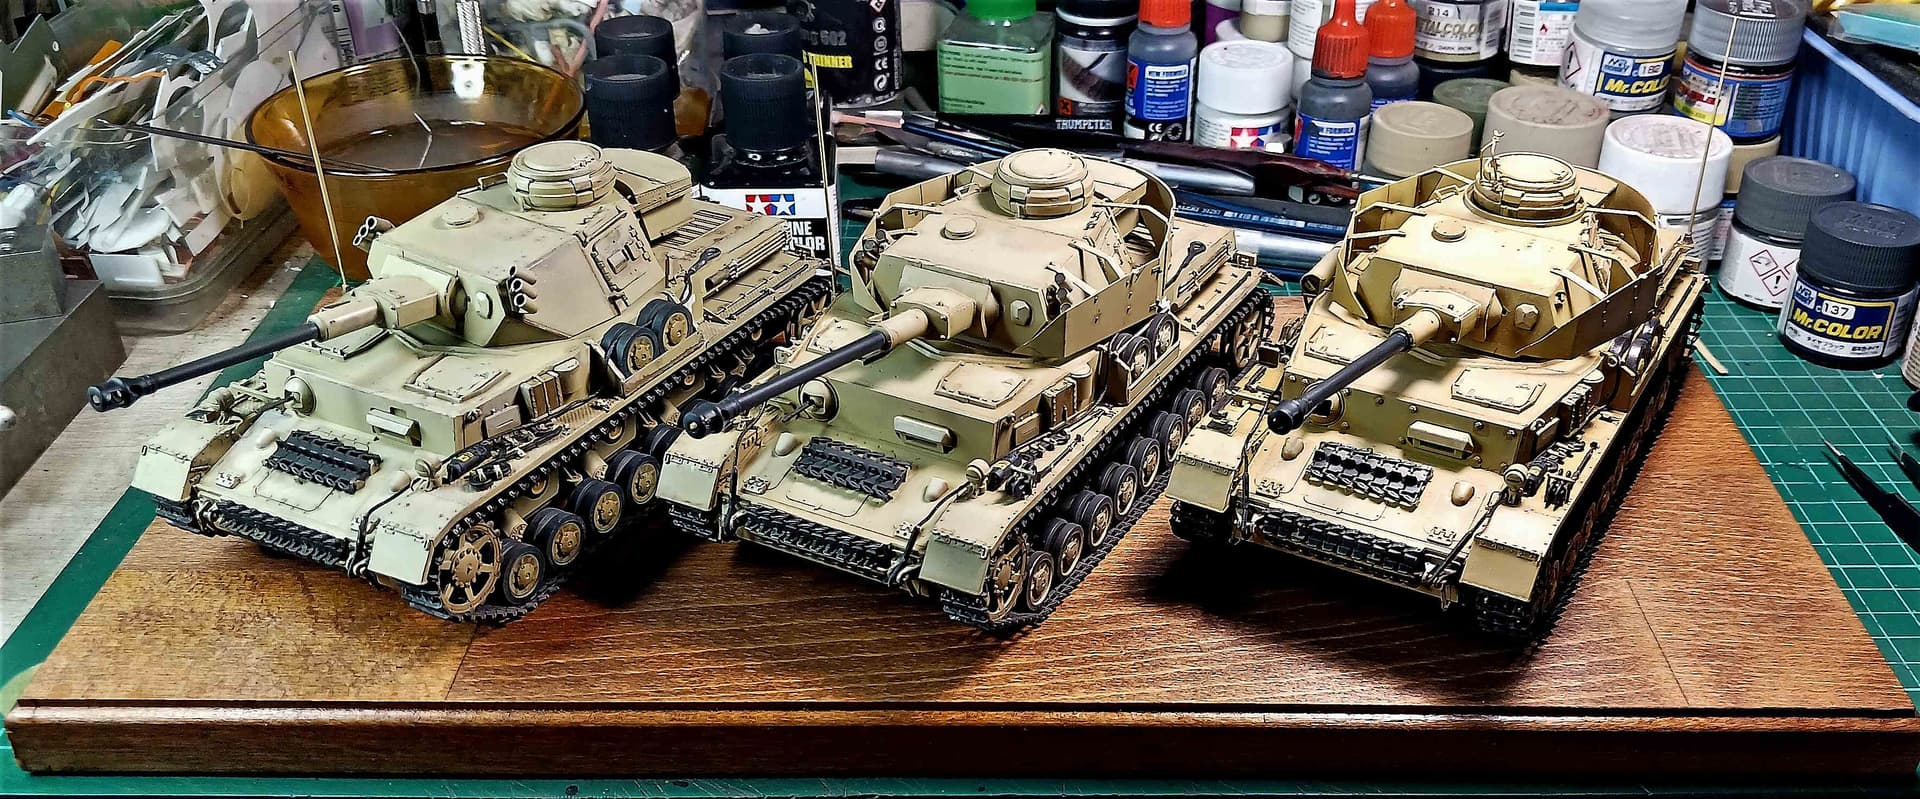
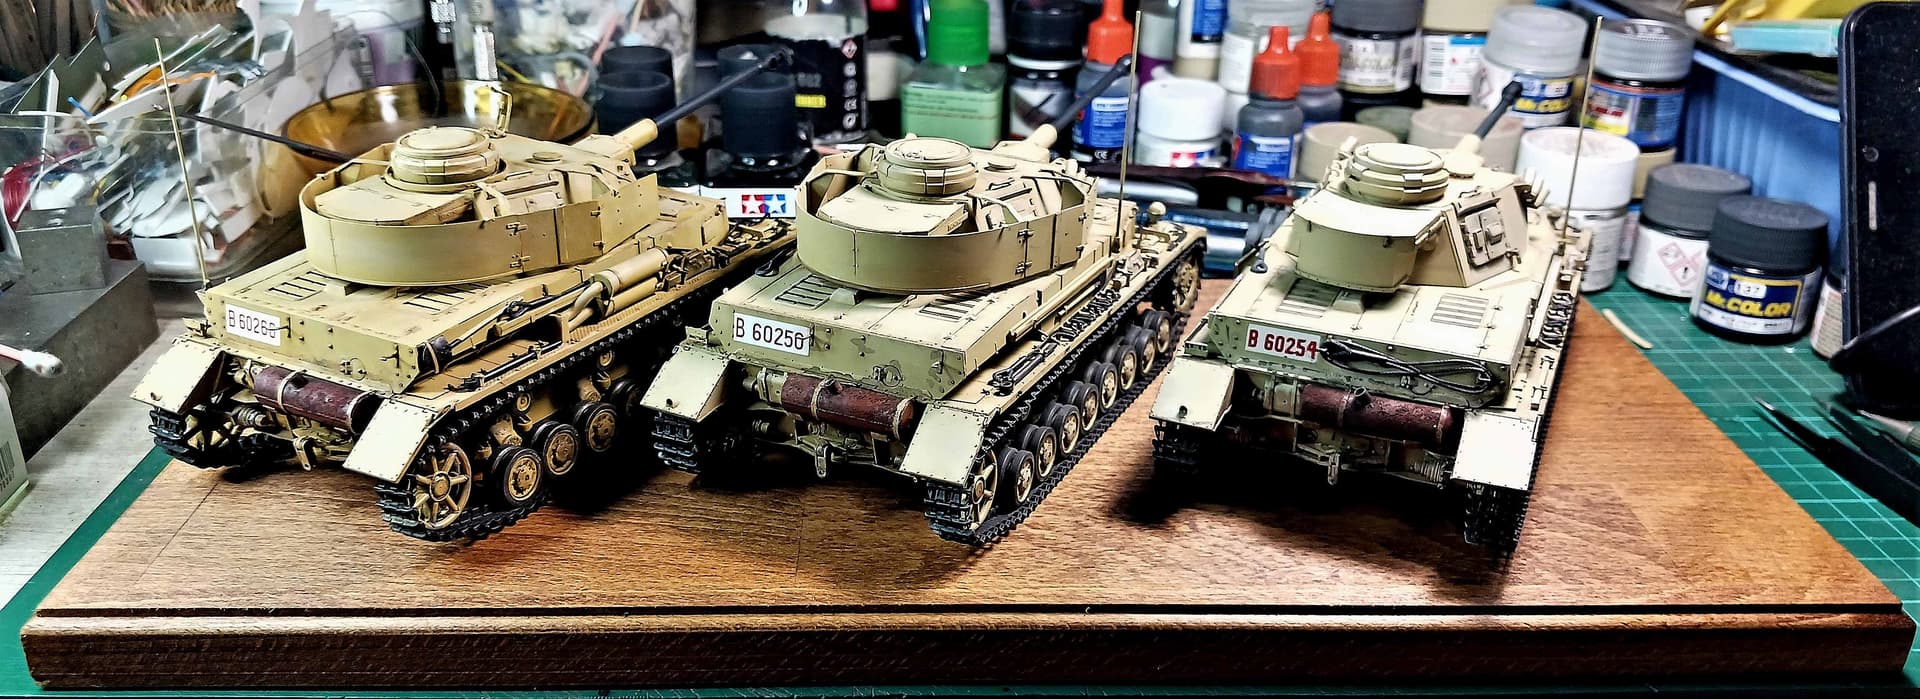
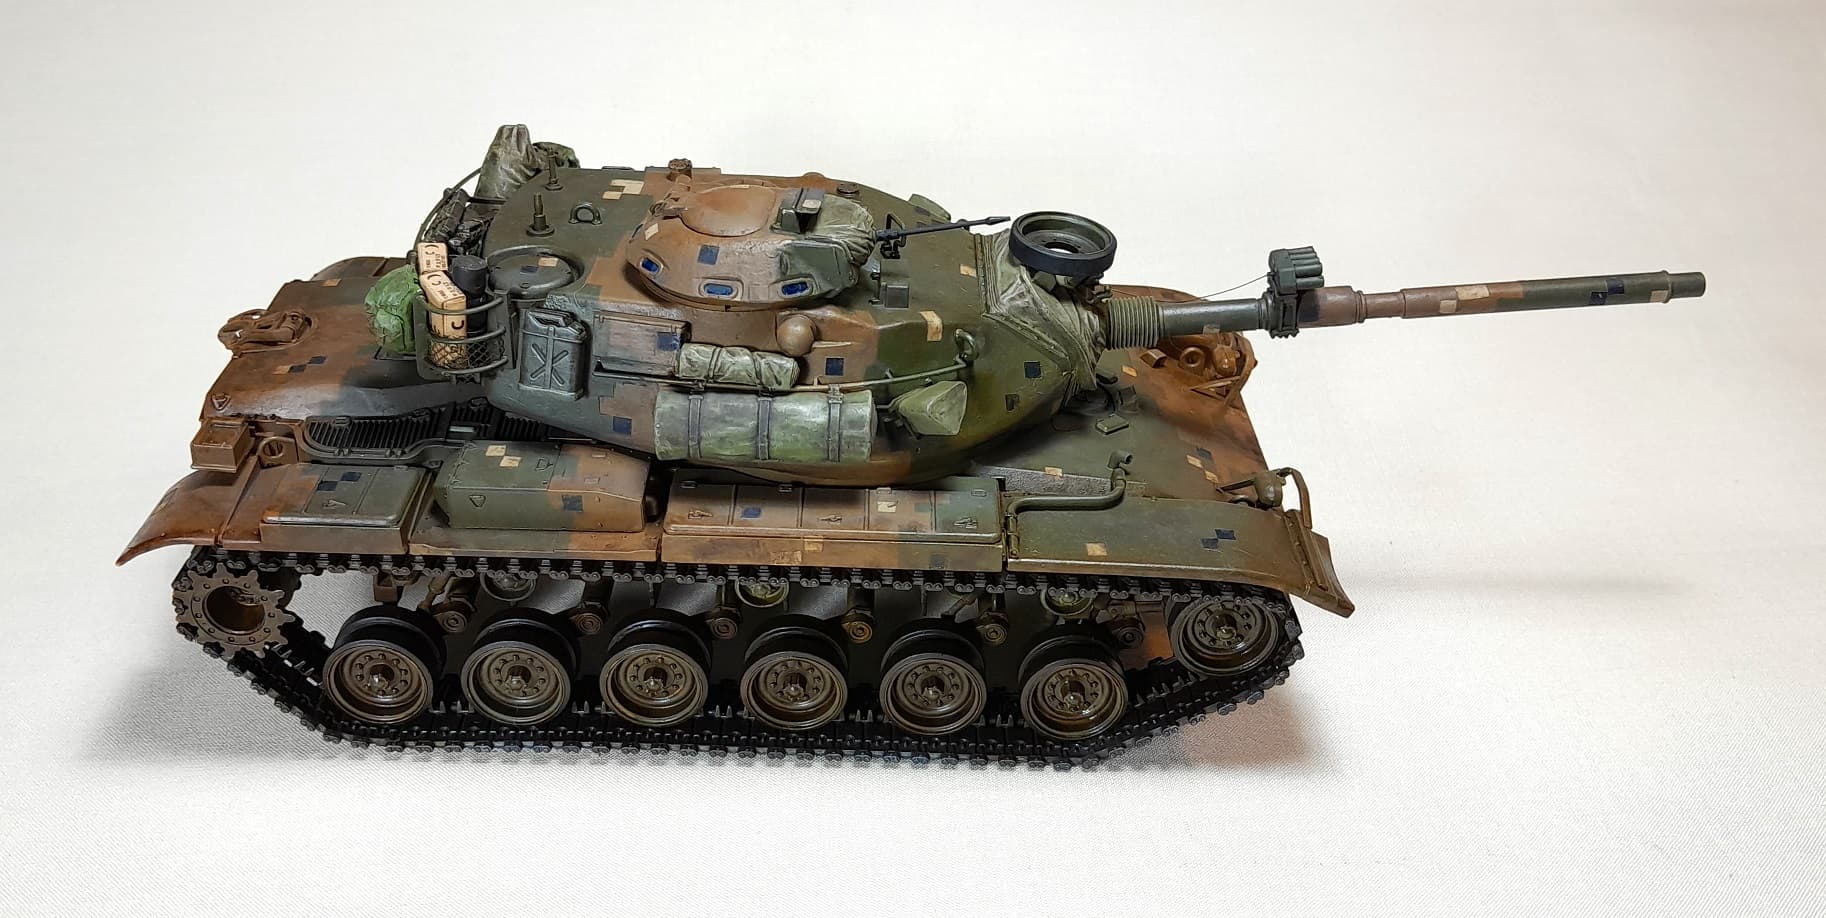
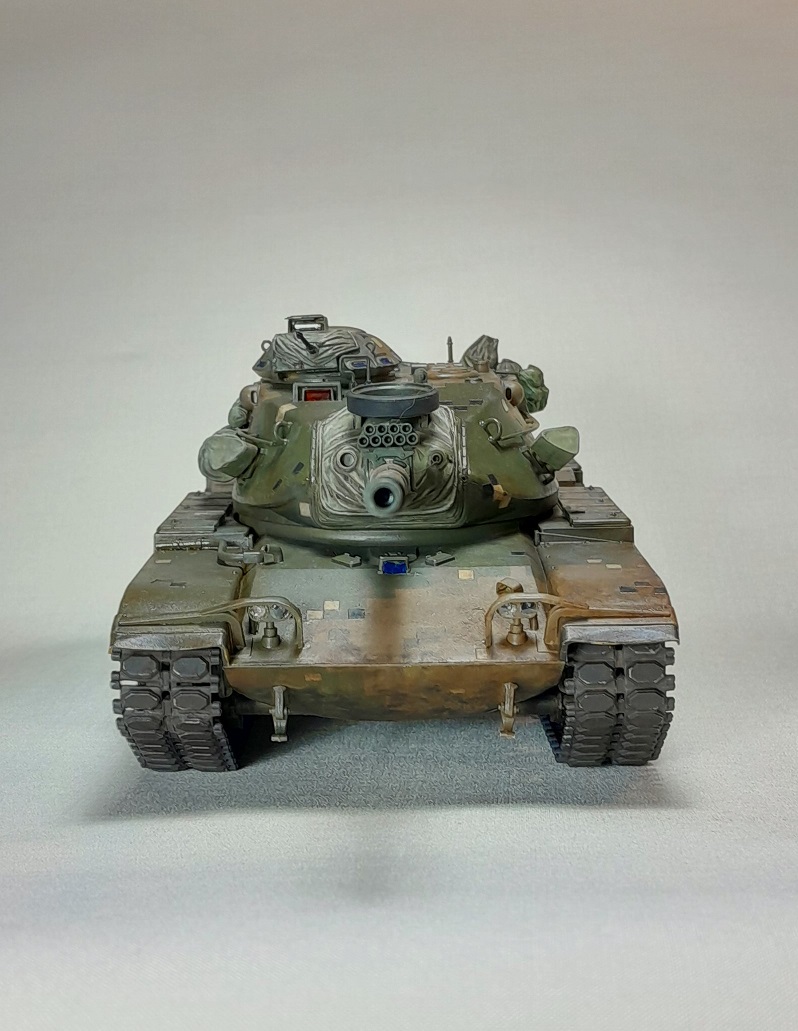
Finished the first of my M60-quartet!
2nd Armored Cavalry Regiment Germany 1982

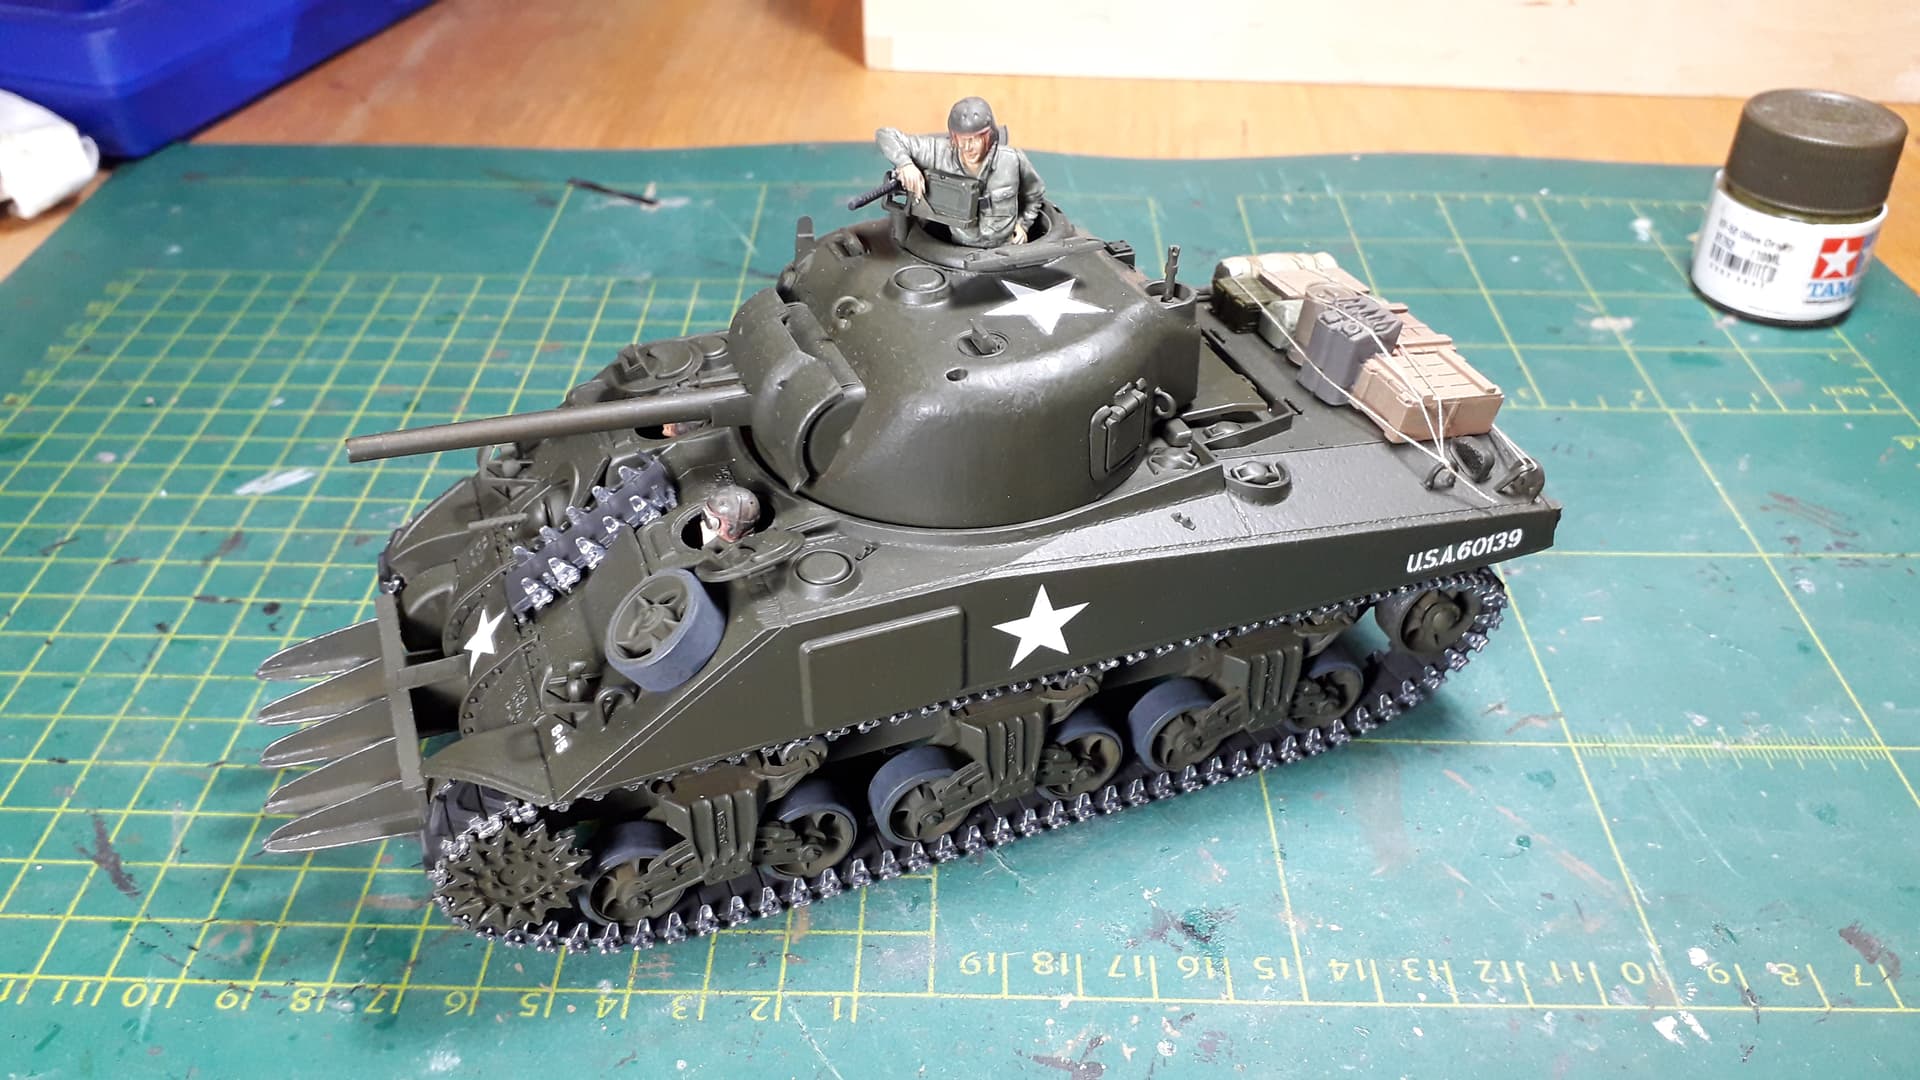
and made a Sherman ready for weathering:

9 Likes
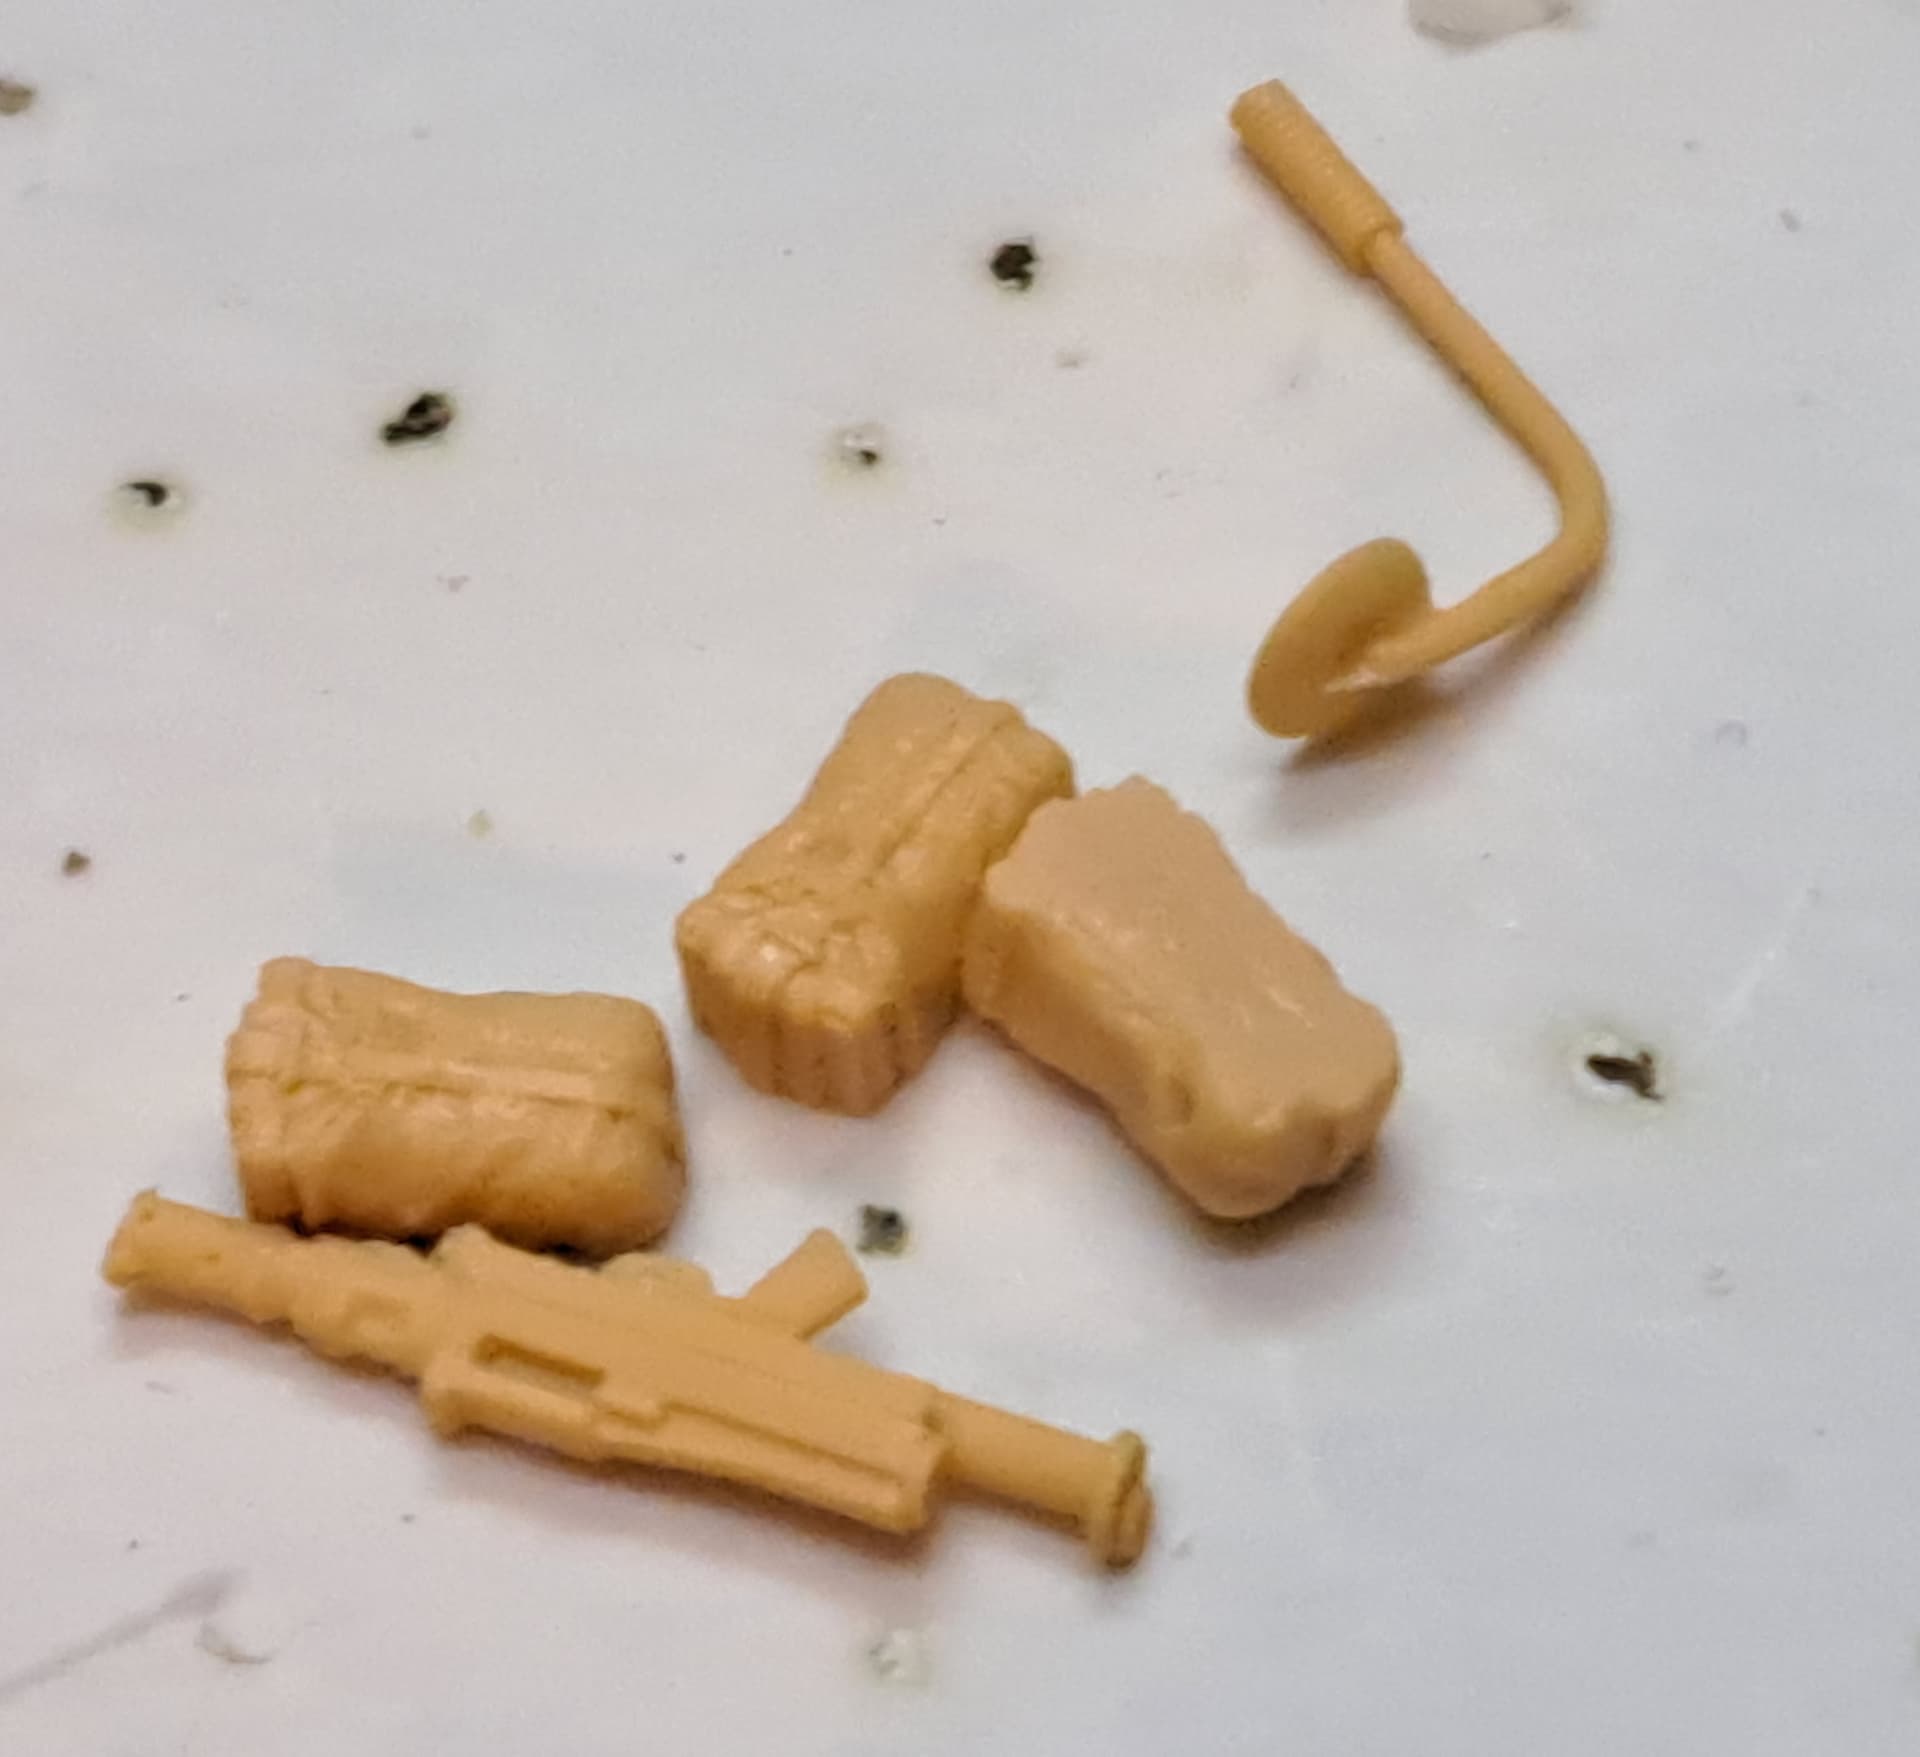
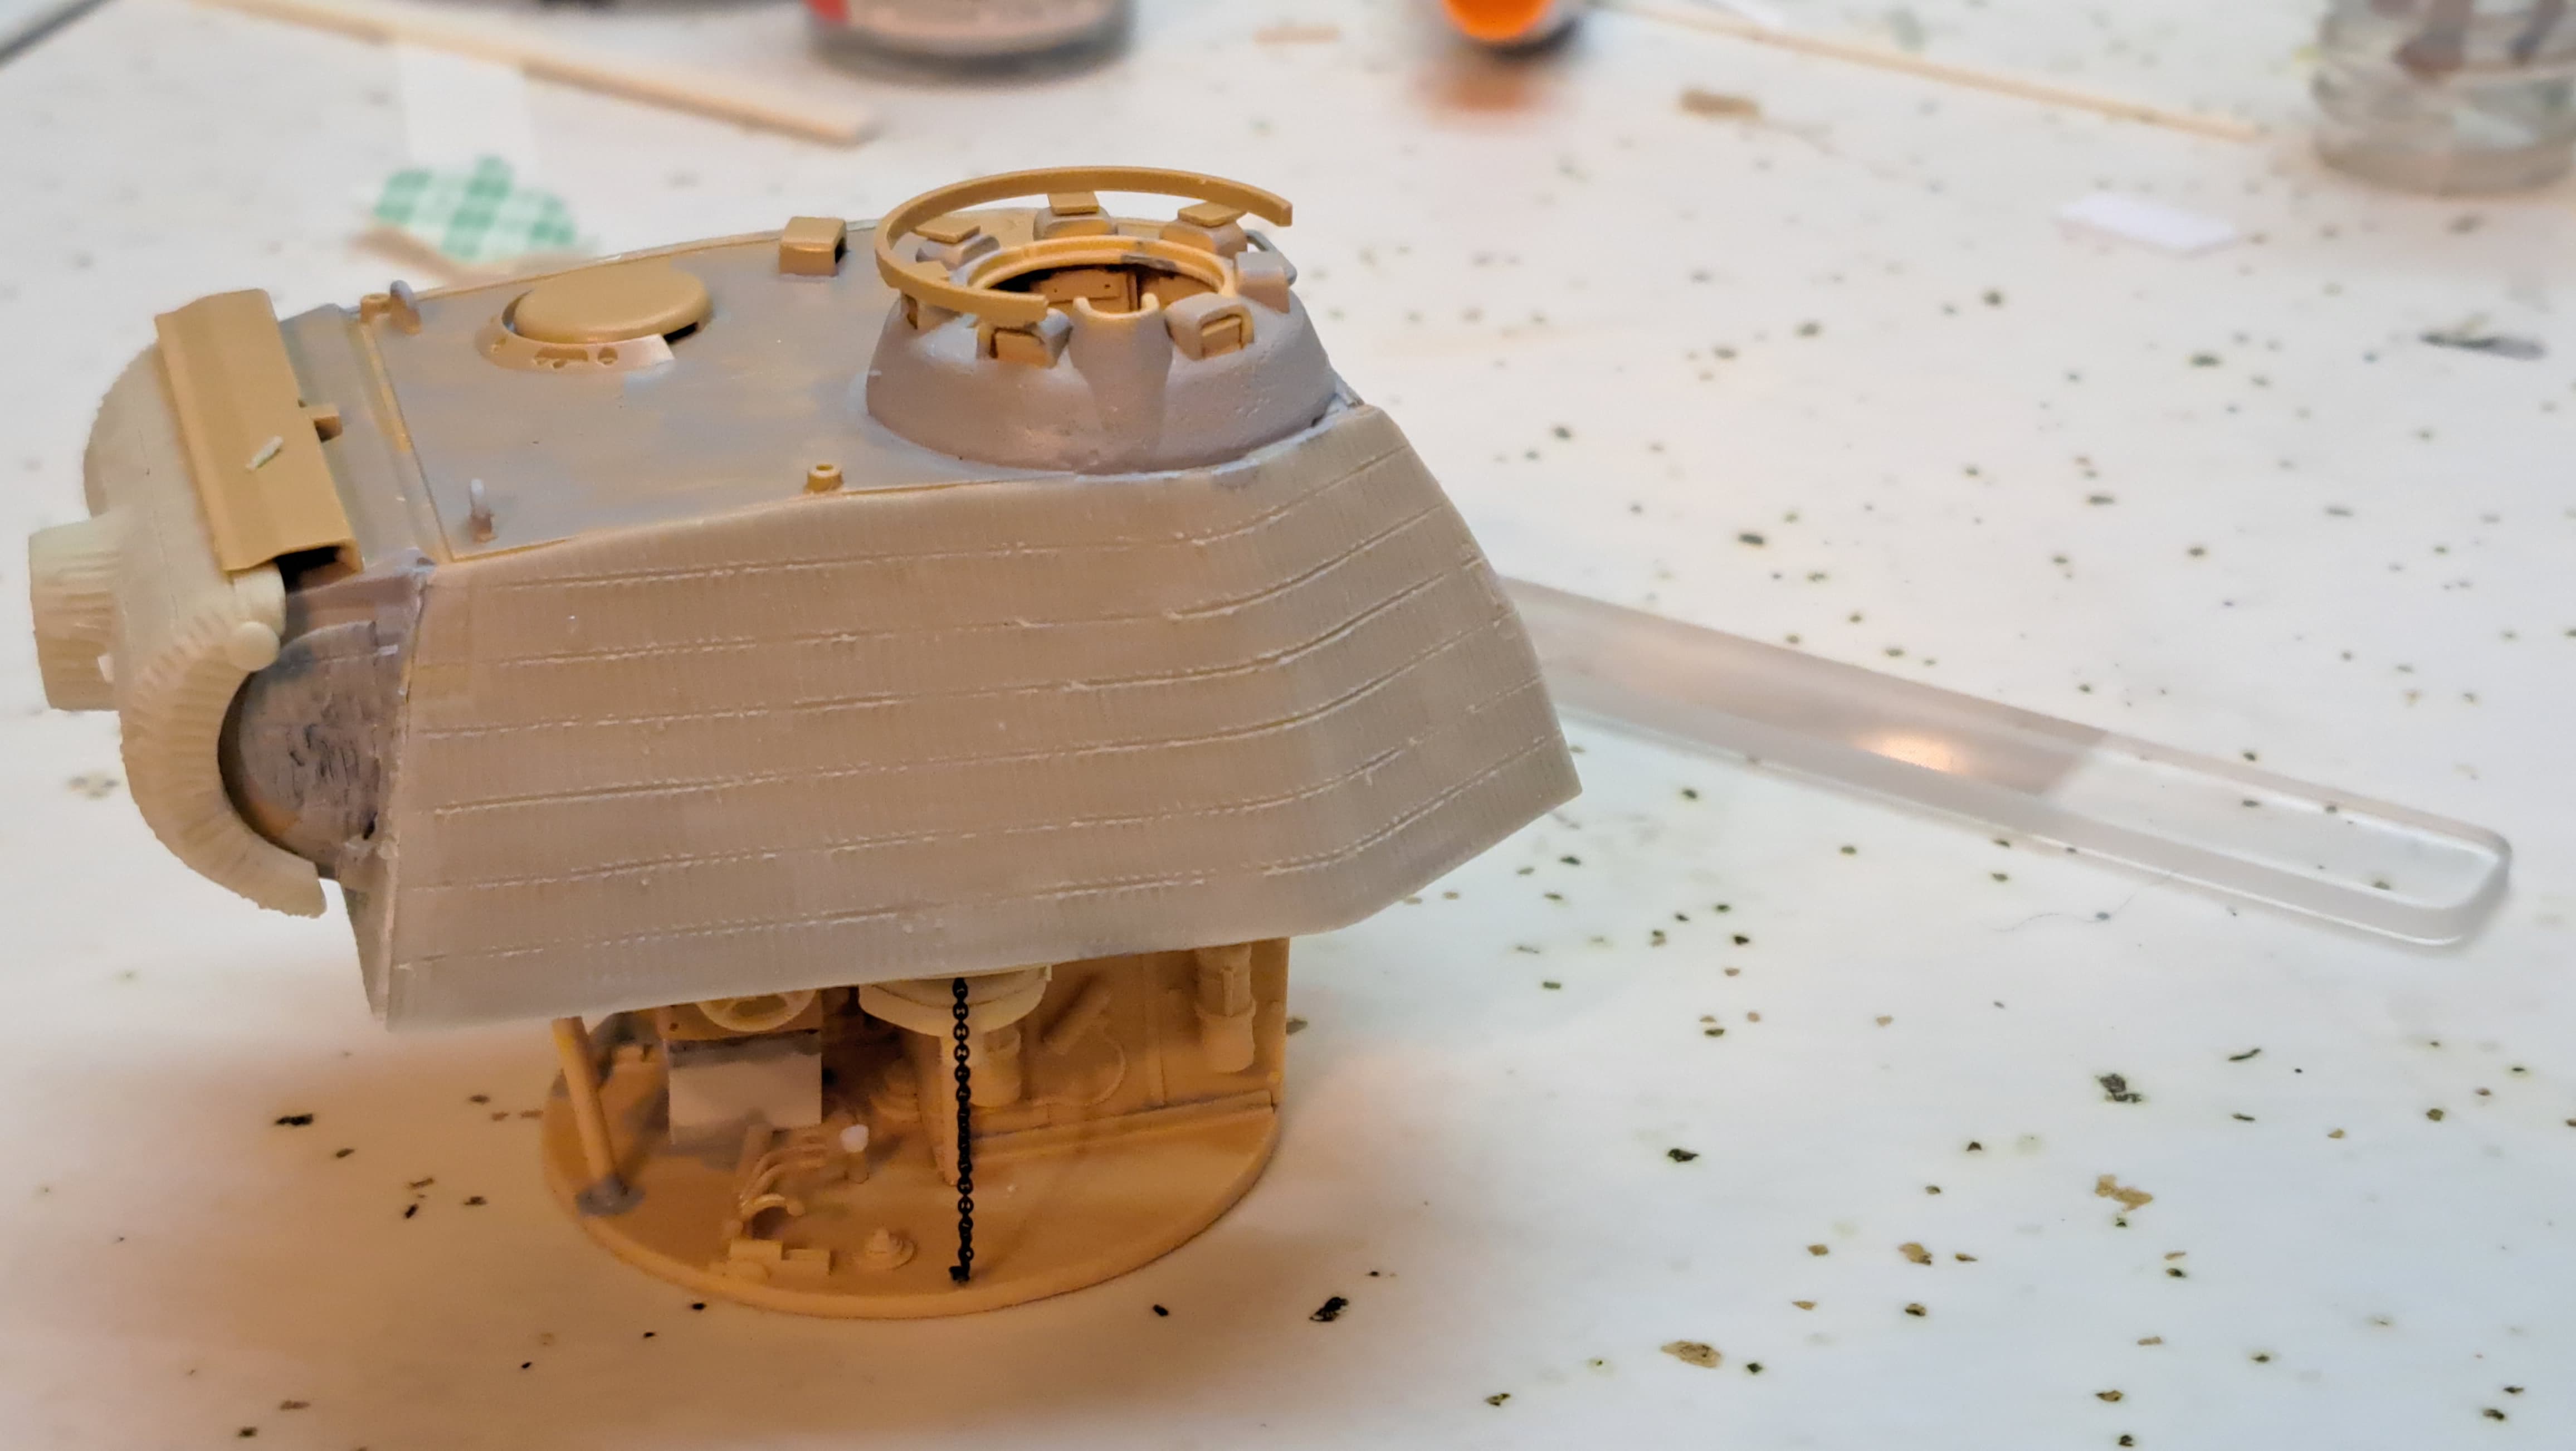
Hull MG fun!
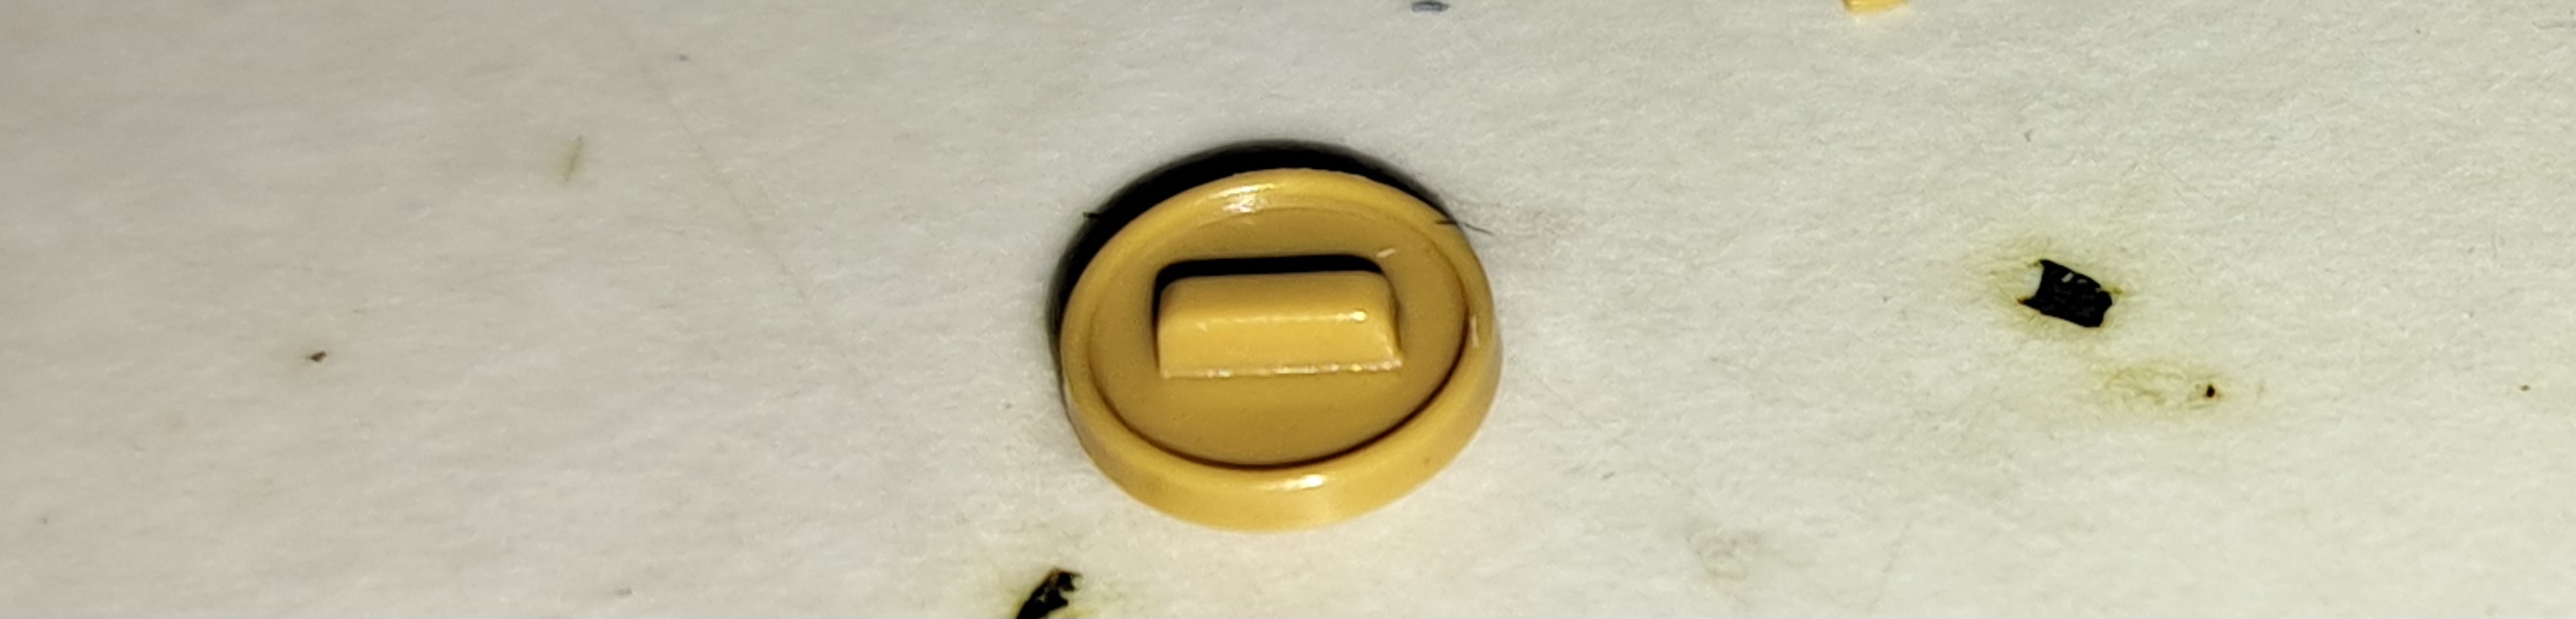
Obviously, these three parts…
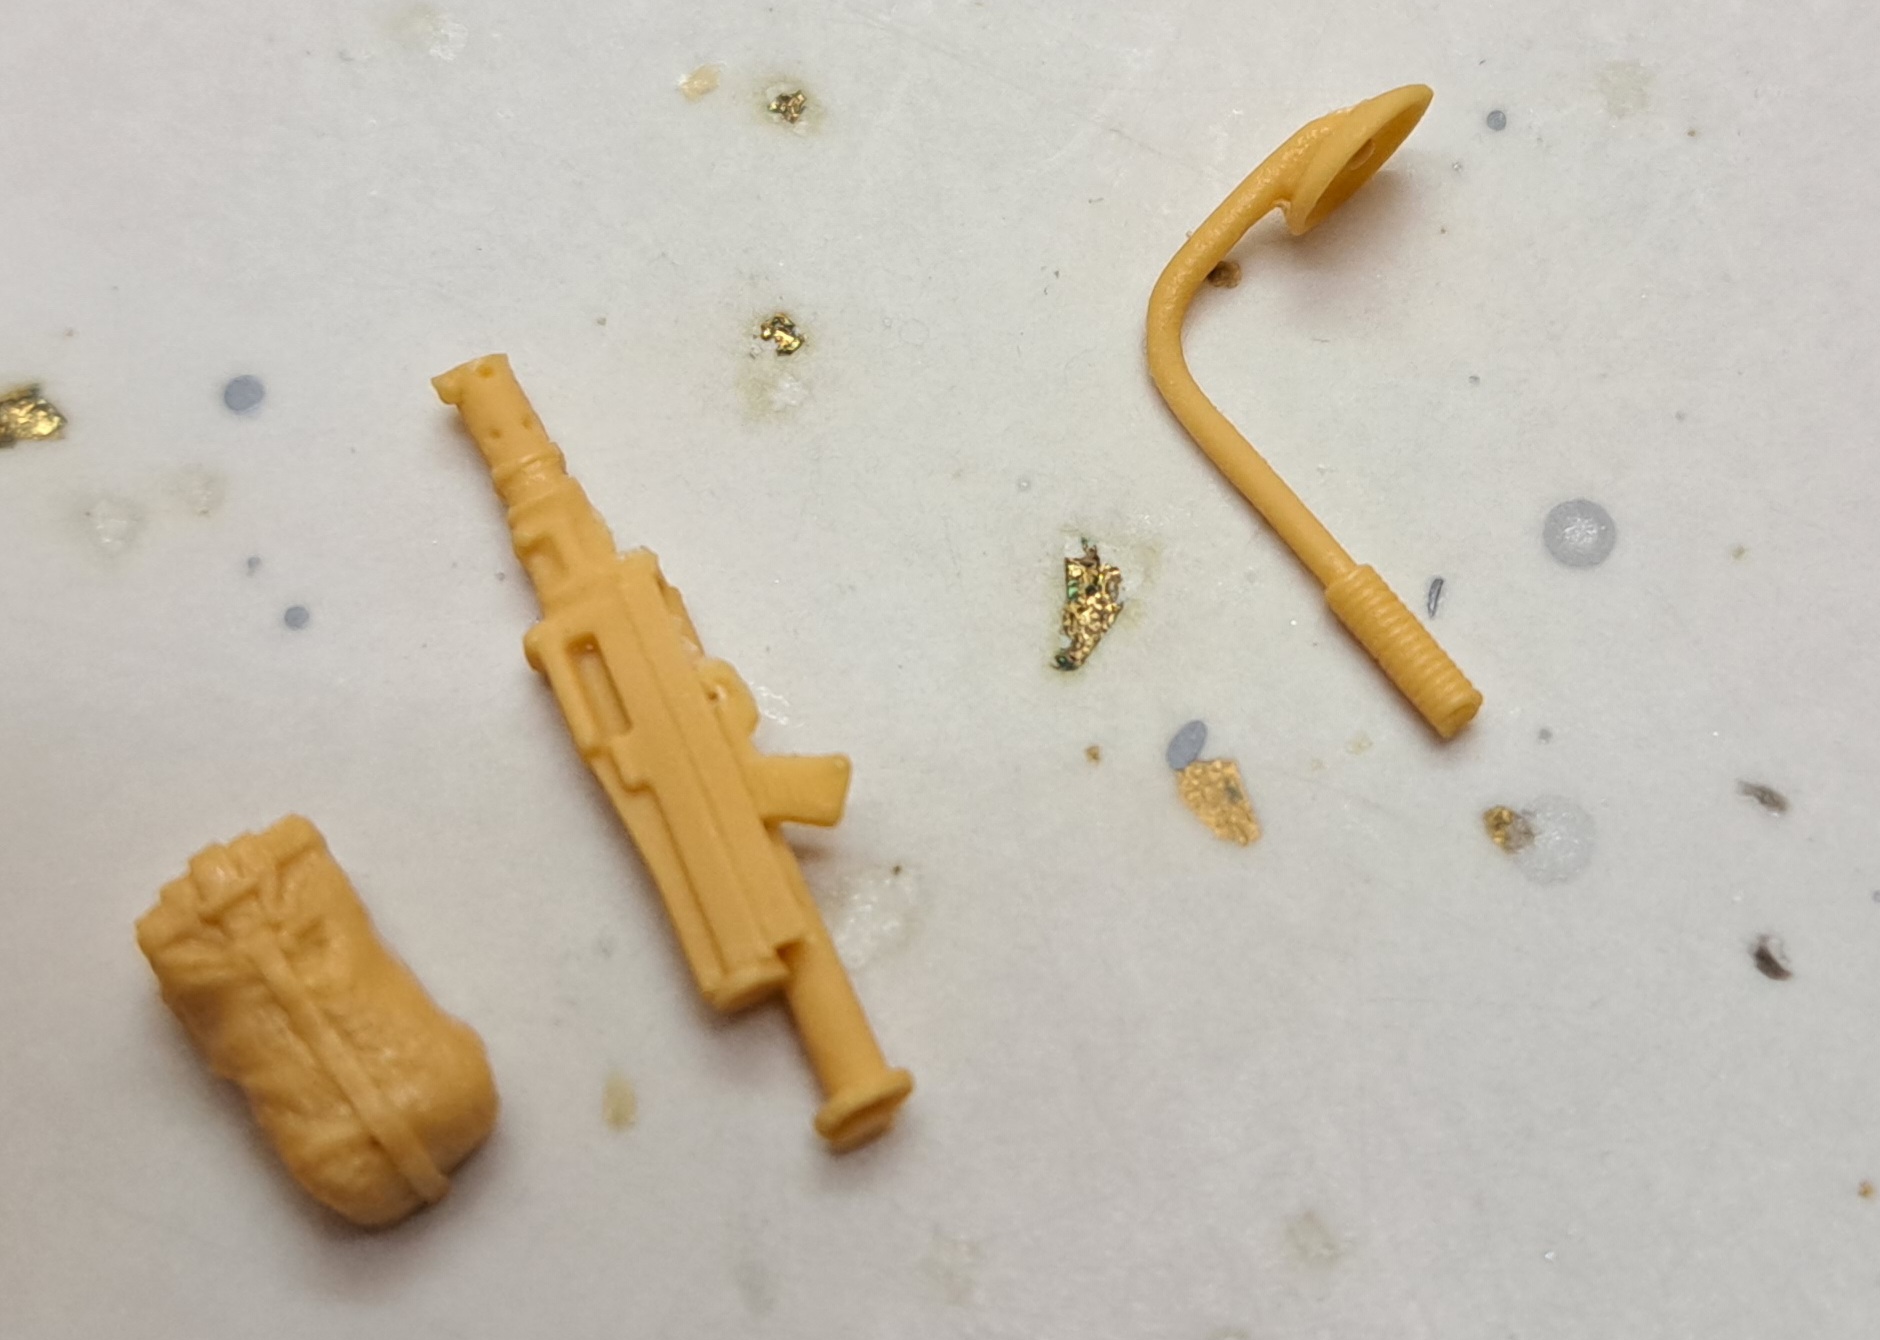
…aren’t up to looking like this…
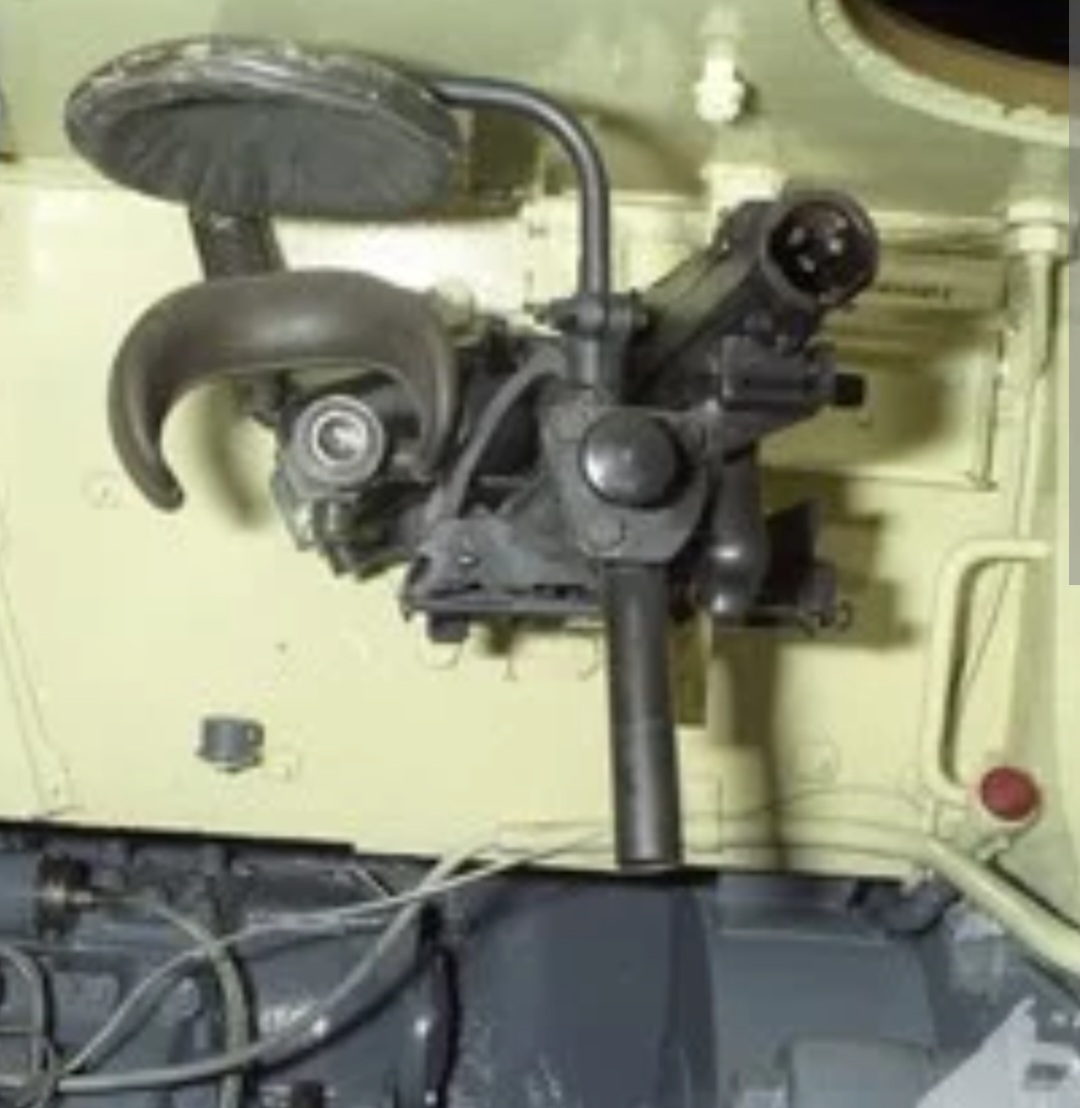
However, a few tweaks are possible like cutting the head rest to size.

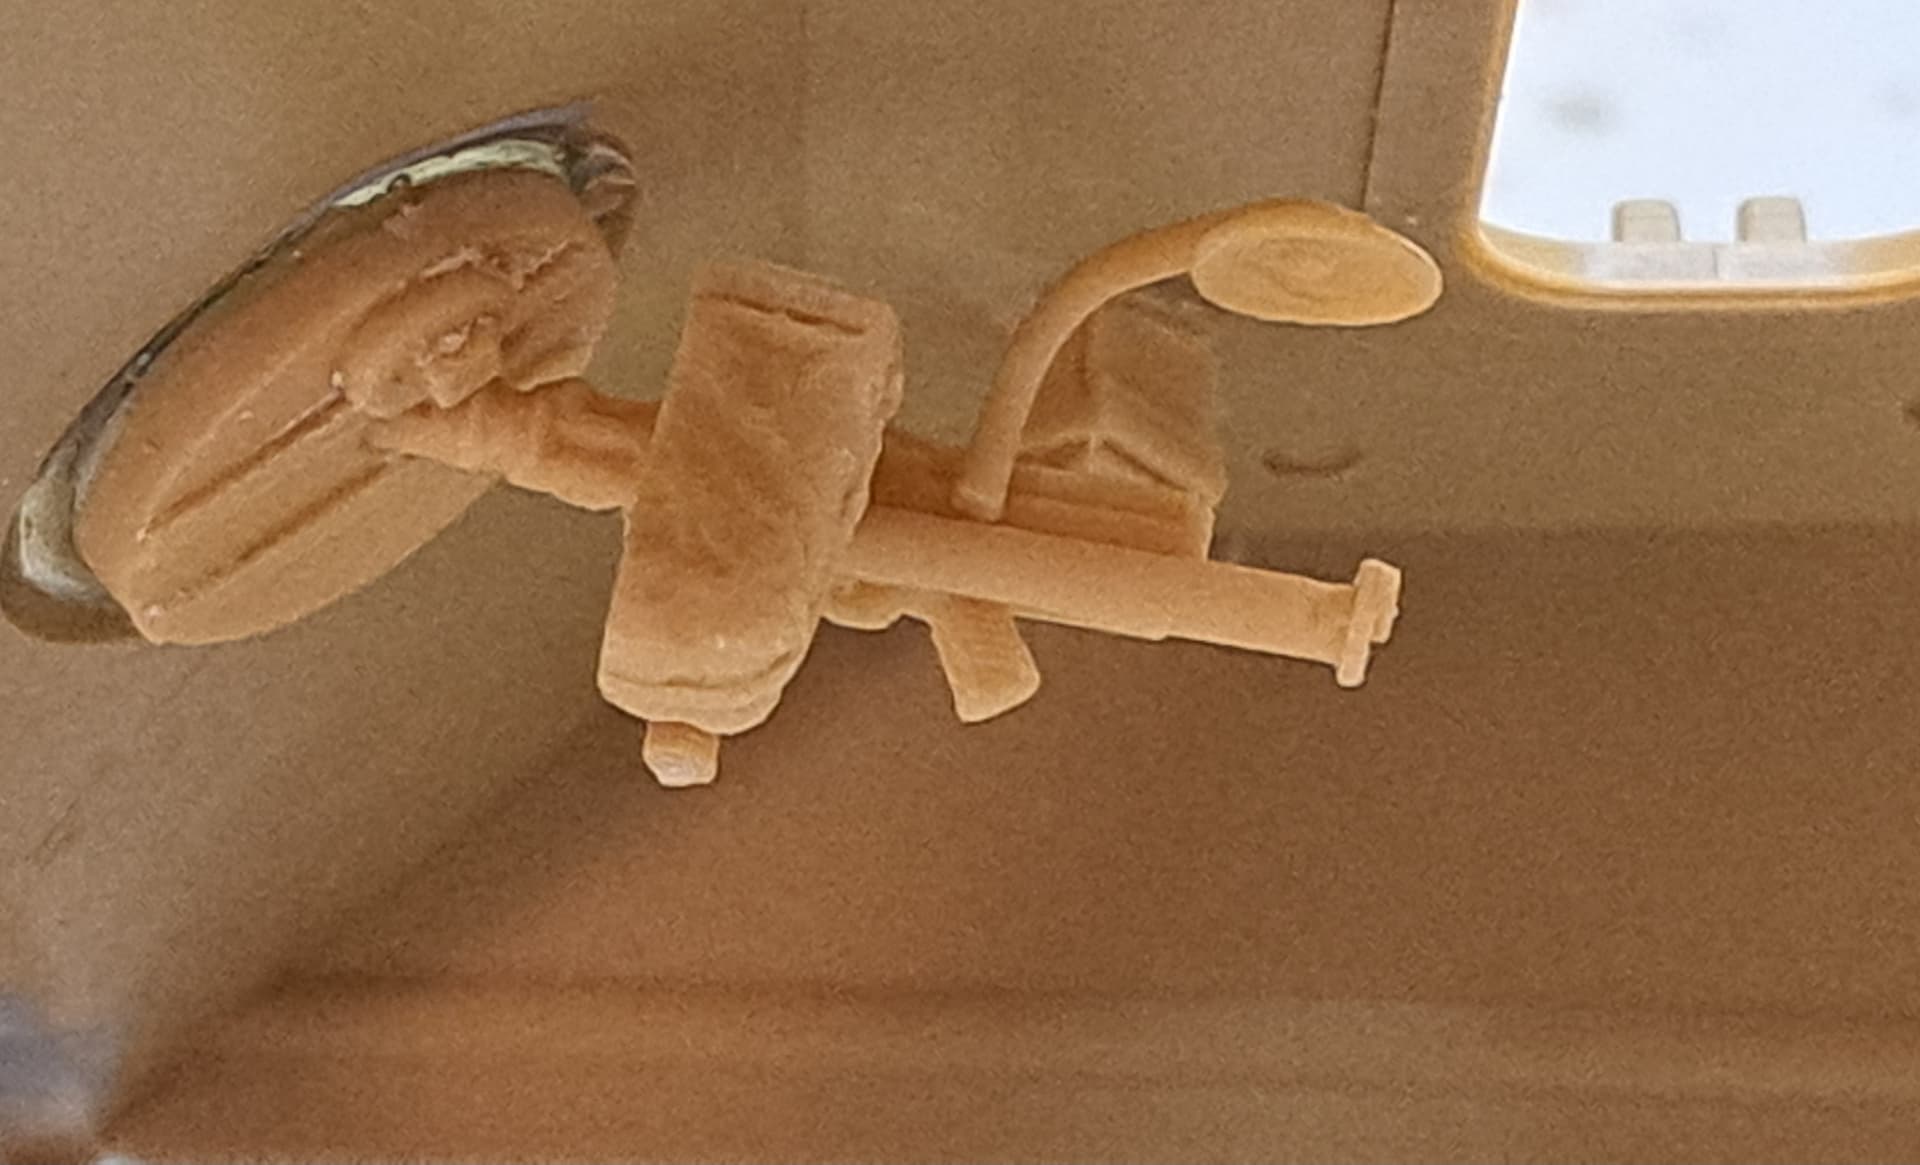
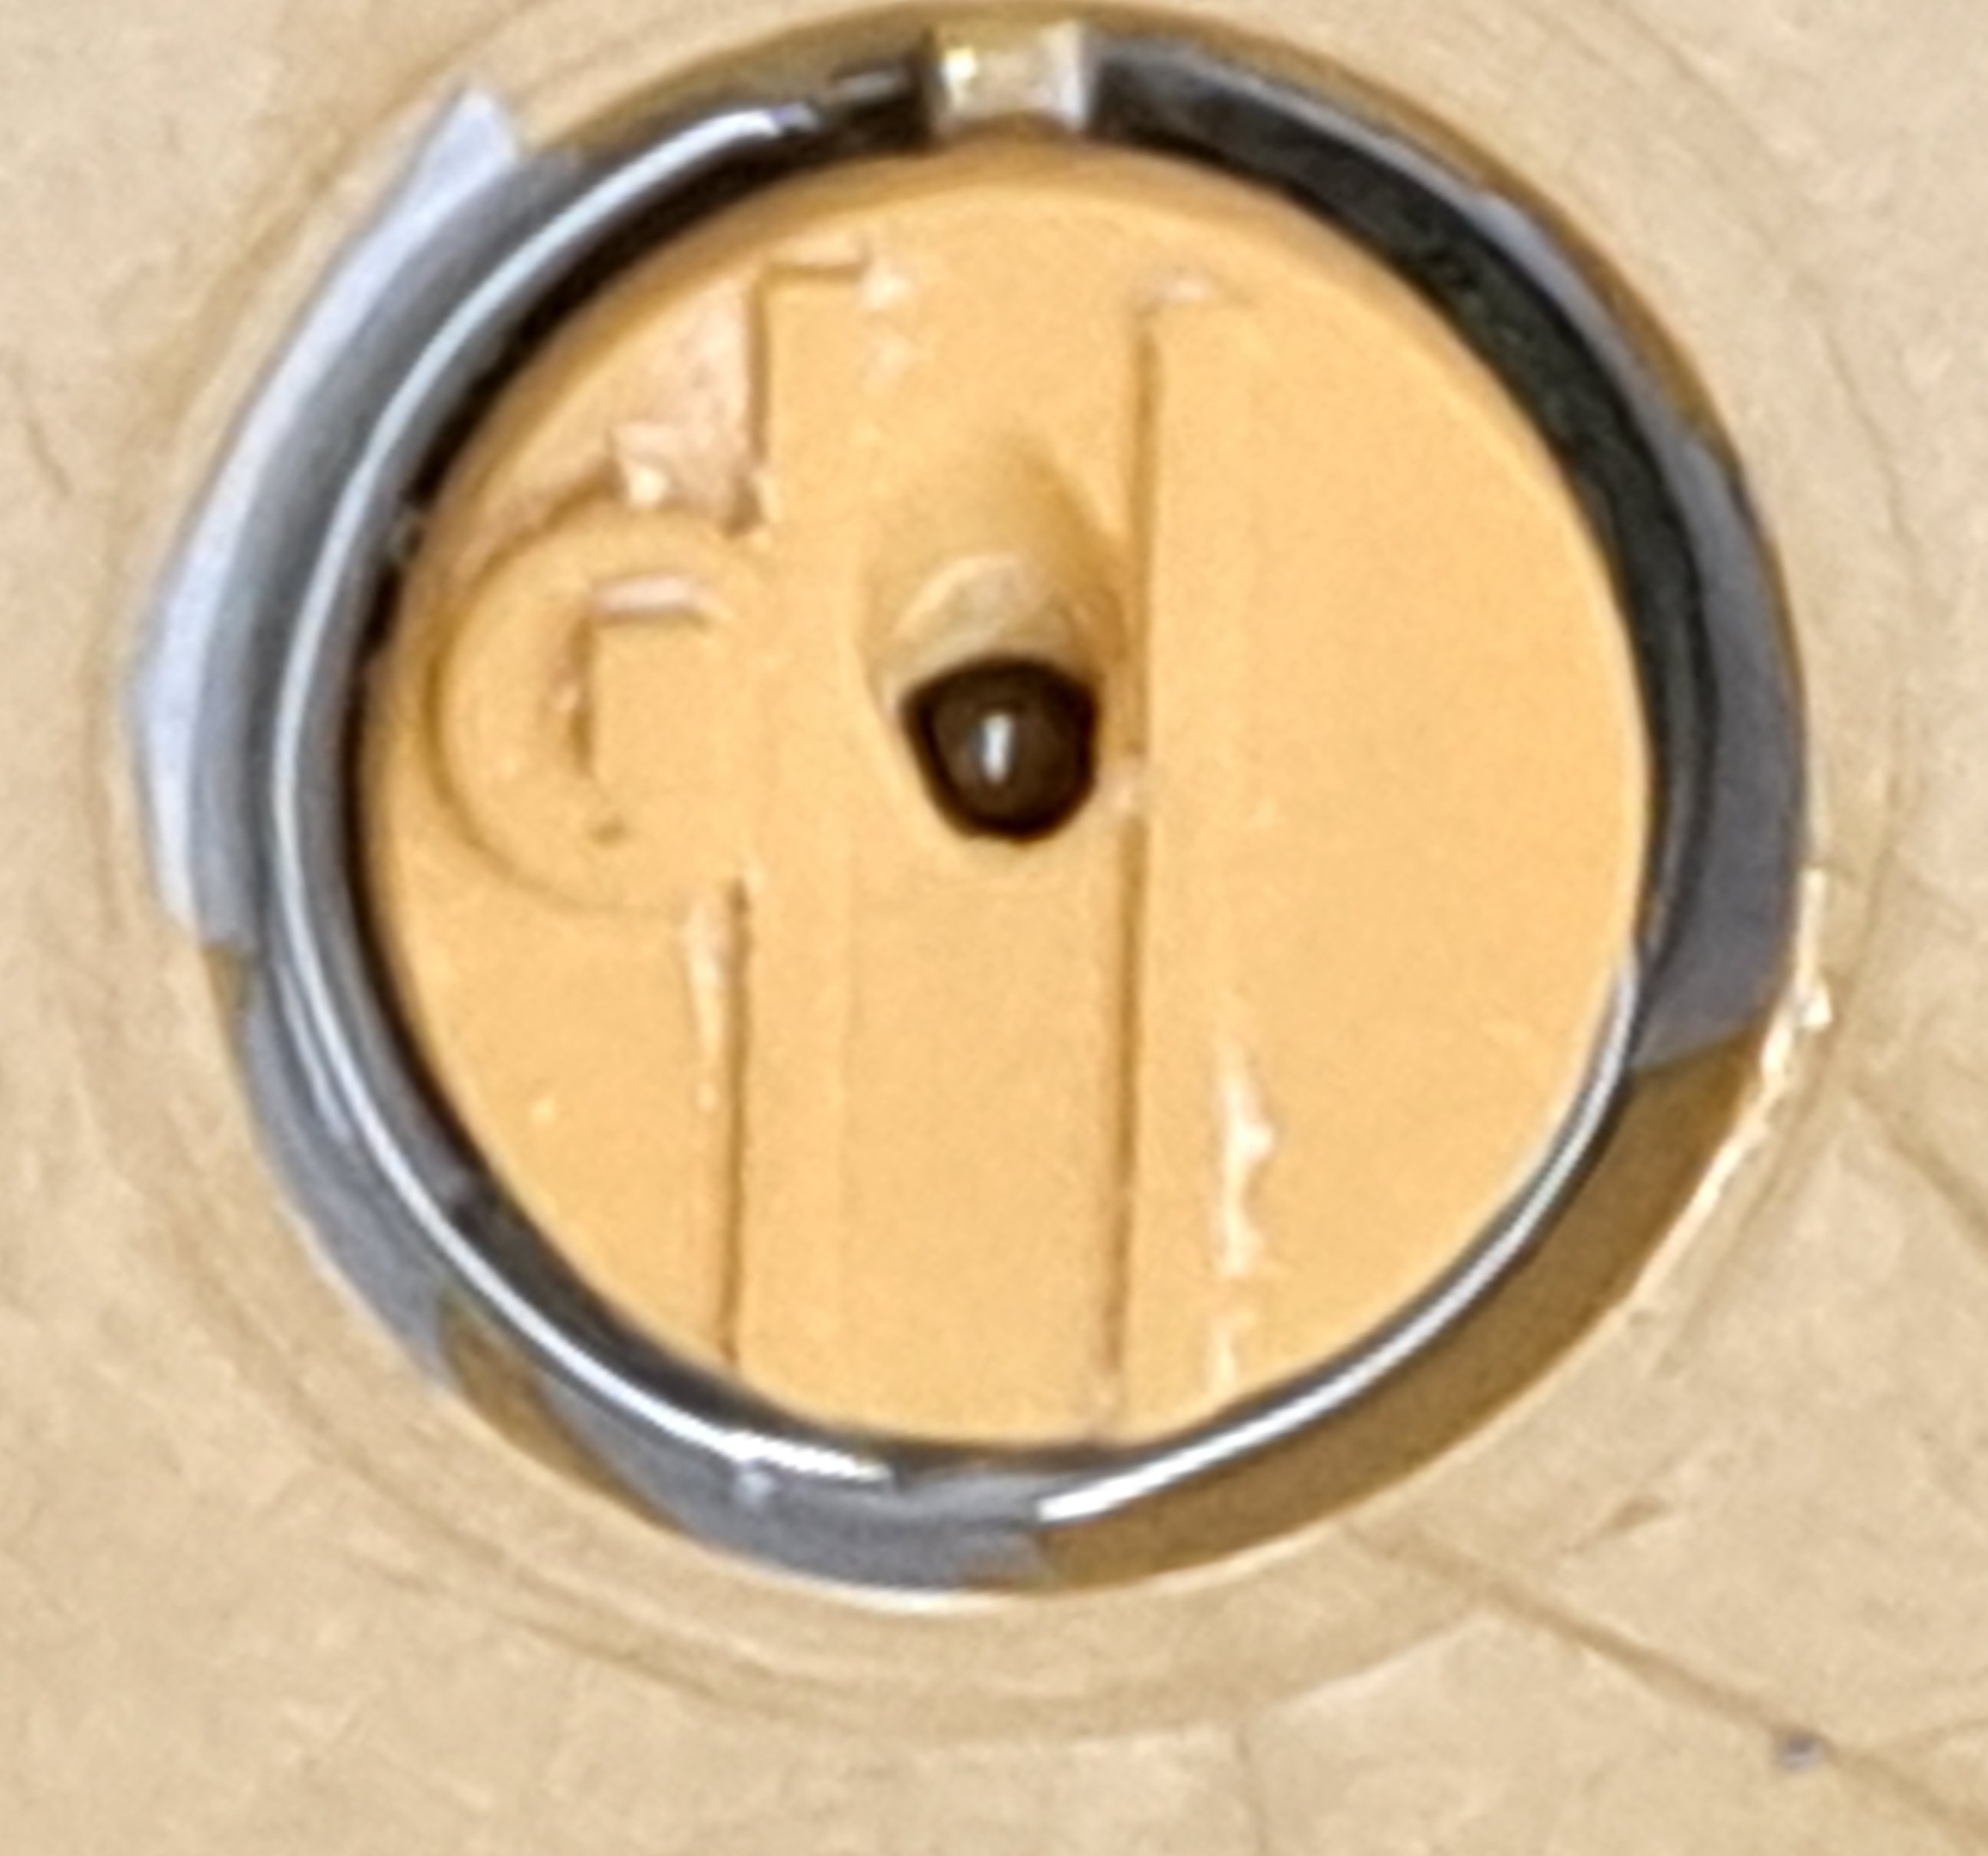
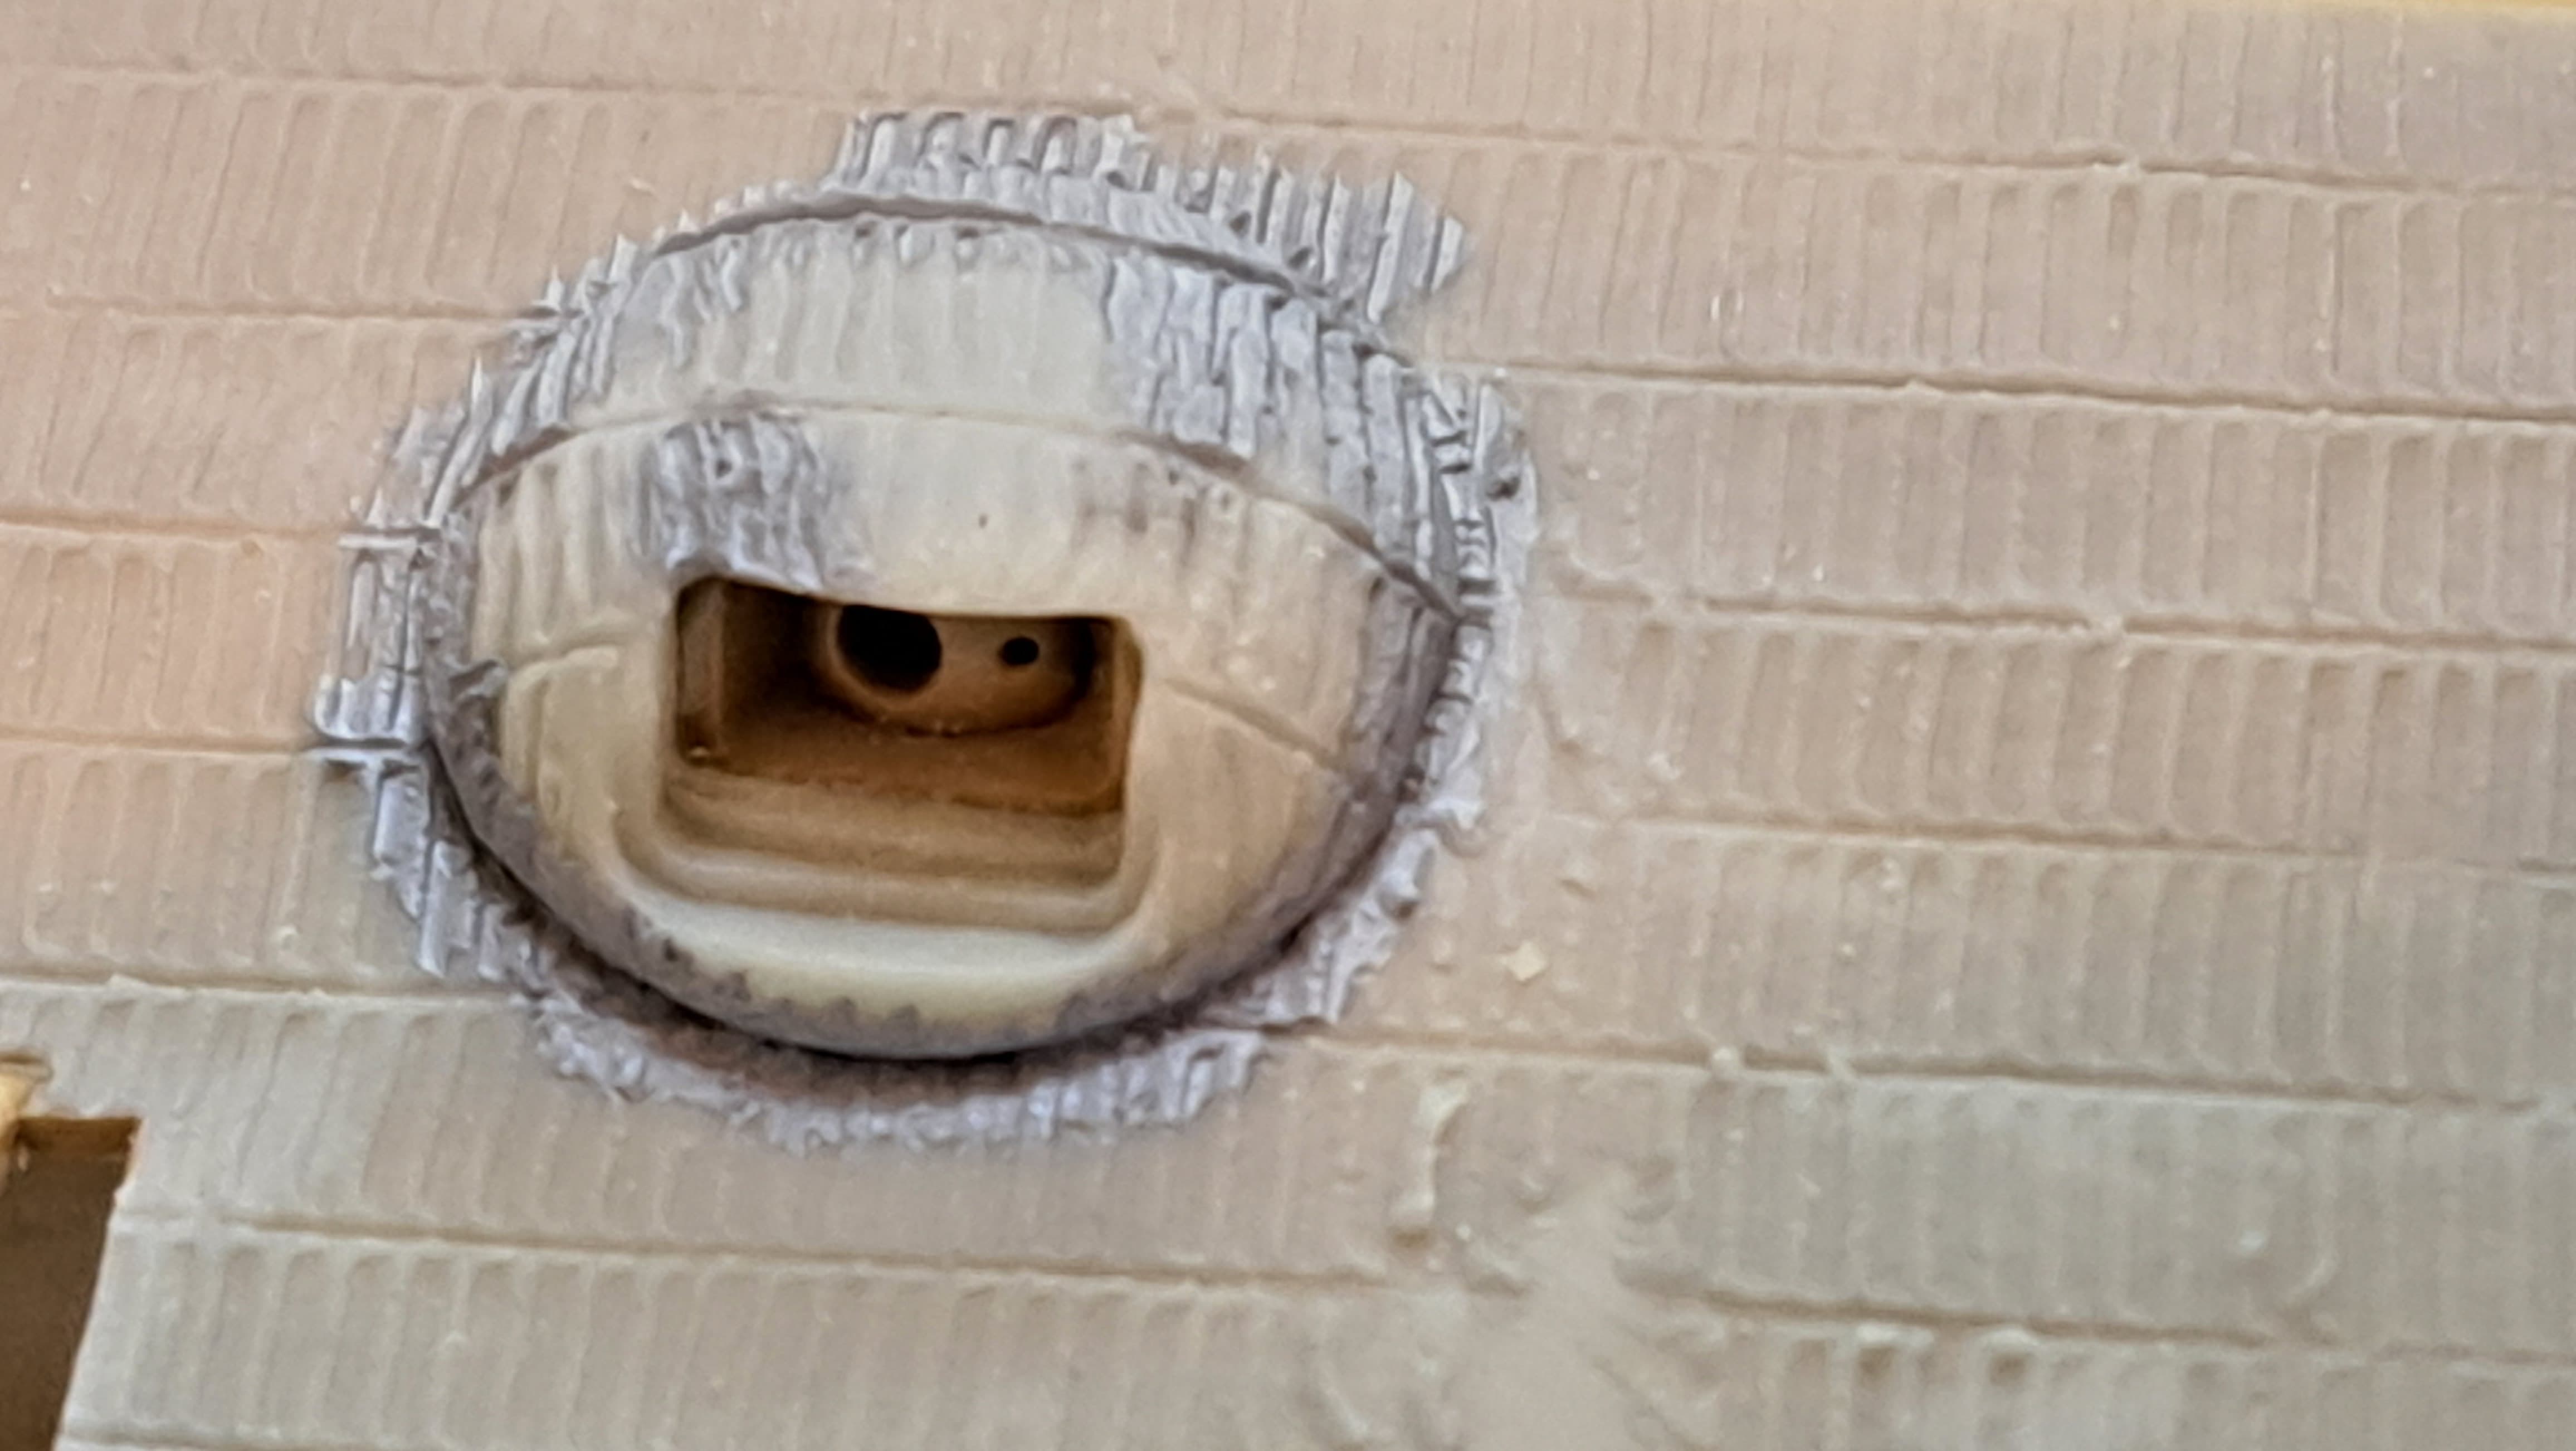
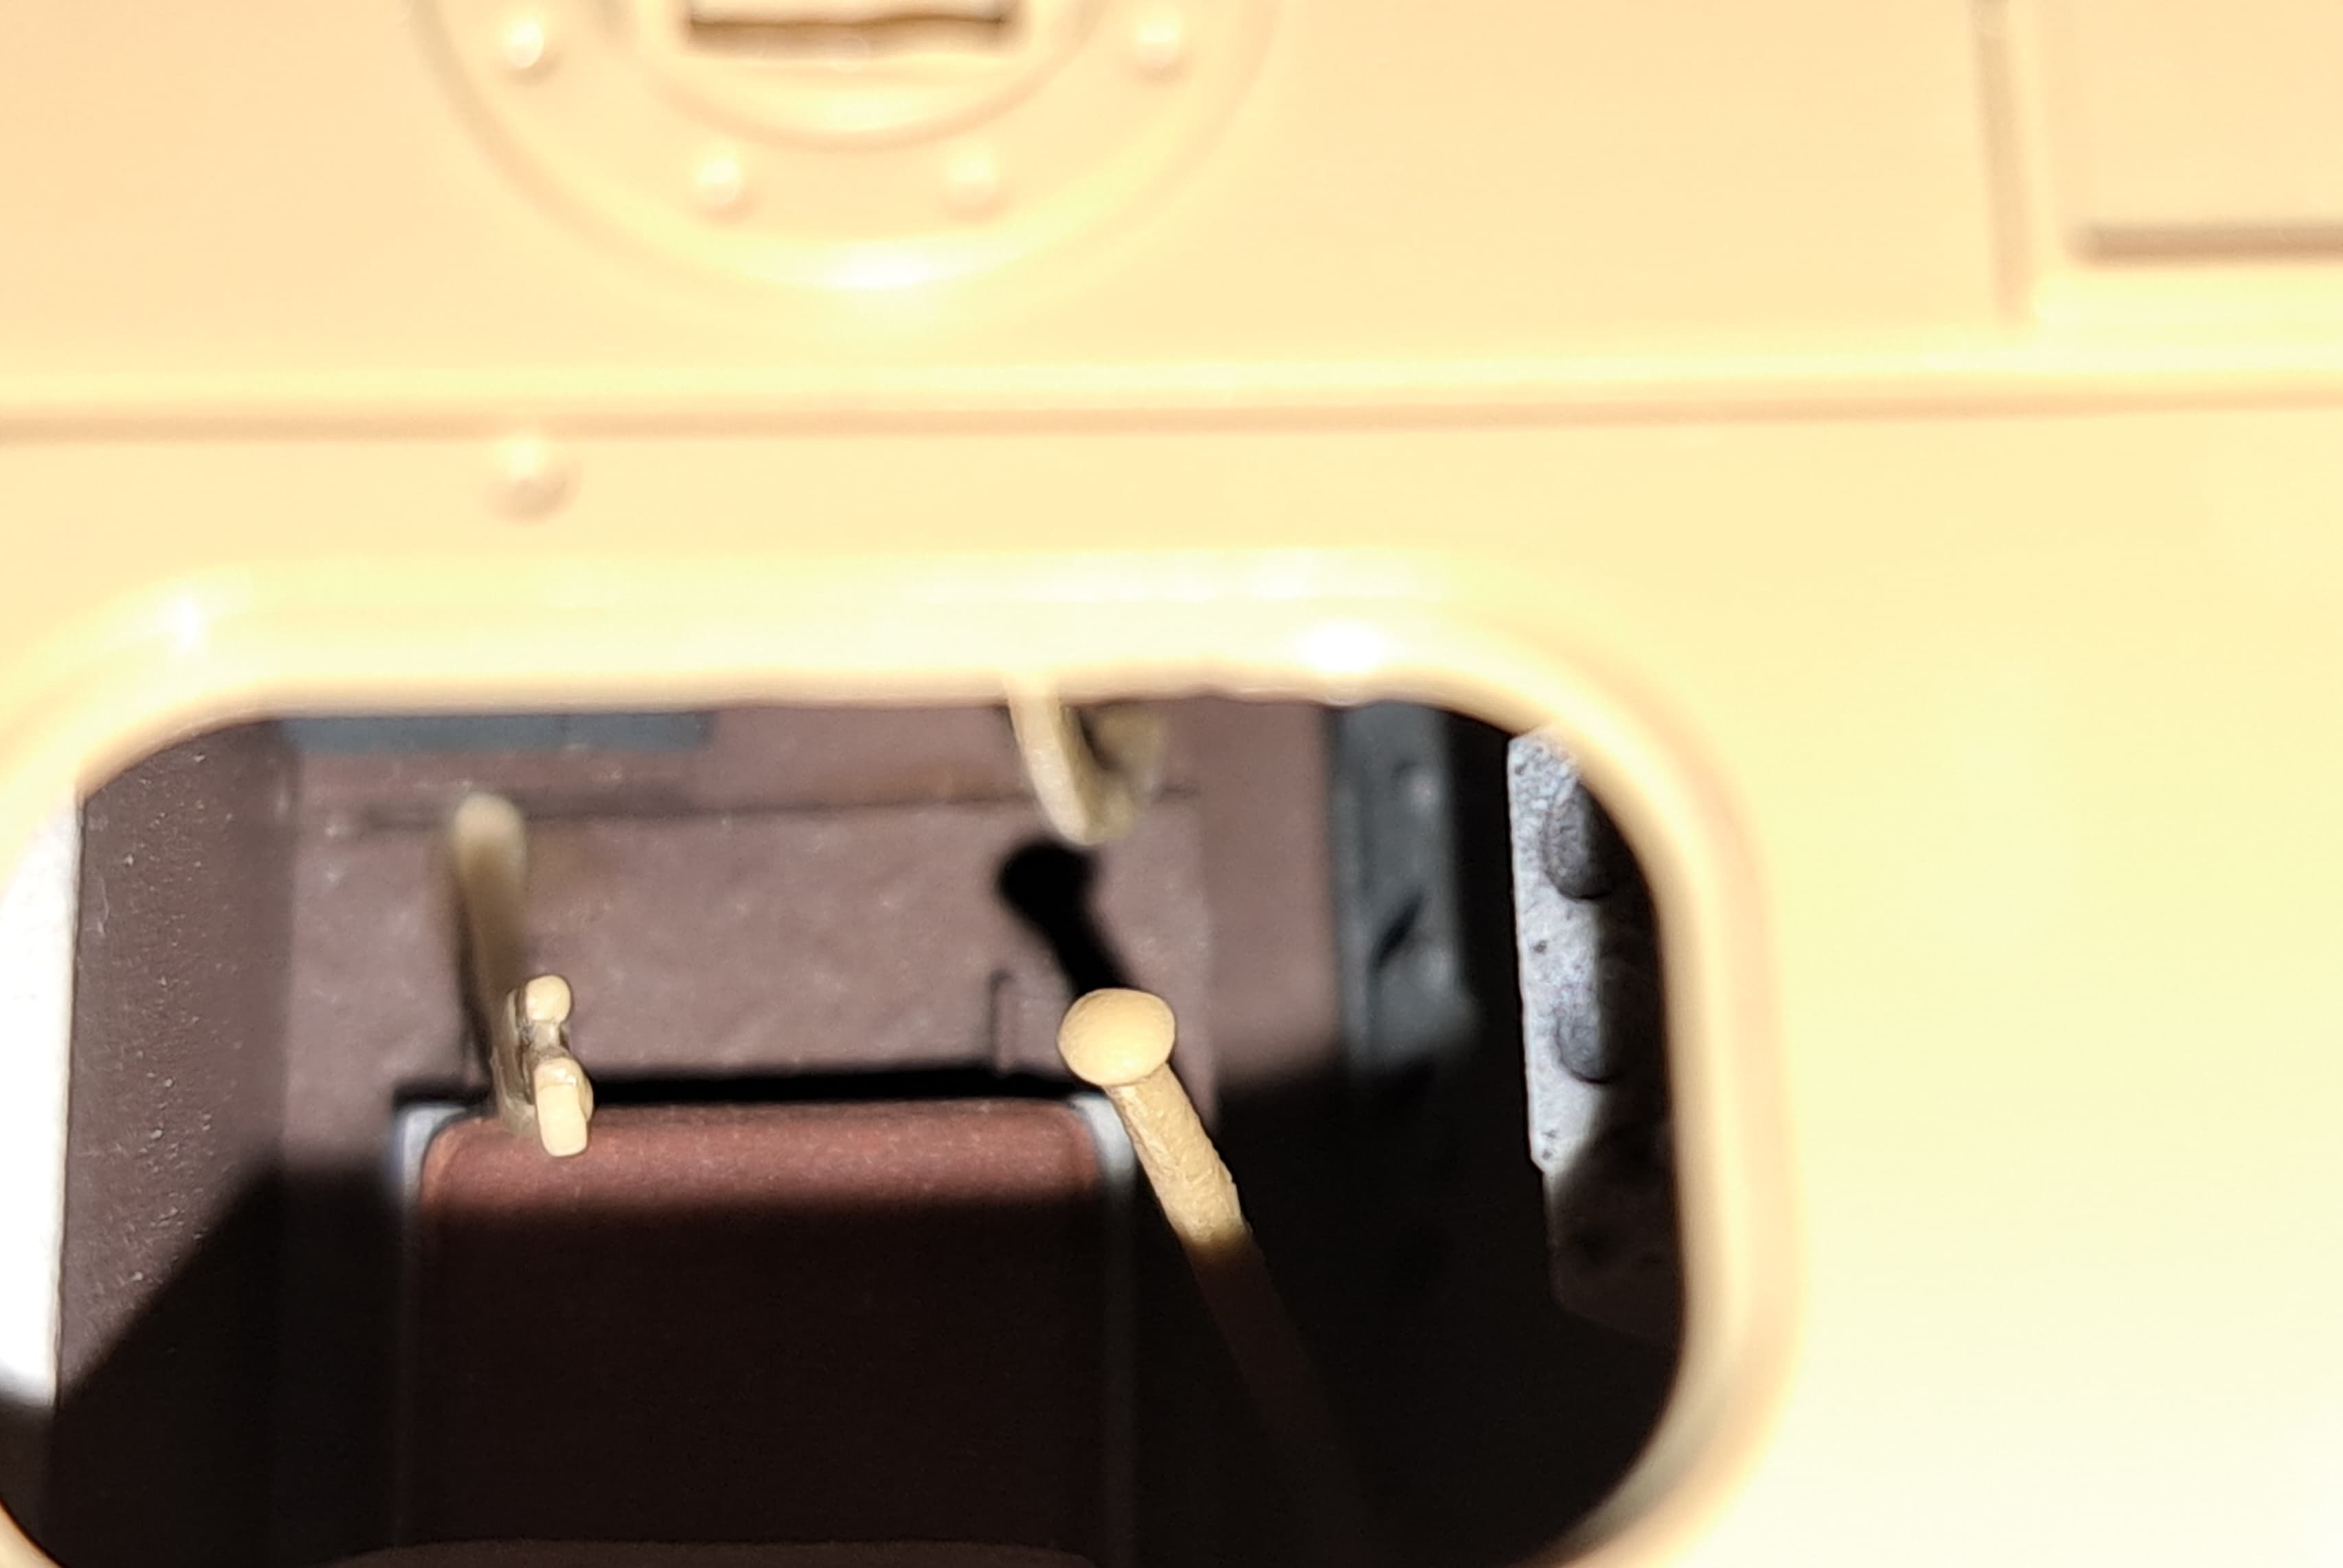
What one can see via the radio operator hatch…
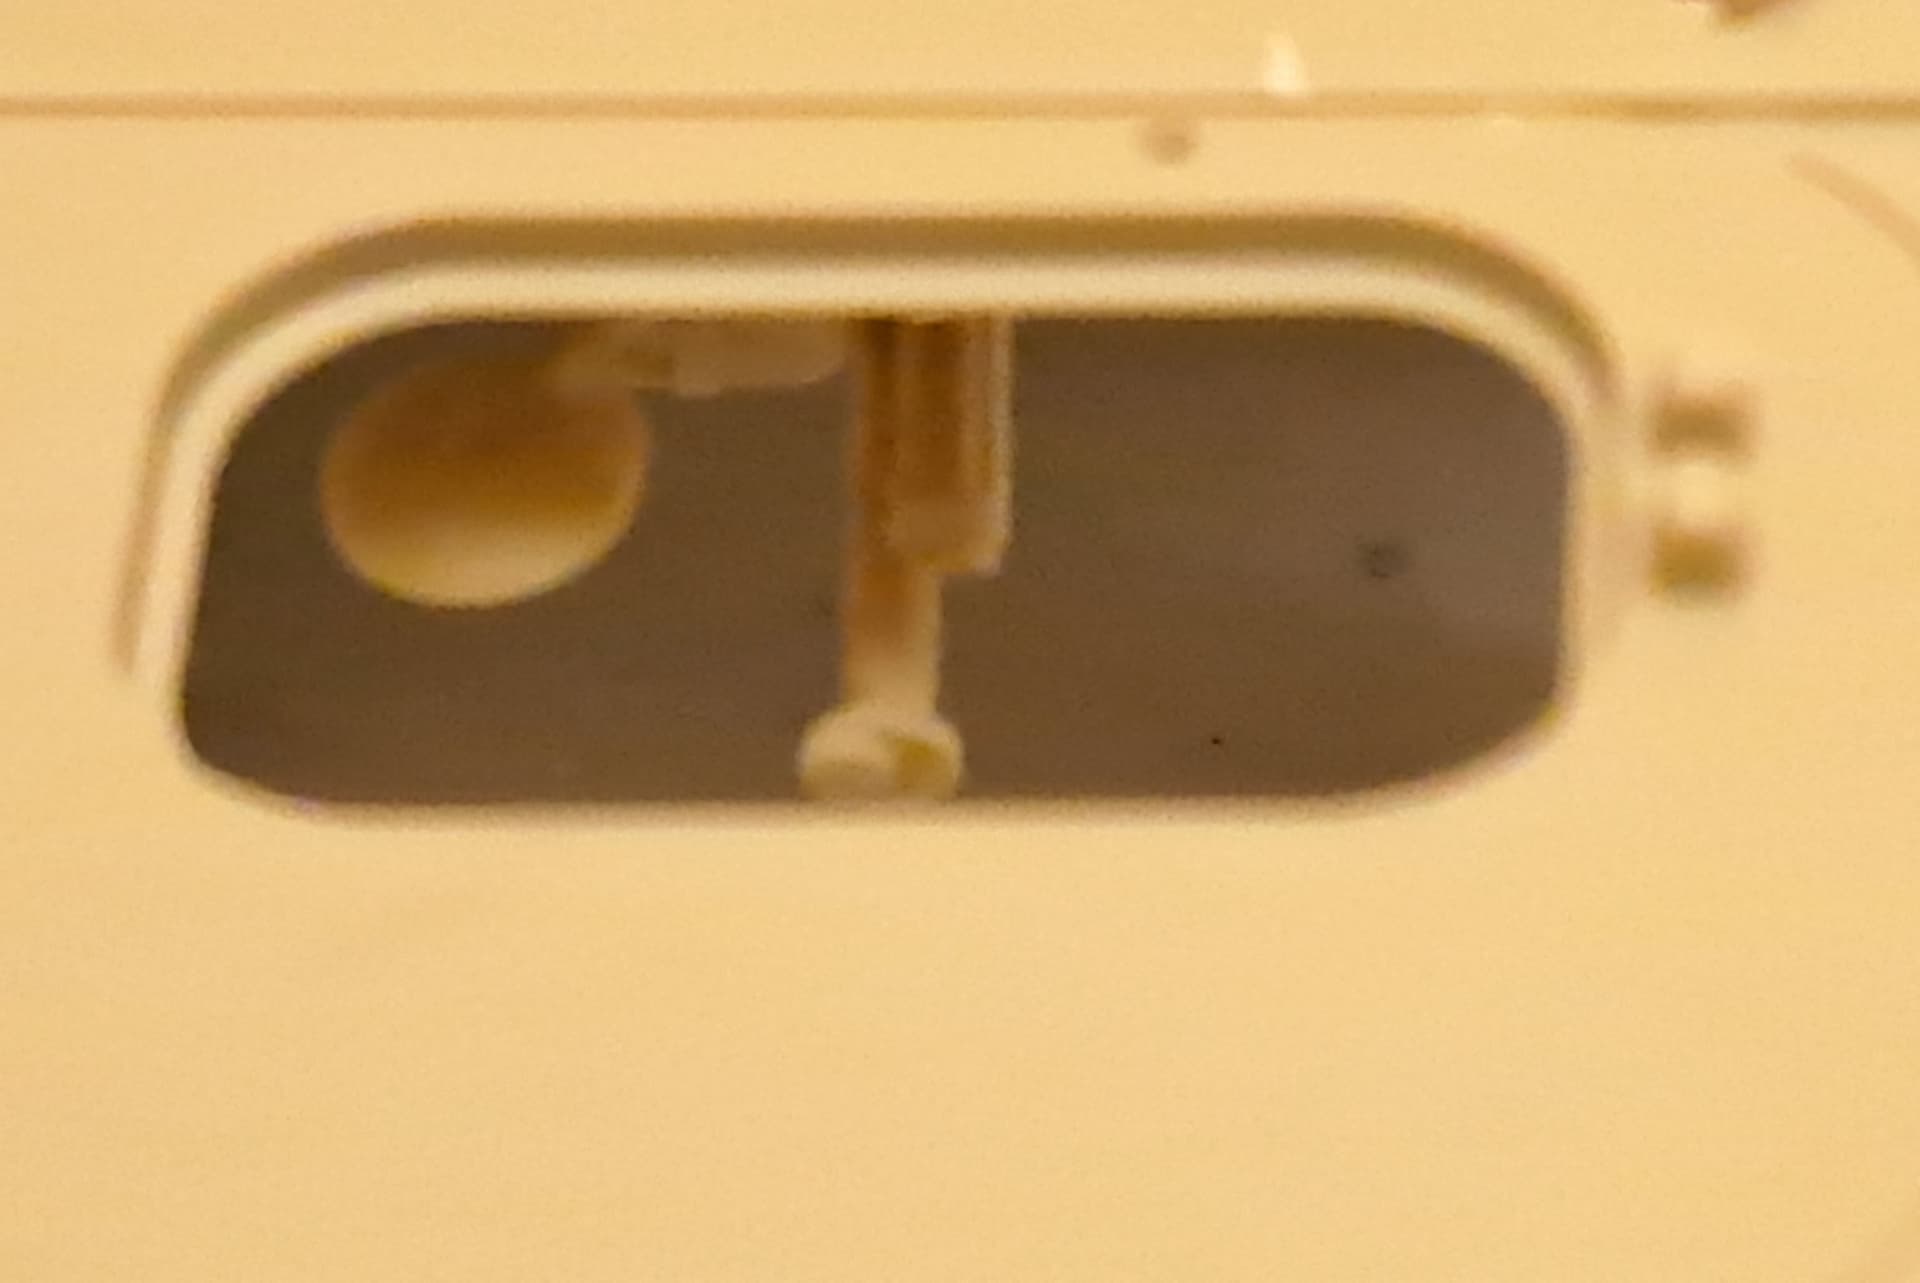
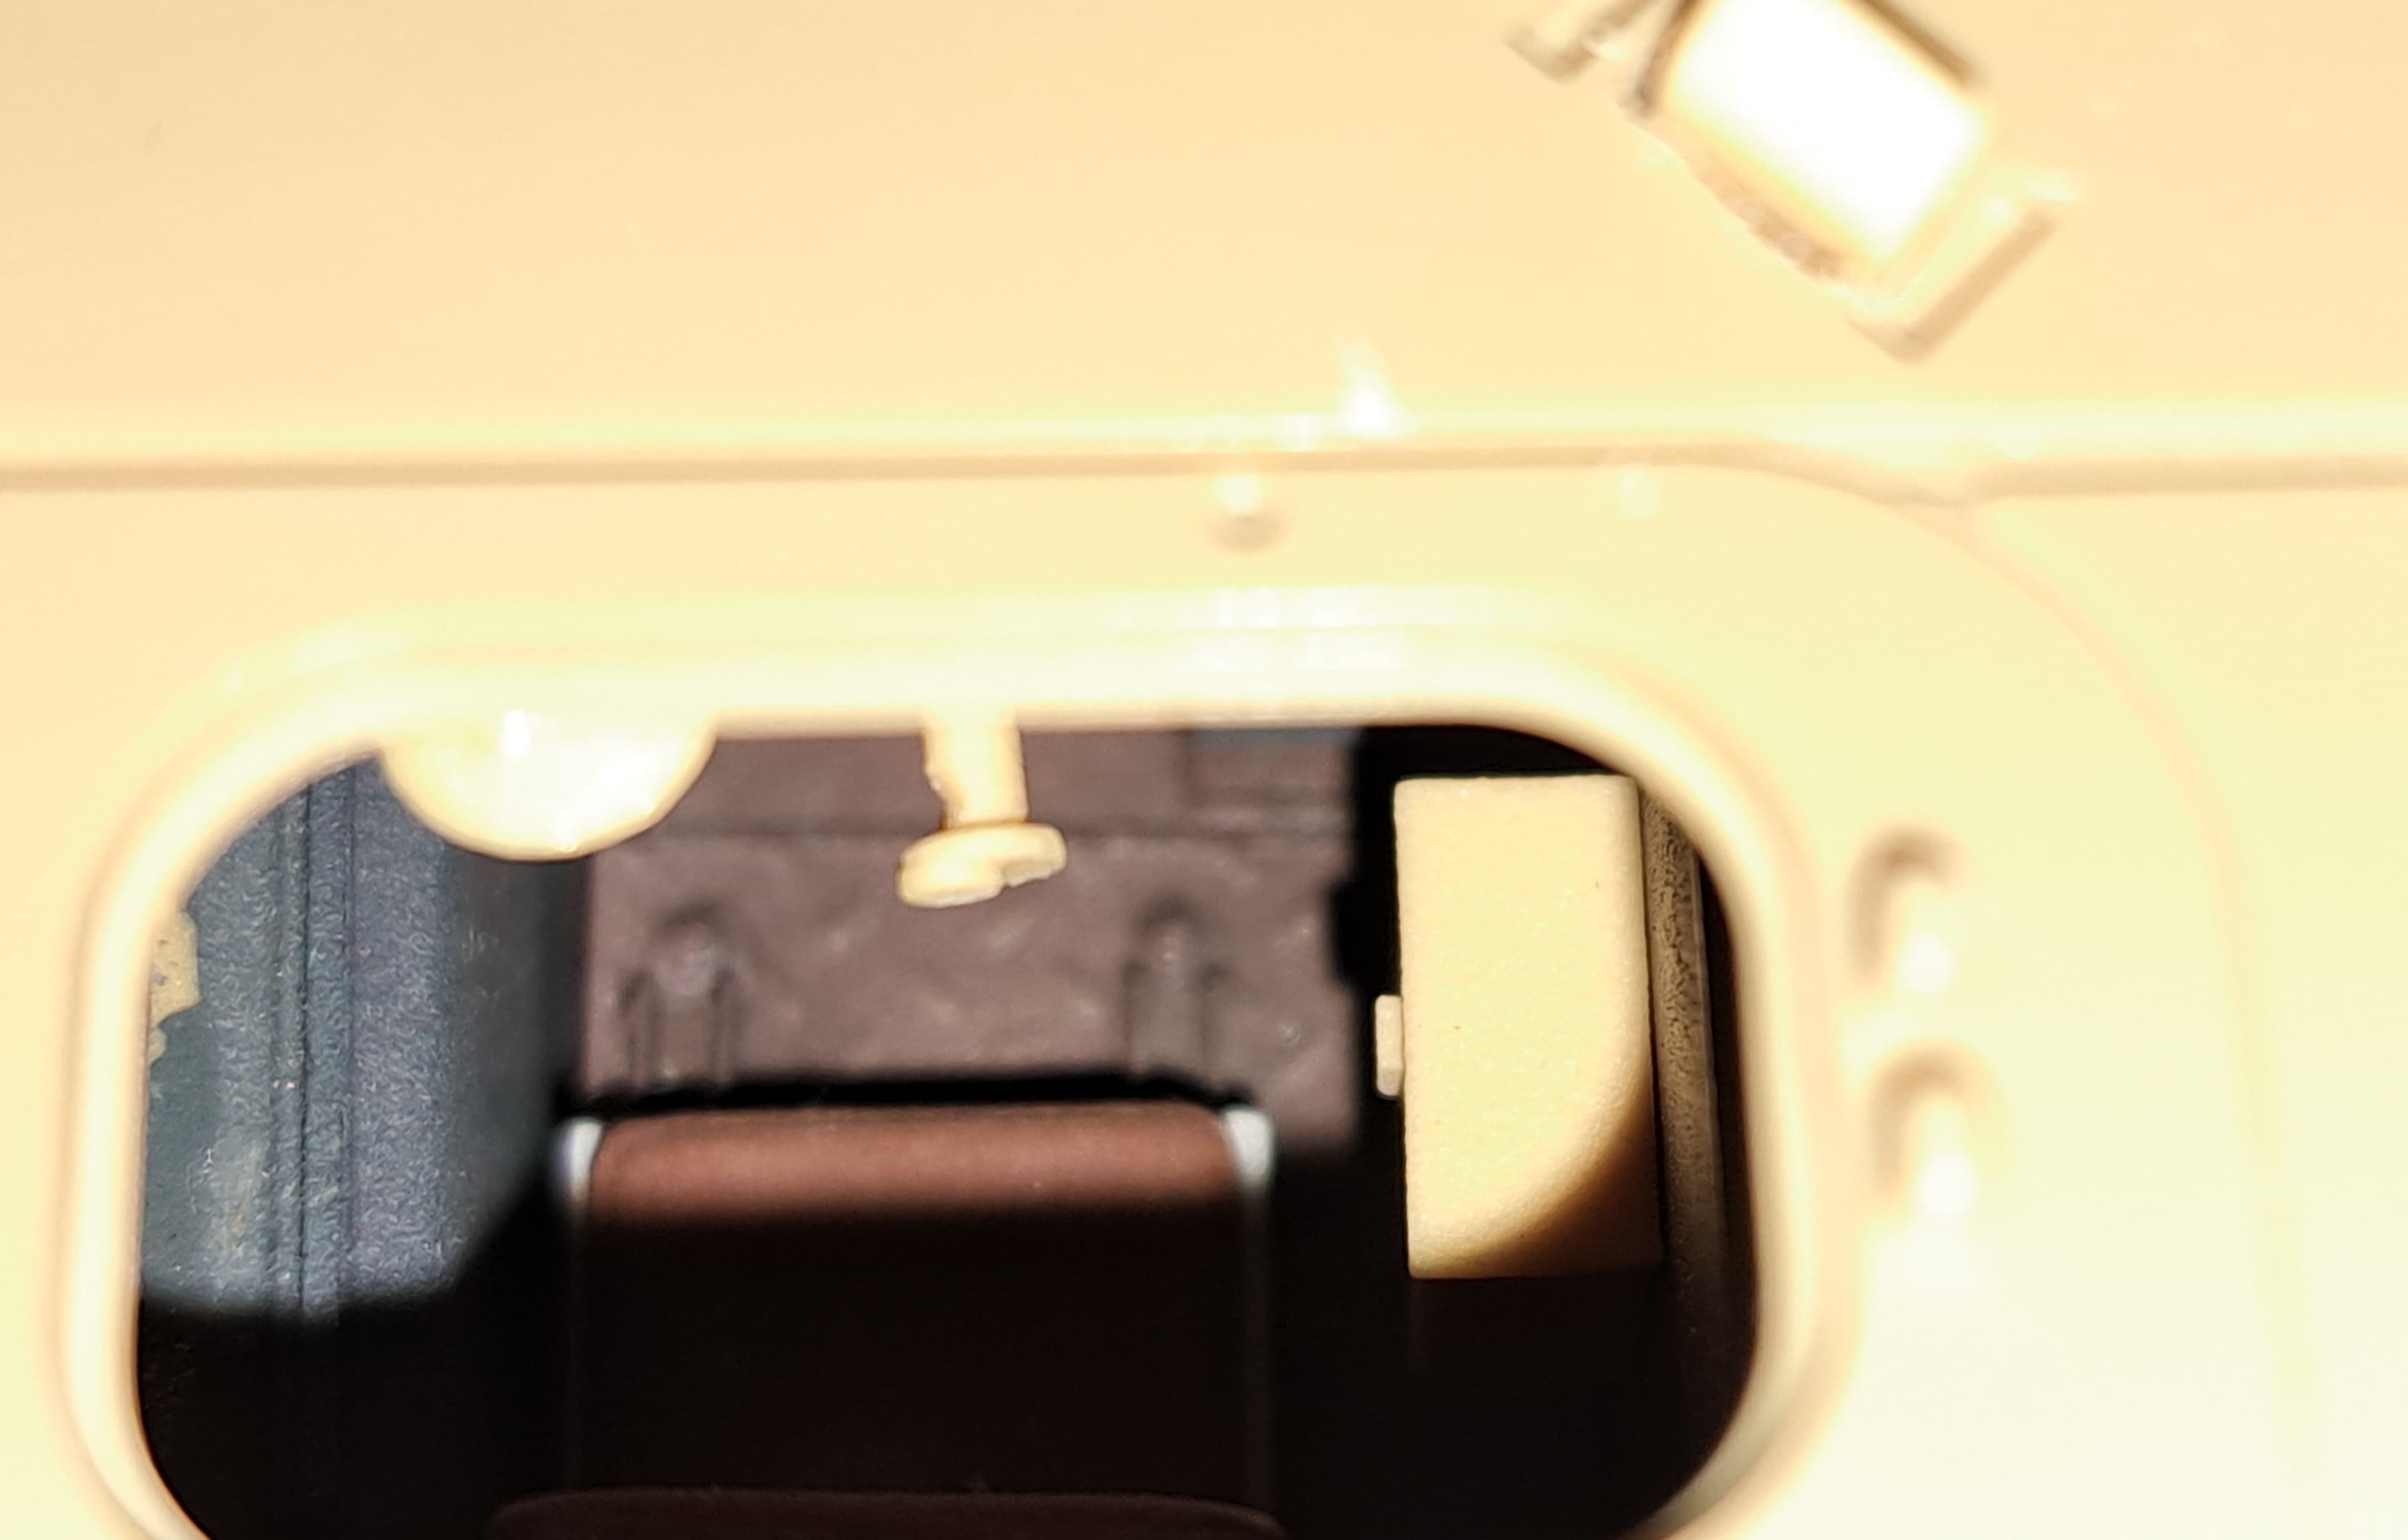
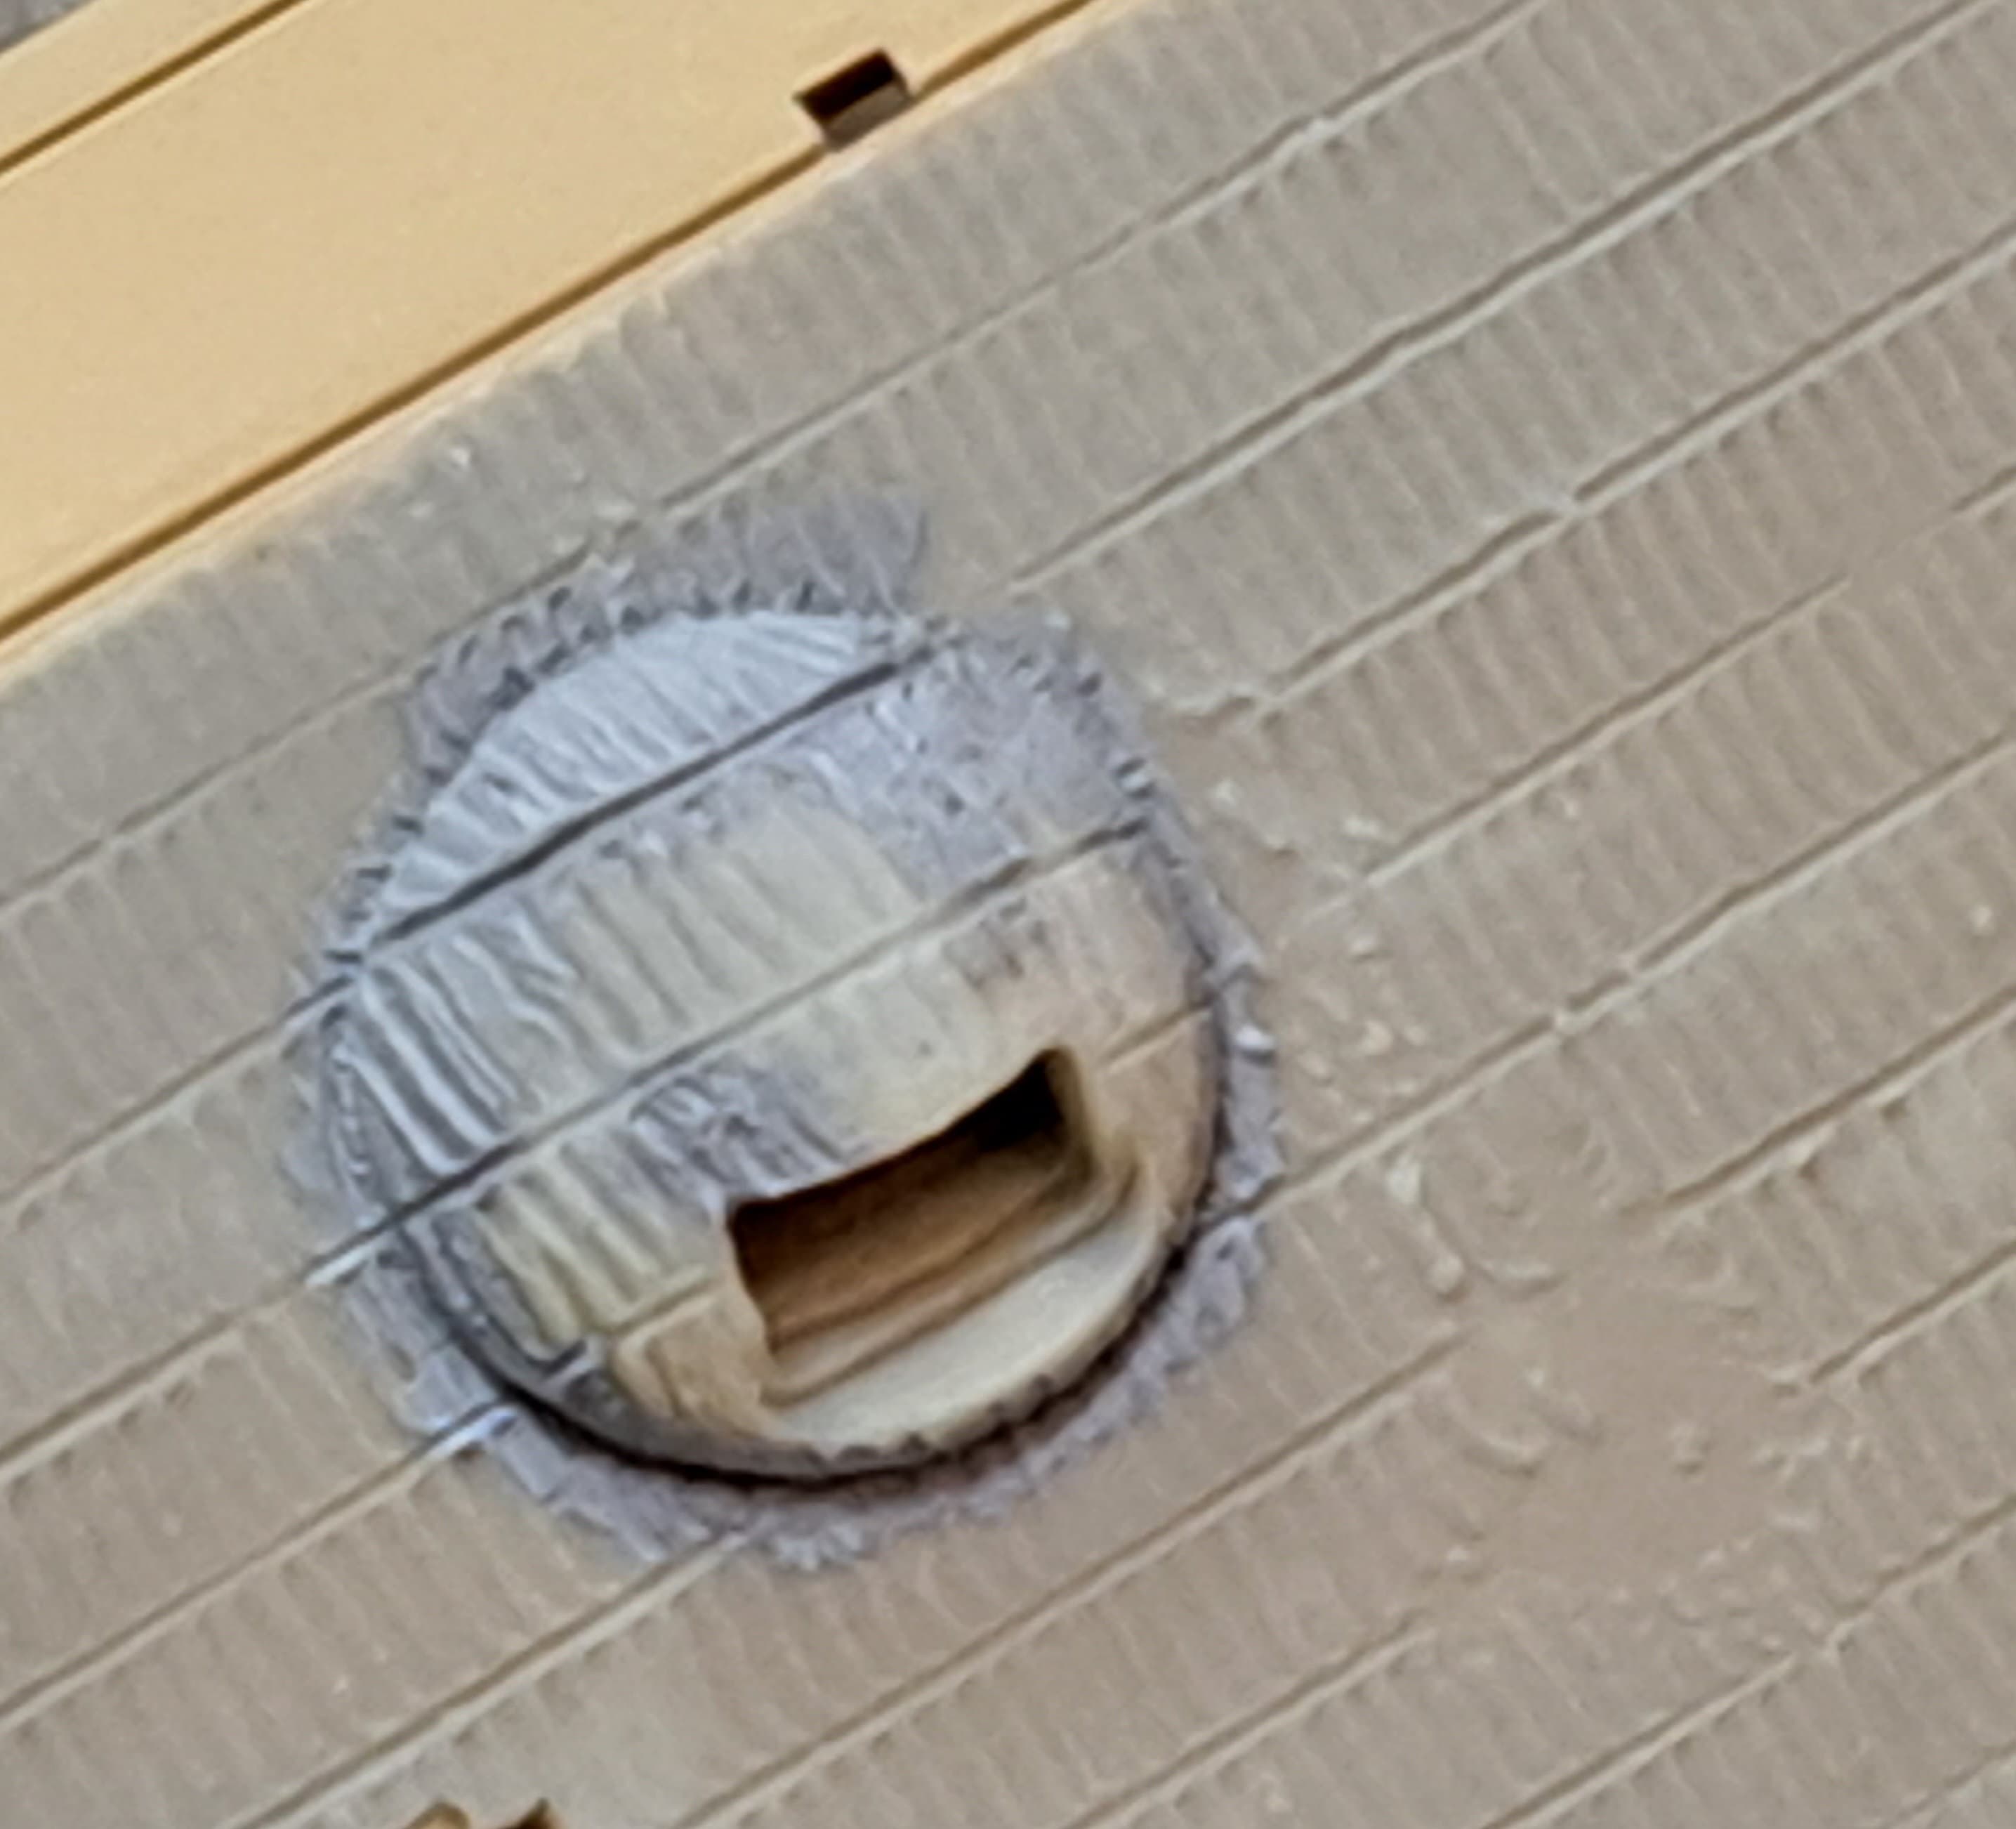
Driver hatch
![]()
![]()
![]() …oh well!
…oh well! ![]()
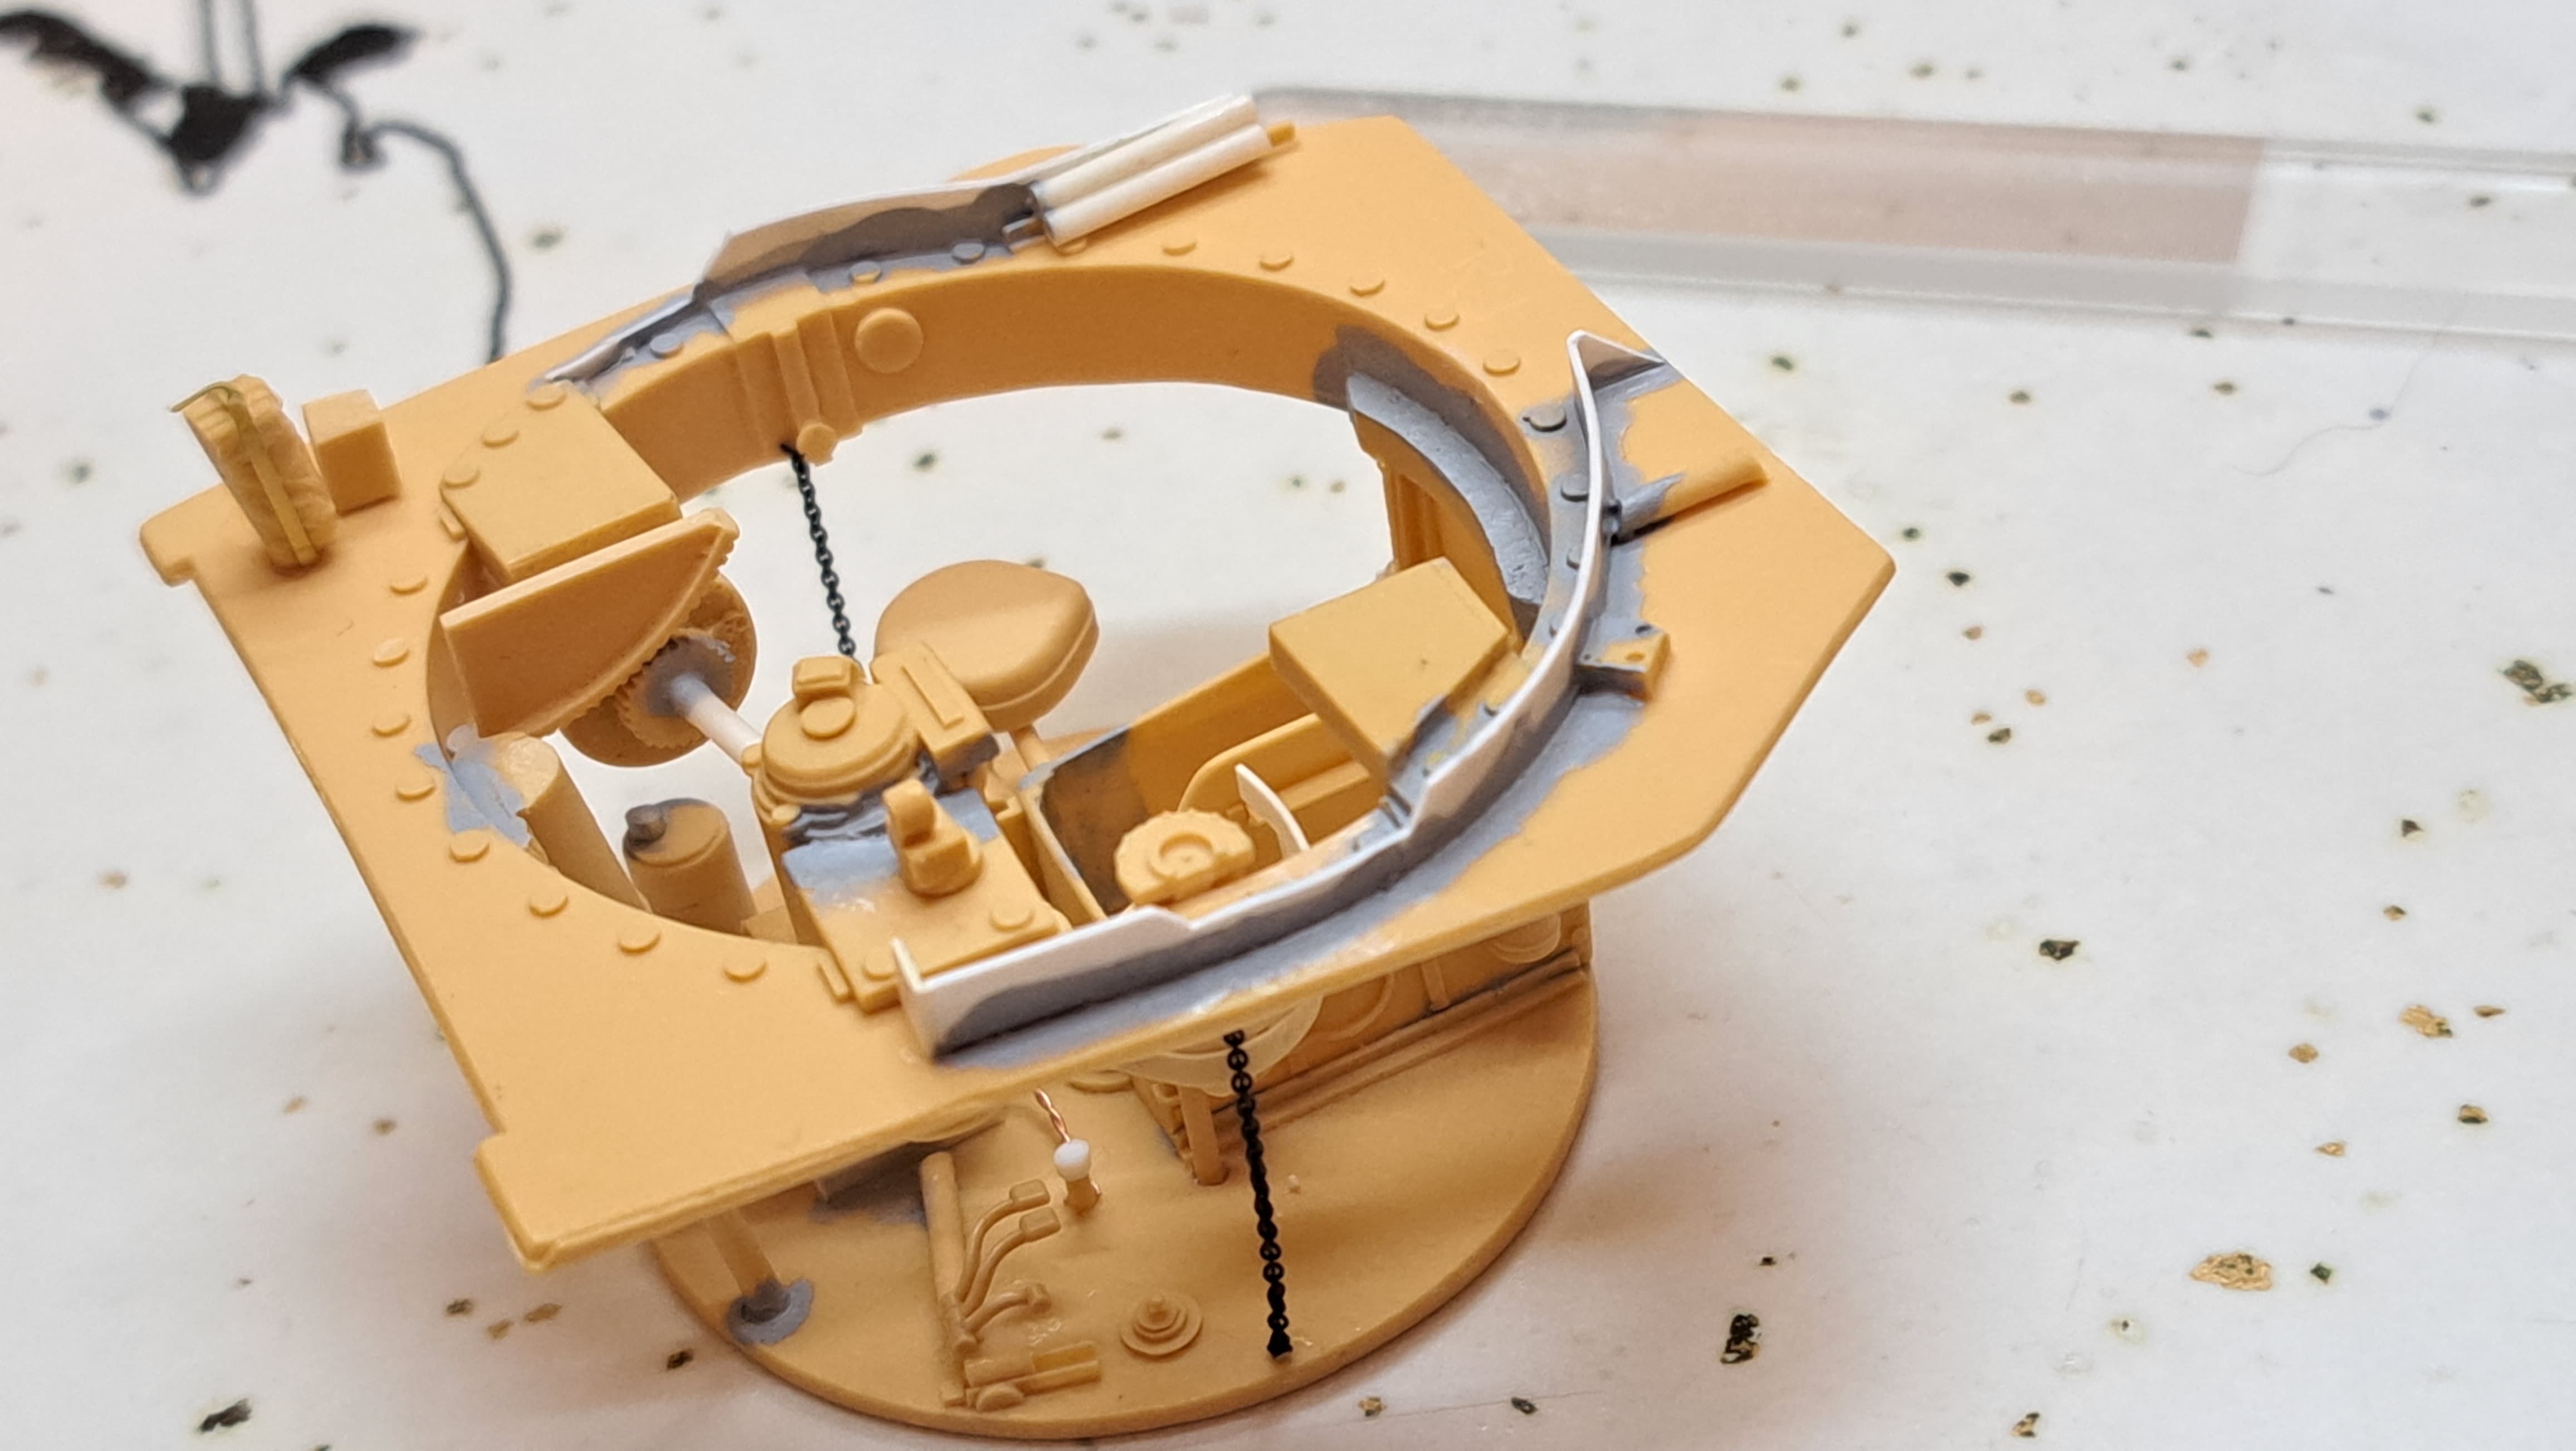
Support chains for turret basket
10 Likes
Tarting up a homely stock gun cleaning kit.
My new and improved Improvised Photo-Etch Annealing Angel by Shakes-Sprue.
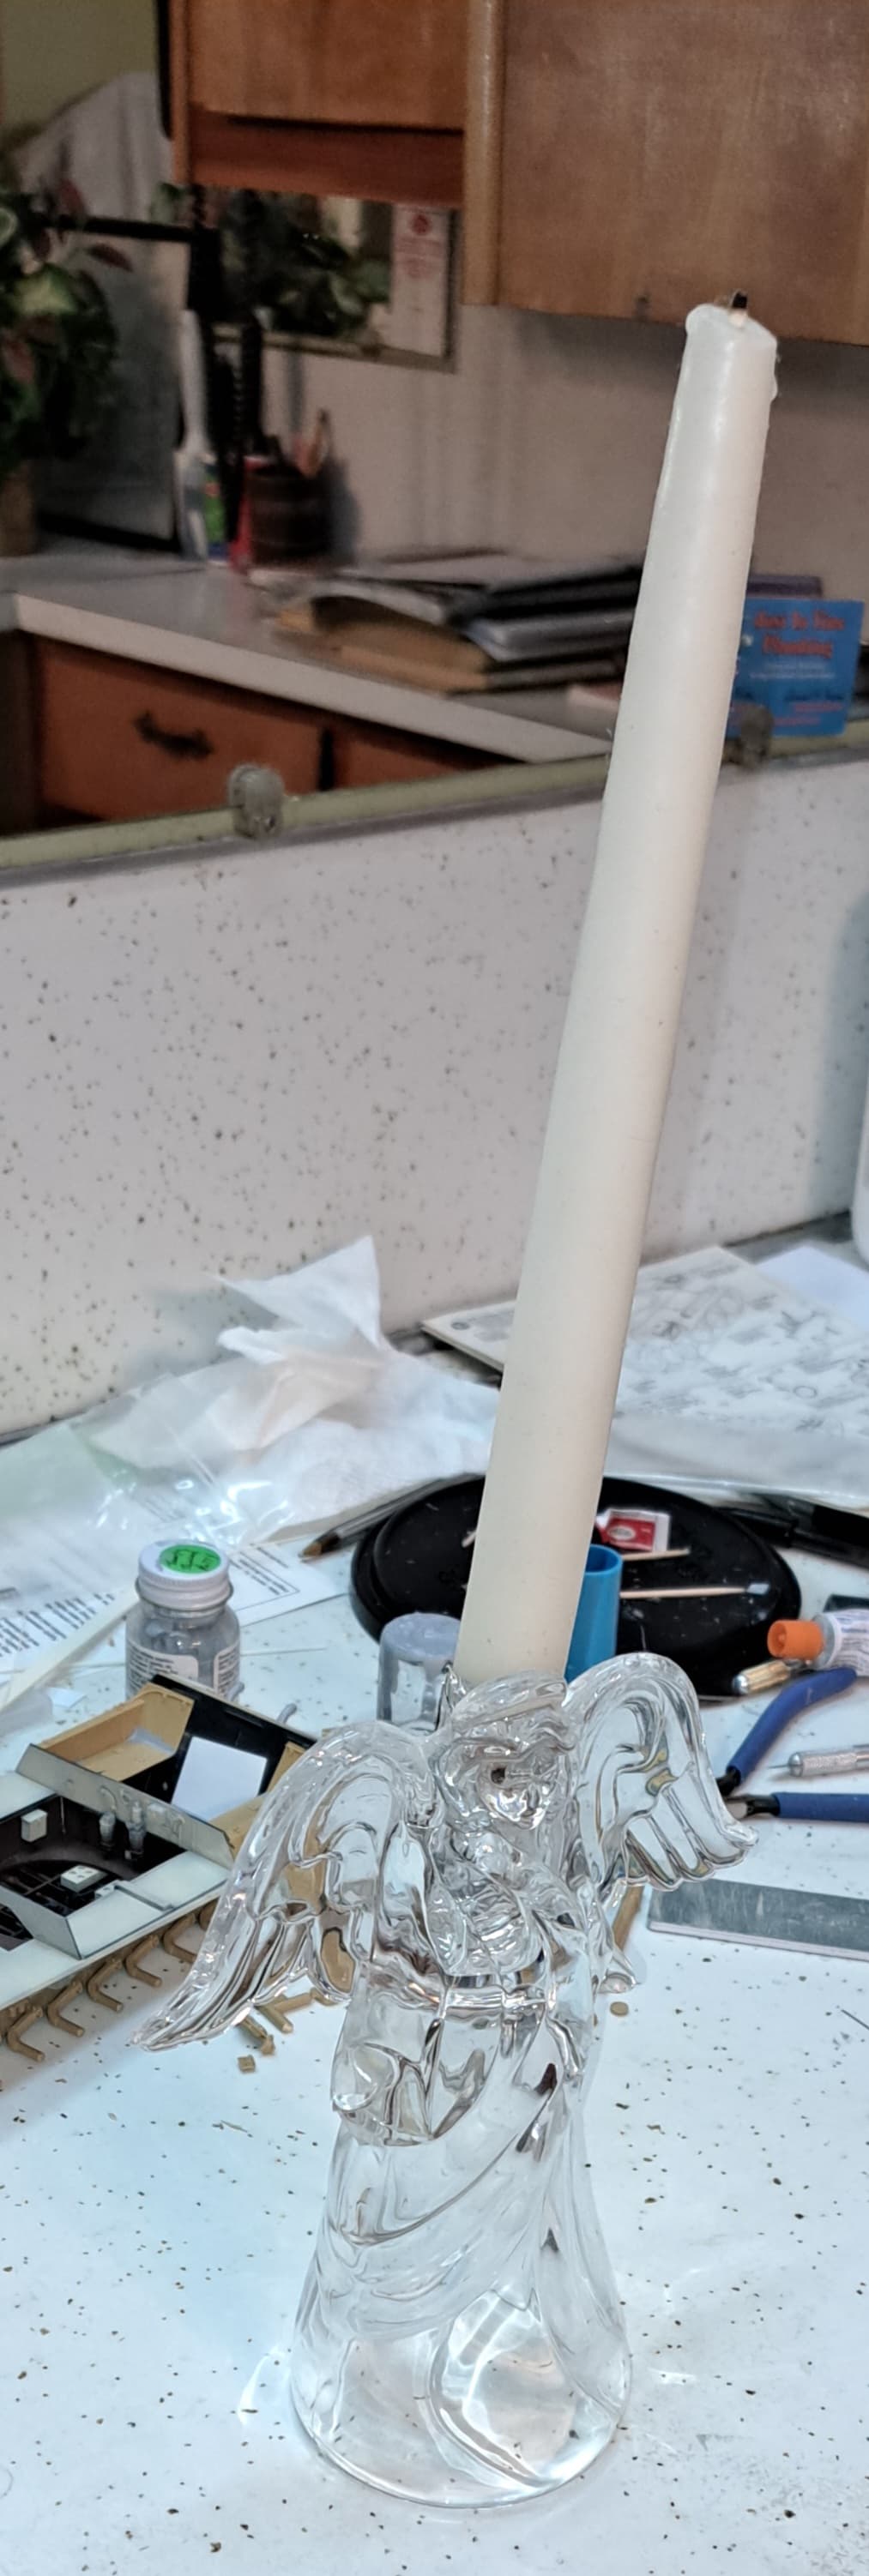
Money shot
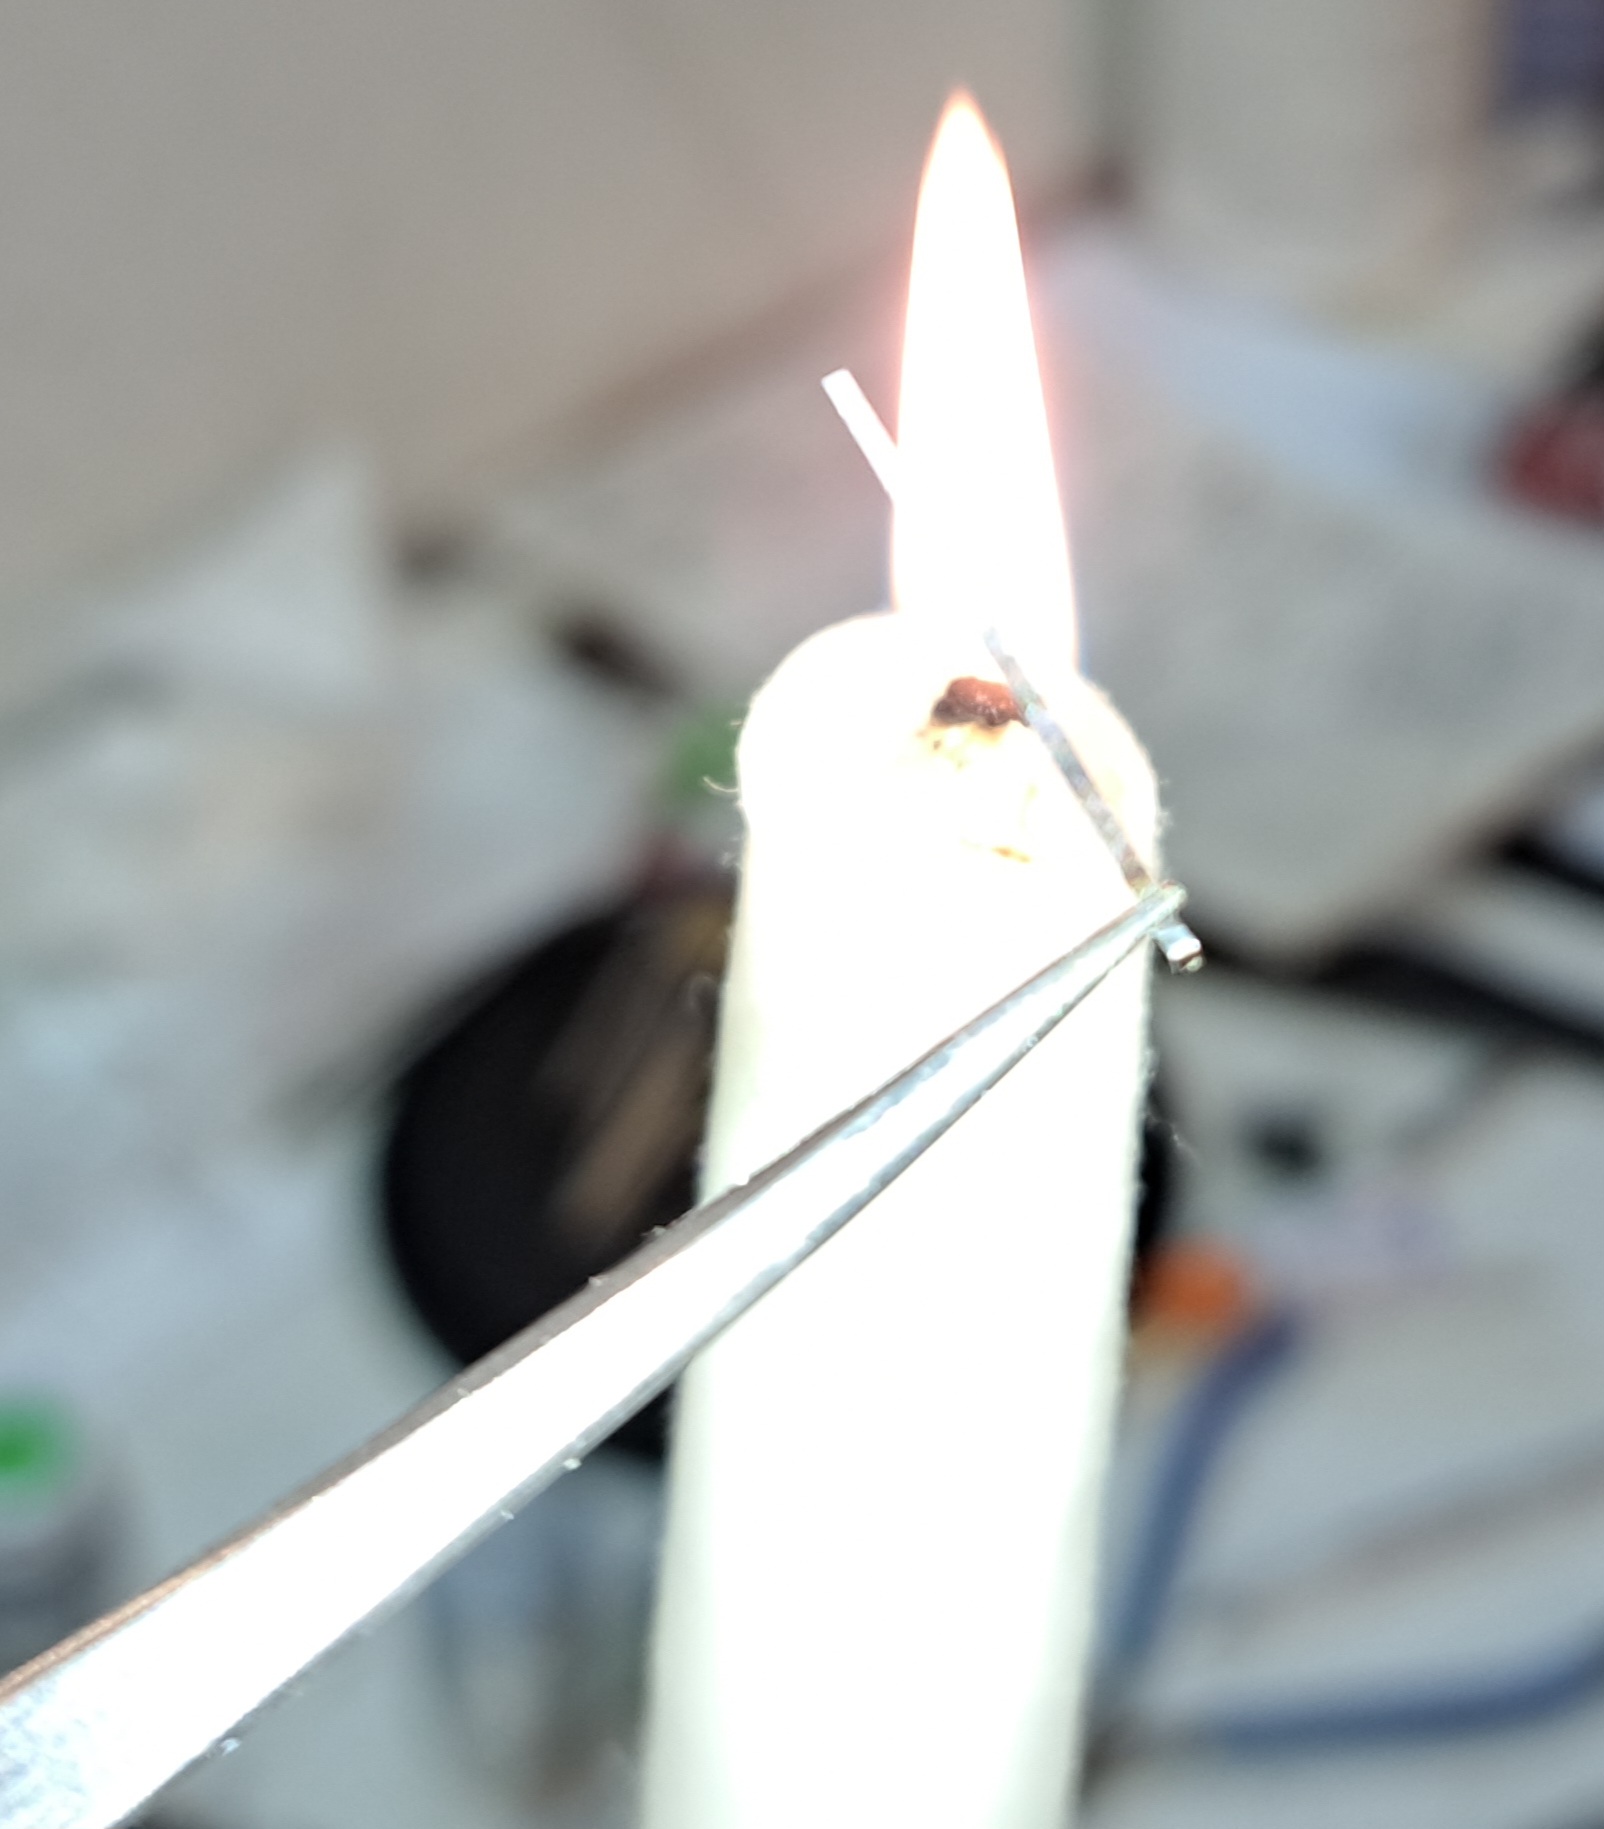
Snip & scrap, bend scrap with tweezer.
Using more of that cheapo Testor’s super glue.

Copper wire
Clamps
Chain

Snickering maybe from friends at Voyager Models…
14 Likes
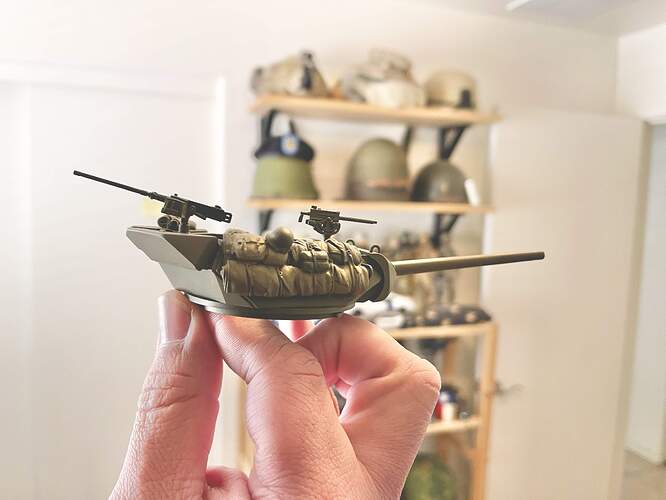
I concur. Value Gear is excellent resin stowage. I used it on my M10 build and everything just fits like a glove.
7 Likes