Clubmobile looking good.
2 Likes
Classic retro spaceship seating style. Very fitting
2 Likes

If I can take a liberty with the definition of “today” I’ve managed clear back log of “quit putting it off and dive back in” shelf queens.
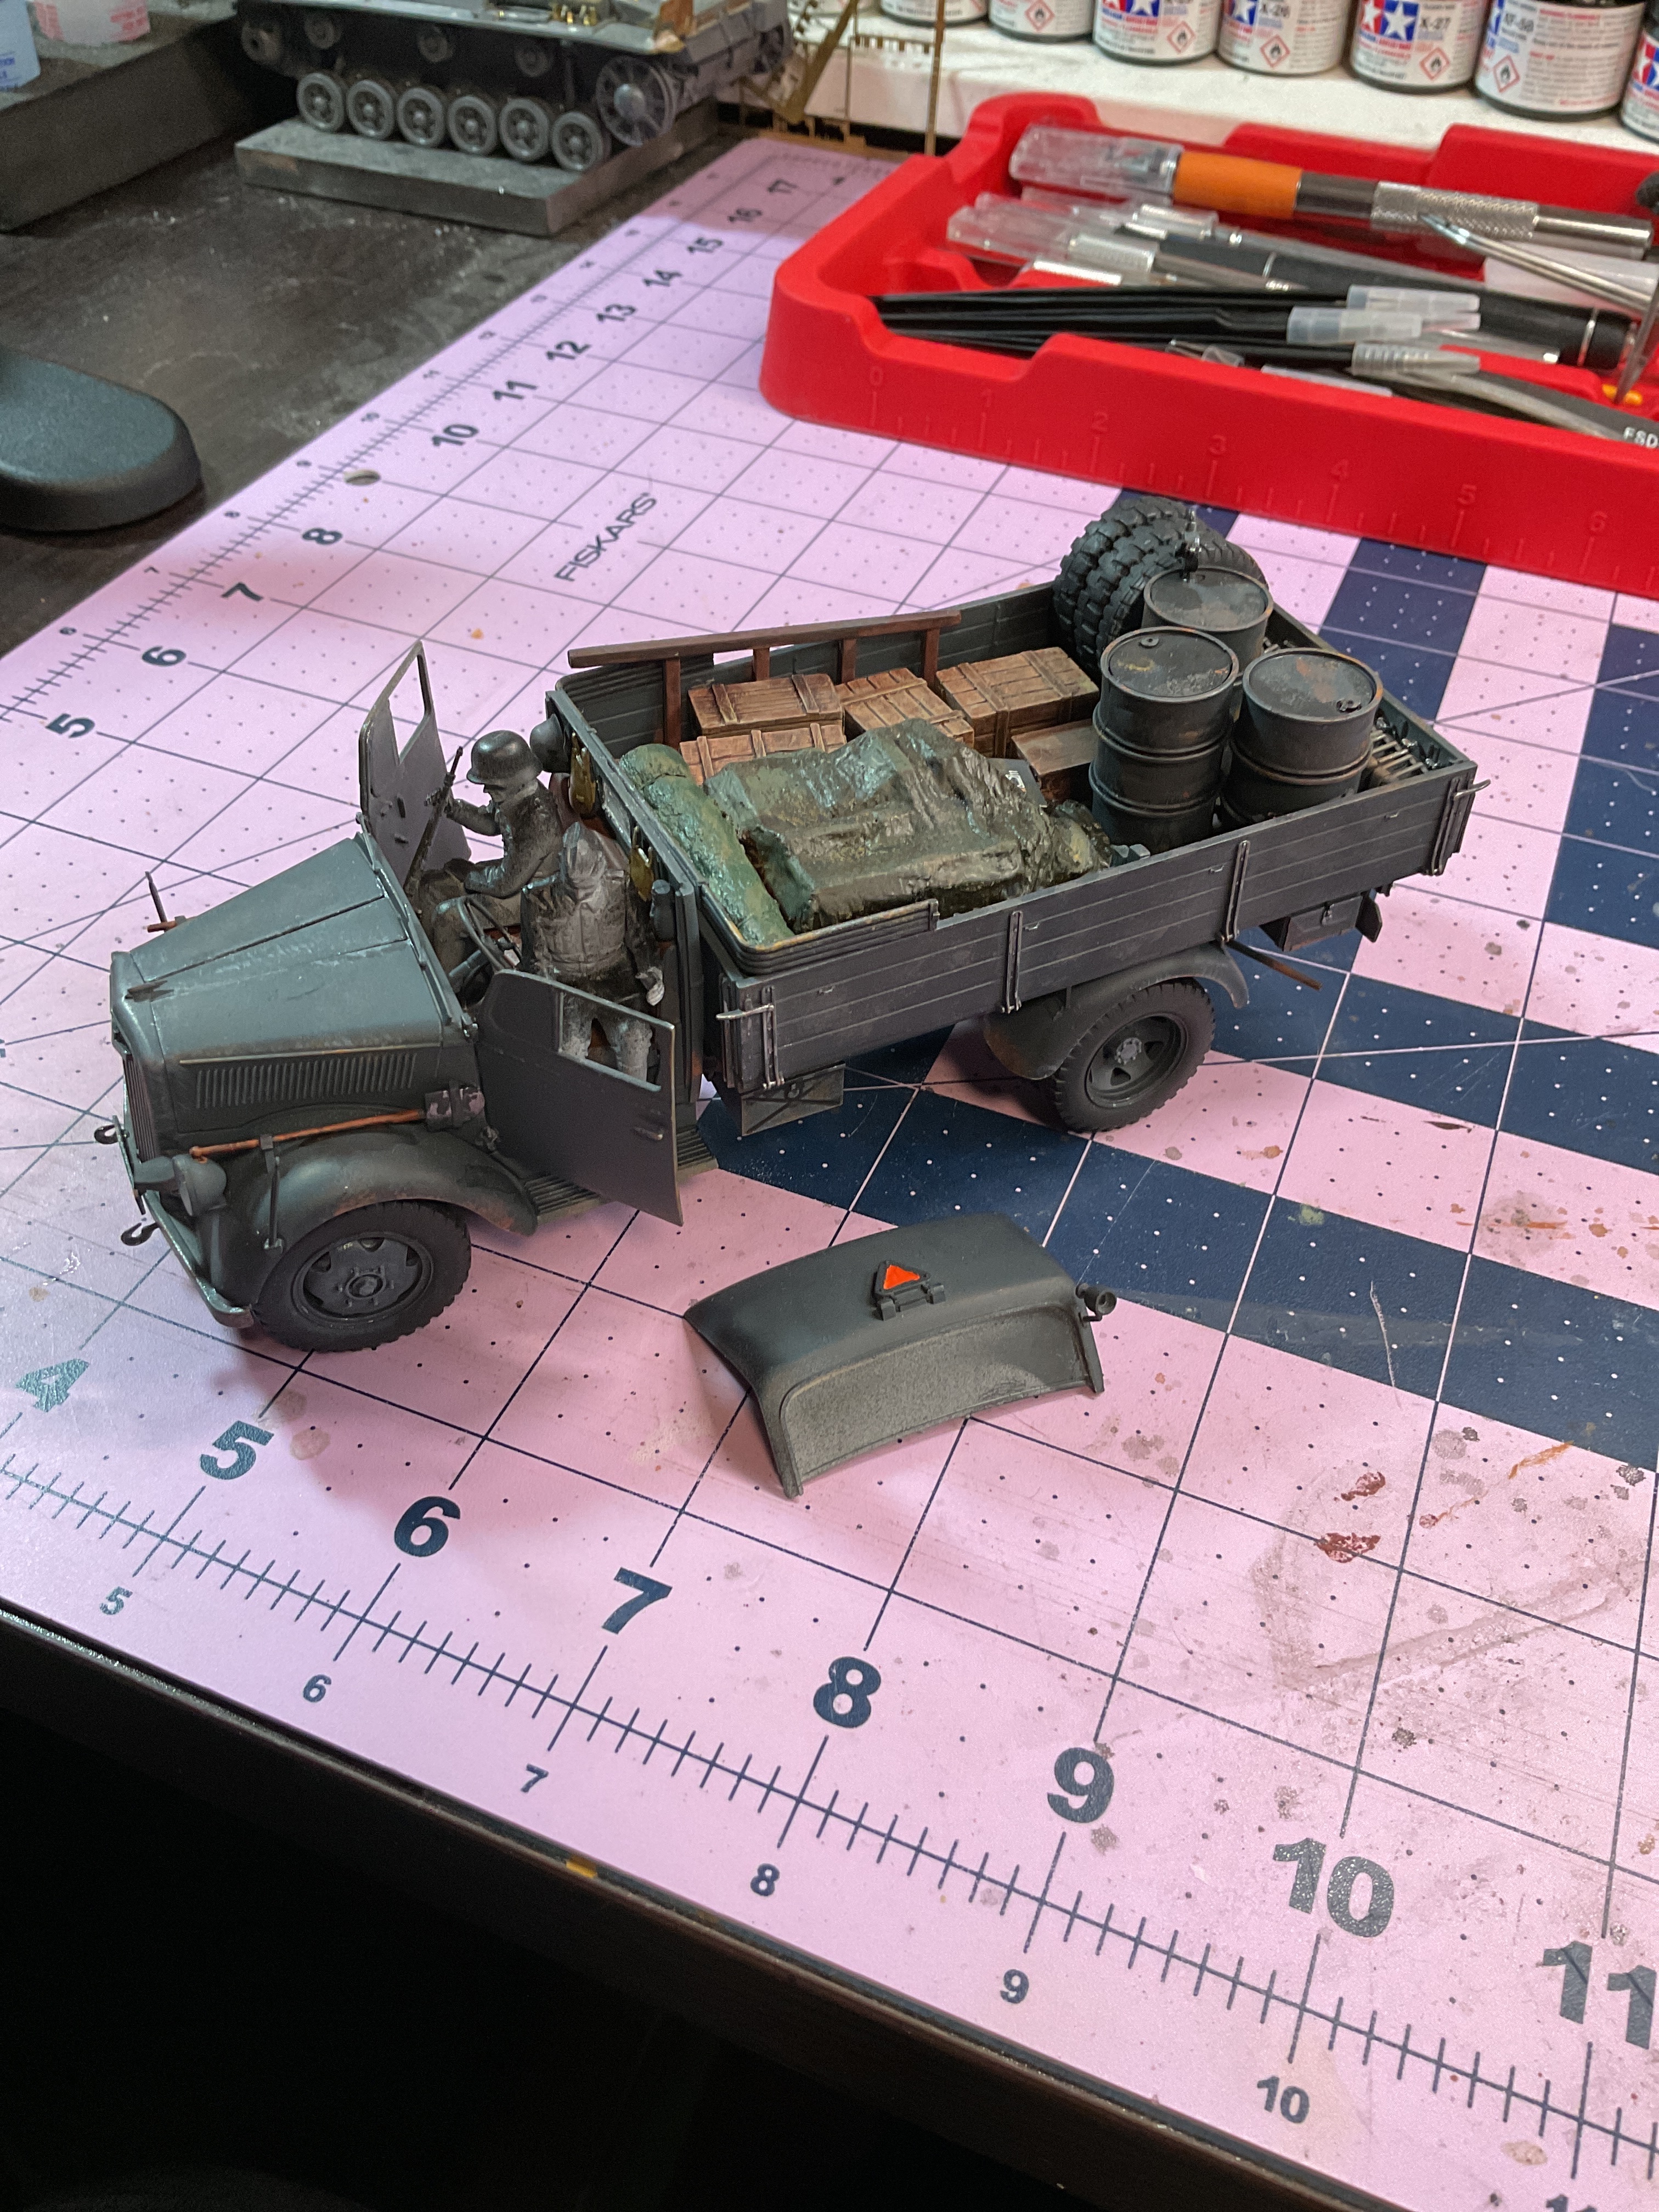
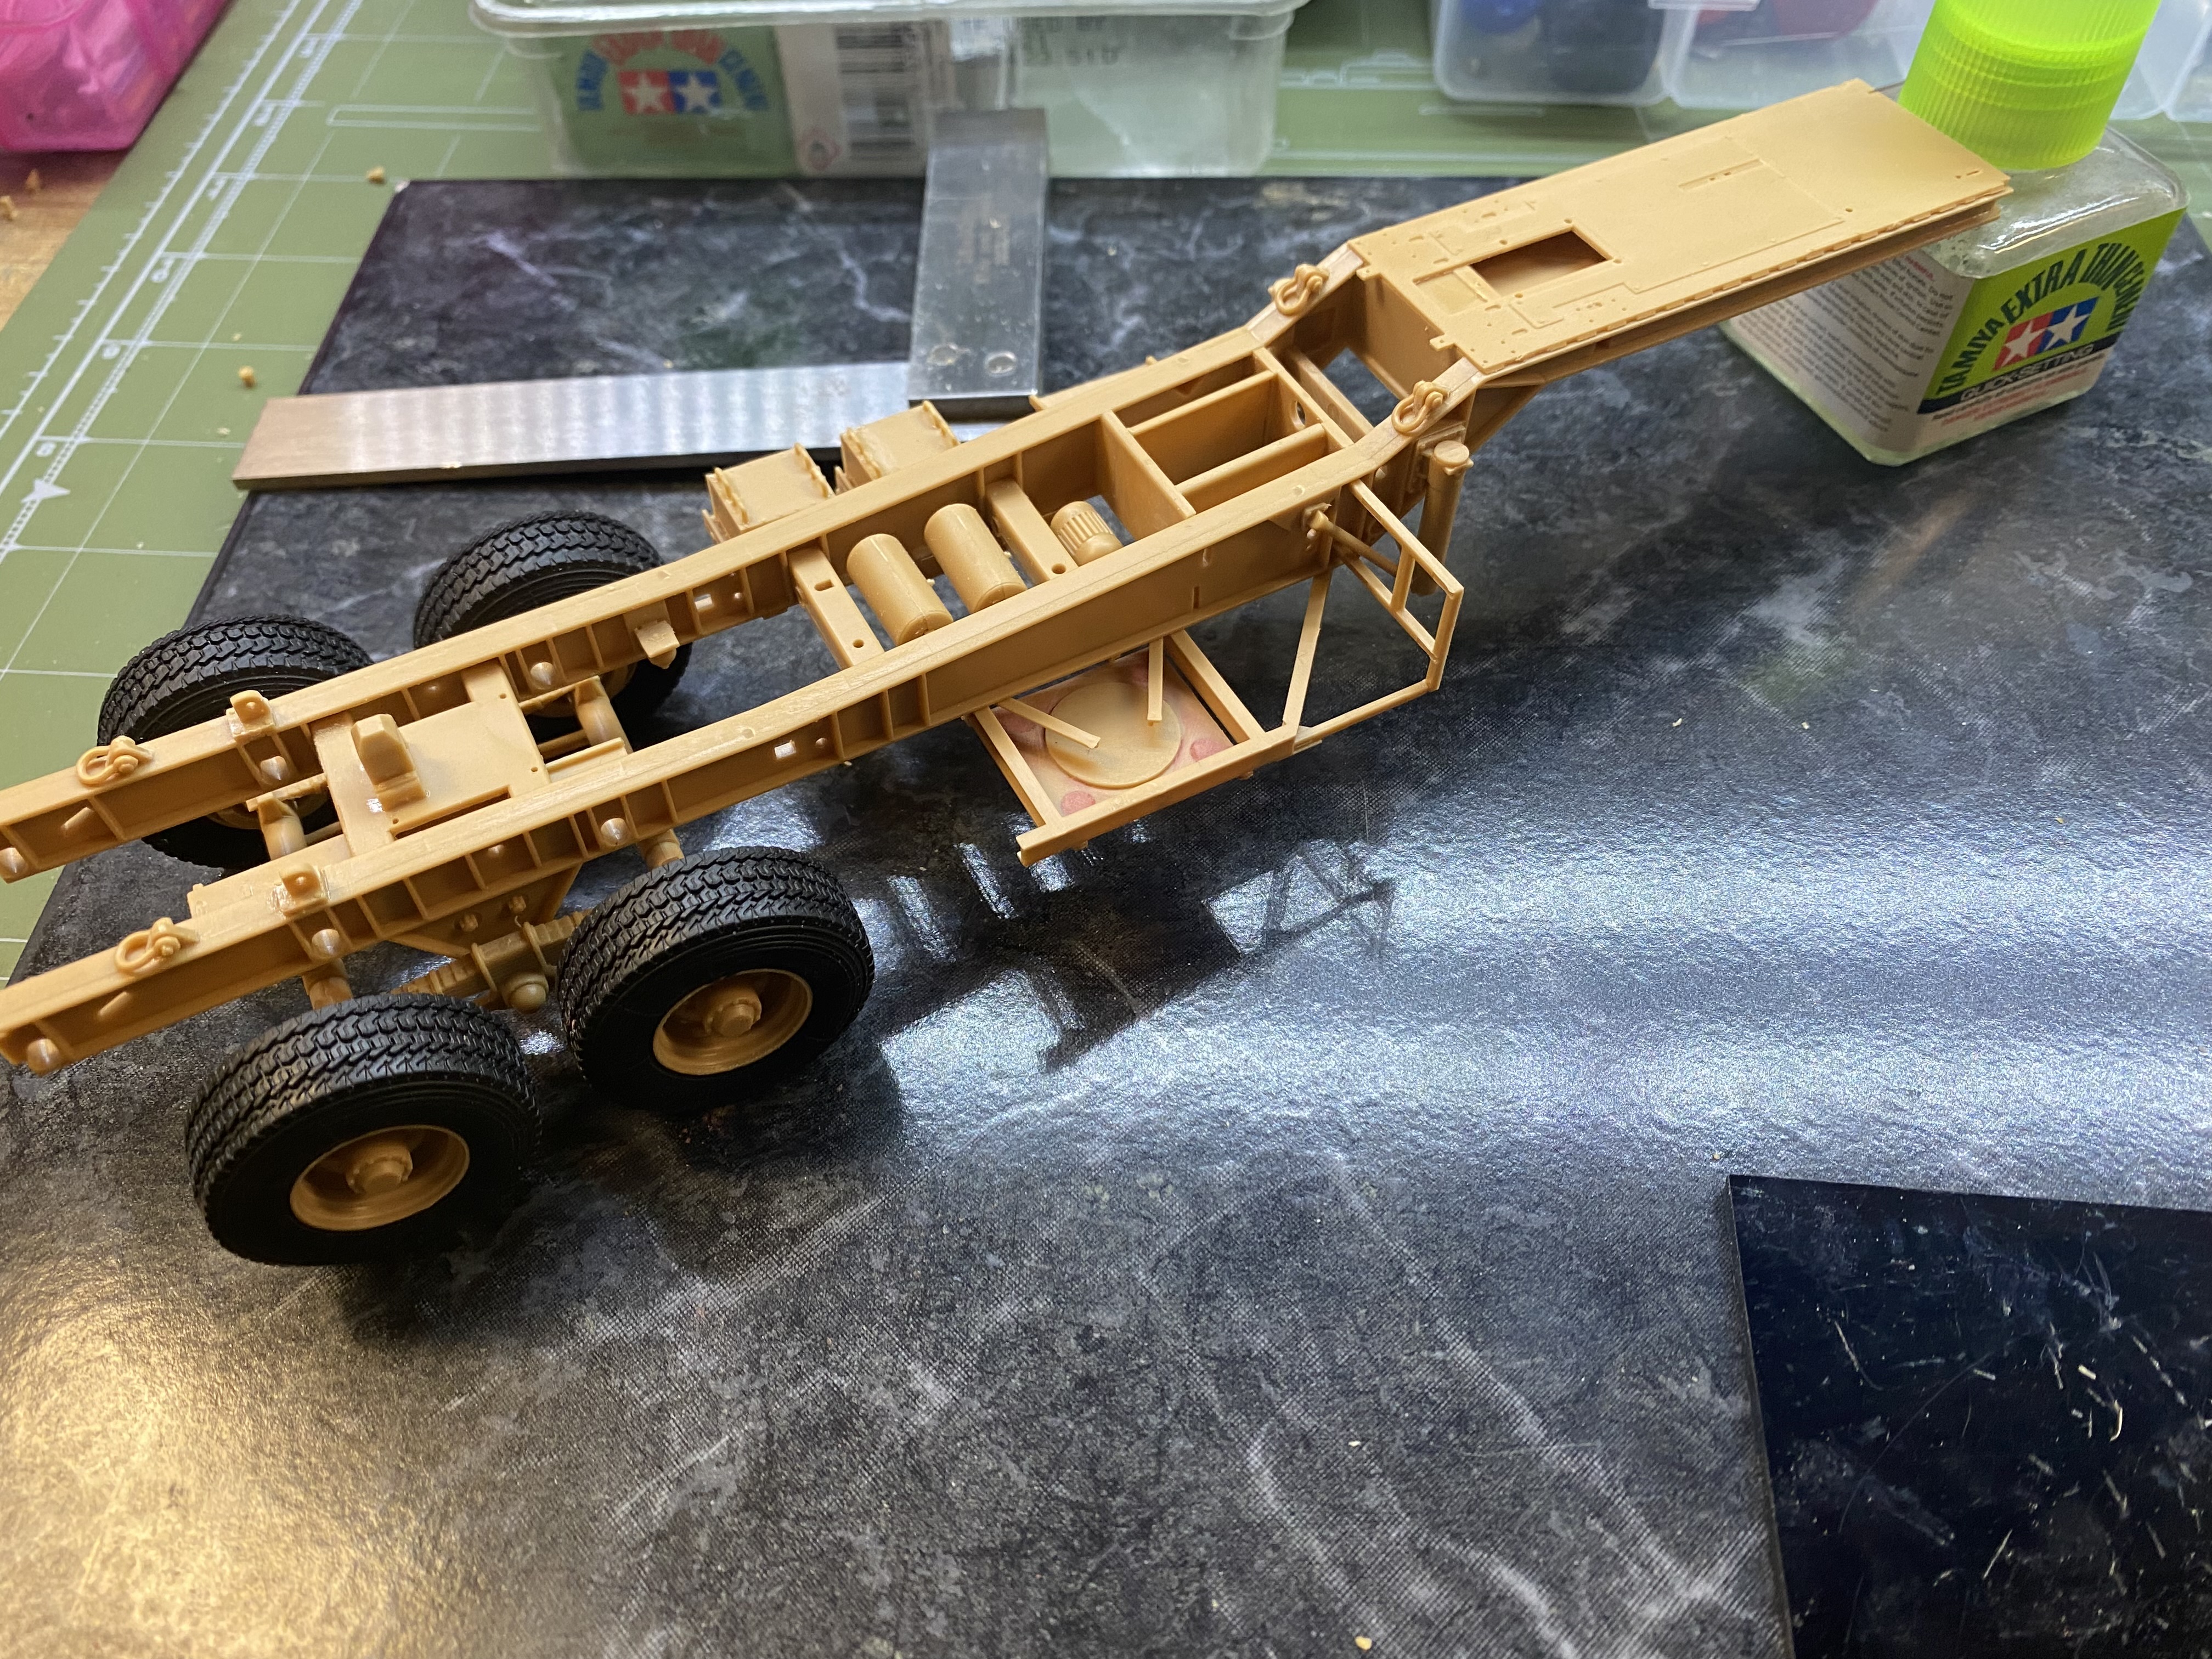
Home stretch on Tamiya’s 3 ton 4x2 cargo truck. Originally destined for my first diorama but adding it to it was going to be overkill and make it cluttered but it’ll be ready for something in the future.
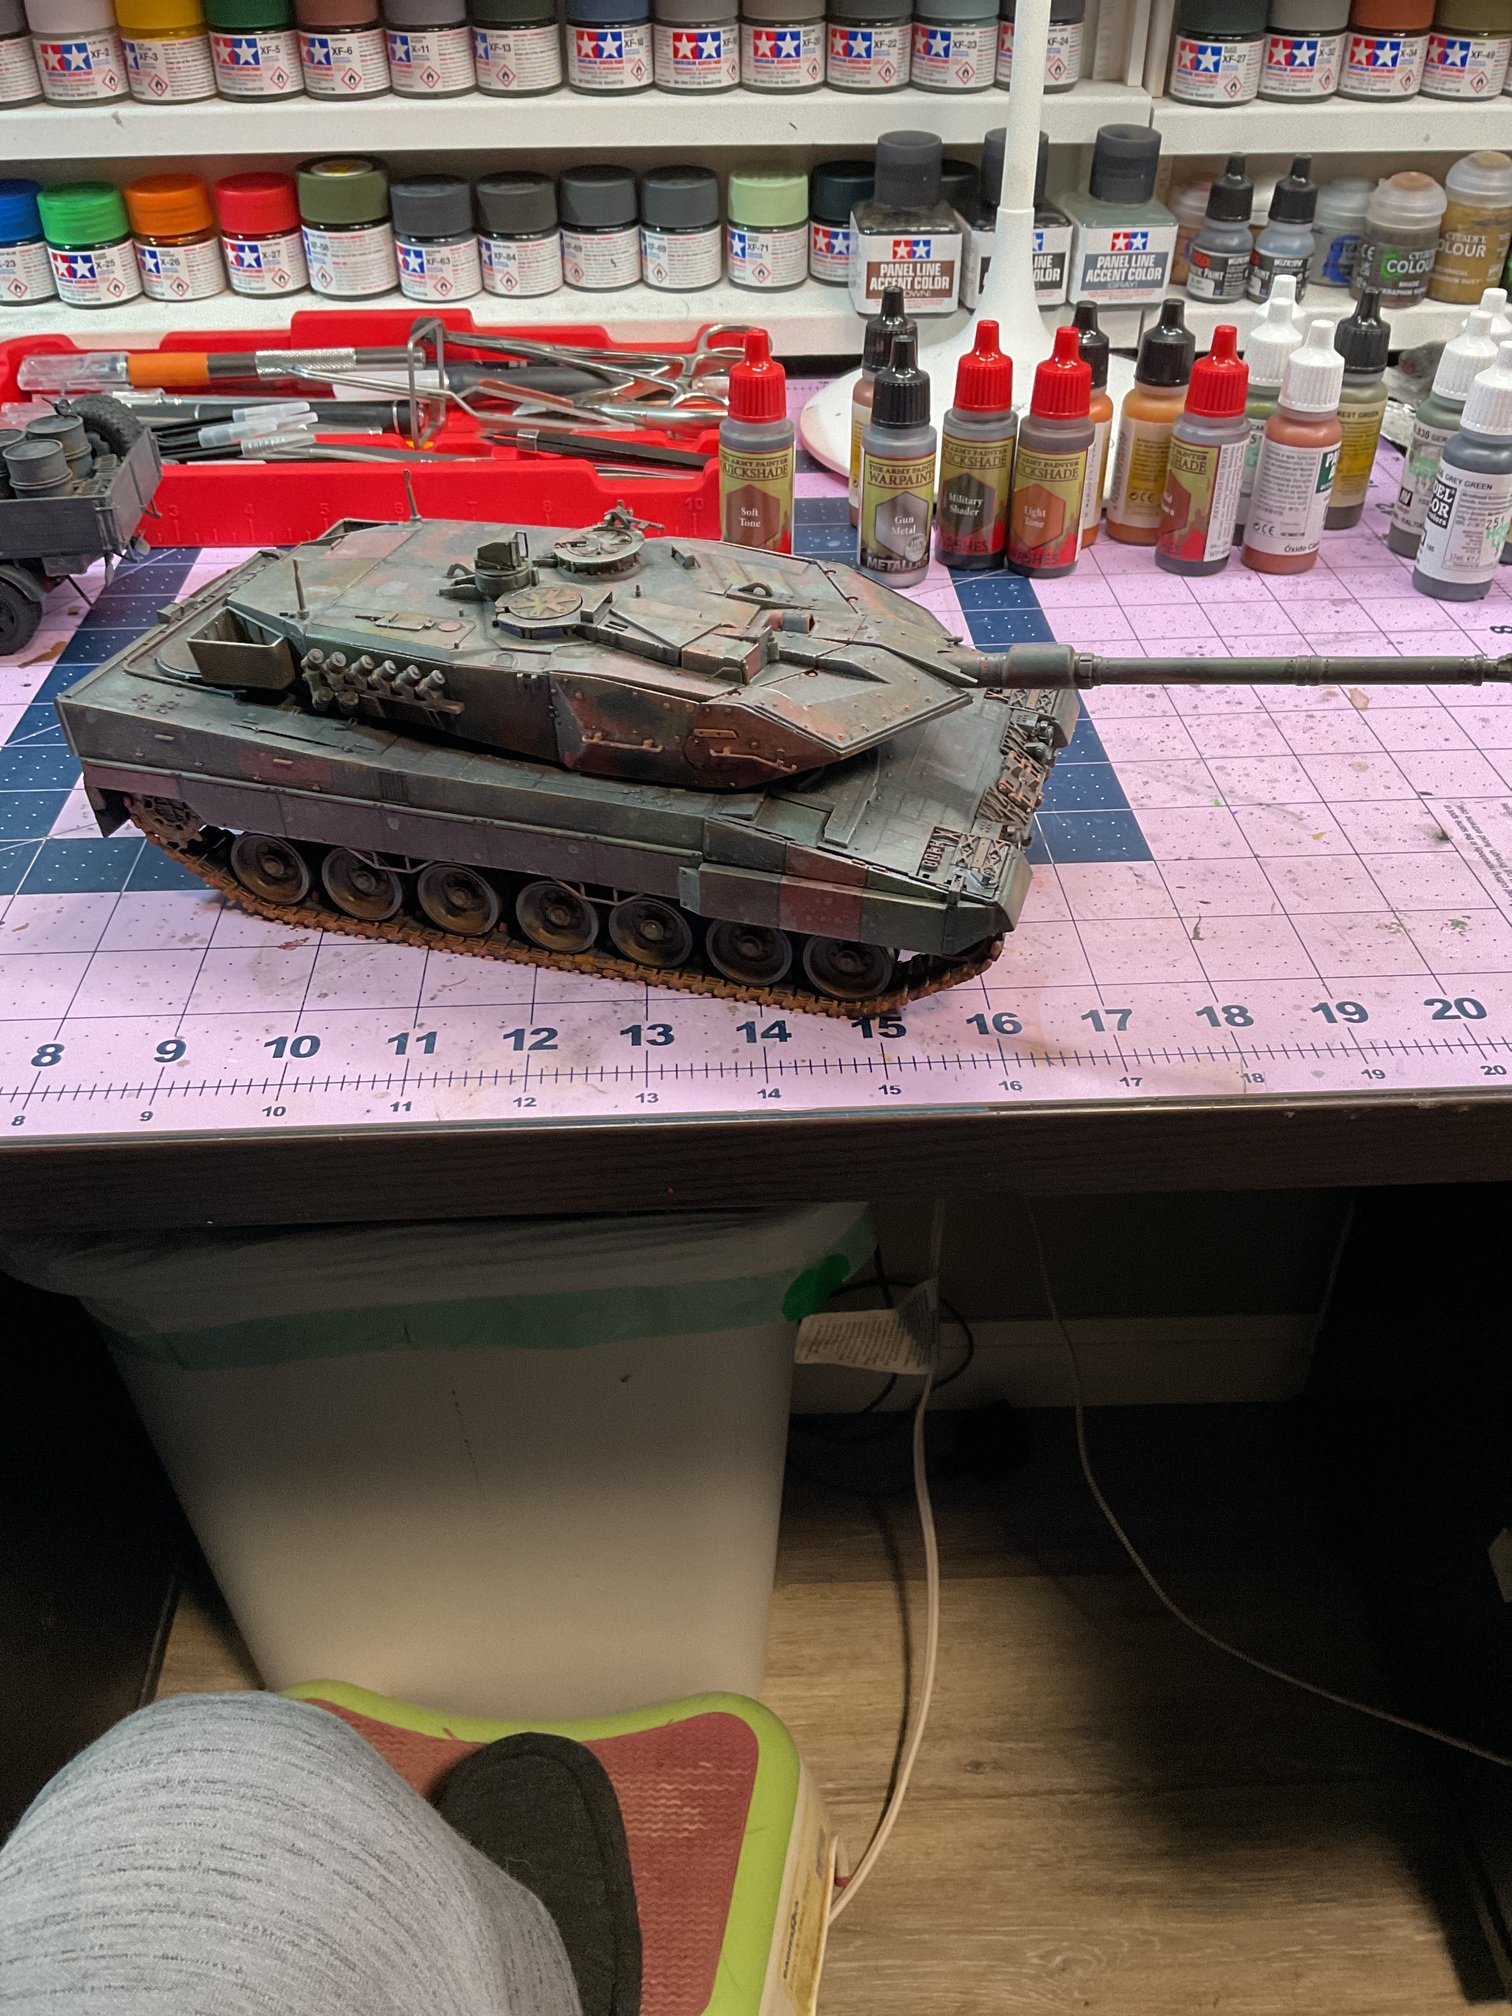
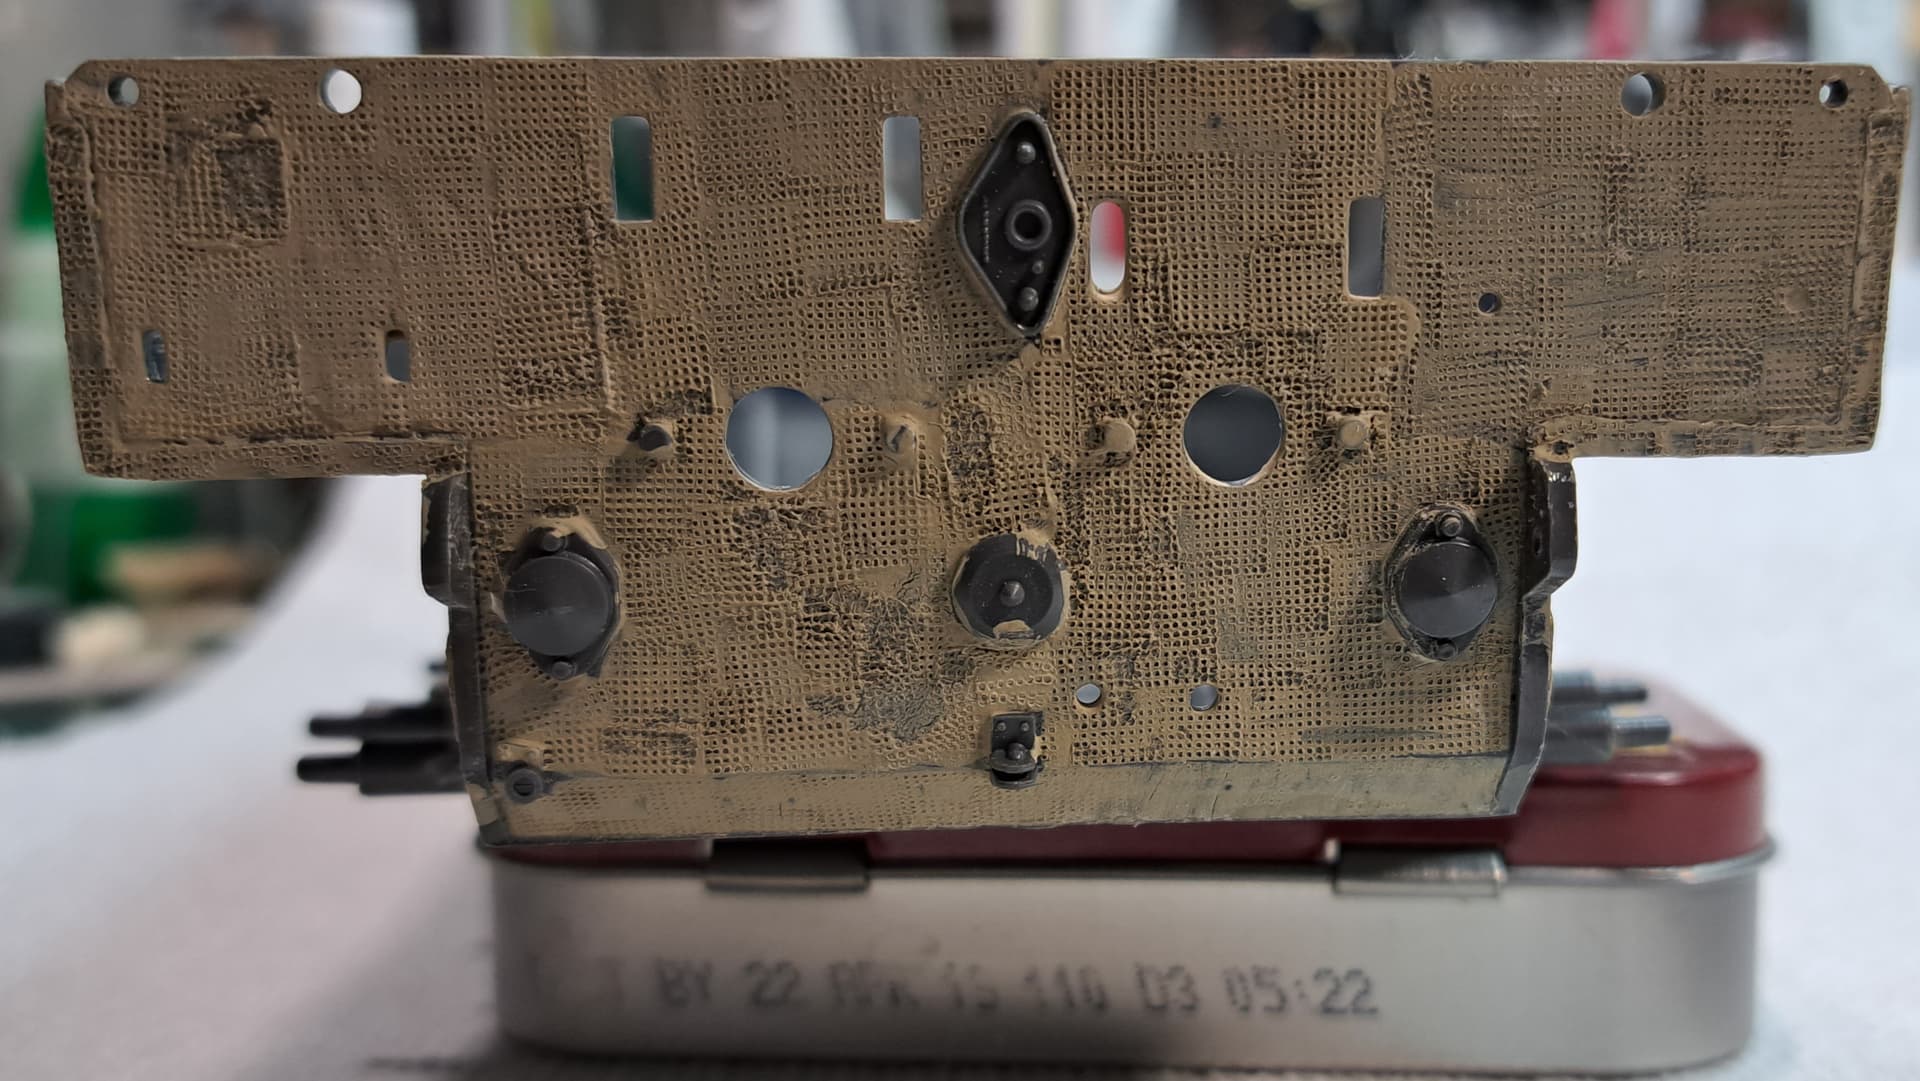
This is my Revell Leopard 2 A6 that was over on Armorama where I tried to straighten the warped upper hull and in turn let the rear deck hit the bottom of the wrong size pot for this procedure and melted it (but straightened the deck lol). Went for an abandoned Leopard so went hair spraying, washes, dry brushing mad and honestly had a blast. Not much corrosion though as I didn’t know the what’s it’s made of so erred on heavy faded paint. Here’s a close up of the final repaired deck.

Everything aft of those 2 round cooling vents was scratched after a few pounds of Sprue goo.
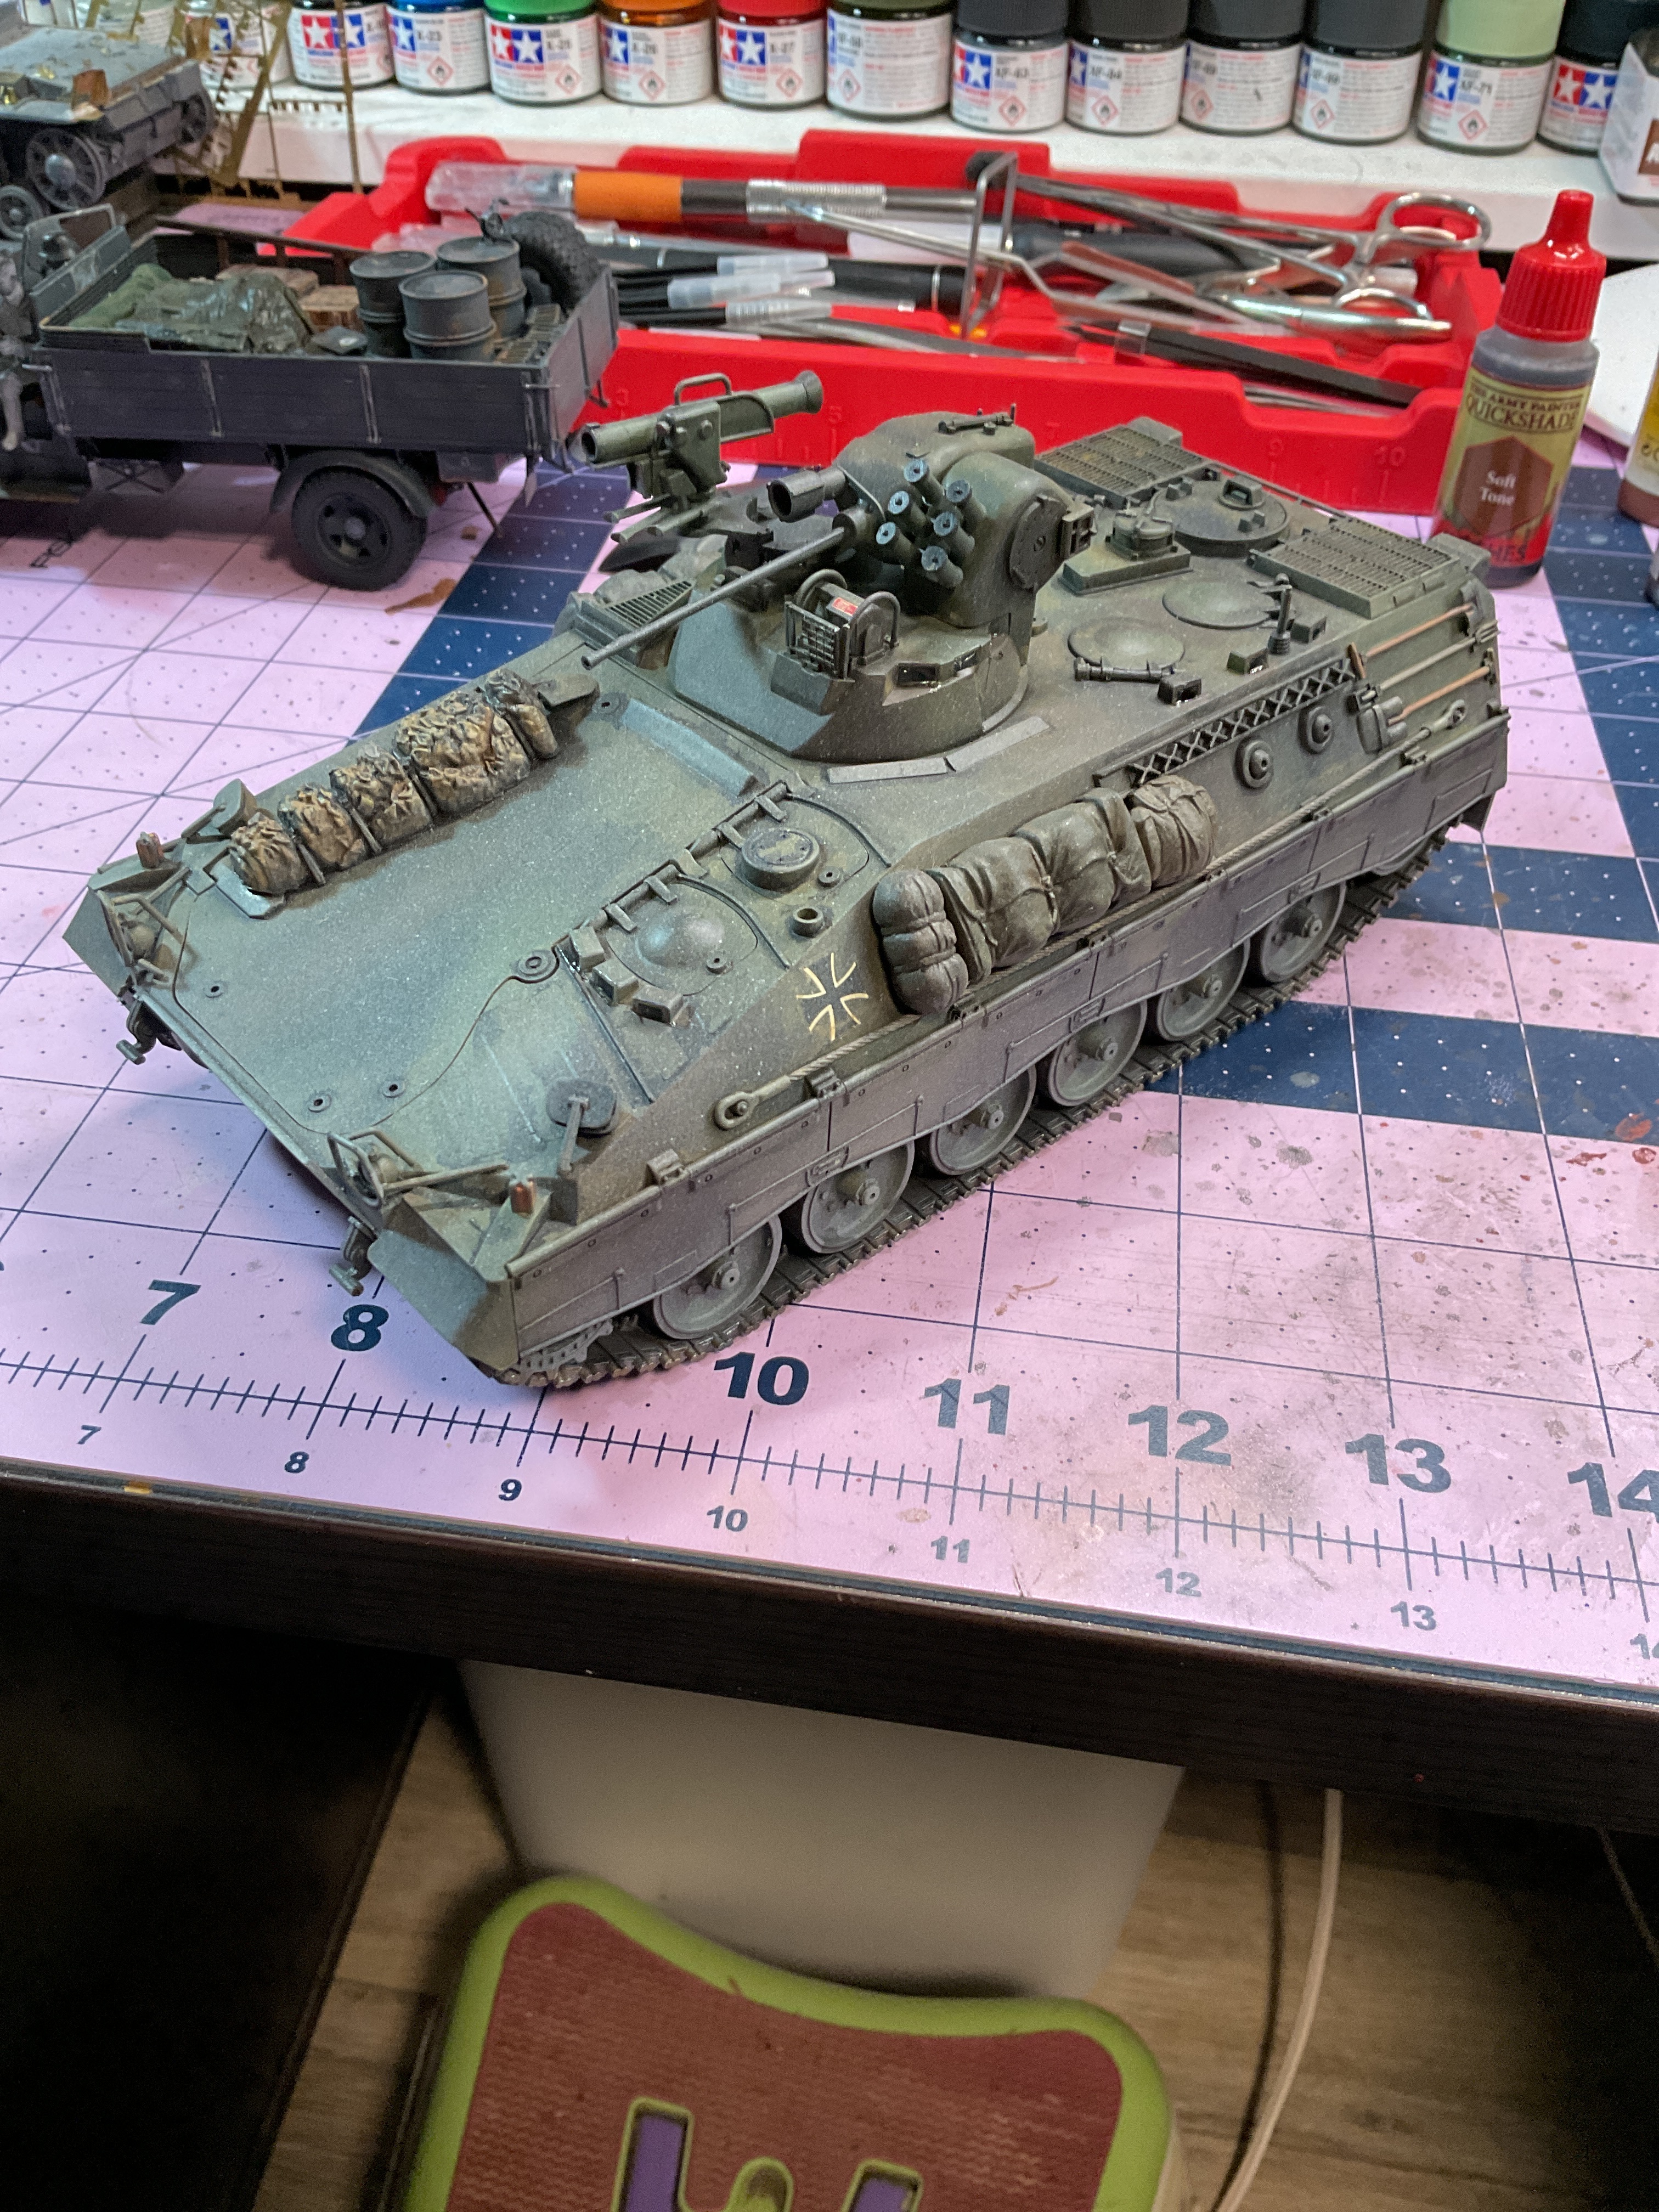
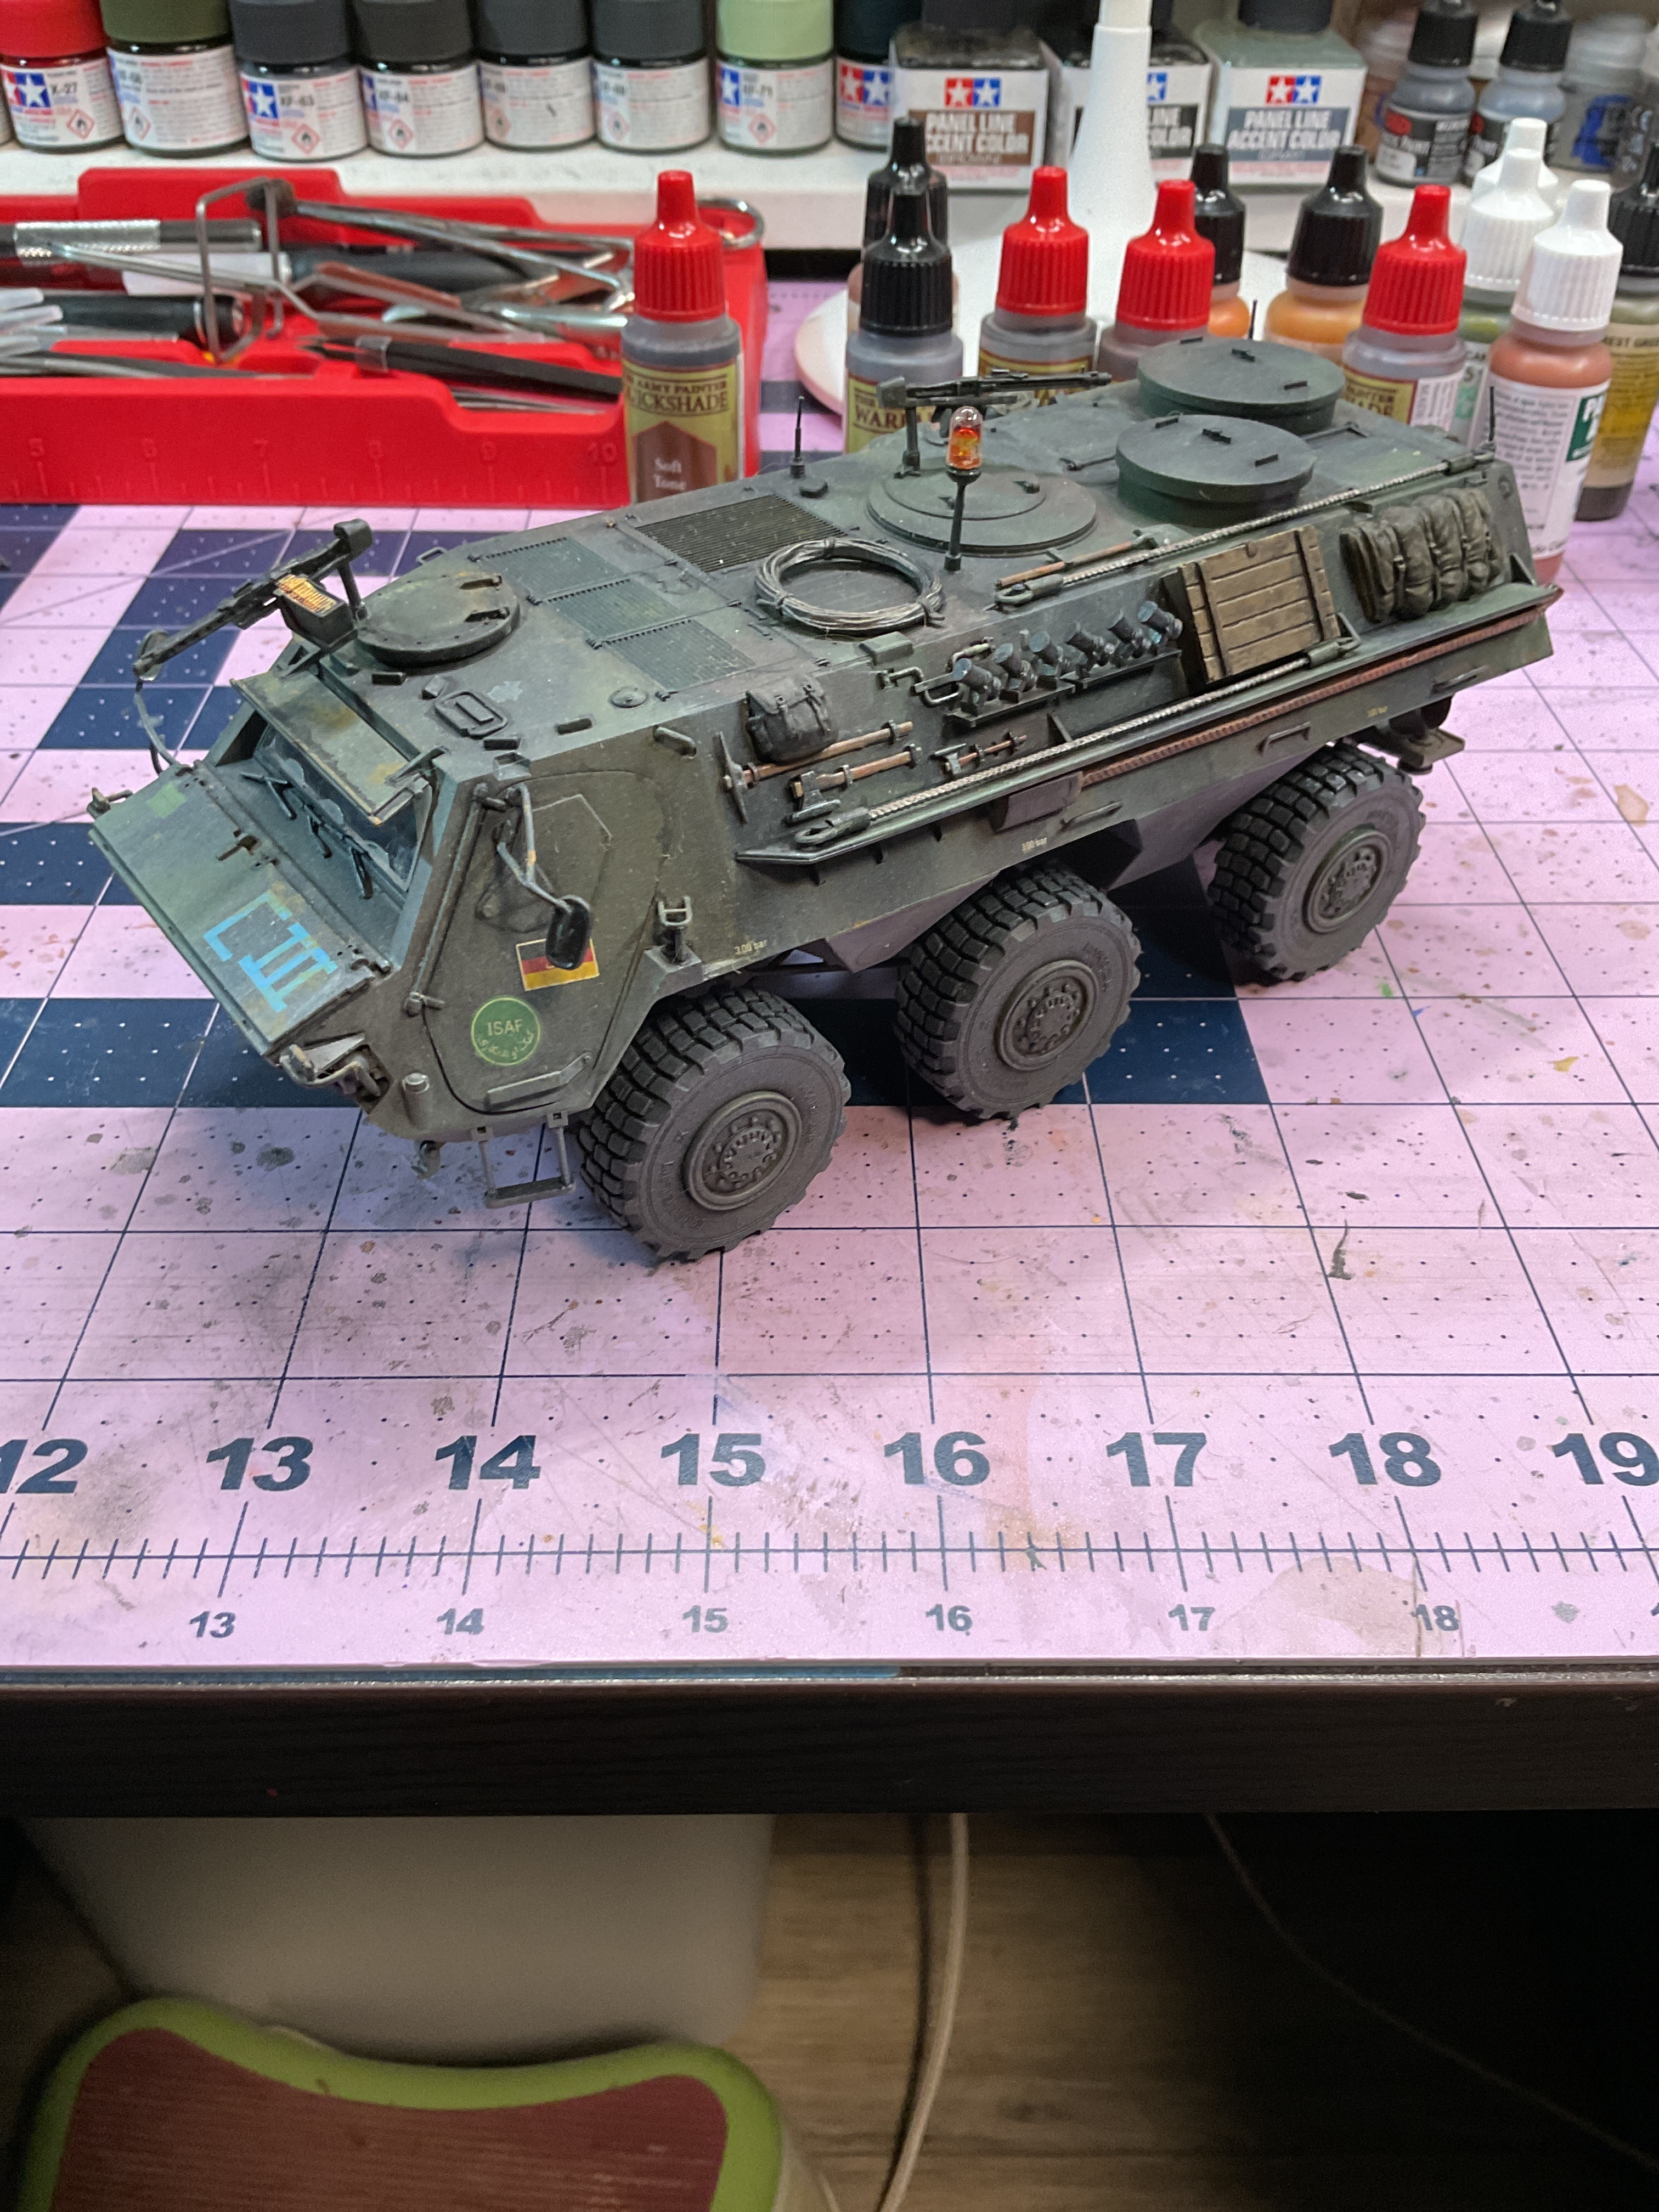
Tamiya’s old Marder 1a2 and REVELLS TPz1 Fuchs A4. Both got a first experimental use for me of Mission Models transparent dust as final tie it all together and I’m happy with these trials. Gives that back from the field but not caked in mud feel to me. Fuchs, know zero about, got a whim to accompany the Leopard before it went south on me and was actually a fun build. No interior and a big windscreen so masked off wiper blades x3 and dusted it.
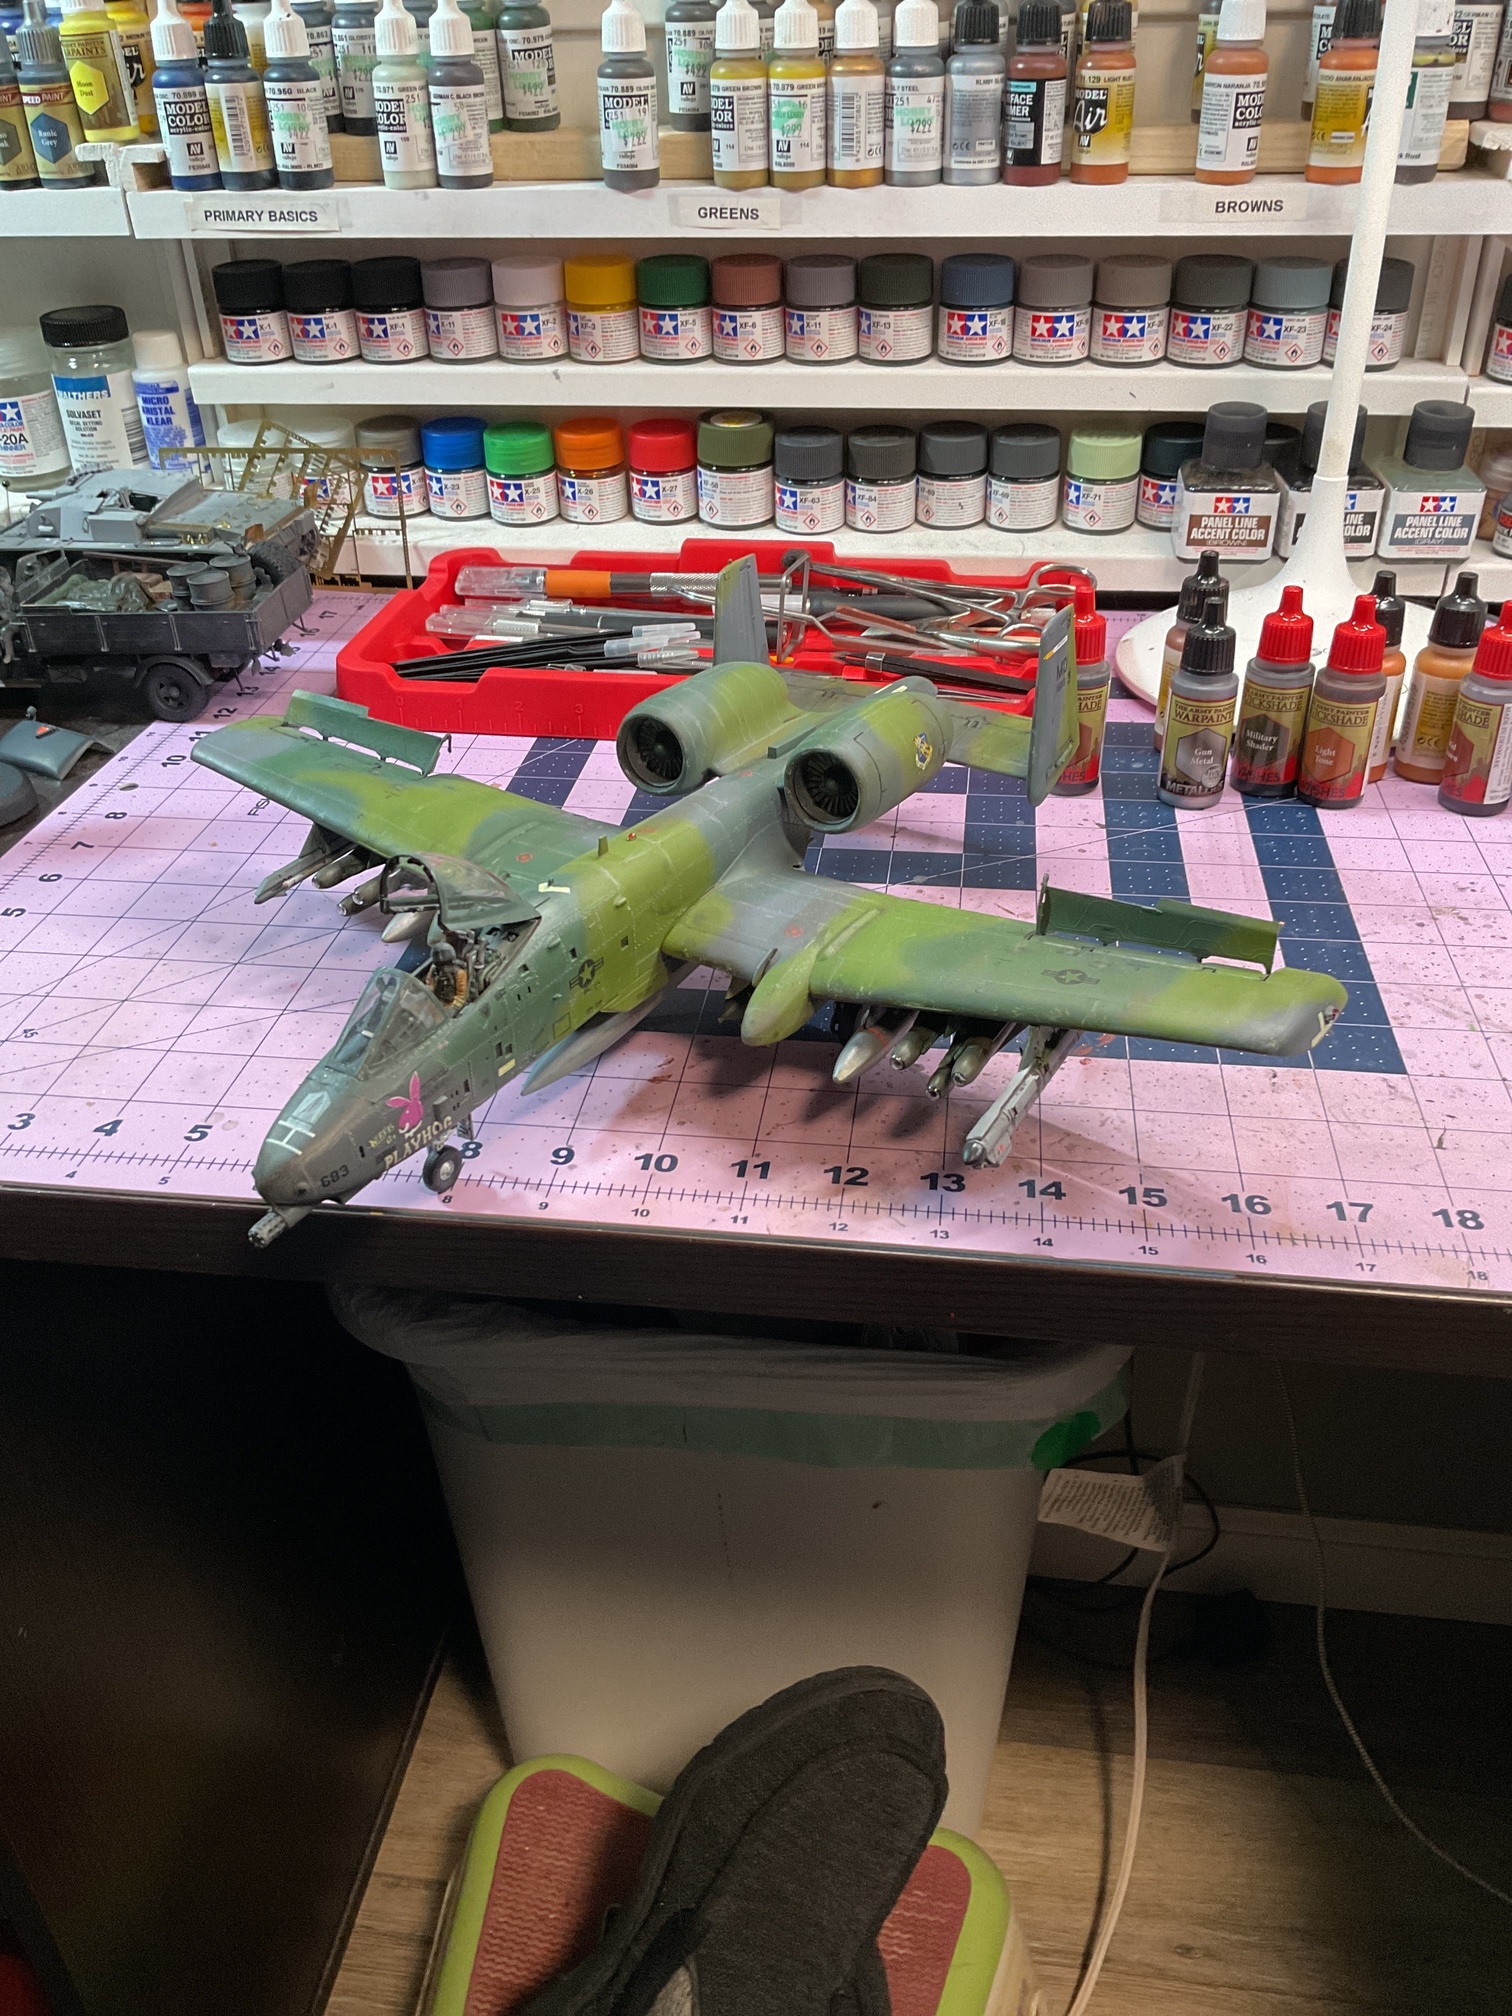
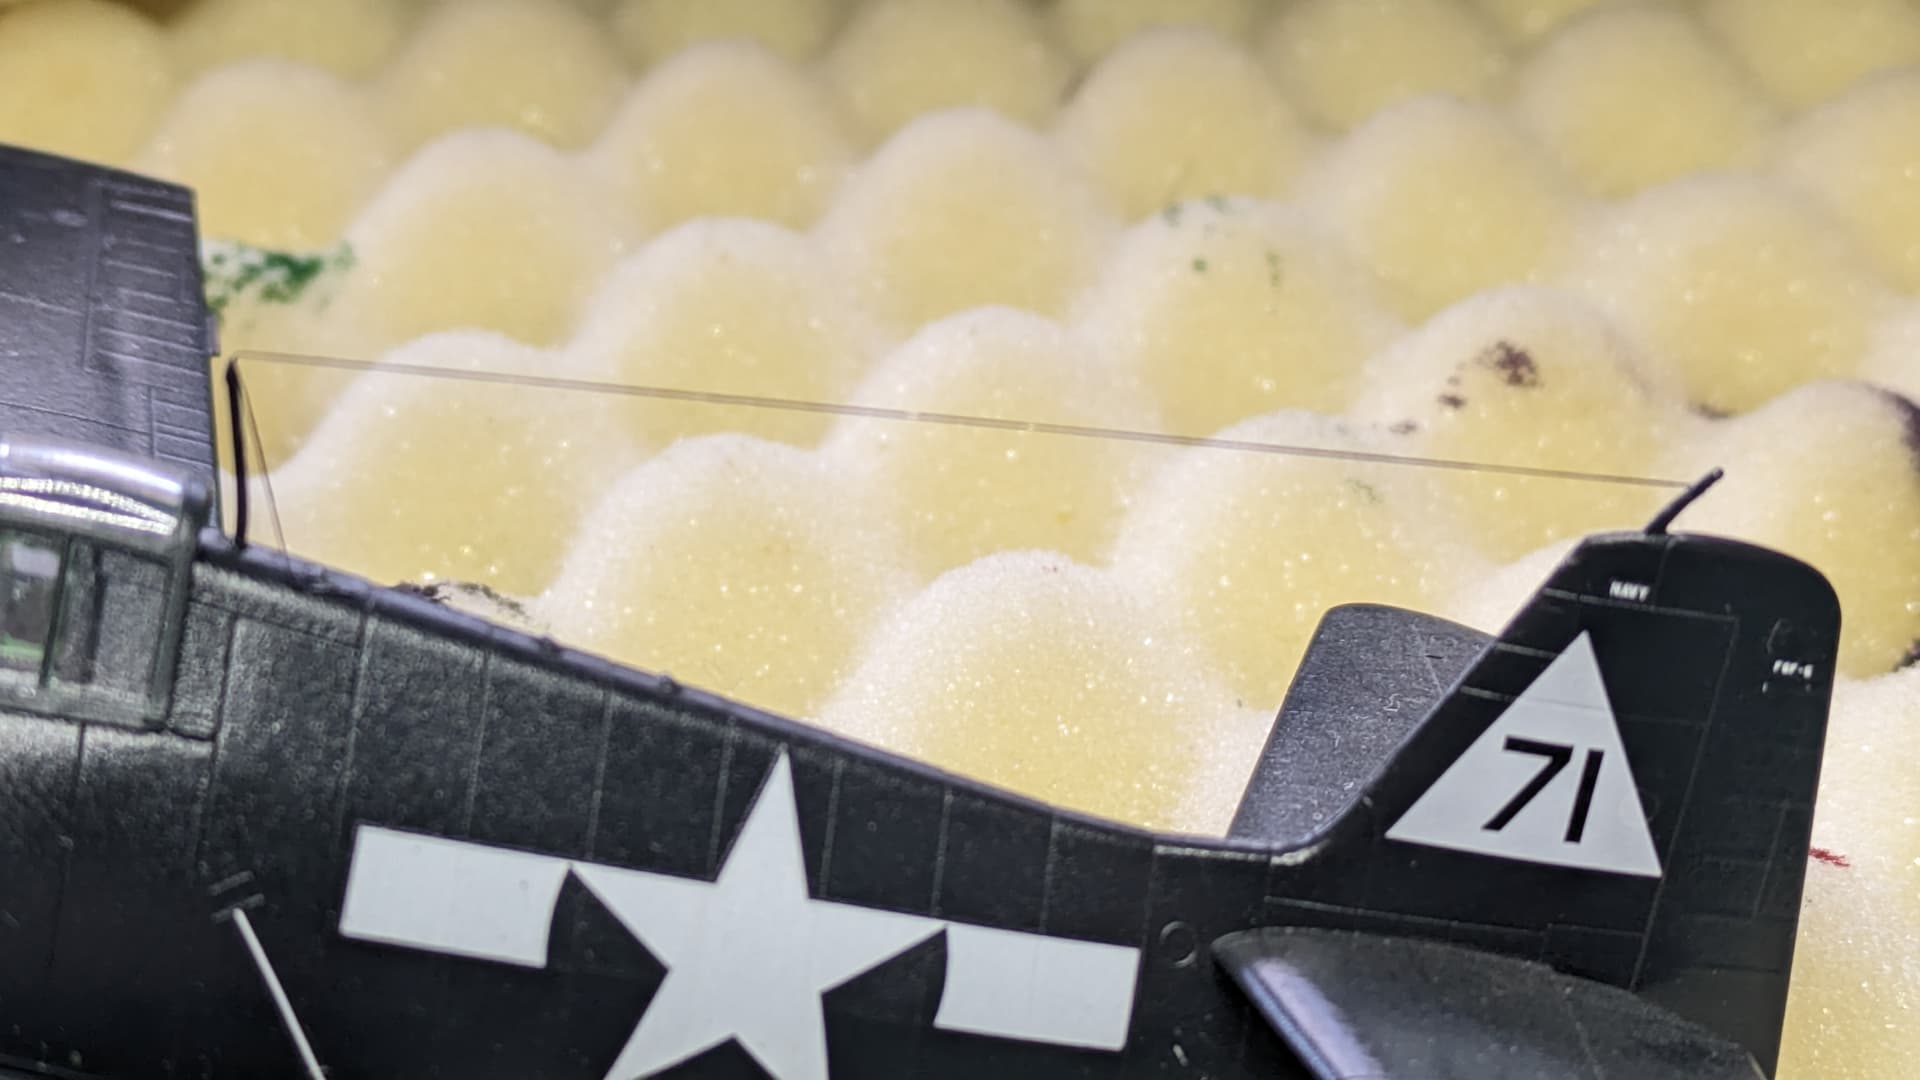
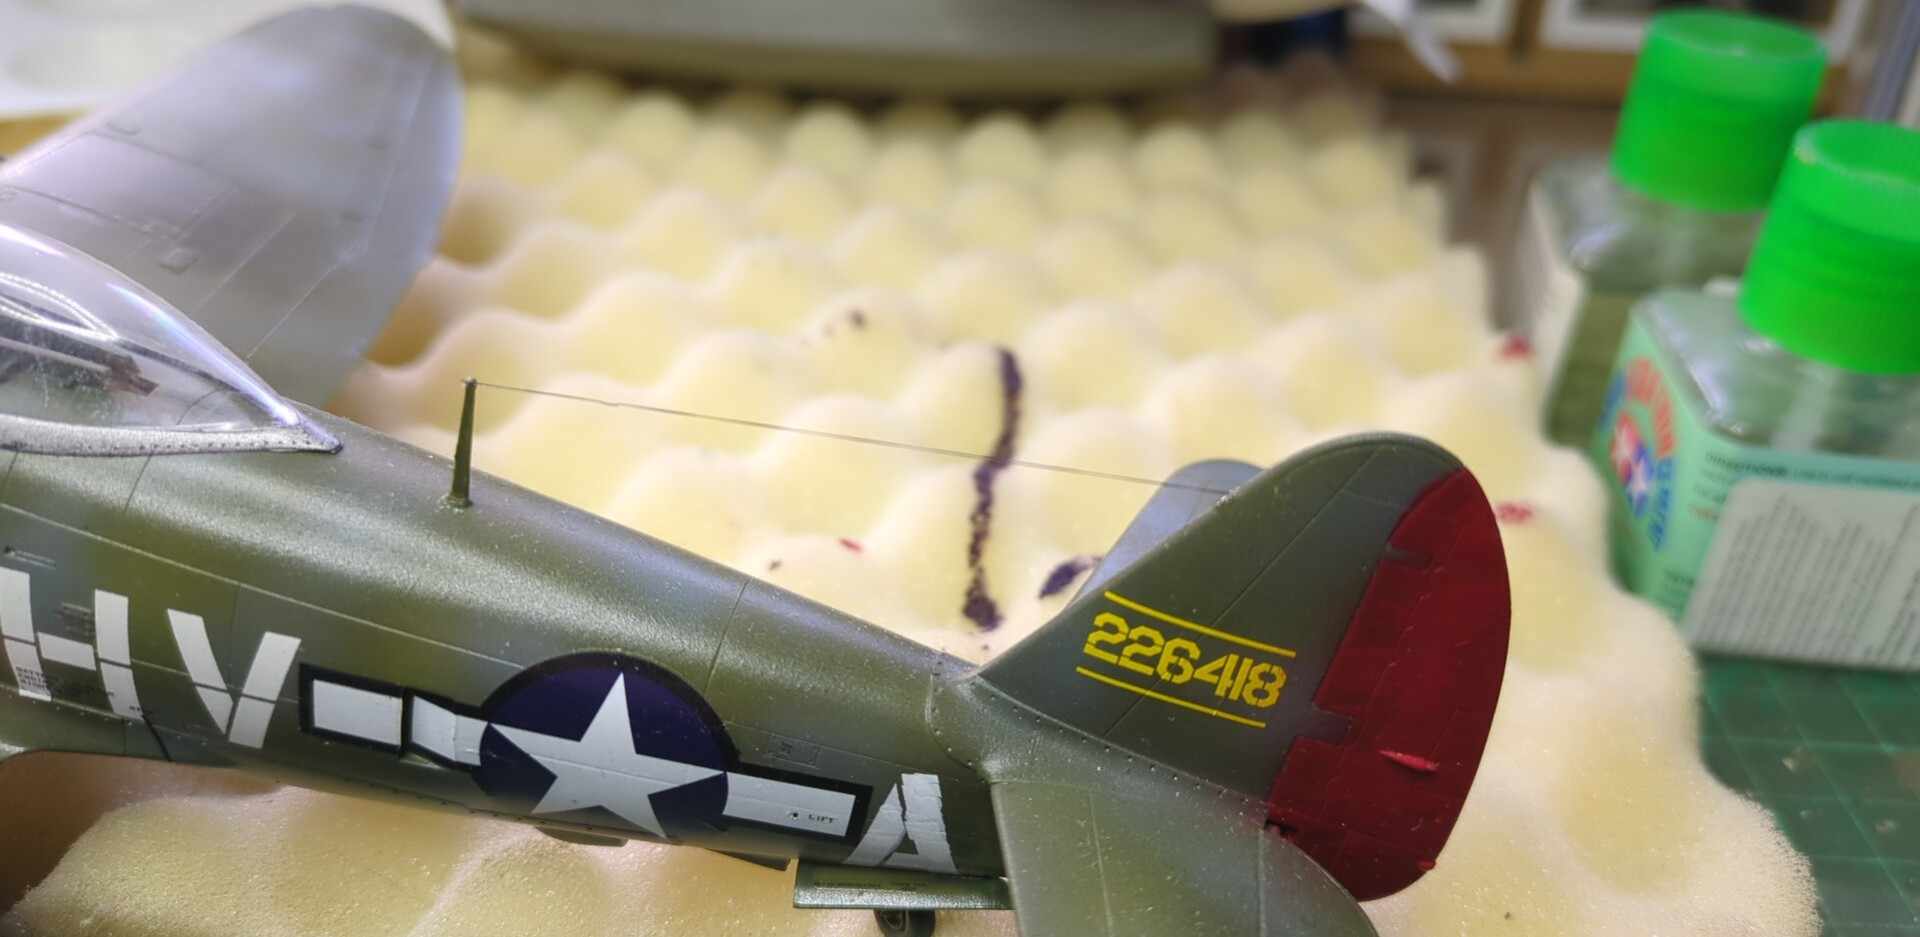
First jet done in about 30 some odd years, Revell’s 1/48th A-10 strictly out of the box. Pretty content with the results, got the itch to tackle something more complex (Tamiya’s F-14 or new F-4’s….)
And finally initial stages of finding the wonderful red clay Vietnam had in some areas for Tamiya’s meh M-42, done purely for a nostalgia build from my youth. I pushed myself on trying to get it a bit more accurate with what it was so there’s some satisfying bits I’ll show when completed.

15 Likes
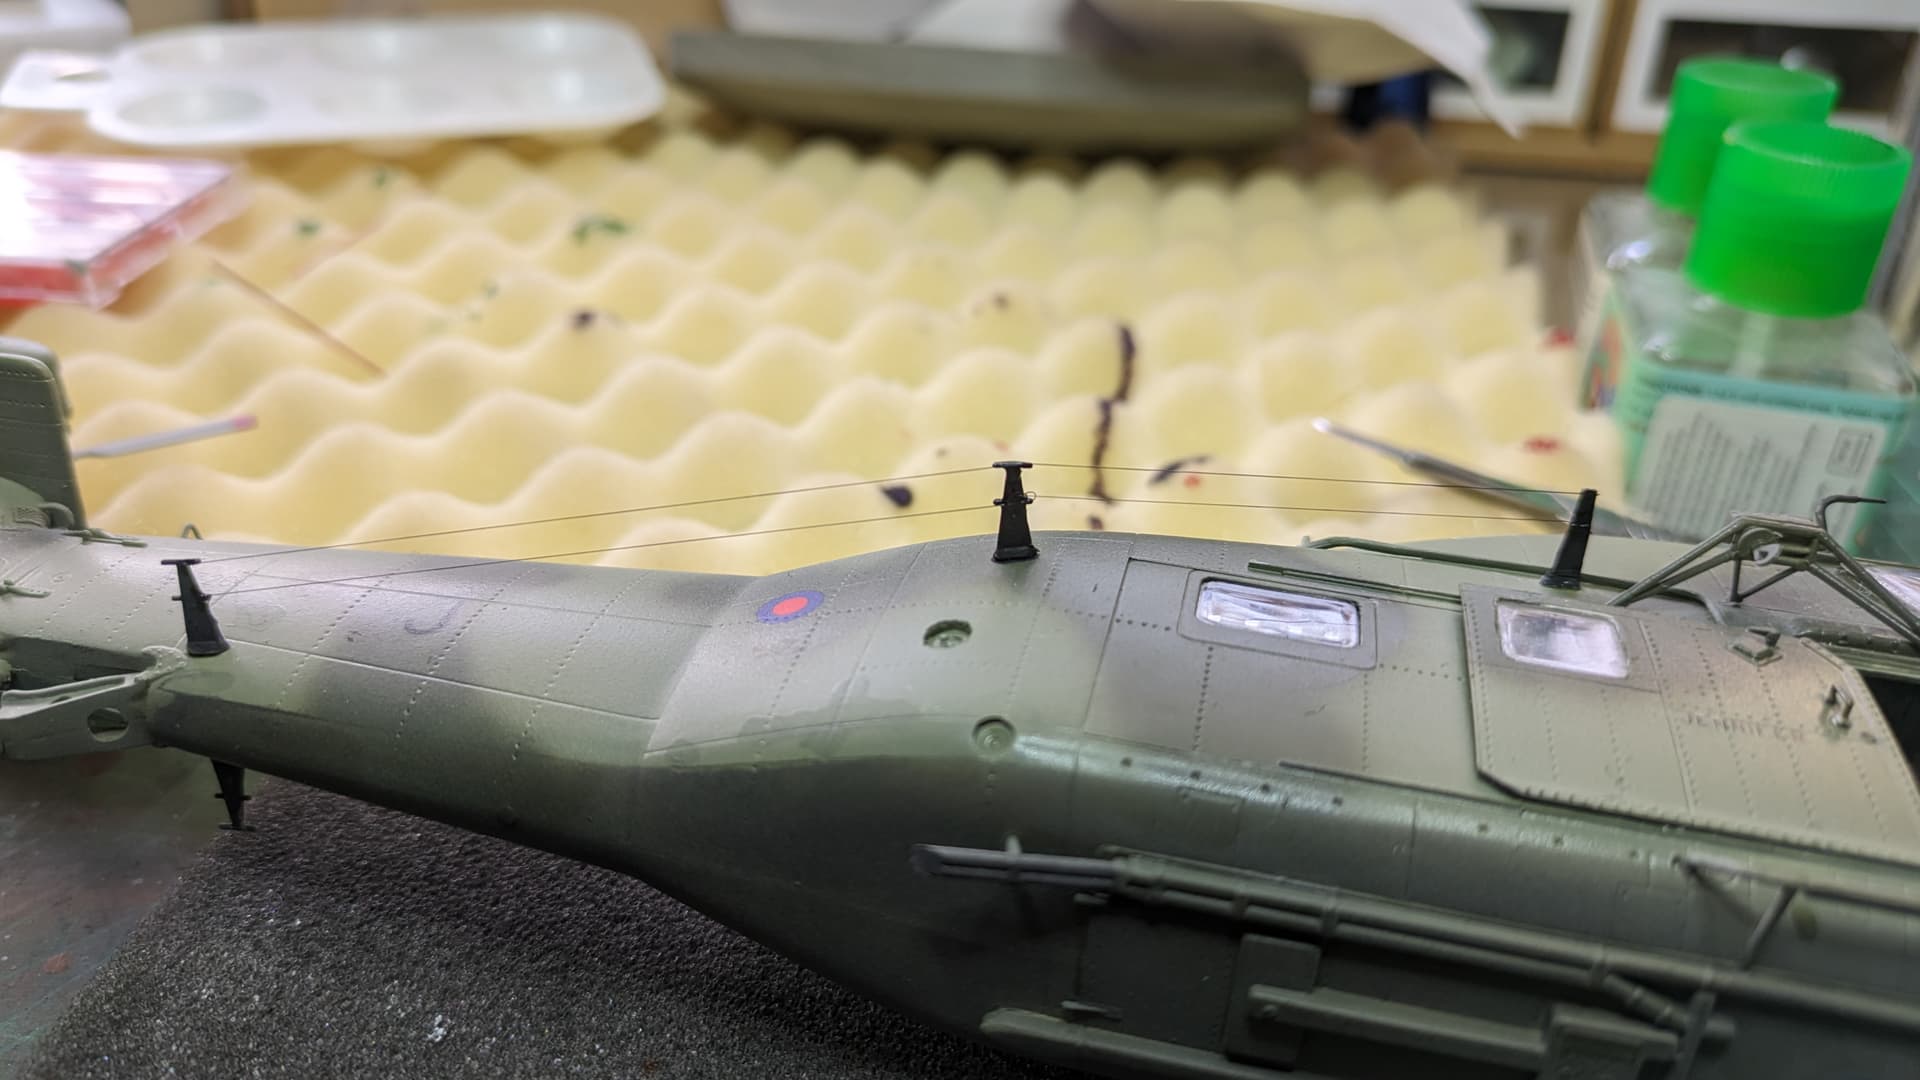
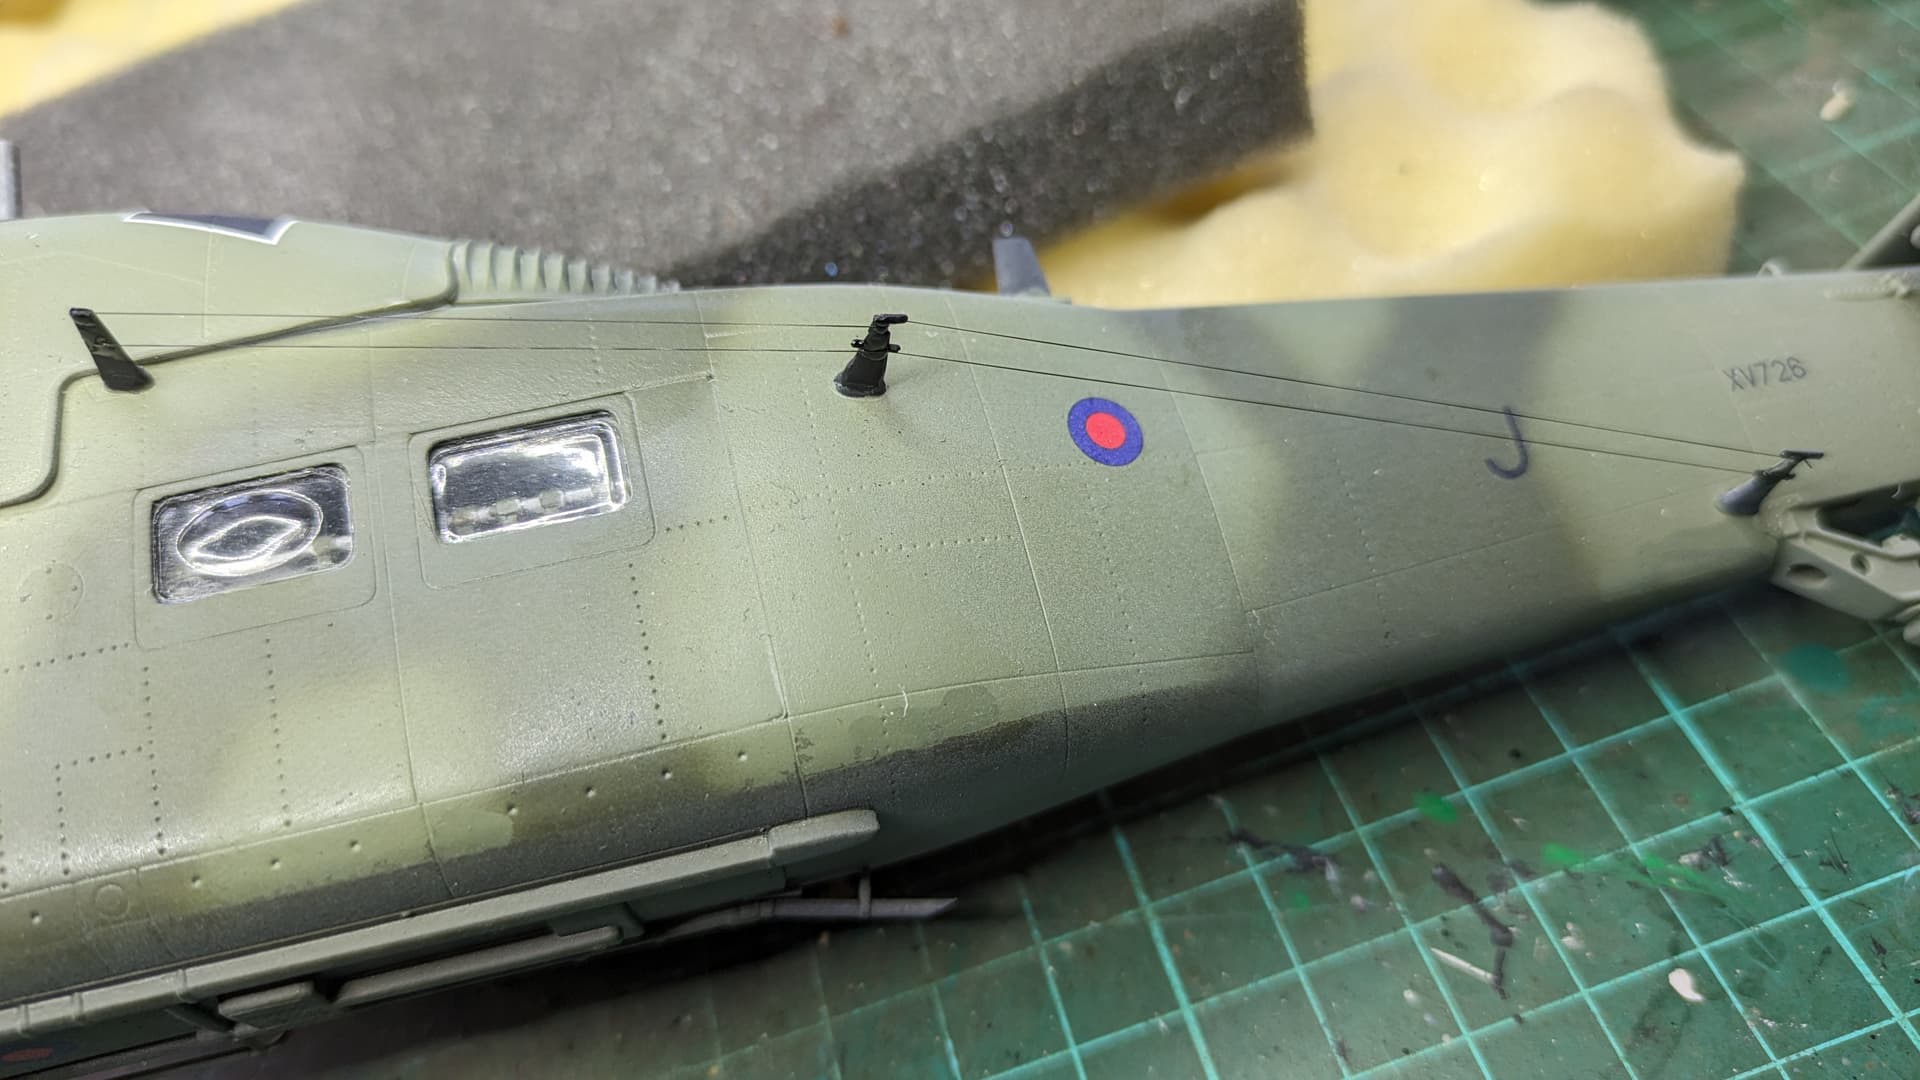
Brilliant, the gauge of line you have used is spot on.
I take it you’re in 1\48 scale?
It really finishes a build off👍
Watto.
3 Likes
Looking good!
A+++, it’s always fantastic to see older projects wrap successfully! Well Done!
Sounds like a Queen best of album title!
3 Likes
Beautiful trough ugliness
1 Like
Succeeded in putting one PE part on the Sea Wolf Launcher. Failed repeatedly on putting the other on.
6 Likes
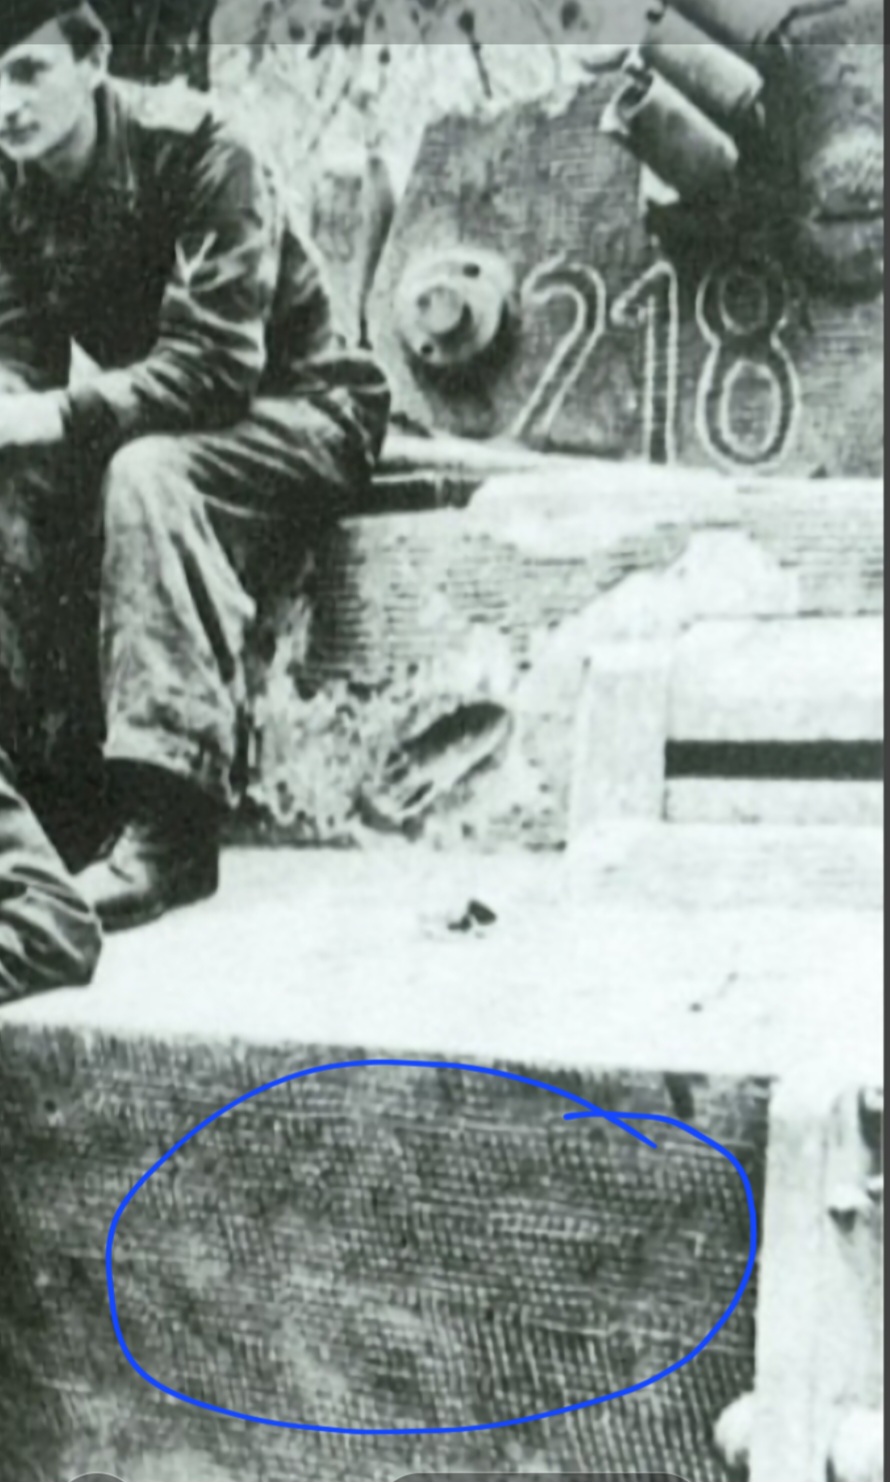
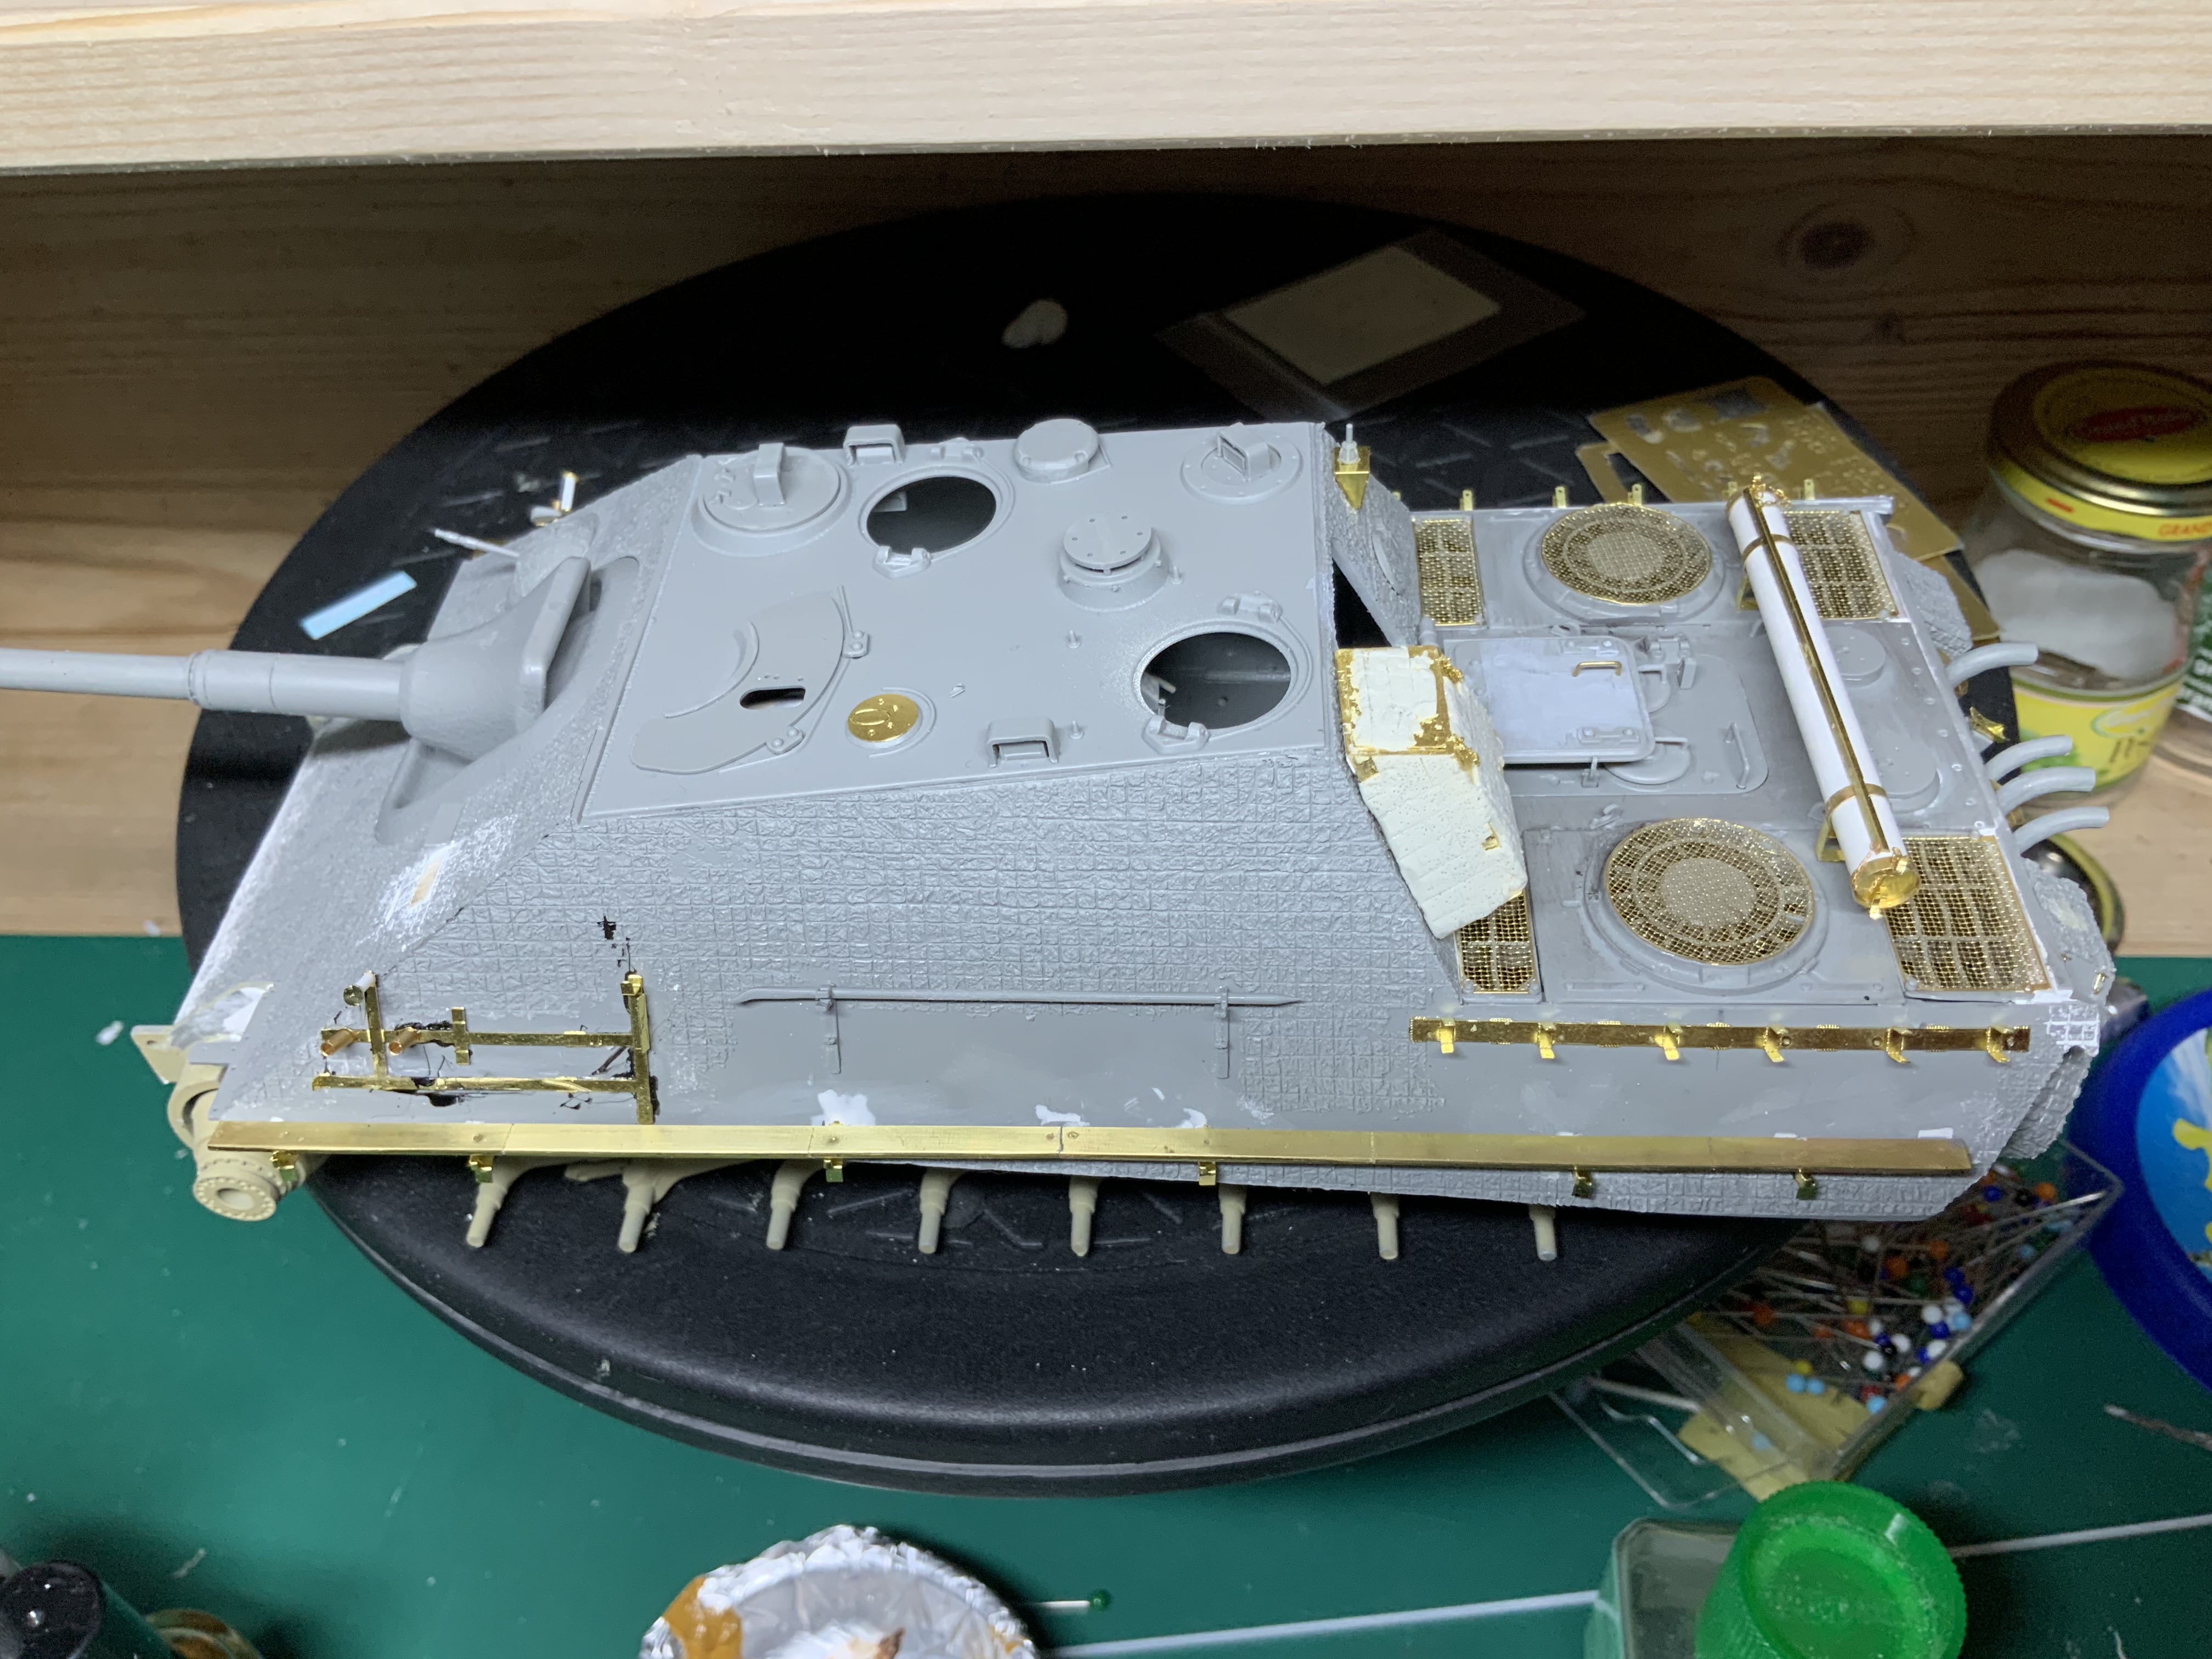
…jumped into a 1970 vintage Tamiya Tiger project…picked “218” which had waffle zimmerit …
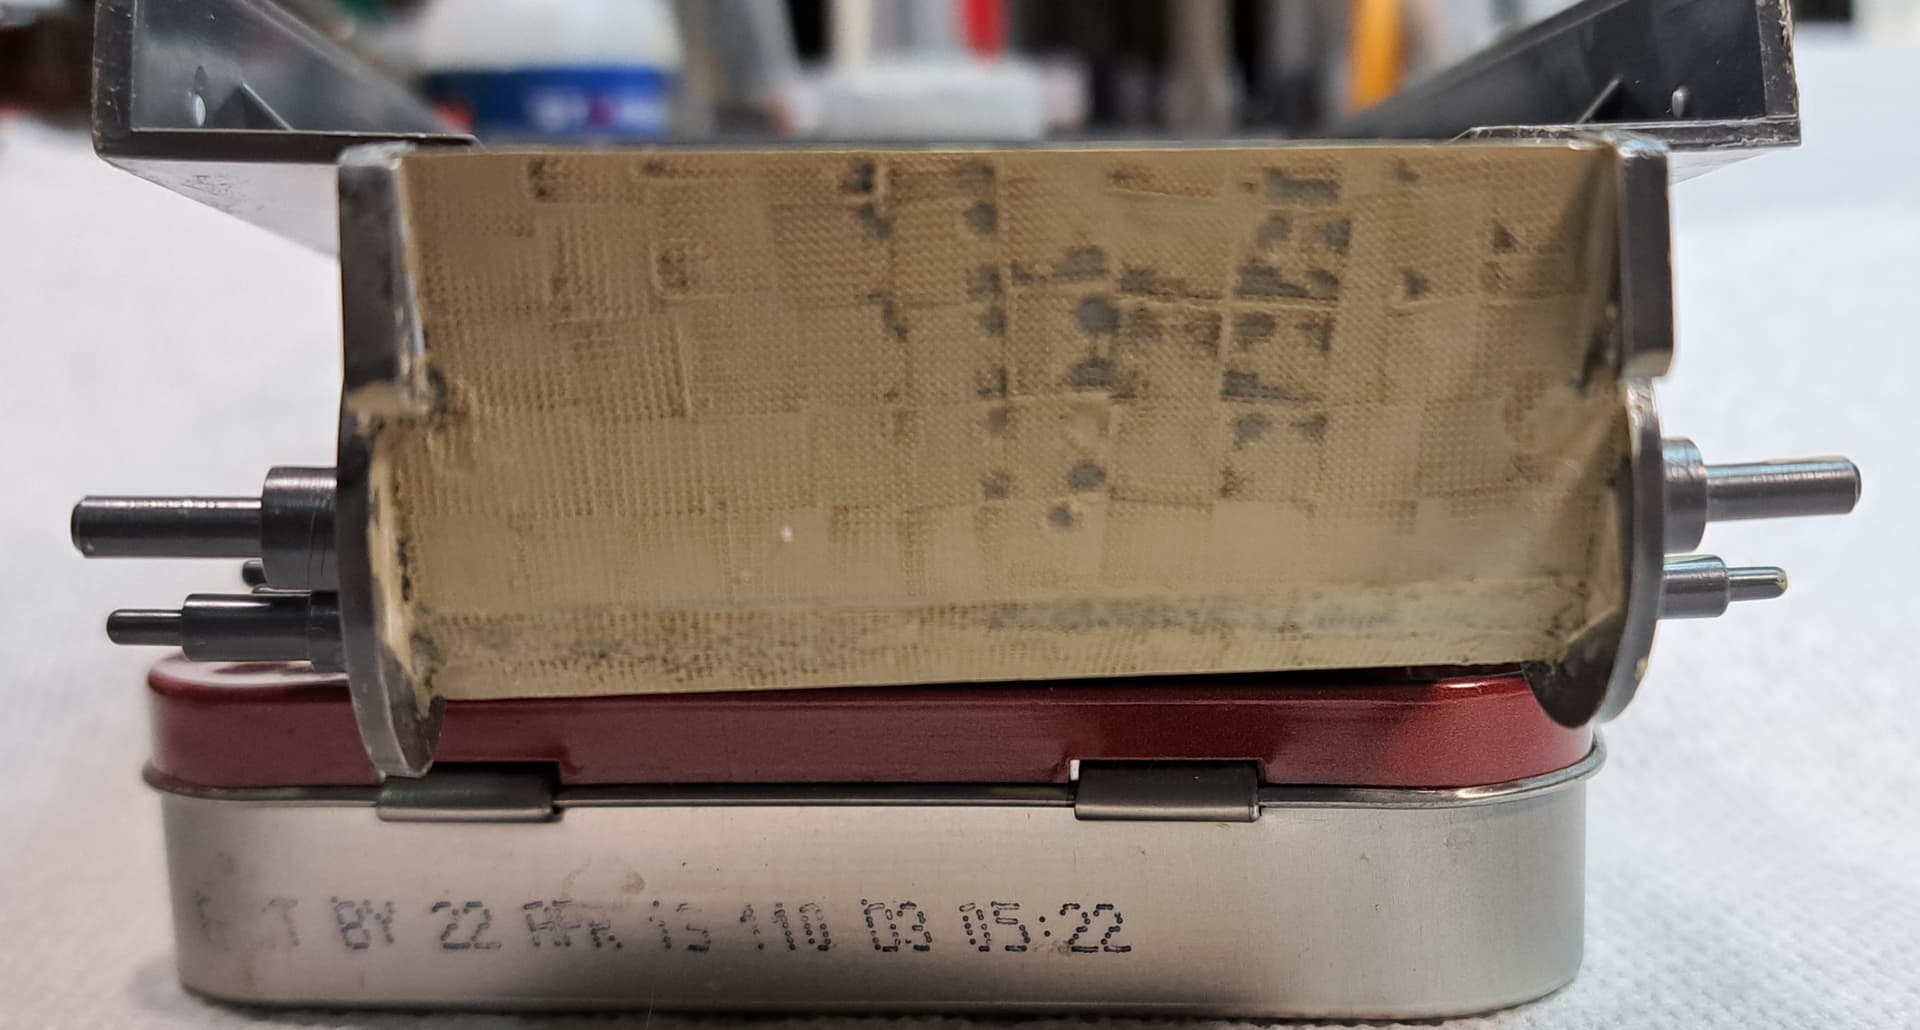
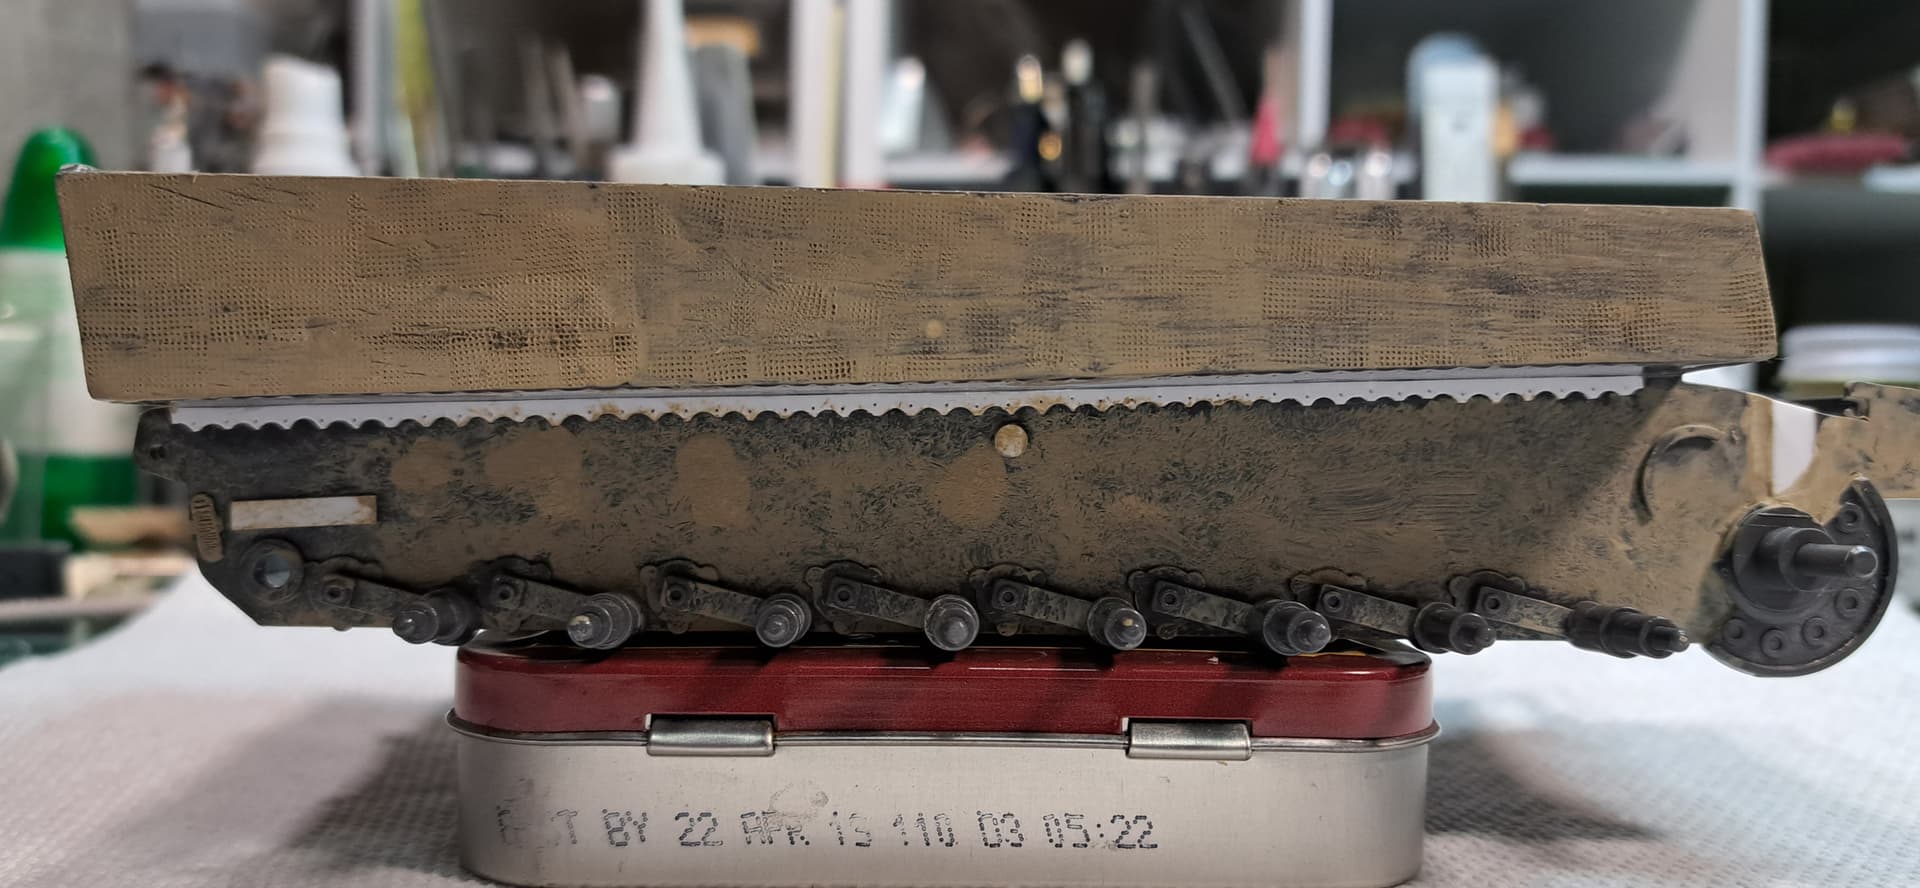

Added a few details to the suspension area.
11 Likes
Could you explain this technique? It looks very nice!
1 Like
It’s been a long while since I left my 1/35 StuG III from Takom on the workbench. I hope to get back to work around December. However, I got really annoyed at the link and length tracks provided with the kit, and would like to move over to 3D printed tracks. Can anyone suggest some good sites where I can look for tracks for this vehicle (c.a. 1944)? (preferably in Europe, to reduce shipping costs)
2 Likes
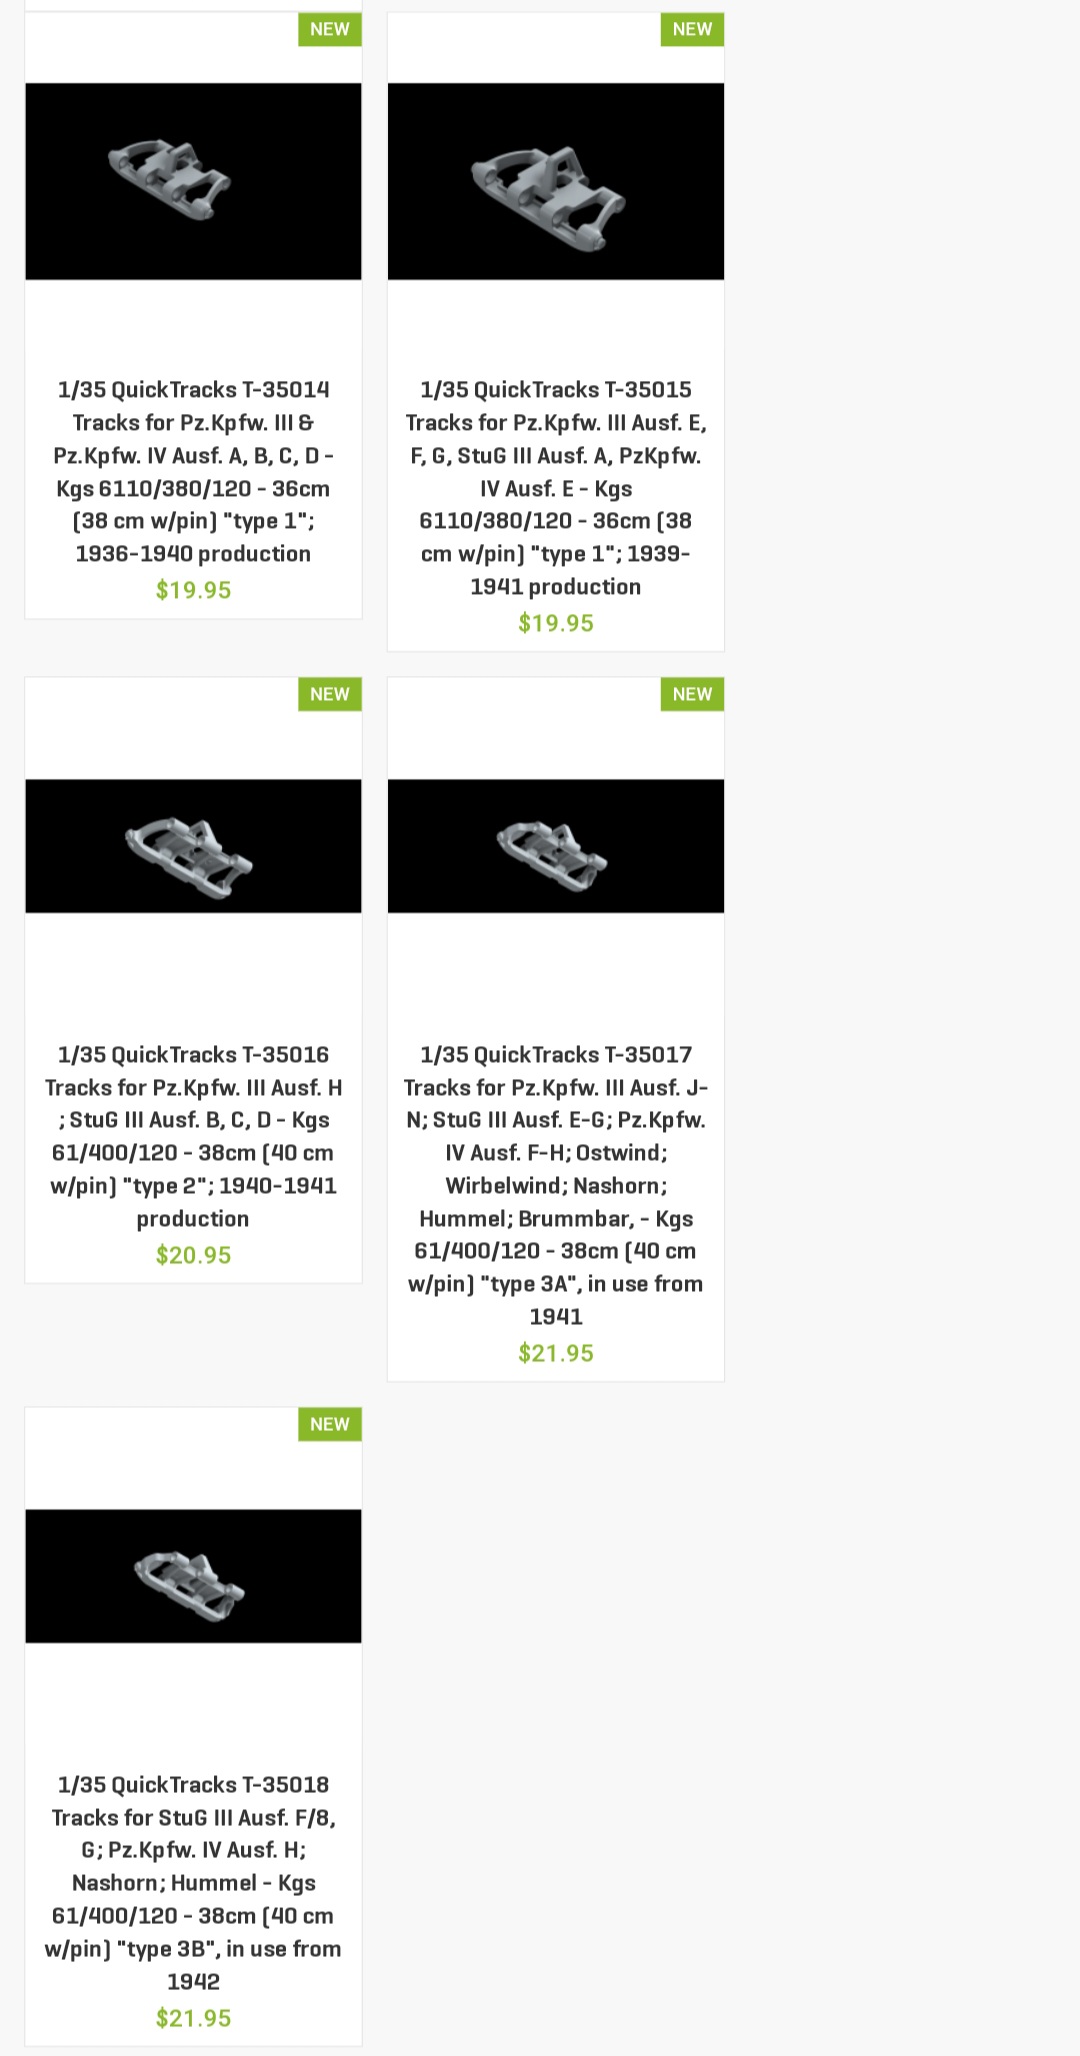
Quick Wheelstore - Quick Tracks offers most, maybe all of fhe Pz III/Pz IV/Stug patter tracks. I think they are located in Poland.
3 Likes
thank you, I will check them out! How well do they work?
2 Likes
They snap together, so they build very fast. I’ve only tested a half dozen Panther links but was very happy overall. The links are nicely detailed. They fit the Dragon sprocket perfectly. Parts were cleanly cast. Links had excellent articulation on par with good white metal. When I use them, I will super glue the road wheels to the track and super glue the track to the base to ensure the snap tight links aren’t over stressed.
Most folks can snap them together with their bare fingers. The manufacturer recommends using tweezers. If you have carpal tunnel or arthritis, the links maybe a little challenging to snap together. I used a track alignment jig for that reason.
I would keep the unpainted links out of UV light or sun light as that seems to cause many 3D printed resin parts to become brittle. Not saying that would happen with Quick Track’s links but I wouldn’t want to risk it.
BTW - Fruilmodel is back in the game if you want white metal. They should be taking orders again soon.
5 Likes
After seeing NightShift build those tracks, I don’t feel like doing that. I want some decent workable tracks that don’t take forever to assemble. I watched a video, and they do look pretty nice!
2 Likes
The QuickTime QuickTrack took ColdDemonPL’s wife less than 30 minutes to do both runs.
ColdemonPL & Quick Track here a nice overview.
2 Likes
The video linked on the store page felt a little too sponsored, but the other one I watched made the product seem decent.
2 Likes