
7 Likes
Exquisite!
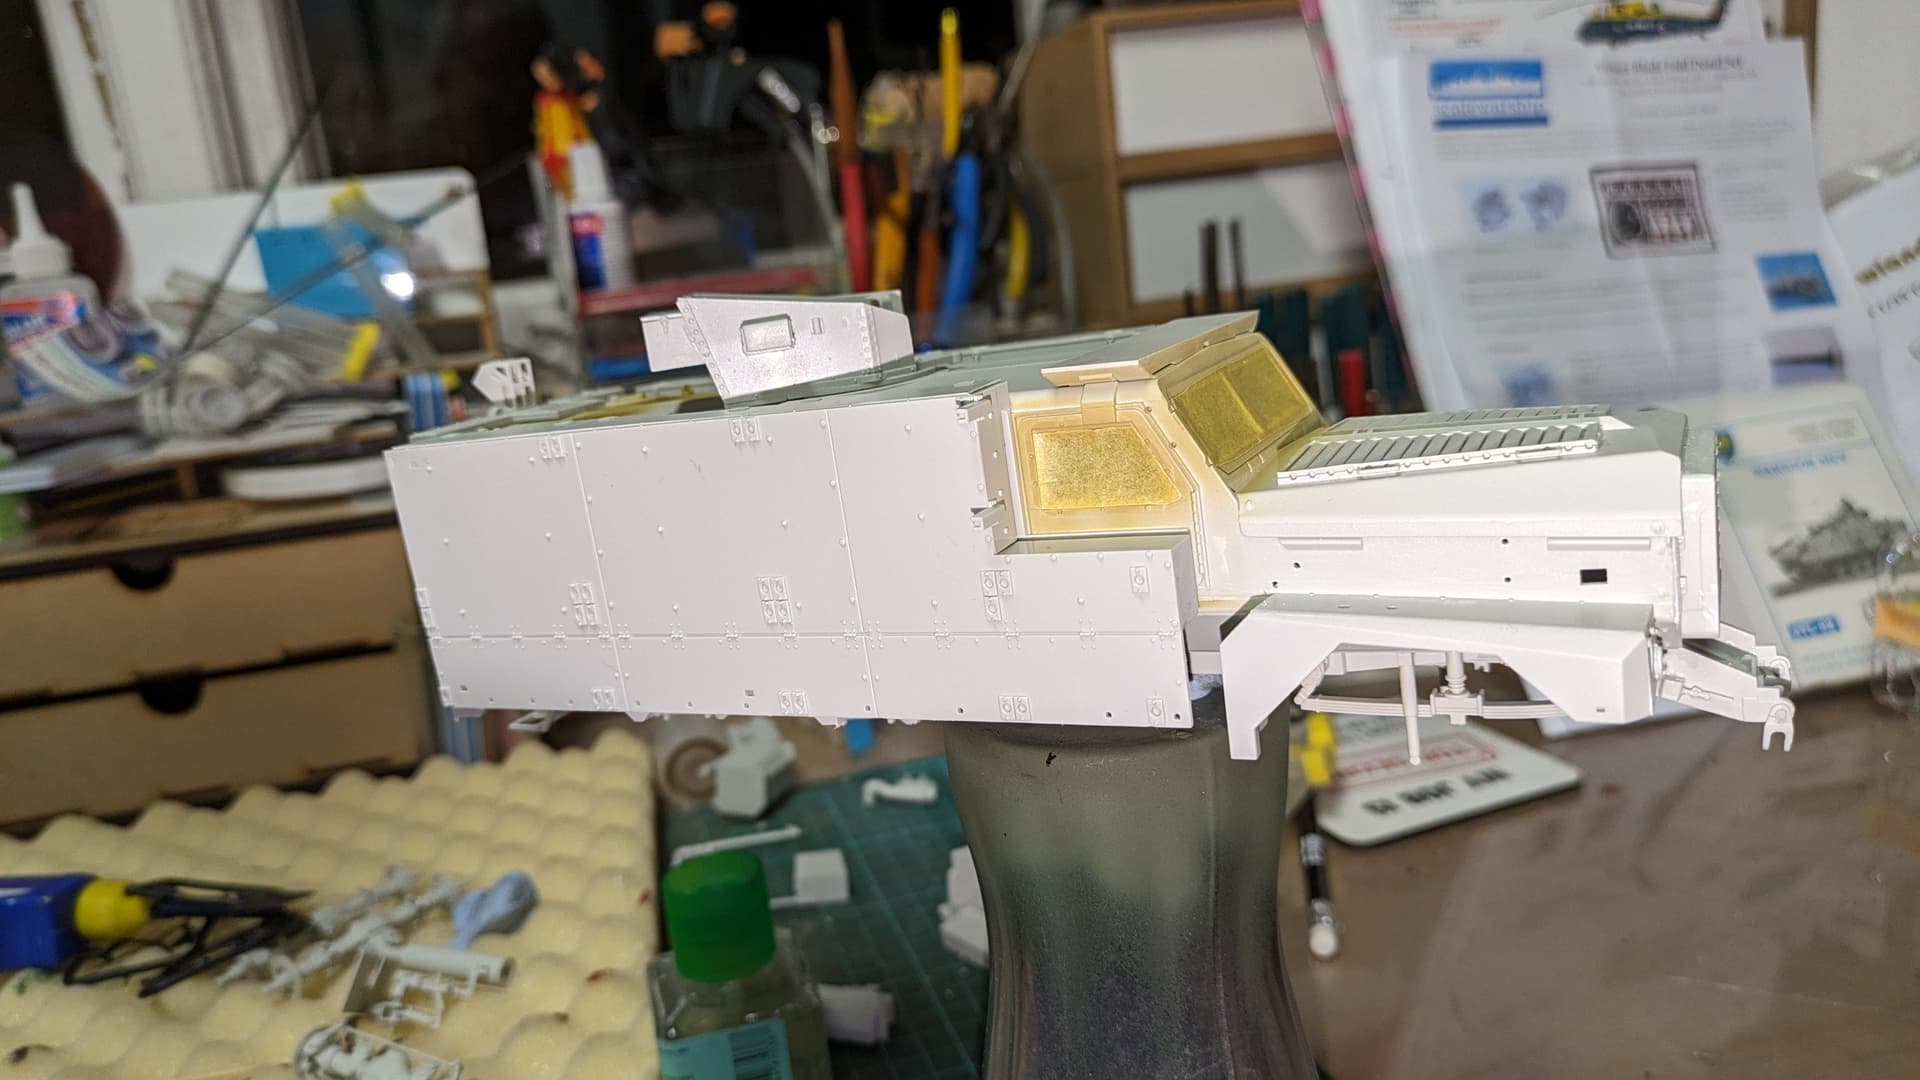
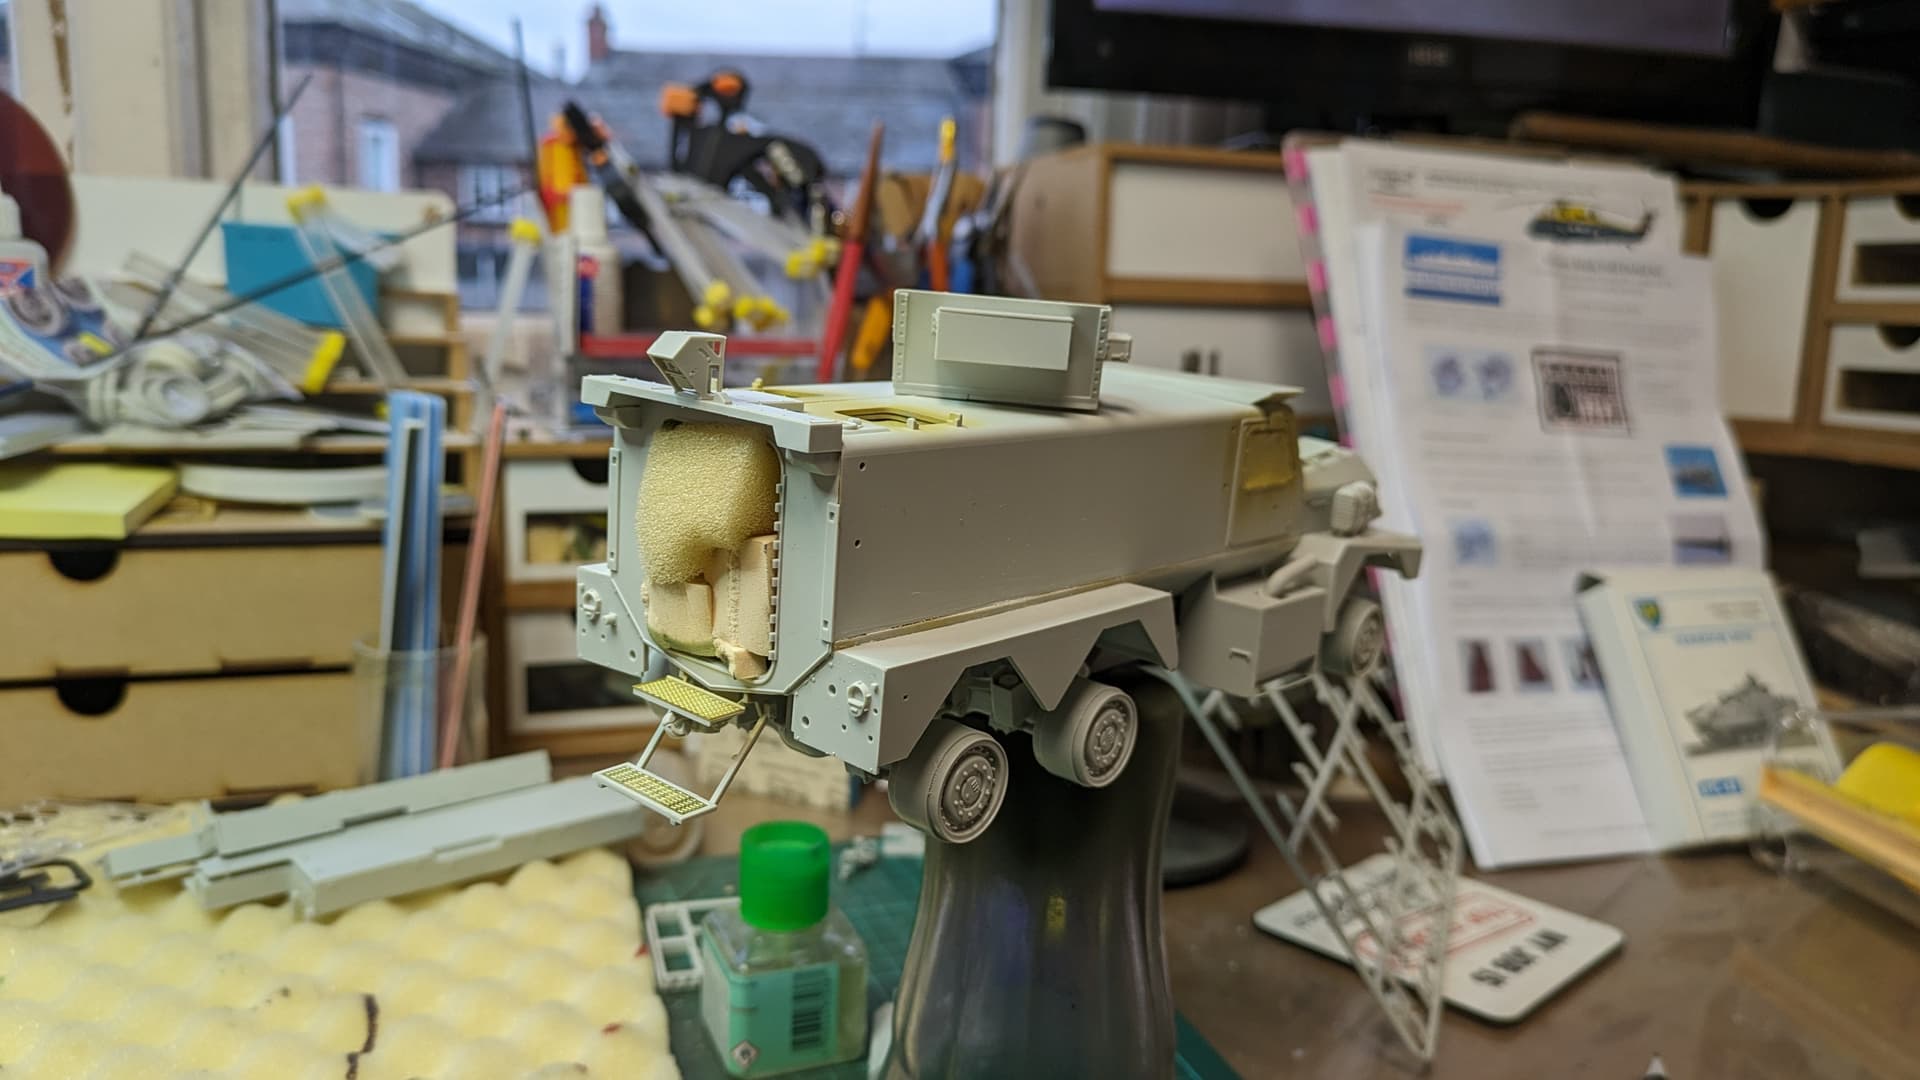
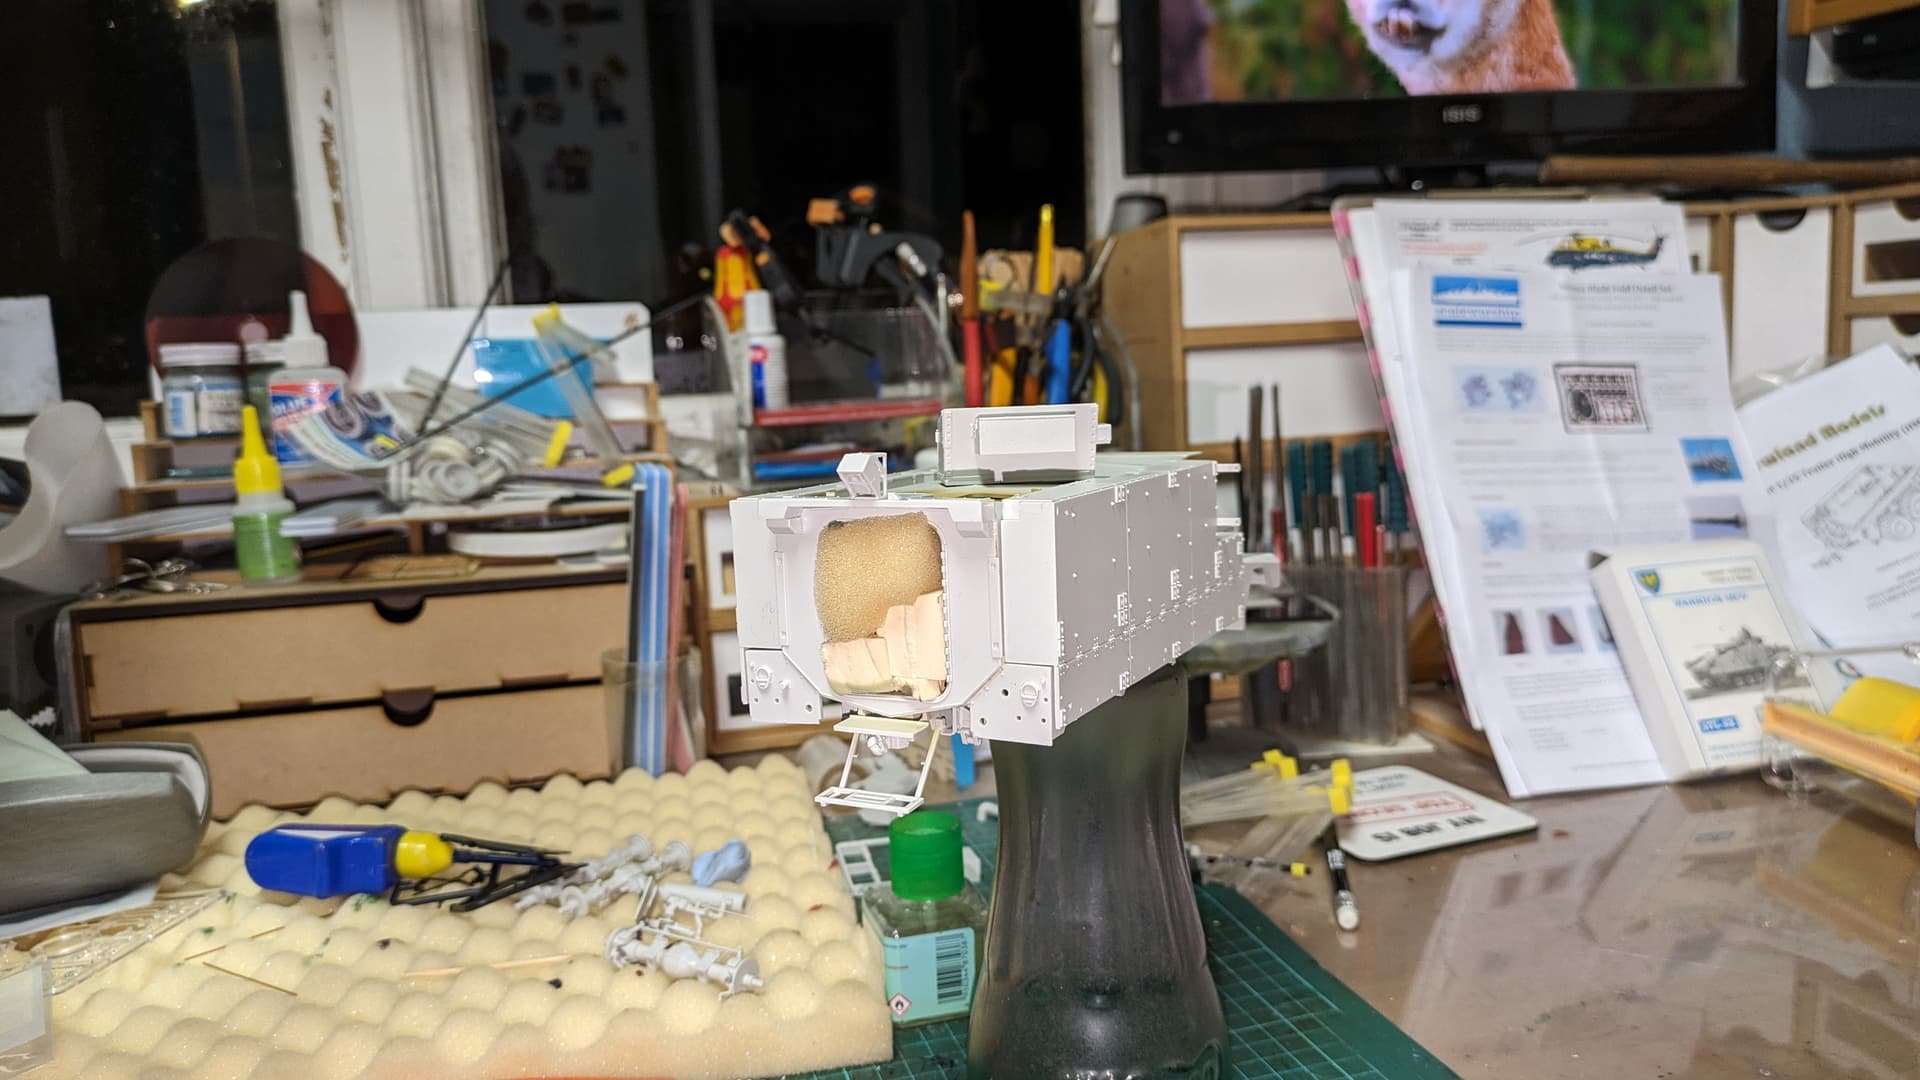
So many well thought out details and options inside and outside! Forward & aft looking radar is just a teaser.
Amazing build with diligence Mike, major Kudos ![]()
1 Like
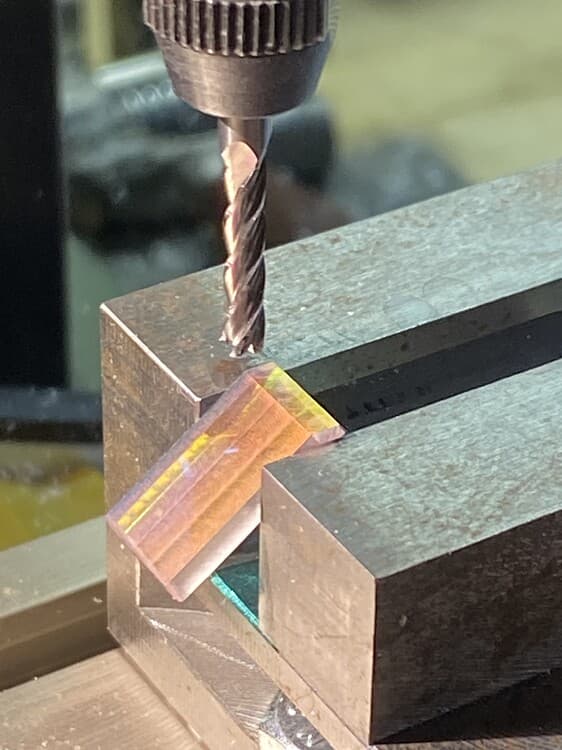
Well, I’d been fiddling around for a while trying to get the iridescent effect of laser filter lenses while maintaining an optically flat surface, meaning one that’s smooth & flat with no waviness or irregularities as in a pane of plate glass. I found some iridescent mylar that gave the effect I wanted but couldn’t get it to bond to anything.
Thought to search for iridescent acrylic & while it seems to be the same mylar I already have it’s well attached to the acrylic, much better than I ever managed.
I cut a strip from the sheet with a bandsaw and finish to size in my tabletop mill taking care to cut toward the mylar so as not to pull it away from the acrylic.
9 Likes
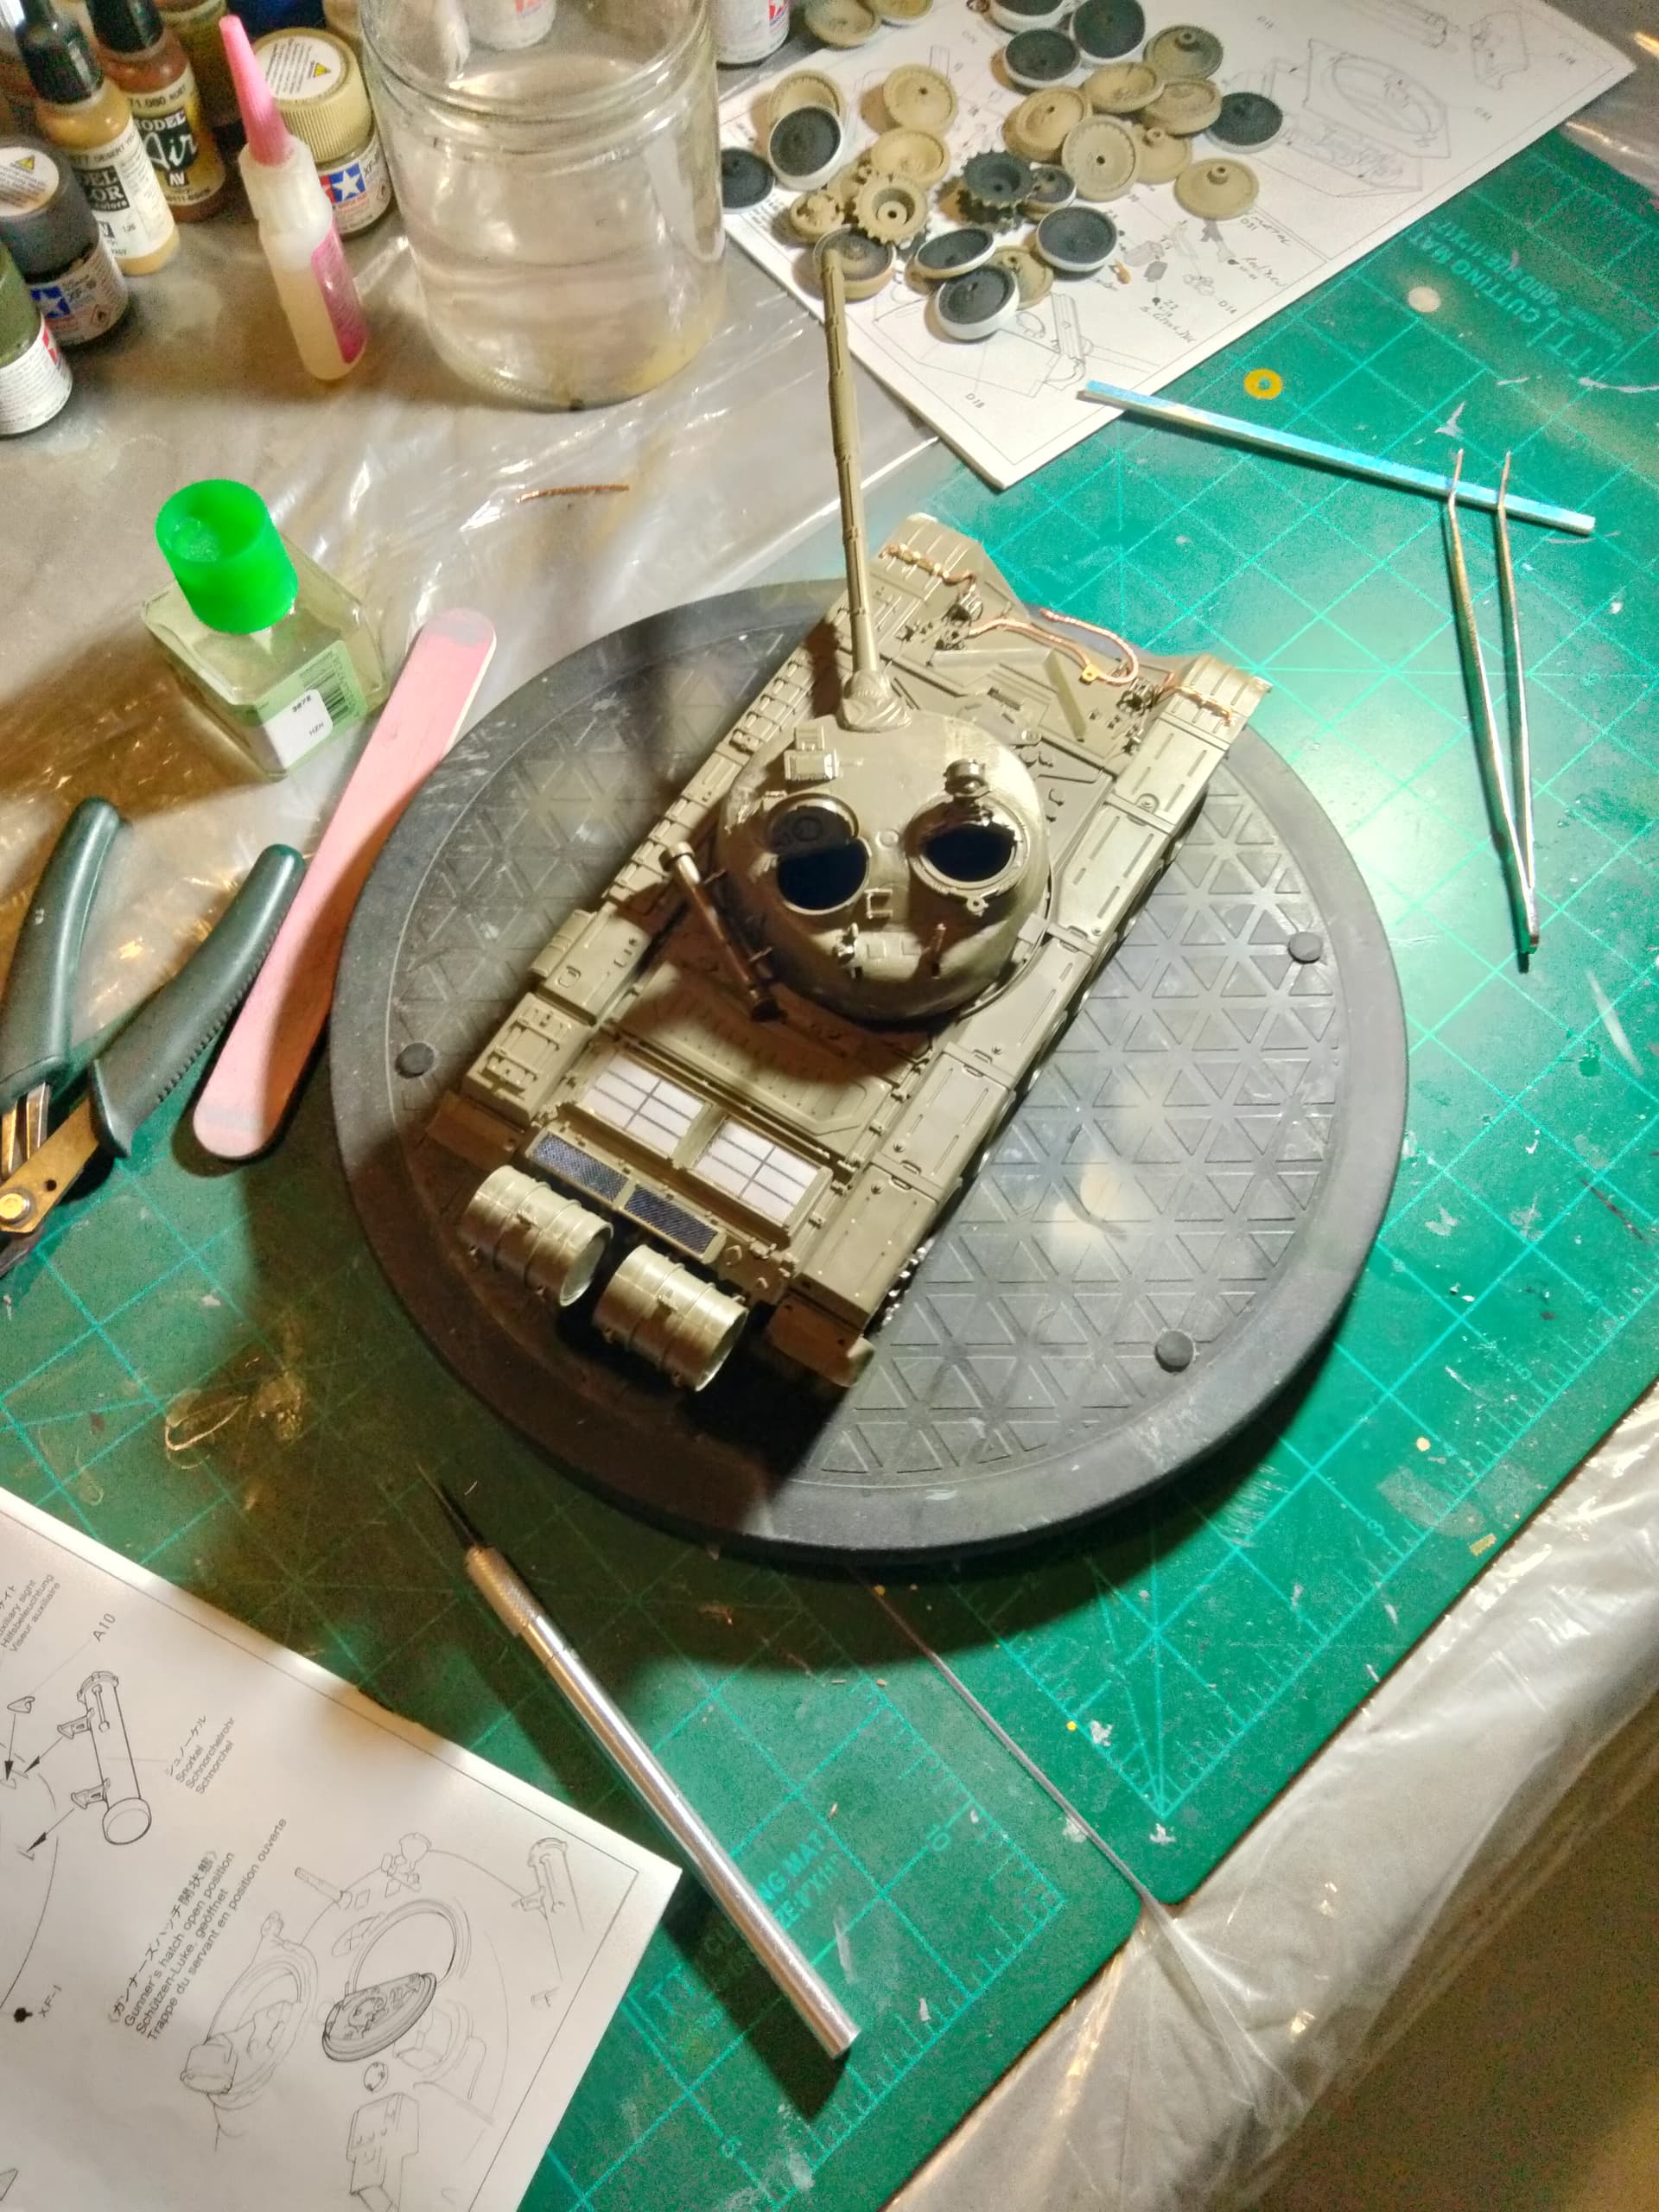
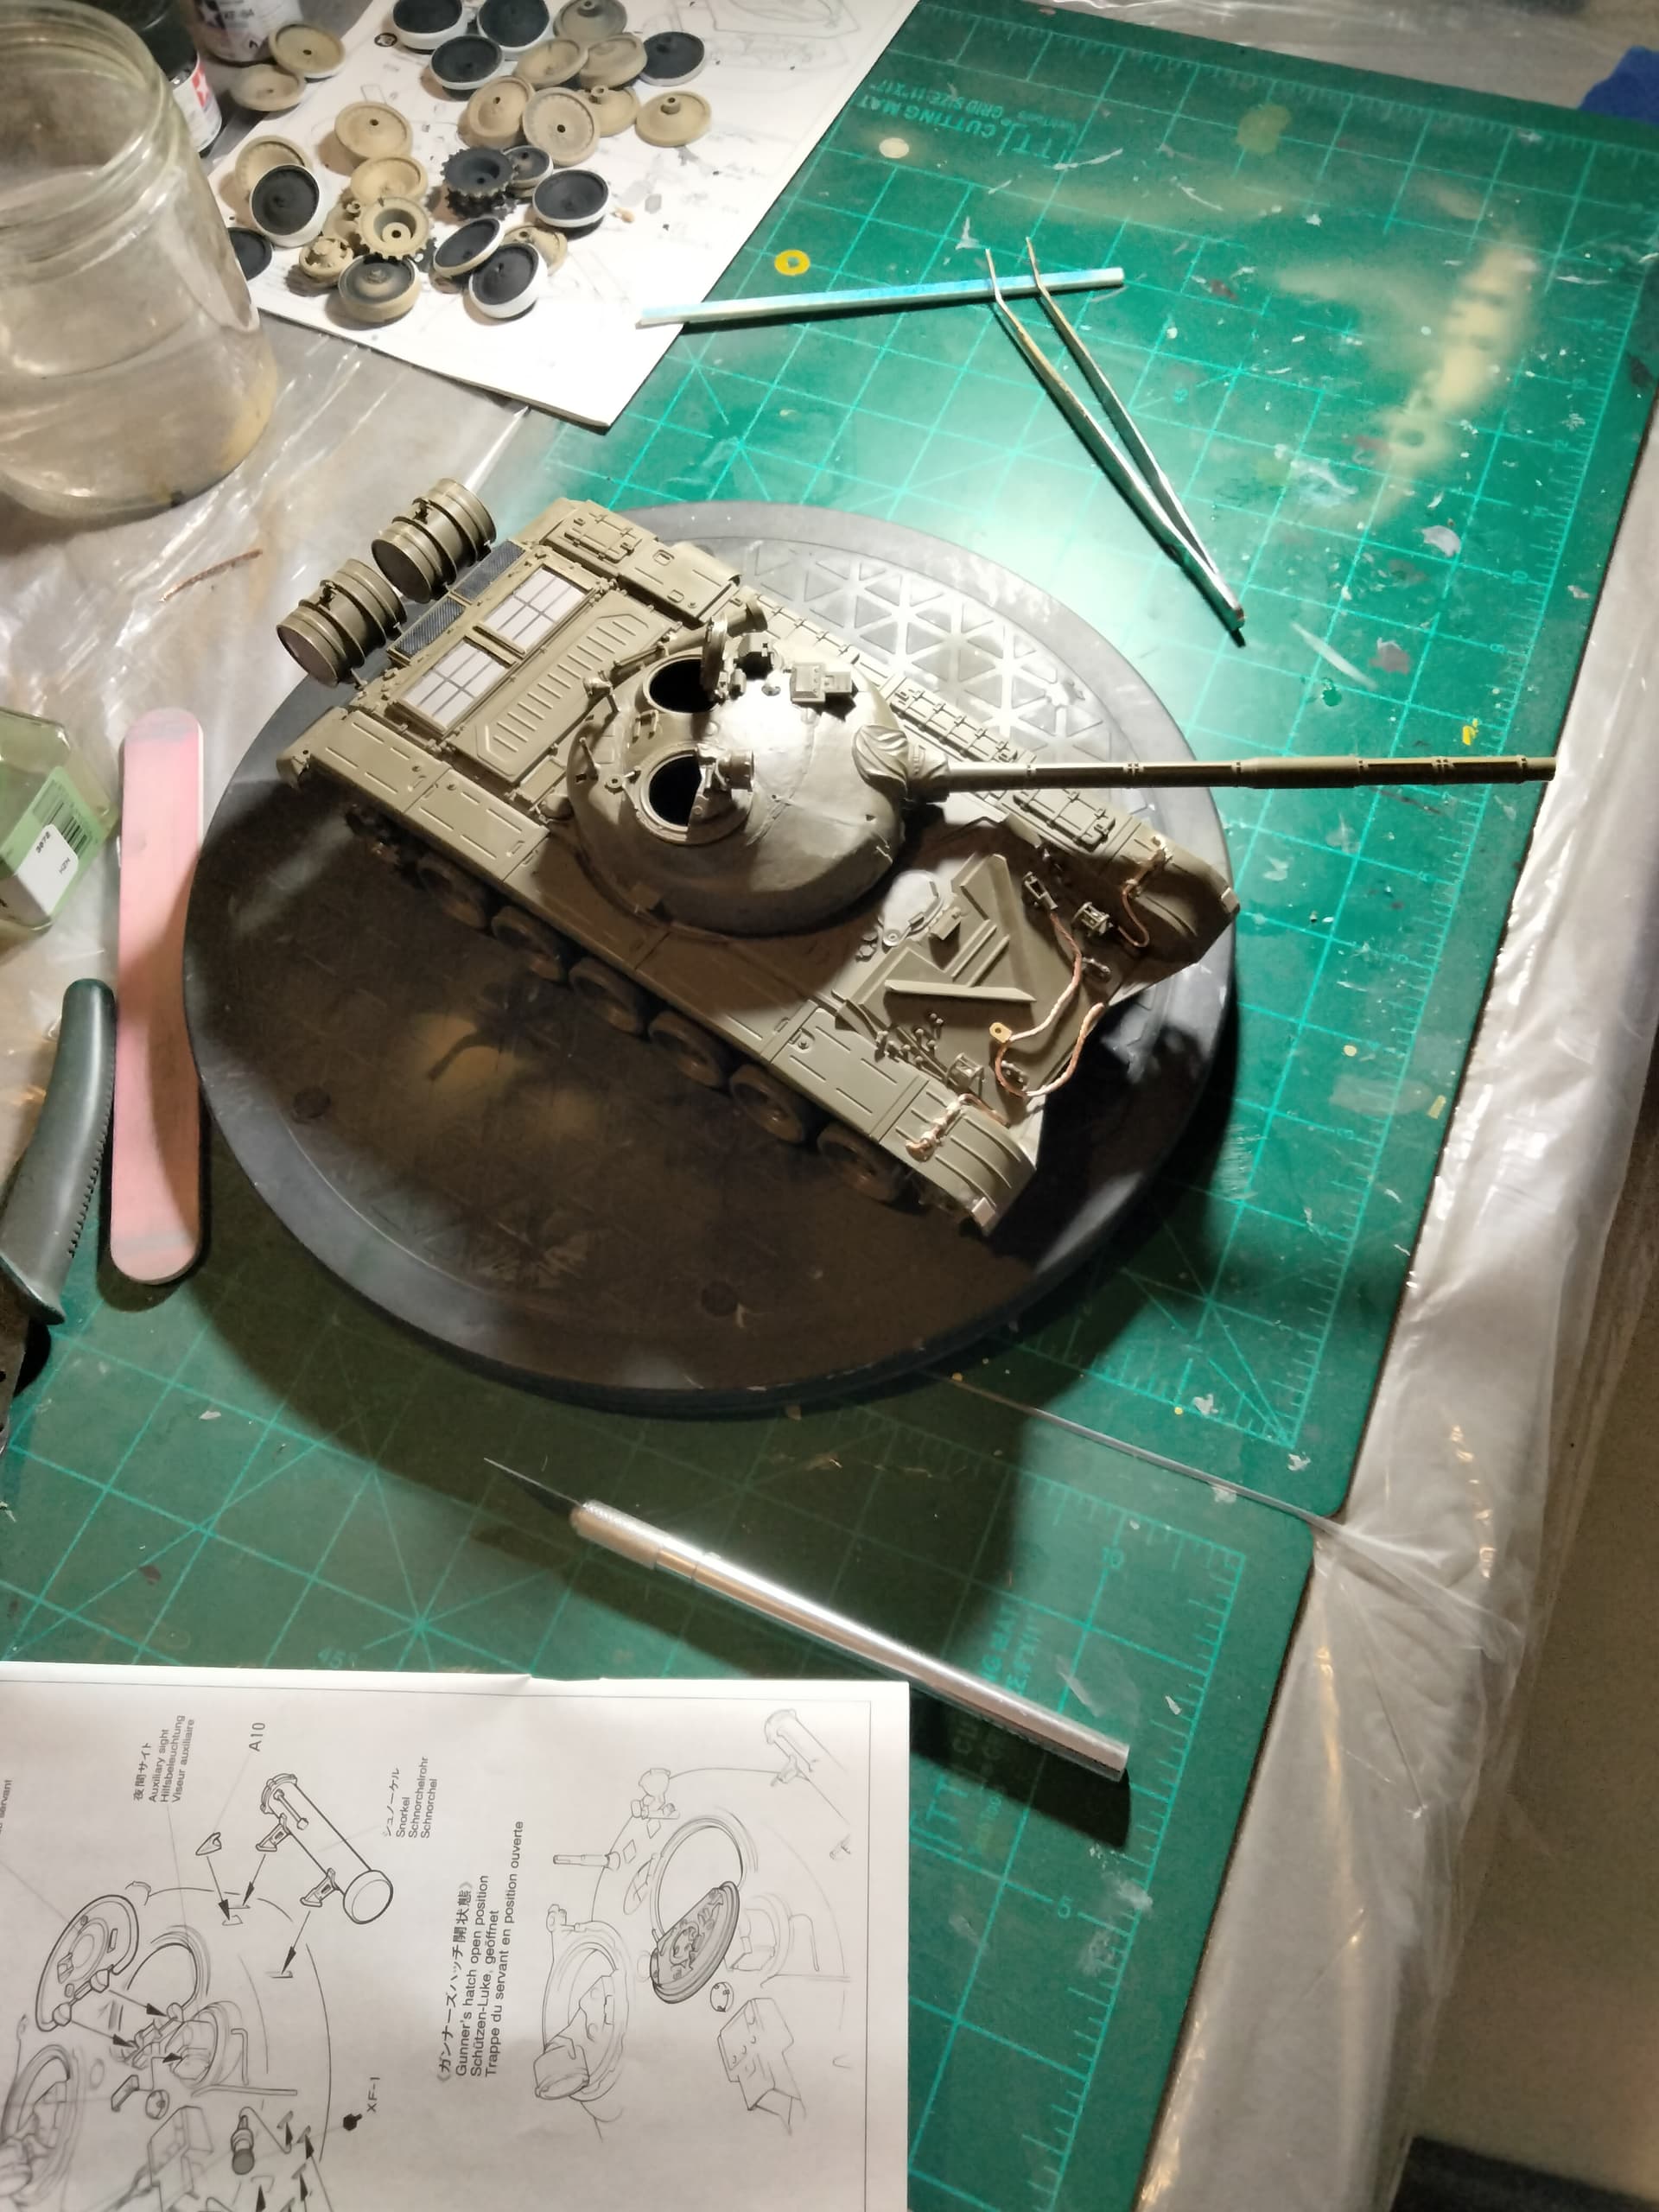
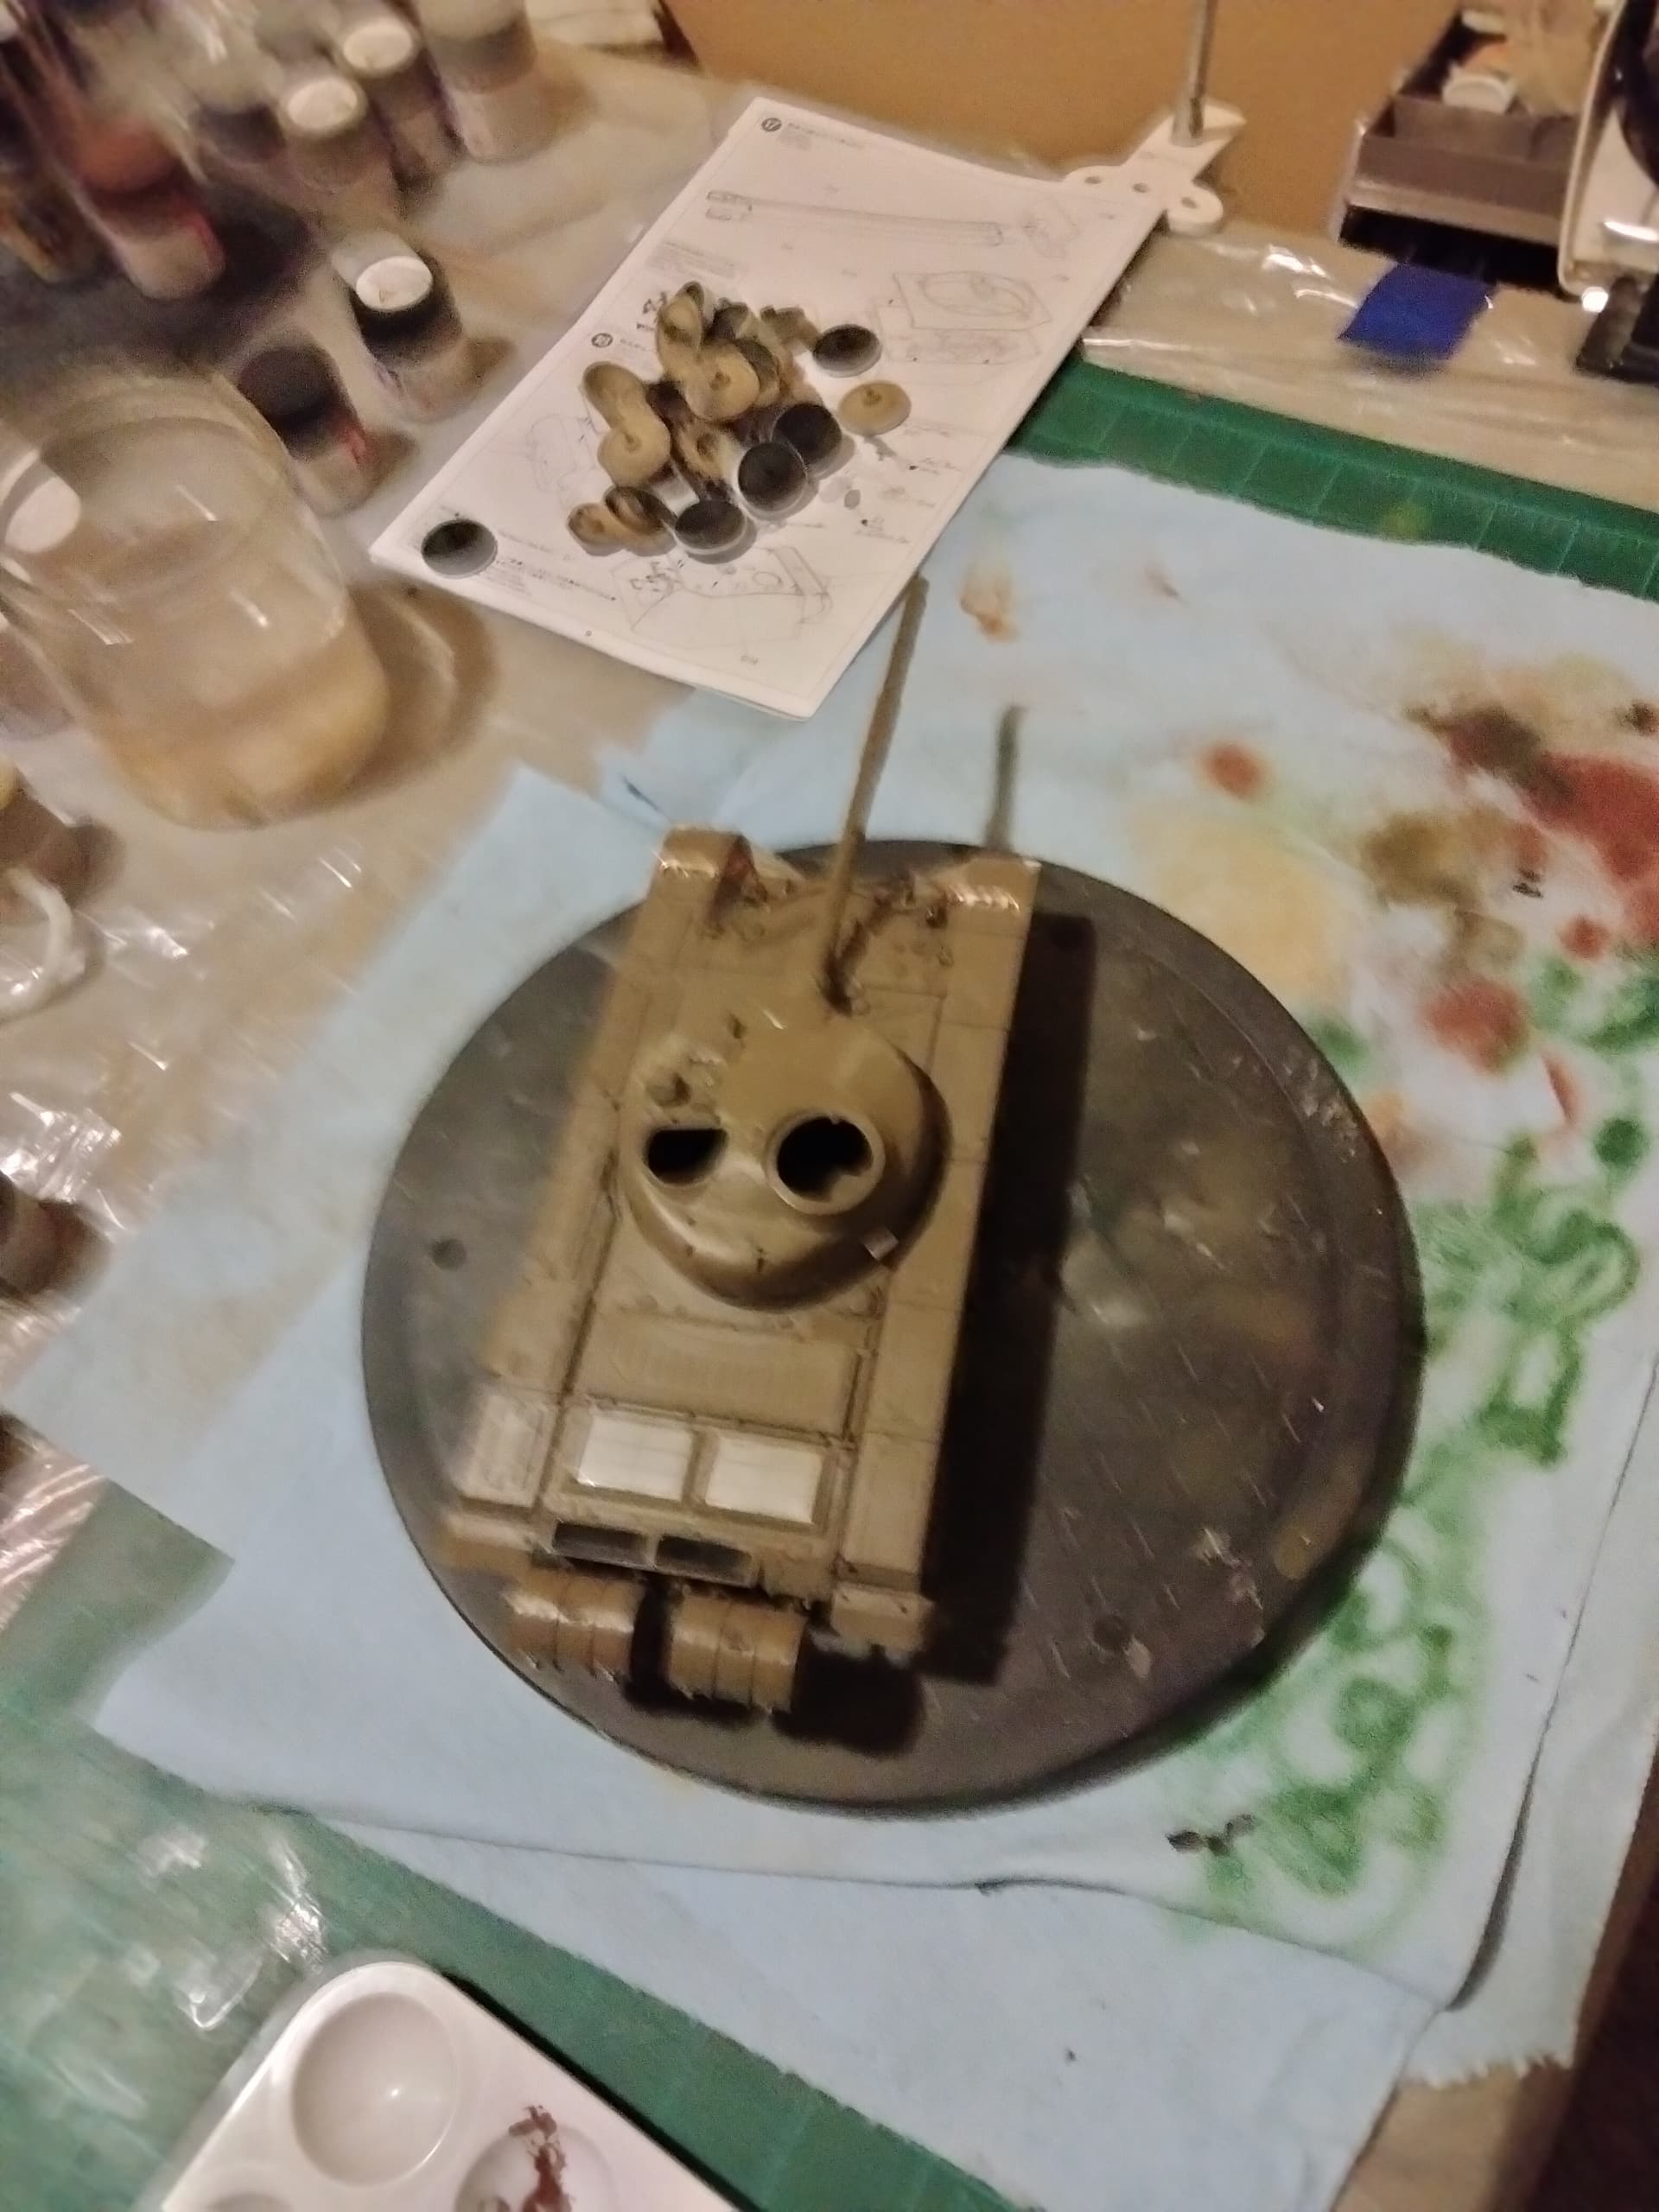
WOW That’s a pretty cool idea, though I admit. Alot more work than I would be able to do. I’m good just to scratch build some parts like I am getting ready to do with the Tamiya T-72M-1 project that I’m trying to finish up.
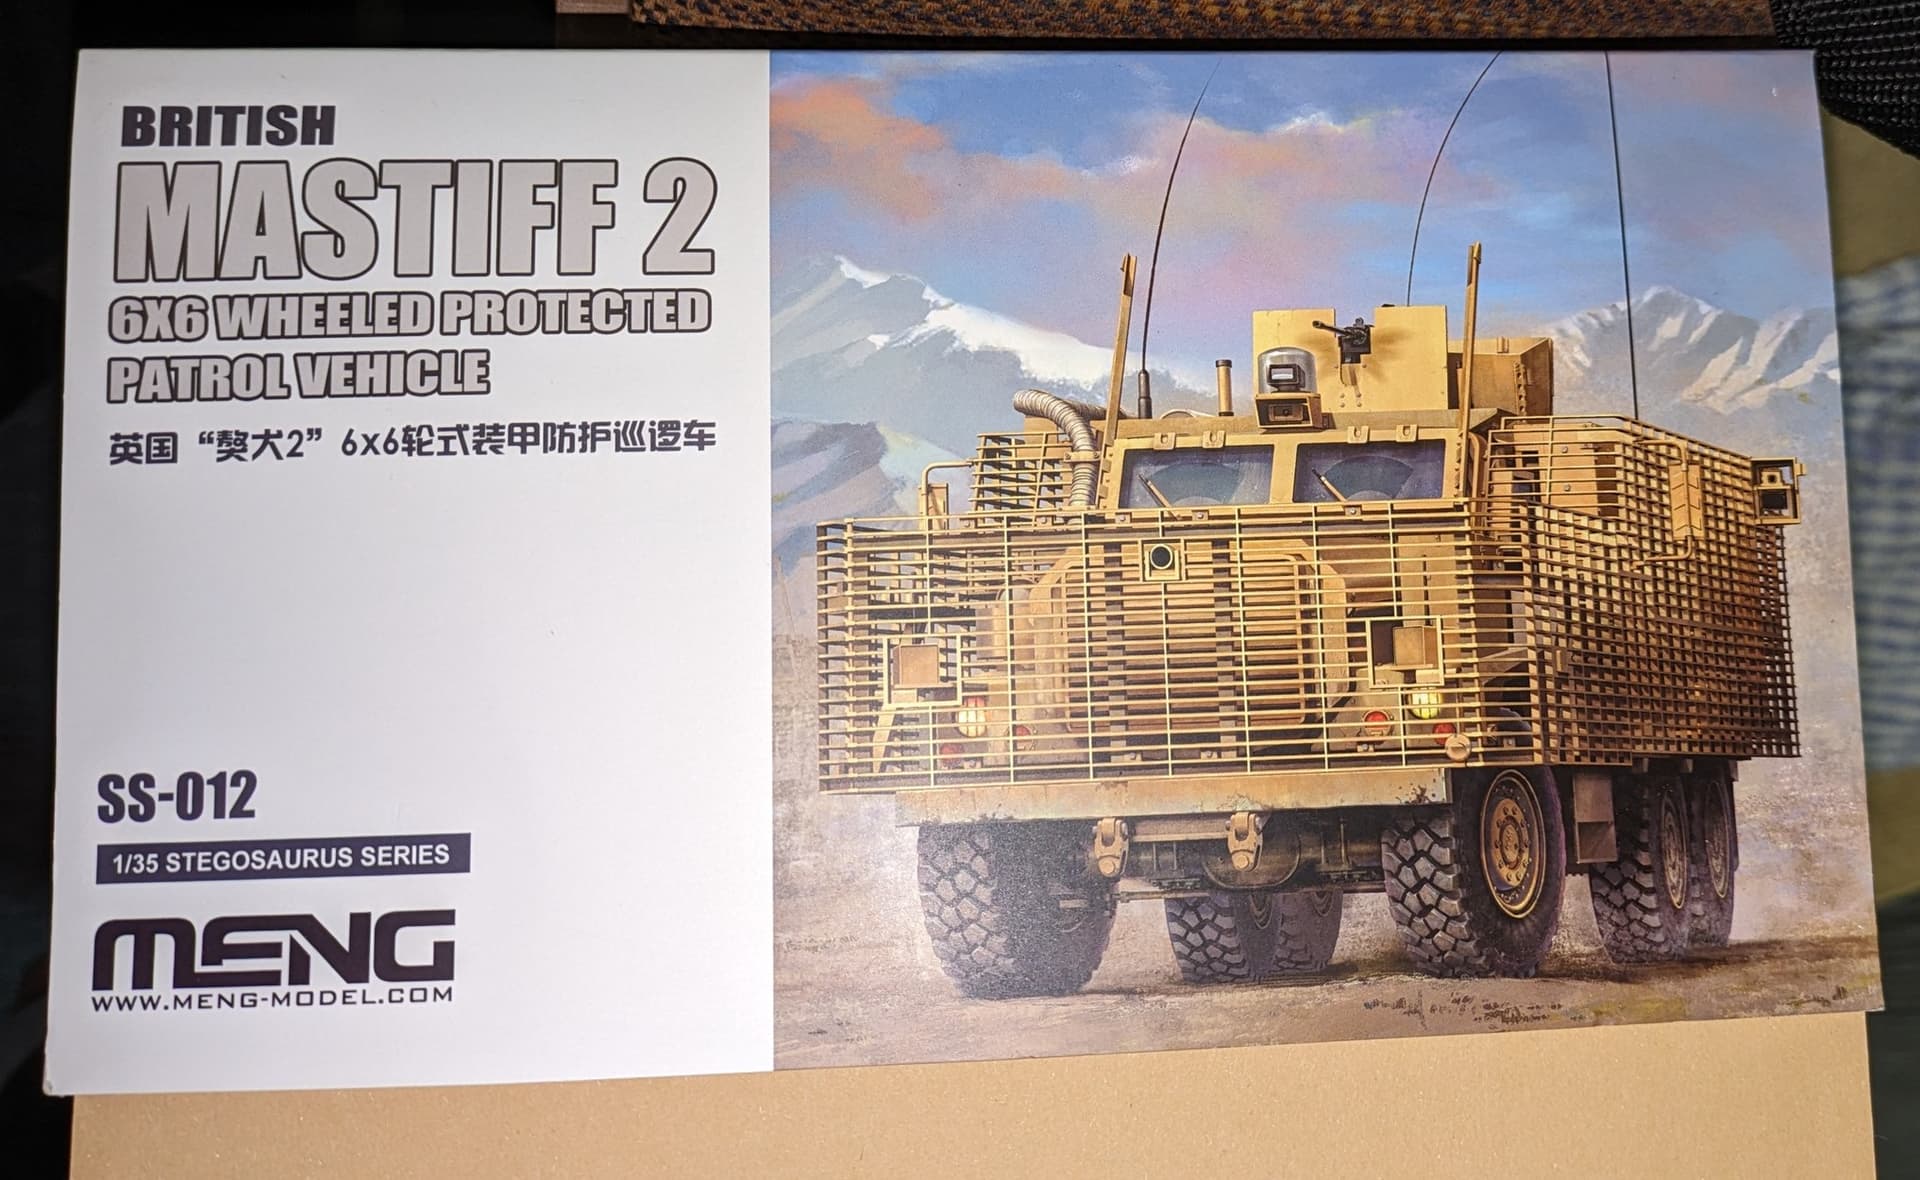
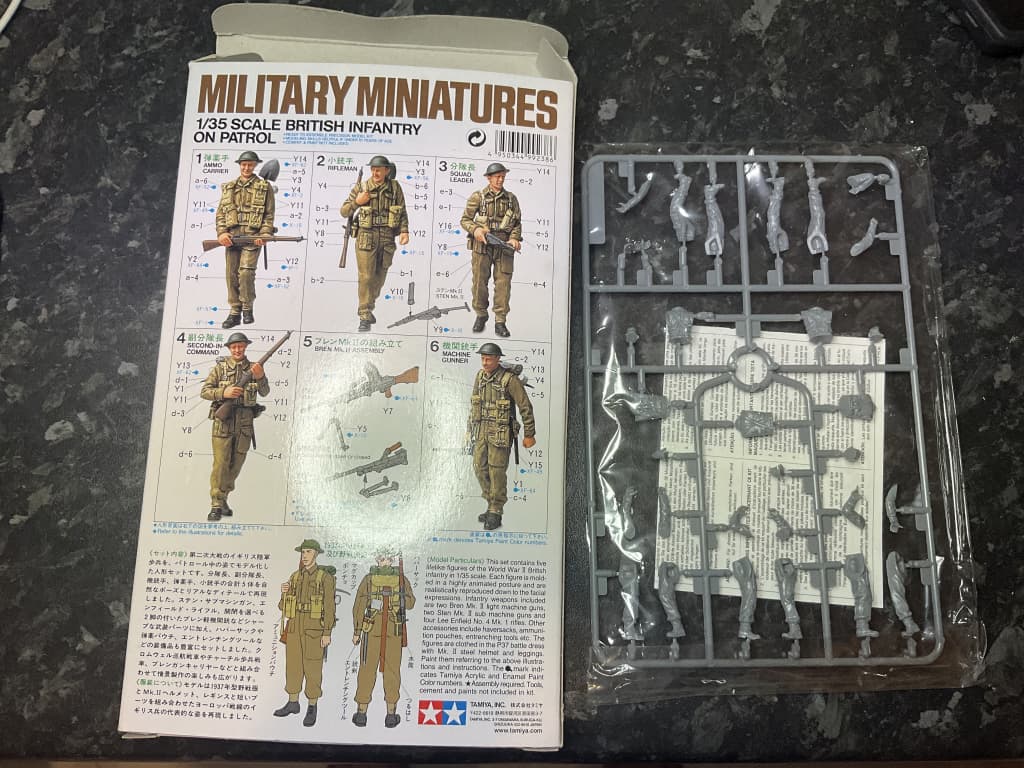
Looks good I got to see a lot of these in Afghanistan with the britts during OP Herrick.
1 Like
Without the mill I wouldn’t have gotten half the work done I managed to do over this extended holiday period. Prior to getting it I would plan something that needed machining and have to wait until I was at work to fit it in at sometime during the day, not to mention coworkers giving a sideways glance for sneaking in a “g-job”.
Now I just need the bandsaw at work to cut a strip of acrylic to finish off at home for the CWS periscopes.
2 Likes
Son use to work on the ATO ones, and quads out their, on the rebuilding side, in the patrol bases.
2 Likes
It certainly sounds like you know what you’re doing. I know I would be clueless. LOL. Keep up the good work
1 Like
Thanks ! Everyone has their knowledge base & strengths and weaknesses, at the rate I finish kits my finishing skills are pretty weak.
1 Like
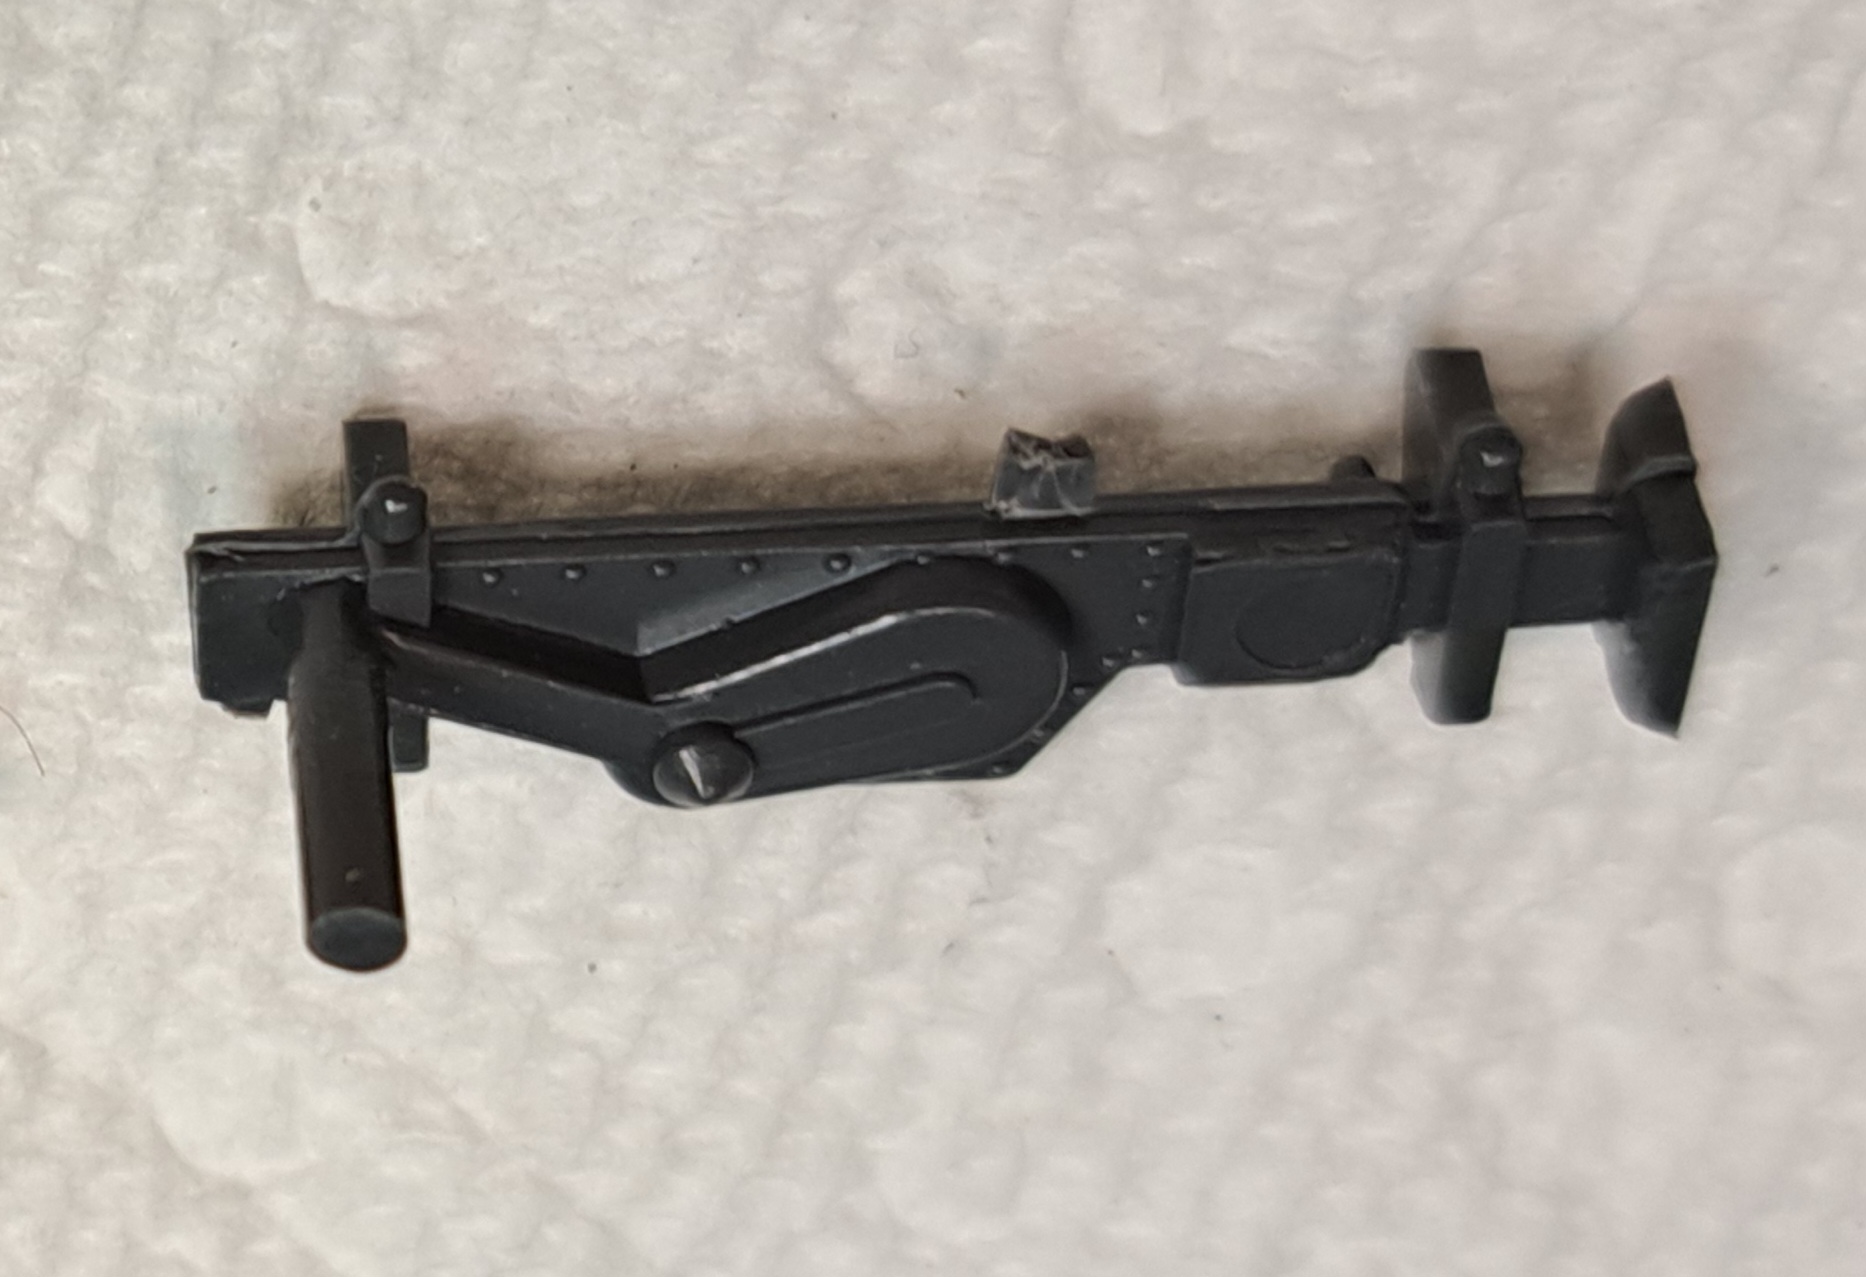
The Tiger 1 jack in the spares box was in rough condition and had nasty sink marks.
Replacement attempt…

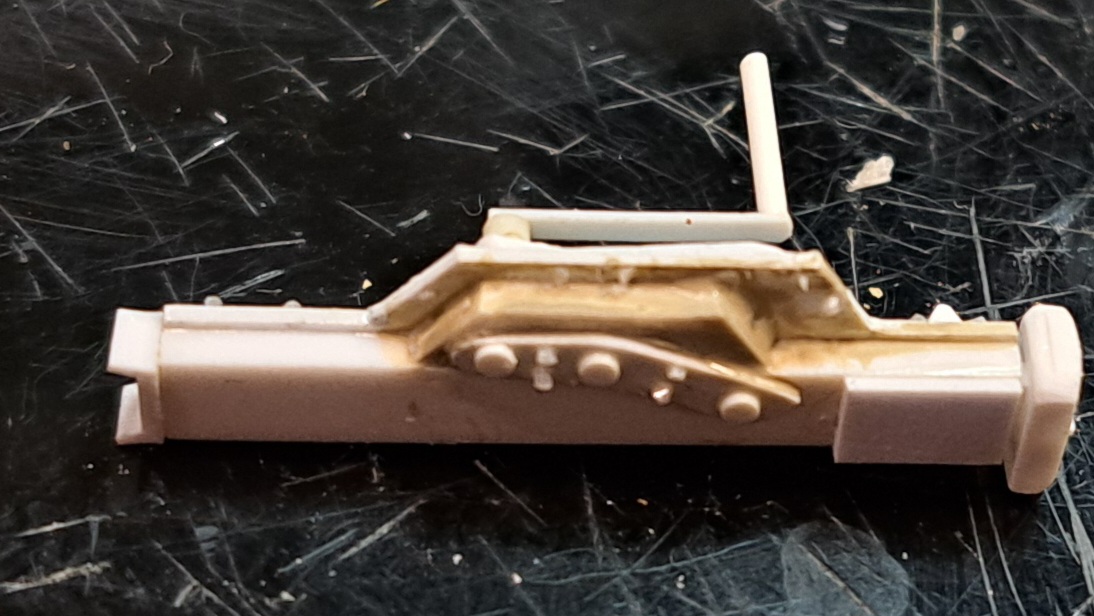

The kit jack…
13 Likes
LOL. BOY. Don’t I know that feeling. But then I did suffer a bad loss So I have an excuse…LOL. No but seriously. I had to quit for a little bit in order to readjust to loosing my wife and then having to move. BUT I’ve gotten past the worst part. And I’m getting back to work. Now I just need to make myself keep moving forward on these two and the FGA-9 That’s been stalled for almost a year v
1 Like
Completed two shelf queens for the ‘Unfinished Business 2023’ campaign.
Meng Renault FT
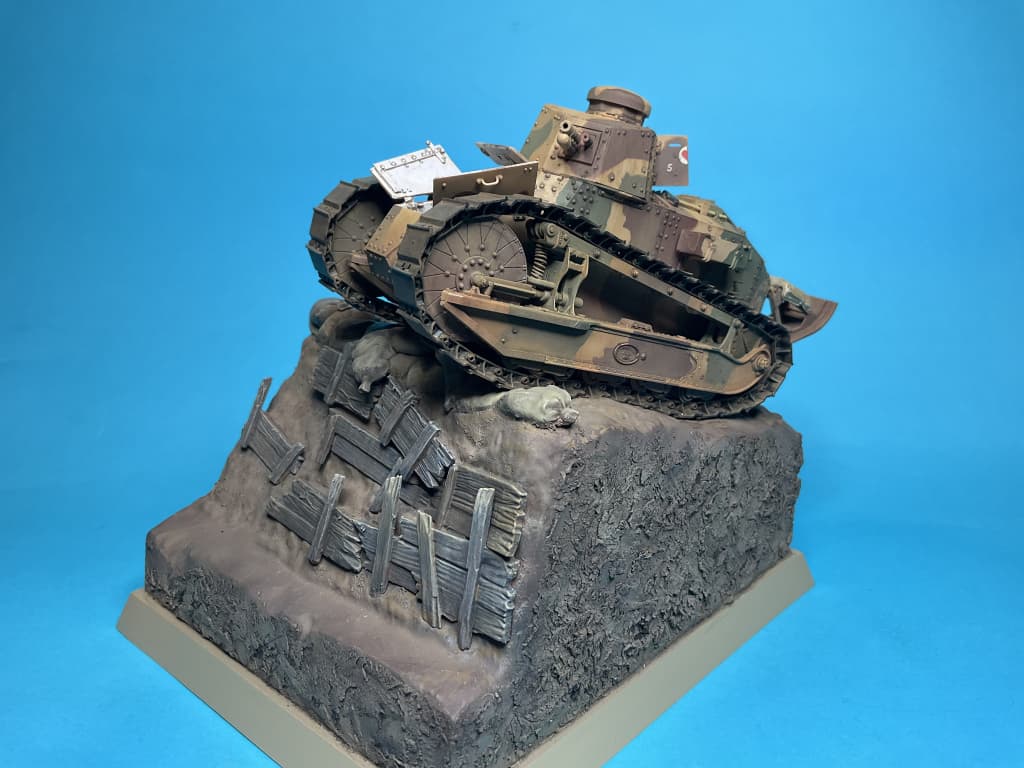
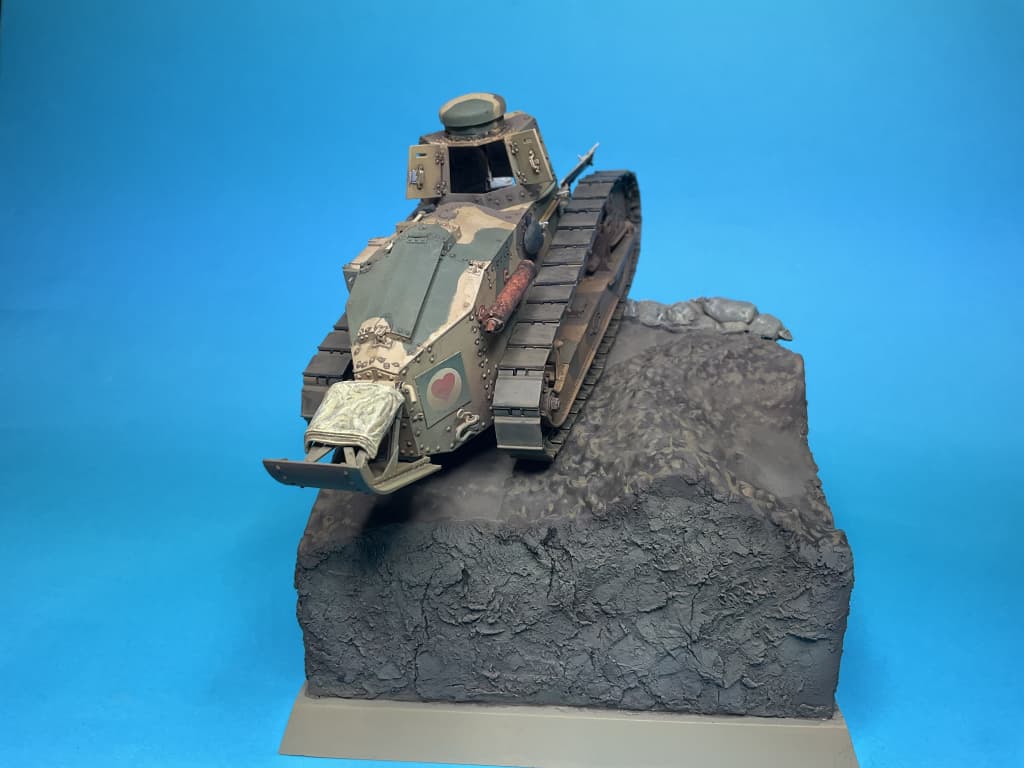
Dragon M4A4 with Legends Flail conversion
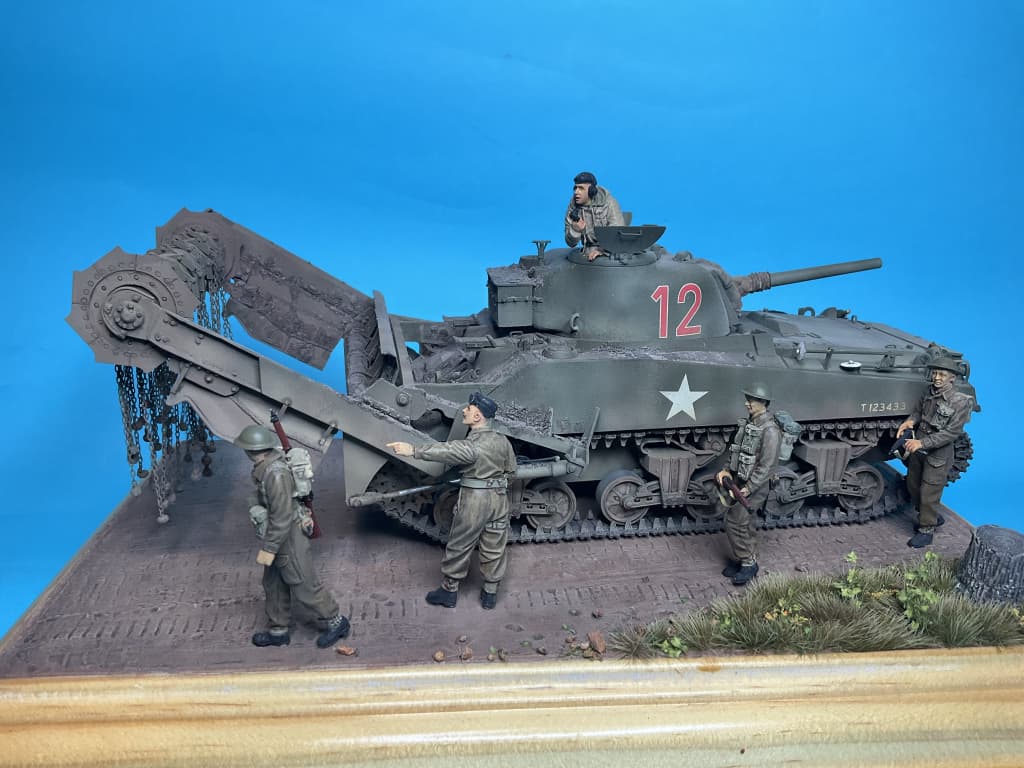
More pics here:
The figures were supposed to be my entry in the ‘Your figure just keeps on improving’ build, but I accidentally deleted the pre-paint pics I had! C’est la vie
12 Likes
Love that flail!
2 Likes
Cleaned up/organized my workbench between projects. Never stays clean/organized long once a project gets started.
2 Likes
Very Cool !!! I Like that. I enjoy scratch building parts for tanks. It gives the mod more details, and the method improves ones skills.
2 Likes
You have any pre-painted pics. Even if not fully assembled.
1 Like
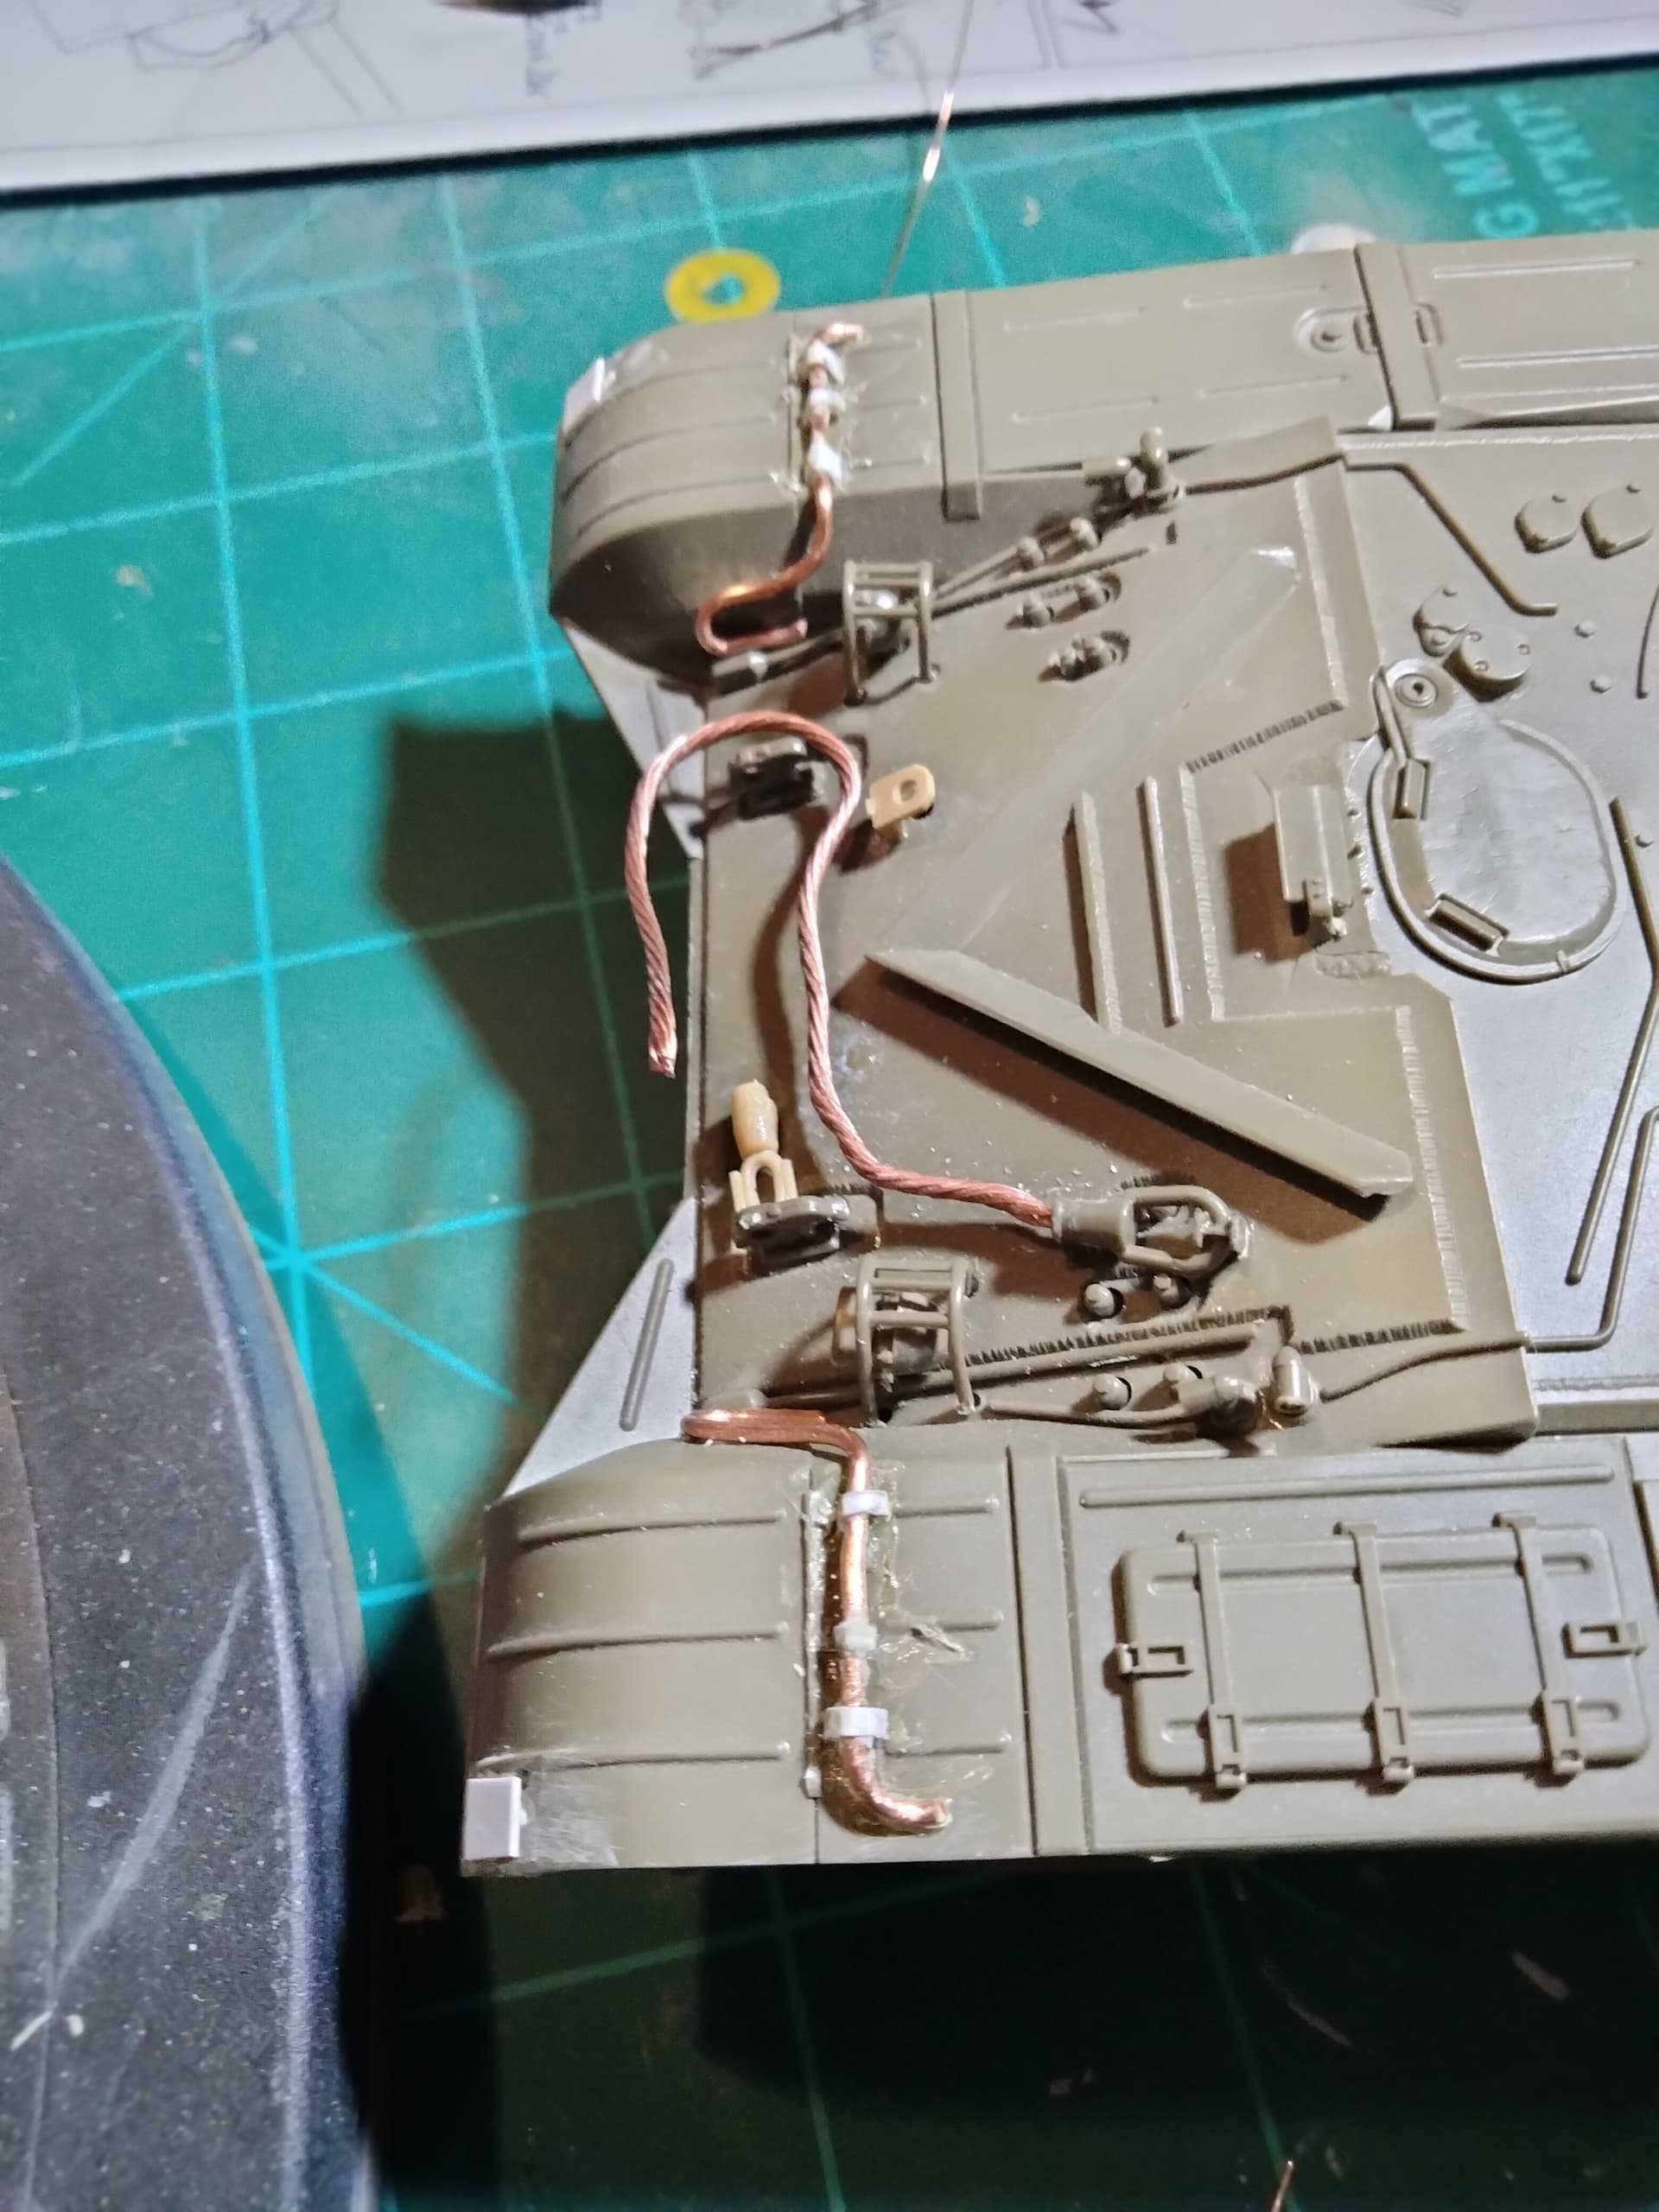
Hi Dagger1959,
I am fond of T-72 tanks and scratch building of missing details, just like you. The Tamiya kit is great to work on, but let me have two helping comments:
- the two tightening metal things on the front fenders look way too fat for me in the scale you build, I would re-do it using much thinner wire (perhaps fine solder wire or carefully bent plastic)
- you can also consider to add the missing fuel hose to the last section of the right fender. This is usually missing from every kit I built.
Like I did on this photo:

“T72M WIP_00 | My 1/35 Hungarian T-72M scale model made of Tr… | Flickr”
I hope these comments may help you!
Regards,
Tamás
7 Likes