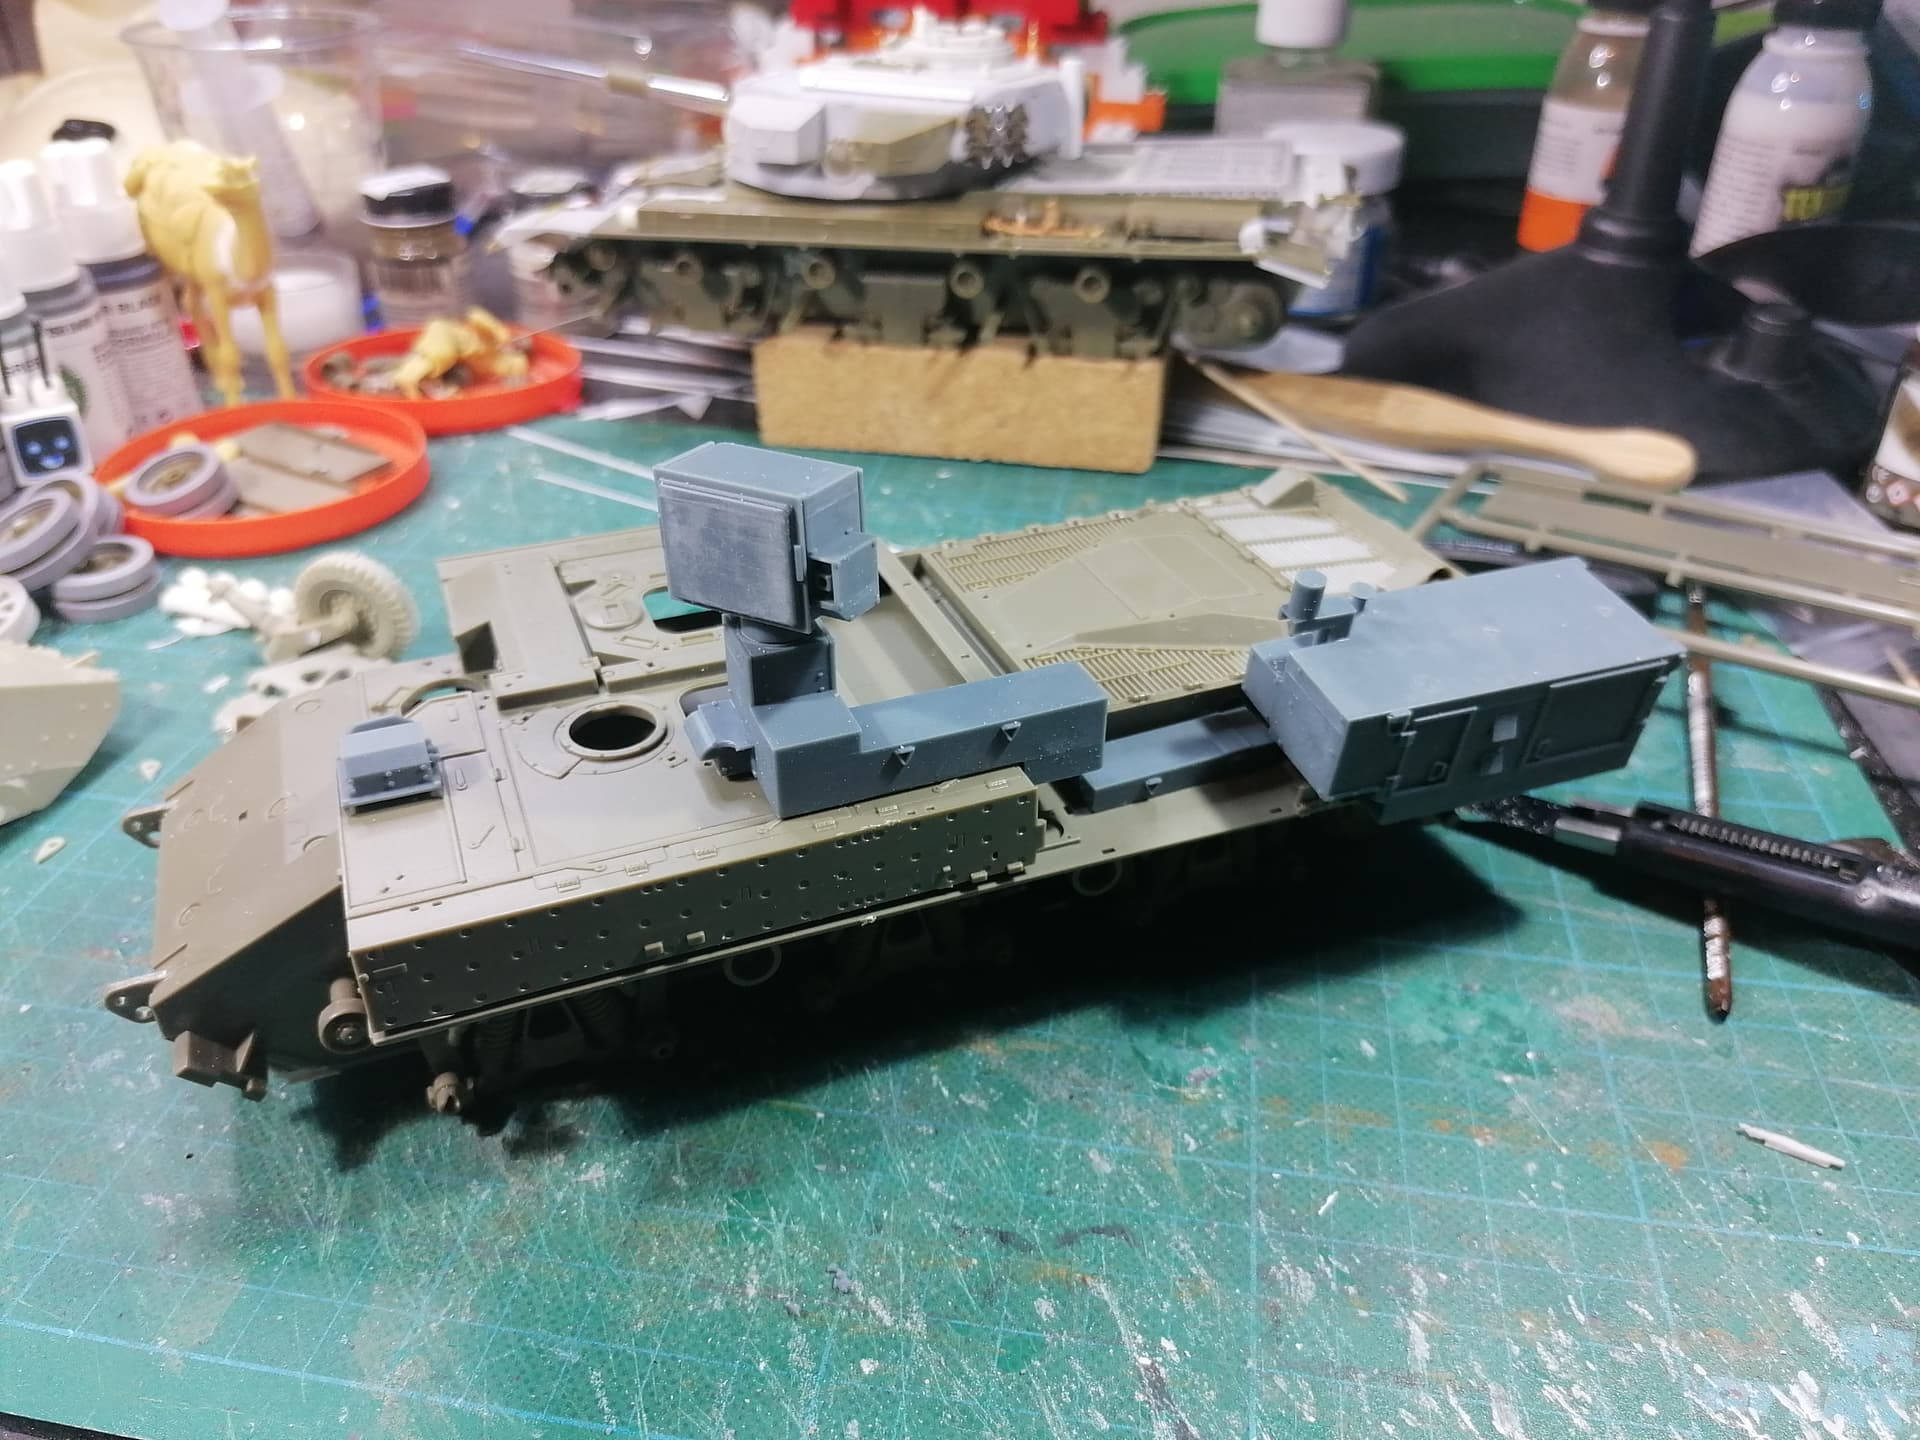
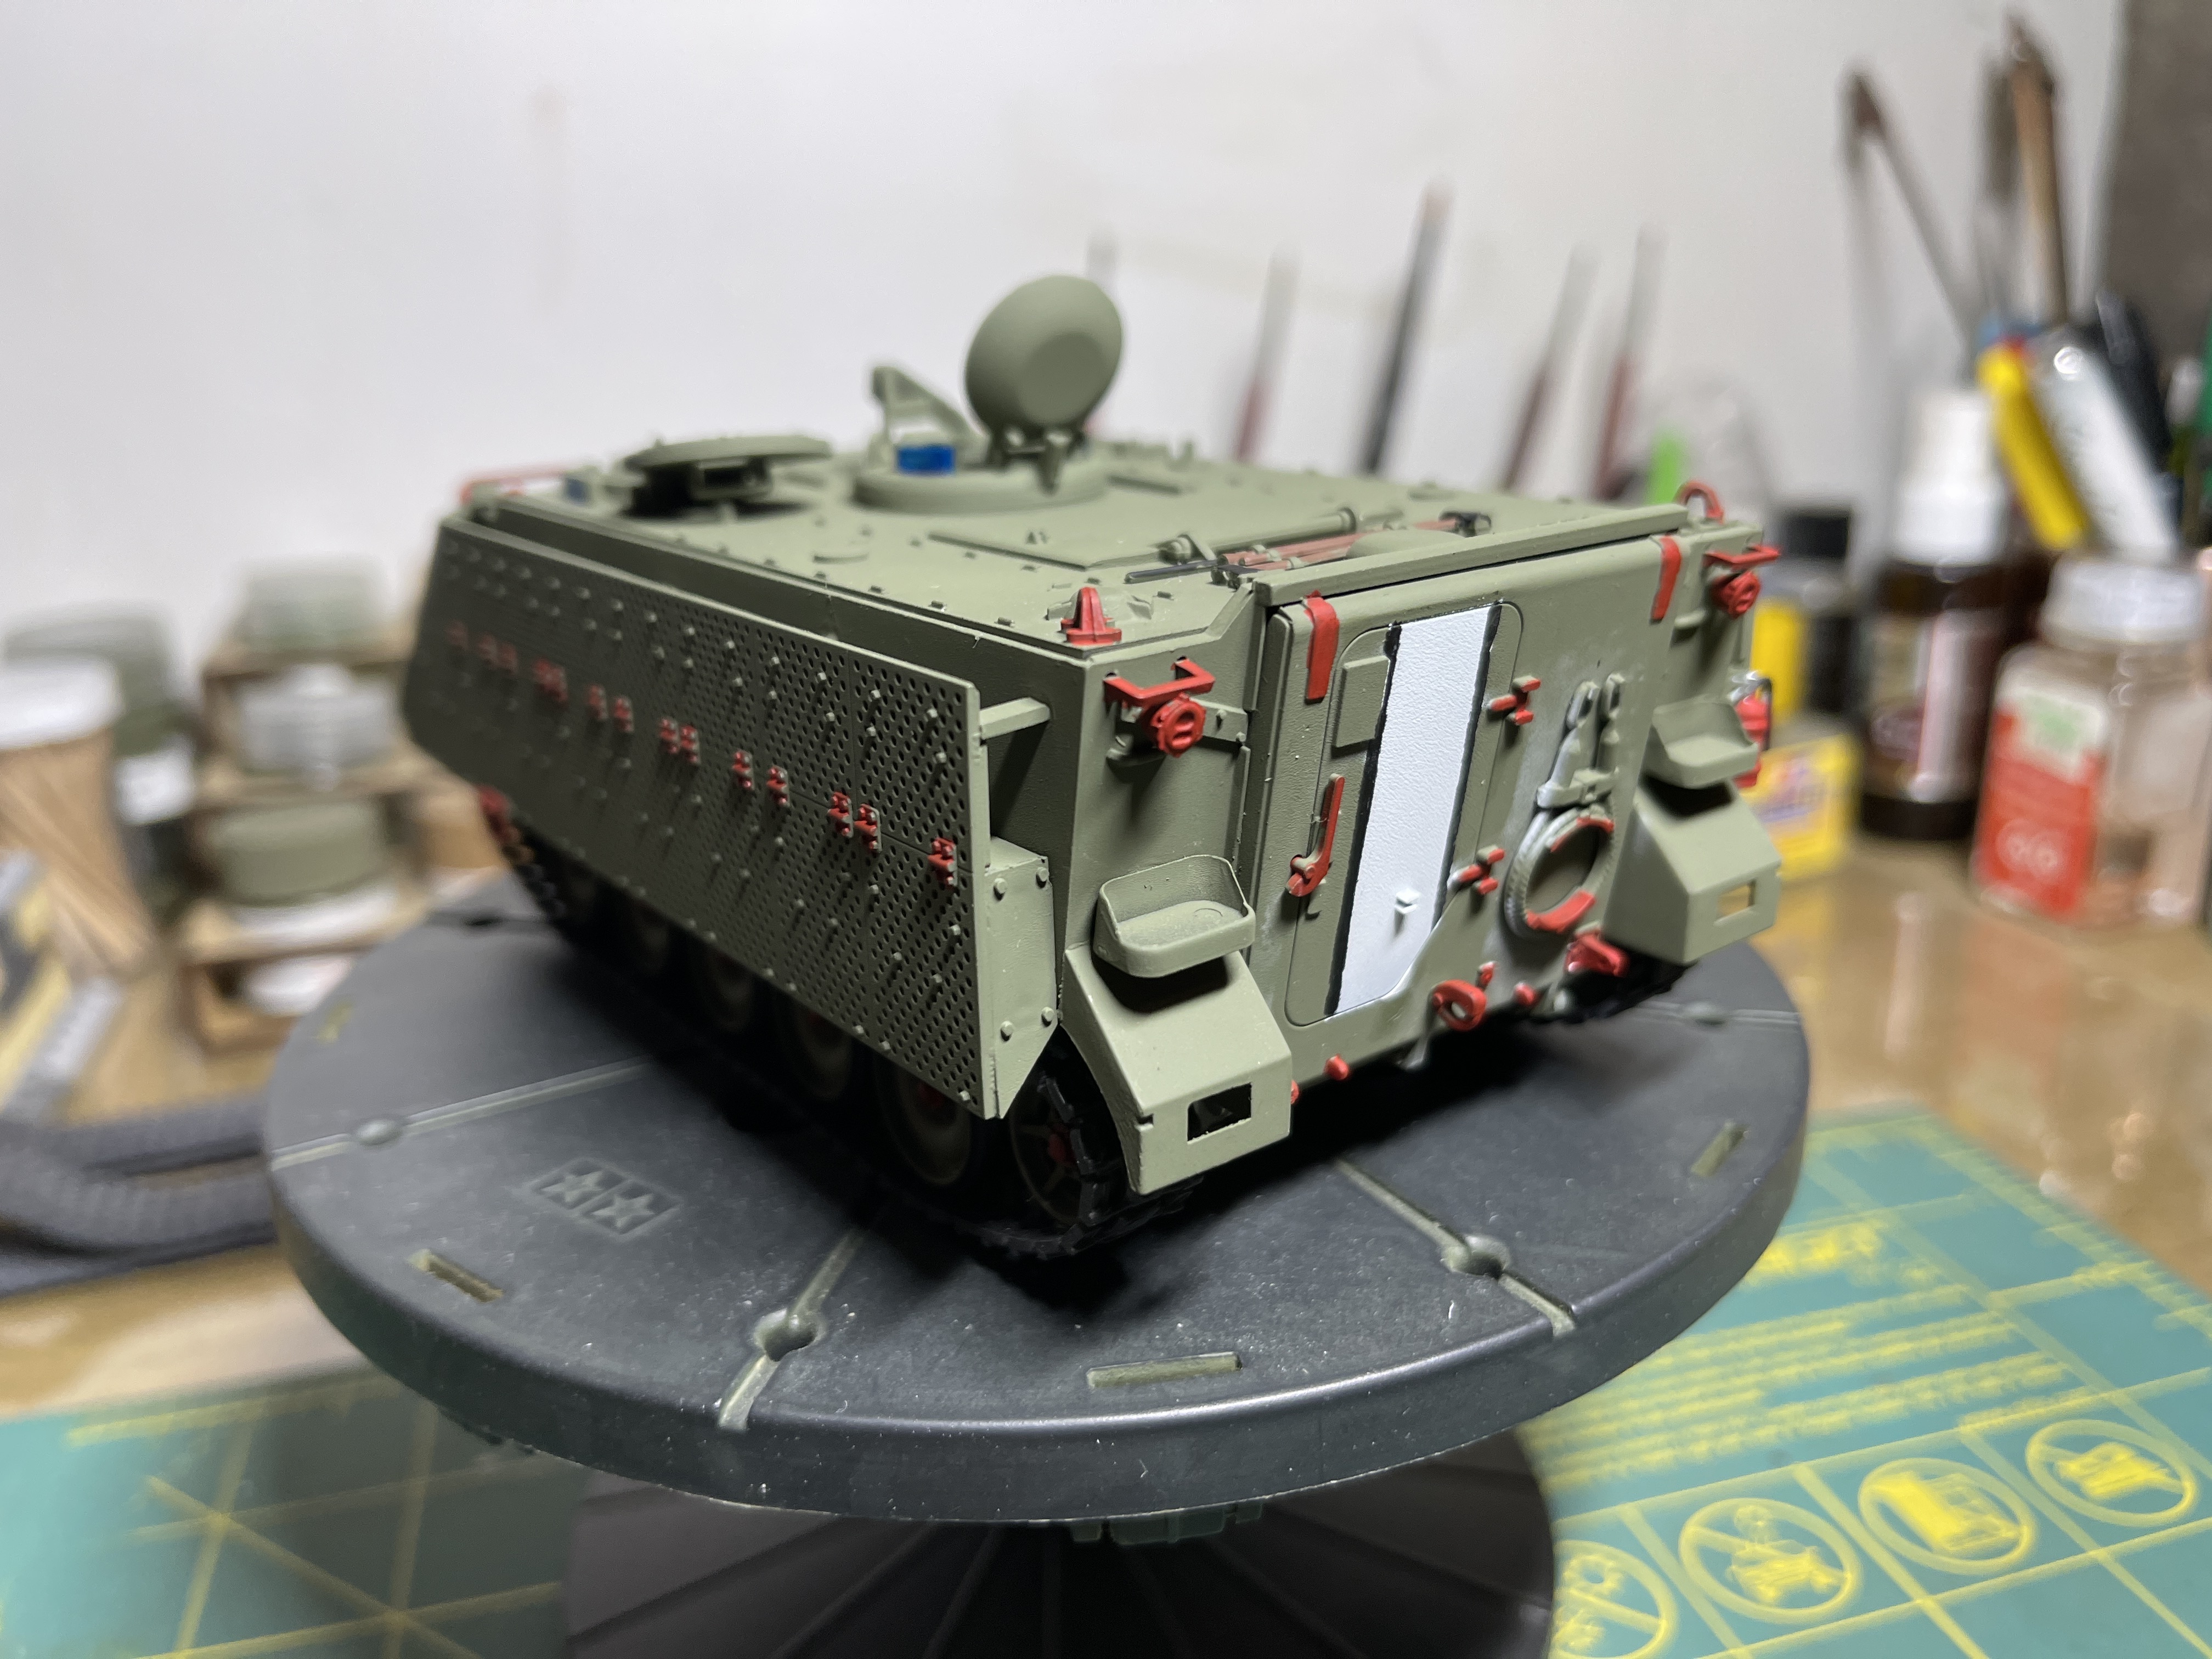
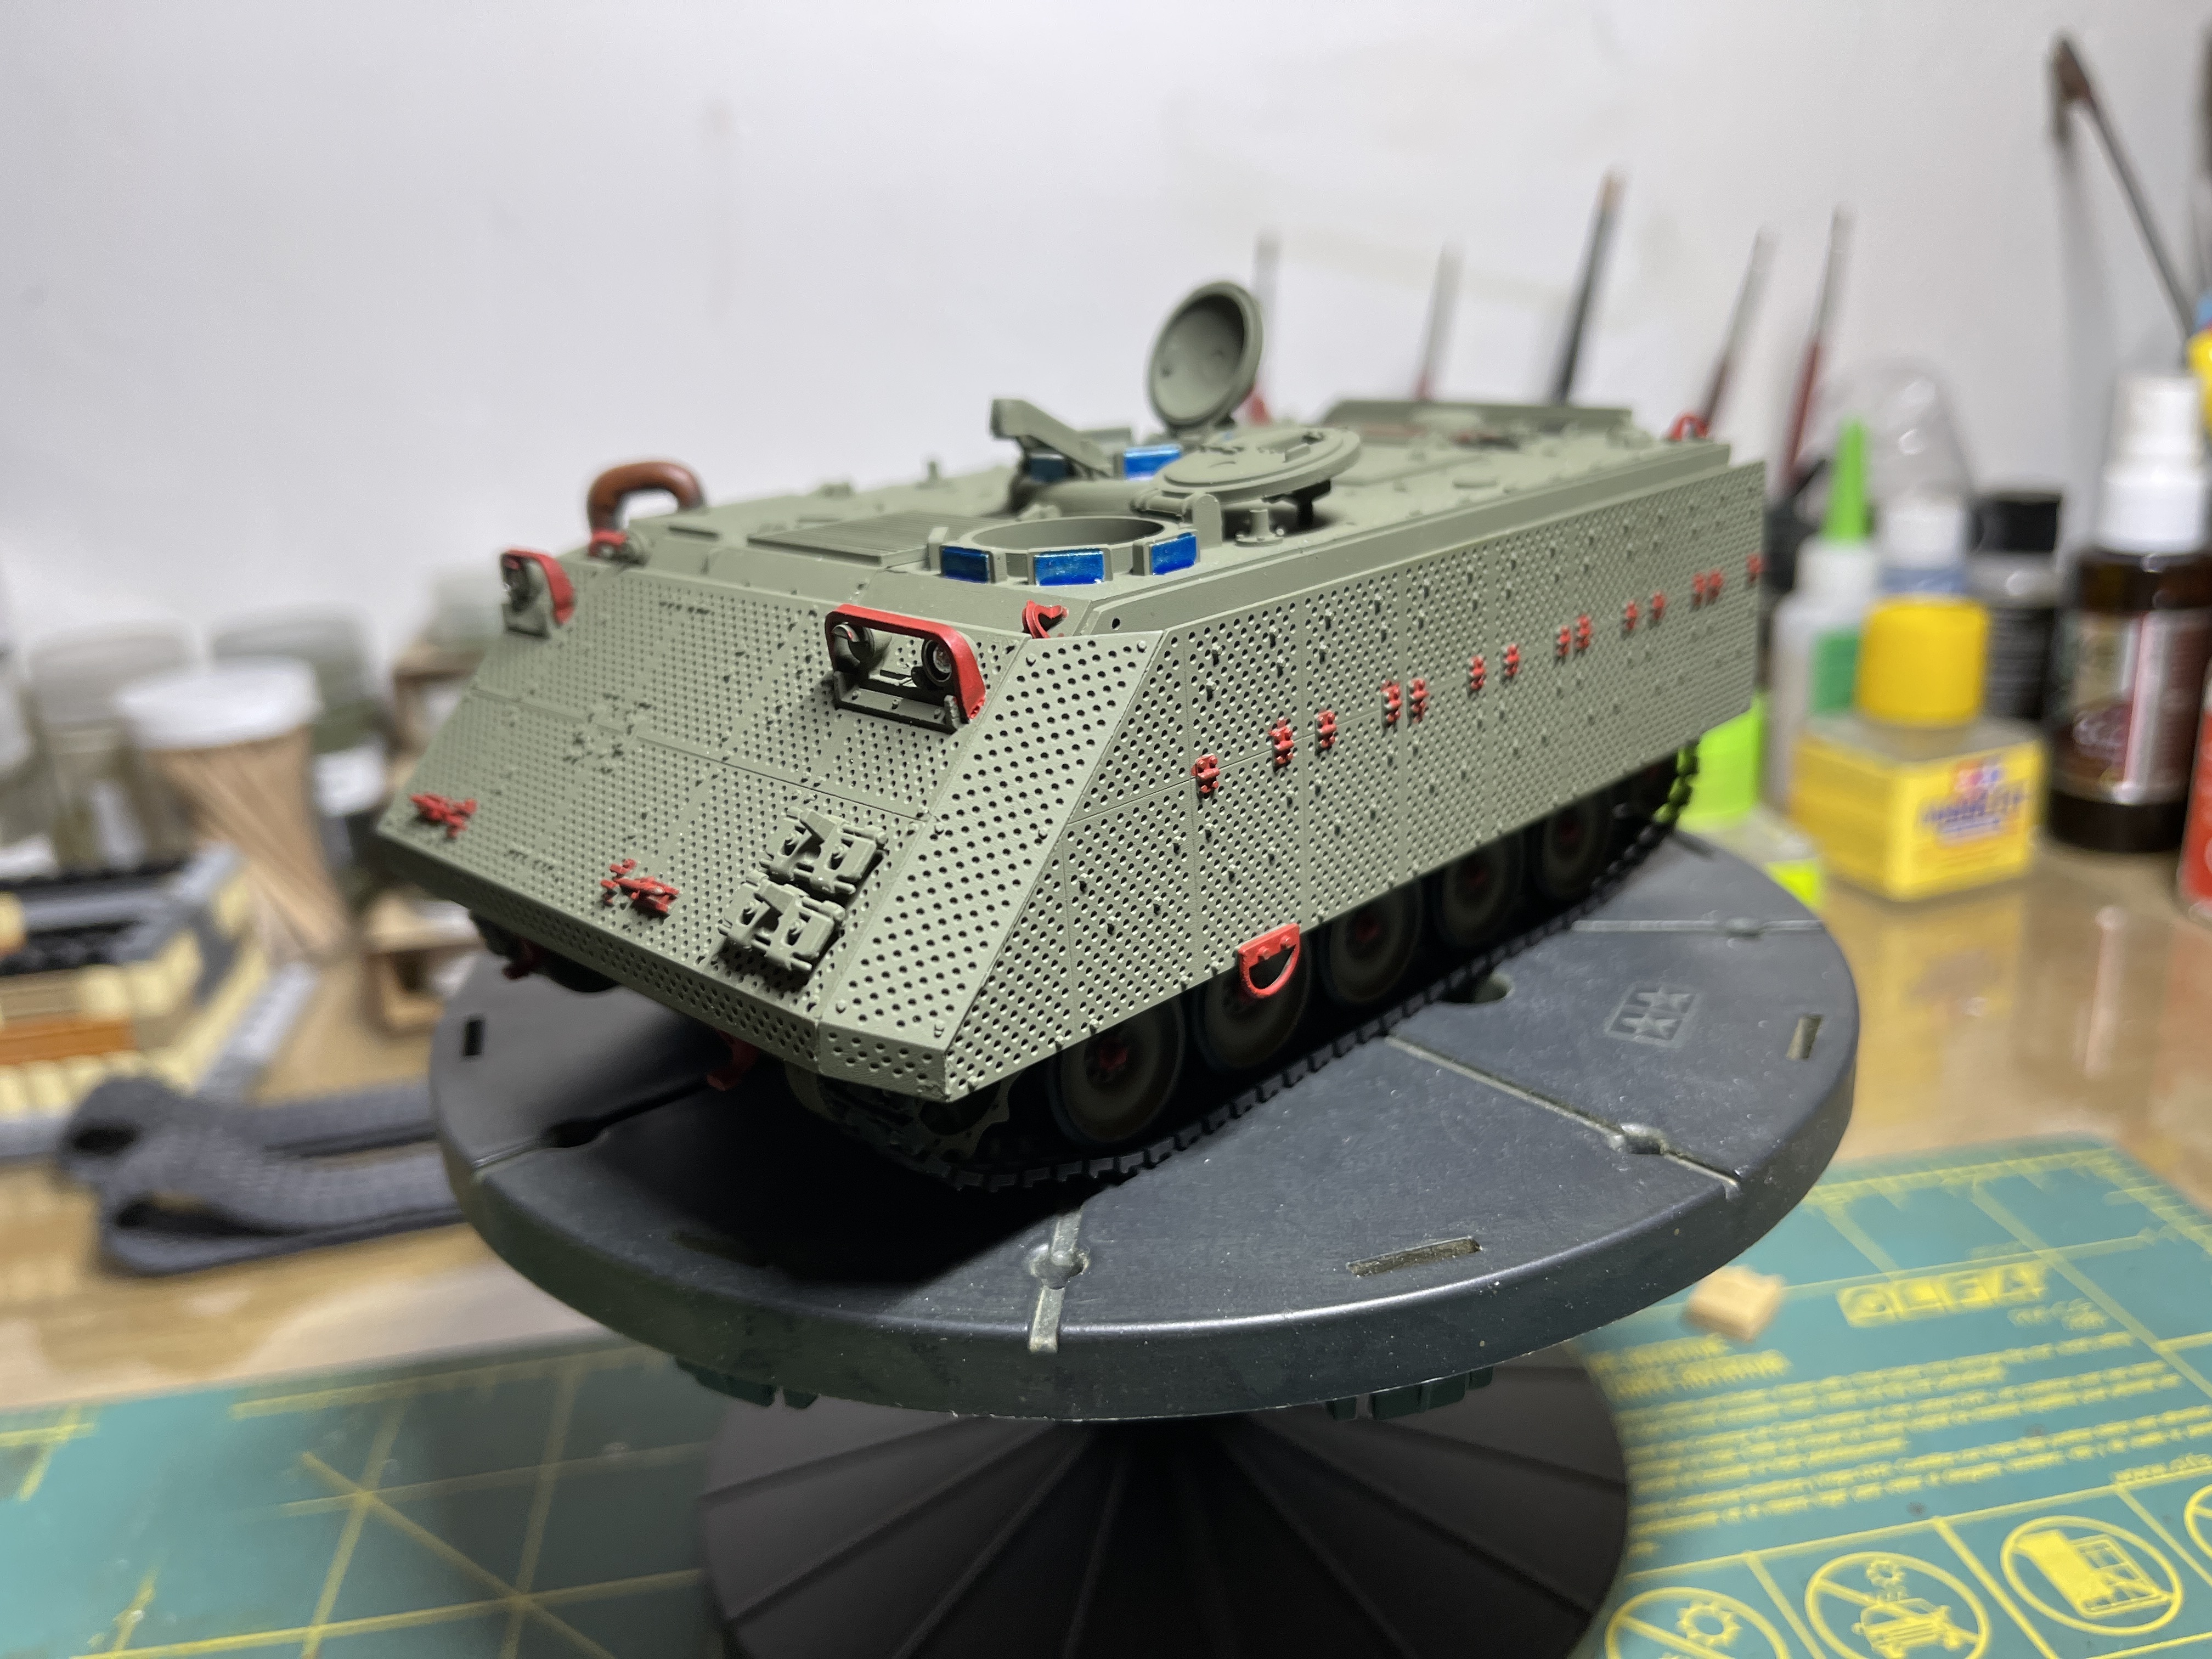
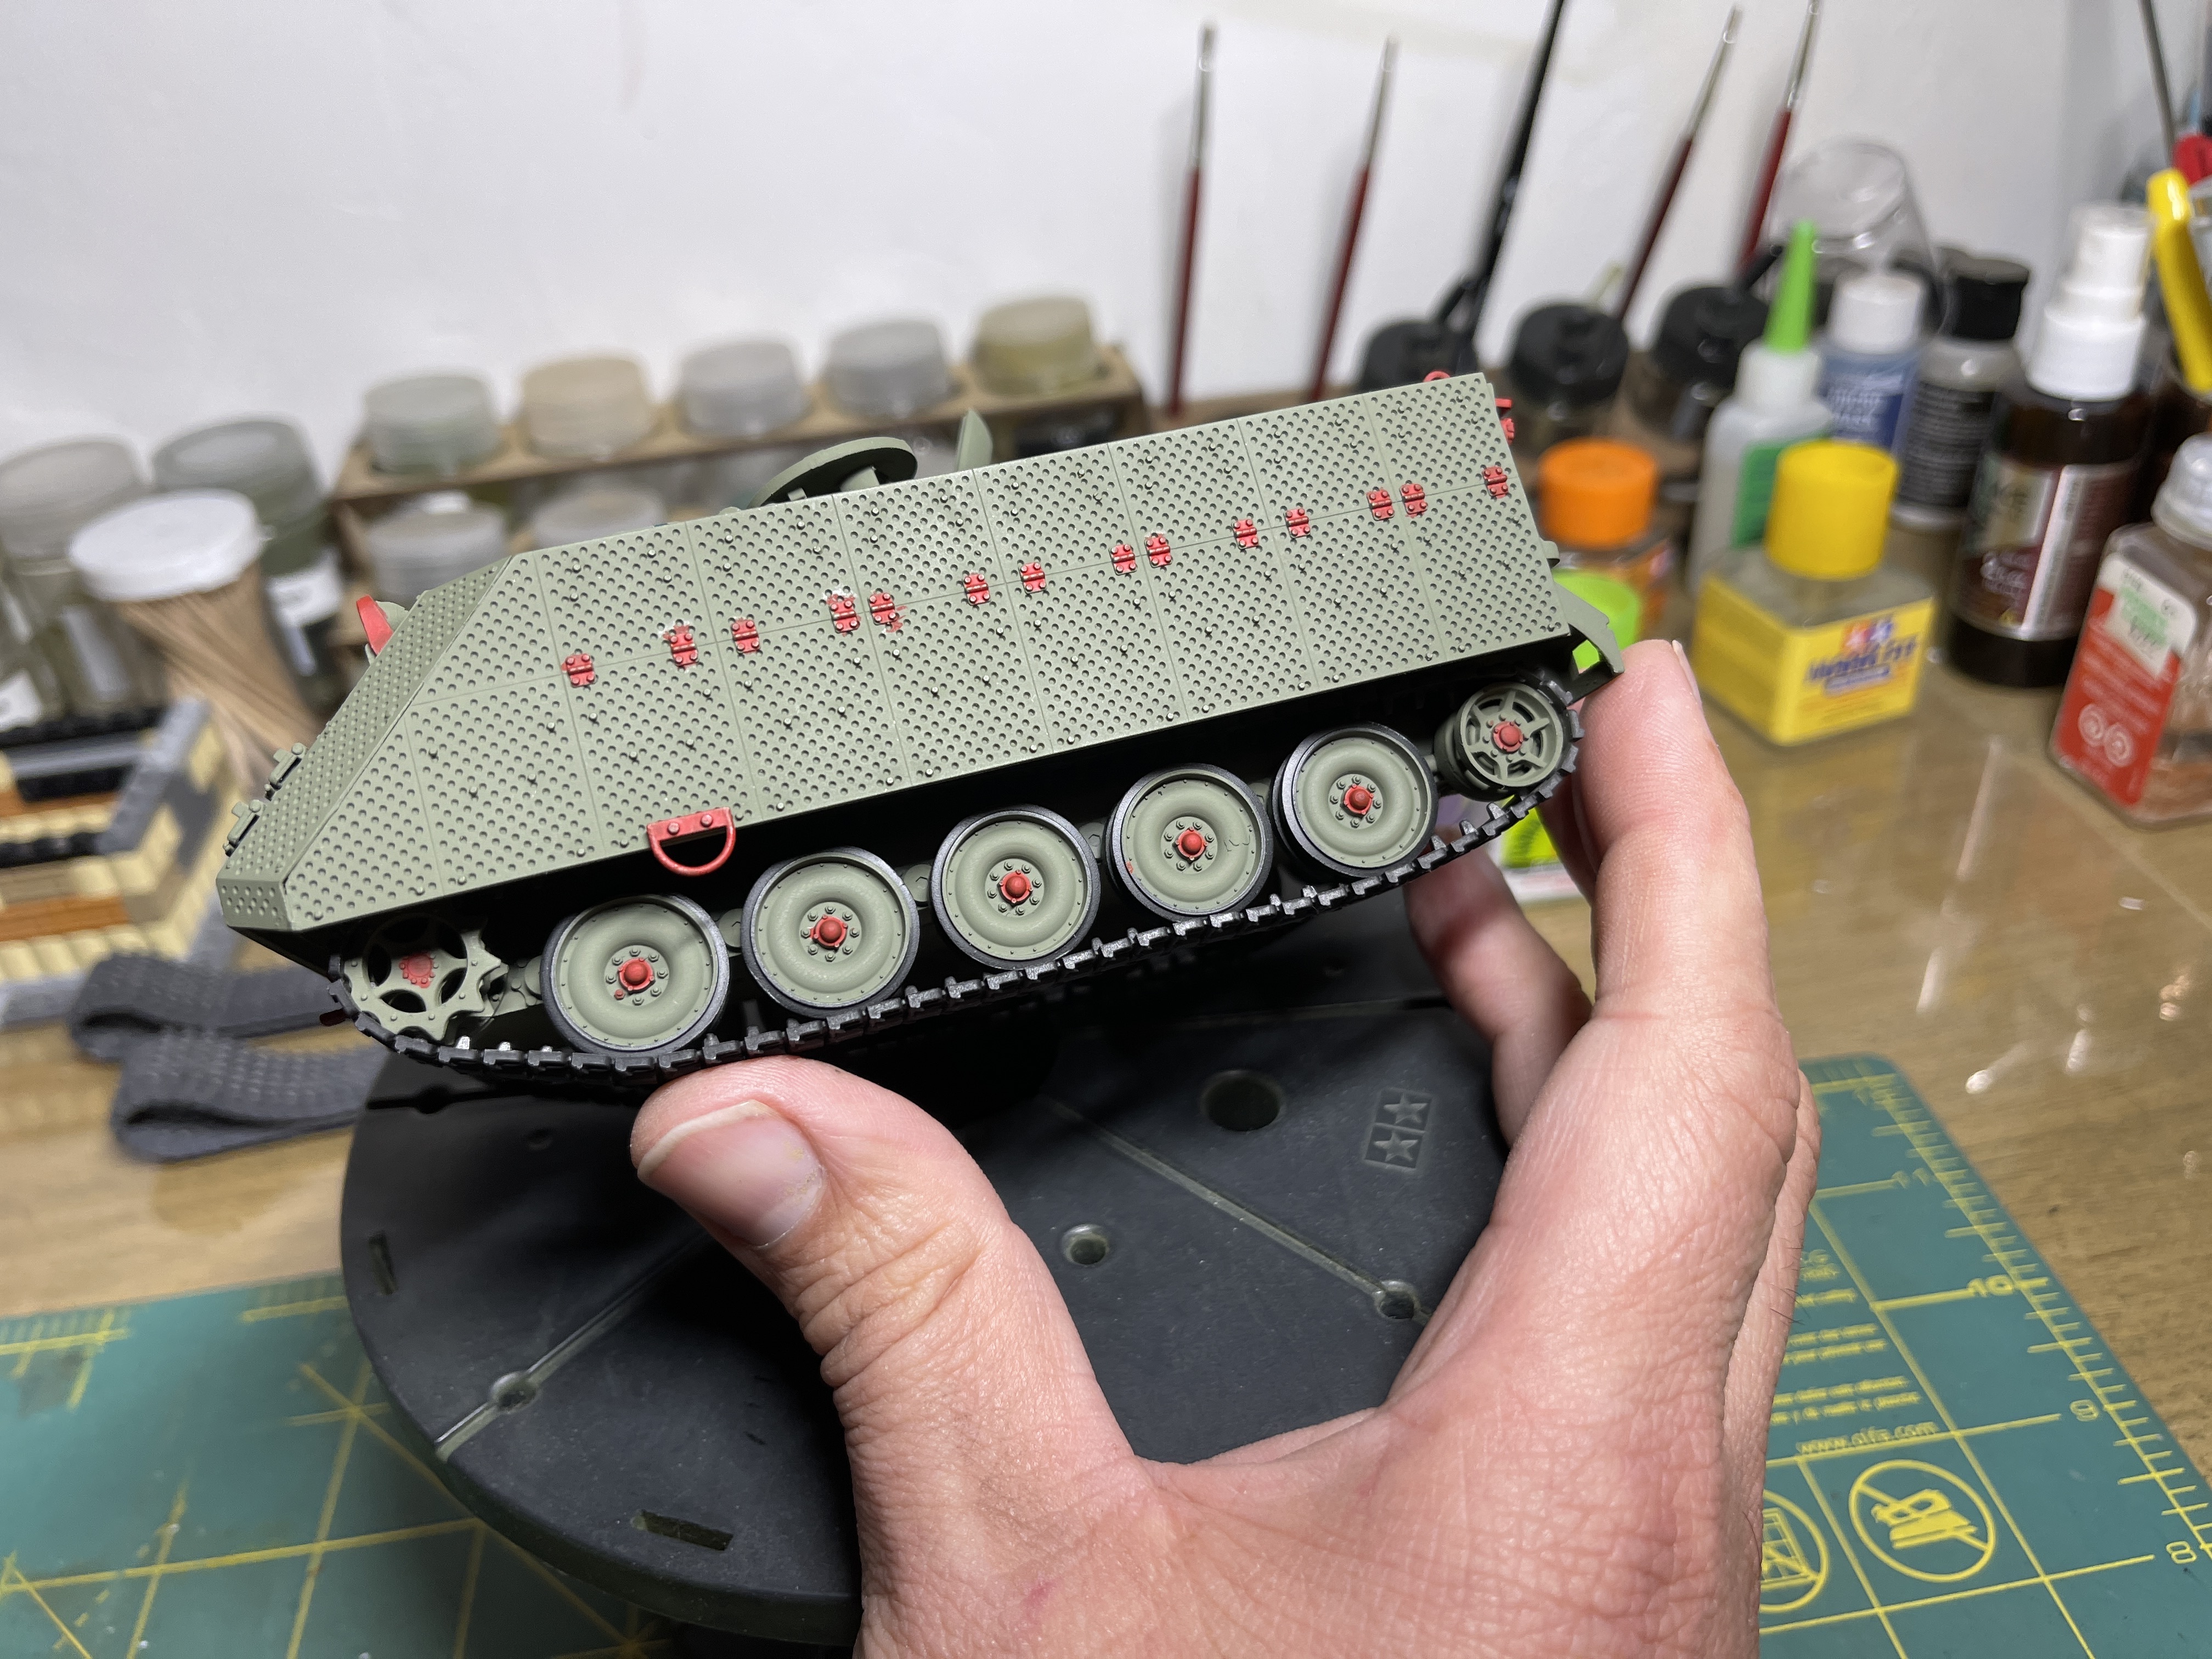
Adding more details to one of my IDF M113 Nagmash APCs.

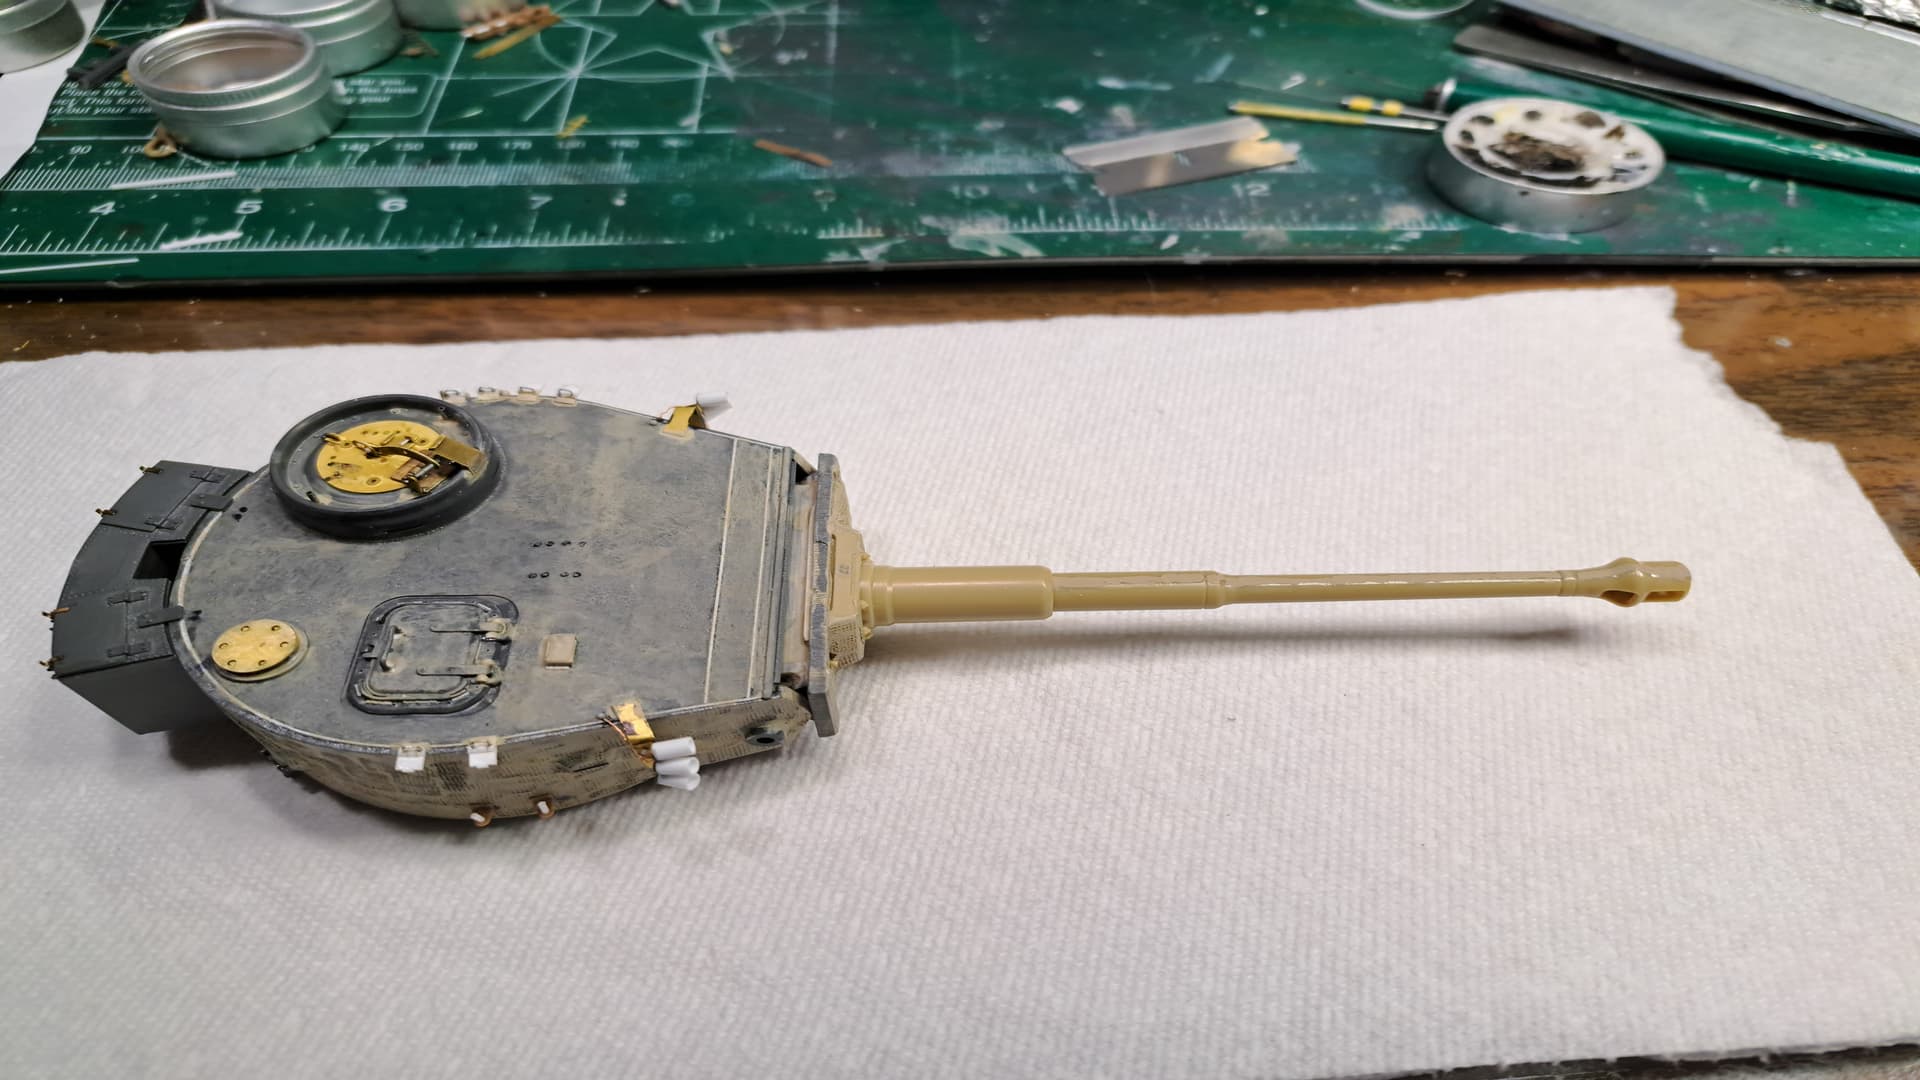
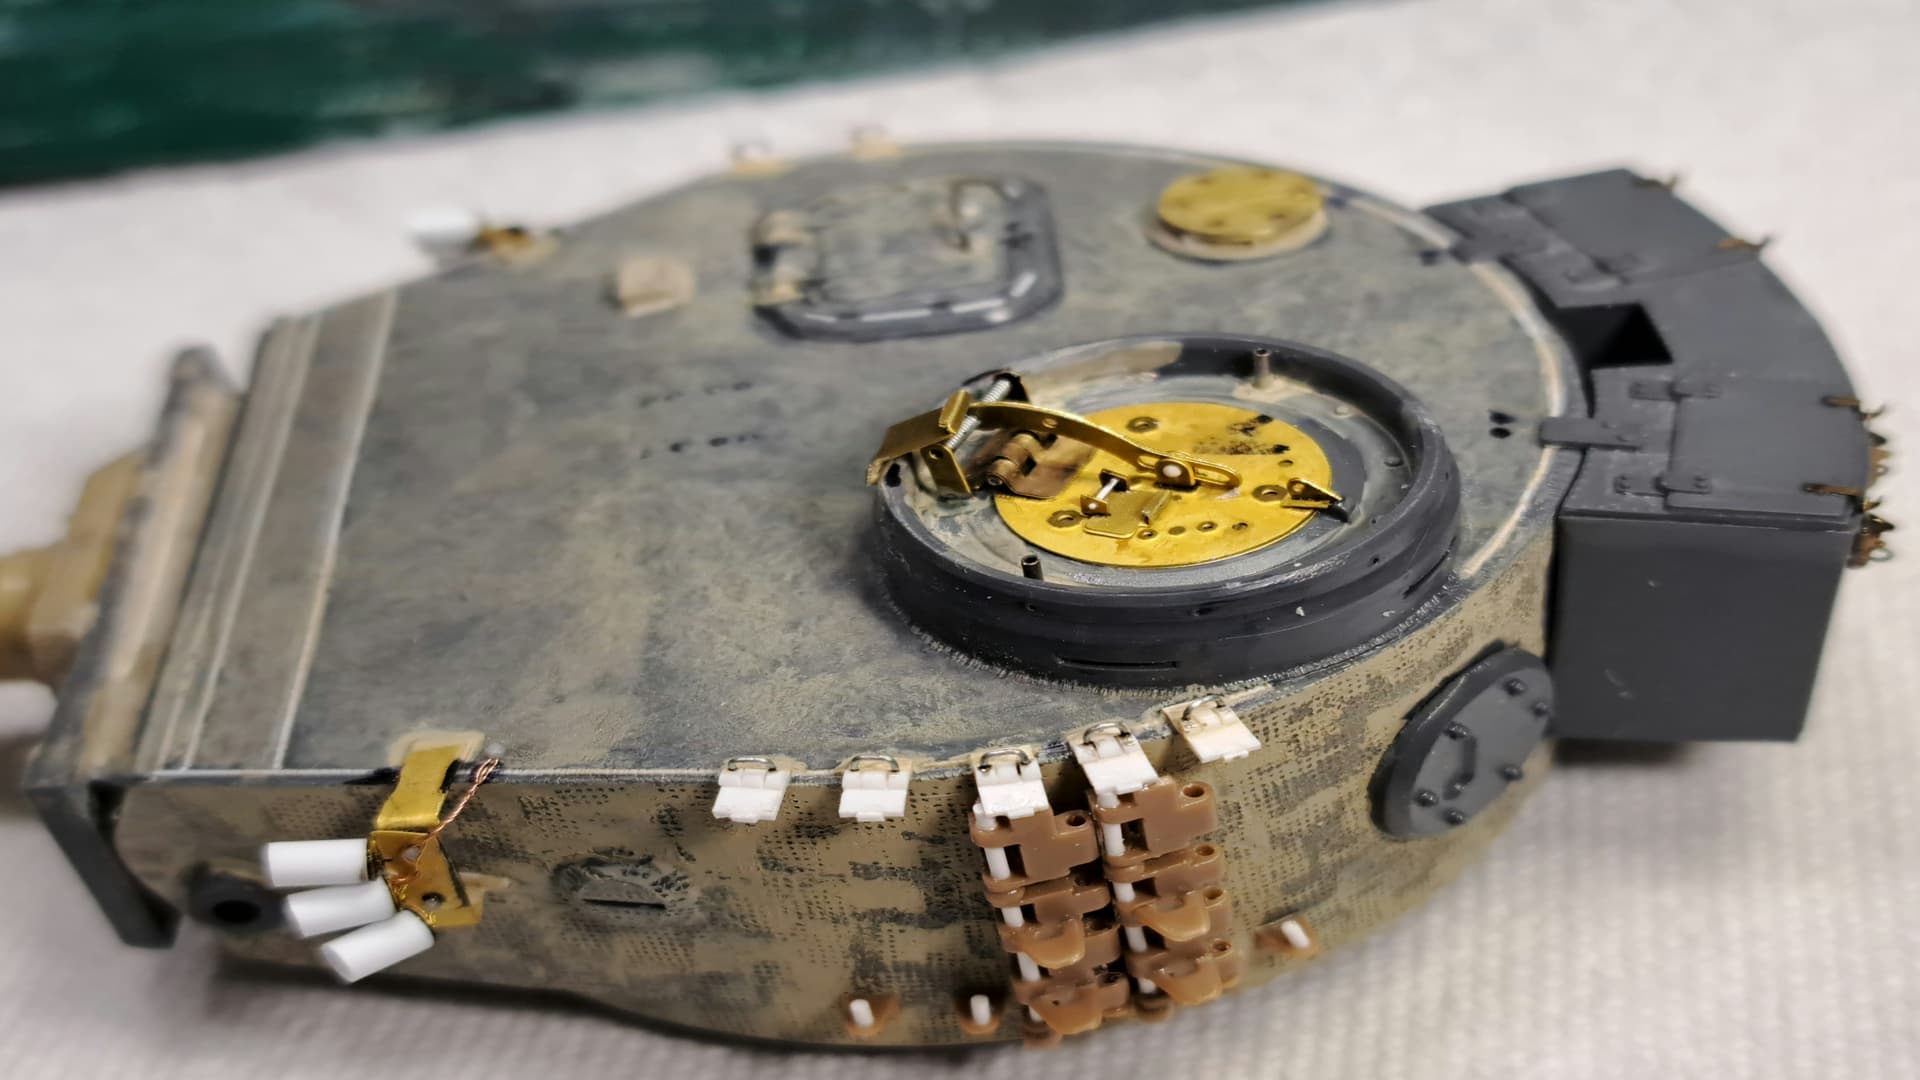
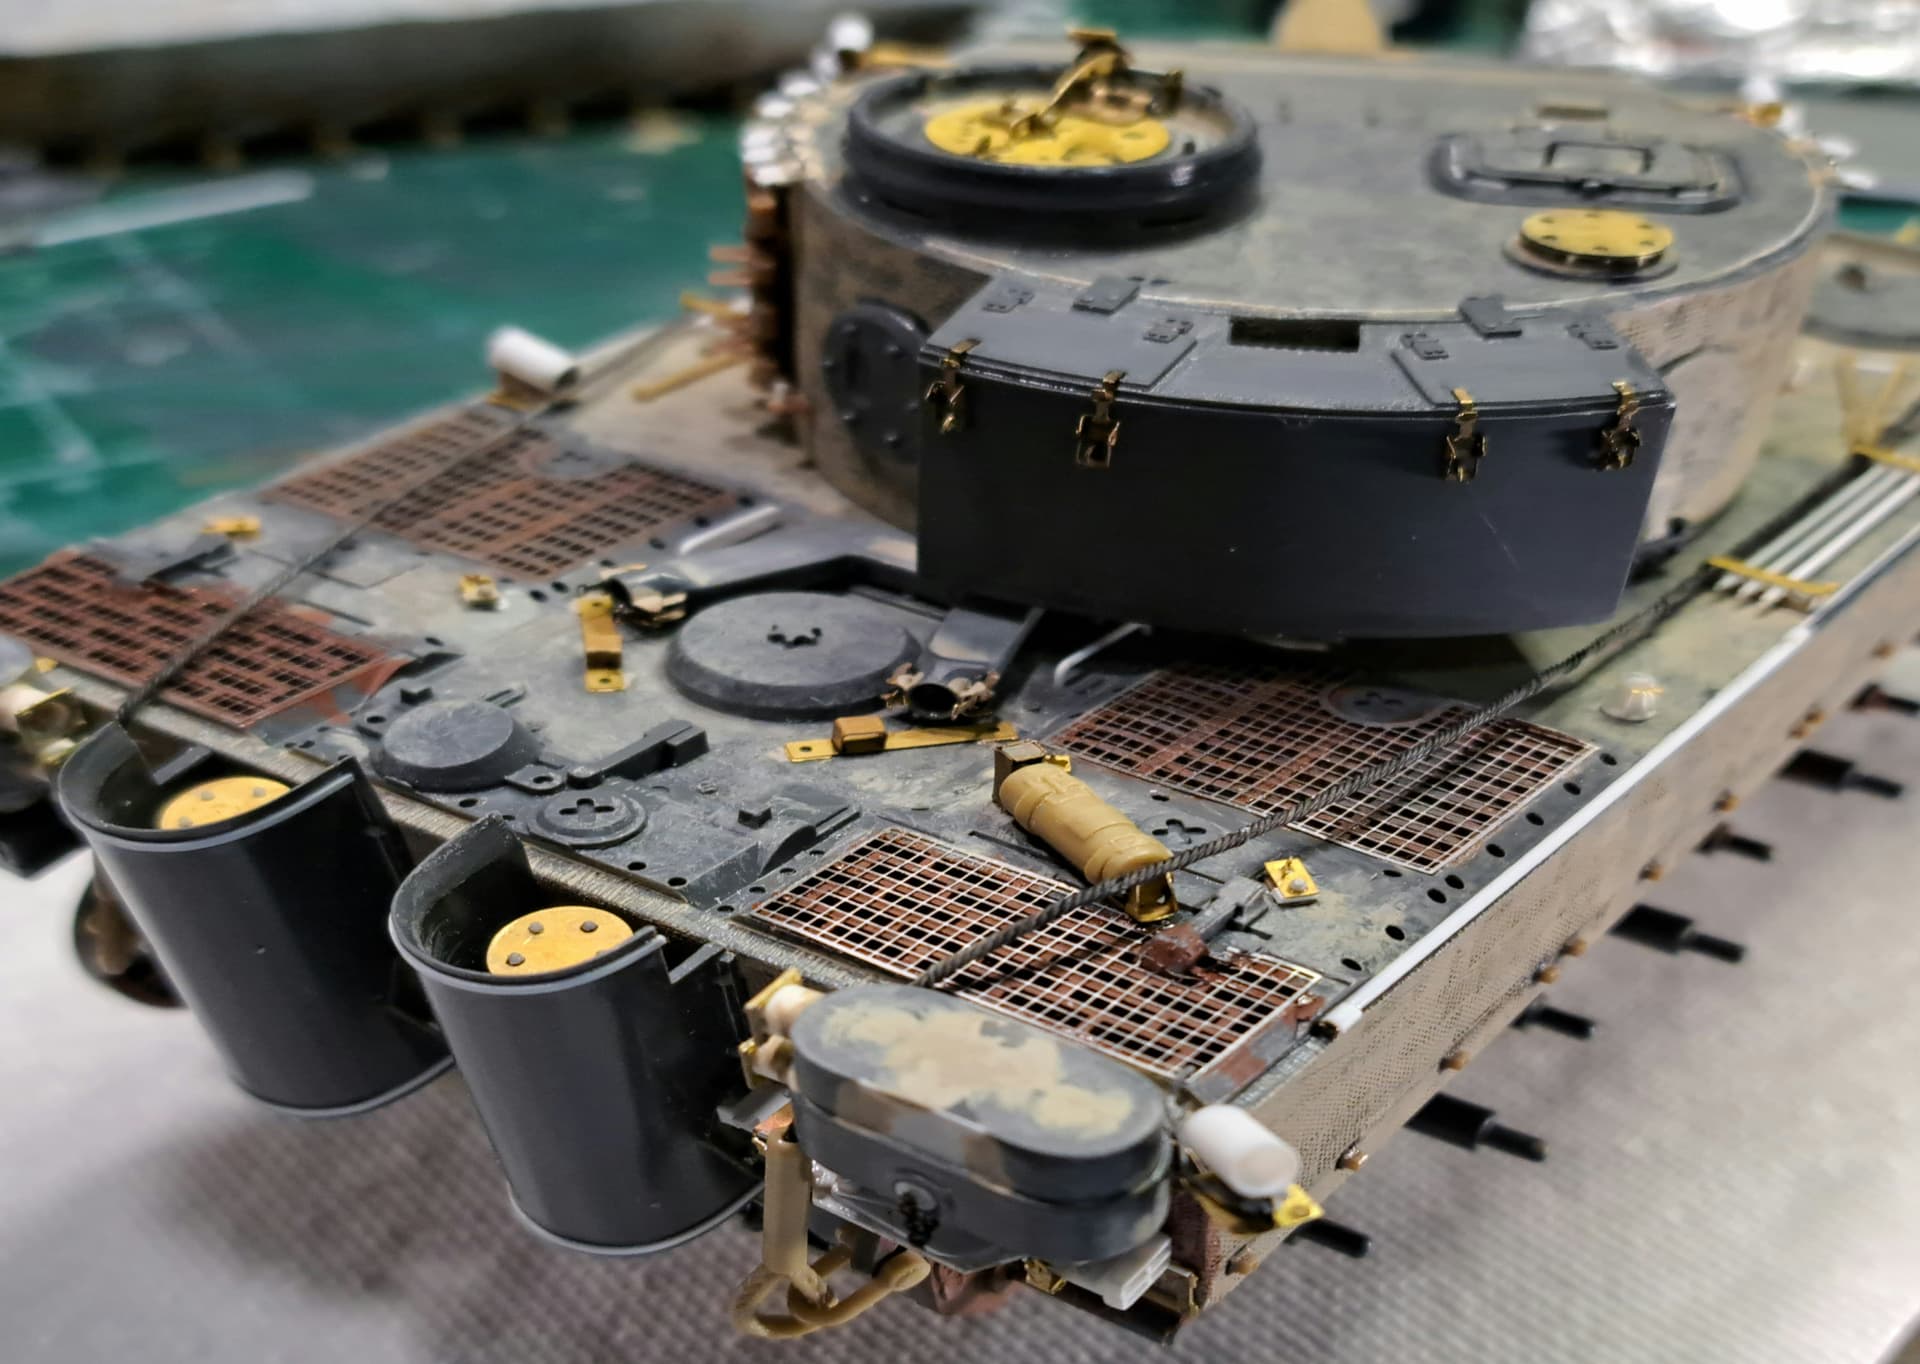
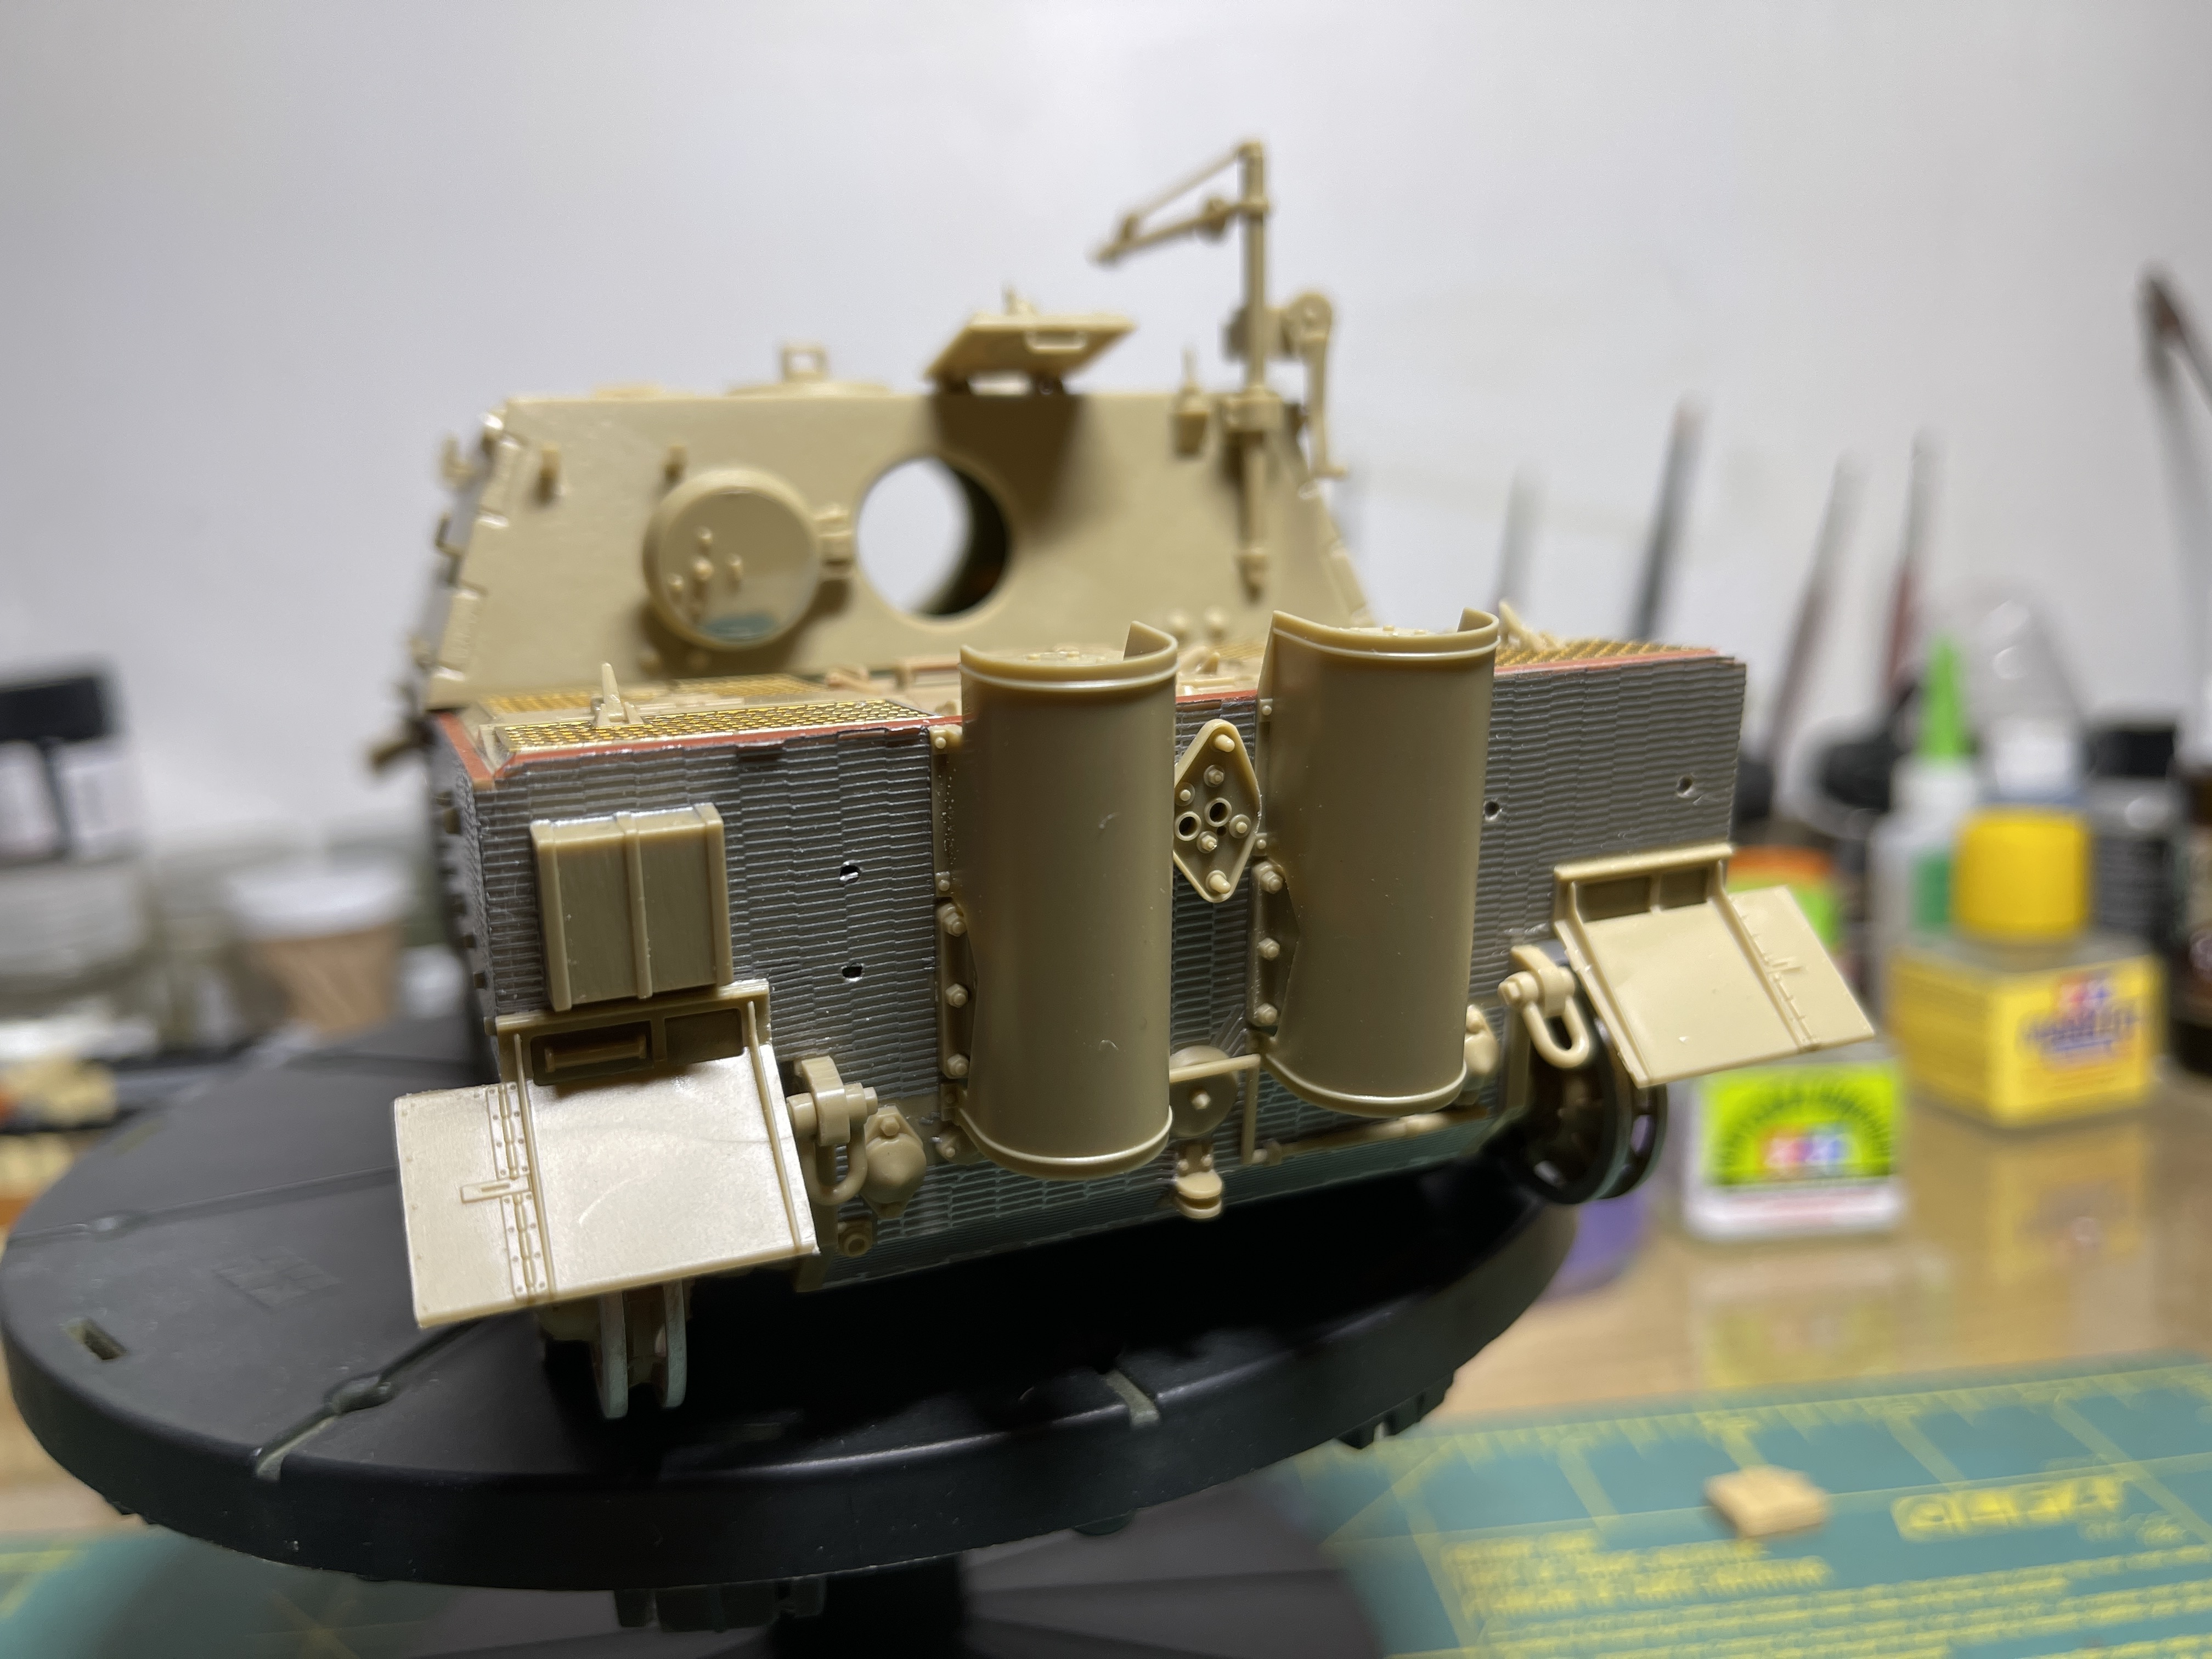
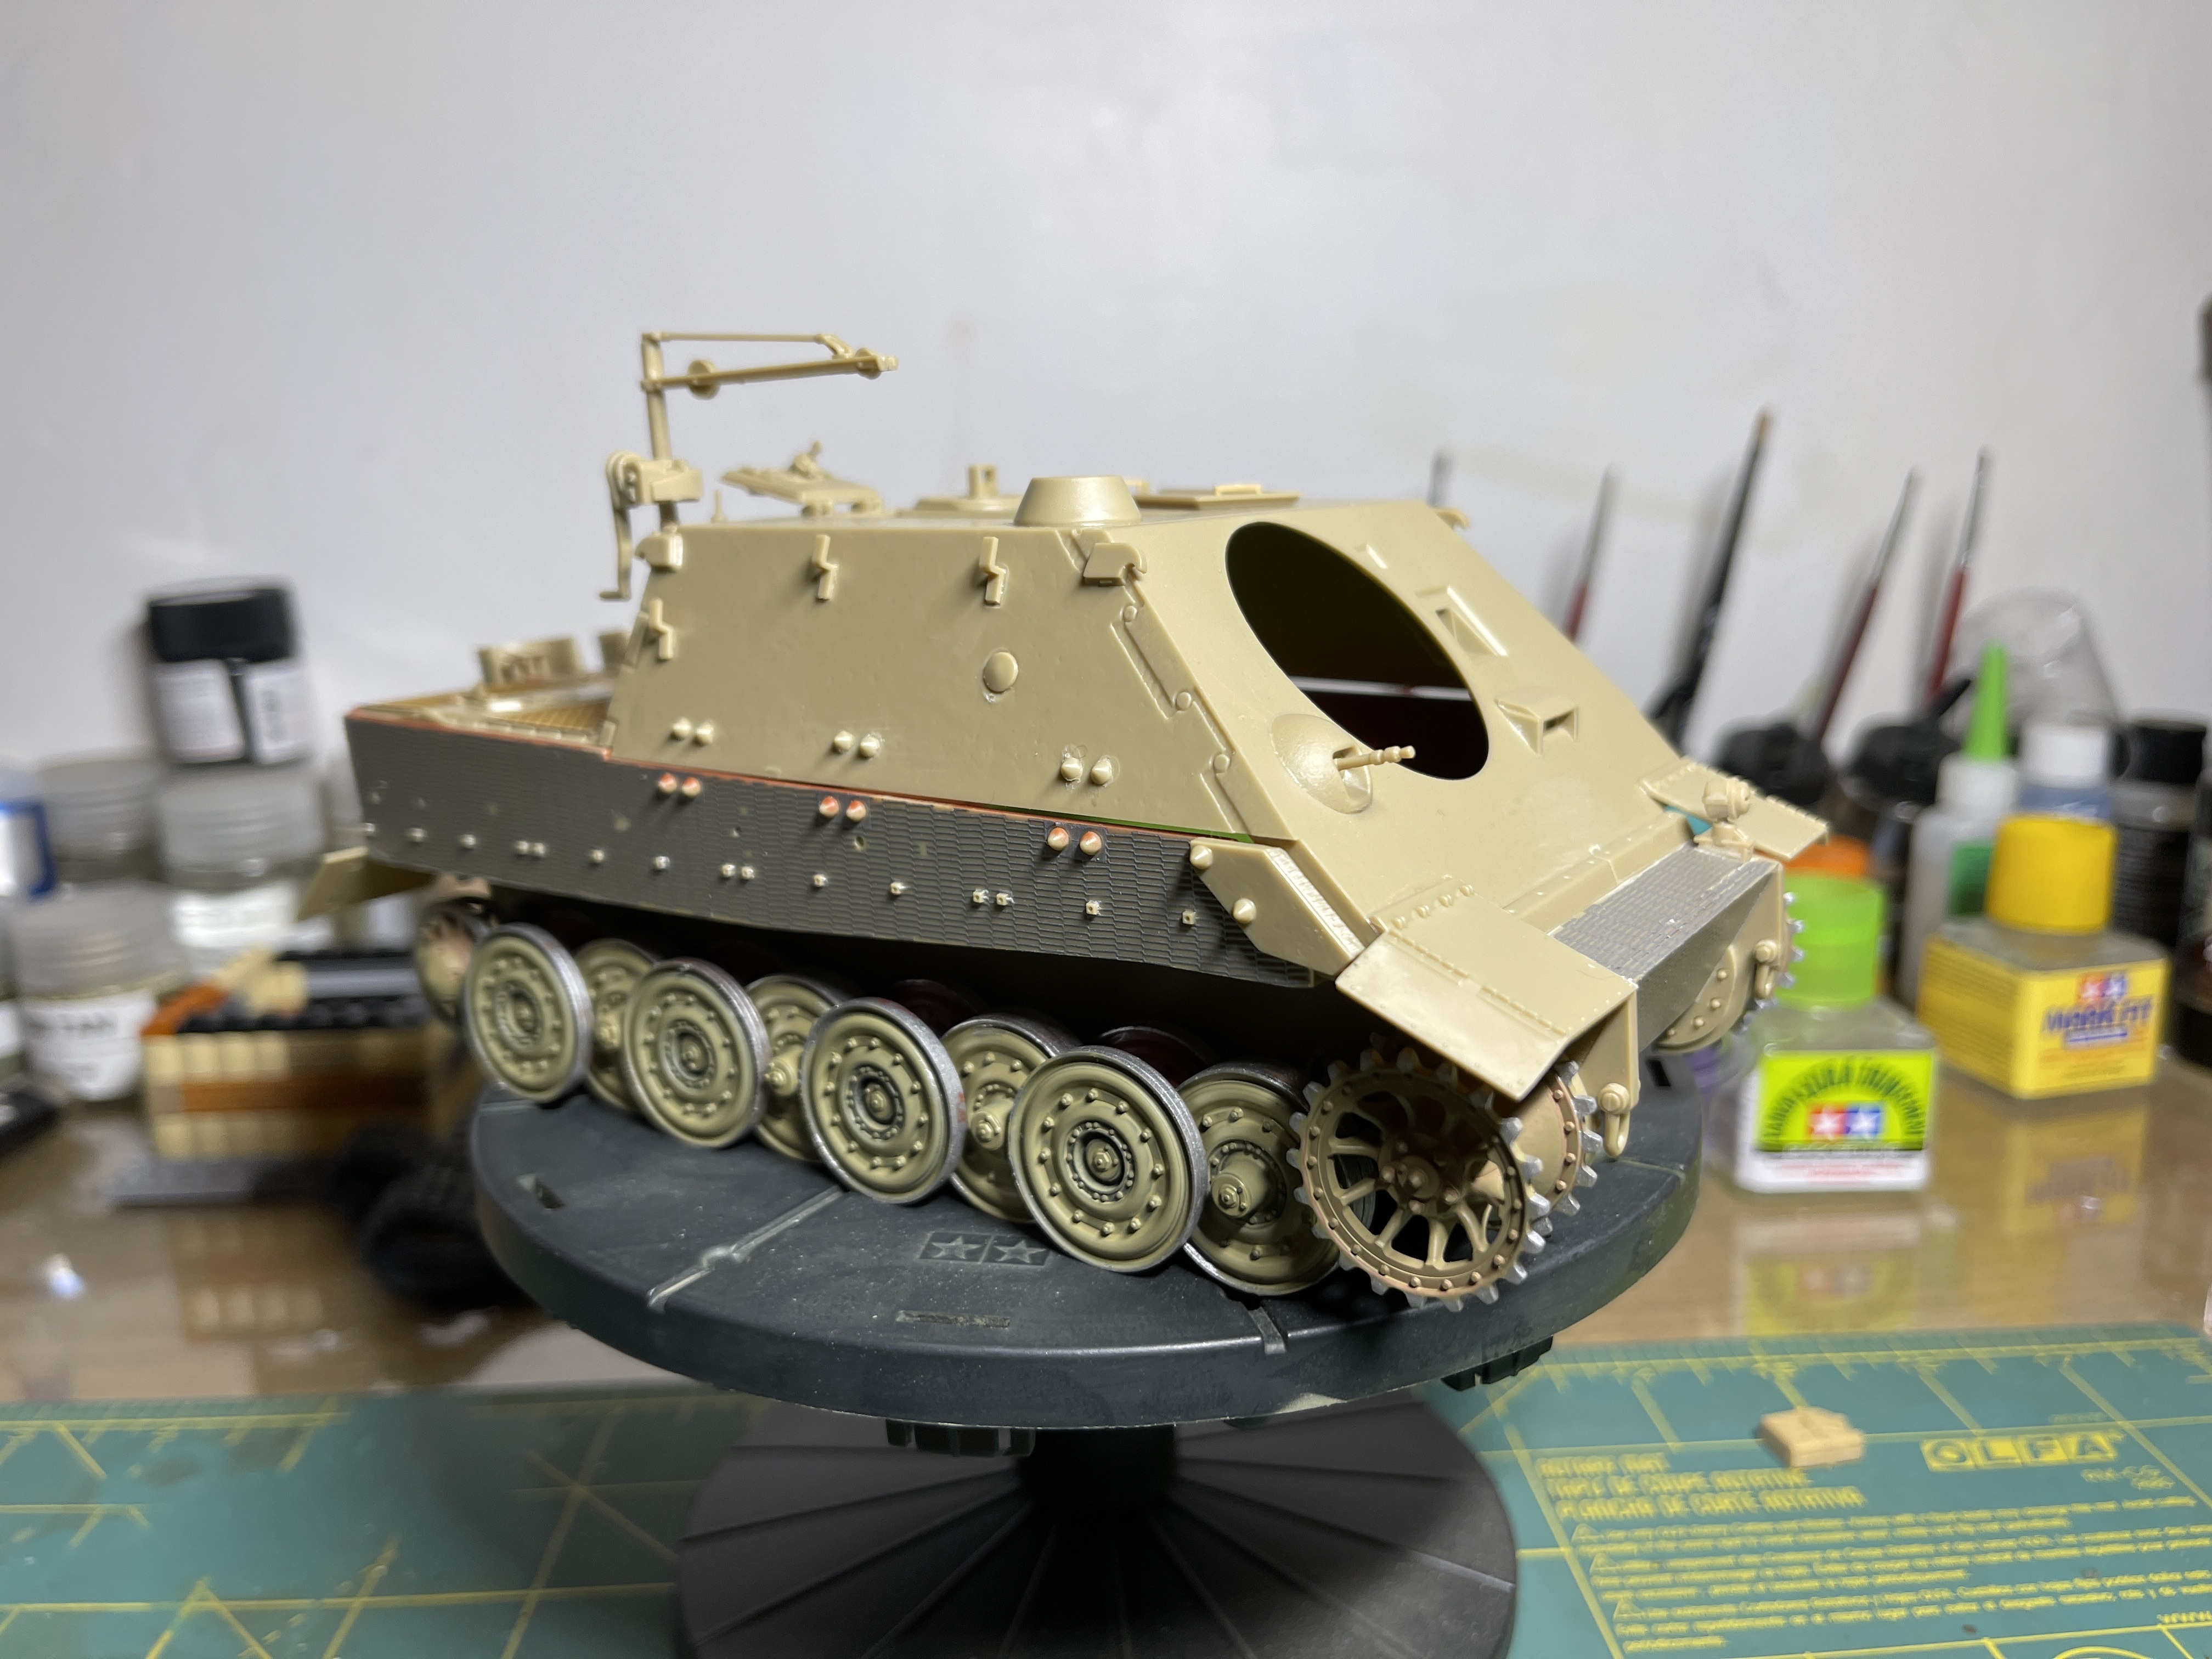
Also, more work on the Sturmtiger as well.

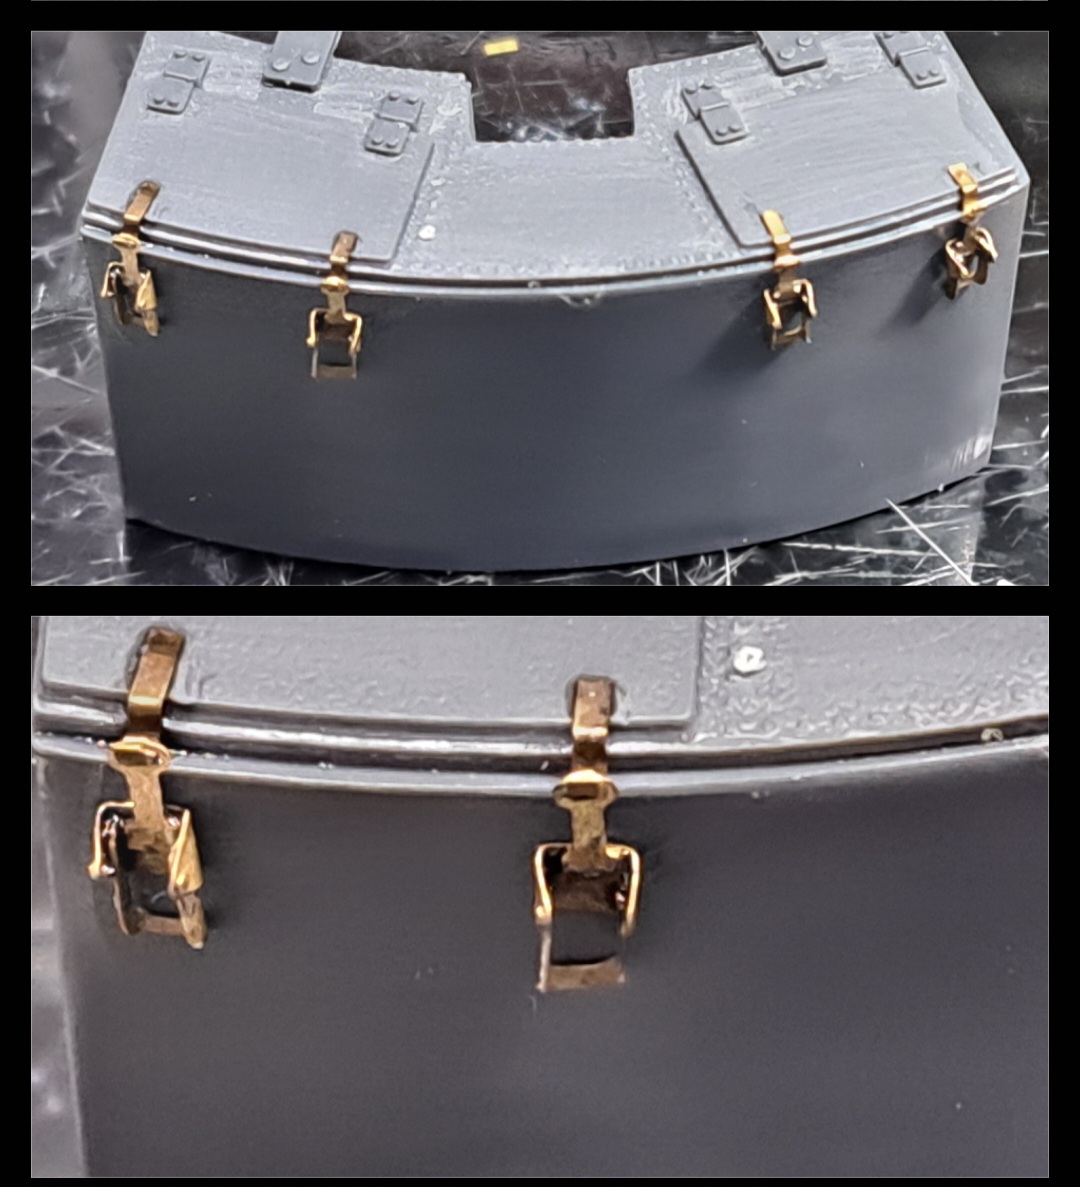
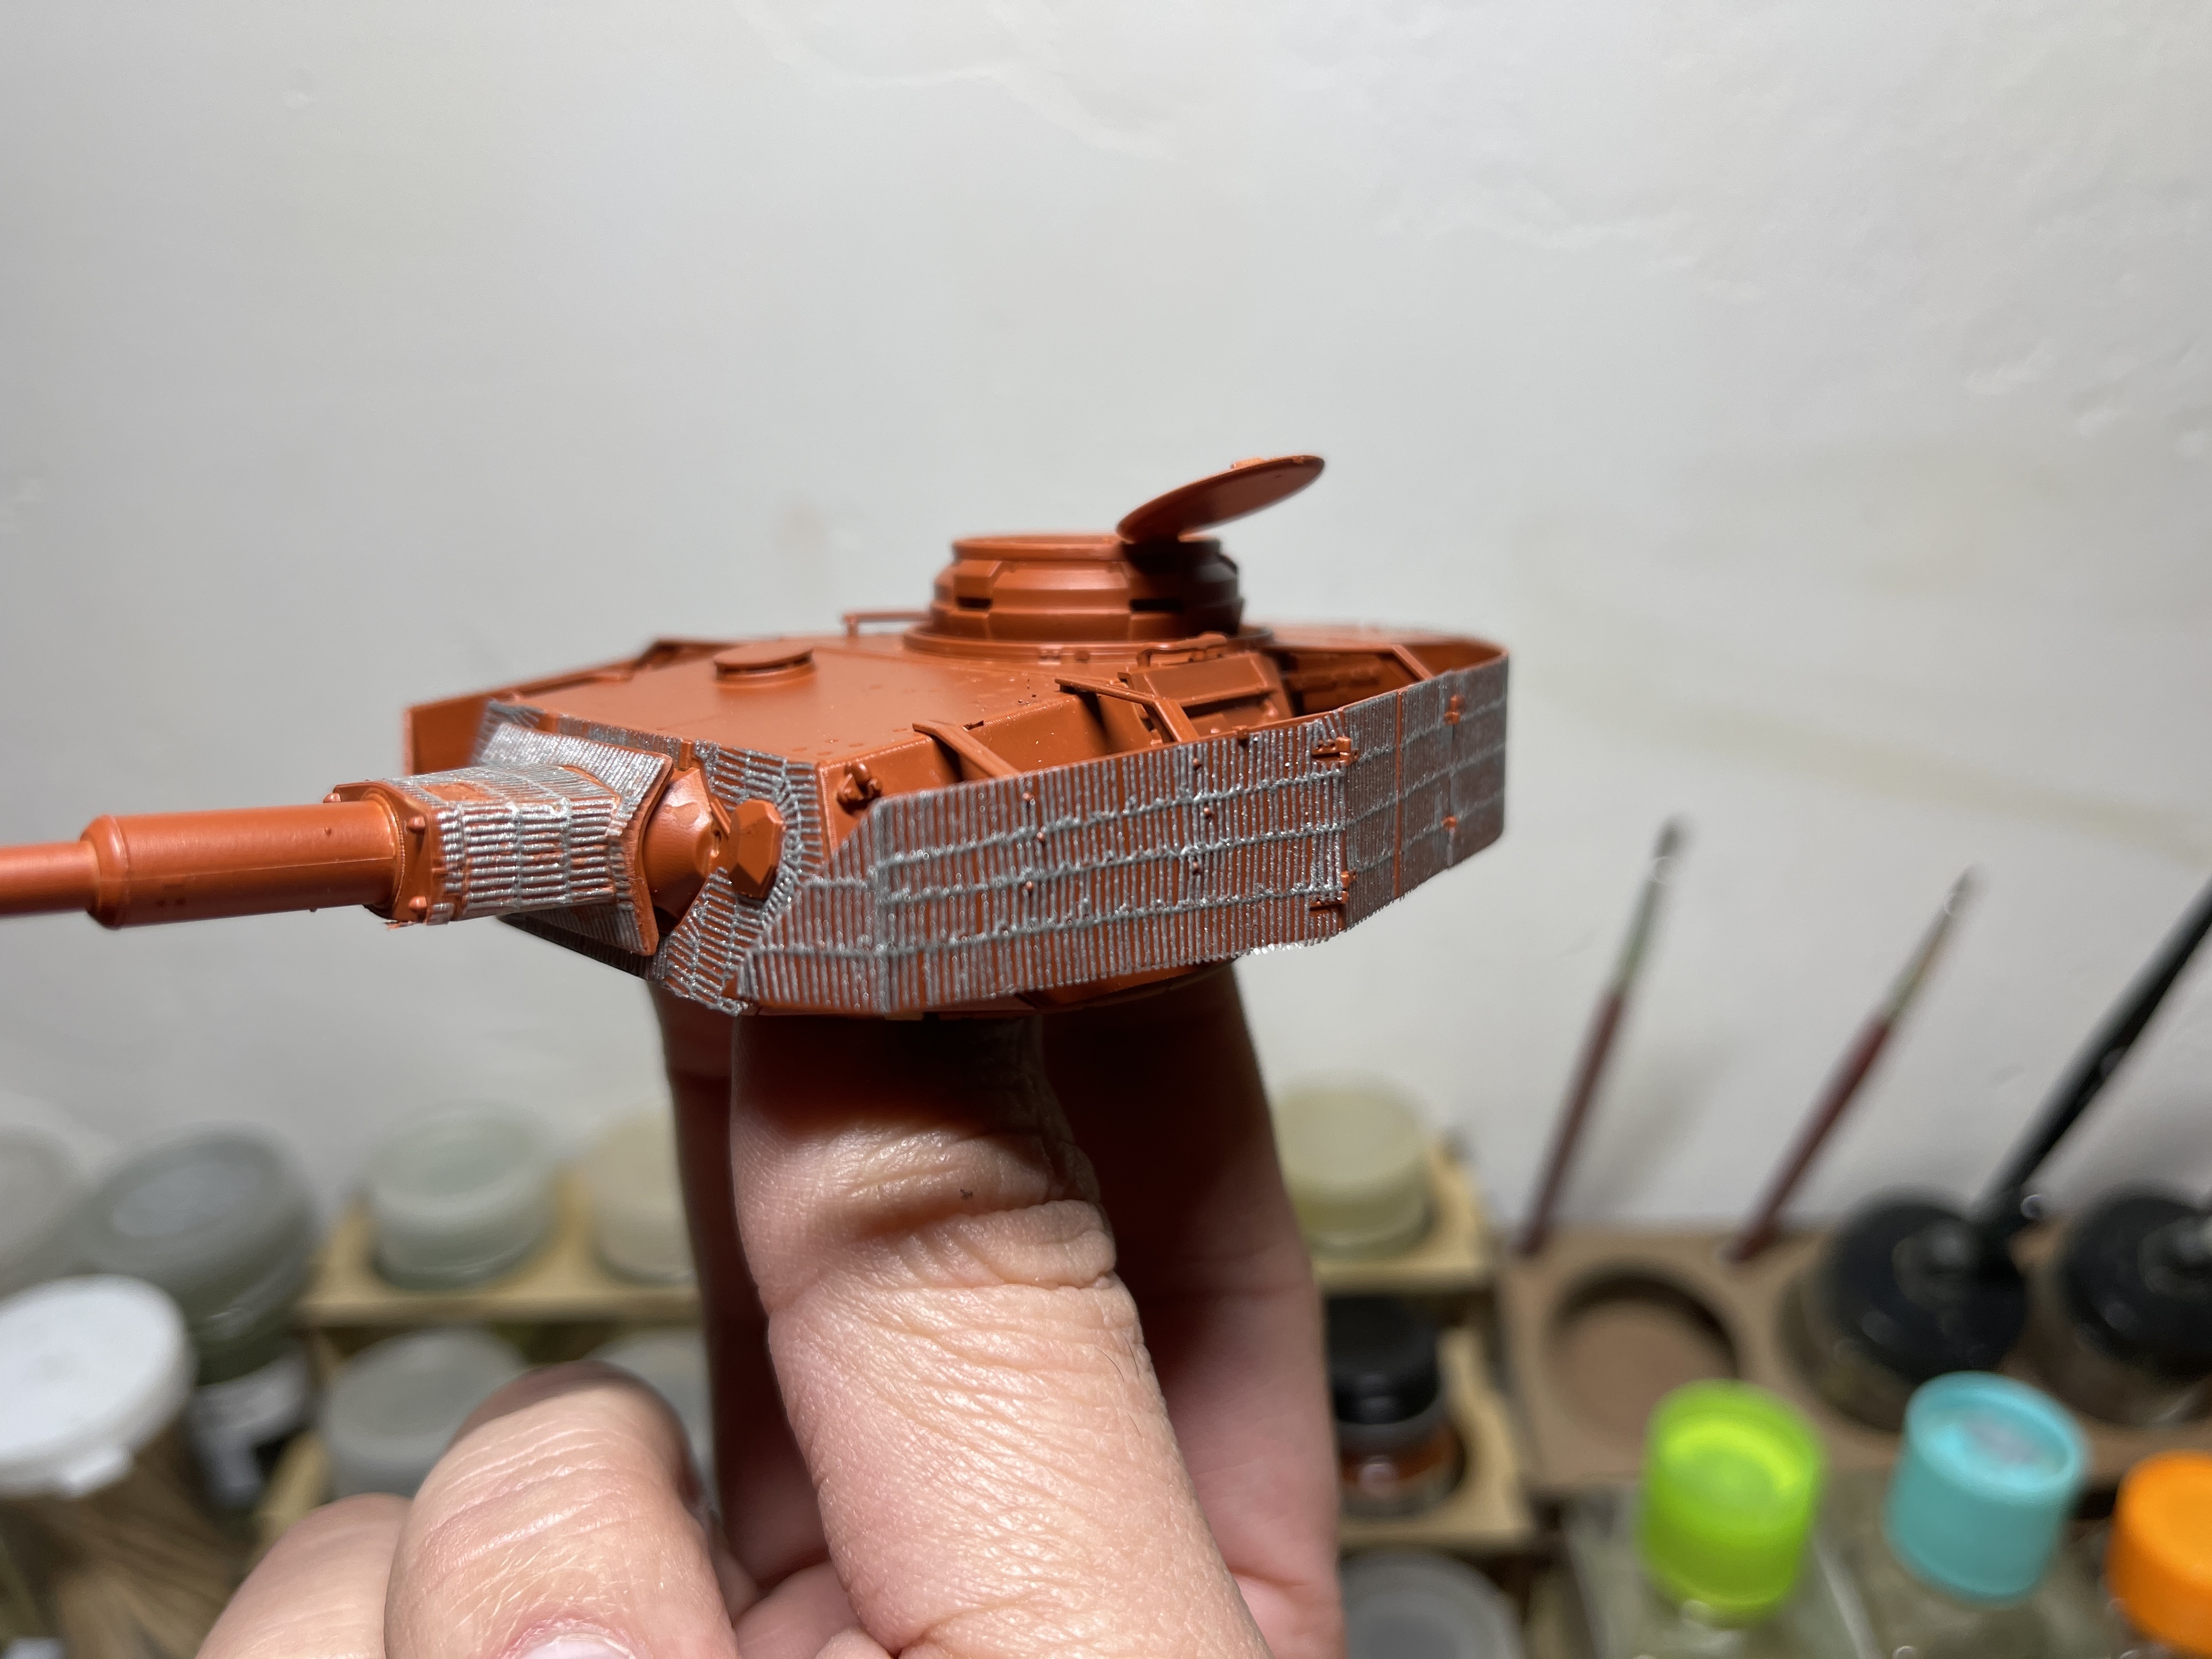
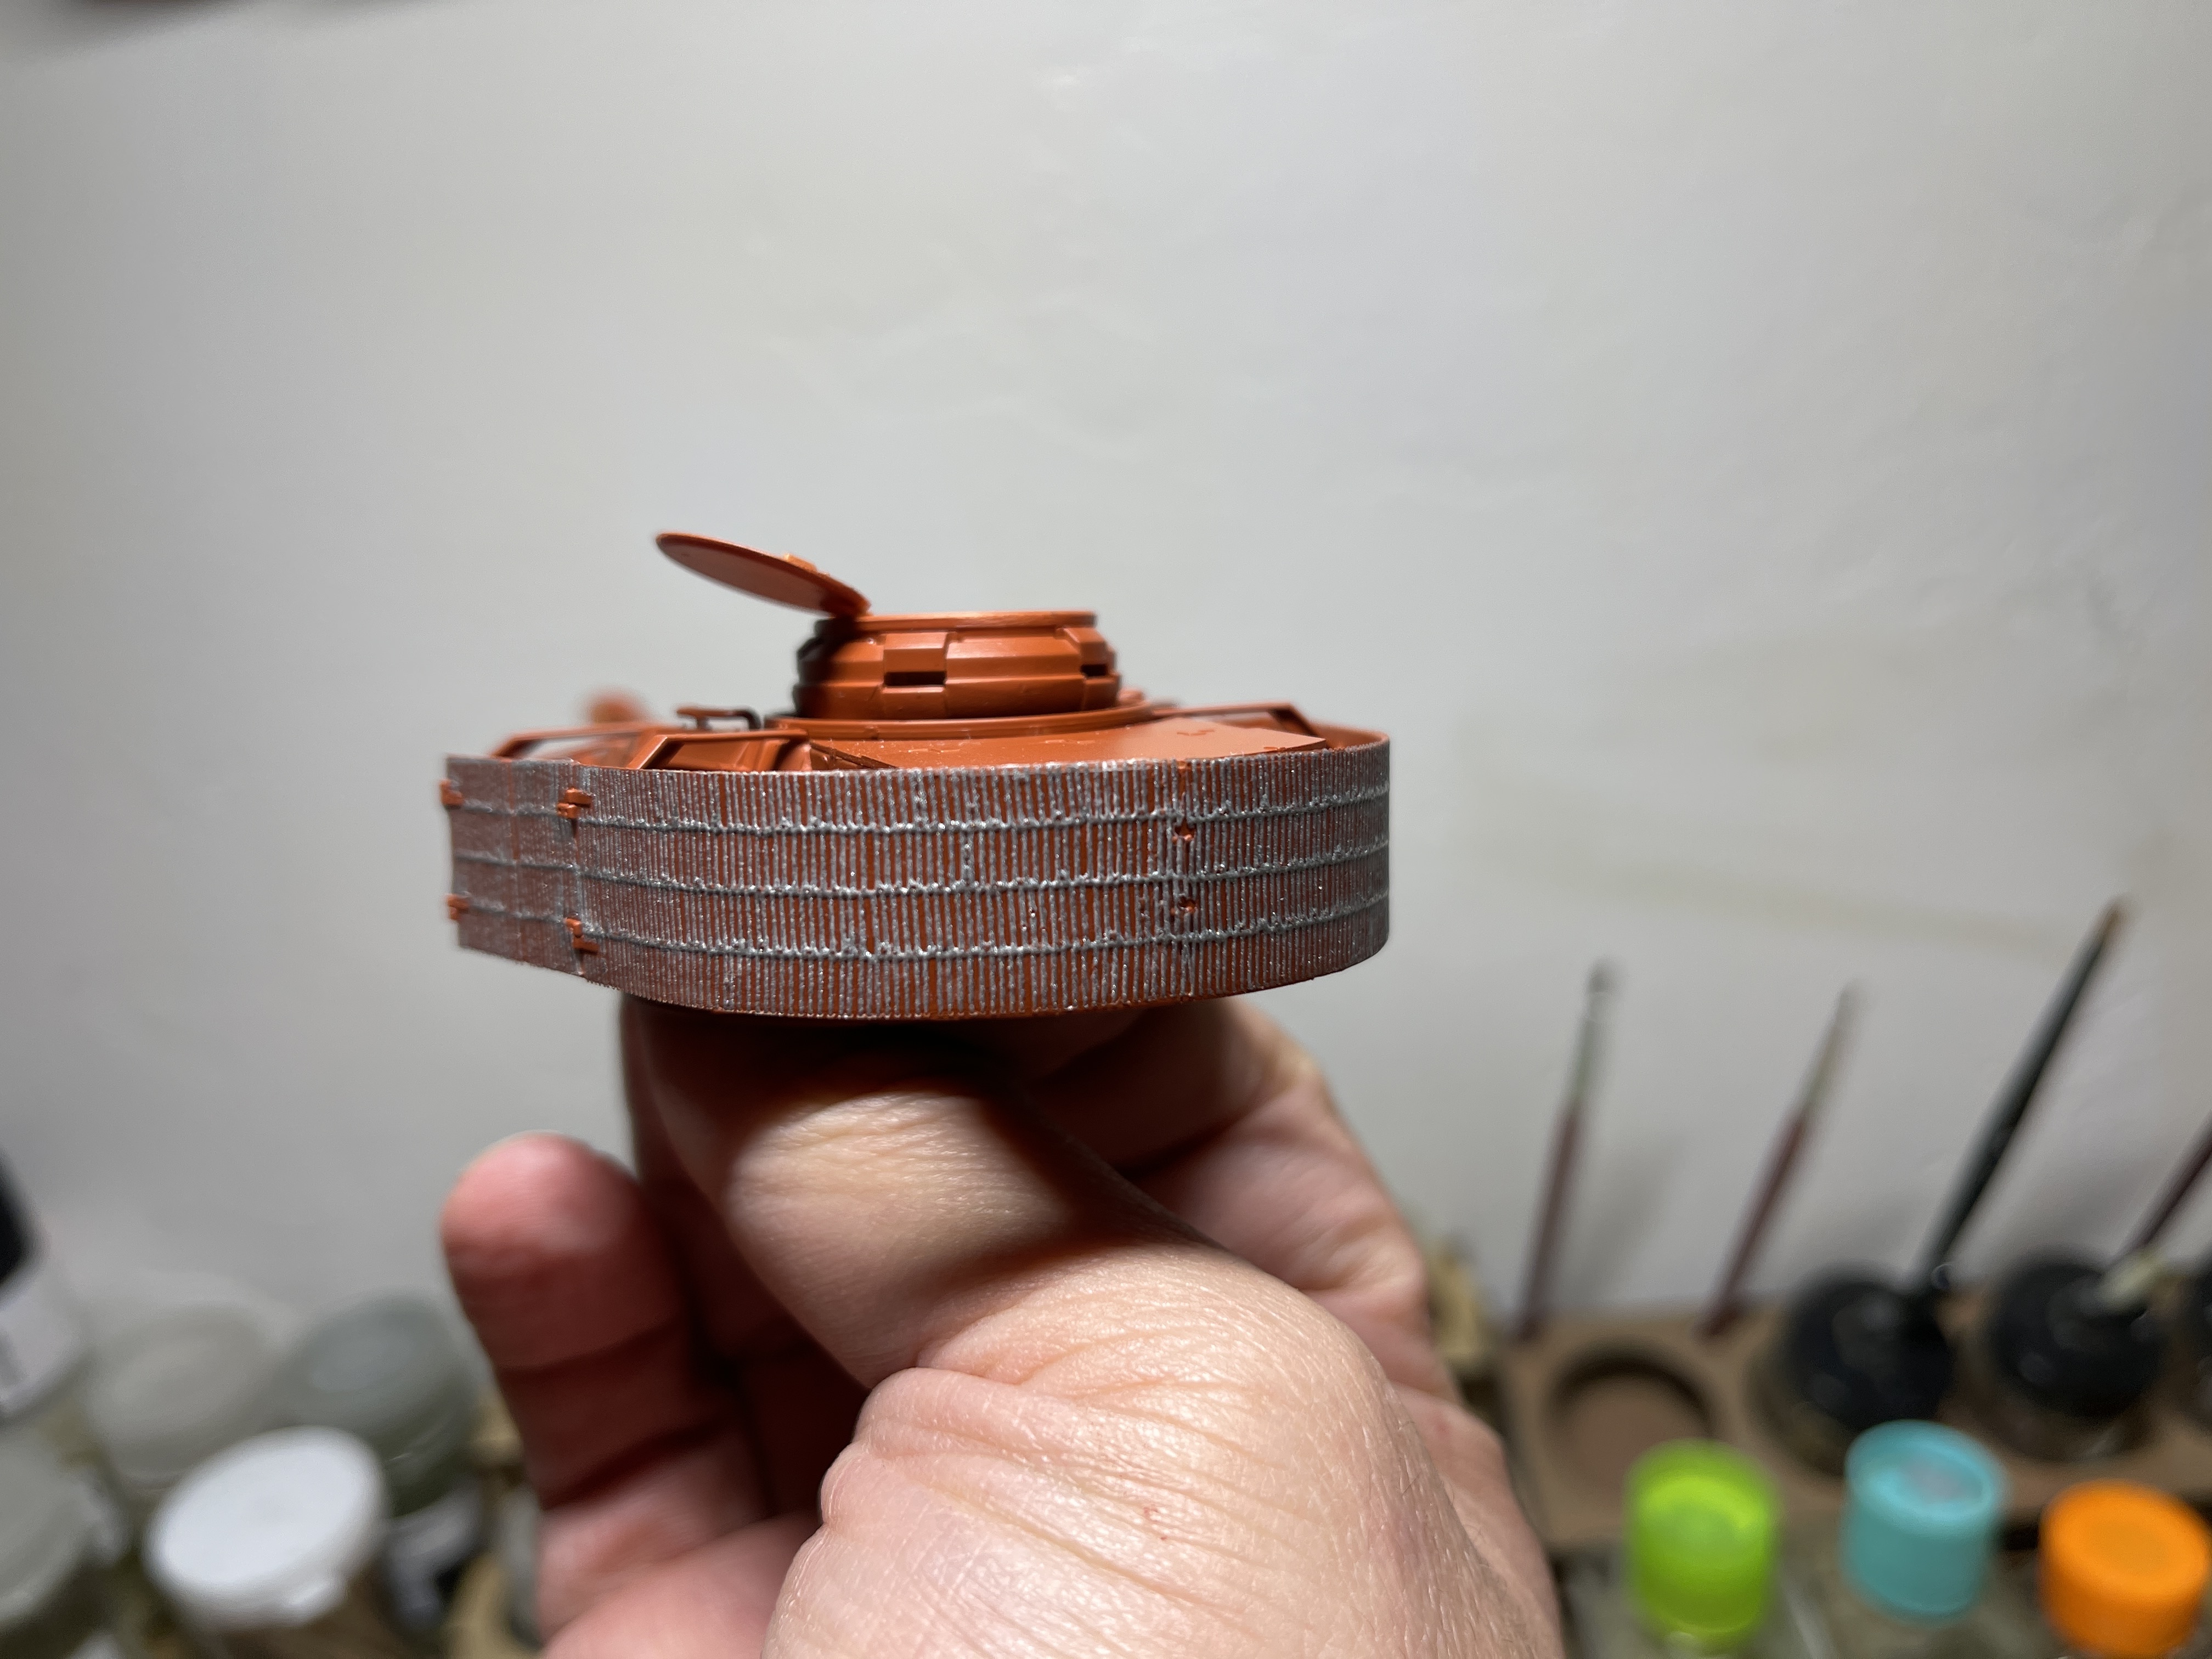
And lastly; completed the addition of the zimmerit to my Academy Panzer IV Ausf H.

In all, a very productive weekend.
Adding more details to one of my IDF M113 Nagmash APCs.
Also, more work on the Sturmtiger as well.
And lastly; completed the addition of the zimmerit to my Academy Panzer IV Ausf H.
In all, a very productive weekend.
![]()
![]()
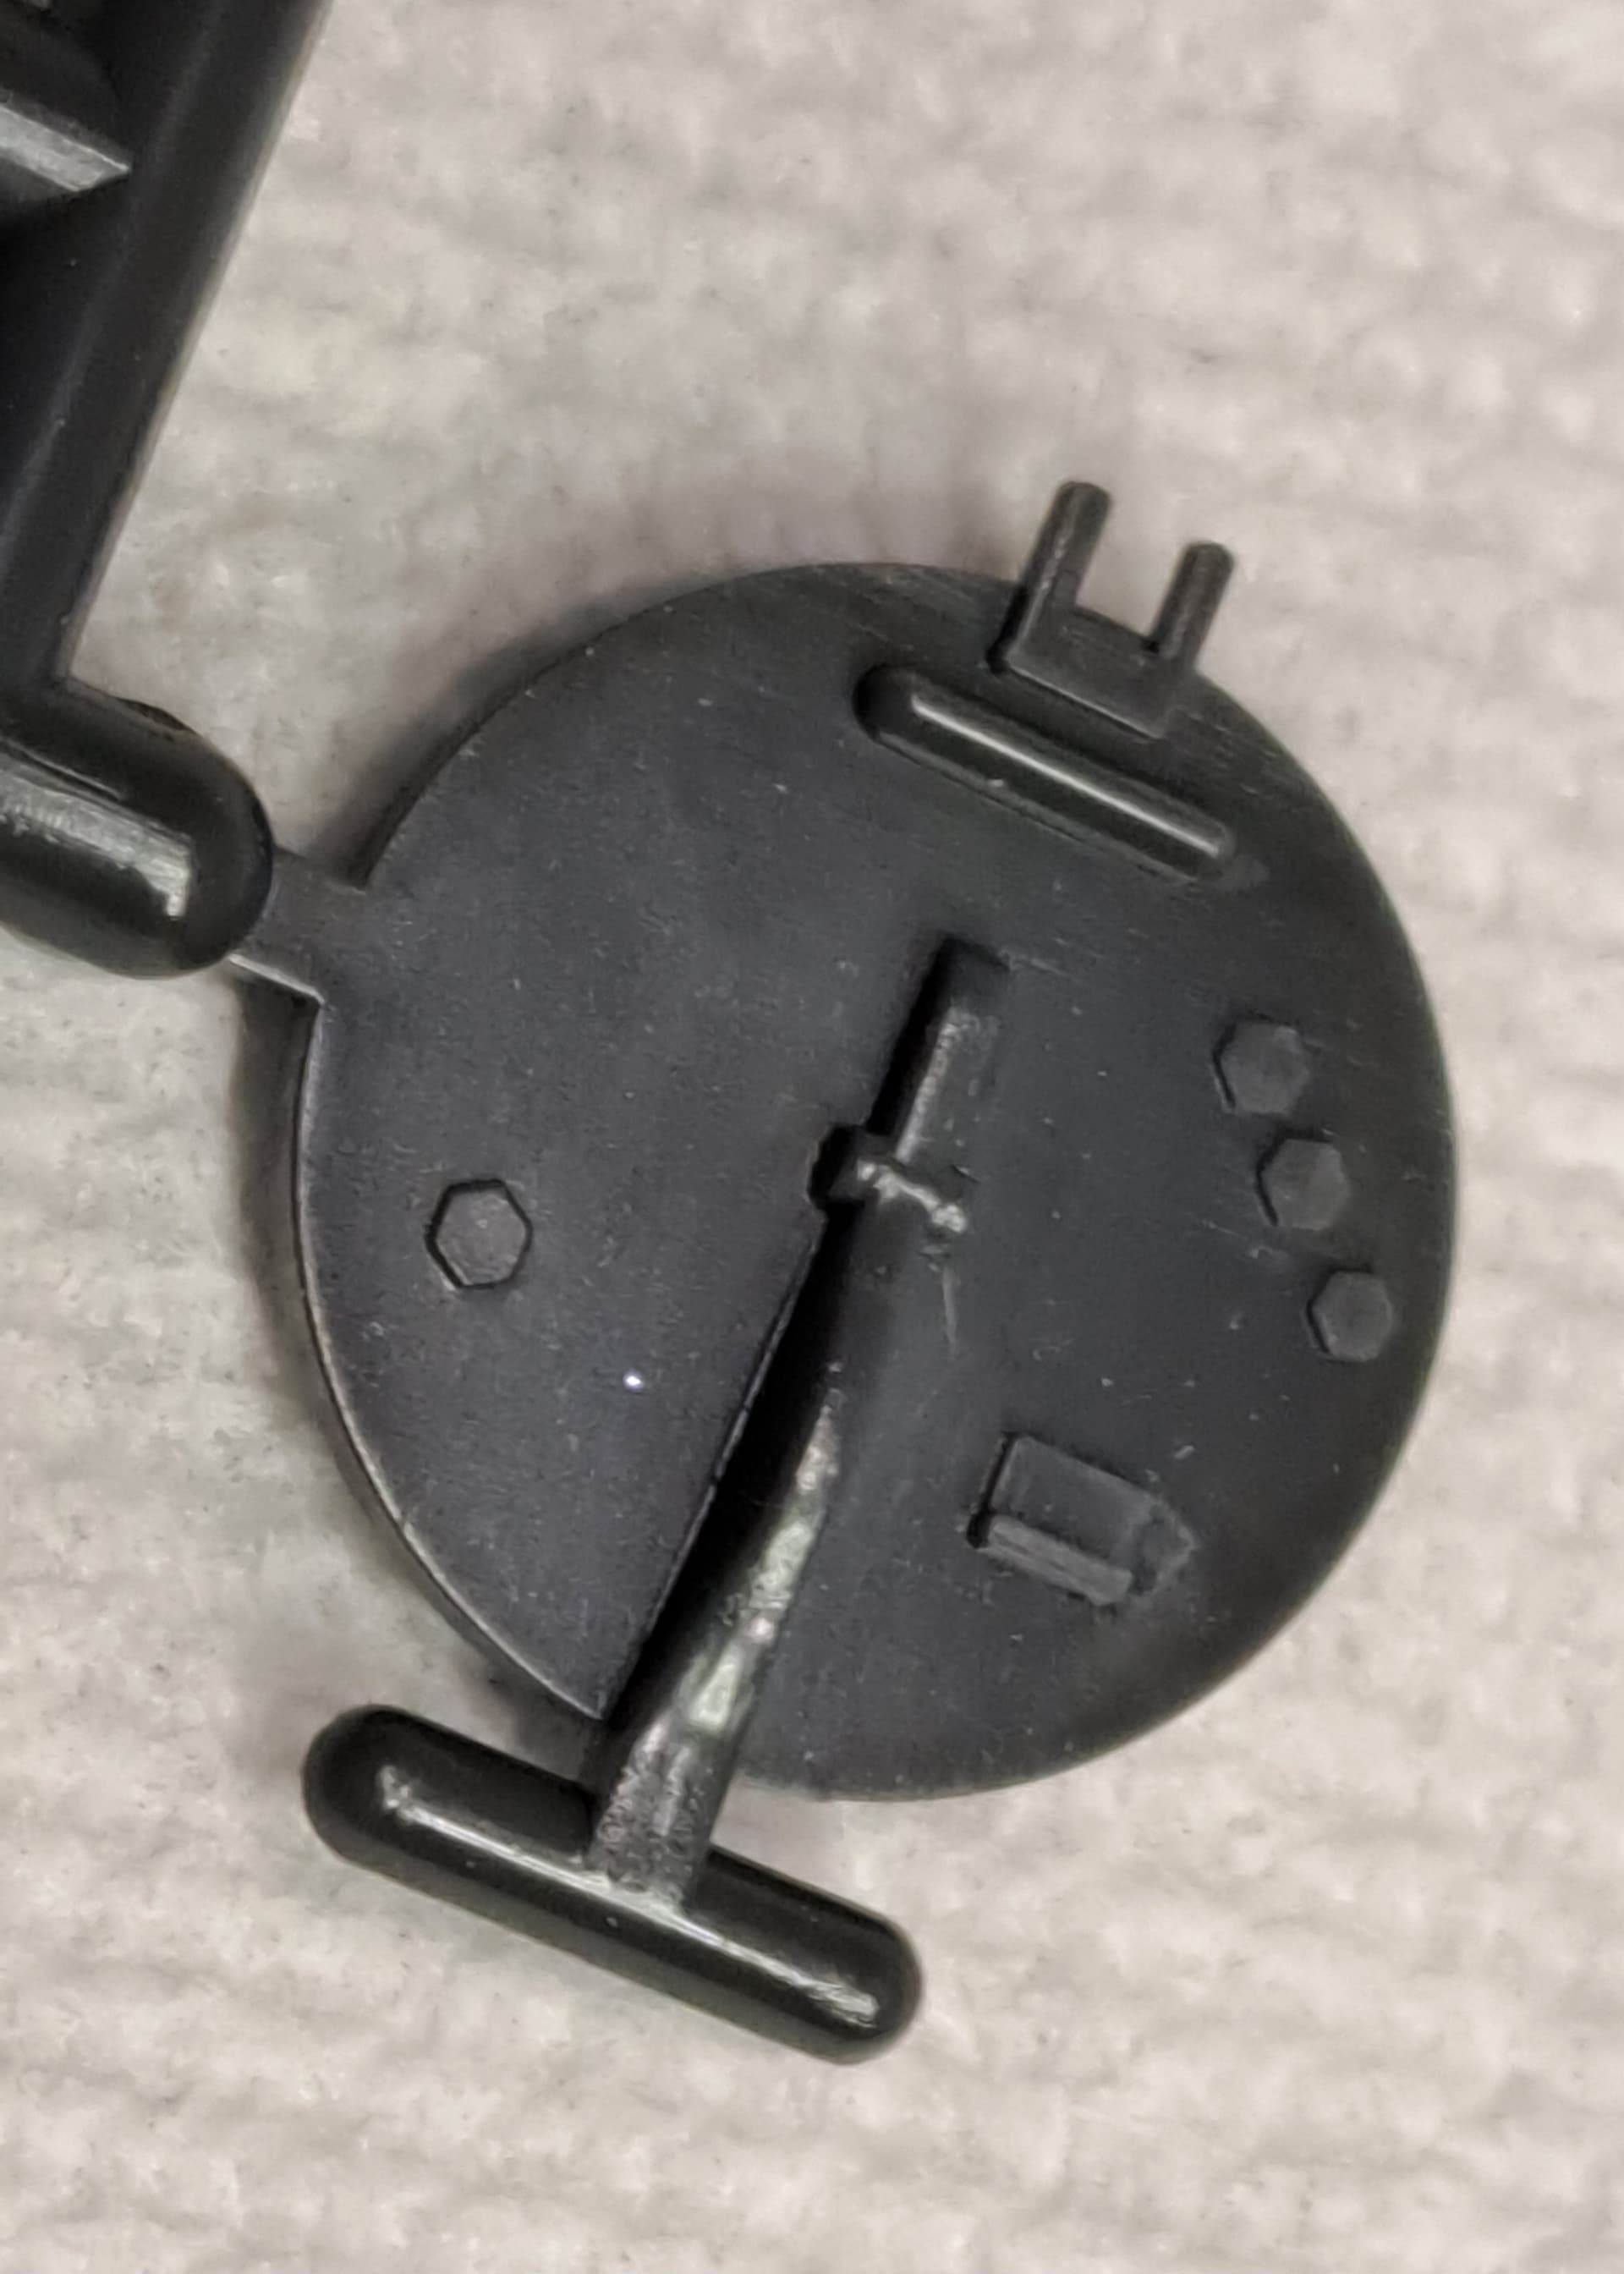
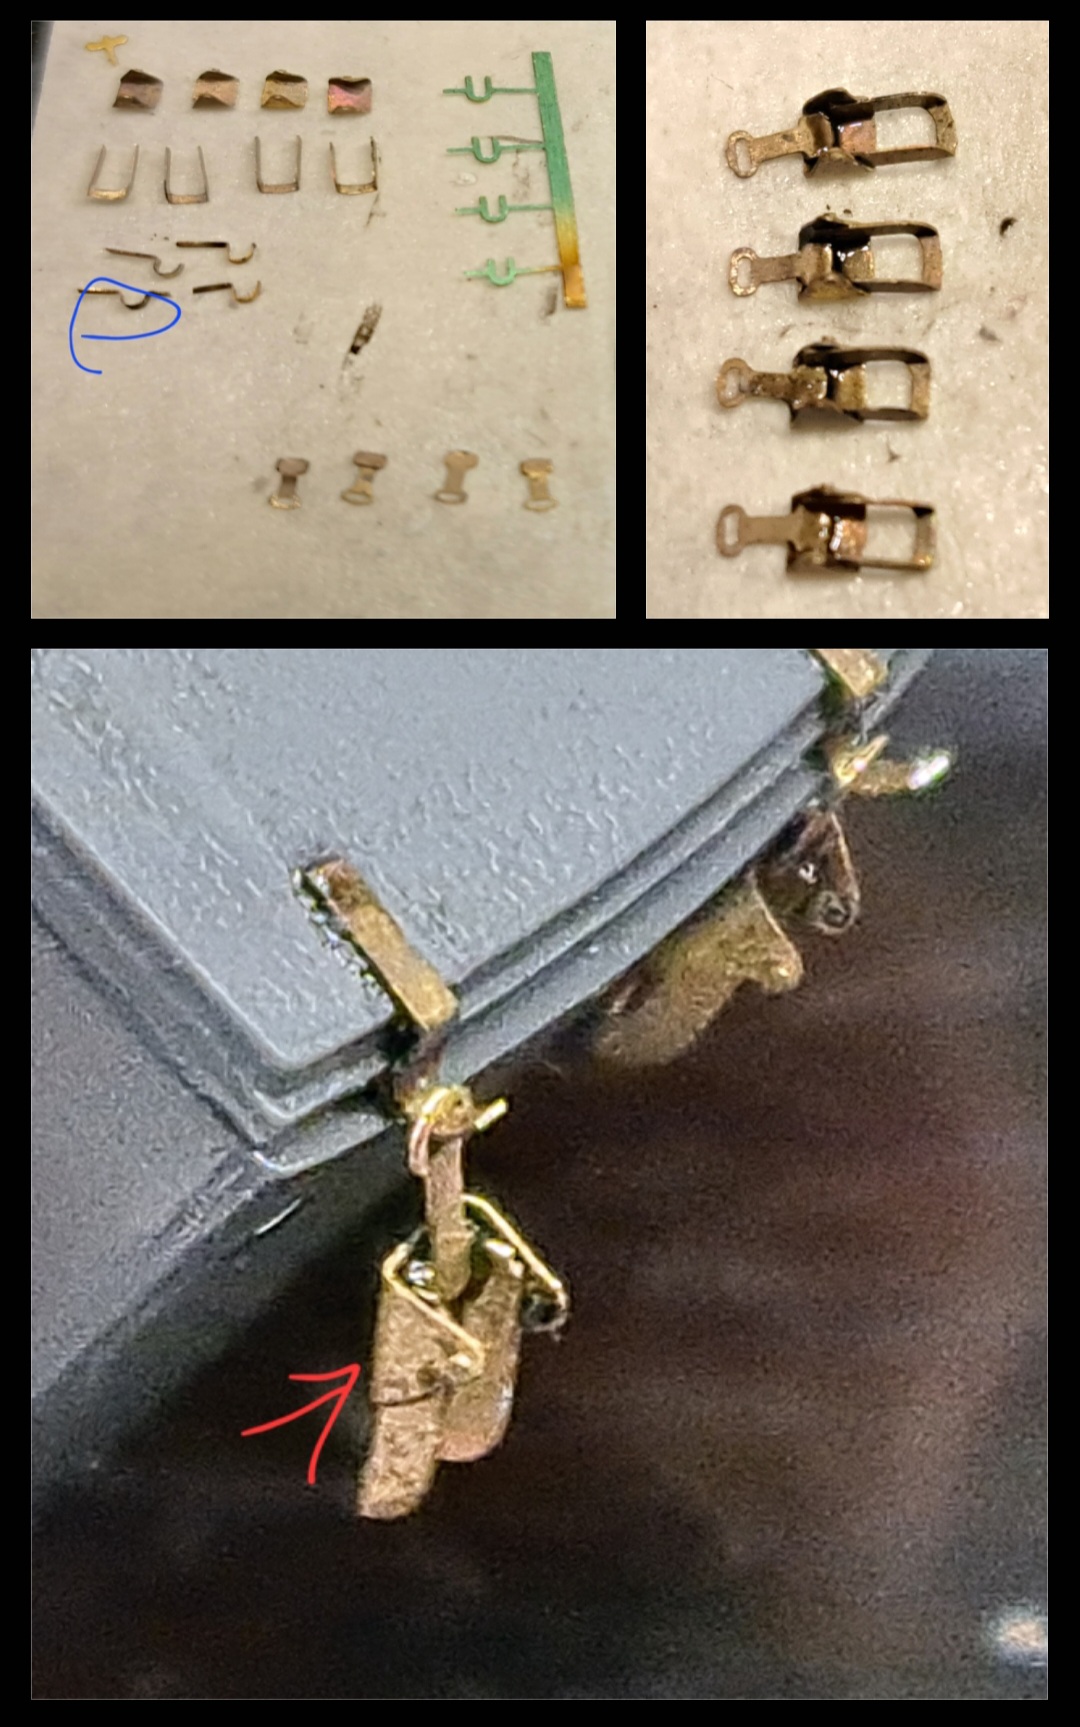
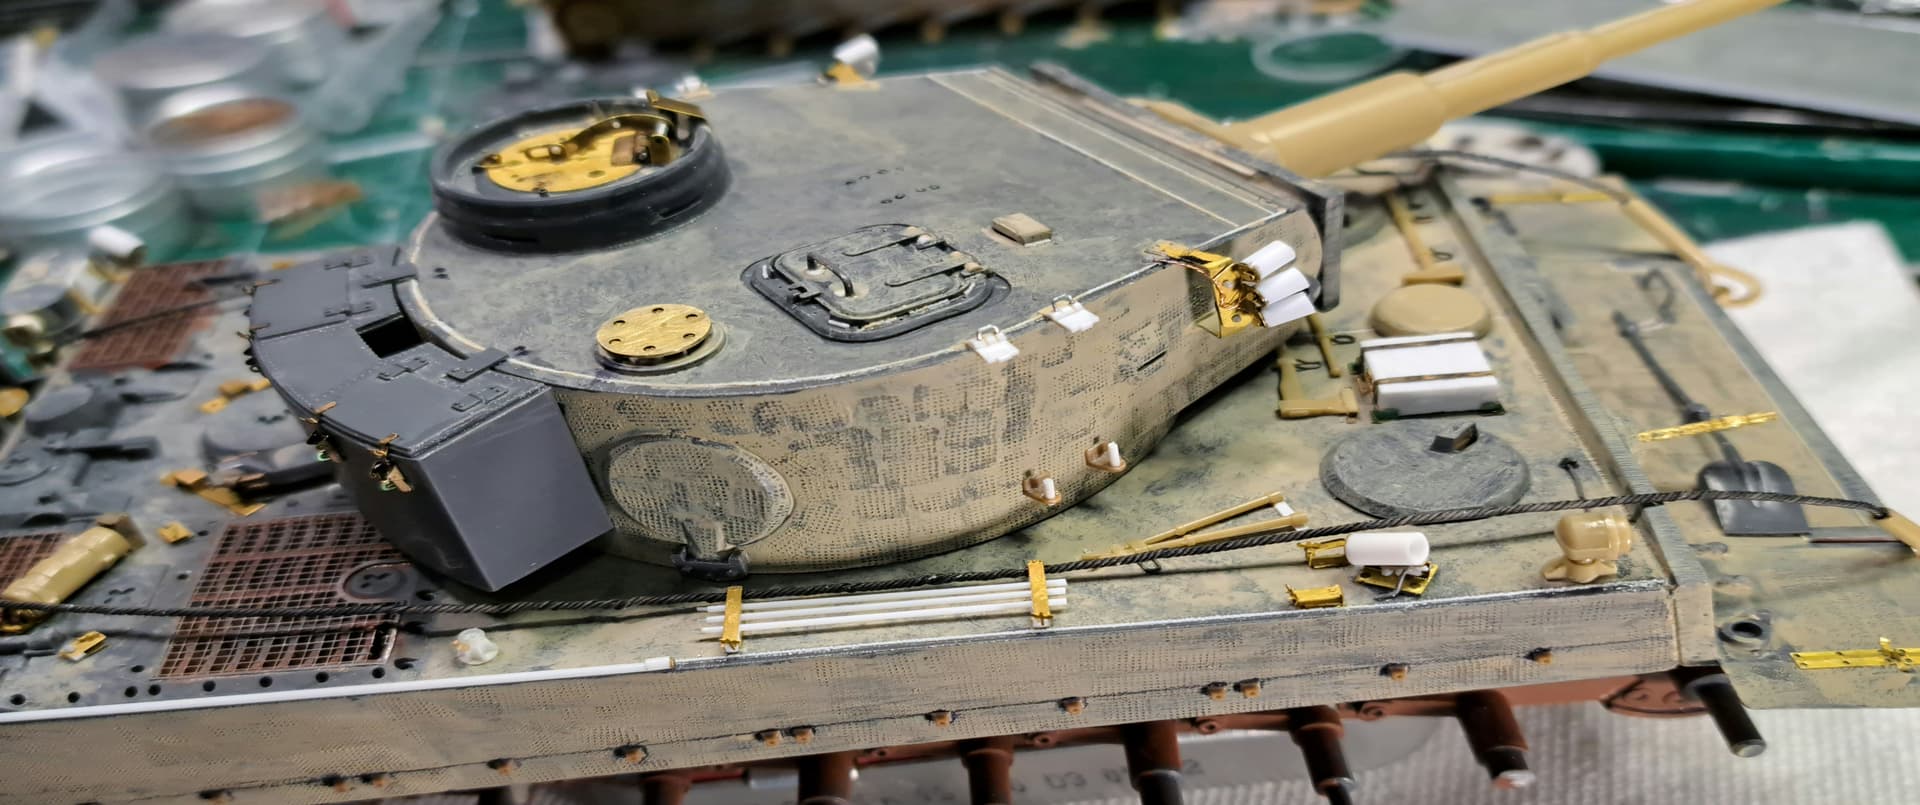
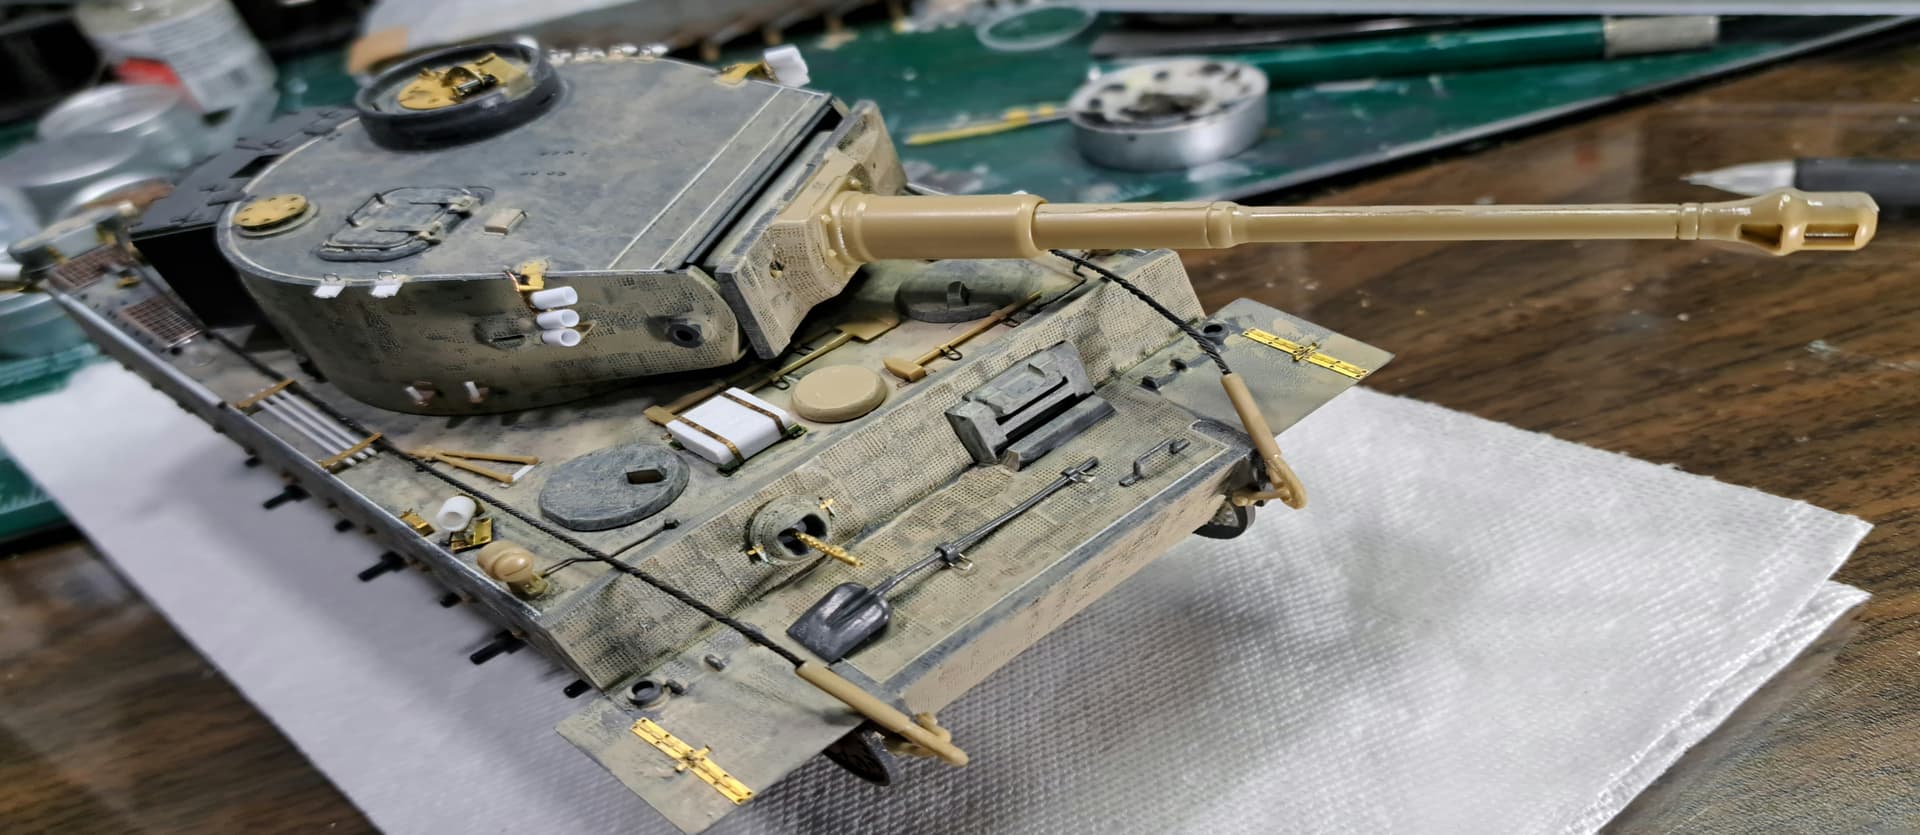
The suck was very strong with the kit commander’s hatch. Strong enough to cause a disruption in the force wink ![]()
Replacement hatch assembly with On the Mark PE. AA MG mounts stainless steel tubing.
@ UnkleHeavy. I don’t get it. Did I say something funny? ![]() I’m just experimenting with raised fractured relief… something for you to stub your toe on. …
I’m just experimenting with raised fractured relief… something for you to stub your toe on. …![]()
![]()
—mike ![]()
Are those both DEF Model zimmerit sets? They look excellent - i’ve only really seen one blog of someone using that stuff, and the guy really disliked it (seemed to shrivel up / wrinkle) yours looks perfect though! Good?
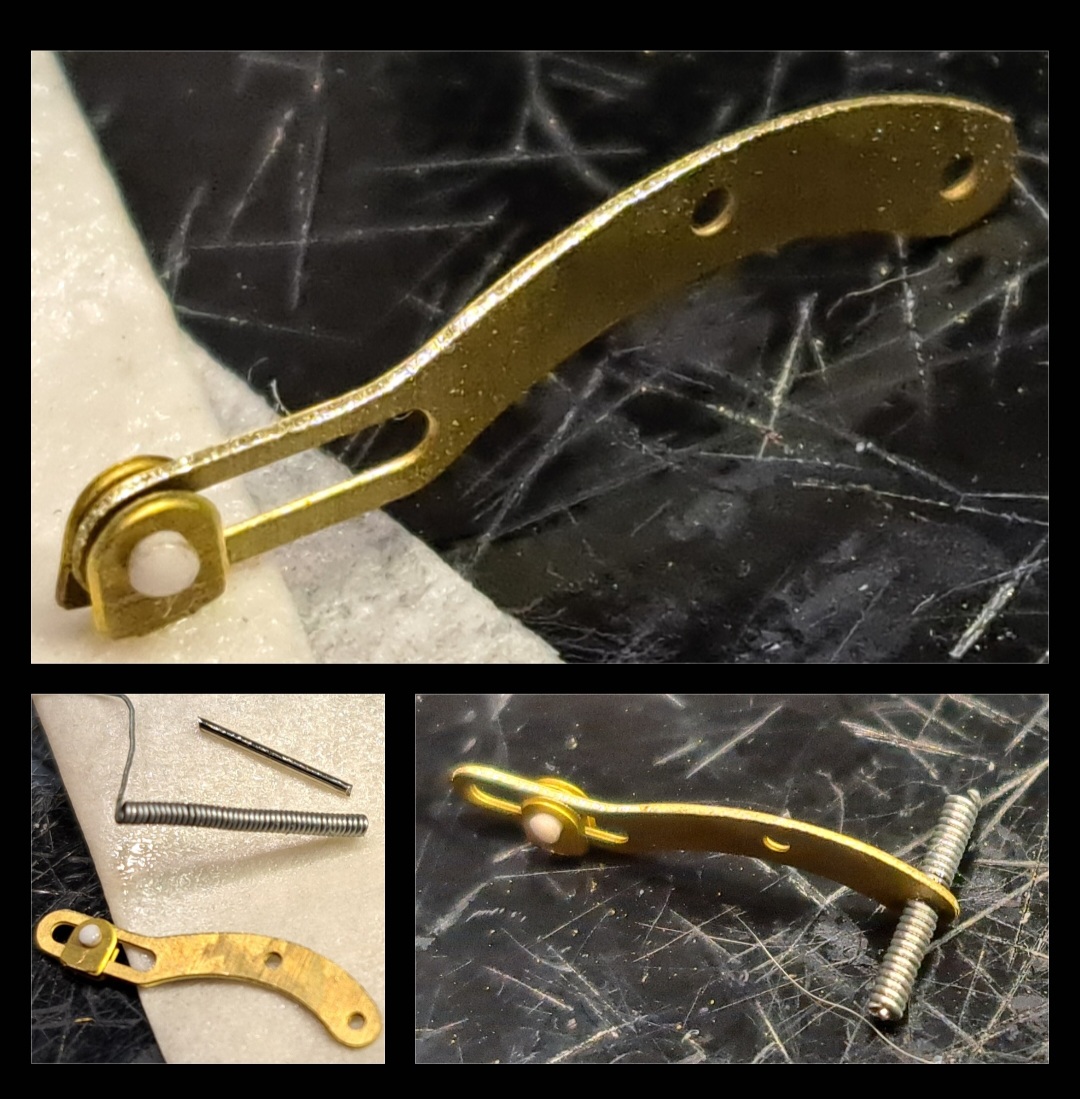
Hatch looks fantastic @Armor_Buff ! Did you make that spring yourself?
It was a treadhead sensory overload Ryan. Those are just a few snaps from where I was sitting. About 1/20th of the museum. It’s a good thing I’ve been there 3 times before. Still, I didn’t know whether to build or go look! They’ve got some important pieces and everything is mint. I especially like the M4 turret trainer.
Pretty cool venue ![]()
Dude, just wait; there will come a day when you’re completely out of control.
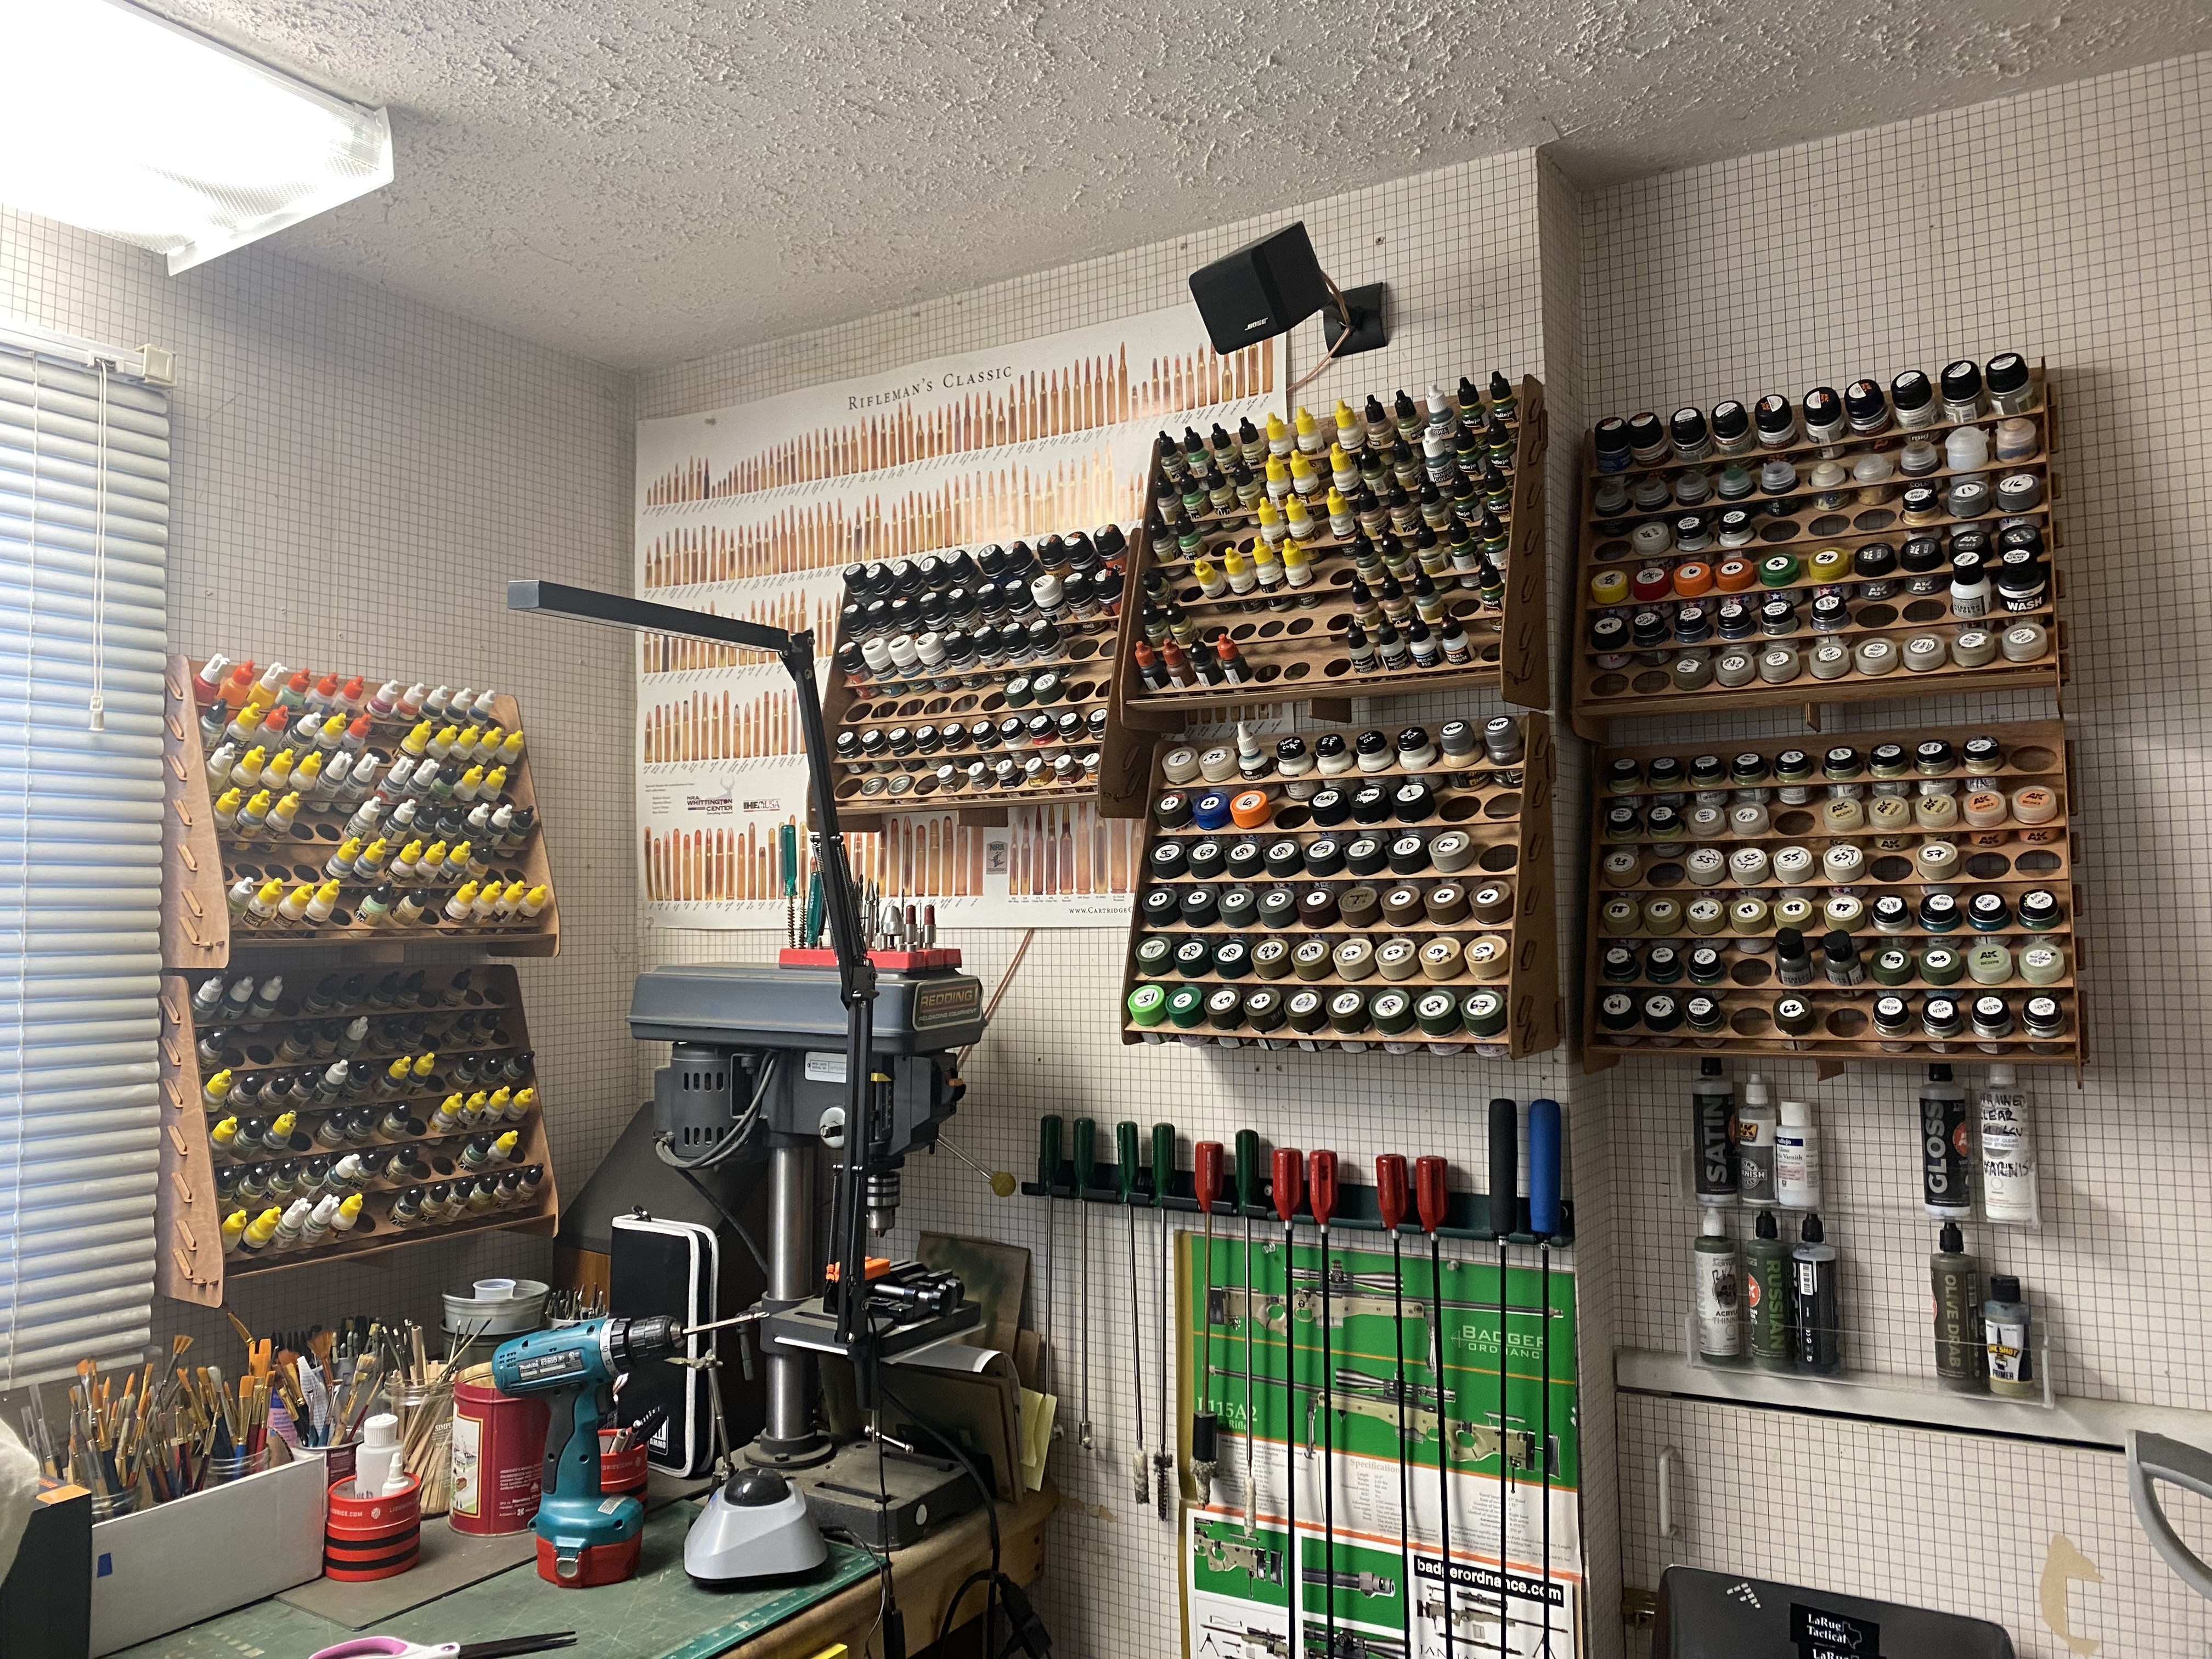
I’ve spent the last two weeks reorganizing paint and pant related stuff. Ridiculous.
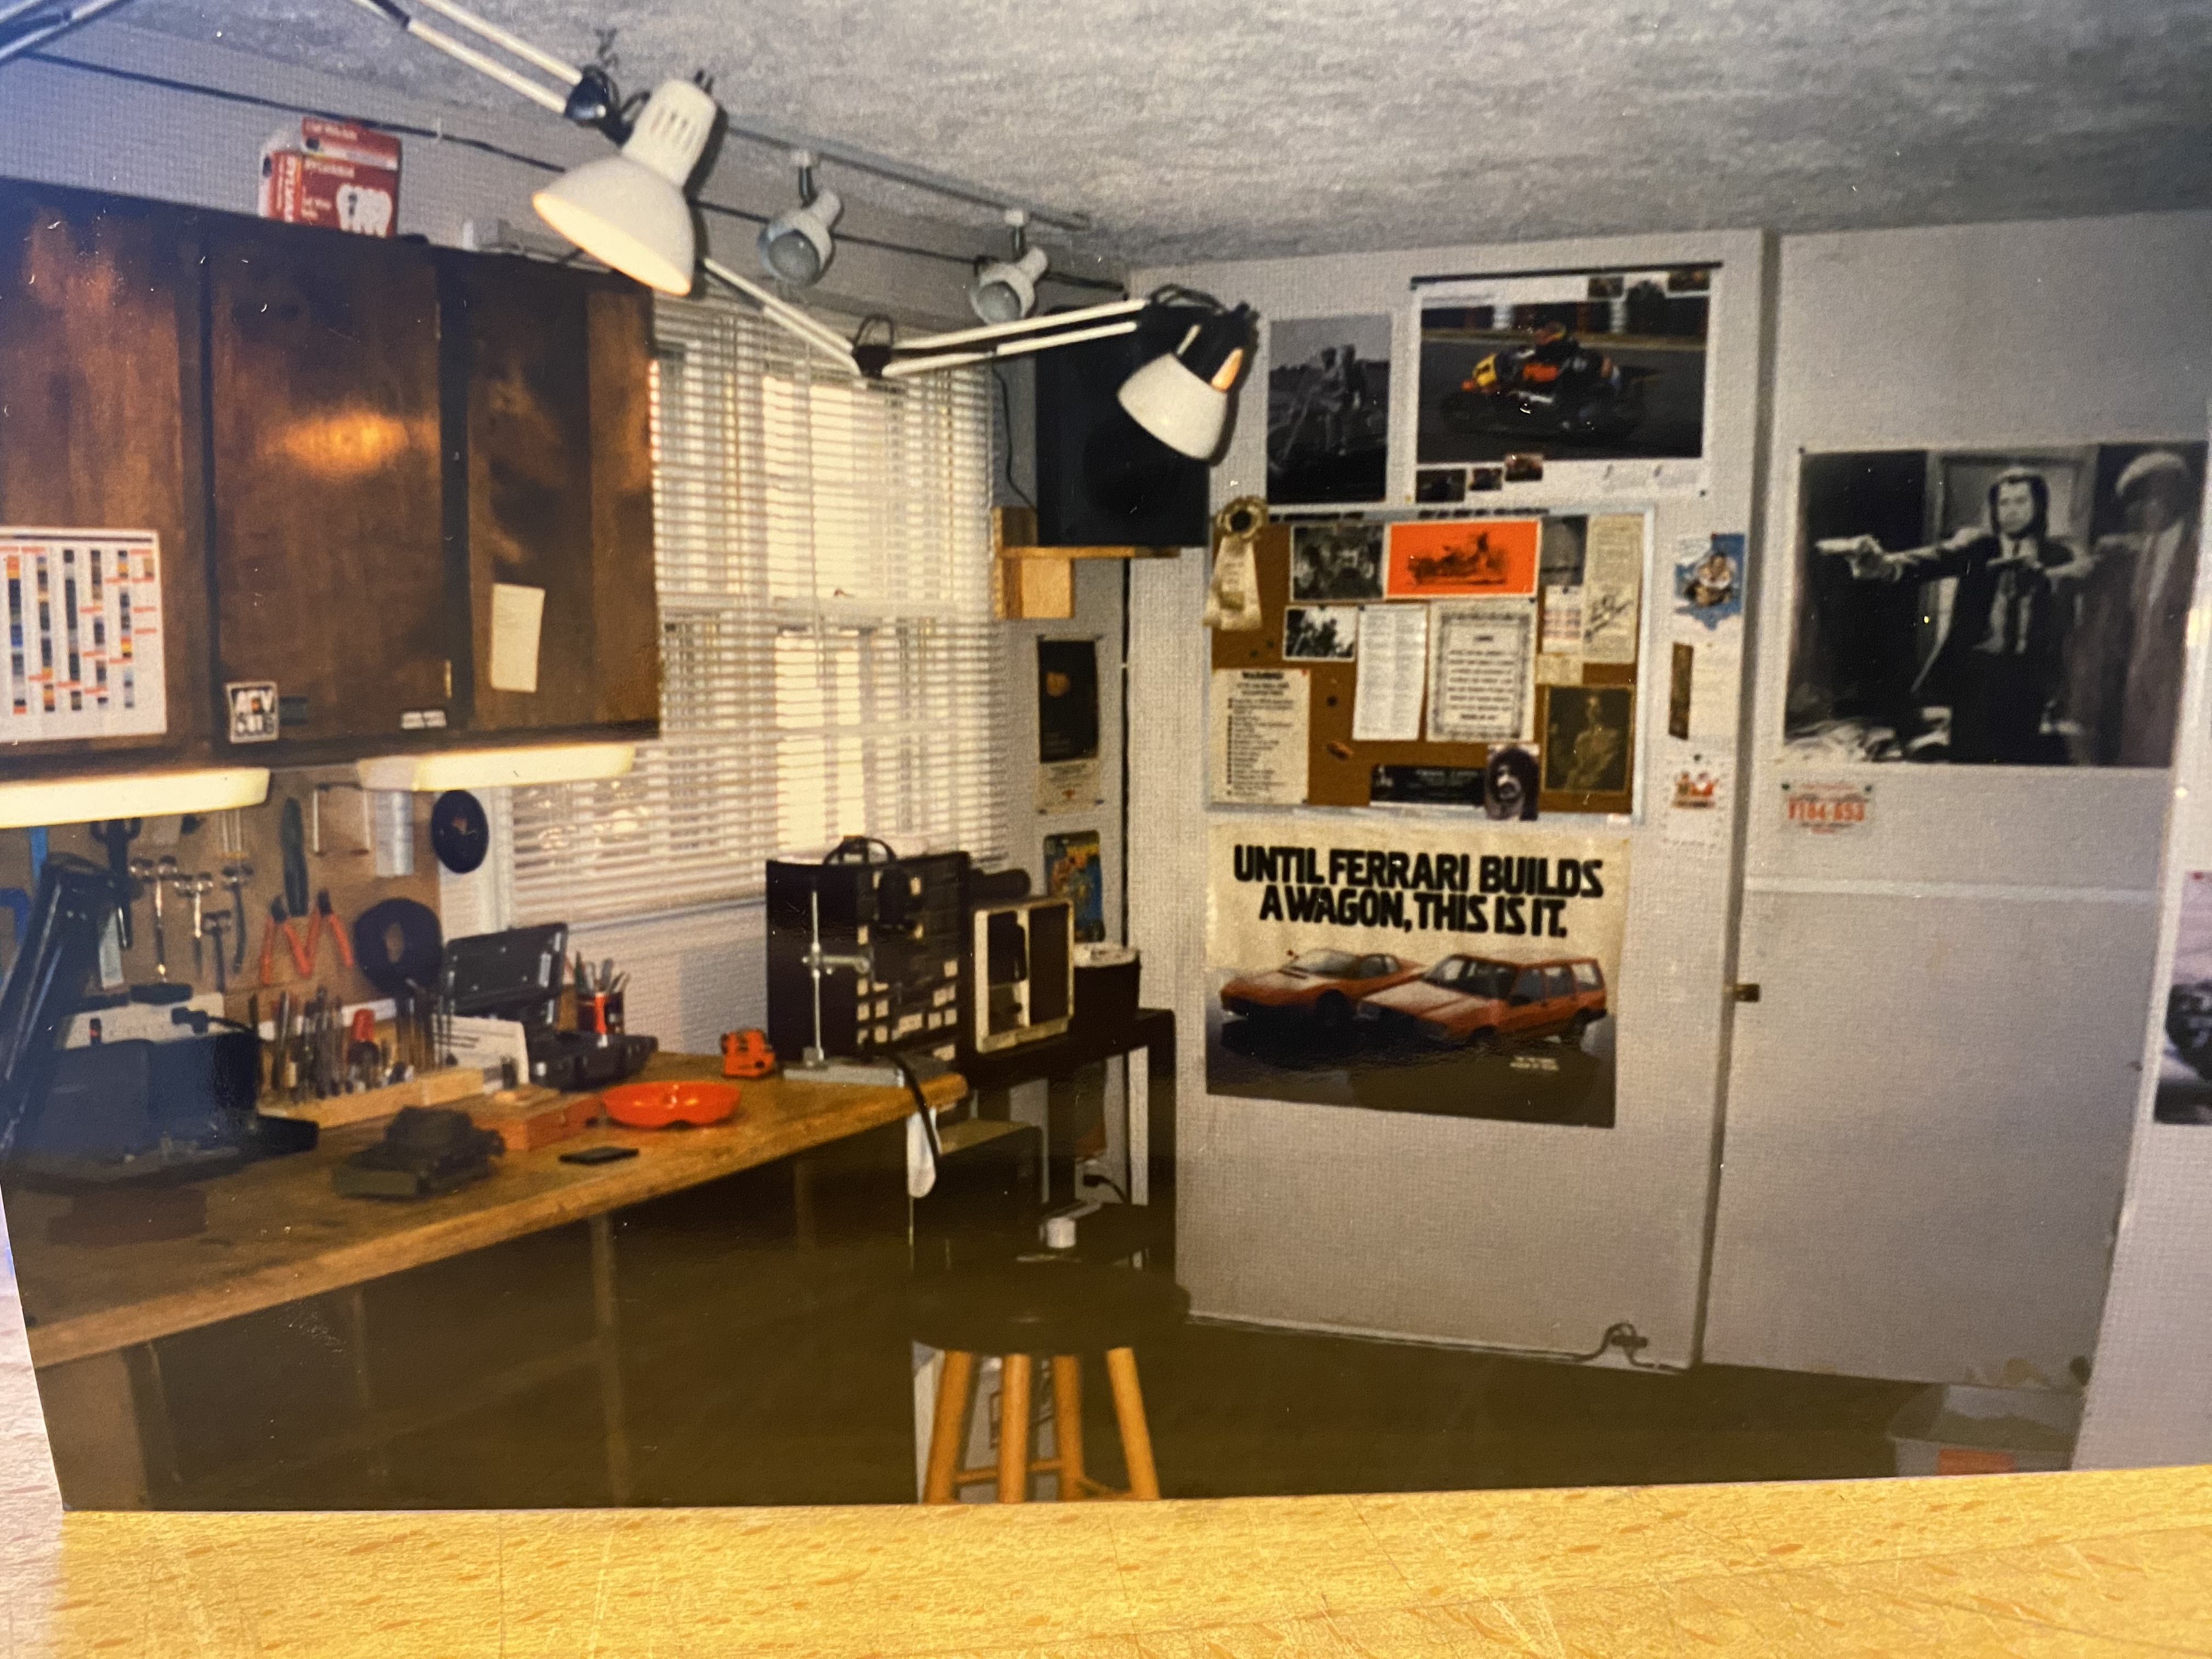
Same spot, 1998-99
Thank you, David. Yes, the spring was made by wrapping 32 gauge beading wire around a small dress pin.
Yes. They’re both DEF kits. They’re very nice. As for the edges rolling; it’s a possibility, like the instructions say, just use a little Tamiya Extra Thin to glue the edges in place. One key thing to know; you have to glue the zimmerit to the bare plastic. I know that if you try to put the decals over a painted surface, it’ll give you a bit of trouble.
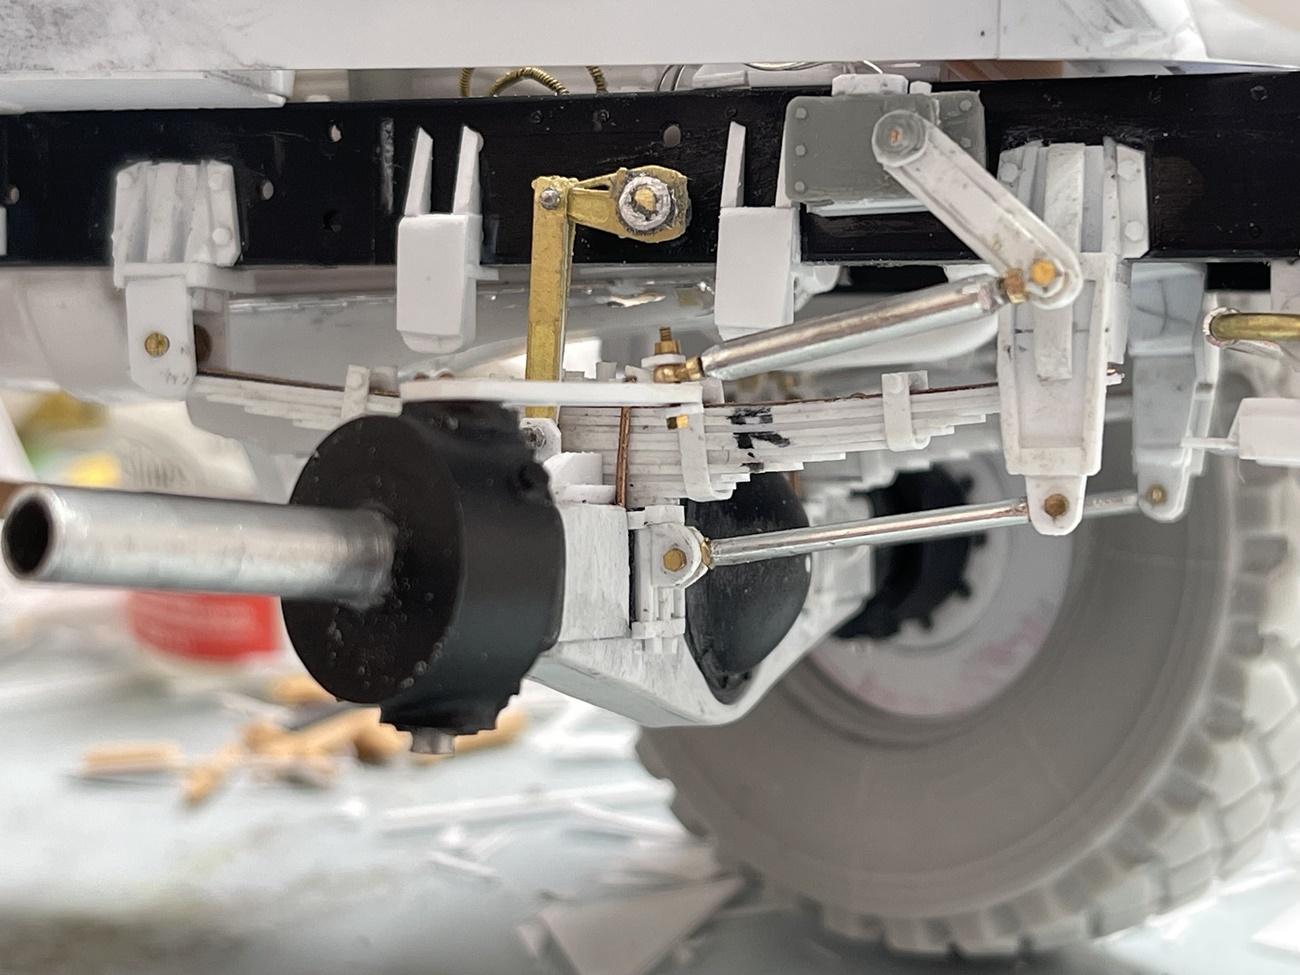
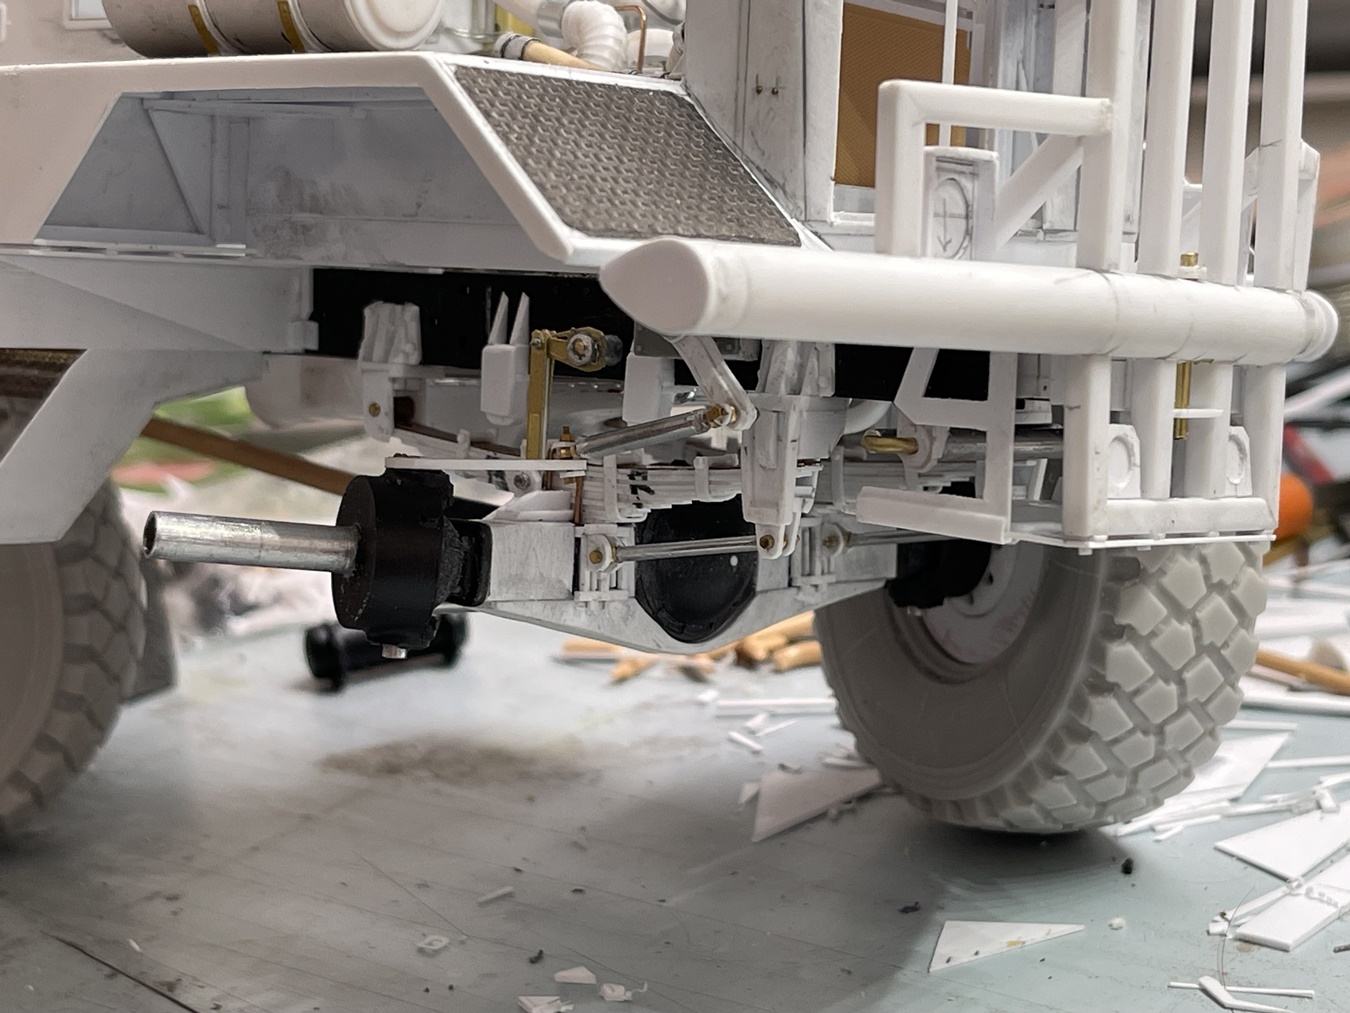
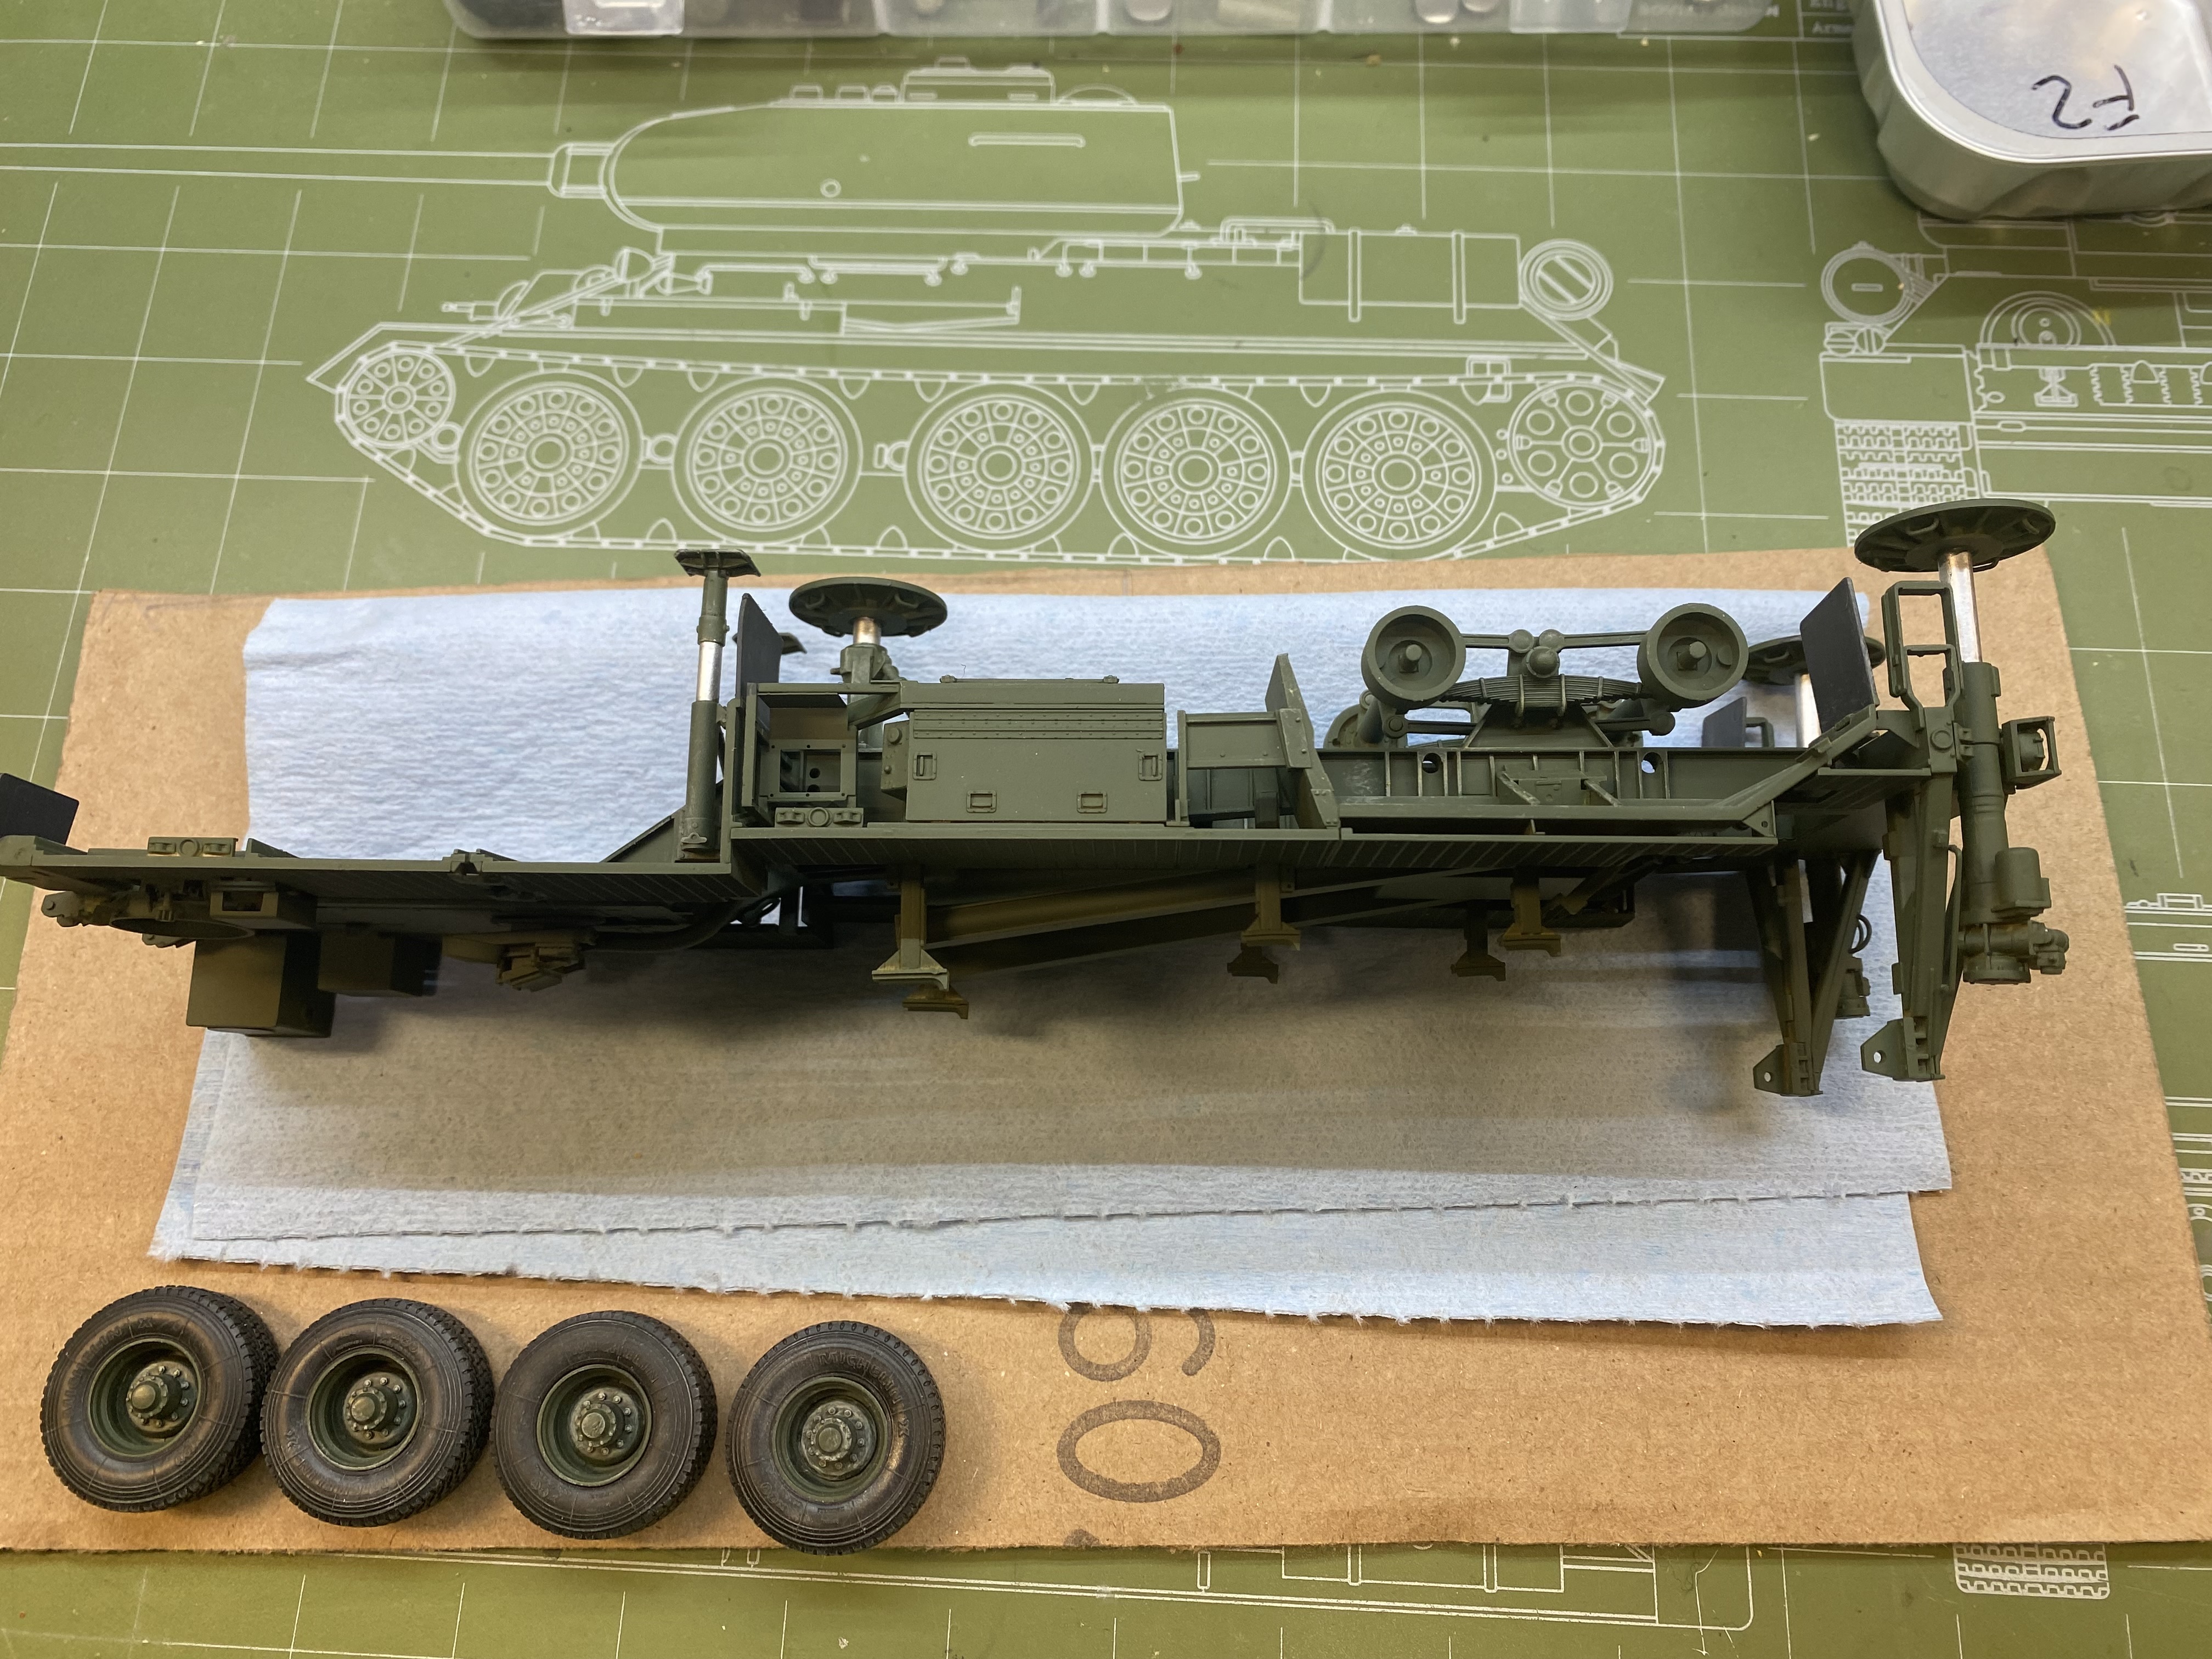
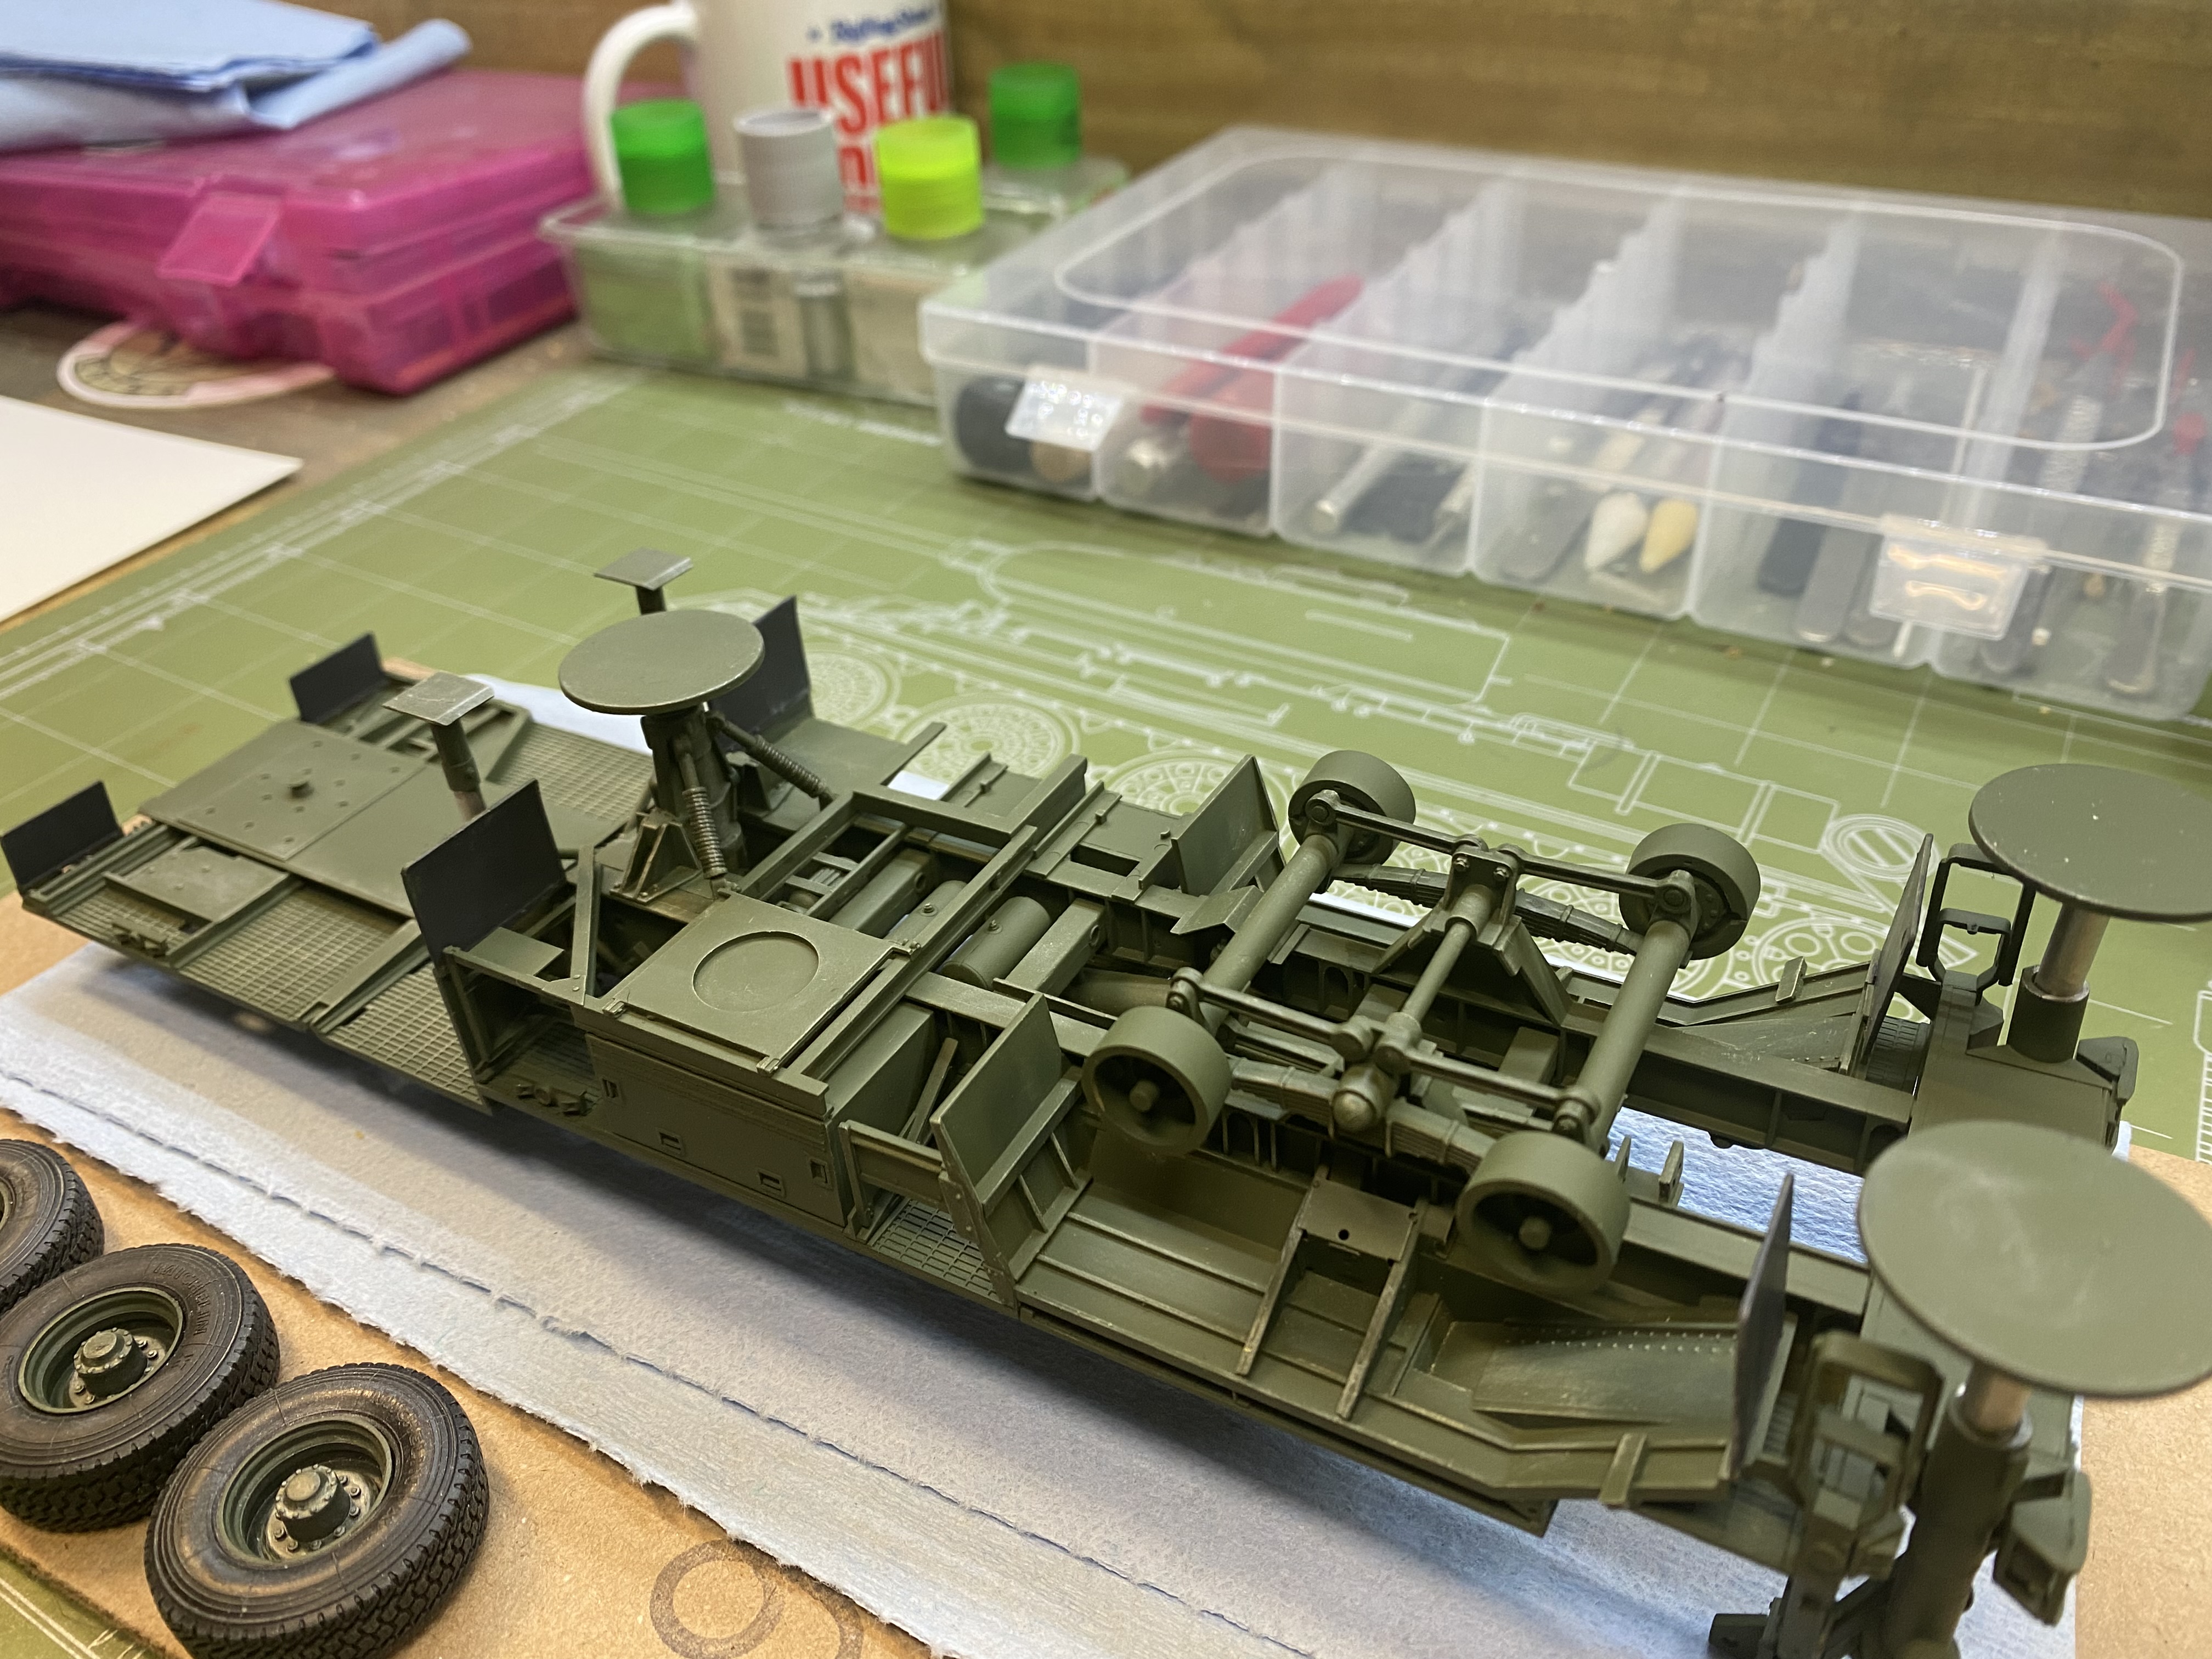
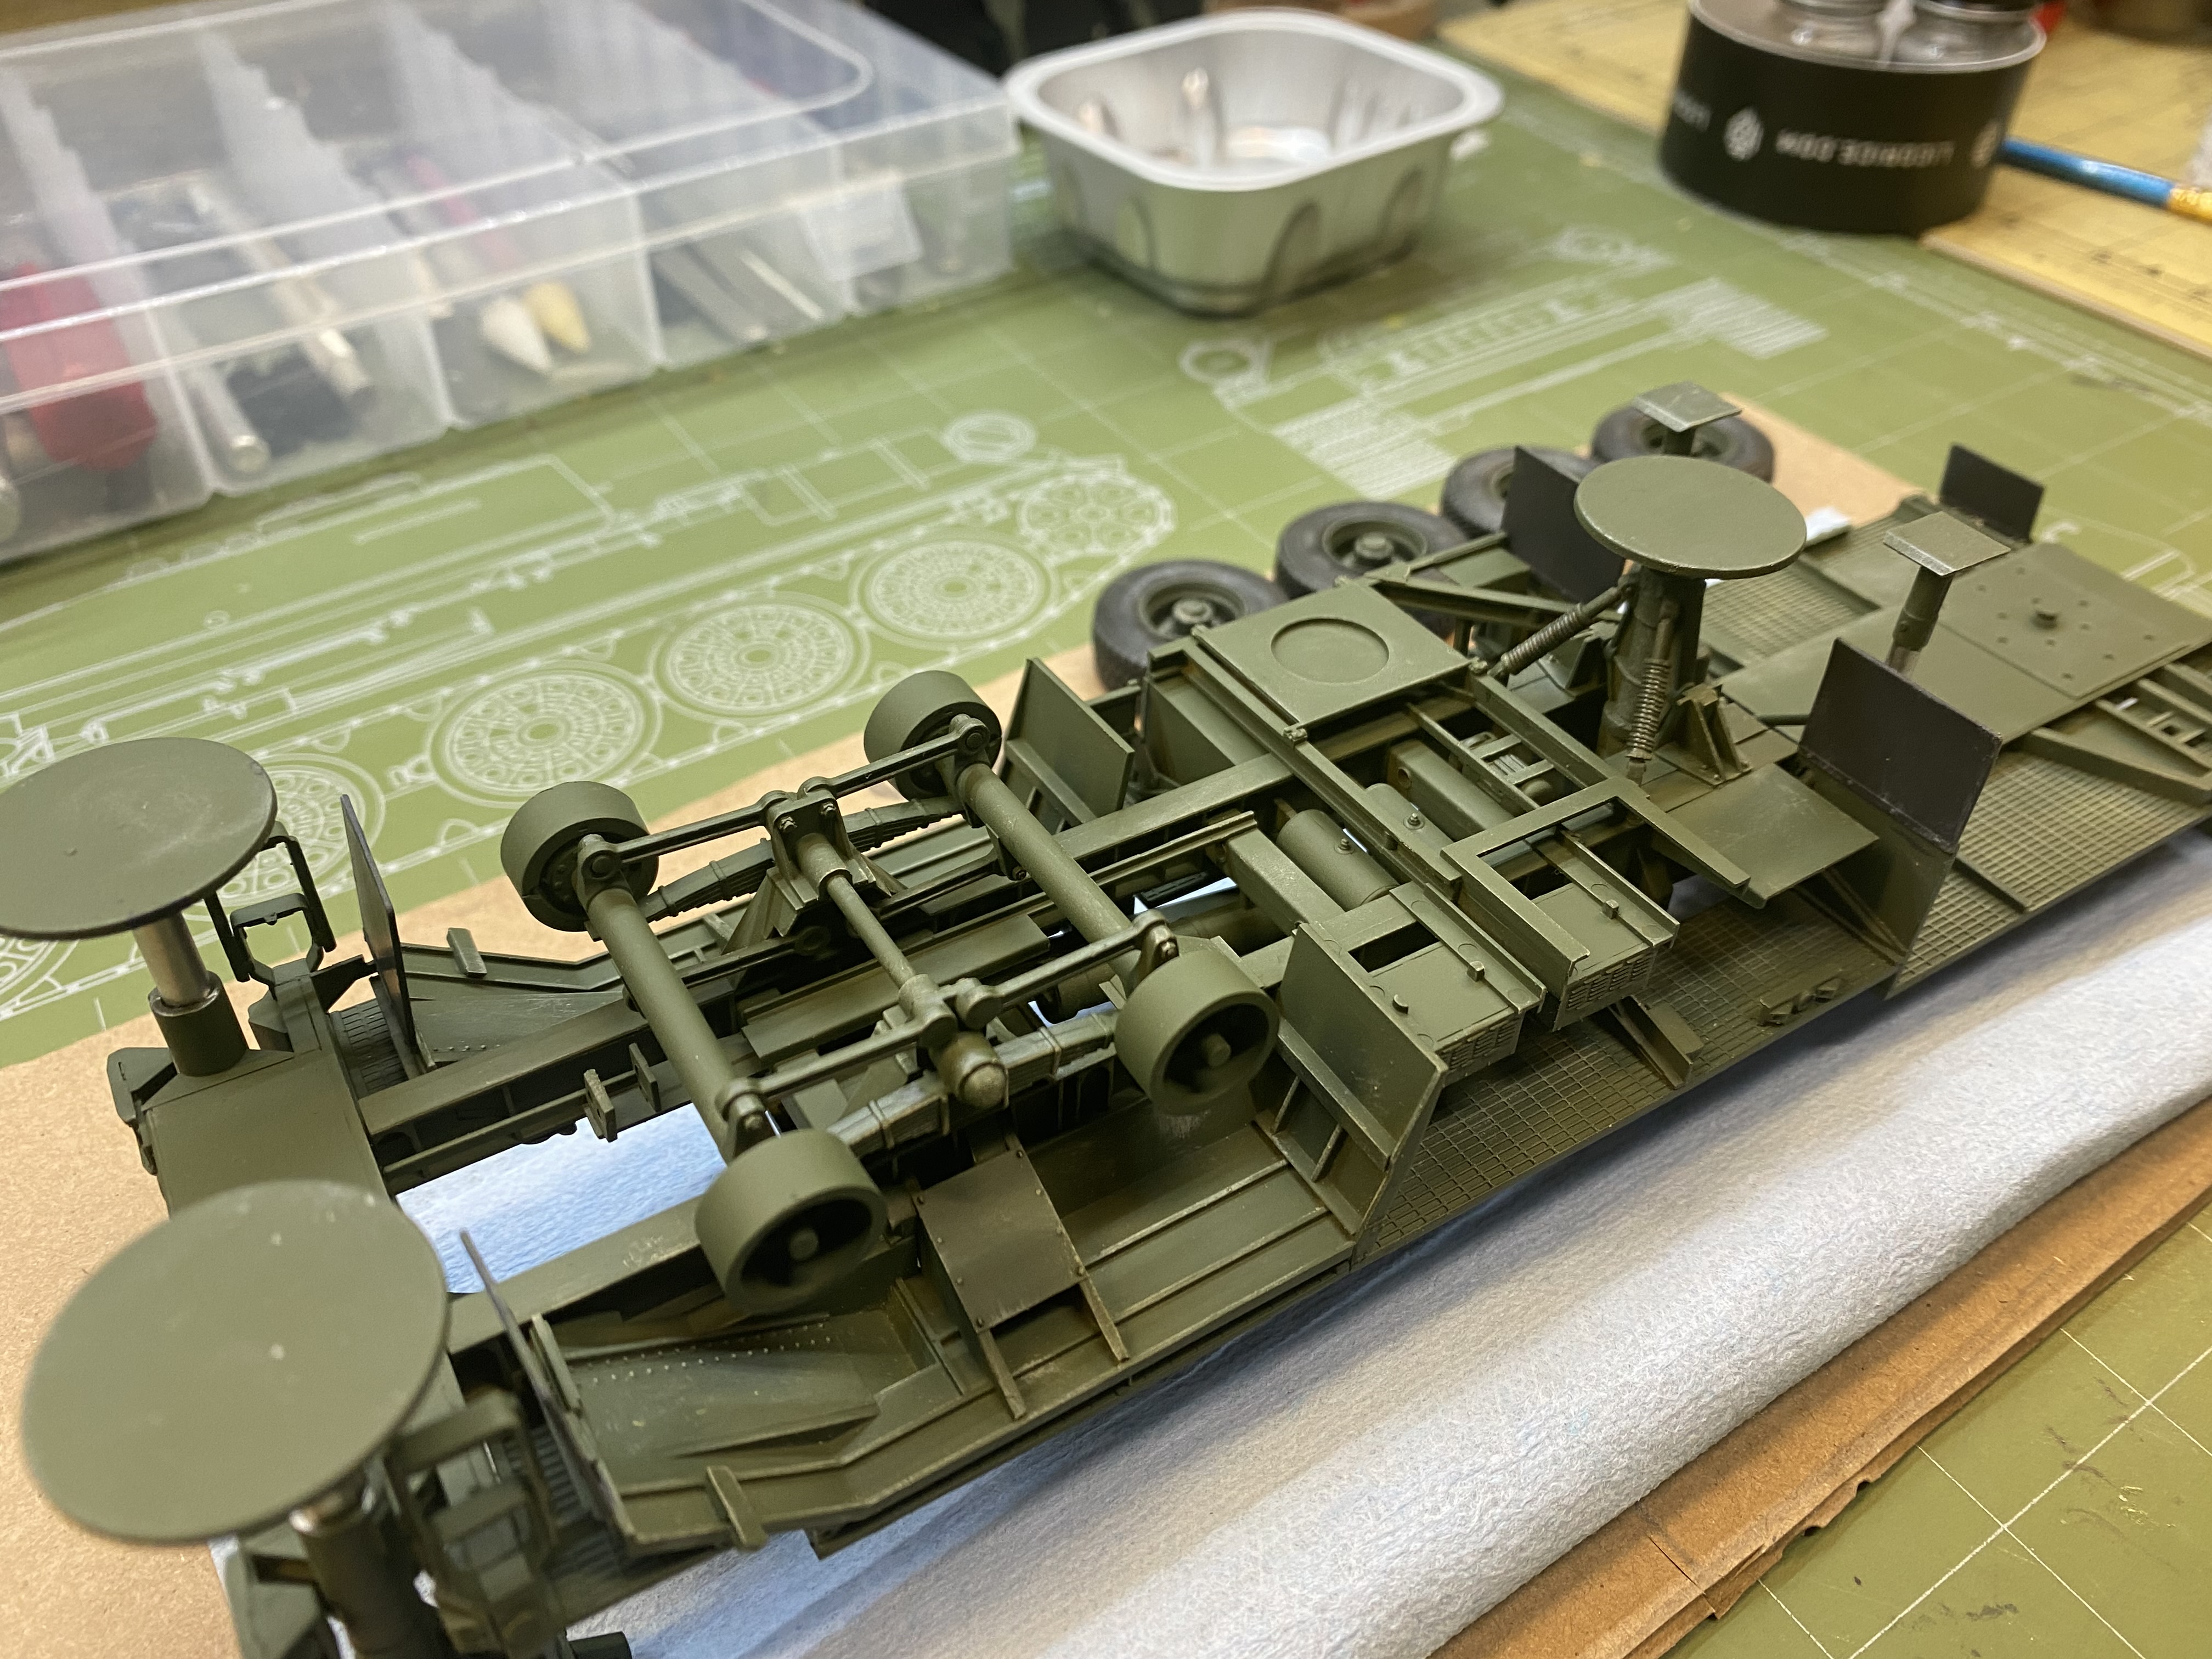
Spent some time yesterday working on steering:
I had been pondering this for a while, does this truck have power steering on both sides? As has some prototype pictures say yes, others don’t - so, I decided mine would have it. The steering gear on this side of the truck is powered solely by hydraulic pressure, so no steering column. But, all the rest is there, gear box, pitman arm, link, and knuckle steering arm. Like the other side, I riveted the knuckle link in place, as I don’t want it to slip (have the CA break free - knuckle is resin, link is styrene), which I think could happen with the big tires/rims. The rest is bolted together like the other side. I included two hydraulic lines and connections, but of course, they can barely be seen! ![]()
On to fuel tanks -
Cheers
Nick
It’s good that you showed this before painting. Otherwise I would think you were repairing a real truck!
The level of perfection in this board is a miracle to me . Impressive !
After procrastinating with paint organization for a couple weeks, I’m back on the erector launcher trailer thing.
I decided against regular silver, chrome, aluminum and steel colored paint for the hard chromed jack pistons and landing gear. I used Mr Metal aluminum lacquer. Dry brushing with oil pastels. Almost none of this will be visible except from these angles.
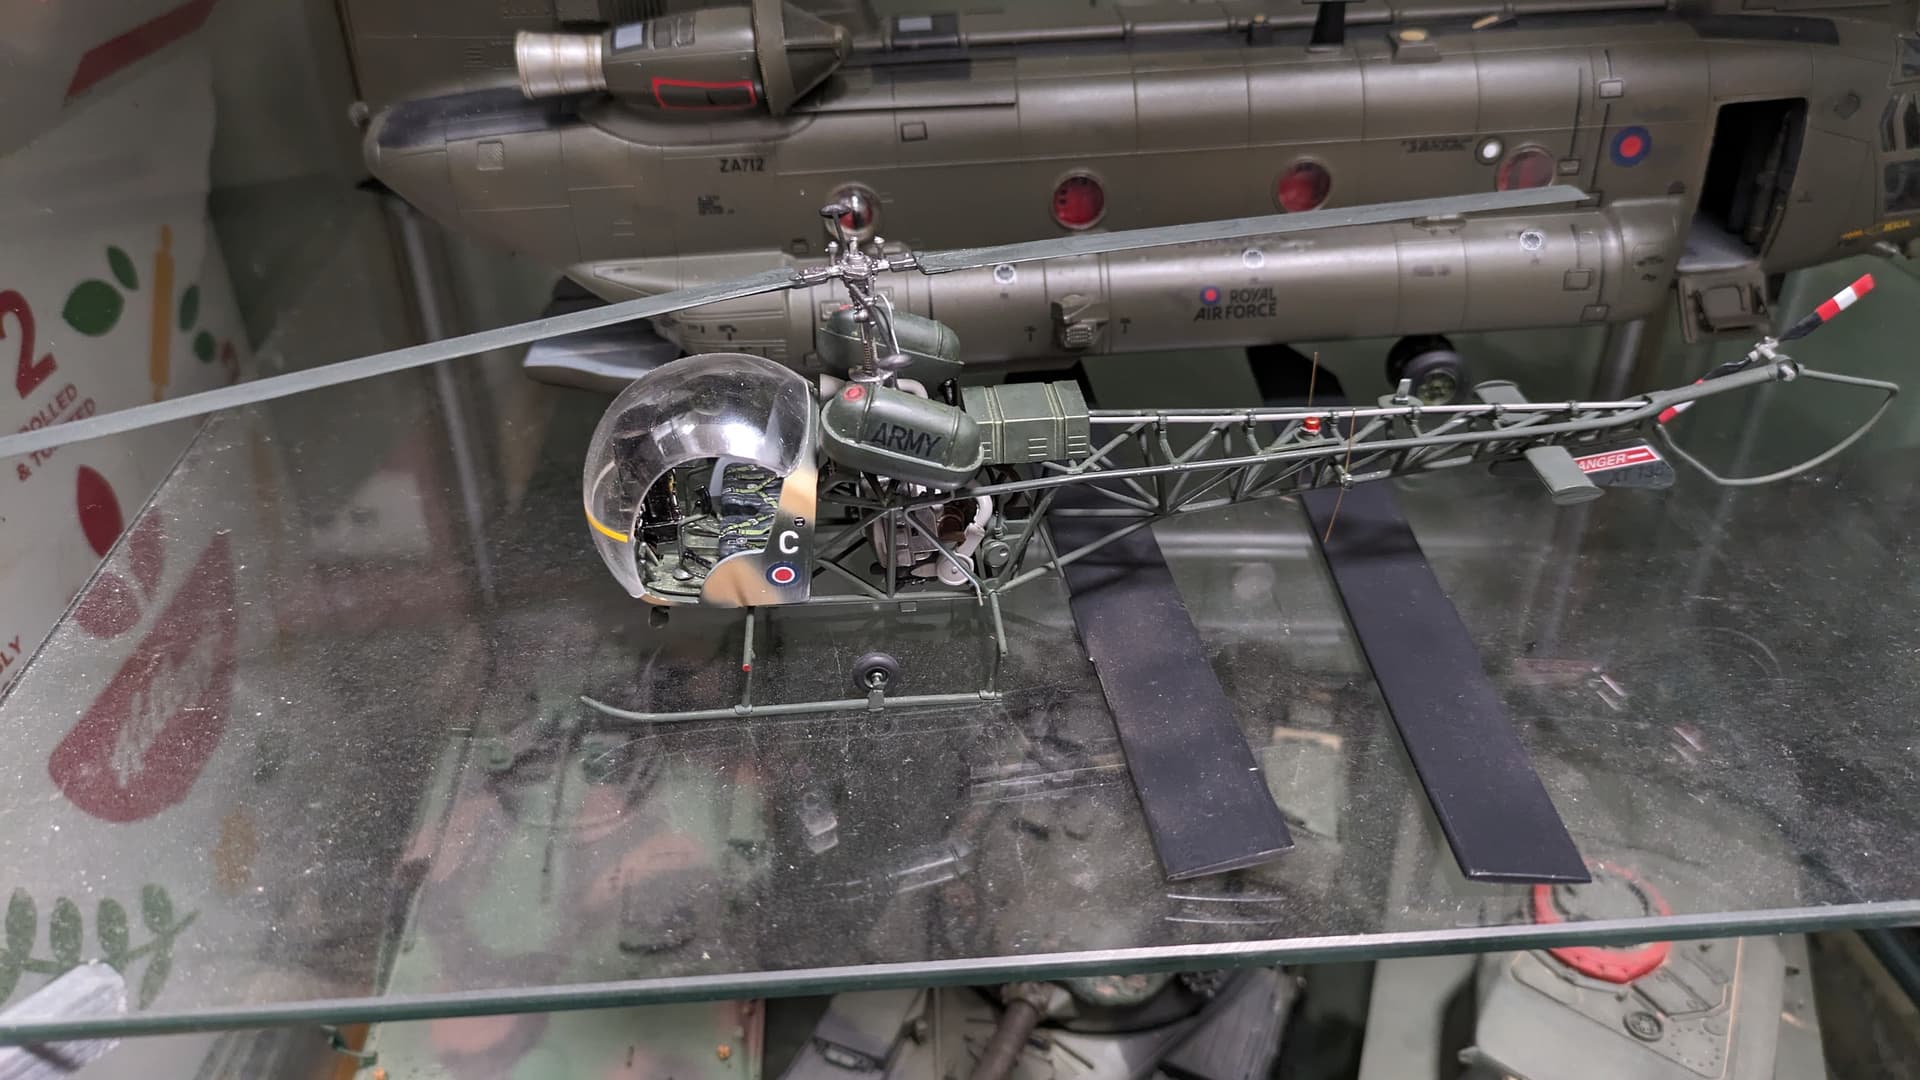
Repair work
one of my boxes of models, was knocked of the pile, and the helicopter kits were damage , at the end of the Bolton model show on Sunday .
Work done.
Neat and tidy builds
![]()
![]()