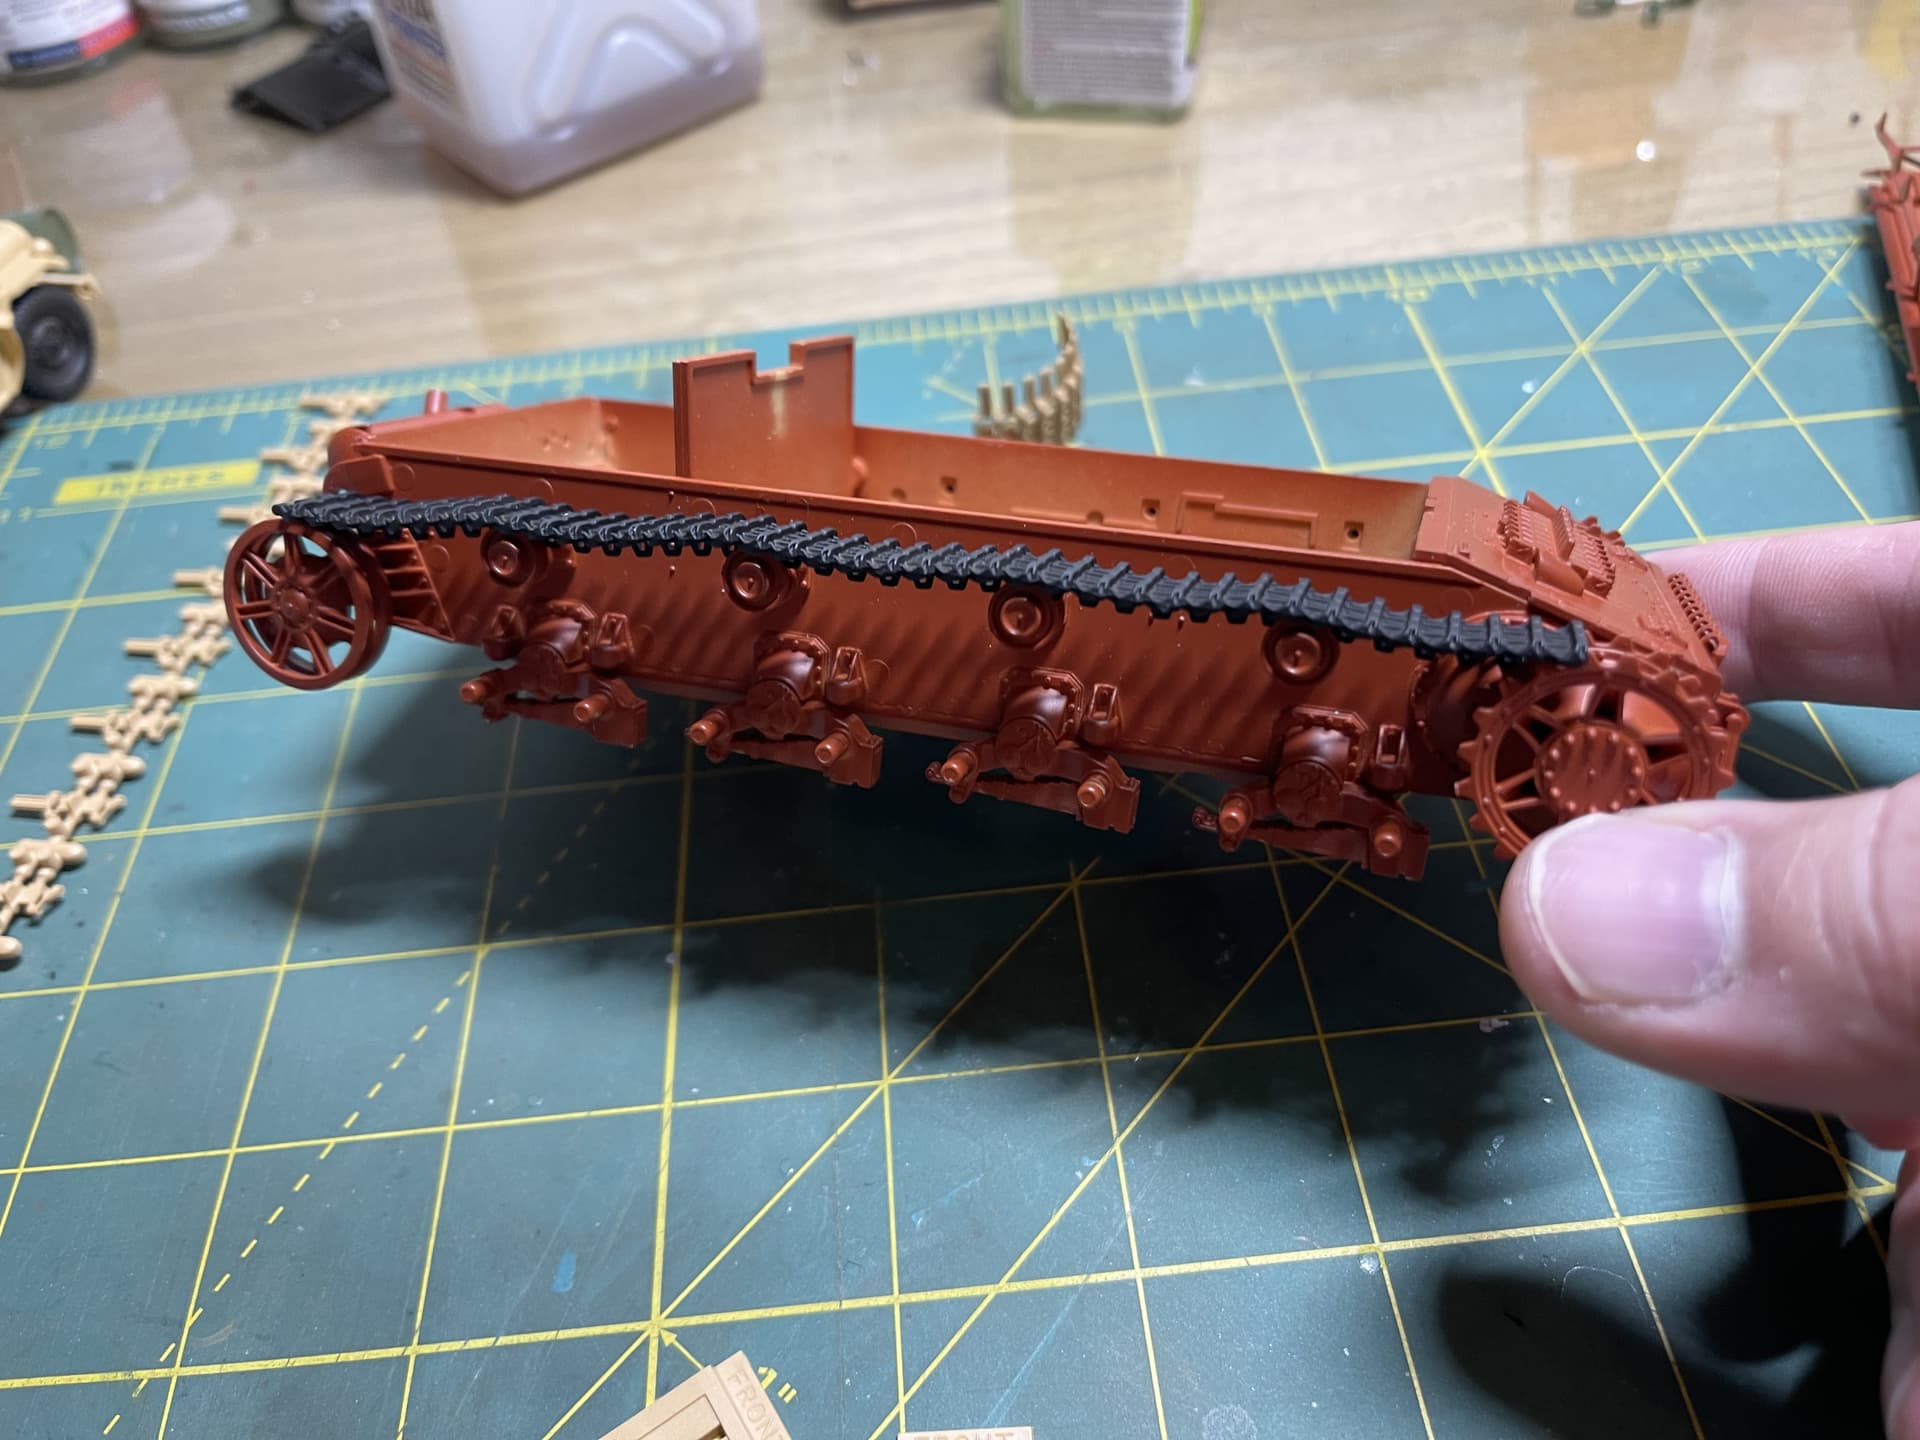
I have never put individual tracks together before and have made lots of mistakes, mostly too much glue. So my tracks broke apart in quite a few places and not enough pins were provided. I stretched some styrene rod to make pins.
First big decision when tackling workable tracks:
Do I REALLY need them to be workable?
Can I work with some straight sections and have just a few short bits workable?
I install tracks as two or three stiff sections. The planning and extra work is usually
less than all the aggro when/if the workable tracks fall apart.
Worked on a T130 track. Iteration 6, correcting for small printer errors. And my first guess for resin turned out to be sub optimal but now production is a go.
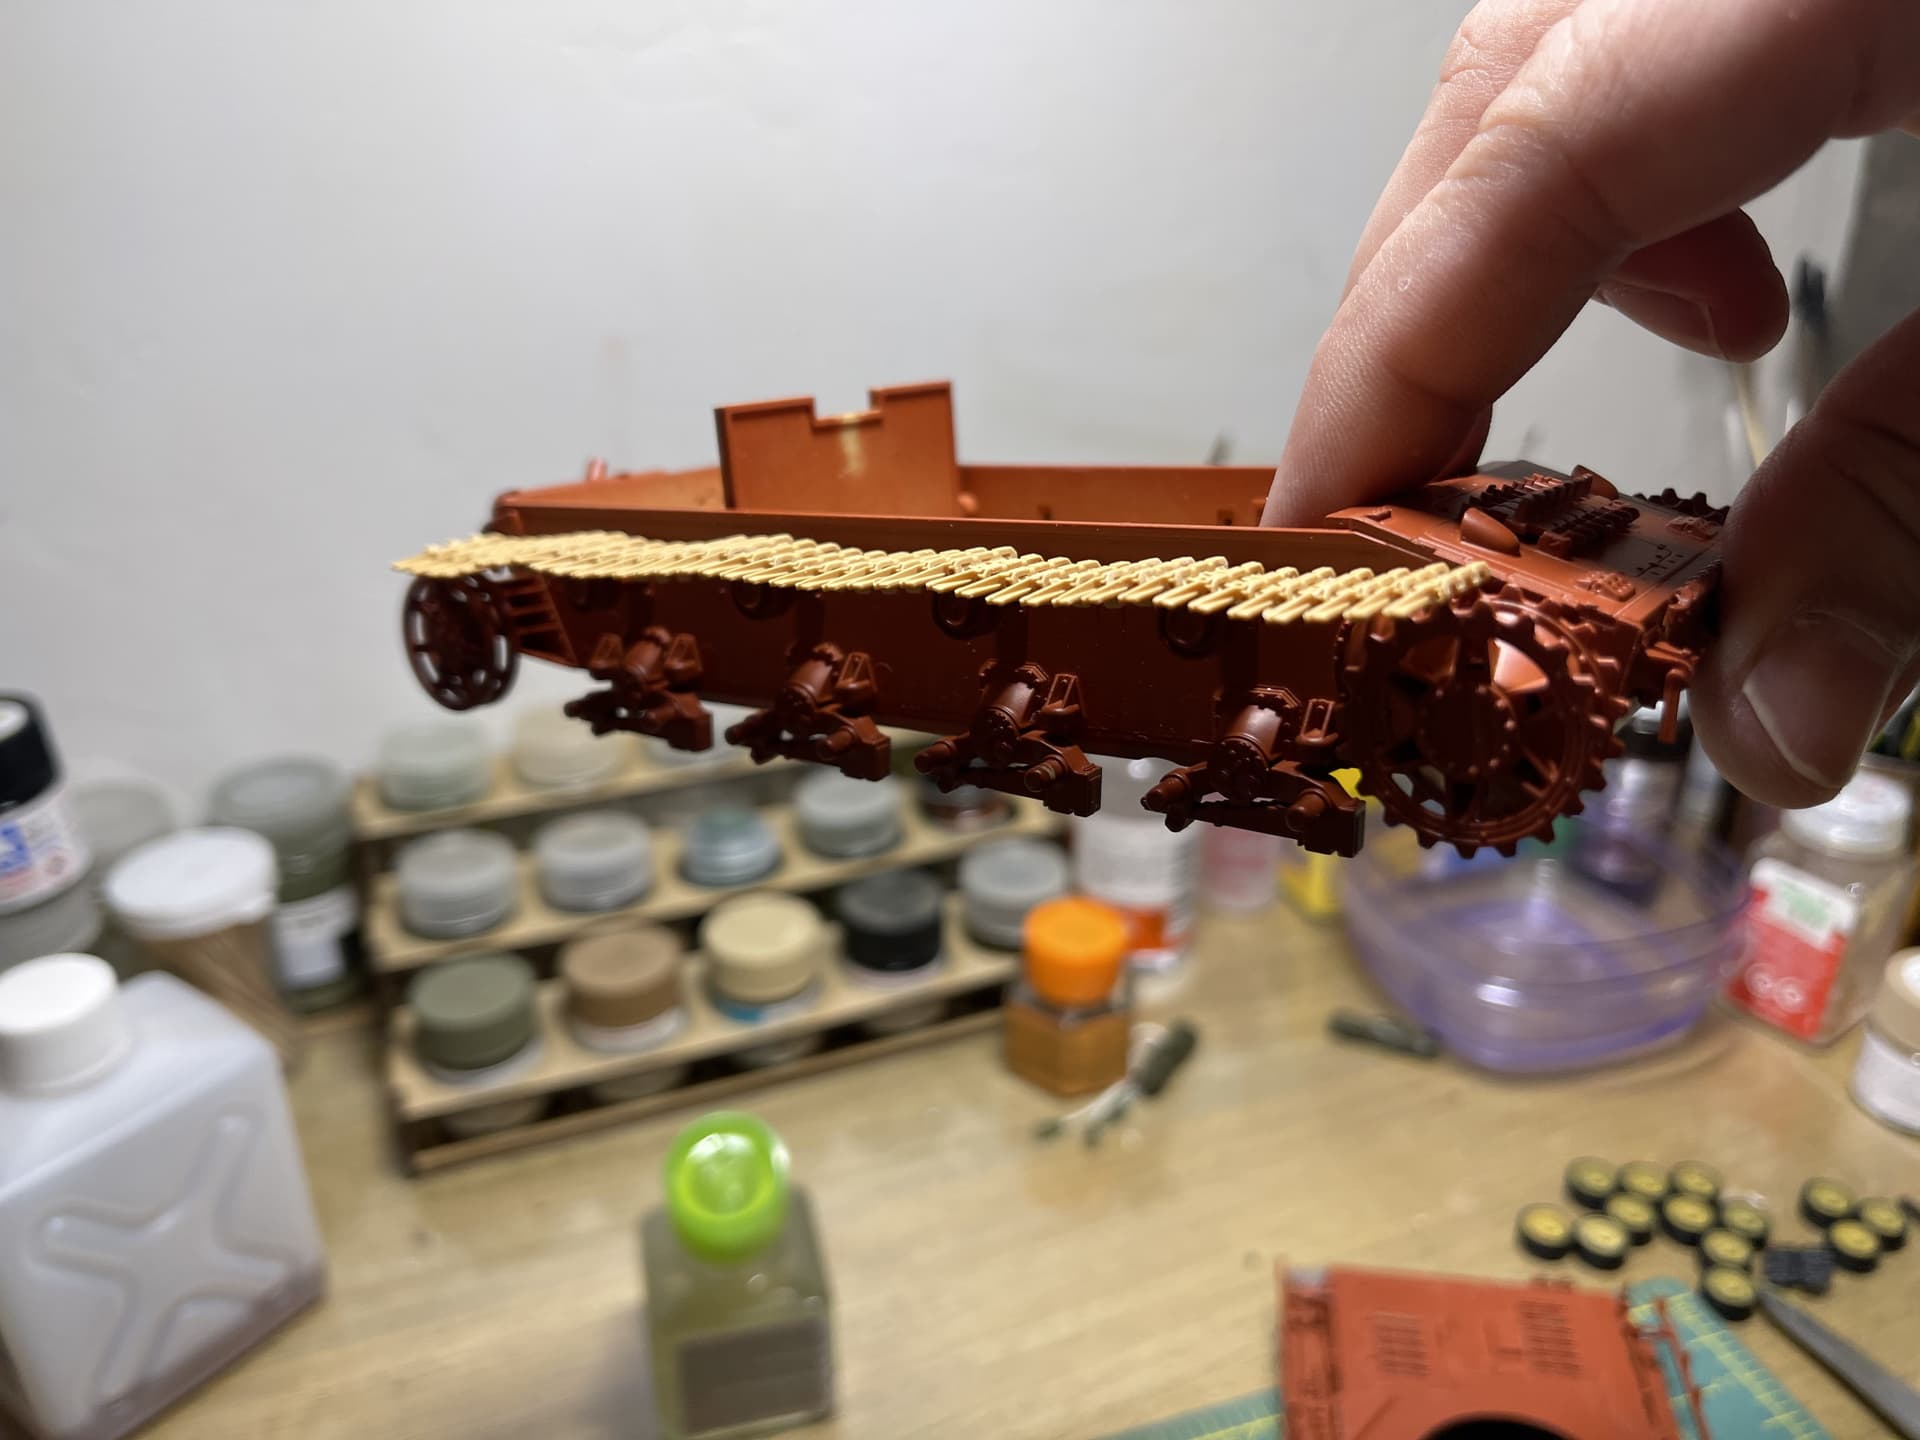
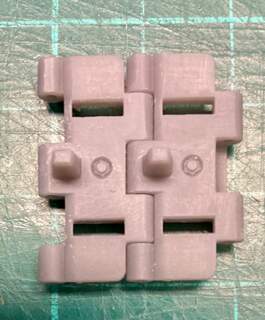
Had an “AH-HA!” moment while painting some kits over the weekend. Why not use the jig provided in the Tamiya PzIV kit to put together the RFM “Winterketten” tracks (at least the top rung that sags into the return rollers), instead of using the tiny jig provided with the track set?
comes with two jigs; the jig on the left has the Tamiya tracks, painted and ready to go (I bought the set in case the RFM tracks didn;t got as i expected). The jig on the right has the RFM Winterketten tracks; which fitted on the studs on the jig a little snug, but very workable.
I put together one top run using the jig and as i expected; the tracks fit perfect as well, with just the right amount of “sag”. I am hoping that ones i get the top rungs together, the rest will just fit into place. I will simply build the RFM tracks in sections, similar to the ones on the Tamiya sprues and assemble them as with the Tamiya ones. Hopefully, everything will fit in place with little play and just enough tweaking to have it all put together.
When I asemble tracks I hook the upper run onto one or two teeth of the sprocket wheel (basically as many as I can while still being able to get the track run off from the sprocket). The other end of the upper run ends a third of the way around the idler. Assemble the lower run to meet the upper run on the idler and go all the way up to one or two teeth up onto the sprocket. Sag at the front and rear can now be adjusted to get both runs to meet on the idler AND on the sprocket.
Finally make one or two curved bits to close the gap on the sprocket.
The teeth on the sprocket provide a reliable positioning. Doing the sprocket end first could cause issues when trying to make ends meet on the idler.
I typically work the sprocket last. I already did a dry fit on the tracks to make sure the drive sprocket is in the right position to minimize any future fiddling on them.
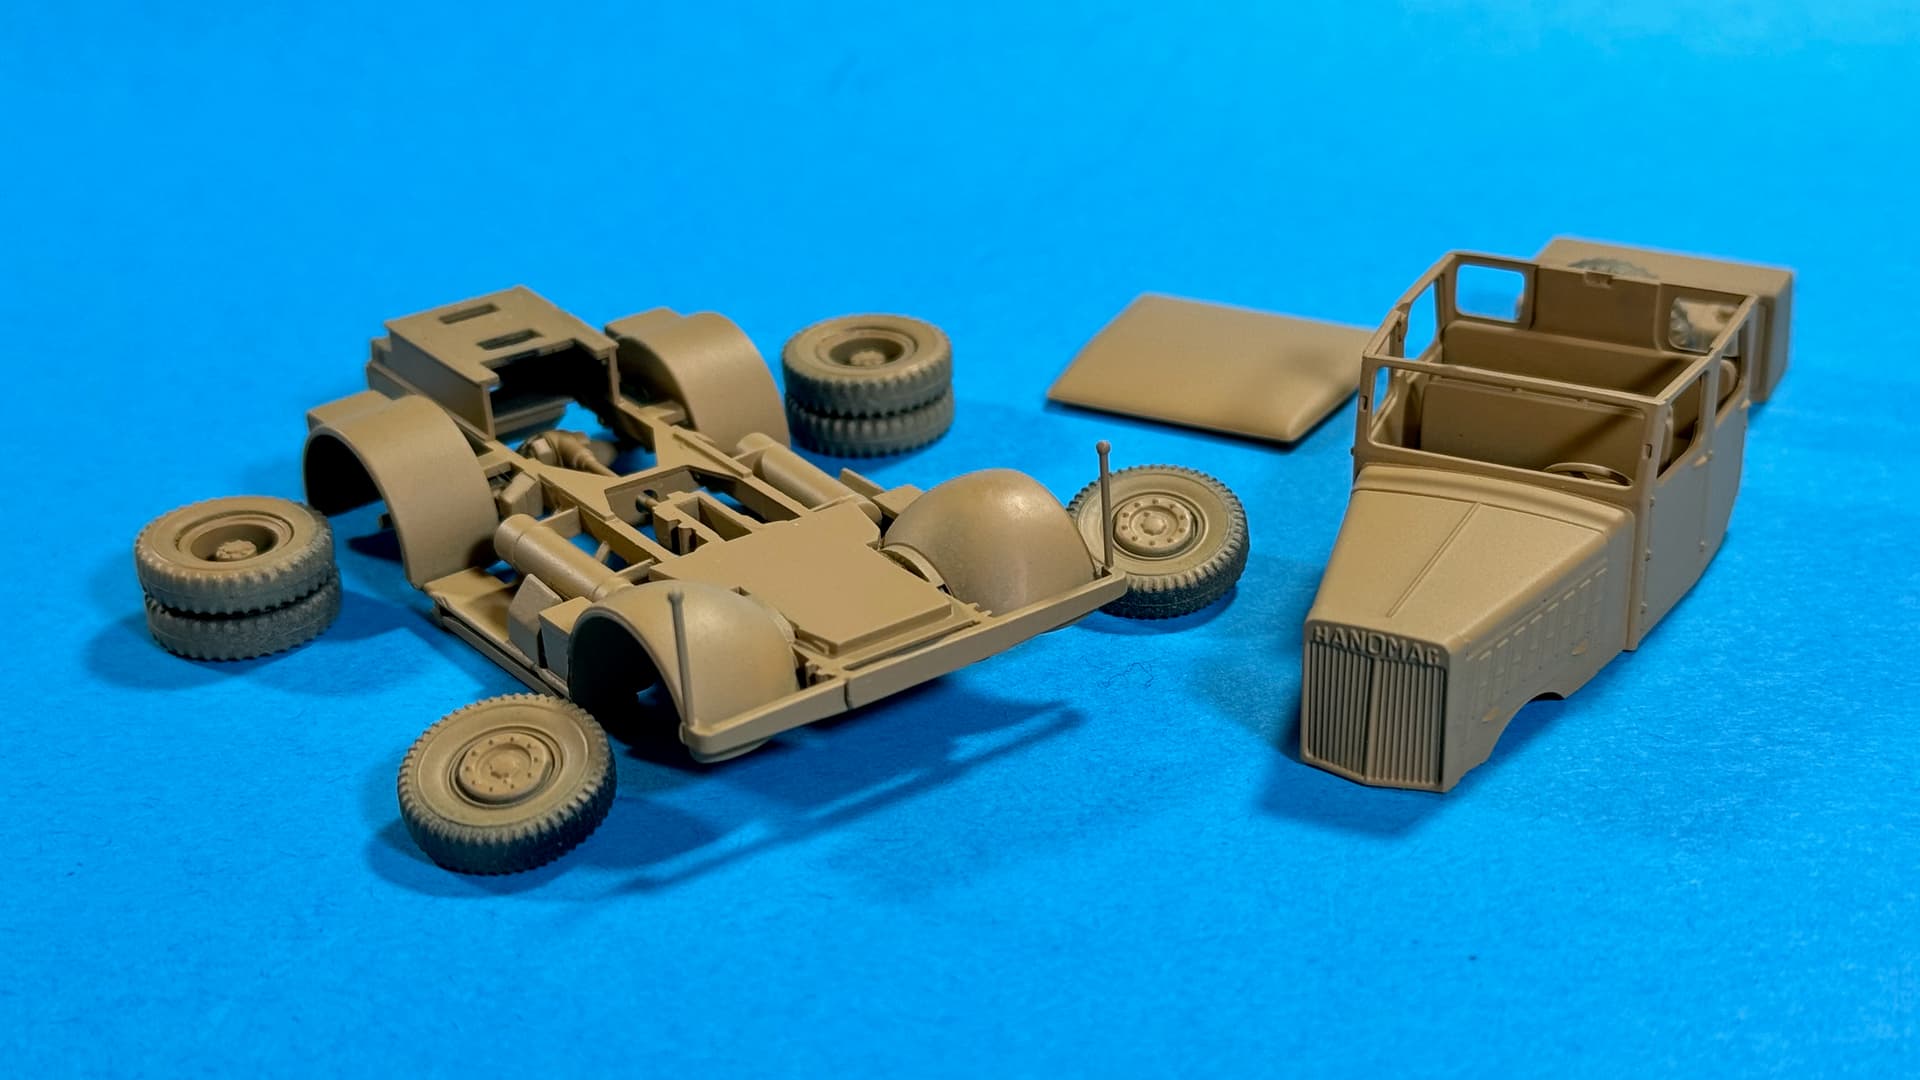
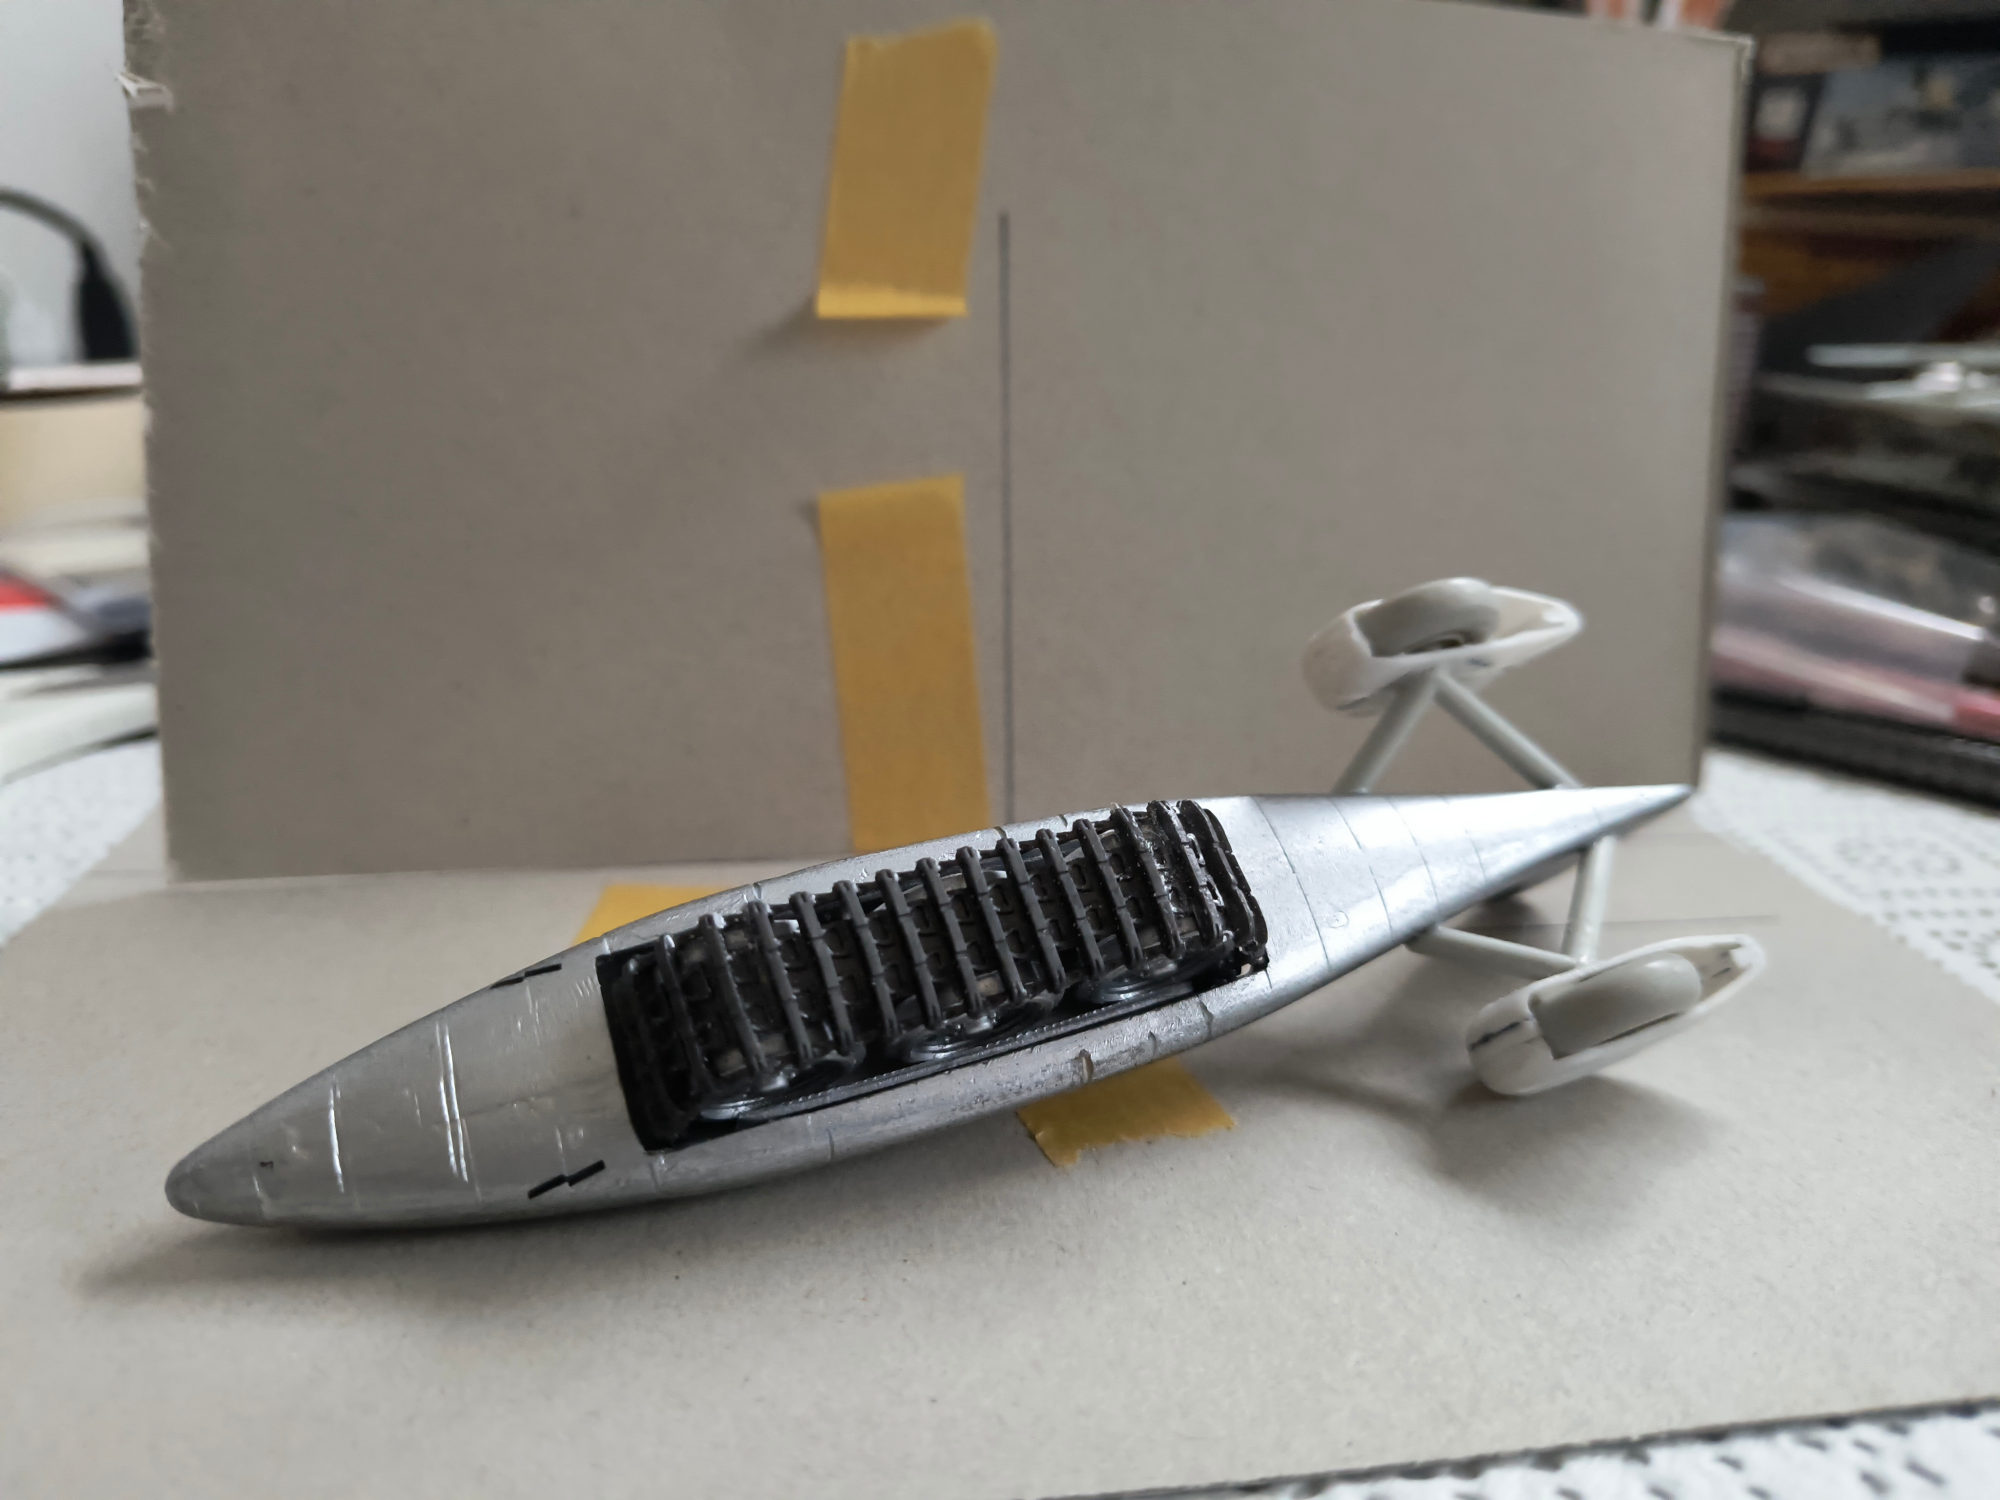
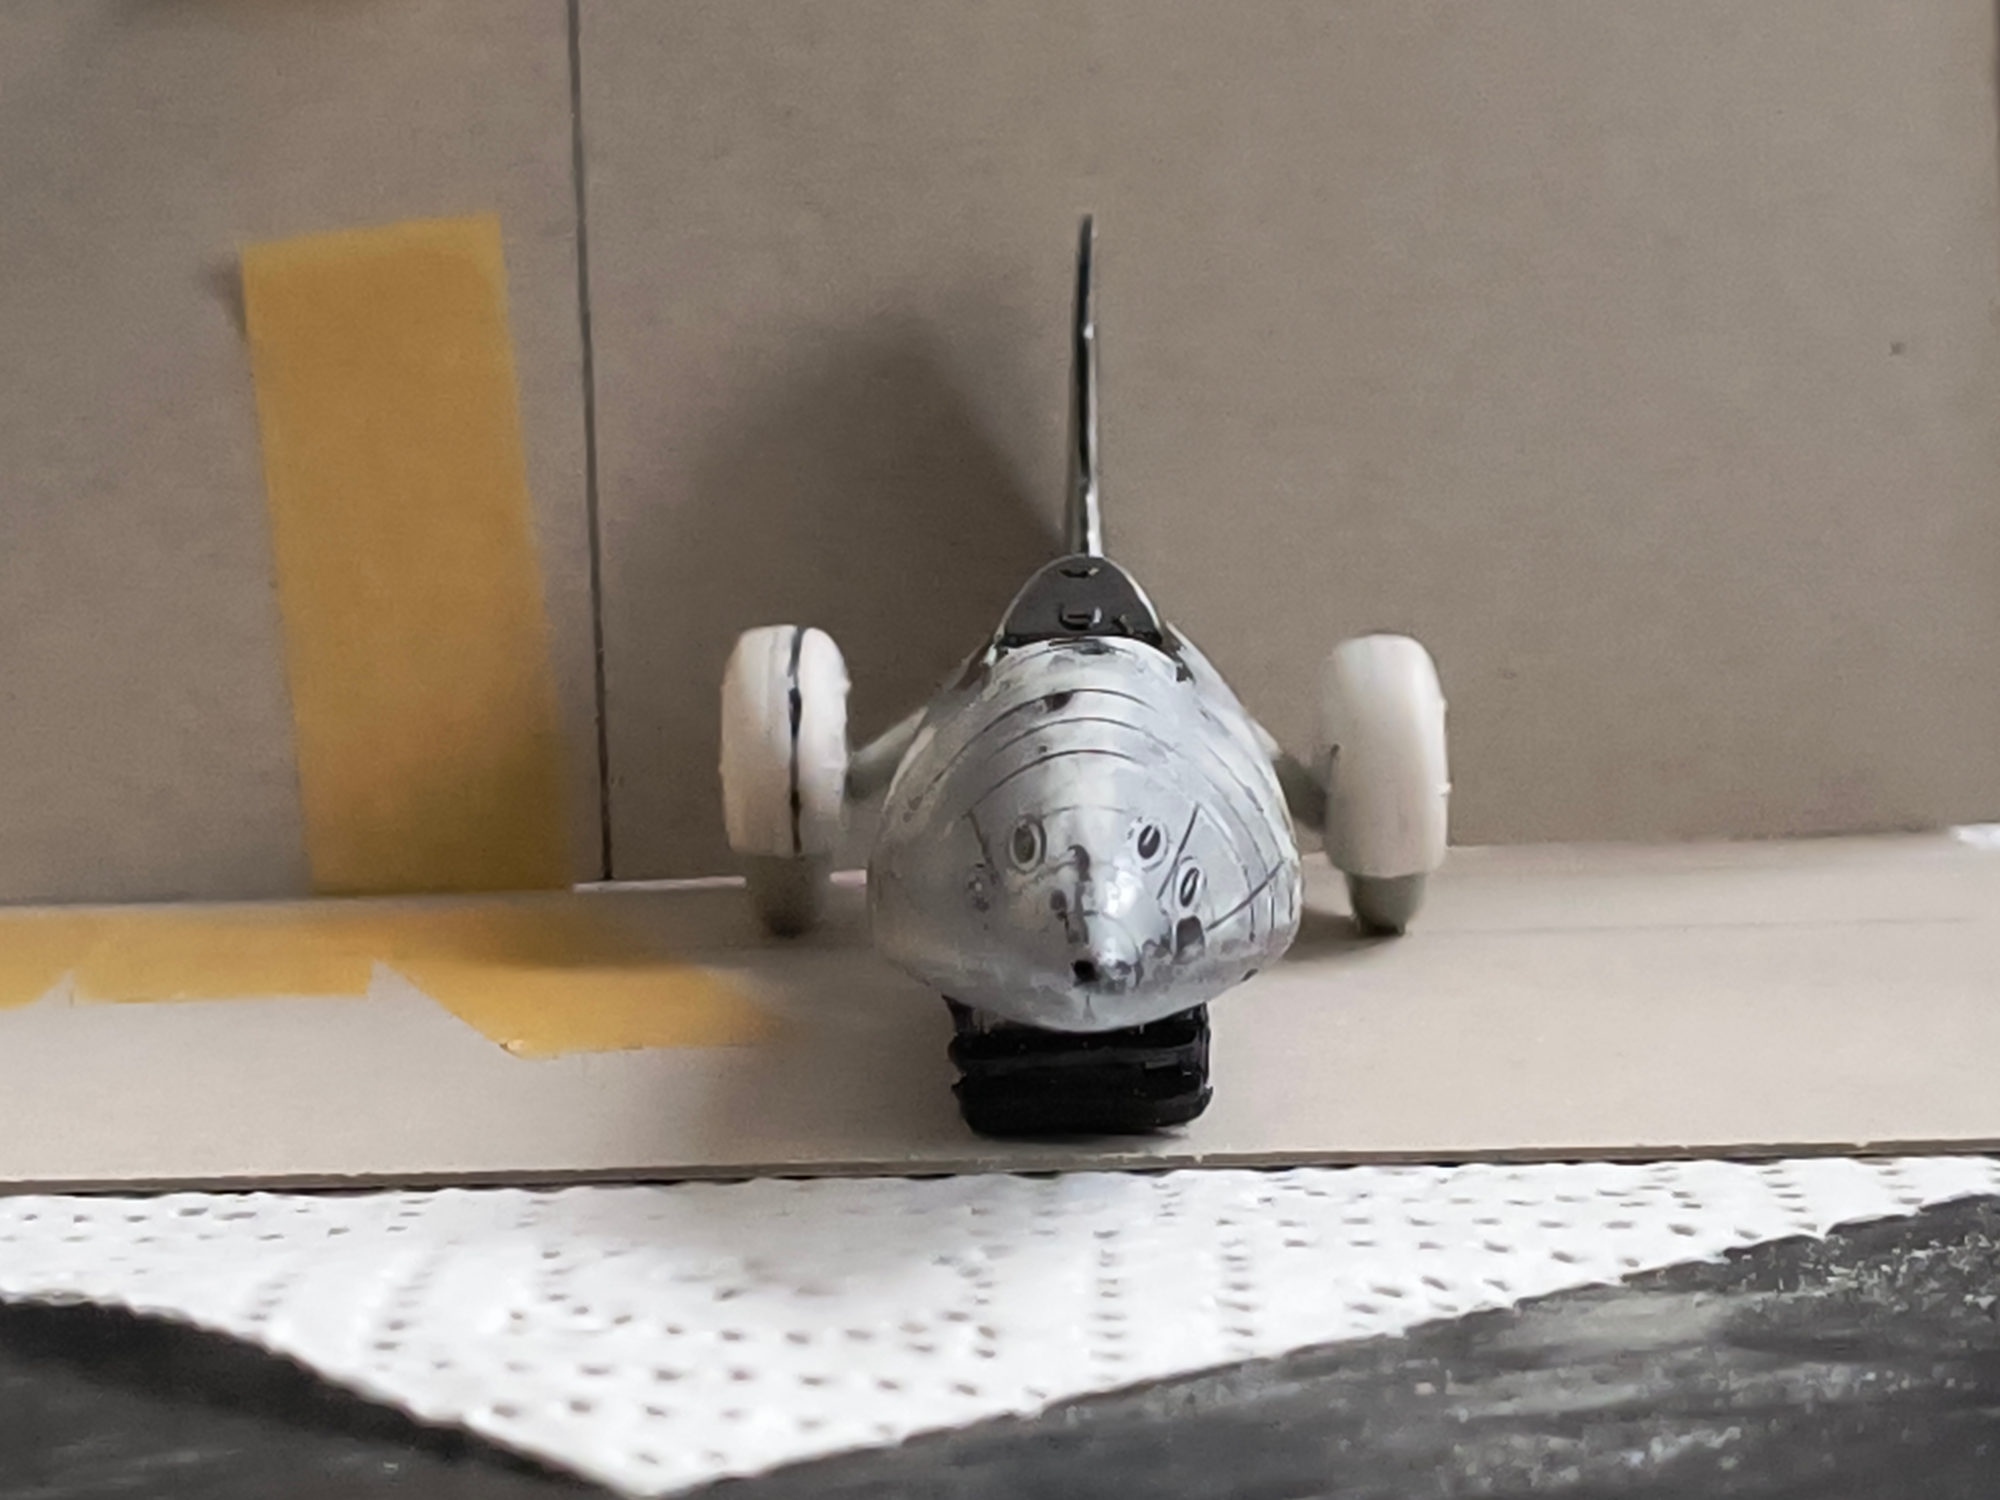
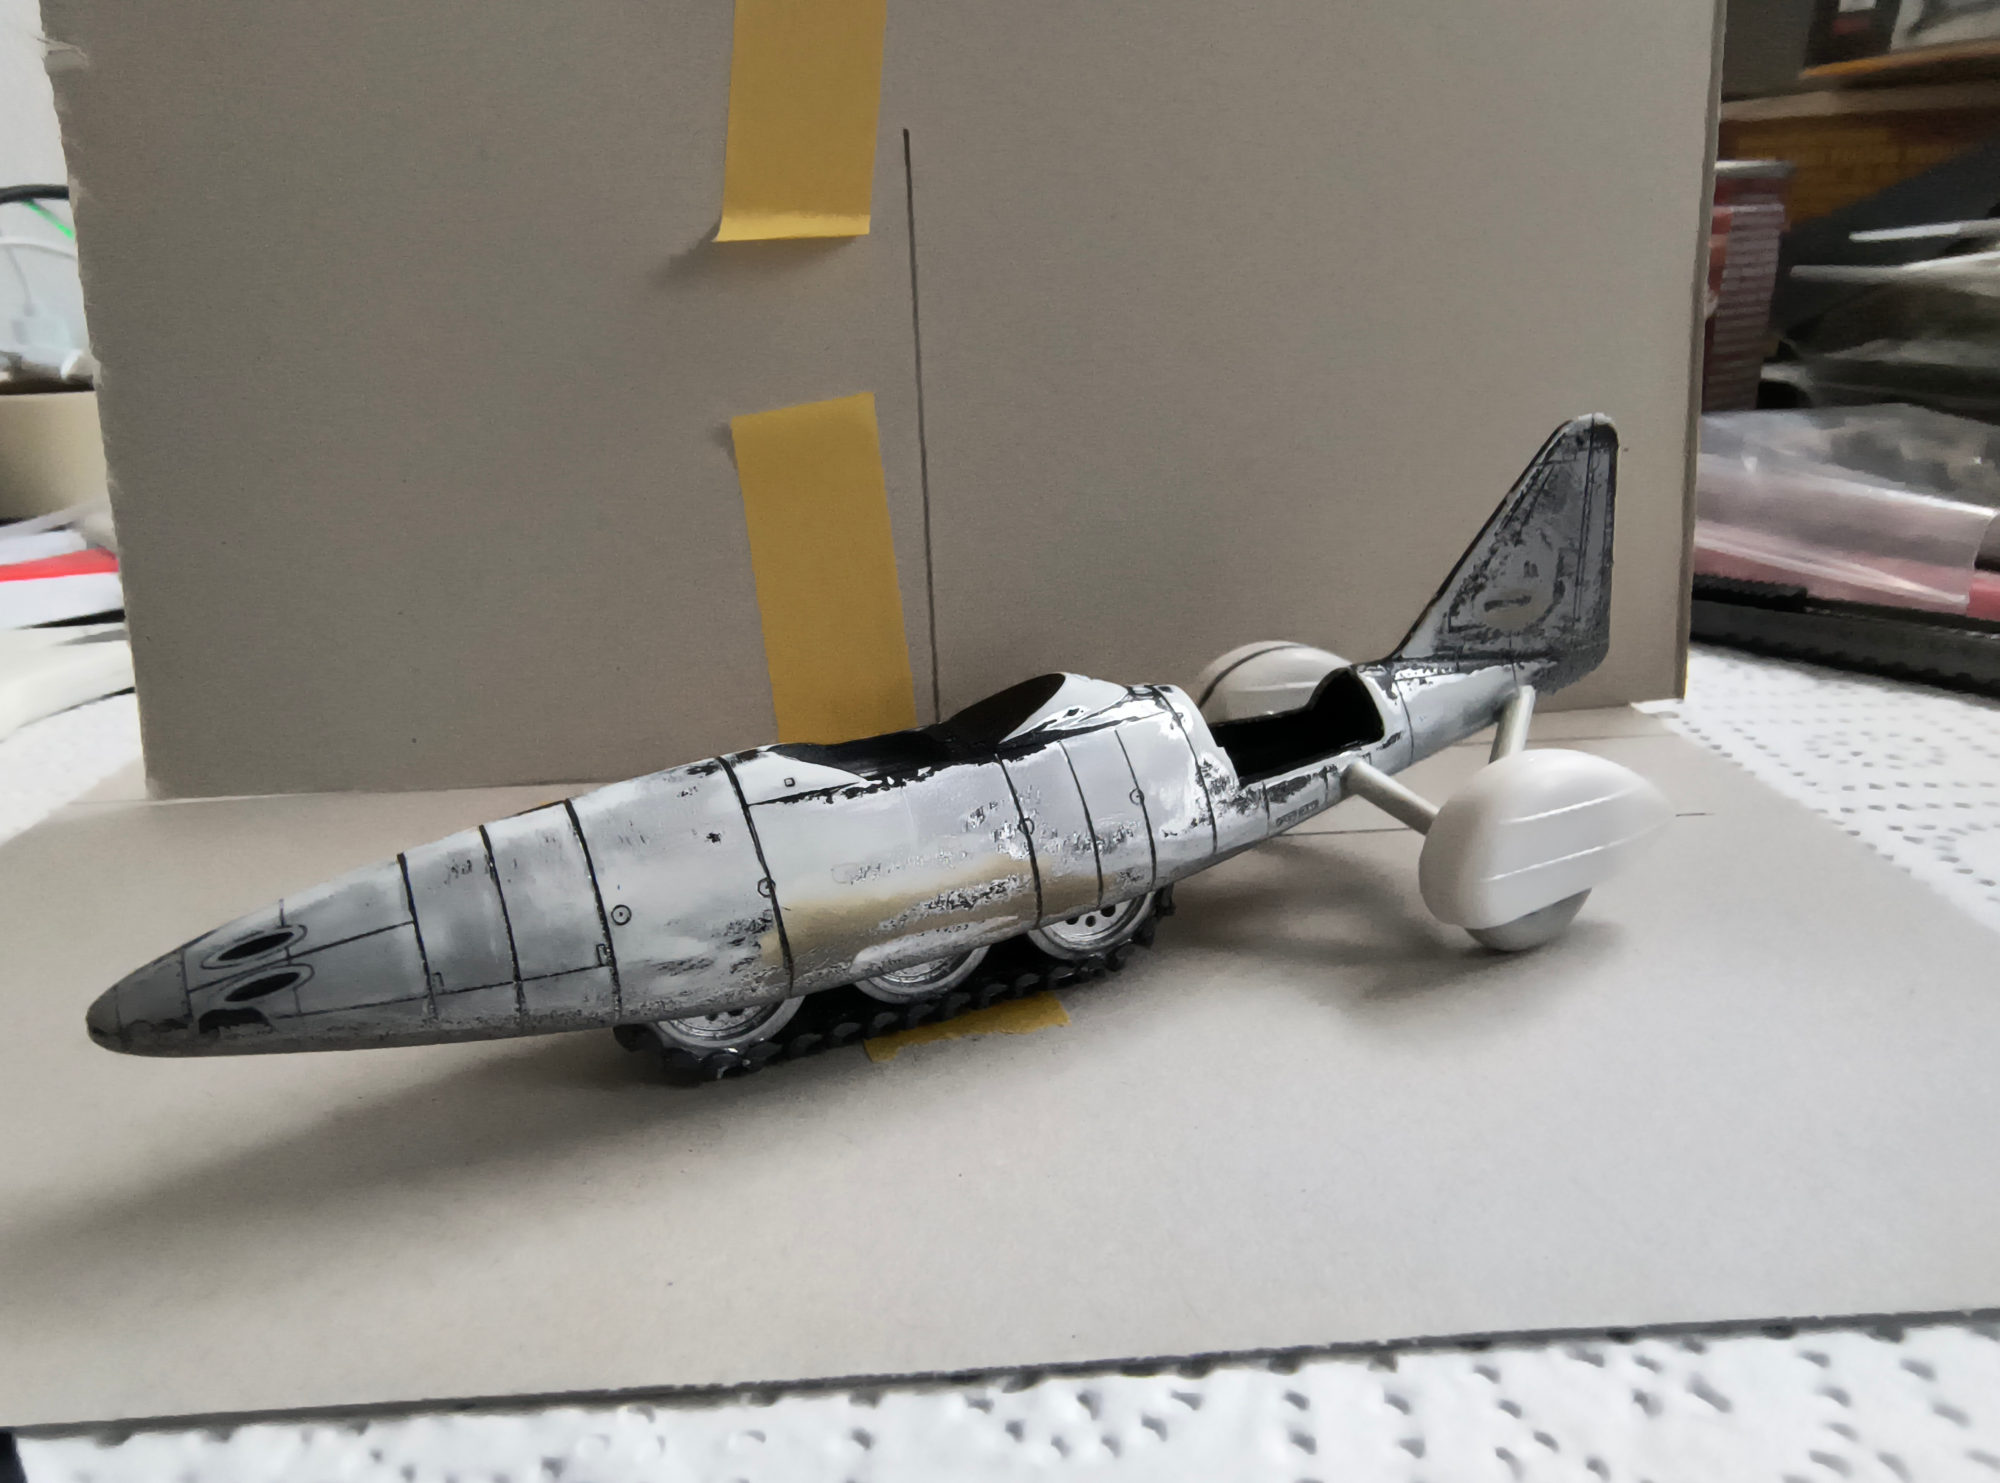
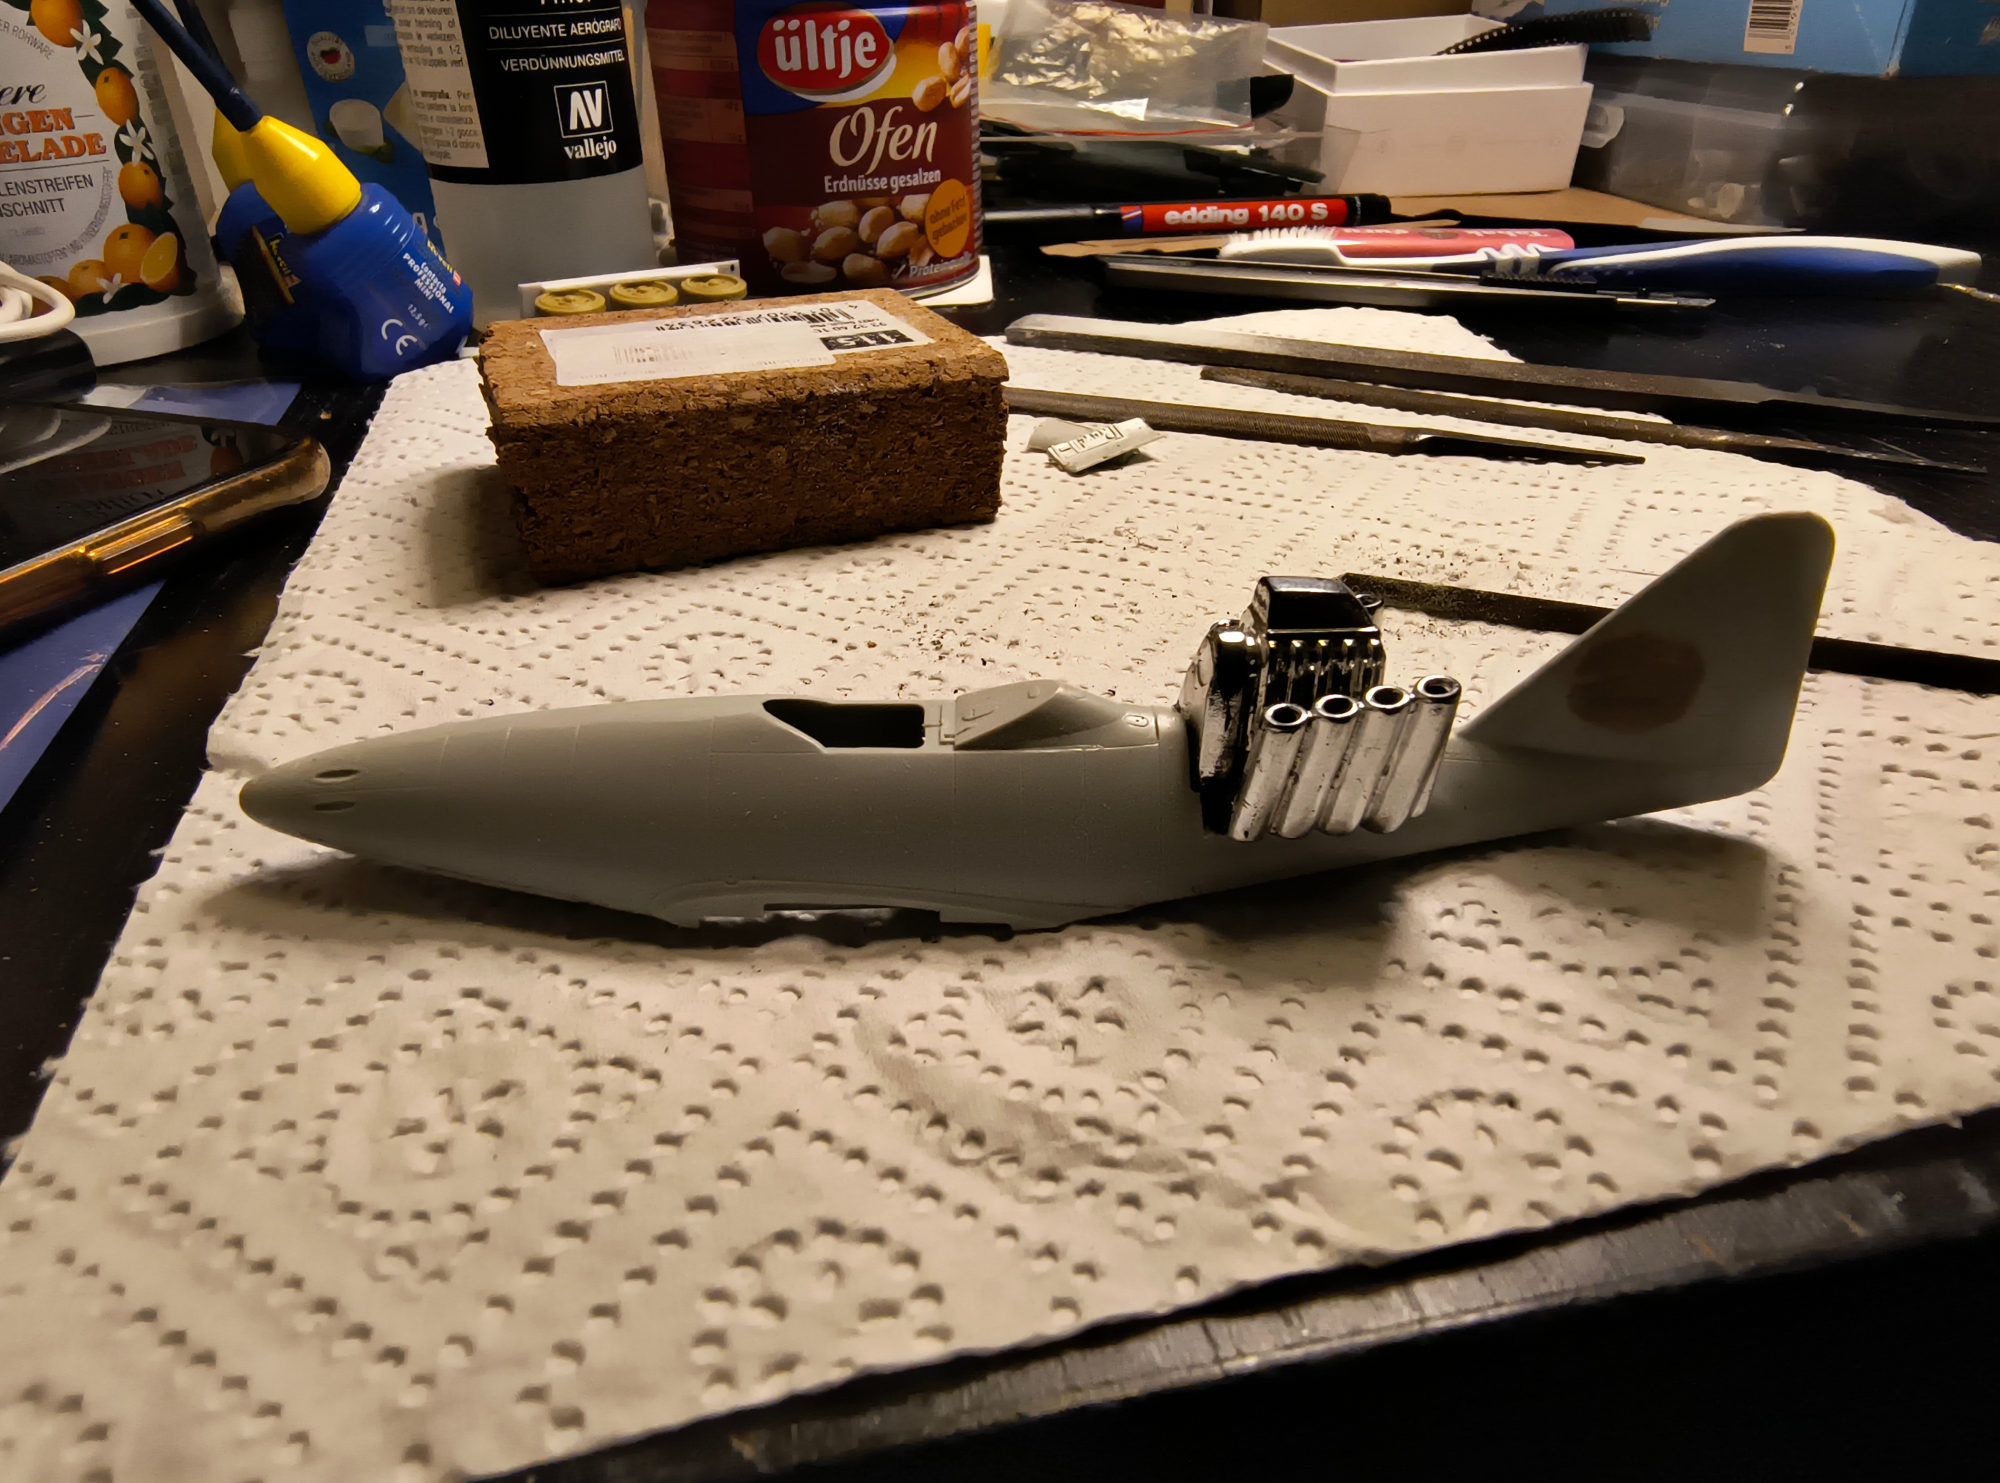
Building a Me262 race tank .
That’s the first of a group coming the next weeks, all based on the standard revell kit ( i have 12 of them in the stash ) .
Fabulous! I would also like to try smoking what you are smoking!
Now I’m interested in the opposite: do you even collect just sets of real prototypes?
You obviously have another hobby. And clearly not the only one!

 .
.